Todd@RUPES
Just a regular guy
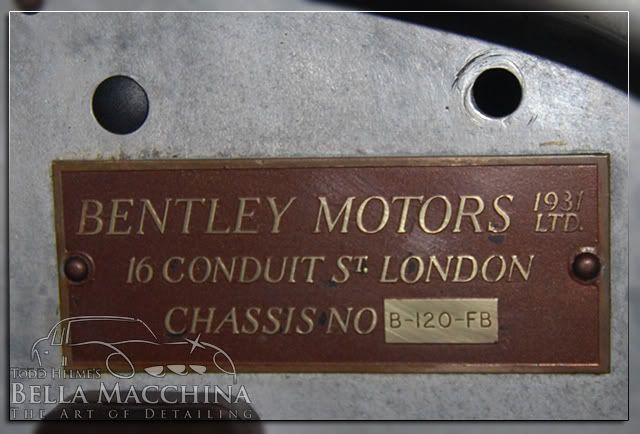
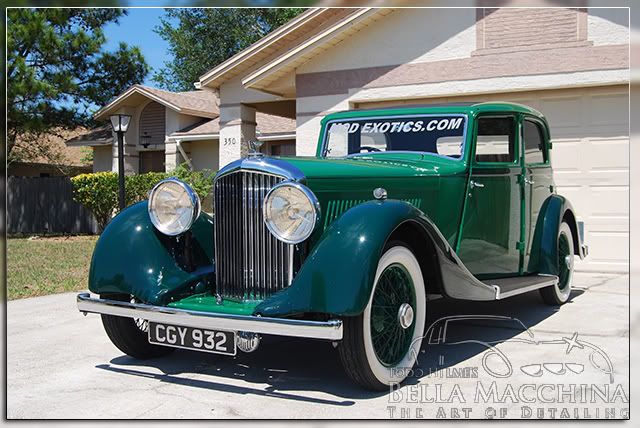
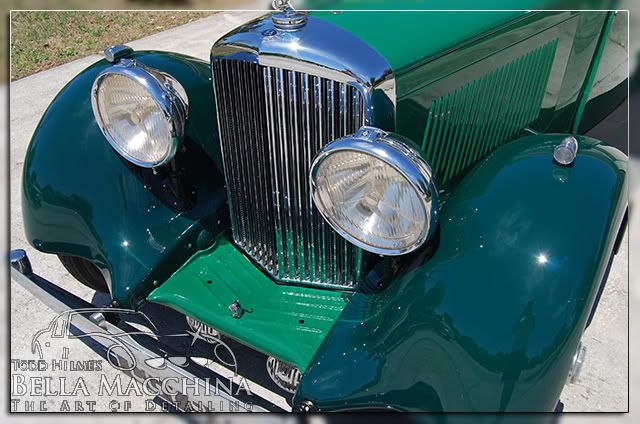
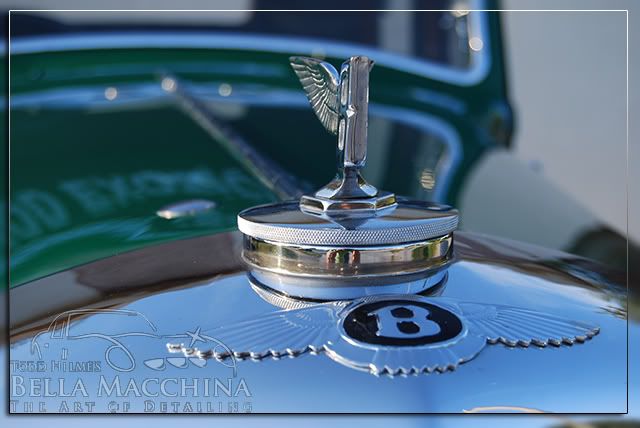
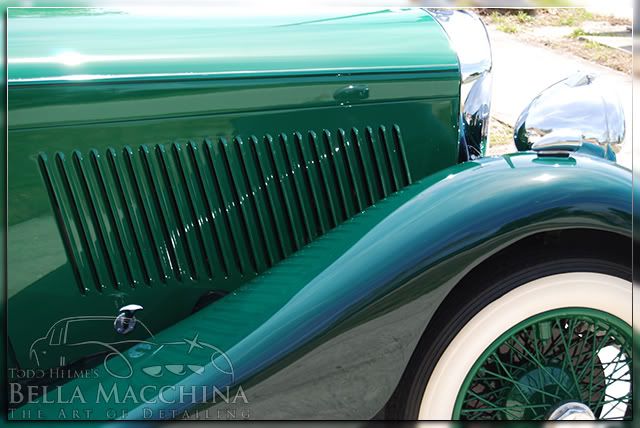
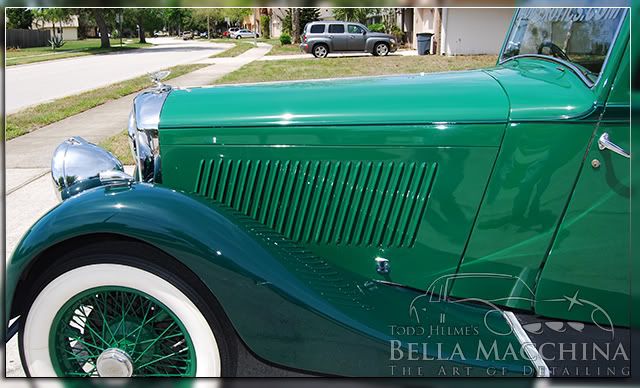
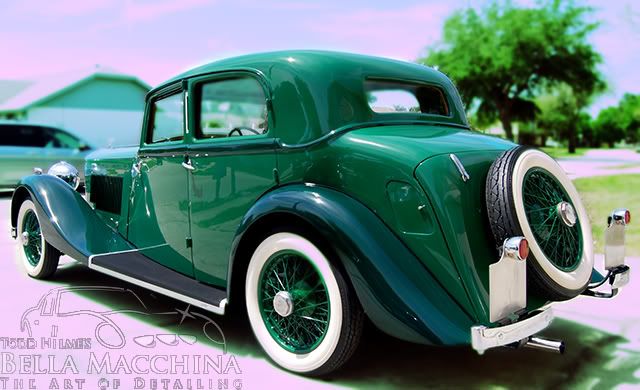
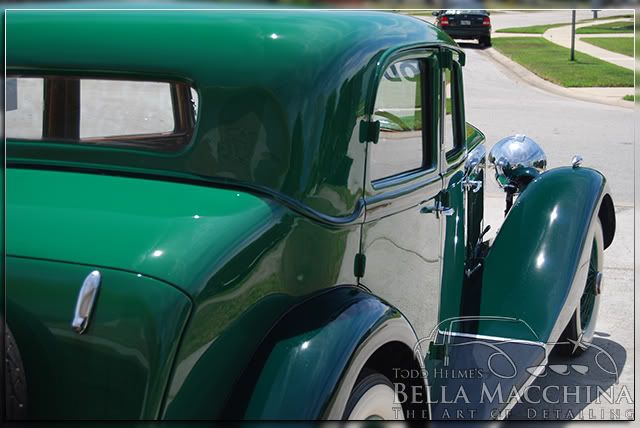
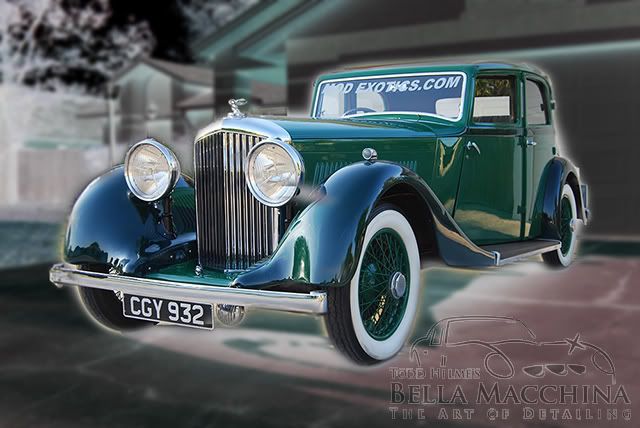
The 1931 Bentley Derby Park Ward Saloon was the first Bentley produced by Rolls Royce in Derby, England. The car's coach work was built by Bentley's most prolific coach builder, Park Ward, hence the name. It features a robust, for the day, 3.5L straight 6, and a 4 speed manual transmission. The steering wheel has four levers, controlling the ignition timing (you do this yourself), the choke, the intake opening, and a throttle stop similar to cruise control.
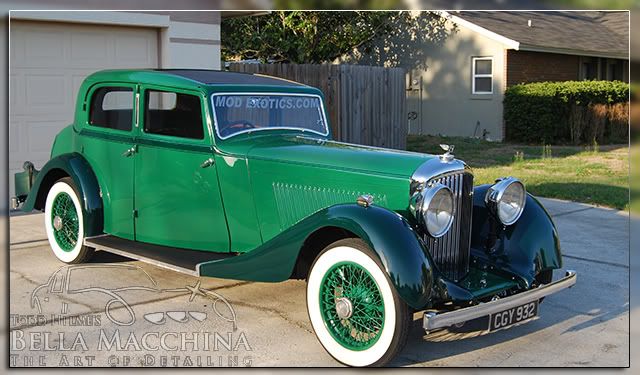
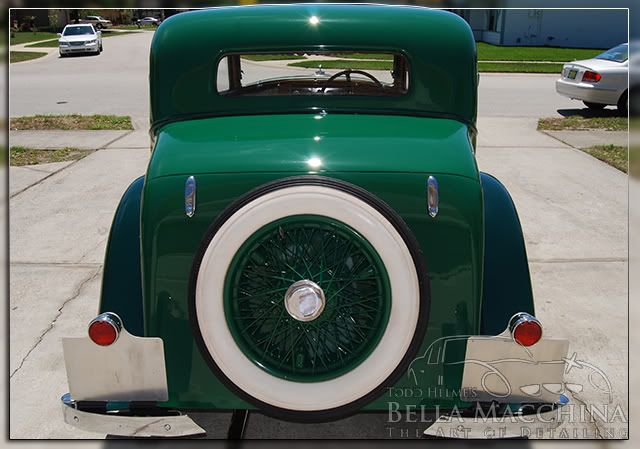
This particular Bentley belongs to a client of mine from South Florida who had the car shipped in an enclosed trailer to my house in Orlando. The paint was very rough with numerous blend marks, DA sanding trails, orange peel, holograms, and swirl marks. Over the course of a month about 80 hours of work went into the Bentley to transform it to the jewel it deserved to be. The entire exterior was sanded, cut, polished, and jeweled. The tires where dismounted, cleaned, and dressed; the wheels cleaned, polished, and sealed. The original wood was removed, sanded, and re coated (my first time doing this). Various nuts and bolts where removed and polished, the engine bay gone through...
When I first thought about doing a write up on this car it was going to use it as an instructional piece on how to wet-sand for www.truthindetailing.com. The fact is that this detail became an all consuming obsession for perfection. Most work was done on my 'off-time' from detailing cars and side projects for Classic Motoring Accessories, in fact from start to finish I did 8 full corrections on other vehicles, wrote four articles, and attending two weddings. Please bare with the opening of the write-up as it is a basic instruction on wet sanding with a little bit of theory.
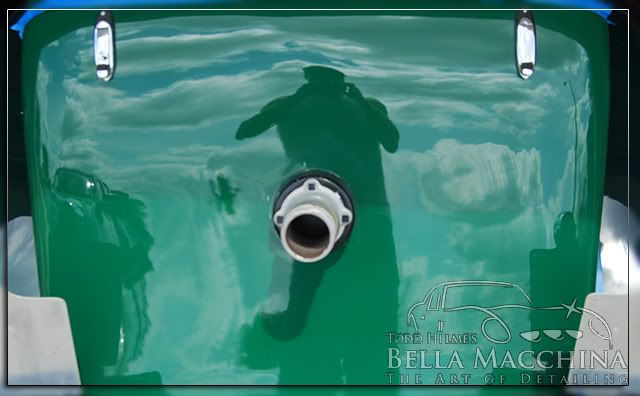
After carefully washing the entire vehicle with Meguiar's Hyperwash and drying with Big Blue III Waffle Weave towels, I thoroughly inspected each surface. This car had so much orange peel that even polishing the car could only do so much to increase the gloss.
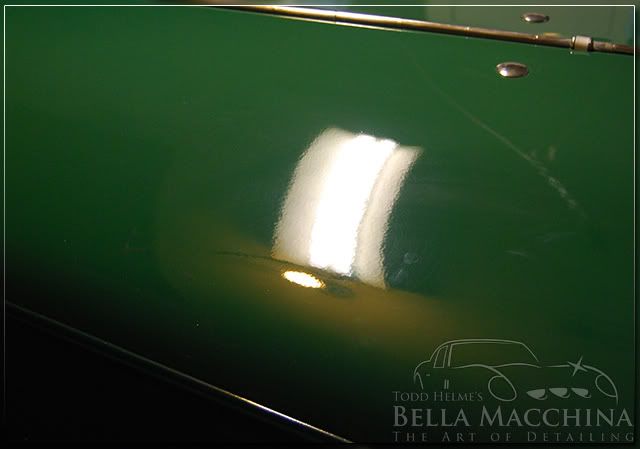
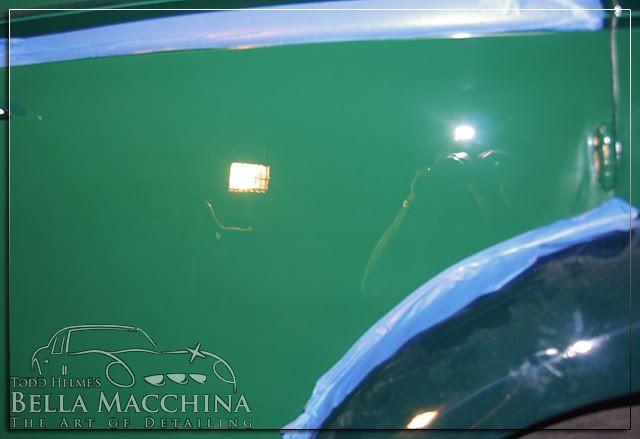
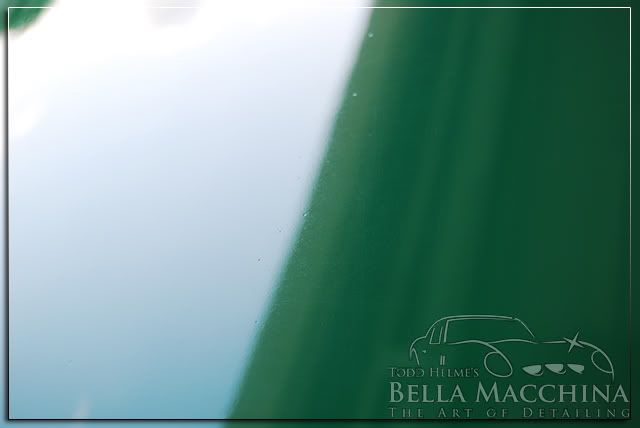
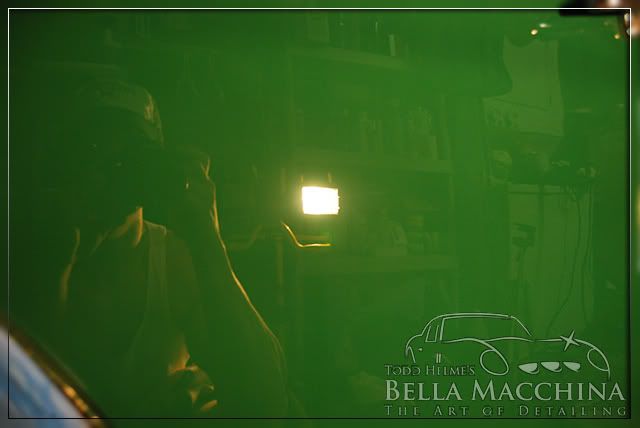
Here is a picture of the hood under a generic ultraviolet light. The orange peel texture of the paint is clearly evident.
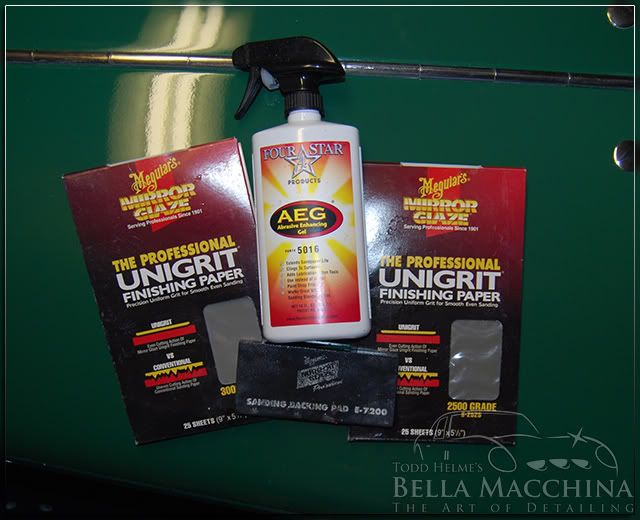
The tools I was going to use to sand the paint: Meguiar's Unigrit paper in 2000, 2500, and 3000 grit (with 2000 and 3000 being the most common), Meguiar's Sanding Pad, and 4 Star Abrasives Sanding Gel.
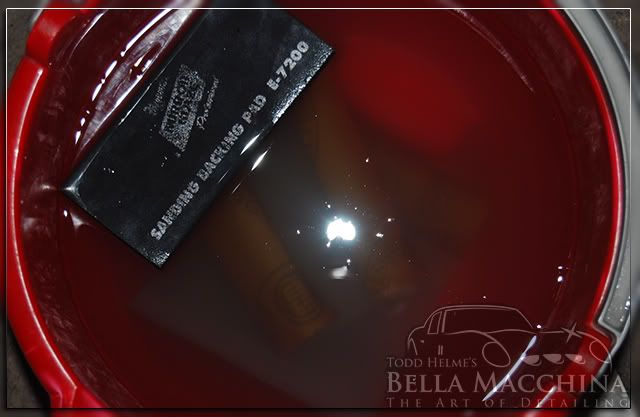
It is good practice to let the sanding paper soak in water for at least 15 minutes prior to use. I added a couple drops of Meguiar's M00 Hi Tech Wash to bucket help soften the paper.
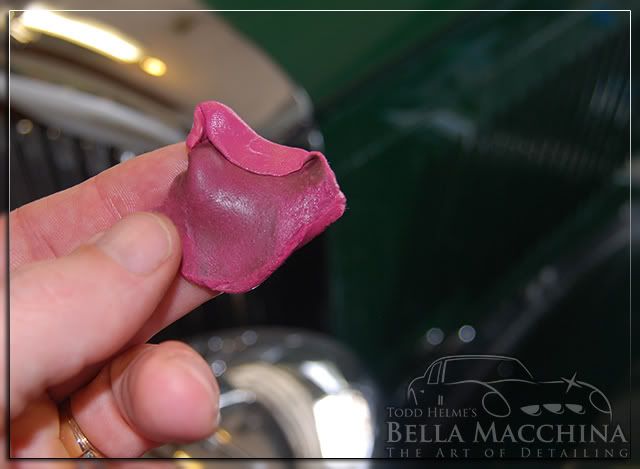
Prior to sanding it is a good idea to make sure the paint is perfectly clean and free from any contamination that could sheer off and become lodged in between the paper and the paint, causing deep scratching. I clayed the surface with Blackfire Clay Lubricant and Meguiar's Professional Red Clay.
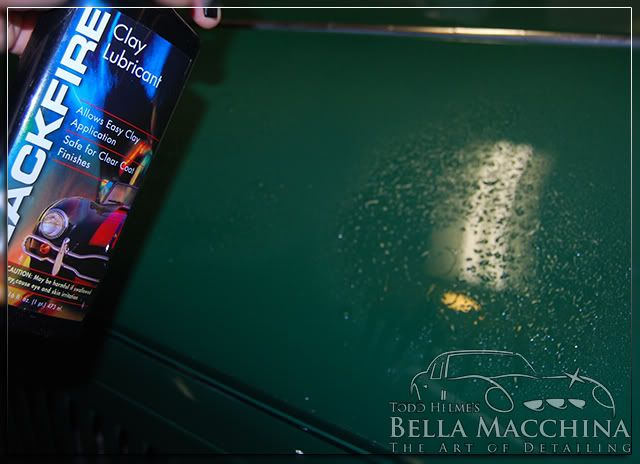
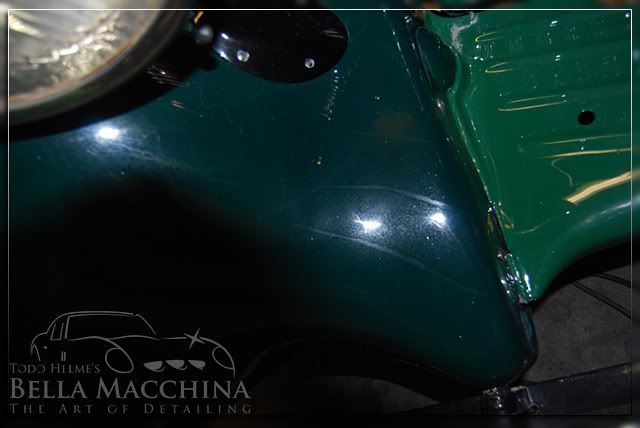
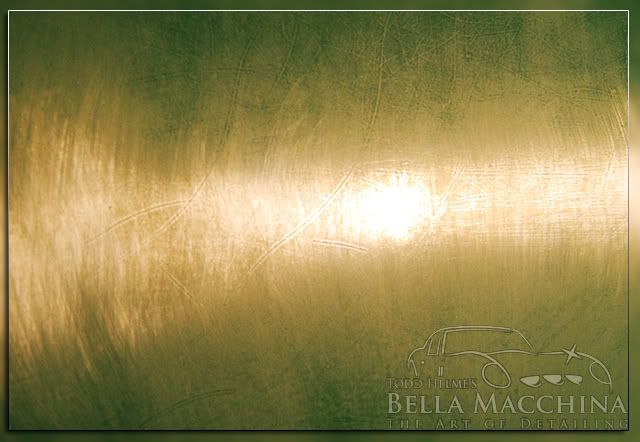
The amount of contamination on half of the hood was quite large.
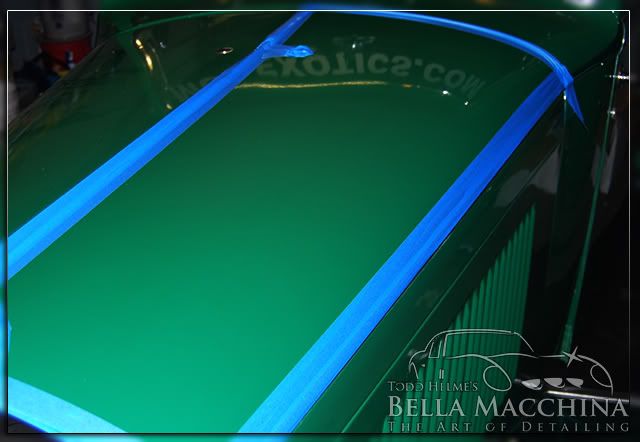
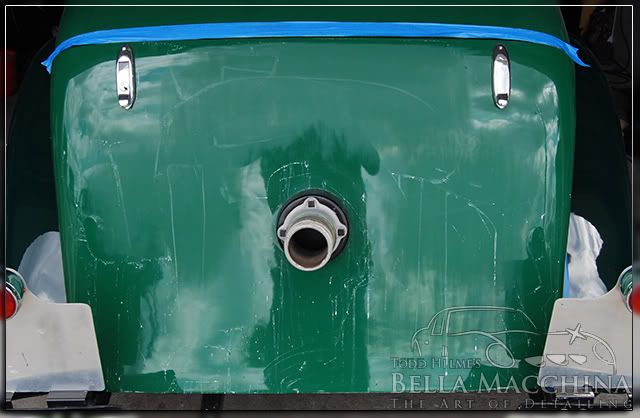
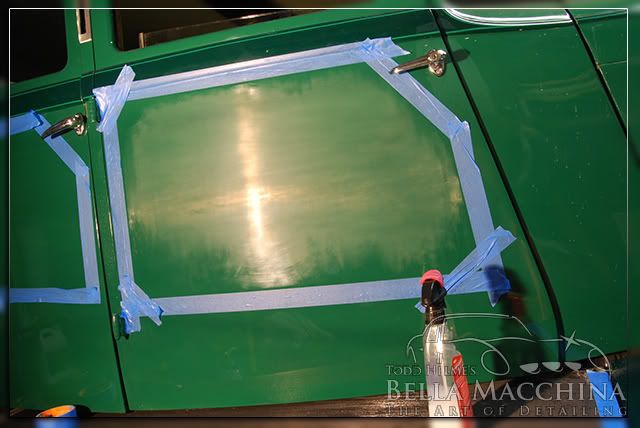
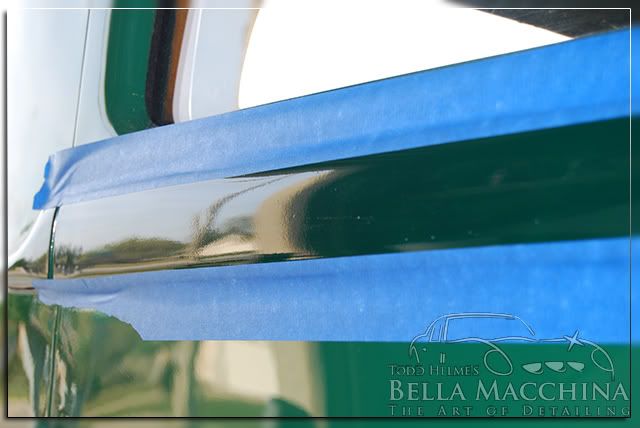
I like to run tape along the border of each section I am sanding to ensure that I do not sand to close to the edges where it could be difficult, if not impossible, to fully remove the sanding marks with out risking damage to the paint.
After letting the paper soak, wrap it around the Meguiar's Sanding Block. It is imperative to always use a backing pad for sanding to prevent the uneven pressure from our hands from creating waves in the surface. The Meg's sanding pad fits perfectly to the paper, simply wrap it tight and make sure that there is excessive slack or bent edges creating pressure points.
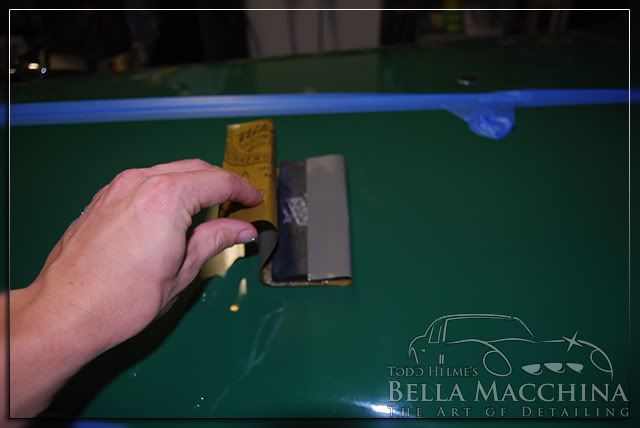
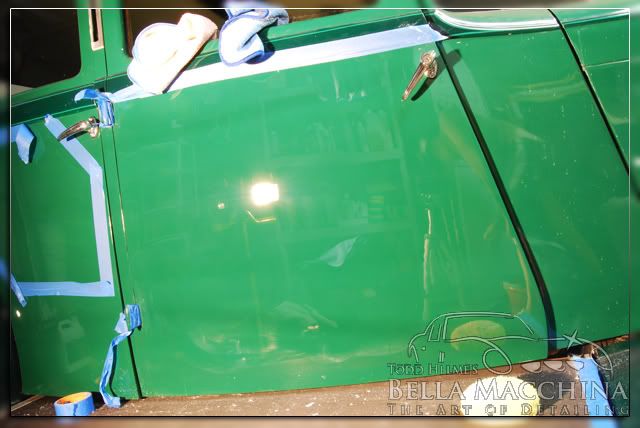
Start sanding in one direction, holding the pad at a slight angle to prevent the 4 edges of the pad from creating gouges or tracers. Sand in one direction, in this case back and forth, until all the defects have been removed.
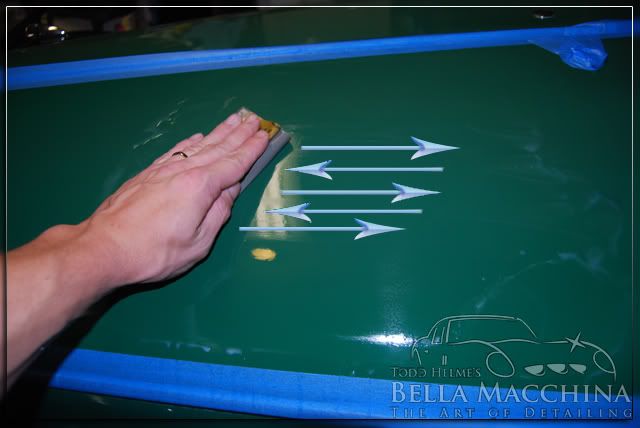
The sanding pad acts as a squeegee to remove the sanding lubricant, in this case 4 Star's Sanding Gel (you can use water mixed with a drop of M00 Hi-Tech Wash as well). It is important check your work frequently to prevent removing excess paint.
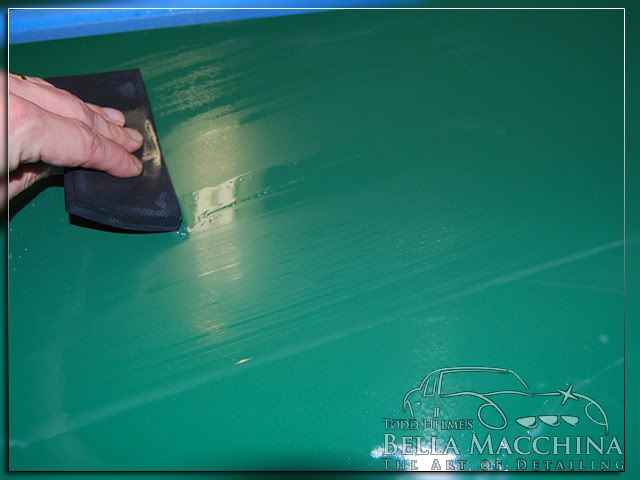
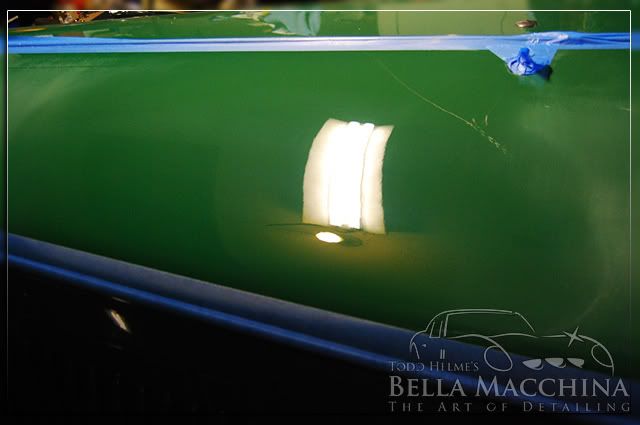
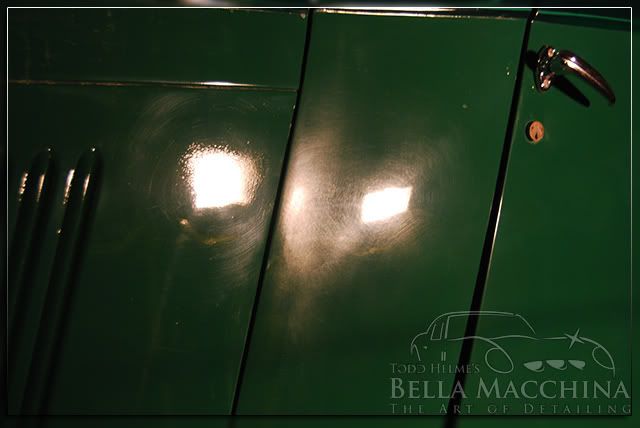
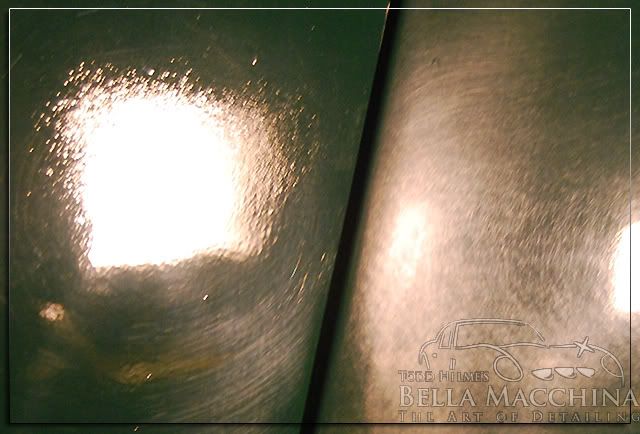
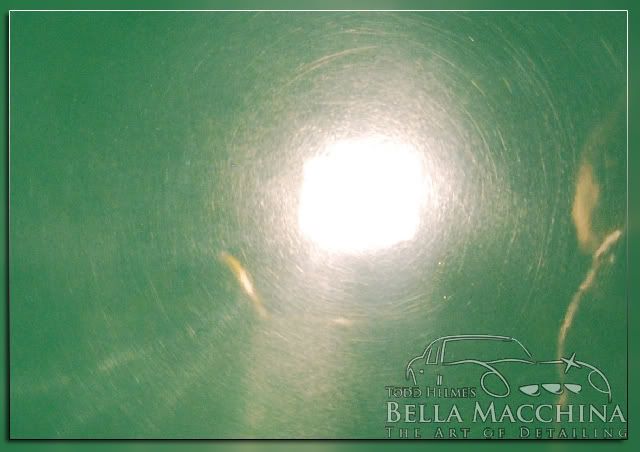
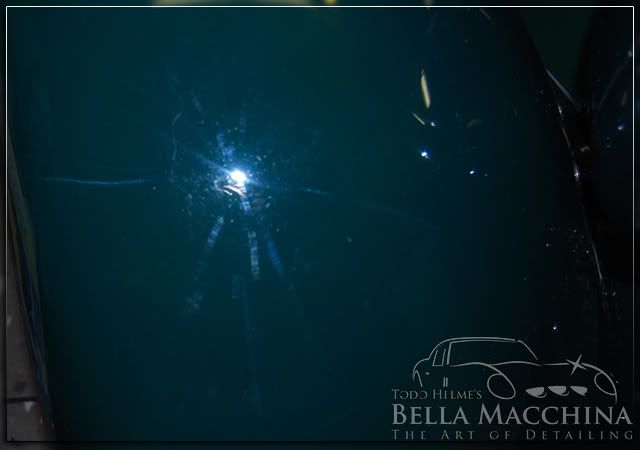
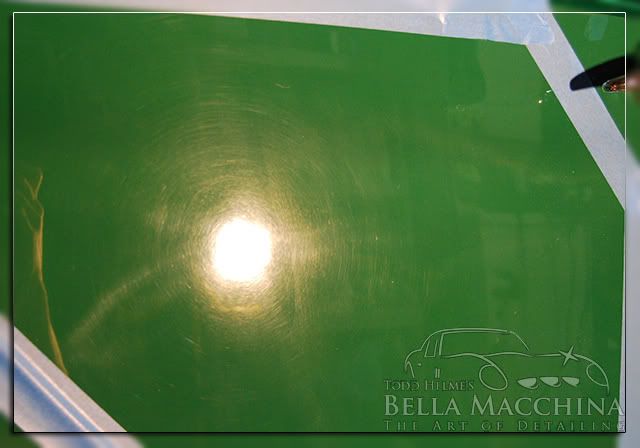
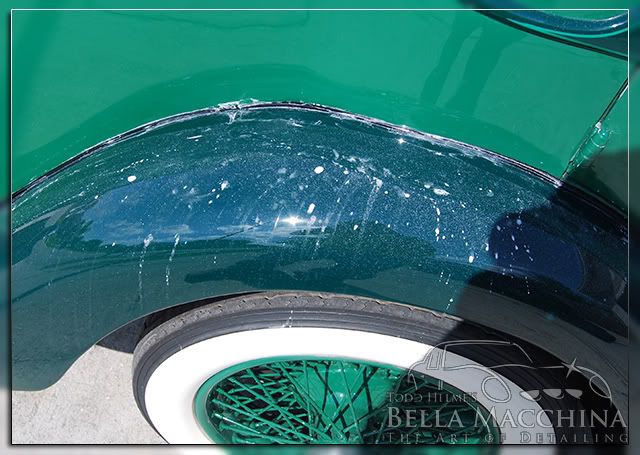
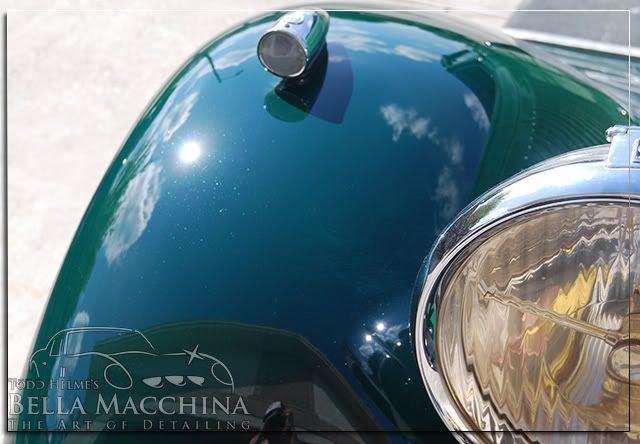
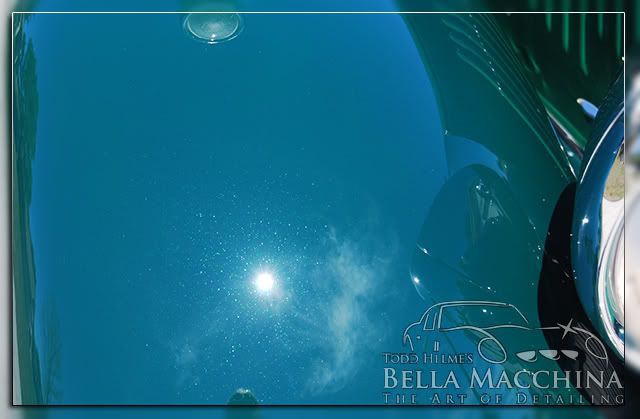
As the sanding paper skims over the surface it will remove the highest points in the paint, causing them to dull. The low spots will remain shiny. The shiny dots in the picture represent the low, missed spots of the orange peel. More sanding will be required to fully remove them.
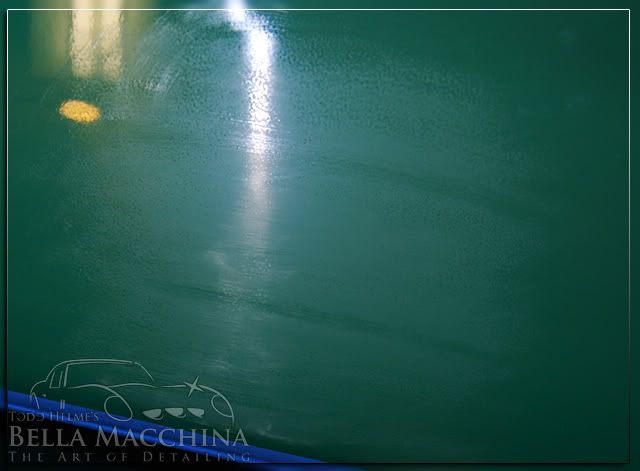
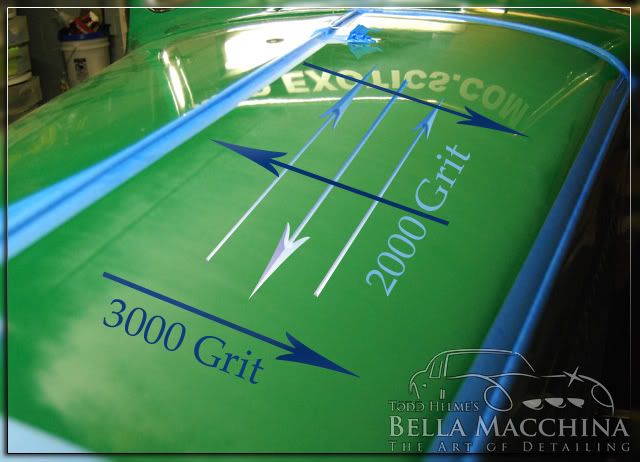
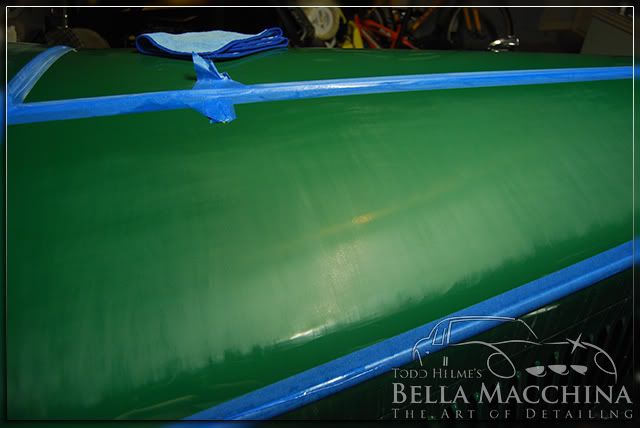
Once the entire panel has been leveled and the surface is uniformly flat it is a good idea to use a less aggressive paper in the opposite direction. This is known as cross hatching. Sanding with a finer grit will make 'cutting the paint' or restoring the gloss a easier, as well as eliminate some of the texture that is may be visible on the surface. After the entire panel was flat and free of orange peel, I sanding in the opposite direction using Meguiar's 3000 Unigrit until the majority of the 2000 grit scratches where no longer visible.
After removing the 2000 grit lines with the 3000 grit, it is a good idea to go back over the finally sanded surface in the opposite direction once again lightly. The surface is nice and flat with no visible sanding marks and ready to be 'cut'.
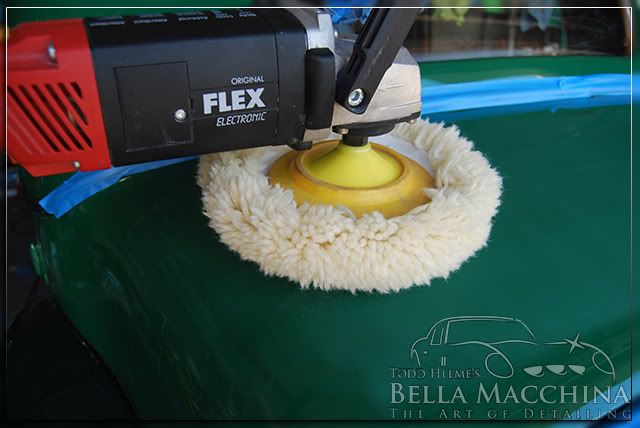
In my experience removing sanding marks completely requires aggressive compounding. I used Meguiar's M105 Ultra Cut Compound on Flex Rotary with the Kevin Brown Rotary Method to remove the sanding scratches and restore the gloss. After priming a Lake Country Pad with a mist of Meguiar's M34 Final Inspection and working working some polish into the pad by hand, I began polishing at about 1500 rpm with medium pressure. Once the polish 'flashed' I misted the paint with a spritz of distilled water and continued to work the polish until it flashed again, then removed the residue with a Dragon Fiber Perfect Shine Buffing Cloth. In most cases two full applications where required to remove all of the sanding marks and restore a very high gloss.
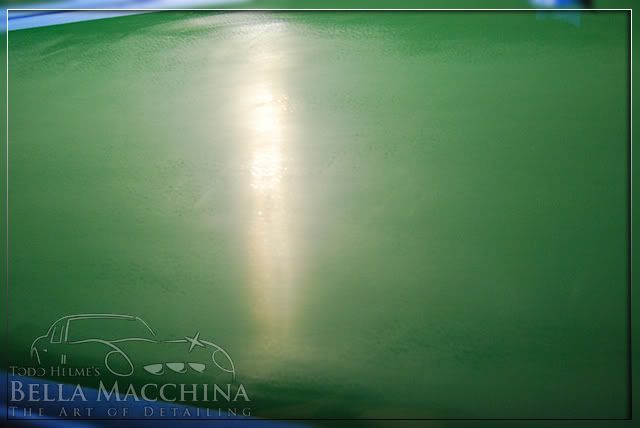
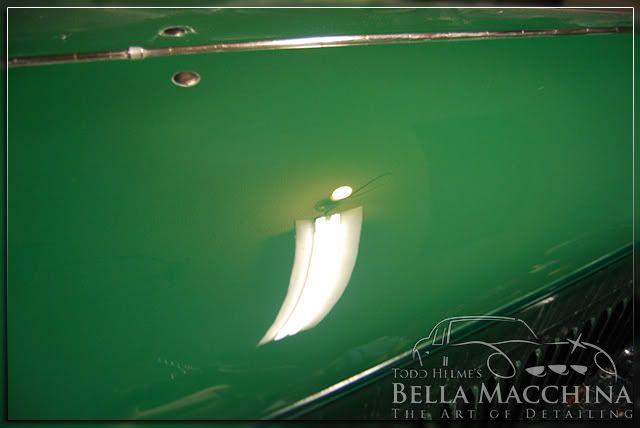
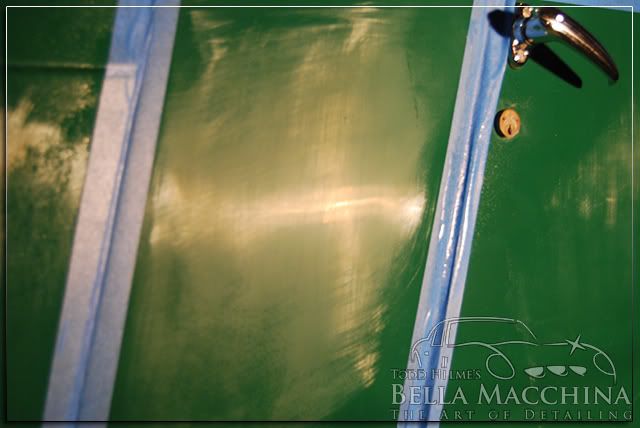
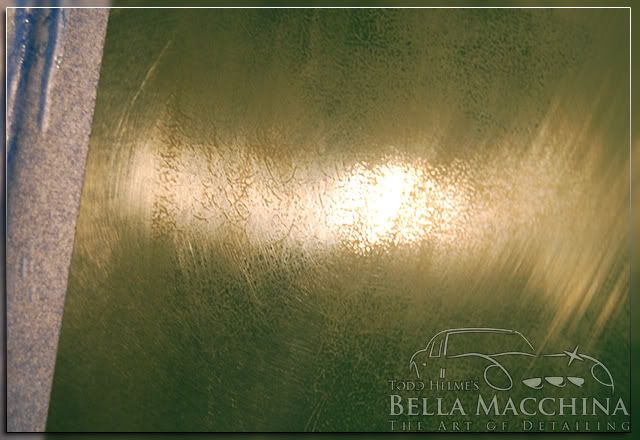
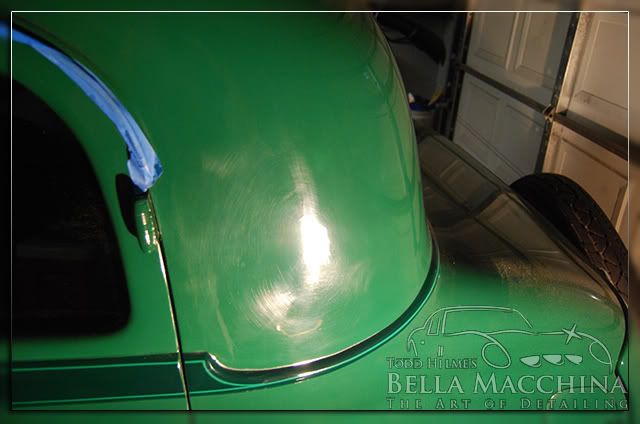
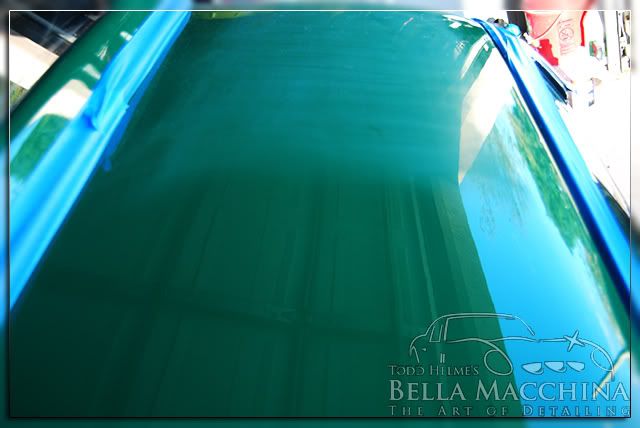
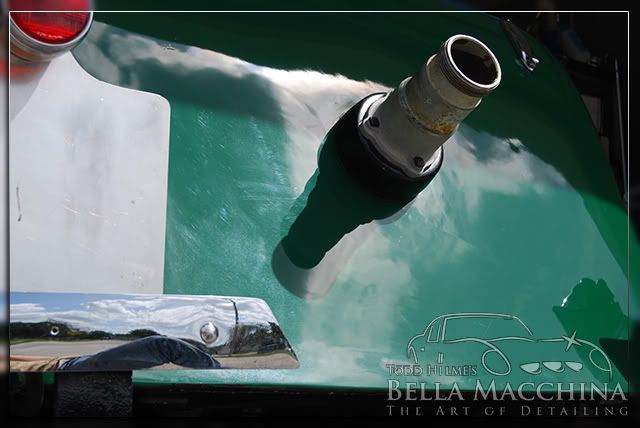
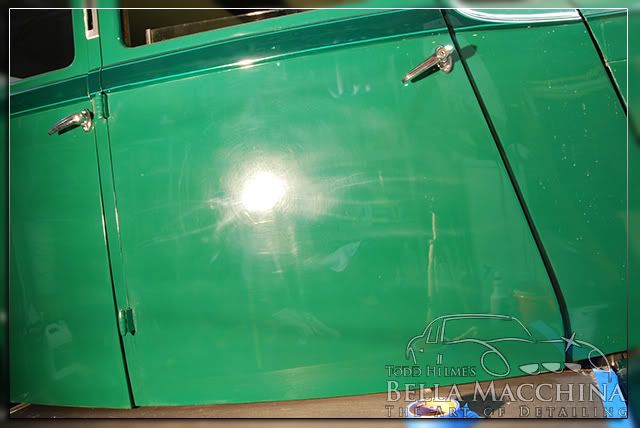
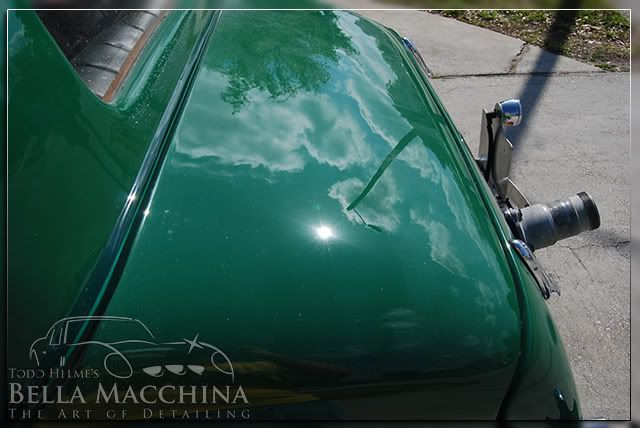
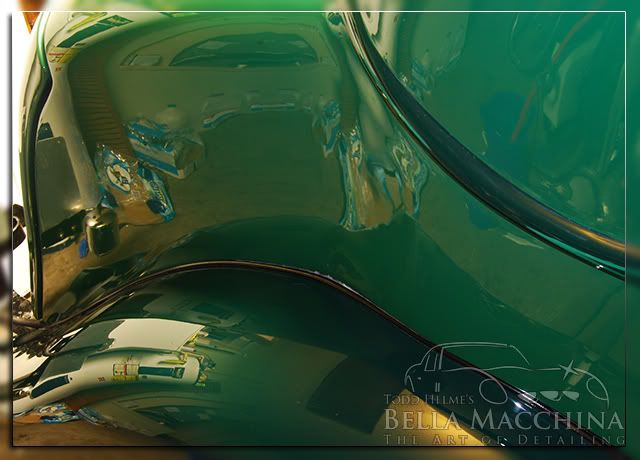
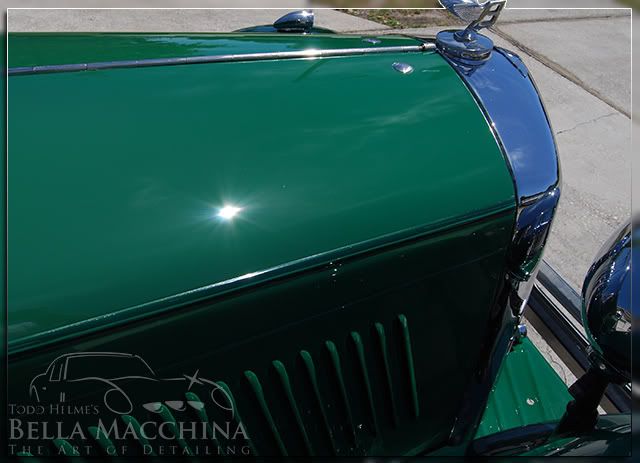
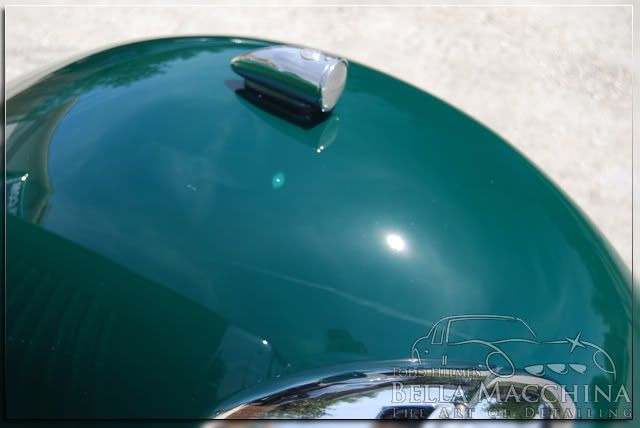
A test section after cutting. While there is still some slight orange peel, the paint looks 1000x's better.
Because I was working on this Bentley over the course of a month, I elected to sand, cut, and polish a section at a time, focusing all of my attention in that area. After cutting with M105 Ultra Cut Compound, I polished using a Lake Country White Pad (still on a rotary) and a new prototype polish from Germany. I elected to save final polishing until the entire car was done.
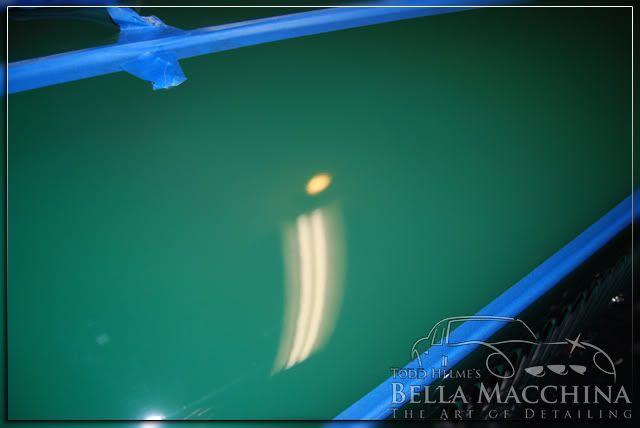
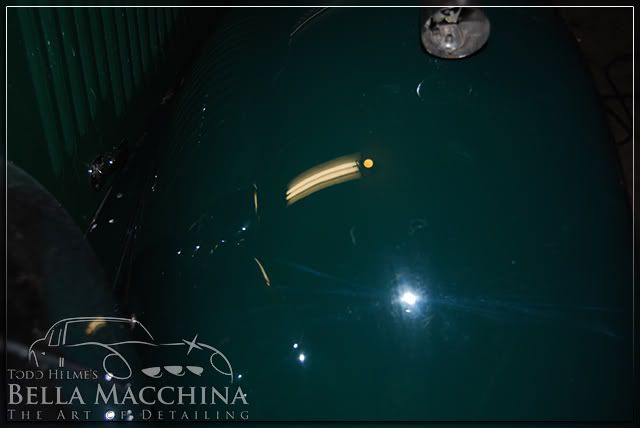
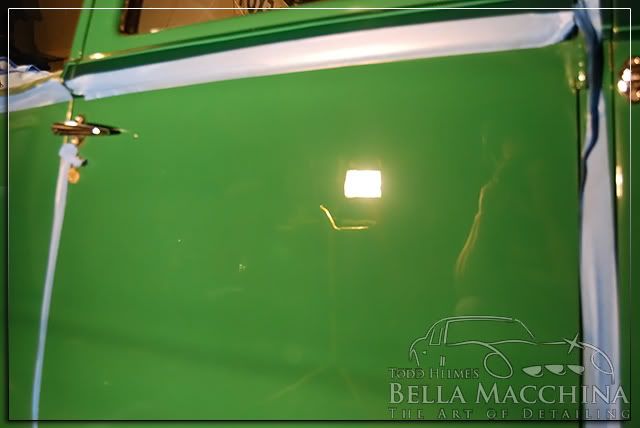
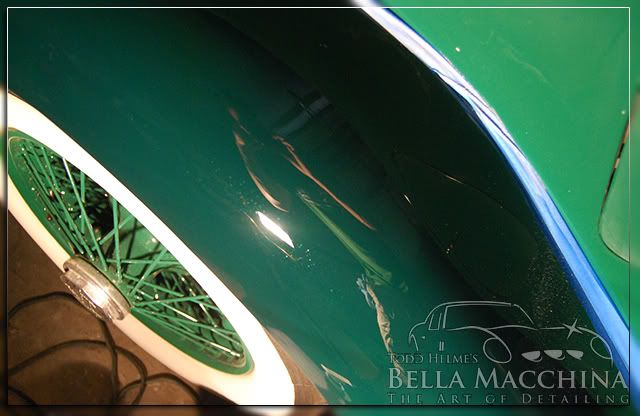
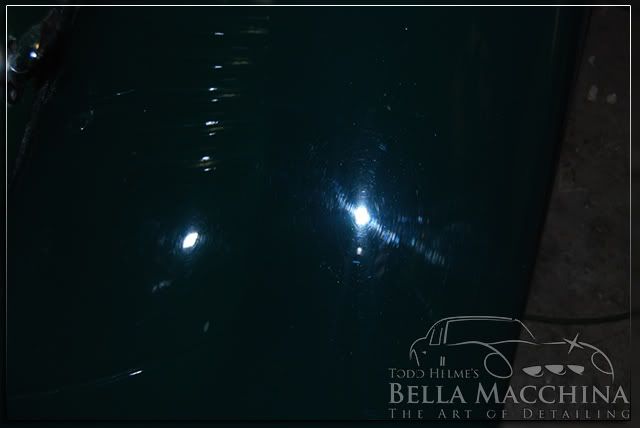
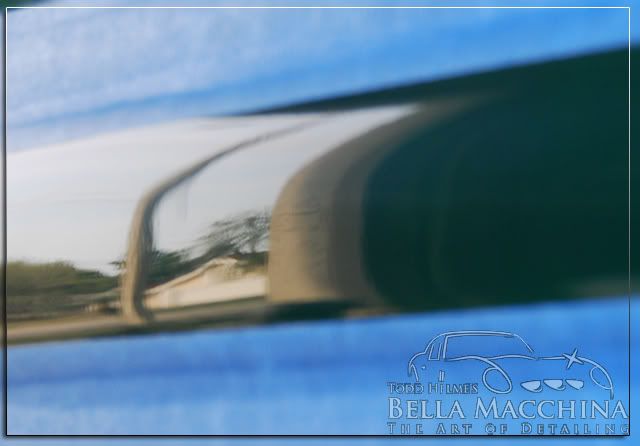
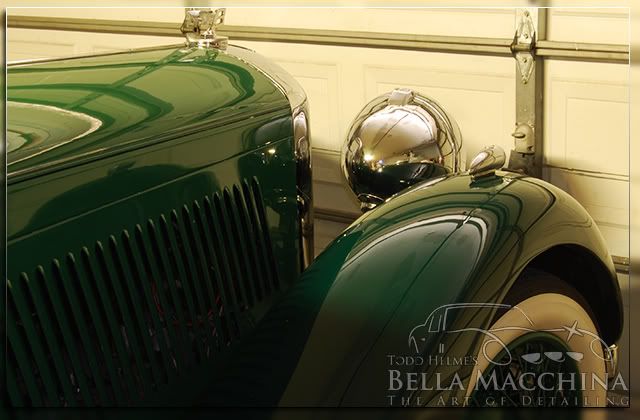
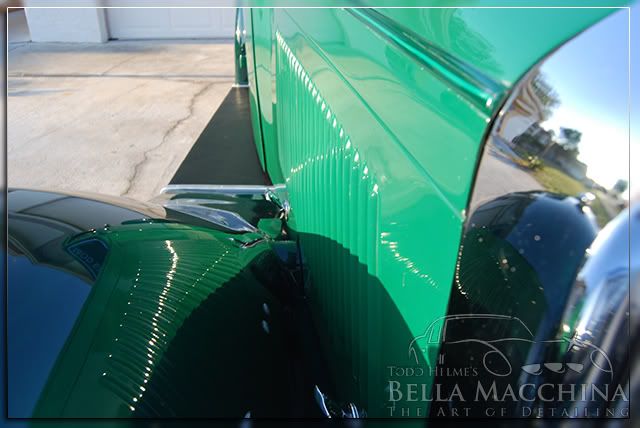
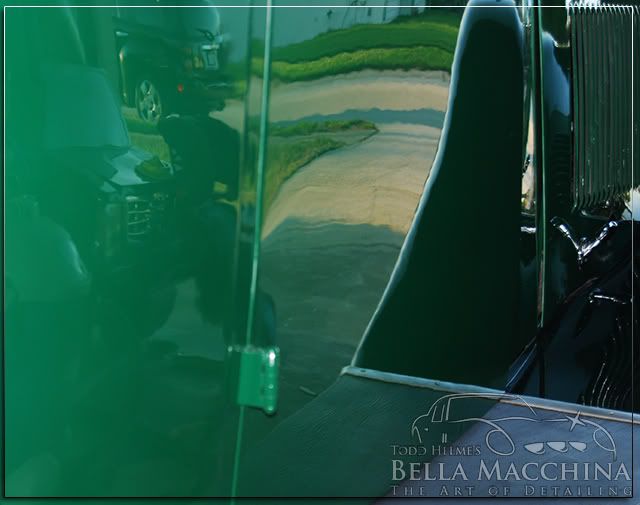
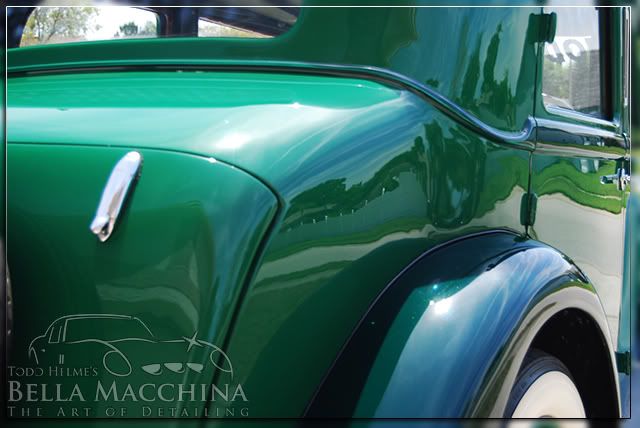
The passenger side of the hood had much finer orange peel texture that was difficult to photograph but acted to 'blur' the reflections.
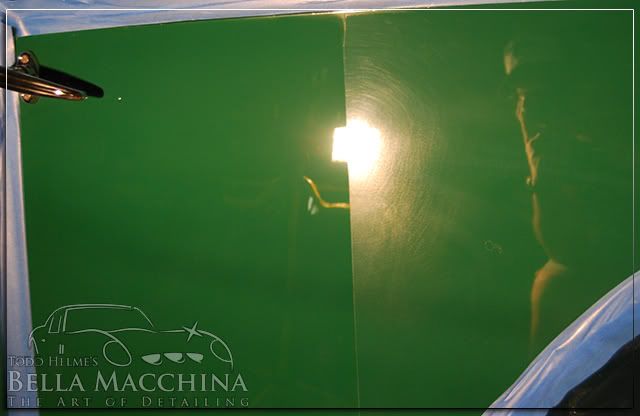
After sanding with 2500 grit/3000 grit Meguiar's in a crosshatch pattern...
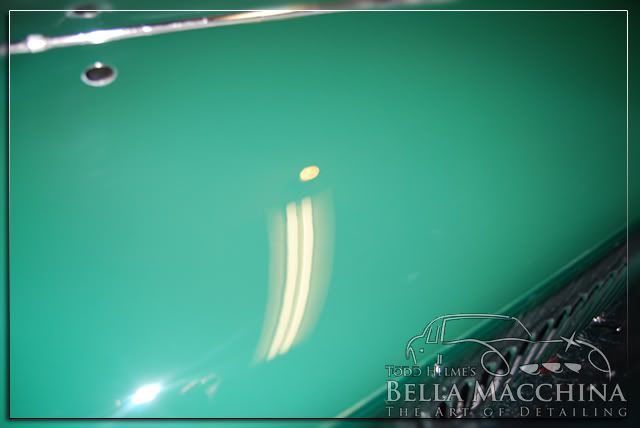
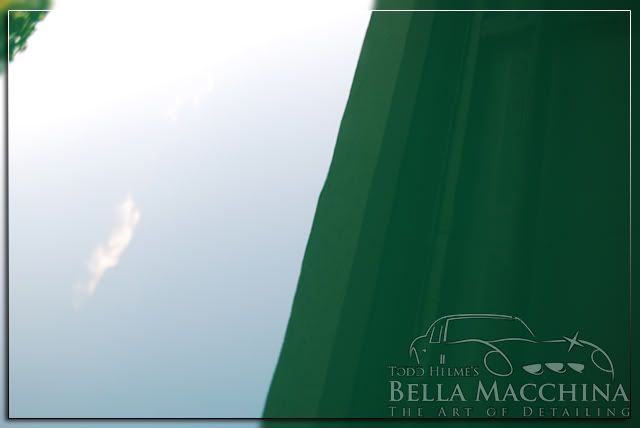
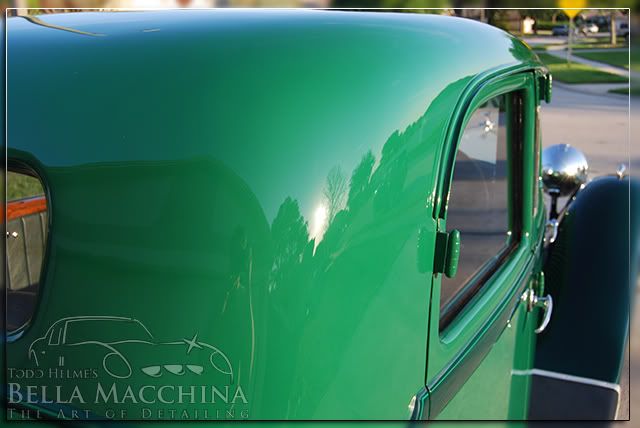
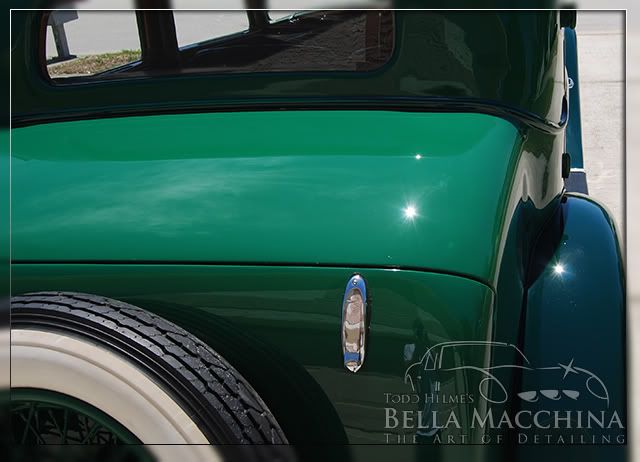
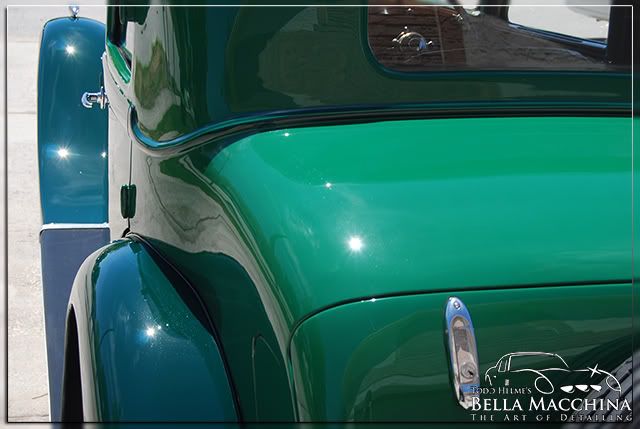
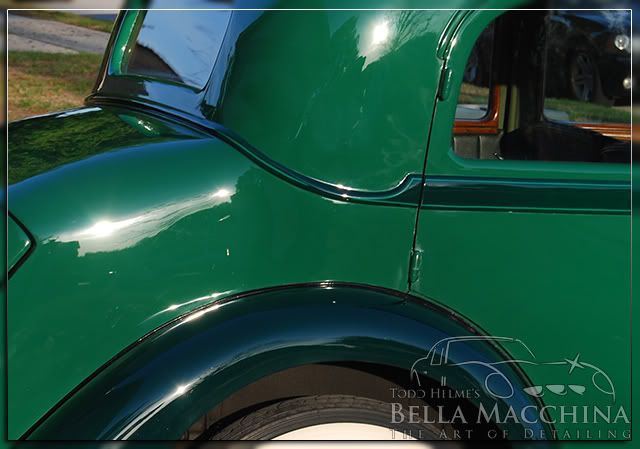
After cutting and polishing the same as above, the gloss and sharpness was greatly improved...
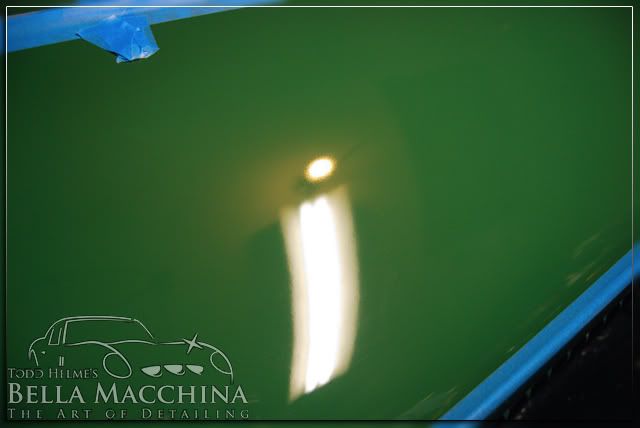
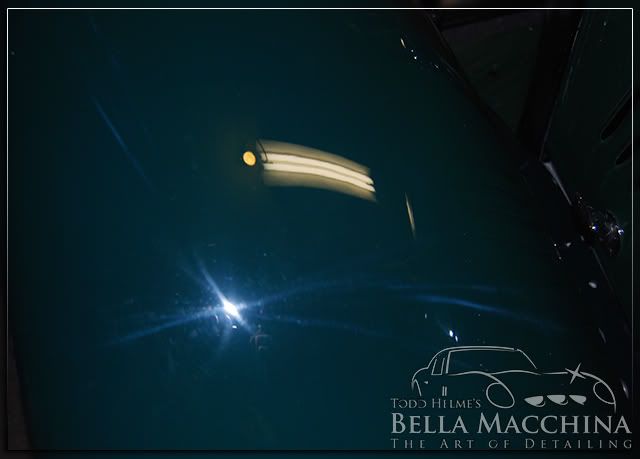
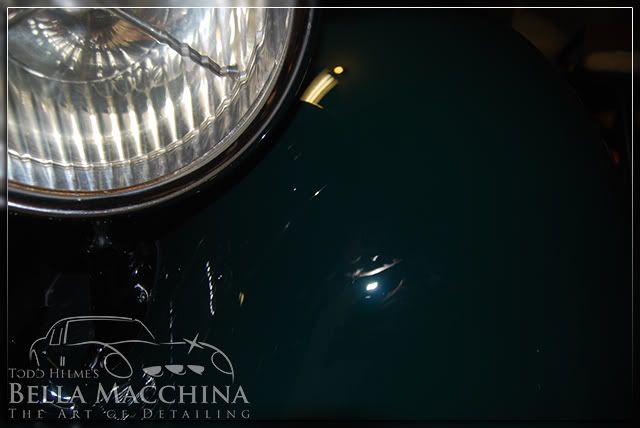
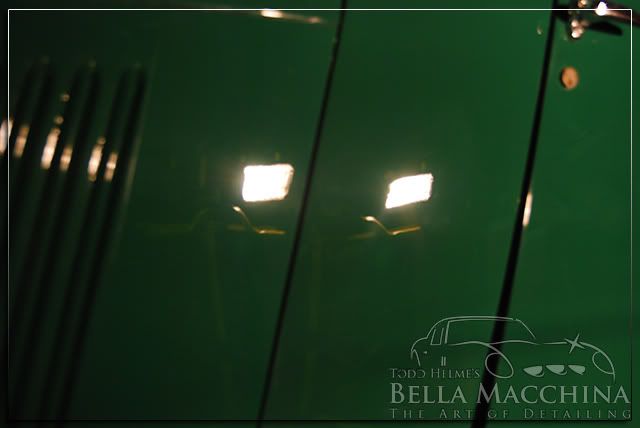
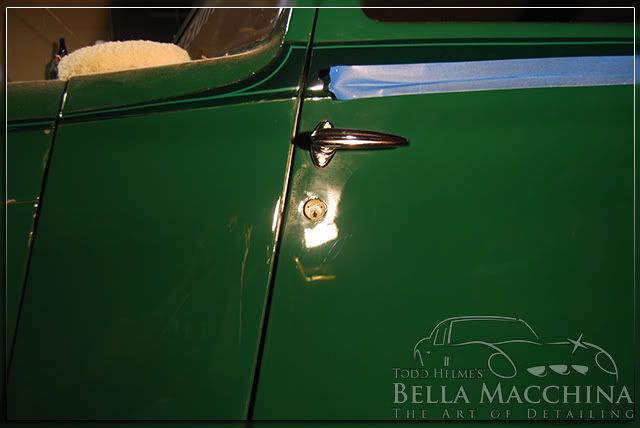
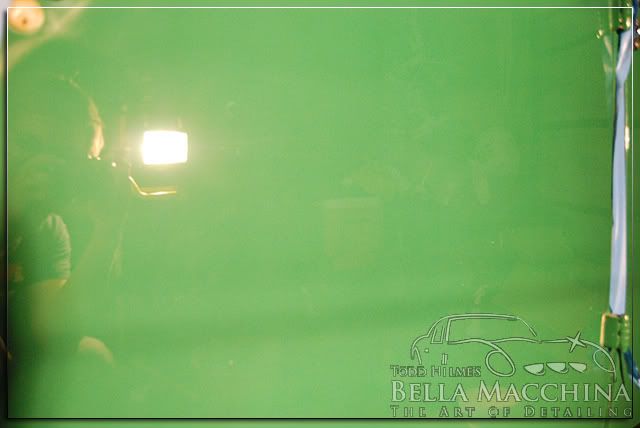
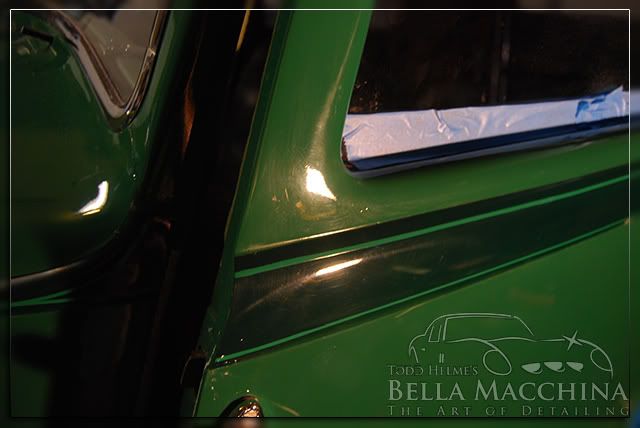
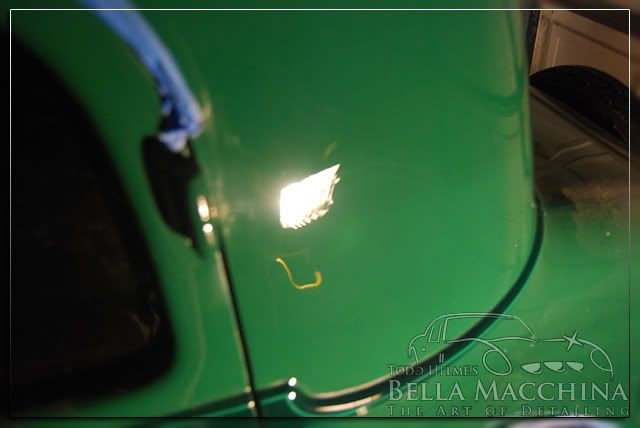
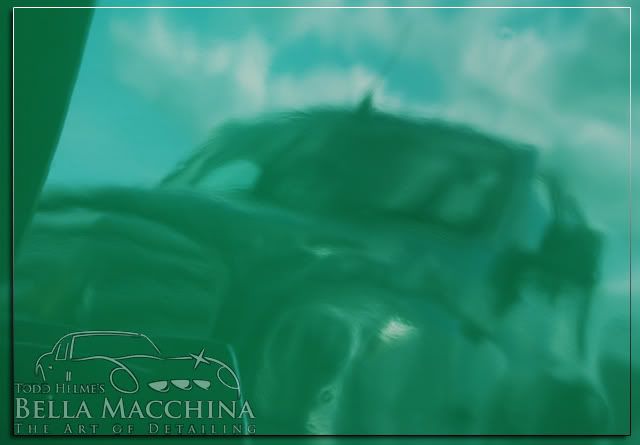
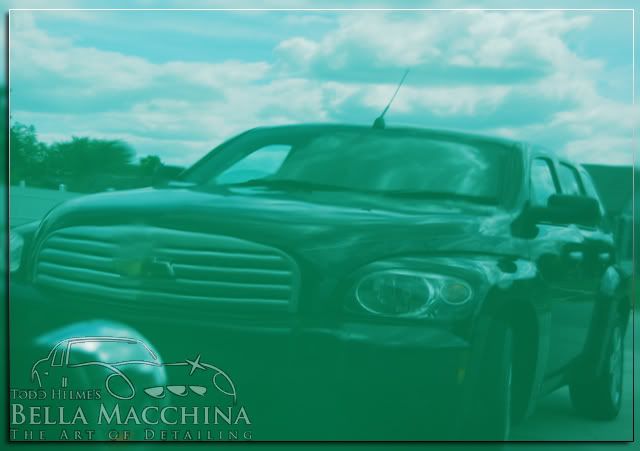
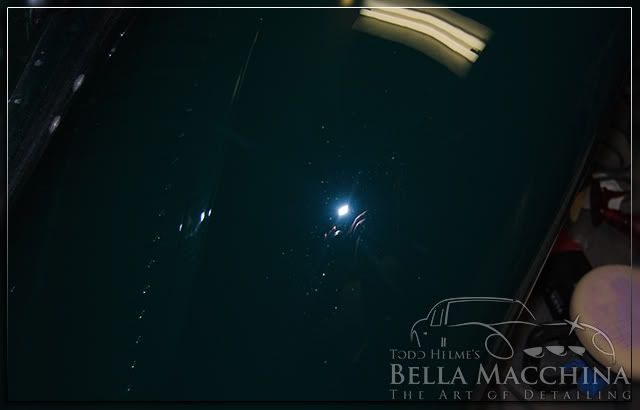
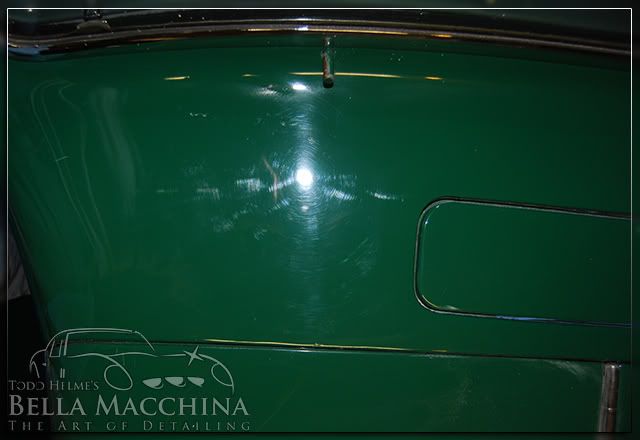
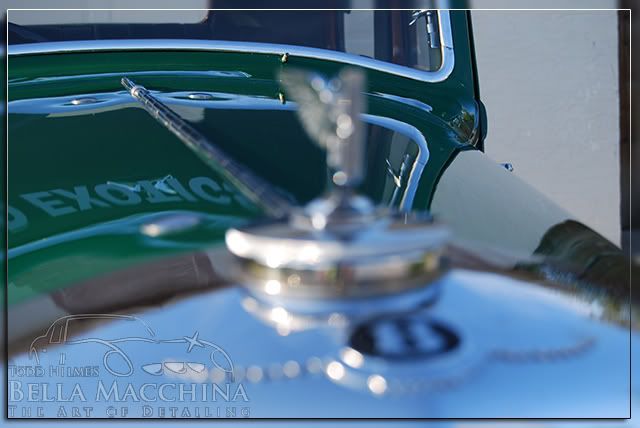
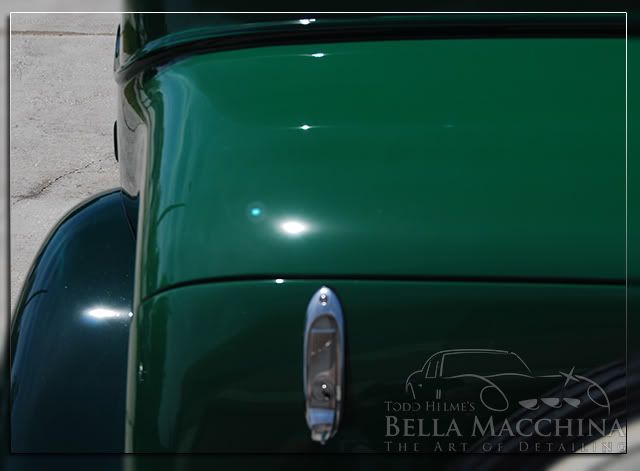
Here is another before picture of the same area using the flash setting on my camera. The light's reflection is dull and 'out of focus'...
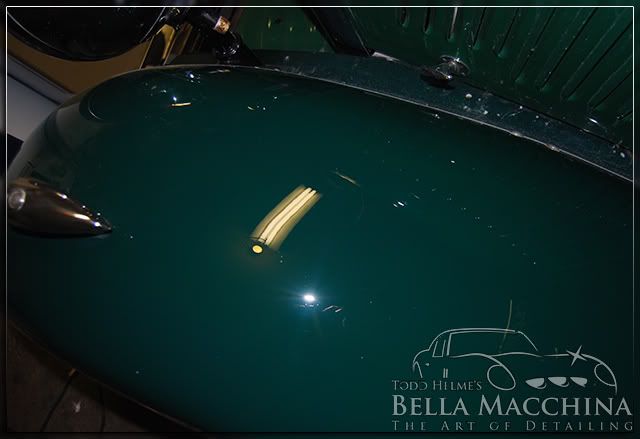
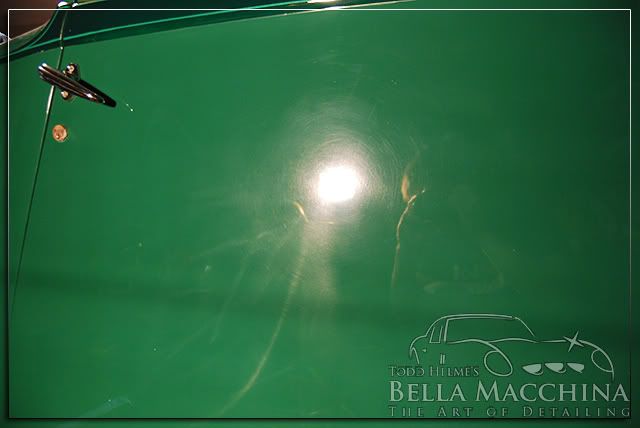
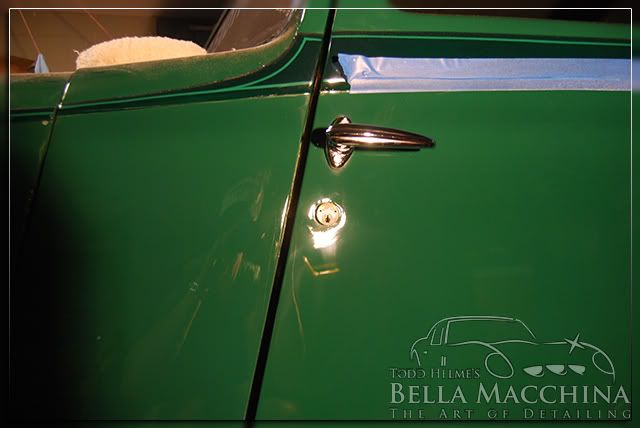
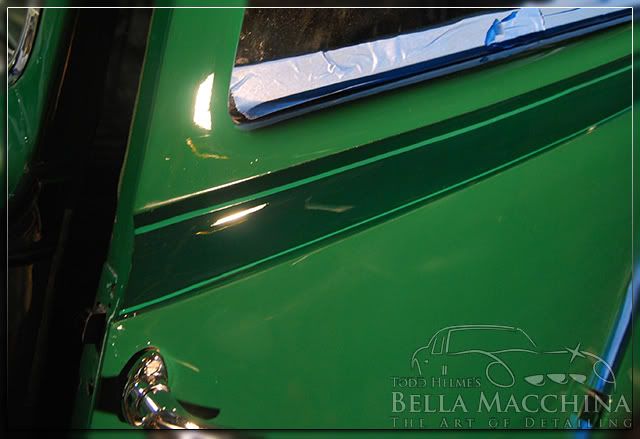
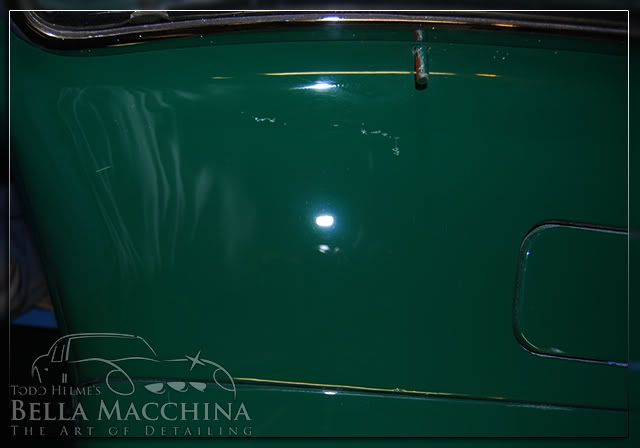
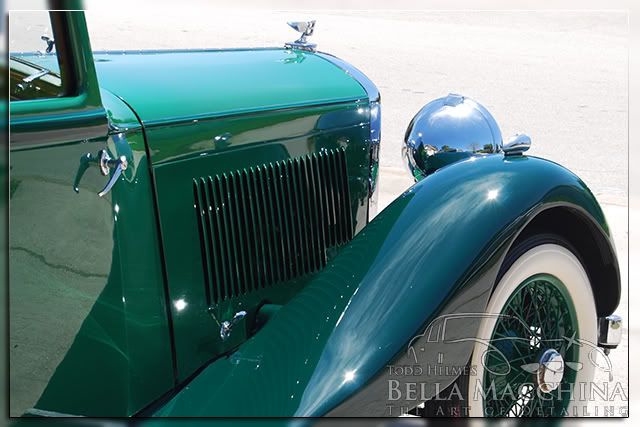
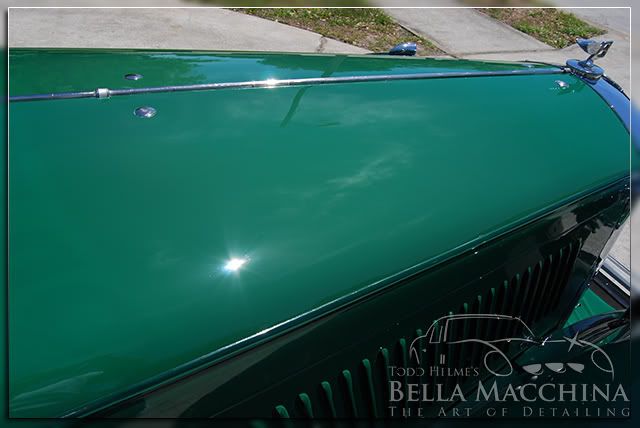
After sanding/cutting/polishing it looks much better....
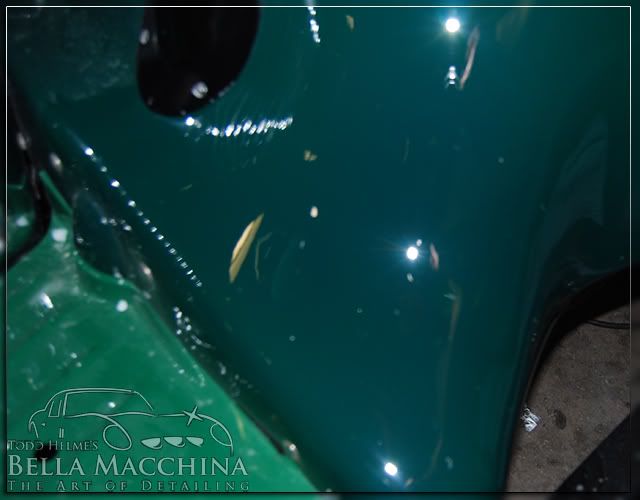
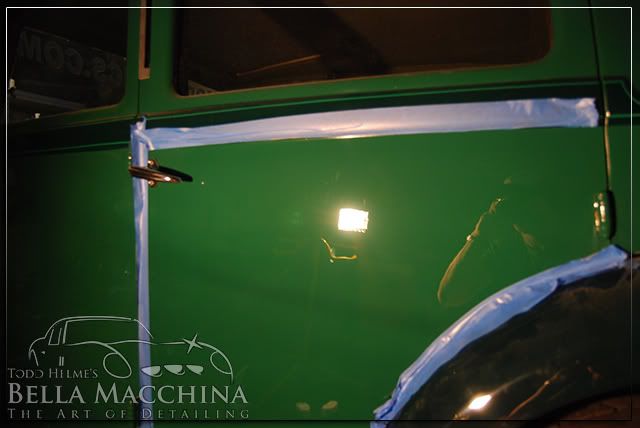
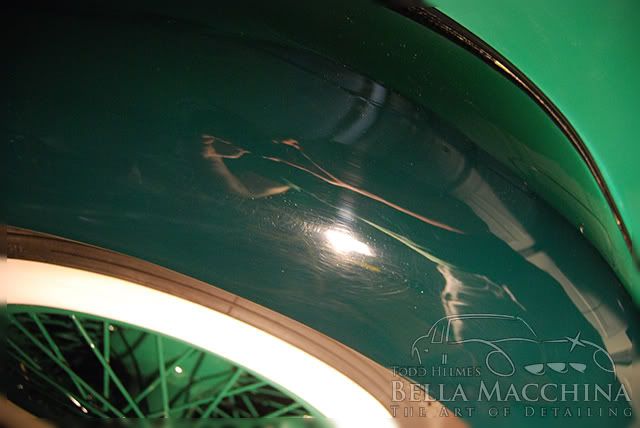
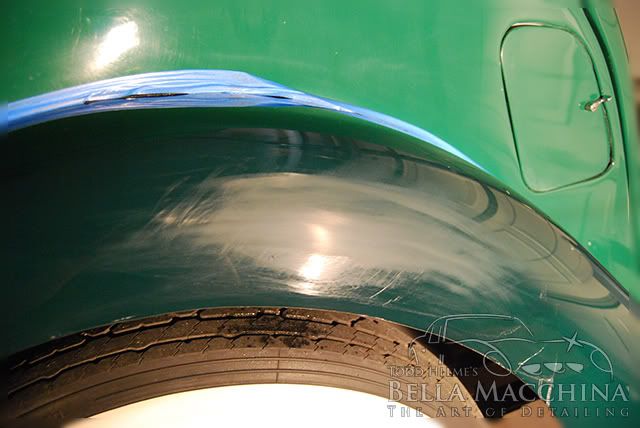
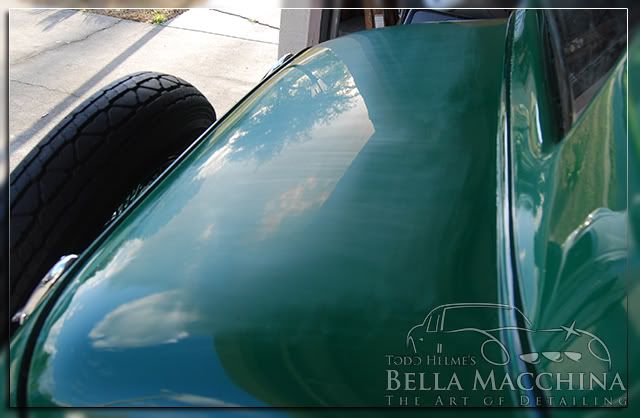
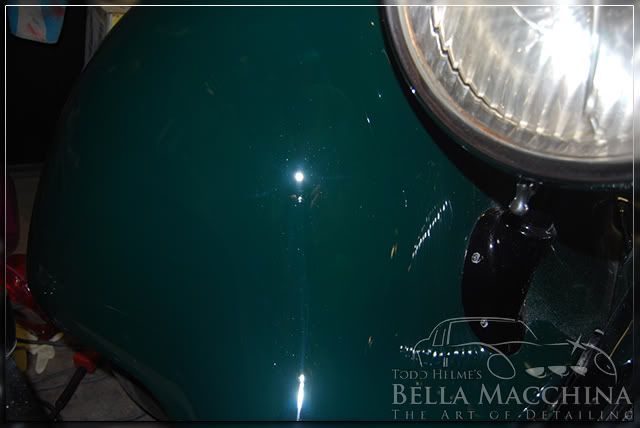
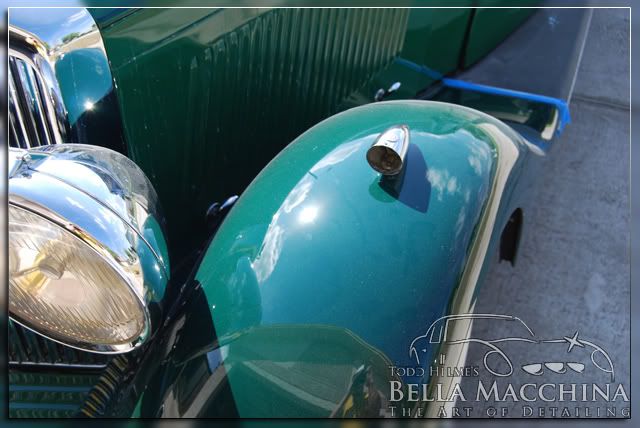
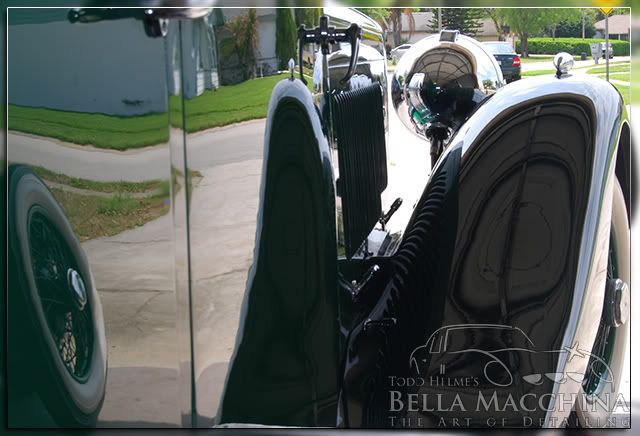
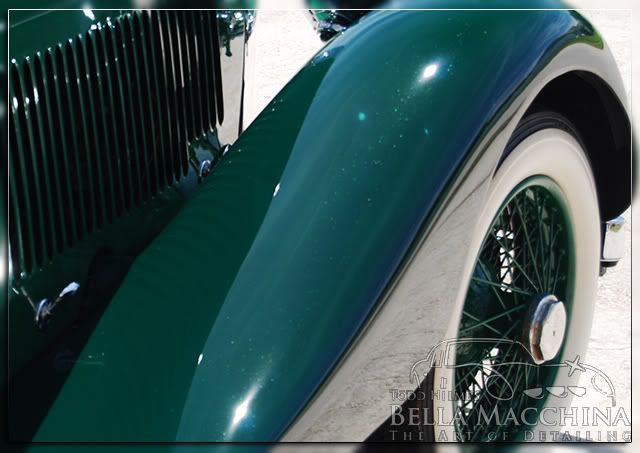
After completing the hood I started working counter clock wise around the Bentley, starting with the driver's side fender. A before picture using the flash of my Nikon D40x.
This particular Bentley belongs to a client of mine from South Florida who had the car shipped in an enclosed trailer to my house in Orlando. The paint was very rough with numerous blend marks, DA sanding trails, orange peel, holograms, and swirl marks. Over the course of a month about 80 hours of work went into the Bentley to transform it to the jewel it deserved to be. The entire exterior was sanded, cut, polished, and jeweled. The tires where dismounted, cleaned, and dressed; the wheels cleaned, polished, and sealed. The original wood was removed, sanded, and re coated (my first time doing this). Various nuts and bolts where removed and polished, the engine bay gone through...
When I first thought about doing a write up on this car it was going to use it as an instructional piece on how to wet-sand for www.truthindetailing.com. The fact is that this detail became an all consuming obsession for perfection. Most work was done on my 'off-time' from detailing cars and side projects for Classic Motoring Accessories, in fact from start to finish I did 8 full corrections on other vehicles, wrote four articles, and attending two weddings. Please bare with the opening of the write-up as it is a basic instruction on wet sanding with a little bit of theory.
After carefully washing the entire vehicle with Meguiar's Hyperwash and drying with Big Blue III Waffle Weave towels, I thoroughly inspected each surface. This car had so much orange peel that even polishing the car could only do so much to increase the gloss.
Here is a picture of the hood under a generic ultraviolet light. The orange peel texture of the paint is clearly evident.
The tools I was going to use to sand the paint: Meguiar's Unigrit paper in 2000, 2500, and 3000 grit (with 2000 and 3000 being the most common), Meguiar's Sanding Pad, and 4 Star Abrasives Sanding Gel.
It is good practice to let the sanding paper soak in water for at least 15 minutes prior to use. I added a couple drops of Meguiar's M00 Hi Tech Wash to bucket help soften the paper.
Prior to sanding it is a good idea to make sure the paint is perfectly clean and free from any contamination that could sheer off and become lodged in between the paper and the paint, causing deep scratching. I clayed the surface with Blackfire Clay Lubricant and Meguiar's Professional Red Clay.
The amount of contamination on half of the hood was quite large.
I like to run tape along the border of each section I am sanding to ensure that I do not sand to close to the edges where it could be difficult, if not impossible, to fully remove the sanding marks with out risking damage to the paint.
After letting the paper soak, wrap it around the Meguiar's Sanding Block. It is imperative to always use a backing pad for sanding to prevent the uneven pressure from our hands from creating waves in the surface. The Meg's sanding pad fits perfectly to the paper, simply wrap it tight and make sure that there is excessive slack or bent edges creating pressure points.
Start sanding in one direction, holding the pad at a slight angle to prevent the 4 edges of the pad from creating gouges or tracers. Sand in one direction, in this case back and forth, until all the defects have been removed.
The sanding pad acts as a squeegee to remove the sanding lubricant, in this case 4 Star's Sanding Gel (you can use water mixed with a drop of M00 Hi-Tech Wash as well). It is important check your work frequently to prevent removing excess paint.
As the sanding paper skims over the surface it will remove the highest points in the paint, causing them to dull. The low spots will remain shiny. The shiny dots in the picture represent the low, missed spots of the orange peel. More sanding will be required to fully remove them.
Once the entire panel has been leveled and the surface is uniformly flat it is a good idea to use a less aggressive paper in the opposite direction. This is known as cross hatching. Sanding with a finer grit will make 'cutting the paint' or restoring the gloss a easier, as well as eliminate some of the texture that is may be visible on the surface. After the entire panel was flat and free of orange peel, I sanding in the opposite direction using Meguiar's 3000 Unigrit until the majority of the 2000 grit scratches where no longer visible.
After removing the 2000 grit lines with the 3000 grit, it is a good idea to go back over the finally sanded surface in the opposite direction once again lightly. The surface is nice and flat with no visible sanding marks and ready to be 'cut'.
In my experience removing sanding marks completely requires aggressive compounding. I used Meguiar's M105 Ultra Cut Compound on Flex Rotary with the Kevin Brown Rotary Method to remove the sanding scratches and restore the gloss. After priming a Lake Country Pad with a mist of Meguiar's M34 Final Inspection and working working some polish into the pad by hand, I began polishing at about 1500 rpm with medium pressure. Once the polish 'flashed' I misted the paint with a spritz of distilled water and continued to work the polish until it flashed again, then removed the residue with a Dragon Fiber Perfect Shine Buffing Cloth. In most cases two full applications where required to remove all of the sanding marks and restore a very high gloss.
A test section after cutting. While there is still some slight orange peel, the paint looks 1000x's better.
Because I was working on this Bentley over the course of a month, I elected to sand, cut, and polish a section at a time, focusing all of my attention in that area. After cutting with M105 Ultra Cut Compound, I polished using a Lake Country White Pad (still on a rotary) and a new prototype polish from Germany. I elected to save final polishing until the entire car was done.
The passenger side of the hood had much finer orange peel texture that was difficult to photograph but acted to 'blur' the reflections.
After sanding with 2500 grit/3000 grit Meguiar's in a crosshatch pattern...
After cutting and polishing the same as above, the gloss and sharpness was greatly improved...
Here is another before picture of the same area using the flash setting on my camera. The light's reflection is dull and 'out of focus'...
After sanding/cutting/polishing it looks much better....
After completing the hood I started working counter clock wise around the Bentley, starting with the driver's side fender. A before picture using the flash of my Nikon D40x.


 ut:
ut:")