Todd@RUPES
Just a regular guy

Prologue:
In my career as a detailer I have had the honor, pleasure, and experience of working on some of the most valuable and most exciting automobiles ever produced: Numerous Bugatti's? Check. 30 million dollar classic Ferrari's? A few. Original paint super cars such as Lamborghini Miuras, Shebly Cobras, and the like? Yes sir. I have spent upwards of 100 hours detailing ever nut and bolt on cars which placed in their respective categories at prestigious shows such as Amelia Island and Pebble Beach...
In my personal life, I am an avid sportbike enthusiast who prefers the feeling of leaning through a corner and powering out of a chicane with the front wheel in the air at 13000 RPM while 190 horsepower struggles to find grip with the tarmac. After scouring the internet for guides on motorcycle detailing (much limited to wife's tales such as use Pledge on your chrome pipes) I have always wanted to write something a little more definitive. It was just a matter of finding the right subject matter (motorcycle) to do it.
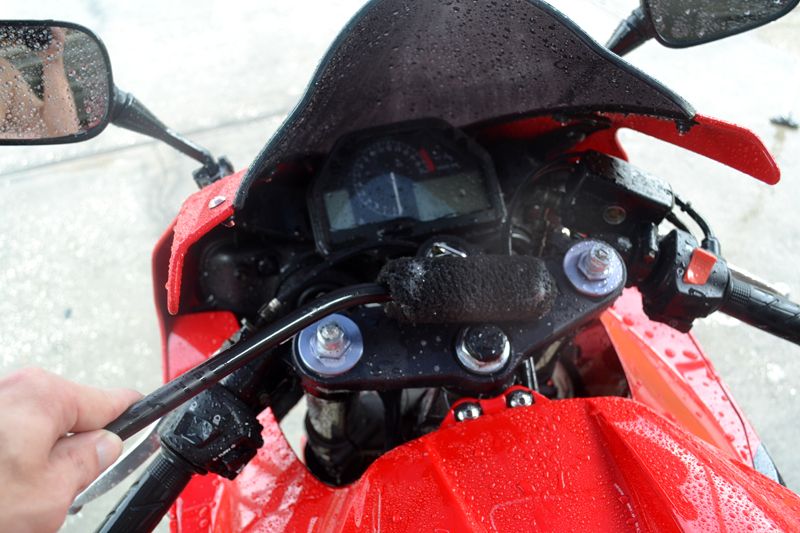
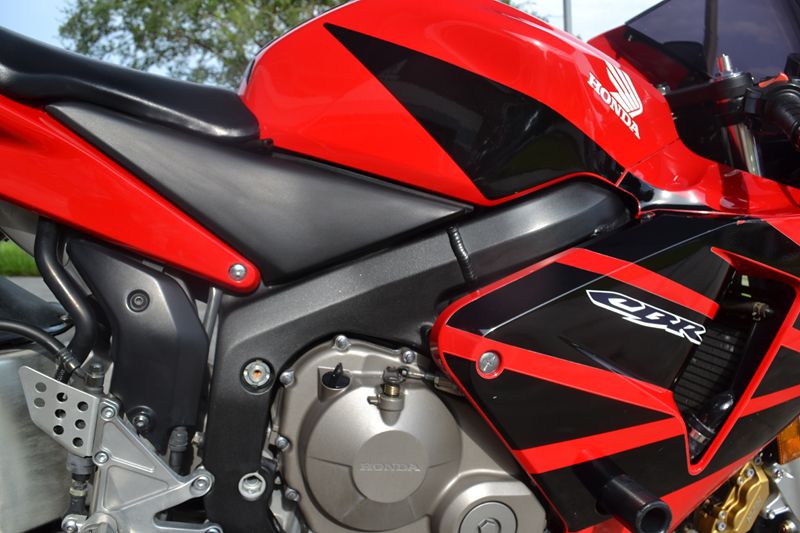
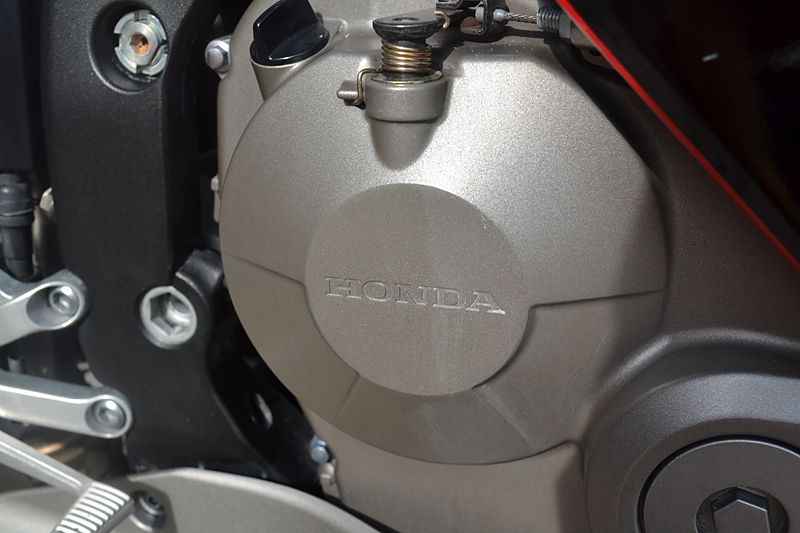
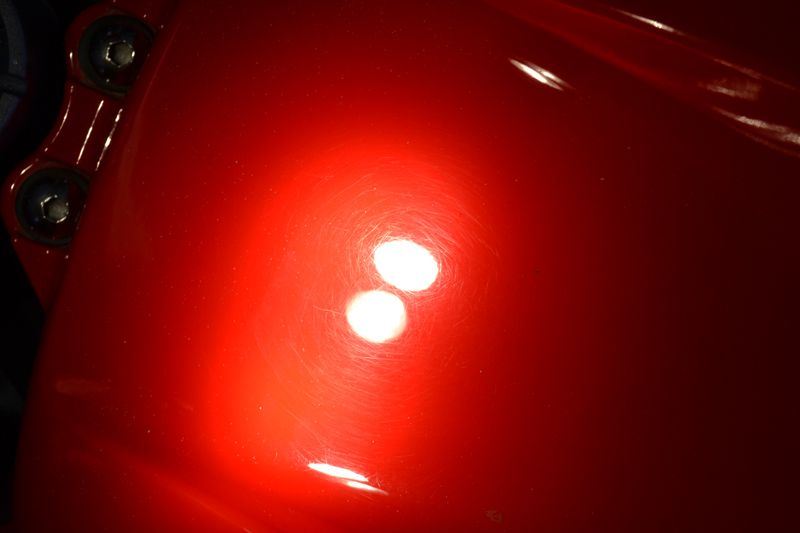
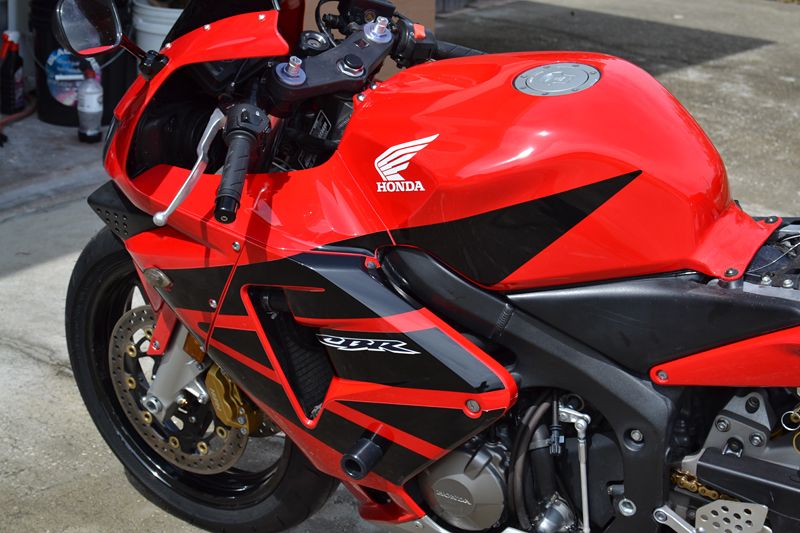
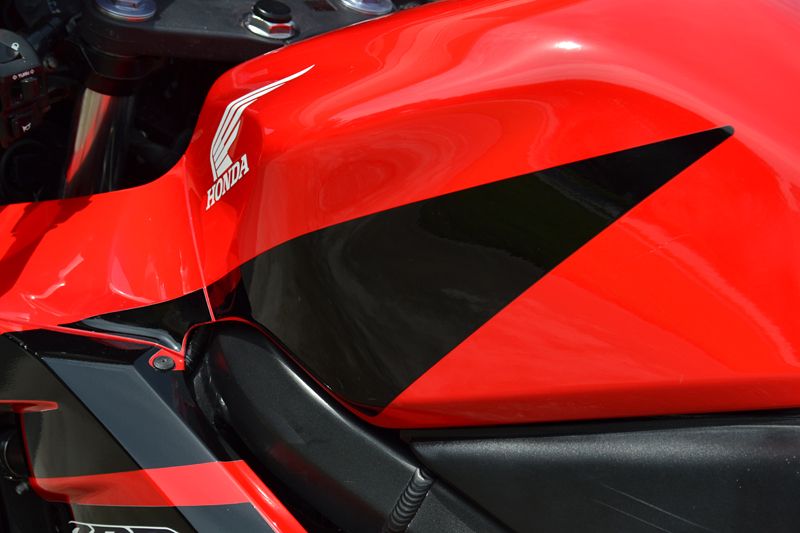
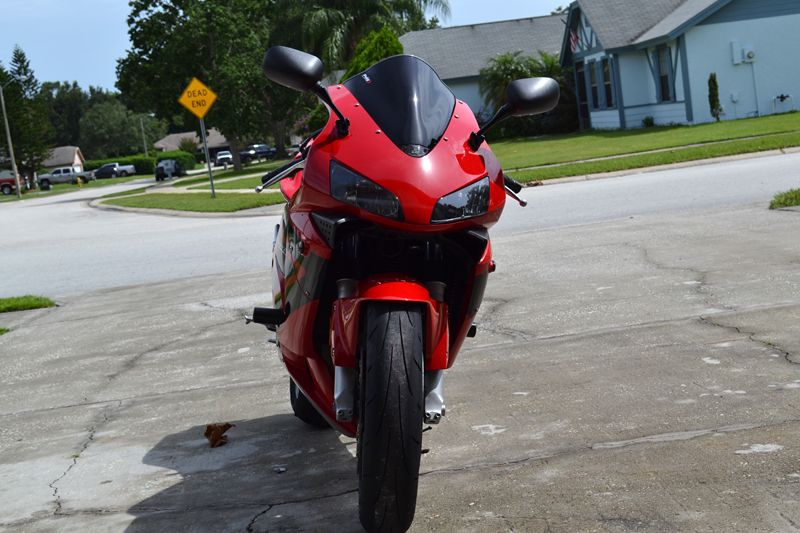
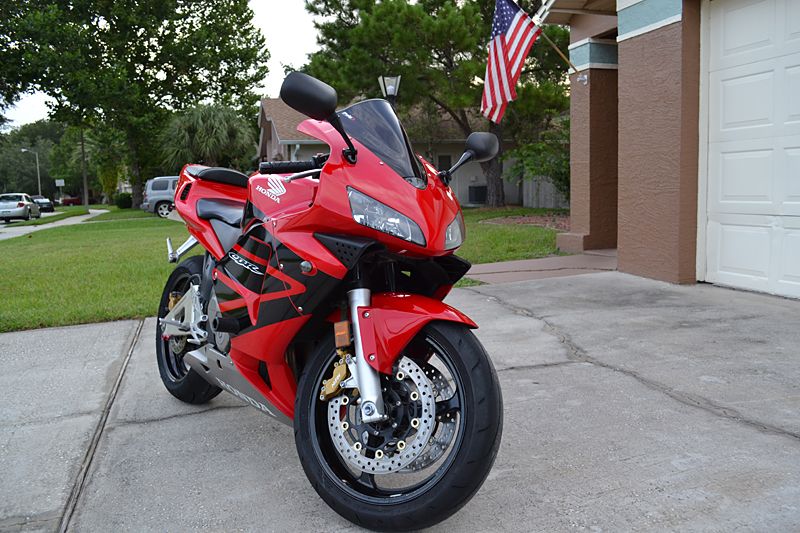
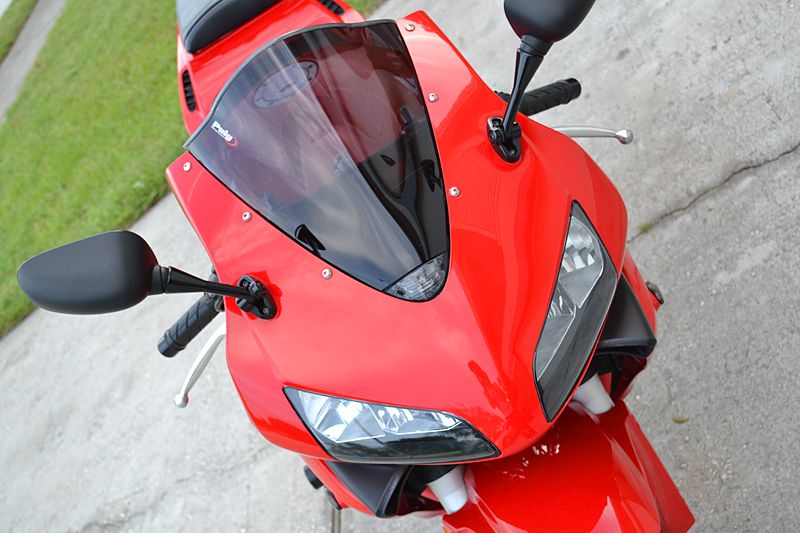
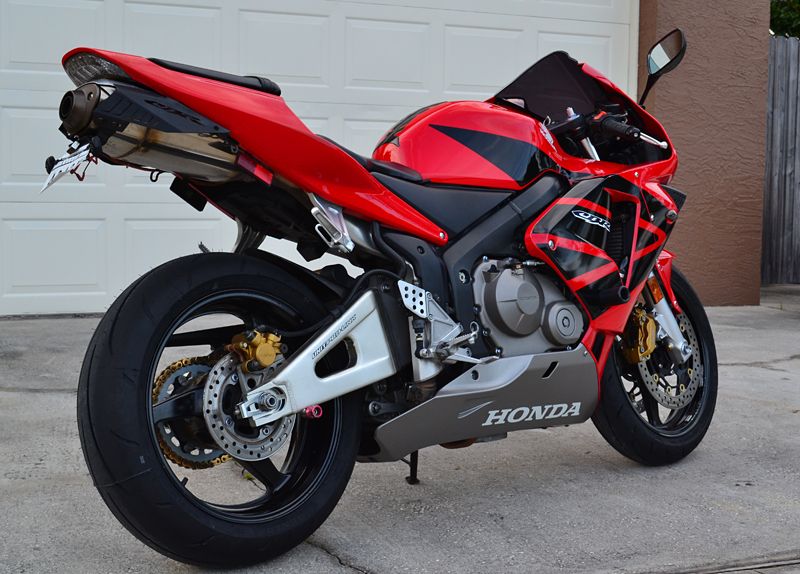
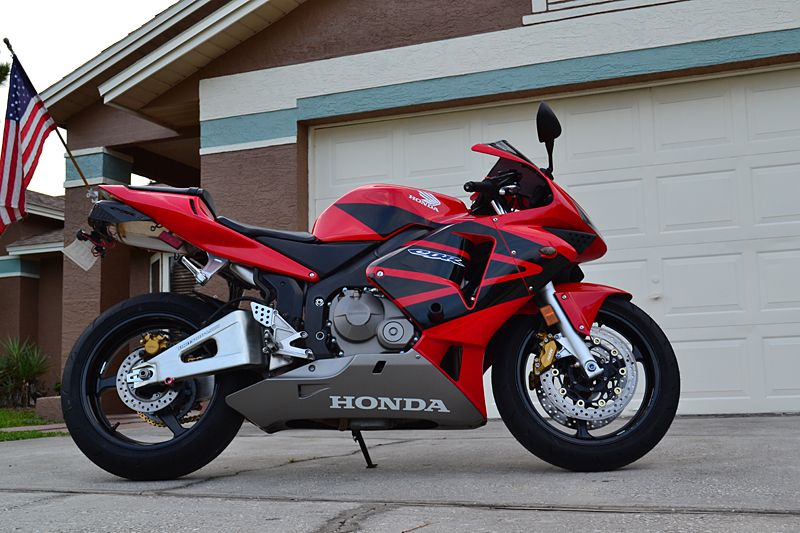
Finally, my girlfriend purchased a 2003 Honda CBR600RR. This bike was "clean" by most standards; it looked fairly new. It did have the telltale signs of a bike that was taken care of, but by my standards, could use a little work. It likely was wiped down with a detail spray (or Pledge) after each ride (common) and thus had plenty of swirl-marks, surface scratches, and other minor paint damage that is easy to fix. The same techniques, tips, and tricks that helped me to achieve numerous show car trophies and achieve acclaim in my profession will transform a "clean" sportbike into one that stands out from the crowd.
Detailing is a systematic cleaning and cosmetic rejuvenation of your entire bike. This is a guide for the Do-It-Yourselfer. If you plan on detailing your motorcycle yourself, set aside 12-14 hours, a couple more if you plan on removing the fairings (plastics) and cleaning the engine and backsides.
Let's get started.
Getting Started:
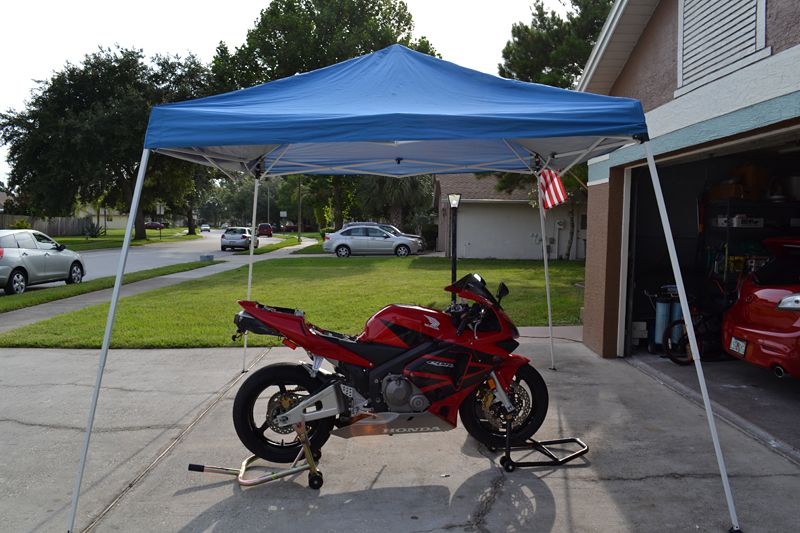
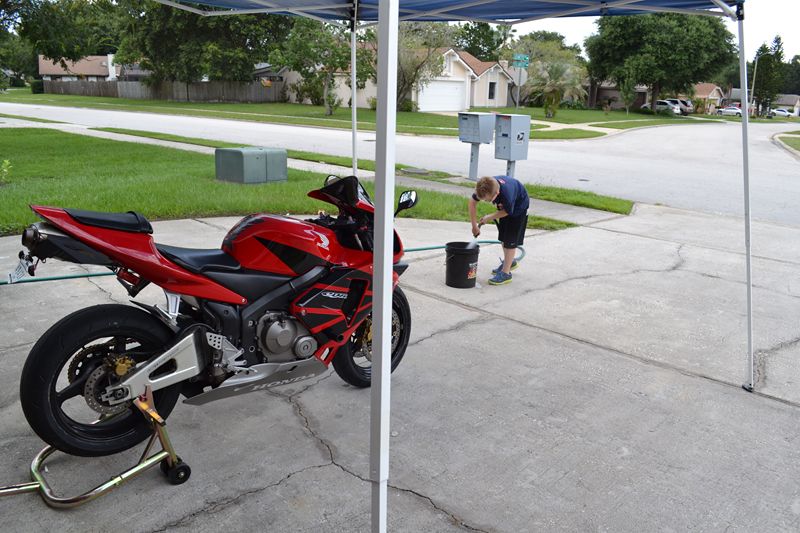
The first step in detailing your motorcycle is going to be washing it. If you have a access to front and rear lifts it will make your job MUCH easier for this task, as well as the subsequent steps. Additionally, I chose to work outside, so a simple canopy like an EZ-UP proved invaluable. As I mentioned previously, a job this involved should take 10-14 hours (more if you remove the fairings). I did the detail of the CBR working around my work schedule so it took me 3 days, apart 5 hours each day (taking photos and writing notes for this write up).
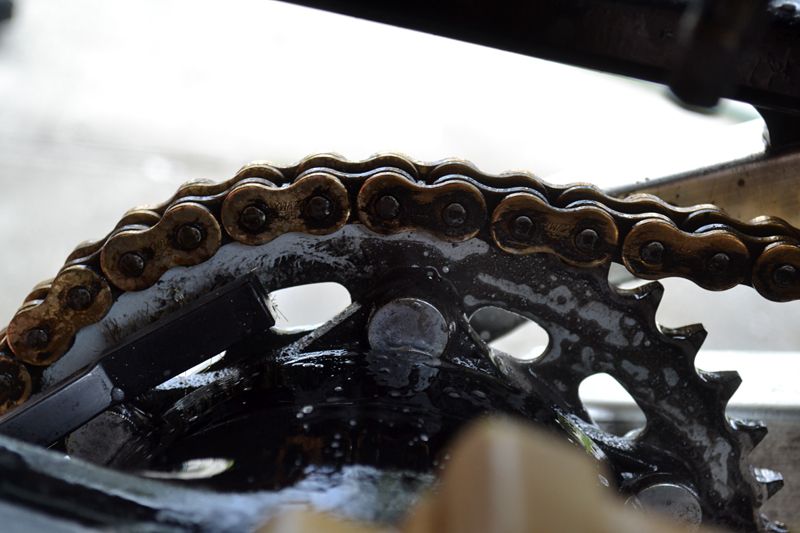
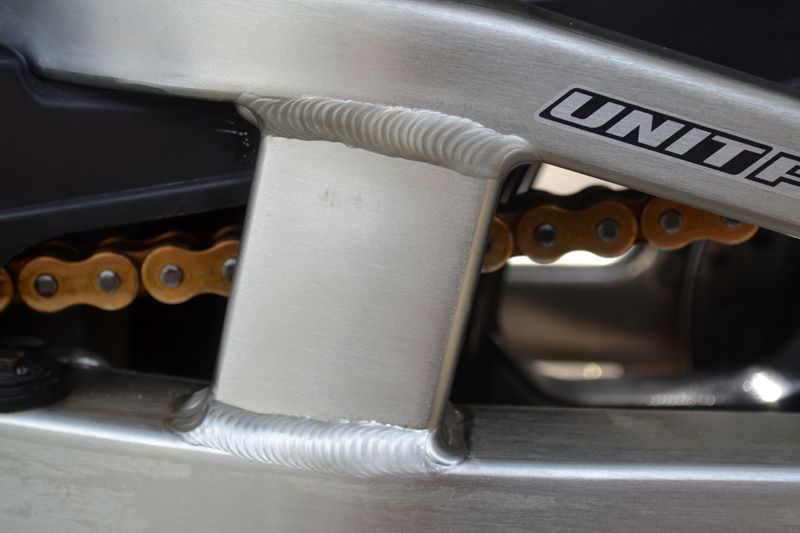
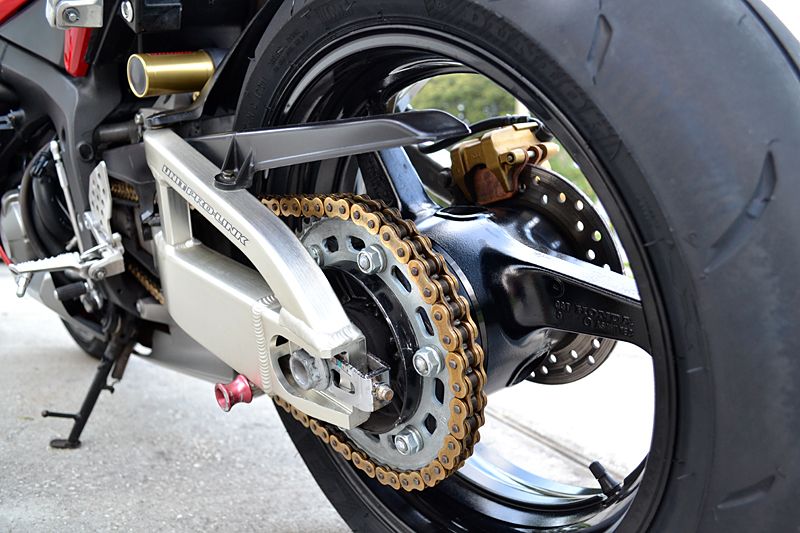
When ever I wash my bike, I like to clean the chain thoroughly first. This way I don't think chain oil or chain wax on my wash mitts or towels and stain them, or blast grease over the rear wheel and lower body panels as I rinse.
The DID chain was much dirtier then I ever let my personal bike get. The process of cleaning is simple. Warm the chain up with a short ride or let it spin on a rear stand then spray the cleaner of your choice onto the chain. Again a rear stand makes this much easier as you can rotate the wheel.

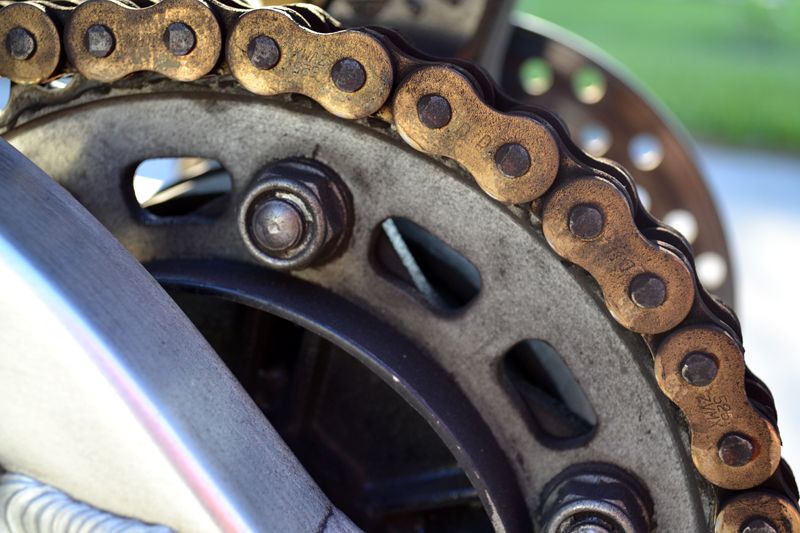
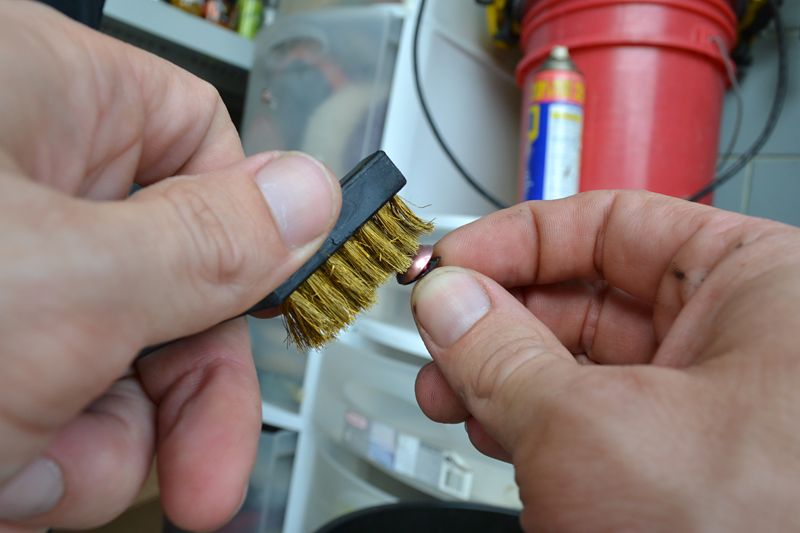
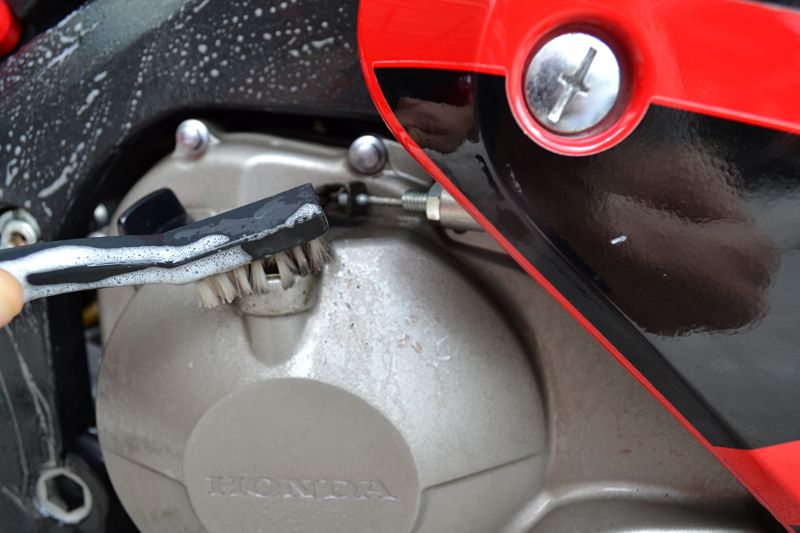
Spray your favorite brand chain-specific cleaner onto the chain as you rotate the wheel, so as that the entire chain is covered in cleaner. I am partial to Motul. Allow to penetrate for several minutes, then brush the chain to loosen the grease. Continue working until the entire chain has been brushed. I like to use a Cobra Detail Brush Kit because it features both a brass brush (for stubborn spots) and a stiff-nylon brush for lighter-duty cleaning.
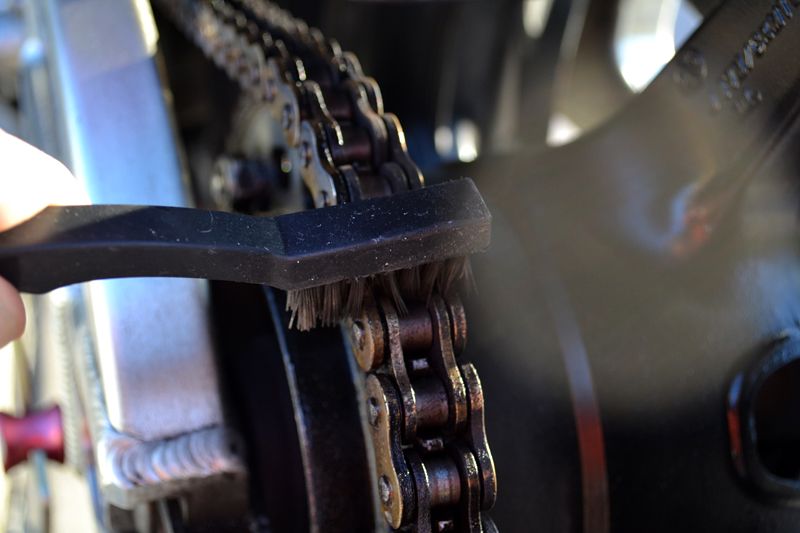
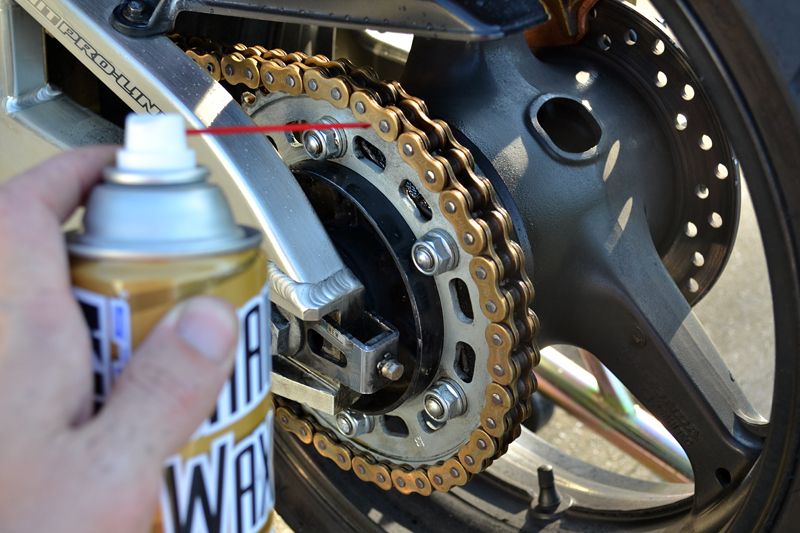
After letting the cleaner dwell, then brushing it, simply wipe it clean with an old terry cloth towel or two. Because this chain and sprocket was neglected (dirty) I had to clean it twice. After cleaning, you want to lube your chain with a chain-specific oil or chain wax. I have always used chain waxes on my bikes and have always had good results. However, the brand and type of lubricant you use will be personal preference. I like to spray it on the inside track, then rotate the tire quickly by hand to allow to centrifugal force to pull the lubricant to the outside.
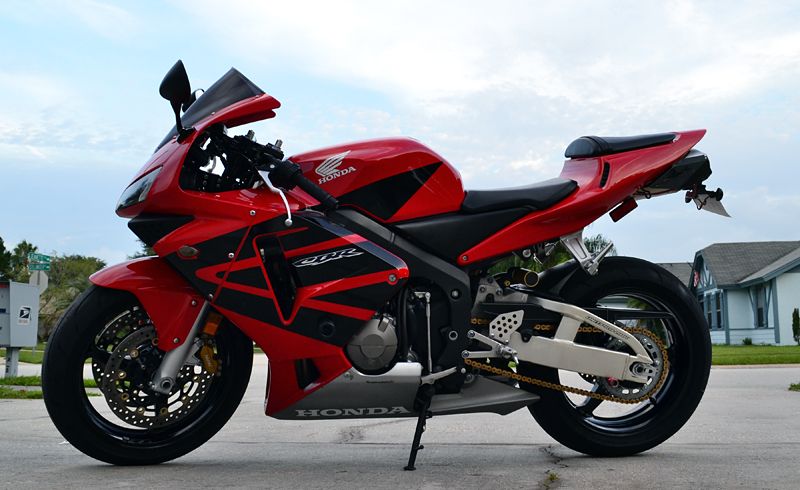
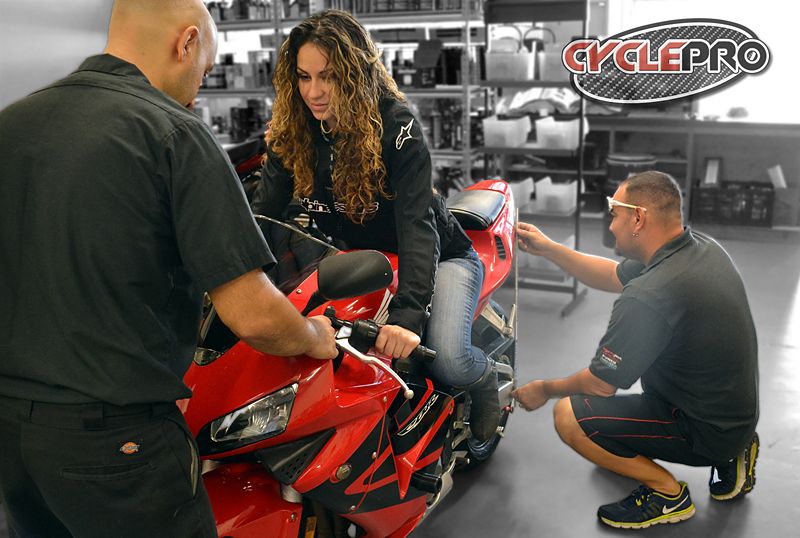
Before I continue I have to give a little shout-out to Cycle Pro in Orlando. They slapped on a new set of Dunlop Q3 Tires, adjusted the suspension back to stock height, and set the rebound, sag, and damping for Krystal's weight. This was actually her first time seeing the bike. Also I HUGE shout out to by friend Sandro Diaz for hauling the bike to the shop (after I cleaned the chain) in his trailer.
This was actually Krystal's first time sitting on the bike (the suspension sag is being measured).
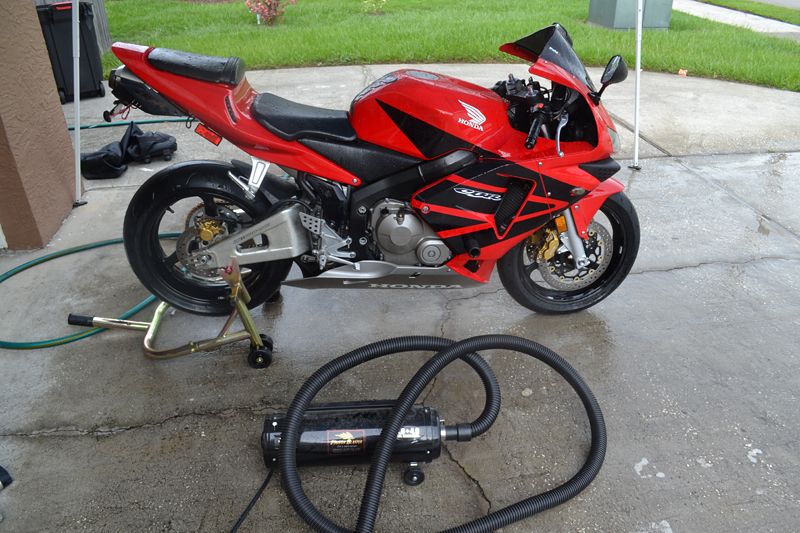
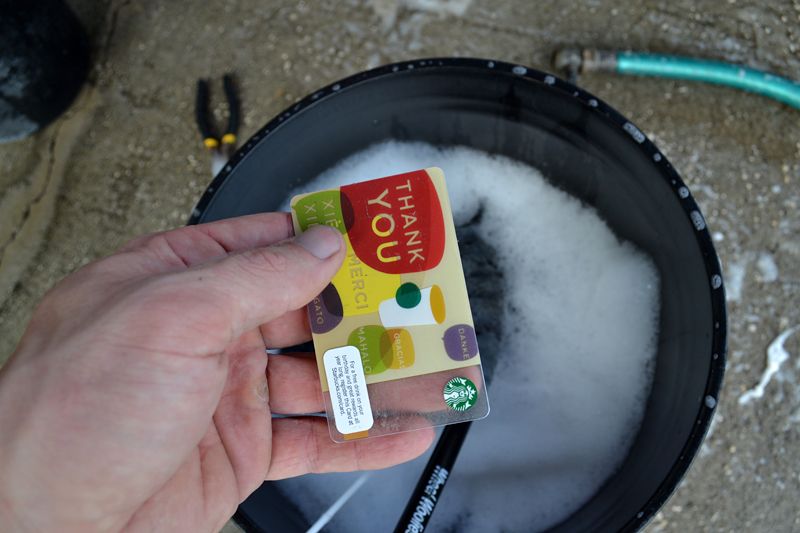
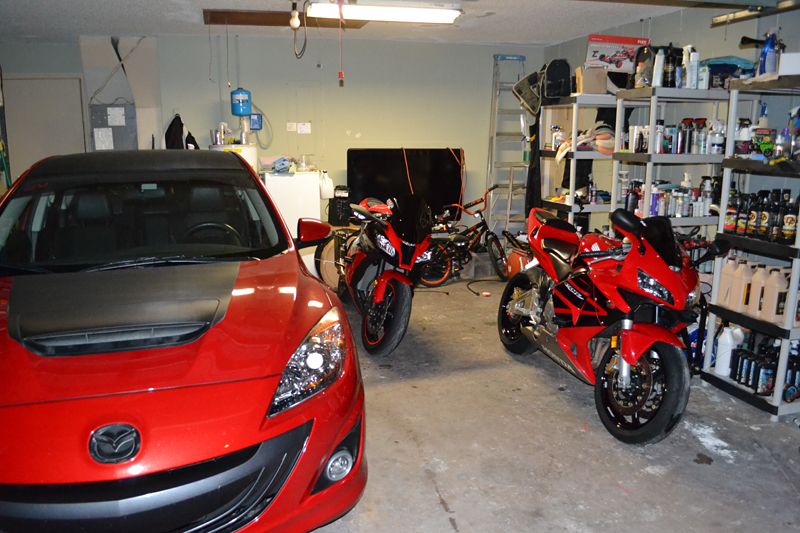
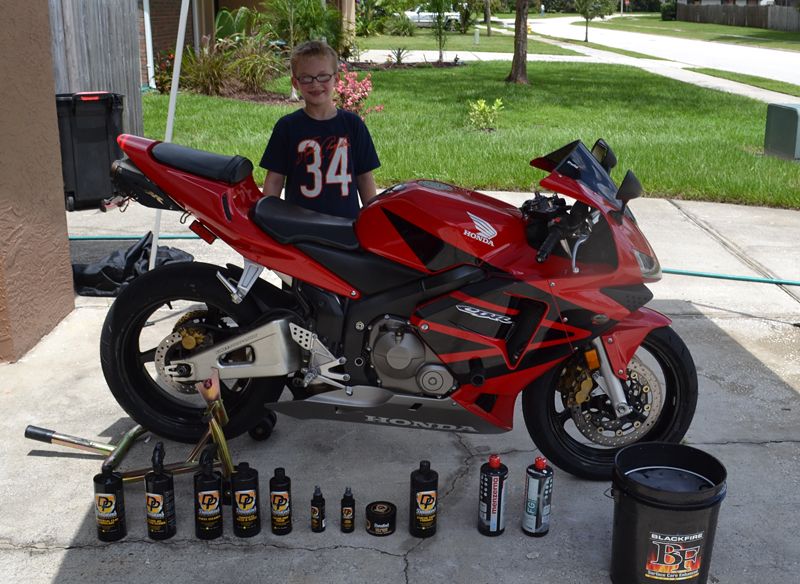
With the 10 year old CBR back at my house it was time to get started with the detail. I set the rear on a stand and had the help of my 9 year old son Devin. He is in the background mixing a high-quality soap in a large 5-gallon bucket.
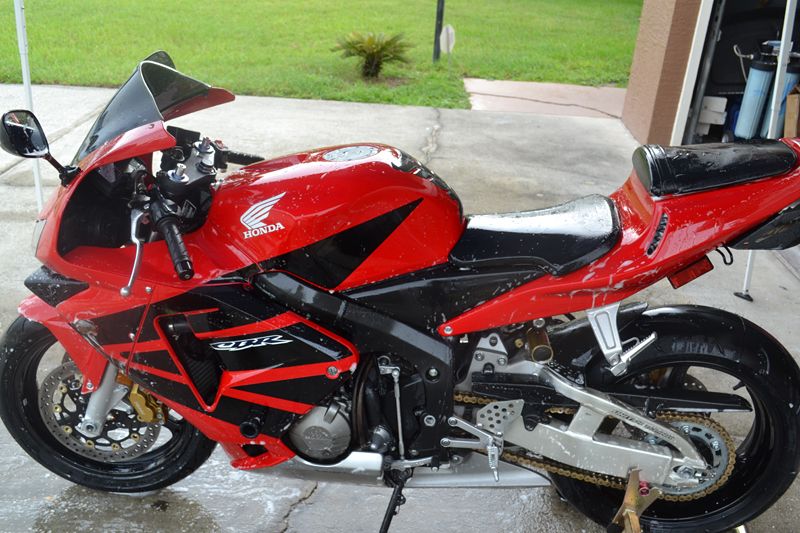
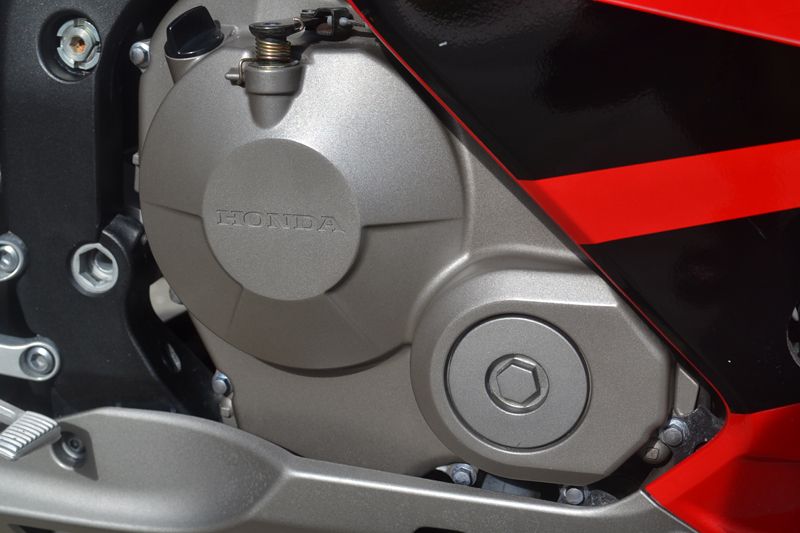
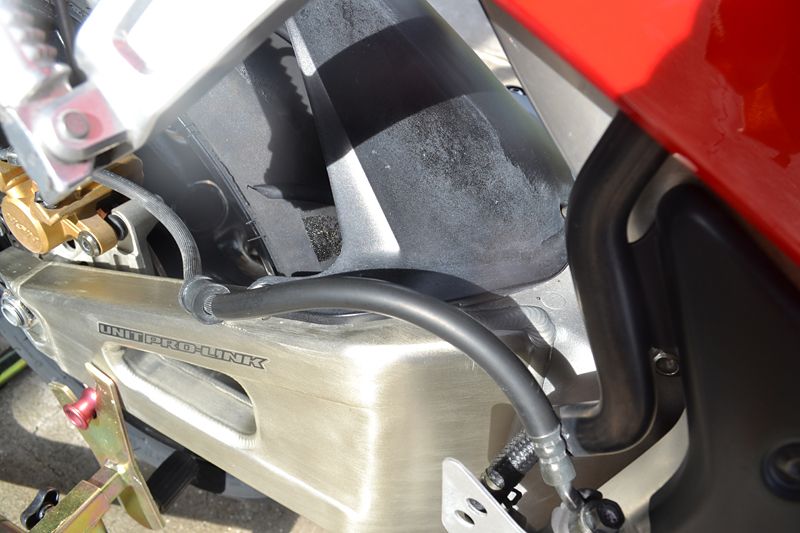
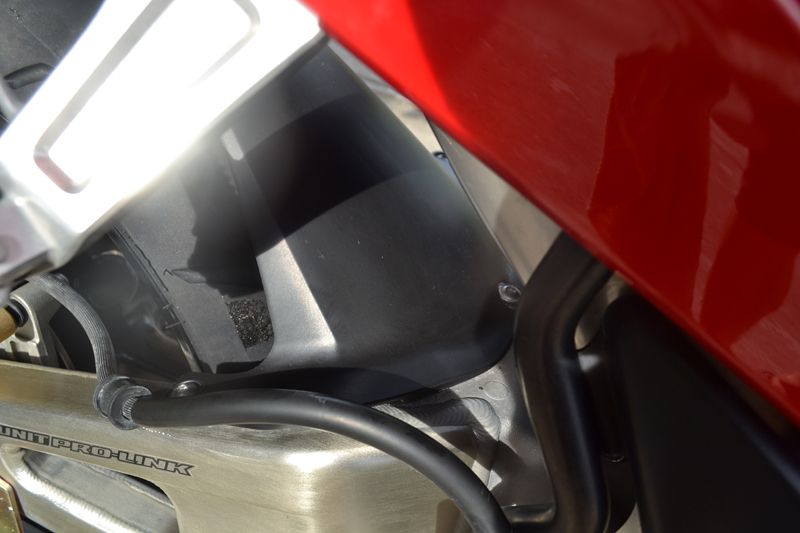
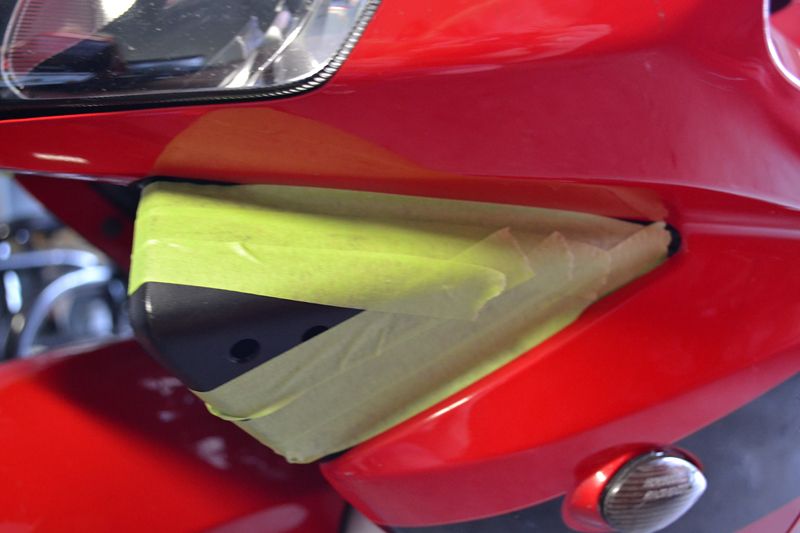
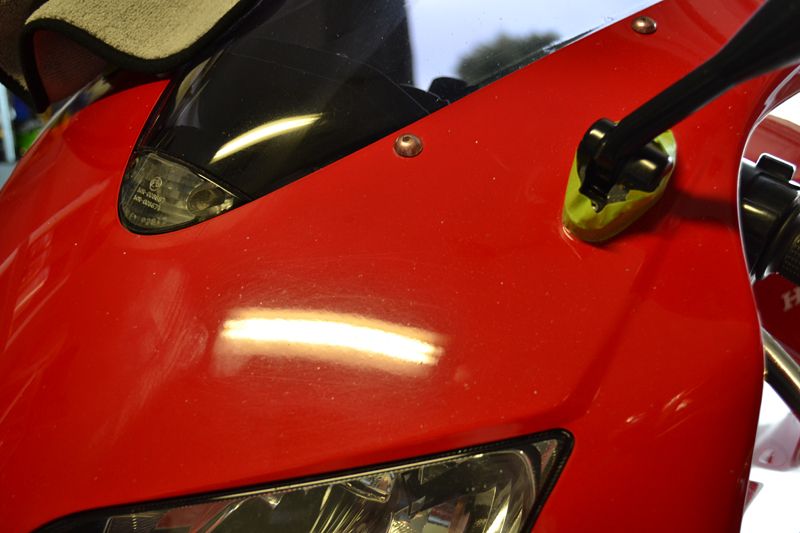
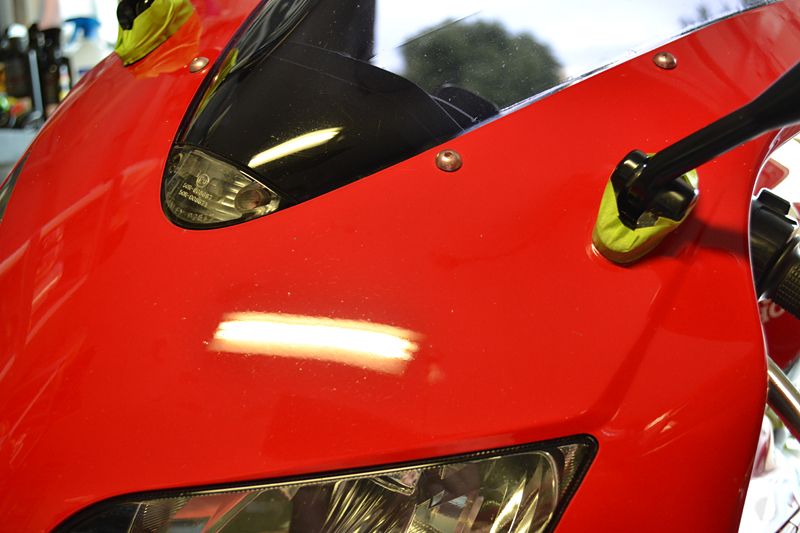
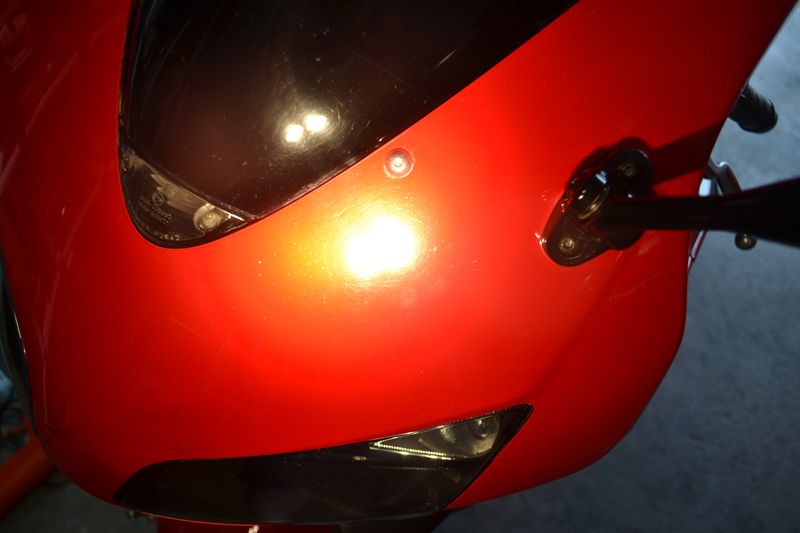
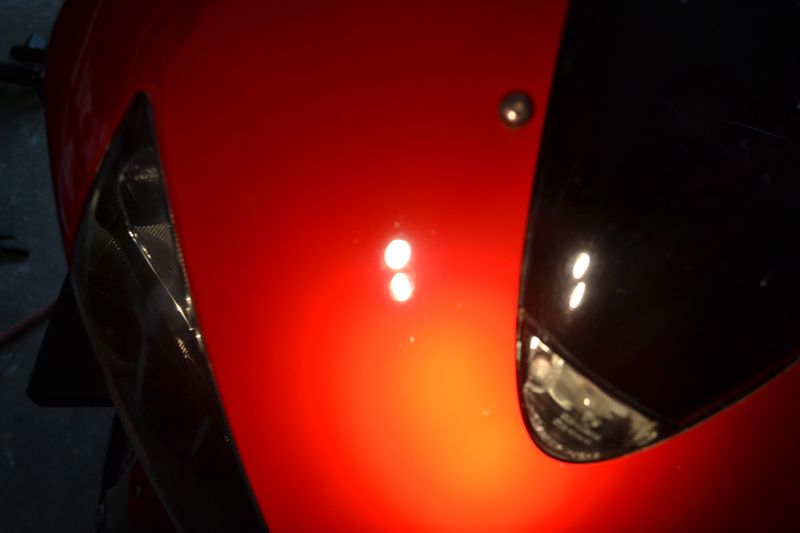
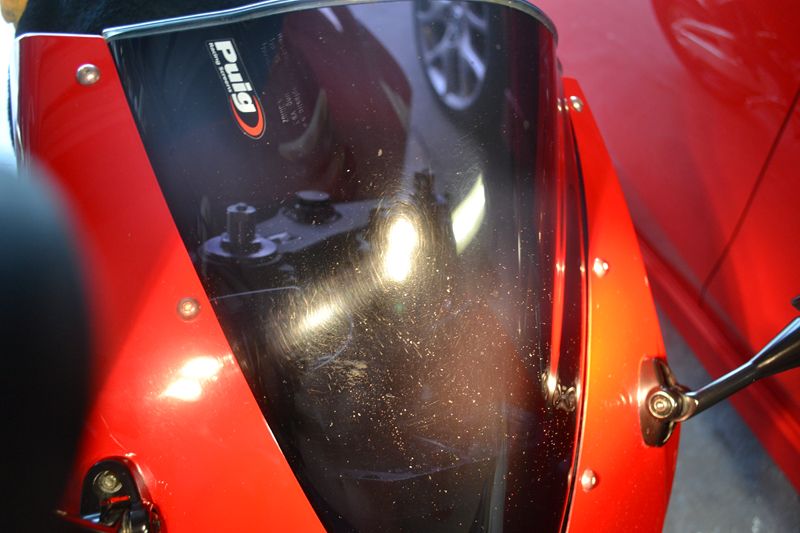
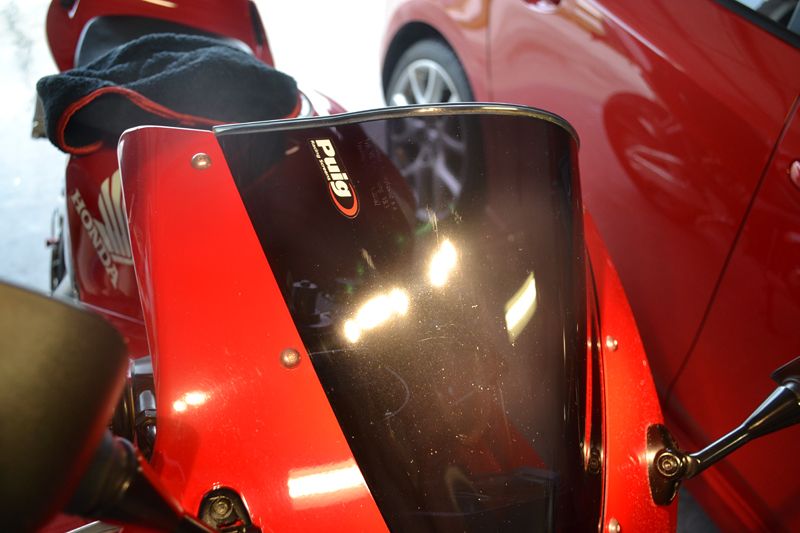
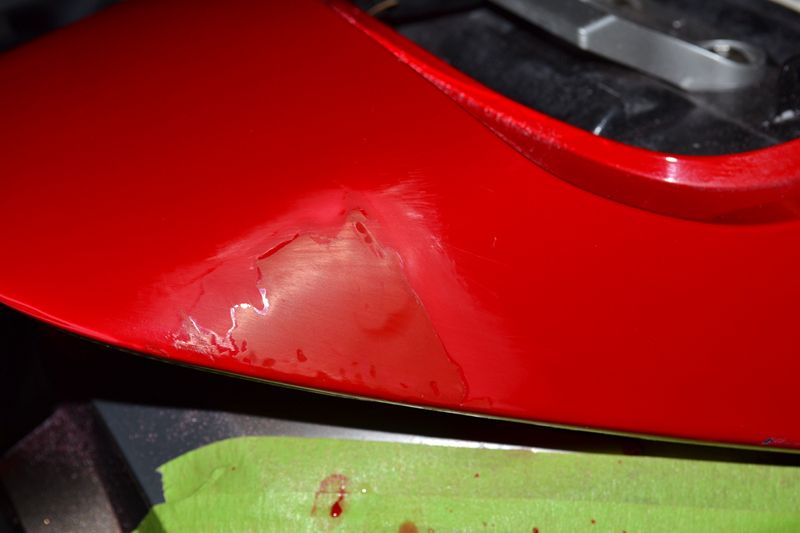
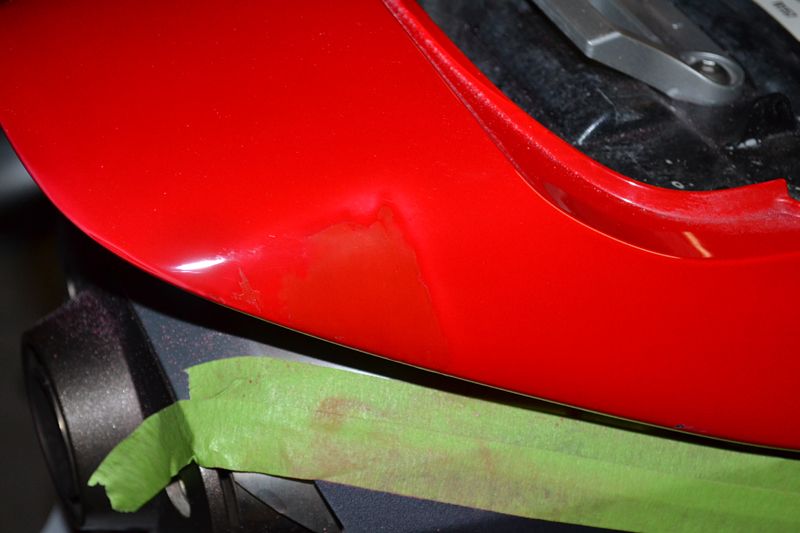
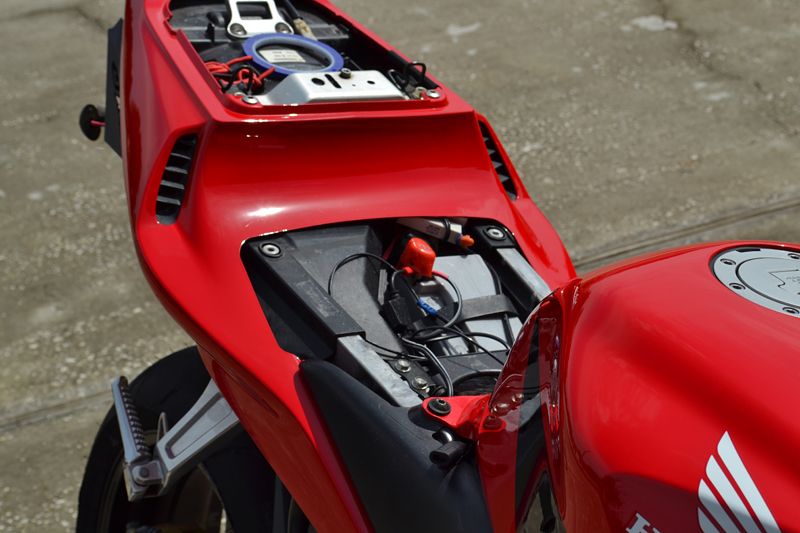
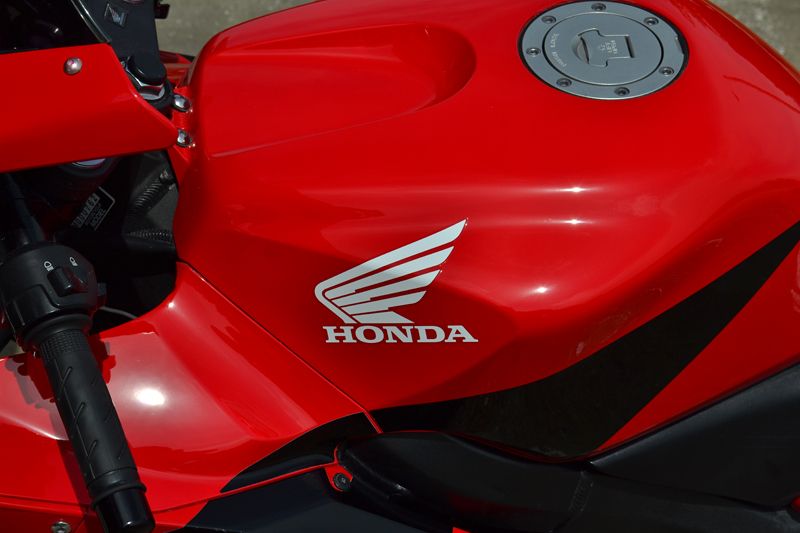
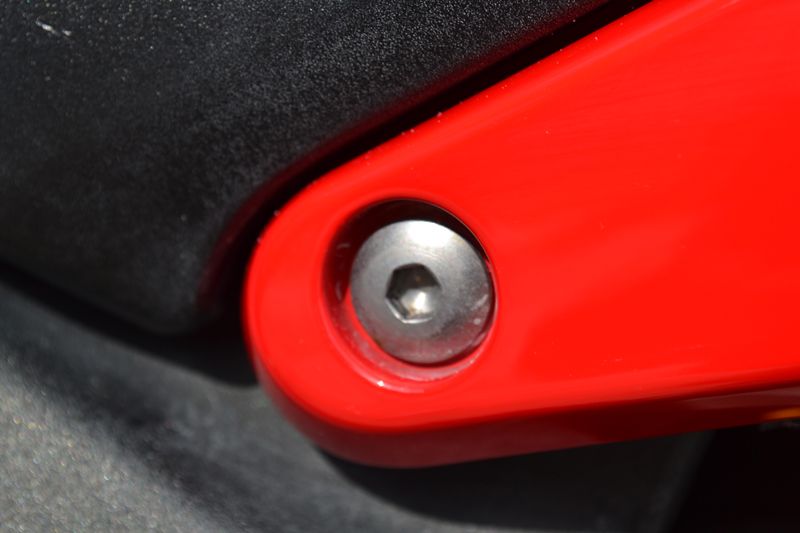
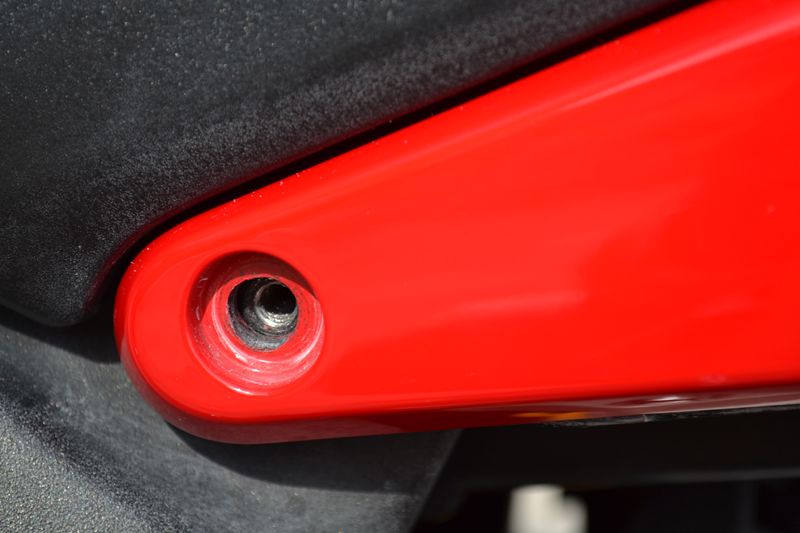
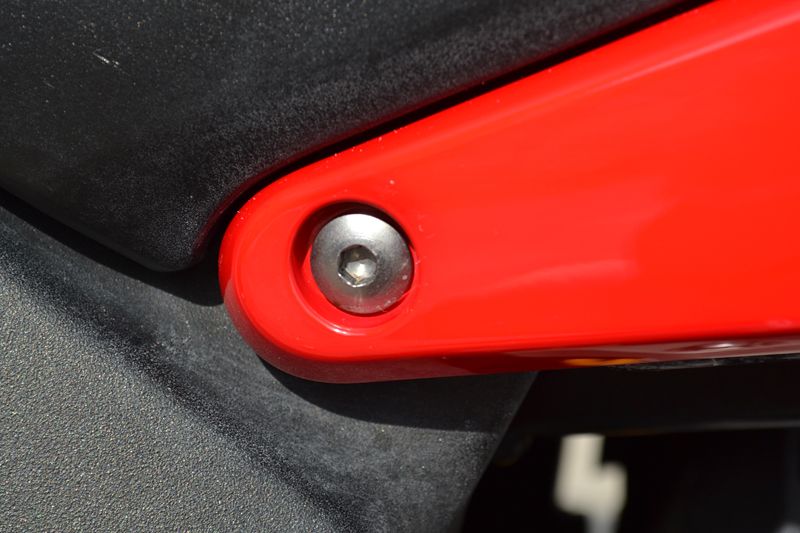
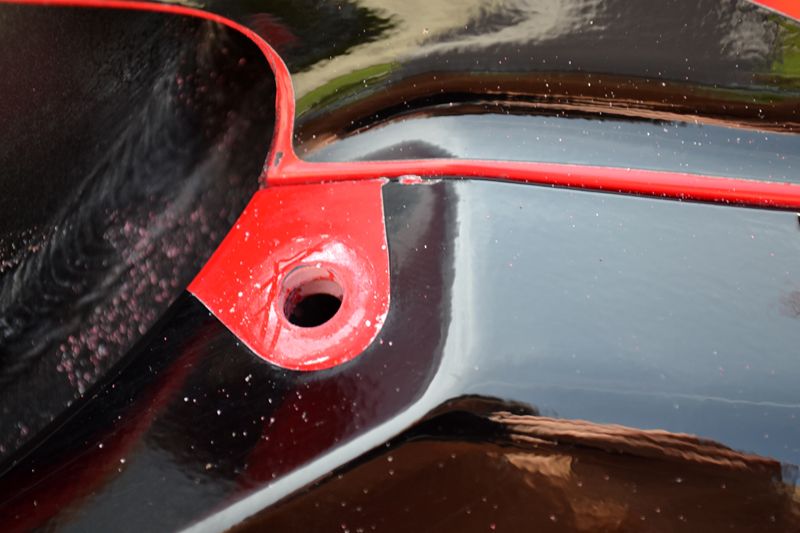
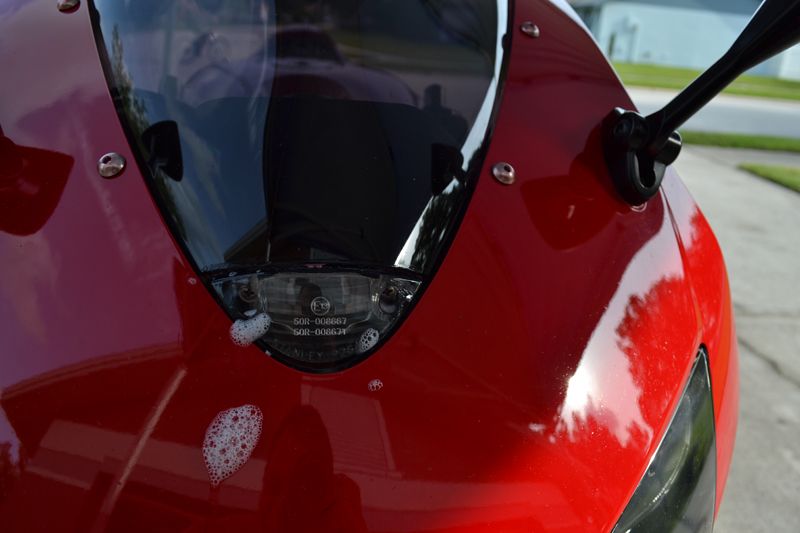
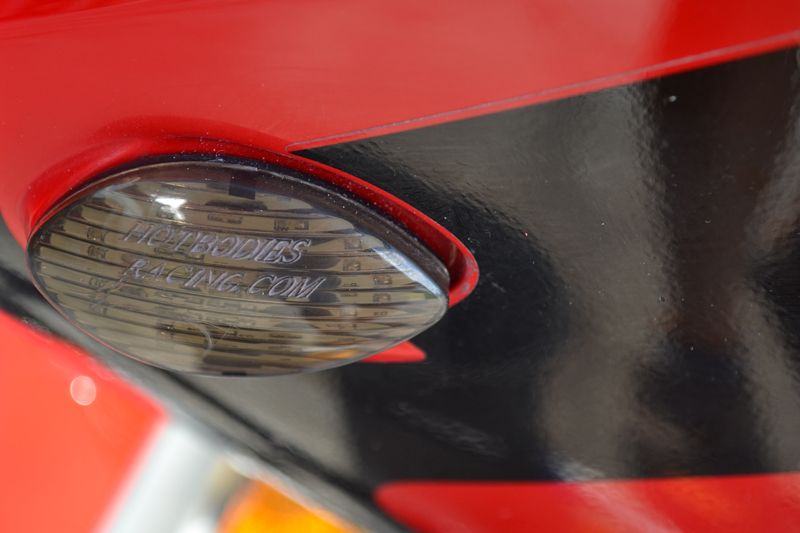
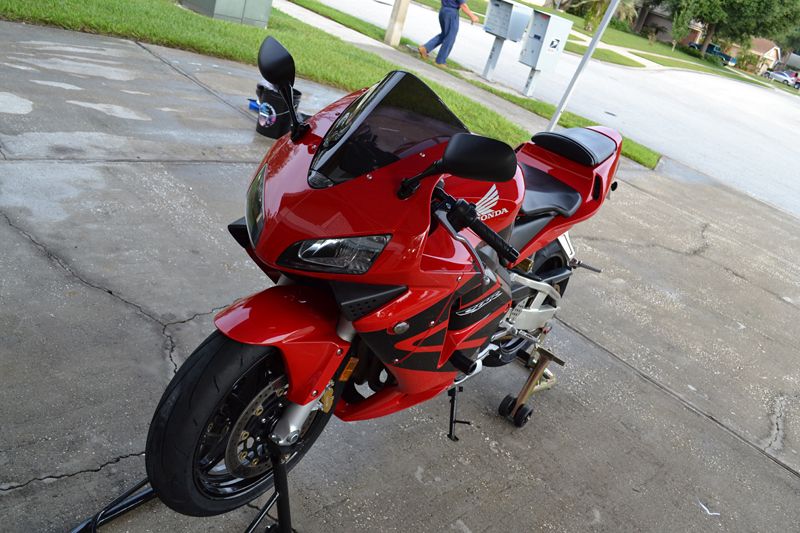
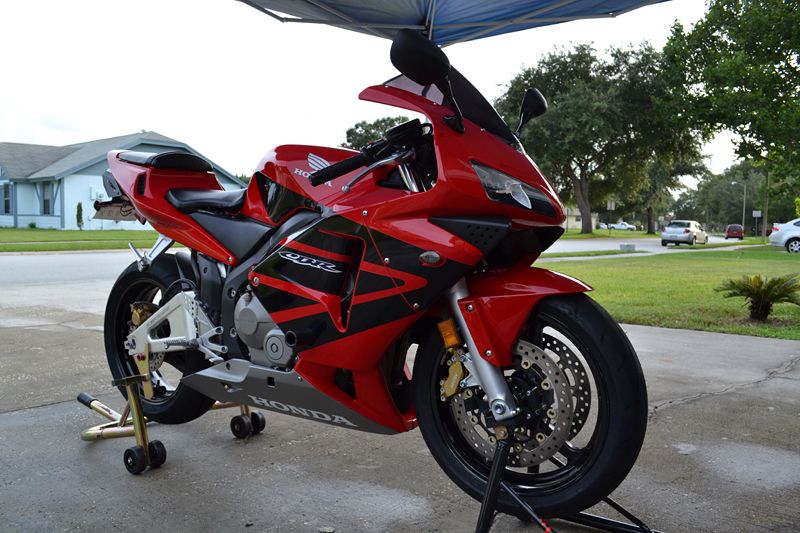
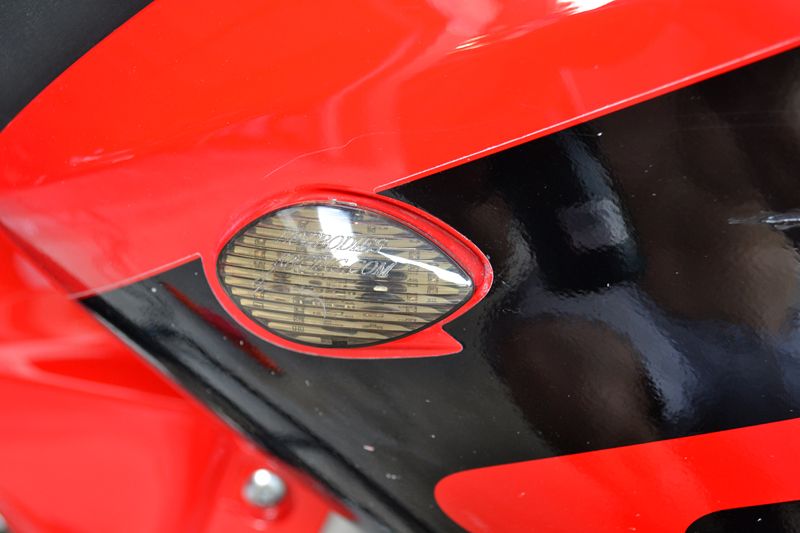
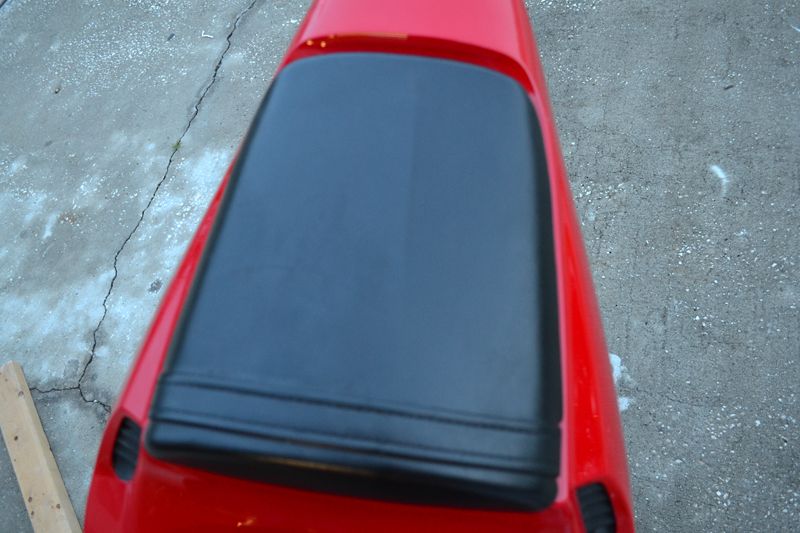
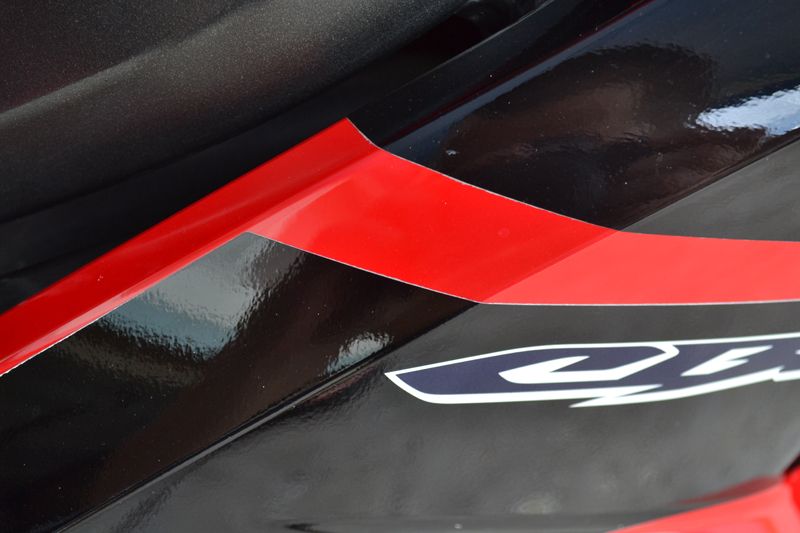
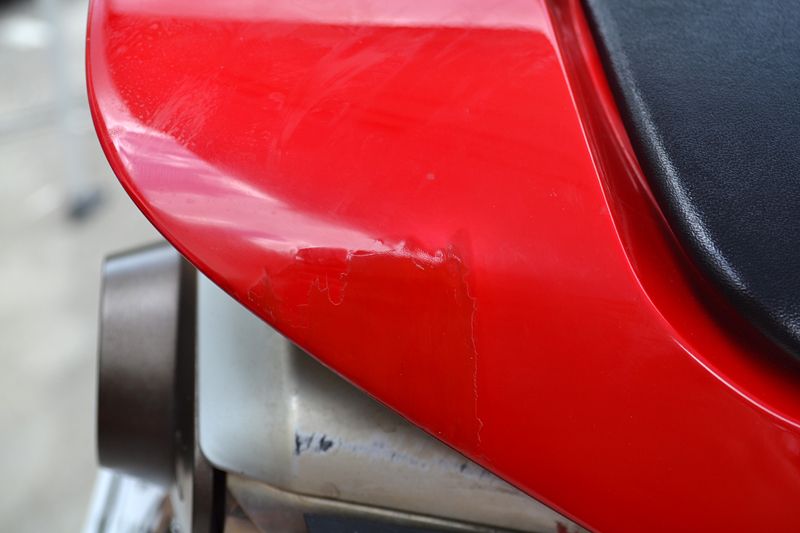
Before Pictures:
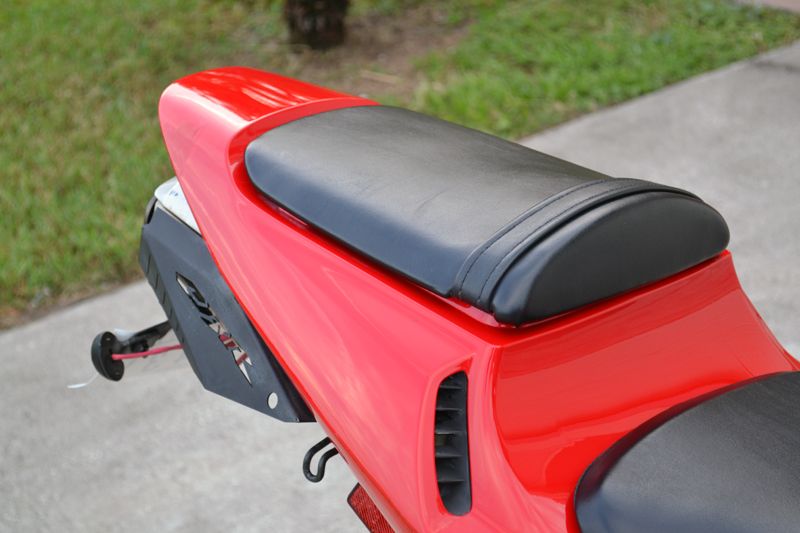
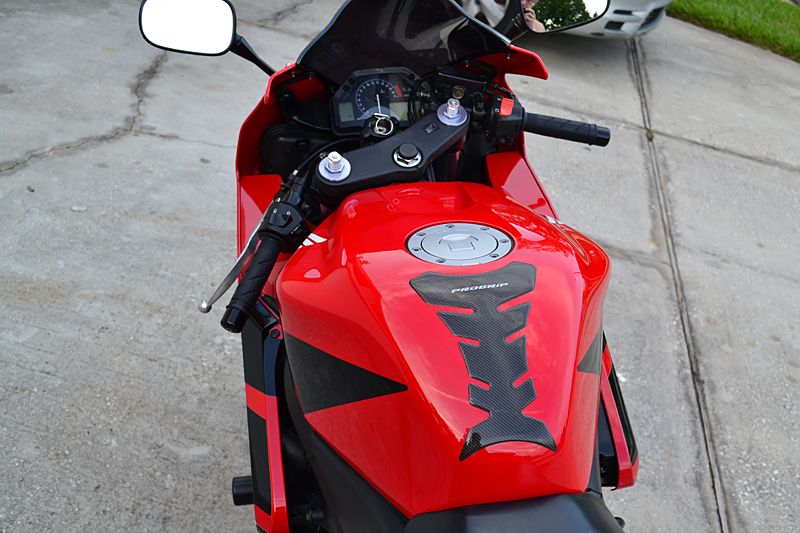
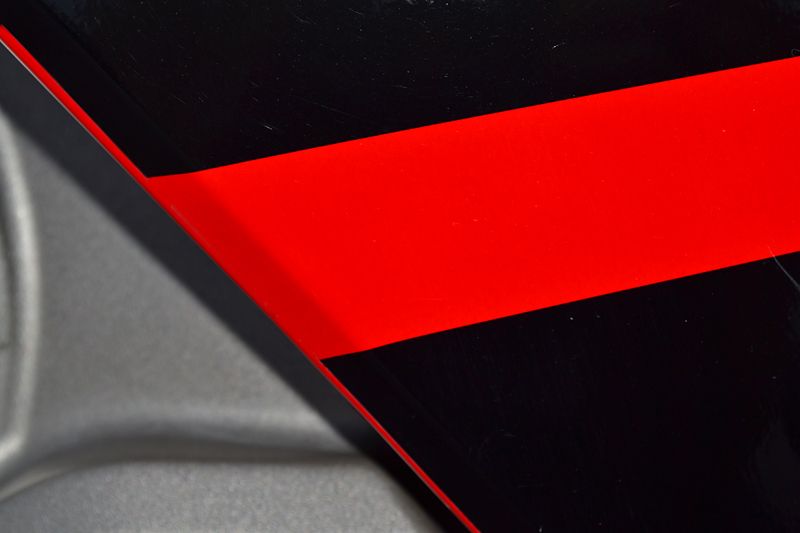
I took a few pictures of the condition of the CBR before getting started so I could document the progress as I detailed it.
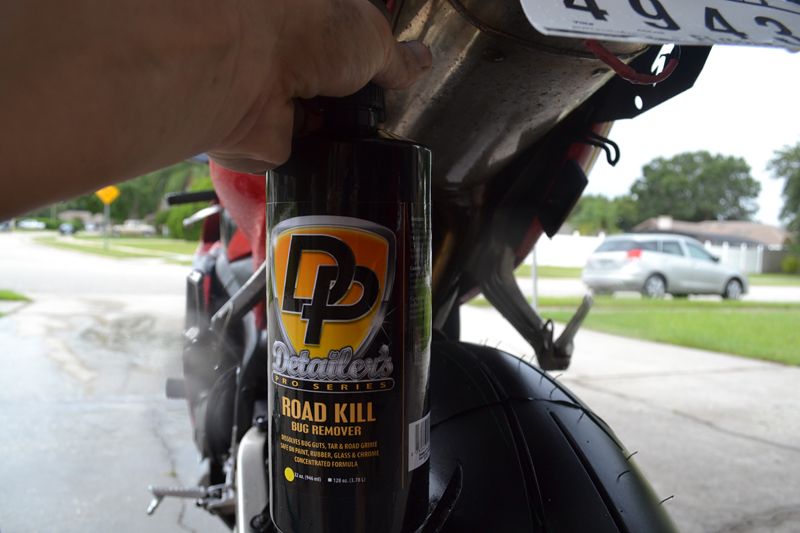
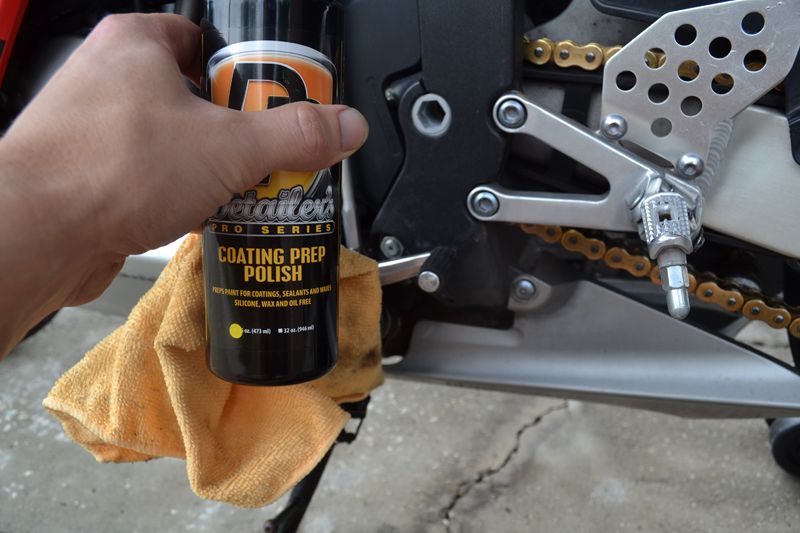
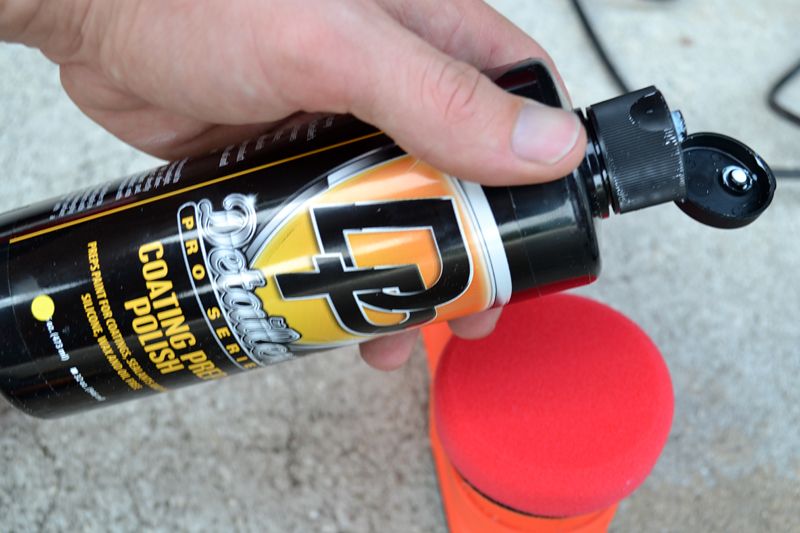
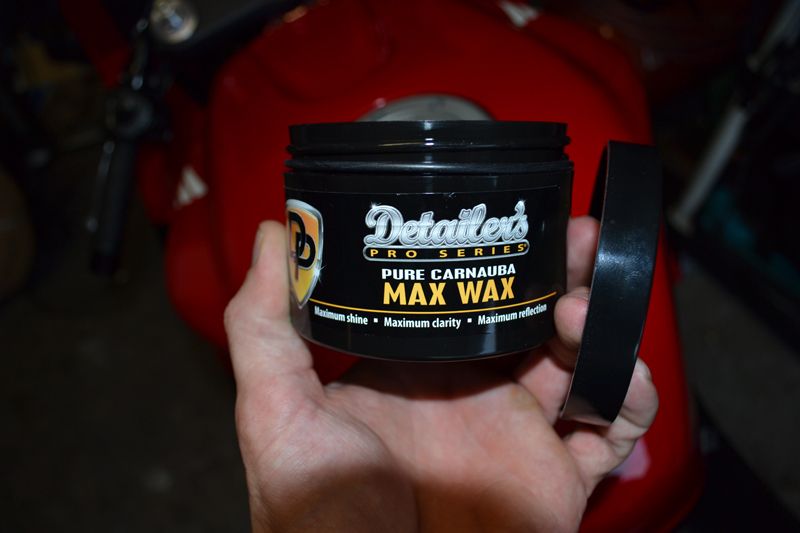
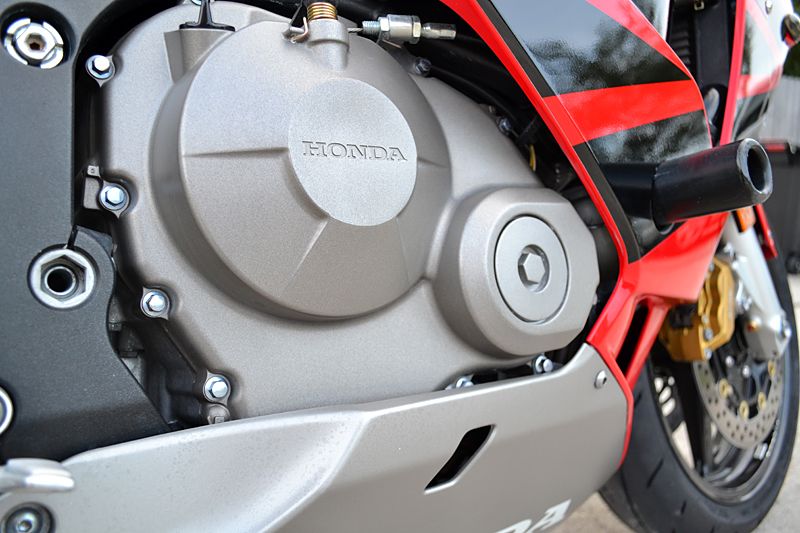
Detailer's "Pro Series" Car Care has three new additions to their lineups, and given their cost-effective approach to car care, I thought using their product range would a good idea. One of the biggest misconceptions in motorcycle detailing is that the motorcycles require some special products. Your plastics are painted, and should be treated as such. The finish on the wheels, frame, and other components is identical to the finish you would find on a car.
However, unlike when you detail your car, you should never use any protective dressings on your seats, tires, or controls. I do not even recommend using them at all on your bike as rain water can cause them to run down. If they end up your tires you will be in for one heck of a ride!
Let's Clean:
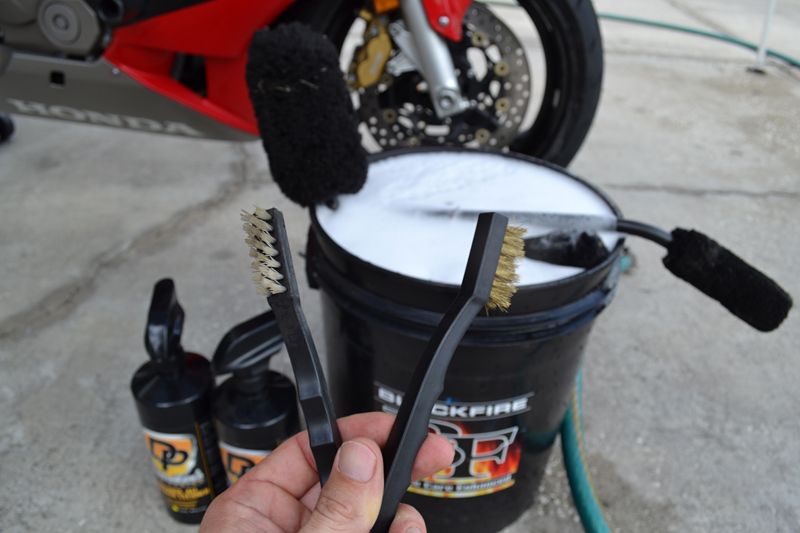
In addition to high-quality products, you will need high-quality tools. I have a full assortment of Wheel Woolie brand lamb's wool brush, as well as a Nylon Cobra Detailing Brush and a Brass Cobra Detailing Brush.
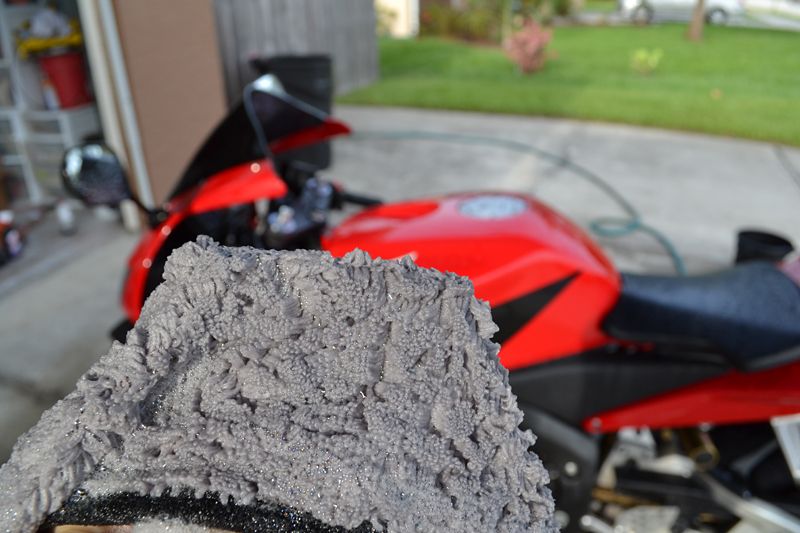
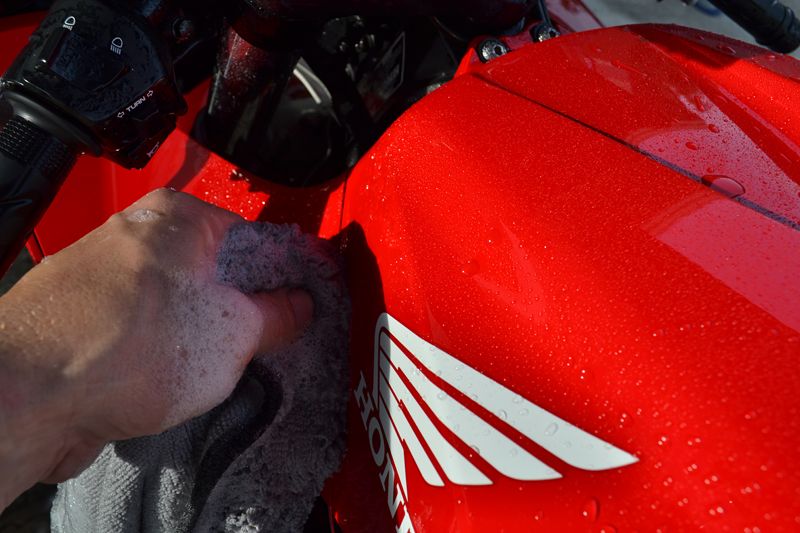
It is also important to use a slick, high-lubricity soap when washing. You want something that is strong enough to cut through dirt and encapsulate it to prevent the micro scratches and swirl marks that will dull an otherwise perfect finish. I used Detailers Auto Bath Shampoo for this task.
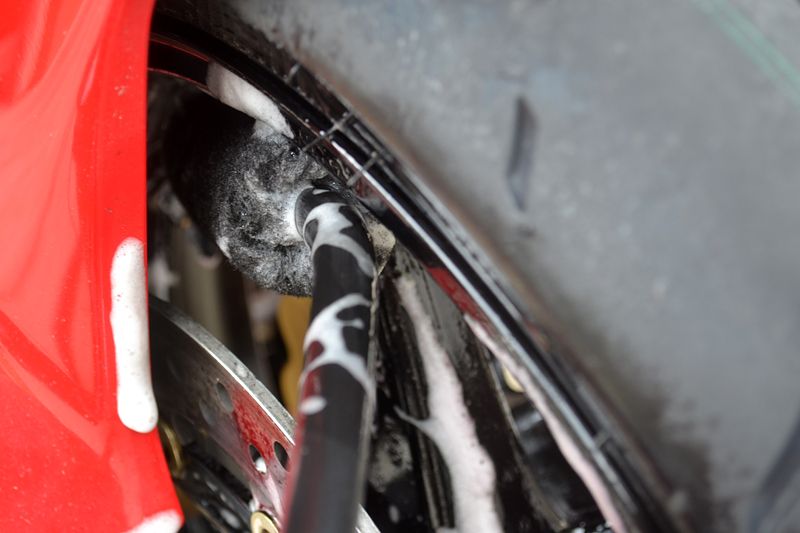
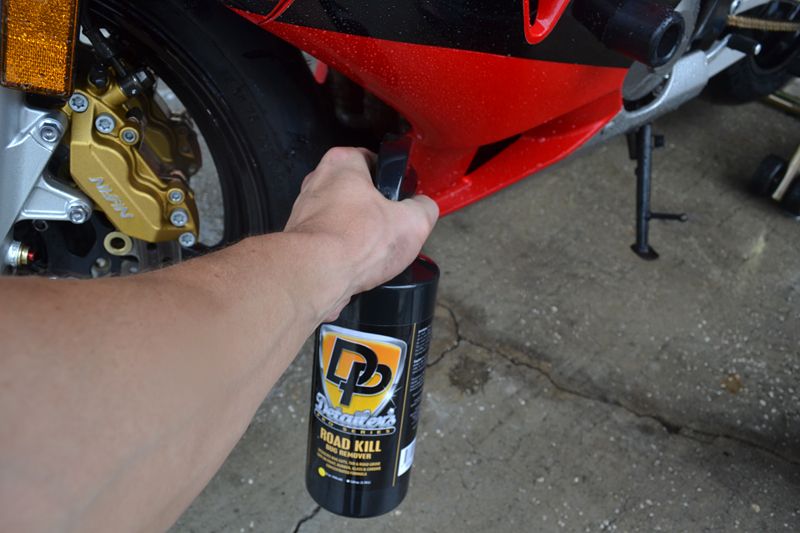
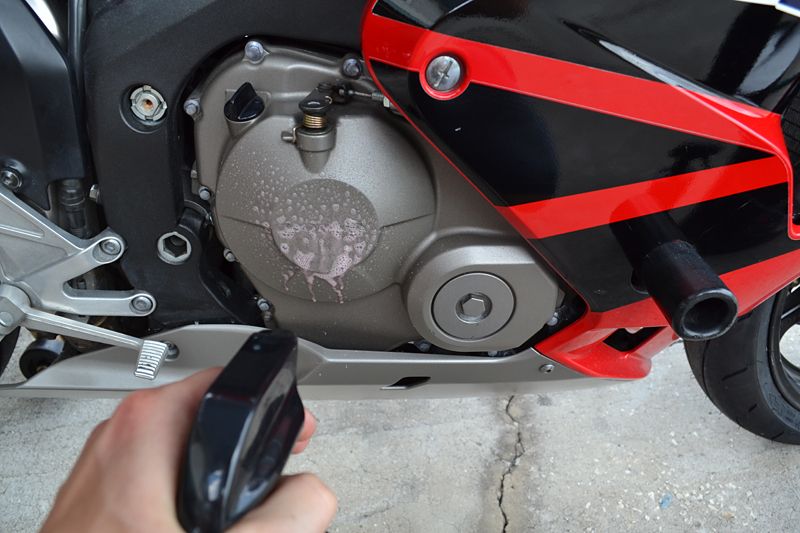
I like to start by cleaning the dirty area's first. In the picture below, I am spraying Detailer's Cleanse-All Exterior Cleaner on all of the heavily soiled places. You DO NOT want to use a standard all-purpose cleaner such as Simple Green. Highly-caustic cleaners such as Simple Green have been banned by the aeronautical industry because of its nature to corrode and weaken aluminum. Instead, stick with a high-quality all-purpose cleaner such as Detailers, BLACKFIRE All-In-One APC, or P21s Total Auto Wash.
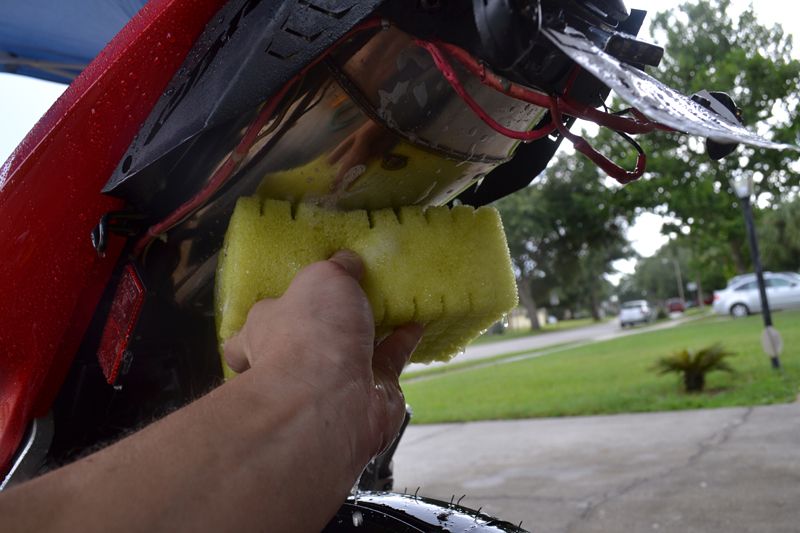
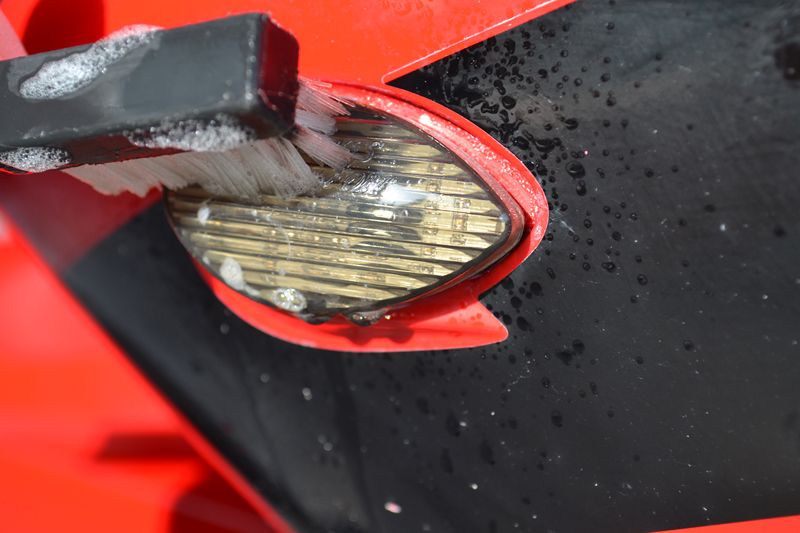
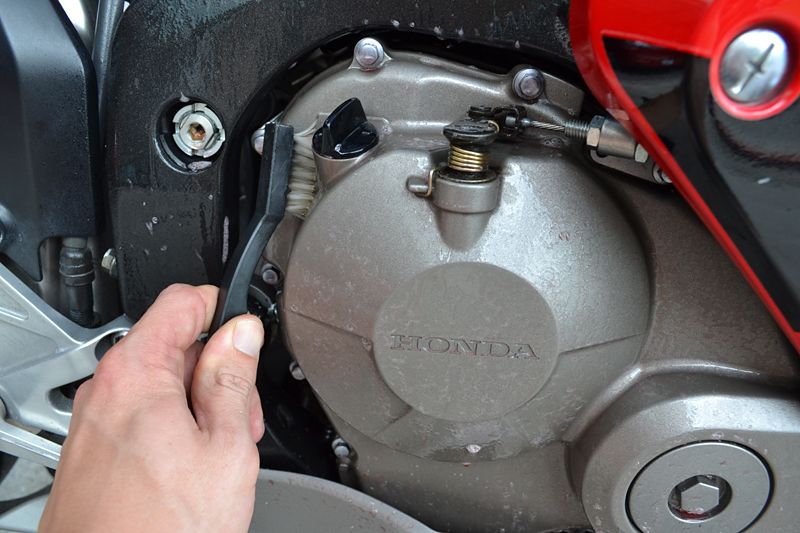
Use a nylon bristle brush to lightly agitate the cleaner against areas of excess grime and build up.
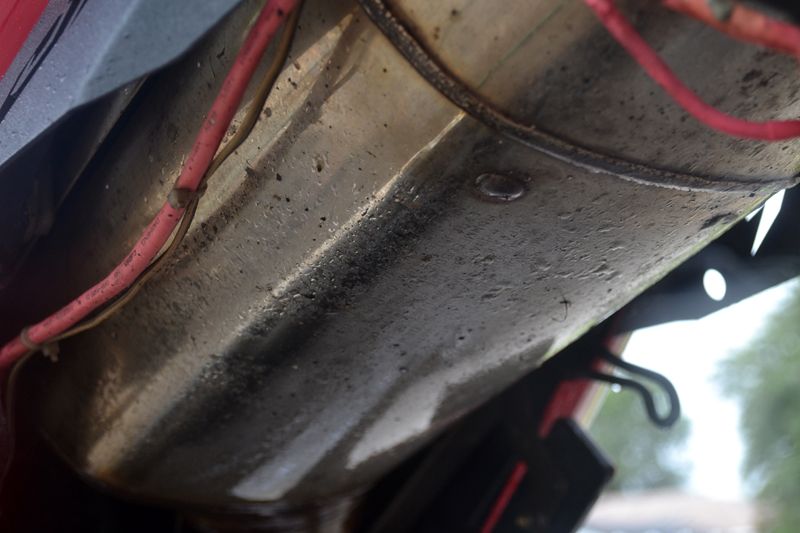
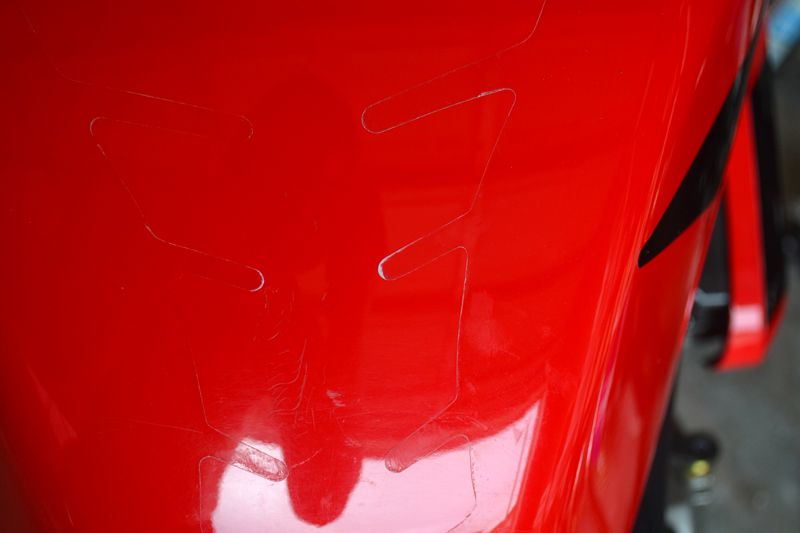
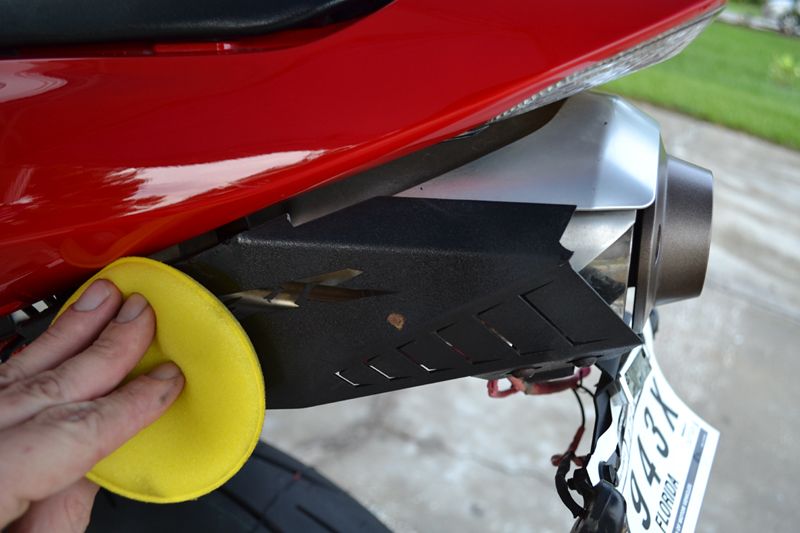
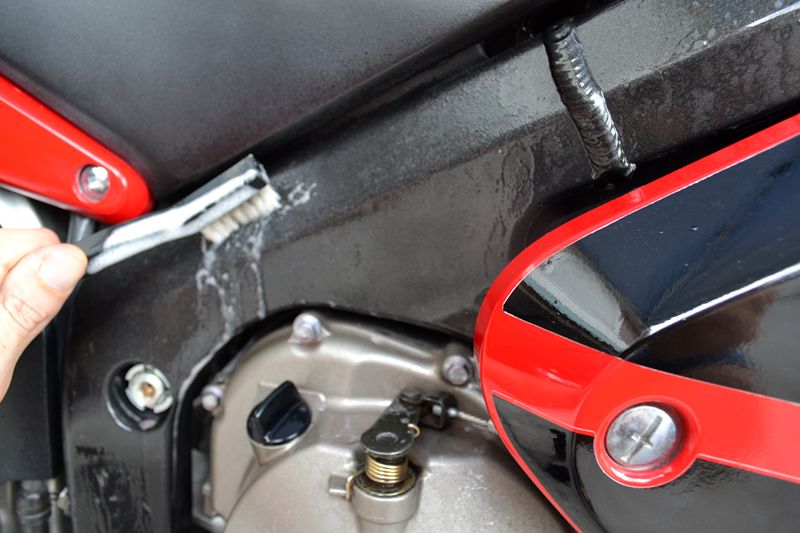
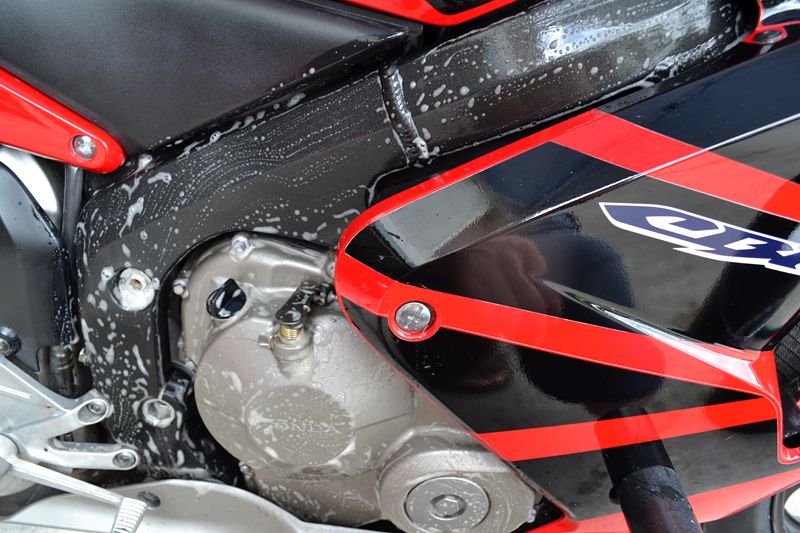
As well as against areas of caked-on wax residues or wax stains...
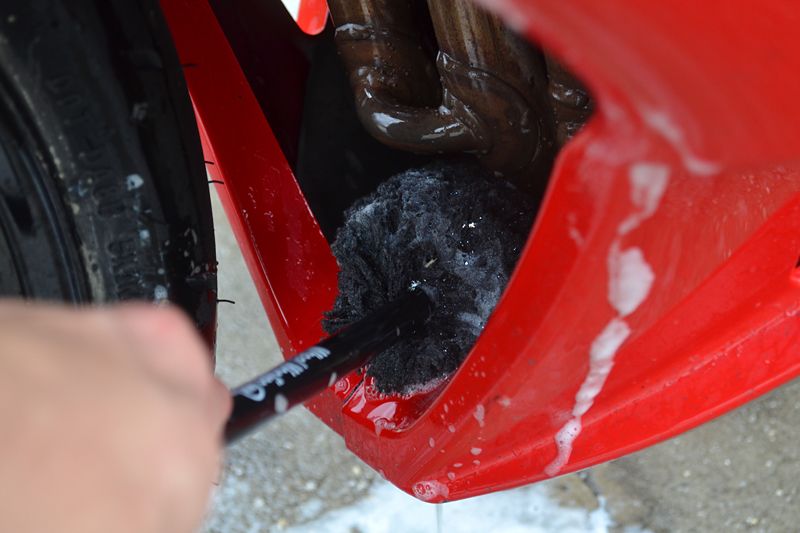
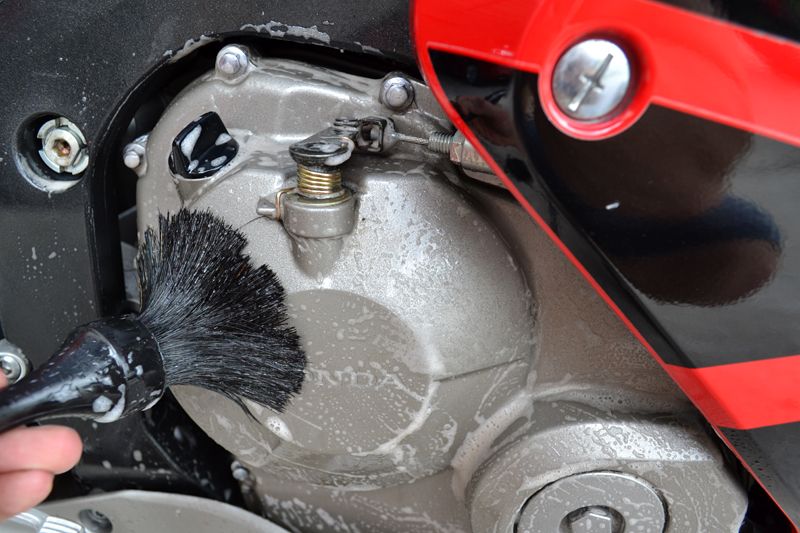
A soft Wheel Woolies Boar's Hair Detail Brush is perfect for cleaning in recesses.
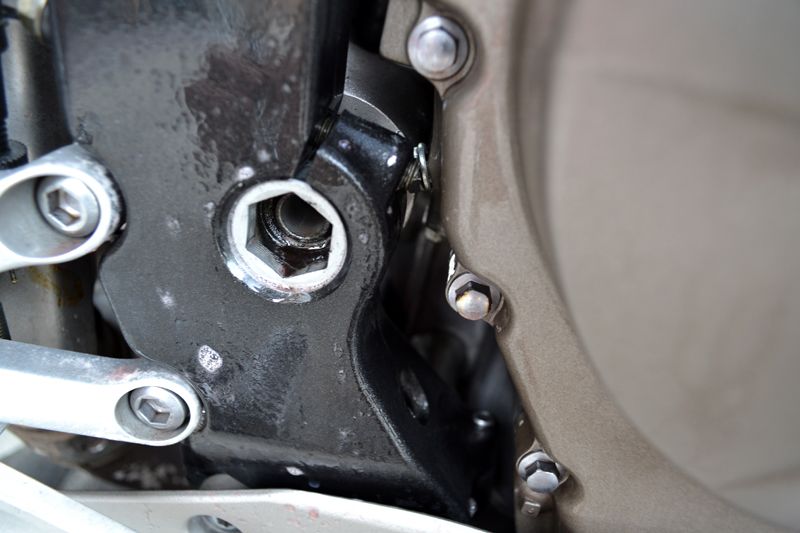
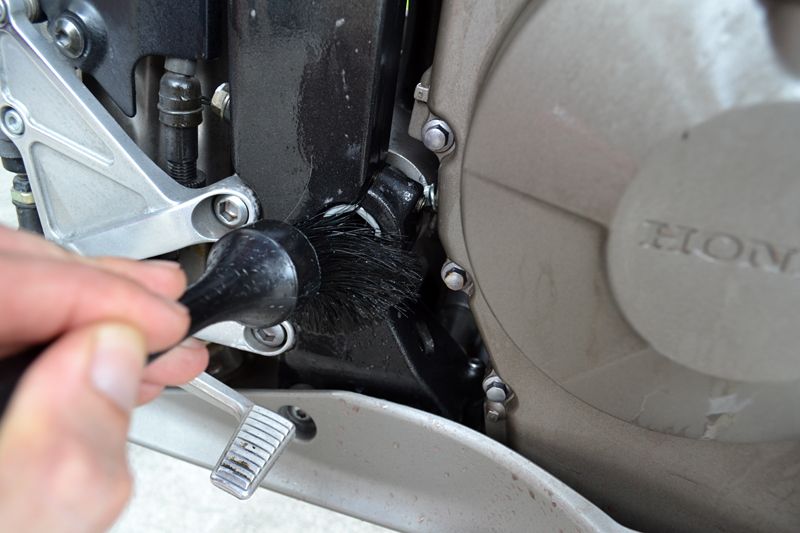
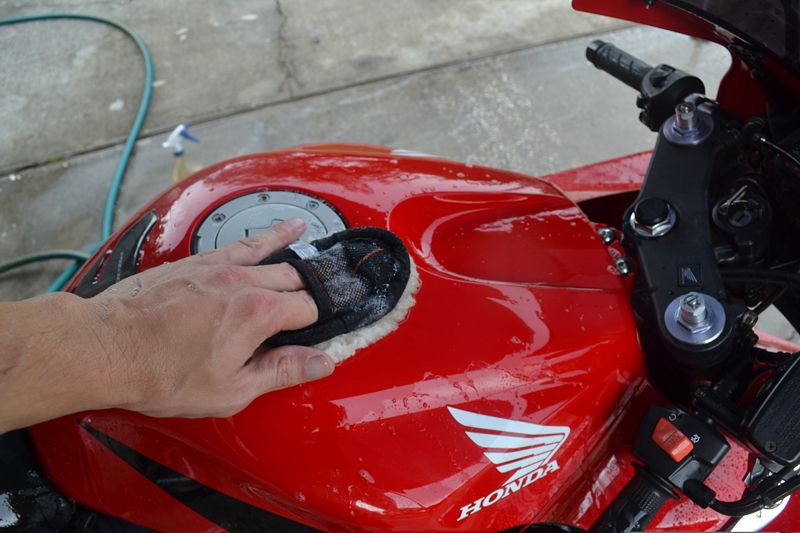
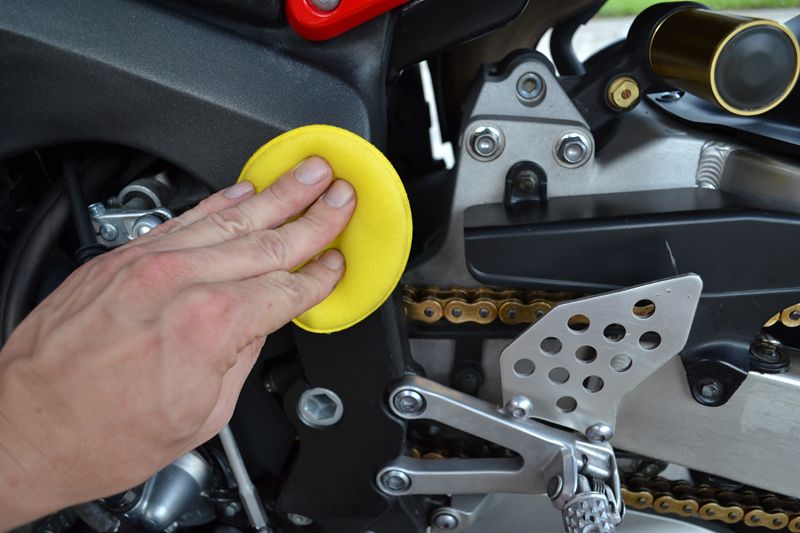
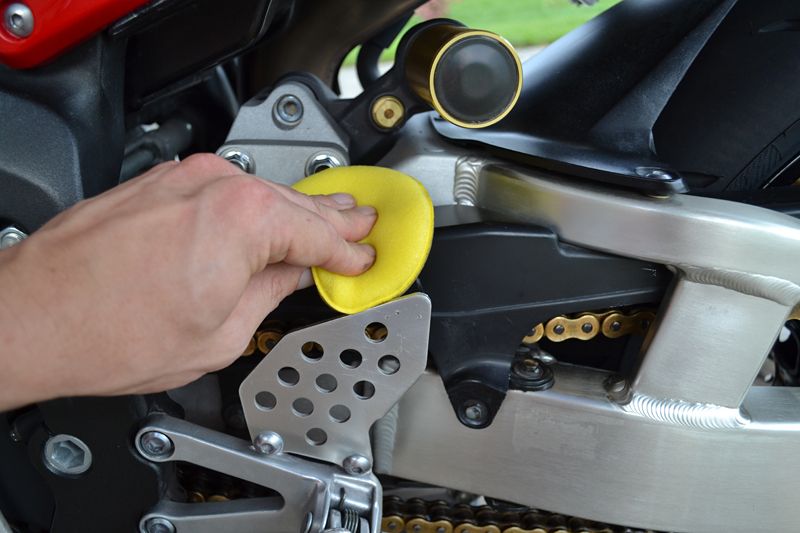
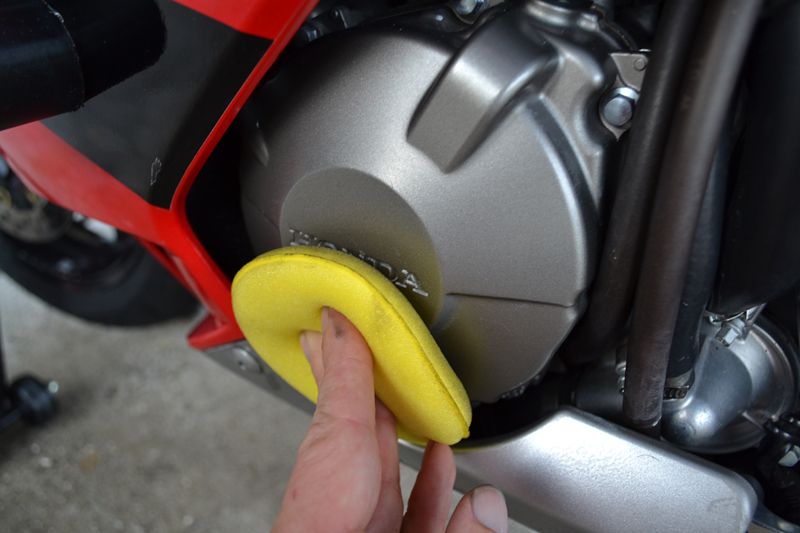
The soft boar's hair bristles are ideal for cleaning over the larger areas such as the engine covers, frame, and rough-castings. Dunk the brushes in soapy water to flush the cleaner off and keep the surface wet. You do not want to let an APC dry on the surface.
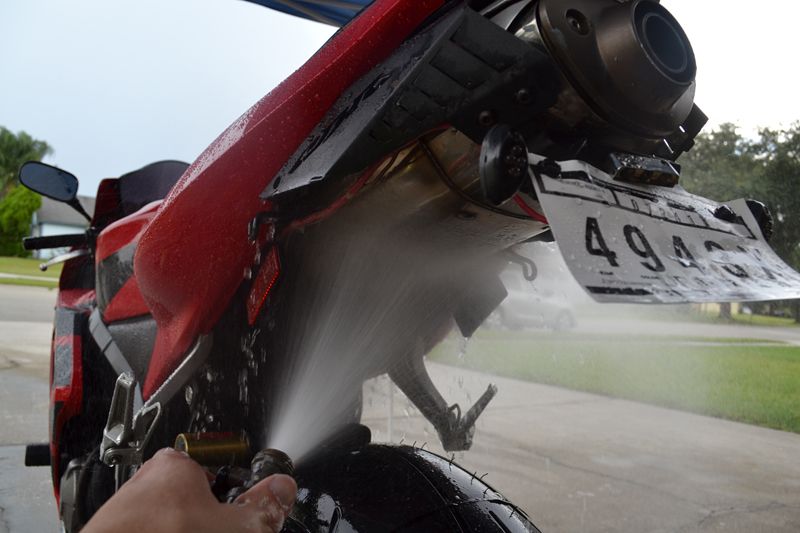
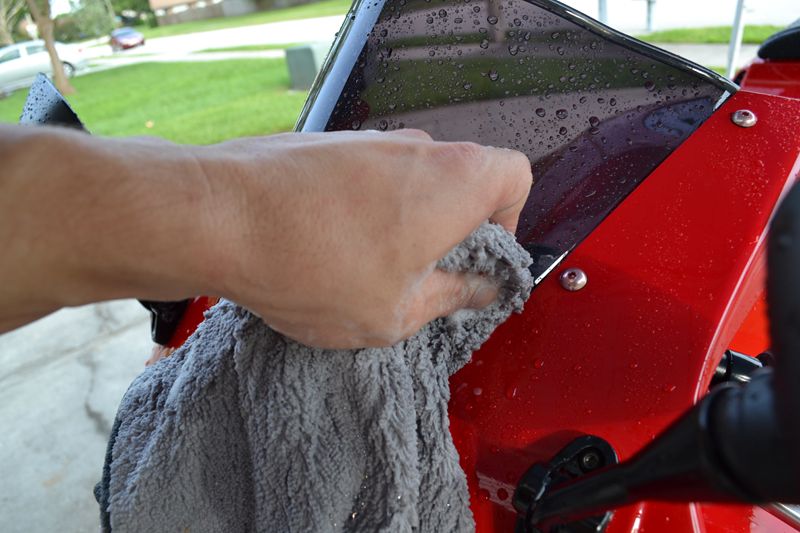
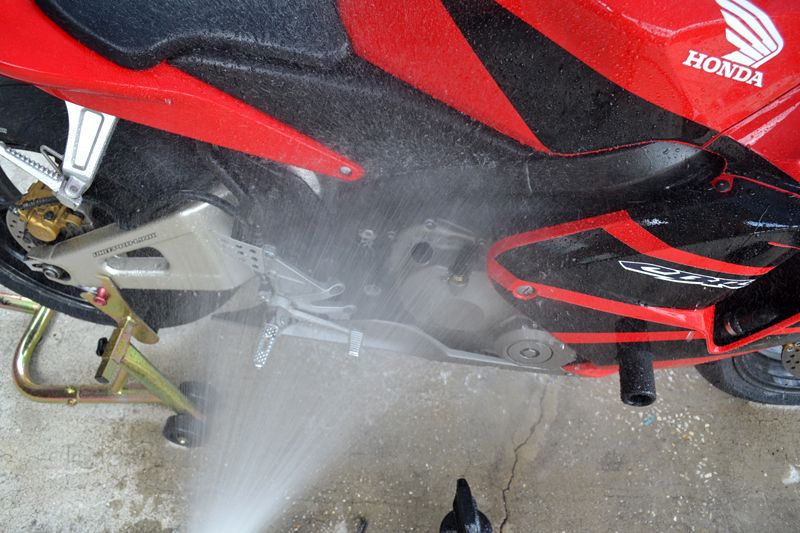
Next rinse thoroughly. Make sure to use plenty of water to flush all of the cleaner, and residue grime, off the bike.
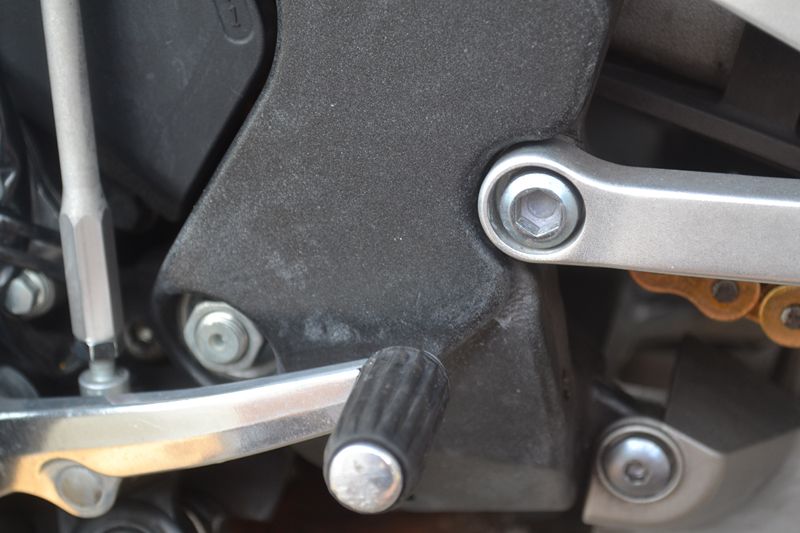
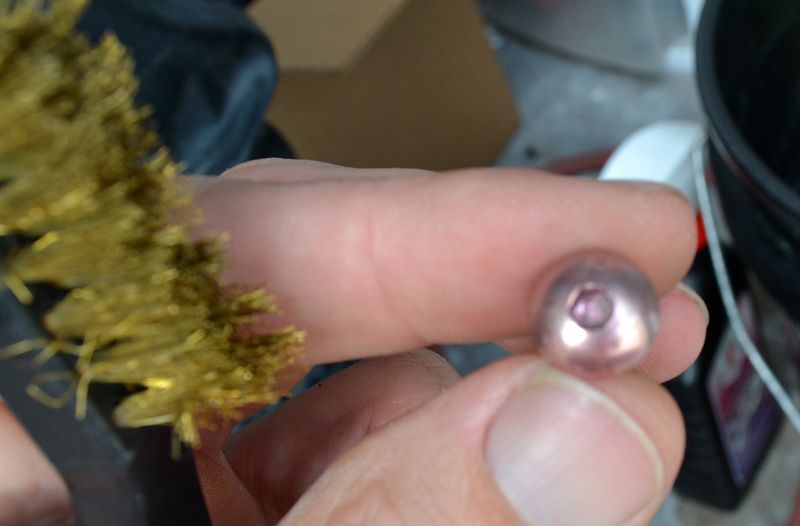
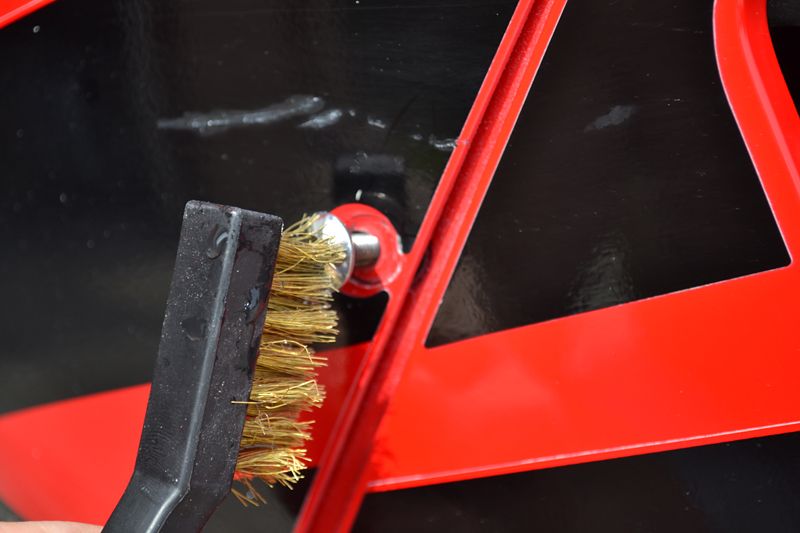
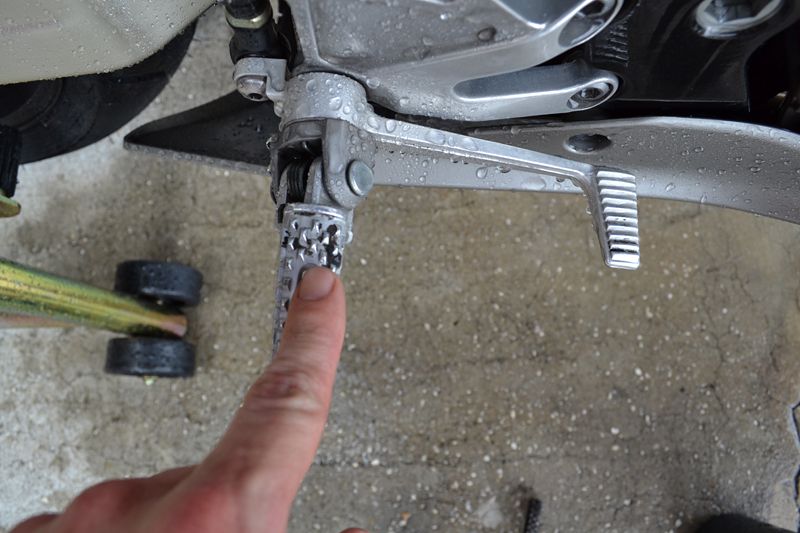
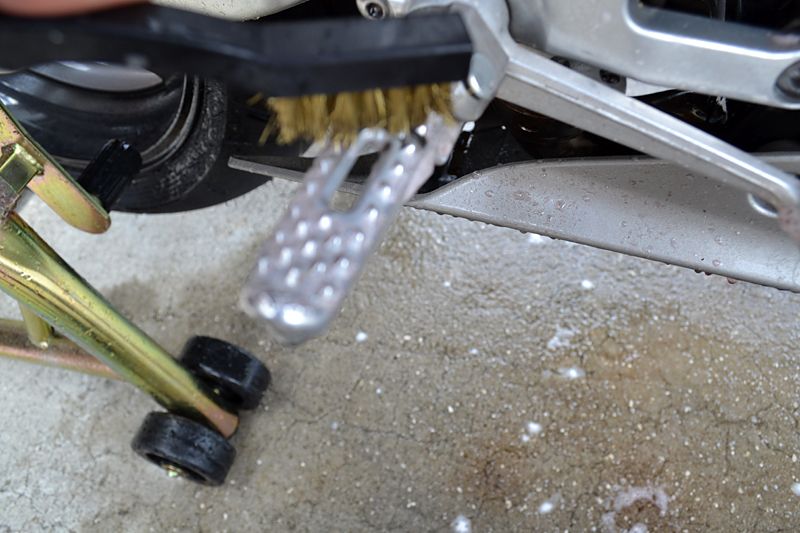
Some areas, such as these footpegs, had tar deposits ground into the knurls. For heavy-duty cleaning on unfinished (not painted or clear coated) metals, use a brass detailing brush.
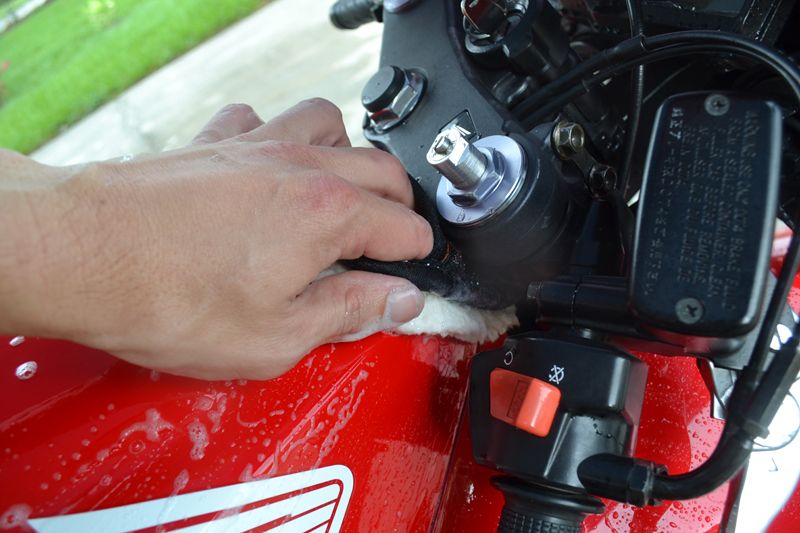
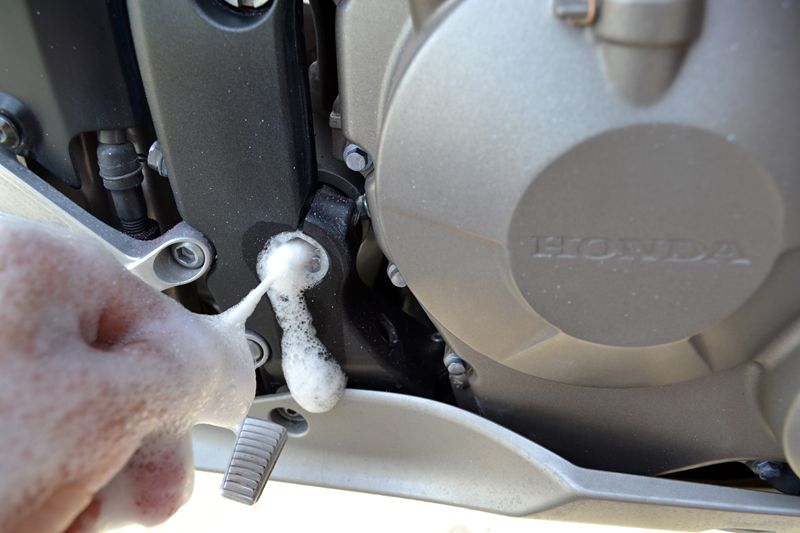
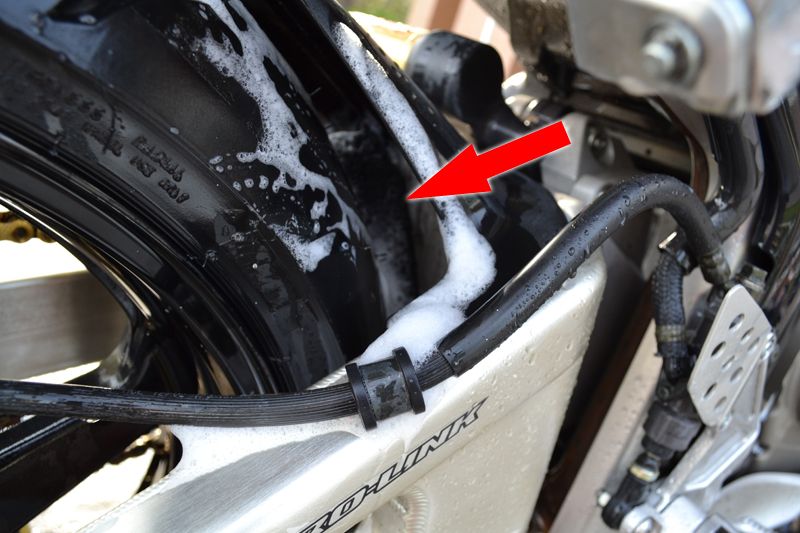
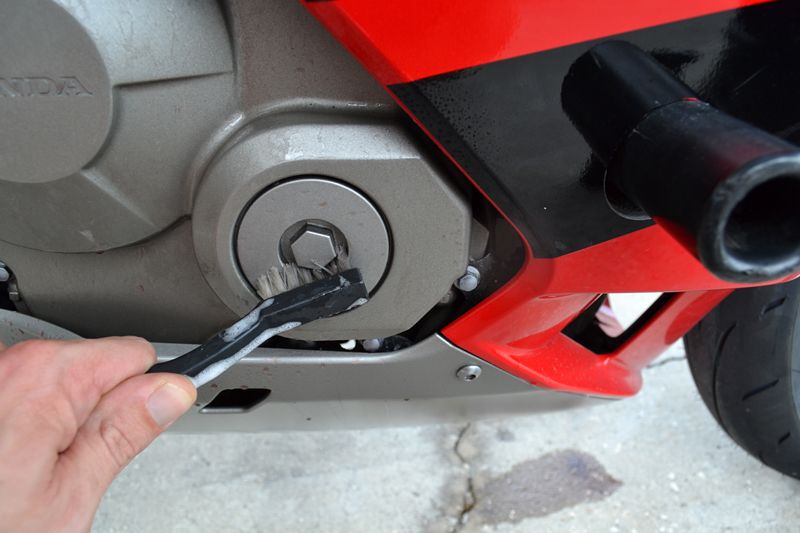
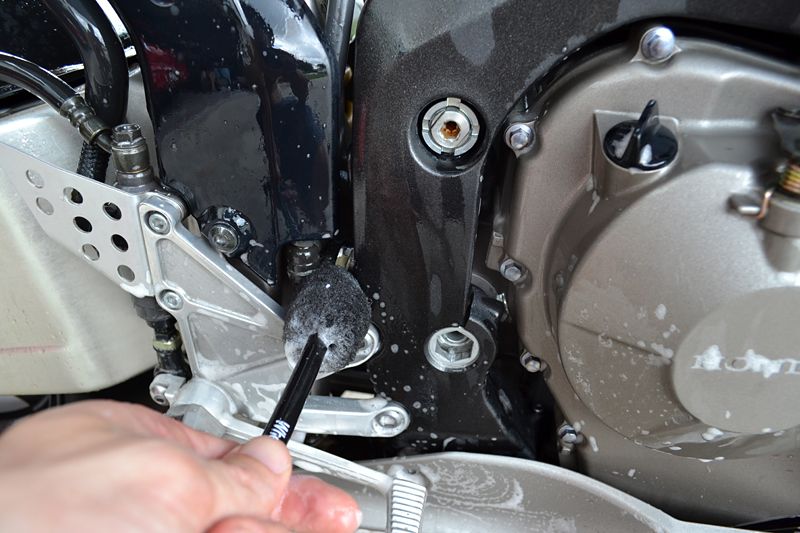
Next, lightly spray your APC into the tight cracks and crevices, such as between the frame, rear sets, engine and frame, etc. Then, using brush, wash the area with your soap solution. I really like the Wheel Woolies for this task because they come in various sizes and the soft, yet dense, wool fibers will collapse to the size of stem, allowing them to clean in tight, hard-to-reach areas. Then rinse clean.
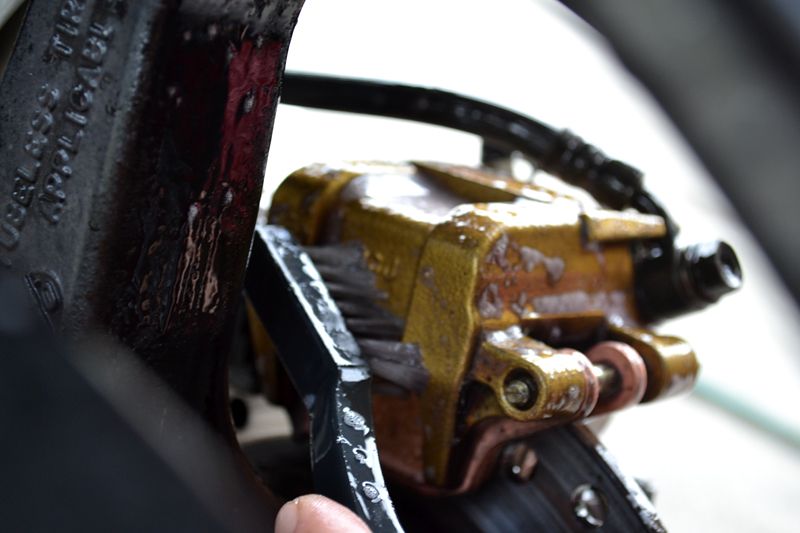
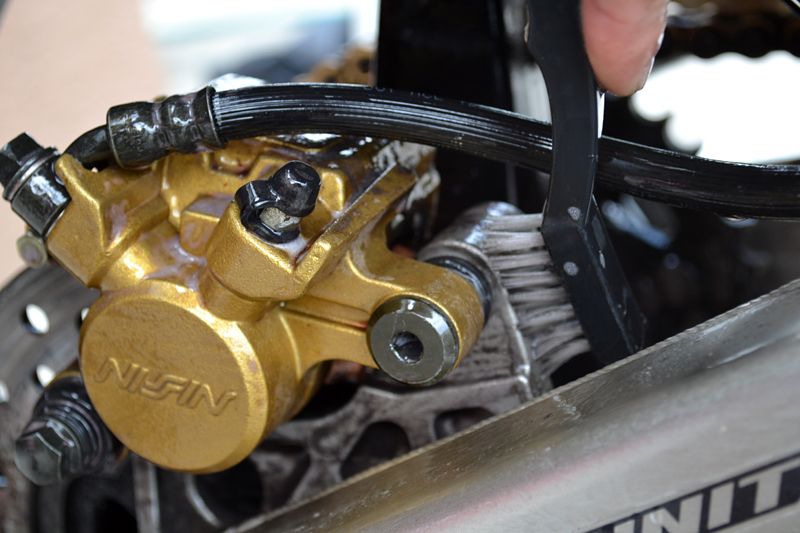
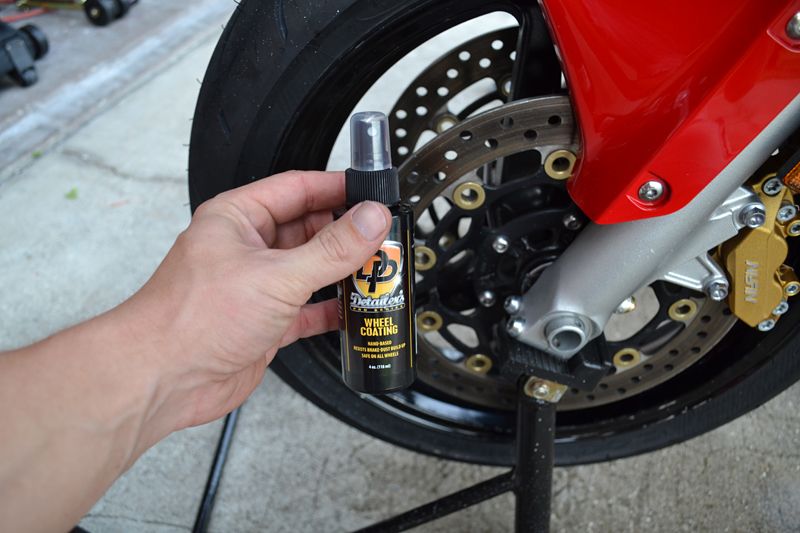
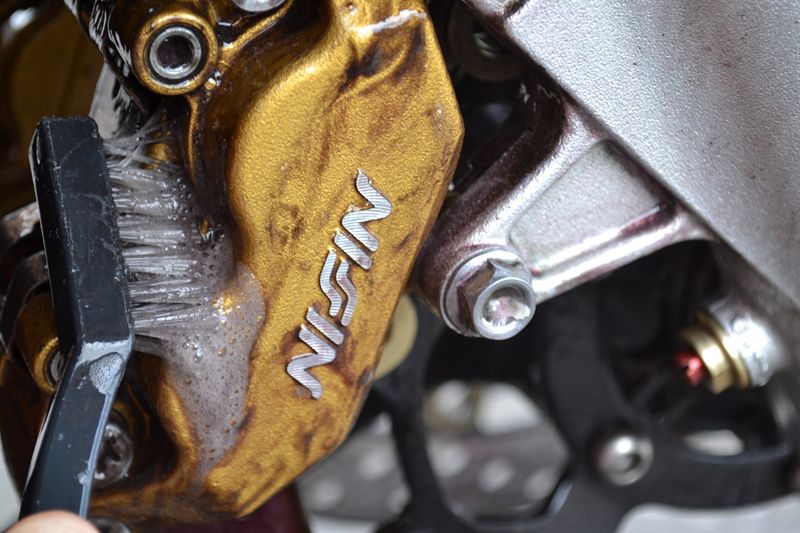
Next up is the wheels and brake calipers. The 2003 and 2004 CBR's had gold-colored Nissin brake calipers. This one was covered in ground in brake dust and filth.
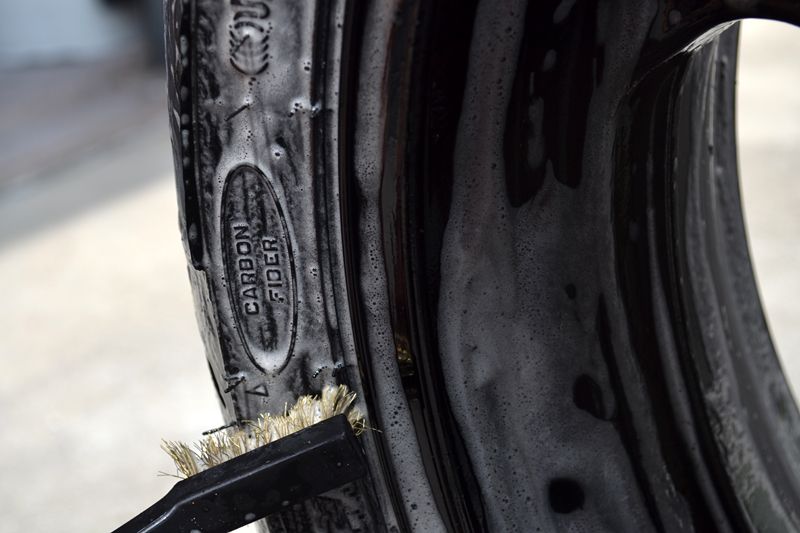
When cleaning the braking components, you want to avoid overly harsh acids or caustic detergents that will not only strip painted and coated calipers of their color, but can dry out brake lines. For all of the wheel and brake cleaning I am using Detailer's Wheel Cleaner. For more aggressive cleaning use an iron-particulate dissolving gel such as CarPro Iron-X.
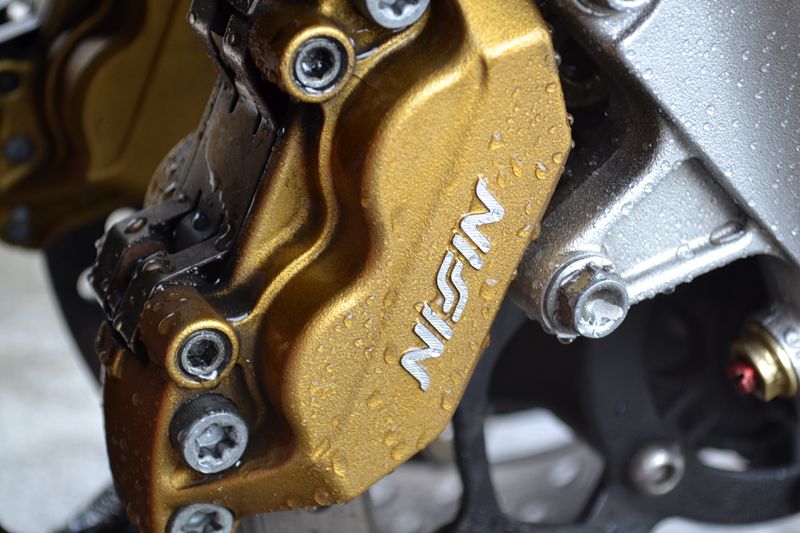
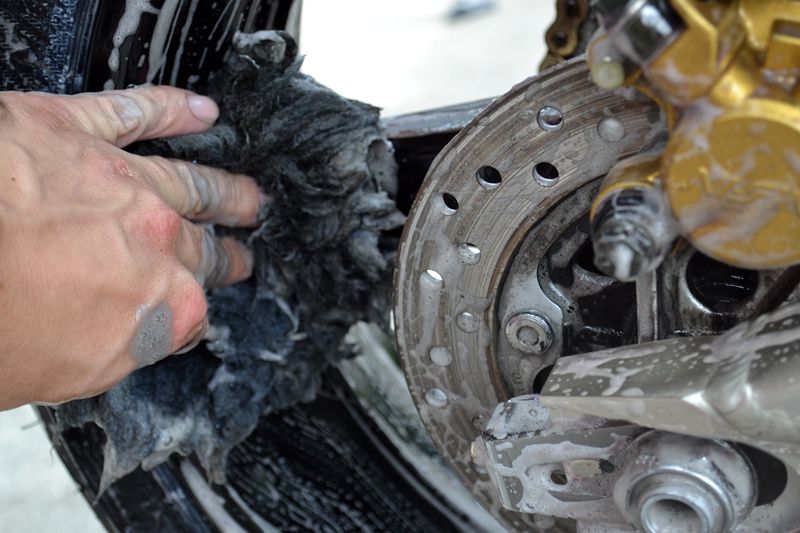
Spray the cleaner onto the brake calipers and allow to dwell for around a minute. With iron dissolvers, allow to dwell until the product turns purple. Then brush lightly to agitate the solution. Here you clearly see how much brake dust is being removed.
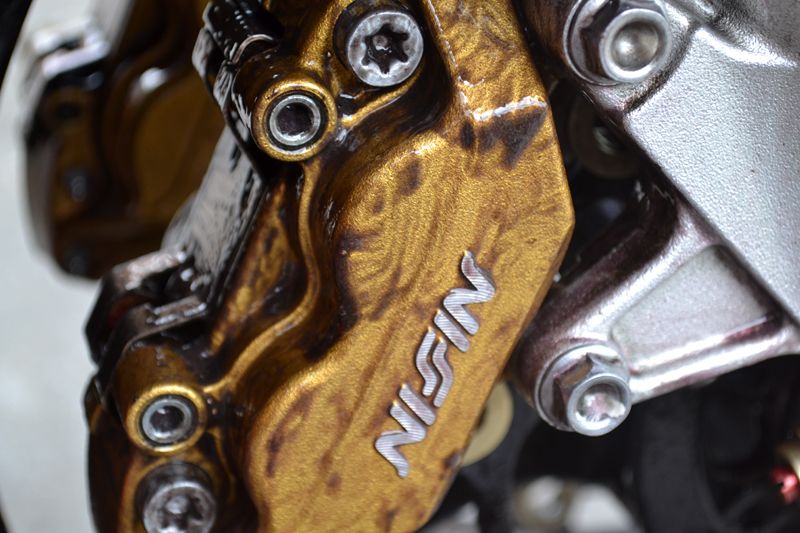
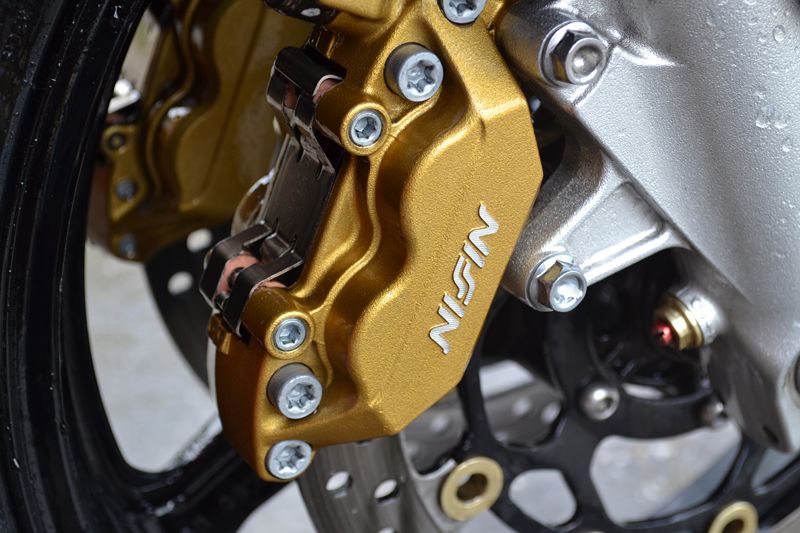
Make sure to clean both sides of the caliper then rinse completely clean with water.
Last edited by a moderator: