Nth Degree
New member
There is so much focus on the polishing of paint that I feel other aspects of detailing get downplayed. It is apparent by the numerous posts with questions about polishing that it appears to be an overwhelming and daunting task to achieve perfect paint. But detailing is about, well… the details. Hopefully this post will serve to aid new detailers and DIYers to understand the importance of the little details. I also hope it will help educate the non-autopians about the difference between a “car wash & wax” and a “detail” and why there is such a wide variance in the prices.
There really is nothing spectacular about this detail. It was just an All-In-One polish to clean and protect the paint. The owner is, self-admittedly, lazy when caring for the car. He understands the risks of mechanical and touchless car washes but is realistic in knowing there will be times when he will take the shortcut. That being the case it was decided that the effort and cost of doing any correction would be wasted. This is a level of detail that can be done by hand by anyone and create significant results.
It was not until near the end of the detail that I planned this write up so I did not document every issue with before photos to show the difference. This customer first contacted me a year ago. The car was in need of a detail then. Add another year of neglect and you can use a little imagination to fill in the blanks.
Before we begin it should be noted that all surfaces should be cool to the touch. Hot surfaces can cause some chemicals to become more potent, causing permanent damage. Also make sure rotors are not hot before spraying cold water on them. The rapid cooling can cause rotors to warp.
I begin with the tires and wheels. Notice the brown of old, silicone tire dressings that retain dirt and the “blooming” of the tire.
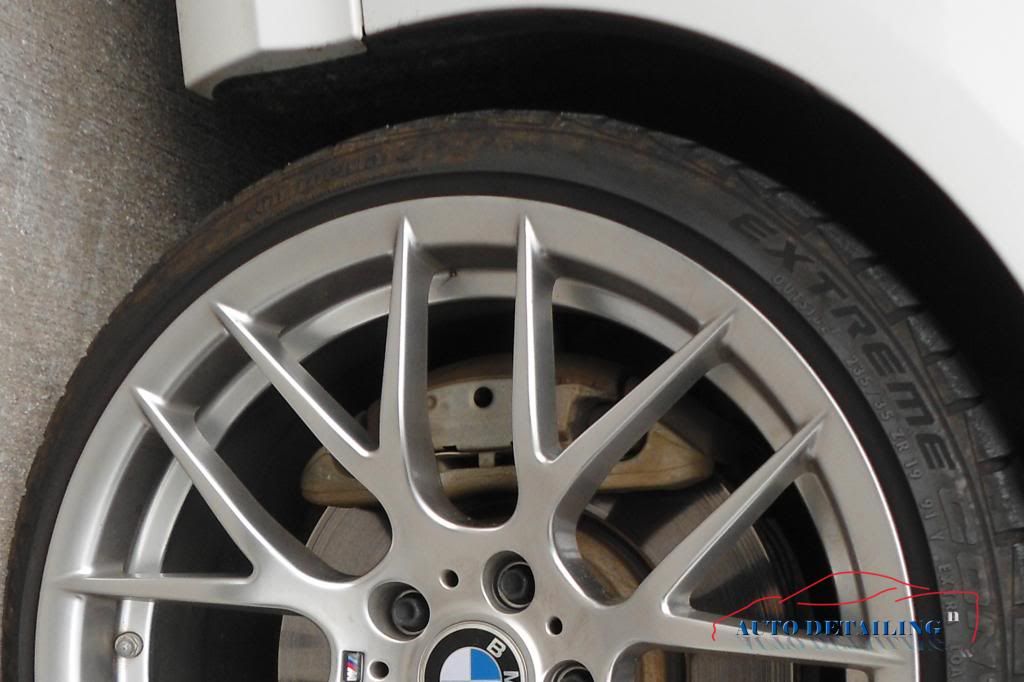
The process for the tires was spray with strong APC, dwell, scrub, spray again, scrub, rinse, spray with APC again, scrub, rinse. That took care of any dressing. Then a wheel and tire cleaner was sprayed and allowed to dwell. The brown could still be seen dripping off. After a scrub and final rinse I dried a tire to get a true look at it.
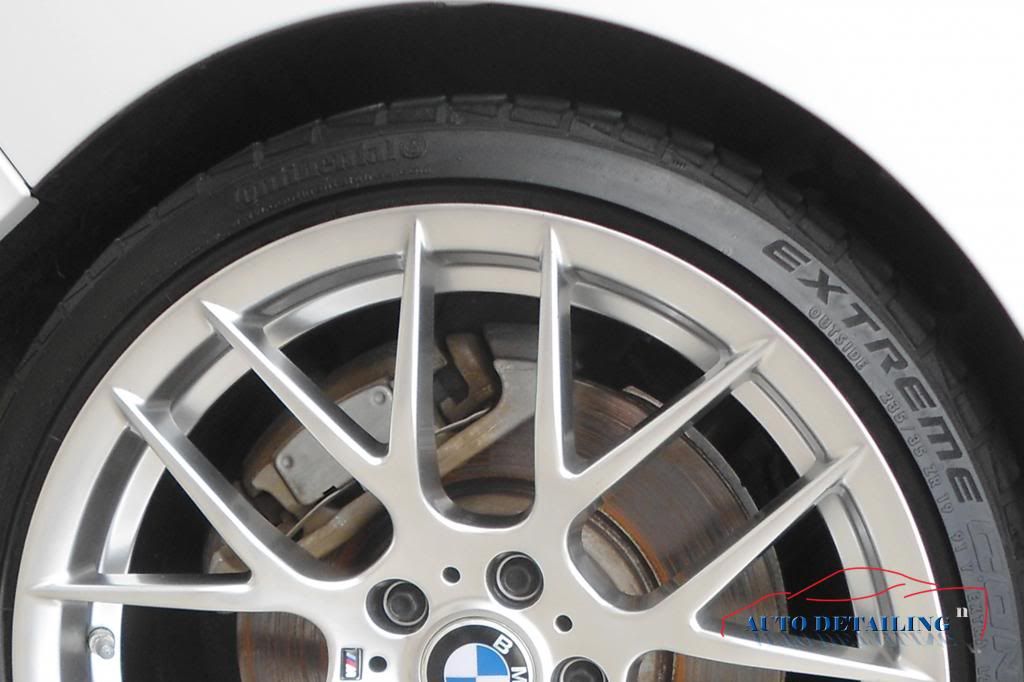
A wet tire will look good but will show its true condition again once dry. Many times people take the short cut and simply cover up the remaining grime with a dressing. Looks good until the dressing wears off again. This is the result after applying Optimum Opti-Bond mixed 1:1. Wheel wells were cleaned and plastic parts dressed with Meguiar’s Hyper Dressing 4:1. Wheels were finished with Opti-Seal.
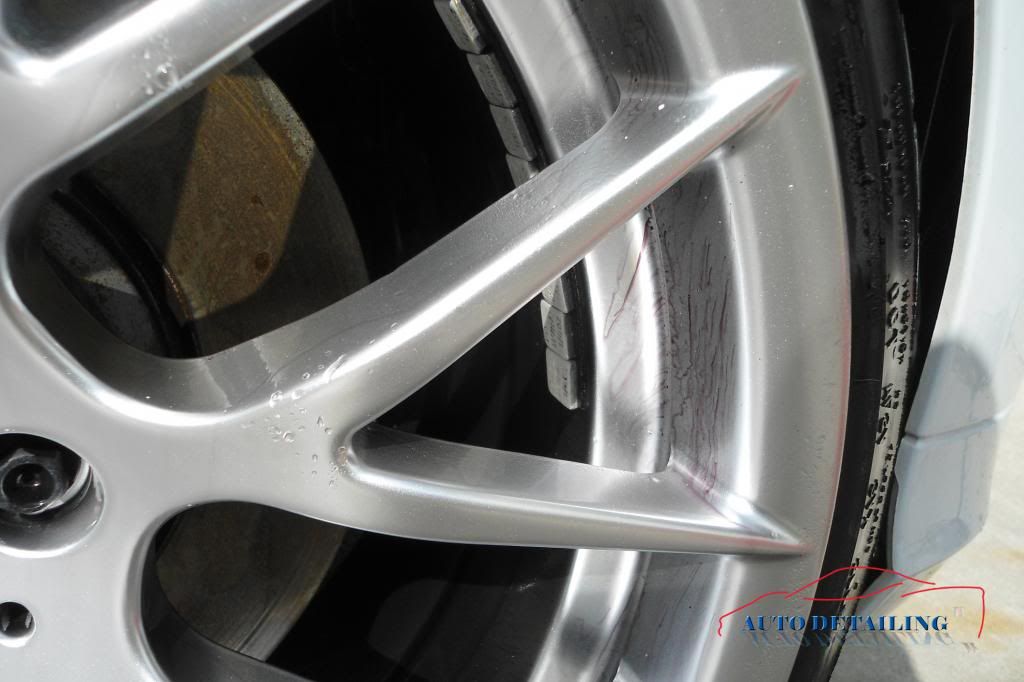
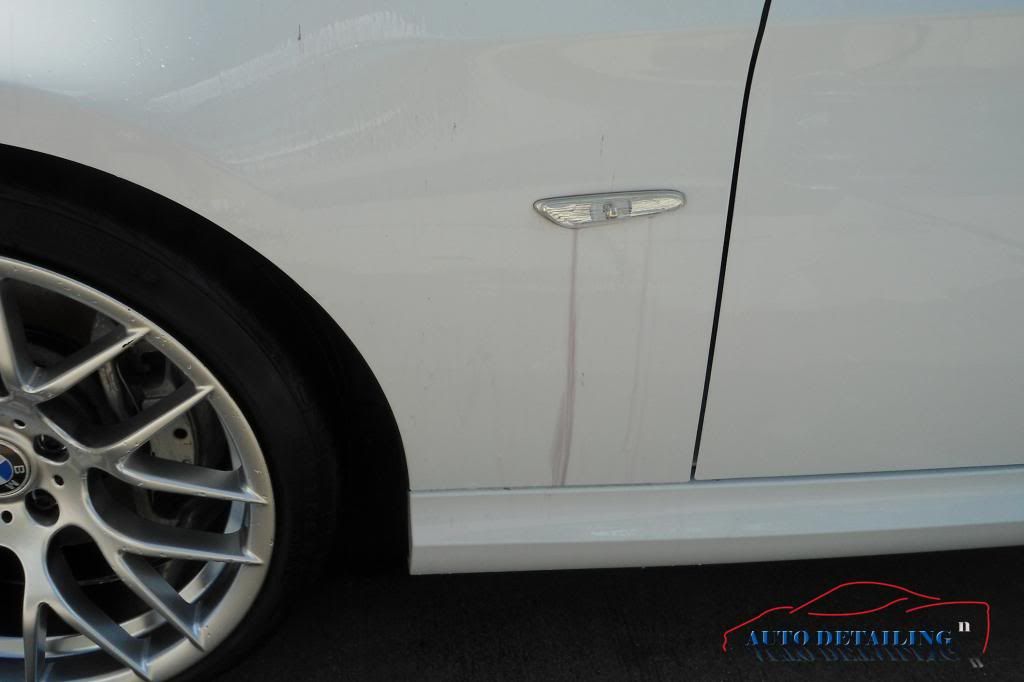
Moving on to the wheels I sprayed with PoorBoy’s World Spray & Rinse Wheel Cleaner. After dwelling I agitated with Wheel Woolies and a small detail brush for lug nut recesses. There was still some bonded contamination so I sprayed a little IronX on and let it dwell, then agitated with the Wheel Woolies. In all over an hour was spent on the wheels and tires.
The next step was the engine bay. I always do this before washing the rest of the car to avoid having to rewash. This was just a quick cleaning to get rid of the thick layer of pollen. Dressed with Meguiar’s Hyper Dressing 4:1.

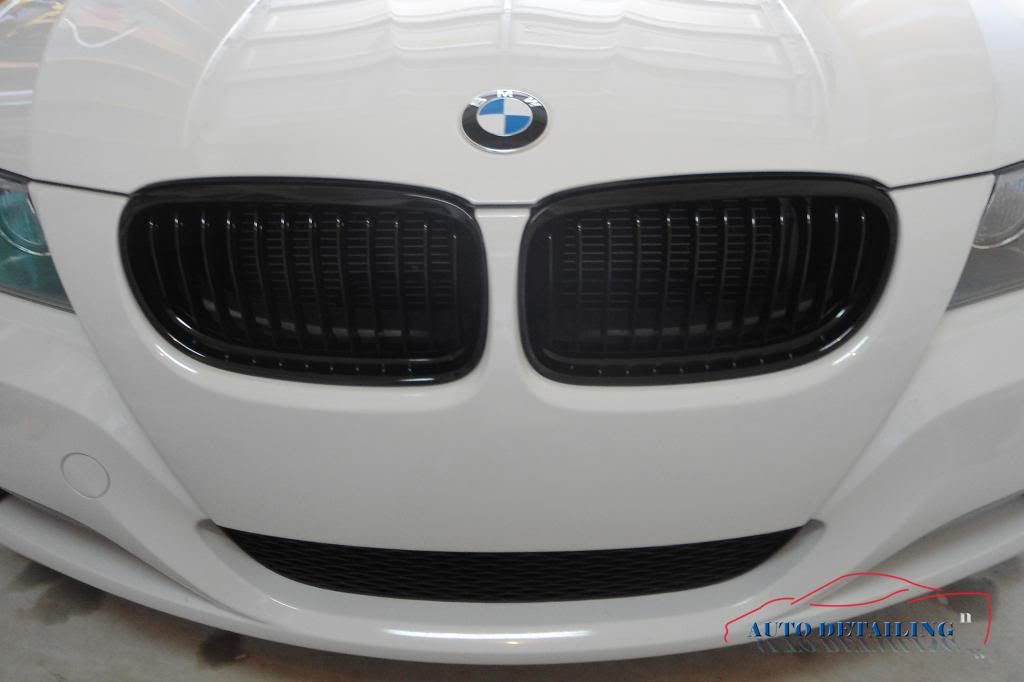
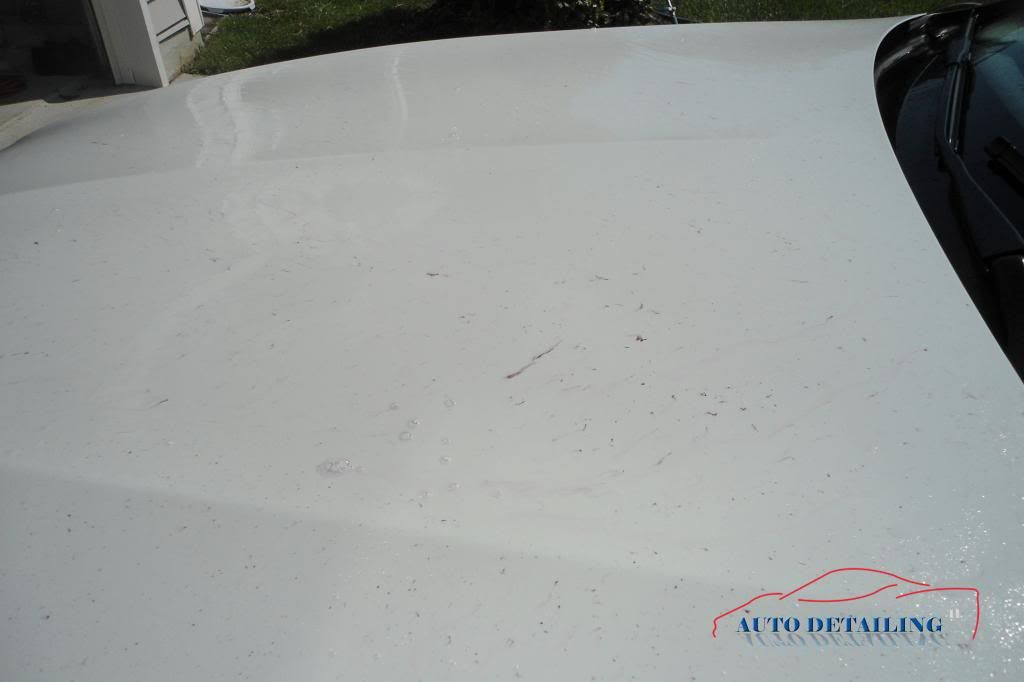
The front bumper was a mass grave for bugs.
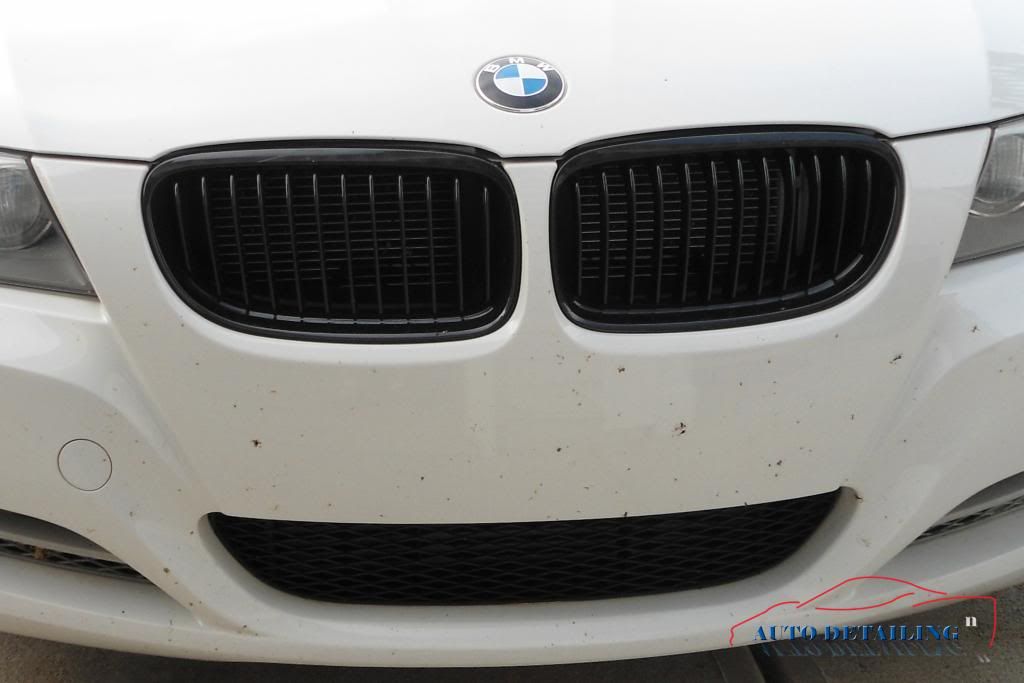
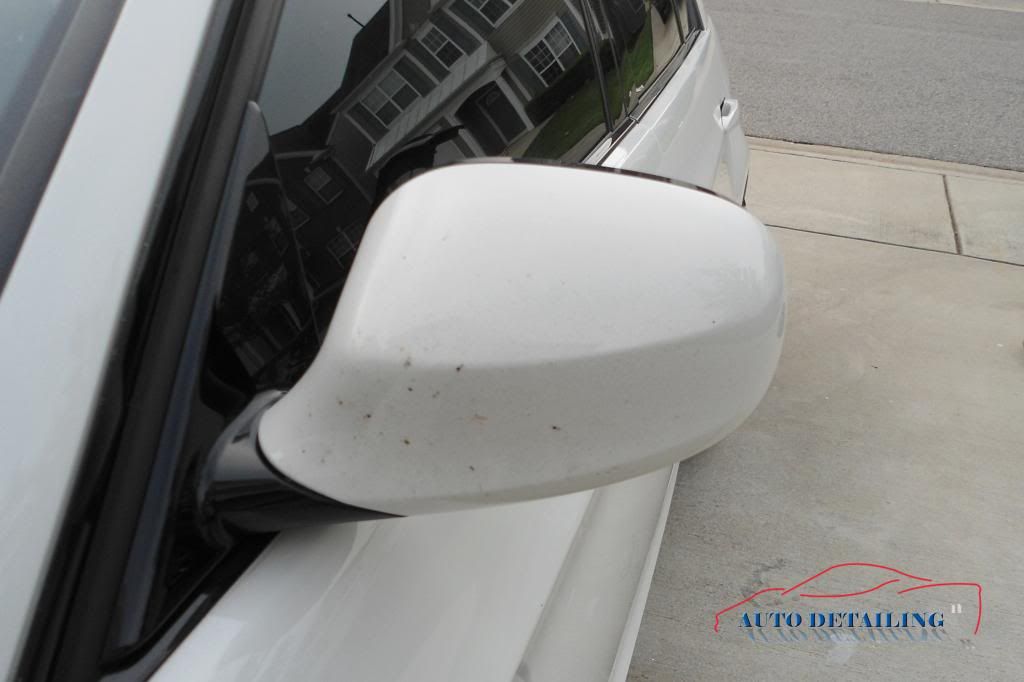
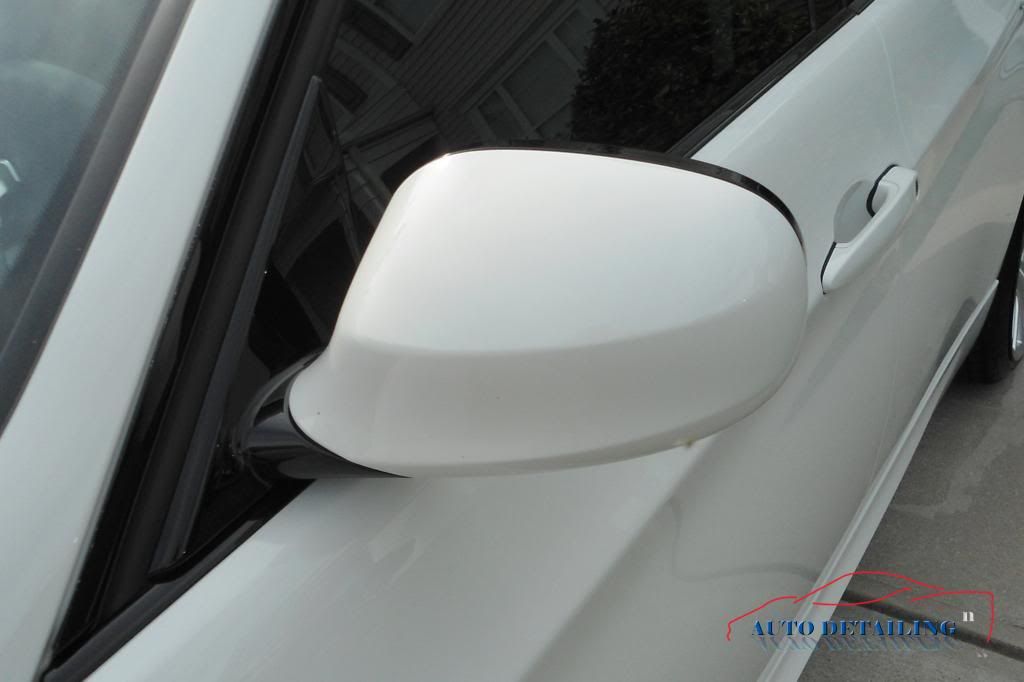
I treated the front bumper and side mirrors with Poorboy’s World Bug Squash, first at 3:1, then full strength when the diluted solution proved insufficient.
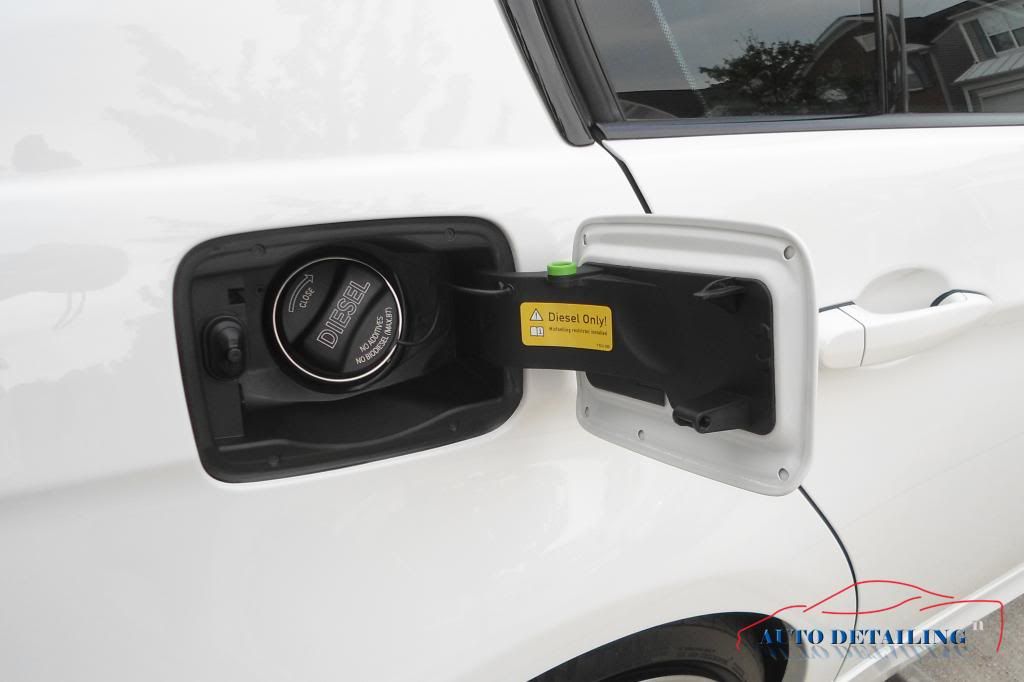
The car was then foamed with a heavy dose of Chemical Guy’s Citrus Wash & Gloss and allowed to dwell to cut through the grime. A thorough rinse then a standard two bucket wash. Areas like behind the fuel door, side mirror housings, roof rails, drip rails, seams, etc. were cleaned with a small boars hair brush.
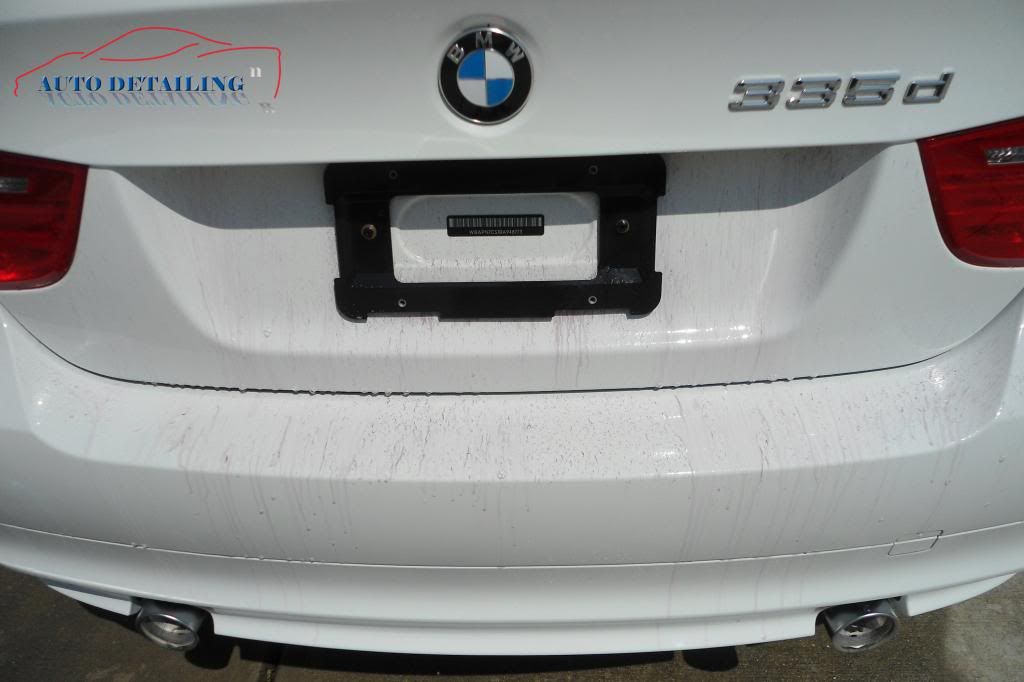
Some areas were then pre-treated with IronX such as the rear bumper and license plate alcove.
The whole car was then clayed (Speedy Prep Towel) and IronX applied to the whole car. Even after claying this is what IronX was still working on.
Particularly effective for areas not accessible with clay.
I then dealt with a few problem areas with Optimum Power Clean. This wax was caked on in the door handle recess. Probably had been there for 2+ years.
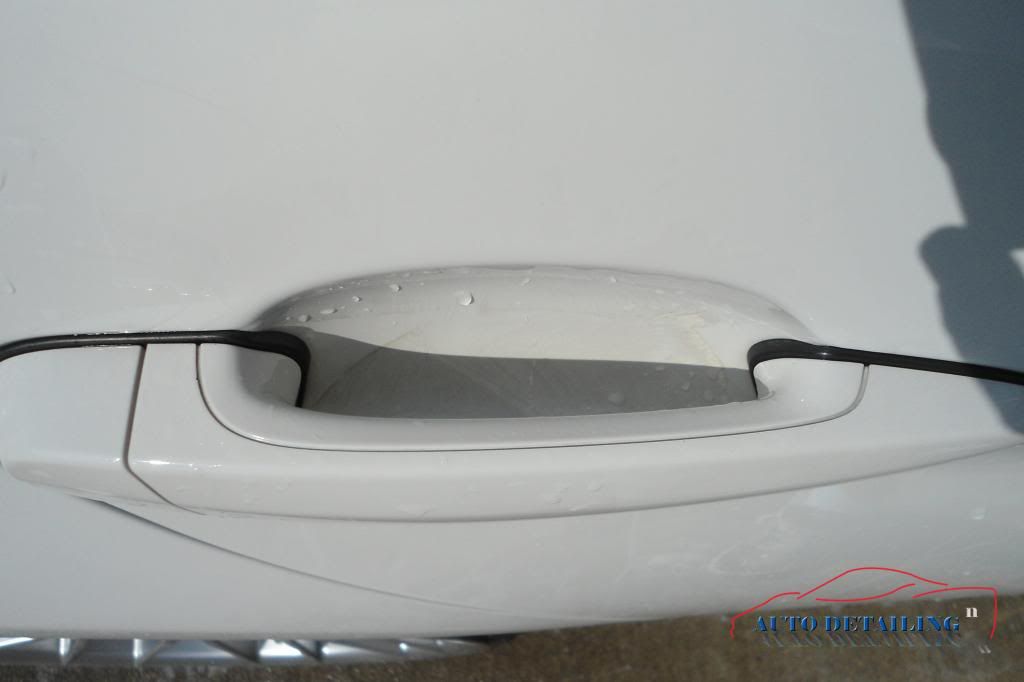
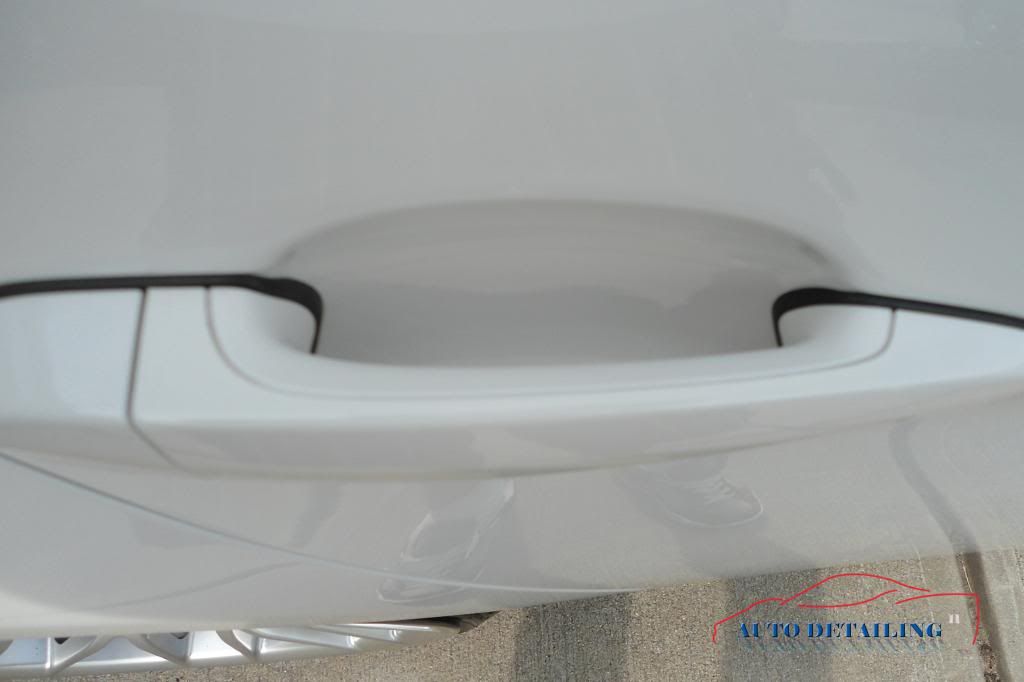
The door lock was caked with grime. I wish I had gotten a before pic. Optimum Power Clean, a stiff nylon brush and steam were required to get it clean. Also note how clean the groove is next to the door handle. It was a light brown, even after the wash. A little attention with the AIO brought it back to bright white.

There really is nothing spectacular about this detail. It was just an All-In-One polish to clean and protect the paint. The owner is, self-admittedly, lazy when caring for the car. He understands the risks of mechanical and touchless car washes but is realistic in knowing there will be times when he will take the shortcut. That being the case it was decided that the effort and cost of doing any correction would be wasted. This is a level of detail that can be done by hand by anyone and create significant results.
It was not until near the end of the detail that I planned this write up so I did not document every issue with before photos to show the difference. This customer first contacted me a year ago. The car was in need of a detail then. Add another year of neglect and you can use a little imagination to fill in the blanks.
Before we begin it should be noted that all surfaces should be cool to the touch. Hot surfaces can cause some chemicals to become more potent, causing permanent damage. Also make sure rotors are not hot before spraying cold water on them. The rapid cooling can cause rotors to warp.
I begin with the tires and wheels. Notice the brown of old, silicone tire dressings that retain dirt and the “blooming” of the tire.

The process for the tires was spray with strong APC, dwell, scrub, spray again, scrub, rinse, spray with APC again, scrub, rinse. That took care of any dressing. Then a wheel and tire cleaner was sprayed and allowed to dwell. The brown could still be seen dripping off. After a scrub and final rinse I dried a tire to get a true look at it.
A wet tire will look good but will show its true condition again once dry. Many times people take the short cut and simply cover up the remaining grime with a dressing. Looks good until the dressing wears off again. This is the result after applying Optimum Opti-Bond mixed 1:1. Wheel wells were cleaned and plastic parts dressed with Meguiar’s Hyper Dressing 4:1. Wheels were finished with Opti-Seal.

Moving on to the wheels I sprayed with PoorBoy’s World Spray & Rinse Wheel Cleaner. After dwelling I agitated with Wheel Woolies and a small detail brush for lug nut recesses. There was still some bonded contamination so I sprayed a little IronX on and let it dwell, then agitated with the Wheel Woolies. In all over an hour was spent on the wheels and tires.

The next step was the engine bay. I always do this before washing the rest of the car to avoid having to rewash. This was just a quick cleaning to get rid of the thick layer of pollen. Dressed with Meguiar’s Hyper Dressing 4:1.

The front bumper was a mass grave for bugs.

I treated the front bumper and side mirrors with Poorboy’s World Bug Squash, first at 3:1, then full strength when the diluted solution proved insufficient.


The car was then foamed with a heavy dose of Chemical Guy’s Citrus Wash & Gloss and allowed to dwell to cut through the grime. A thorough rinse then a standard two bucket wash. Areas like behind the fuel door, side mirror housings, roof rails, drip rails, seams, etc. were cleaned with a small boars hair brush.


Some areas were then pre-treated with IronX such as the rear bumper and license plate alcove.

The whole car was then clayed (Speedy Prep Towel) and IronX applied to the whole car. Even after claying this is what IronX was still working on.

Particularly effective for areas not accessible with clay.

I then dealt with a few problem areas with Optimum Power Clean. This wax was caked on in the door handle recess. Probably had been there for 2+ years.


The door lock was caked with grime. I wish I had gotten a before pic. Optimum Power Clean, a stiff nylon brush and steam were required to get it clean. Also note how clean the groove is next to the door handle. It was a light brown, even after the wash. A little attention with the AIO brought it back to bright white.


