I haven`t posted on here for a while so figured I`d share this.
I had an 84 Scirocco right out of high school and I loved that car.
I had to sell it when I went to school and ever since I`ve thought about that car!
I remember when the 16v Sciroccos came out and I was in love. I went to a VW dealership and just sat in one... dreaming of owning it. But I didn`t have the cash.
I searched on the internet for years until I found the right car. I was looking for a silver car (my original one was silver) but never found one... but this red one was all original, or as original as I had seen one in a long while so I jumped at it.
I got the car about two months ago.
After many weeks of working on this car I finally have it finished.... sort of")
I started with a very good car to begin with, it just needed some TLC and a few mechanical things done.
Here`s what she looked like at the beginning... a small dent in the front fender.
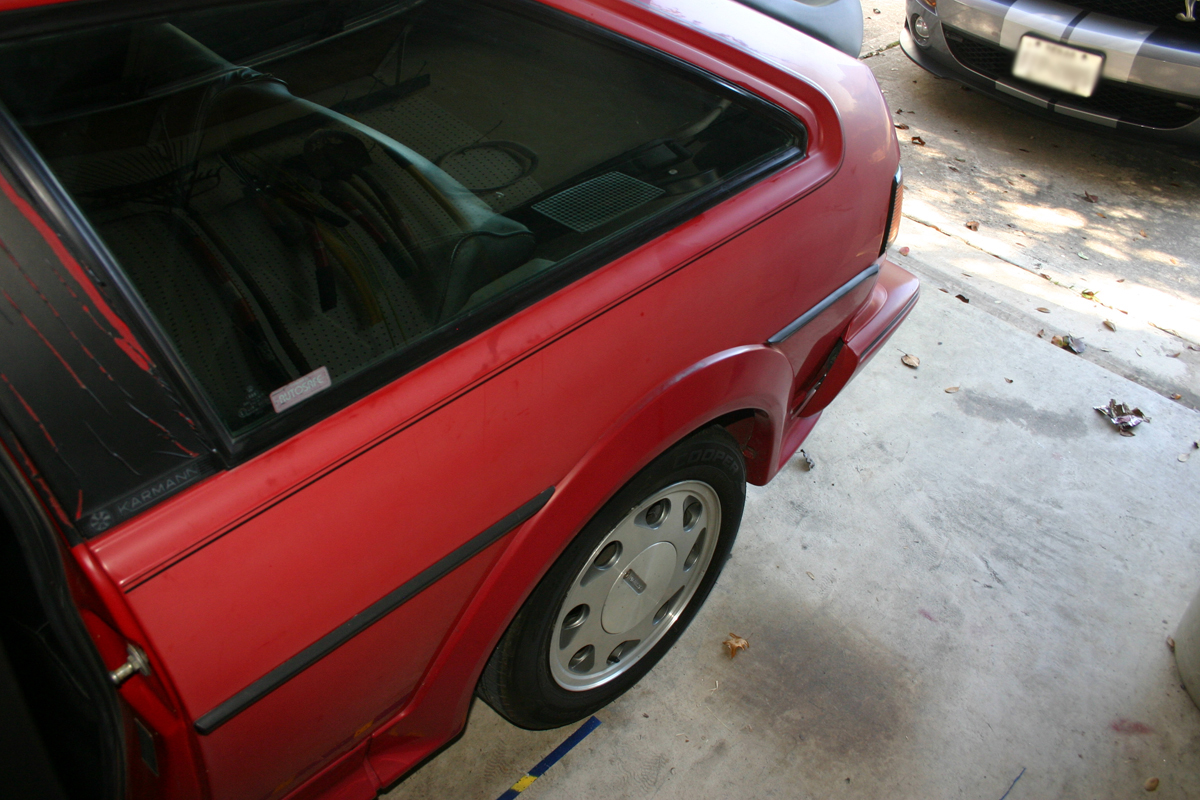
The Rear Quarter.. notice the dull paint/shine
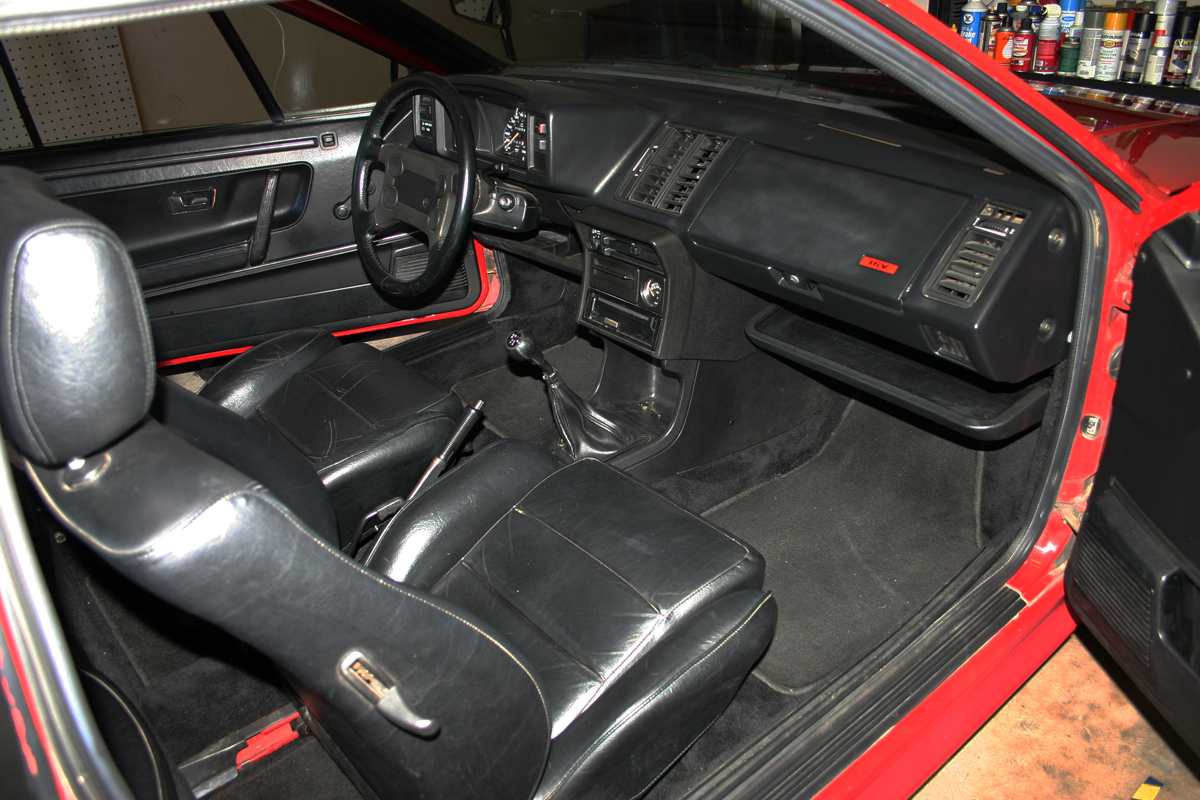
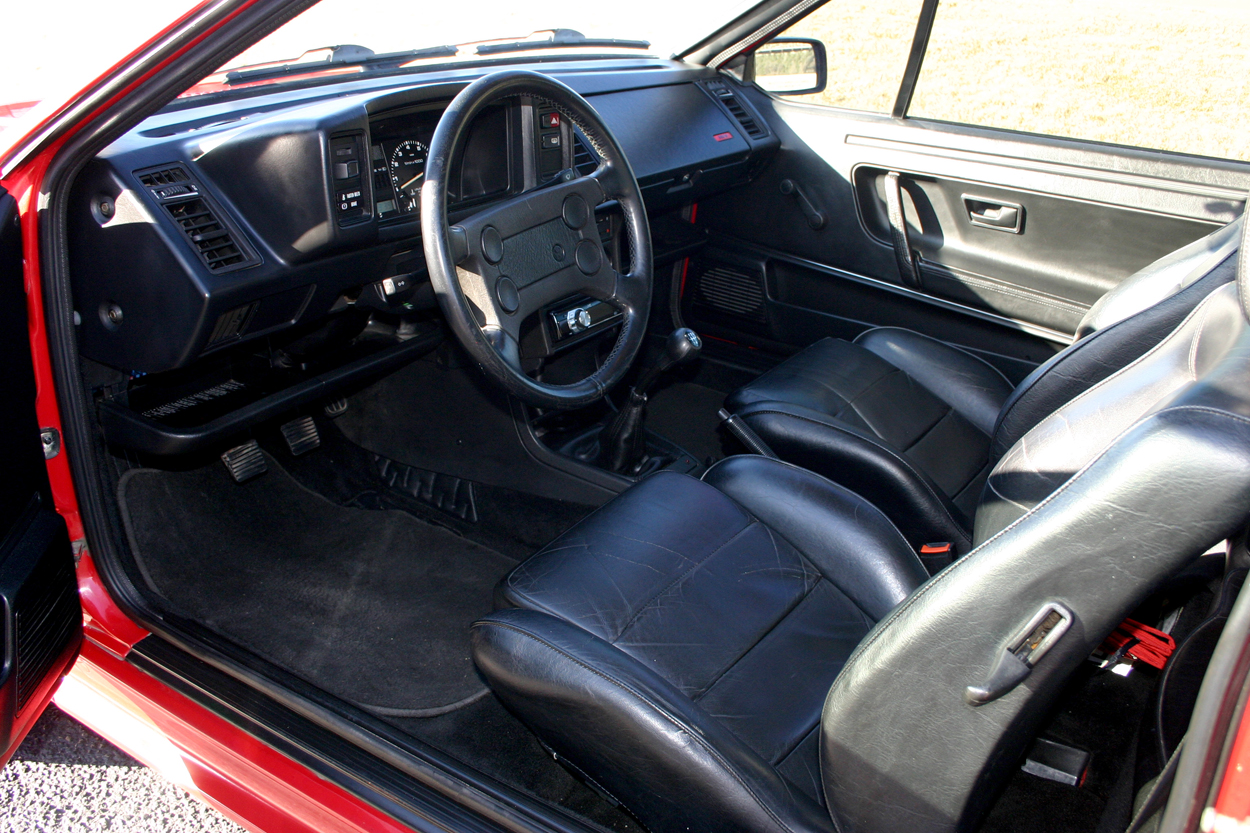
Interior... nice interior, just needed a little cleaning
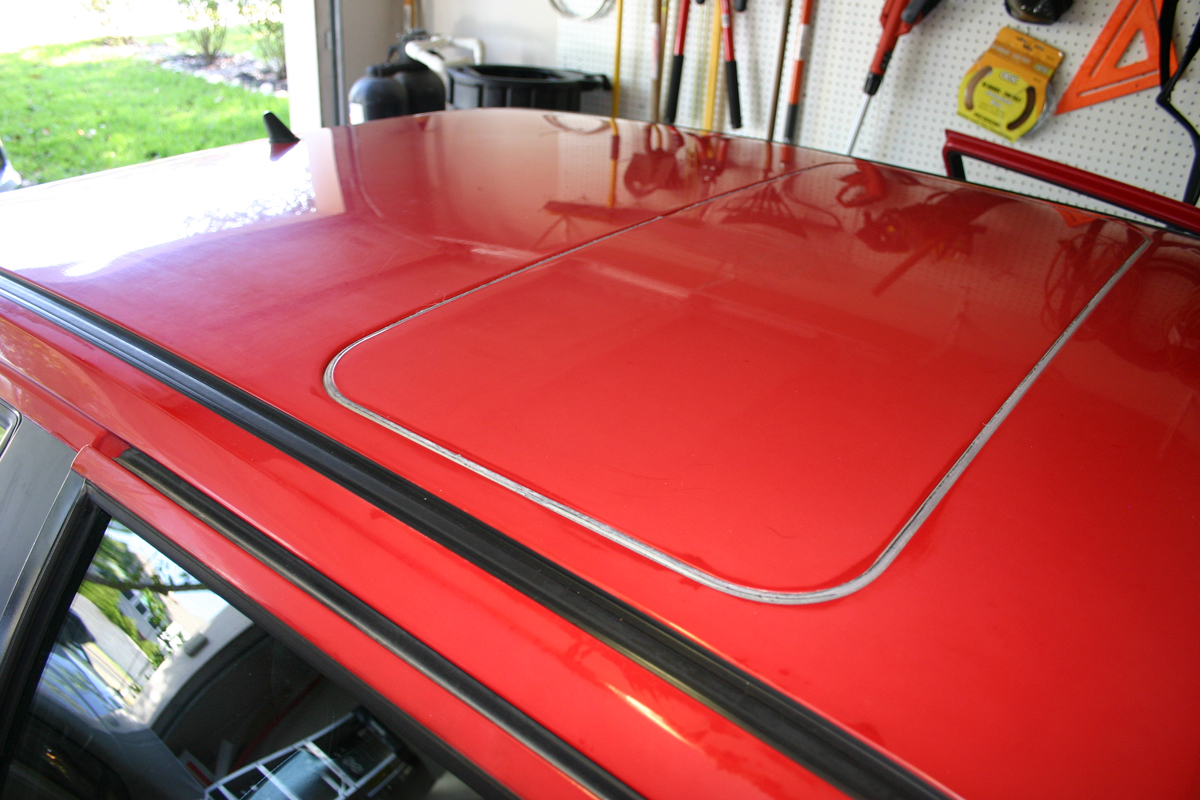
Sun roof seal in need of replacement... also notice the faded/oxidized paint
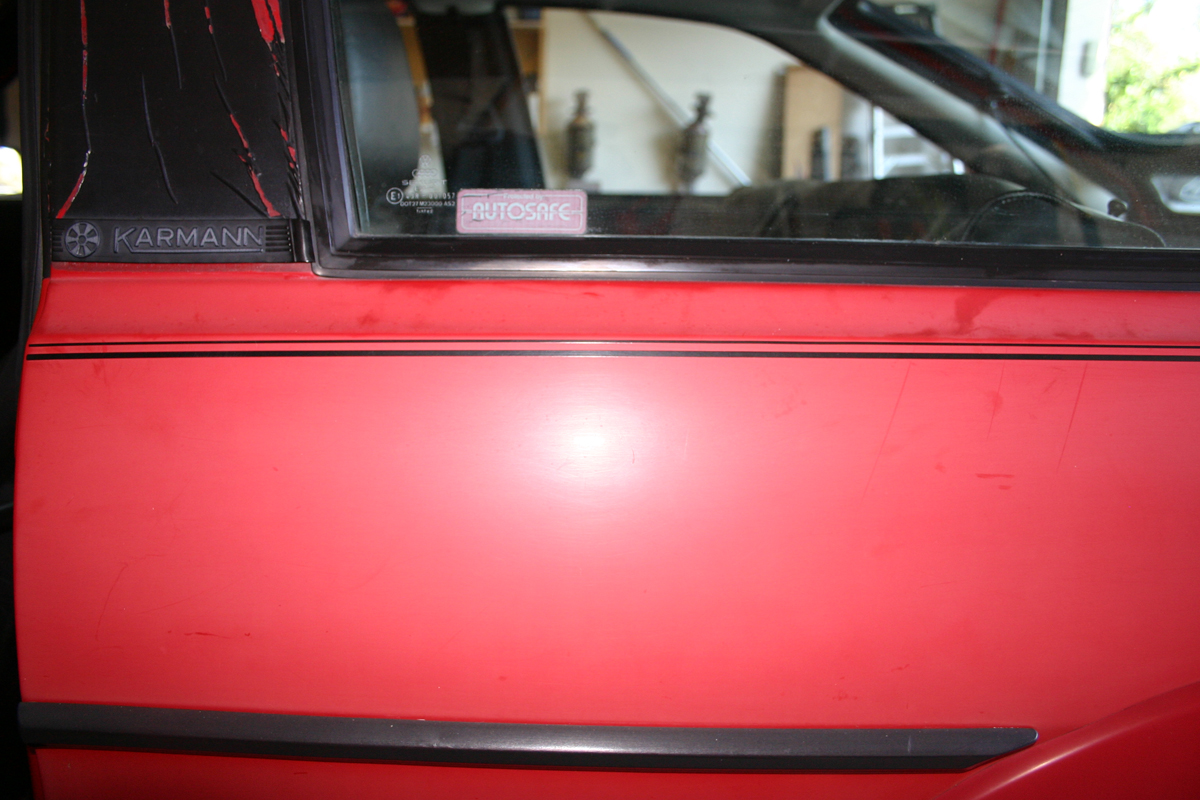
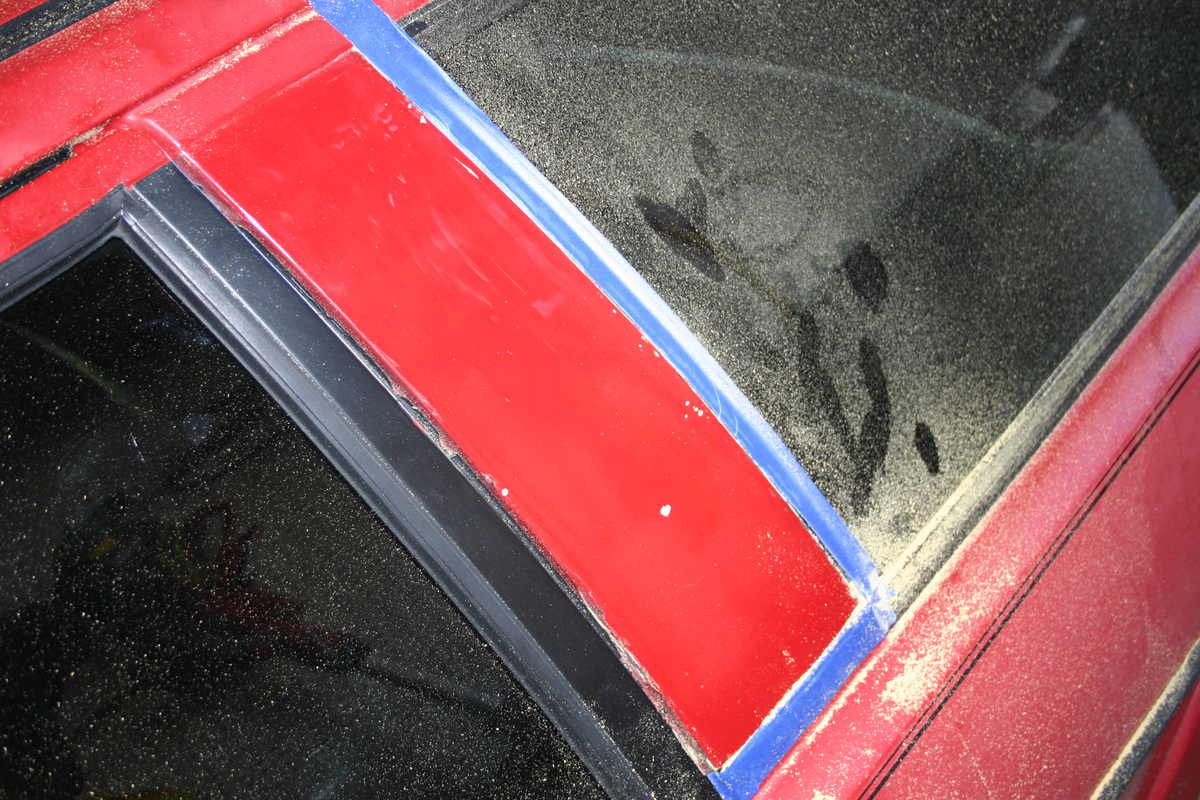
The worst panel... must have been out in the sun more than the others.. notice the B-Pillar vinyl has perished.
Closer look at the dent

Closer look at the rear panel (worst one)
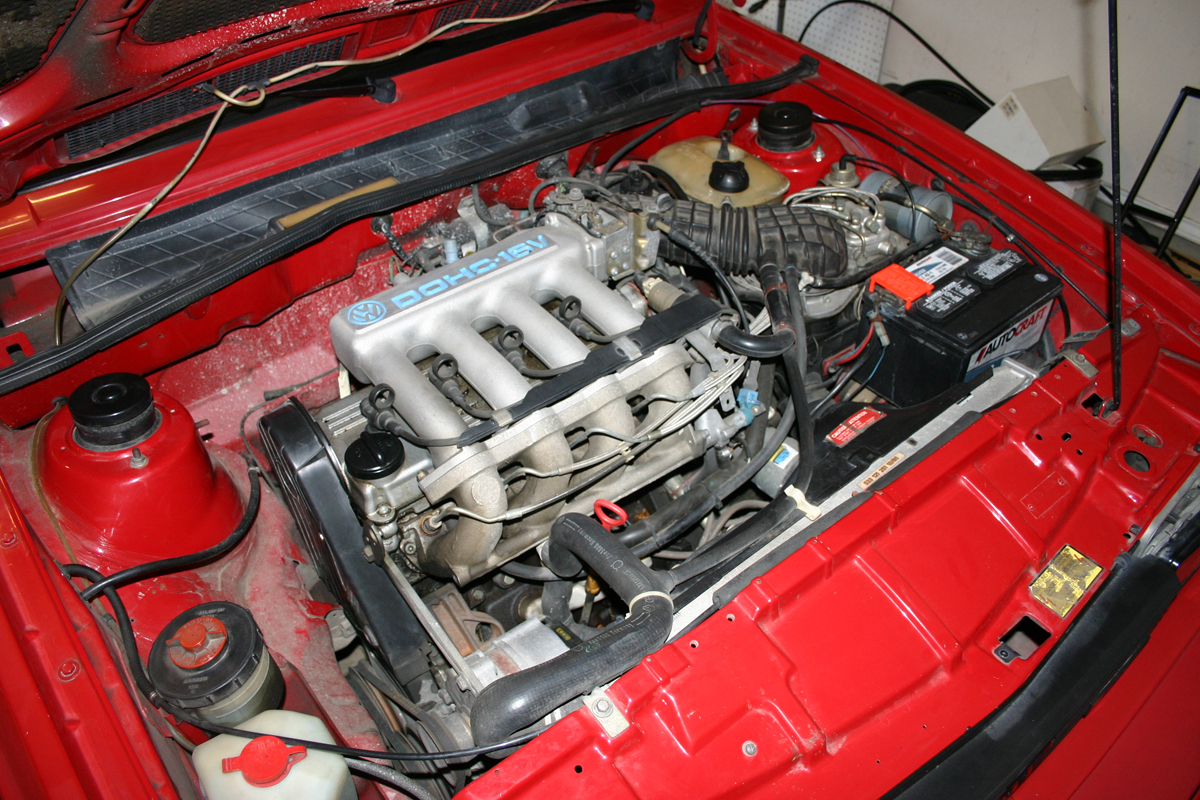
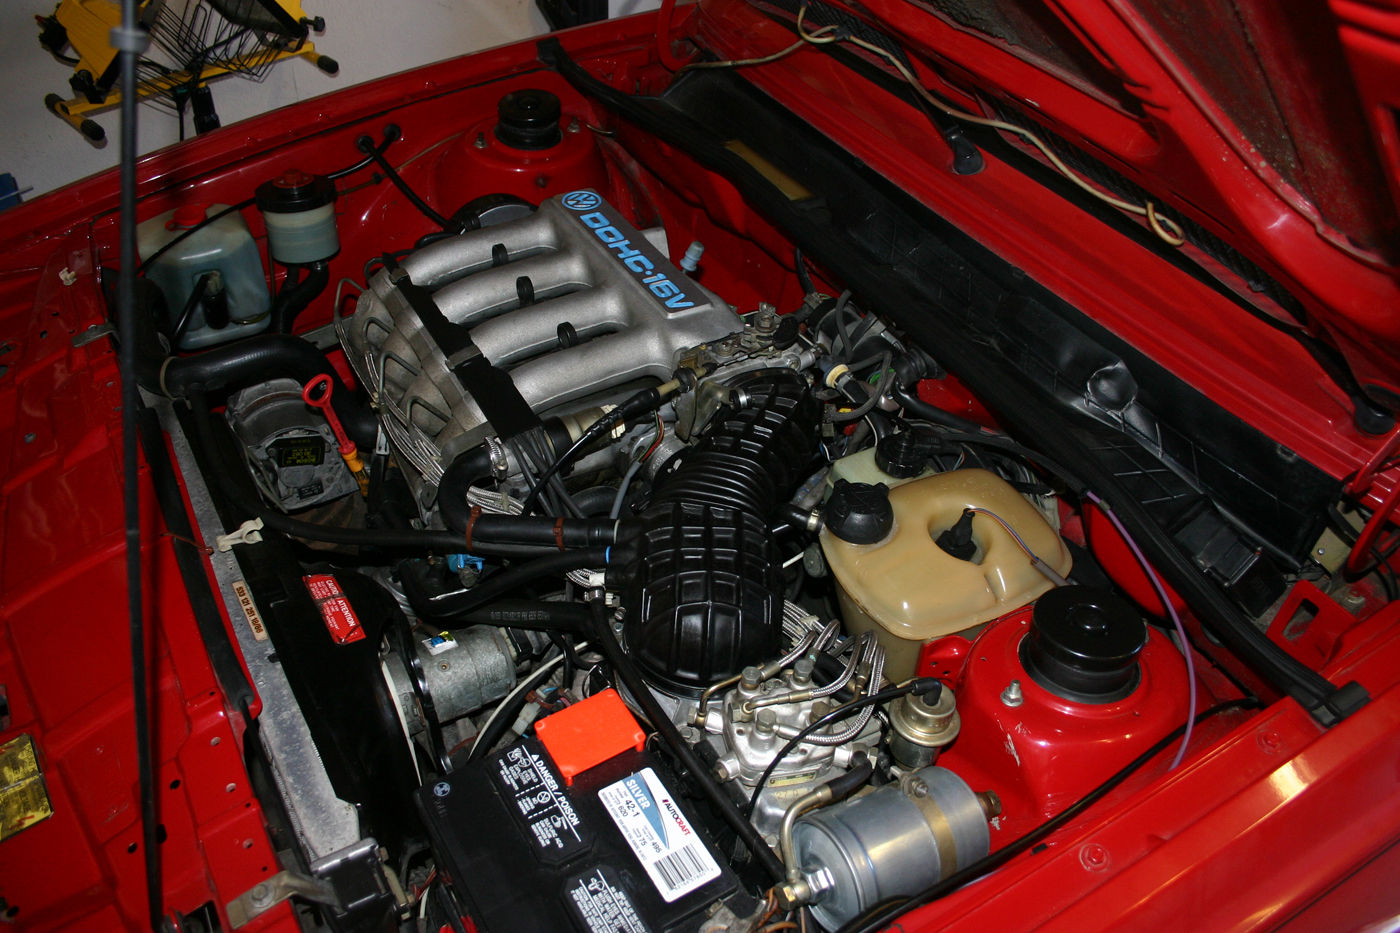
Engine Bay... quite dirty... behind the rain tray it looked like some critters might have taken up a little home.
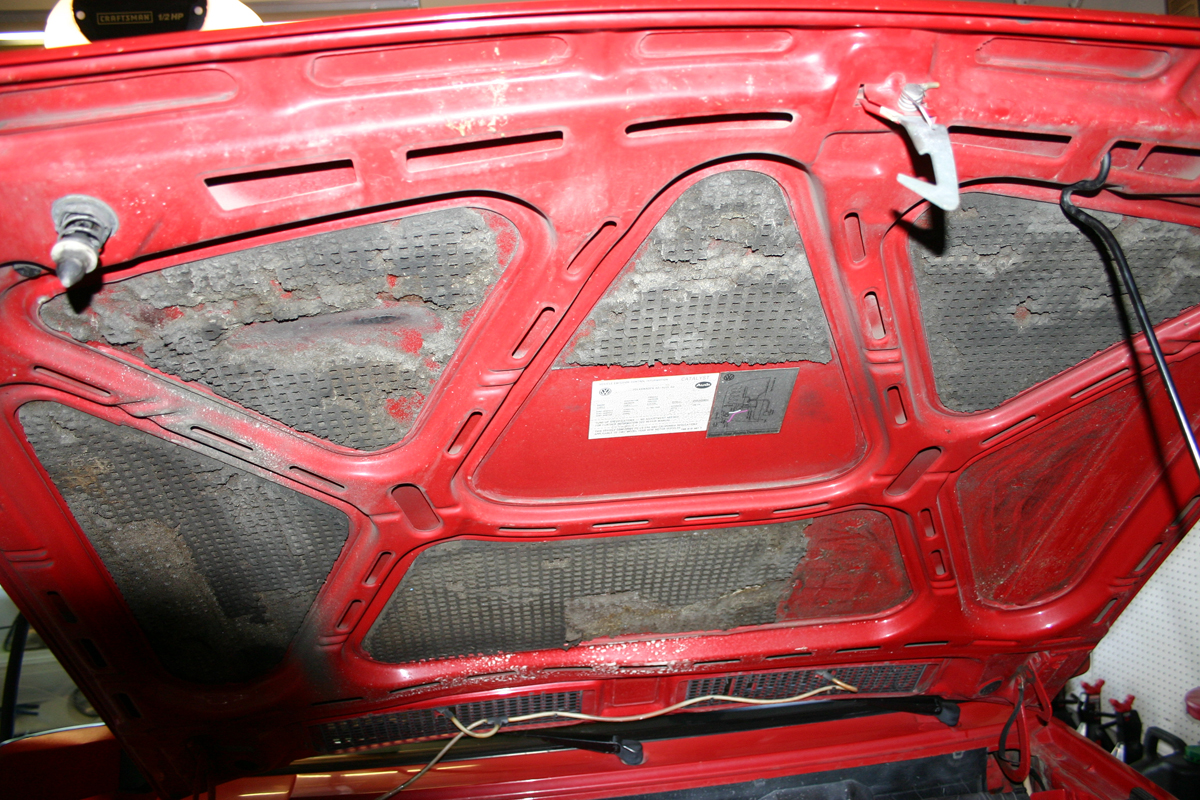
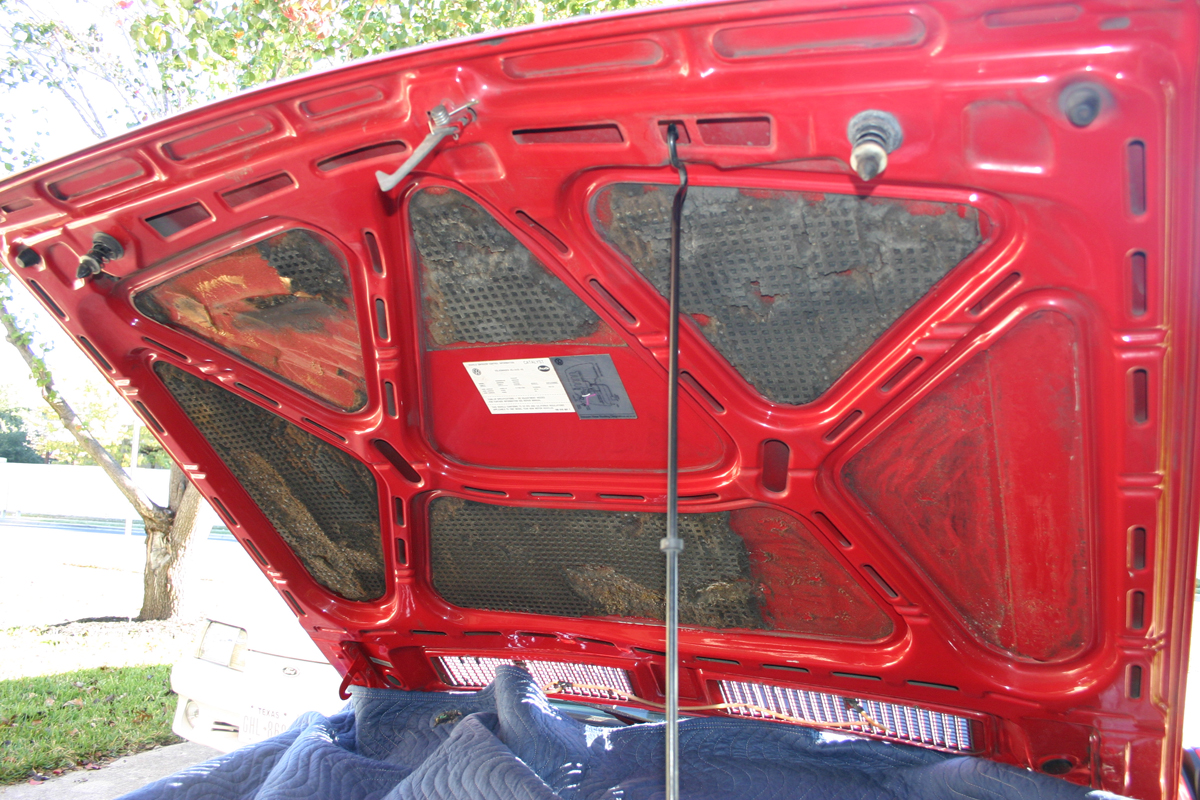
Hood Insulation is shot
Now the start...
Removed the perished vinyl after A LOT of work
After replacing vinyl

Removed sun roof and replaced seal... notice the paint is in pretty bad shape... Still haven`t been able to get the roof to operate correctly after re-install.. still working on it.
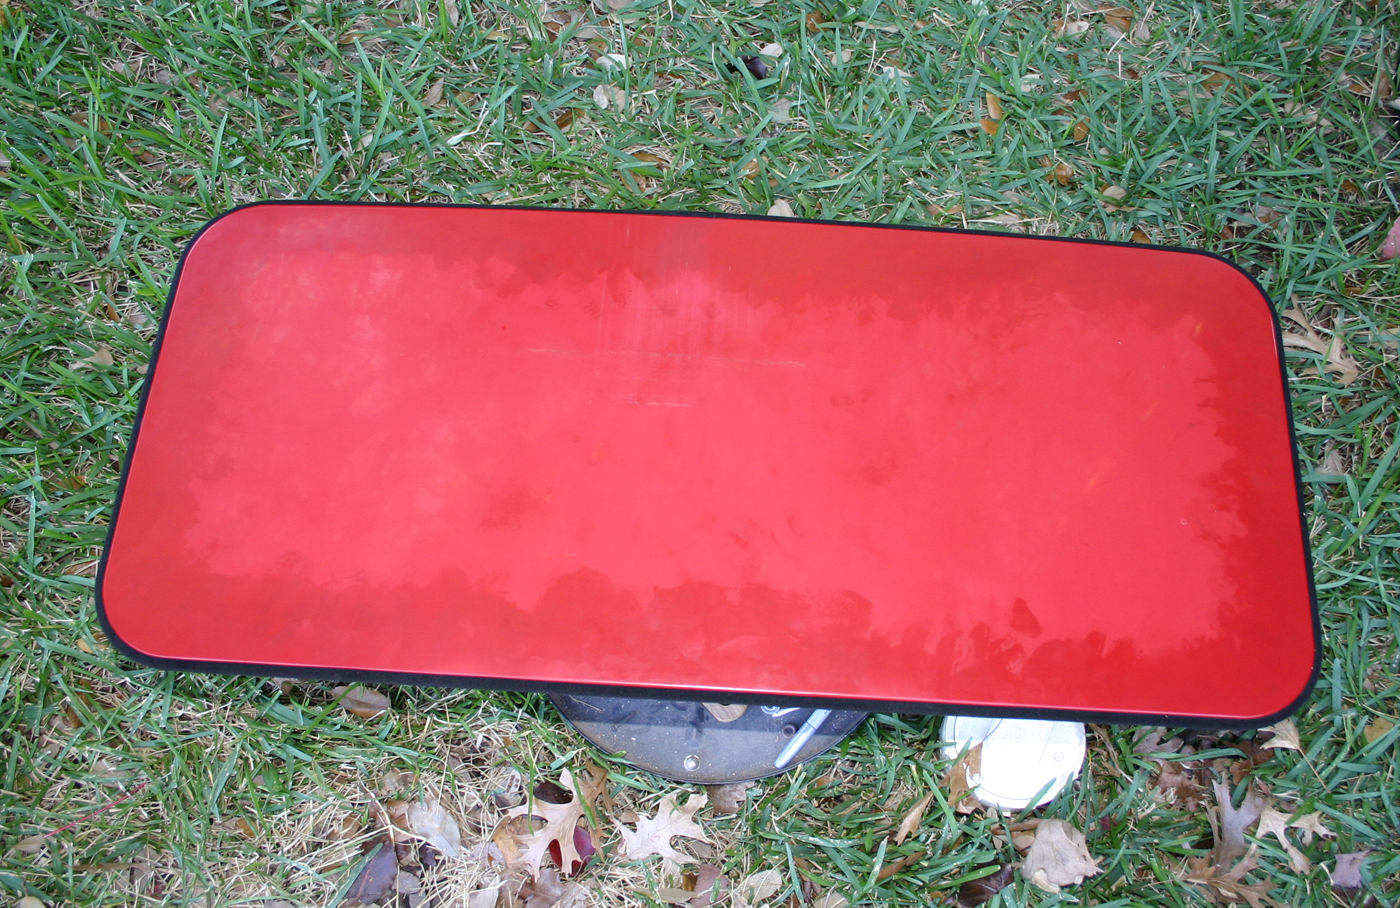
Replaced roof and polished roof... the faded part is where I taped off the seal... it was taken care of after

Beginning work on rear quarter
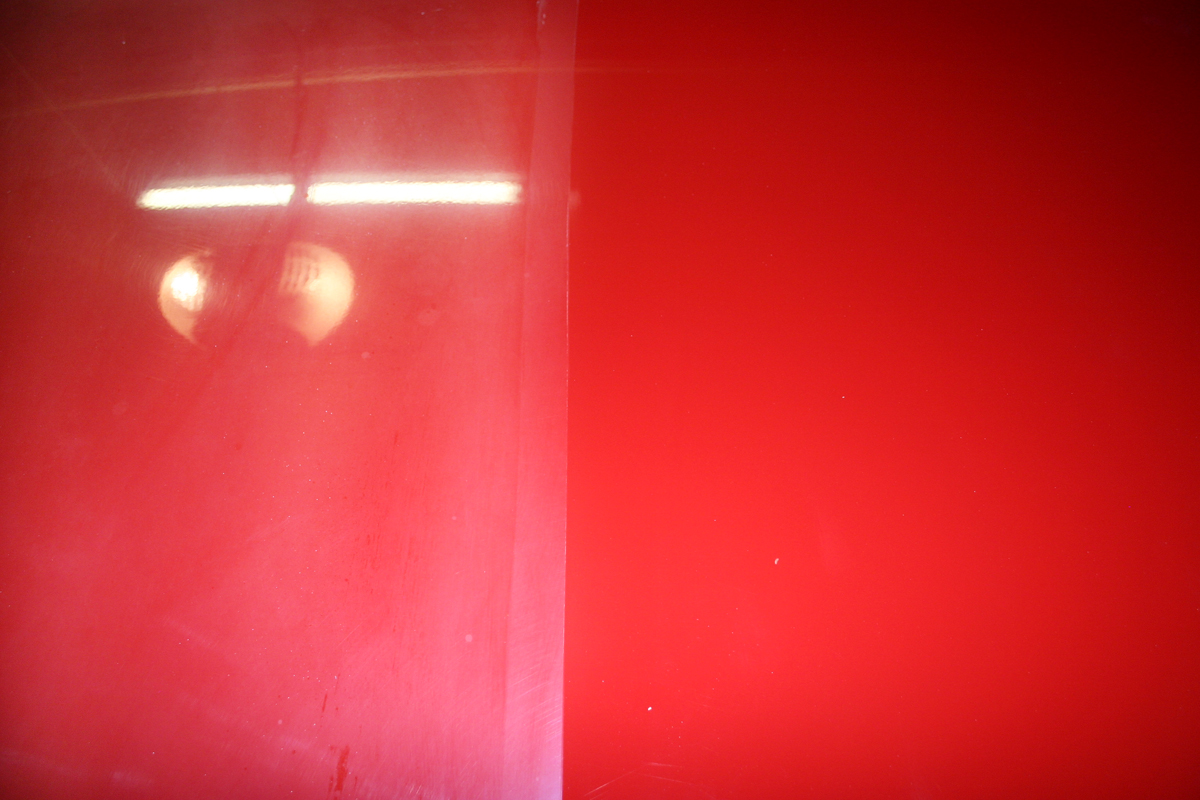
Half and half on hood... that beautiful red is coming out!

Another half and half
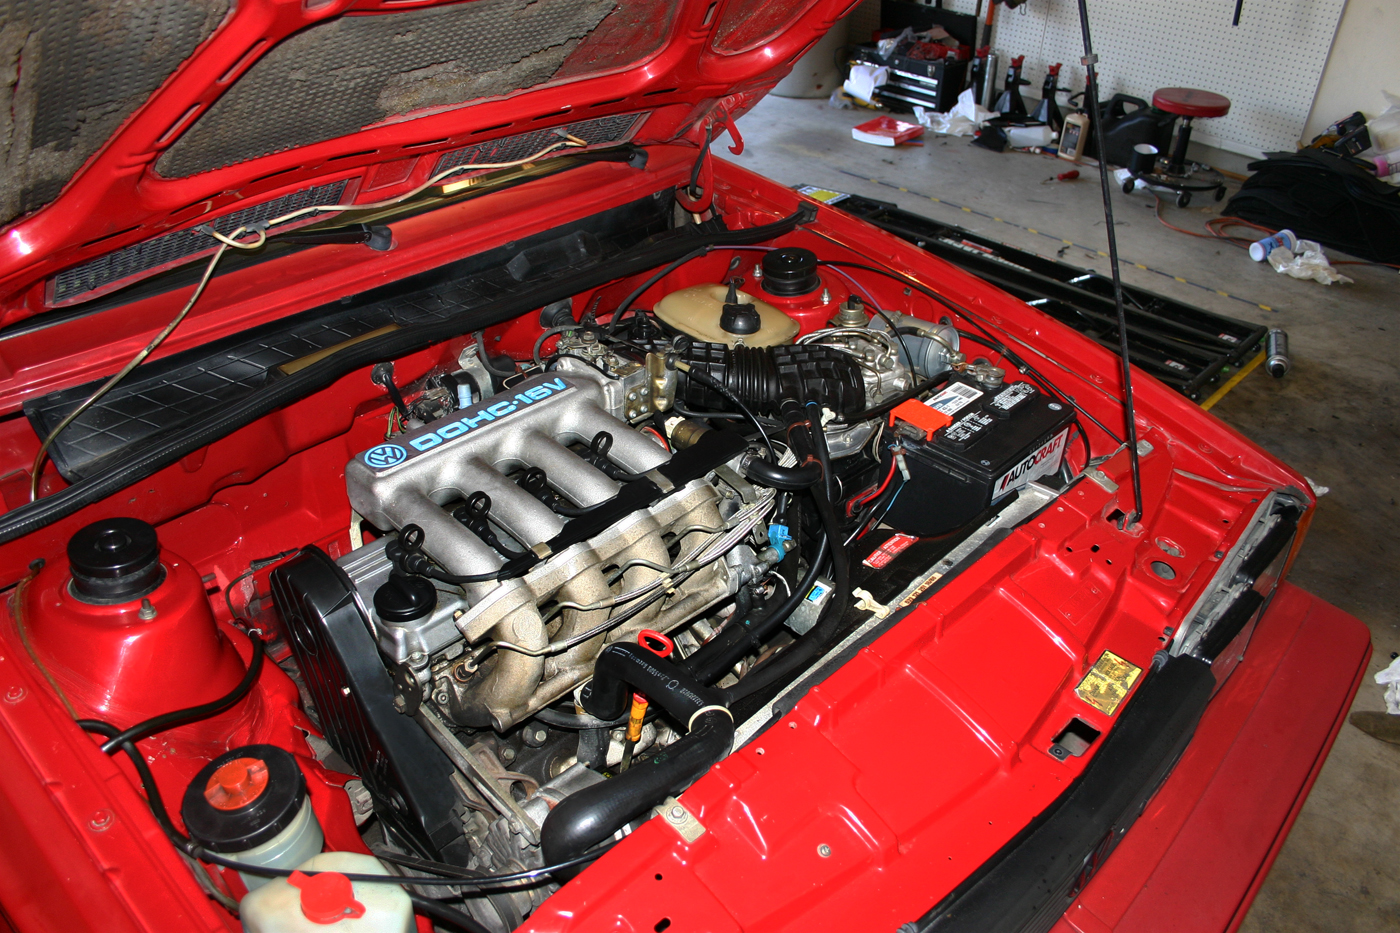
Engine Bay after cleaning
Put down a blanket over the engine bay and scraped off all the perished insulation.
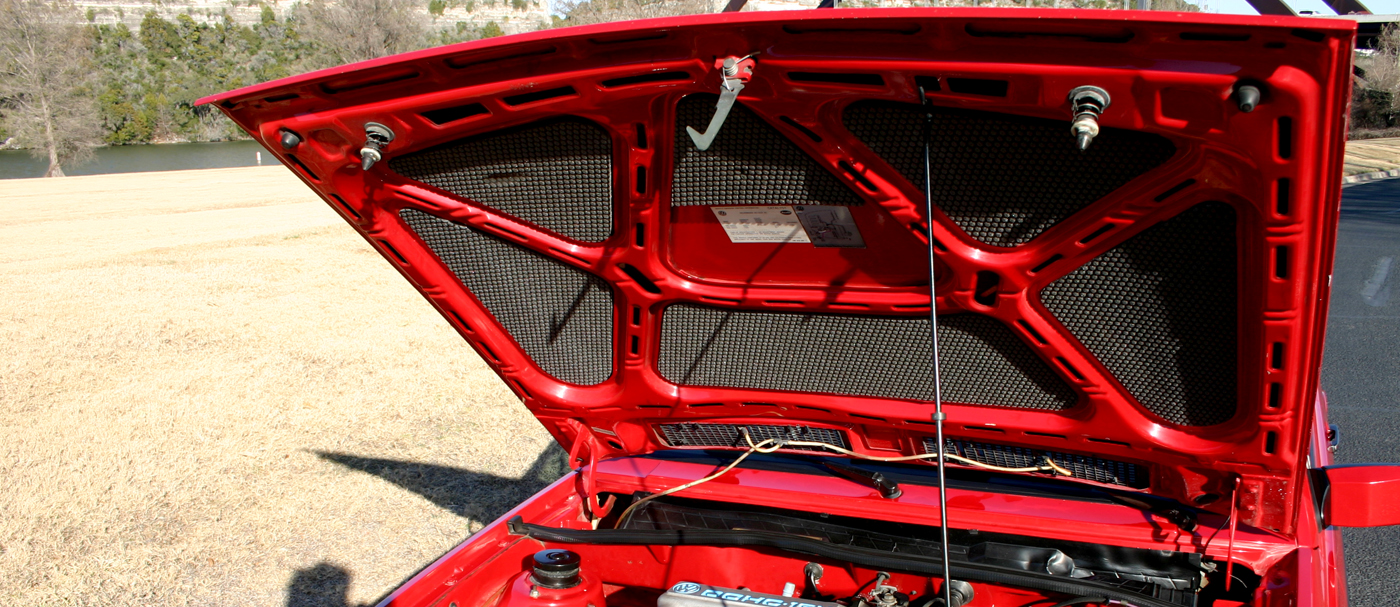
New replacement insulation installed
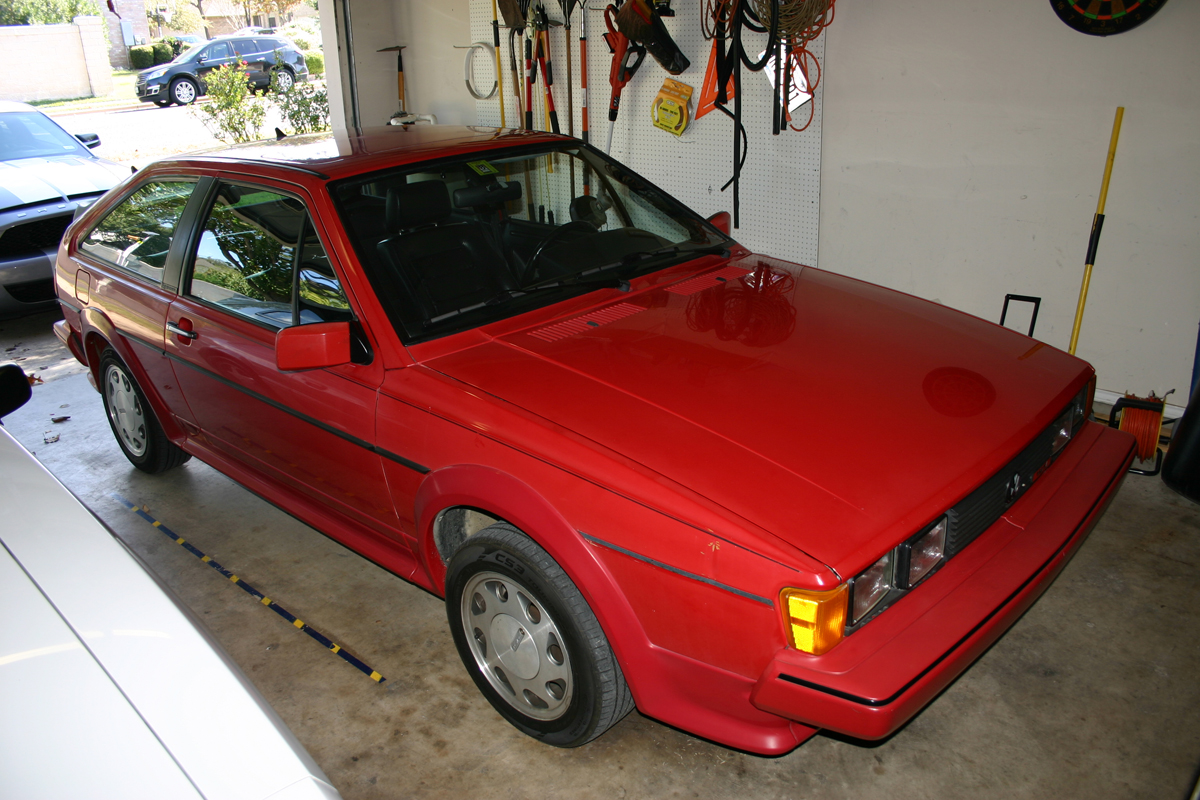
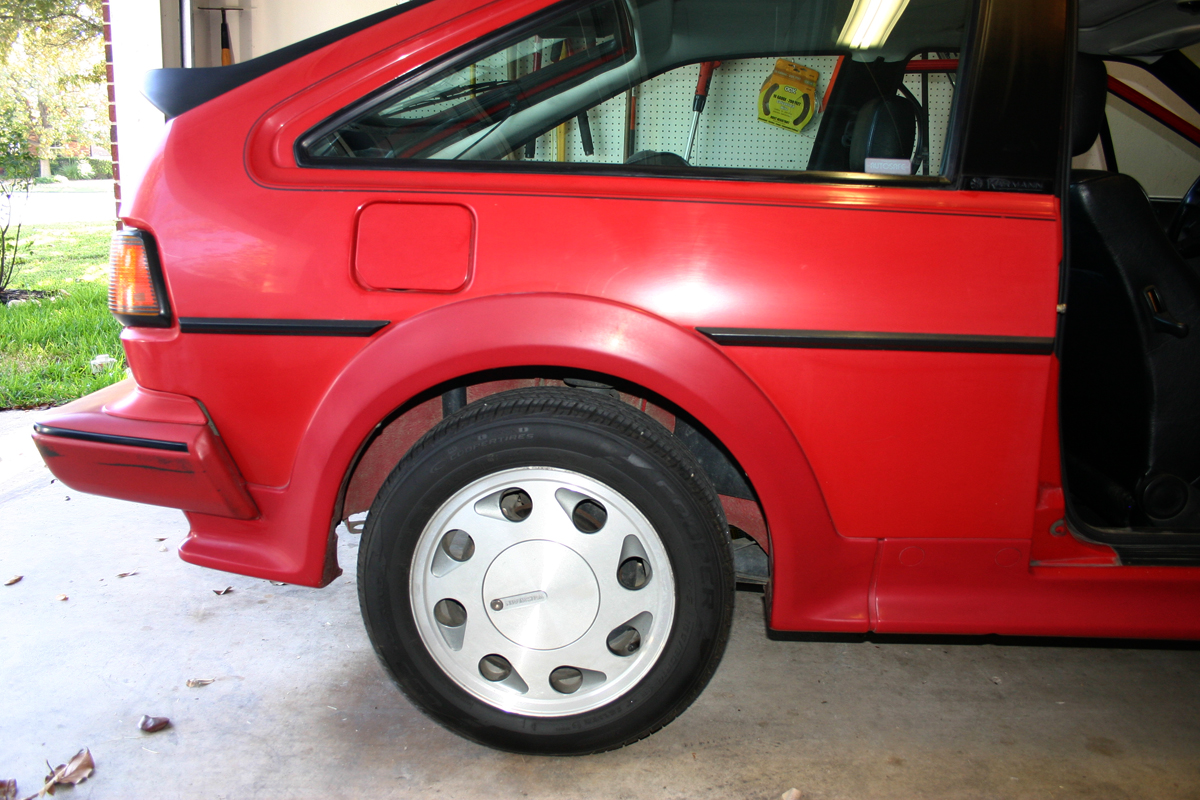
Here are the finished pictures.
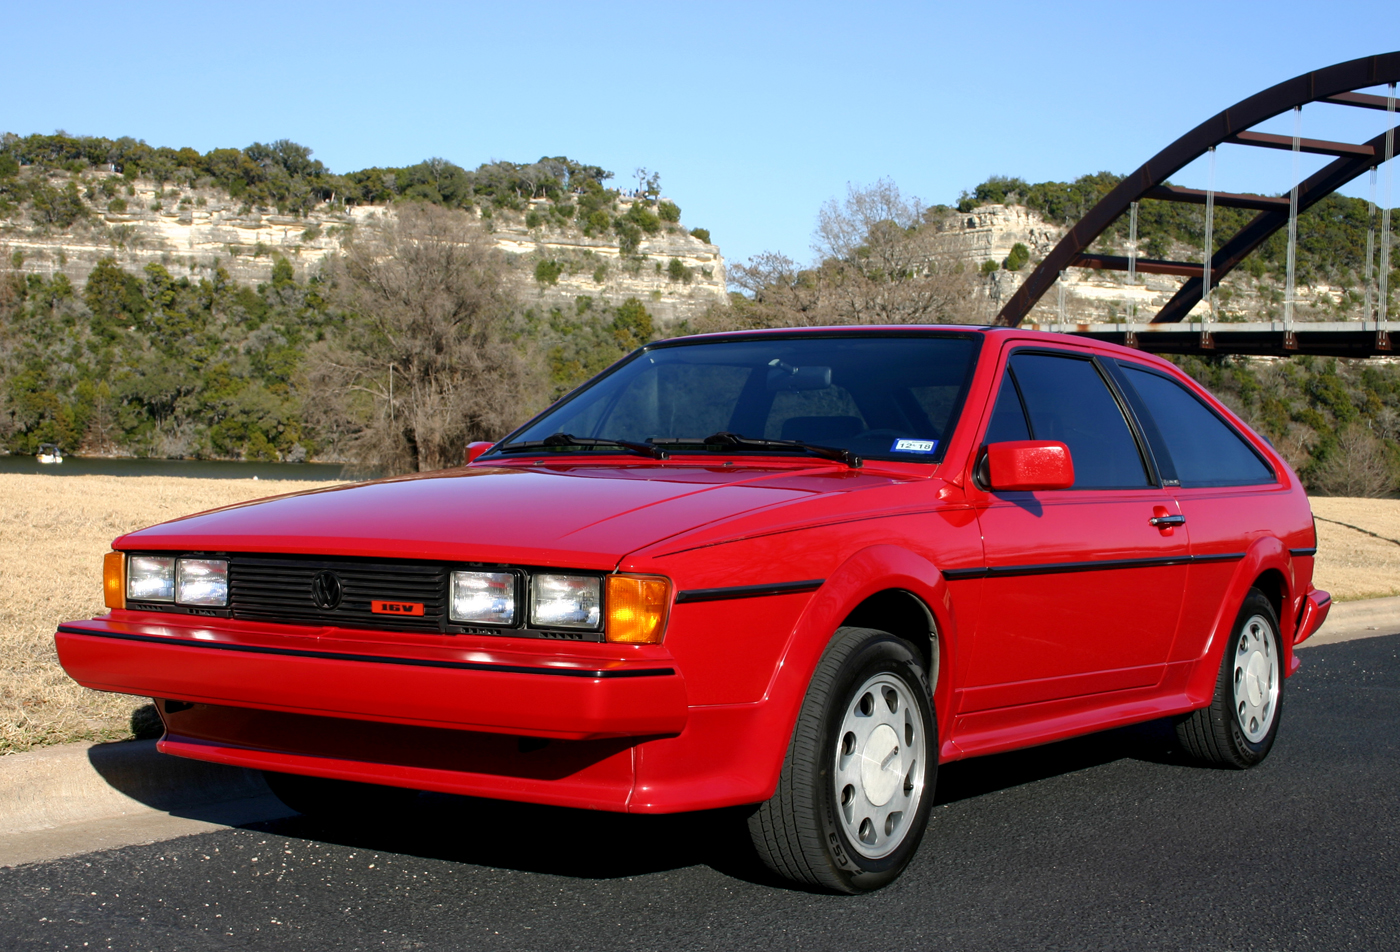
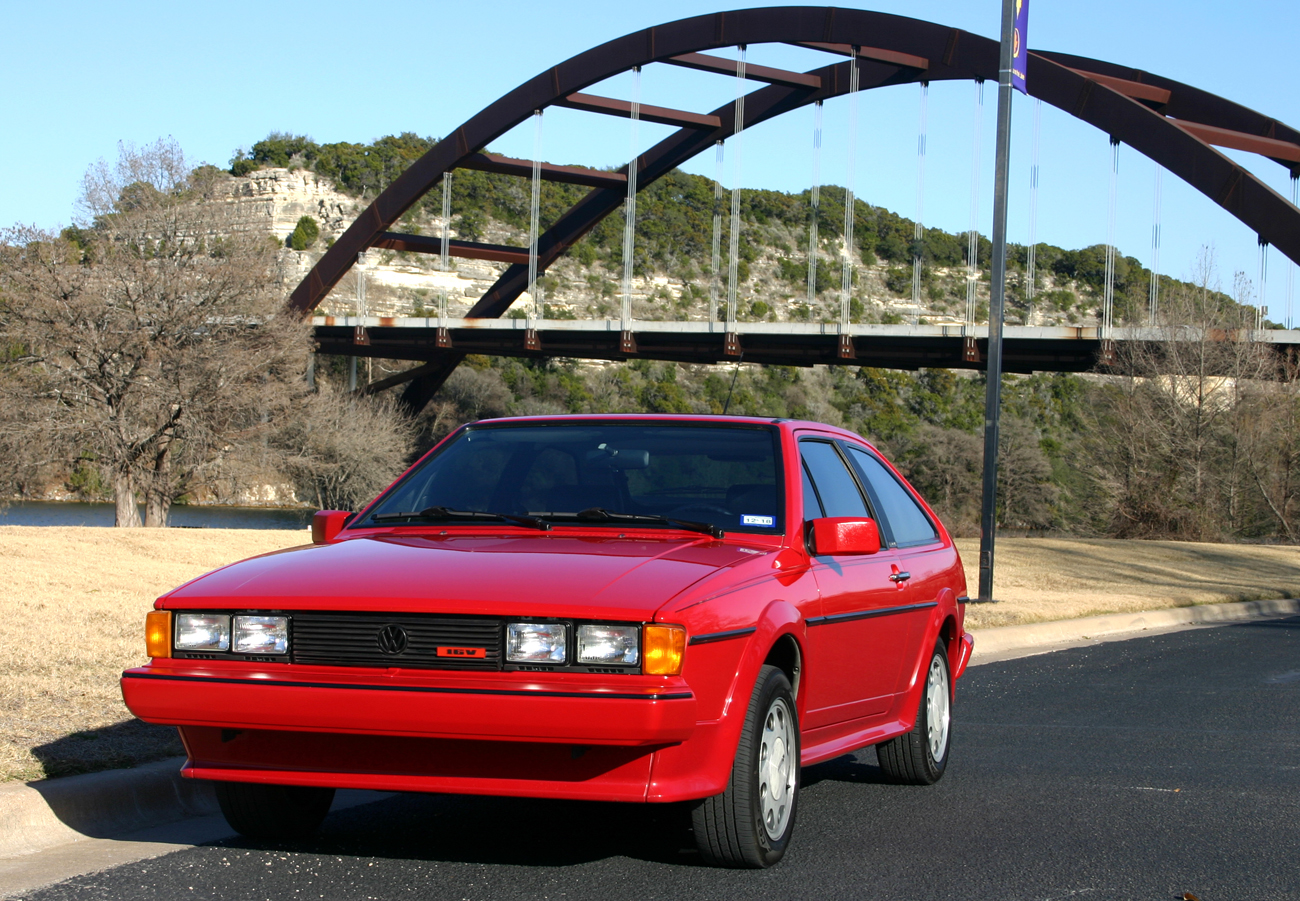
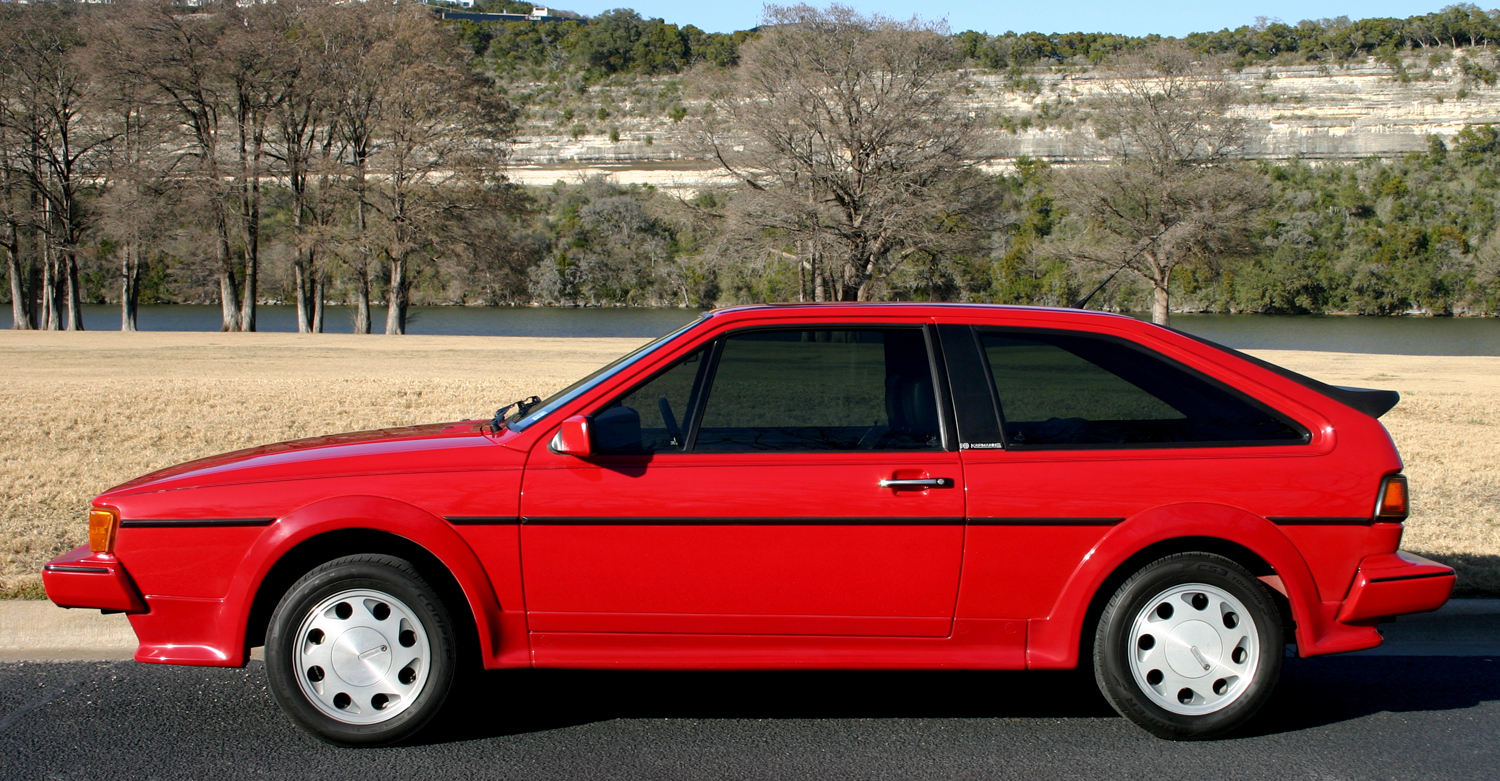
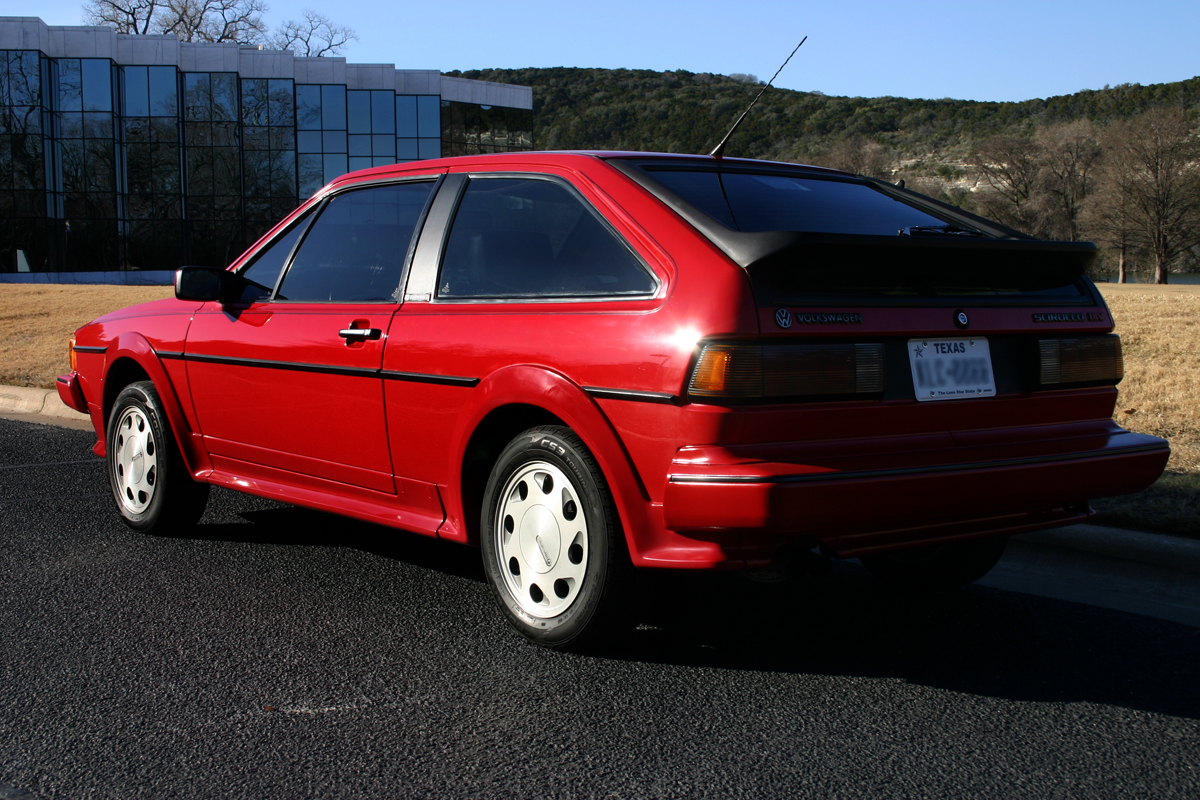
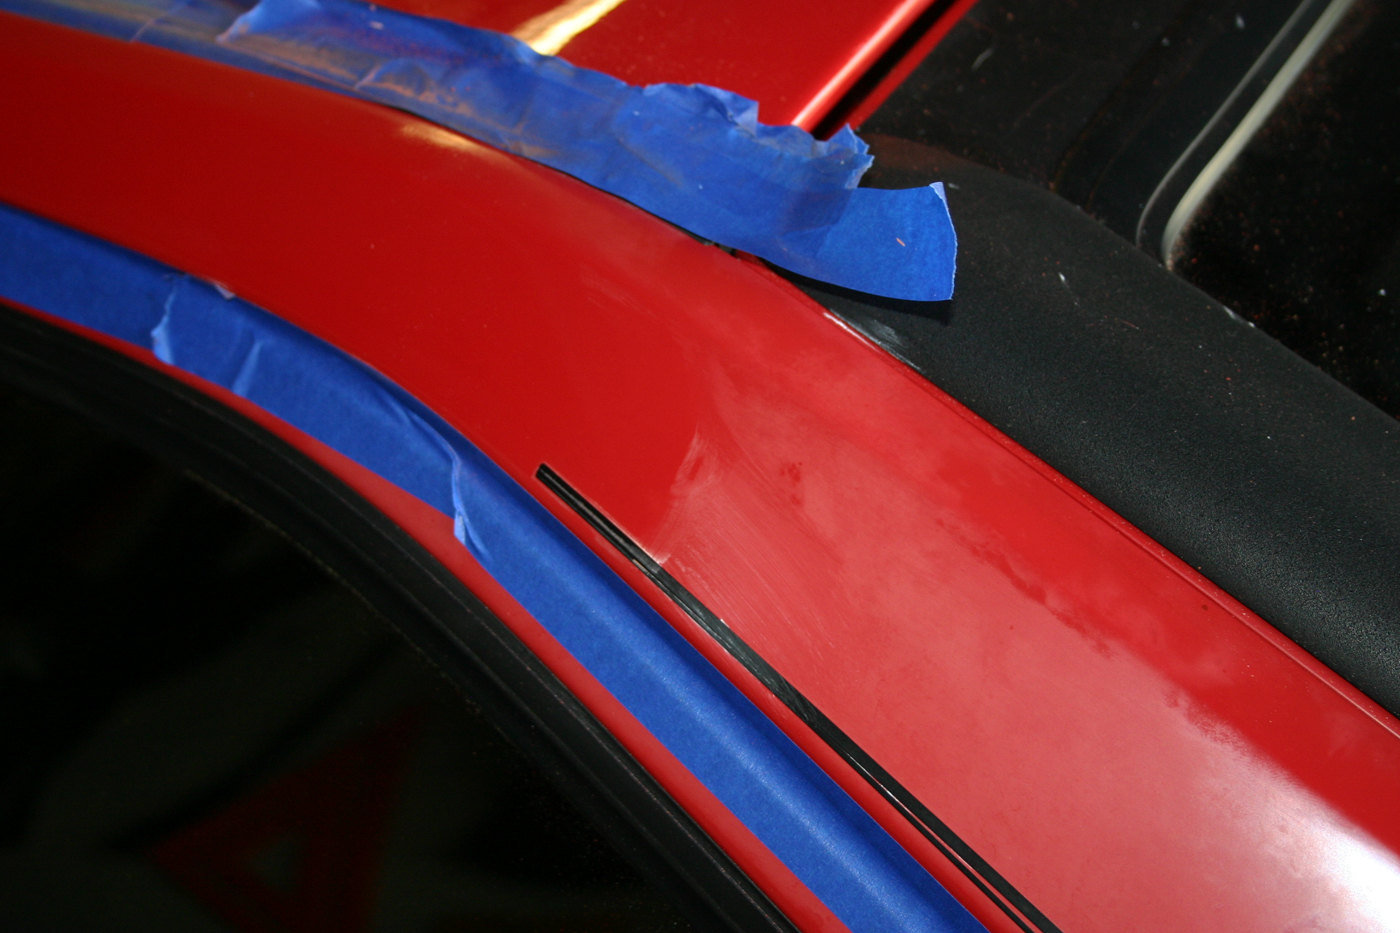
Finished up the bodywork and paint, waiting a few months before I put on the molding which is coming from a member here and replacing the pin stripe

Products Used:
M105/205 for polish with Lake Country Orange pads for compounding, white pads to finish.
Armor All Outlast Trim restorer on all exterior rubber/plastics
McKees wheel coating for wheels
Armor All Tire Foam for tires
303 Aerospace for interior plastics, dash, etc. Also used for underhood rubber plastics etc.
Chemical guys leather cleaner diluted per recommendations for "medium" strength
LeatherMaster Vital for 30-year-old seats to help soften the leather
LeatherMaster Protectant for protection on seats
Rain-X 2-in-1 for windows
Simple Green Automotive de-greaser for undercarriage cleaning
Chemical Guys BareBones for sealing undercarriage
Blackfire Crystal Coat Paint Prep to remove all polish or any other residue
DG105 to seal
DG Auquawax as final layer coating
I had an 84 Scirocco right out of high school and I loved that car.
I had to sell it when I went to school and ever since I`ve thought about that car!
I remember when the 16v Sciroccos came out and I was in love. I went to a VW dealership and just sat in one... dreaming of owning it. But I didn`t have the cash.
I searched on the internet for years until I found the right car. I was looking for a silver car (my original one was silver) but never found one... but this red one was all original, or as original as I had seen one in a long while so I jumped at it.
I got the car about two months ago.
After many weeks of working on this car I finally have it finished.... sort of
I started with a very good car to begin with, it just needed some TLC and a few mechanical things done.
Here`s what she looked like at the beginning... a small dent in the front fender.
The Rear Quarter.. notice the dull paint/shine
Interior... nice interior, just needed a little cleaning
Sun roof seal in need of replacement... also notice the faded/oxidized paint
The worst panel... must have been out in the sun more than the others.. notice the B-Pillar vinyl has perished.
Closer look at the dent
Closer look at the rear panel (worst one)
Engine Bay... quite dirty... behind the rain tray it looked like some critters might have taken up a little home.
Hood Insulation is shot
Now the start...
Removed the perished vinyl after A LOT of work
After replacing vinyl
Removed sun roof and replaced seal... notice the paint is in pretty bad shape... Still haven`t been able to get the roof to operate correctly after re-install.. still working on it.
Replaced roof and polished roof... the faded part is where I taped off the seal... it was taken care of after
Beginning work on rear quarter
Half and half on hood... that beautiful red is coming out!
Another half and half
Engine Bay after cleaning
Put down a blanket over the engine bay and scraped off all the perished insulation.
New replacement insulation installed
Here are the finished pictures.
Finished up the bodywork and paint, waiting a few months before I put on the molding which is coming from a member here and replacing the pin stripe
Products Used:
M105/205 for polish with Lake Country Orange pads for compounding, white pads to finish.
Armor All Outlast Trim restorer on all exterior rubber/plastics
McKees wheel coating for wheels
Armor All Tire Foam for tires
303 Aerospace for interior plastics, dash, etc. Also used for underhood rubber plastics etc.
Chemical guys leather cleaner diluted per recommendations for "medium" strength
LeatherMaster Vital for 30-year-old seats to help soften the leather
LeatherMaster Protectant for protection on seats
Rain-X 2-in-1 for windows
Simple Green Automotive de-greaser for undercarriage cleaning
Chemical Guys BareBones for sealing undercarriage
Blackfire Crystal Coat Paint Prep to remove all polish or any other residue
DG105 to seal
DG Auquawax as final layer coating