LawrenceSA
New member
This car was purchased 2nd hand by the current owner and having already had a couple of cars detailed by me, he knew it needed some attention to ensure he has a solid base from which to maintain.
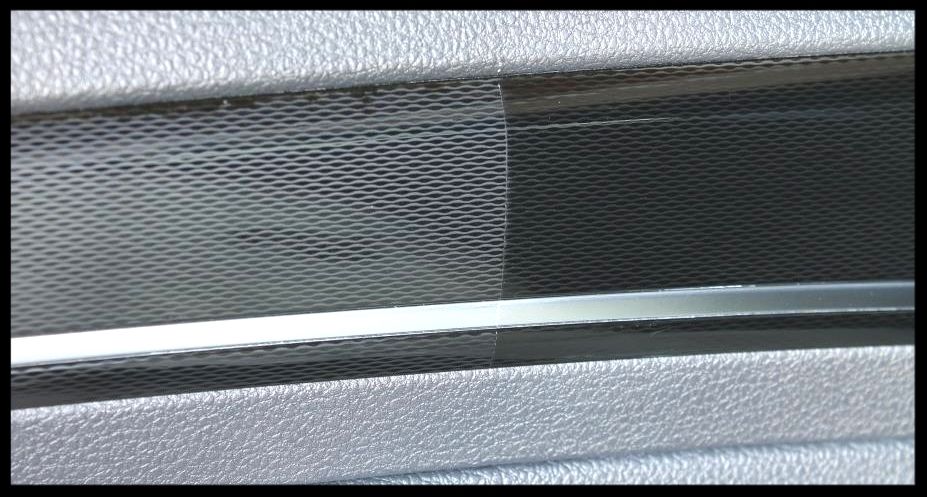
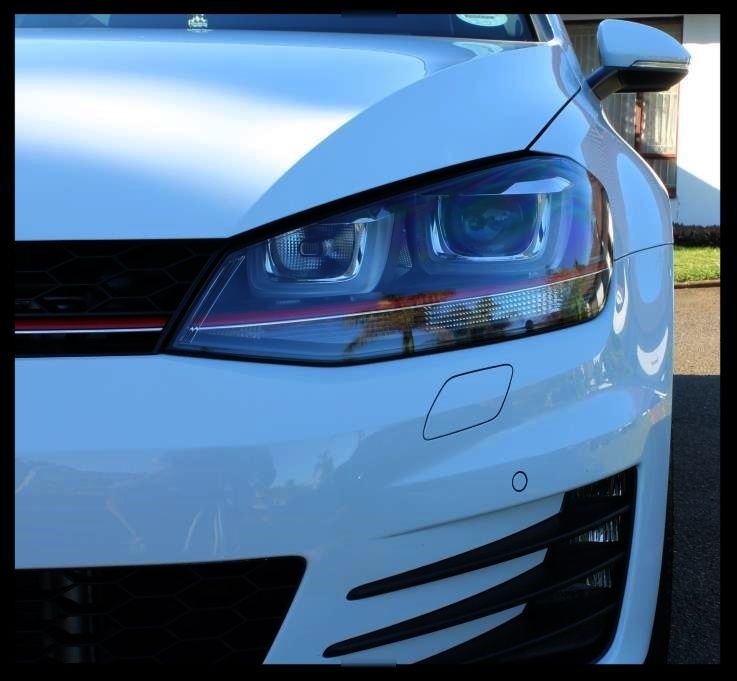
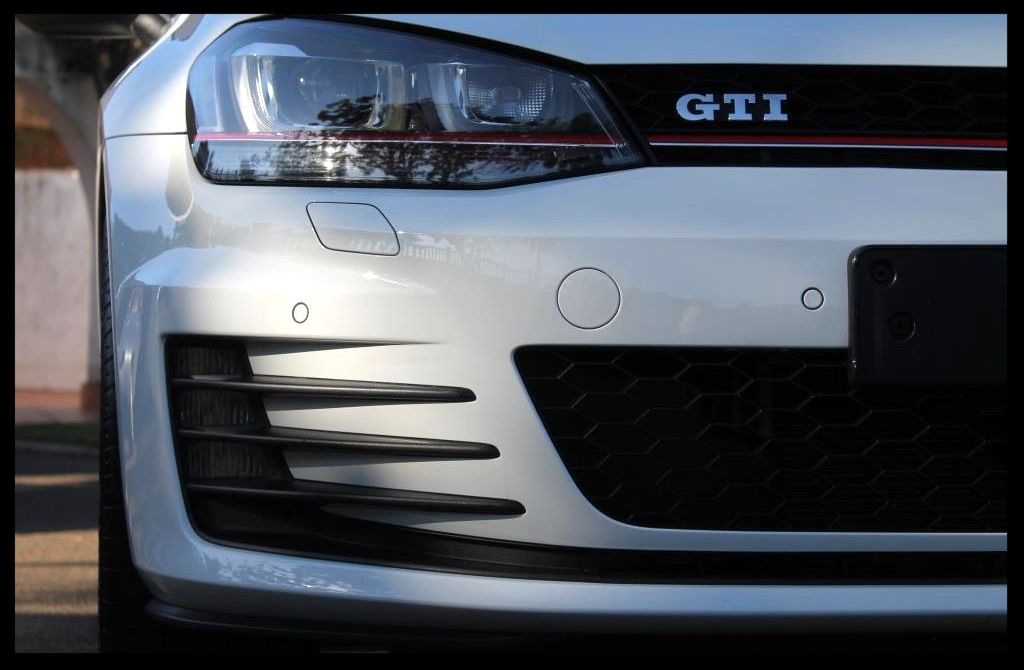
So he popped in on Thursday night for me to polish the headlights as he intended installing lamin-x the following day - that landed up not materializing though - and the idea was simply to clean them up a bit and preserve as much of the OEM protective film as possible. The lights were given a wipe down with ONR and a plush MF Towel to clean them. I then taped up all the areas surrounding the light, and hit it with Menzerna SF4000) on a 4.5" Grey Lake Country CCS Pad with the Shield DA (rebadged DAS 6).
On Friday night when he dropped the car off, he removed the gauge cluster as there was a deep scratch which needed to be corrected, and some shallower swirls. The plastic is very susceptible to damage and ideally you want to use compressed air to blow off any dust before attempting to wipe any towel or cleaning product over the area in order to reduce the possibility of swirls. Whilst I have had repeated success with polishing them by machine - the same process described above was used - it has always been with the cluster out.... trying to get a machine in there with them in situ is almost impossible.
The cluster was then re-assembled and he left the car with me for the rest of the detail.
Up early on Saturday morning I got all my tools, equipment and products set up and got busy cleaning the Engine Bay.
As you can see there was a bit of dust but nothing too hectic.
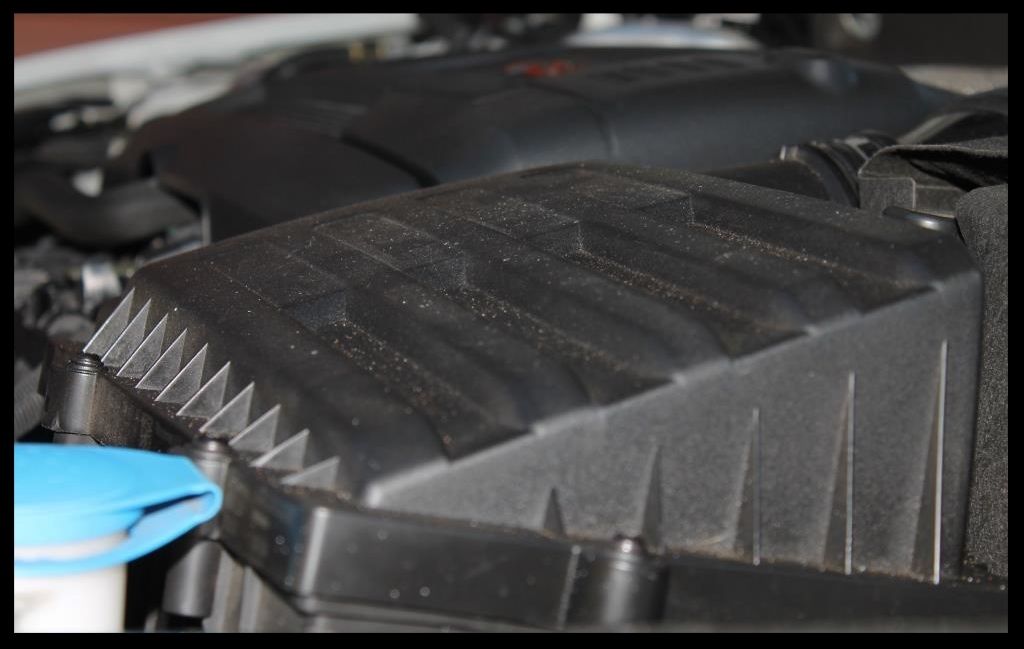
The painted surfaces had some topical and ingrained dirt
Process and Products:
-Blow off loose dust
-Clean with Carchem APC, MF towels and a Valet Pro Boars Hair Brush
-Wipe off any residue with clean damp MF towels
-Blow dry
-Dress engine bay with Autofinesse Dressel
-Clean/Polish/Protect painted surfaces with Autofinesse Tripple

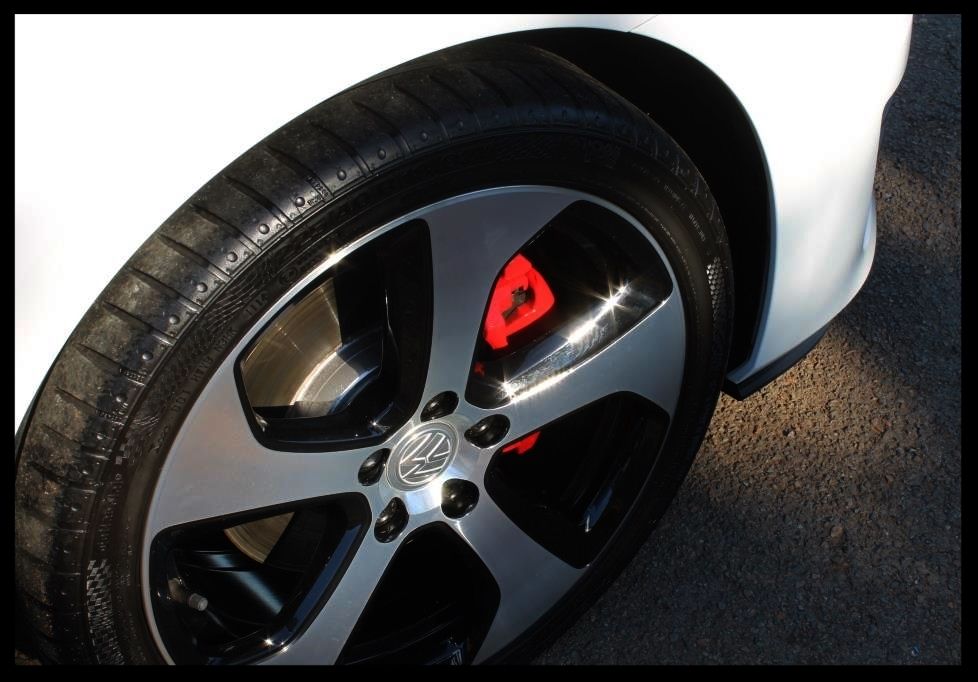
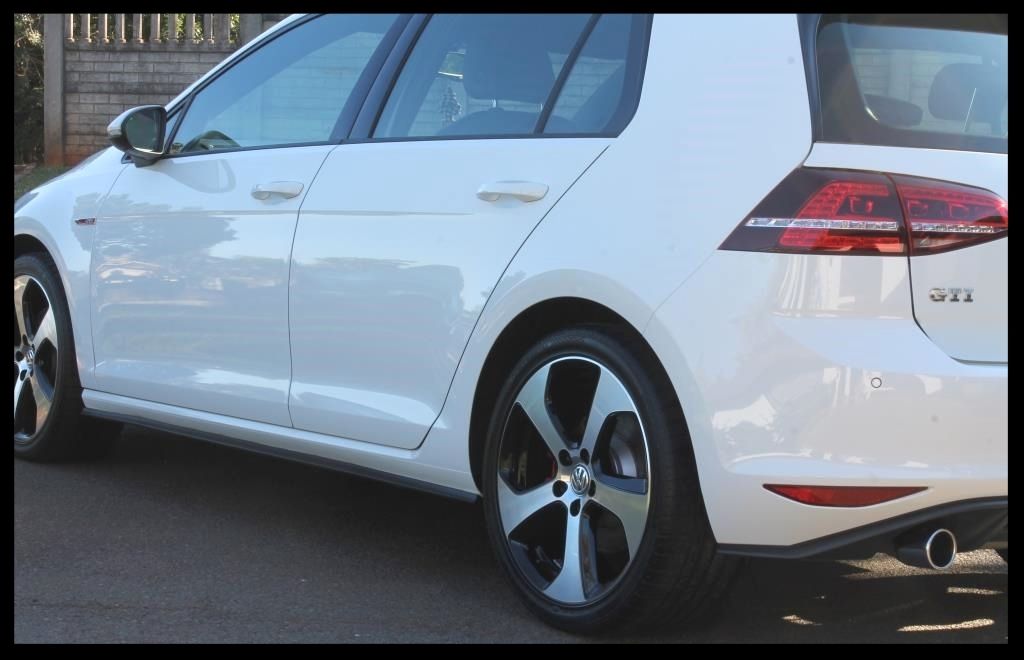
Next up I cleaned up the wheel wells, tires, wheels and brake calipers.
Somehow I completed forgot to take any before pics :fear: Sorry....
They received my usual treatment, which is to:
-Remove the wheel nut covers and throw them into my wheel brush bucket, which usually has a nice mix of some warm water and shampoo to self-clean while I work on the wheels.
-HP rinse
-Spray Carchem APC into the wheel well and on to the tire. Agitate the wells with a Mothers Fender Well Brush and the tires with a Mothers Tire Brush, then --HP rinse (The tires then often need to be cleaned again - in this case 3 rounds of cleaning where needed).
-Apply Valet Pro Billberry to the barrels, brake calipers and wheel faces , let it dwell, agitate with a Daytona (the big and small) and a Valet Pro Boars Hair -Brush.
-HP rinse.
-Use Valet Pro Citrus Tar Remover to remove the tar spots on the faces and barrels then apply some APC to the wheels, let it dwell and HP rinse to remove any remaining tar remover residue.
-Apply Valet Pro Dragon's Breath, let it dwell, agitate, HP rinse.
-Then they get hit when I foam the car and dried.
-Dress the tires. The first coat is applied before polishing the wheels and applying the LSP - this ensures that if any polish or wax/sealant happens to hit the tire, it wipes off a lot easier than if it were bare clean rubber. After the application of LSP, but before removal, I will apply a second coat of tire dressing. This means that if any happens to touch the wheel, it sits on top of the LSP and wipes off without smearing onto the wheel itself. In this case I used Optimum Tire Sheen
For these wheels I then gently polished the black sections of the faces with a Mothers powercone and Menzerna SF4000 to up the gloss a bit, and then sealed the whole wheel including the barrels with Menzerna Powerlock.
This was the end result
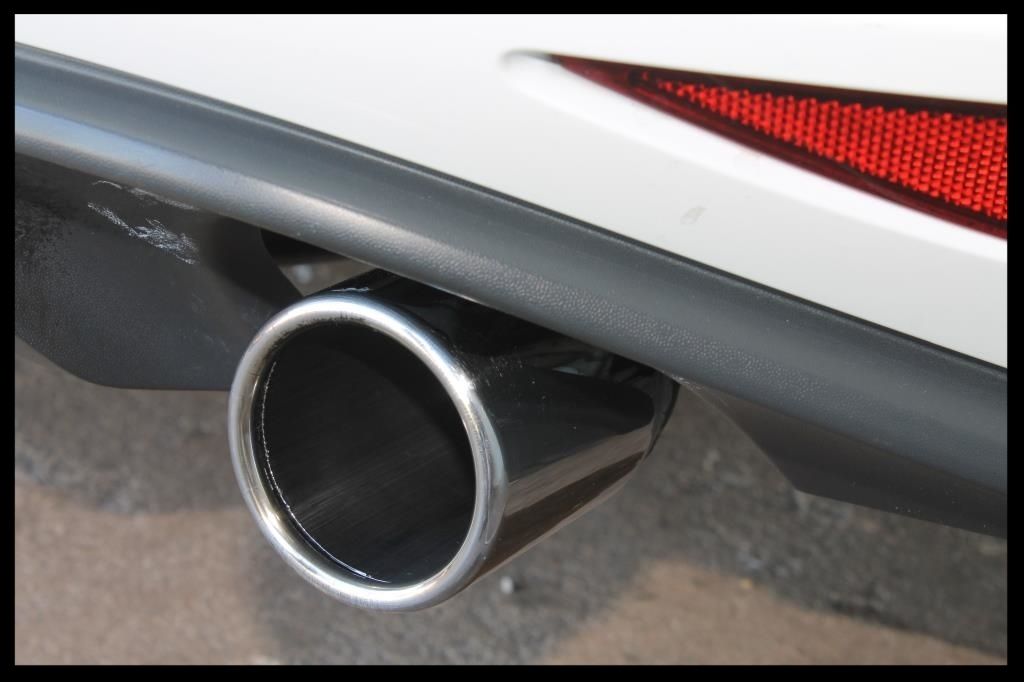
The exhaust tip was rather dirty
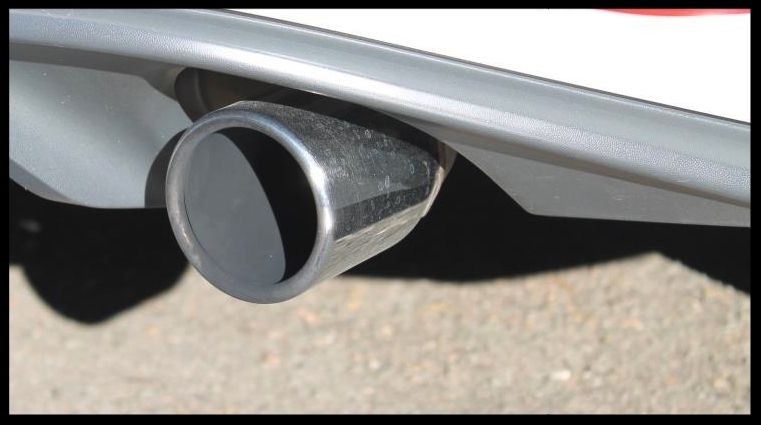
So I sprayed a bit of Valet Pro Dragon's Breath on there to break down some of muck, agitated it and rinsed.
Later on I would then use a combination of 3000 grit sandpaper to get remove the really caked on deposits - some detailers advocate the use of steel wool but I worry about the risk of those little fibres finding their way onto the paint - Menzerna Metal Polish, Meguiars NXT All Metal Polish and a Mothers Power Ball Mini to get them looking better - yes, the polish residue on the plastic bit was cleaned off ....
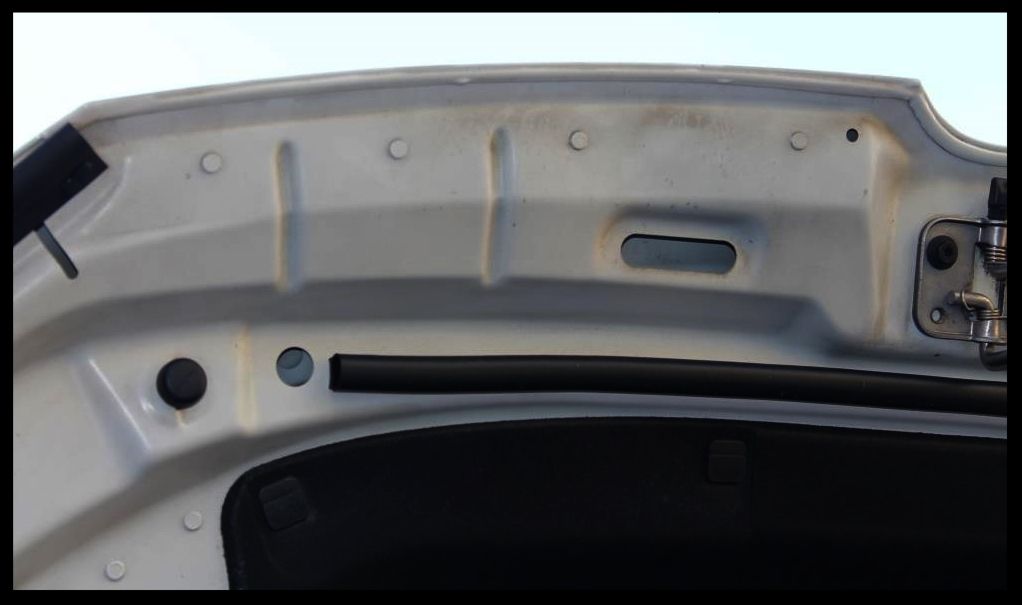
The boot/door shuts and inside the fuel flap were then cleaned using Carchem APC and a Valet Pro Boars Hair Brush and HP rinsed. Later these would be cleaned/polished/protected using Autofinesse Tripple applied with a MF Applicator and then buffed off using clean plush MF towels.
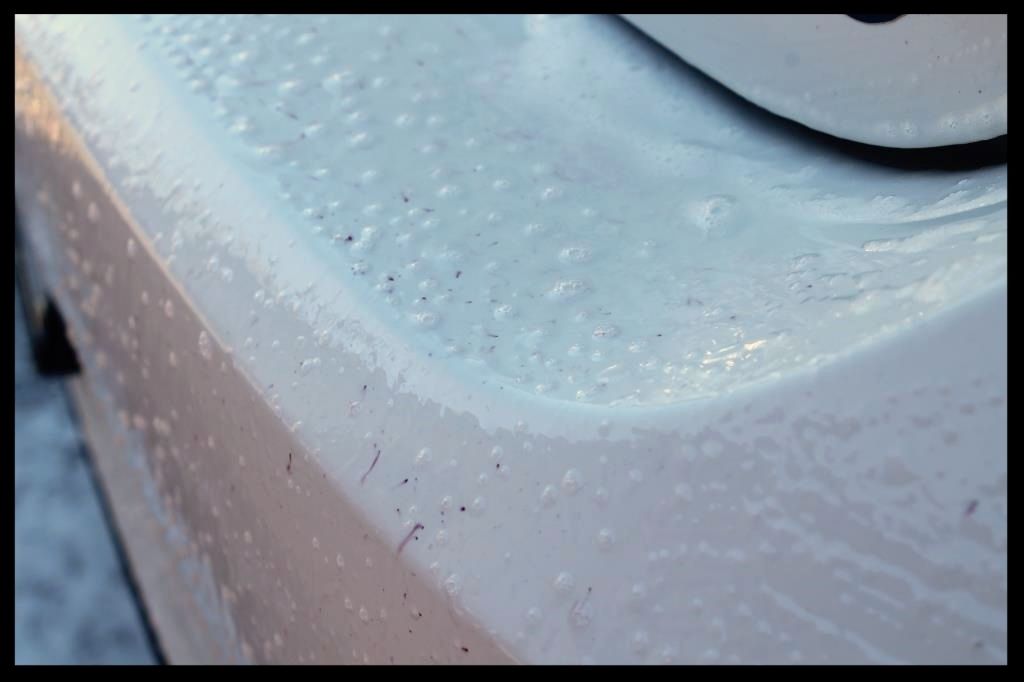
Then it was time to clean the car. When doing so, the idea is to try and remove as much dirt as you can before touching. So first up a thorough HP rinse.... don't just wet the car - try remove dirt... Then I will foam the car to try soften up the remaining dirt allowing some more of it to be HP rinsed off. I wanted to test Carchem's Ultimate Snowfoam.
The bottle states to mix 100ml of product with 900ml of water (I used a 50/50 mix of cold water and hot tap water), the 'Crazy Detailer V2 Foam Cannon' and a Karcher K7 HP washer
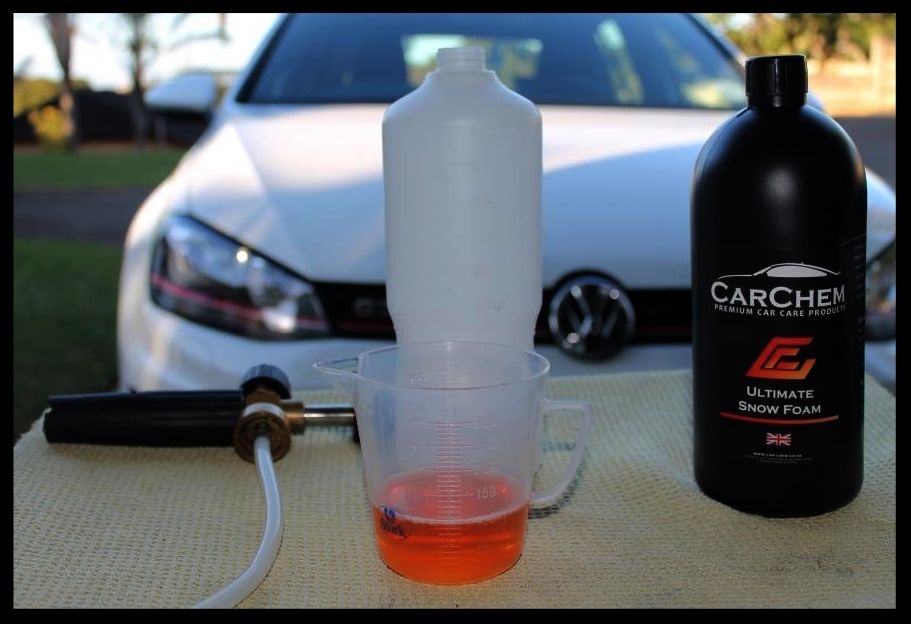
-For those that care, the packing is simple but looks quite nice when lined up next to a few of their other products. Personally its what's INSIDE the bottle that counts.
-The product smells ok - nothing that makes you want to drink it, and certainly nothing off putting...but 'nice' smelling is so subjective any way so....
-Its priced at R150 for R1000ml meaning you are looking at R15 to make a 1000ml of 'pre-mixed' foam... with my set up, I typically get 2 full 'foamings' <- is there such a word - so you looking at R7.50 per application.
-The foam is more akin to something like Autofinesse Avalanche in terms of 'consistency' than say a Chemical Guys Maxi Suds II
-Unfortunately the car didn't really have loads of dirt on it to start with so cleaning ability was difficult to judge - I do however have my own (rather dirty after not having been washed in a month :fear: which had plenty of rain, so I should get a good feel for it then.

After being HP rinsed I then used a pump sprayer to apply some Valet Pro Citrus Prewash to the lower half of the car, allowing the product to dwell and break up the traffic film (all that oily mess from the road that will spray up onto your car when driving in the wet) before HP rinsing that off. Then car was washed using Carchem Luxury Shampoo and Lambswool Wash Mitts, rinsed and dried.
Then Valet Pro Dragon's Breath was used to dissolve any embedded ferrous contaminants allowing them to be rinsed away instead of embedding themselves into your clay bar and being dragged over the paint, potentially scratching it, and shortening the usable life of the clay bar dramatically
Any remaining contaminants were then removed using a Shield Heavy Duty clay bar with ONR for lube.
With the paint clean and decontaminated, it was time to start polishing paint.... my favorite activity.... :hurray:
So I typically use the hood for test spots given how easy it is to look down on them, and how much real estate they offer to dial in a process on.... remember you can't keep simply testing on the same spot, as you will skew your results through compounded paint removal in one spot. Instead you need to move to a new section each time you test a new, more aggressive polish. Then once you have that dialled in, on the SAME spot you will go back over half of it with your refining polish to see what difference the final polish makes to the paint clarity.
What you will find quite often is that the hood is in worse shape than the rest of the car, especially if the car has seen the local car wash where they tend to grab a handful of brake dust while washing your wheels, then go straight to washing your hood - and people tend to sit on them :bang: This car was an extreme example of that and luckily there was plenty of paint on the car. In the end it took working each section of it twice, for 8 passes with Menzerna FG400 and a Blue Foamed Wool Hybrid pad on the Flex 3401, followed by 1 set with PF2300 on Orange Hybrid Pad, followed by a final polish with SF4000 on a Black Hybrid pad. Madness.... and no pics while I was getting all of that done...
Forntuately the rest of the car was just a traditional 2-step with Menzerna FG400 on a Orange Hybrid followed by SF4000 on a Black Hybrid. The bumpers however were done with Menzerna 3-in-1 - it has less cut and a little filling ability - the over polishing of plastic bumpers is not a good idea...
But I did get some pics of that...
Before
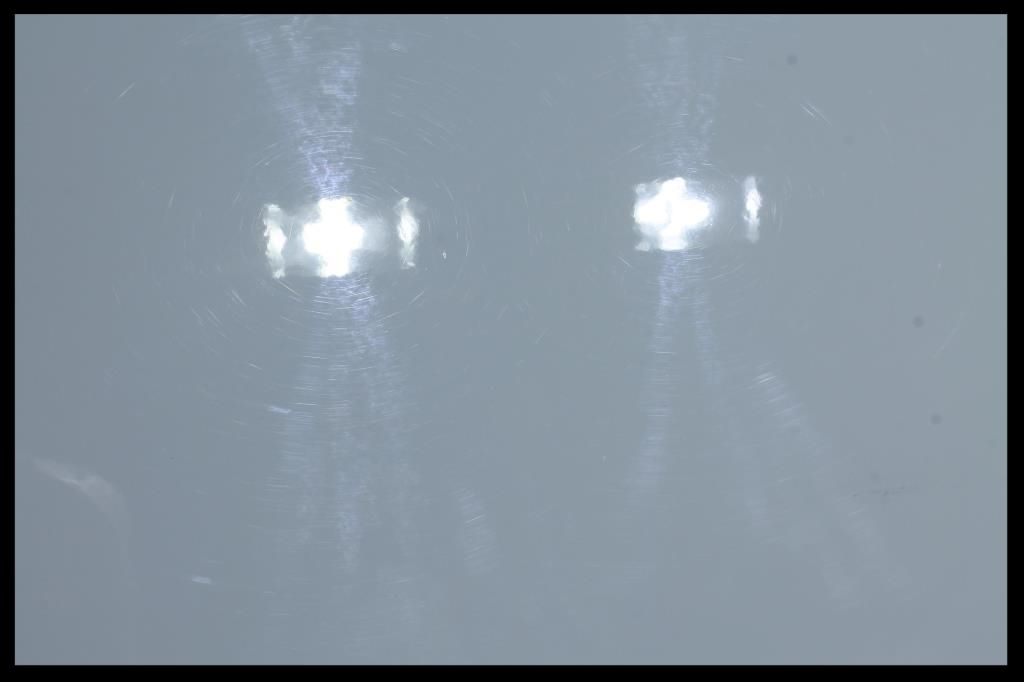
After
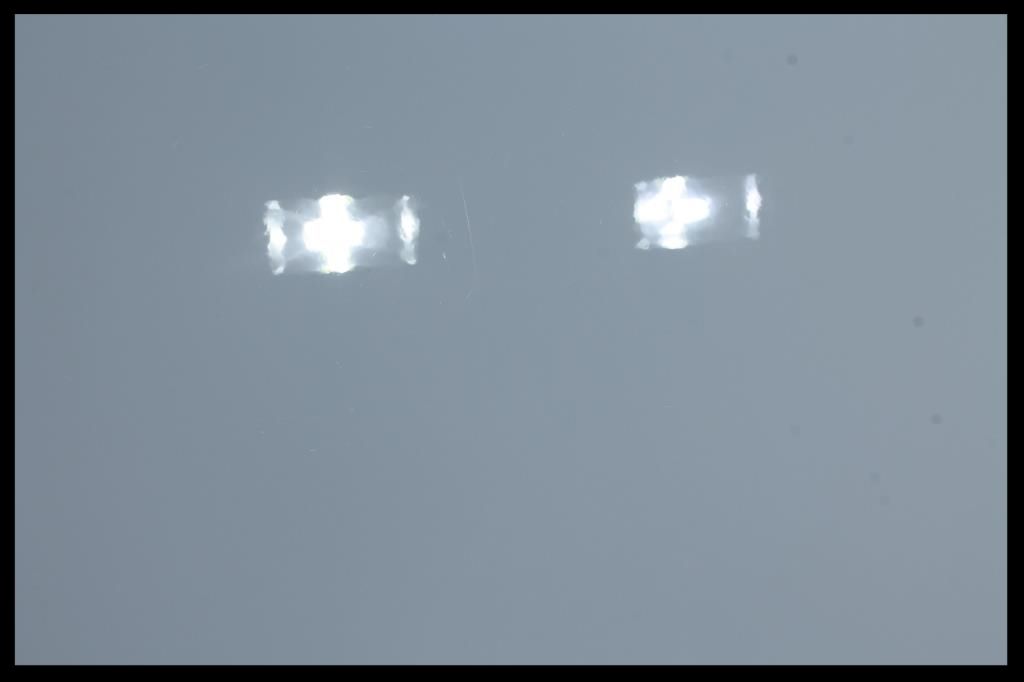
Before
After
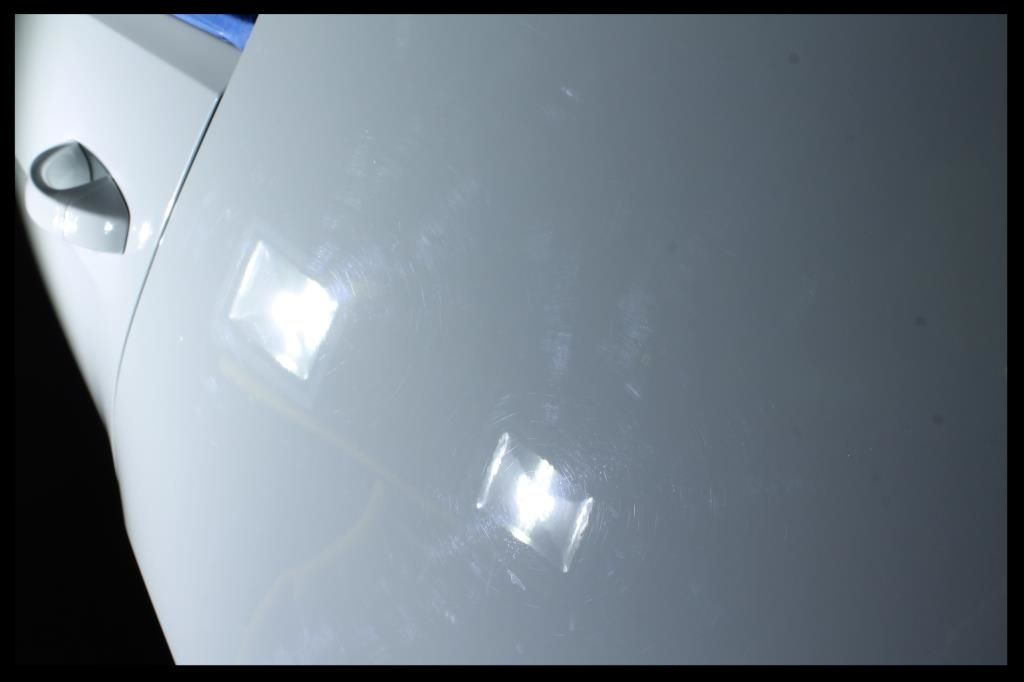
Before

After
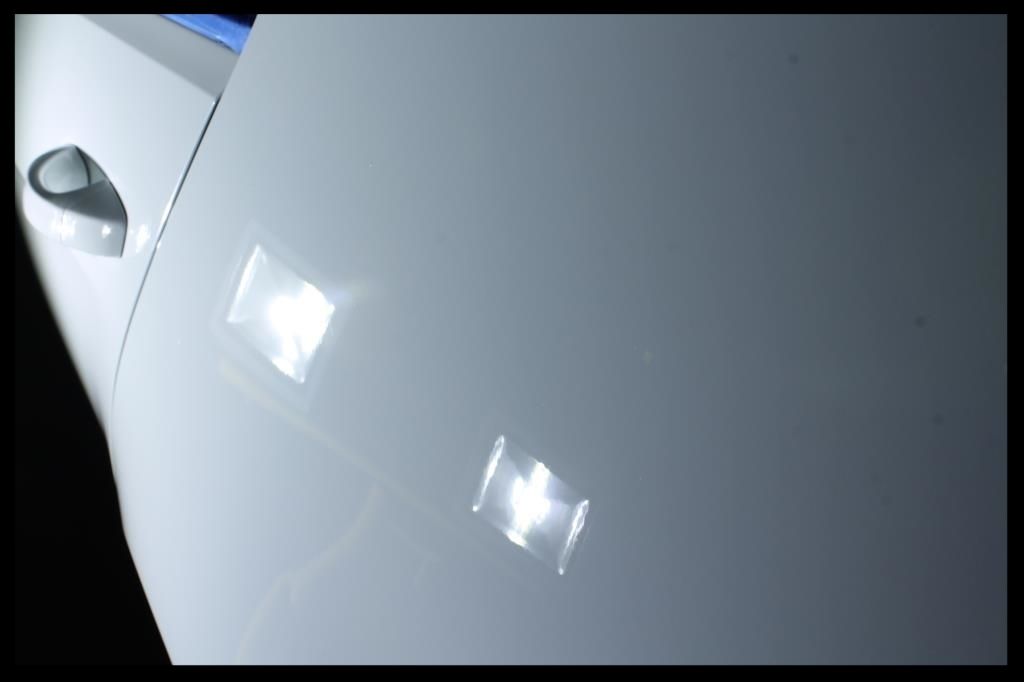
Before
After
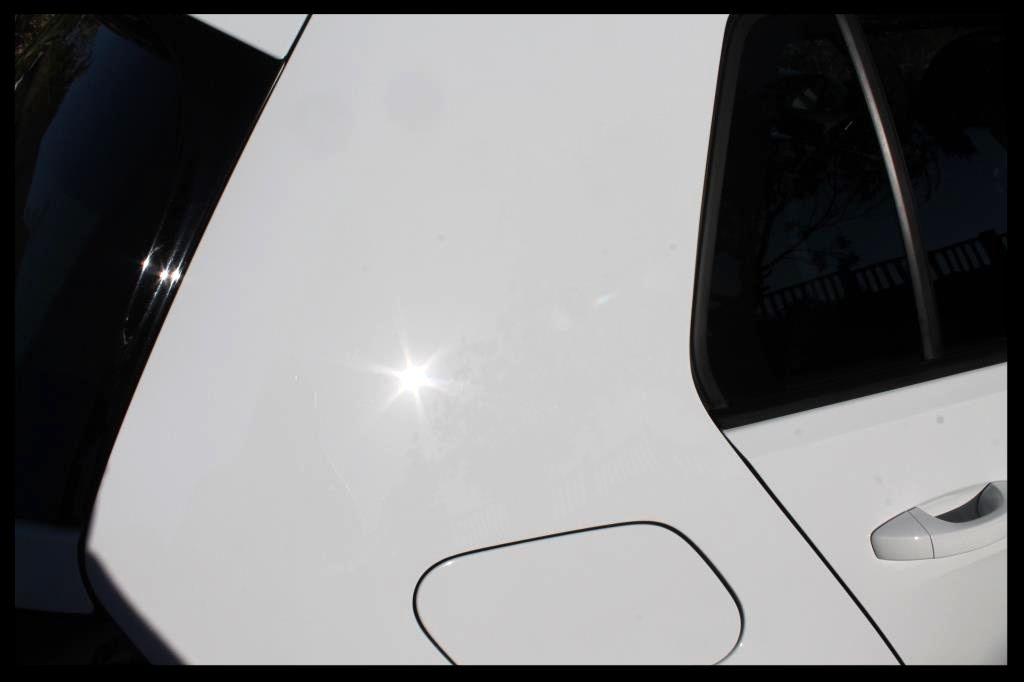
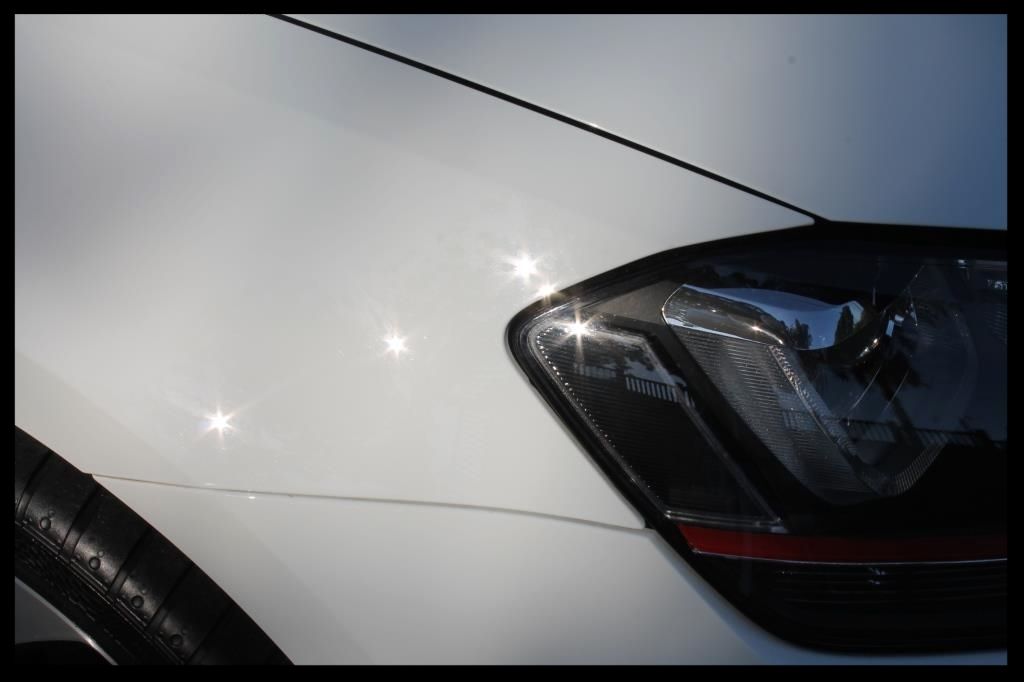
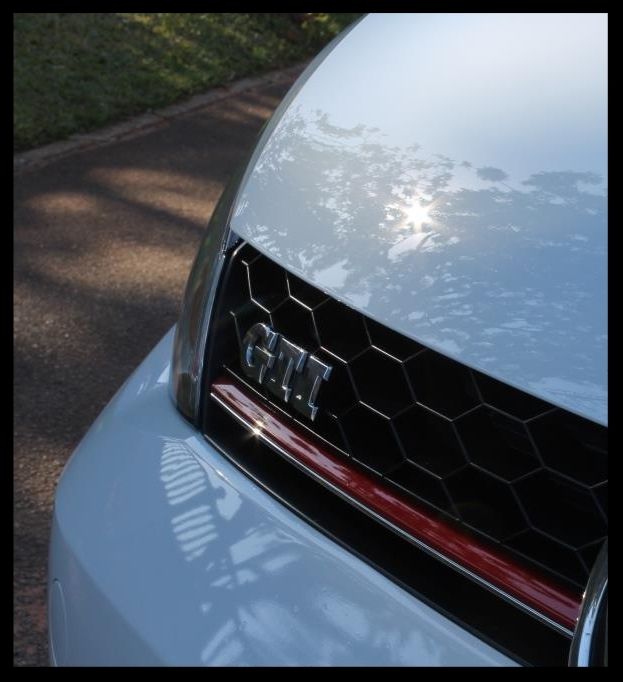
The paint was then protected with Menzerna Powerlock
The interior was vacuumed, the plastics (dash, door cards etc) and leather were cleaned with Carchem APC. The plastics given a final wipe down with Autofinesse Spritz and the leather protected with Collinite 855. One of the things the owner had requested the to sort out all the interior plastic bits which were looking rather dull (door panel strips, around the centre console and dash cluster etc). Meguiars Ultimate Polish on a red foam applicator pad by hand was the weapon of choice.
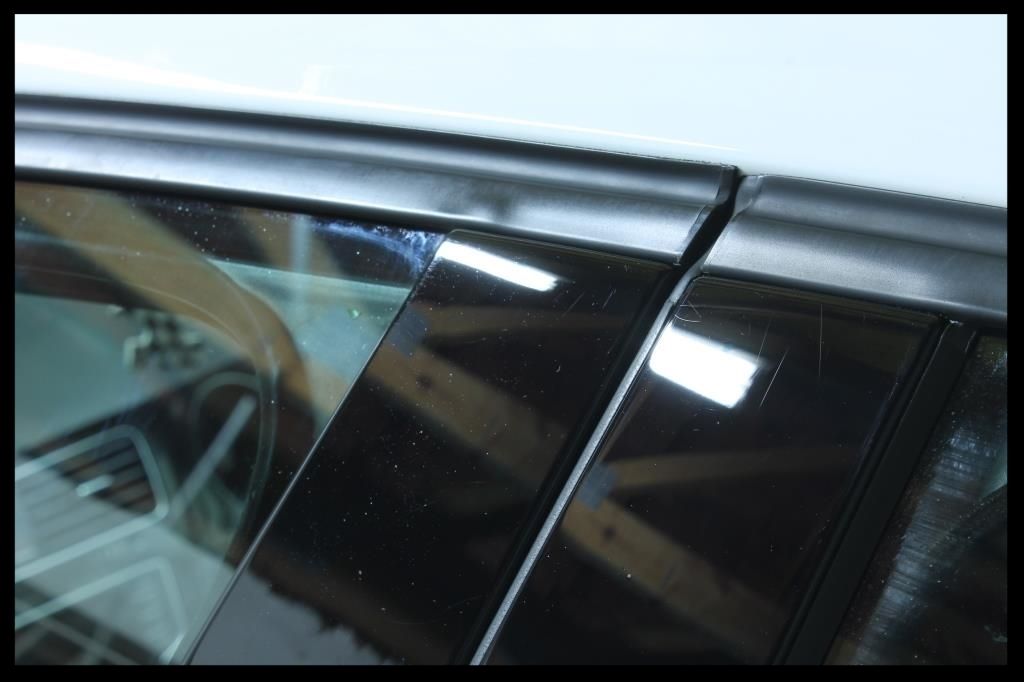
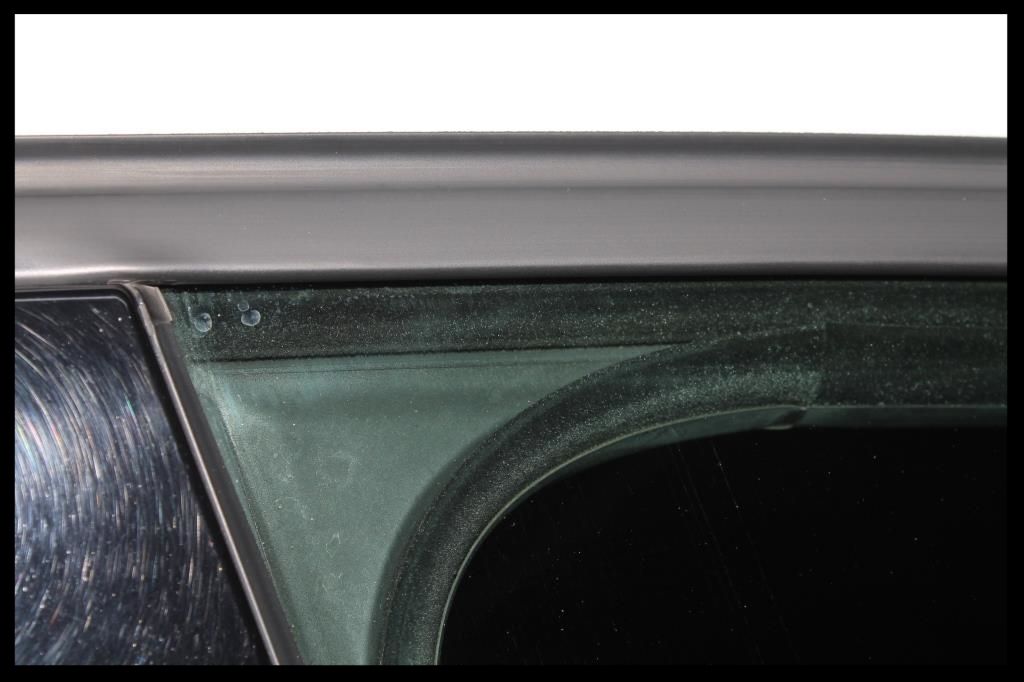
All the door and window rubber and exterior plastics were cleaned using Shield Heavy Duty Vinyl and Rubber cleaner and protected using Aerospace 303.
Before

After
The glass (inside and out) was cleaned using Autoglym Fast Glass.
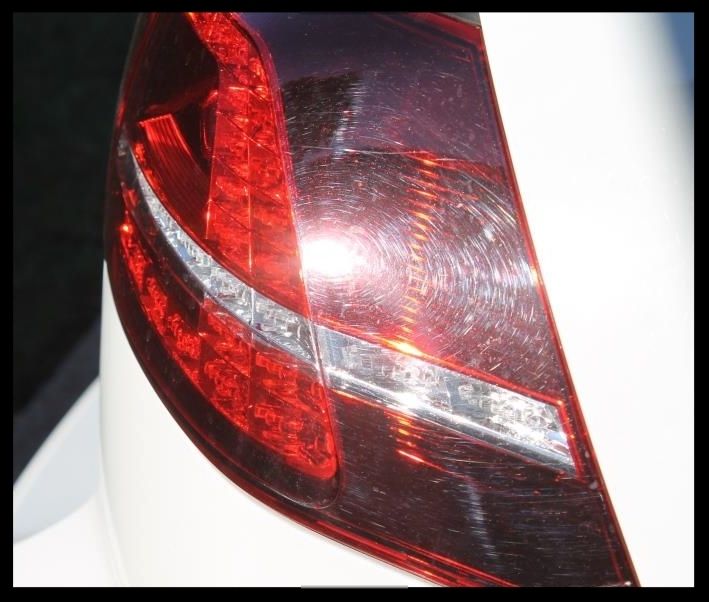
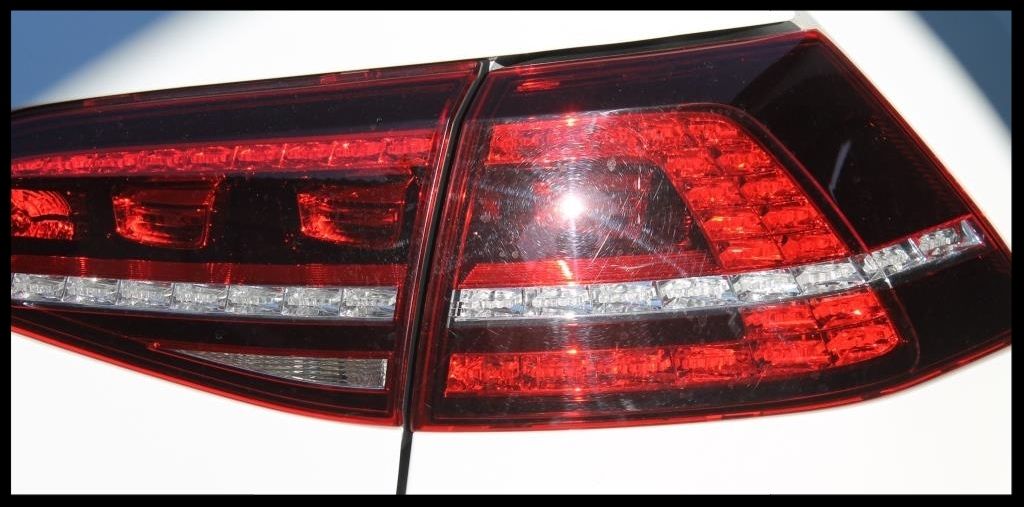
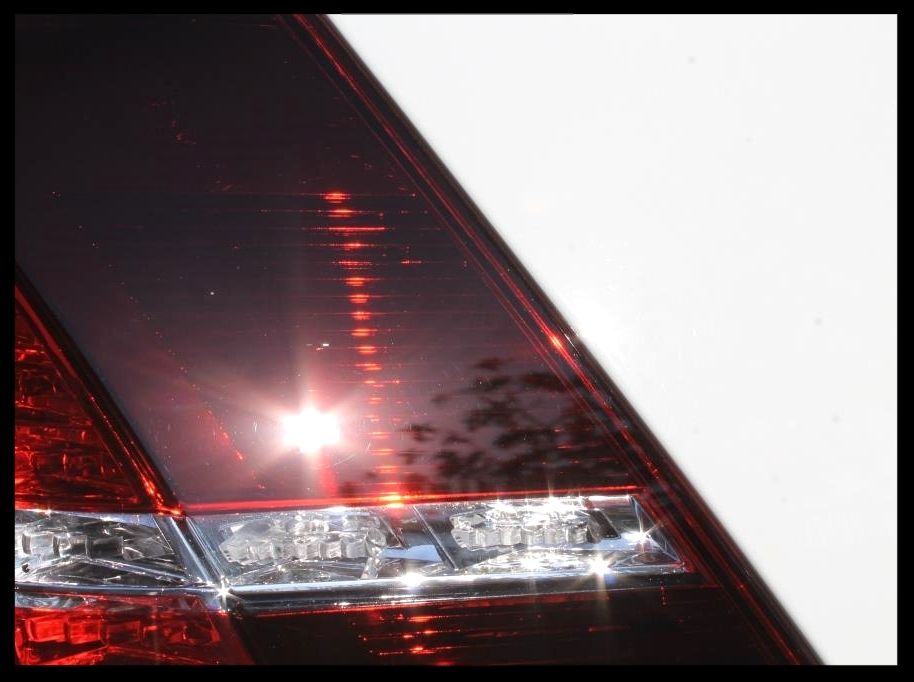
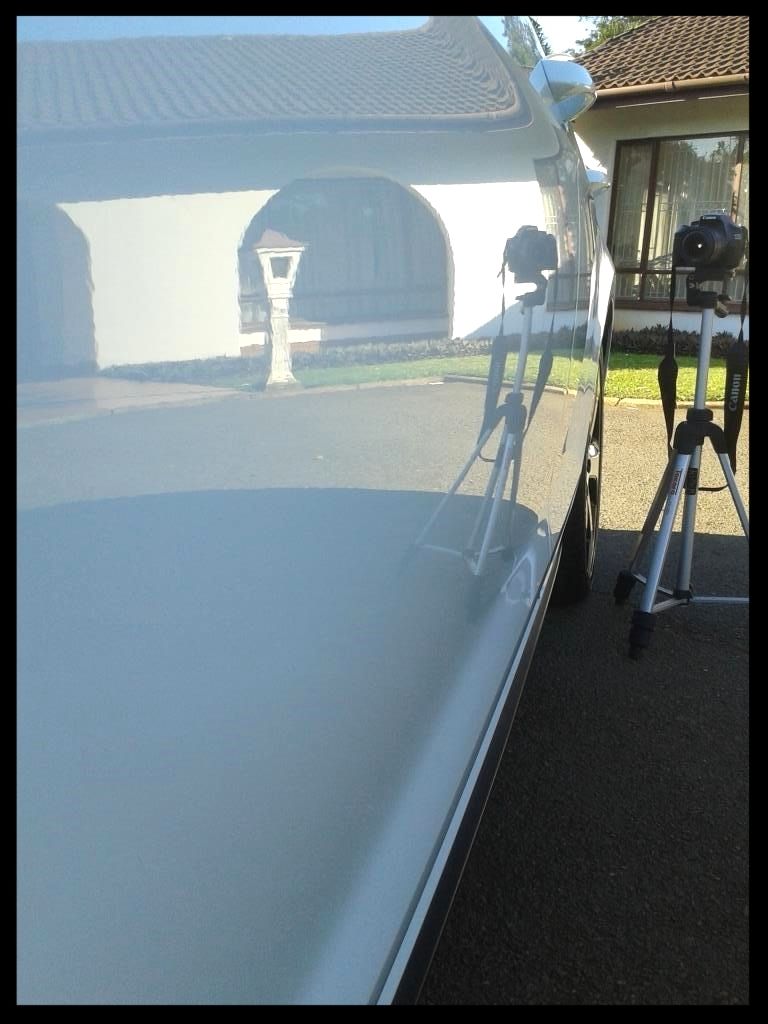
Here are some after shots I managed to snap just before the sun disappeared
Still in the garage
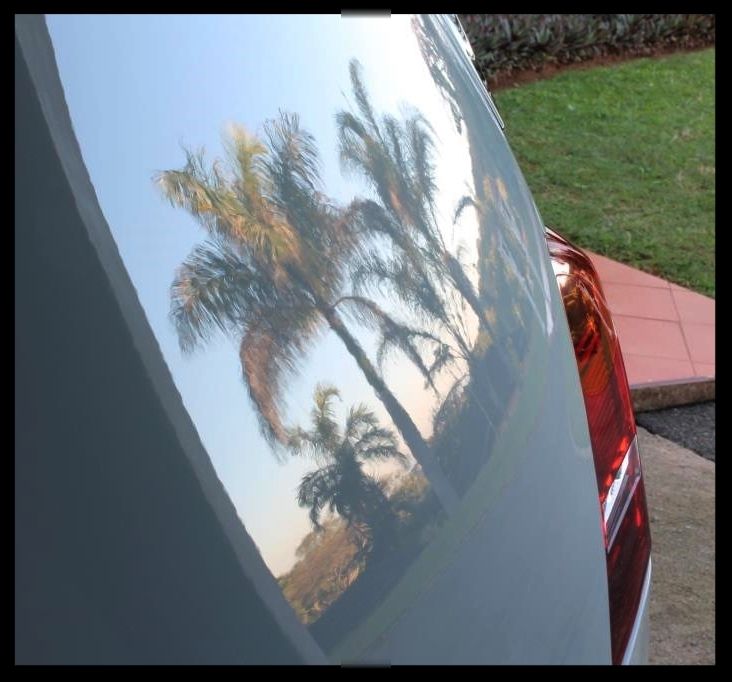
Outside
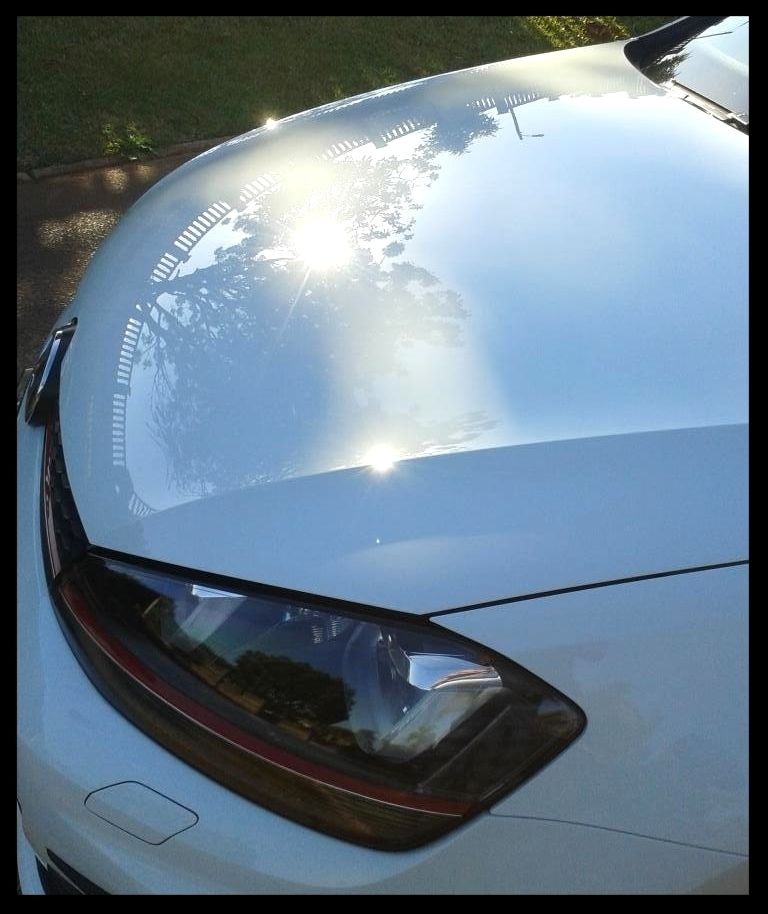

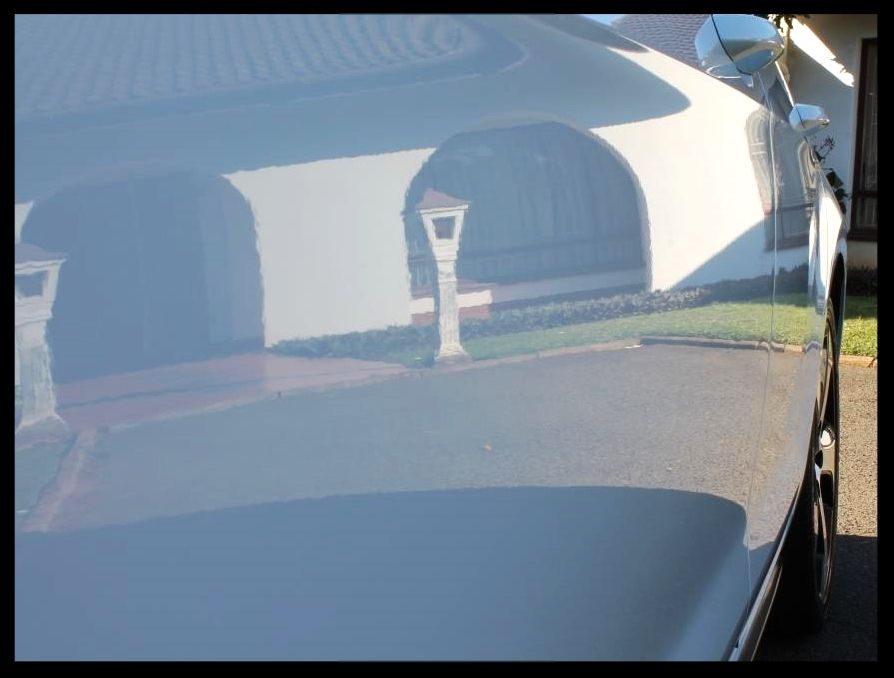
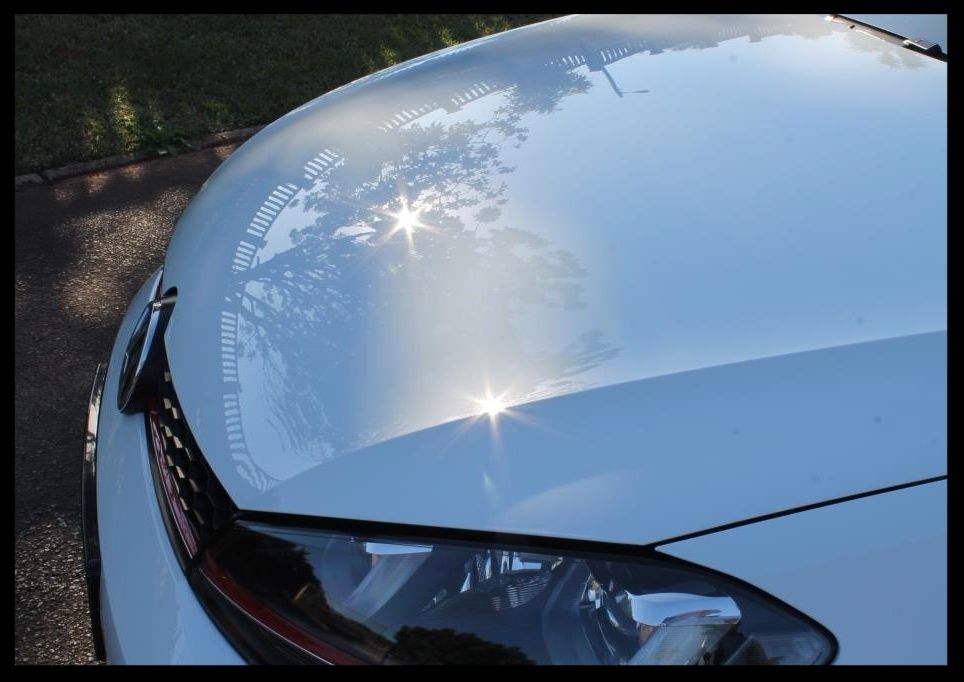
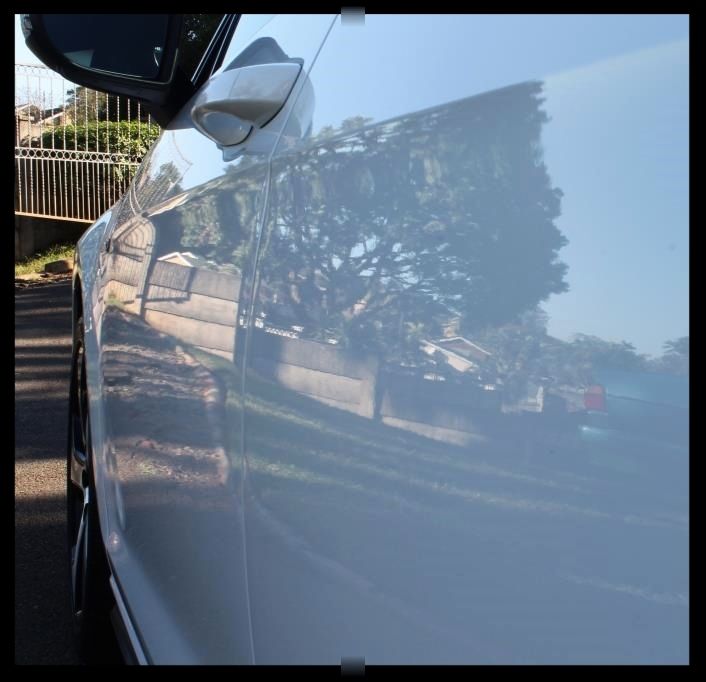
And my favorite shot....
Total time taken 31 hours
As always, thanks for looking and any questions or comments are welcome.
:hi:
So he popped in on Thursday night for me to polish the headlights as he intended installing lamin-x the following day - that landed up not materializing though - and the idea was simply to clean them up a bit and preserve as much of the OEM protective film as possible. The lights were given a wipe down with ONR and a plush MF Towel to clean them. I then taped up all the areas surrounding the light, and hit it with Menzerna SF4000) on a 4.5" Grey Lake Country CCS Pad with the Shield DA (rebadged DAS 6).
On Friday night when he dropped the car off, he removed the gauge cluster as there was a deep scratch which needed to be corrected, and some shallower swirls. The plastic is very susceptible to damage and ideally you want to use compressed air to blow off any dust before attempting to wipe any towel or cleaning product over the area in order to reduce the possibility of swirls. Whilst I have had repeated success with polishing them by machine - the same process described above was used - it has always been with the cluster out.... trying to get a machine in there with them in situ is almost impossible.
The cluster was then re-assembled and he left the car with me for the rest of the detail.
Up early on Saturday morning I got all my tools, equipment and products set up and got busy cleaning the Engine Bay.
As you can see there was a bit of dust but nothing too hectic.
The painted surfaces had some topical and ingrained dirt
Process and Products:
-Blow off loose dust
-Clean with Carchem APC, MF towels and a Valet Pro Boars Hair Brush
-Wipe off any residue with clean damp MF towels
-Blow dry
-Dress engine bay with Autofinesse Dressel
-Clean/Polish/Protect painted surfaces with Autofinesse Tripple
Next up I cleaned up the wheel wells, tires, wheels and brake calipers.
Somehow I completed forgot to take any before pics :fear:
Sorry....They received my usual treatment, which is to:
-Remove the wheel nut covers and throw them into my wheel brush bucket, which usually has a nice mix of some warm water and shampoo to self-clean while I work on the wheels.
-HP rinse
-Spray Carchem APC into the wheel well and on to the tire. Agitate the wells with a Mothers Fender Well Brush and the tires with a Mothers Tire Brush, then --HP rinse (The tires then often need to be cleaned again - in this case 3 rounds of cleaning where needed).
-Apply Valet Pro Billberry to the barrels, brake calipers and wheel faces , let it dwell, agitate with a Daytona (the big and small) and a Valet Pro Boars Hair -Brush.
-HP rinse.
-Use Valet Pro Citrus Tar Remover to remove the tar spots on the faces and barrels then apply some APC to the wheels, let it dwell and HP rinse to remove any remaining tar remover residue.
-Apply Valet Pro Dragon's Breath, let it dwell, agitate, HP rinse.
-Then they get hit when I foam the car and dried.
-Dress the tires. The first coat is applied before polishing the wheels and applying the LSP - this ensures that if any polish or wax/sealant happens to hit the tire, it wipes off a lot easier than if it were bare clean rubber. After the application of LSP, but before removal, I will apply a second coat of tire dressing. This means that if any happens to touch the wheel, it sits on top of the LSP and wipes off without smearing onto the wheel itself. In this case I used Optimum Tire Sheen
For these wheels I then gently polished the black sections of the faces with a Mothers powercone and Menzerna SF4000 to up the gloss a bit, and then sealed the whole wheel including the barrels with Menzerna Powerlock.
This was the end result
The exhaust tip was rather dirty
So I sprayed a bit of Valet Pro Dragon's Breath on there to break down some of muck, agitated it and rinsed.
Later on I would then use a combination of 3000 grit sandpaper to get remove the really caked on deposits - some detailers advocate the use of steel wool but I worry about the risk of those little fibres finding their way onto the paint - Menzerna Metal Polish, Meguiars NXT All Metal Polish and a Mothers Power Ball Mini to get them looking better - yes, the polish residue on the plastic bit was cleaned off ....
The boot/door shuts and inside the fuel flap were then cleaned using Carchem APC and a Valet Pro Boars Hair Brush and HP rinsed. Later these would be cleaned/polished/protected using Autofinesse Tripple applied with a MF Applicator and then buffed off using clean plush MF towels.
Then it was time to clean the car. When doing so, the idea is to try and remove as much dirt as you can before touching. So first up a thorough HP rinse.... don't just wet the car - try remove dirt... Then I will foam the car to try soften up the remaining dirt allowing some more of it to be HP rinsed off. I wanted to test Carchem's Ultimate Snowfoam.
The bottle states to mix 100ml of product with 900ml of water (I used a 50/50 mix of cold water and hot tap water), the 'Crazy Detailer V2 Foam Cannon' and a Karcher K7 HP washer
-For those that care, the packing is simple but looks quite nice when lined up next to a few of their other products. Personally its what's INSIDE the bottle that counts.
-The product smells ok - nothing that makes you want to drink it, and certainly nothing off putting...but 'nice' smelling is so subjective any way so....
-Its priced at R150 for R1000ml meaning you are looking at R15 to make a 1000ml of 'pre-mixed' foam... with my set up, I typically get 2 full 'foamings' <- is there such a word - so you looking at R7.50 per application.
-The foam is more akin to something like Autofinesse Avalanche in terms of 'consistency' than say a Chemical Guys Maxi Suds II
-Unfortunately the car didn't really have loads of dirt on it to start with so cleaning ability was difficult to judge - I do however have my own (rather dirty after not having been washed in a month :fear: which had plenty of rain, so I should get a good feel for it then.
After being HP rinsed I then used a pump sprayer to apply some Valet Pro Citrus Prewash to the lower half of the car, allowing the product to dwell and break up the traffic film (all that oily mess from the road that will spray up onto your car when driving in the wet) before HP rinsing that off. Then car was washed using Carchem Luxury Shampoo and Lambswool Wash Mitts, rinsed and dried.
Then Valet Pro Dragon's Breath was used to dissolve any embedded ferrous contaminants allowing them to be rinsed away instead of embedding themselves into your clay bar and being dragged over the paint, potentially scratching it, and shortening the usable life of the clay bar dramatically
Any remaining contaminants were then removed using a Shield Heavy Duty clay bar with ONR for lube.
With the paint clean and decontaminated, it was time to start polishing paint.... my favorite activity.... :hurray:
So I typically use the hood for test spots given how easy it is to look down on them, and how much real estate they offer to dial in a process on.... remember you can't keep simply testing on the same spot, as you will skew your results through compounded paint removal in one spot. Instead you need to move to a new section each time you test a new, more aggressive polish. Then once you have that dialled in, on the SAME spot you will go back over half of it with your refining polish to see what difference the final polish makes to the paint clarity.
What you will find quite often is that the hood is in worse shape than the rest of the car, especially if the car has seen the local car wash where they tend to grab a handful of brake dust while washing your wheels, then go straight to washing your hood - and people tend to sit on them :bang: This car was an extreme example of that and luckily there was plenty of paint on the car. In the end it took working each section of it twice, for 8 passes with Menzerna FG400 and a Blue Foamed Wool Hybrid pad on the Flex 3401, followed by 1 set with PF2300 on Orange Hybrid Pad, followed by a final polish with SF4000 on a Black Hybrid pad. Madness.... and no pics while I was getting all of that done...
Forntuately the rest of the car was just a traditional 2-step with Menzerna FG400 on a Orange Hybrid followed by SF4000 on a Black Hybrid. The bumpers however were done with Menzerna 3-in-1 - it has less cut and a little filling ability - the over polishing of plastic bumpers is not a good idea...
But I did get some pics of that...
Before
After
Before
After
Before
After
Before
After
The paint was then protected with Menzerna Powerlock
The interior was vacuumed, the plastics (dash, door cards etc) and leather were cleaned with Carchem APC. The plastics given a final wipe down with Autofinesse Spritz and the leather protected with Collinite 855. One of the things the owner had requested the to sort out all the interior plastic bits which were looking rather dull (door panel strips, around the centre console and dash cluster etc). Meguiars Ultimate Polish on a red foam applicator pad by hand was the weapon of choice.
All the door and window rubber and exterior plastics were cleaned using Shield Heavy Duty Vinyl and Rubber cleaner and protected using Aerospace 303.
Before
After
The glass (inside and out) was cleaned using Autoglym Fast Glass.
Here are some after shots I managed to snap just before the sun disappeared
Still in the garage
Outside
And my favorite shot....
Total time taken 31 hours
As always, thanks for looking and any questions or comments are welcome.
:hi:

