LawrenceSA
New member
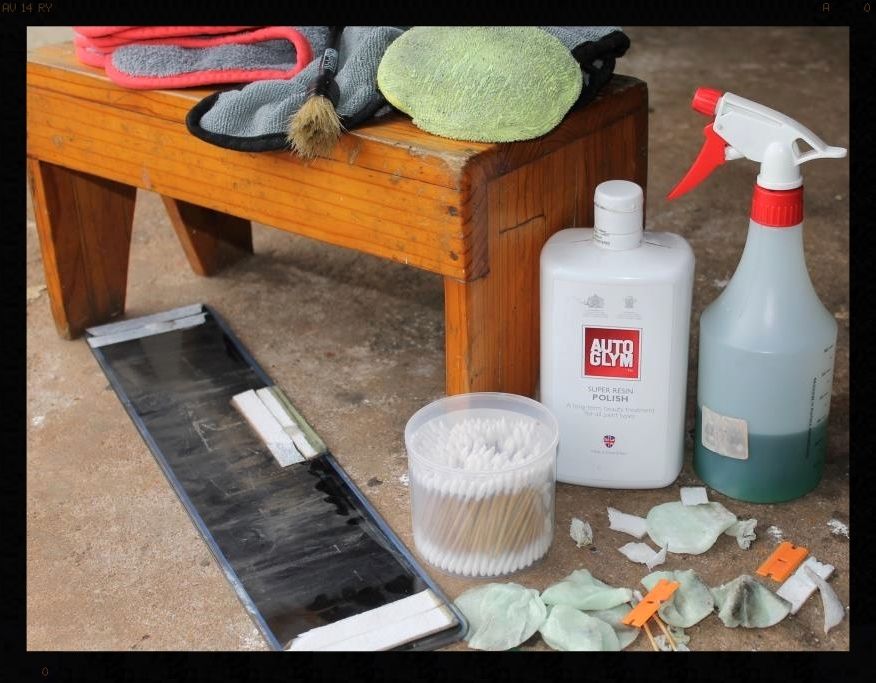
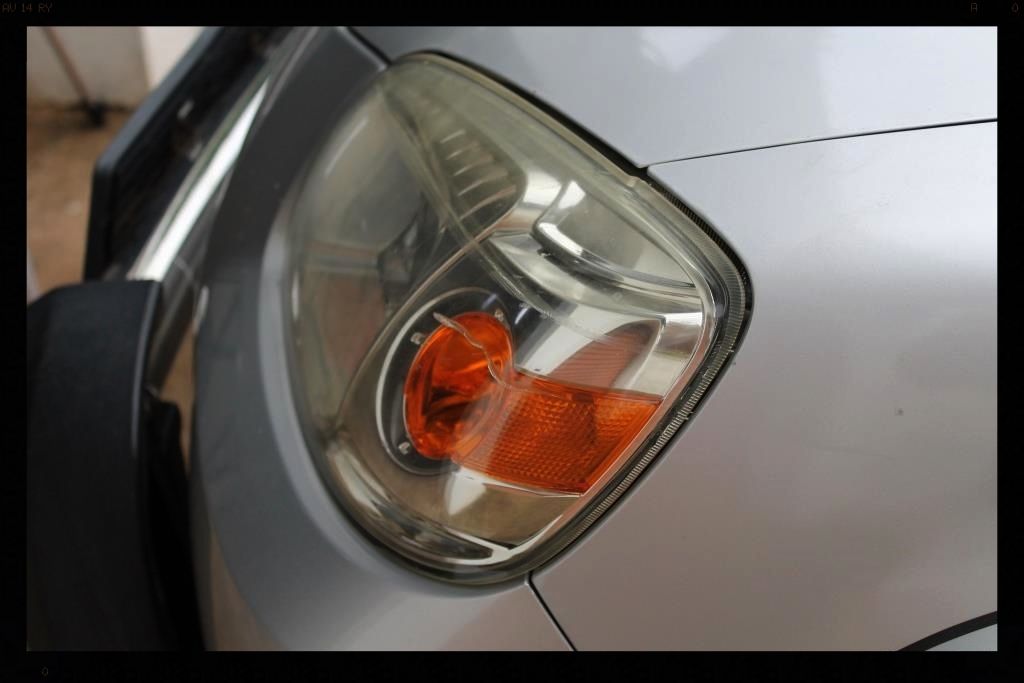
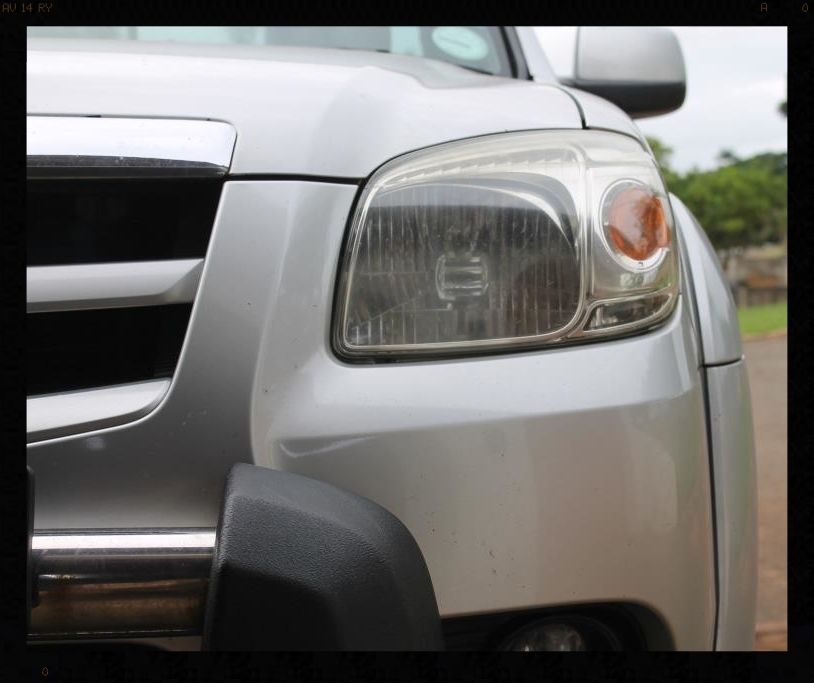
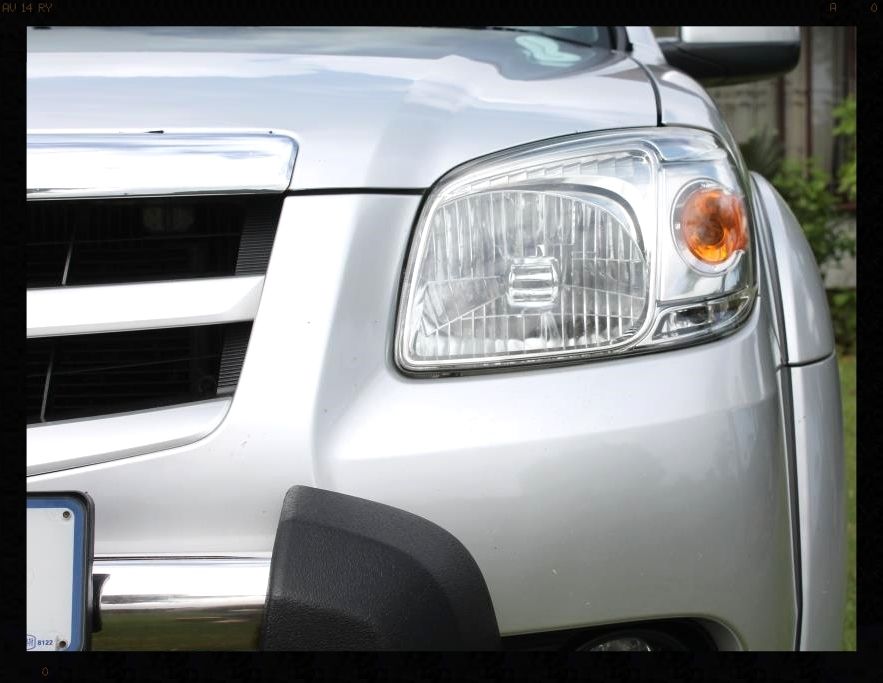
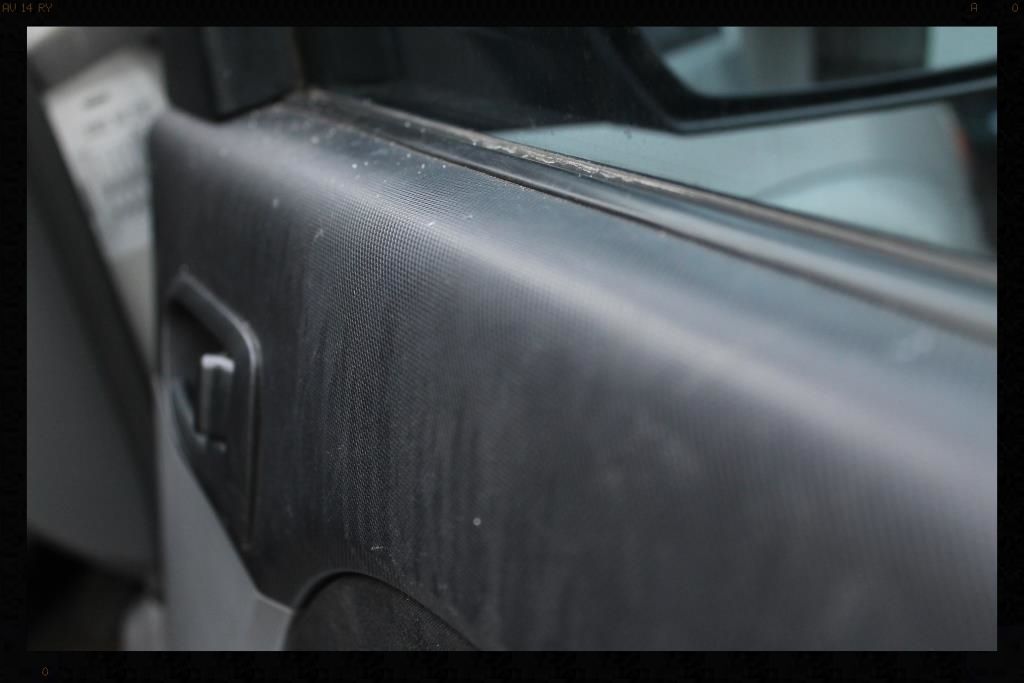
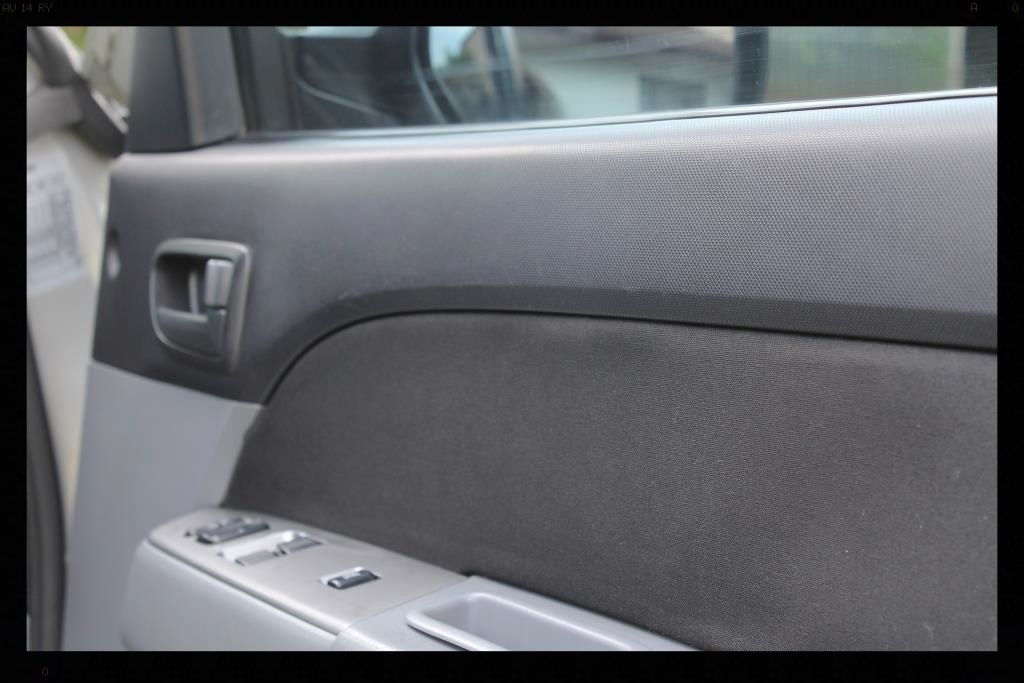
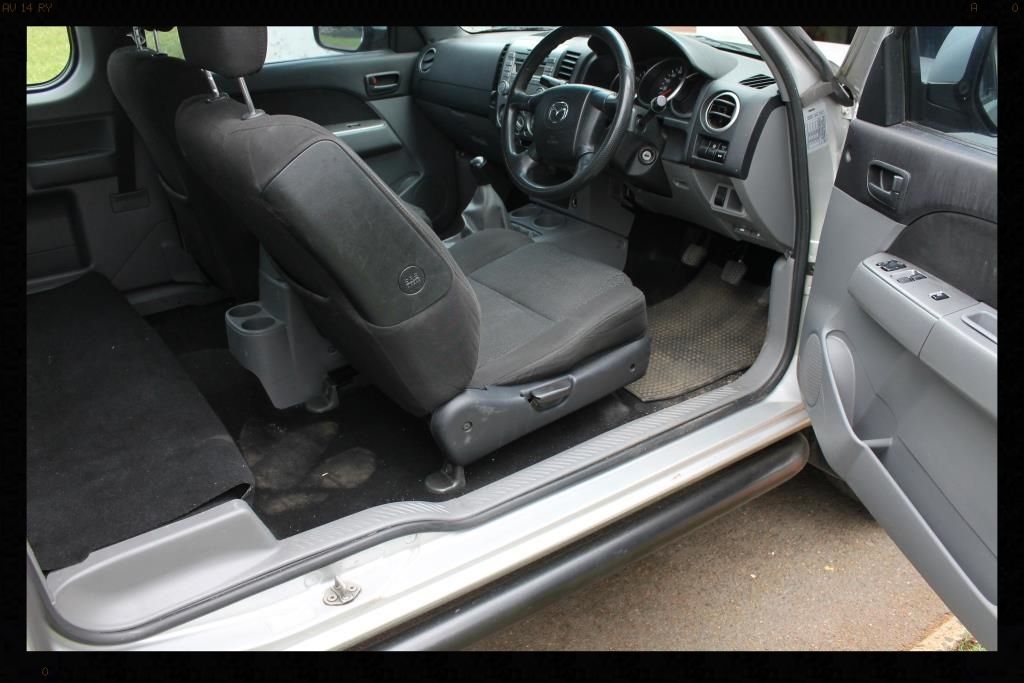
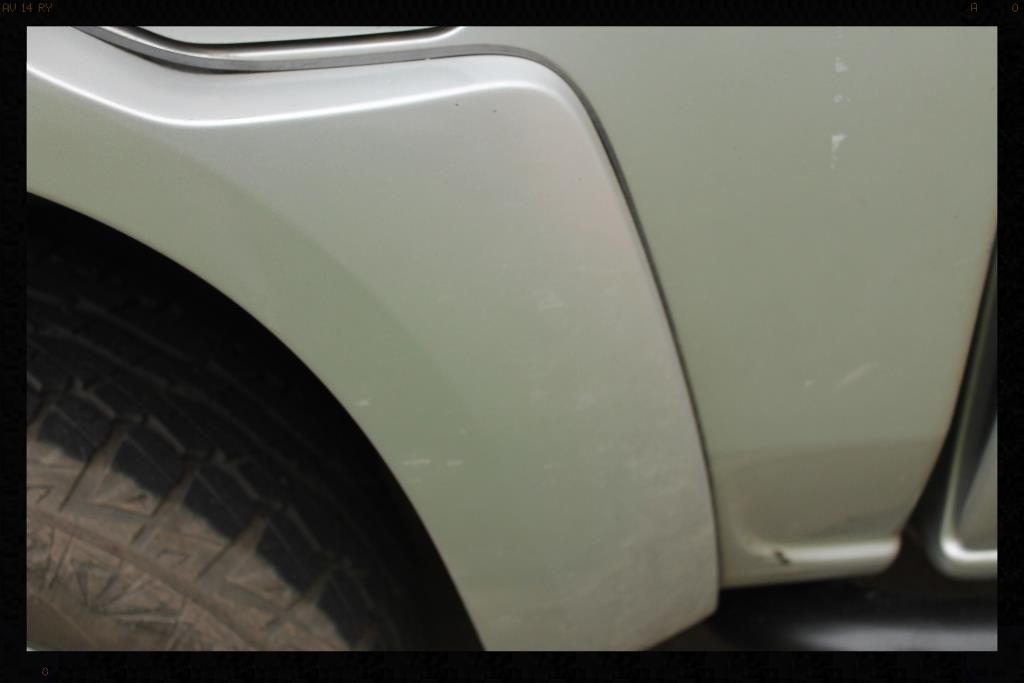
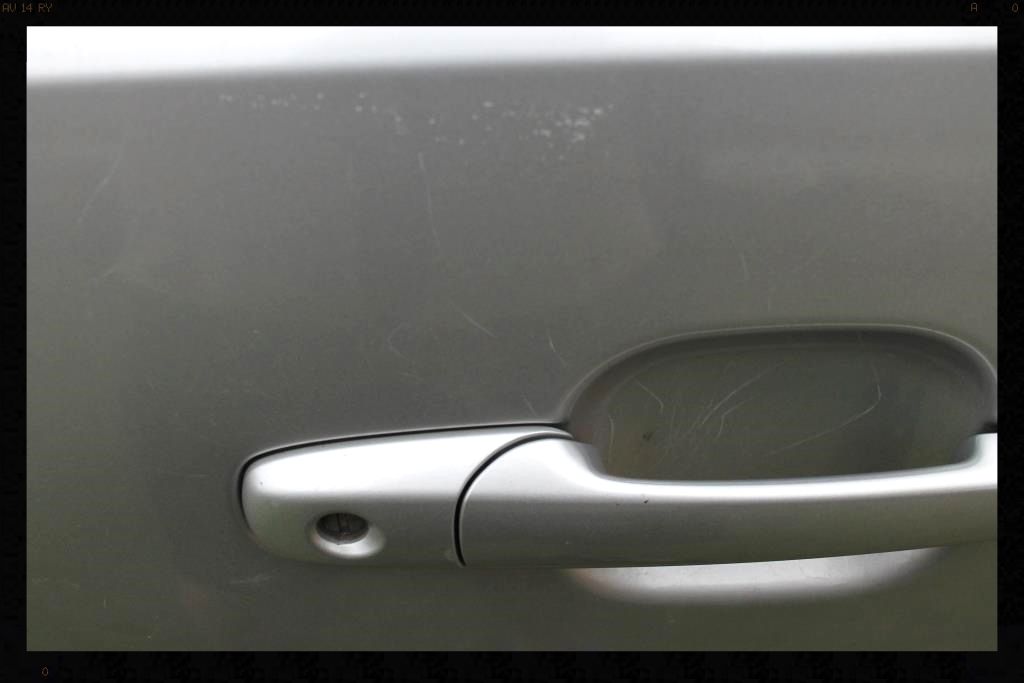
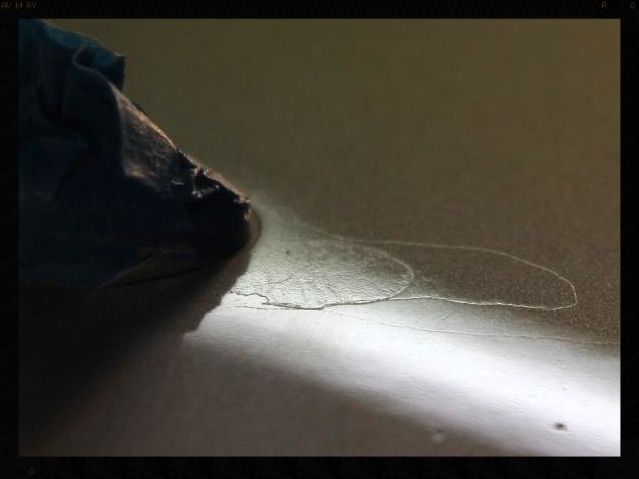
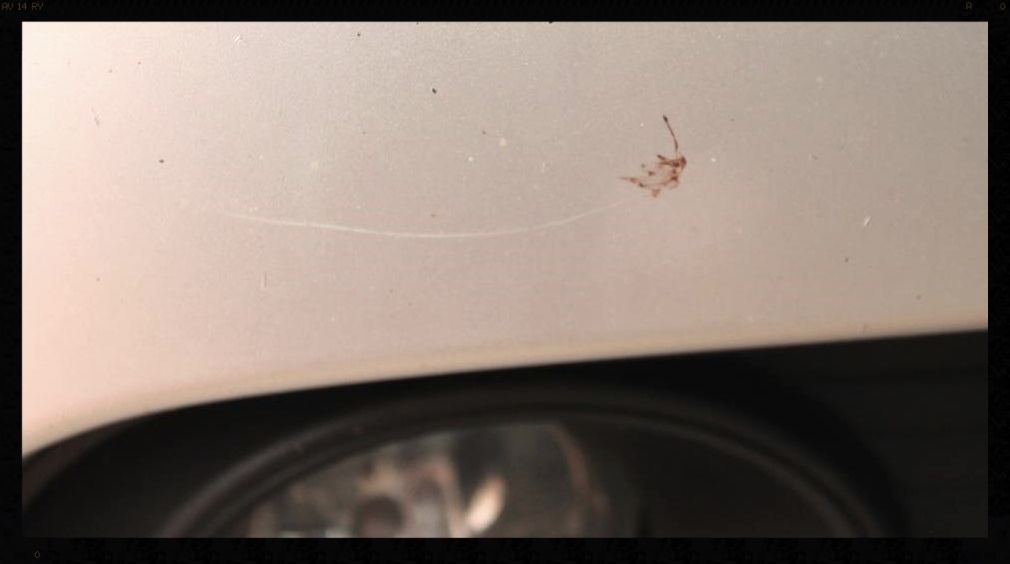
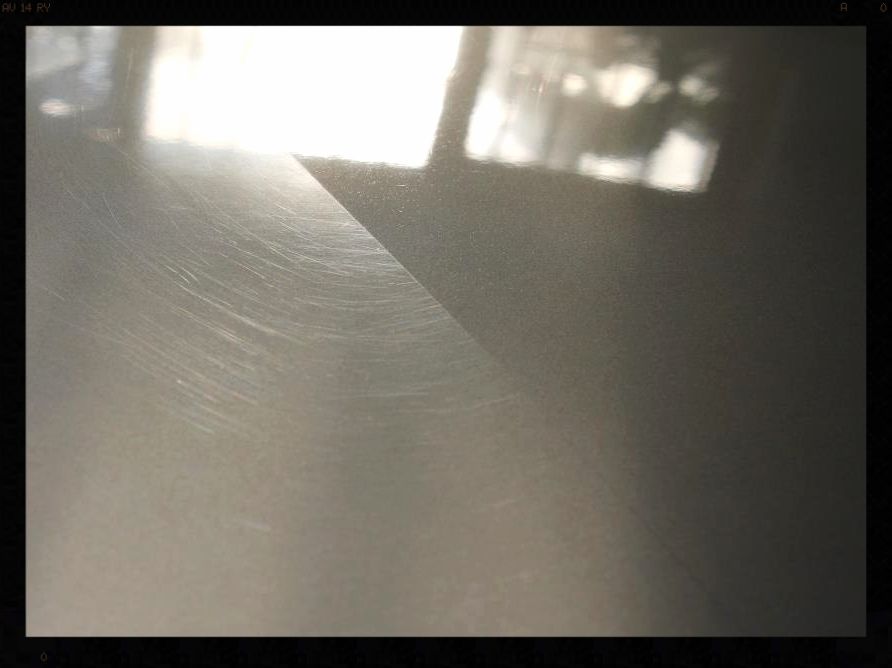
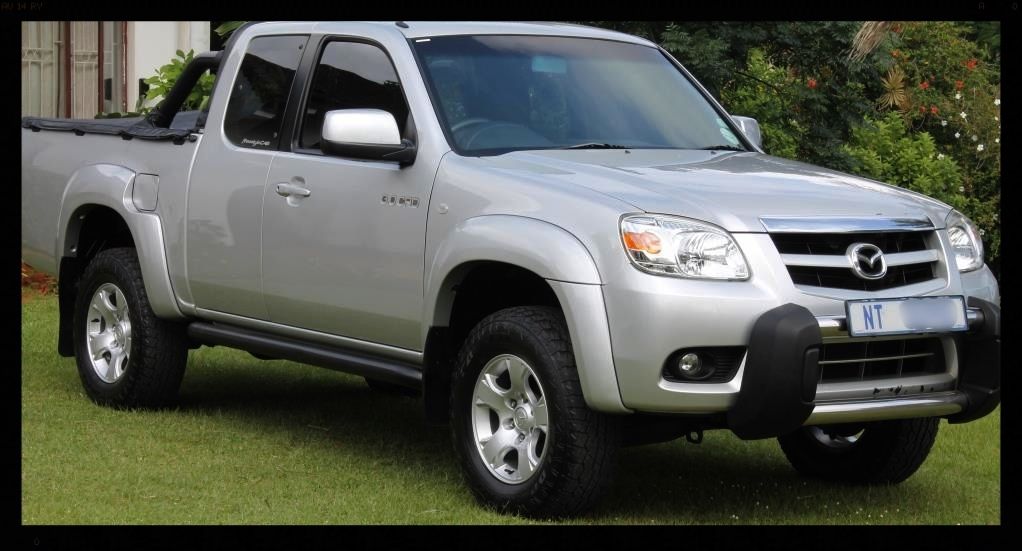
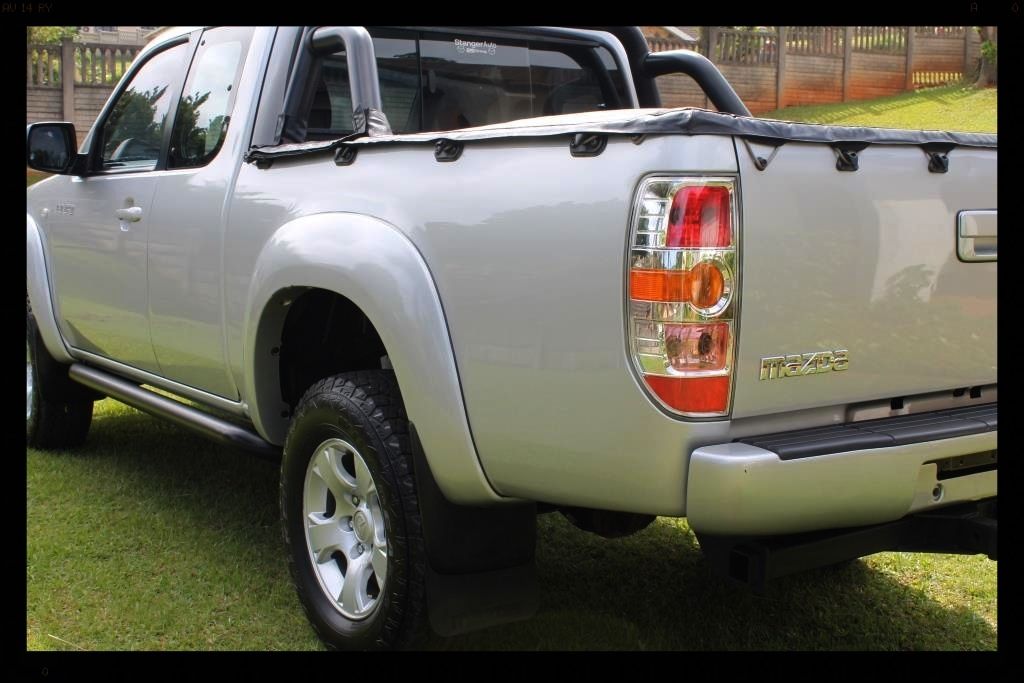
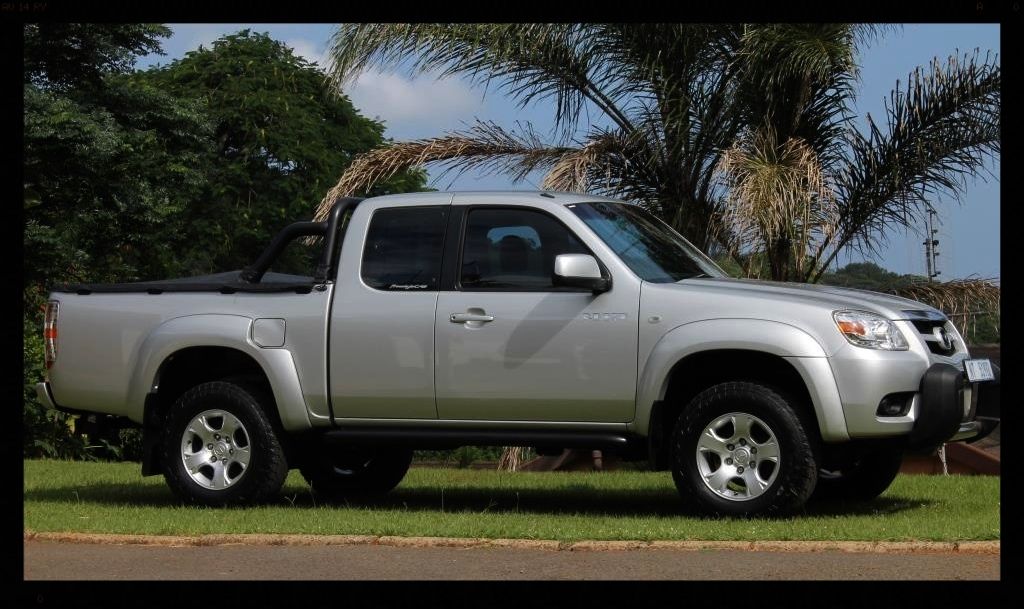
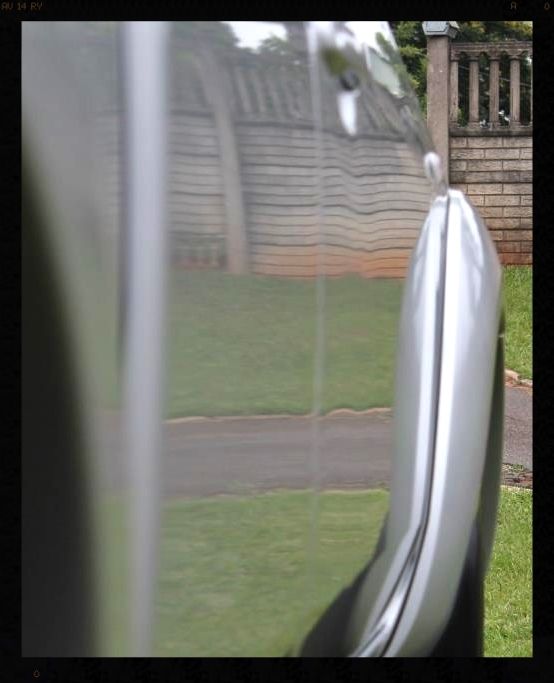
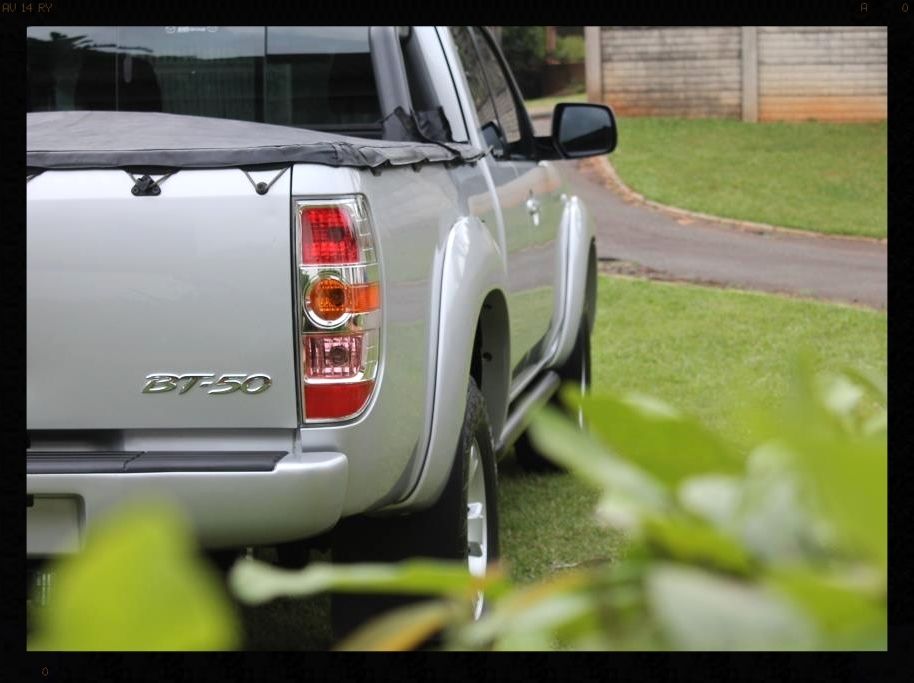
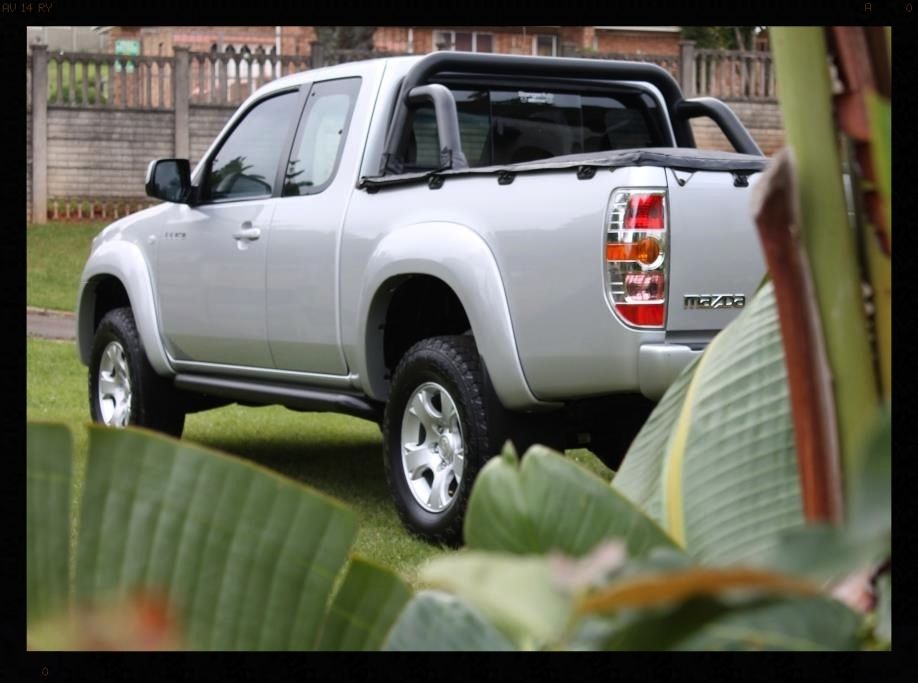
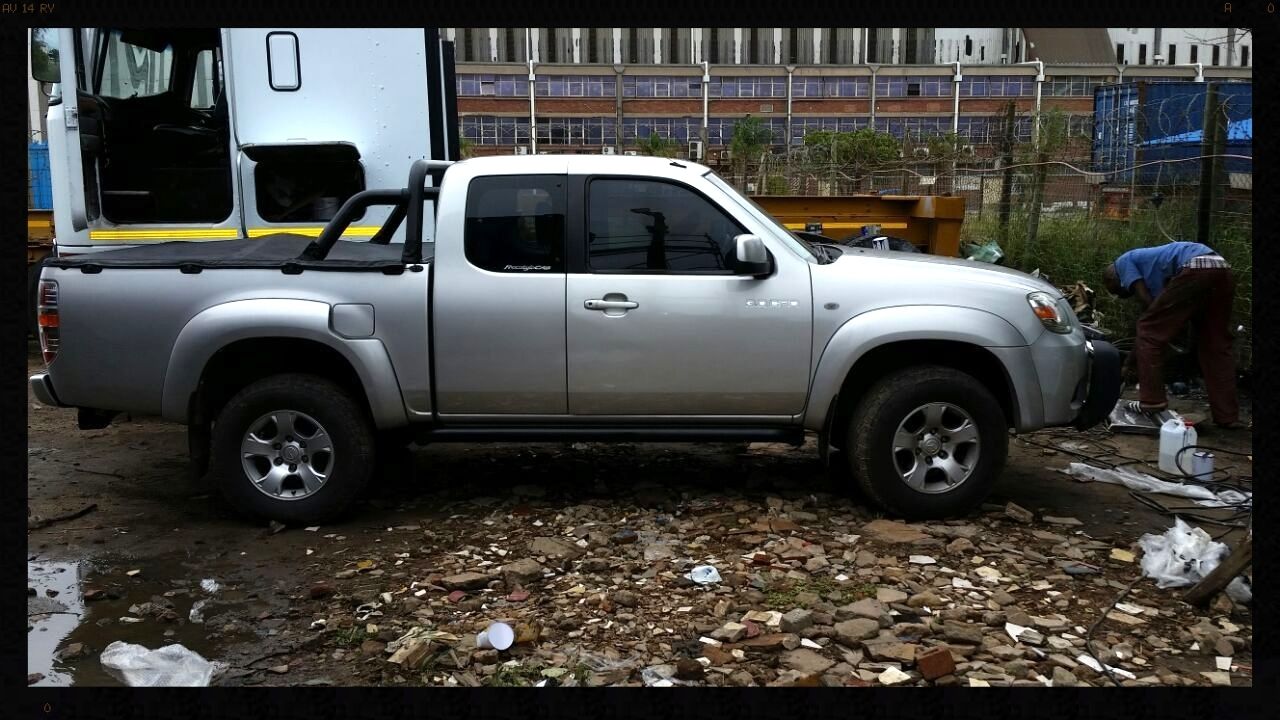
So this vehicle was recently purchased by the owner and has been subjected to quite some abuse over the years. As you can see, it is a workhorse....
There was a lot to do and so I arranged to do the detail over 2 weekends, with some work done in the evenings after work in the week in between - all in all I spent 44 hours on it.
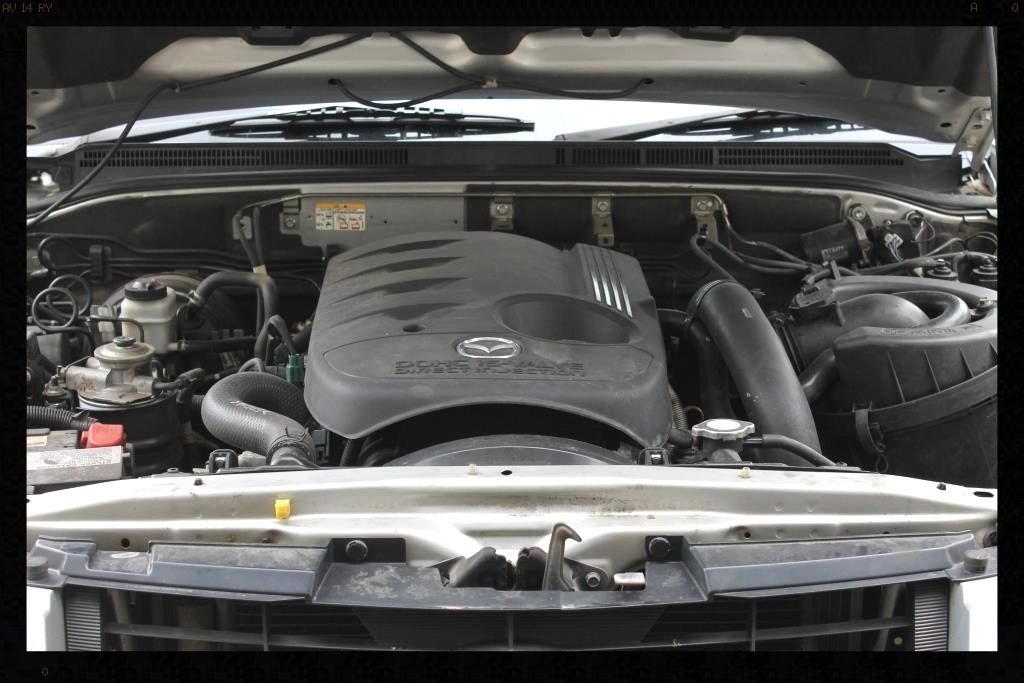
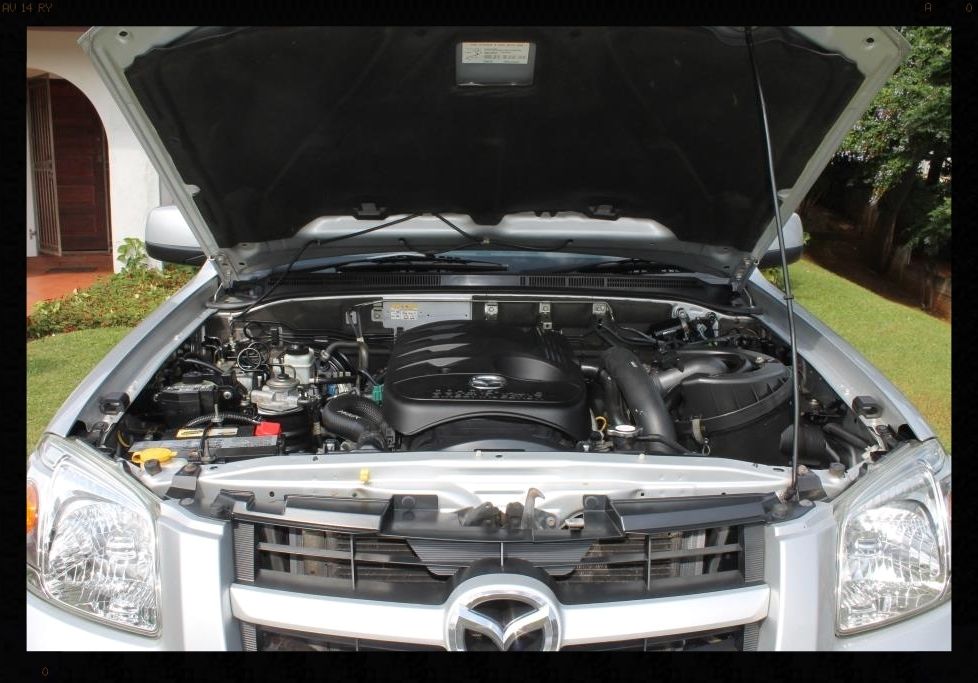
First up, the engine bay:
Before
-Alternator covered with cling wrap
-Spray with Cyclo APC and agitate with various brushes and mf towels
-HP rinse
-Blow dry
-Clean/Polish/Protect painted surfaces using AF Tripple by hand with a MF applicator
-Dressed with Autofinesse Dressel
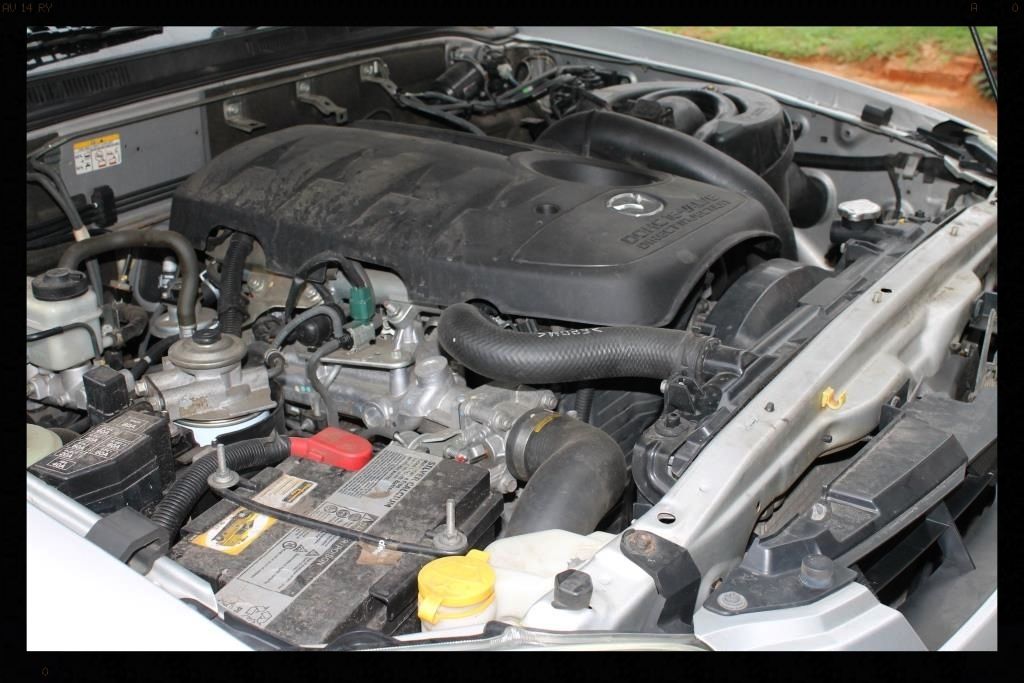
After
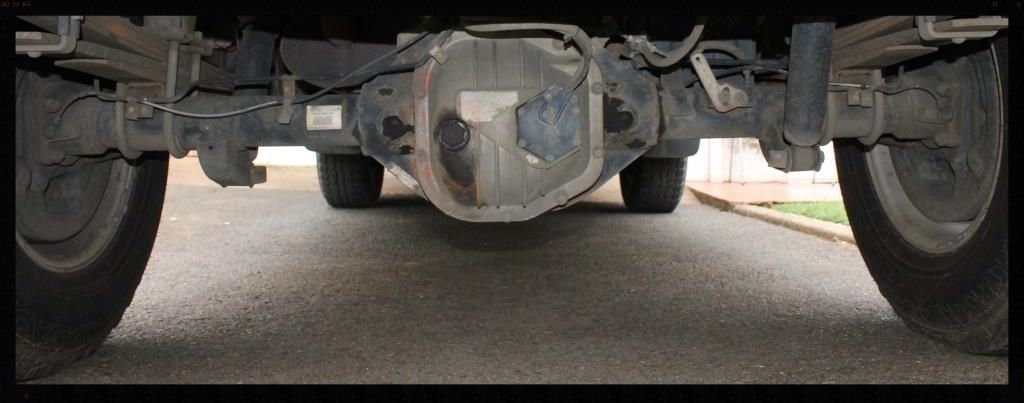
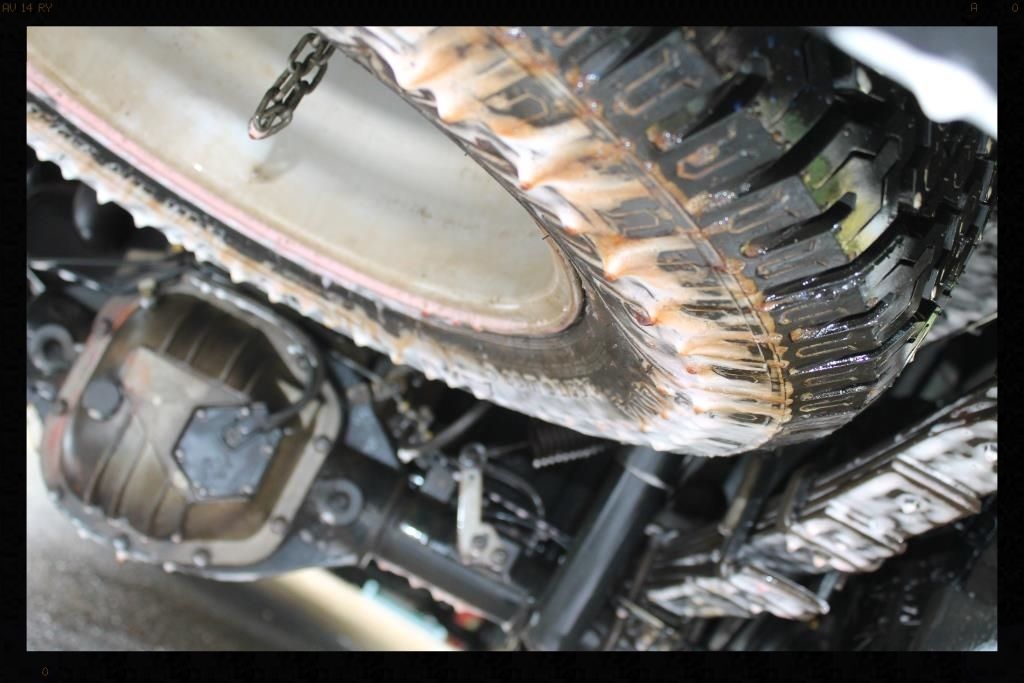
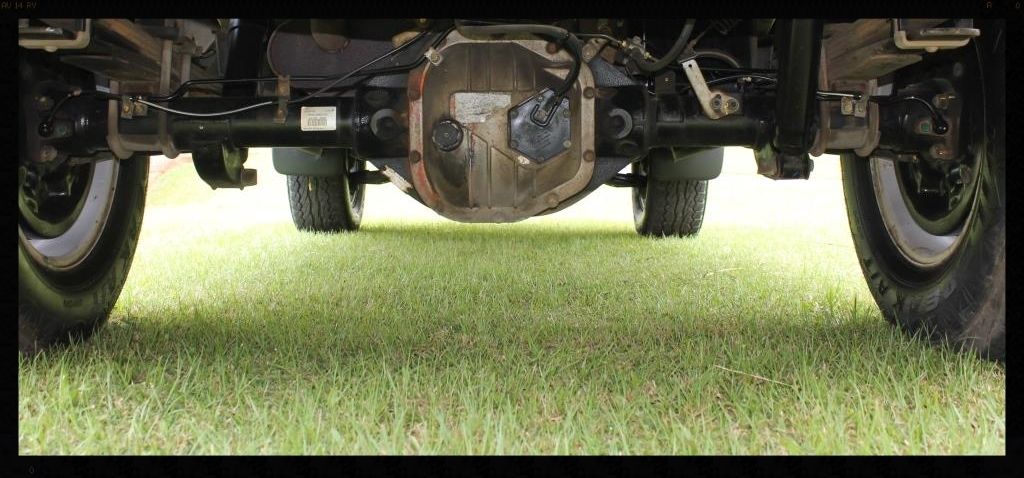
Once that was done it was time to get really dirty.... I spent a few hours on my back cleaning the undercarriage
Before
-Spray with Cyclo APC and agitate with various brushes and mf towels
-HP rinse
-Tire cleaned with Valet Pro Billberry
-Dressed with Shield Sheen
During
Just so you know, even though Billberry smells like strawberry ice-cream, it really doesn't taste much like it :lol:
After
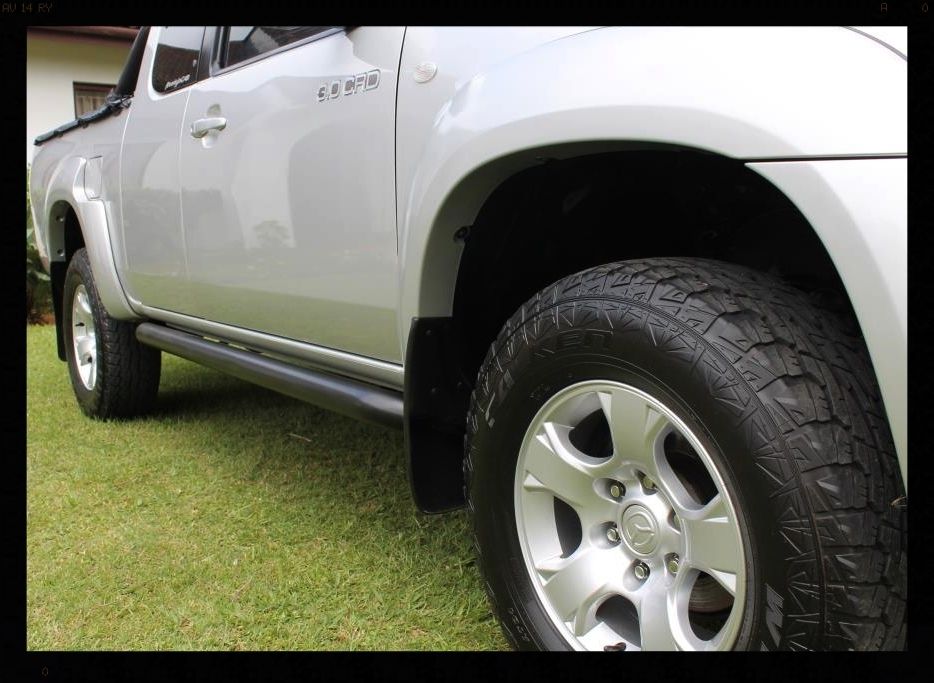
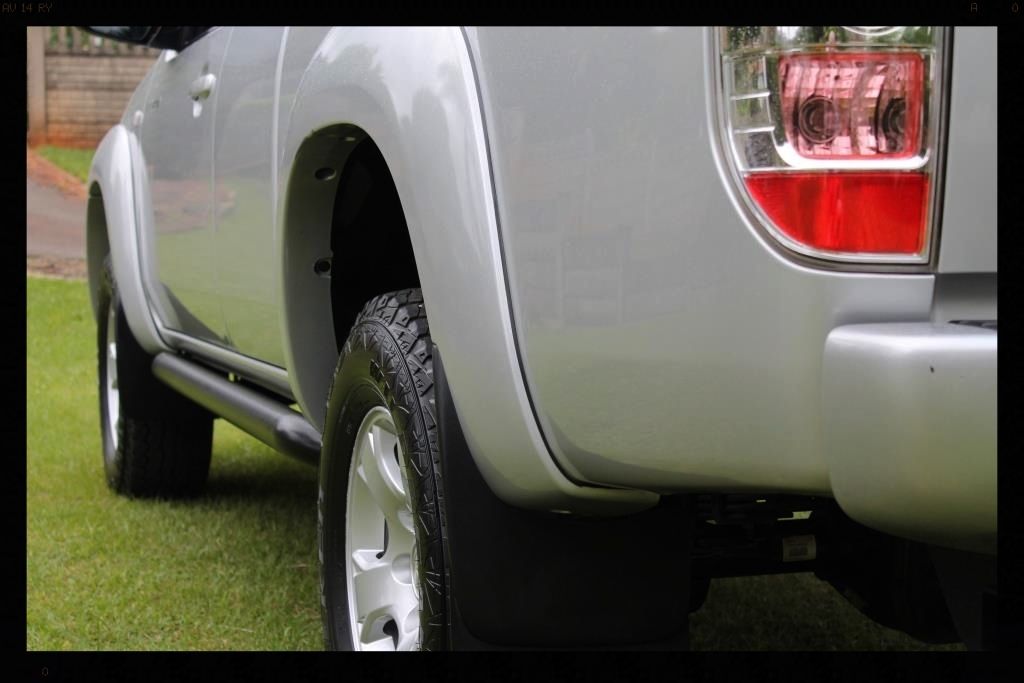
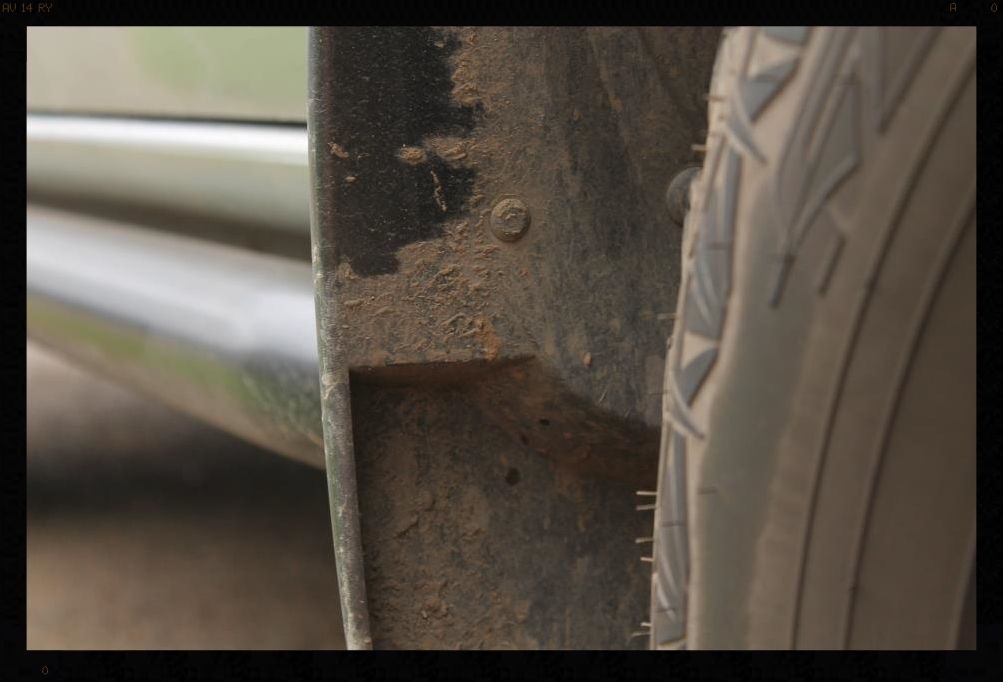
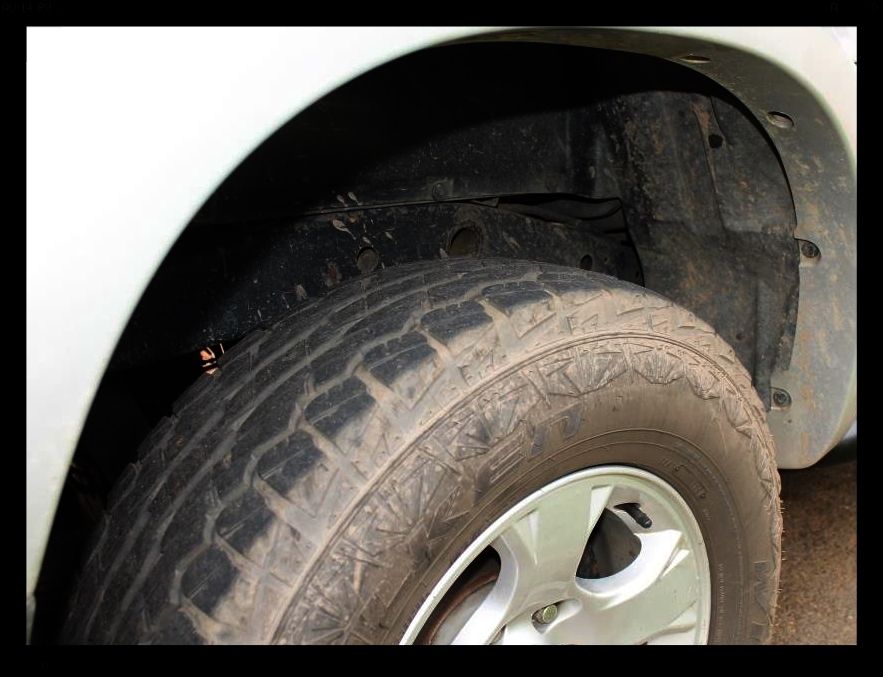
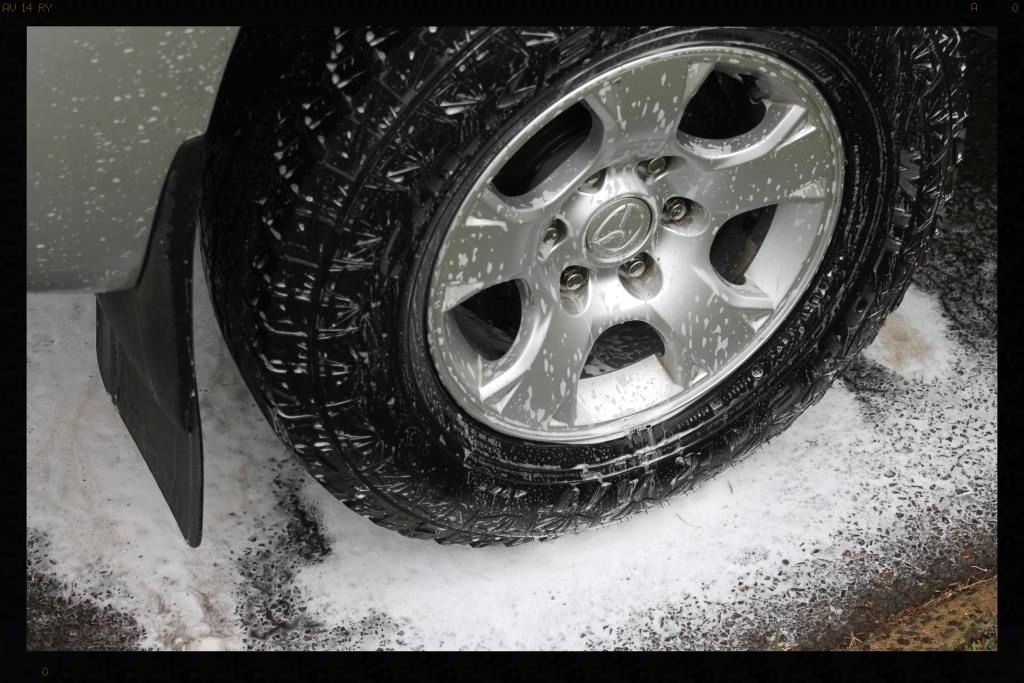
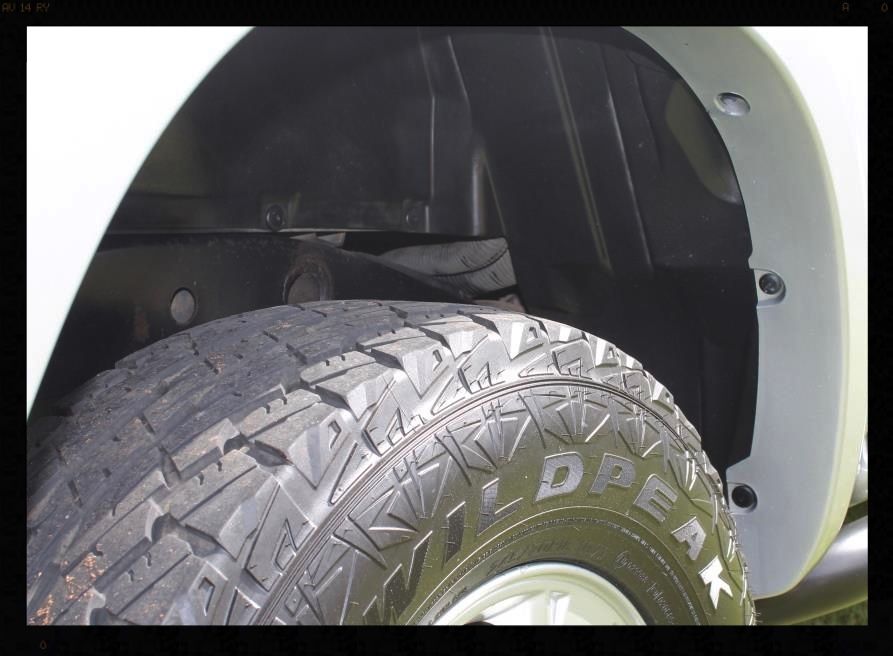
Then it was time to move on to the wheels and arches
Before
During
-HP rinse arches
-Clean with Cyclo APC using a Mothers Fenderwell Brush
-HP rinse

After
Before
During
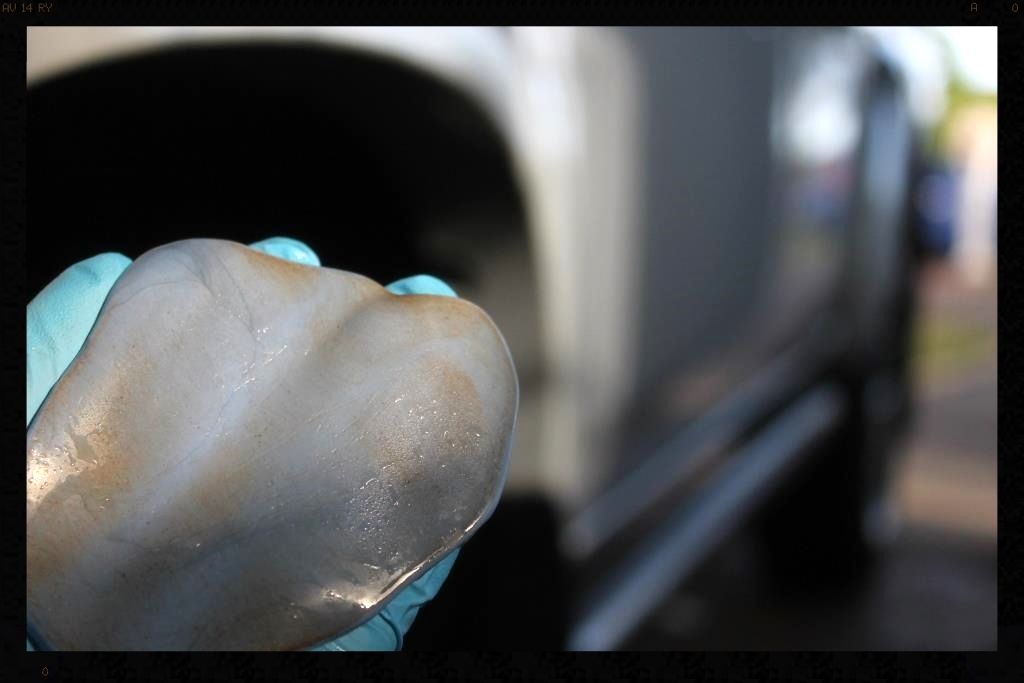
-Clean tires with Valet Pro Billbery Wheel Cleaner @ 1:6 and a Mothers Tire brush.
-HP rinse
-Repeat tire cleaning
-HP rinse
-Wash wheels and brake calipers with VP Bilberry Wheel Cleaner @ 1:6, Daytona and Daytona Jnr brushes and Valet Pro Boars Hair Brushes
-HP rinse
-Dry
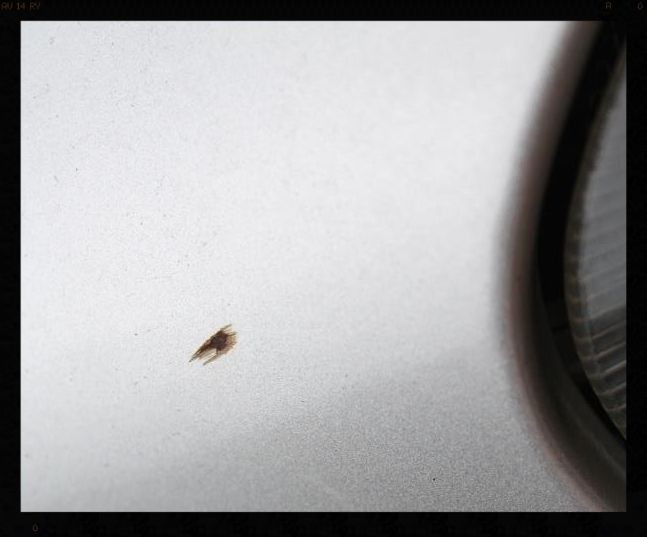
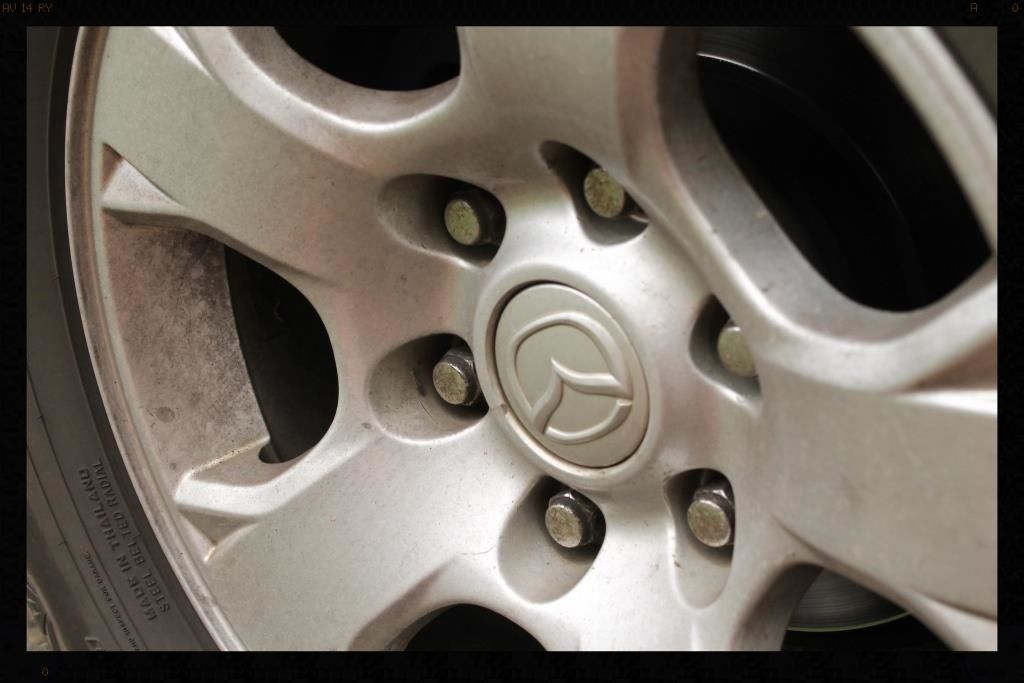
-Remove tar using Autoglym Intensive Tar Remover
-Spray with APC and HP Rinse
-Dry
-Remove bonded and embedded ferrous contaminants on wheels and brake calipers with Autofinesse Iron Out, Daytona (big and small) brushes and Valet Pro Boars Hair Brushes
-HP Rinse + flood rinse
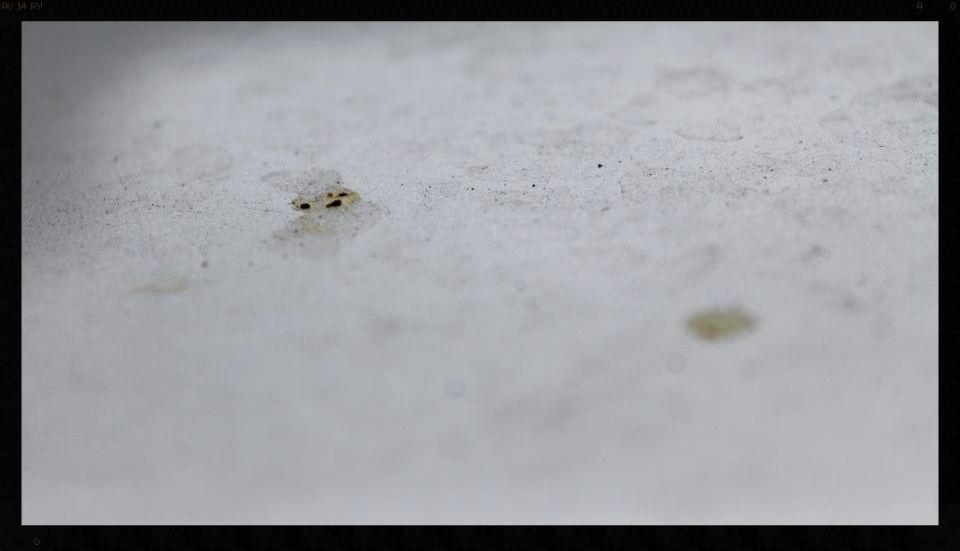
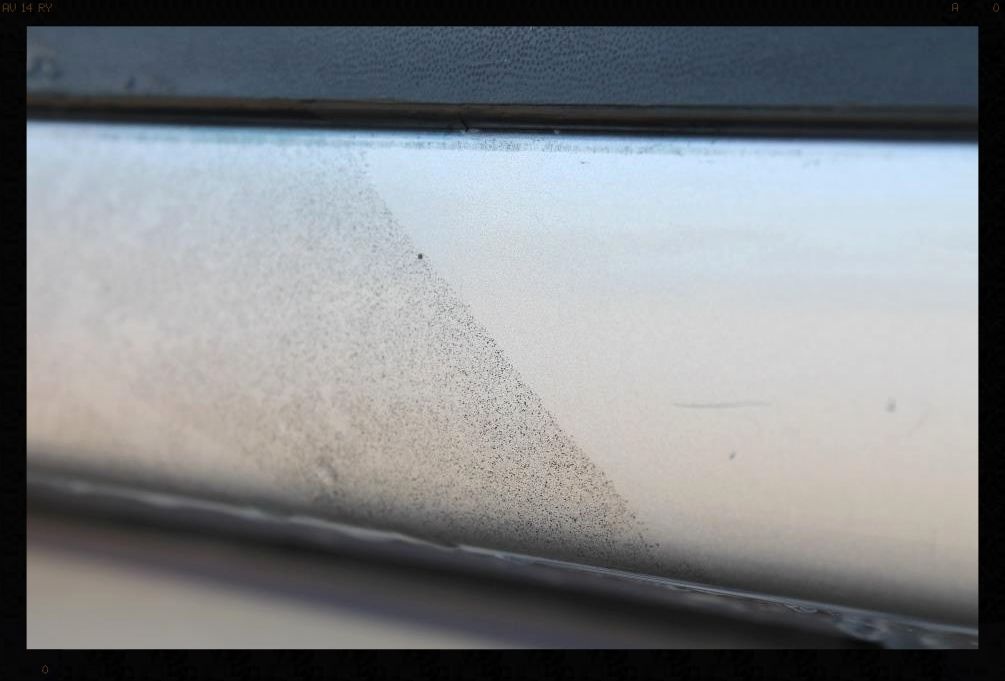
The embedded dirt was so bad I had to hit each wheel at least twice, sometimes 3 times and on one wheel a 4th time. I also used the opportunity to test out an (un-named) iron remover from Crazy Detailer
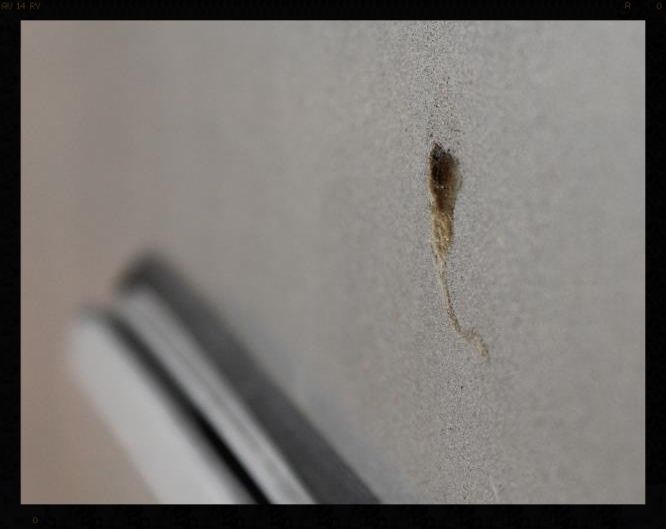
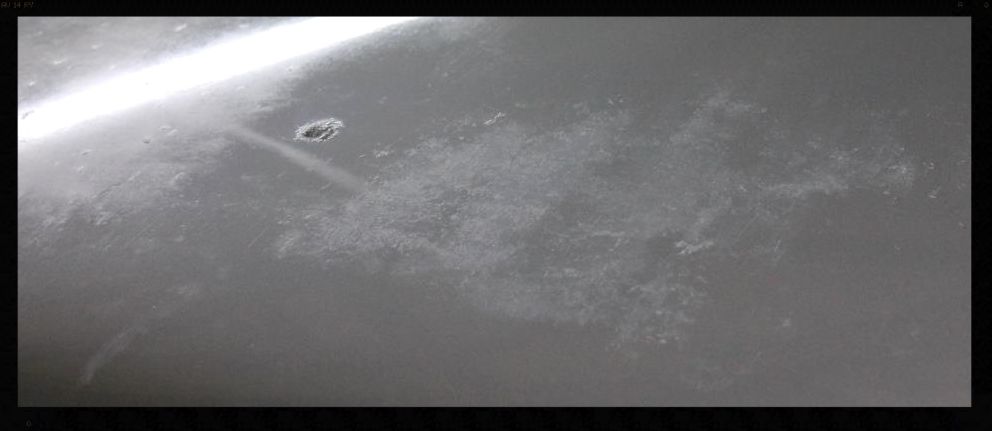
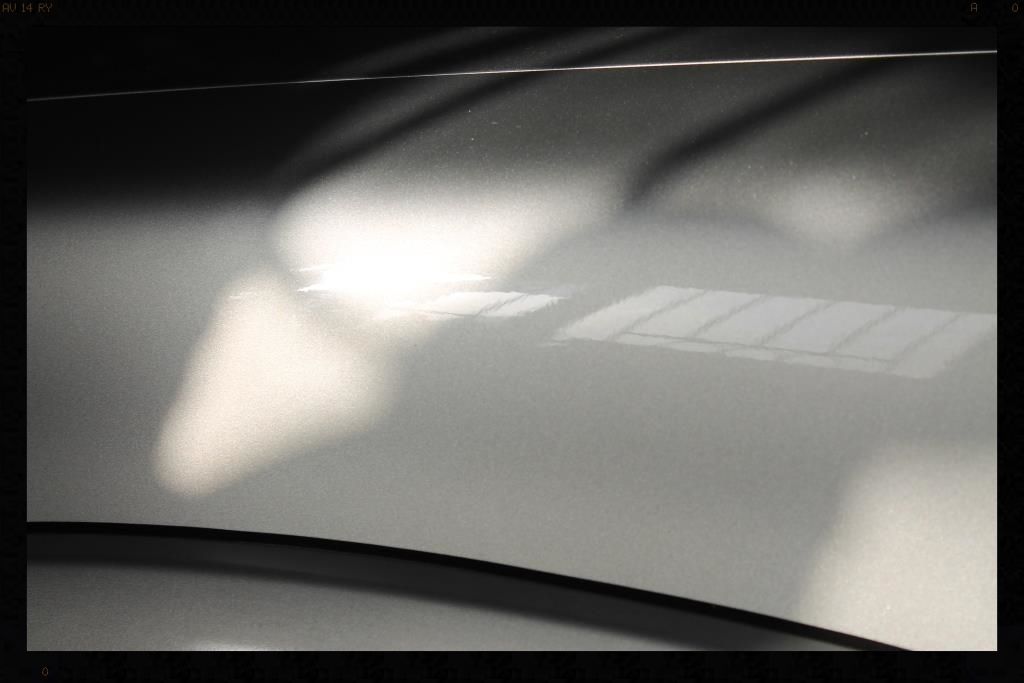
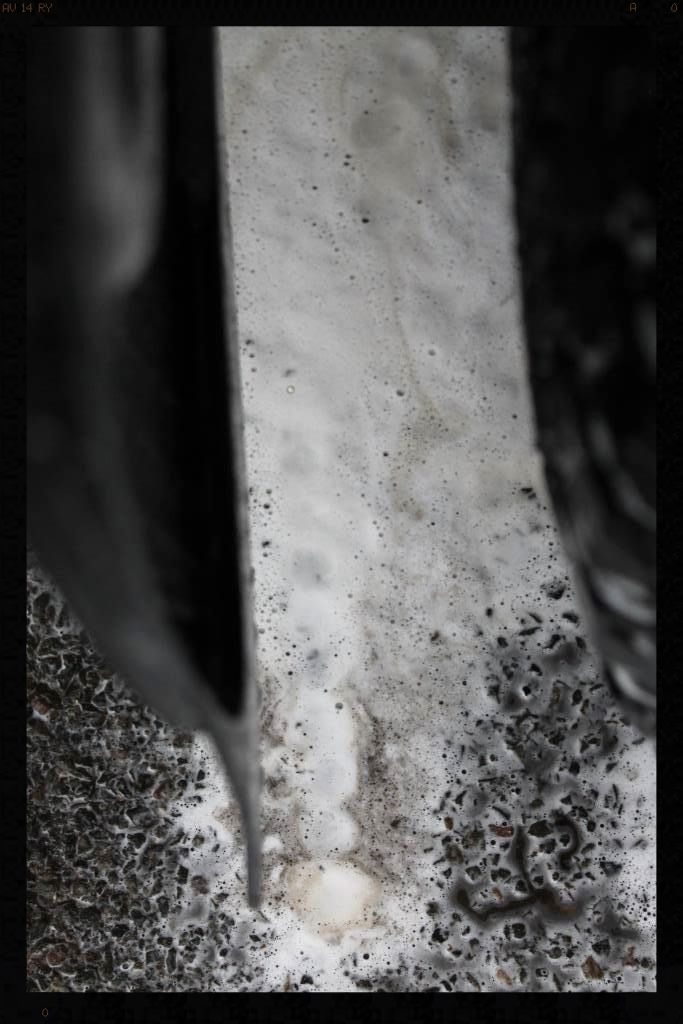
Here I have sprayed the left side of the wheel with AF Iron Out and the right side with the un-named iron remover.
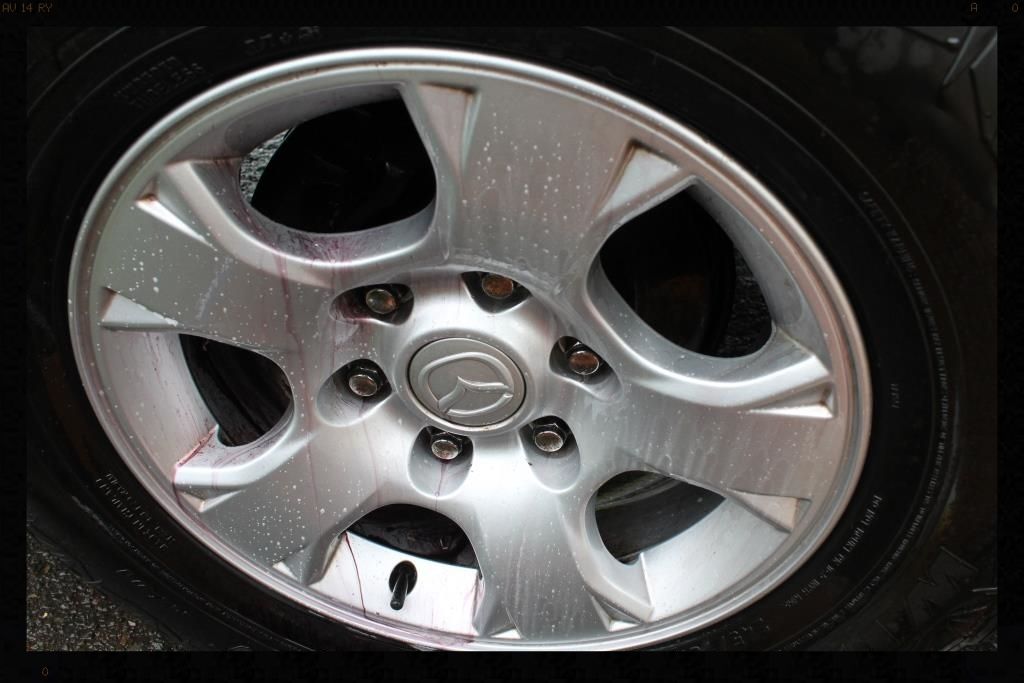
As you can see it seems to be a bit thicker and clings longer, but, it didn't seem to 'bleed' at all... so I rinsed, and then sprayed the whole wheel with AF Iron Out.
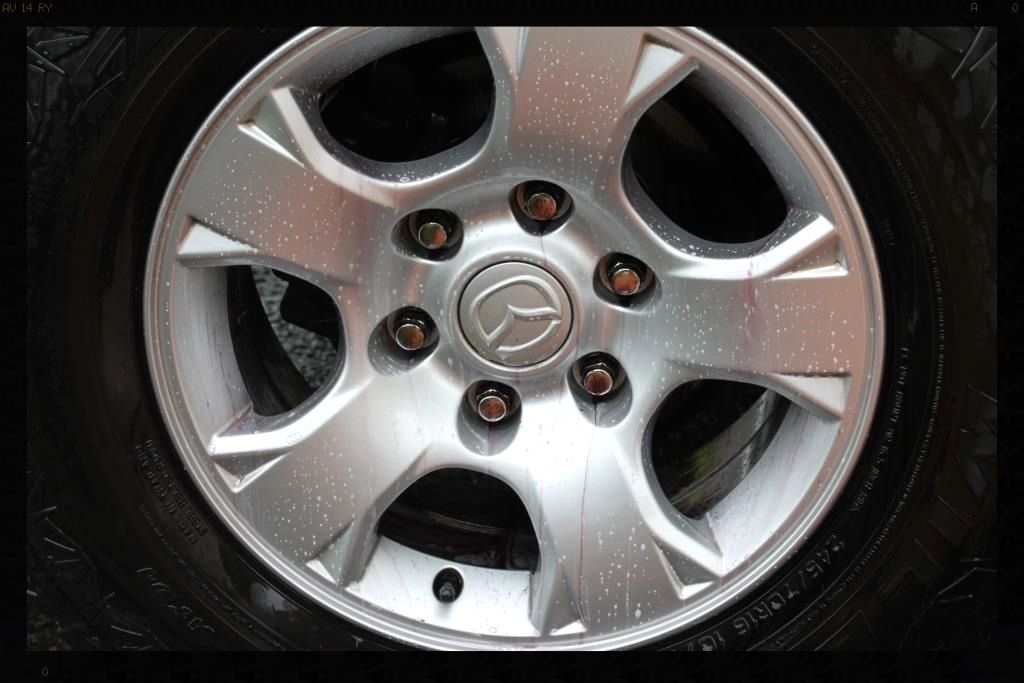
If you ignore the bleeding coming from the lower right wheel nut, there seems to be a pretty similar amount of bleeding across the whole wheel, leading me to conclude that although the un-named iron remover never bled, it still removed as much iron. I have fed back to them though the the bleeding is a useful visual indicator and needs to be present.
-Dry
-Polished with Meguiars Cleaner Wax
-Protected with Menzerna Powerlock
-Tires dressed with 2 coats of Optimum Tire Sheen
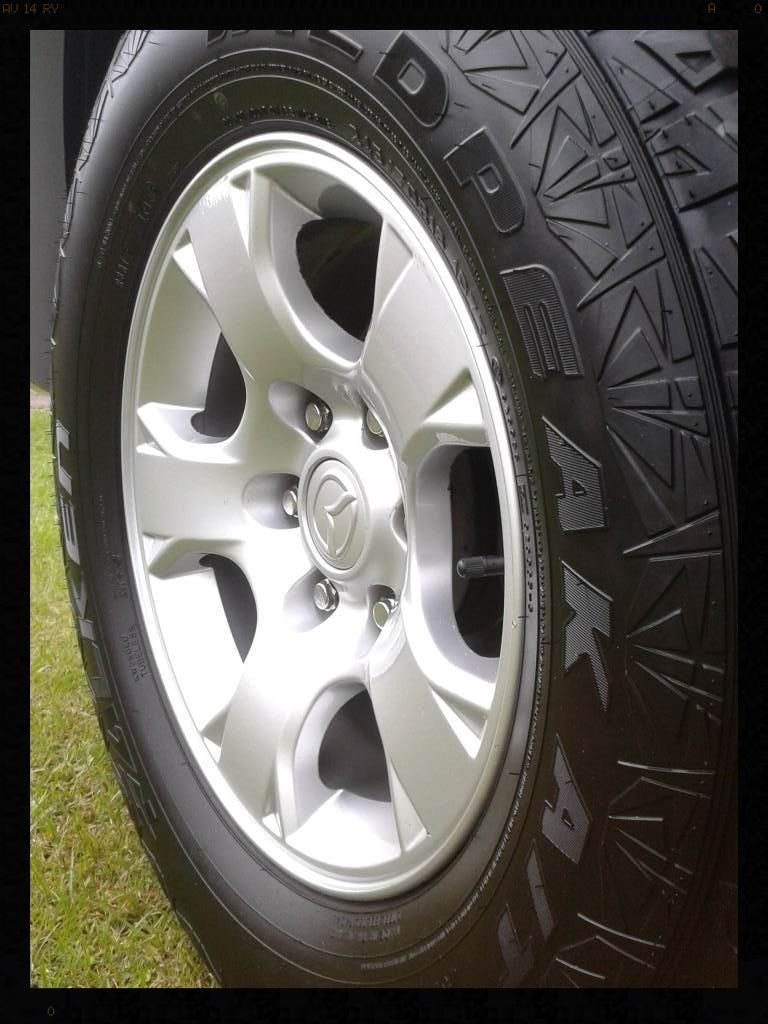
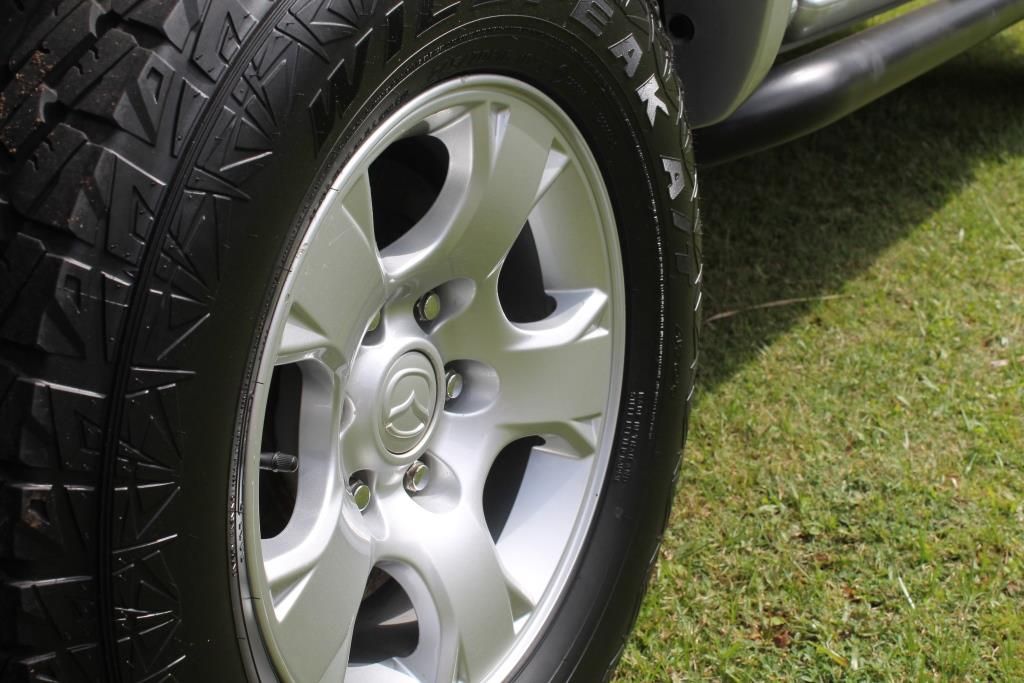
After
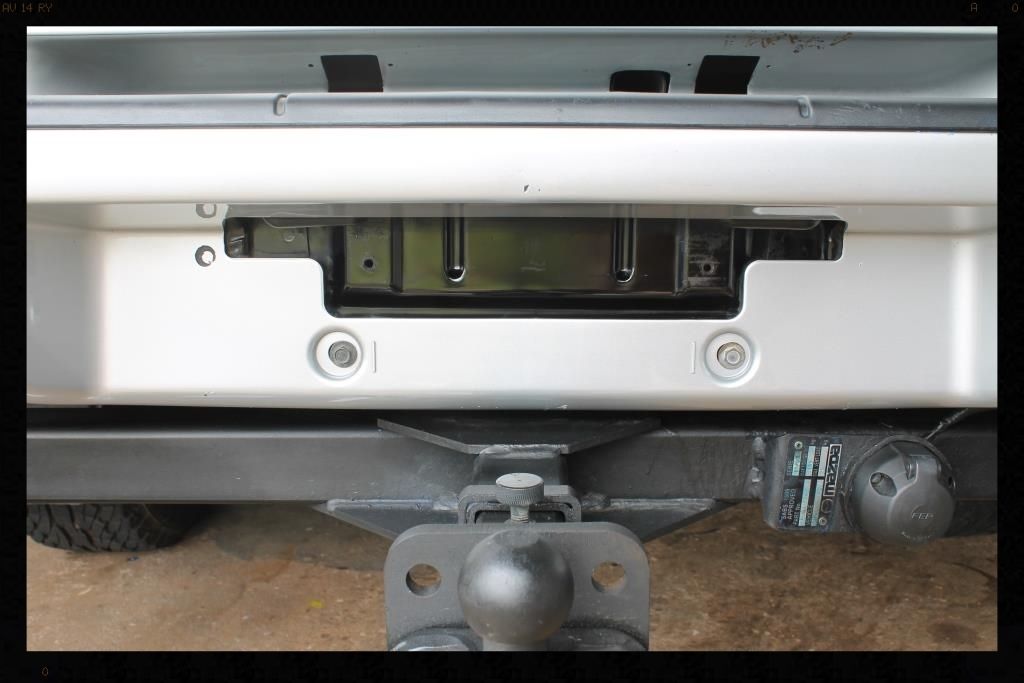
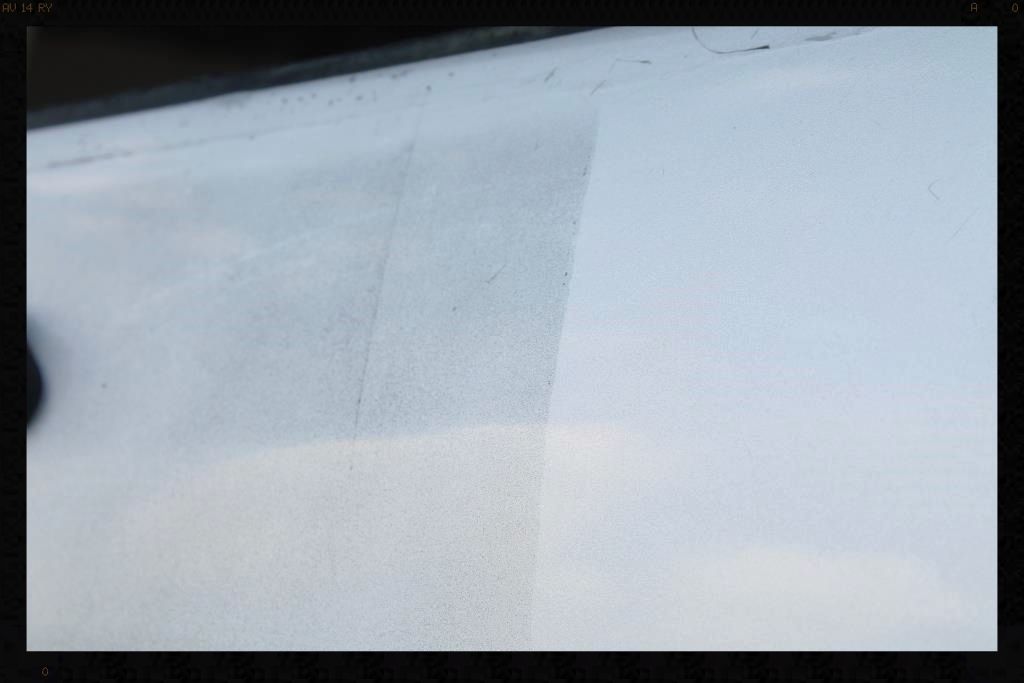
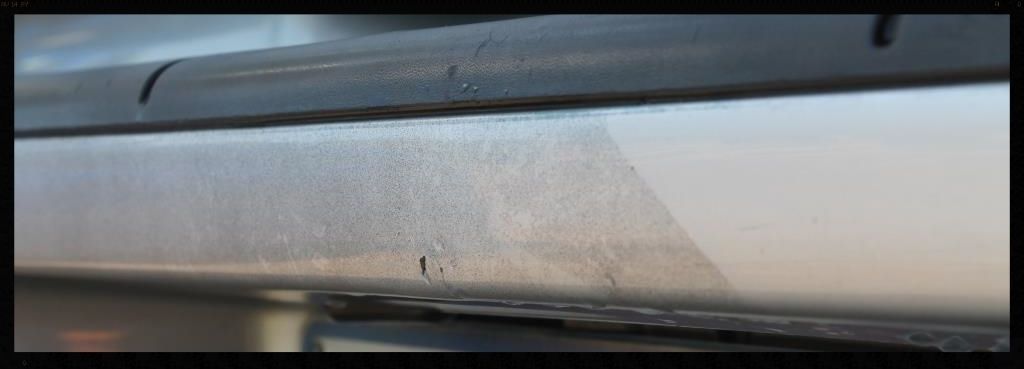
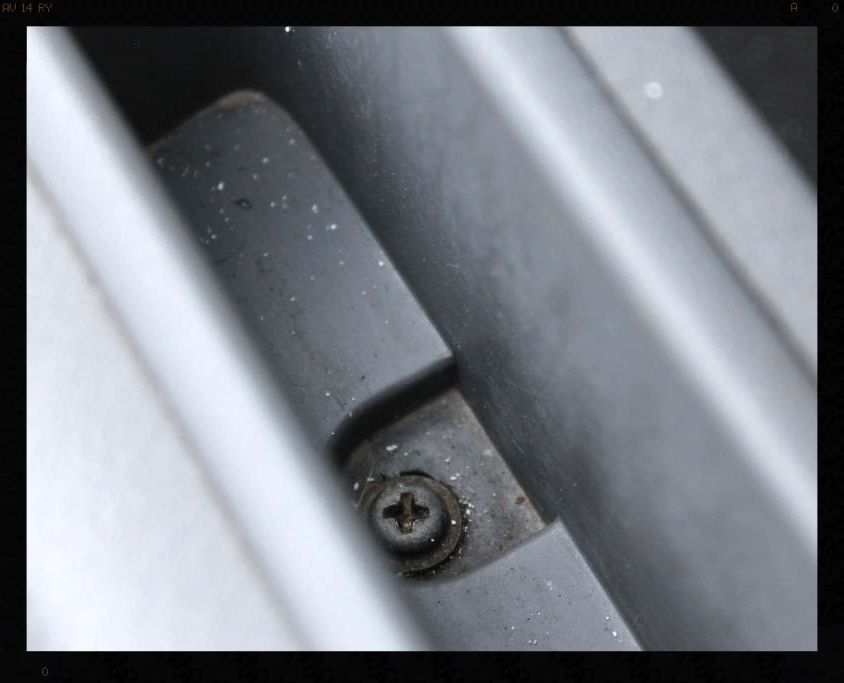
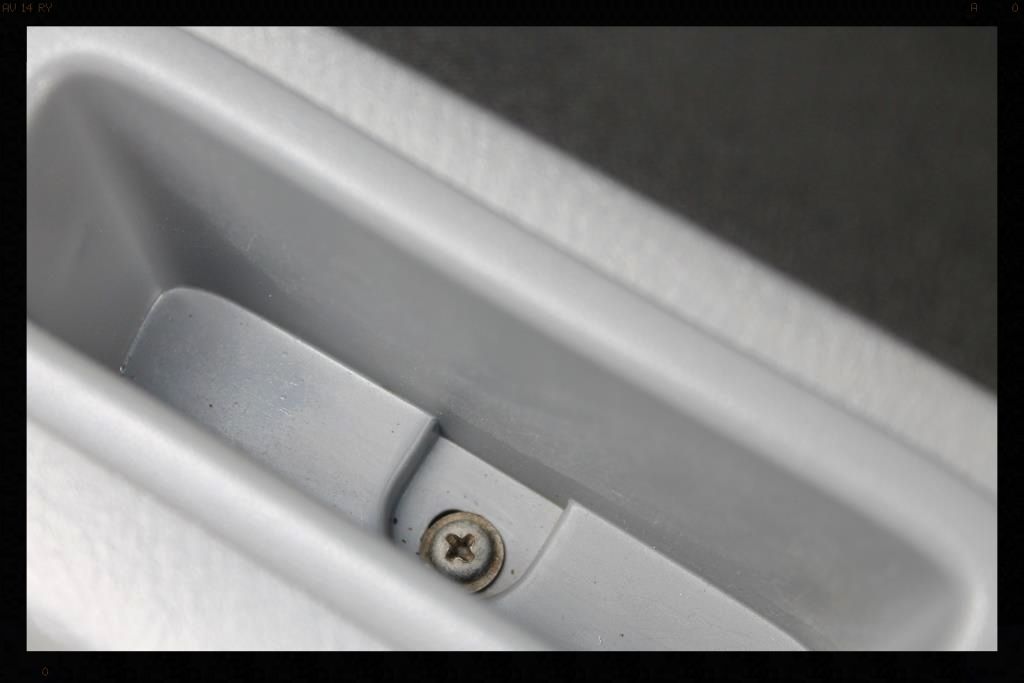
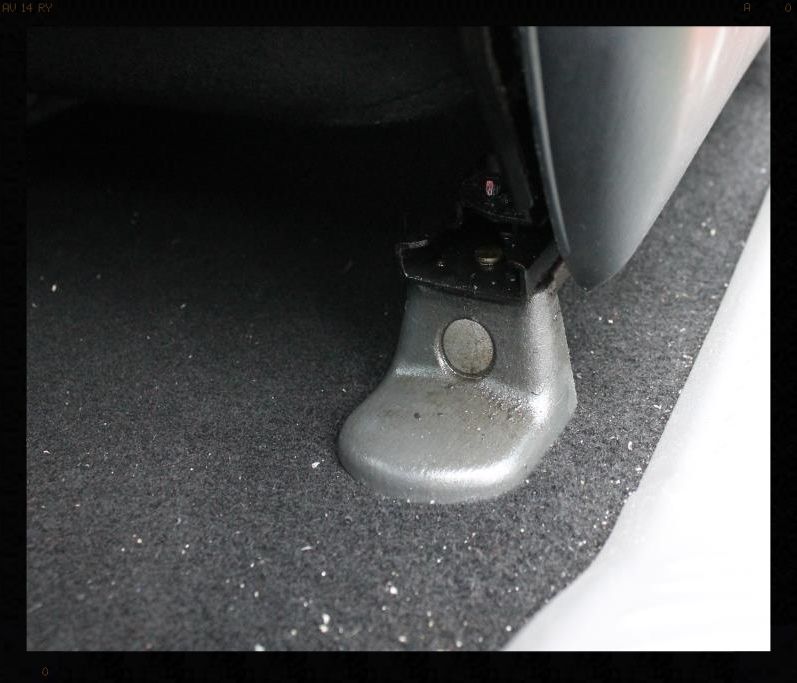
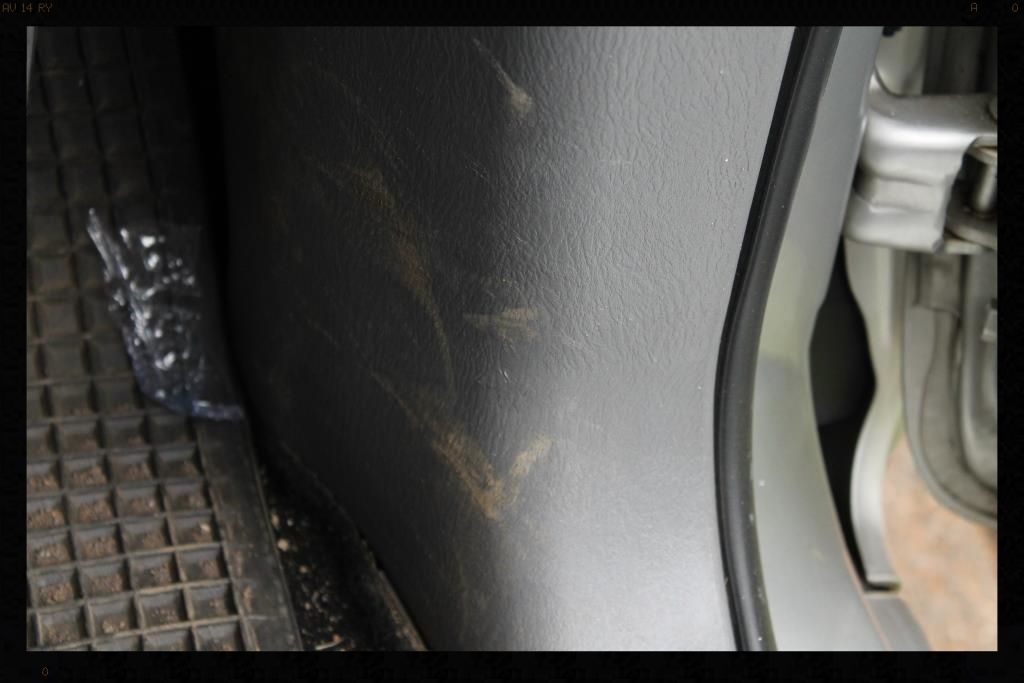
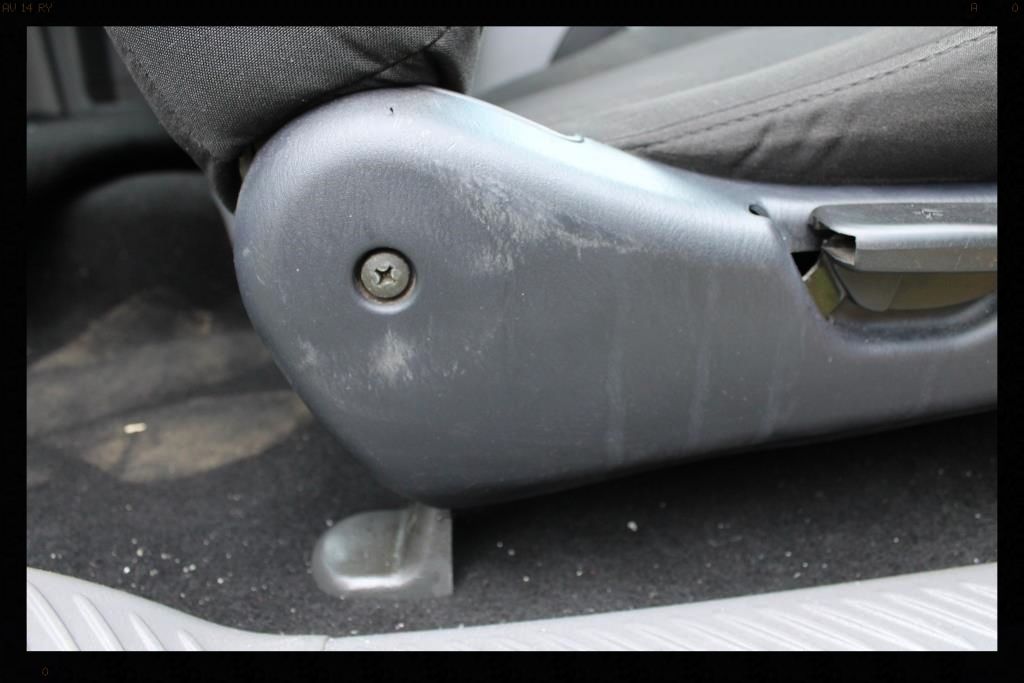
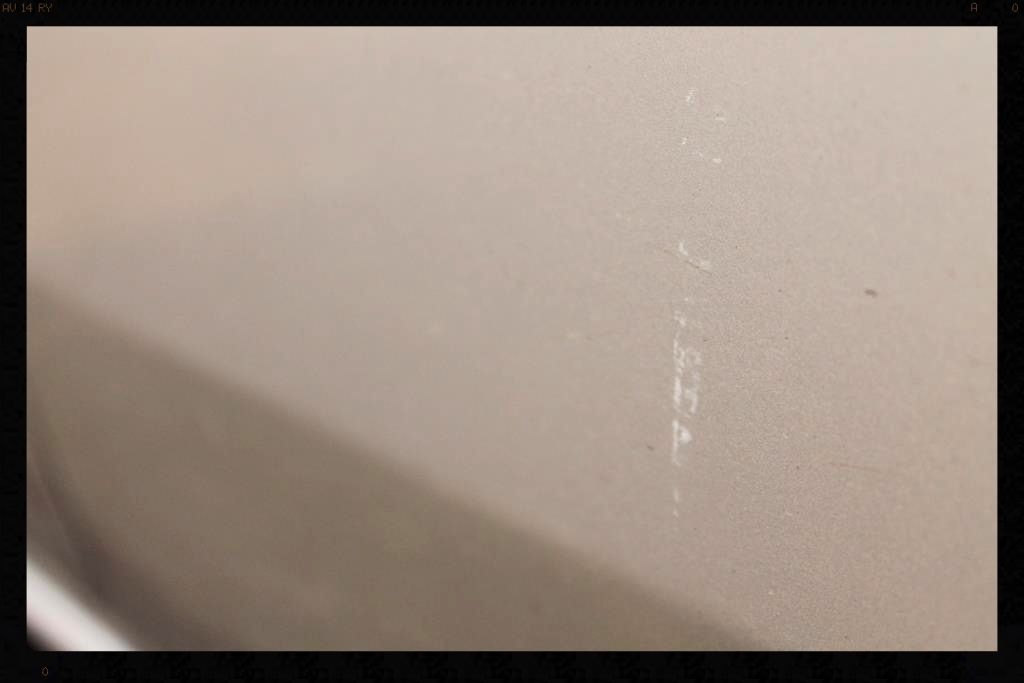
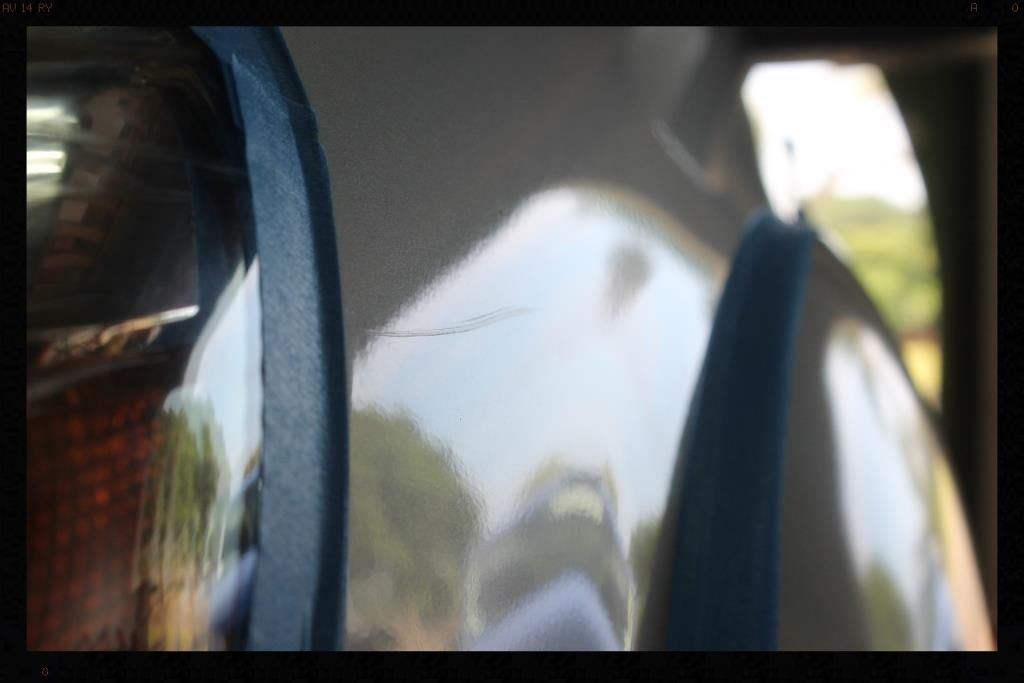
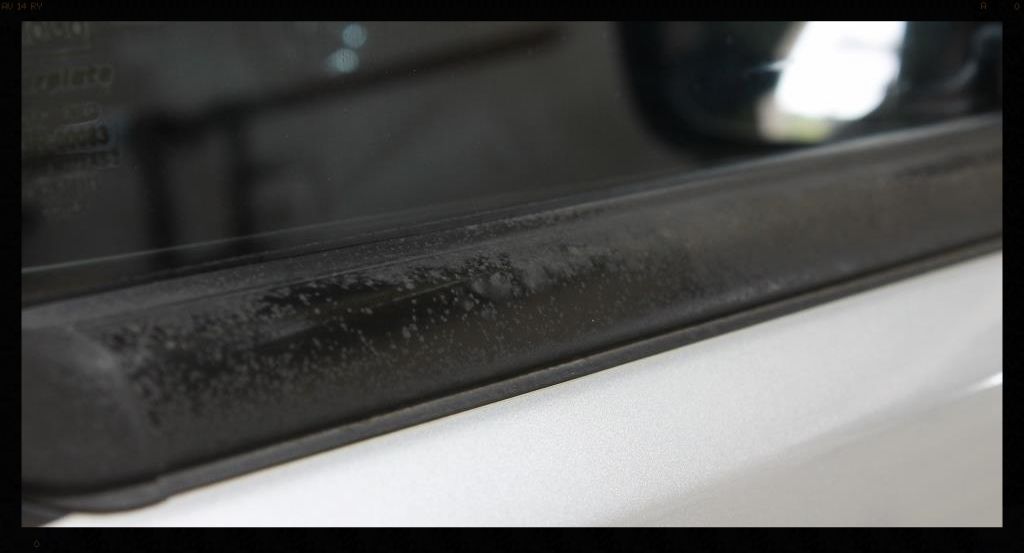
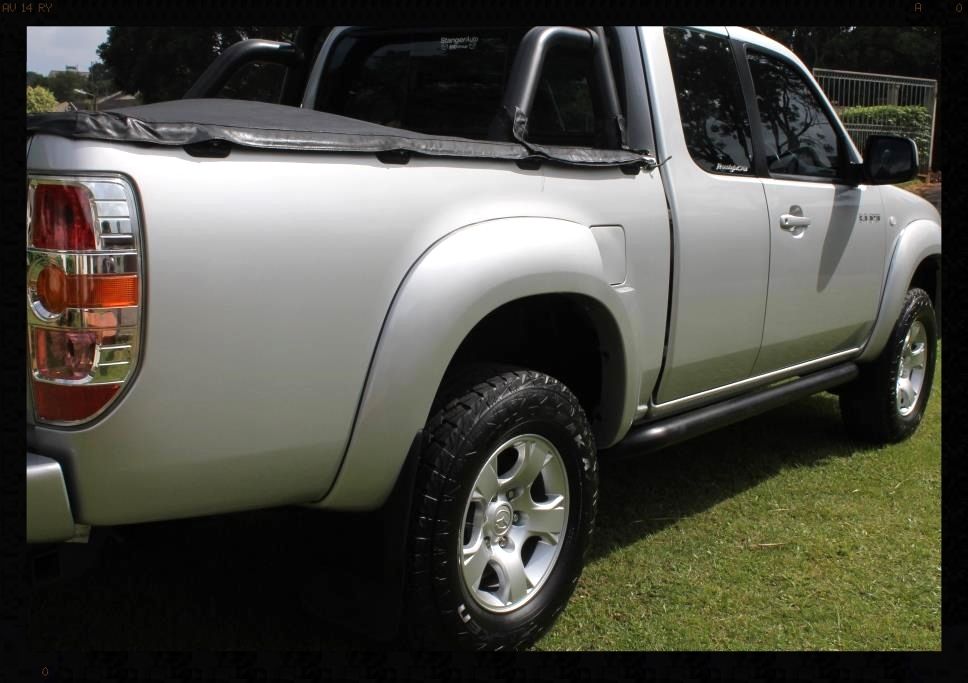
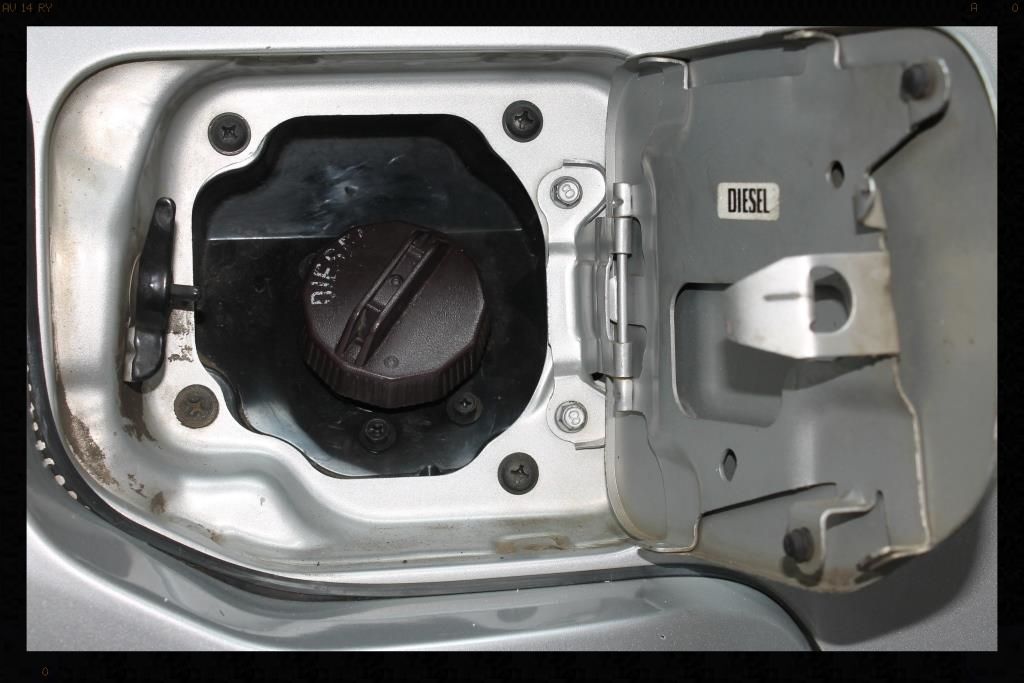
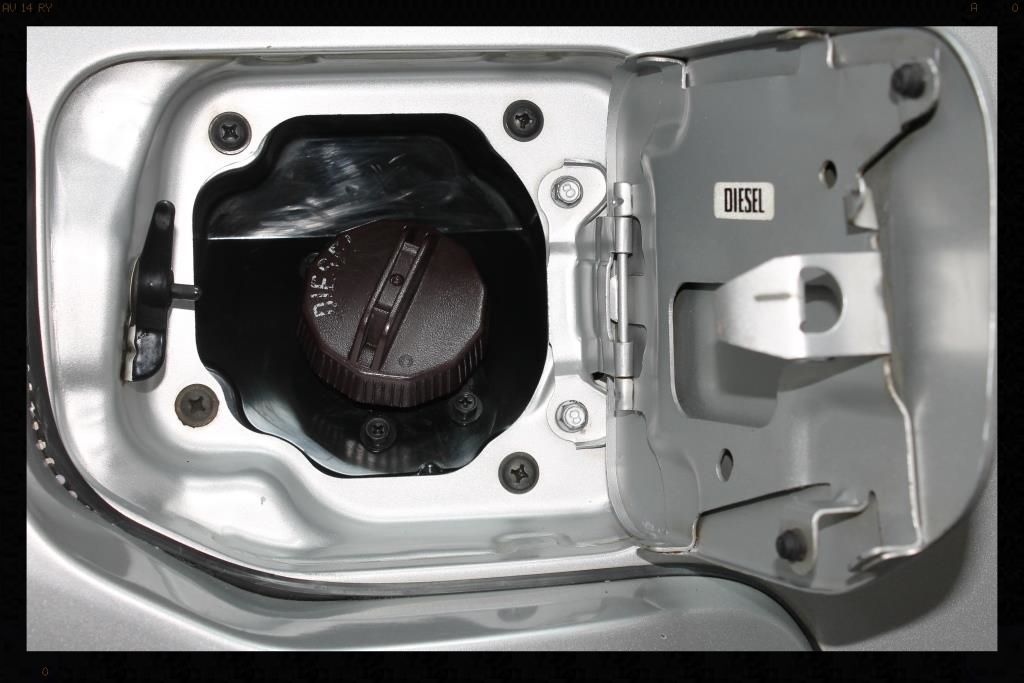
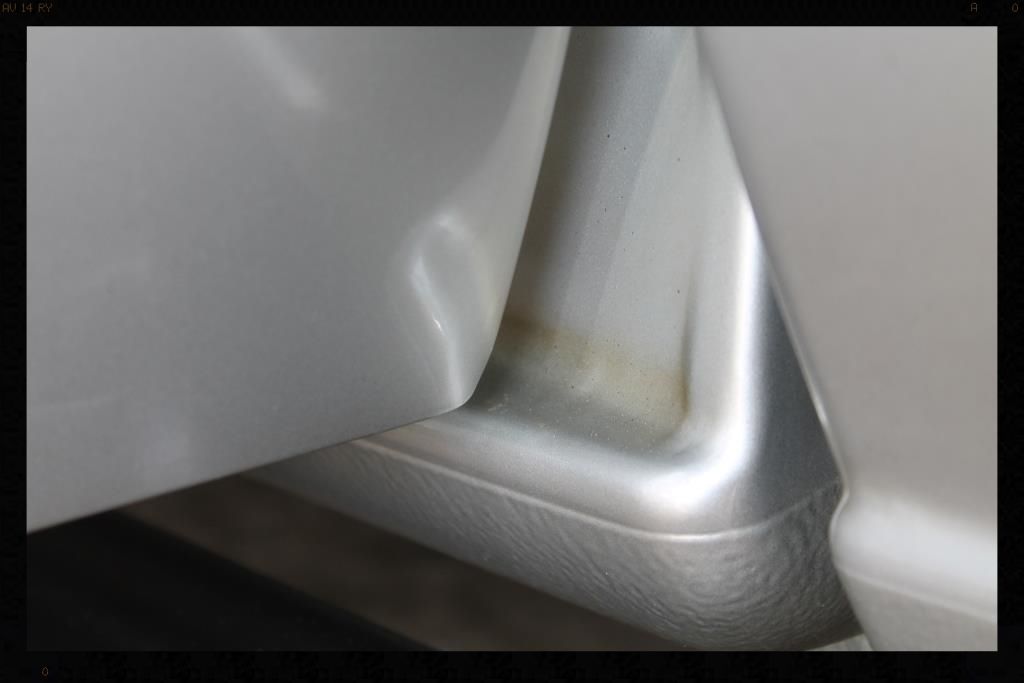
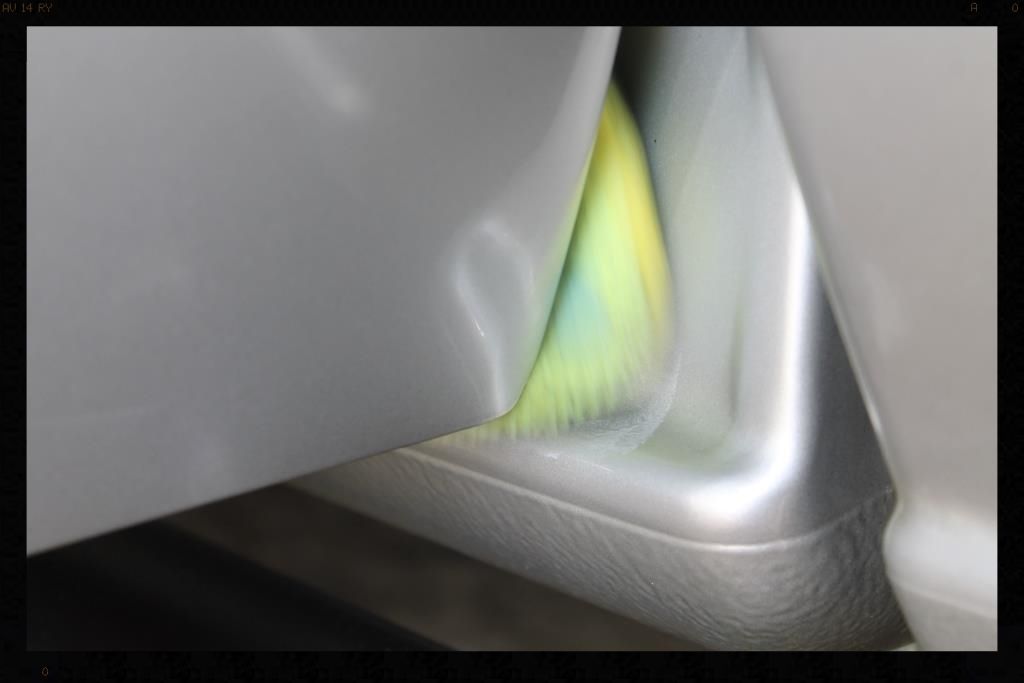
Continuing with the 'dirty' stuff the Door/Boot Jambs and Petrol Flap areas were cleaned
-HP rinse
-Clean with Cyclo APC and Valet Pro Boars Hair Brushes
-HP rinse
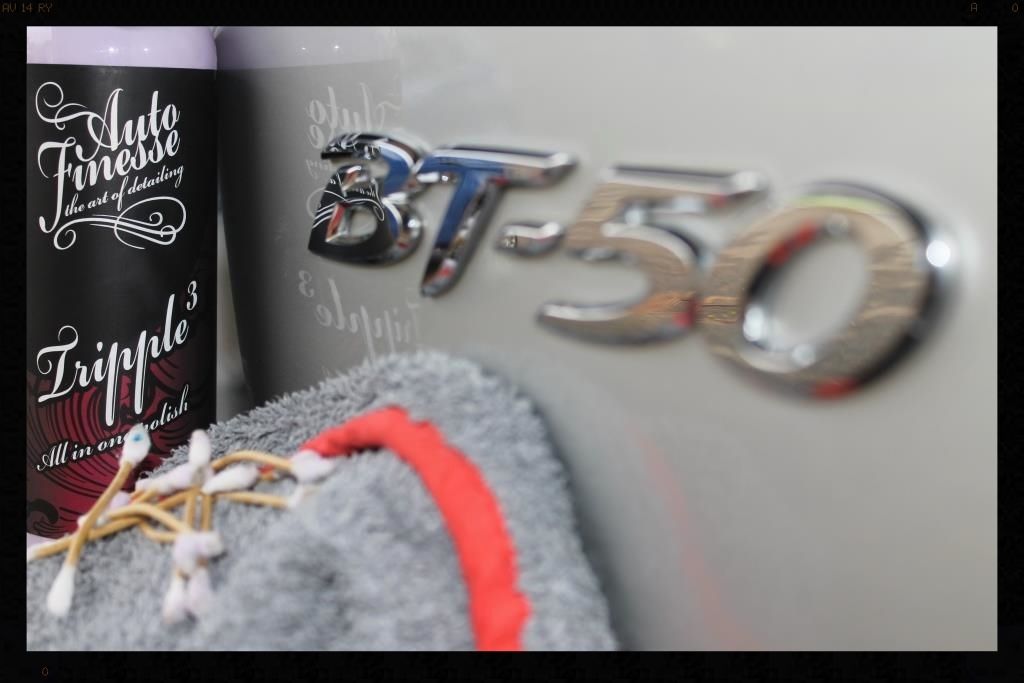
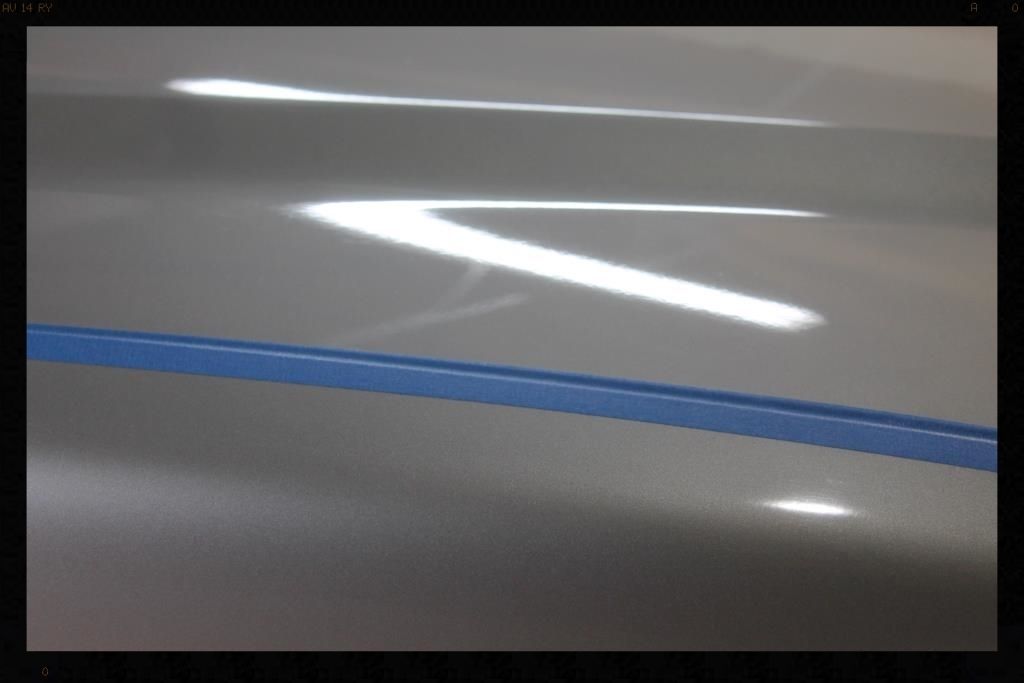
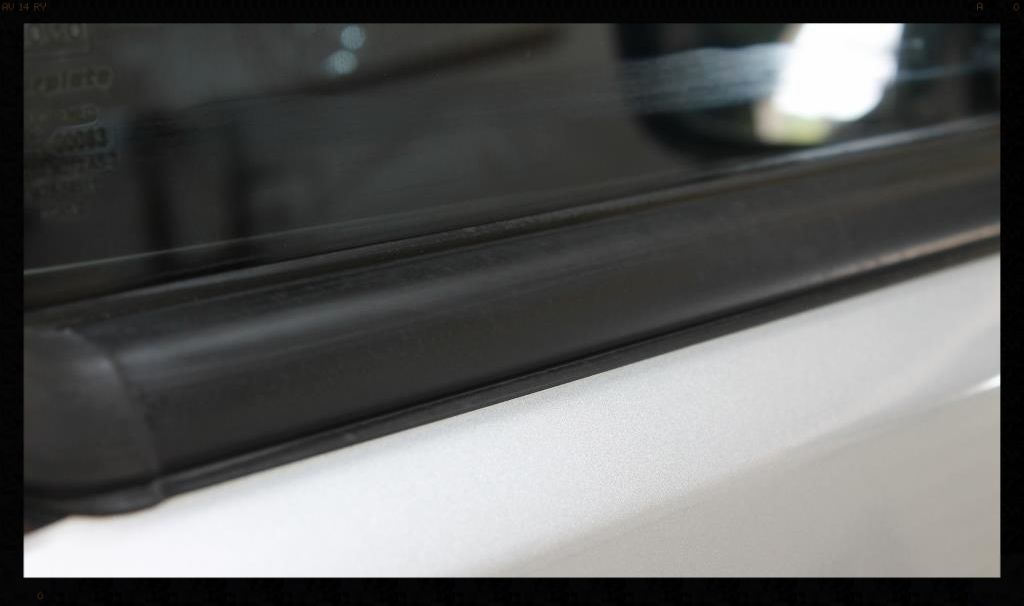
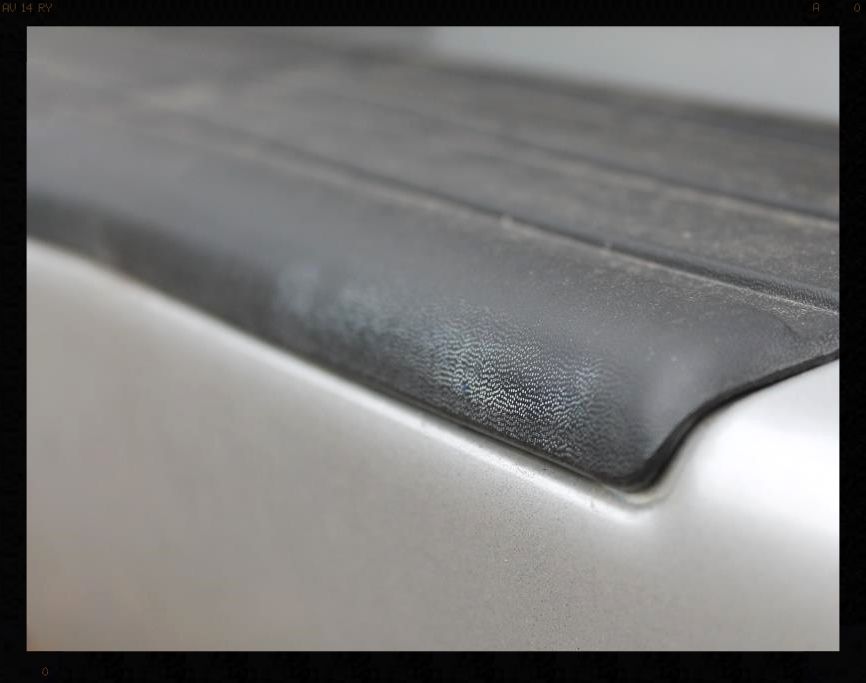
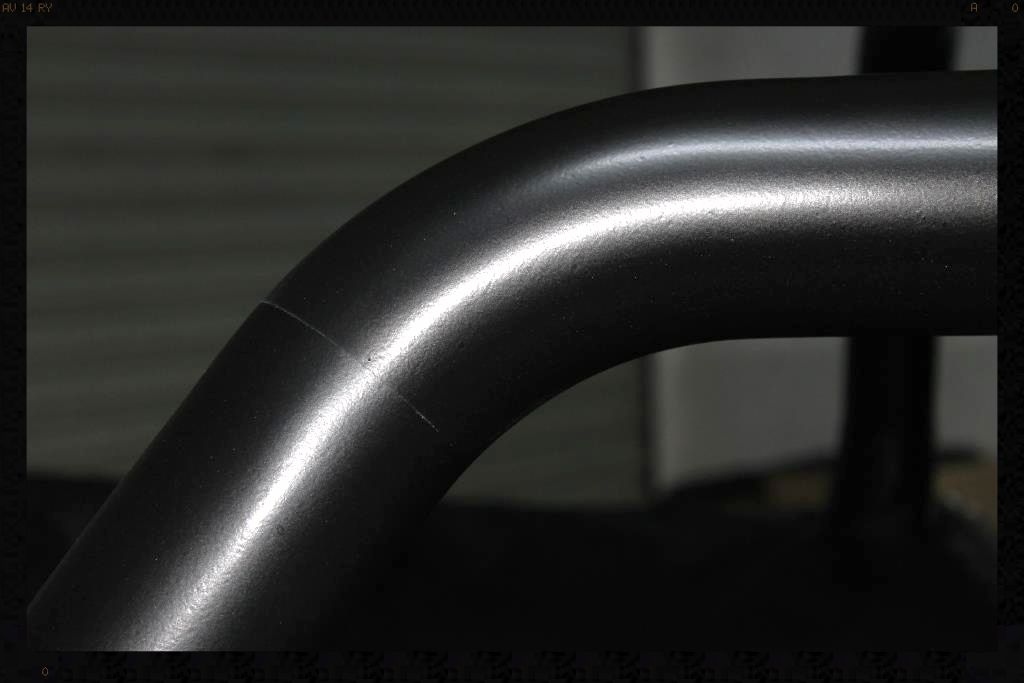
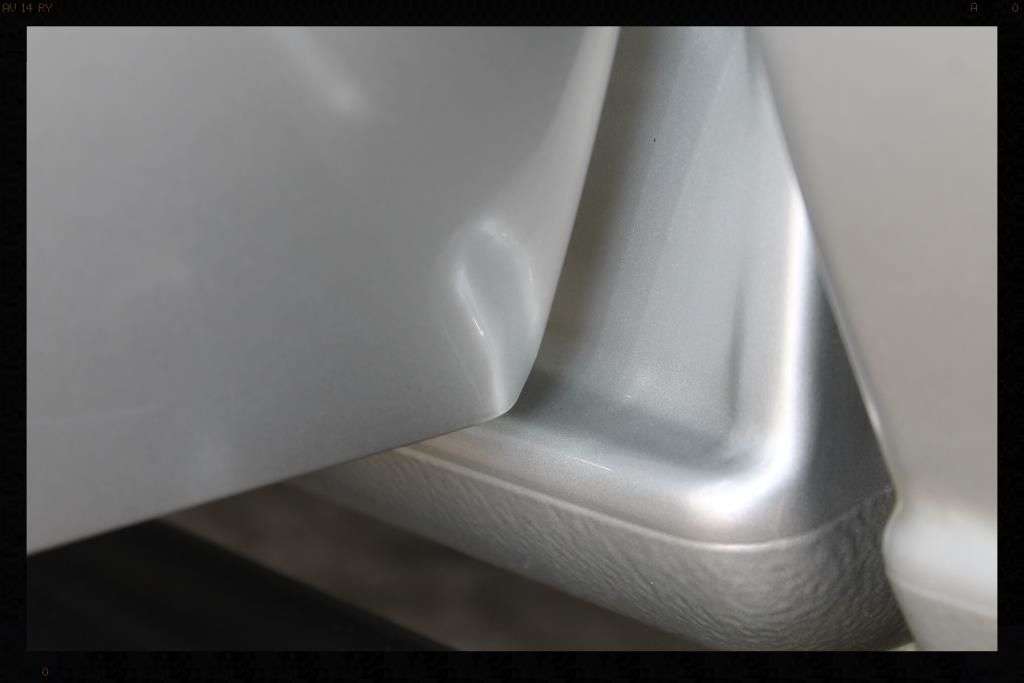
They were then later further cleaned up, polished and protected using Autofinesse Tripple
Before
After
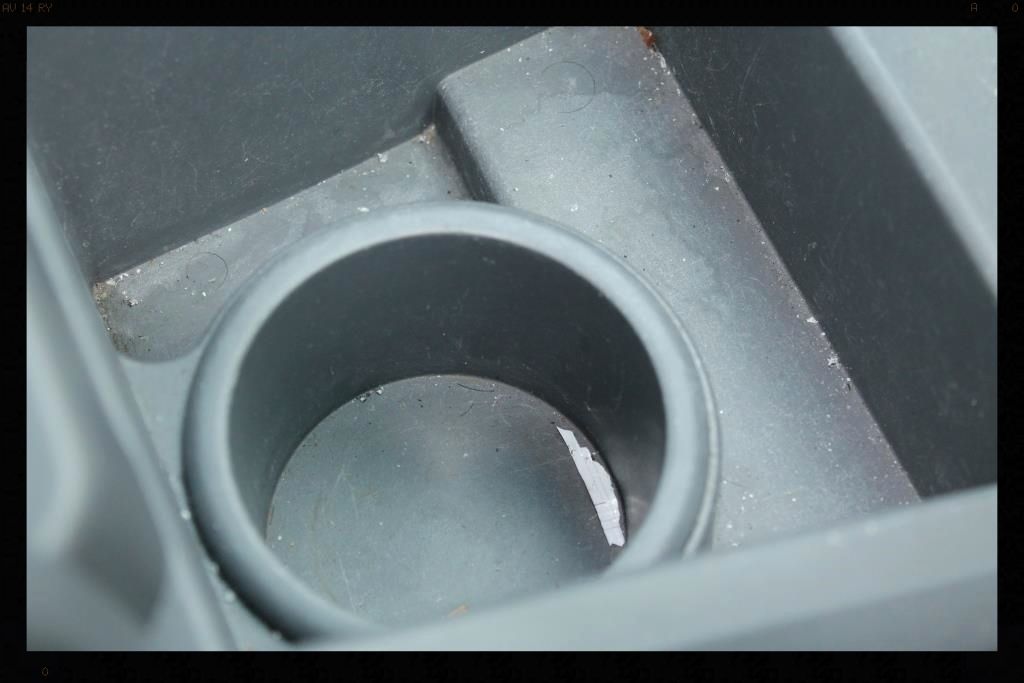
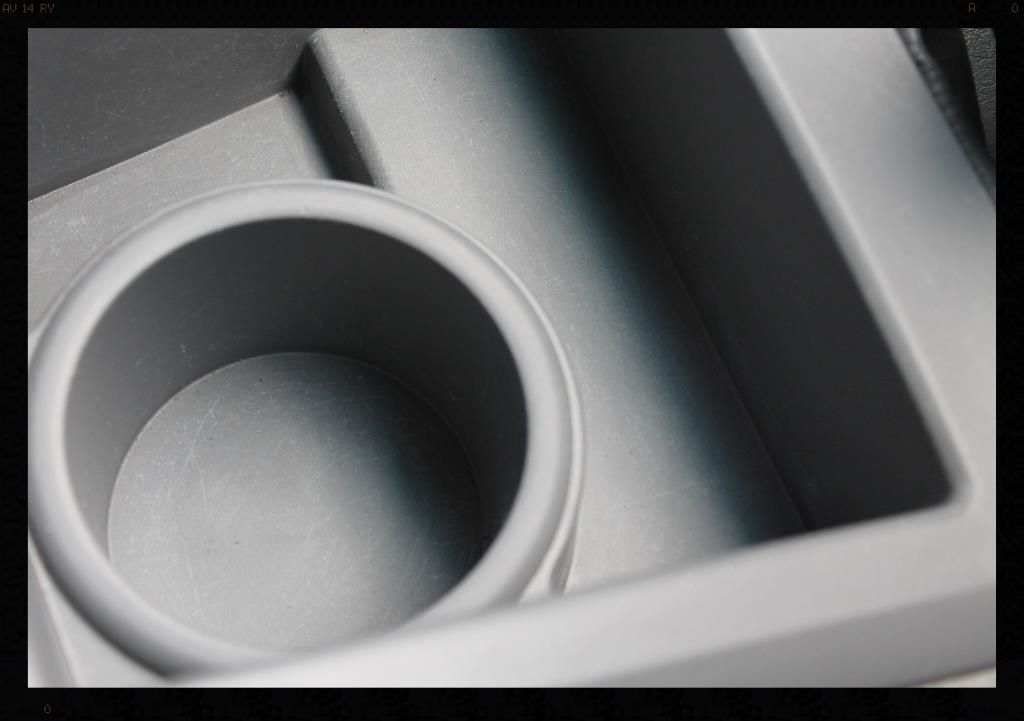
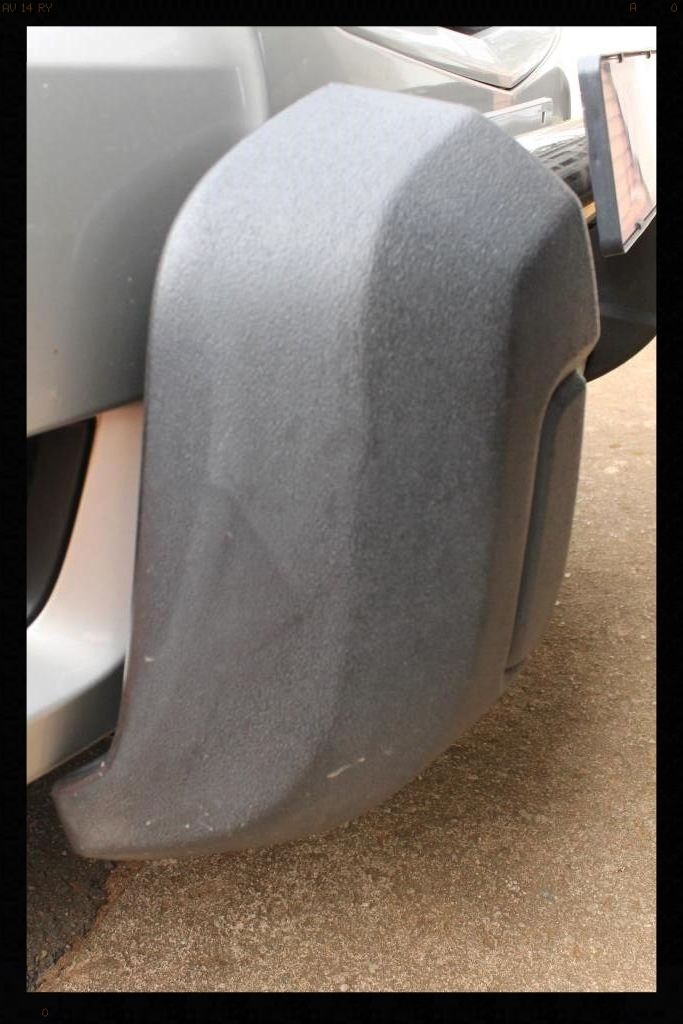
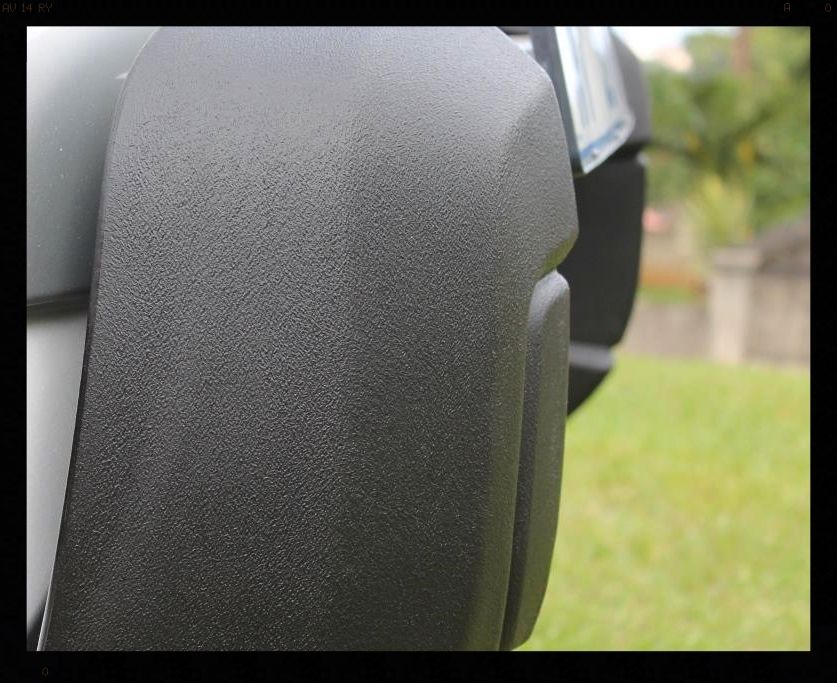
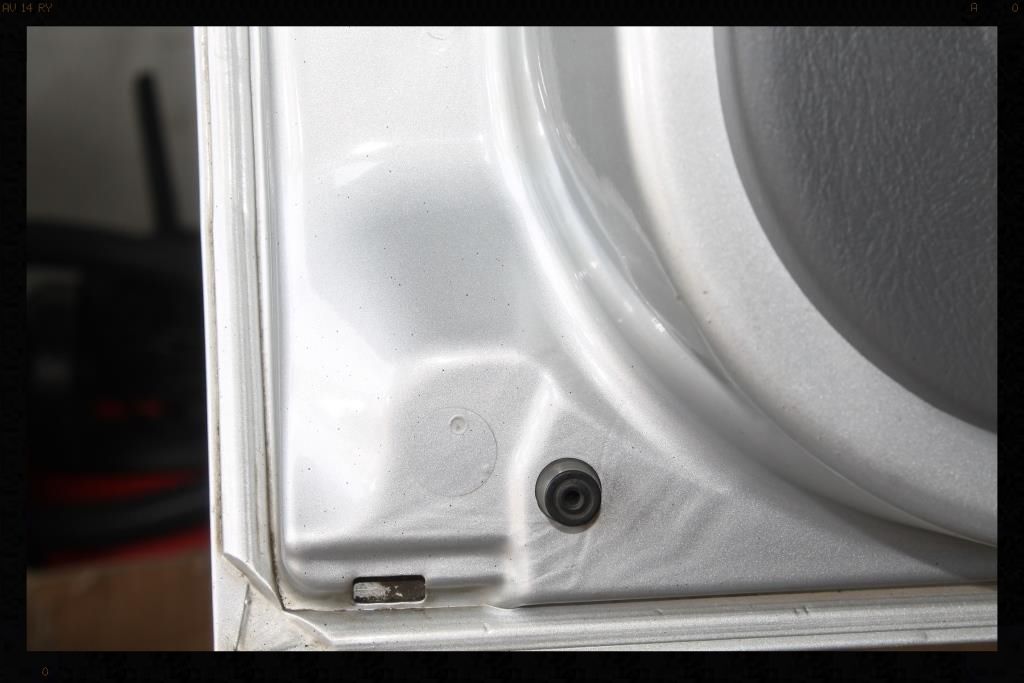
Before
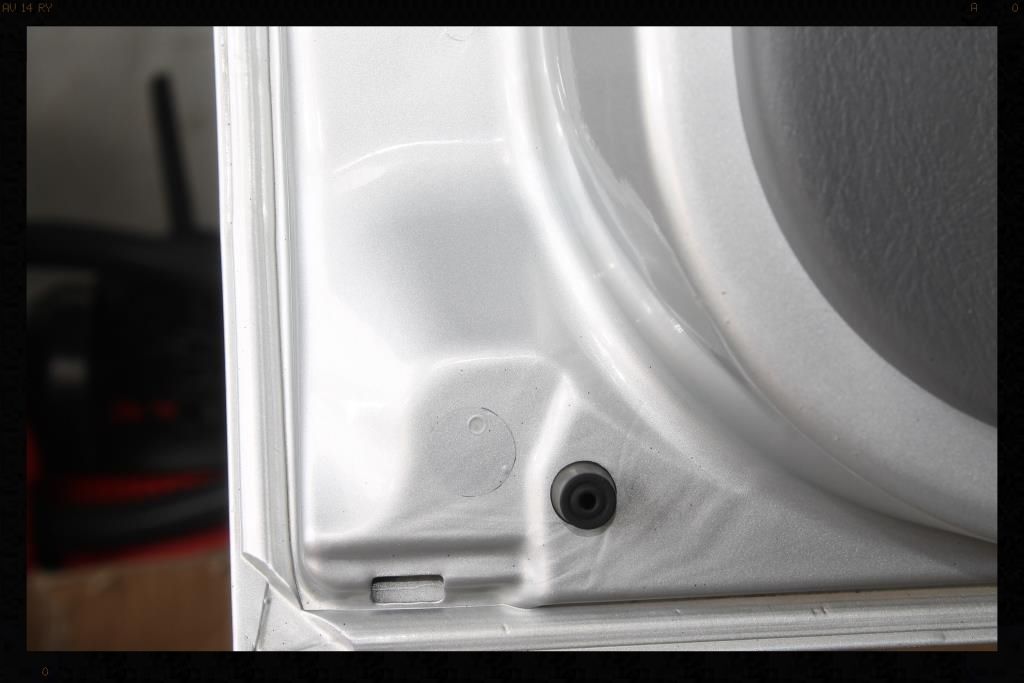
After
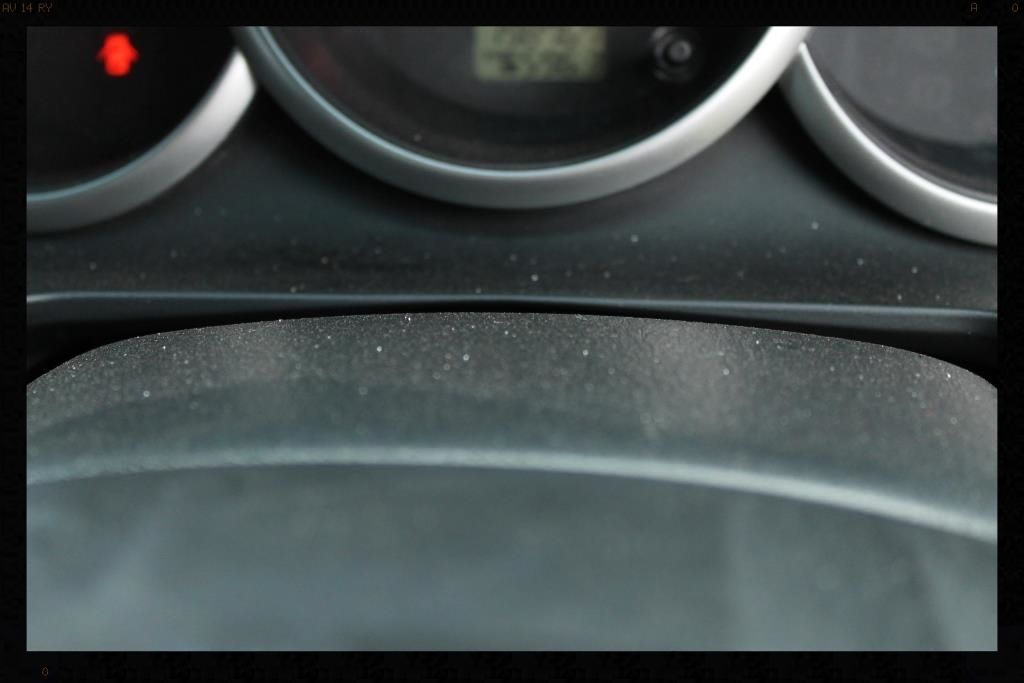
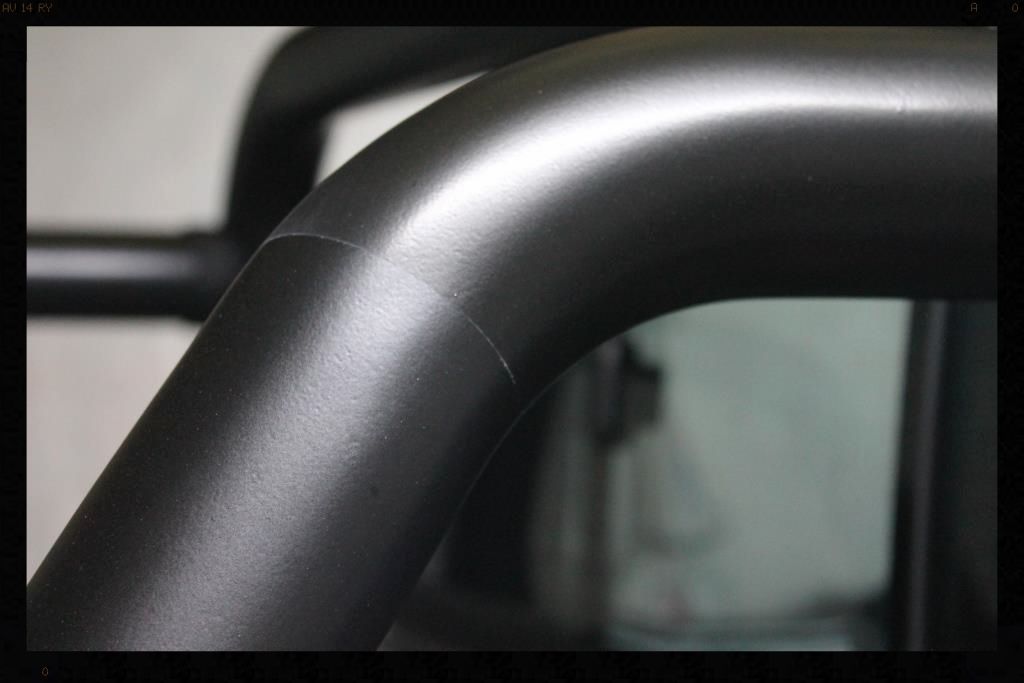
Before
During
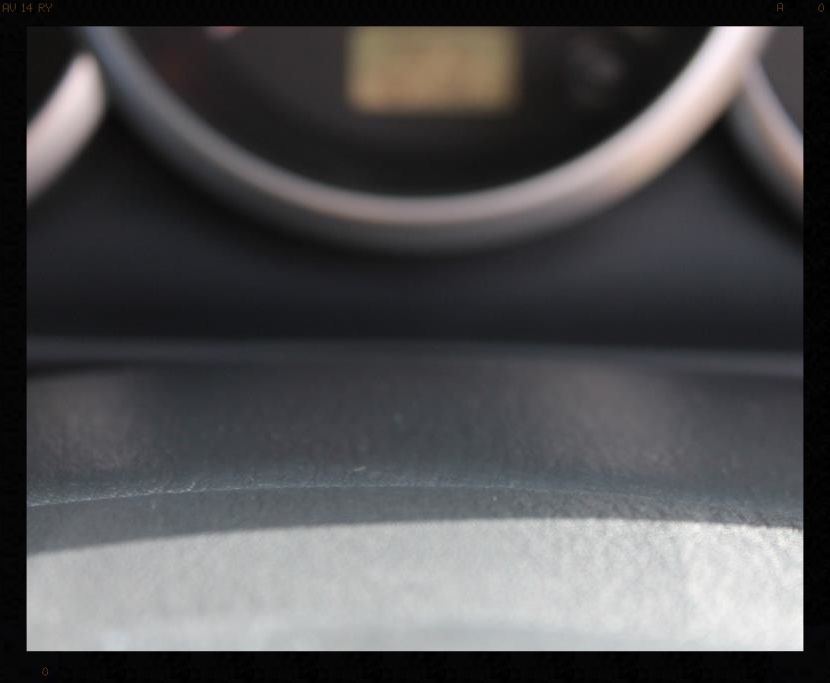
After
There was a lot to do and so I arranged to do the detail over 2 weekends, with some work done in the evenings after work in the week in between - all in all I spent 44 hours on it.
First up, the engine bay:
Before
-Alternator covered with cling wrap
-Spray with Cyclo APC and agitate with various brushes and mf towels
-HP rinse
-Blow dry
-Clean/Polish/Protect painted surfaces using AF Tripple by hand with a MF applicator
-Dressed with Autofinesse Dressel
After
Once that was done it was time to get really dirty.... I spent a few hours on my back cleaning the undercarriage
Before
-Spray with Cyclo APC and agitate with various brushes and mf towels
-HP rinse
-Tire cleaned with Valet Pro Billberry
-Dressed with Shield Sheen
During
Just so you know, even though Billberry smells like strawberry ice-cream, it really doesn't taste much like it :lol:
After
Then it was time to move on to the wheels and arches
Before
During
-HP rinse arches
-Clean with Cyclo APC using a Mothers Fenderwell Brush
-HP rinse
After
Before
During
-Clean tires with Valet Pro Billbery Wheel Cleaner @ 1:6 and a Mothers Tire brush.
-HP rinse
-Repeat tire cleaning
-HP rinse
-Wash wheels and brake calipers with VP Bilberry Wheel Cleaner @ 1:6, Daytona and Daytona Jnr brushes and Valet Pro Boars Hair Brushes
-HP rinse
-Dry
-Remove tar using Autoglym Intensive Tar Remover
-Spray with APC and HP Rinse
-Dry
-Remove bonded and embedded ferrous contaminants on wheels and brake calipers with Autofinesse Iron Out, Daytona (big and small) brushes and Valet Pro Boars Hair Brushes
-HP Rinse + flood rinse
The embedded dirt was so bad I had to hit each wheel at least twice, sometimes 3 times and on one wheel a 4th time. I also used the opportunity to test out an (un-named) iron remover from Crazy Detailer
Here I have sprayed the left side of the wheel with AF Iron Out and the right side with the un-named iron remover.
As you can see it seems to be a bit thicker and clings longer, but, it didn't seem to 'bleed' at all... so I rinsed, and then sprayed the whole wheel with AF Iron Out.
If you ignore the bleeding coming from the lower right wheel nut, there seems to be a pretty similar amount of bleeding across the whole wheel, leading me to conclude that although the un-named iron remover never bled, it still removed as much iron. I have fed back to them though the the bleeding is a useful visual indicator and needs to be present.
-Dry
-Polished with Meguiars Cleaner Wax
-Protected with Menzerna Powerlock
-Tires dressed with 2 coats of Optimum Tire Sheen
After
Continuing with the 'dirty' stuff the Door/Boot Jambs and Petrol Flap areas were cleaned
-HP rinse
-Clean with Cyclo APC and Valet Pro Boars Hair Brushes
-HP rinse
They were then later further cleaned up, polished and protected using Autofinesse Tripple
Before
After
Before
After
Before
During
After