LawrenceSA
New member
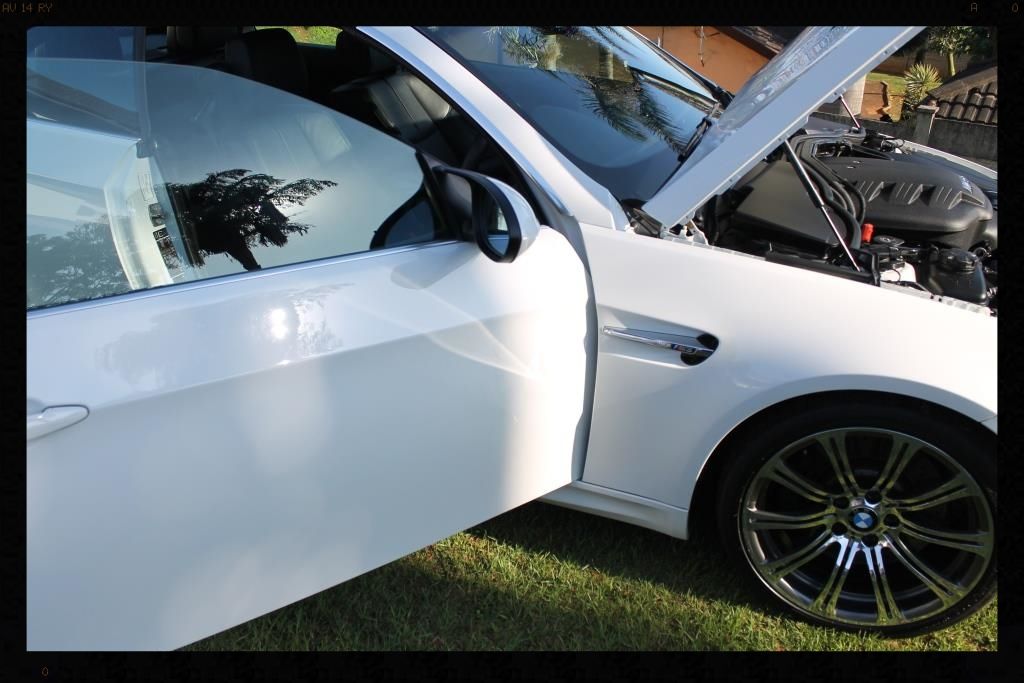
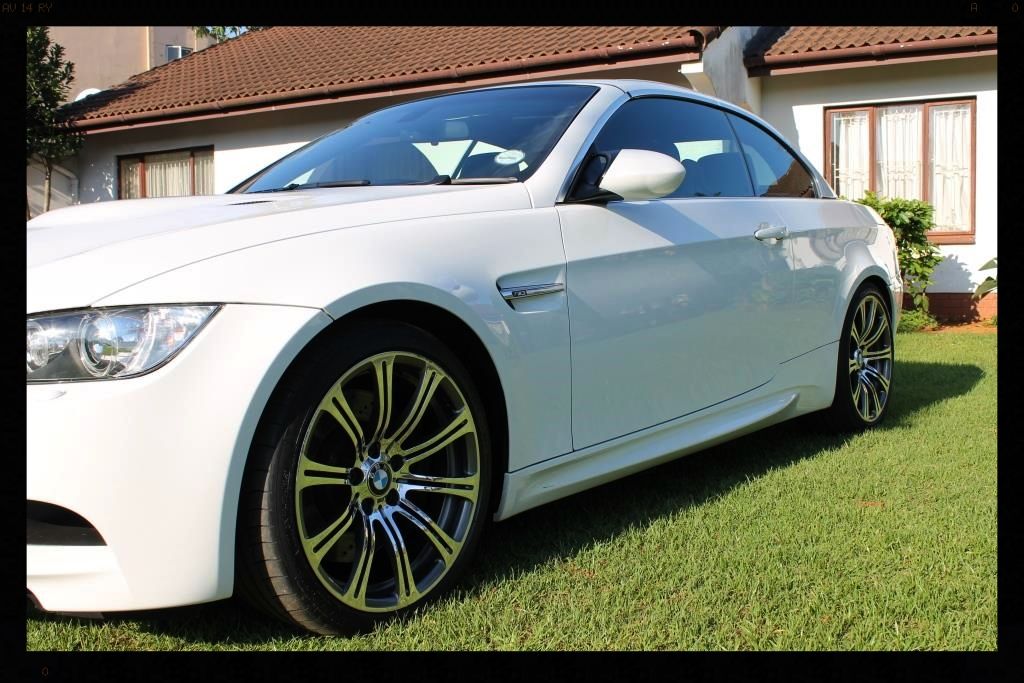
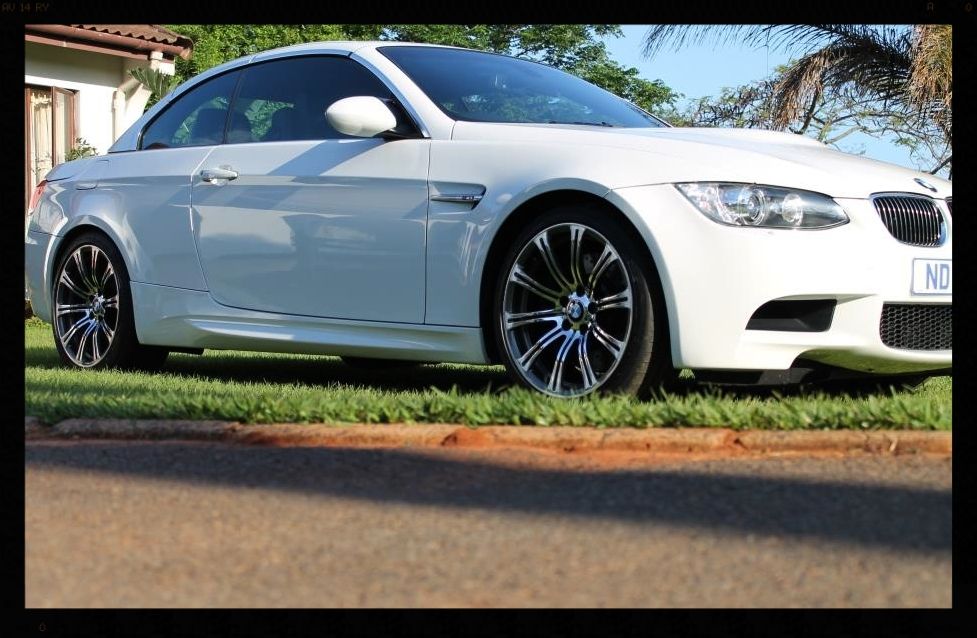
So first things first.... the car was dropped off on Friday night and locked in the garage. Saturday morning I went out and started the car....
:drool: :grin: :grin: :grin:
Cold start is too lovely :hurray:
Back to the detail.
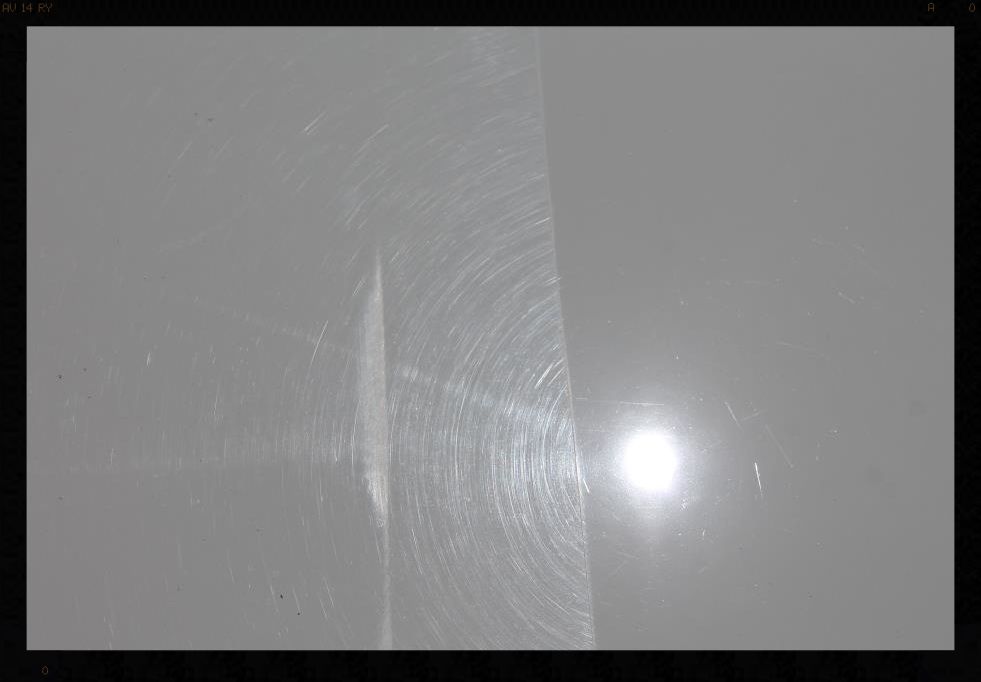
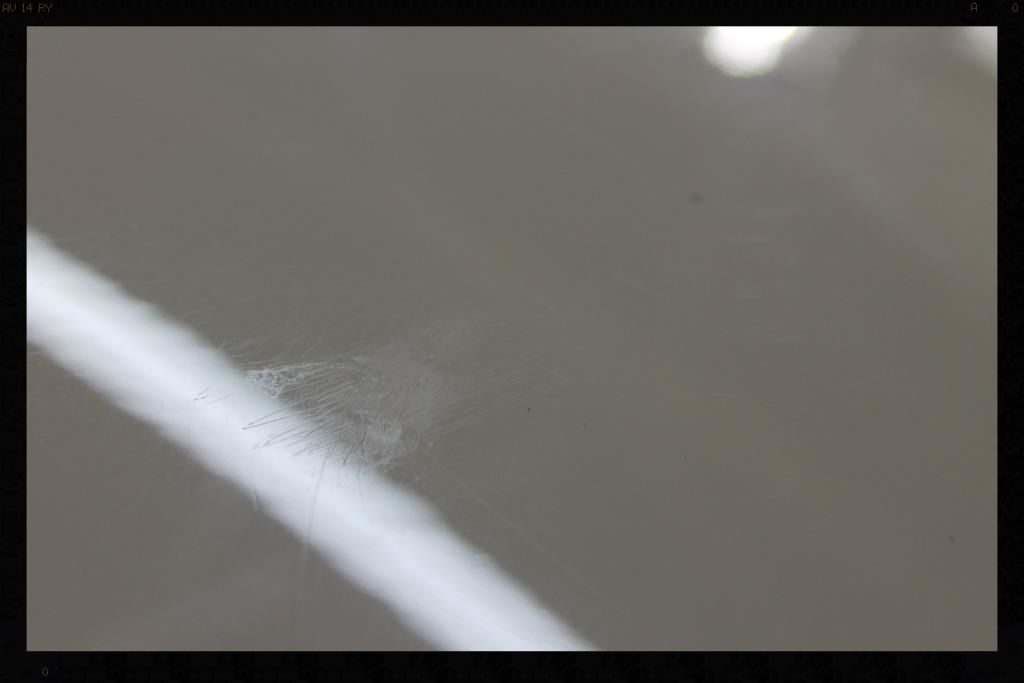
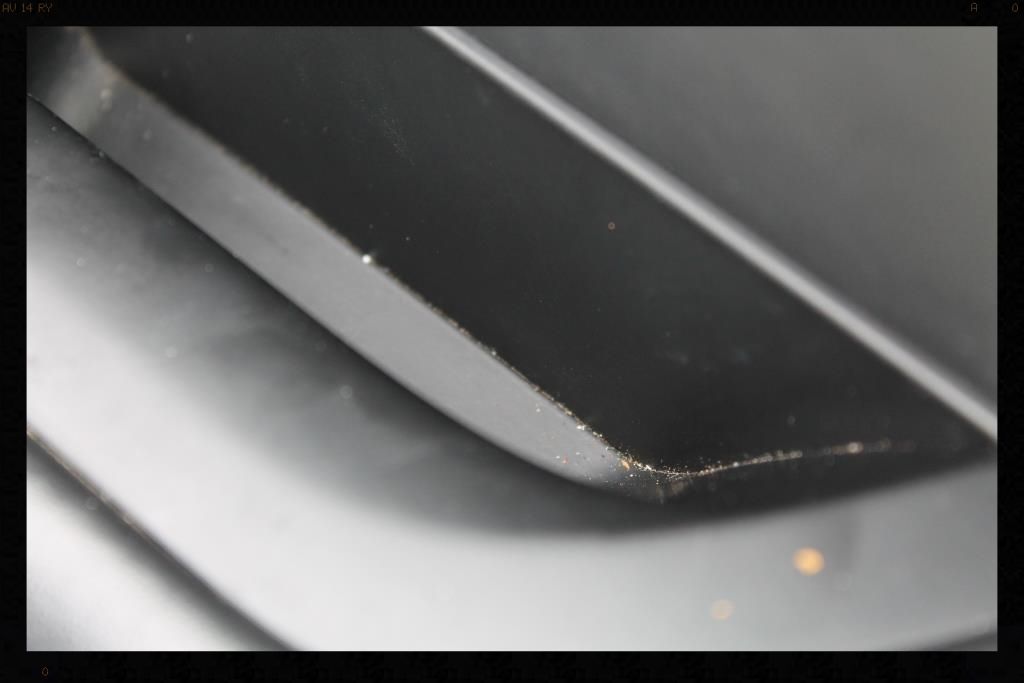
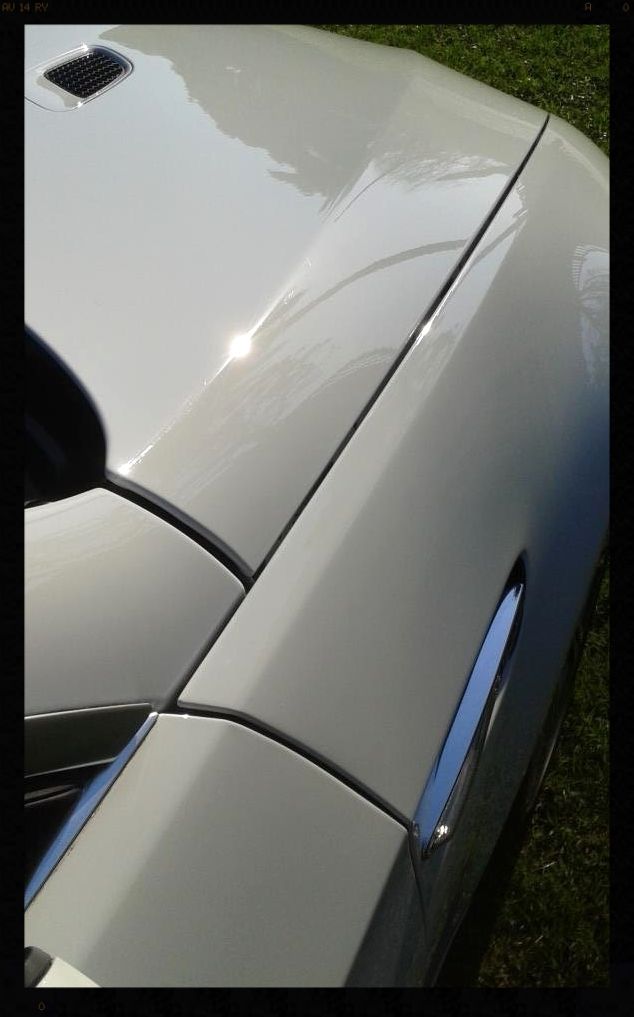
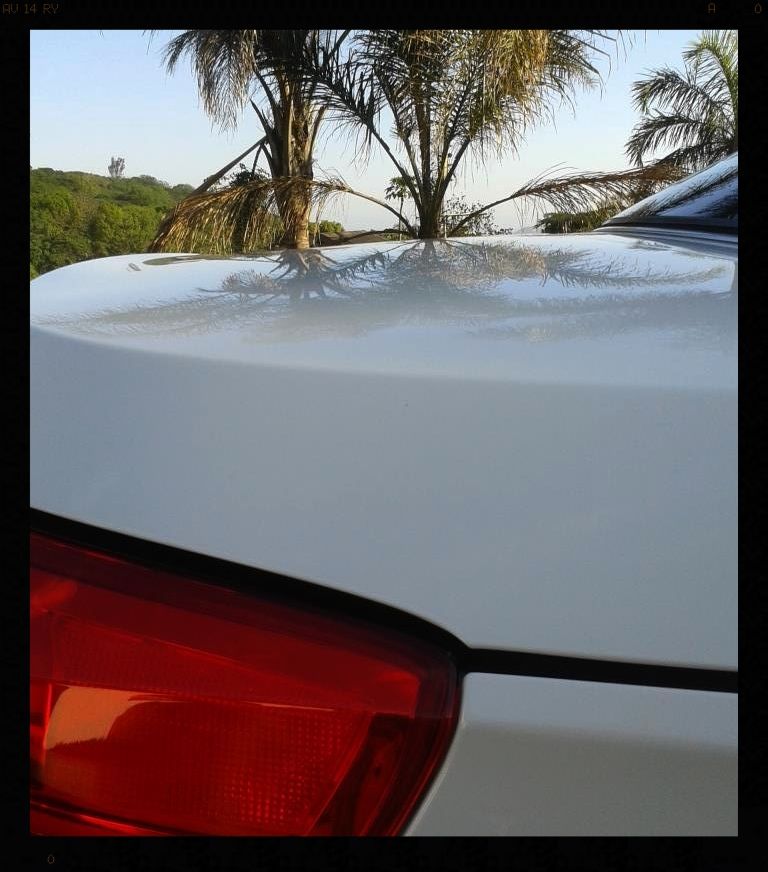
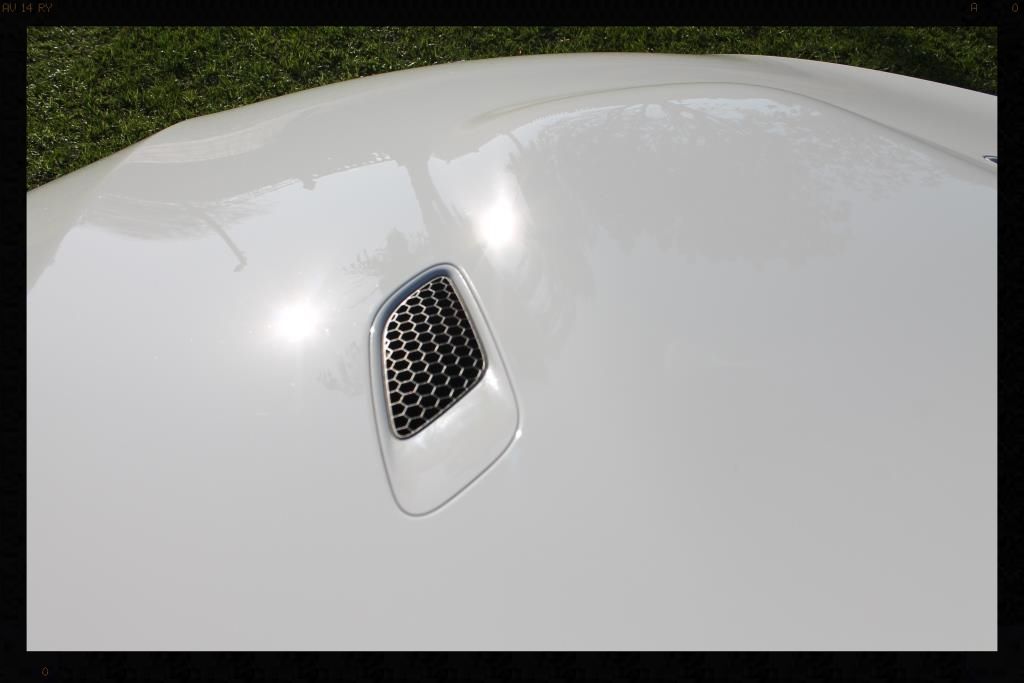
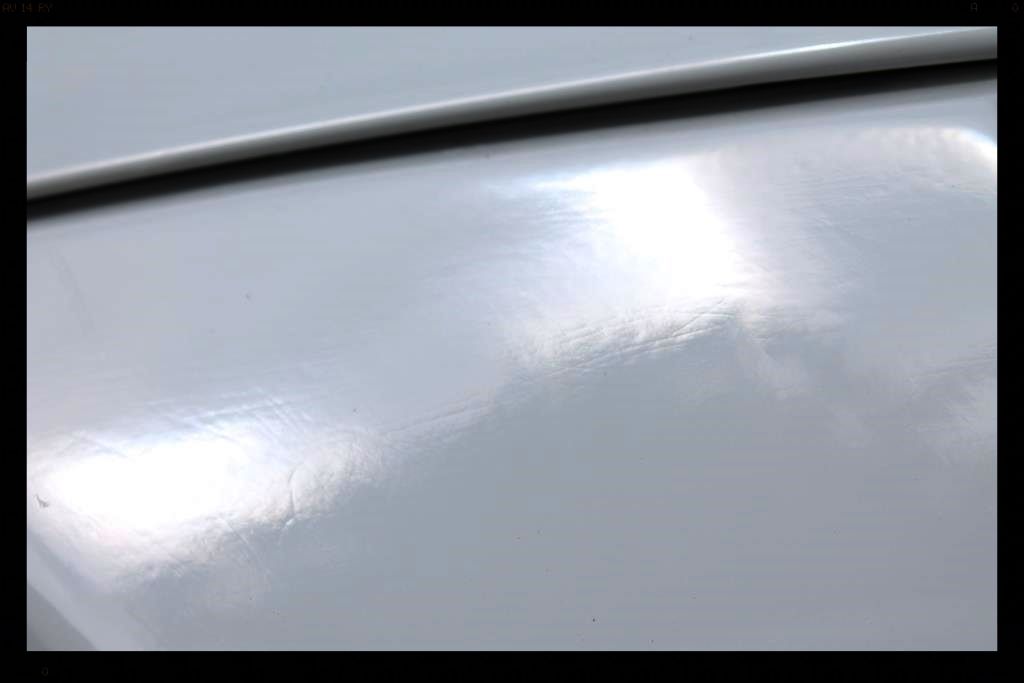
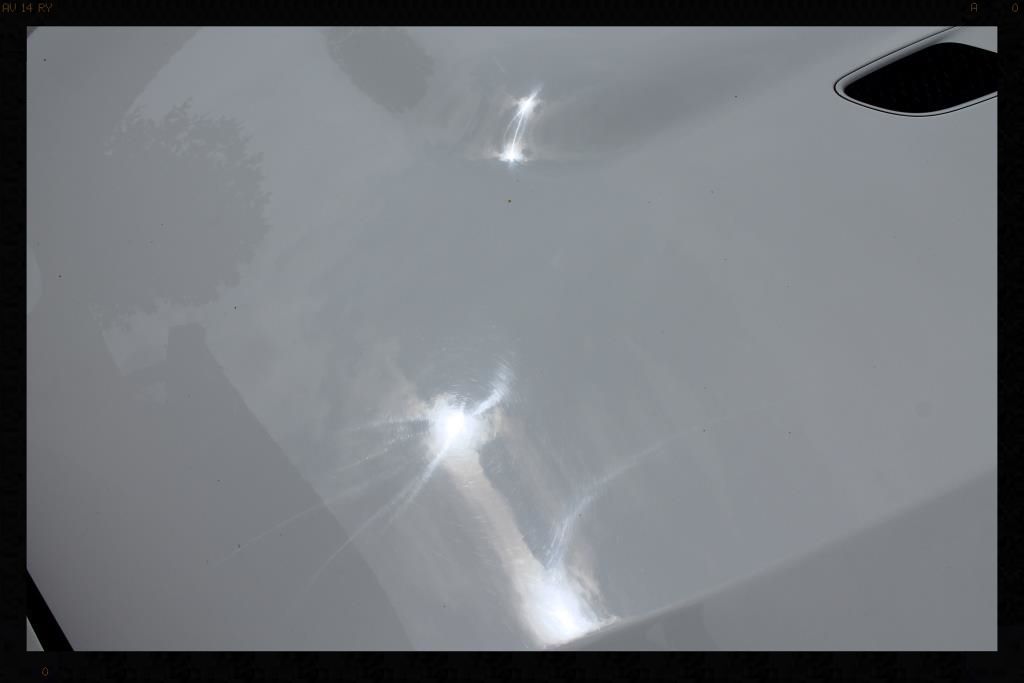
So one of the first things I noticed was this on the bonnet
Further inspection revealed that it was from the improper removal of a bird dropping.
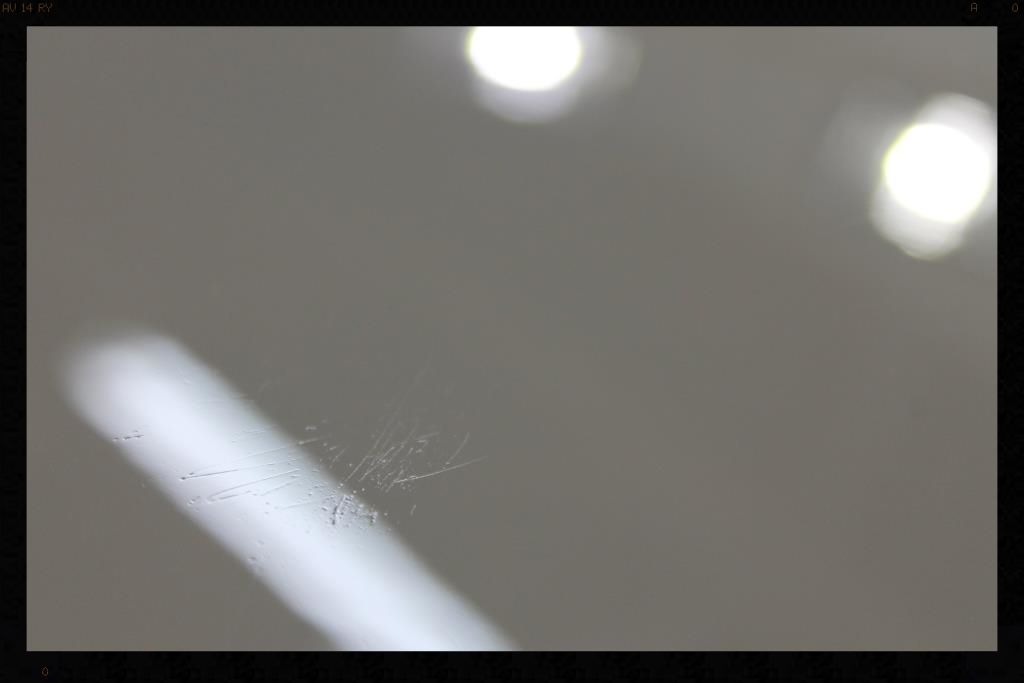
Obviously you want to get it off your paint as soon as possible - it is advisable to carry a 'kit' in the boot for such an 'emergency' - due to the acidic nature of the droppings (uric acid) it can very quickly etch into the paint, leaving behind a 'crater' in the paint, in the shape of the dropping, like it did here (this pic was taken after washing and decontaminating)

The rest of the scratches you see are from the manner in which this dropping was removed. It has been 'rubbed' off....grinding the bits of sand and stuff that gets into the bird's mouth, and therefore ultimately into the dropping after it has been swallowed, over and into the paint.
A much better solution is to place a dedicated MF Towel around the dropping to act as a 'bund'. Spray the bird dropping heavily with something like a citrus pre-wash (or a quick detailer) and allow the dropping to soften. You may have to spray the area more than once. Then use the MF towel, moving from the outside in toward the dropping (thereby not spreading it out any further) and LIFT the dropping off the paint.
Reapply your LSP to the affected area.
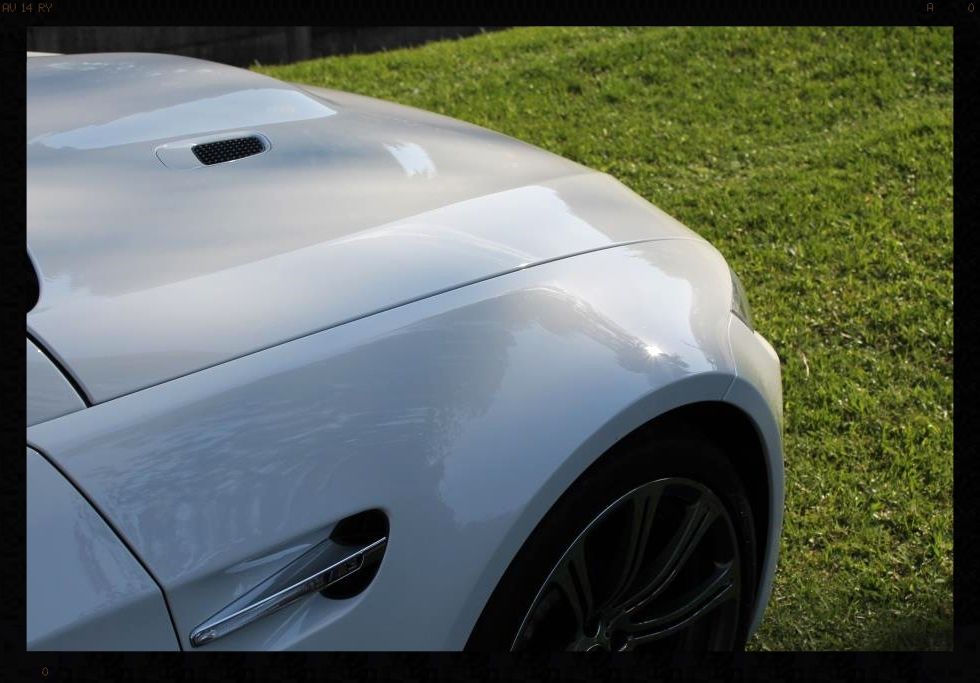
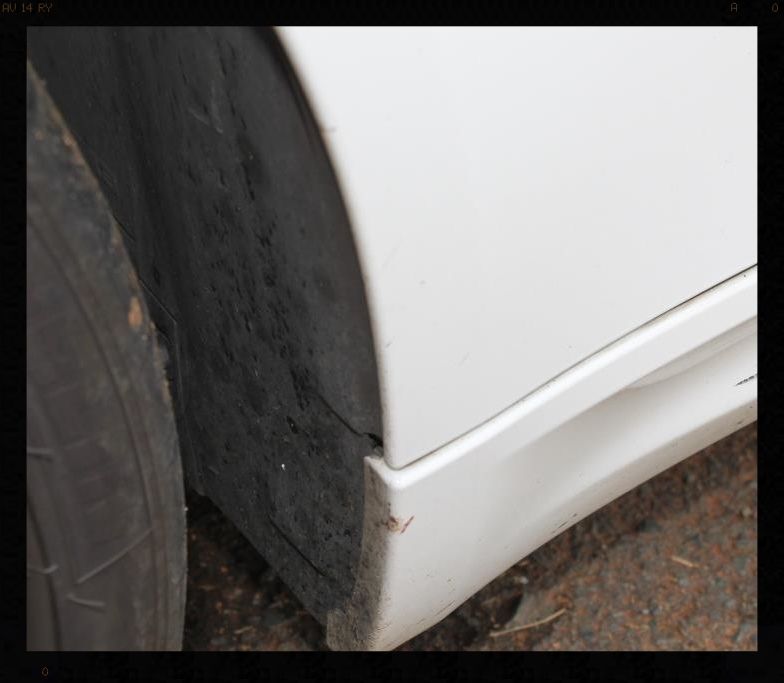
There was another bird dropping etching on the passenger side front wheel arch.
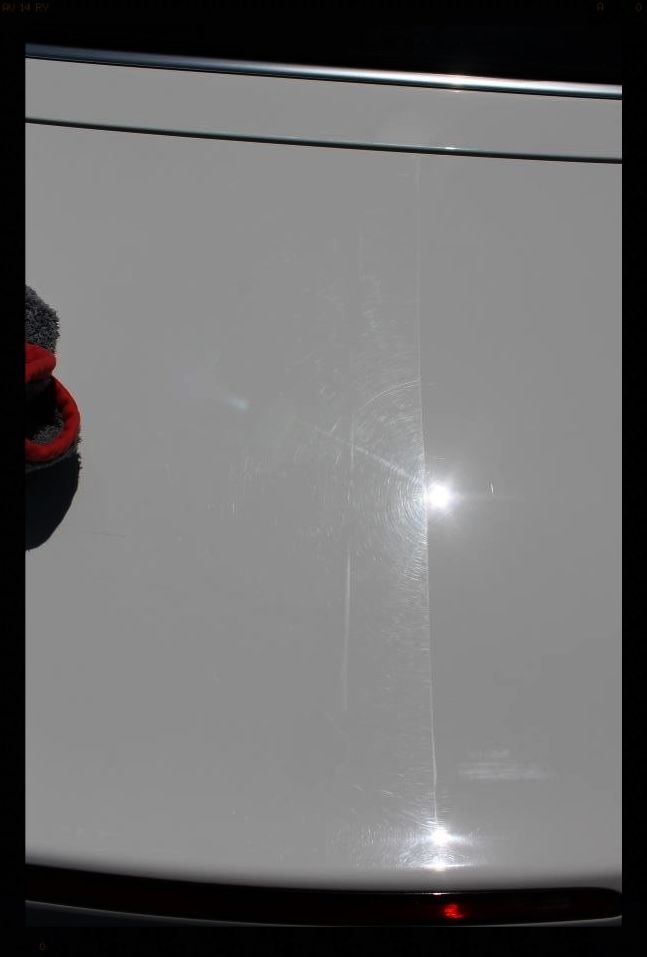
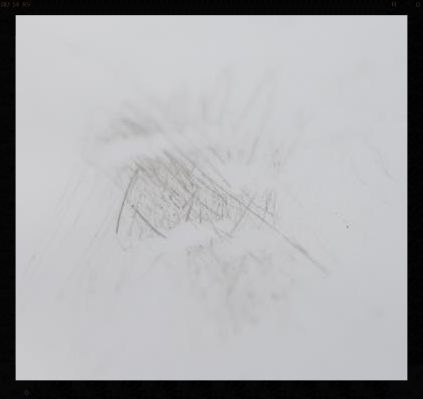
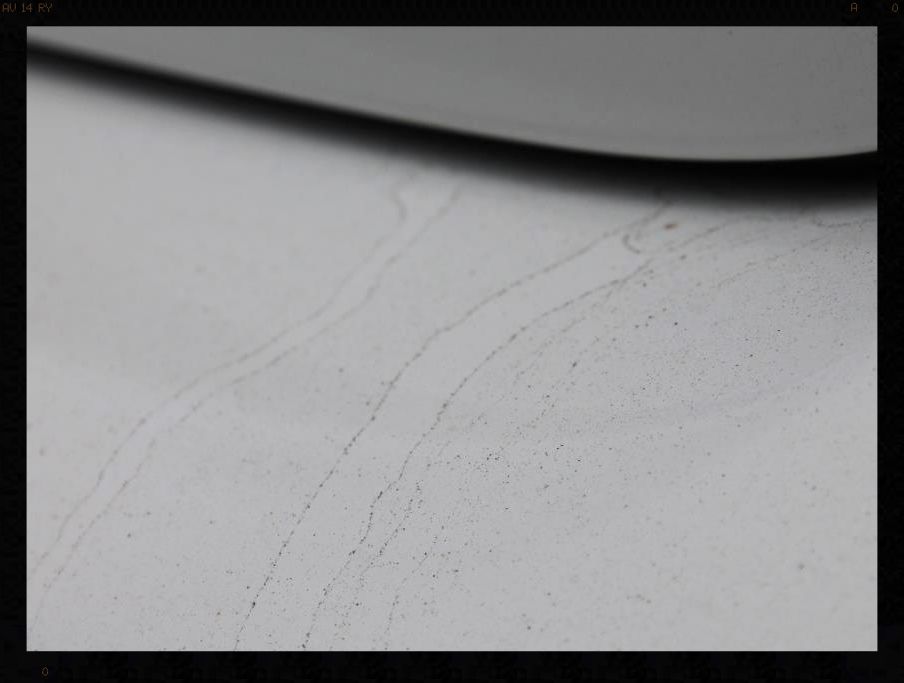
Some really hectic scratches on the roof
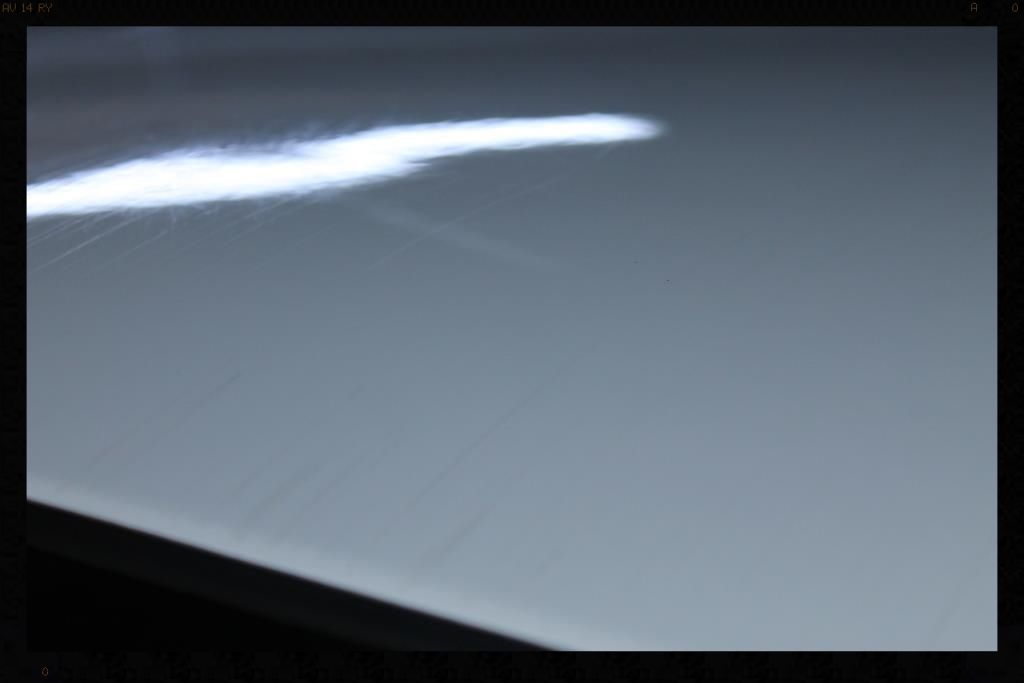
Another view
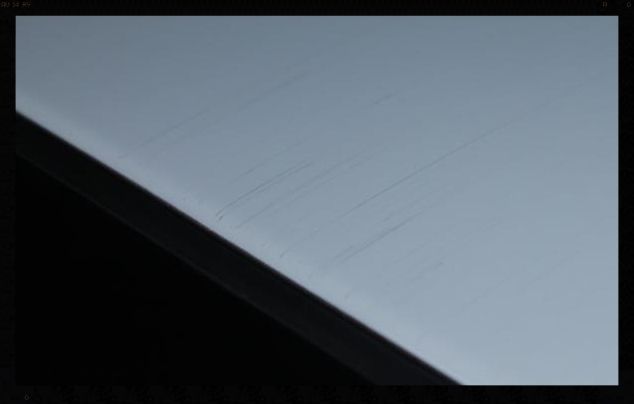
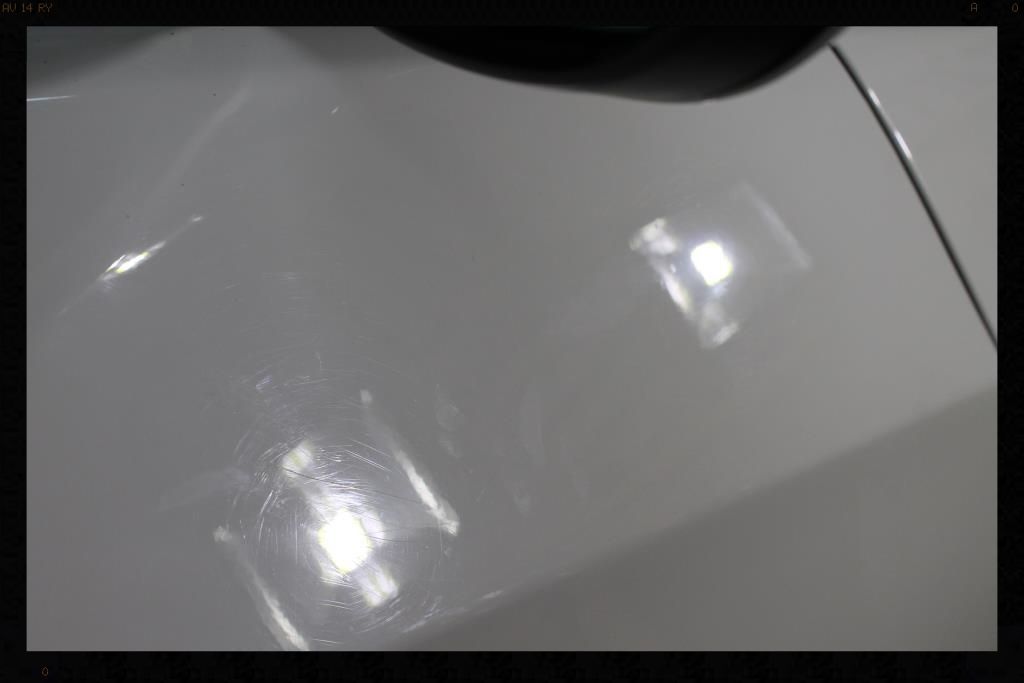
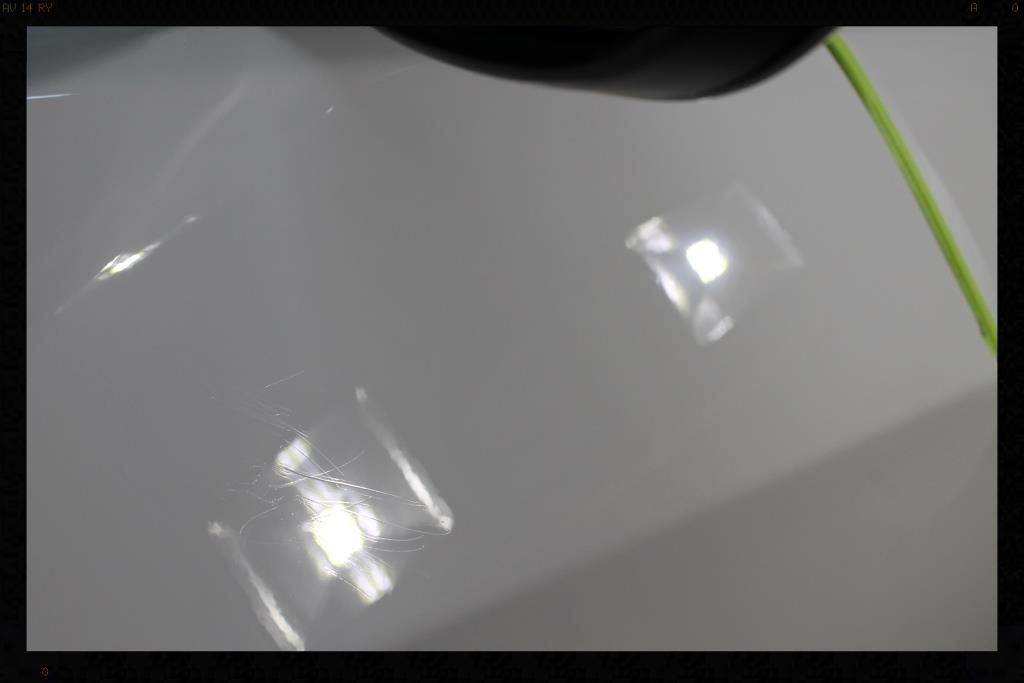
Then there was evidence of some re-spray work. Sanding marks in the paint.
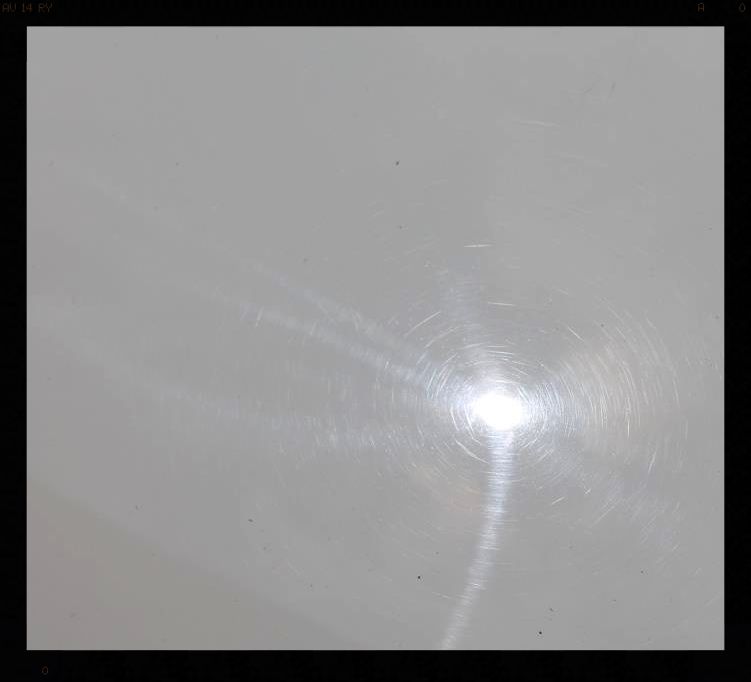
And some nasty buffer trails, and obviously swirls galore.
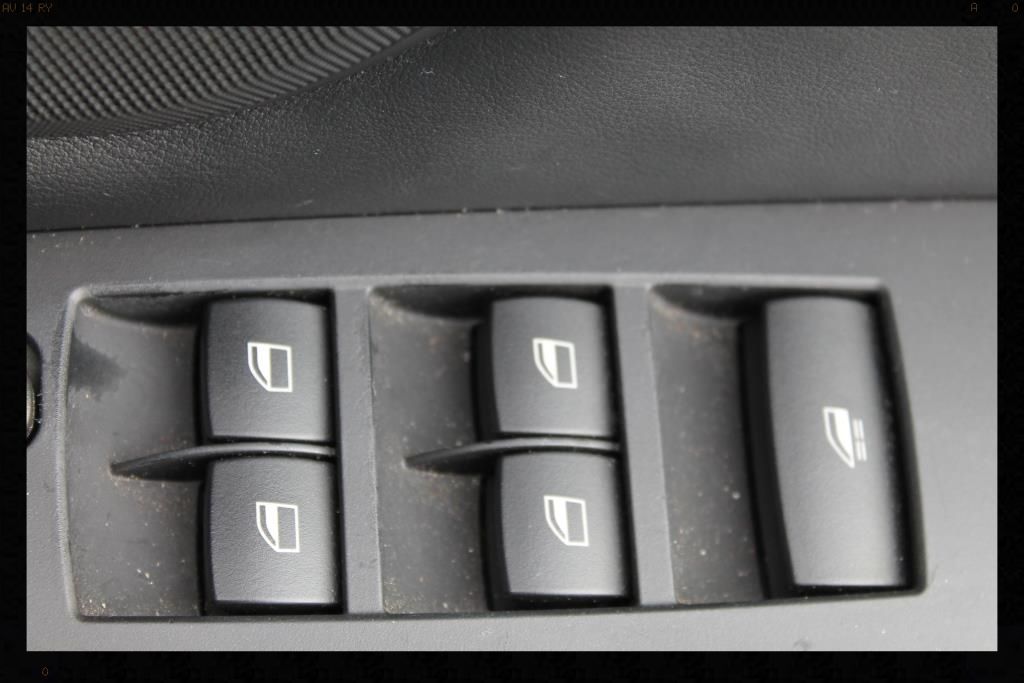
It had typical 'dirt' on the car - it is this dirt you want to remove from the paint before making contact, through initial rinsing and 'pre-wash' methods such as citrus pre-soaks, foam gun/cannon applications and HP rinsing.
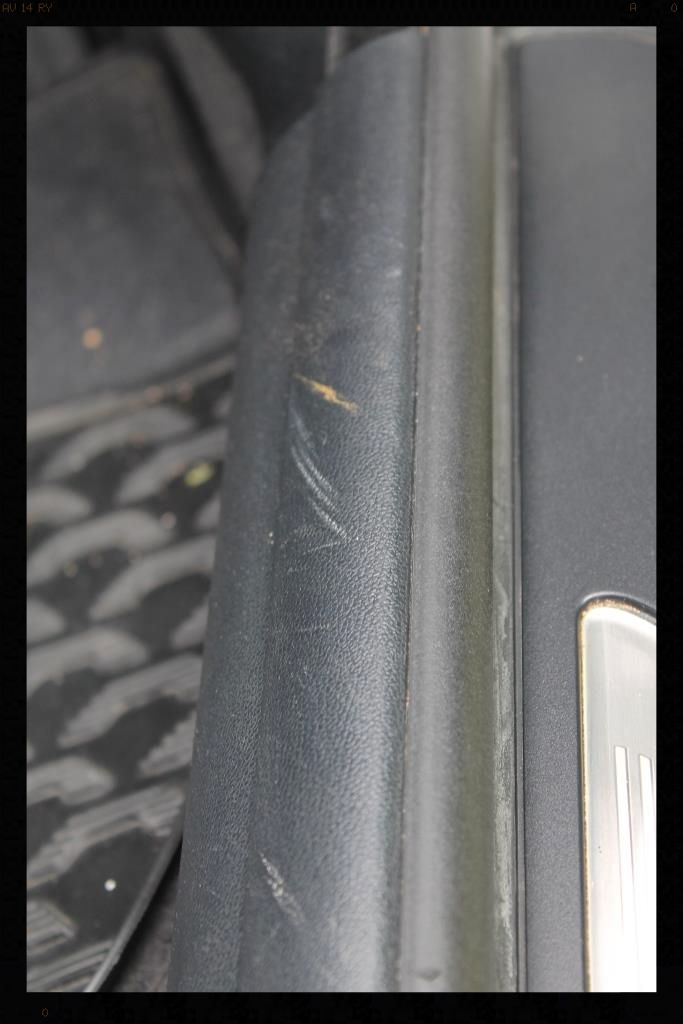
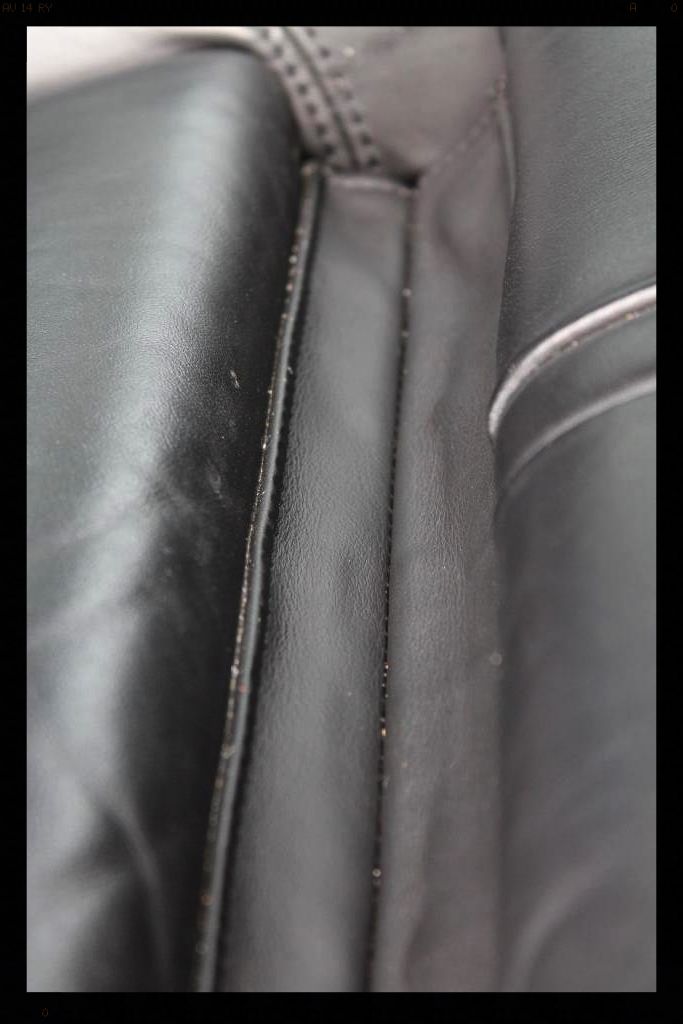
Then there is the real 'baked in' dirt that has had months/years to to attach itself to the paint - typically in all the harder to reach places that are ignored during your Sunday wash.
These areas take a lot of effort and time to restore and it really is, in my opinion, what 'detailing' is all about. :grin:
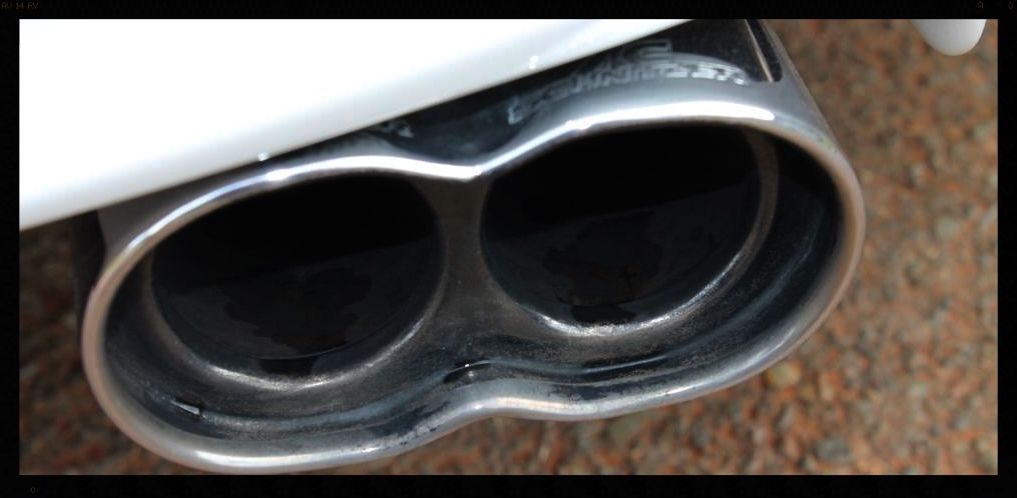
The exhaust tips were calling out for some love
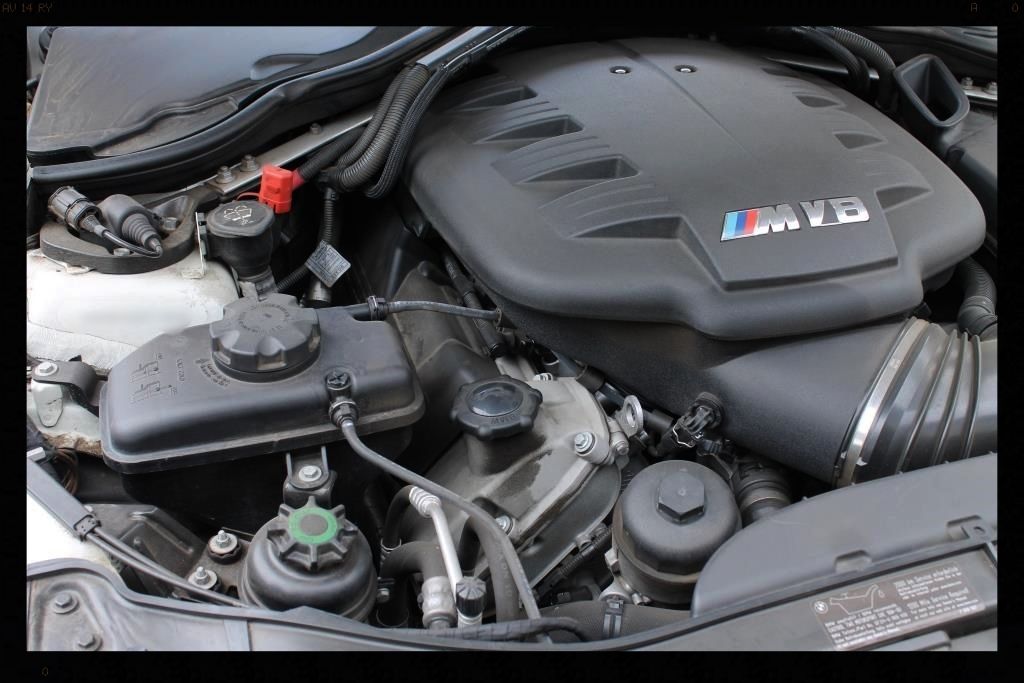
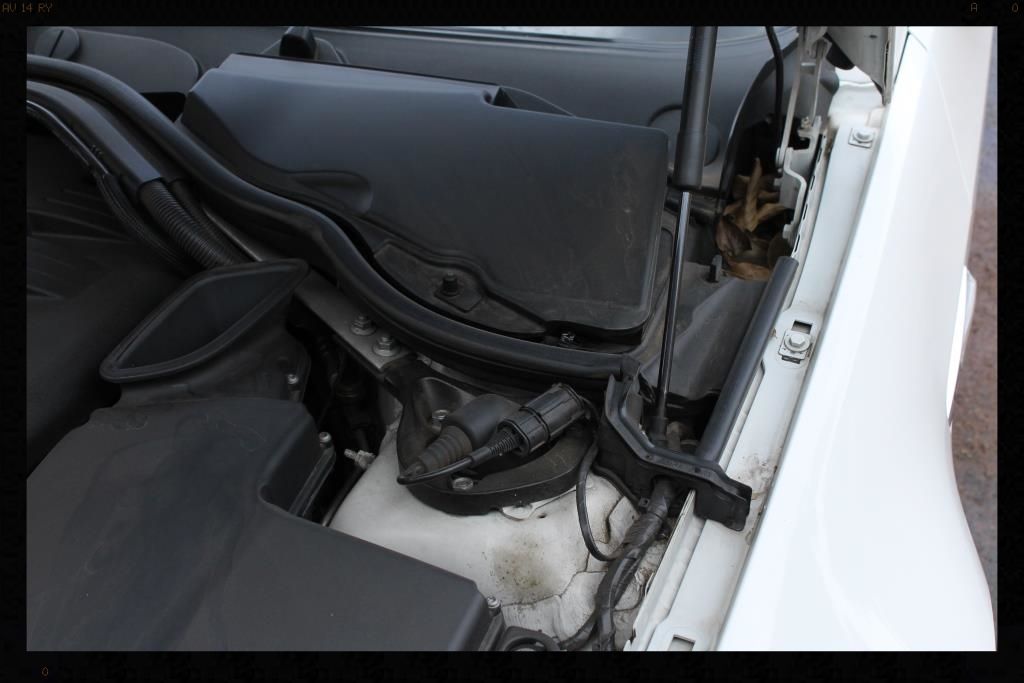
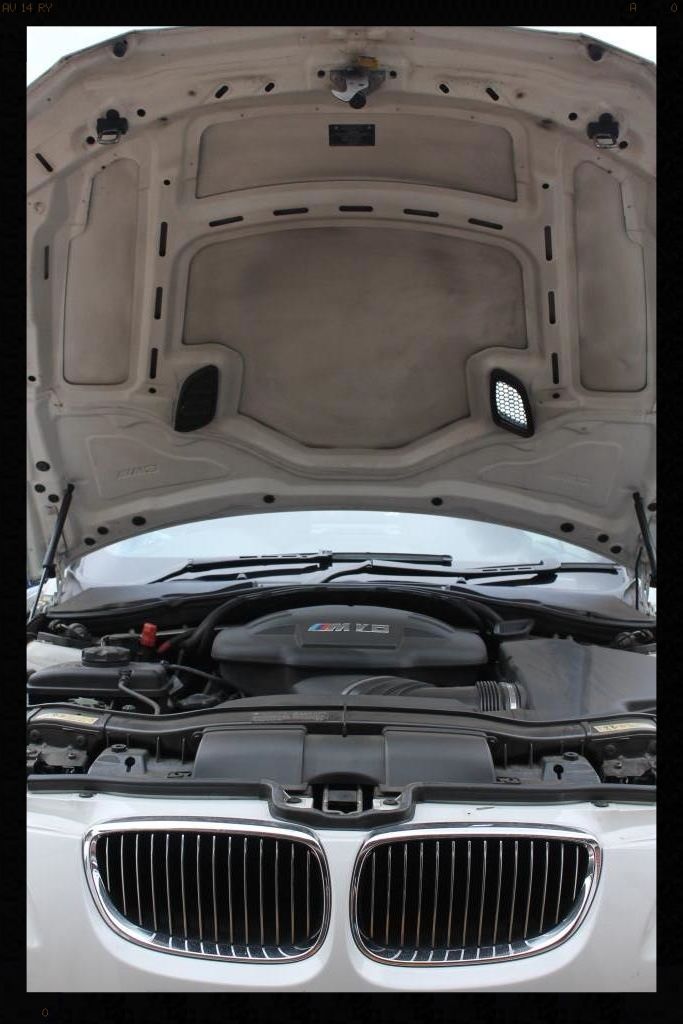
As was the engine bay
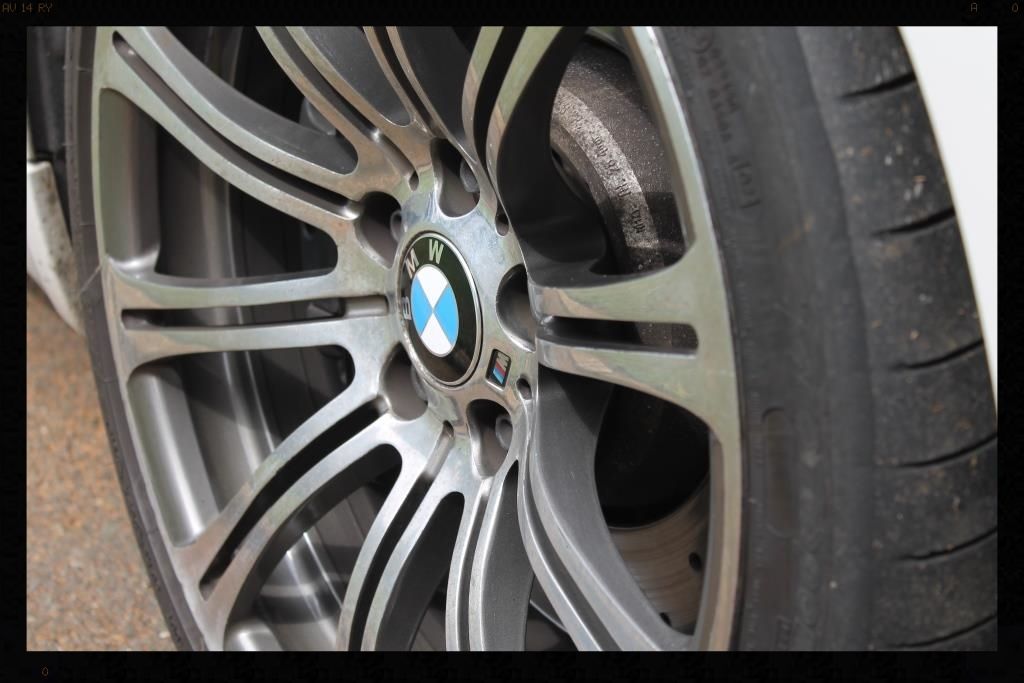
So as always the Arches, Tires and Wheels were tackled first.
Process and products:
-HP rinse arches, tires and wheels.
-Clean arches with a prototype APC, which even in its developmental stages, creates a long lasting better dwelling foam that rinses away easier, and cleans better, than my current go-to APC, using a Mothers Fenderwell Brush
-HP rinse
-Clean tires with Meguiars All Wheel and Tire Cleaner and a Mothers Tire brush. I again tested the prototype APC as a tire cleaner and although it didn't perform as well at 1:10, it lifted considerably more dirt and browning than the Cyclo APC, and I am sure at a more concentrated dilution it will be much closer to the Megs All Wheel and Tire Cleaner.
-HP rinse
-Repeat tire cleaning
-HP rinse
-Wash wheels and brake calipers with VP Bilberry Wheel Cleaner @ 1:6, Daytona and Daytona Jnr brushes and Valet Pro Boars Hair Brushes
-HP rinse
-Dry
-Remove tar using Autoglym Intensive Tar Remover
-Spray with APC and HP Rinse
-Dry
-Remove bonded and embedded ferrous contaminants on wheels and brake calipers with Valet Pro Dragon's Breath Daytona and Daytona Jnr brushes and Valet Pro Boars Hair Brushes
-HP Rinse + flood rinse
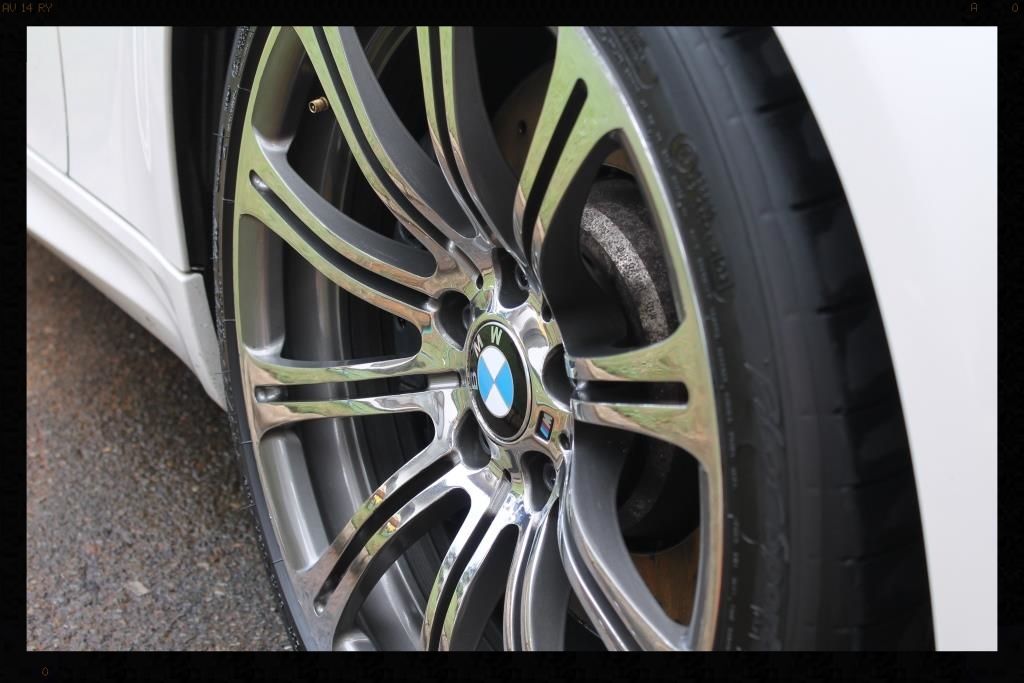
-The faces of the wheels were then polished using a MF Applicator pad and Mothers Power Metal
-Later the tires would be dressed with Optimum Optibond and the rest of the wheels sealed with Menzerna Powerlock and the arches dressed using Shield Sheen
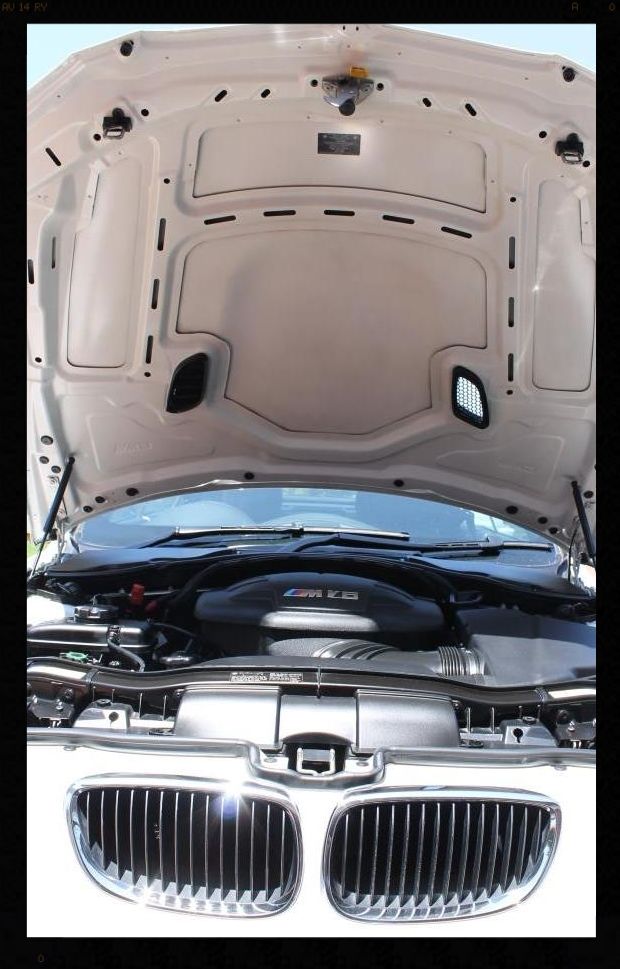
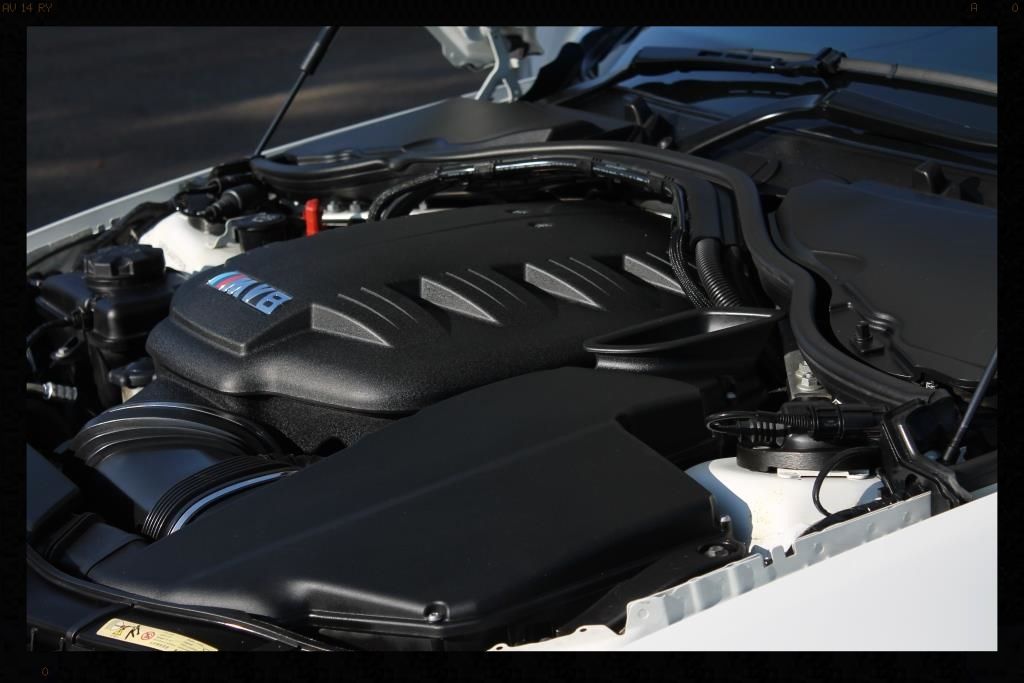
Engine bay
Process and products:
-HP rinse loose dirt off
-Clean with APC and various brushes
-Clean/Polish/Protect (AIO) using AF Tripple by hand, and using the Shield DA with 4" LC White pads
-Plastics dressed with Shield Sheen
Before
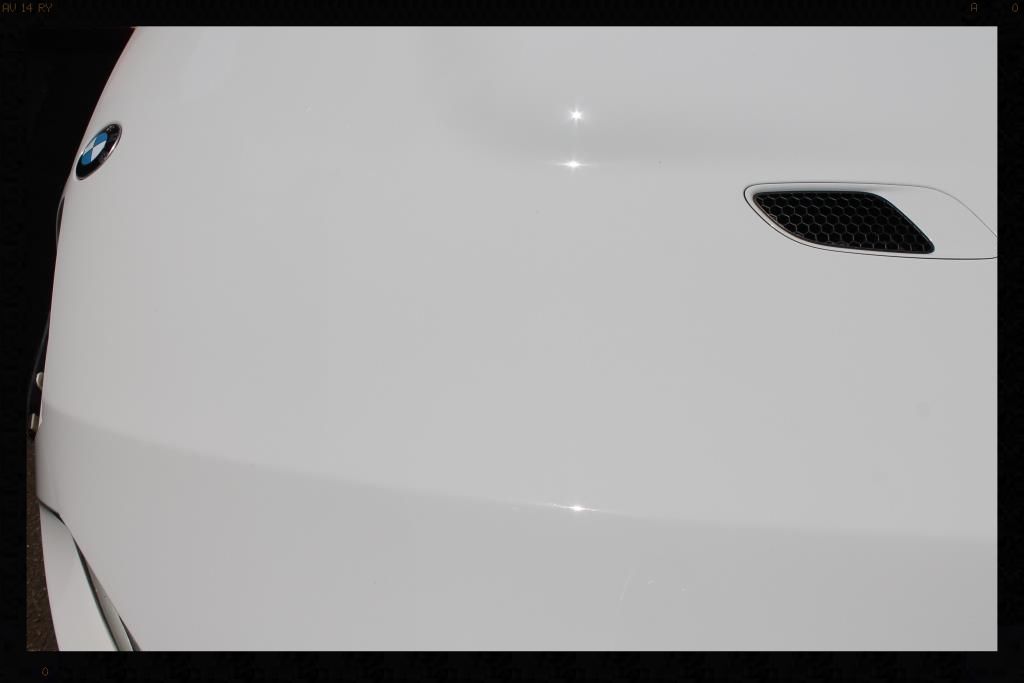
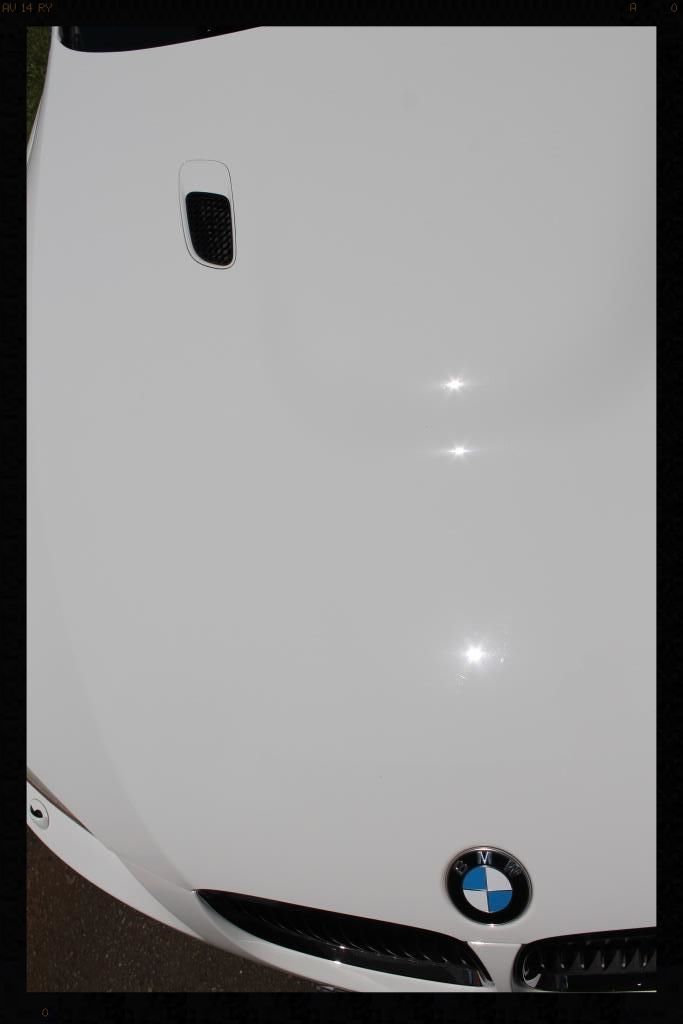
After
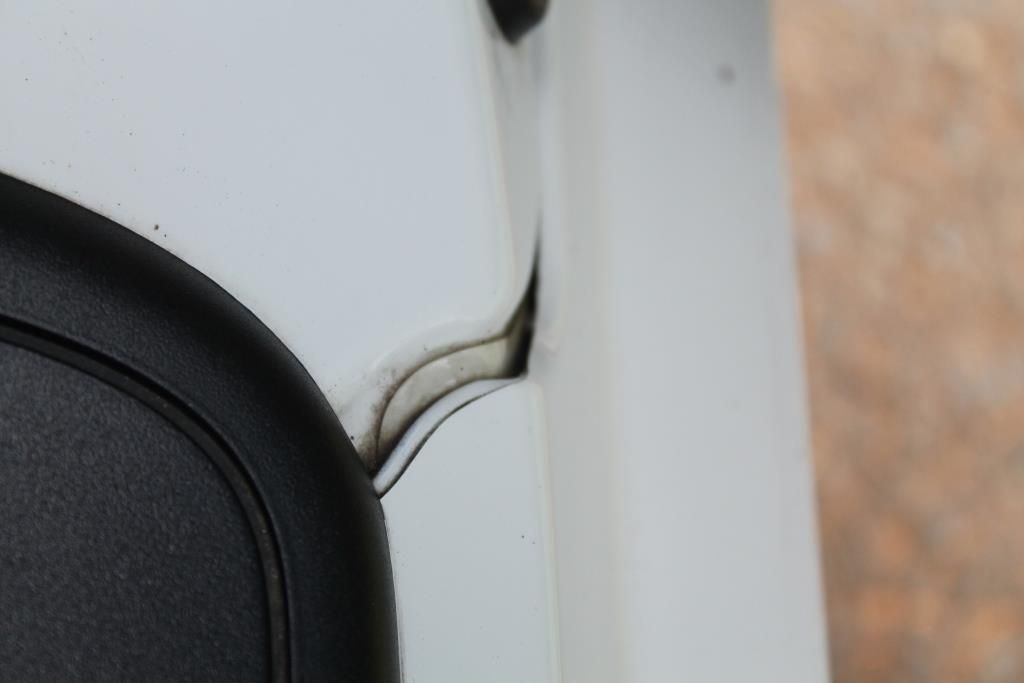
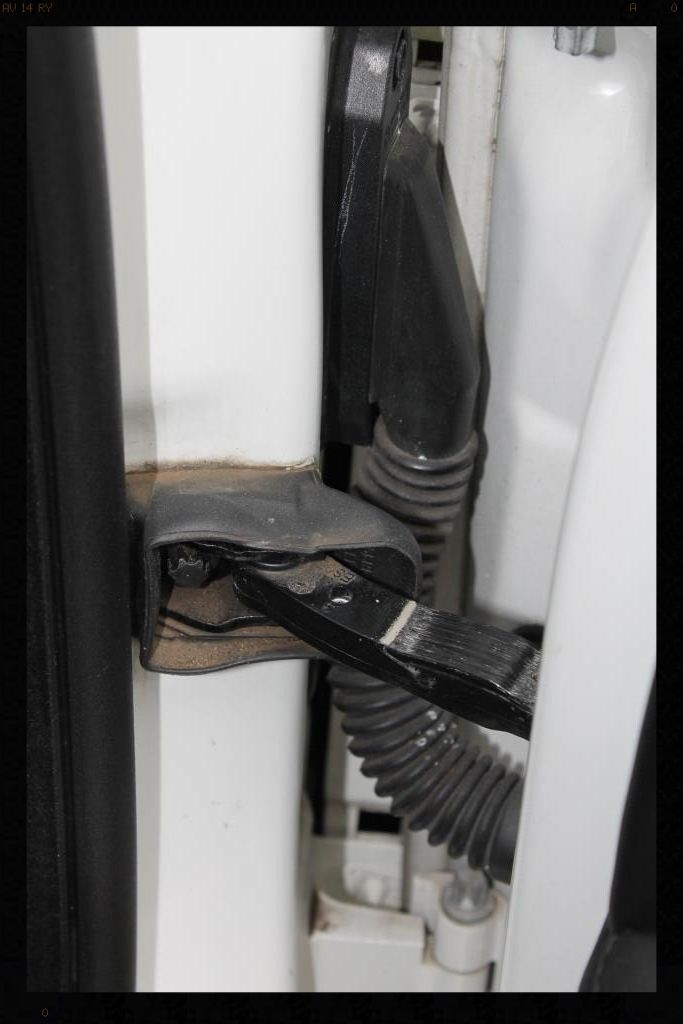
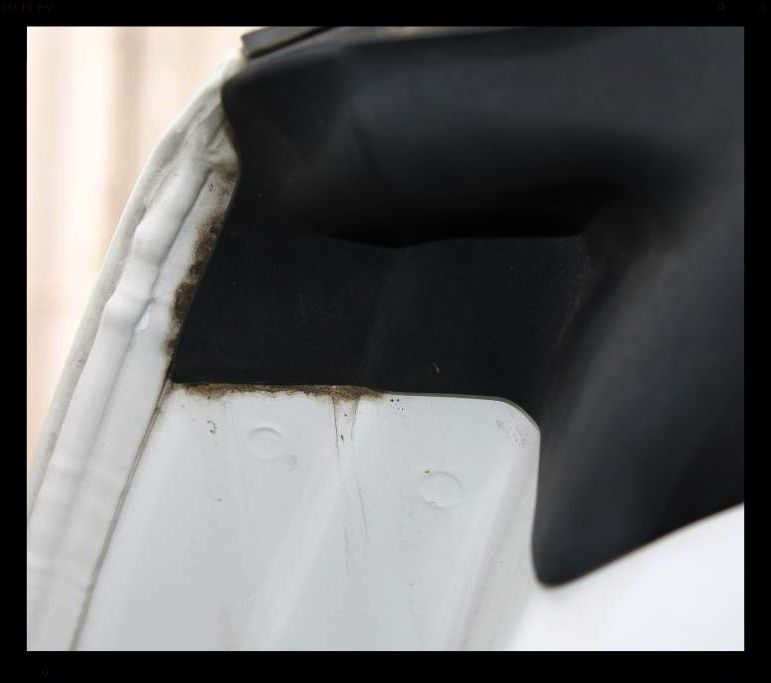
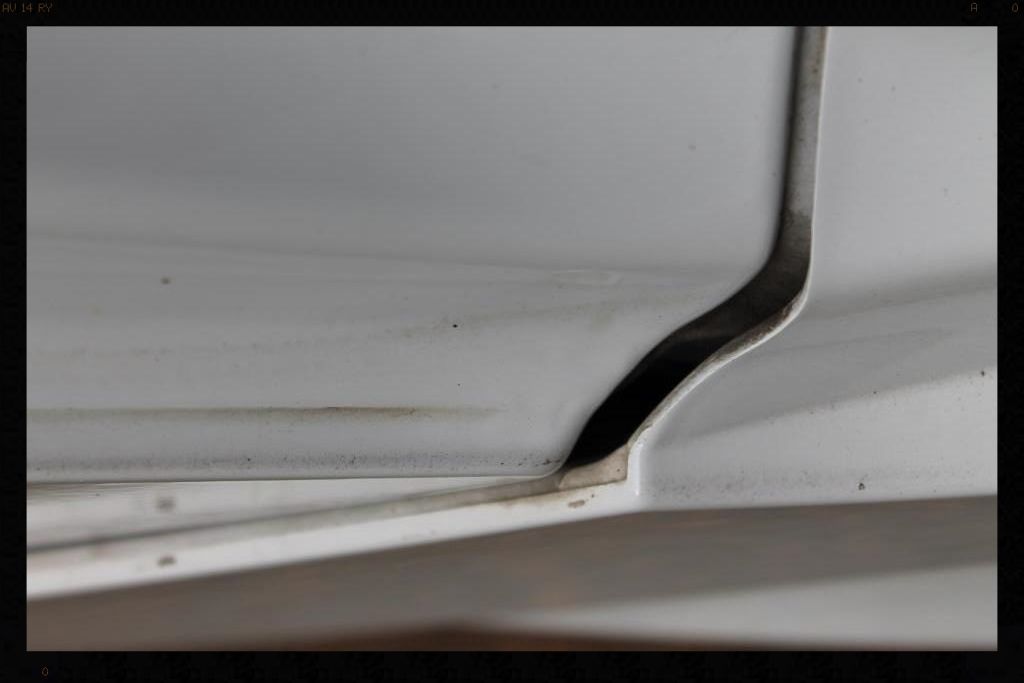
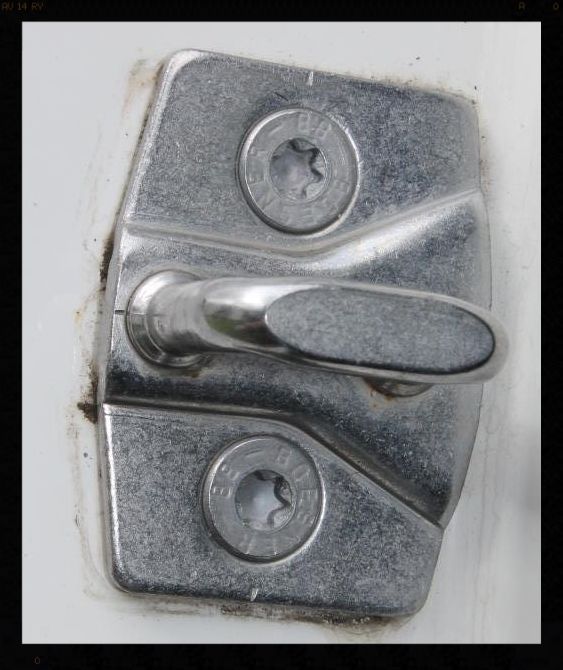
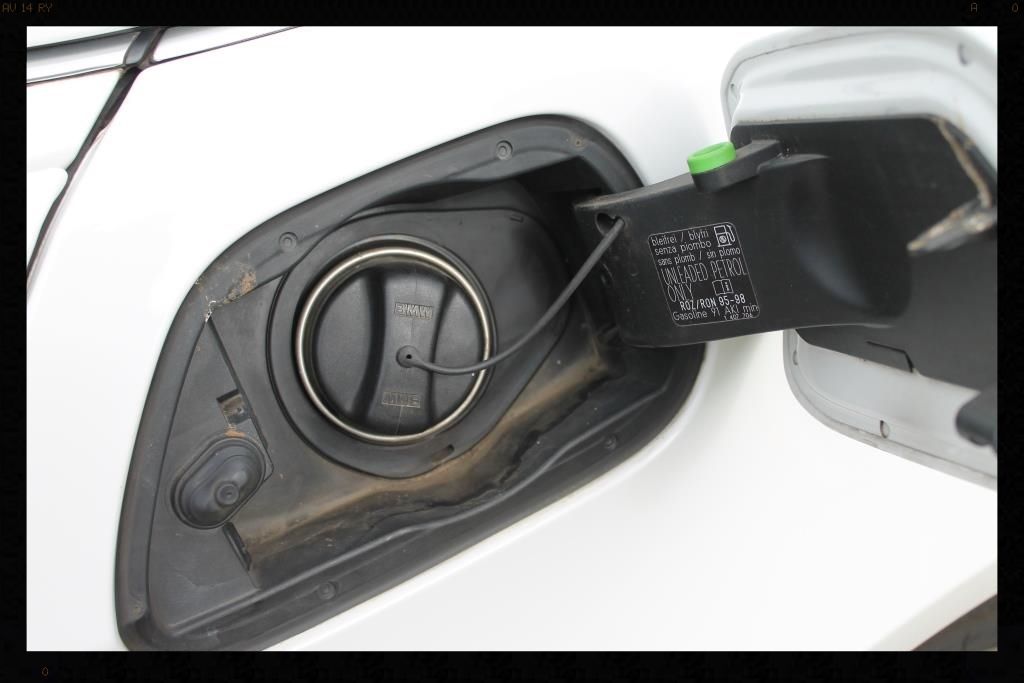
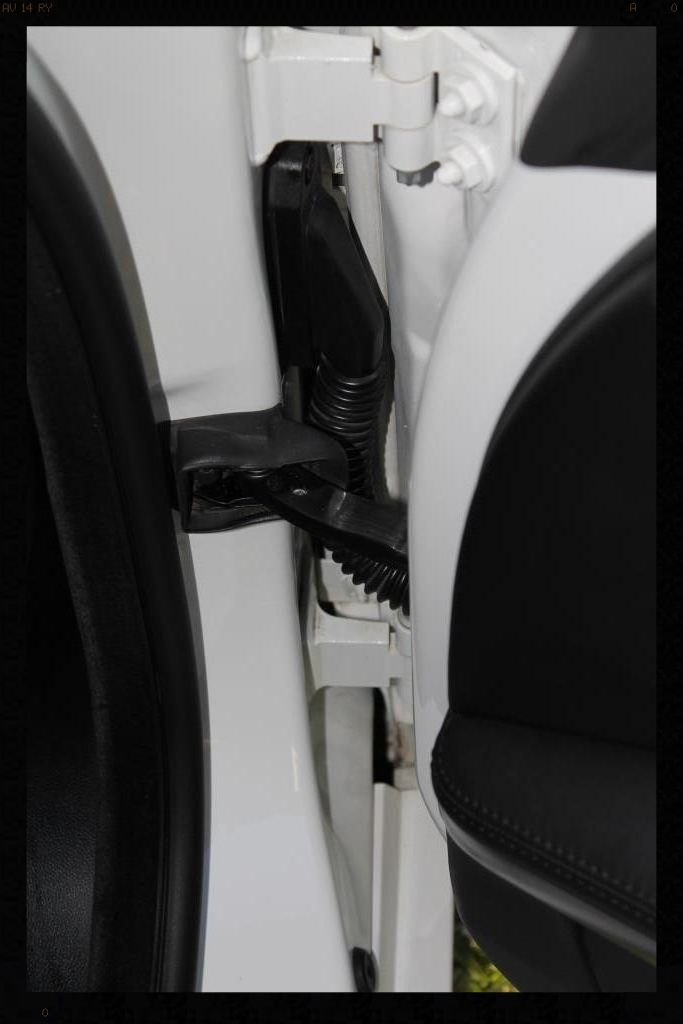
Door shuts / Fuel Flap / Boot shut
Process and products:
-HP rinse
-Cleaned using APC and various brushes
-HP rinsed
-Clayed
-Clean/Polish/Protect (AIO) using AF Tripple
Then it was on to the Exhaust Tips
Process and products:
-Cleaned using APC and various brushes
-Polished and protected using Mothers Power Metal
Wash
Process and products:
-HP rinse
-Applied Valet Pro Citrus Pre-wash via a spray bottle, left to dwell
-HP rinse
-Applied Valet Pro ANSF via a MTM Hydro, left to dwell
-HP rinse
-2BM wash using lambswool wash mitts and prototype shampoo. It had decent lubricity and suds, which 'lasted' a fair while and rinsed off easily. Smell was not taken into account as the final product will be different. Dilution was 5ml to a 5l bucket filled 3/4 and cleaning was good.
-HP rinse
-Flood Rinse
-Dried using ONR and WW drying towels
Decontamination
Process and products:
-Tar removed using Autoglym Intensive Tar Remover
-Iron removed using Valet Pro Dragon's Breath
-Remaining contamination (and there was a lot of it as the car parks outside all the time) was clayed off using Shield Heavy Duty clay with ONR as lube.
:drool: :grin: :grin: :grin:
Cold start is too lovely :hurray:
Back to the detail.
So one of the first things I noticed was this on the bonnet
Further inspection revealed that it was from the improper removal of a bird dropping.
Obviously you want to get it off your paint as soon as possible - it is advisable to carry a 'kit' in the boot for such an 'emergency' - due to the acidic nature of the droppings (uric acid) it can very quickly etch into the paint, leaving behind a 'crater' in the paint, in the shape of the dropping, like it did here (this pic was taken after washing and decontaminating)
The rest of the scratches you see are from the manner in which this dropping was removed. It has been 'rubbed' off....grinding the bits of sand and stuff that gets into the bird's mouth, and therefore ultimately into the dropping after it has been swallowed, over and into the paint.
A much better solution is to place a dedicated MF Towel around the dropping to act as a 'bund'. Spray the bird dropping heavily with something like a citrus pre-wash (or a quick detailer) and allow the dropping to soften. You may have to spray the area more than once. Then use the MF towel, moving from the outside in toward the dropping (thereby not spreading it out any further) and LIFT the dropping off the paint.
Reapply your LSP to the affected area.
There was another bird dropping etching on the passenger side front wheel arch.
Some really hectic scratches on the roof
Another view
Then there was evidence of some re-spray work. Sanding marks in the paint.
And some nasty buffer trails, and obviously swirls galore.
It had typical 'dirt' on the car - it is this dirt you want to remove from the paint before making contact, through initial rinsing and 'pre-wash' methods such as citrus pre-soaks, foam gun/cannon applications and HP rinsing.
Then there is the real 'baked in' dirt that has had months/years to to attach itself to the paint - typically in all the harder to reach places that are ignored during your Sunday wash.
These areas take a lot of effort and time to restore and it really is, in my opinion, what 'detailing' is all about. :grin:
The exhaust tips were calling out for some love
As was the engine bay
So as always the Arches, Tires and Wheels were tackled first.
Process and products:
-HP rinse arches, tires and wheels.
-Clean arches with a prototype APC, which even in its developmental stages, creates a long lasting better dwelling foam that rinses away easier, and cleans better, than my current go-to APC, using a Mothers Fenderwell Brush
-HP rinse
-Clean tires with Meguiars All Wheel and Tire Cleaner and a Mothers Tire brush. I again tested the prototype APC as a tire cleaner and although it didn't perform as well at 1:10, it lifted considerably more dirt and browning than the Cyclo APC, and I am sure at a more concentrated dilution it will be much closer to the Megs All Wheel and Tire Cleaner.
-HP rinse
-Repeat tire cleaning
-HP rinse
-Wash wheels and brake calipers with VP Bilberry Wheel Cleaner @ 1:6, Daytona and Daytona Jnr brushes and Valet Pro Boars Hair Brushes
-HP rinse
-Dry
-Remove tar using Autoglym Intensive Tar Remover
-Spray with APC and HP Rinse
-Dry
-Remove bonded and embedded ferrous contaminants on wheels and brake calipers with Valet Pro Dragon's Breath Daytona and Daytona Jnr brushes and Valet Pro Boars Hair Brushes
-HP Rinse + flood rinse
-The faces of the wheels were then polished using a MF Applicator pad and Mothers Power Metal
-Later the tires would be dressed with Optimum Optibond and the rest of the wheels sealed with Menzerna Powerlock and the arches dressed using Shield Sheen
Engine bay
Process and products:
-HP rinse loose dirt off
-Clean with APC and various brushes
-Clean/Polish/Protect (AIO) using AF Tripple by hand, and using the Shield DA with 4" LC White pads
-Plastics dressed with Shield Sheen
Before
After
Door shuts / Fuel Flap / Boot shut
Process and products:
-HP rinse
-Cleaned using APC and various brushes
-HP rinsed
-Clayed
-Clean/Polish/Protect (AIO) using AF Tripple
Then it was on to the Exhaust Tips
Process and products:
-Cleaned using APC and various brushes
-Polished and protected using Mothers Power Metal
Wash
Process and products:
-HP rinse
-Applied Valet Pro Citrus Pre-wash via a spray bottle, left to dwell
-HP rinse
-Applied Valet Pro ANSF via a MTM Hydro, left to dwell
-HP rinse
-2BM wash using lambswool wash mitts and prototype shampoo. It had decent lubricity and suds, which 'lasted' a fair while and rinsed off easily. Smell was not taken into account as the final product will be different. Dilution was 5ml to a 5l bucket filled 3/4 and cleaning was good.
-HP rinse
-Flood Rinse
-Dried using ONR and WW drying towels
Decontamination
Process and products:
-Tar removed using Autoglym Intensive Tar Remover
-Iron removed using Valet Pro Dragon's Breath
-Remaining contamination (and there was a lot of it as the car parks outside all the time) was clayed off using Shield Heavy Duty clay with ONR as lube.