

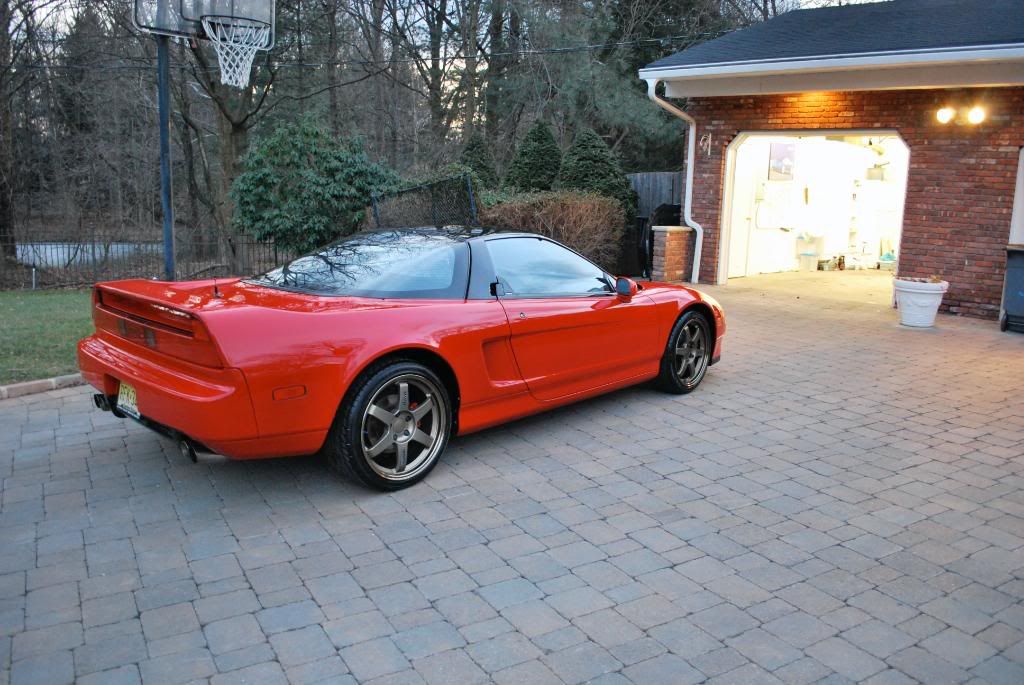
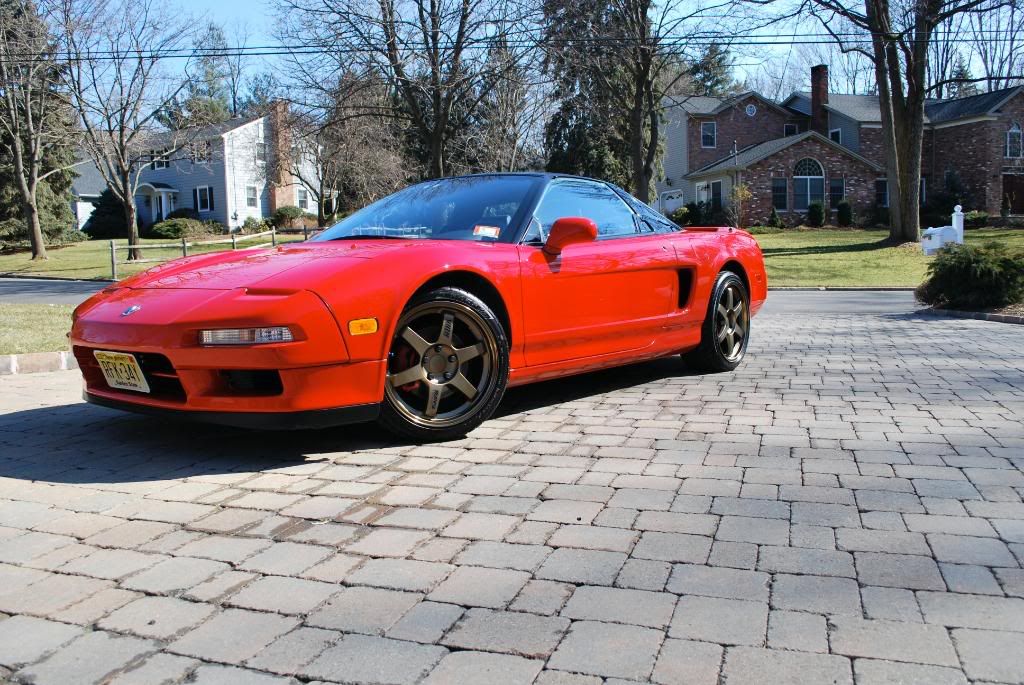
These past 3 days have been quite long thanks to this 1992 Acura NSX...
No need for a lengthy introduction about how great the NSX is or why it was so "ahead of its time". Yes it was/is a great car and we all know it deserves a place in automotive history :ignore, now lets move on
On with the detail that is... couple suprises along the way too:shrug:
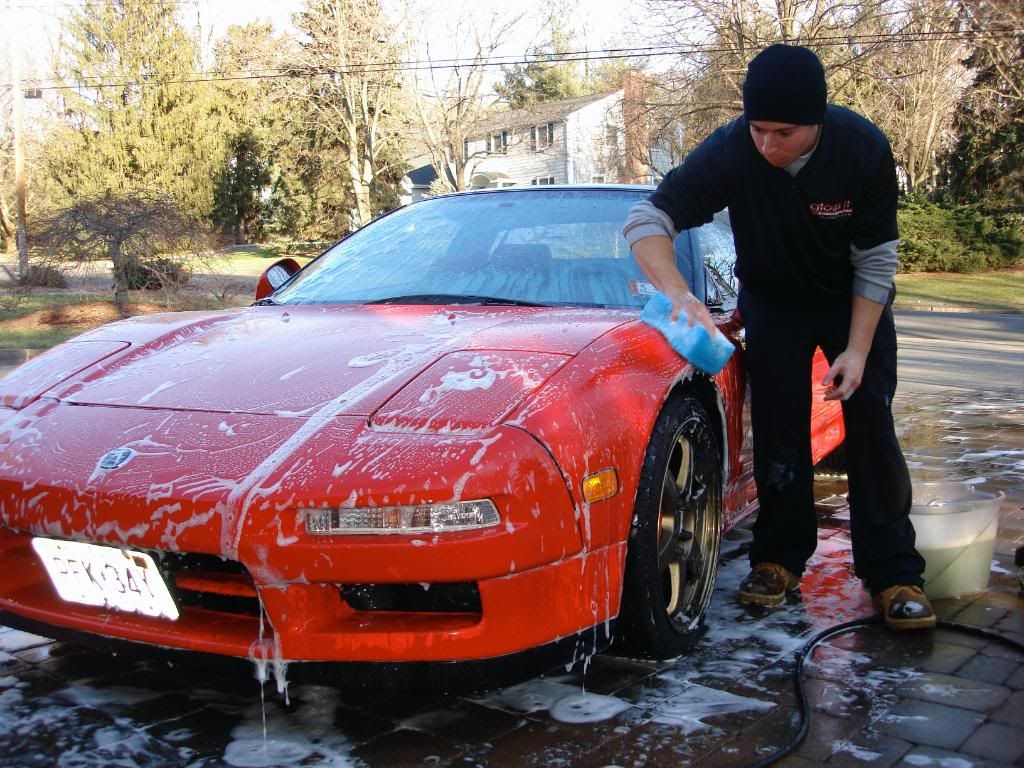
Upon arrival the car appeared to be fairly clean, even still the usual wash process was carried out routinely.
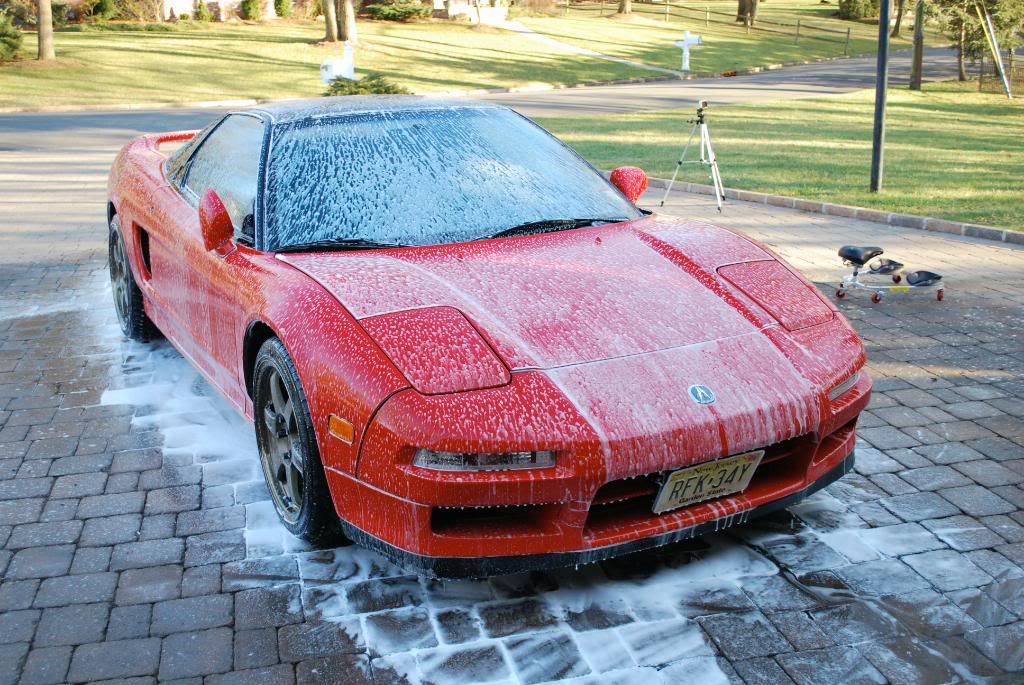
First up a thick foaming of CG Maxi Suds after a very through pressure wash. I make it a point to pressure wash the paint, wheels and trim throughly before moving on to any form of washing. If there is any surface dirt on the car it usually will be taken write off with the initial high pressure rinse, that way the foam can do a better job of breaking down or at least loosening up some of the tougher dirt and grime.
I let the foam sit and began working on the wheels and tires. The foam was left for about 6 or 7 minutes, I wait until most of the heavy suds are off the car, never until the the paint has no suds on it! In the middle of cleaning the first wheel I stopped and PW`ed off the foam leaving the car shampoo free and then went back to the cleaning the wheels.
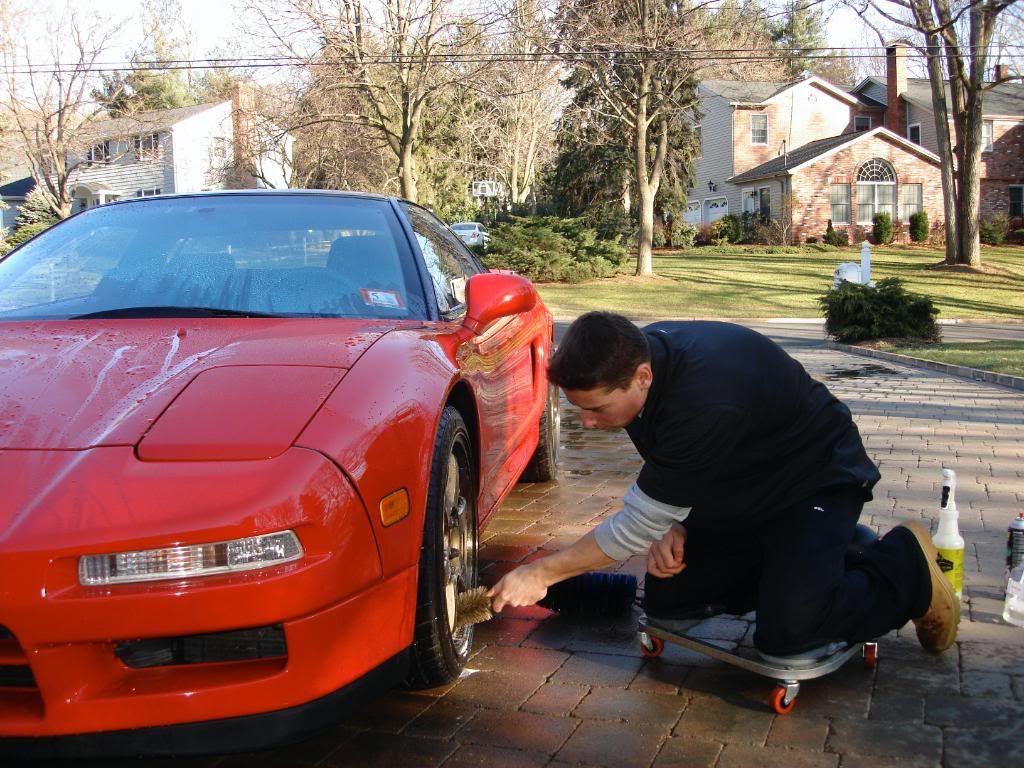
I used the Gloss It (GI) wheel gel with the EZ , boars hair, Swissvax and DD spoke brushes. I like using a few different brushes to make for easier cleaning of every part on the wheel, in this case the Volks were not very dirty to begin with but nonetheless they needed to be spotless from every angle.
Me on the racatac rolling creeper, this is a great little seat for wheel cleaning and polishing down low.
Using the detailersdomain spoke brush to agitate the inner wheel. The tires were cleaned with Megs APC 3:1 as well as the wheel wells. After the tires were pre cleaned with the APC I used Stoners Tarminator, yes TARminator to clean the tires again. I learned this trick from a good friend and fellow detailer Bob from AutoConcerige. Basically the mild solvent based Tarminator helps to further breakdown the grime really trapped in the rubber.
You would be surprised at the excess dirt which is pulled off the tires even after cleaning with strong APC or degreaser.
After the wheels were in order, I PW`ed the paint once more before the hand wash. Again I used CG CWG as my shampoo of choice, the NSX was wearing some form of protection as the paint was beading pretty well during all the rinsing so I used a heavy mix of CWG to hopefully strip away at the current LSP which was applied by the owner.
I used the new LC blue sponge to wash the paint, have heard rave reviews about it so I picked up 2 and am very happy with it.
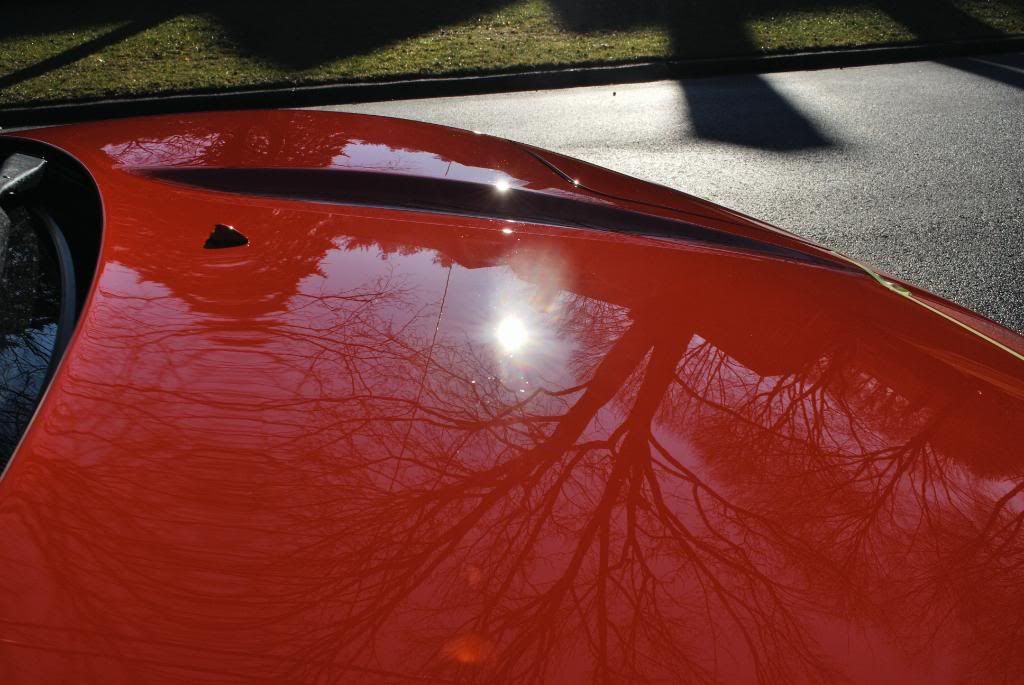
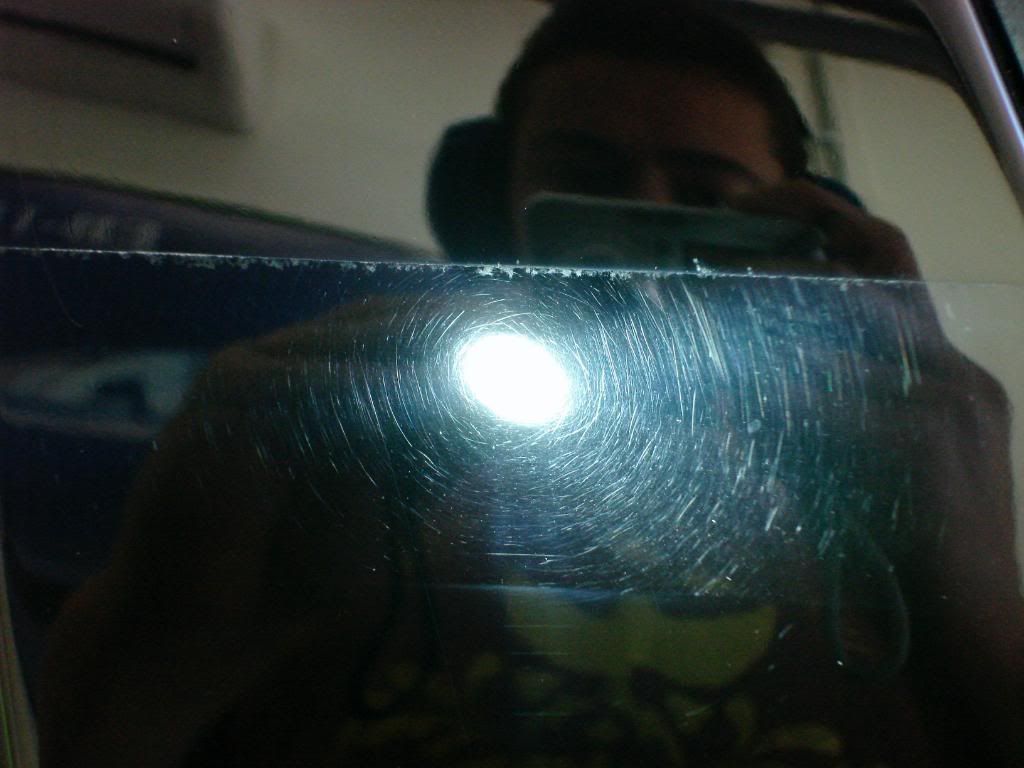
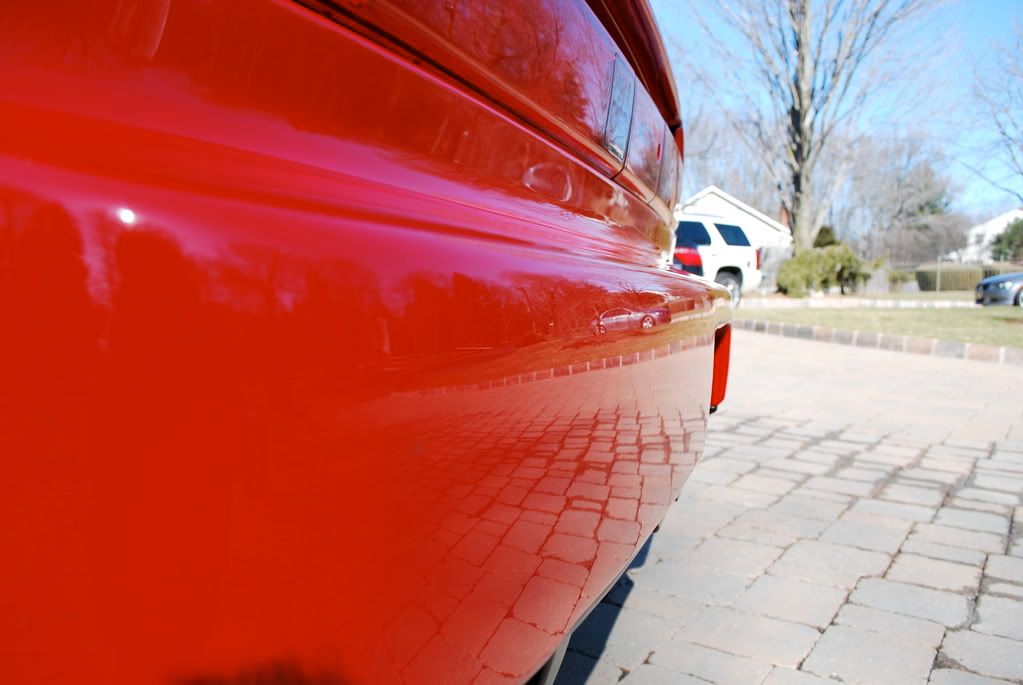
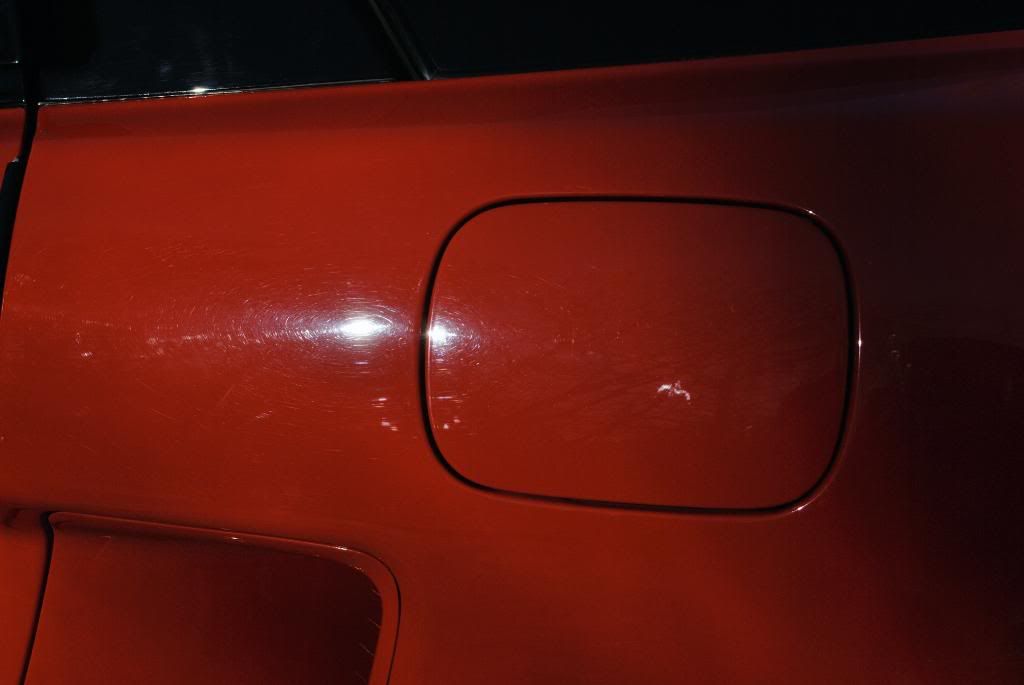
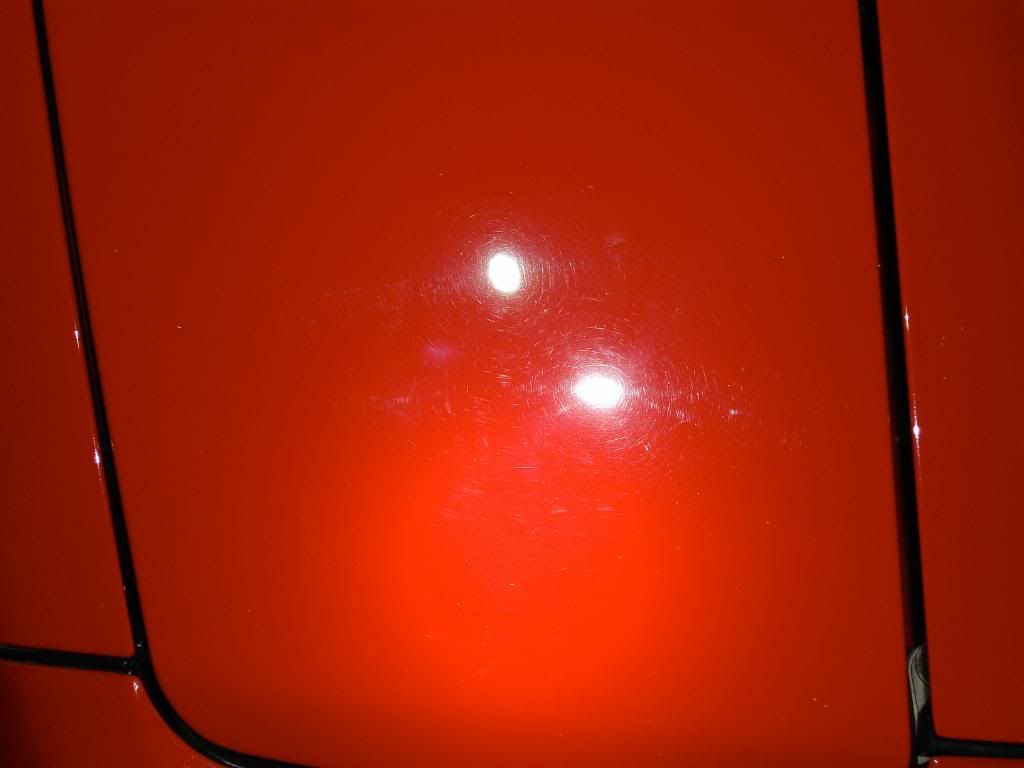
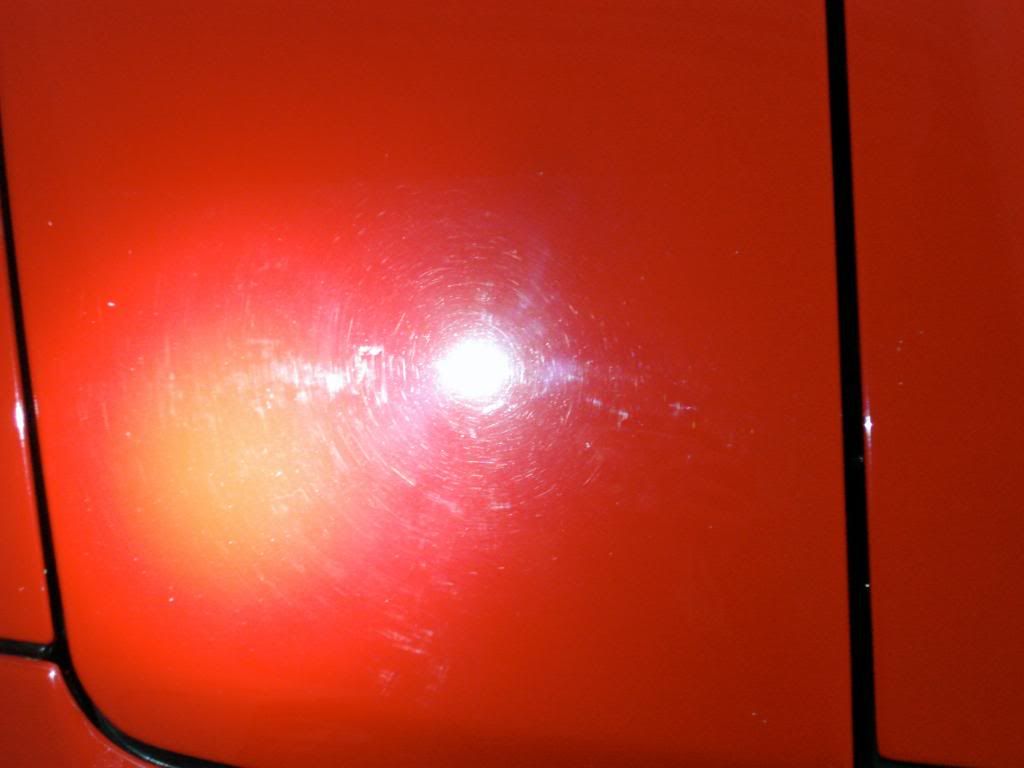
I snapped some sun shots of the paint defects before pulling the NSX inside, didnt seem to terrible with the exception of some deep RIDS.
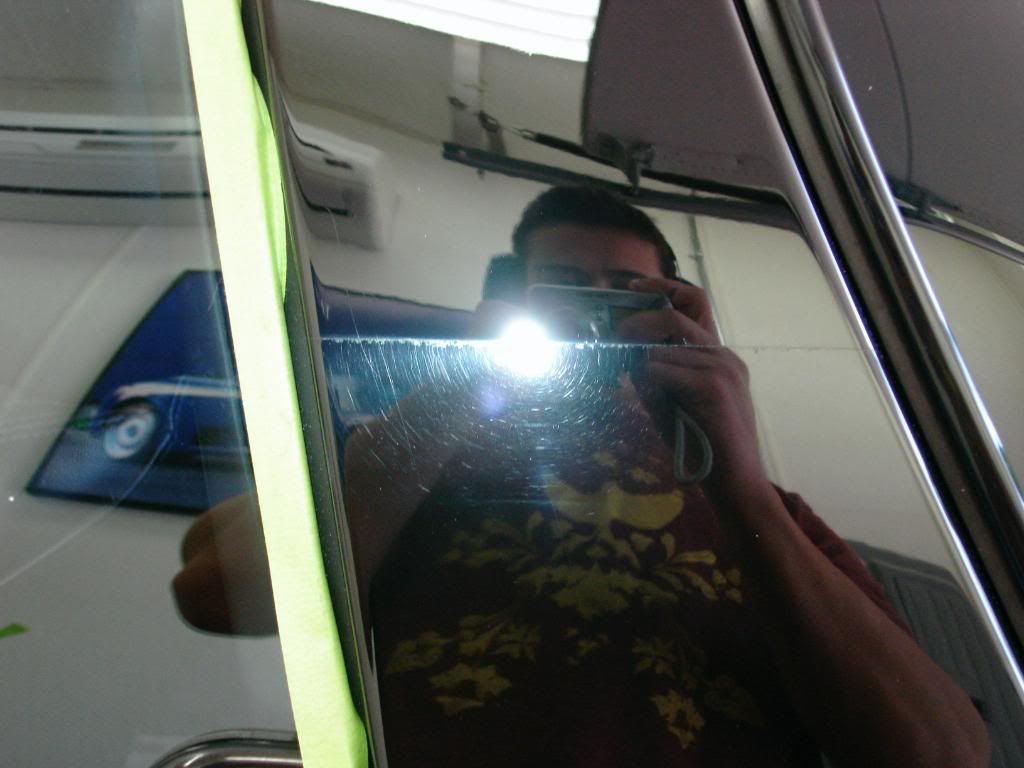
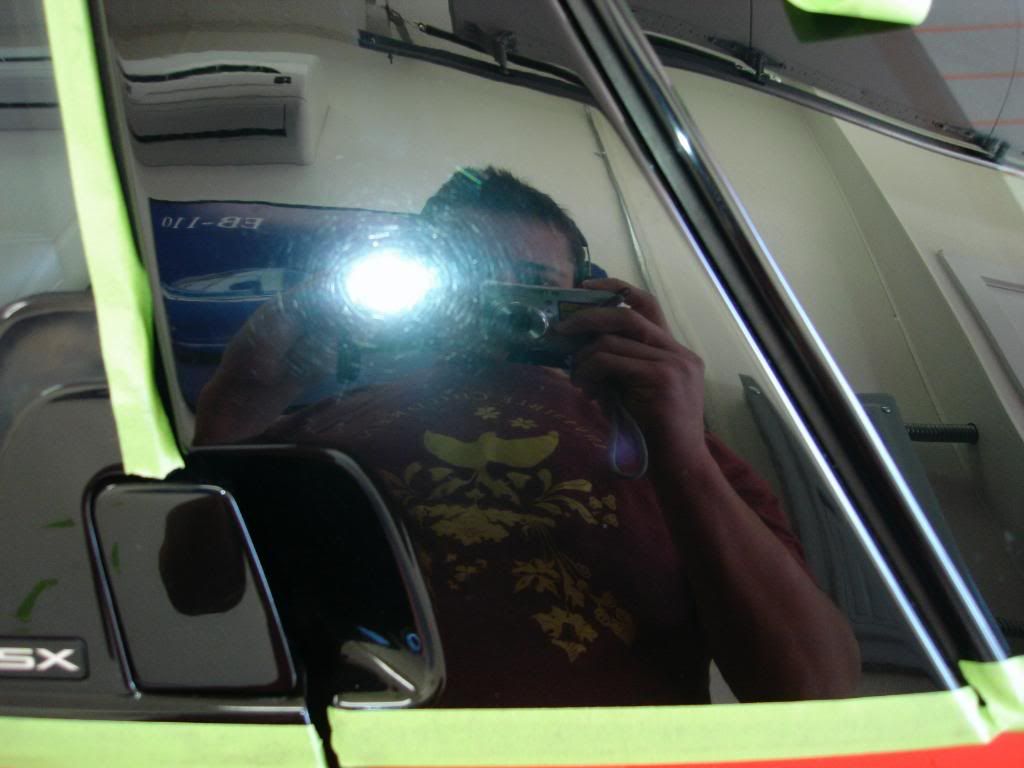
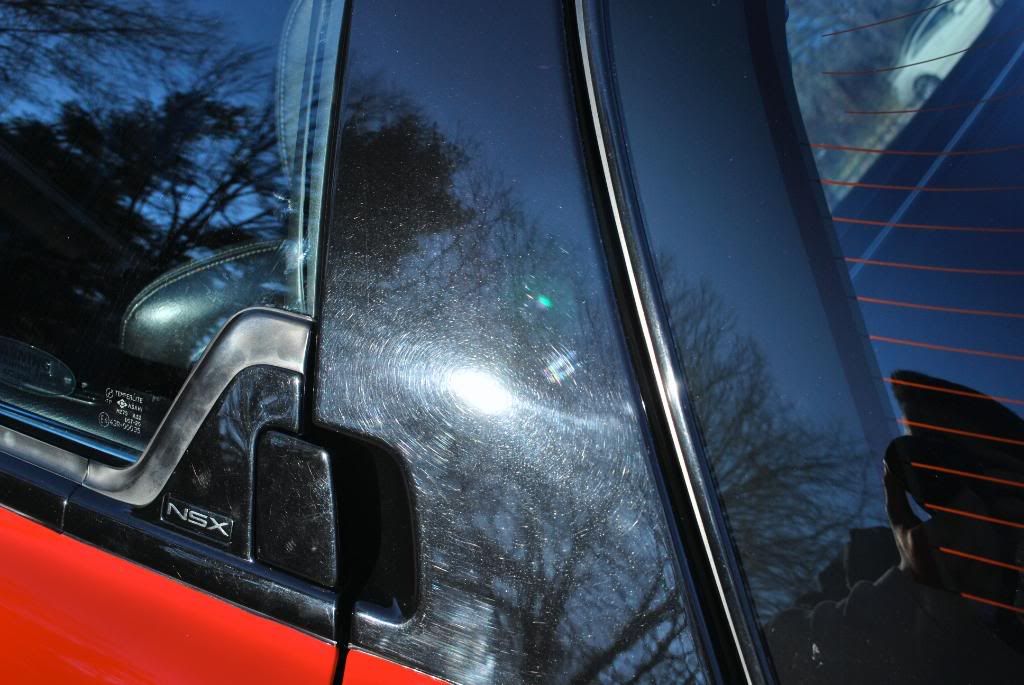
A-pillars were pretty hacked
The wash process went rather quickly until the final DI rinse where some of the water froze on the paint, the temp dropped considerably during the end of the wash process so I quickly pulled the car inside to begin claying.
I used sonus` fine green clay with Megs LT 1:1. Very little contaminants were picked up on the bar. The nose of the car was covered in a clear bra and had some residual rubber marks from the track (this NSX is a bonafied track car)
Heres the rubber marks on the bra`d nose
These were taken out using Tarminator (again) and a lot of elbow greeese.
Now onto the fun part, paint correction. I took tons of paint readings and found the car to be very very inconsistant. Some panels averaged 7mils and other up to 14mils
I later came to find out the car had areas re-sprayed because the hood and drivers side were the original formula red single stage paint and the trunk and passenger side panels were re-sprayed and no longer single stage. My guess would be the re-spray was done a very long time ago as the defects were the same around the entire car. I couldnt tell by eye the car was re-sprayed.
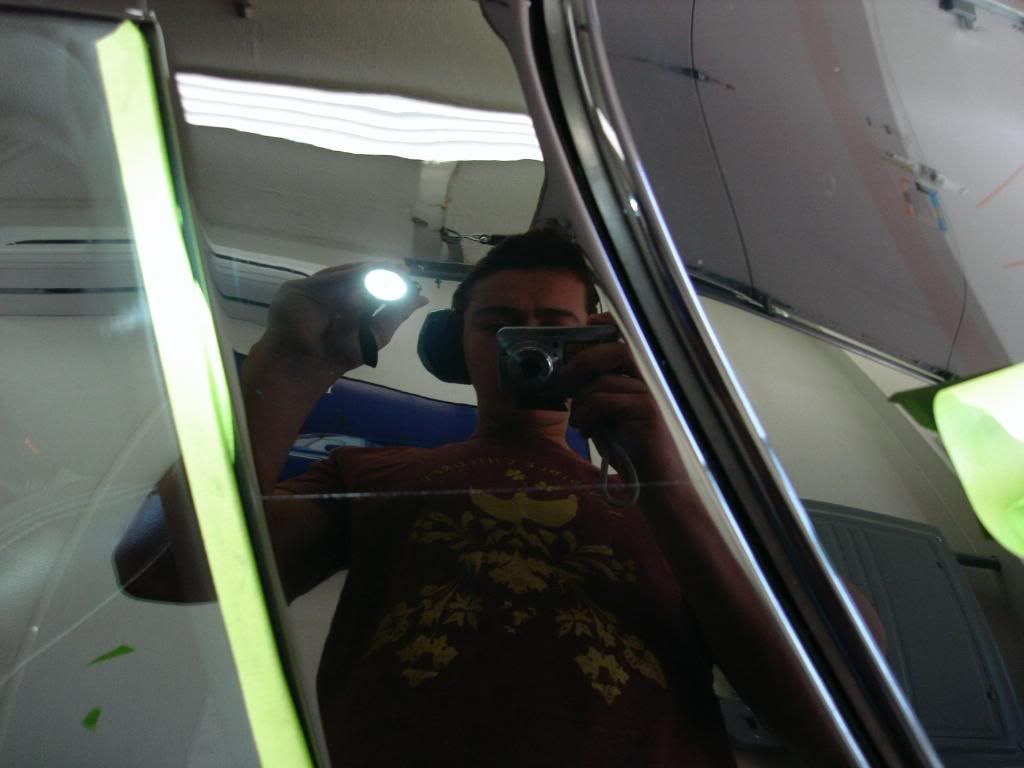
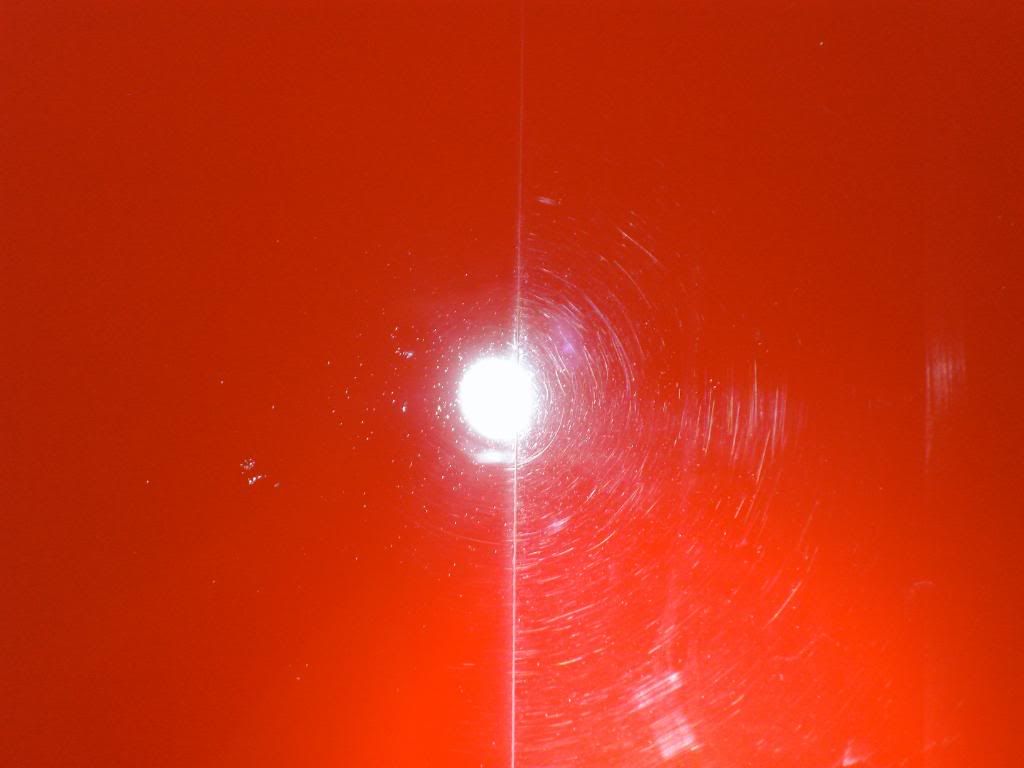
Heres the headlight under the Fenix LED light, not soo bad here...
Little worse
I did a test spot to find the best combo and landed on 3 polishes for correction. I thought a 2 step would be sufficient to correct and finish the paint but in order to get 100% or as close to that as possible I found using a 3 step did the trick far better.
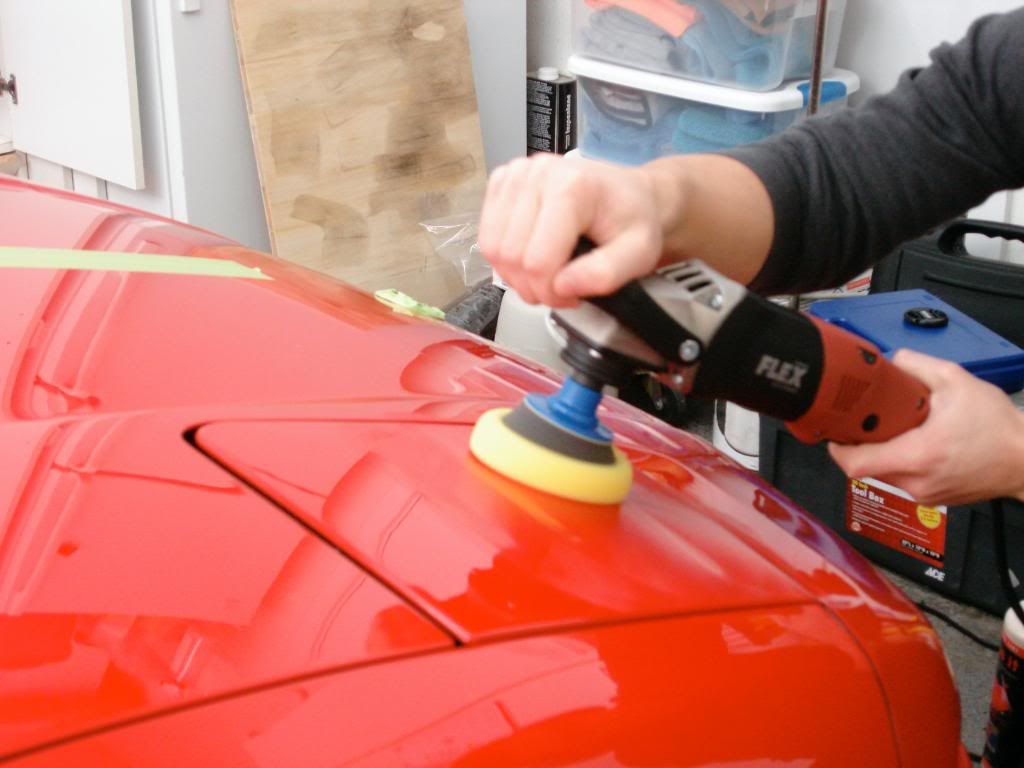
I started my first stage of correction with Gloss It extreme cut compound and a GI pre polymer white cutting pad on the flex rotary. This knocked down the deeper rids and swirls, I worked the extreme cut at 1900rpm to achieve maximum correction before backing down to 1400rpm and then 1100rpm, I did the same with the second step of correction with Gloss It evolution cut and a yellow GI pre polymer med. polishing pad.
Using the 4inch yellow med. polish pad with evolution cut and EVP (pad primer)
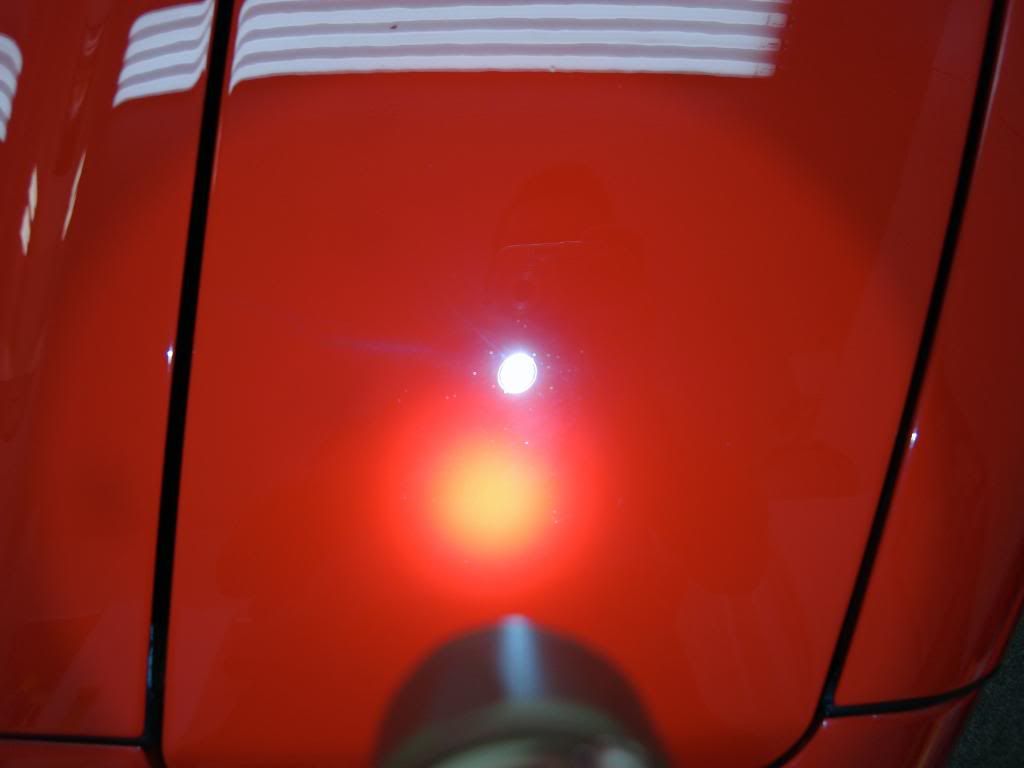
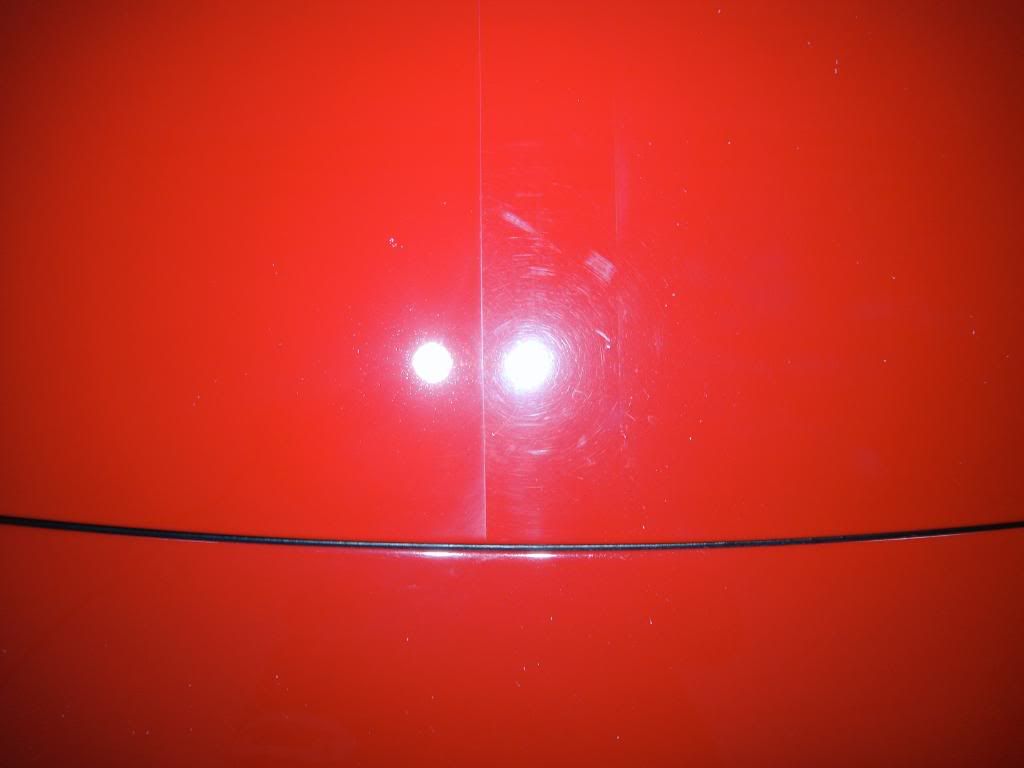
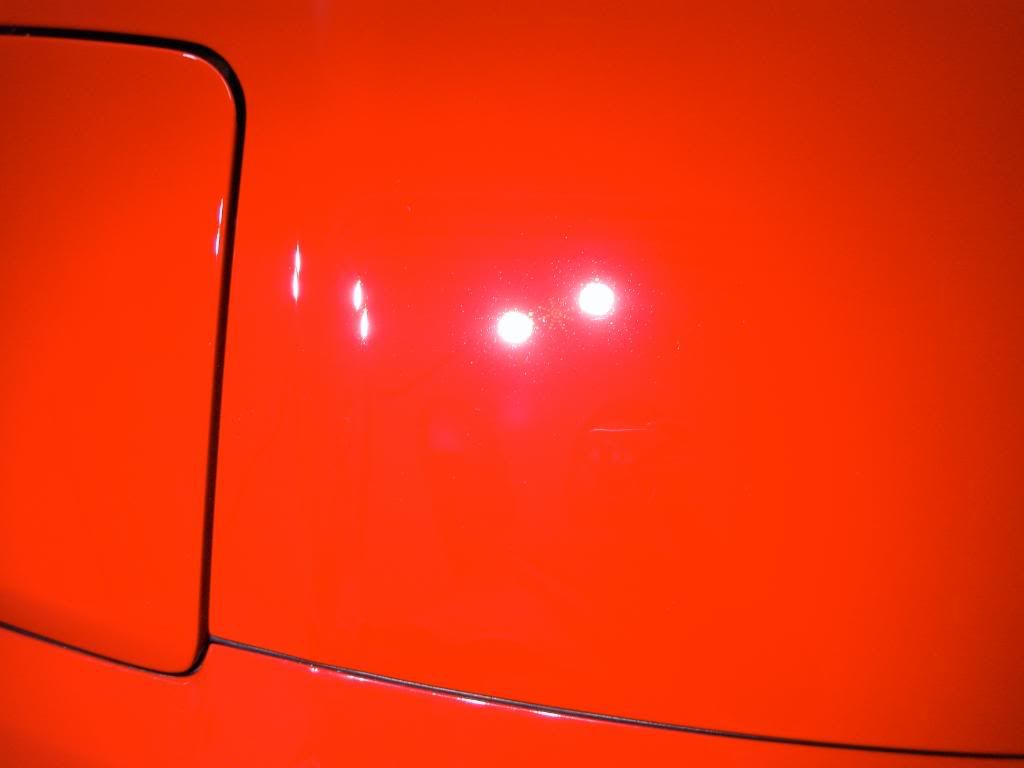
Here is the hood after stage 2 of correction, all the big stuff was knocked out. This is under the infratech CM5300
Close up of the defects
After finishing with a 5.5inch red ccs pad and menzerna micro polish at about 1400rpm jeweled down to 1100rpm (used the micro polish with GI EVP to extend the working time) As with every step prior, I used an IPA wipedown to check my work
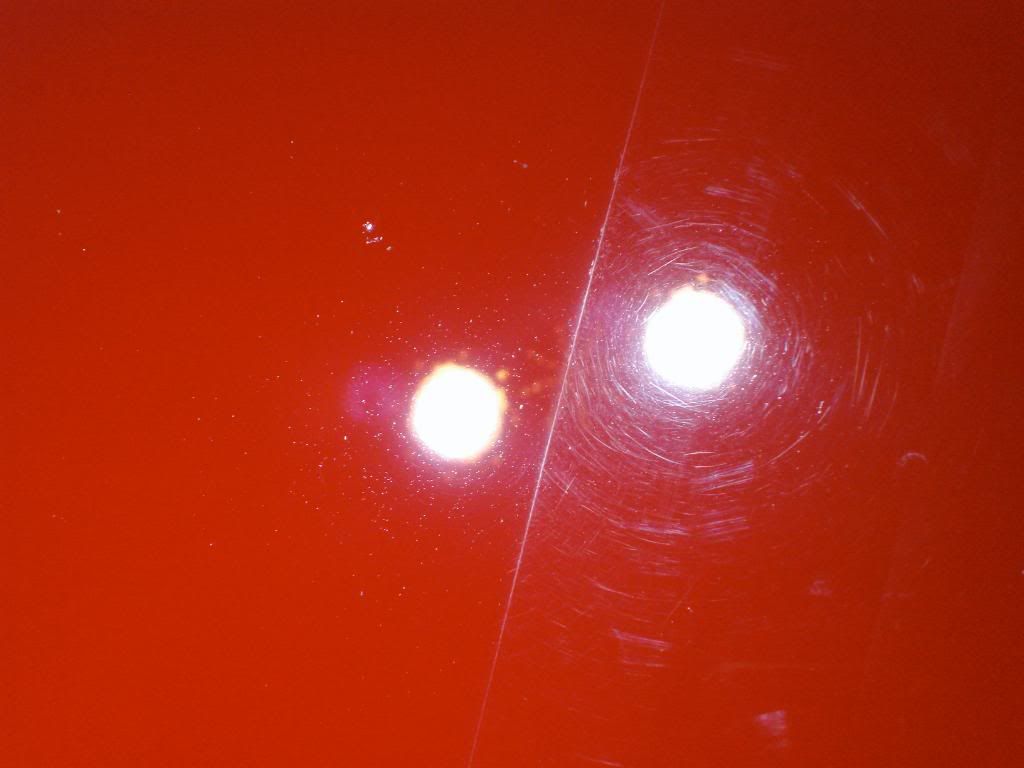
50/50
Just a camera flash
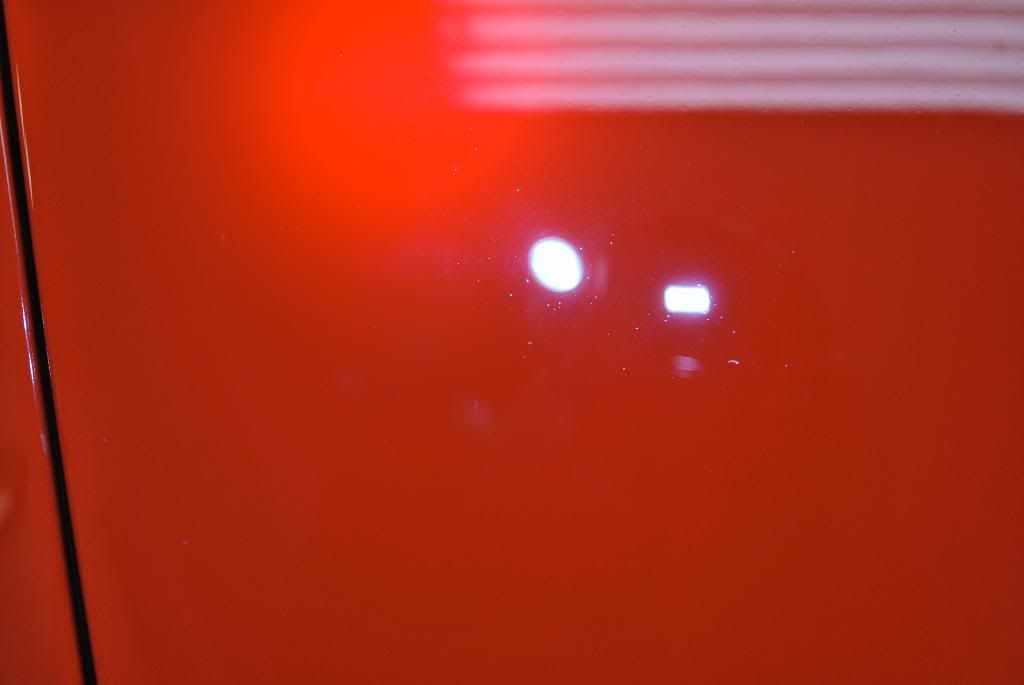
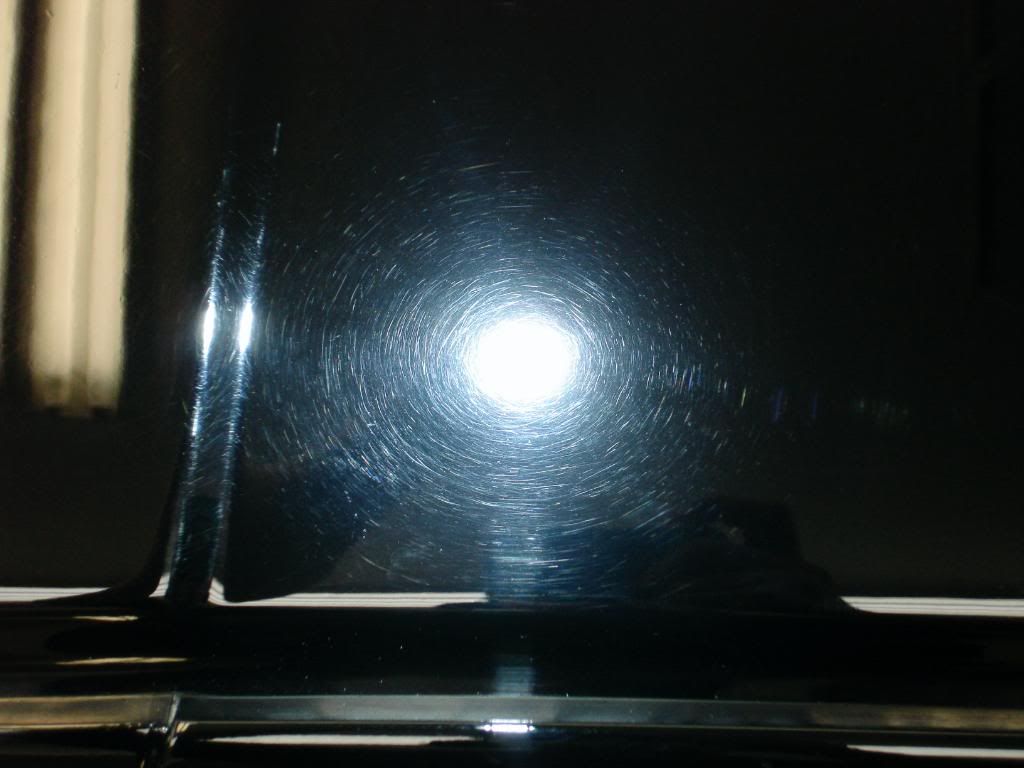
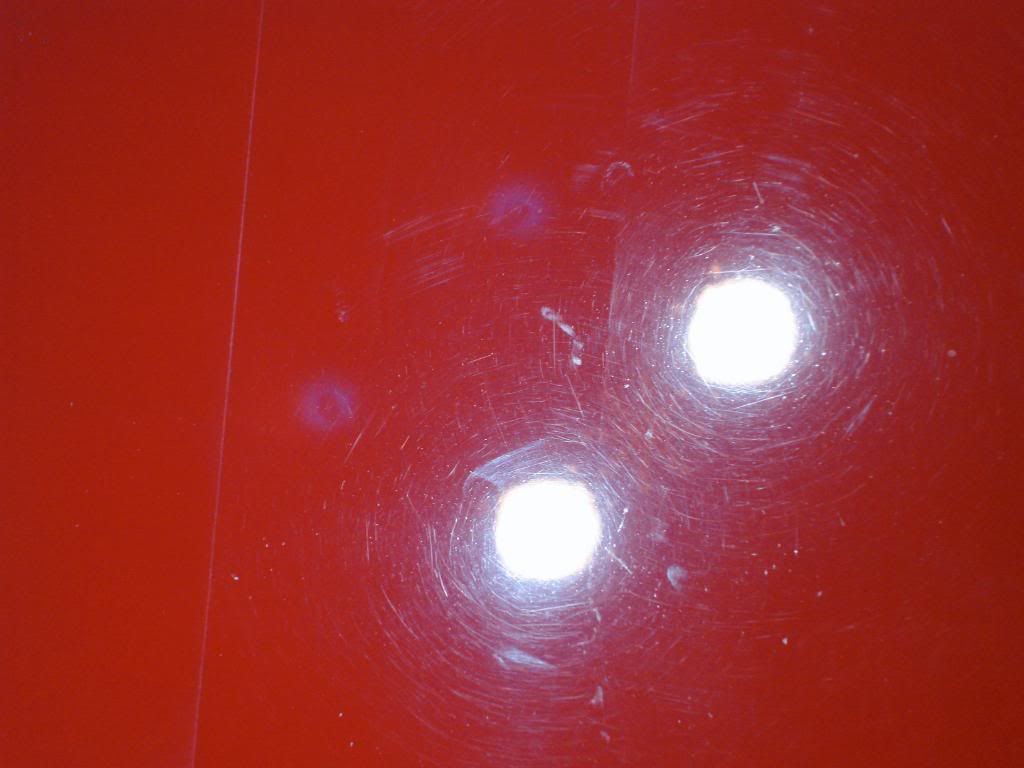
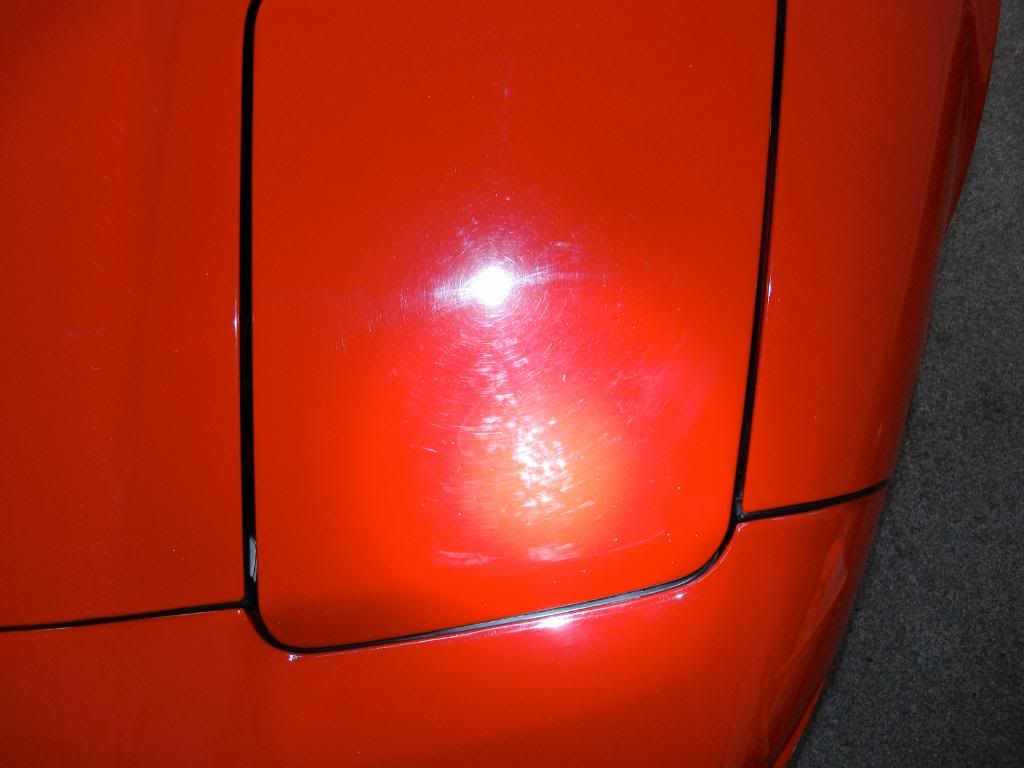
Now under the Fenix LED light before the micro polish, some light trails need to be cleaned up still
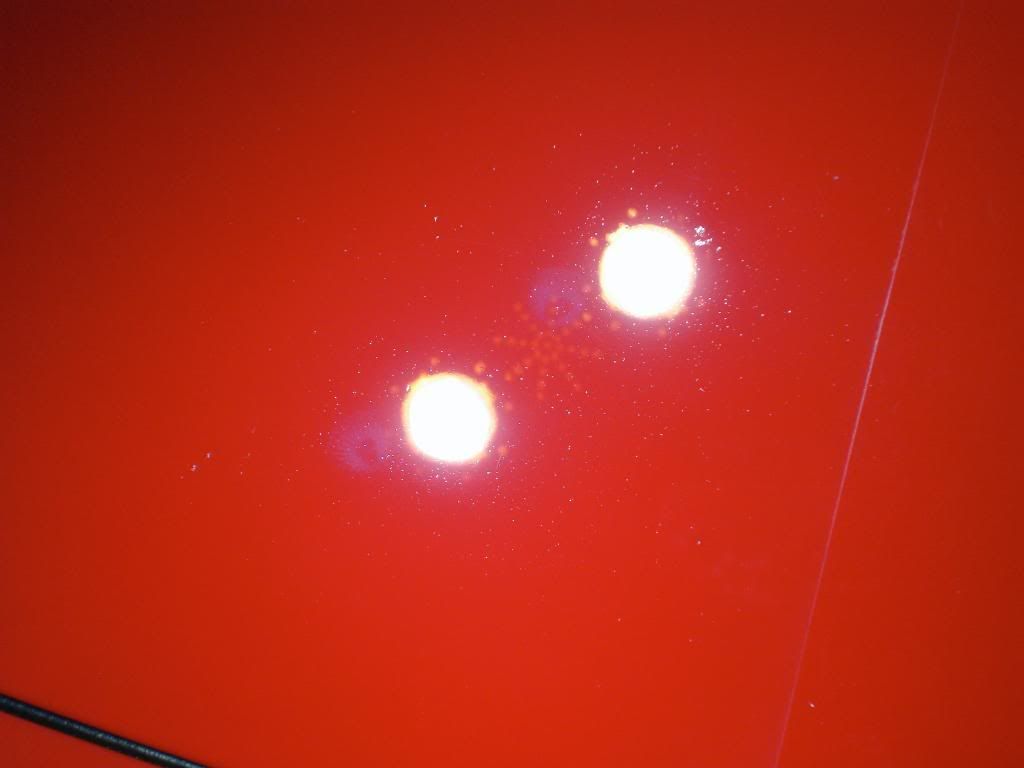
Center all finished
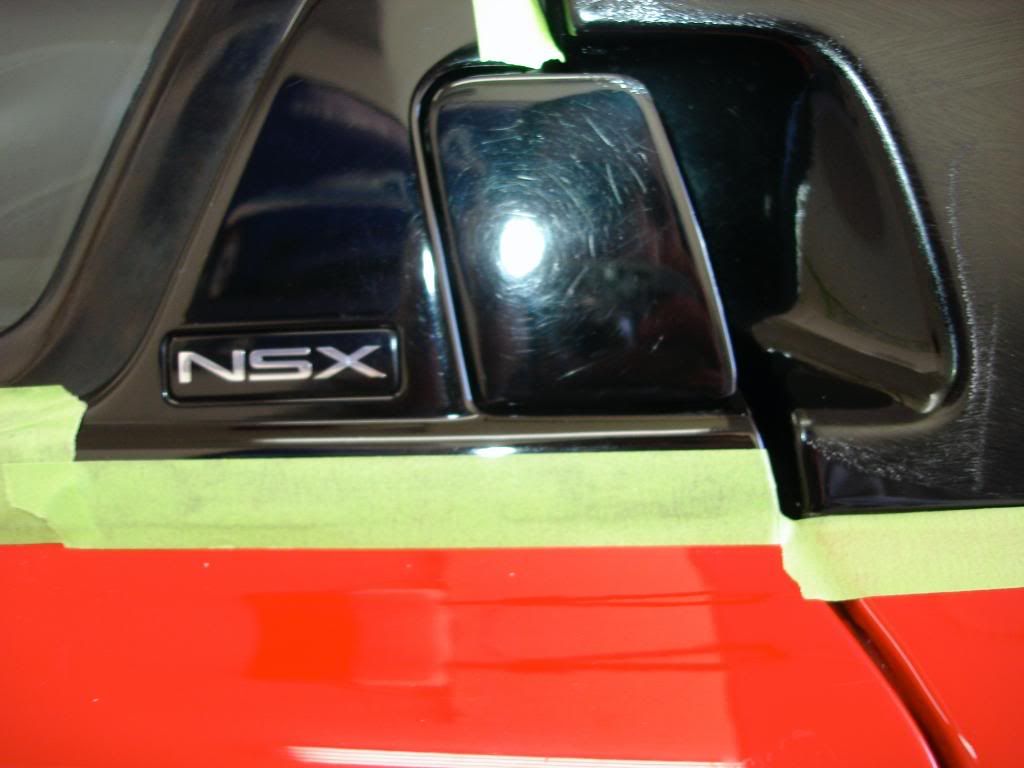
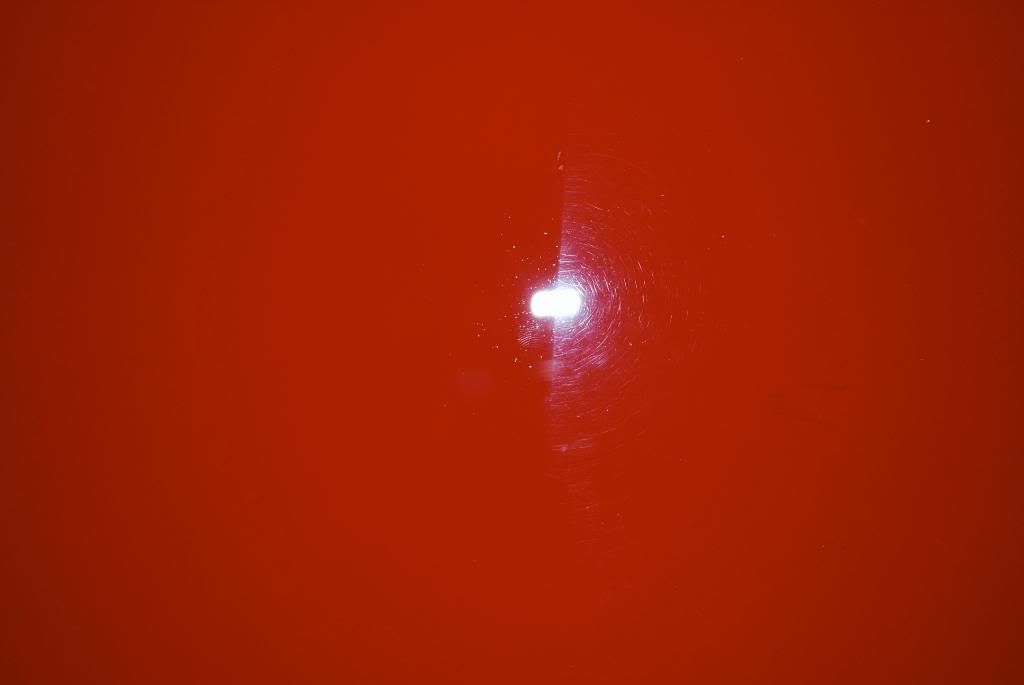
The left side headlight cover was in a little worse condition, here it is under the fenix LED
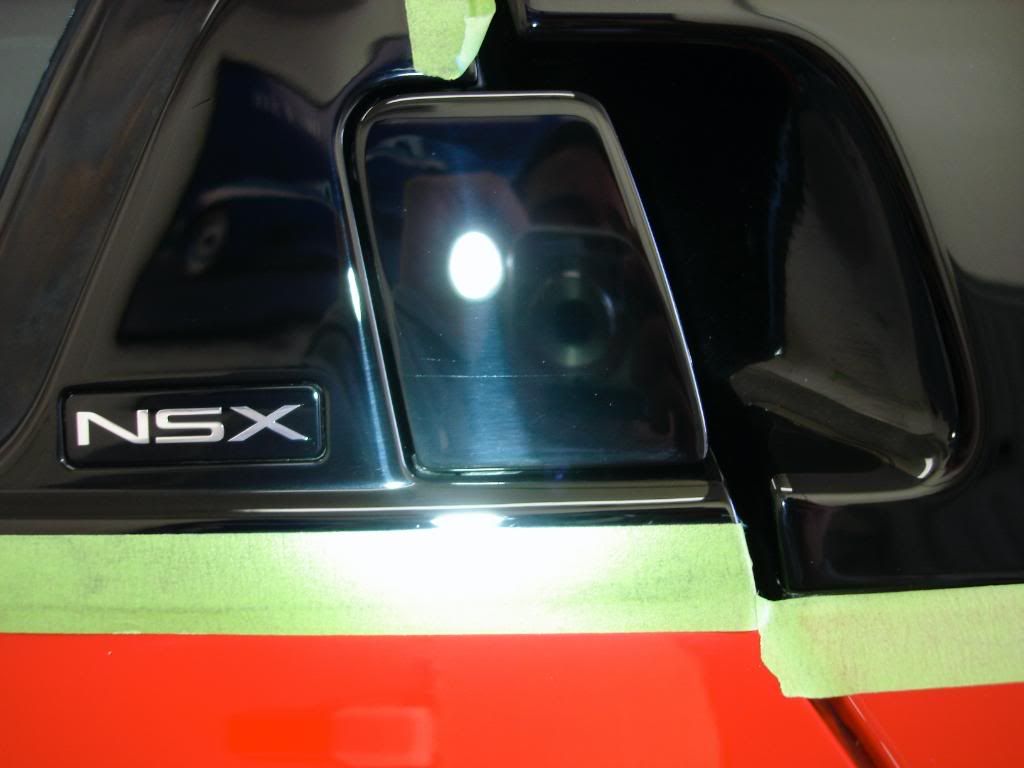
After correction
Results 1 to 15 of 43
-
02-26-2009, 05:26 PM #1


- Join Date
- Oct 2007
- Posts
- 1,423
- Post Thanks / Like

-
02-26-2009, 05:27 PM #2
- Join Date
- Oct 2007
- Posts
- 1,423
- Post Thanks / Like
50/50 on the clearbra which has slightly less defect than the hood itself

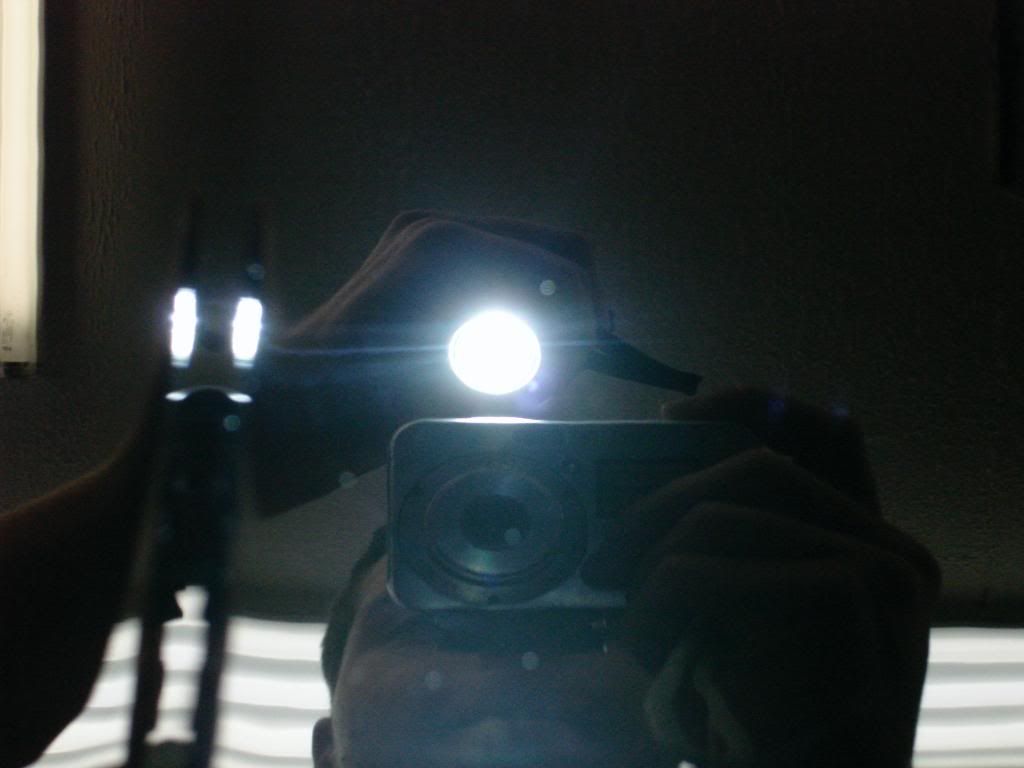
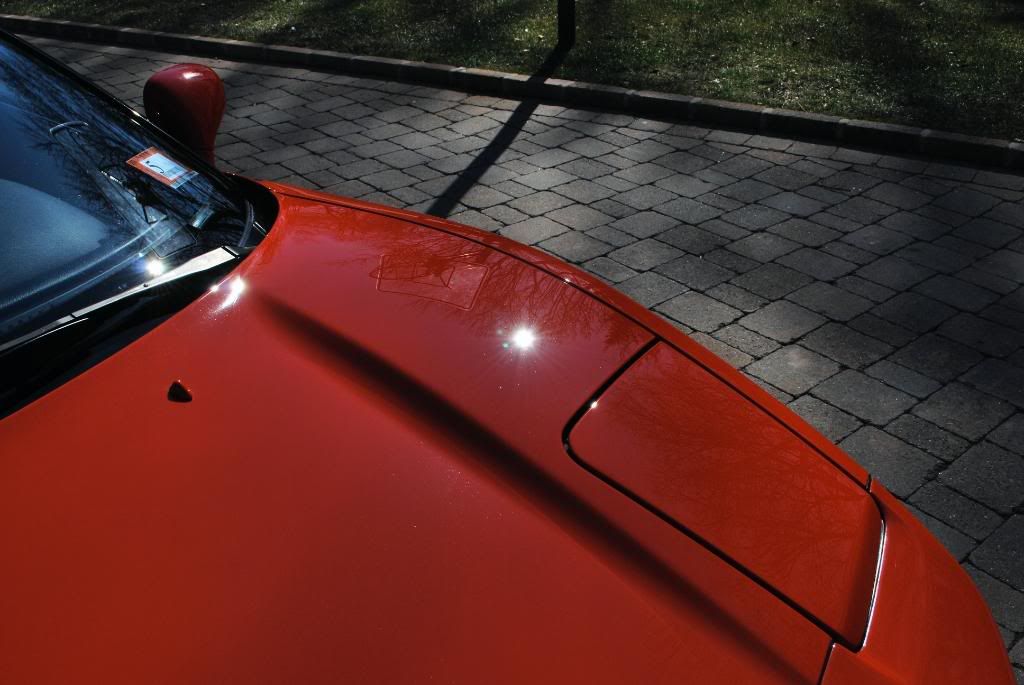
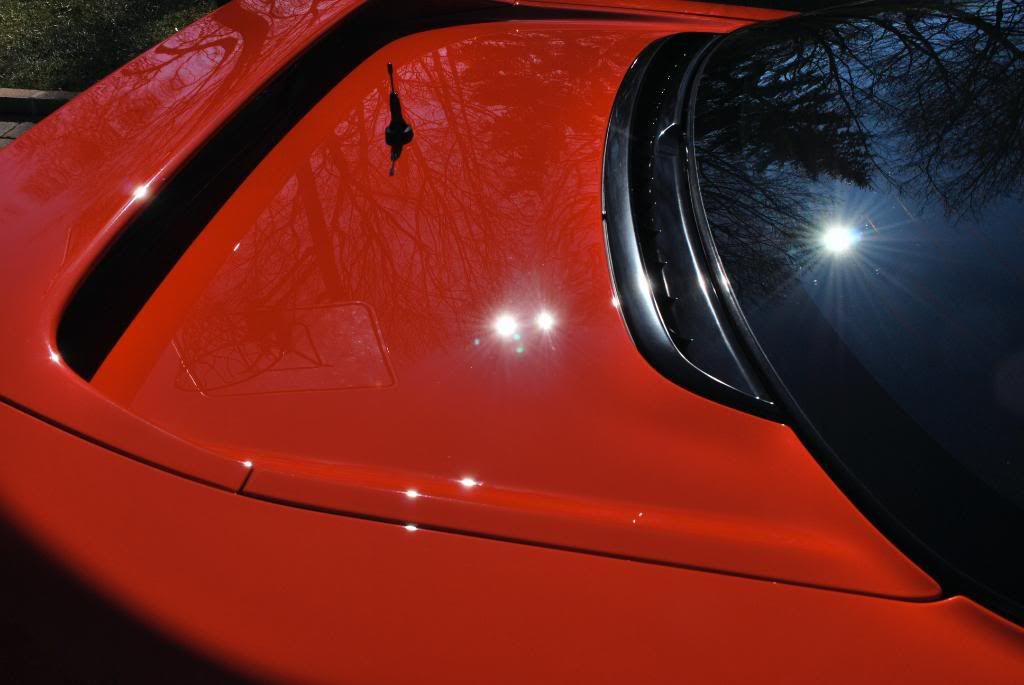
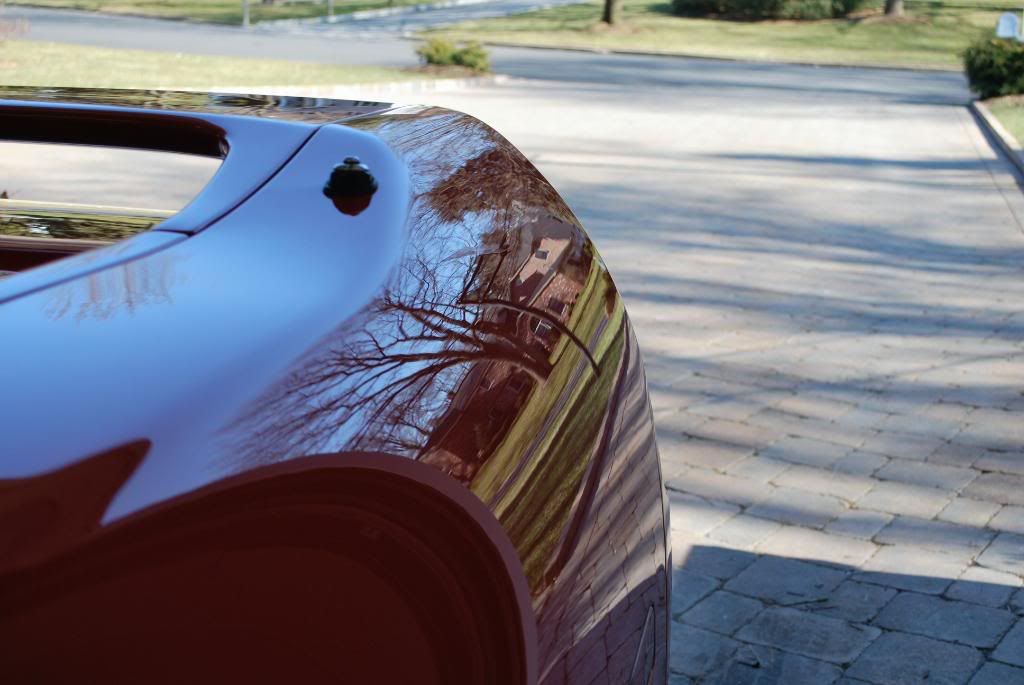
The final shots of the hood after jewling under a few spectrums of light (halogen, LED and a camera flash)
LED and camera flash together
Heres a video under the Fenix TK10 LED after correction

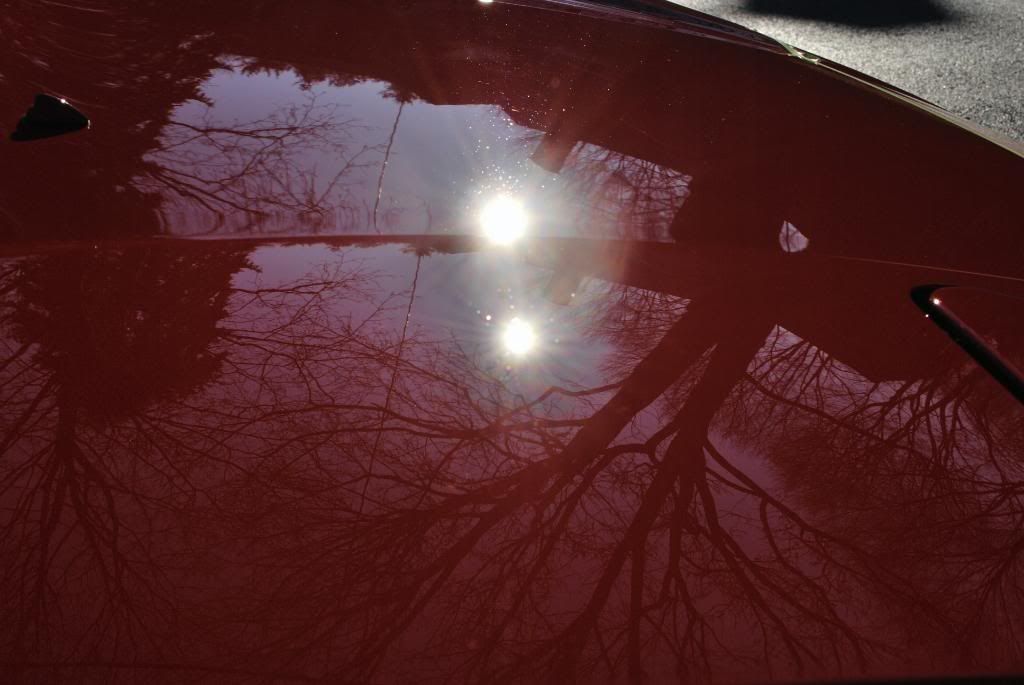
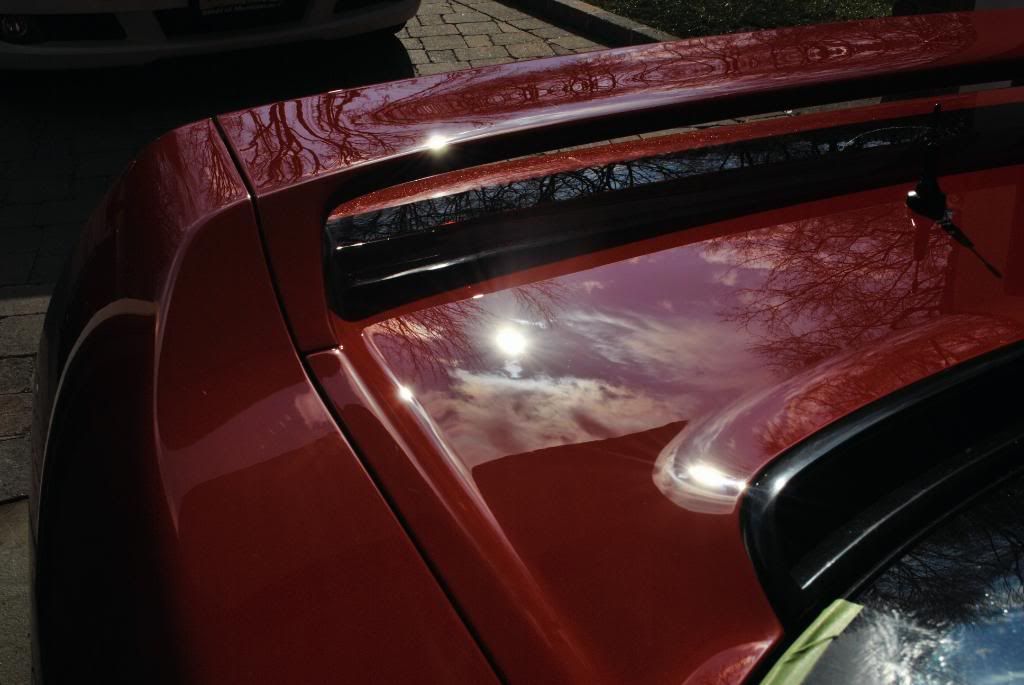
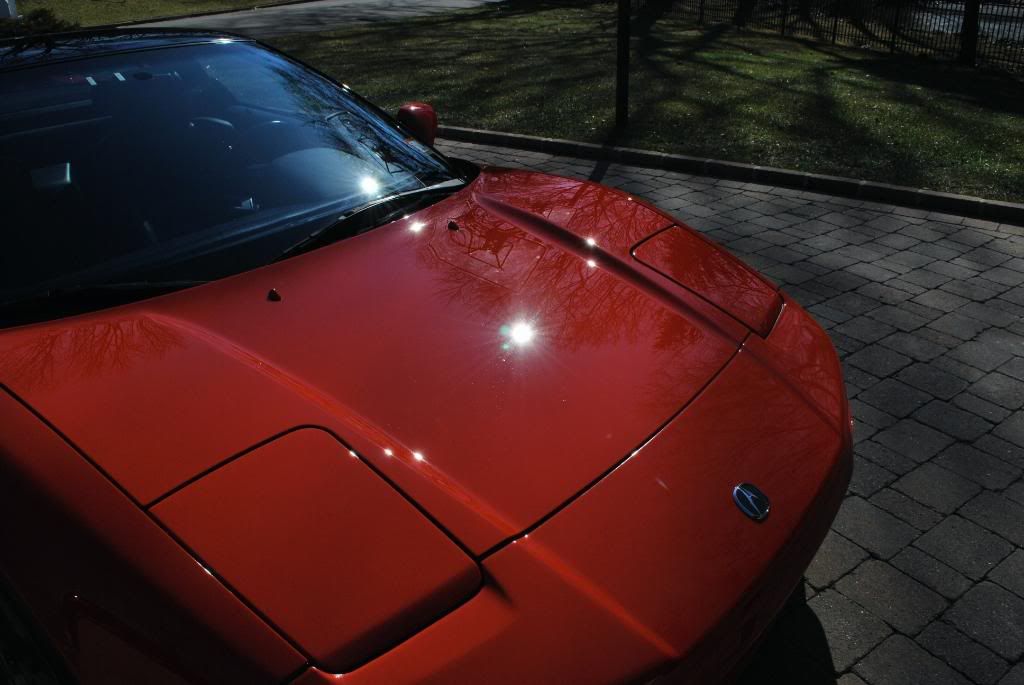
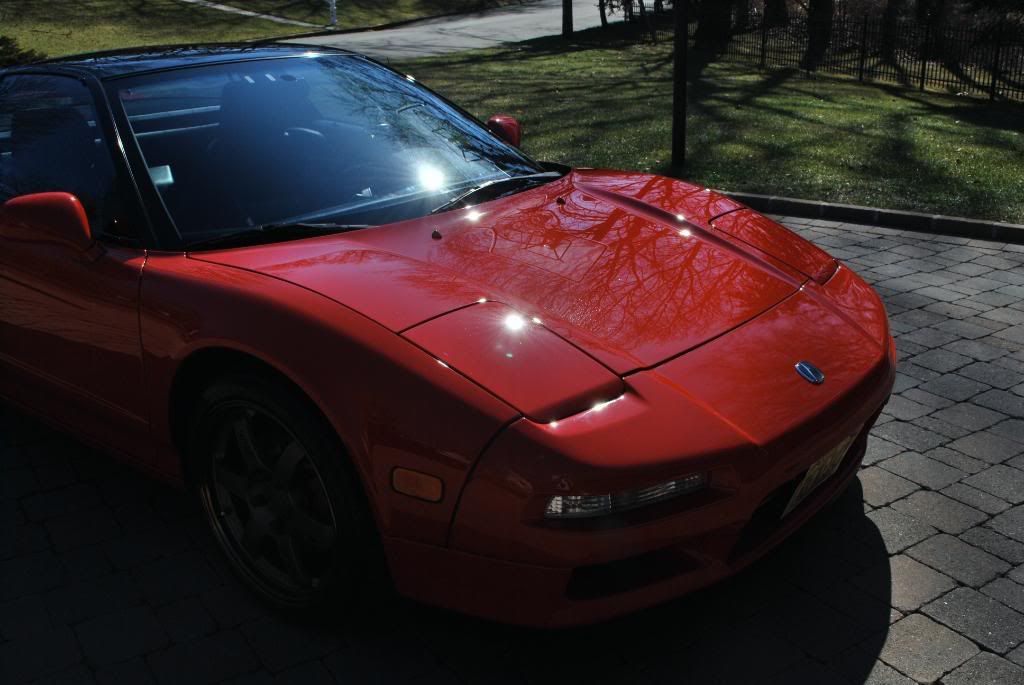
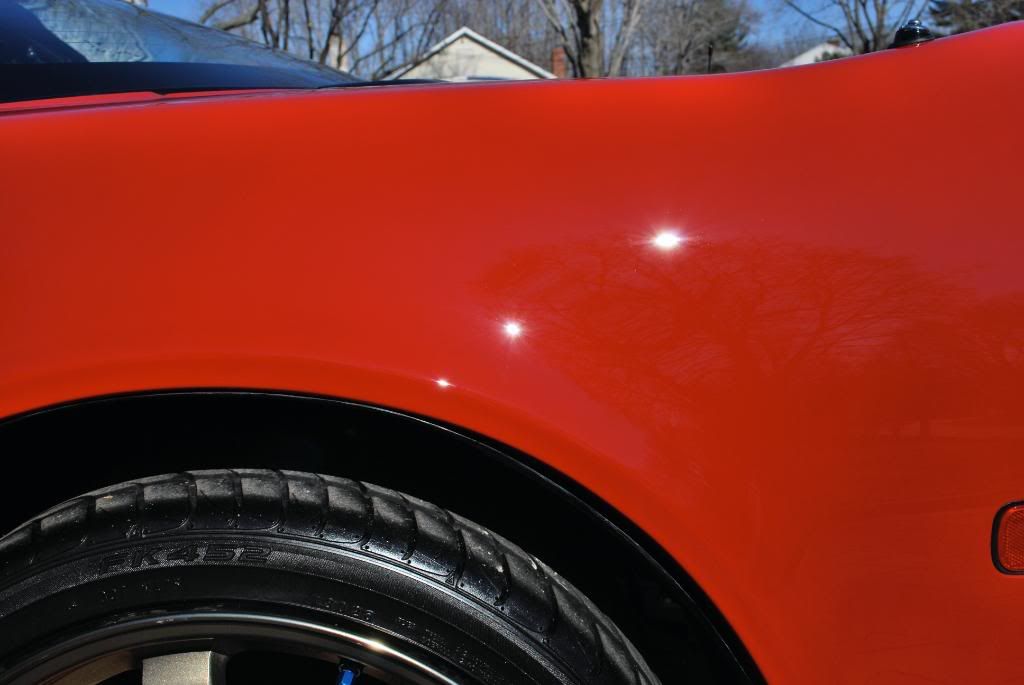
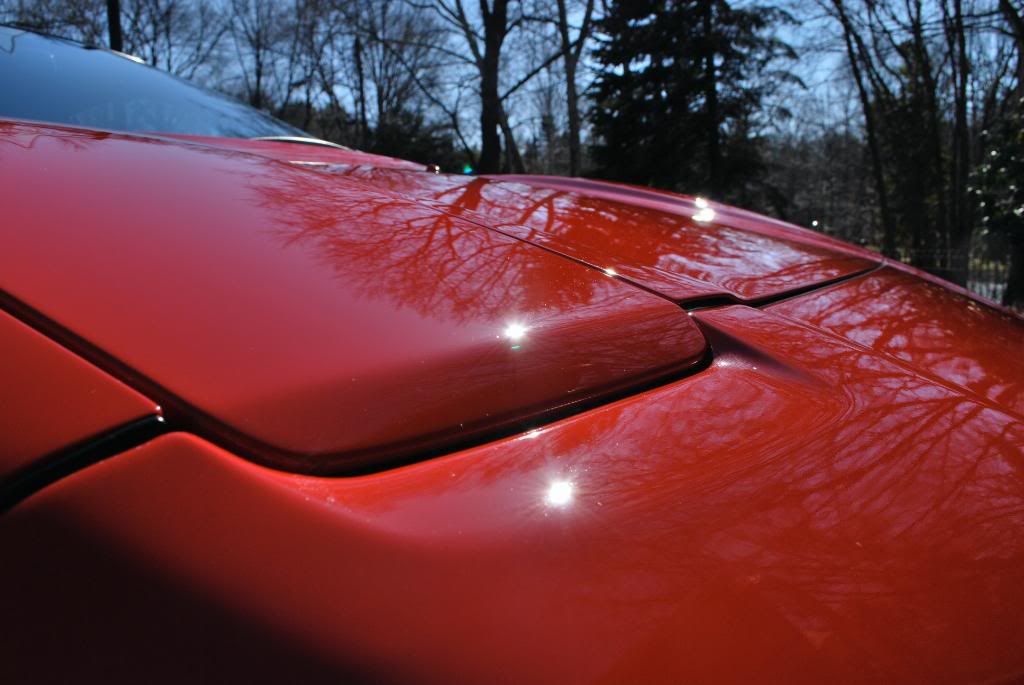
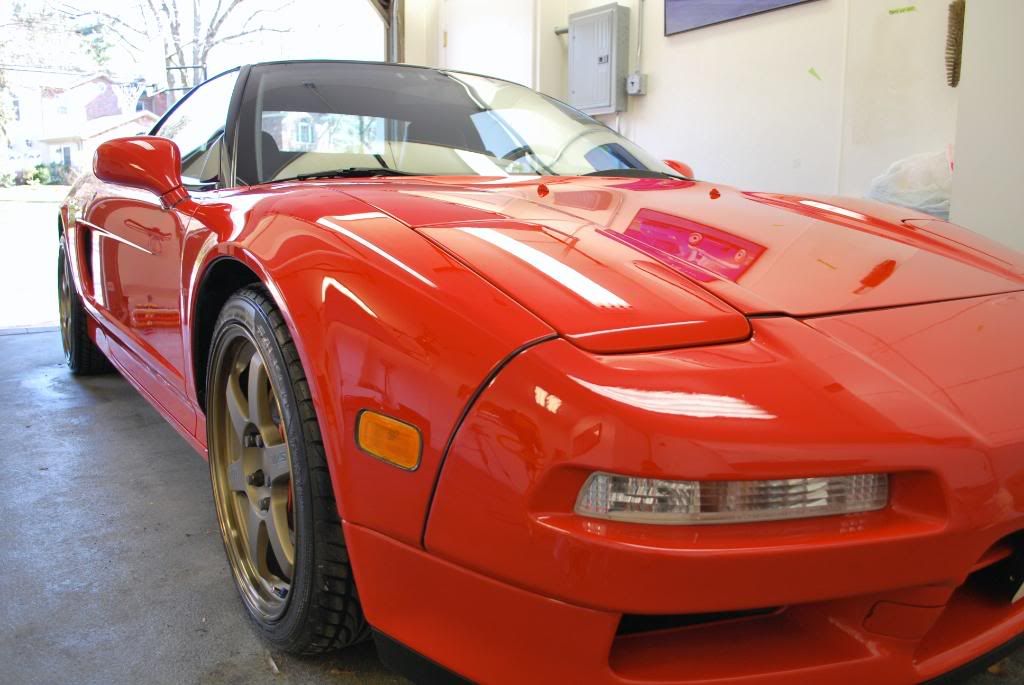
Some sun came out finally so I rushed the car outside to take some shots of the hood and to better inspect my work
no lsp yet, still had the rest of the car to correct:thud:
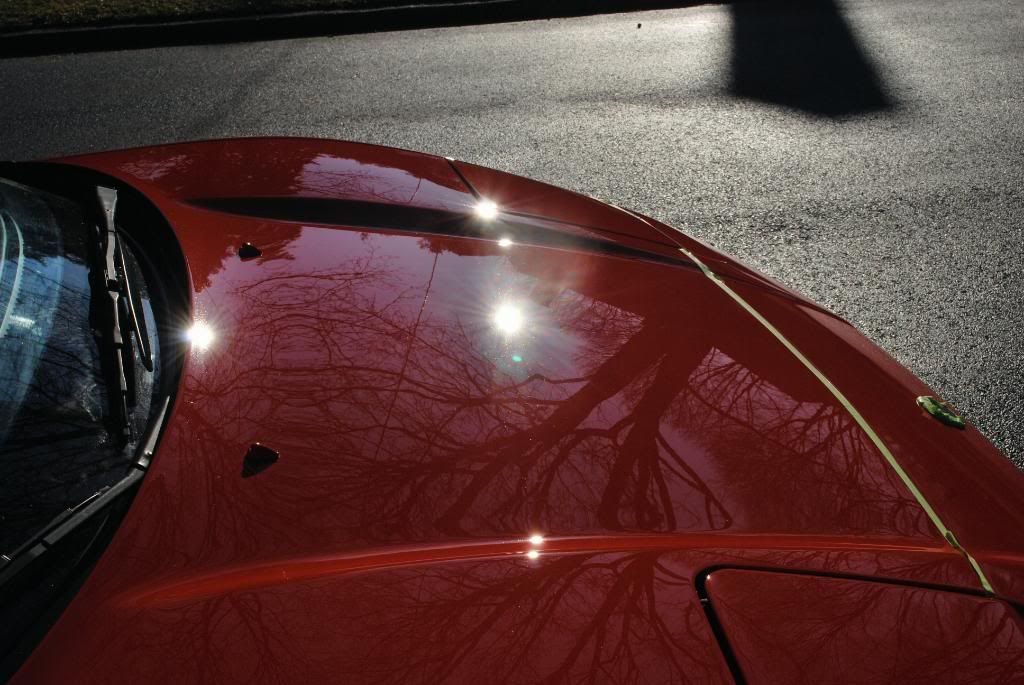
little closer up

Now that I was confident that the right steps were taken to correct the finish I moved onto the rest of the car using the same process
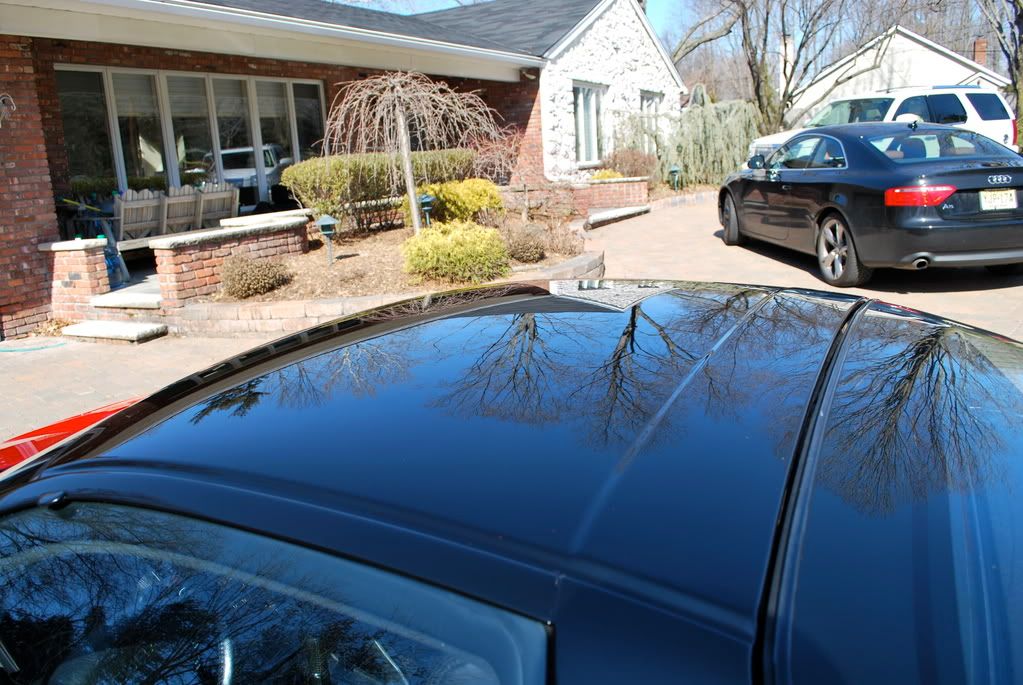
As I said before the hood and driver side of the car was single stage, I took a break from my gummed up pads and went right for the black roof and A-pillar
I used the 4inch GI pads and 3inch GI backing plate on the flex rotary
50/50`s
Before
After
The door handle itself was rather tough to correct so I worked at a lower RPM to ensure I did not damage the edges at all
before
after jeweling and an IPA wipedown
The roof itself had some deeper RIDS an required 2 passes with the GI extreme cut to fully correct, here the extreme cut working with EVP
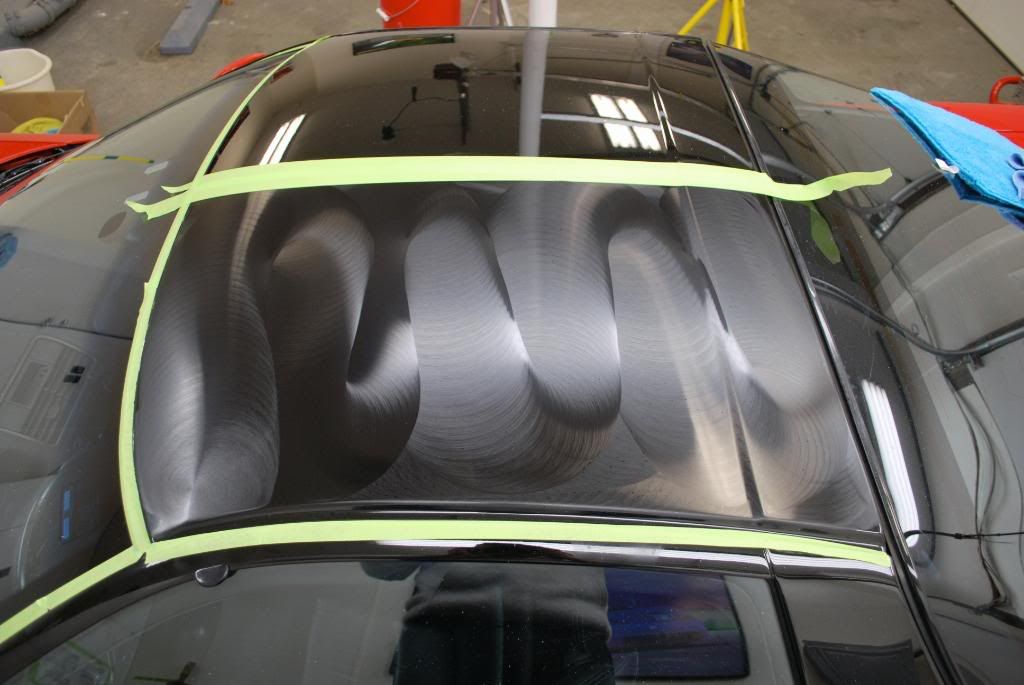
After finishing
I like to use the flex overhead handle when working on open flat areas like hoods and door panels but for tighter spaces I take the overhead handle off so I can manuver the machine better
example

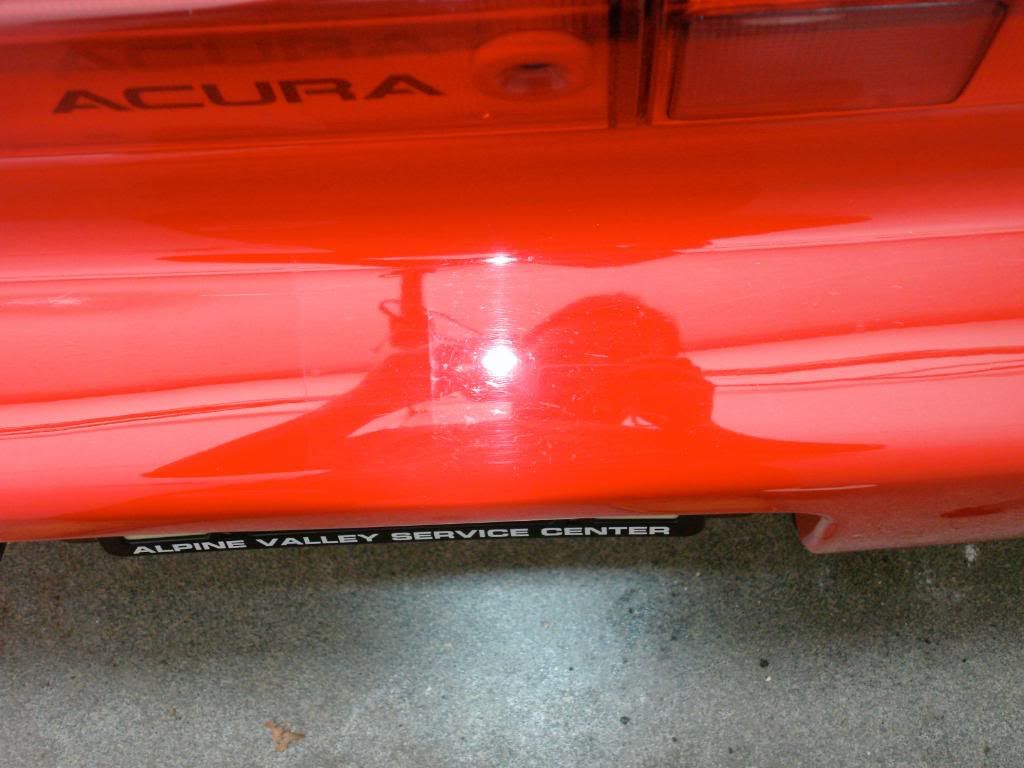
Driver side rear fender before

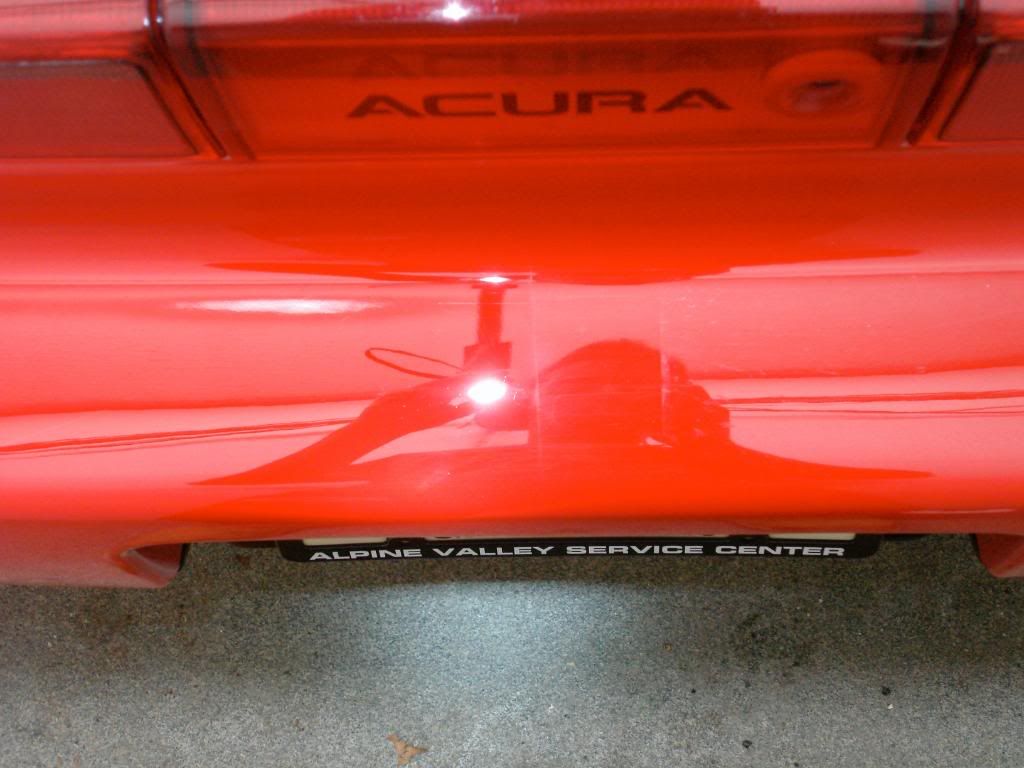
After
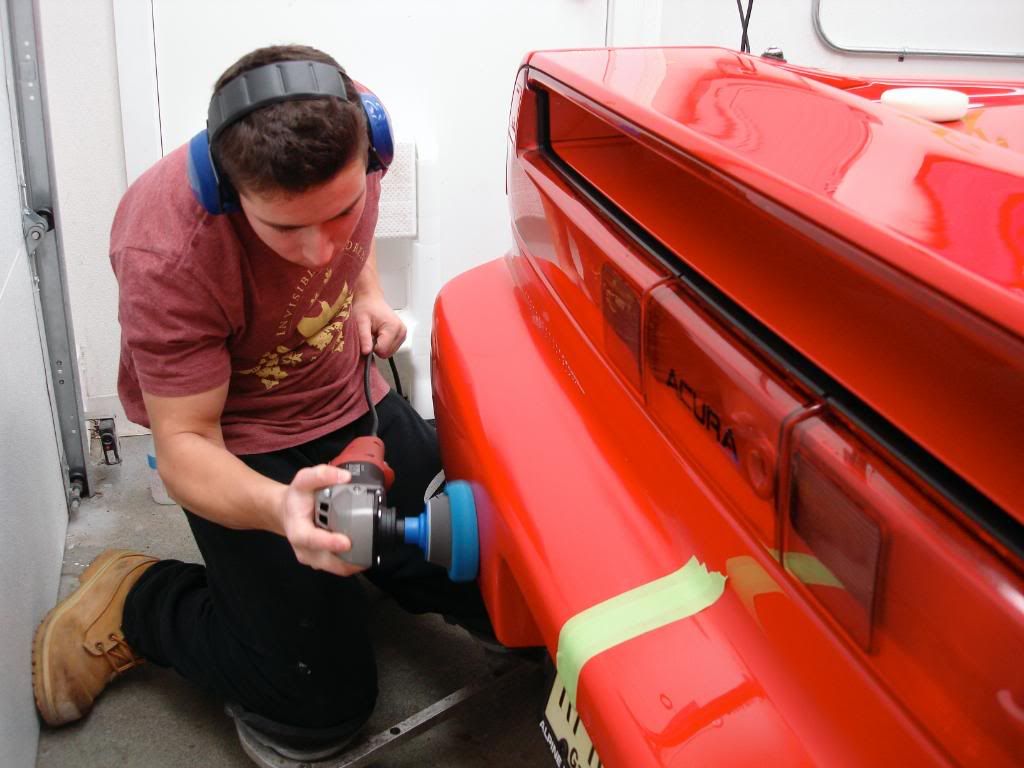
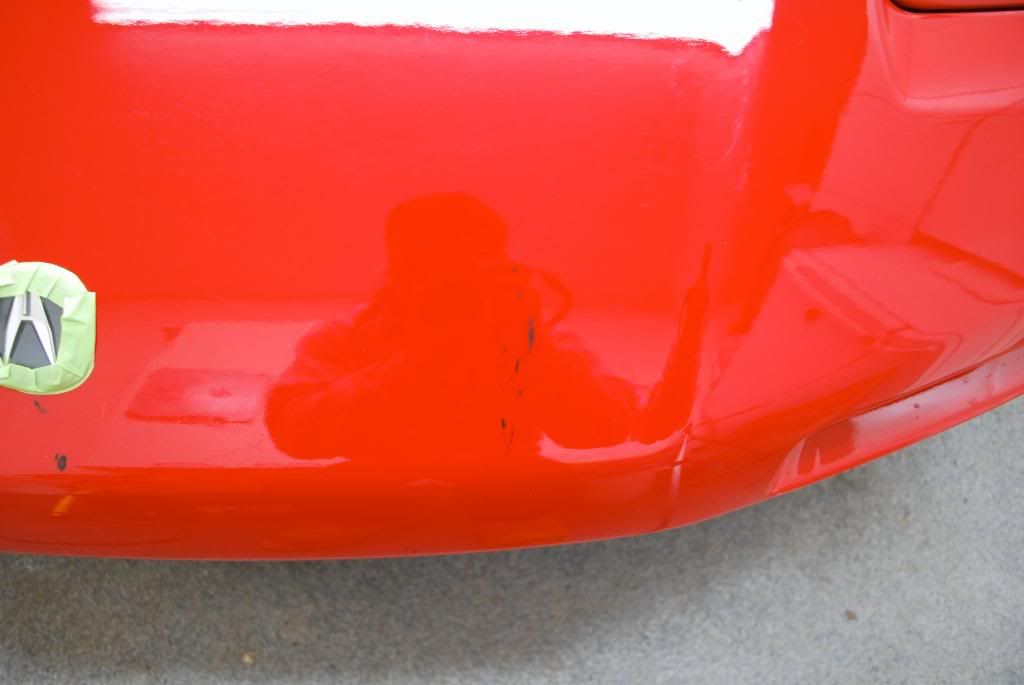
Finishing out the rear bumper with the GI pre polymer finishing pad
-
02-26-2009, 05:28 PM #3
- Join Date
- Oct 2007
- Posts
- 1,423
- Post Thanks / Like
Before
The trunk area is where the car was resprayed on, no more single stage so the defects were a little more difficult to polish out and needed the use of a lambswool light cutting pad from GI
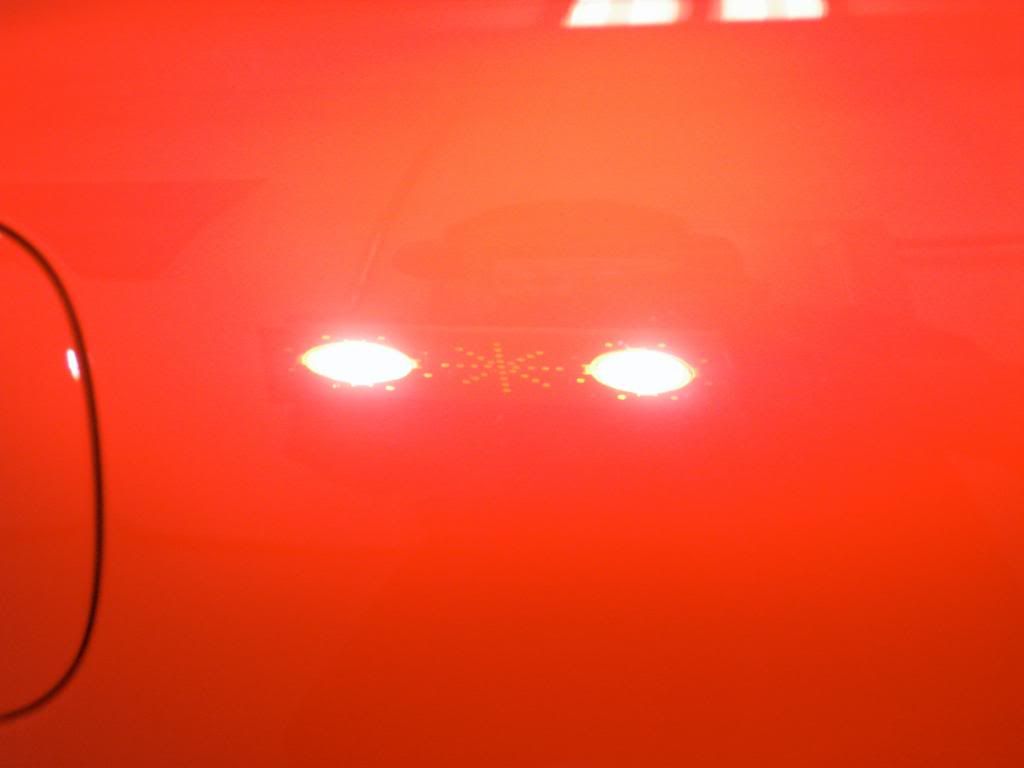
After the second step of correction I moved onto jeweling with micro polish and a red 5.5inch css once again, heres a short video
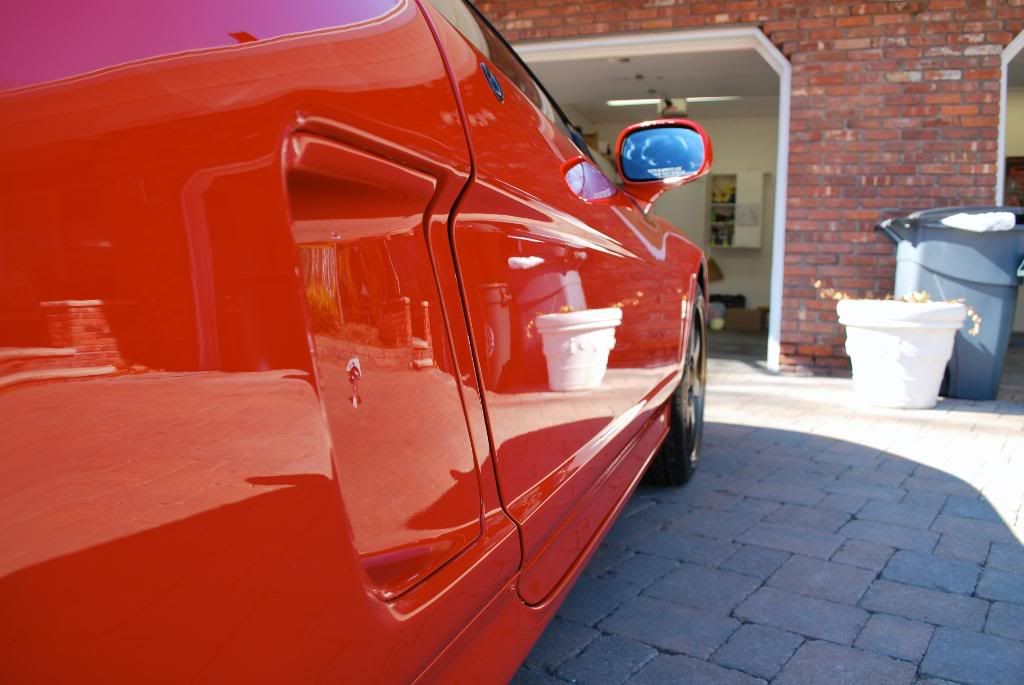
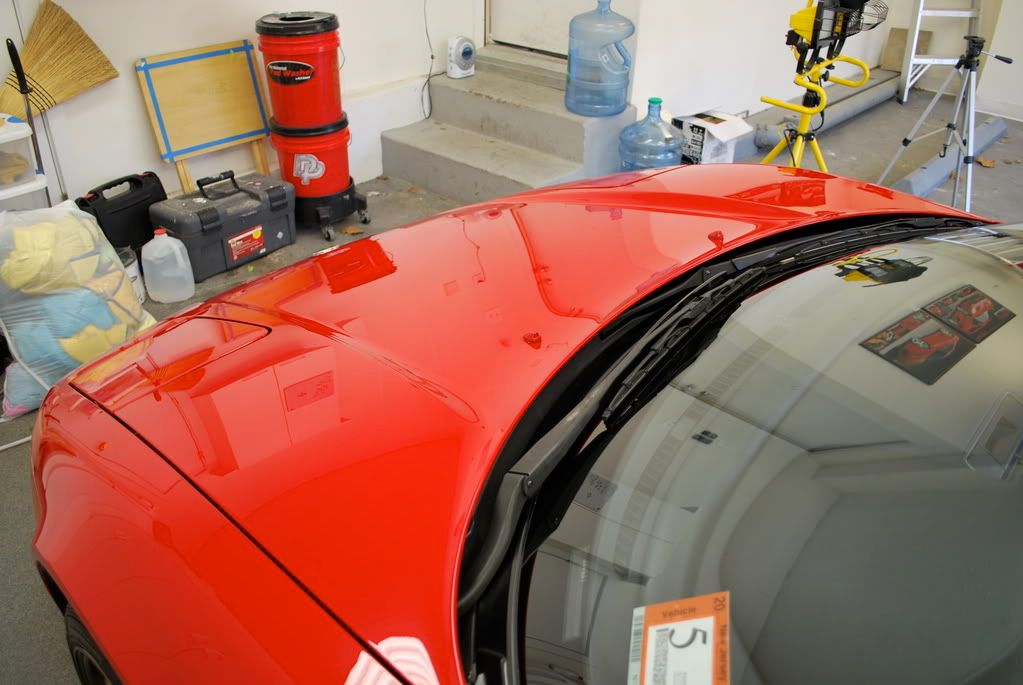
The sun came in through the garage so I snapped a pic after polishing
Onto jeweling the rest of the car
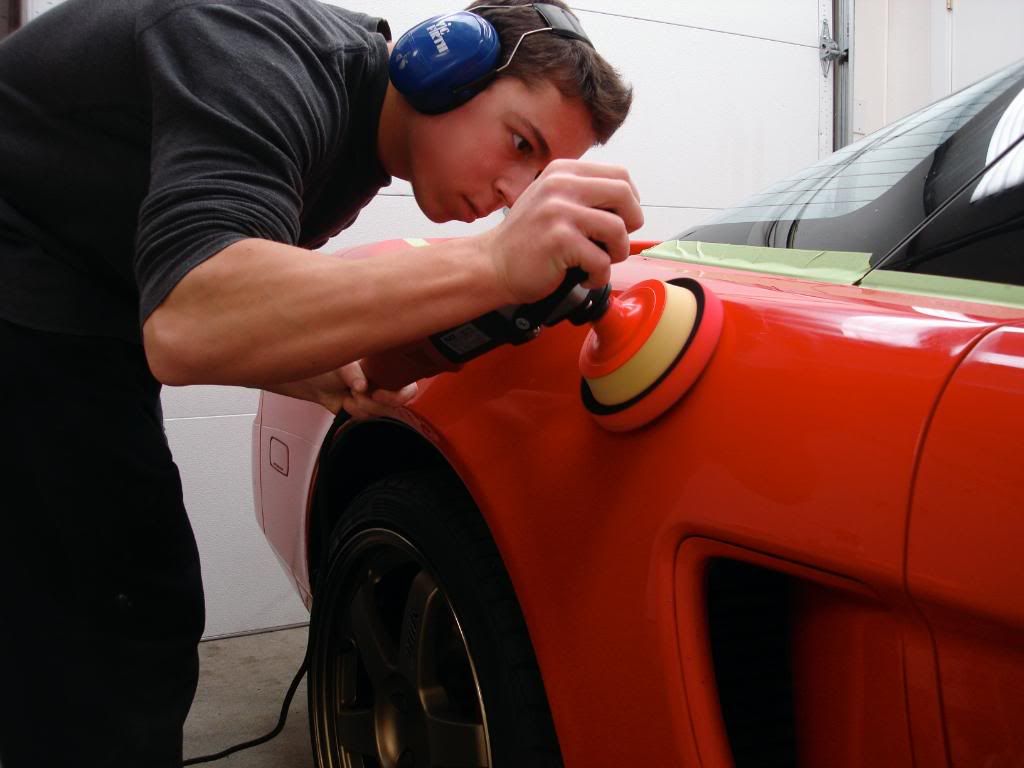
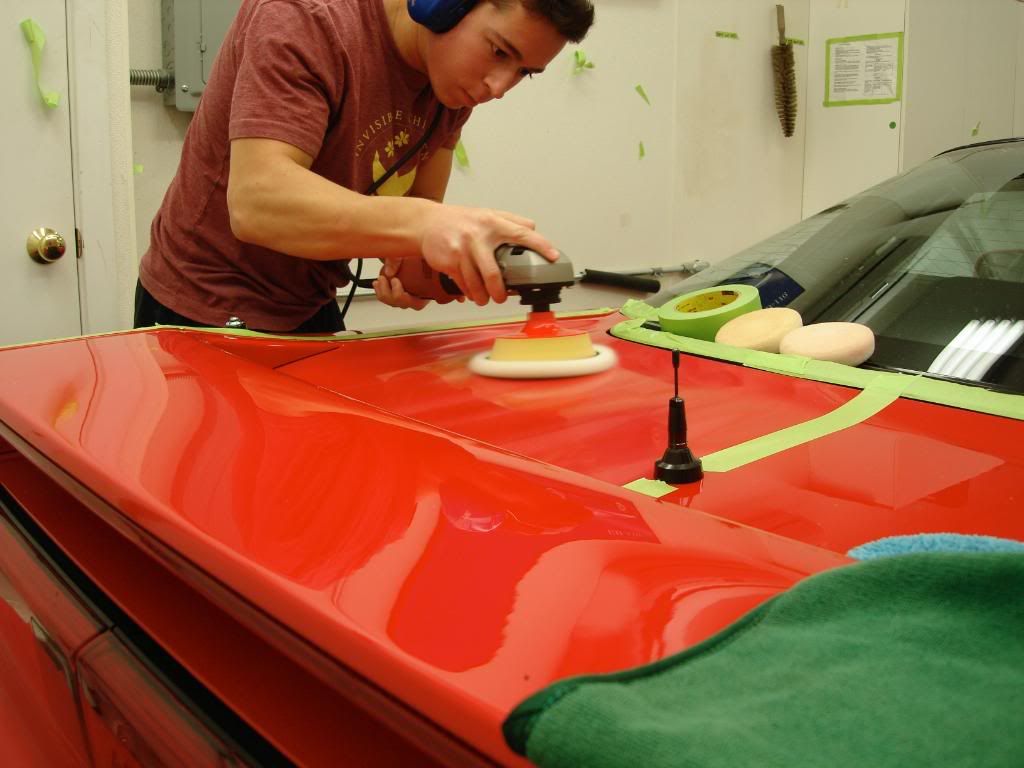
Please note
I dont wear the ear protection to look like a nerd, for anyone who owns the Flex 3403 you will know that it has a considerably louder drone compared to a makita. After endless hours of paint correction that constant high decibel drone can cause some damage to your hearing. I learned from a fellow detailer that after years of exposure such noise as the whine of a polisher can cause damage to your hearing, permanently. Im young and will continue to do this for a while so I figured its better to be safe than sorry.
Back to the detail
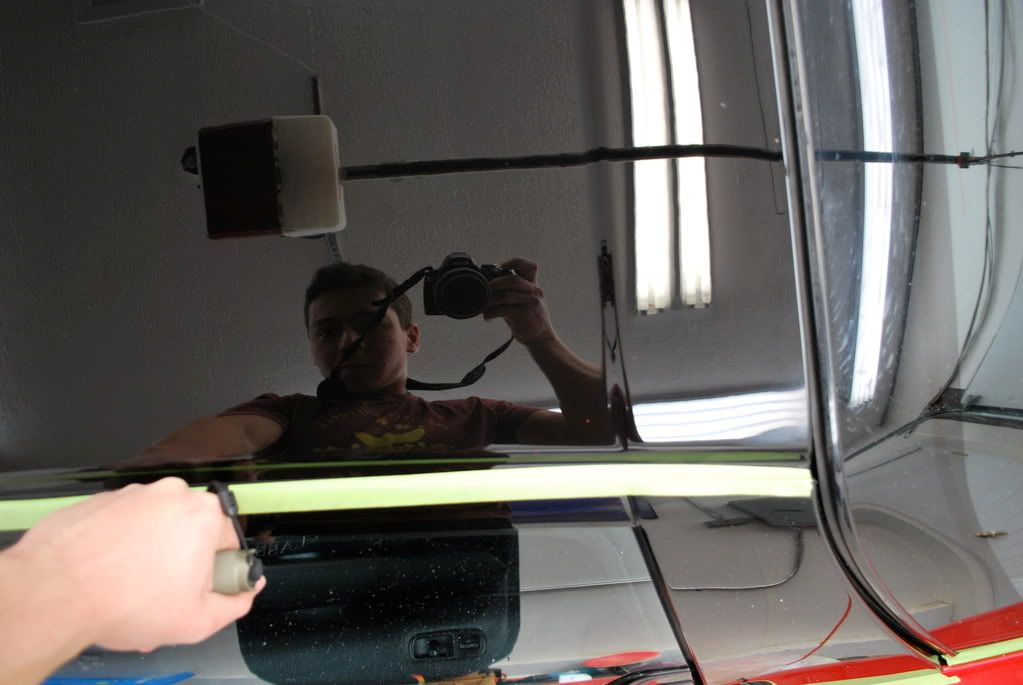
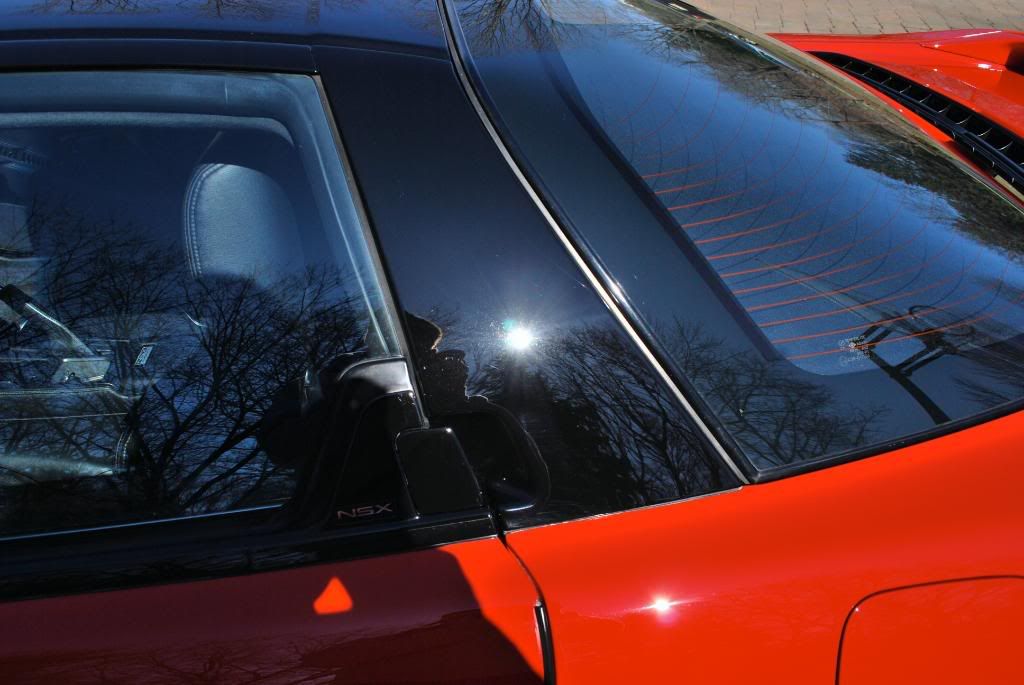
This is the passenger side roof under the LED
Now after correction,
That part of the roof was particularly sticky, I switched up a few different foams to get the least amount of hop. I found the new green uber pad from Phil at DD buffs really smooth on sticky paints, I used that for the middle step of polishing with evolution cut on the roof area
After correction I rinsed the car inside with DI water in a pressurized hand pump sprayer. I find this helps to blast away some of the polish splatter caught in between the trim of the car. I lightly dried it with a WW MF and did one last IPA wipedown to prep the finish for LSP. I also dressed the tires..
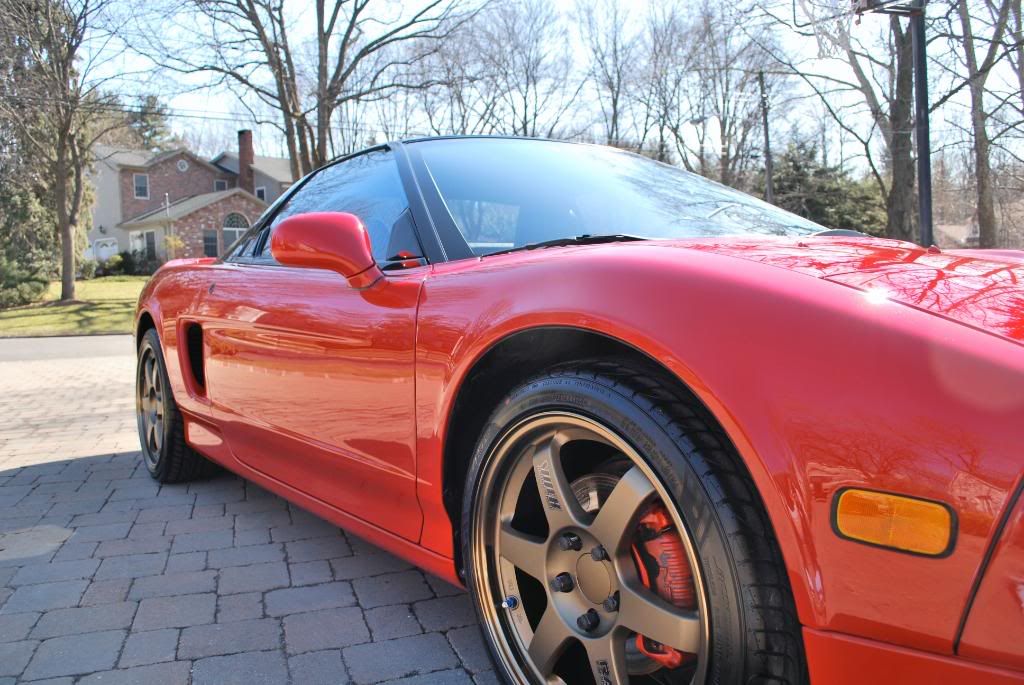
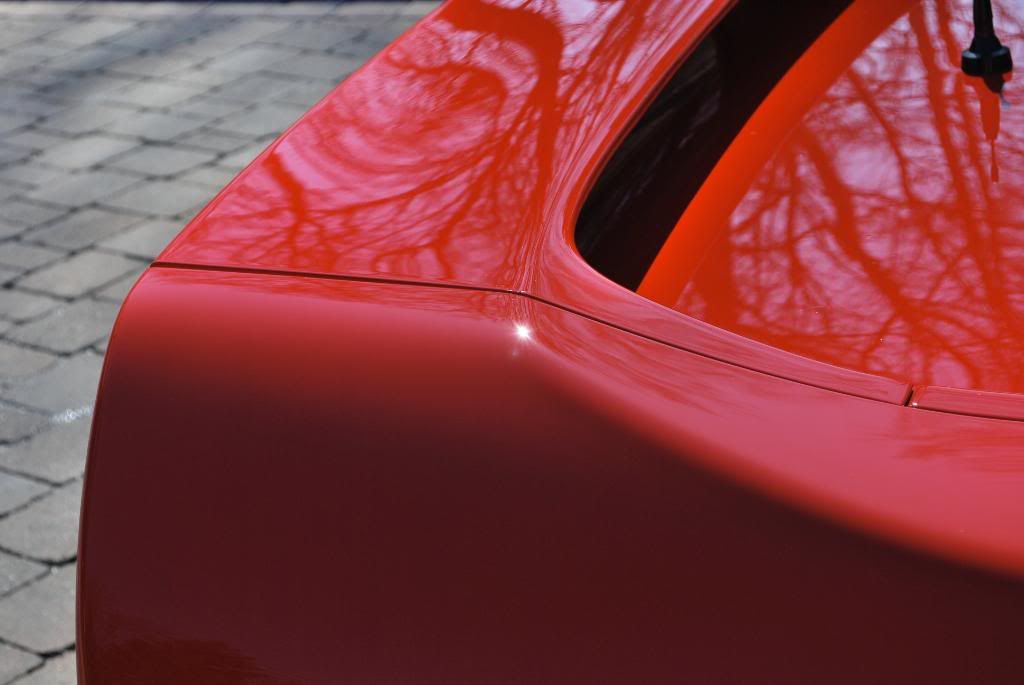
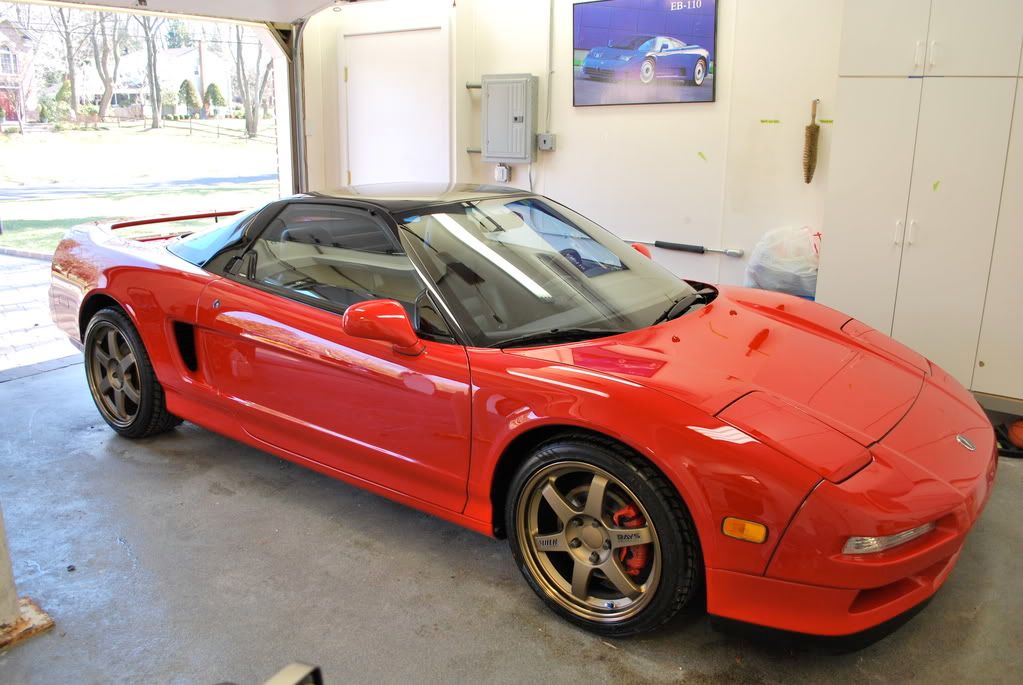
here is the NSX after correction no LSP
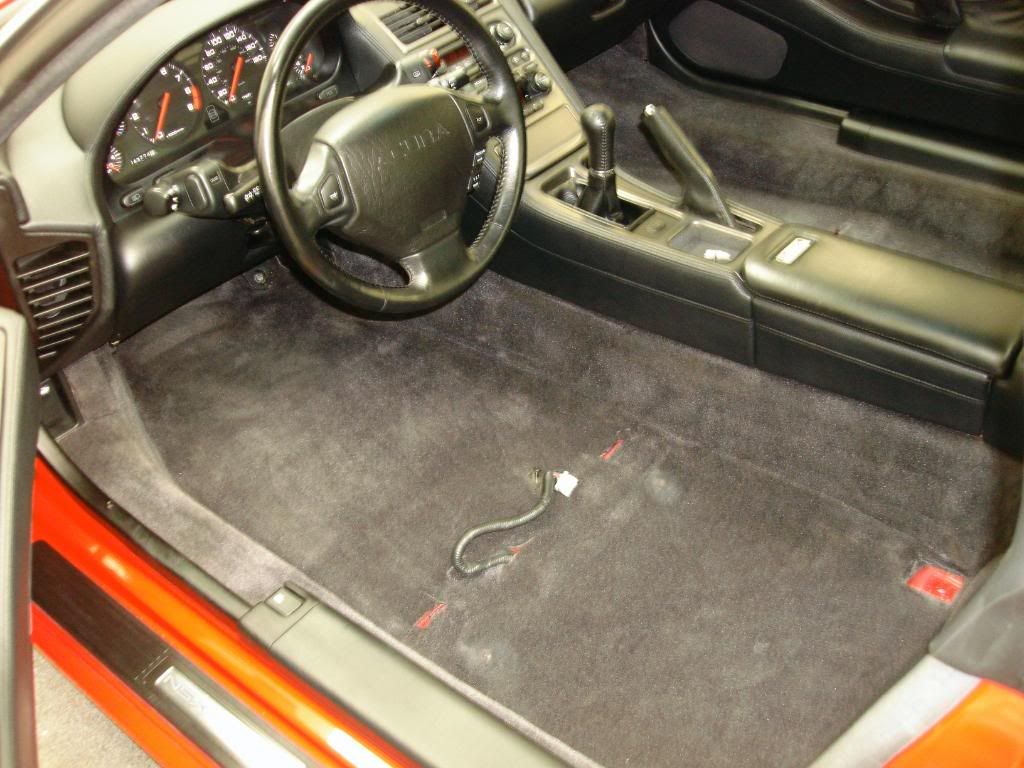
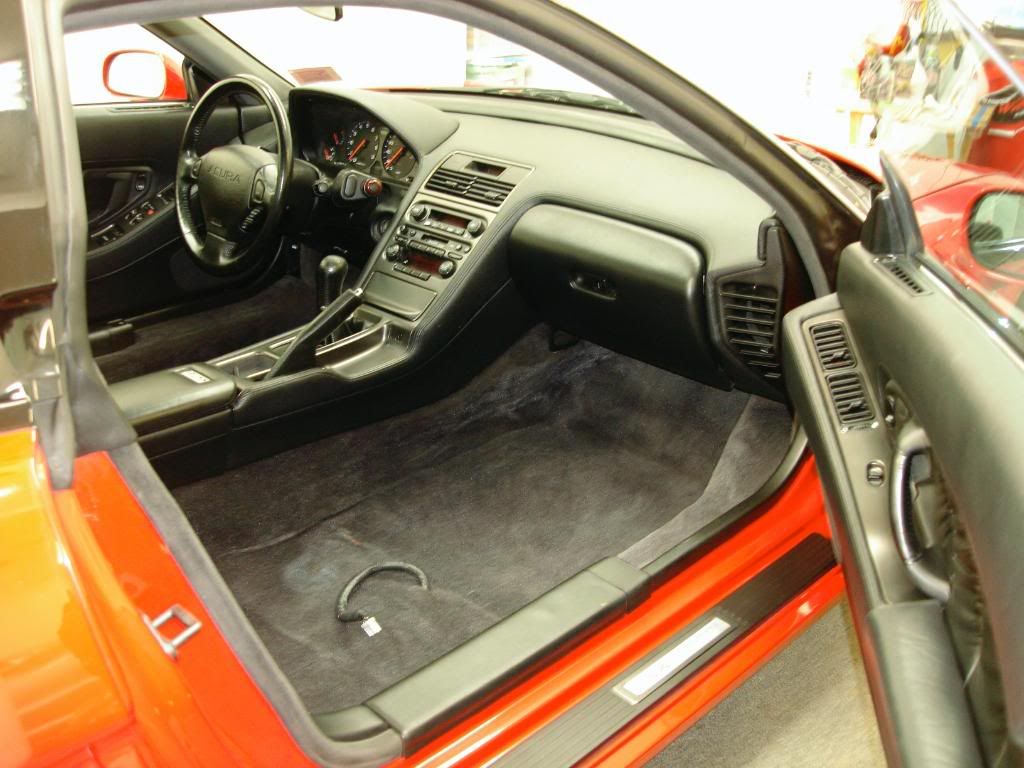
Now that the grueling paint correction was finished I went to work on the interior, shouldnt be a problem after all its a 2 seater track car :doh:
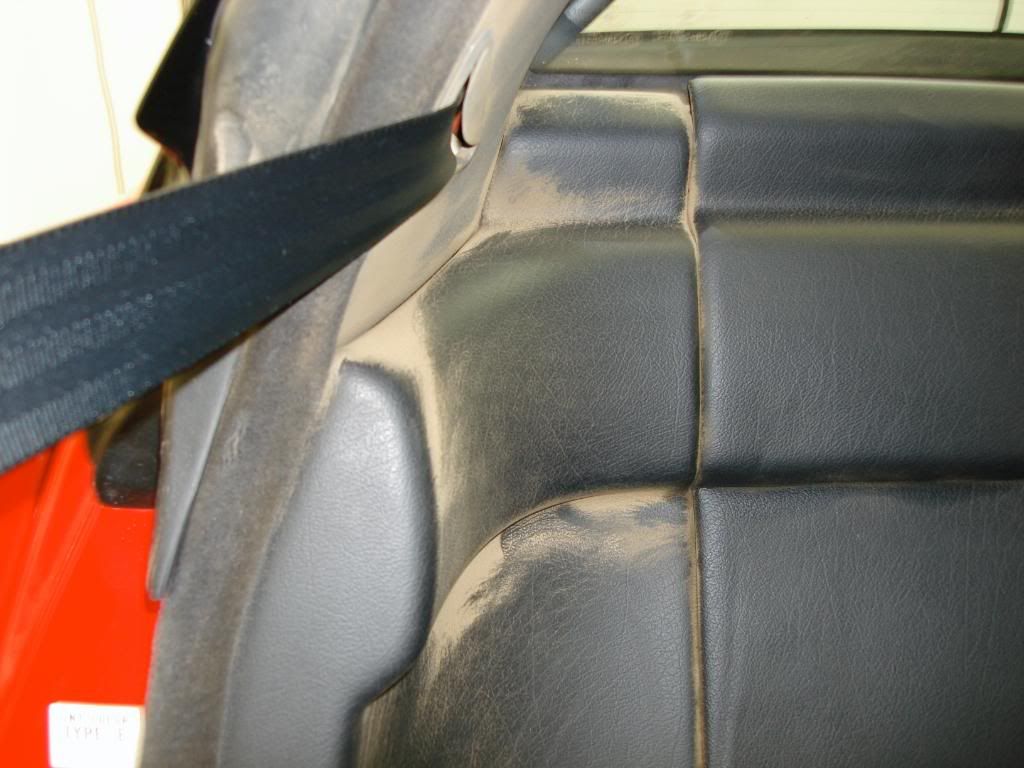
Well this car unfortunately has a little incident at the track as I was informed by the owner. He was doing about 90mph and went off the track onto the dirt... BOTH WINDOWS were open at the time if the mishap and dirt, gravel and dust flew in both sides of the car.
The result
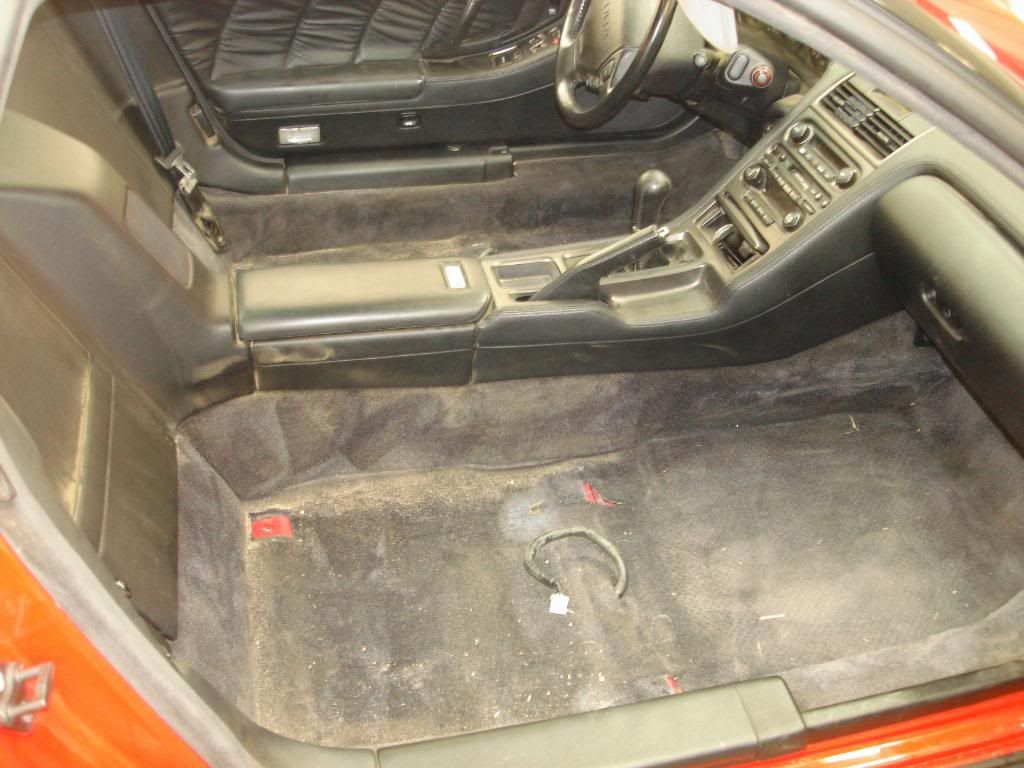
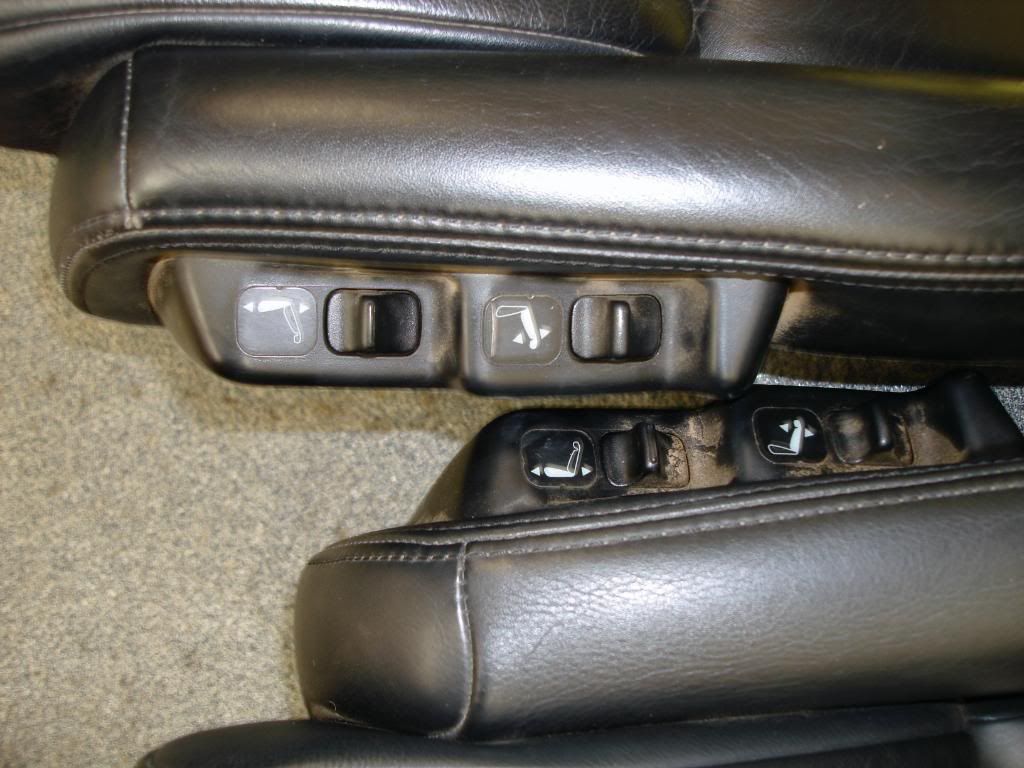
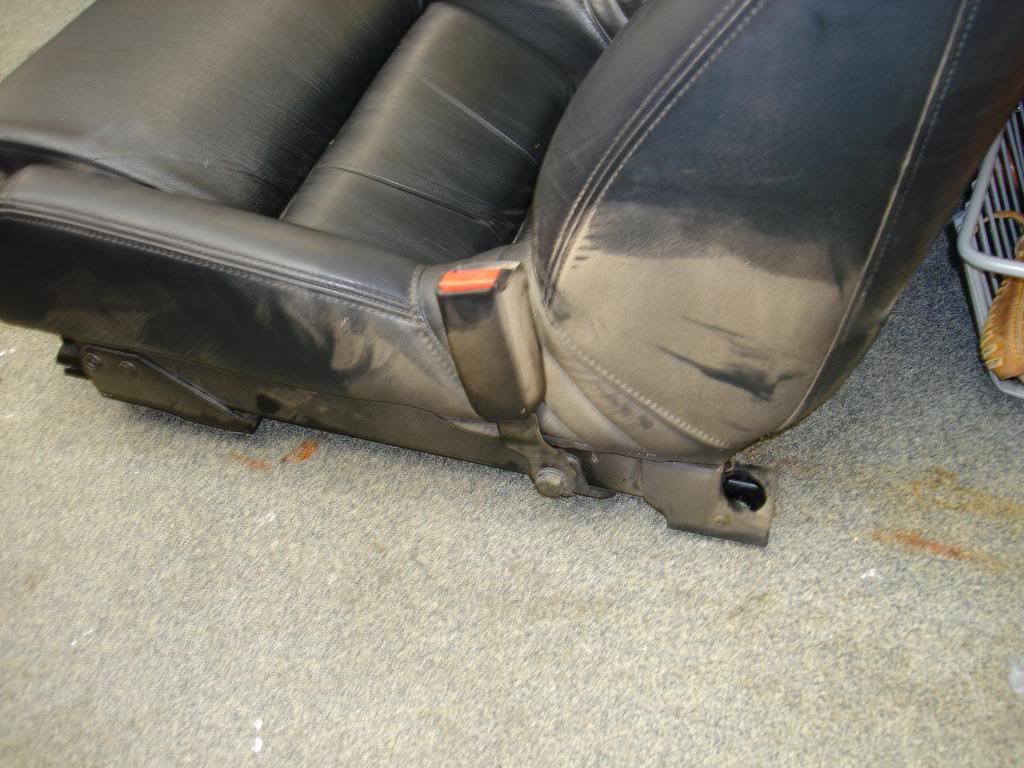
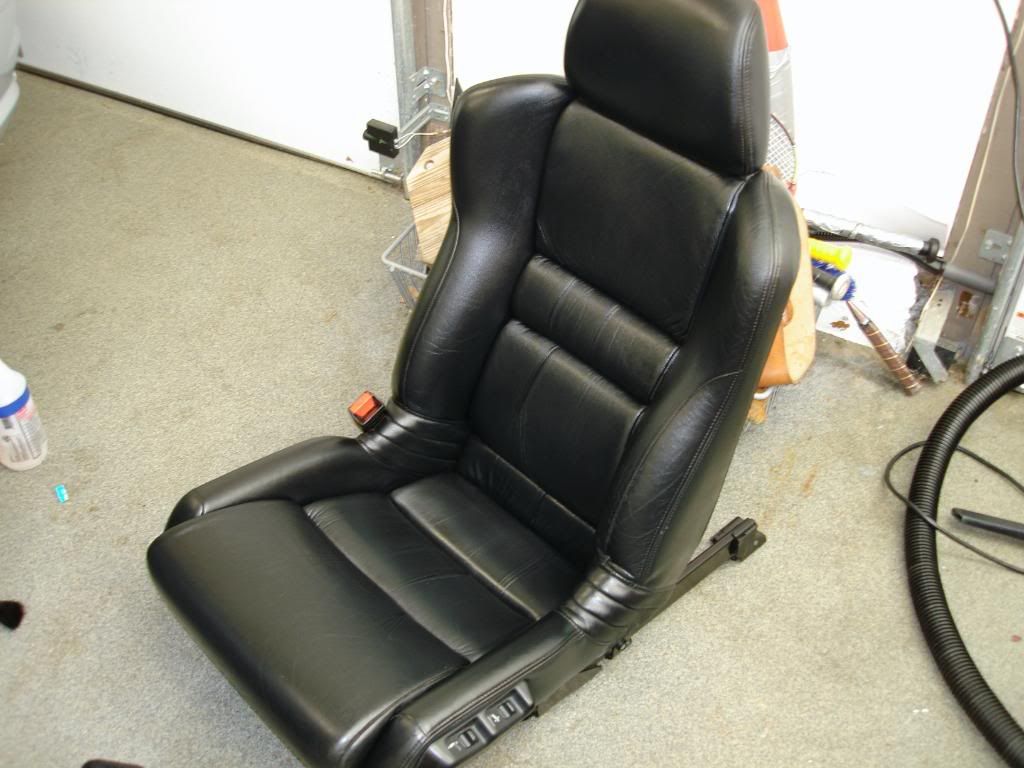
I took the seats out to better clean the interior and get into all the cracks and crecvices

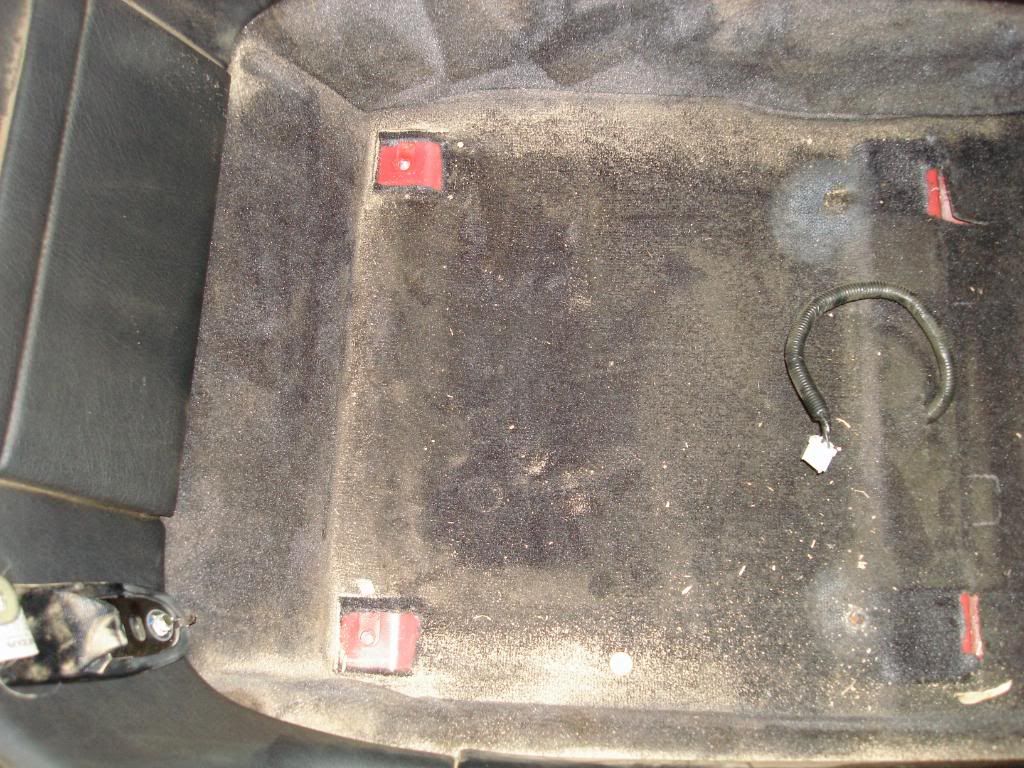
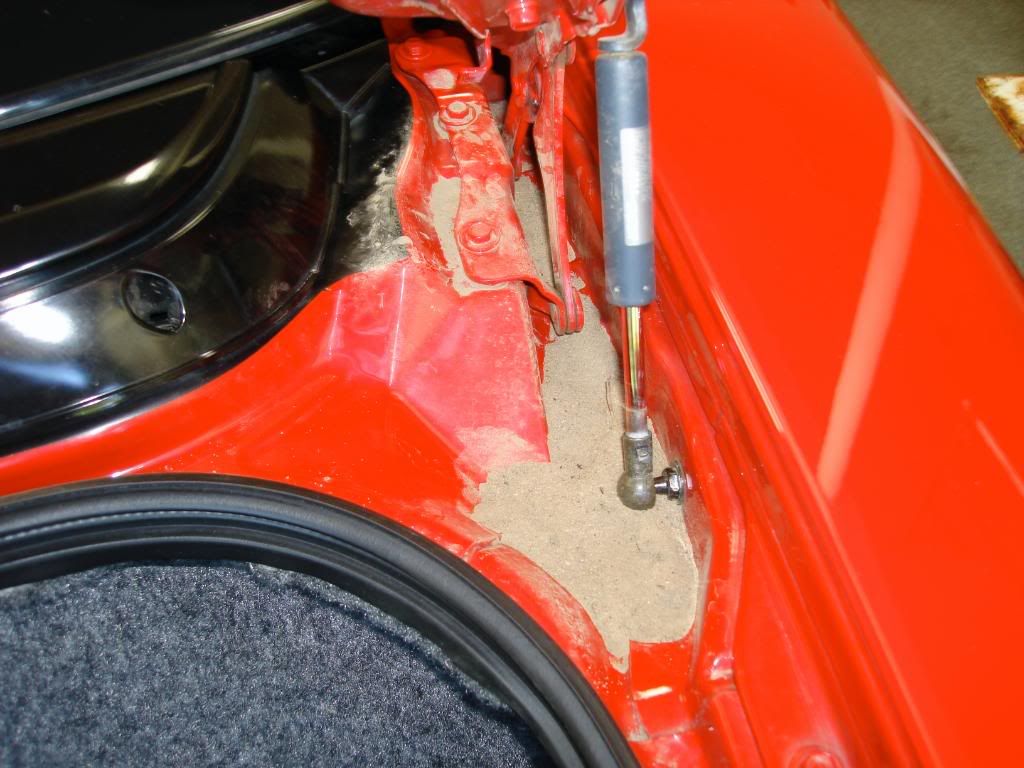
A good 1/2lb of sand made its way into the trunk jambs..
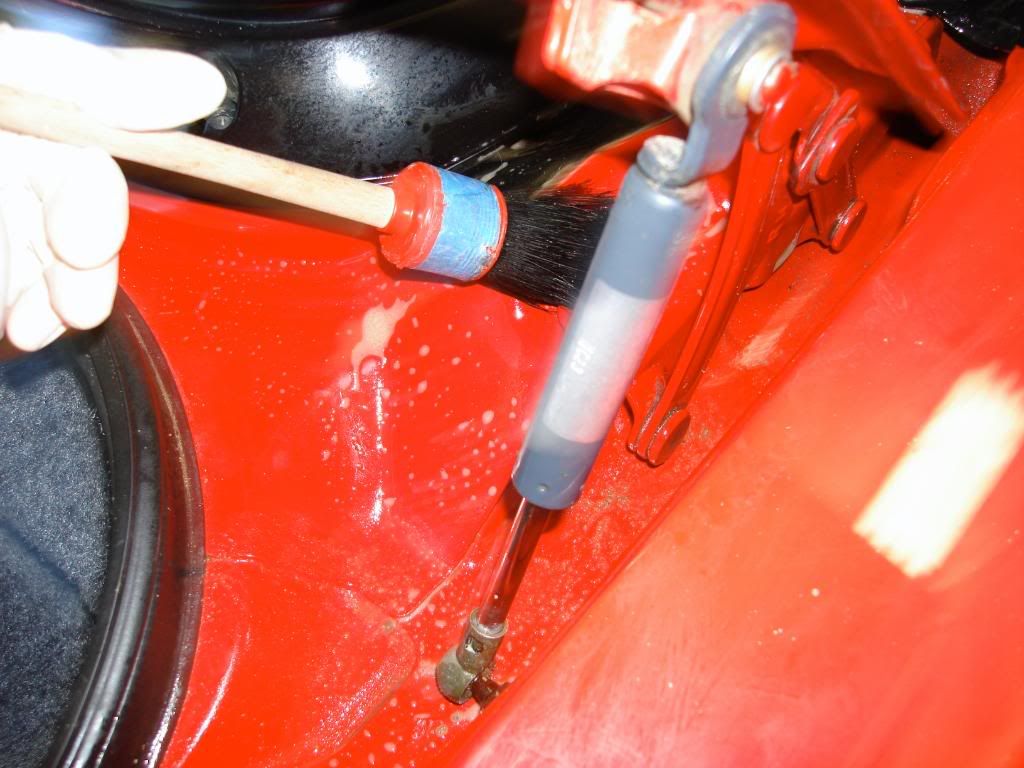
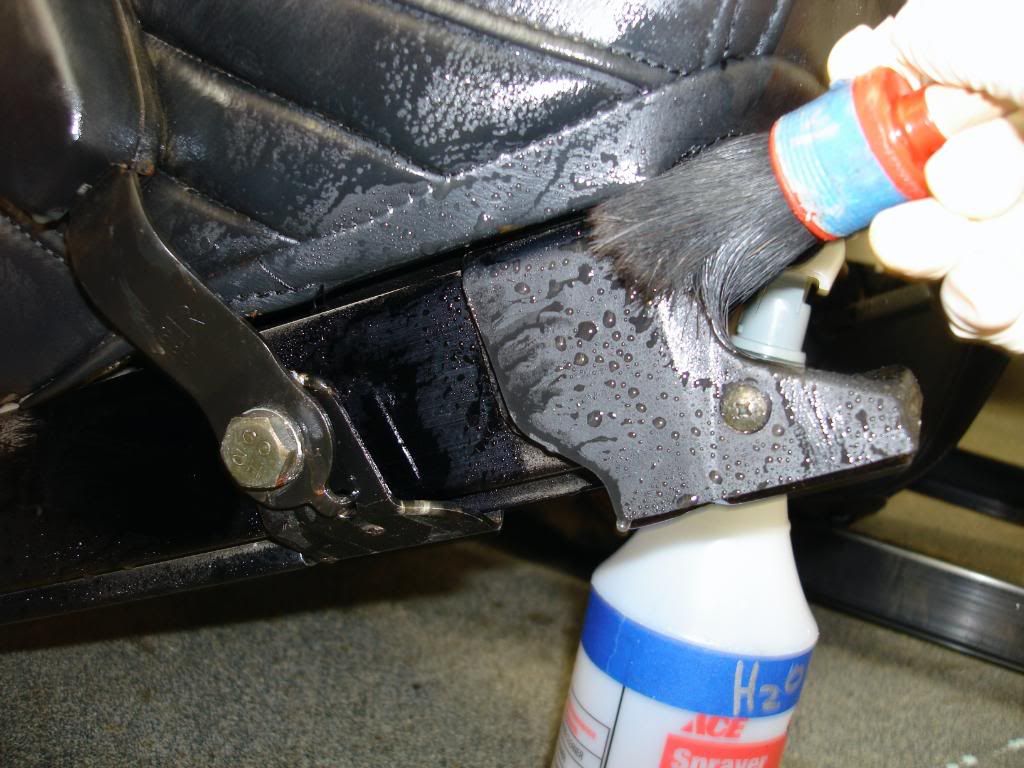
After some vacuuming I agitated the area with APC and an SV brush
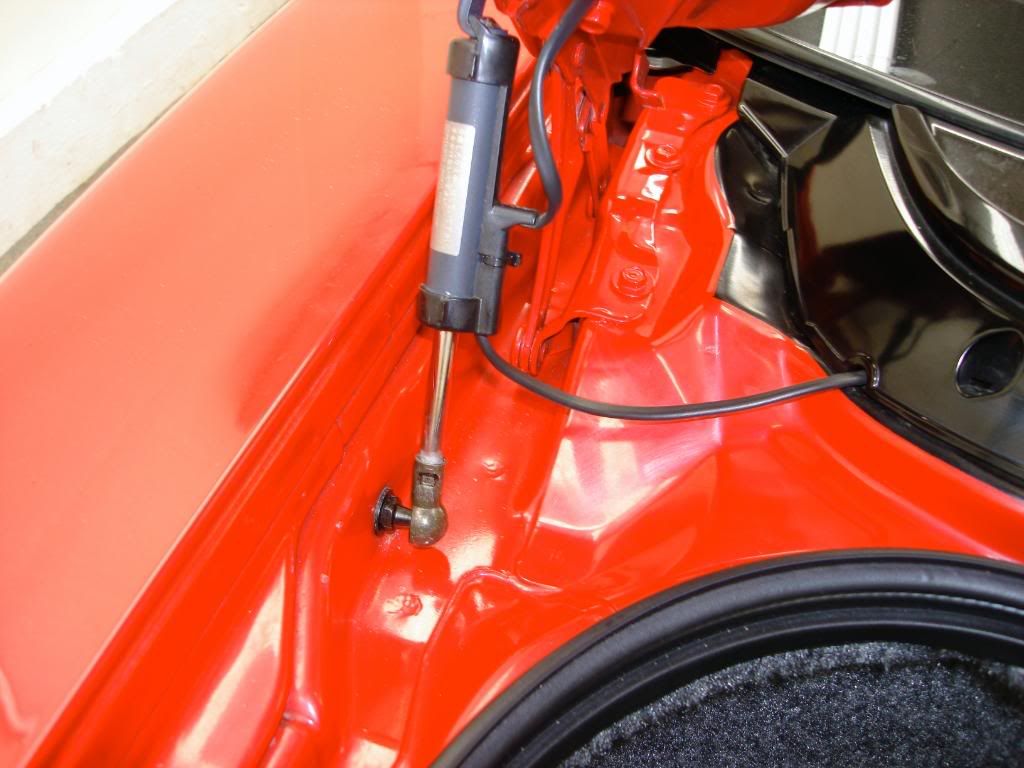
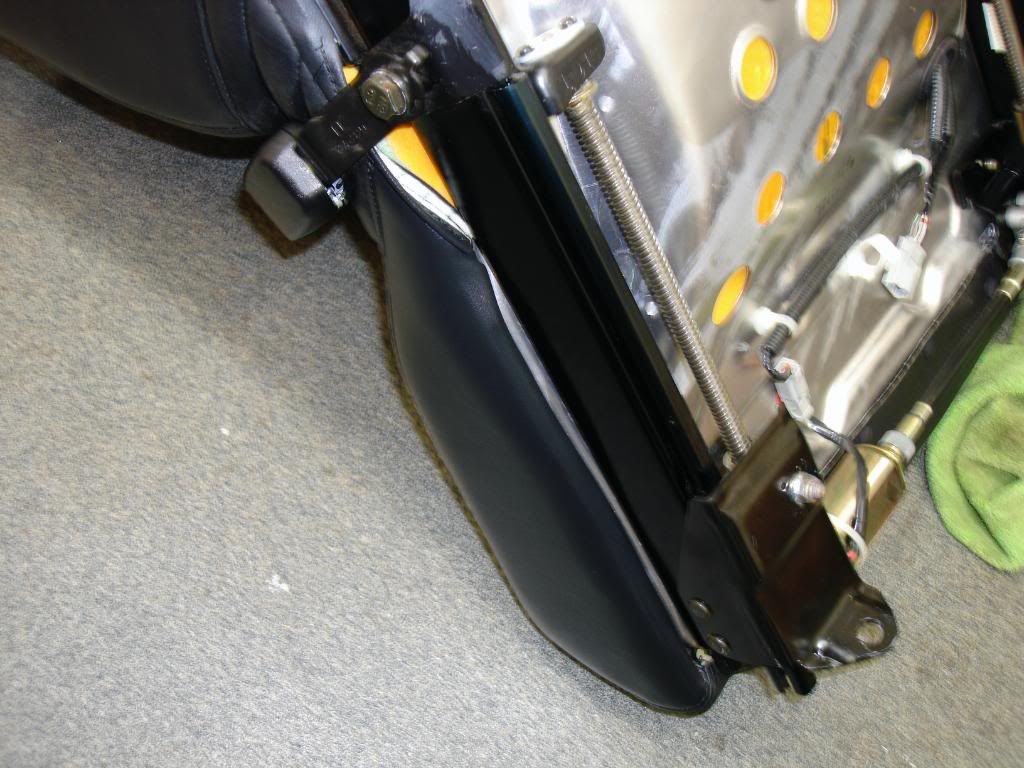
Here the drivers side after
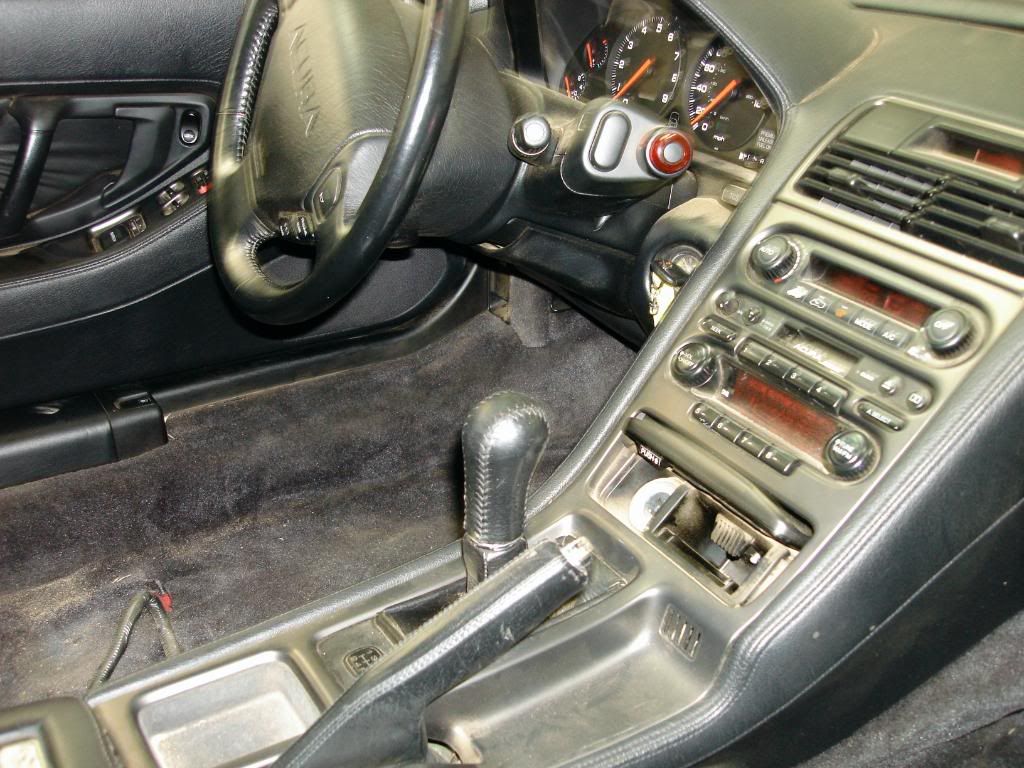
Back to the lovely interior
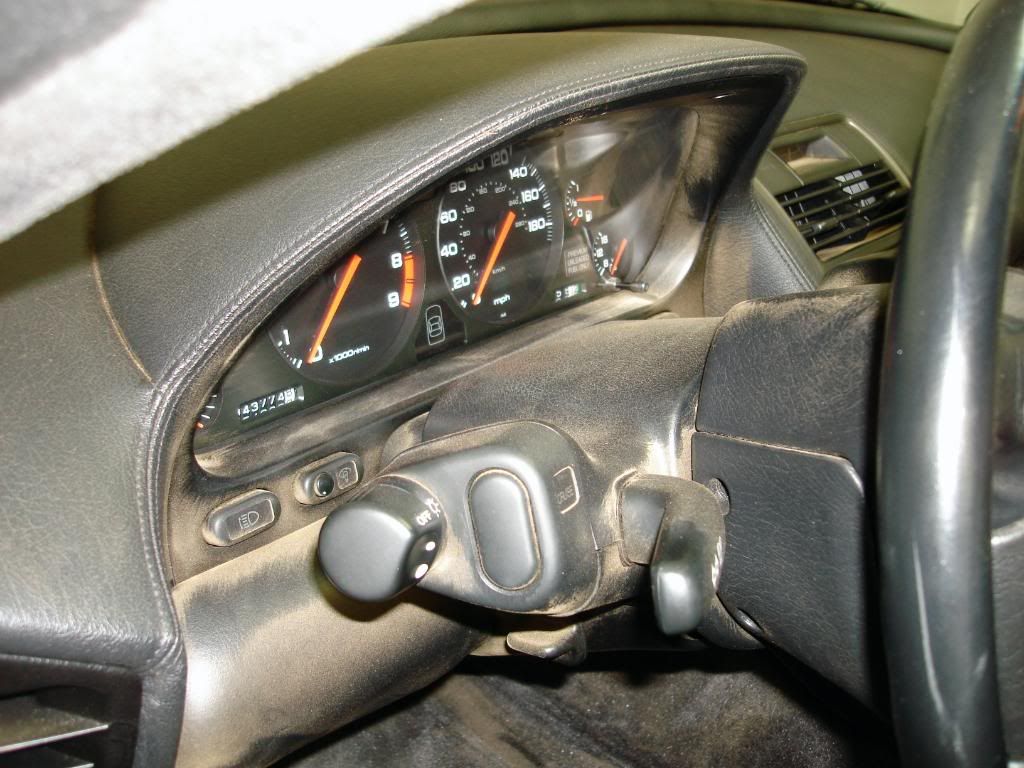
The sand was un-escapable
-
02-26-2009, 05:29 PM #4
- Join Date
- Oct 2007
- Posts
- 1,423
- Post Thanks / Like
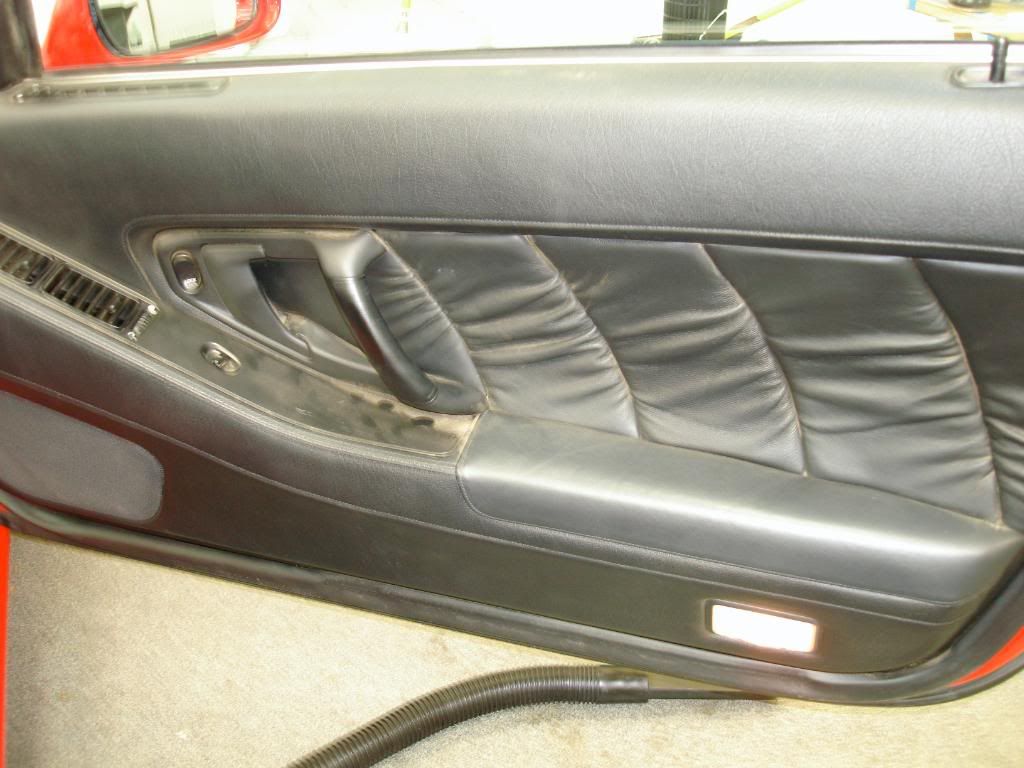
My plan of attack was intially to wipedown all that I could with a damp MF towel. There is no need to waster leather cleaner on surface dust and sand. I wiped away and vacuumed out all that I could before actually cleaning and conditioning the leather and plastic
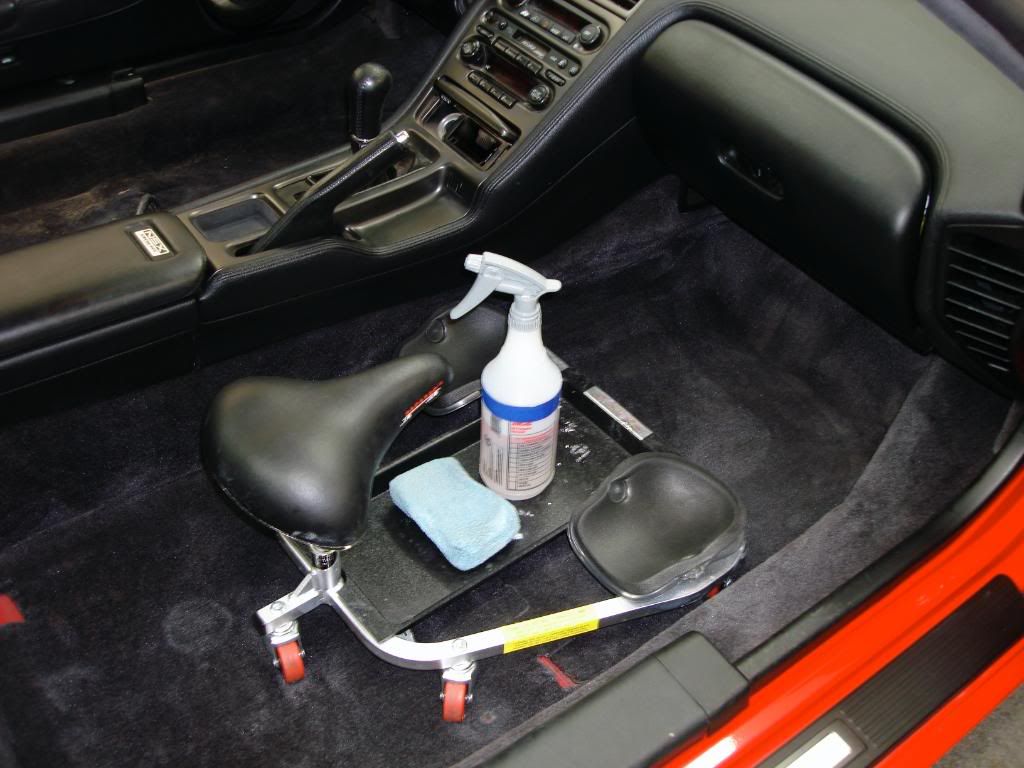
With the seats out i had some extra space to fit in the racatac..
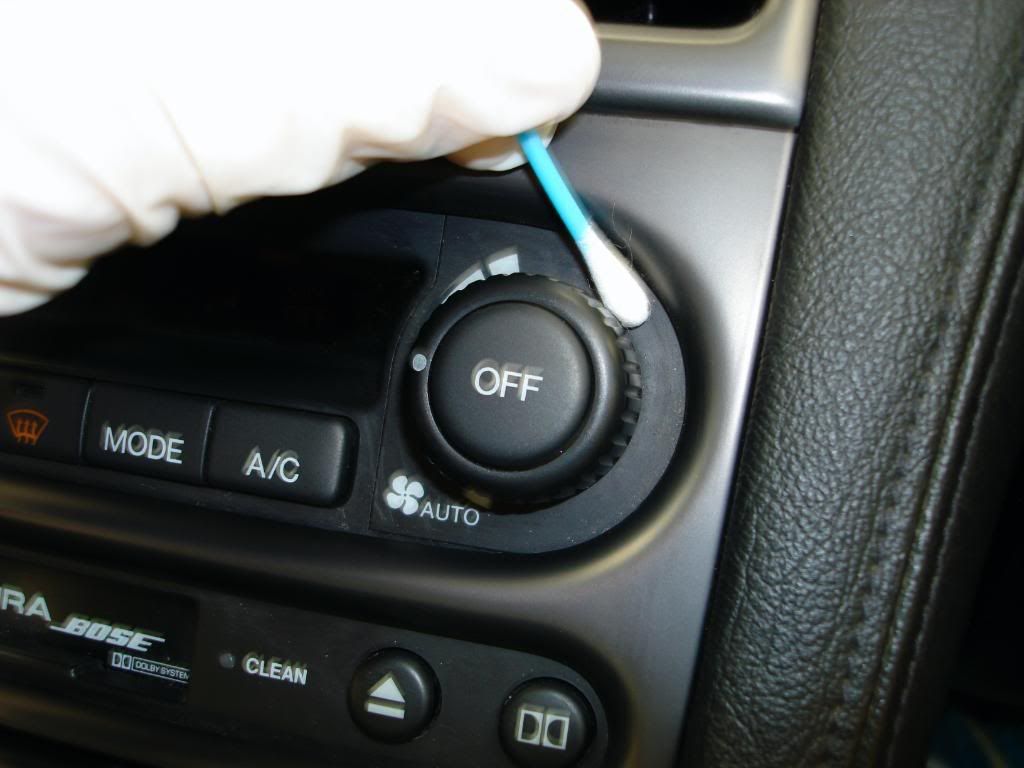
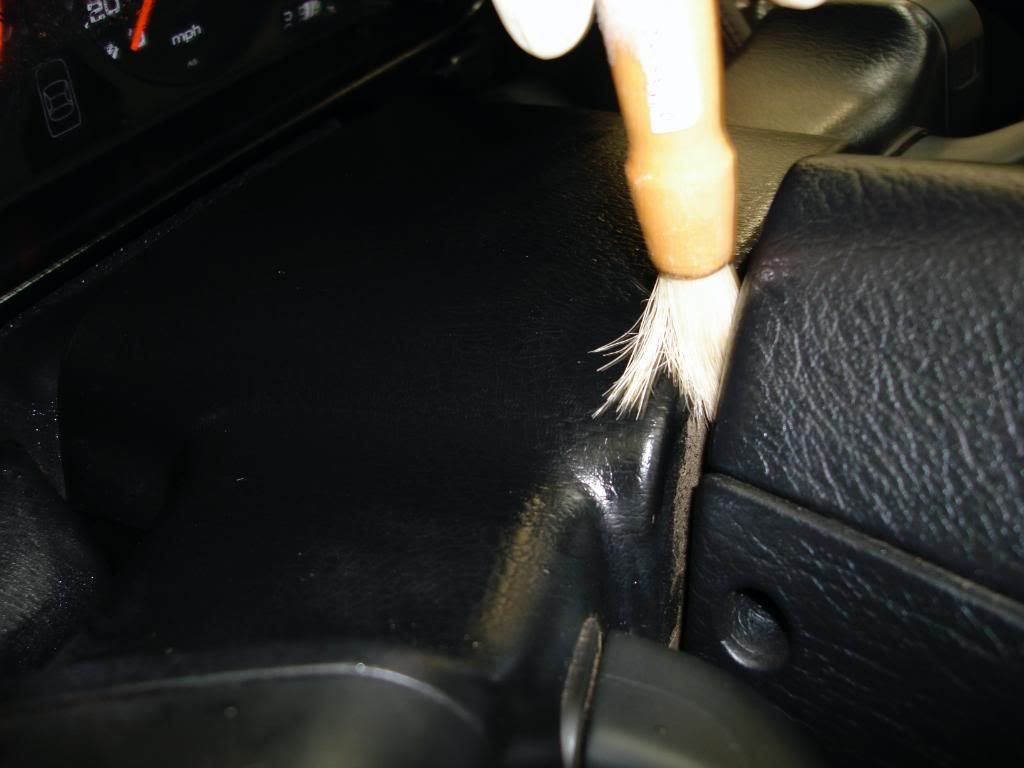
Most tighter dust fille areas need the attention of a Q-tip of detail swab
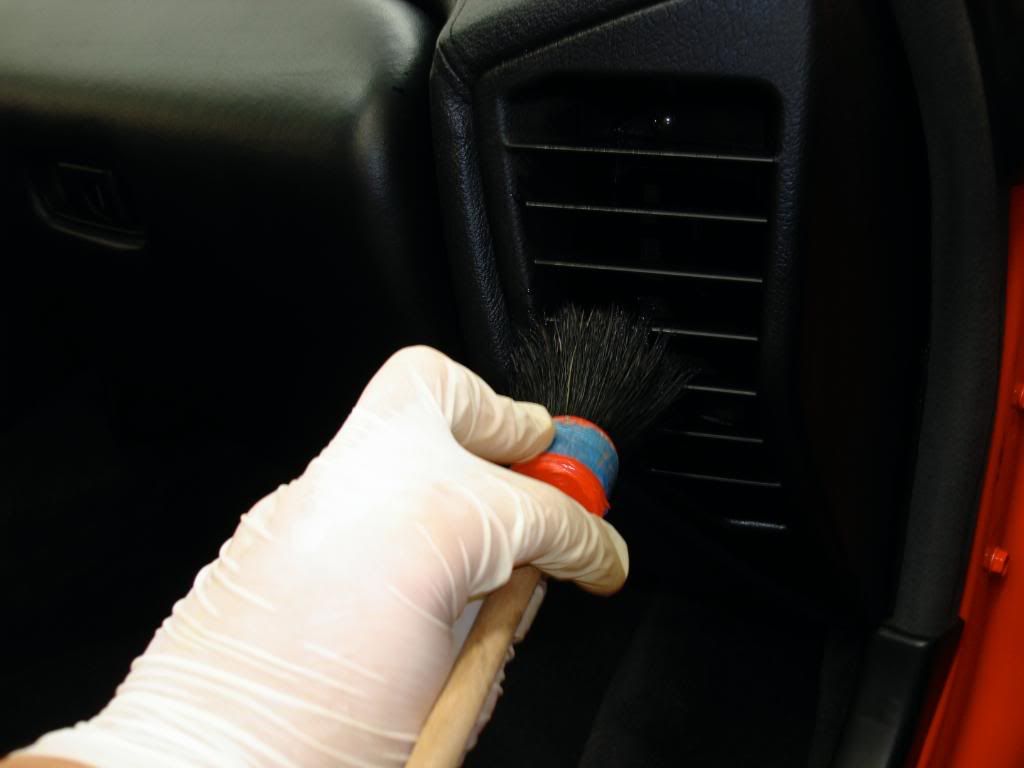
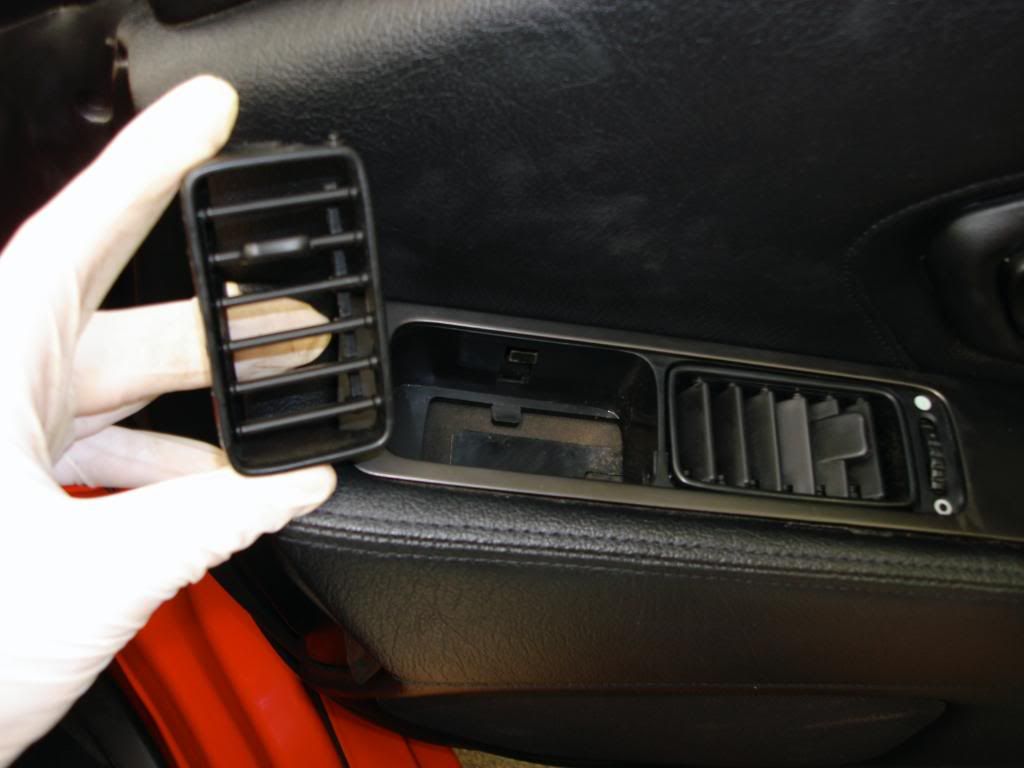
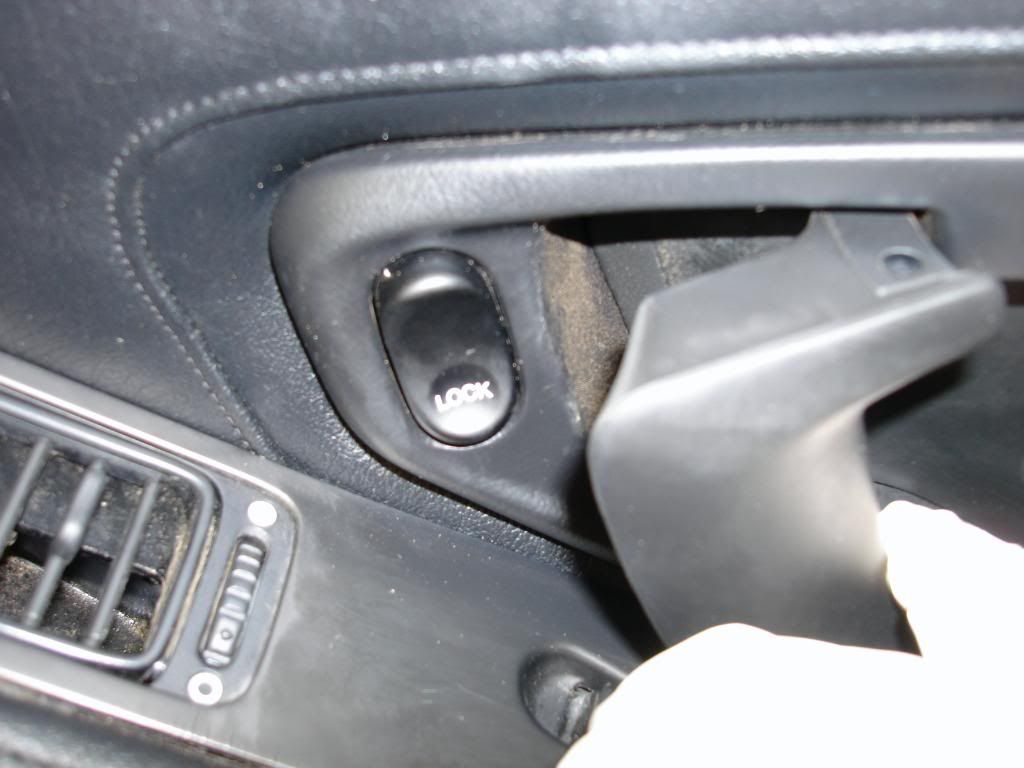
I took out whatever vents I could to better clean them, some dust and sand was way down in there
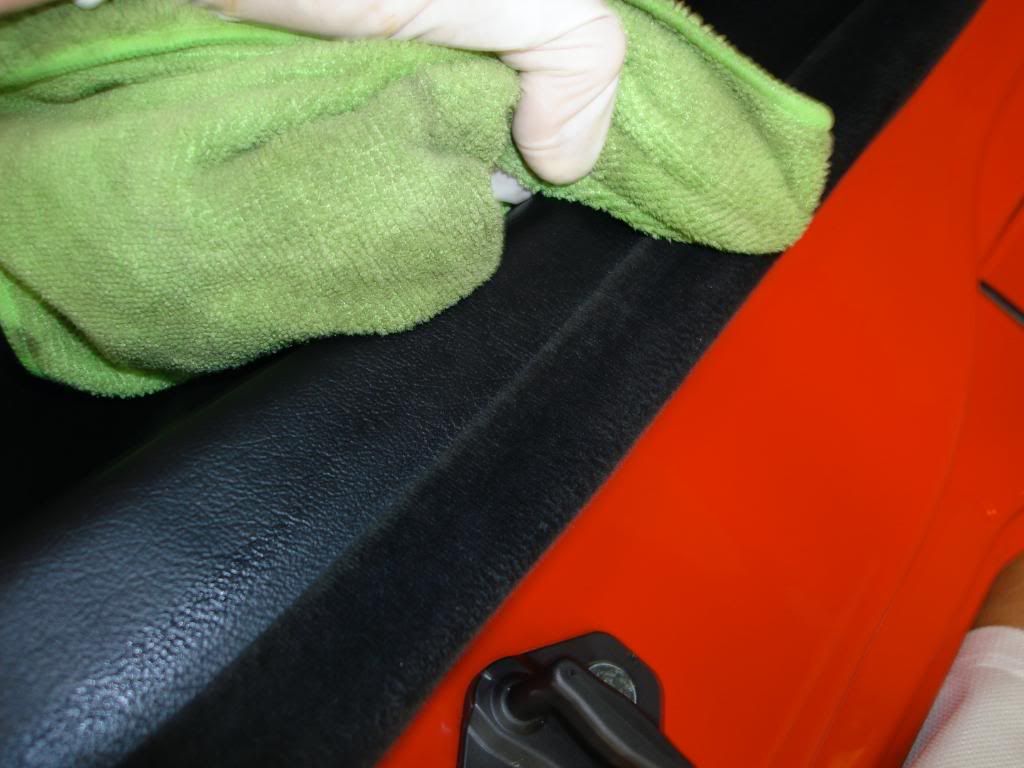
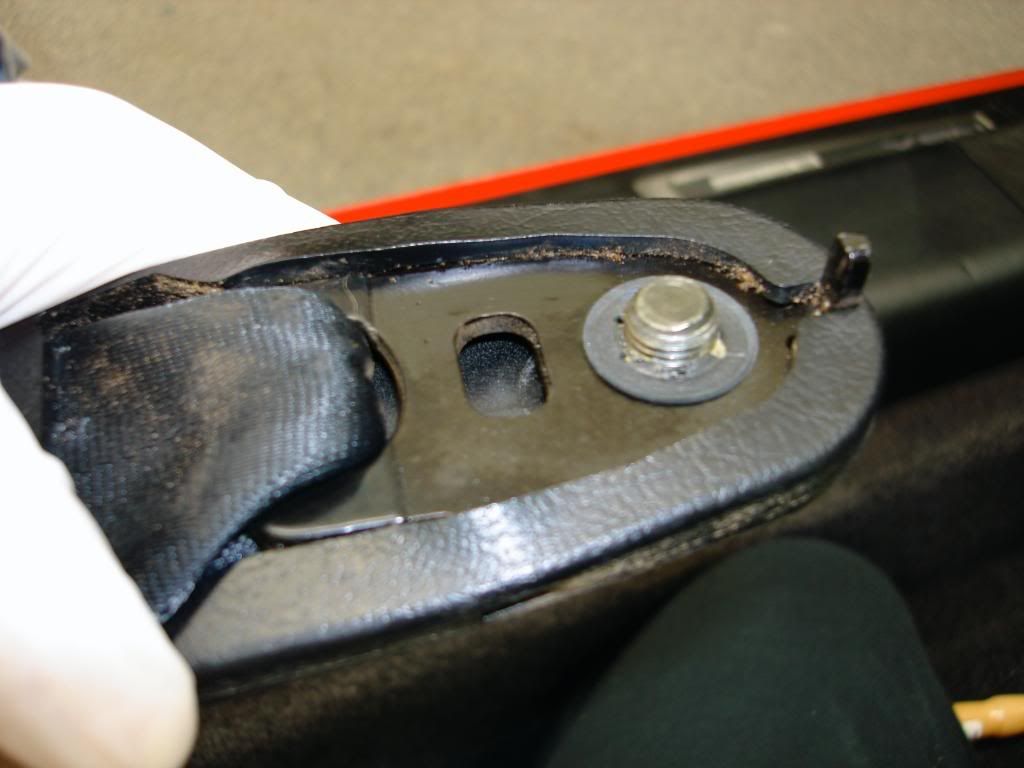
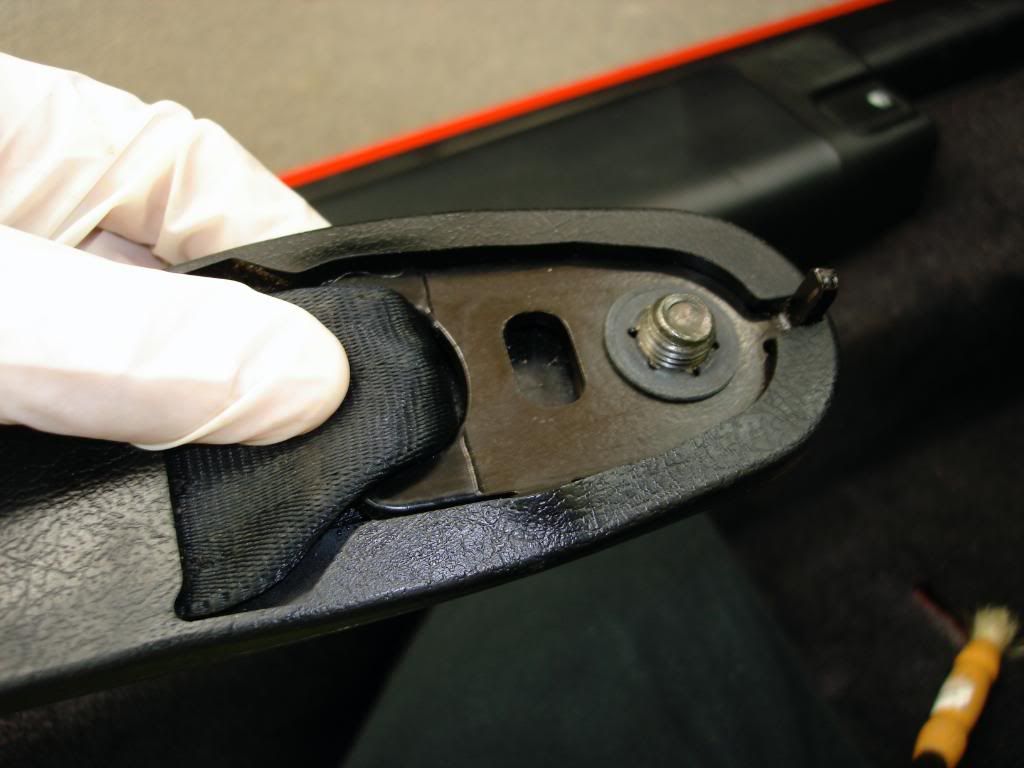
Wiping down the cloth stripping by the doors with a damp MF to lift some of the dirt from the fibers before vacuuming
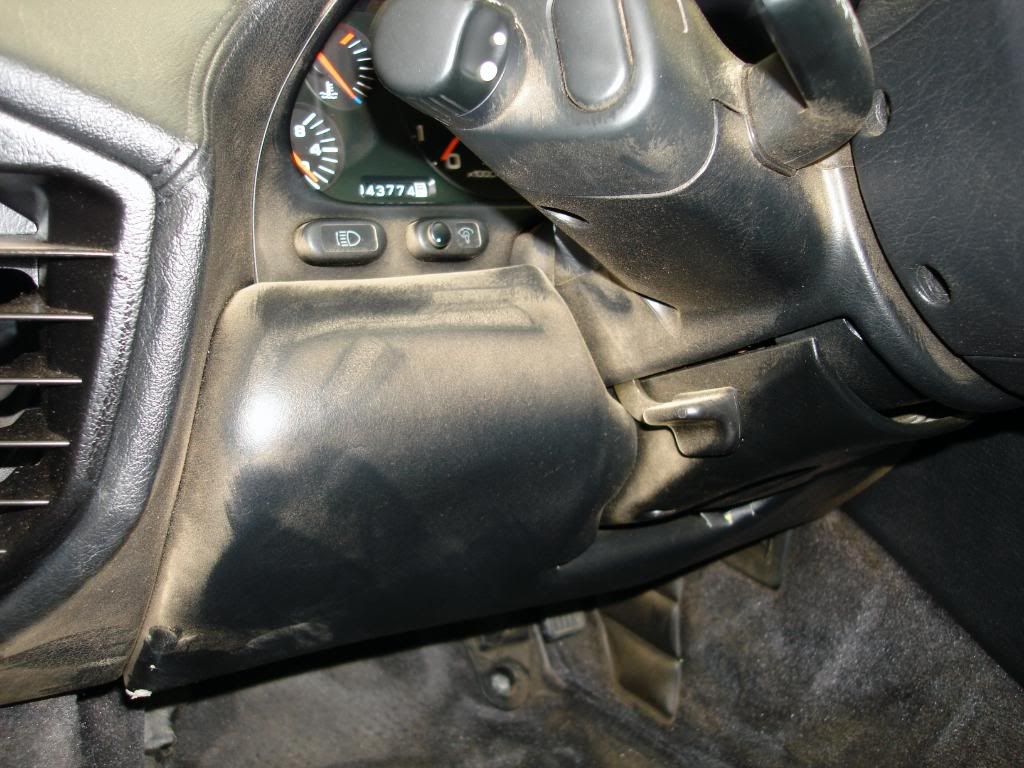
Everywhere I looked there it was...
little brushes helped get out the dirt from the crevices
Before
After
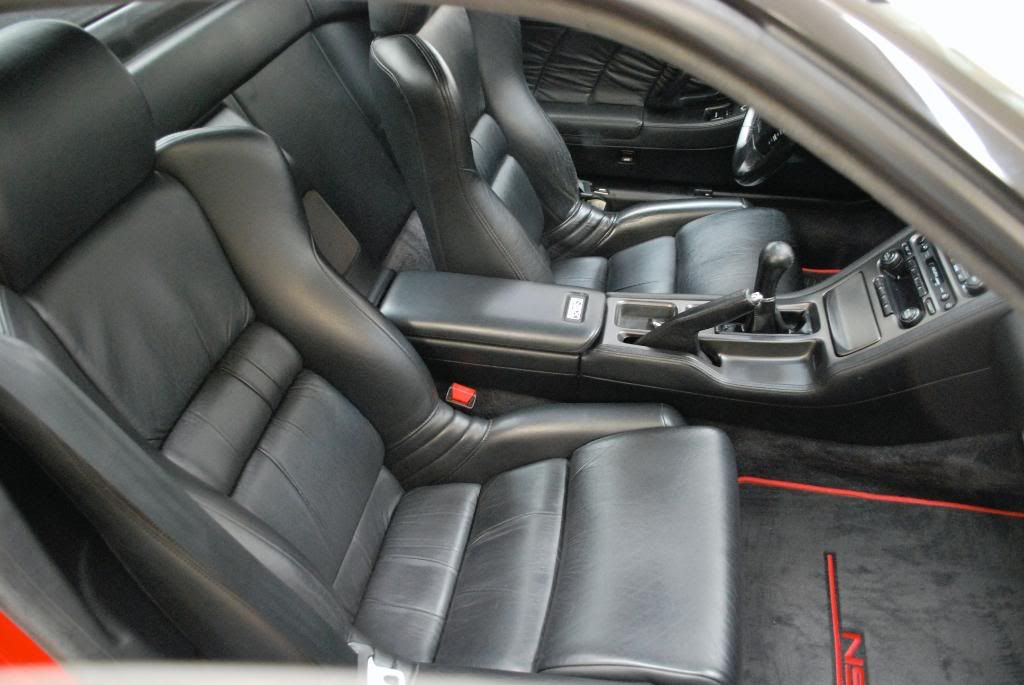
I moved onto the seats next
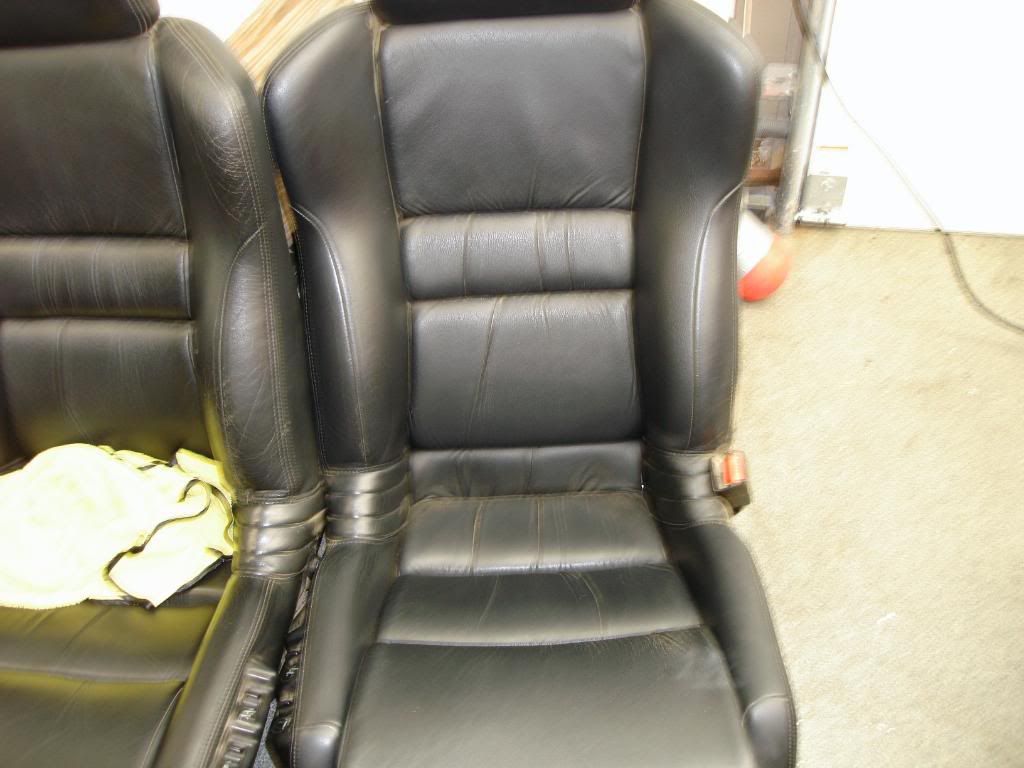
I used some DI water to help brush off the dirt, obviously nothing too serious just a very tedious process of finding and cleaning out all the dirt I could
After
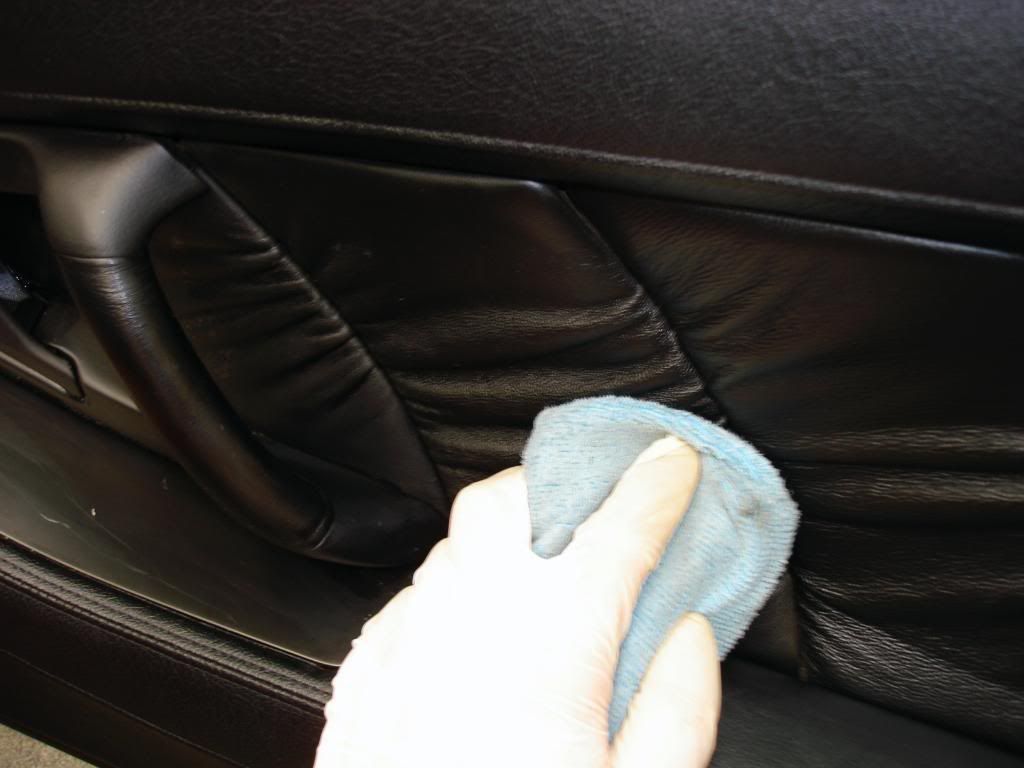
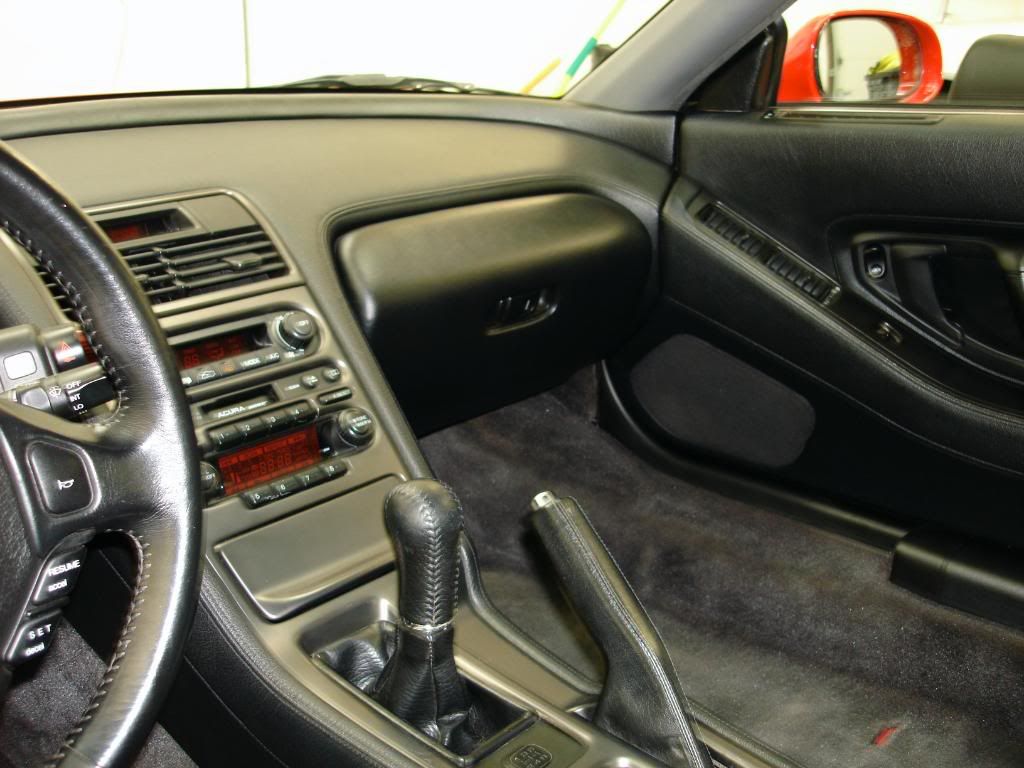
Once all the leather in the car was pre-cleaned it was time to really clean the leather itself, meaning using a dedicated leather cleaner to open up the pores followed by a nice coating of conditioner.
I used Gloss It satin leather cleaner and the satin leather polish, both products worked beautifully to clean and condition the leather. I found a nice finish left behind, no streaking either
All plastic was cleaned with Einzett Co-ckpit premium
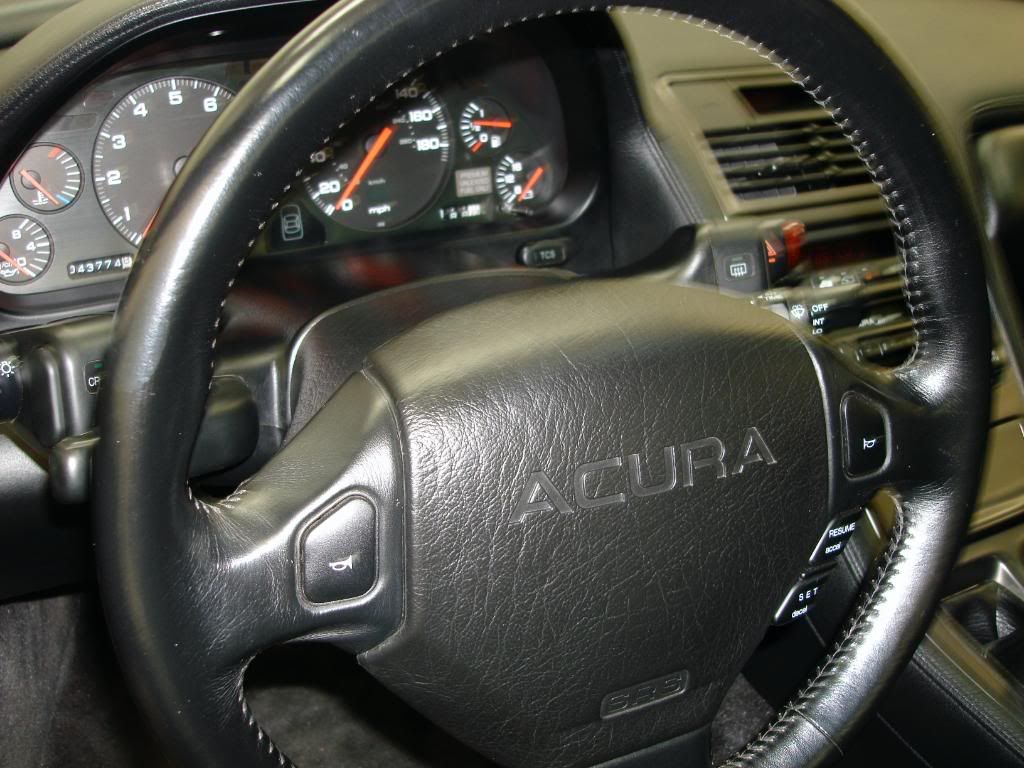
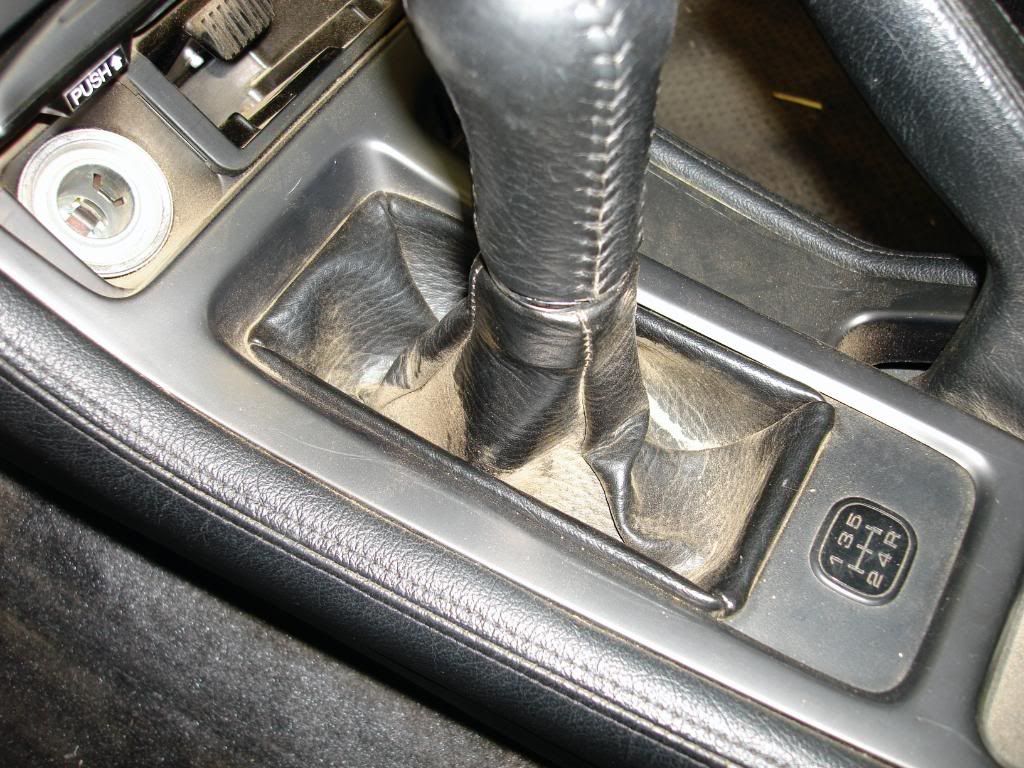
I started with this...
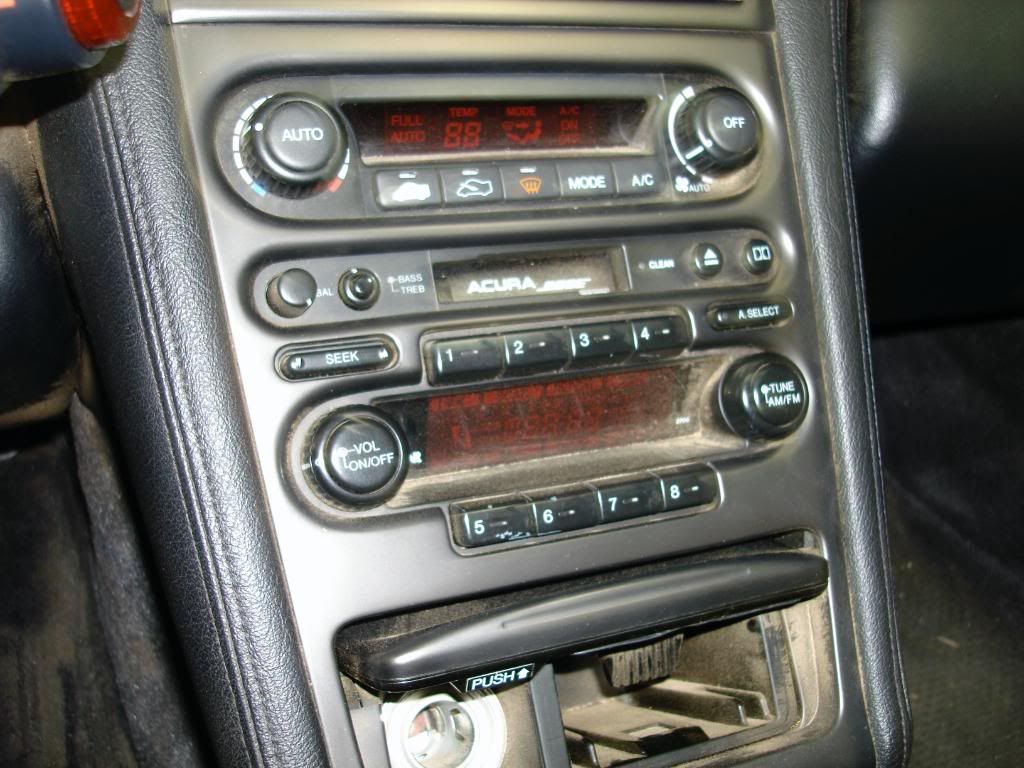
Finished with this...
-
02-26-2009, 05:30 PM #5
- Join Date
- Oct 2007
- Posts
- 1,423
- Post Thanks / Like
After the seats were back in and carpets were all cleaned up using folex and a wet/dry

I moved onto the engine compartment next
Vacuumed and treated with 303 fabric protectant

Engine all cleaned up, there were some etched water spots on the plastic trim which could not be fully removed unfortunately
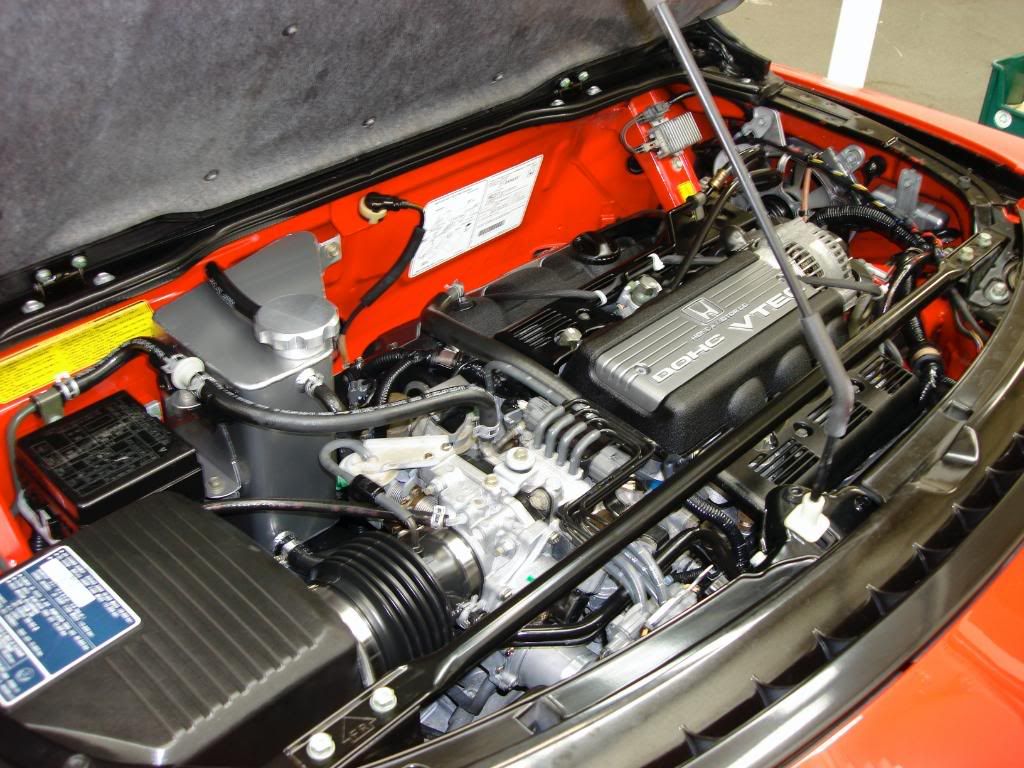
The plastic trim by the engine bay was cleaned with 1Z CP, there really was no dressing that would leave a streak free finish on the slick plastic by the engine bay so I simply cleaned it with the CP.

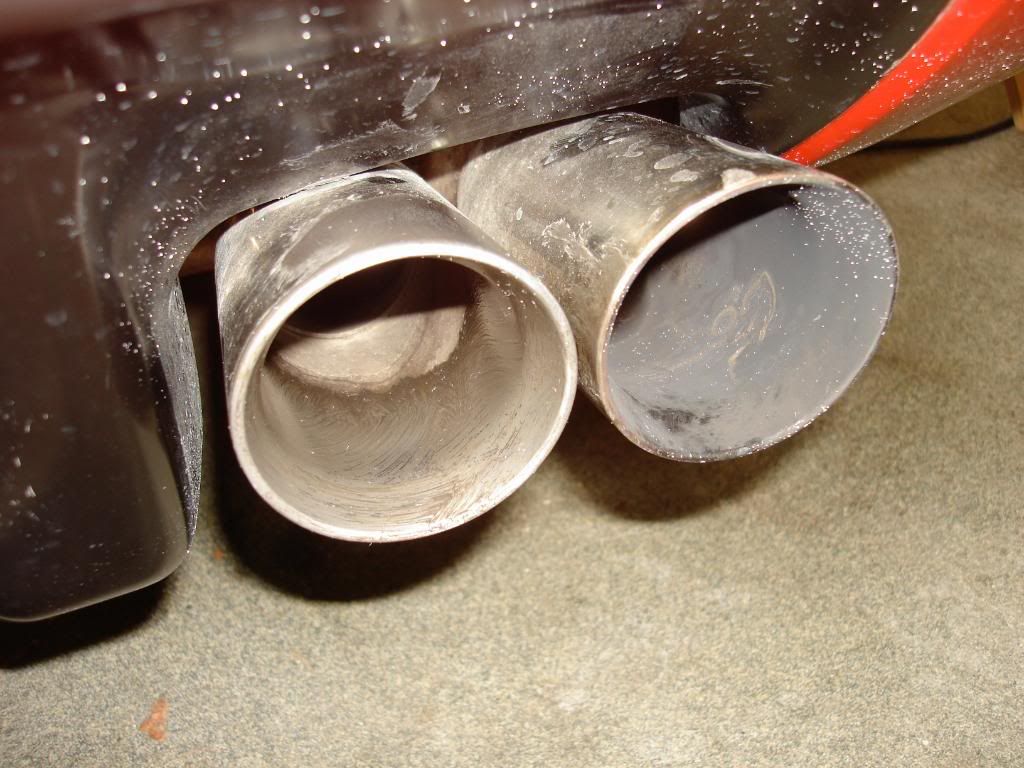
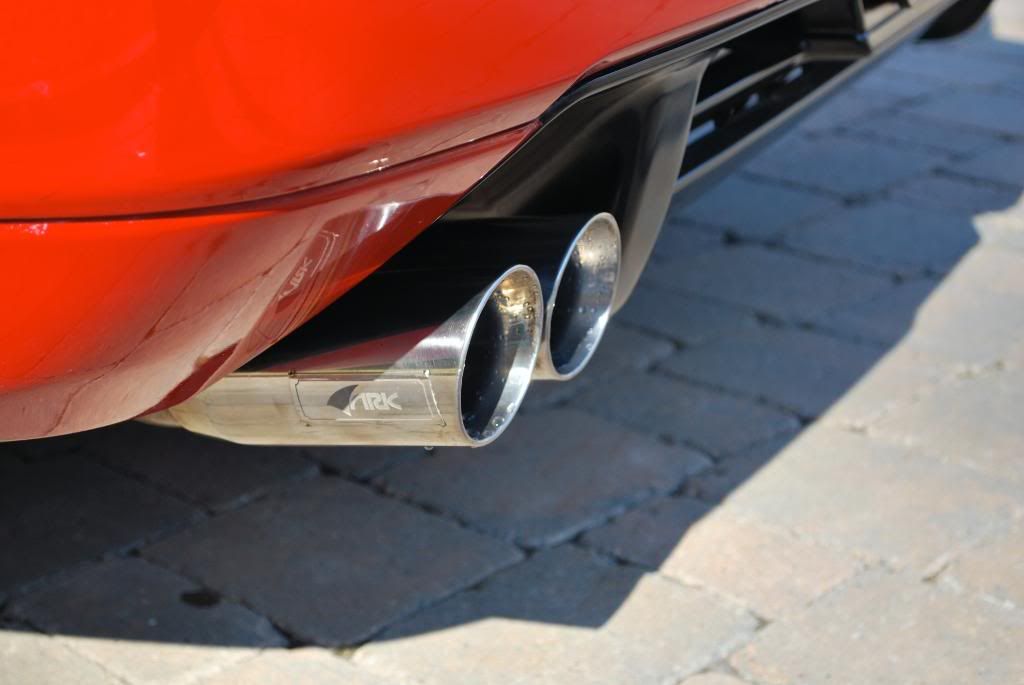
Exhaust before
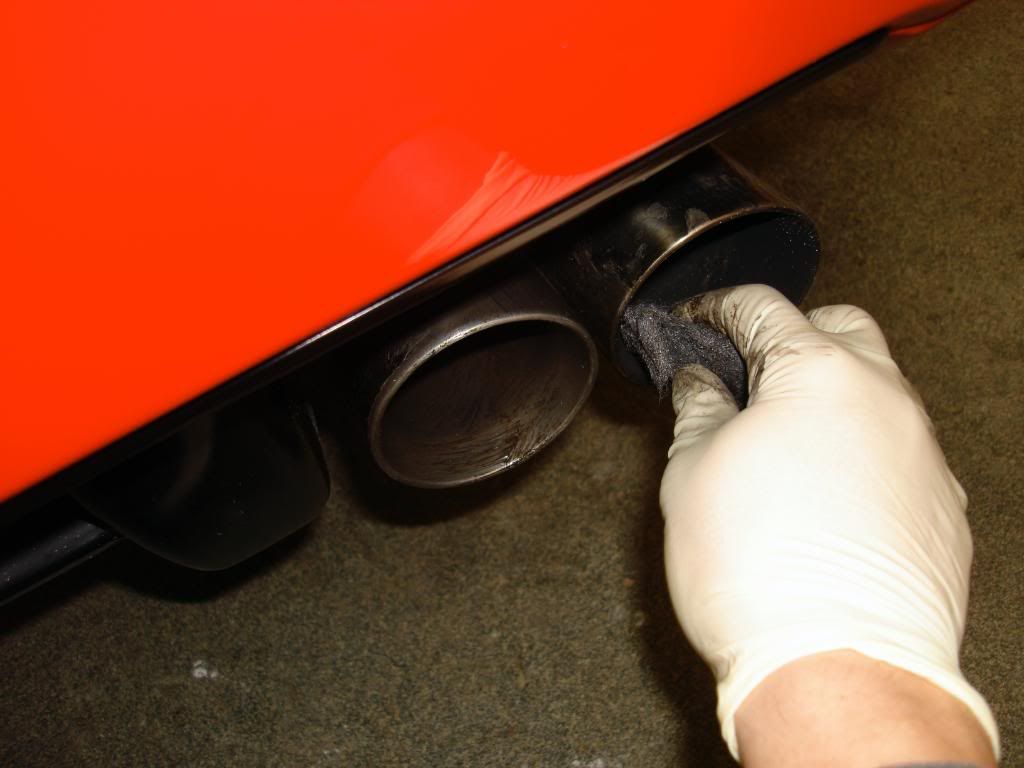
During w/ steel wool and Noxon
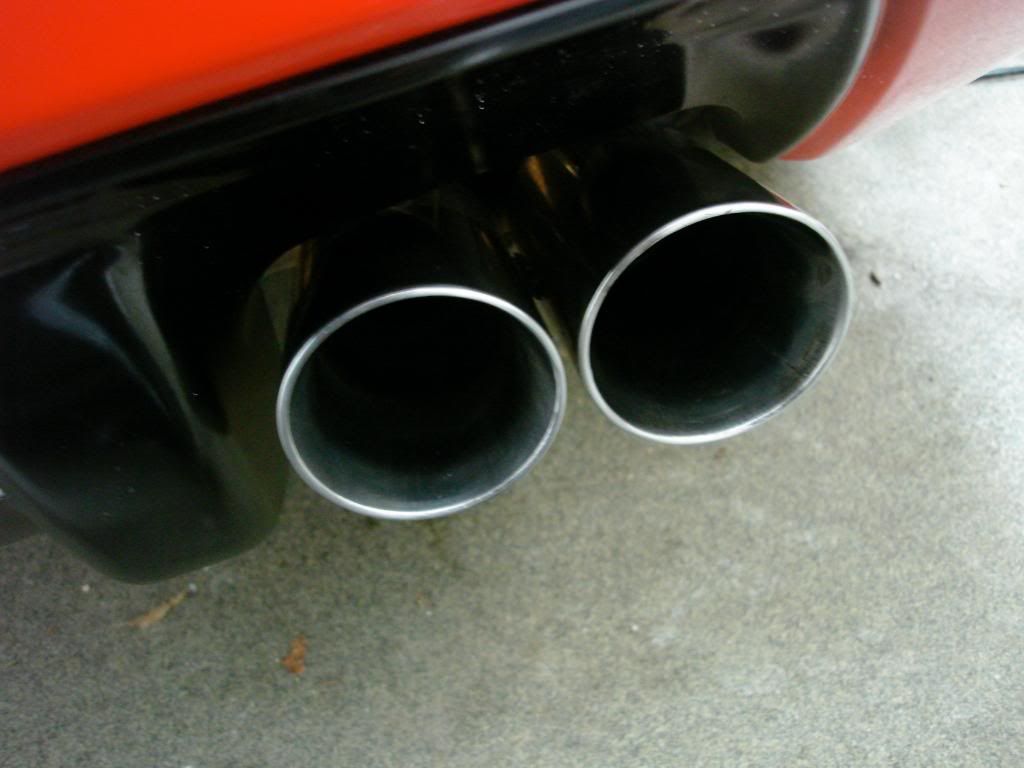
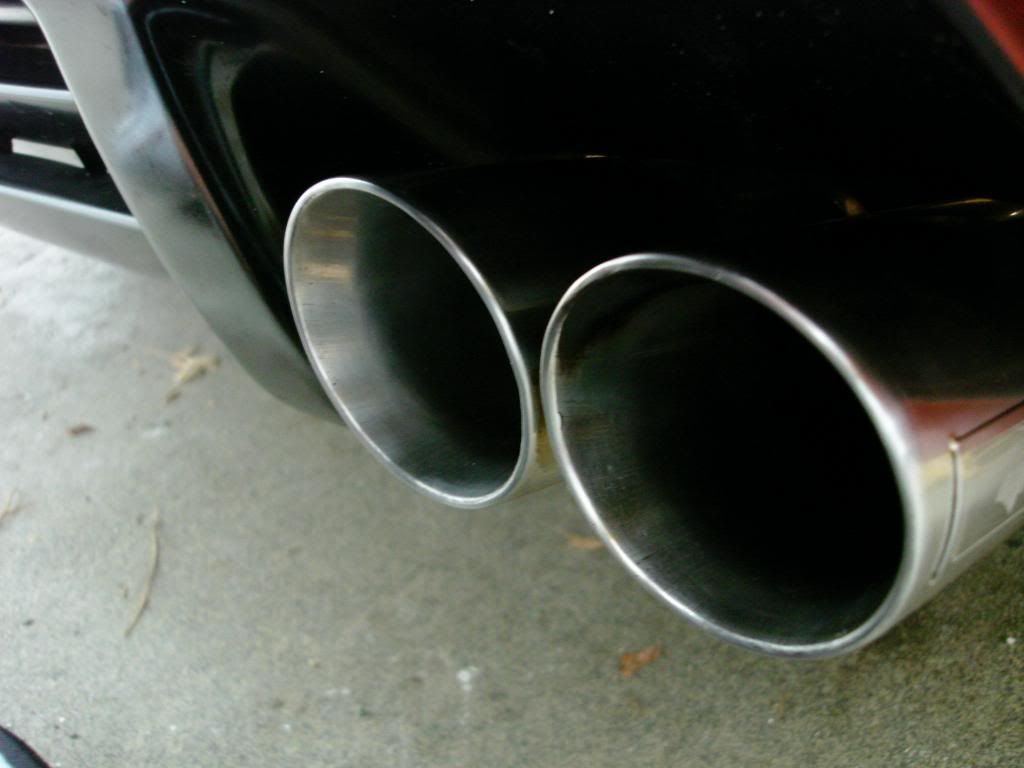
After
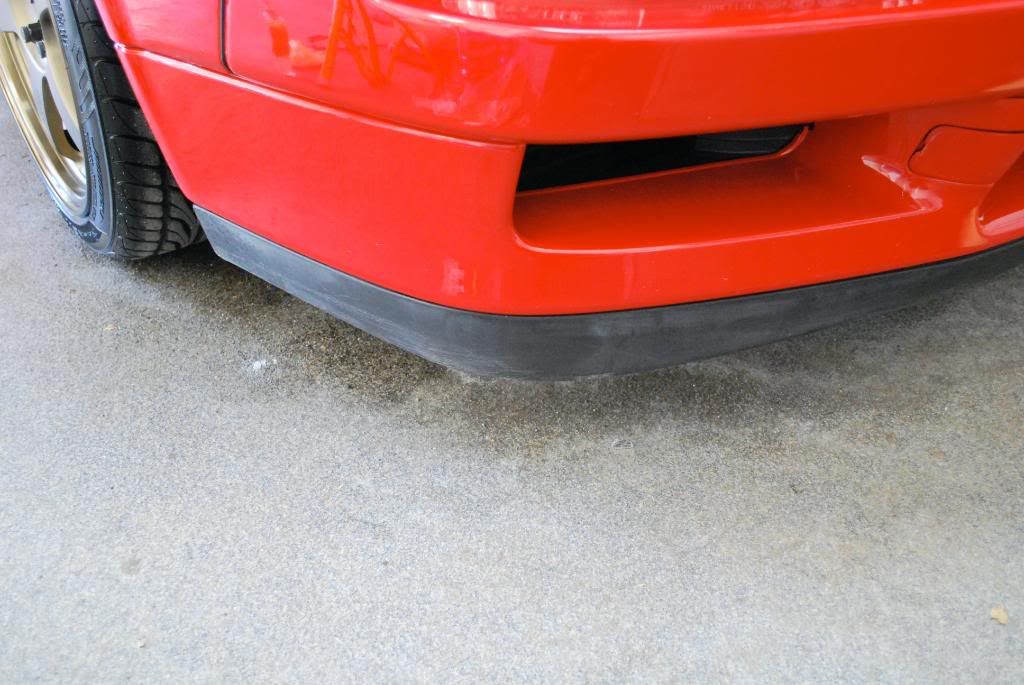
Front lower lip before
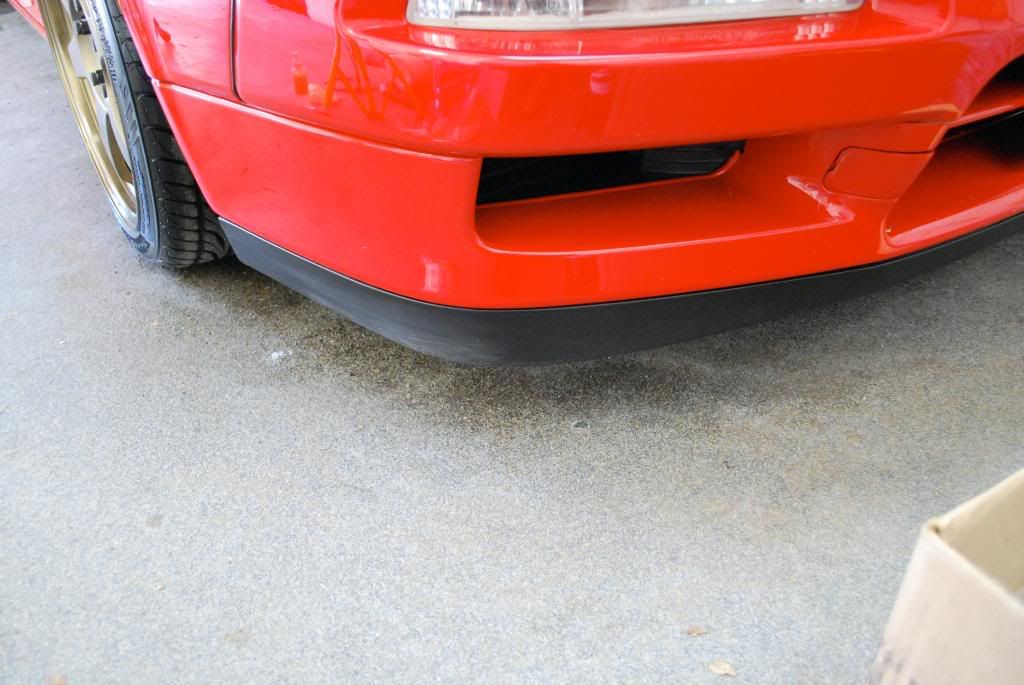
After the adams in and out spray, very quick product for small areas such as this.
Some quick notes before I get to the final shots.
-Plastic trim by the windows was treated with 1Z gummi pledge stick (thats not the proper name but thats what I call it)
-Lower front lip treated with Adams In and Out
-Tires dressed with 2 coats of Gloss It Signature Tire gloss
-Glass cleaned with IG and treated with Rejex
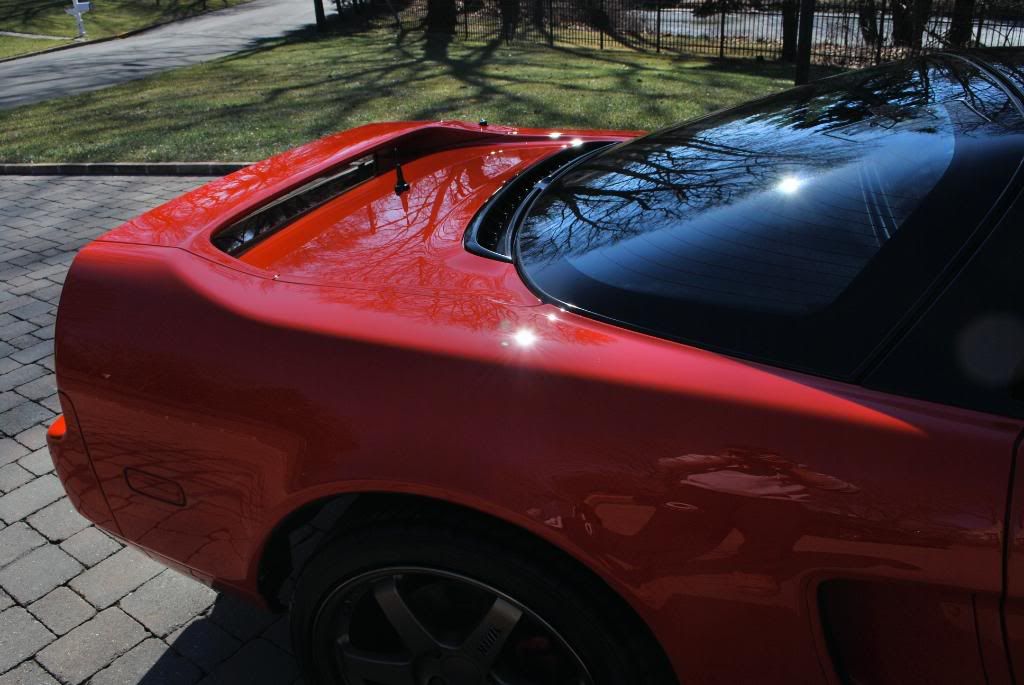
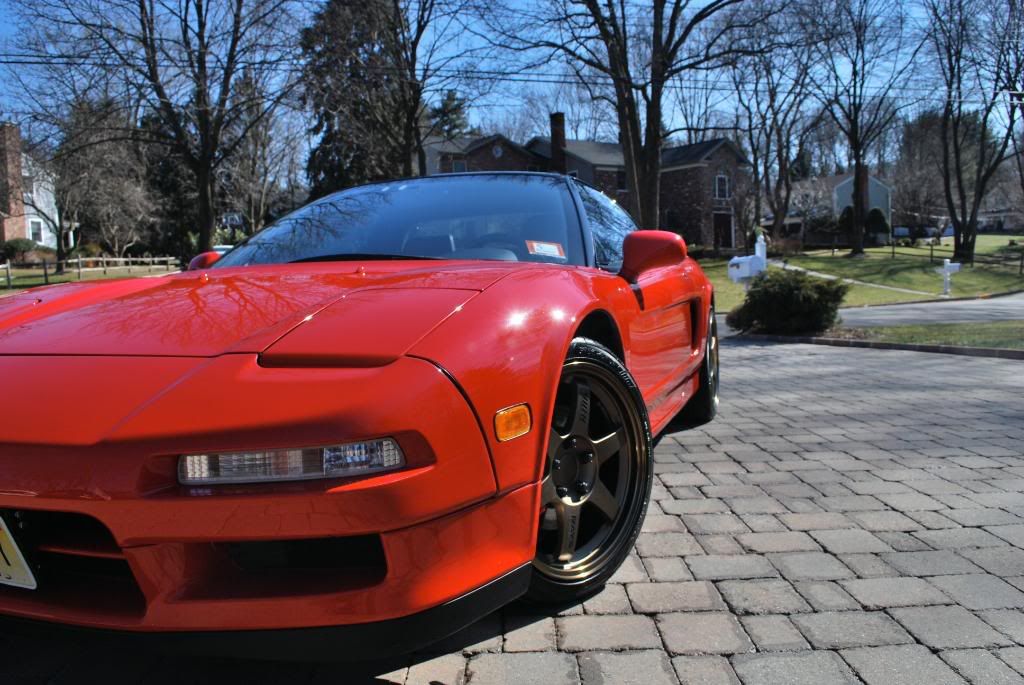
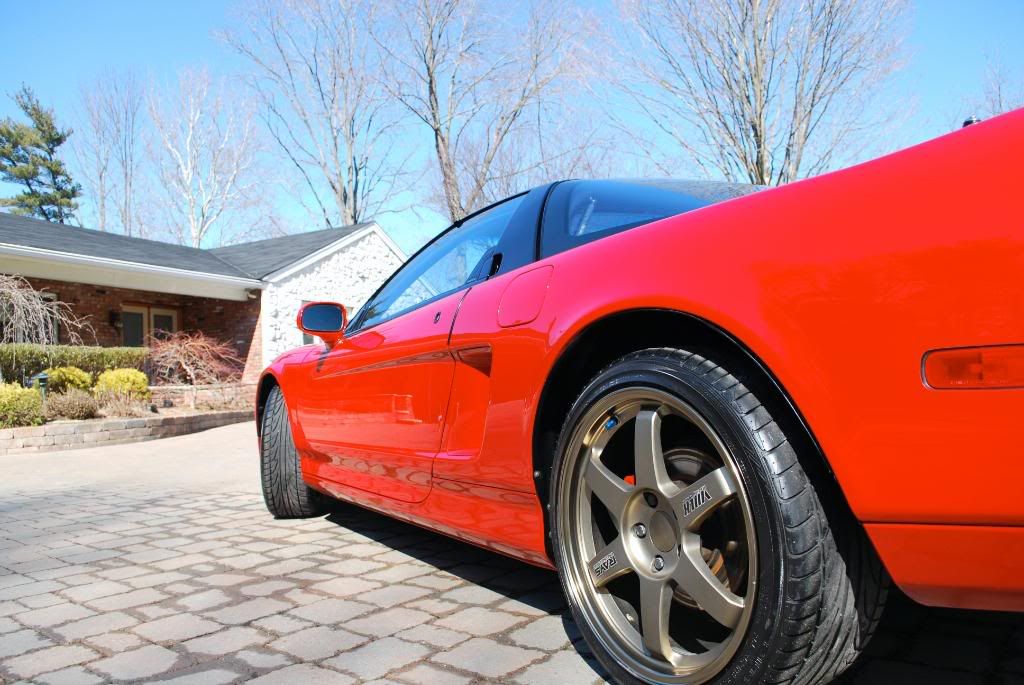
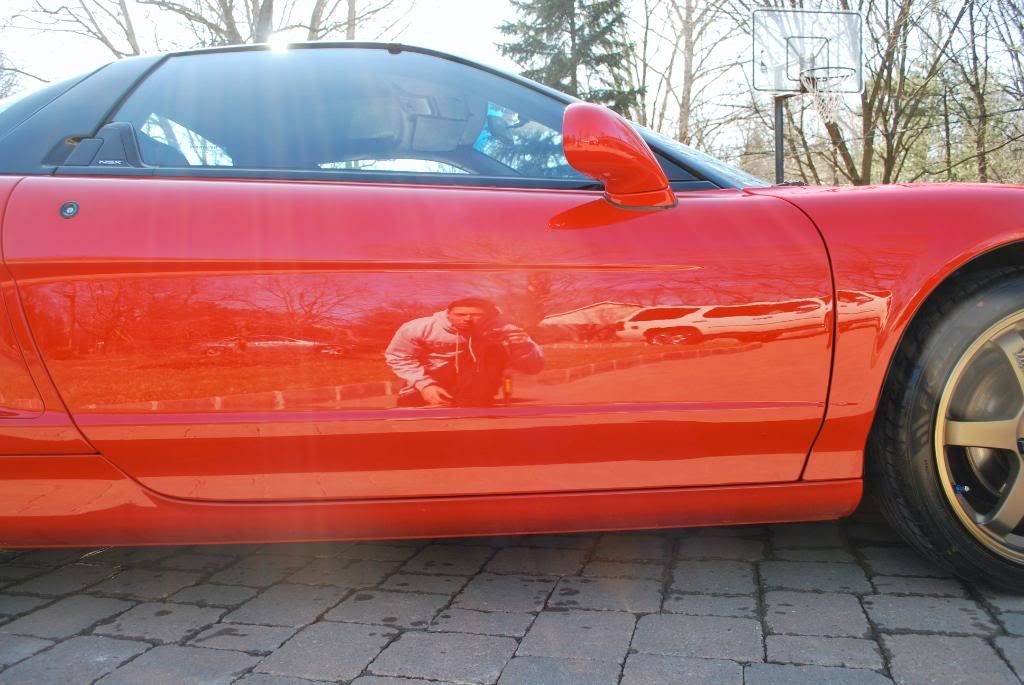
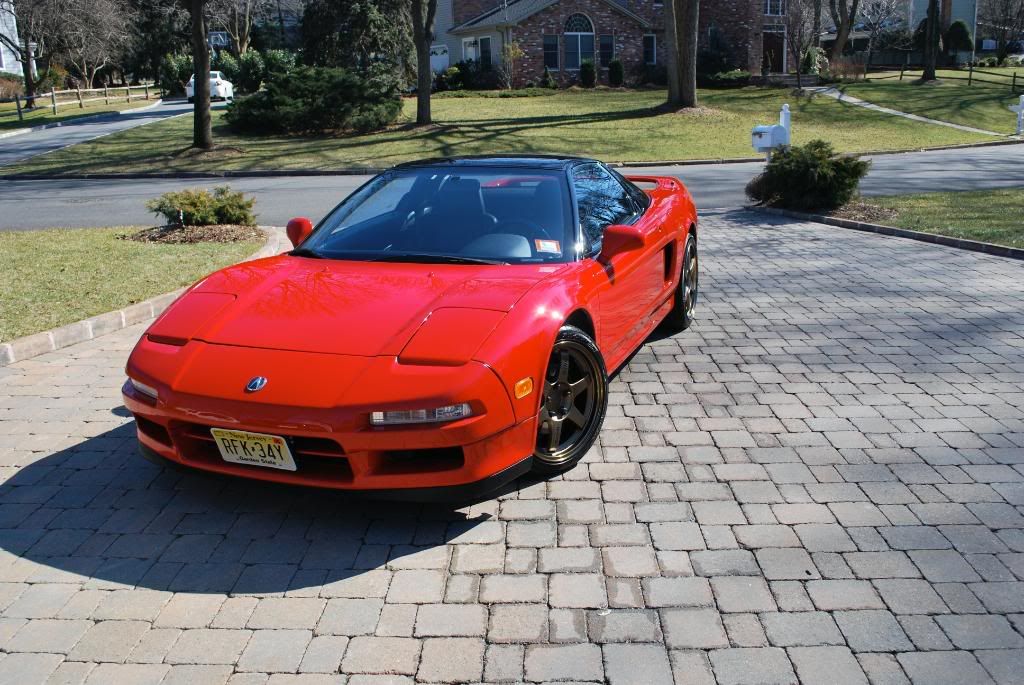
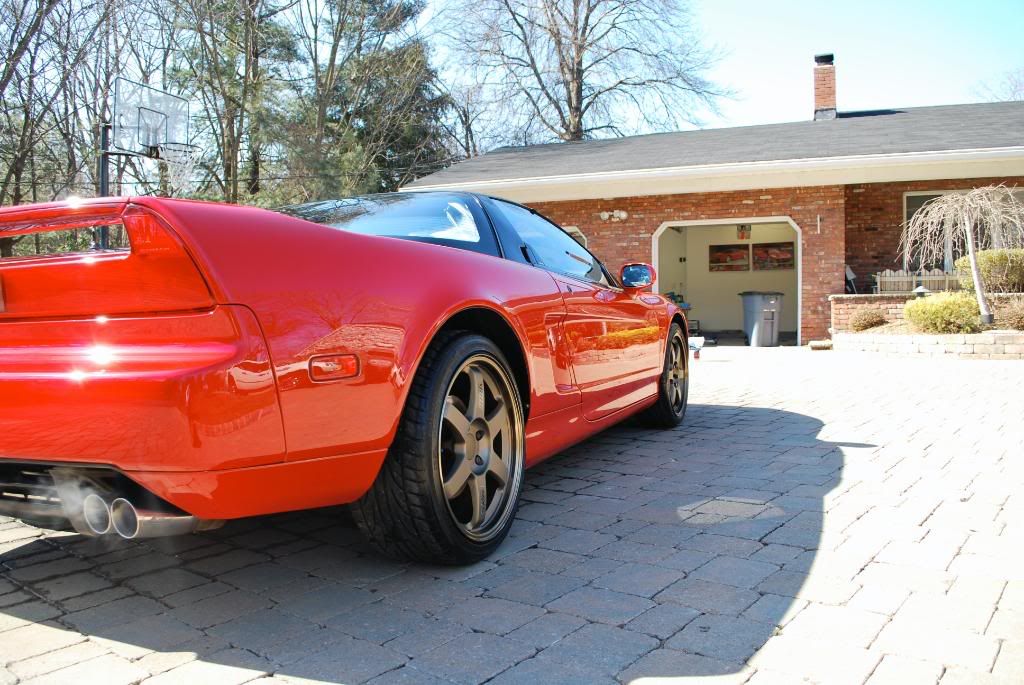
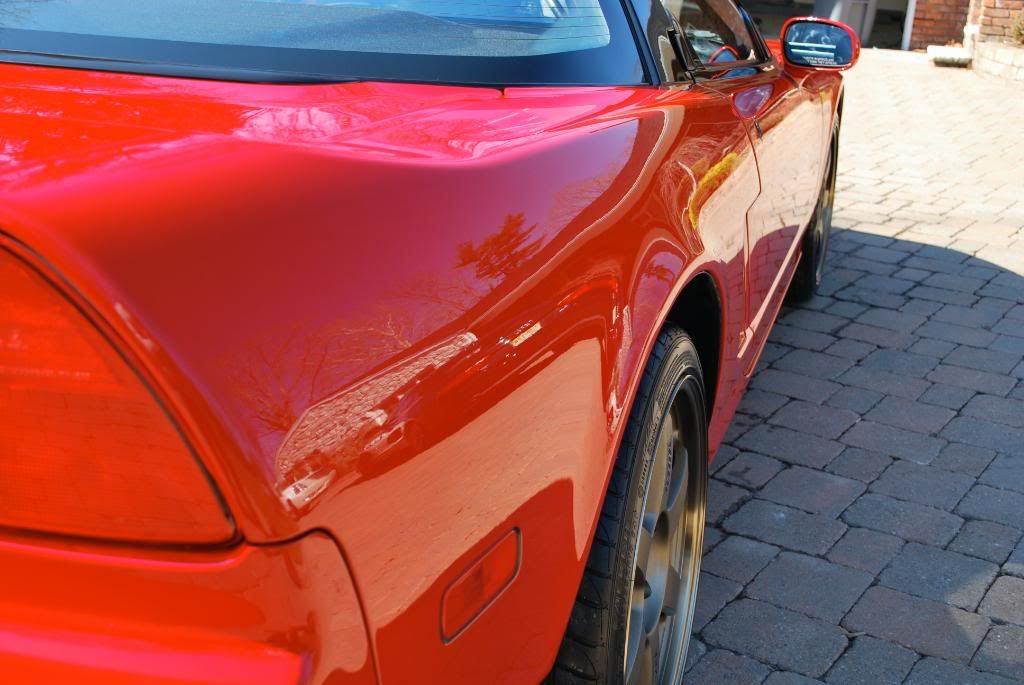
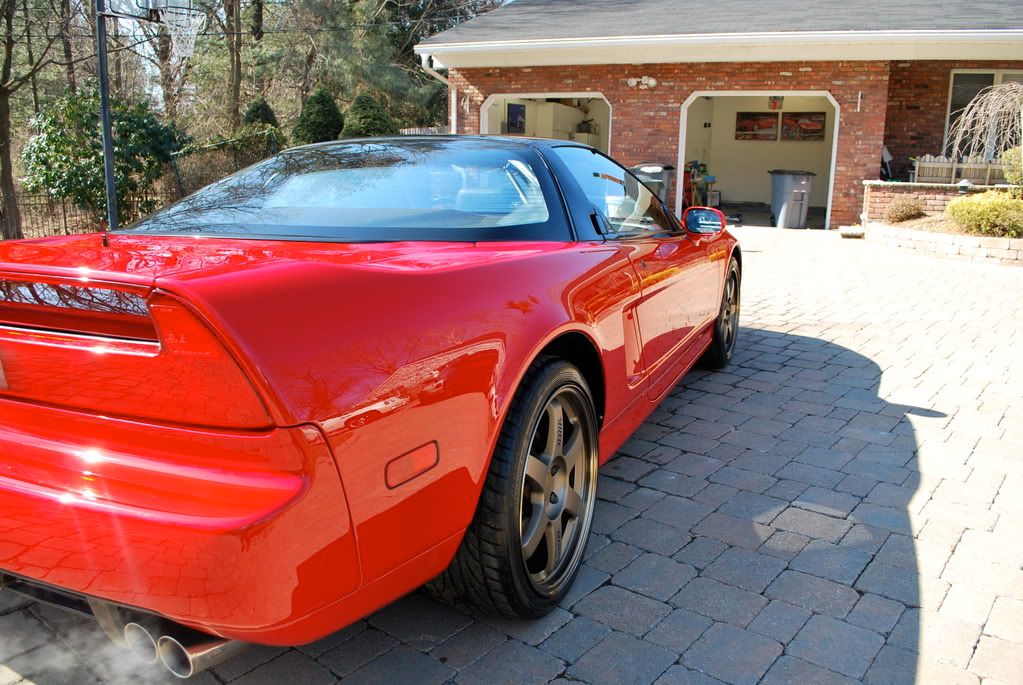
Now for the final shots after LSP
LSP was a 3 stack I find works awesome on colors especially like red and blue
1st- I used Danase wet glaze as a base coat. I find DWG gives a nice wet glow to the paint and on this red (which is pretty deep by nature) it really added a little pop to the finish. DWG has no cleaners or fillers and is fine to be layered over
2nd- I used Gloss It Gloss Finish sealant for the protection, this product has rivaled ZFX`d Zaino in every situation from extreme summer heat to ice cold winters. It leaves that same Zaino clarity just with some added depth.
3rd- My final and favorite product used was Gloss It Cocourso Gloss. This product is purely for looks, on its own it has a bit of protection but when layered over your sealant of choice it just takes the finish to a deeper wetter level.
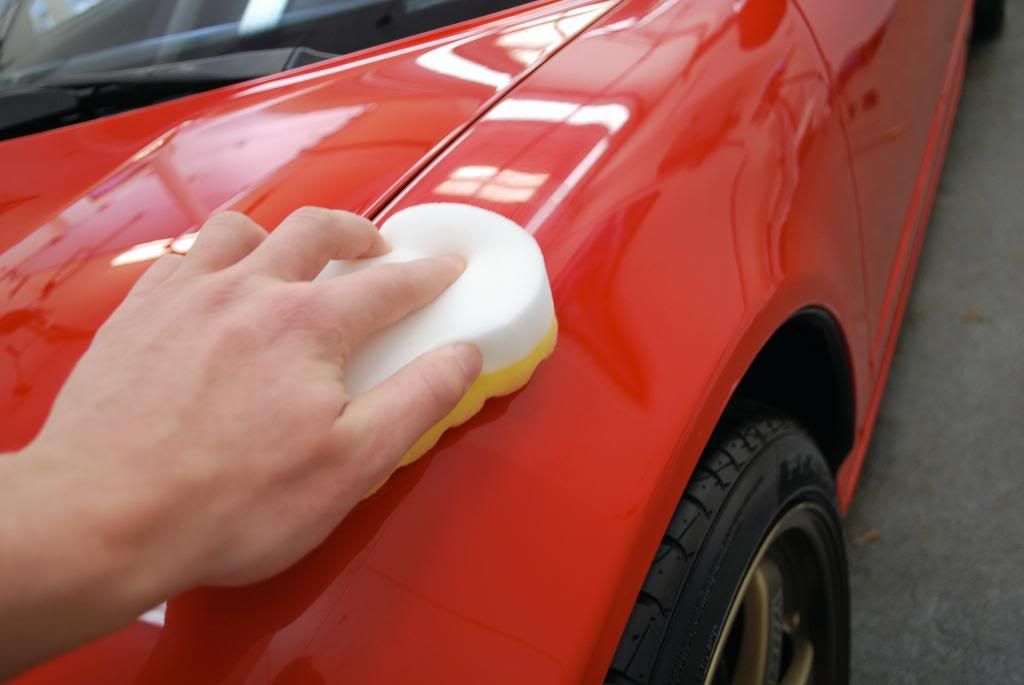
All 3 LSP products were applied by hand with the 100ppi gold CCS hand applicator pads, these pads are very soft and buff very smoothly. Unfortunately they do not make an oval version of this pad without the white polishing pad as a backing (these are the ones I have)
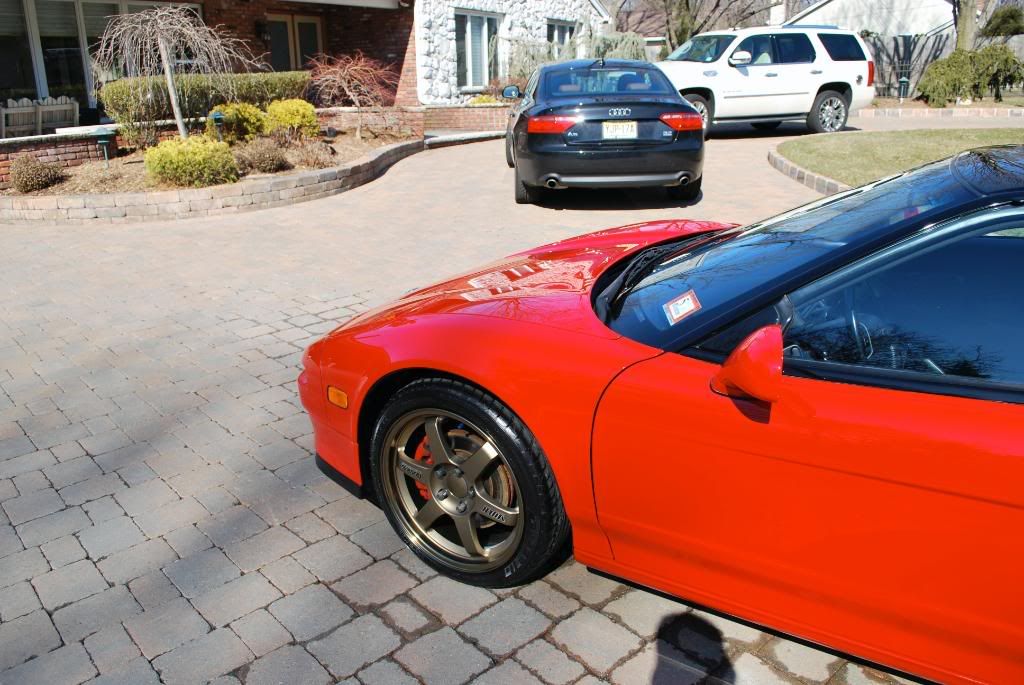
Now some final shots, tried to get as many sun shots as possible.
-
02-26-2009, 05:32 PM #6
- Join Date
- Oct 2007
- Posts
- 1,423
- Post Thanks / Like

This car has no cats and a full ARK exhaust, it sounds incredible
After the final GI gloss enhancer wipedown before being delivered
 [/B]
[/B]
Total time for the interior and exterior was around 36hours.
Thank you as always for letting me share :2thumbs:
-
02-26-2009, 06:05 PM #7
- Join Date
- Mar 2006
- Location
- White Plains, NY
- Posts
- 2,714
- Post Thanks / Like
Great work and great write up.
Detailing Technology - specialista vernice di correzione
-
02-26-2009, 06:21 PM #8

- Join Date
- Oct 2002
- Posts
- 4,536
- Post Thanks / Like
Excellent work:spot Enjoyed the pictures and write up, great job.
Anthony"The Art & Science of Auto Detail"
-
02-26-2009, 06:39 PM #9

- Join Date
- May 2011
- Posts
- 4,058
- Post Thanks / Like
i said it once and ill say it again! at nineteen you are so far ahead of the game! you make it look like you 10 years of quality work under your belt! outstanding detail! very nice work! great write up! seriously congrats on another good detail!!!!!! :xyxthumbs and by the way nerd or no nerd i always say huh and what now! i wish i would have gotten into wearing ear protection when i started!!! good work man!!!!
Barry E. Theal
Presidential Details Of Lancaster PA
Founder of Americana Global Inc.
-
02-26-2009, 07:02 PM #10
- Join Date
- Mar 2009
- Posts
- 162
- Post Thanks / Like
Top job. Excellent work.
What a beast that interior was. I`m betting you`re thankful that it was as small as it was.
I wish I had a proper driveway for that wheelie-ma-bob you`re kneeling on.~Brett
-
02-26-2009, 07:40 PM #11
- Join Date
- Apr 2009
- Posts
- 91
- Post Thanks / Like
VERY nice!! I love the early NSXs that had the fixed roof, and the blacked out canopy look, but most of the ones that I see now are in rough shape...especially the red ones. It is good to see one brought back from that condition!
Would the process you used on the seats work on a TL with a parchment interior as well?
-
02-26-2009, 07:53 PM #12
- Join Date
- Aug 2004
- Location
- Atlanta area
- Posts
- 128
- Post Thanks / Like
Amazing work! Thanks for taking the time to post all those pics and do a writeup.
-
02-26-2009, 08:14 PM #13
- Join Date
- Mar 2008
- Location
- Colorado
- Posts
- 340
- Post Thanks / Like
I think this is NSX week on autopia. I liked the write-up. Cleaning all of the dirt out of the interior must have been a nightmare. Strong Work.
-
02-26-2009, 08:38 PM #14
- Join Date
- Oct 2007
- Location
- CYPRUS
- Posts
- 1,376
- Post Thanks / Like
LUCKY YOU!!!!!!!
Amazing work on an Amazing car!!!!!
Fantastic work and nice write up mate...Thanks for sharing!!!I AM HERE TO LEARN!!!!
-
02-26-2009, 08:57 PM #15
- Join Date
- Jan 2007
- Location
- Eagan, MN
- Posts
- 230
- Post Thanks / Like
that interior looked like a blast!!!

Only thing worse than that is when an airbag goes off.
Great job!Its not called DETAILing for nothing


 Reply With Quote
Thread Information
Users Browsing this Thread
There are currently 1 users browsing this thread. (0 members and 1 guests)
Similar Threads
-
Big "A" Detailing Mini Cooper Polish + 1Z Glanz Wax
By AndrewBigA in forum The Detailers ShowcaseReplies: 16Last Post: 06-09-2013, 01:25 PM -
"The World`s most disgusting Mini?" revived by Tim Buxton of Knox Details
By Knox Details in forum Click & Brag -The Detailers ShowcaseReplies: 44Last Post: 10-20-2011, 03:58 PM -
Taurus SHO Wheel Resto Thread - 92-95 "Slicer" wheels
By Steve @ Guru in forum Tire, Wheel, Chassis and Engine DetailingReplies: 28Last Post: 11-03-2010, 10:18 PM -
dsms detail - Black Mercedes 430 "minor nightmare"
By dsms in forum Click & Brag -The Detailers ShowcaseReplies: 47Last Post: 04-15-2009, 07:09 AM -
"Mini Review" - Eagle 1 Spray Nanowax
By JaCkaL829 in forum Detailing Product ReviewsReplies: 0Last Post: 06-18-2006, 06:05 PM
Bookmarks