You Won't Believe This BMW, (tore up) Seeing Is Believing

I'm reluctant to post up this thread cause I don't want to give people the idea that this is an easy fix or can always be corrected.


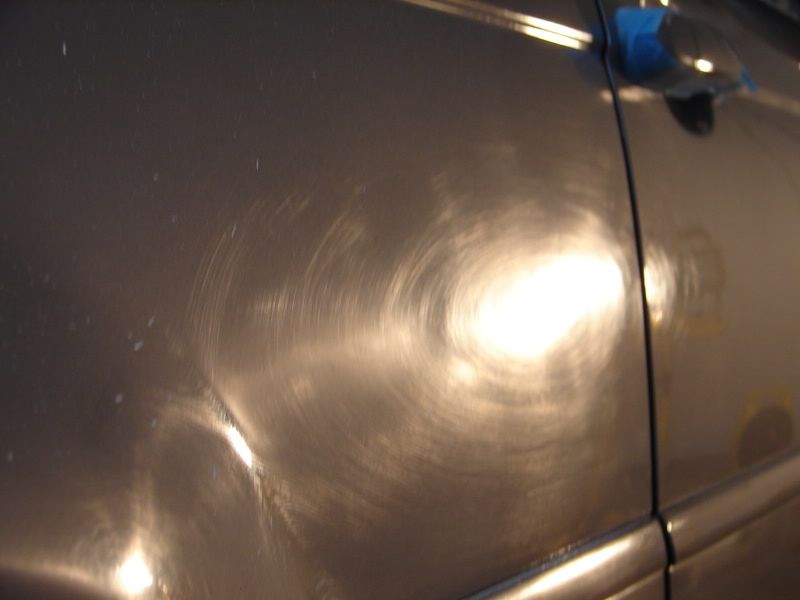
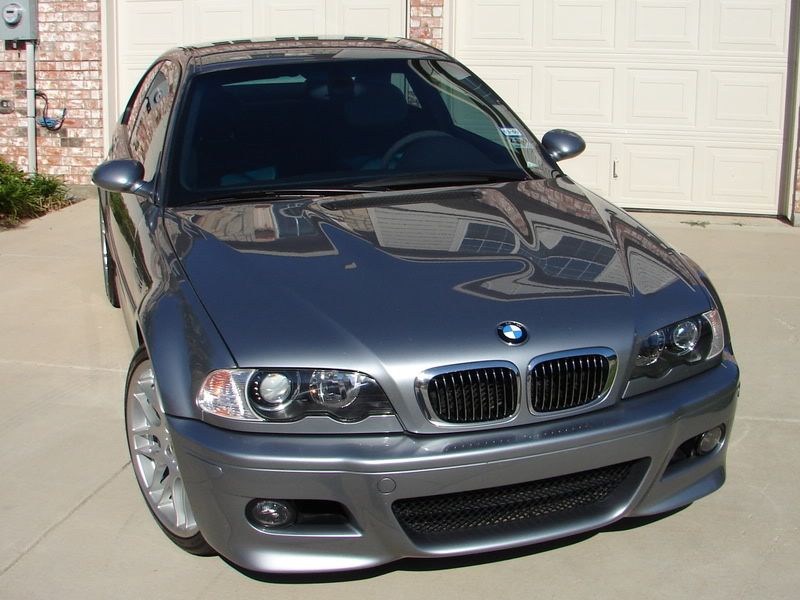
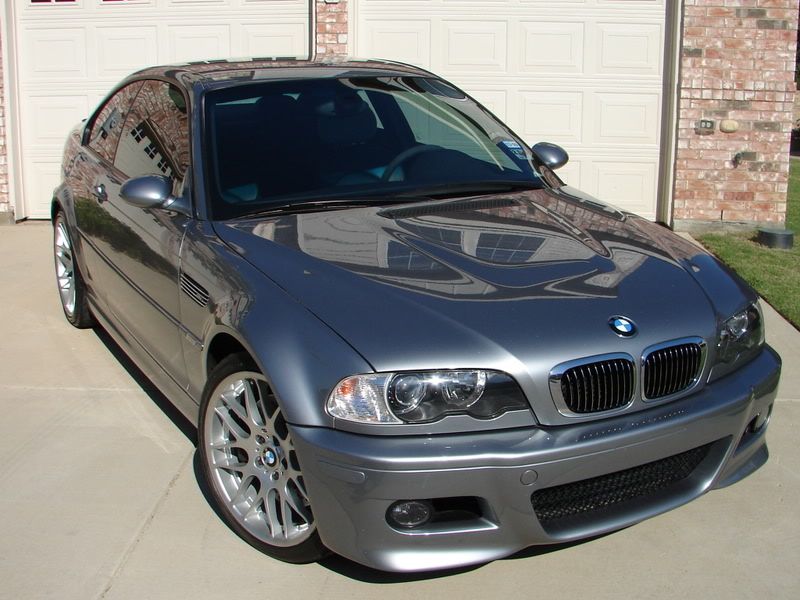
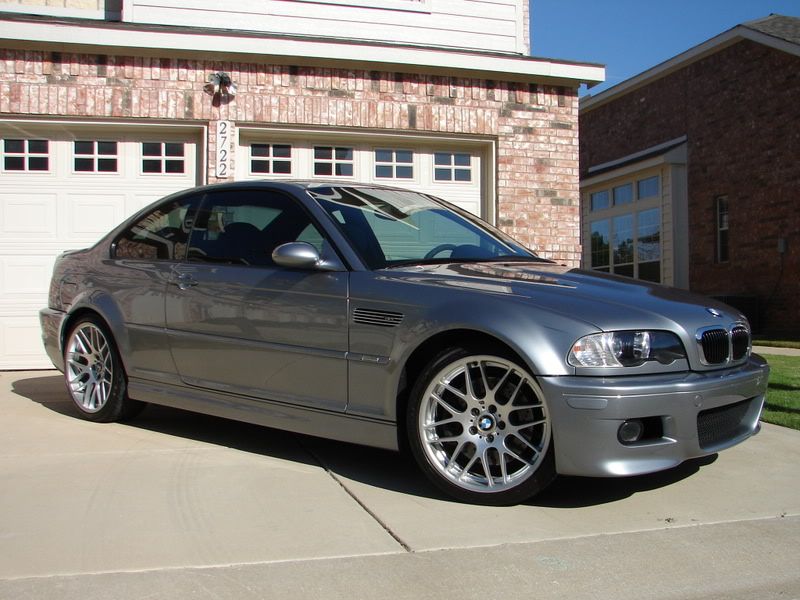
This is an 05 BMW M3. The owner contacted me about polishing out all the swirls and mentioned on the passenger side there was some "damage" but he thought I could take care of it. I just figured it was the typical deeper scratches or some scuff marks or something.... boy was I wrong.


The car wasn't in bad shape but the passenger side was a like a horror movie. (warning, do not look if you're pregnant or have a week stomach):faint:


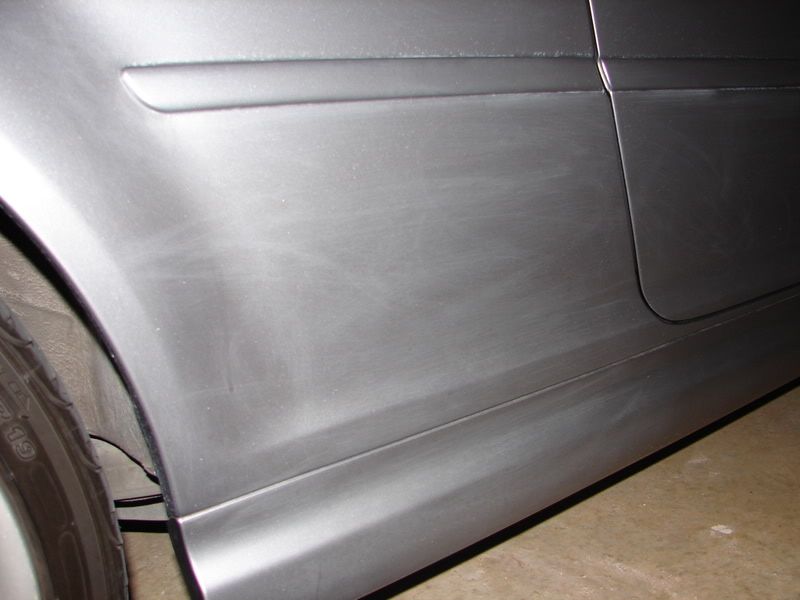
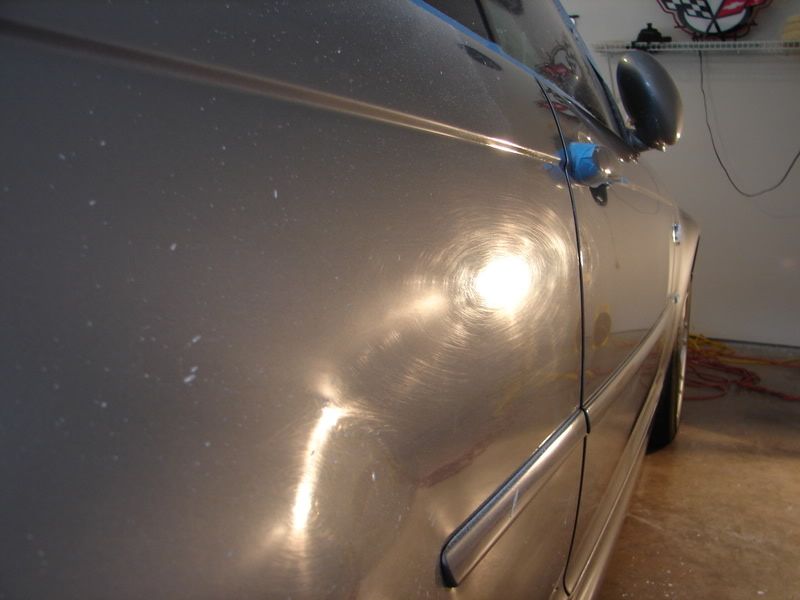
It looks like someone took steel wool or a brillow pad or something harsh to the paint in order to remove or wipe off something. Not sure exactly, but it was done by hand not machine and all around the grooves and moldings pretty bad.


After washing and claying, the car is in my garage already taped up.

DSC07267.jpg


DSC07269.jpg


DSC07266.jpg


DSC07271.jpg


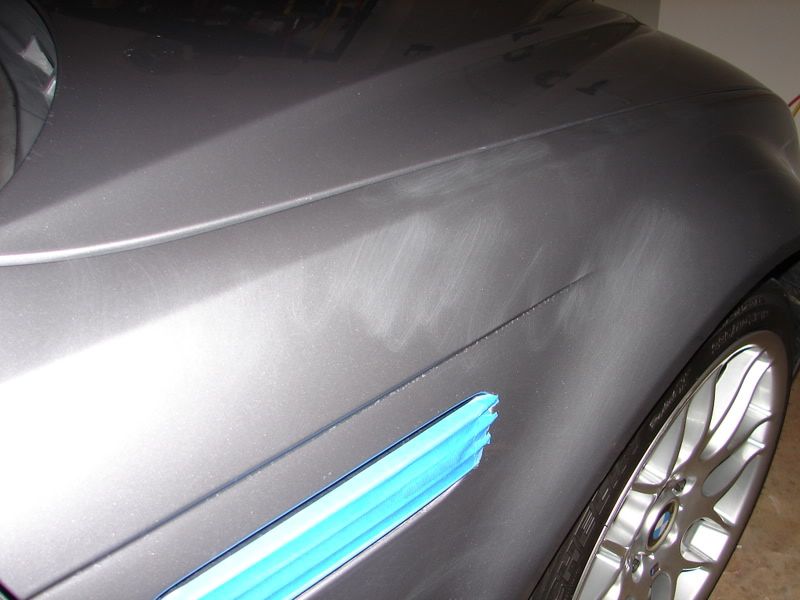
That was just the front fender.....:faint:


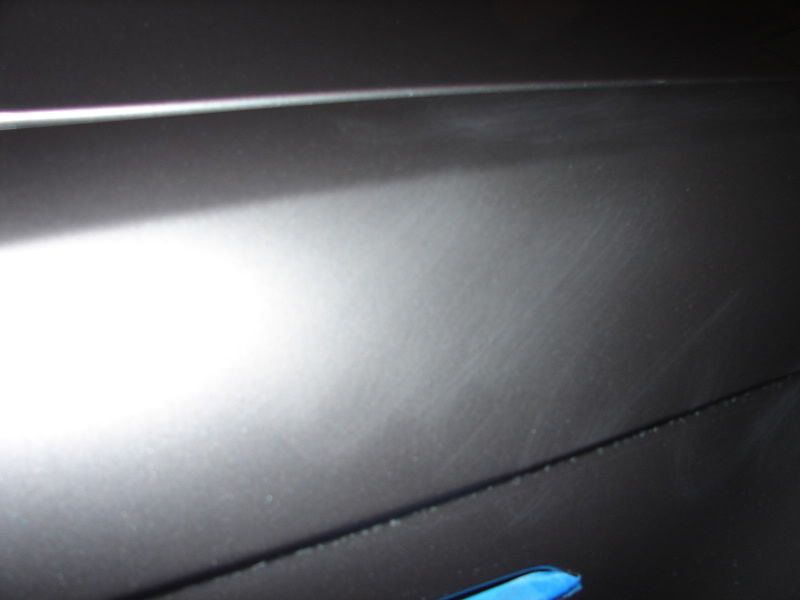
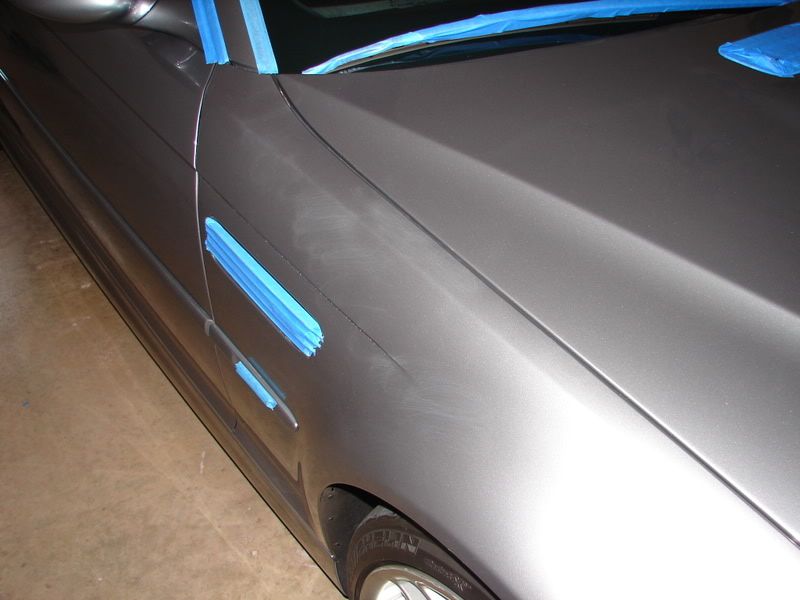
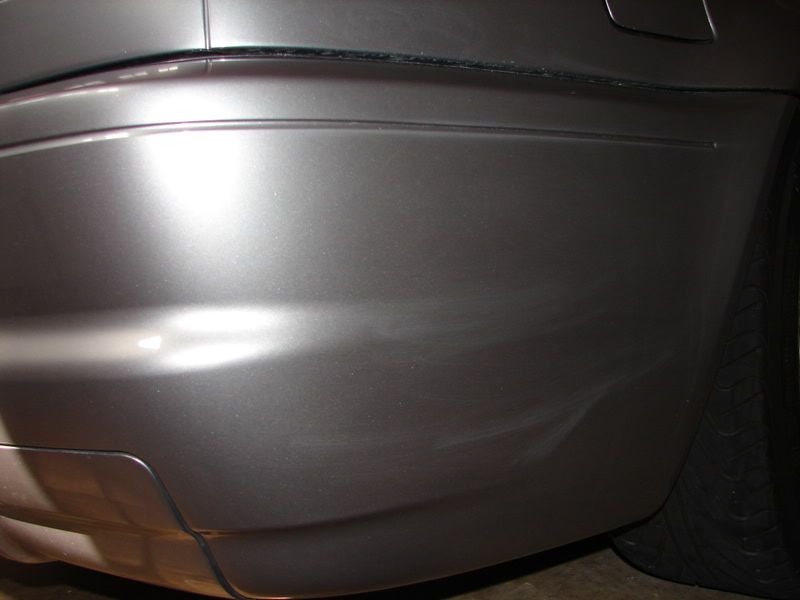
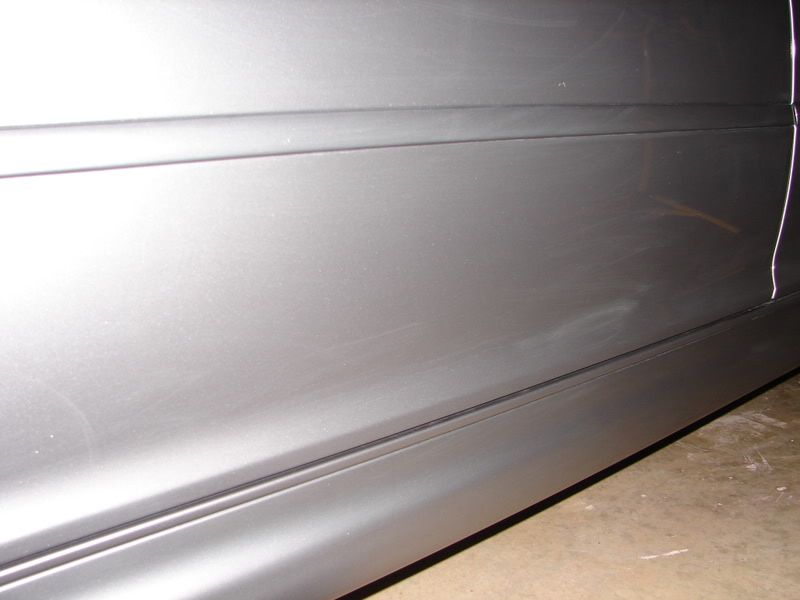
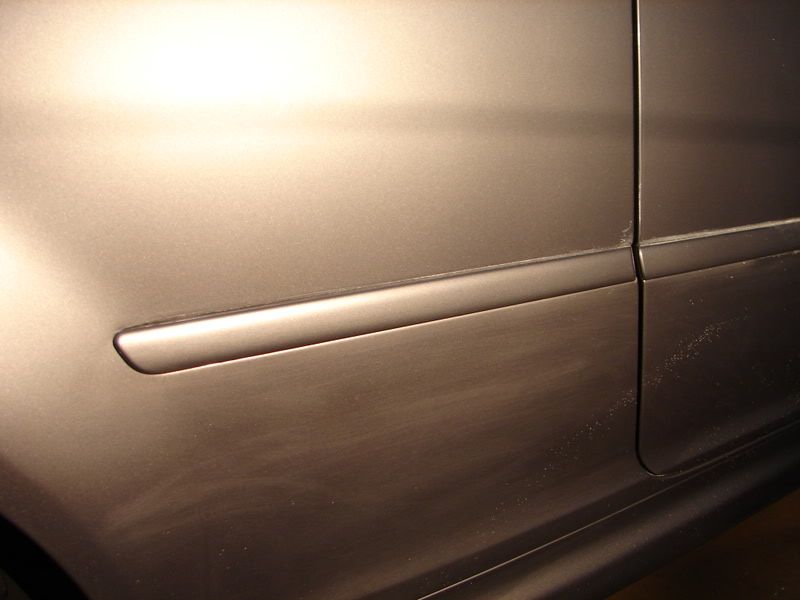
Then entire side of the car was this way, top to bottom and a little on the hood and trunk and even the curvy bumpers. Some areas were deeper then others and not all of it corrected, matter of fact I did good to get it 75% better.


DSC07282.jpg


DSC07281.jpg


DSC07279.jpg


DSC07283.jpg


DSC07284.jpg


DSC07289.jpg


DSC07290.jpg


DSC07291.jpg


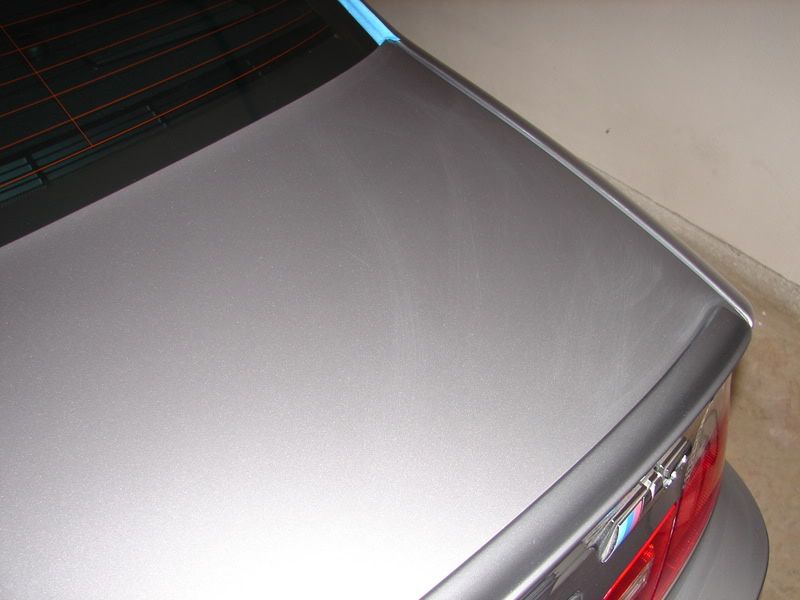
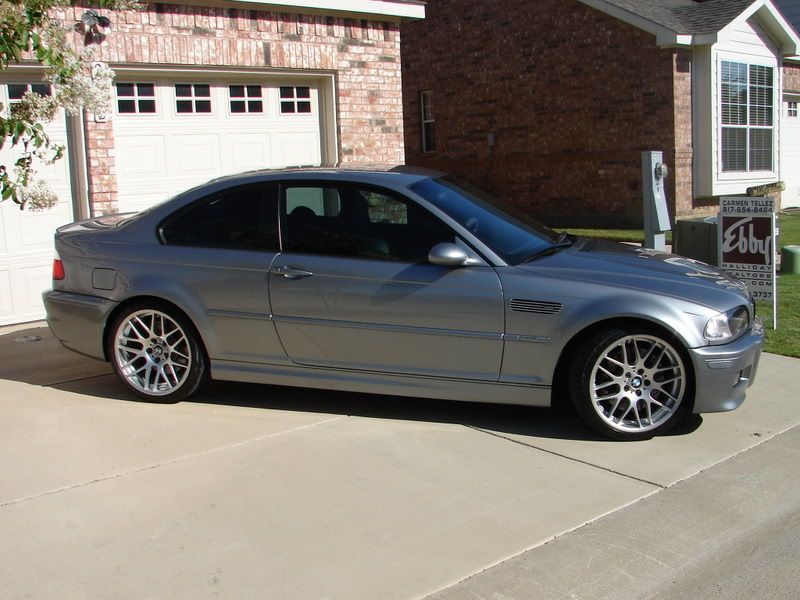
The rest of the swirls were not bad at all and difficult to take pics of due to the high metalic concentrate in the paint.


I should mention the owner purchased the car this was but was so excited when he got it the damage was looked over and unoticed. As should also be noted that on this color it is hard to see some things like swirls and this damage could easily be missed if in the proper lighting.


Now onto the process.....
 
So basically, I wanted to wetsand the whole thing but the owner was on a tight budget so I had to do what I could in a limited amount of time..... ended up being a 12 hour process, 7 of those hours just on the passenger side.


Here's the view I had to work with.


DSC07299.jpg


DSC07297.jpg


After about 2 passes with a twisted wool pad and Meg's M105 I still was not getting the results I wanted. Yes, it's better but definately not good enough.

DSC07301.jpg


So about two more passes at slightly higher rpms and a bit more pressure. I do not recommend this btw, this is an extreme condition that requires extreme steps.

After 4-5 passes with the wool and M105 and Menz SIP the results were more tollerable.

DSC07309.jpg


This is just after the intial compounding steps, I have yet to fine tune it so you may see a few swirls.

DSC07297.jpg


DSC07307.jpg


Some of these pics are taken with different lighting as it was hard to shoot the damage with the 500W so please consider that and not critisize the differnce in lighting. thanks.


DSC07290.jpg


DSC07305.jpg


Here's a good 50/50 shot that you can tell the difference in the top panel to the bottom panel.

DSC07304.jpg


AFter the intial compounding I went over the passenger side with some Menz SIP and a white pad to fine tuen it a bit more.


The rest of the vehicle was finished down with Menz IP with a white pad and rotary. After that I took the PC to it was some Zaino ZPC (fusion) to lay a good foundation for the sealant, and then a couple coats of Z5. :xyxthumbs


Now onto the glamour shots.:drool:
 
So now that all the heavy compounding is complete, the finishing down is complete and I've gotten the condition to a tollerable standard, I finessed it with the PC and sealed it up nicely.


Here's the total after shots in the sun. The difference is amazing.;)


But first some more pics of the damaged panels.

DSC07328.jpg


DSC07327.jpg


DSC07329.jpg


DSC07324.jpg


DSC07323.jpg


DSC07322.jpg


DSC07321.jpg


DSC07320.jpg


DSC07319.jpg


Nice shot of the flake.

DSC07325.jpg


The rims

DSC07351.jpg


DSC07350.jpg


DSC07330.jpg


DSC07349.jpg


DSC07379.jpg


More pics to come
 
AMAZING Turn around... How does somebody do that to their cars paint? Did a clay bar not get sap off so they turned to a brillow pad? :shocked
 
And the final shots of the entire car.:cool:

I must say that I really love this color cause it has the flake of a silver paint but the depth and reflectivity of a dark grey color. Very nice.


DSC07378.jpg


DSC07377.jpg


DSC07376.jpg


DSC07375.jpg


DSC07374.jpg


DSC07371.jpg


DSC07369.jpg


DSC07368.jpg


DSC07366.jpg


DSC07365.jpg


DSC07363.jpg


DSC07362.jpg


DSC07361.jpg


DSC07360.jpg


DSC07359.jpg


Thanks for looking,


Josh:usa
 
JAMESZ said:
AMAZING Turn around... How does somebody do that to their cars paint? Did a clay bar not get sap off so they turned to a brillow pad? :shocked


Thanks, both the owner and I are not sure how it happened, he bought it this way but didn't see it till about a month later.


We think maybe something got sprayed on it (due to black water spotting) and then maybe someone tried to wipe it down with a brillow pad or something bad.... The scratches are soooo much deeper then they look in the pics. Even the windows were scratches like the paint.


This was probably the worst damaged car I've ever had to work on.
 
what a turn around that was! that looks like a brillo pad or some seriously dirty wash water got to that thing!


very nice work....
 
hXc drummer23 said:
Great Job. I love the M3's. Is it just me, or are the front windows tinted darker than the back ones?


Thanks, no the windows are all the same, it's just the angle. One pic makes the fronts look darker and the pic above it makes the rear windows look darker so it's just the angles.:xyxthumbs
 
bwalker25 said:
what a turn around that was! that looks like a brillo pad or some seriously dirty wash water got to that thing!


very nice work....


Thanks, whatever it was, it was deep. They managed to scratch up all around the little things too like the side moldings and door handles, those areas were extremely difficult to correct due to the tight, small area and curves and even deeper scratches.


Just crazy how bad this car was. Thanks again.:bigups
 
Wow. That's out of my abilities. Sick recovery.


I'm guessing it was backed out of a driveway along some very stiff shrubs--while the car was dirty.
 
maybe the dirt was really stuck on there and he needed some extra bite to remove it so he tried to wash it with a brillo pad? :) maybe it was an off road m3?


I looked again, and damn what a great job ;)
 
GREAT RECOVERY! You could probably have saved 1/3 of those 12 hours by wetsanding with 3000 grit to level the surface, then use M105 (or 3M Extra Cut). If the scratches were deep enough, you could even have done it with a combo 2500 then 3000 finish before compounding.


The trunk lid on this 745i was completely wet sanded with 3000 on an orbital, then compounded with 3M Extra Cut (tried foam but wool actually finished better). The quickness of sanding drastically shortened the multiple passes that would have been used by strictly compounding.


745iBlueTrunkLidCompounded.jpg


Toto
 
Back
Top