dont expect a miracle, but improvement can be made!
*this is the type of thing a person needs to have access to a $200 clunker practice car to learn with* ")
I've known some that will visit a salvage yard and buy a hood with decent clear and chips to practice on. A decent hood from most models is over 10 years old can be purchased for under $50. good investment to educate yourself for an instance like this one.
paint thinner is a judgement call you need to make.
Question. Is this jag a base/clear?
Supplies
- You are going to need touch-up paint for this repair. visit the local paint supplier for a touch-up bottle of paint. Jaguar dealer will likely have this in stock under the correct paint code. Have the VIN ready.
- 3M rubber blocks can be purchased at most local auto part stores. grab a large and small one
- sand paper! nothing greater than 1000 should be used. grab 1000, 1200, 1500, 2000
- have a Griots 3" pollisher? they come in handy with a cushion pad and the sand paper grits mentioned above, along with 3000 *lets assume the answer is NO for this instance*
- water/soap mix in a spray bottle as lube for sanding.
- clean / clay the surface
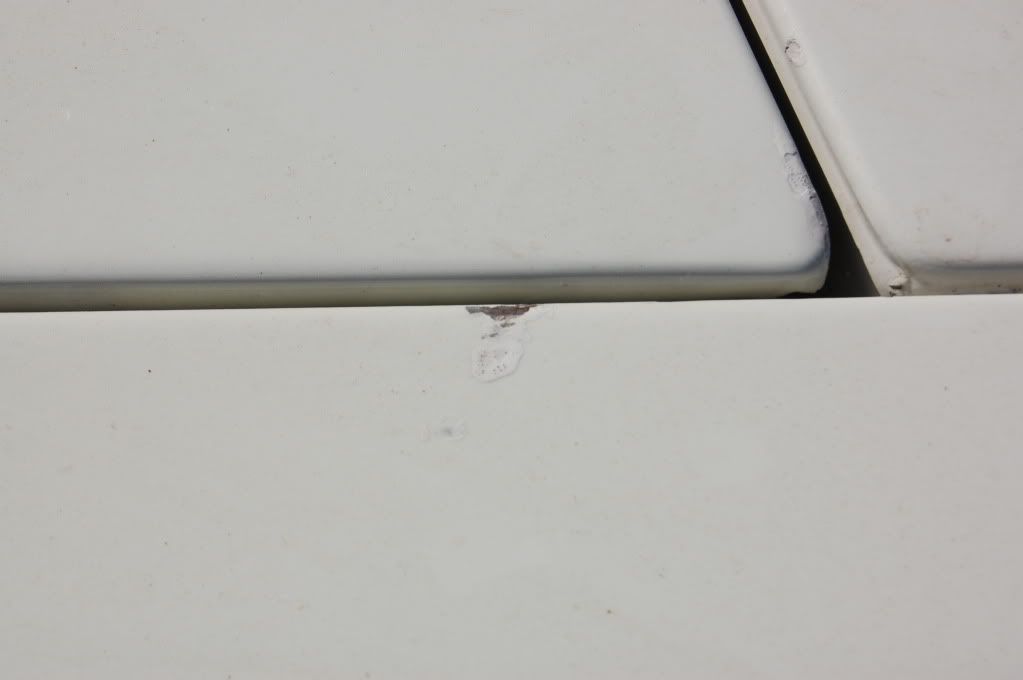
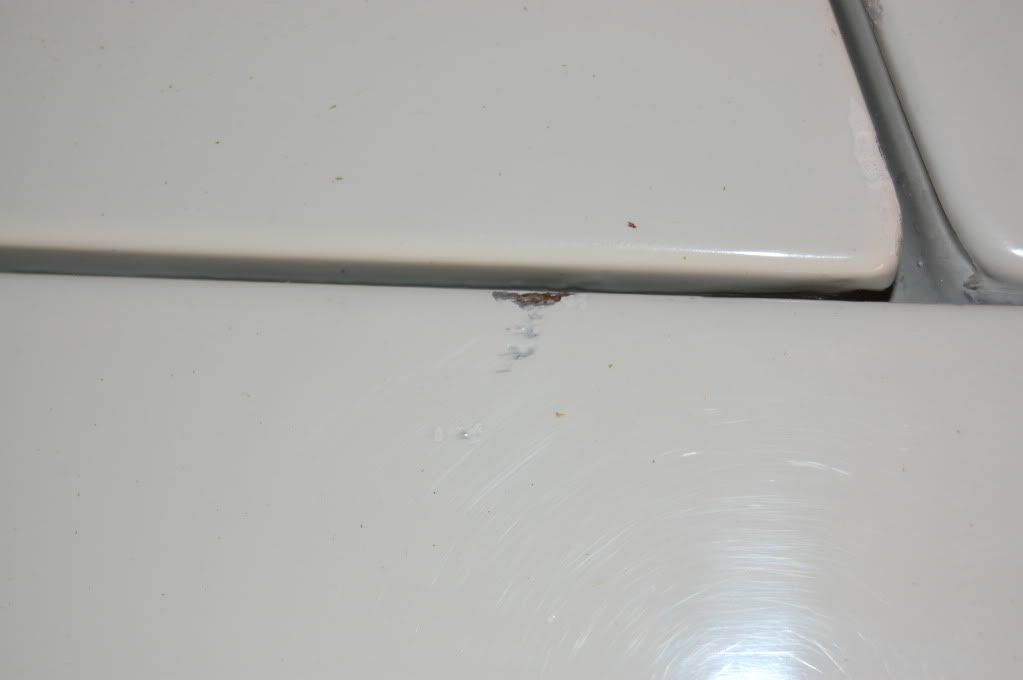
- with the rust showing in the photo, would be a good idea to hit with IronX
- clean with ISA
- feel the surface. is the mismatch touch-up paint higher than the surrounding area? if yes, lightly "block sand" with the 3m rubber and 1200. CONSTANTLY check the surface!
- if the touch-up paint on the car is lower than the factory paint, breathe easy! build up the void with the new touch-up paint. I like to give things 30 min to 3 hours between coats. *depending on size of painted area*
- once the touch-up paint is higher than the surrounding area, and dry; it's time to work on sanding.
- same process mentioned above. 3M rubber block wrapped with sand paper, water/soap for lube, and CONSTANTLY check the surface after a few passes sanding.
- when the surface begins to feel closer to level, swap for a finer grit of paper. most sanding marks are easy to remove with compound and a DA. finer the grit, less the compounding/ polishing is needed.
- when the area is level, wiped clean and dry it's time for polishing
- the chips in the photos are on edges. BE CAREFUL! take your time. The hard part is over.
I'm sure others will chime in with good advice as well.
hope it helps!
chris<pixelmonkey>