Well for those of you who read my Panamera write up a month or so ago: http://www.autopia.org/forum/click-...ction-engine-interior-our-first-200k-car.html
This is would be the Ferrari i made mention of in that write up. This was a dream to do. Not only was it a beautiful exotic in our favorite color for a Ferrari, it was also a perfect example of why even 'detailed' cars are not usually up to par with what we consider...detailed.
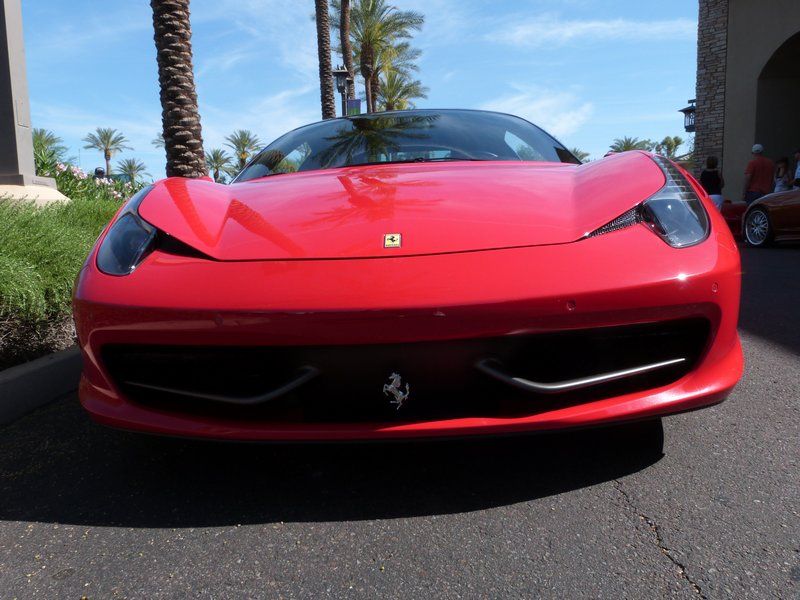
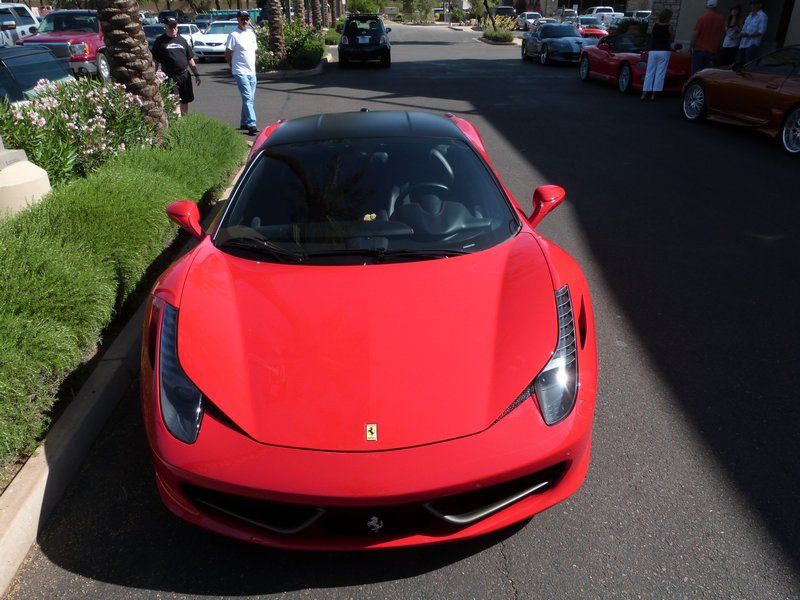
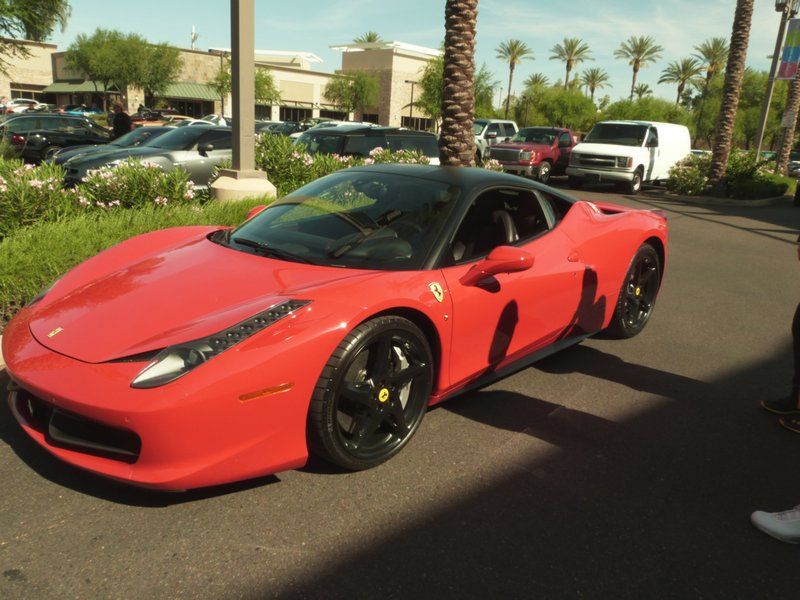
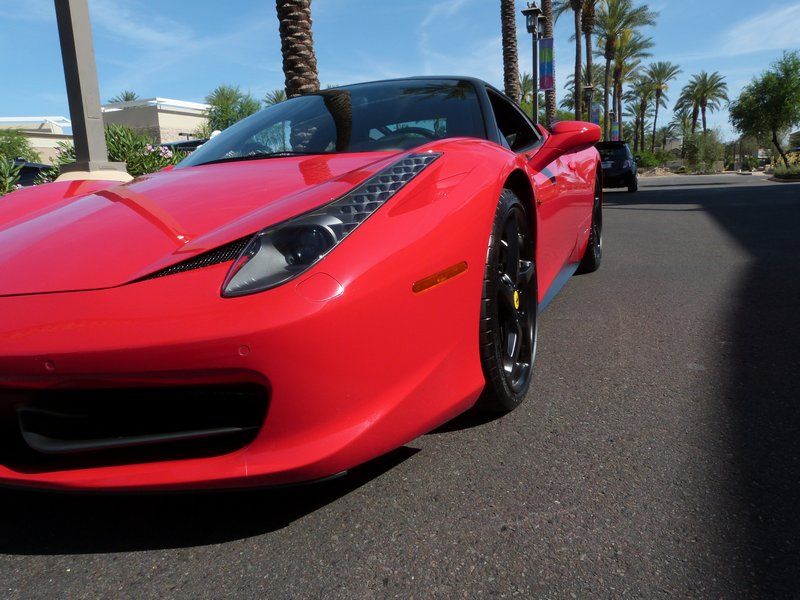
Here she was waiting for us:
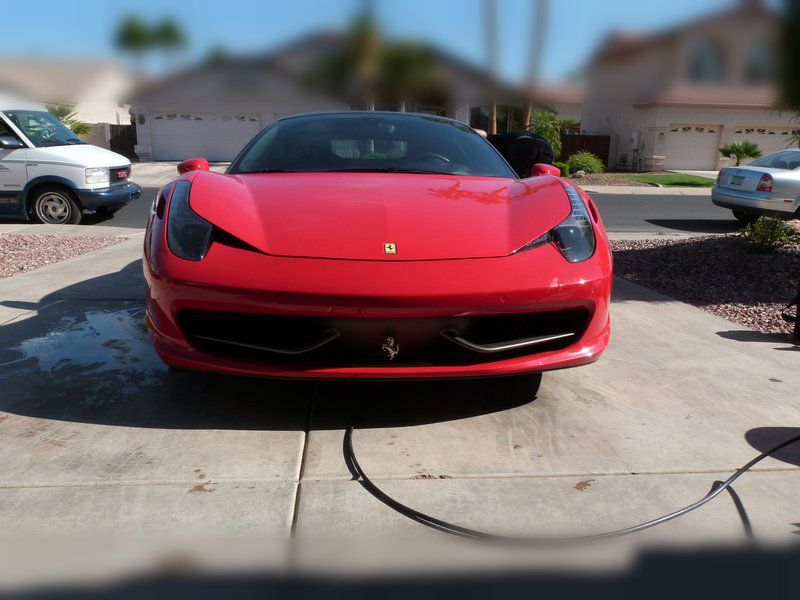
The lesson to be learned from this baby was, what looks good from afar does not always look good up close. While the Italia was quite clean (with the exception of the wheels and some spots on the engine), it was apparently very well waxed too, as the water beaded up very nicely when we went to wash it and the paint was pretty slick too. The owner also had it detailed quite often, but even with all that, it didn't meet our standards. What standards? Well, these...
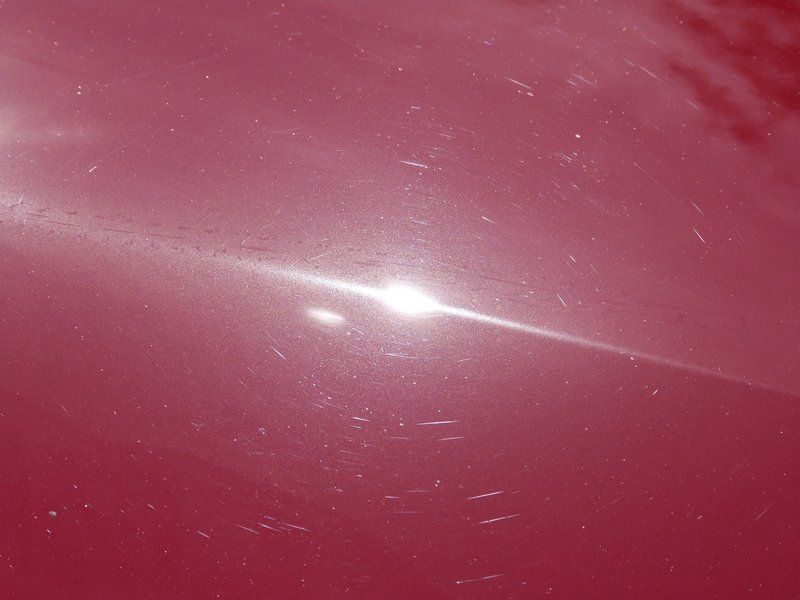
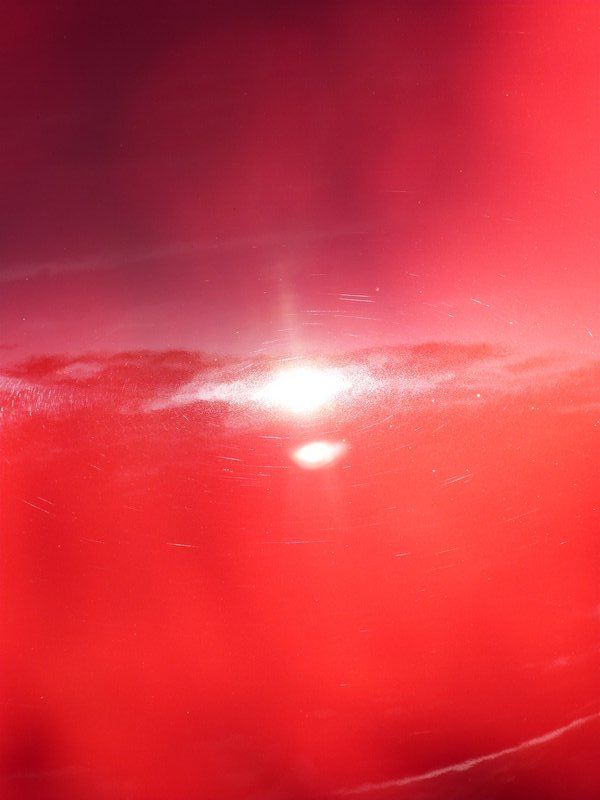
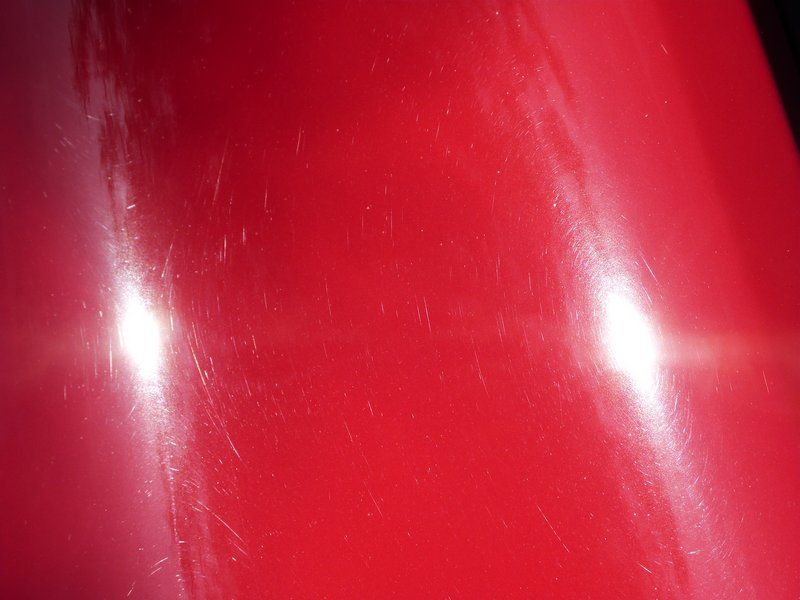
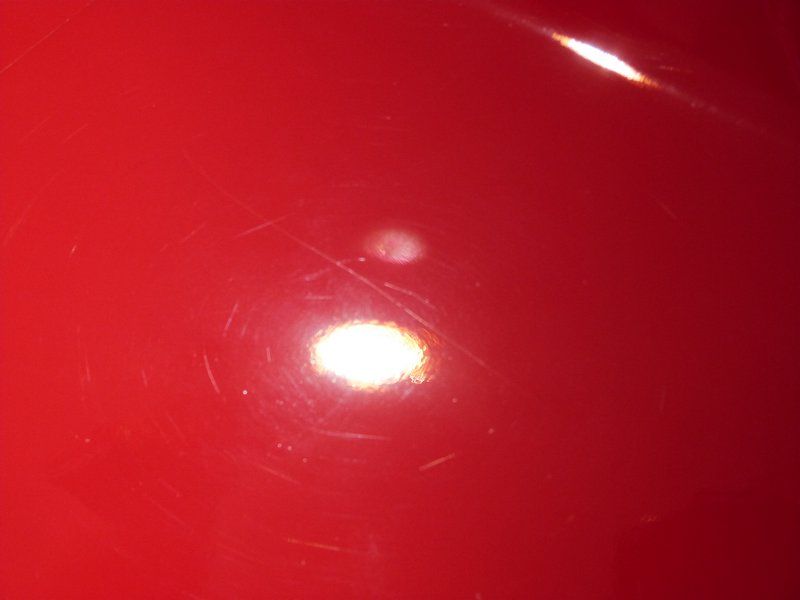
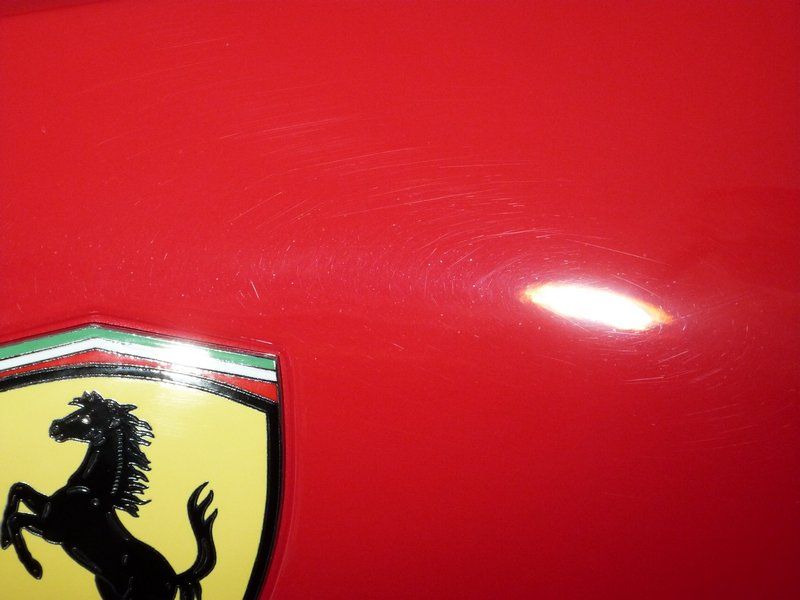
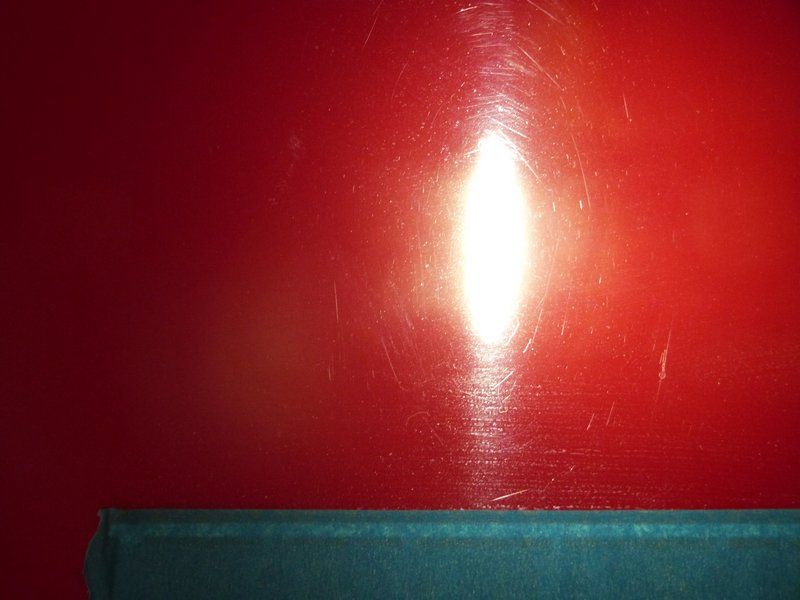
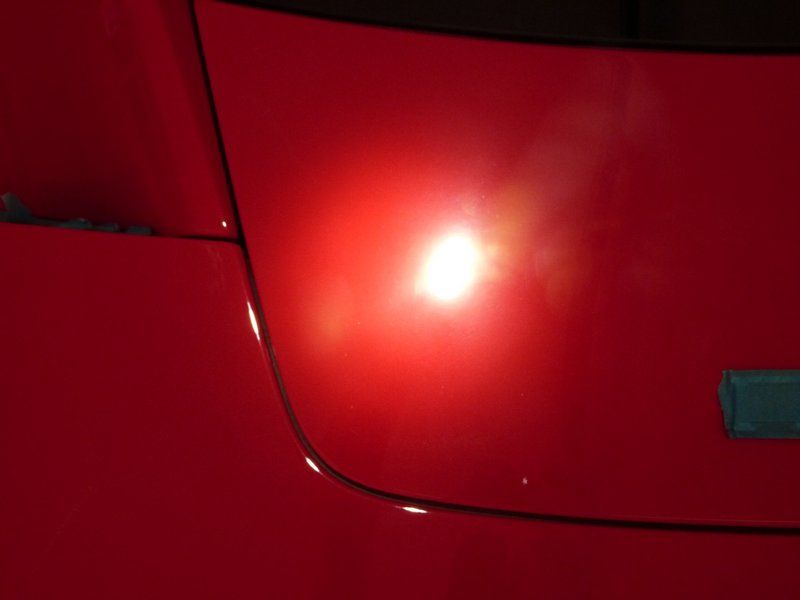
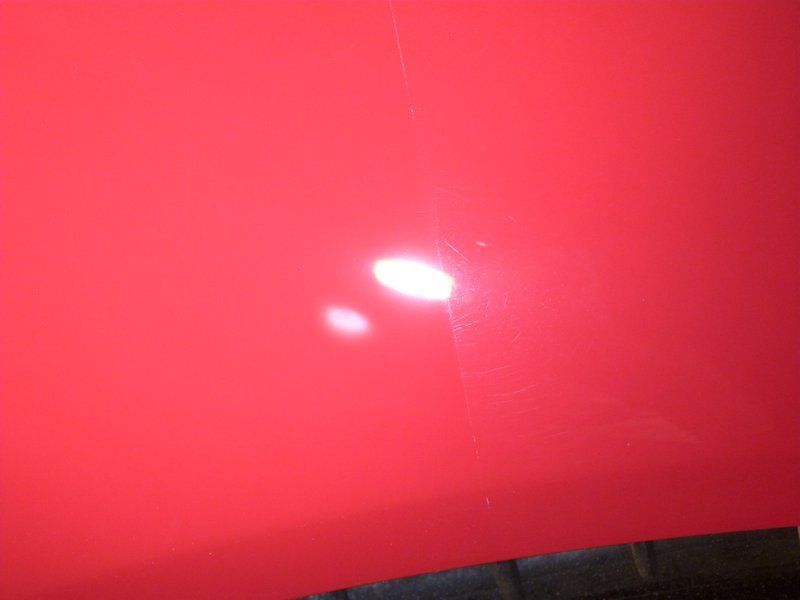
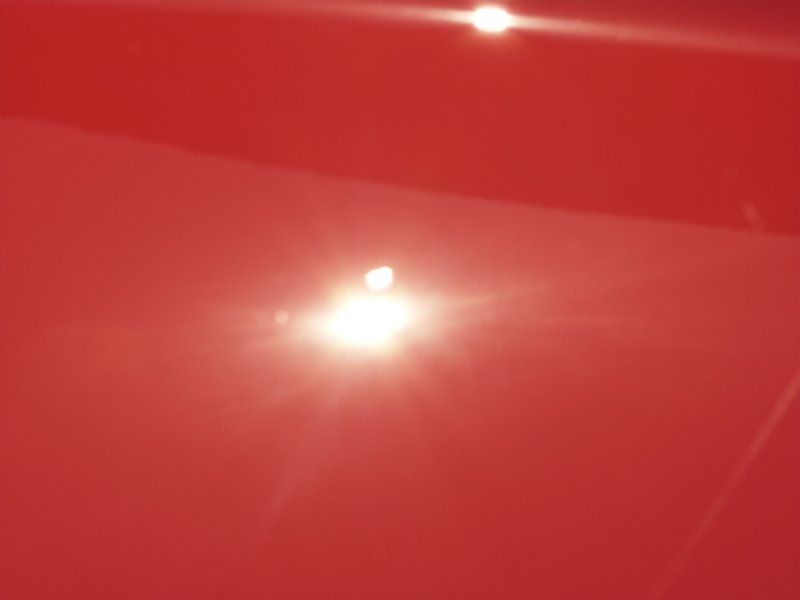
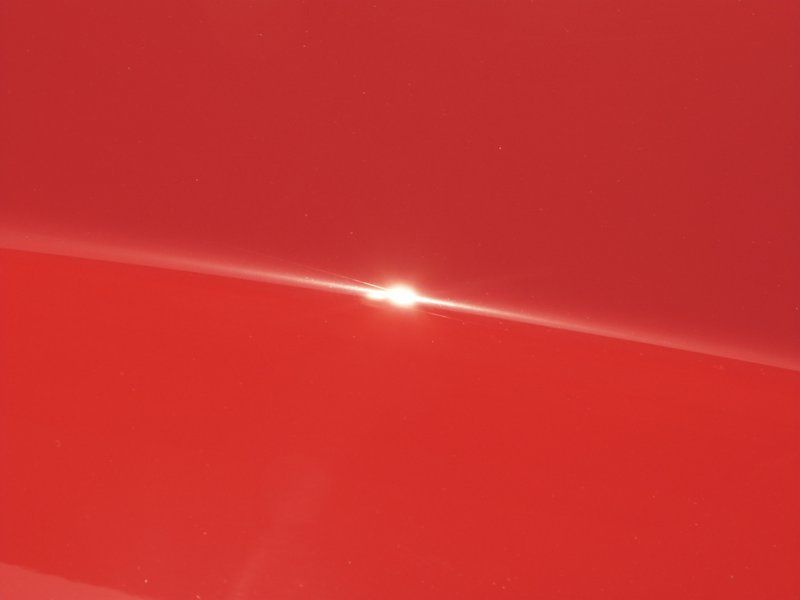
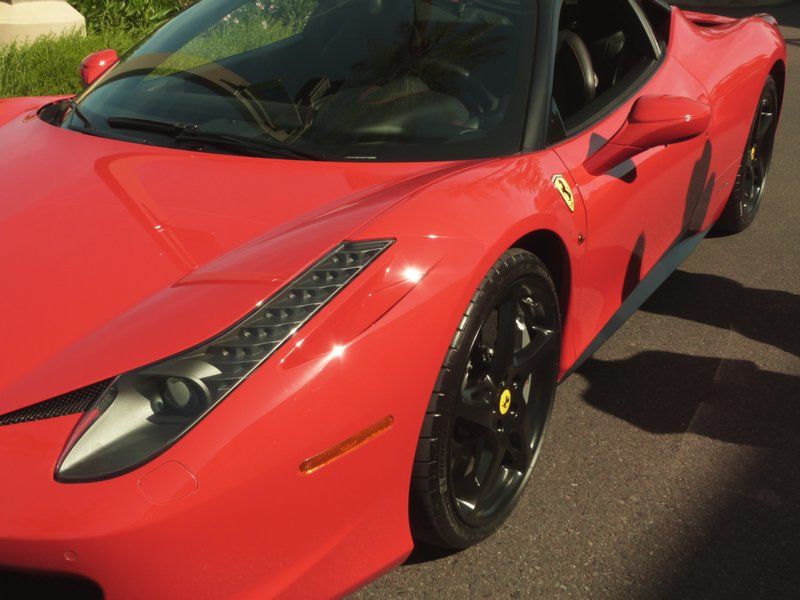
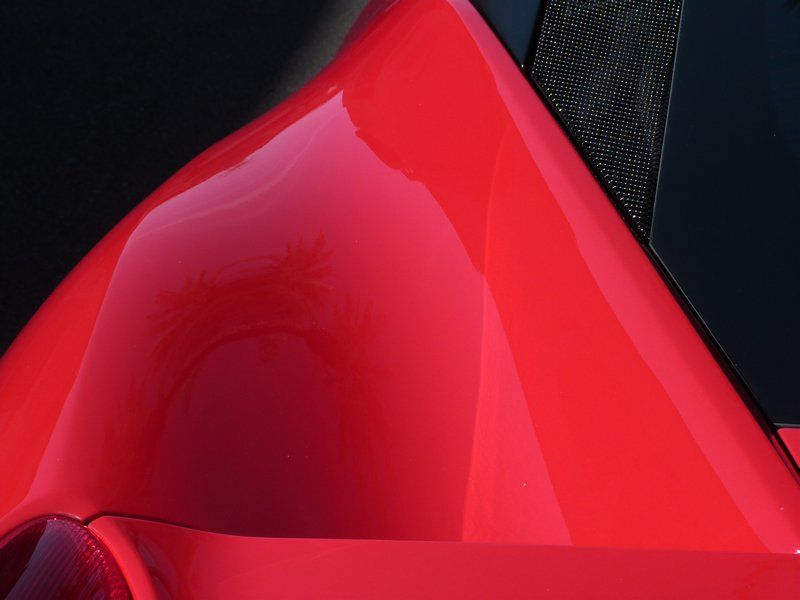
Welcome to the wonderful world of swirls folks. These little guys don't care if you're a Ferrari or a Fiat, they will show up with no problem over time if your ride is not properly cared for. When i say cared for that includes things as simple as washing, the wrong technique as well as using dirty mitts/water/towels will eventually scratch the paint and leave you with these. So like i said, what looked beautiful from far away, was a bit more flawed when inspected up close in direct light (in this case the sun).
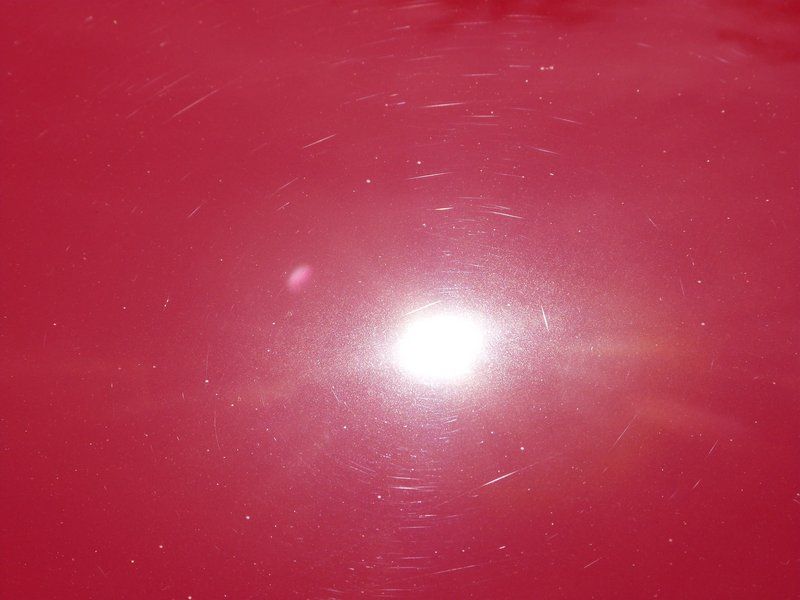
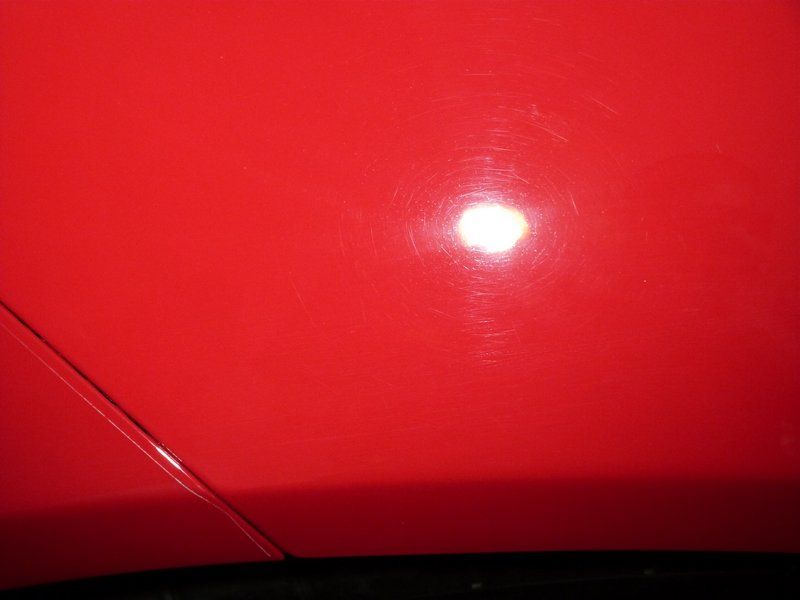
In our book of standards, these are not acceptable. While they take a great deal of time, knowledge and skill to remove...it is very possible...which we will show soon enough. But for now, a few more photos of the swirls.....
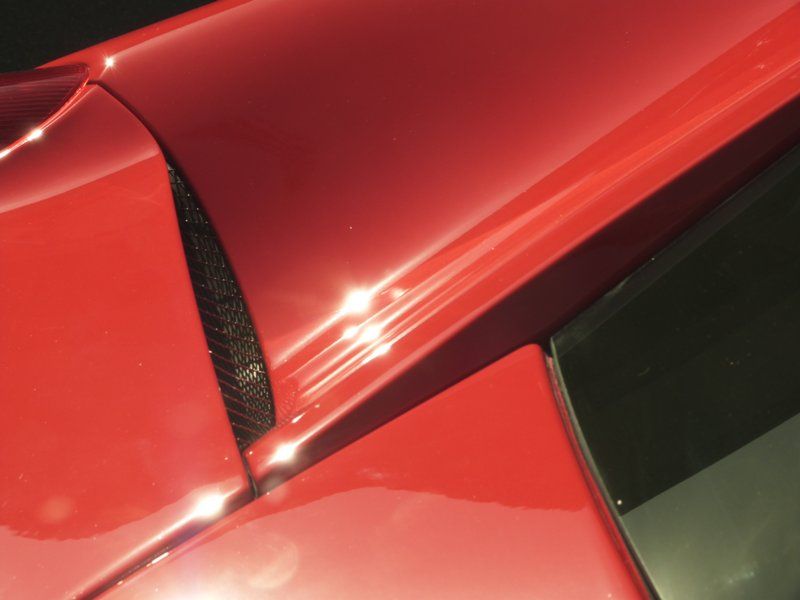
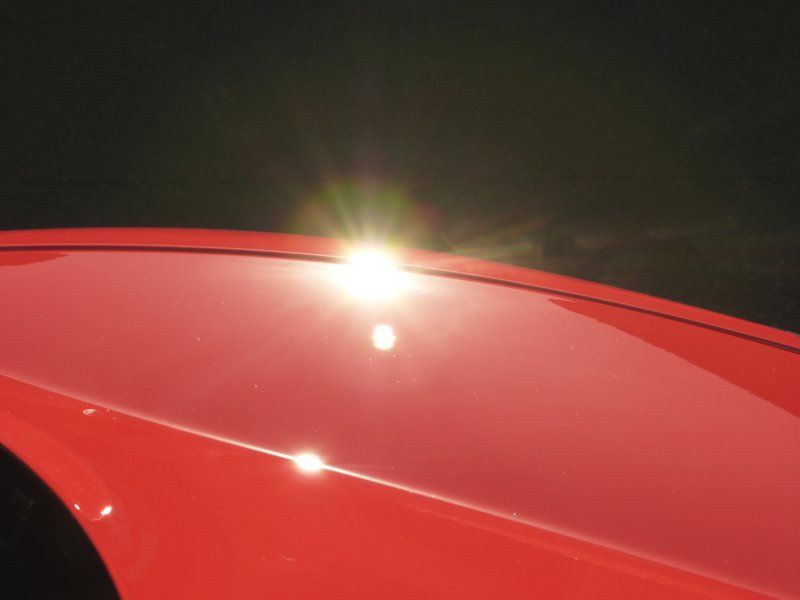
These little guys covered the hood:
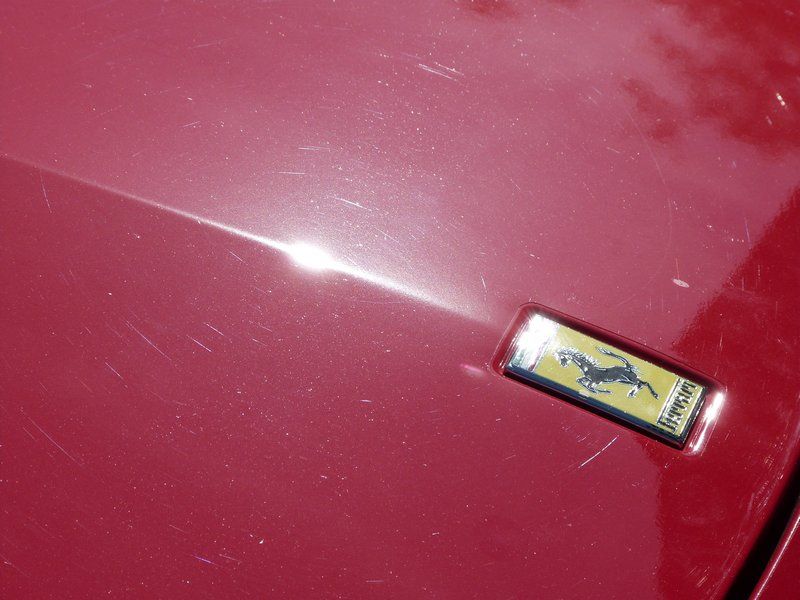
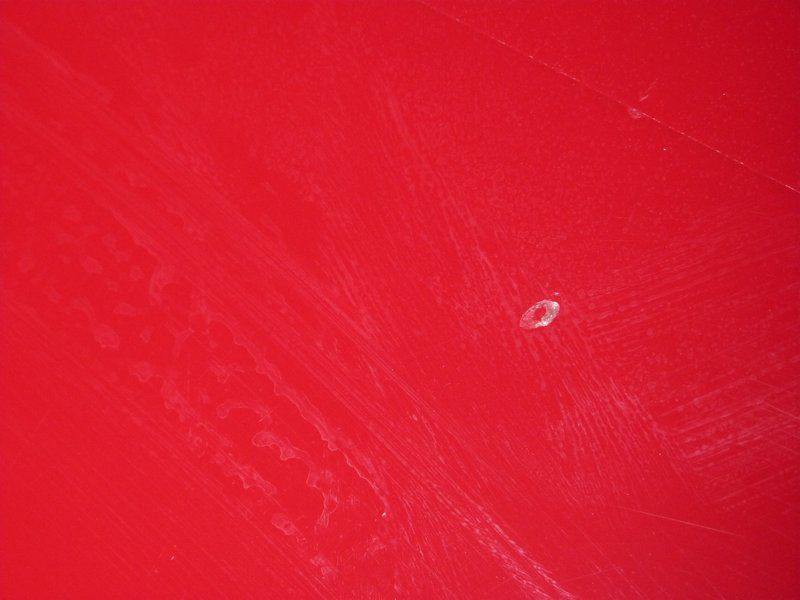
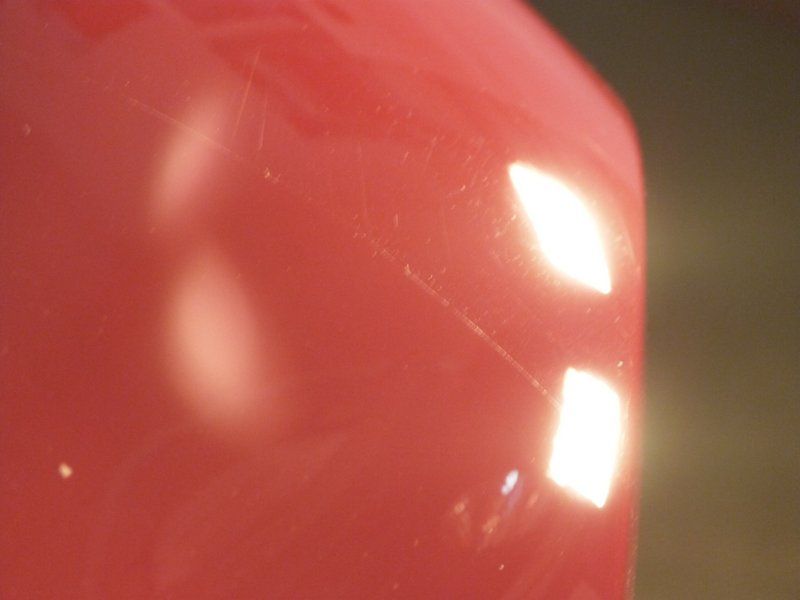
Whether it was in the clear bra as seen in the photo above..or in the paint itself as seen in the photo below:
The look was still the same, very swirled. But thats ok, we were there to fix that.
Of course the first thing we did was inspect the paint. The car was in pretty good shape with the exception of a couple rock chip hits that tore into the clear bra up front, other than that it was good to go.
Next we took pictures to document the condition of the car before we did any work to it. Some are shown above, here are a few others:

These were pretty deep:
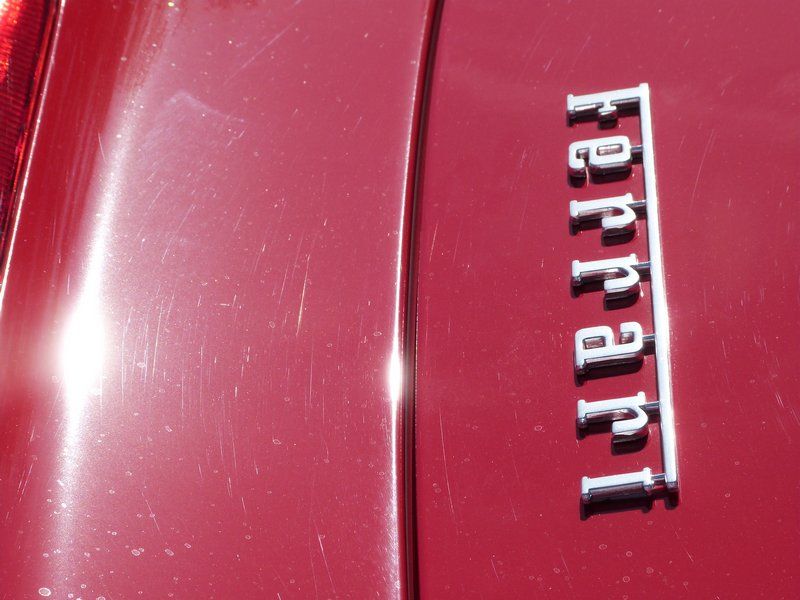
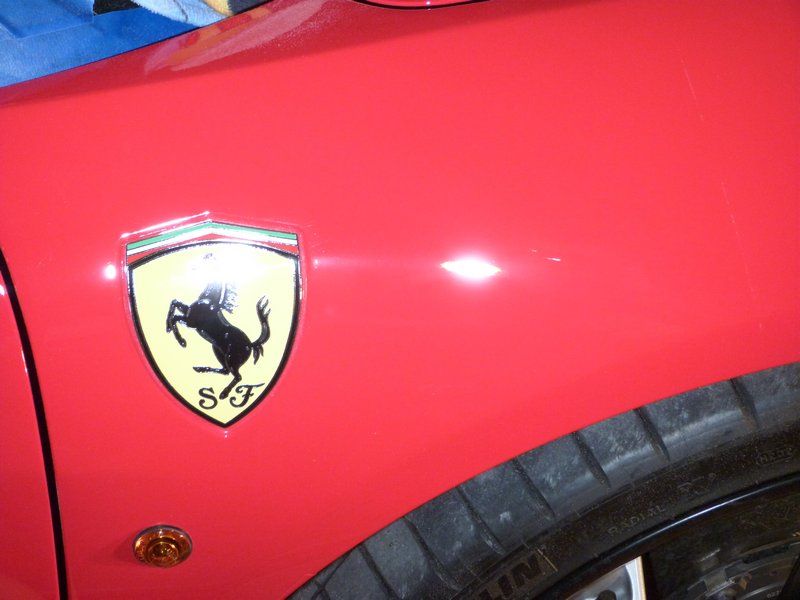
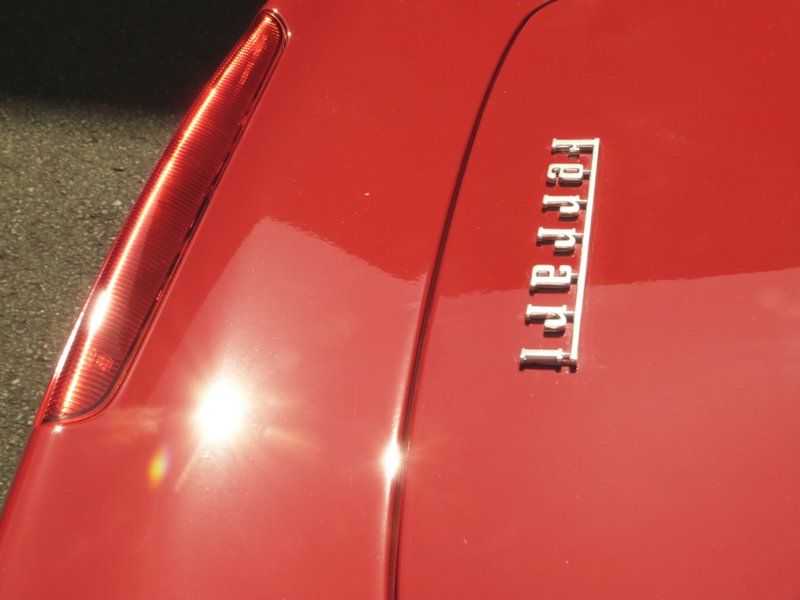
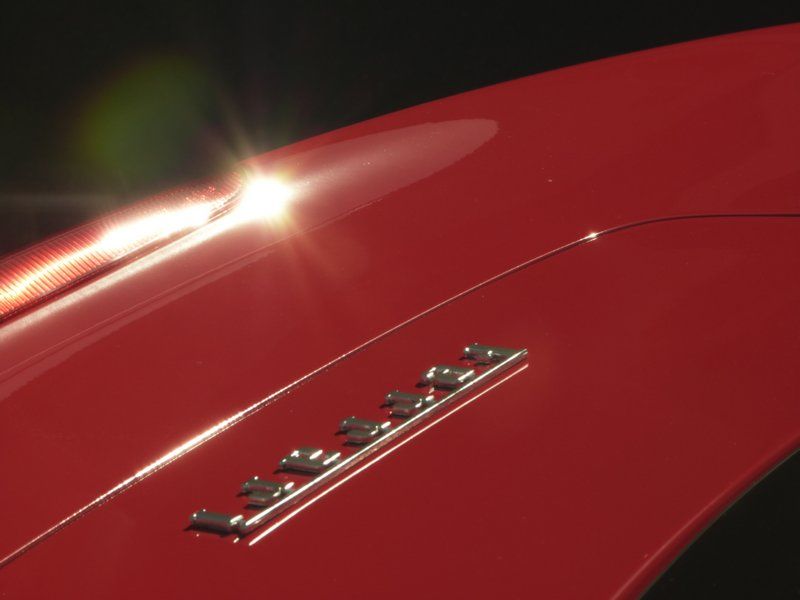
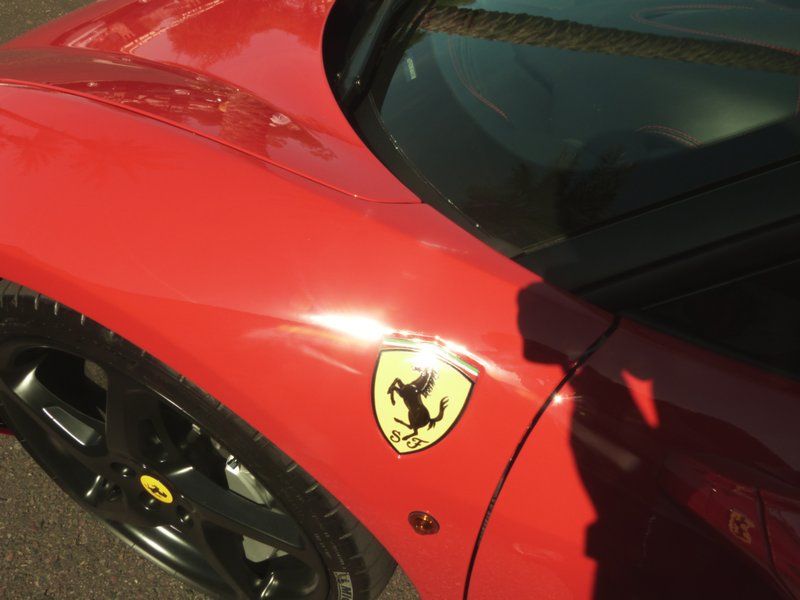
The back around the FERRARI emblem was also in pretty bad shape:
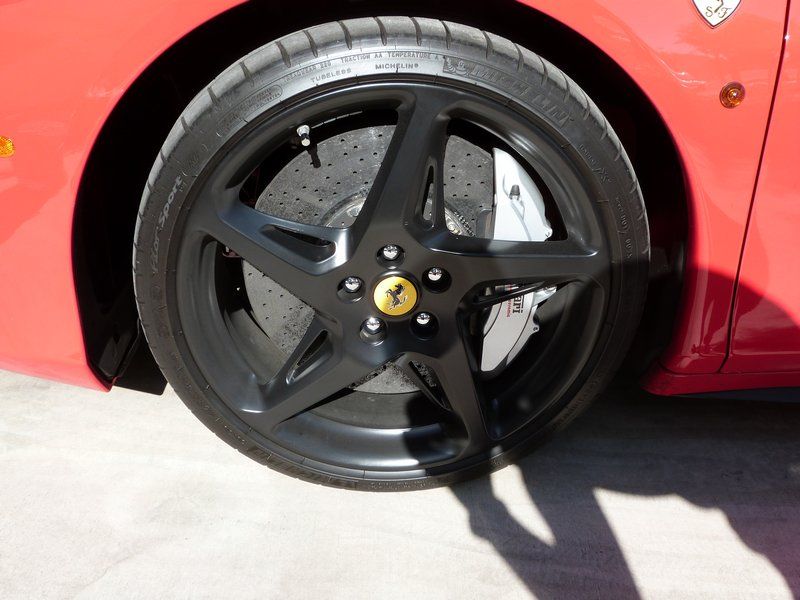
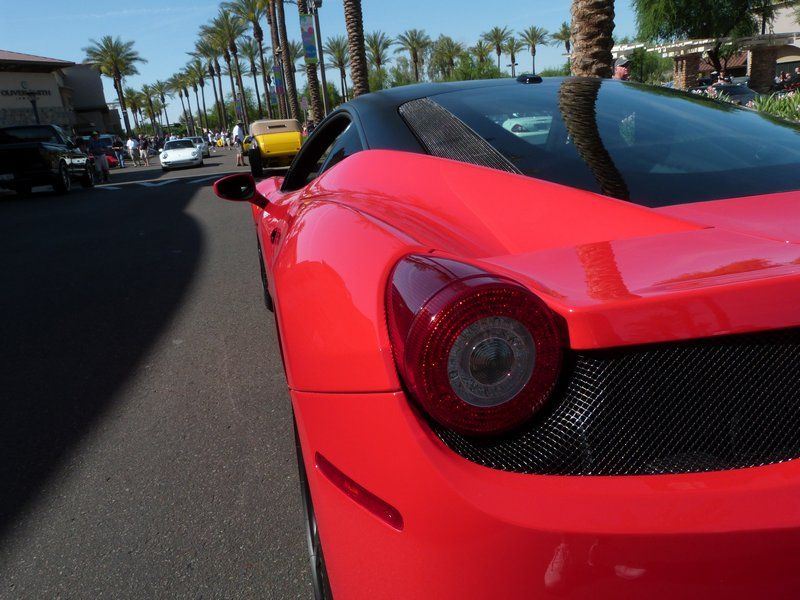
And of course we had some break dust built up in the wheels. No surprise, look at the size of those breaks!
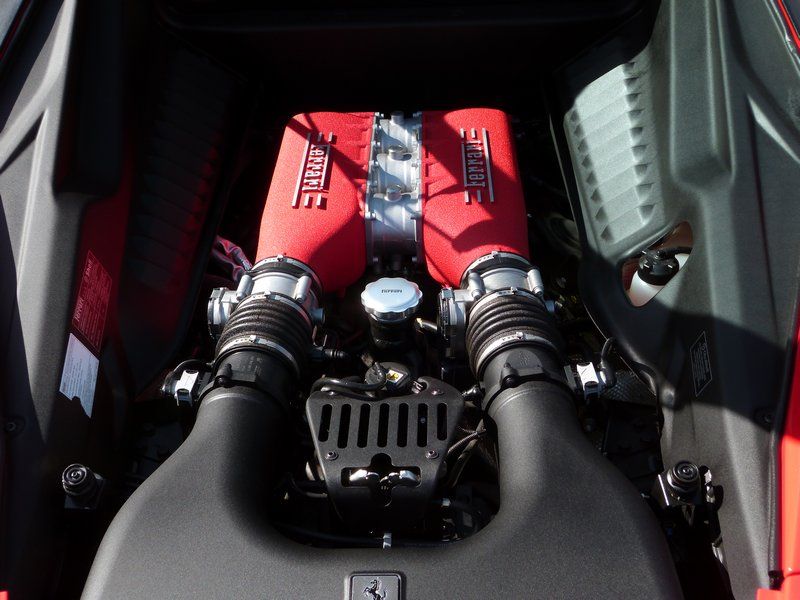
And as i said, the engine was a bit dusty, not really bad at all but, had some room for improvement for sure:
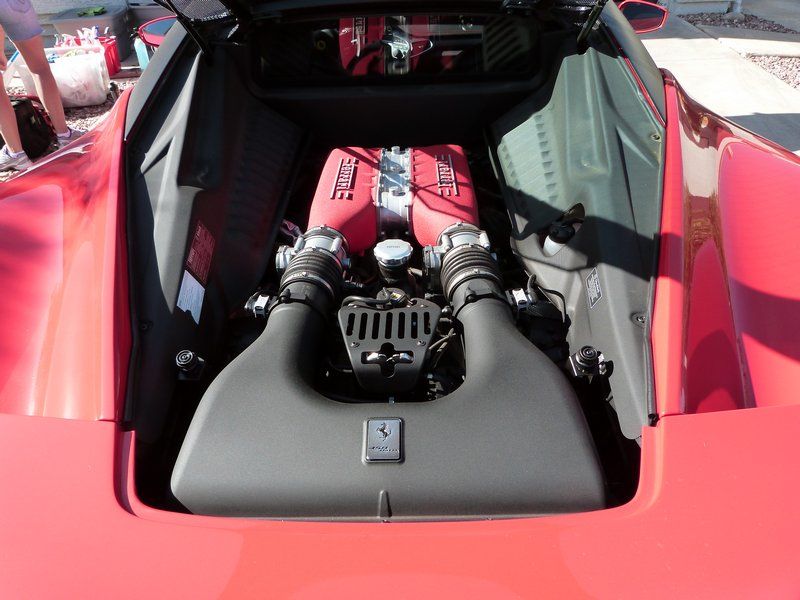
The owners pet peeves were the slots around the plastic pieces on the sides of the engine, the lettering on the engine itself...and the glass that separated the engine bay from the interior of the car. Any dirt on those areas stood out like a sore thumb to him so he asked that we pay special attention to those areas, which of course we did.
You can see a light layer of Arizona dust had settled onto the entire bay.
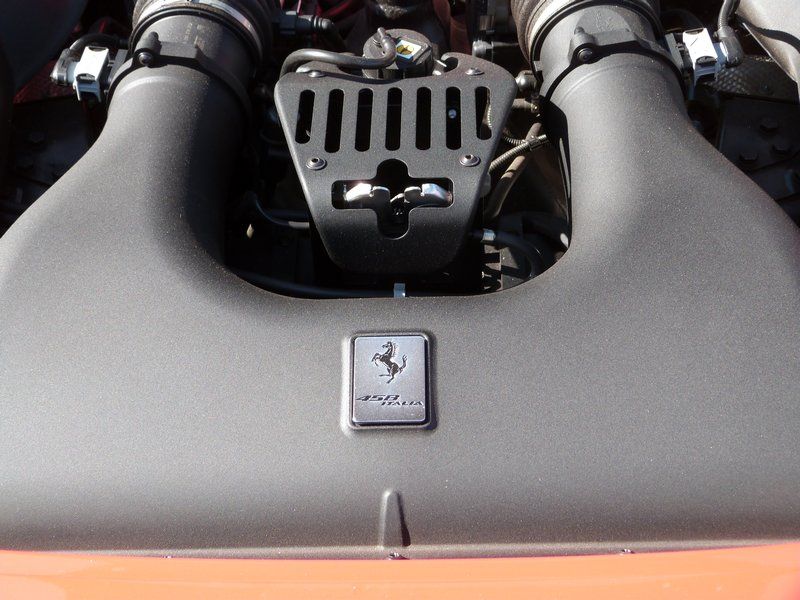
Here you can better see the plastic vents on the side that he war referring to.
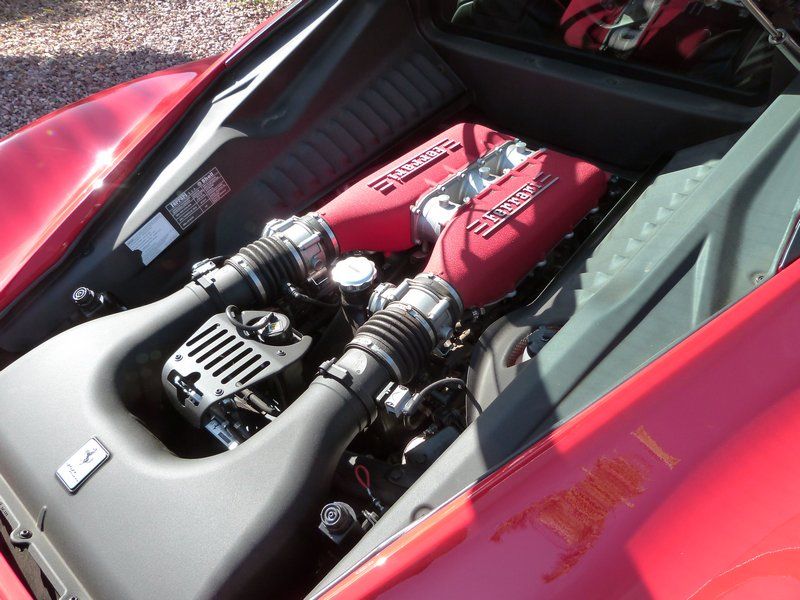
After a careful cleaning of the bay along dressing the plastic and rubber for protection and helping to darken everything back up, we got it back to how it should look:
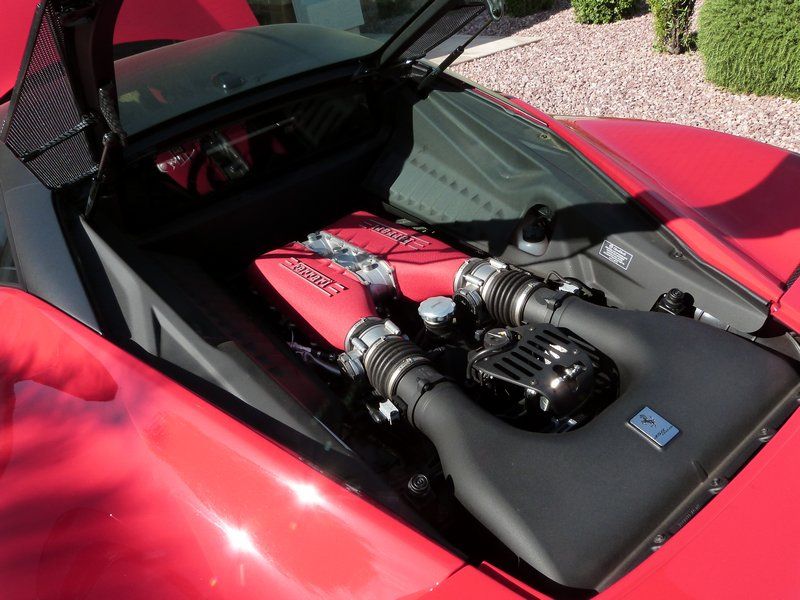
A closer look:
I prefer doing the engine first as it can sometime be a little messy. Nothing crazy but, it is possible for a little water to hit the body of the car during the process, so the engine is done first that way any mess made on the body is taken care of during the wash. No sense in washing the car first and then getting it dirty again.
The thing with this Ferrari however is, the glass that covered the engine is not air tight (for cooling reasons I'm assuming) so, while washing, some water did manage to drip into the bay. Not a big deal, just had to go back and wipe it up...but that is why it is important to pay attention to what you're doing. If we were to 'finish' the detail and then show the owner the engine and it had water run spots/drips all over, that would not look very good...just a note.
Next we cleaned the tires and rims, getting the dirtiest job done first, again, so we don't chance slinging grime onto clean paint.
Then we pressure washed the loose dirt off. Personally, pressure washing is a big plus in my book, as long as it is done carefully it can really help to get cracks and crevices clean that would other wise be very very difficult to get completely spotless, which is what we were aiming for
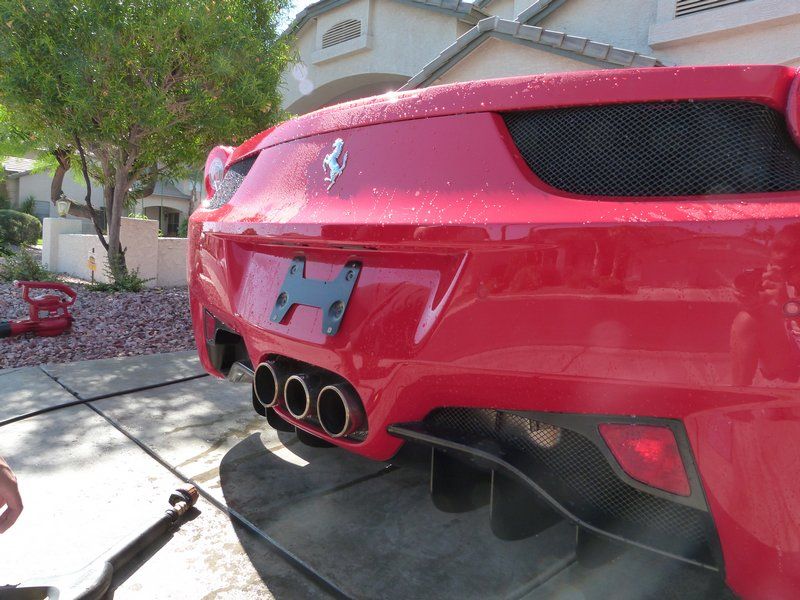
Removing the license plate is a must to insure the dirt hidden behind it is removed and to allow access to the paint behind it so that it too can be polished.
After the pressure wash, the car is foamed and allowed to set to help loosen the dirt that is left over. Then a hand wash is performed. With the foam helping to loosen the dirt, it makes for a much safer wash with fewer chances of the dirt needing extra agitation to be removed. This helps lower the chance of instilling more swirls.
After washing and then rinsing, we pulled her back into the garage, carefully dried her and then clayed the entire vehicle, glass and all. There wasn't a TON of bonded contaminants on the paint, but there was enough, which is why we always clay before polishing...we don't want to risk dragging those contaminants around on the paint with our polishers.
Now that the surface was prepped, it was time to re-inspect the paint under the lights we would be using inside the garage...
Here was the chip in the clear bra i spoke of earlier:
More swirls:

Some nice deep ones here:

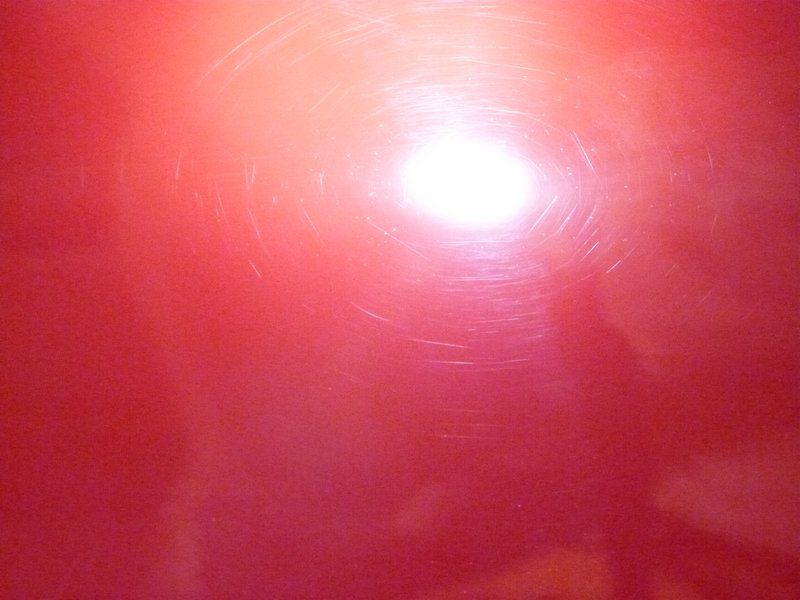
Ouch...
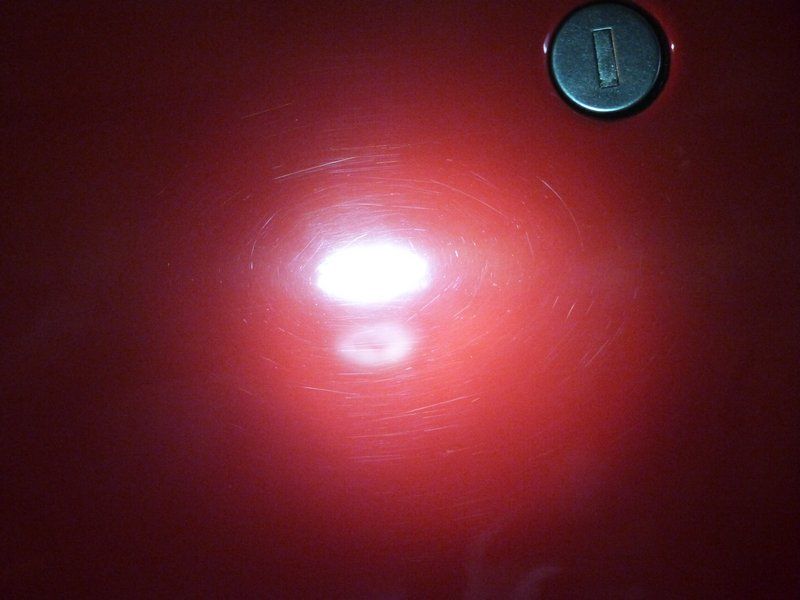
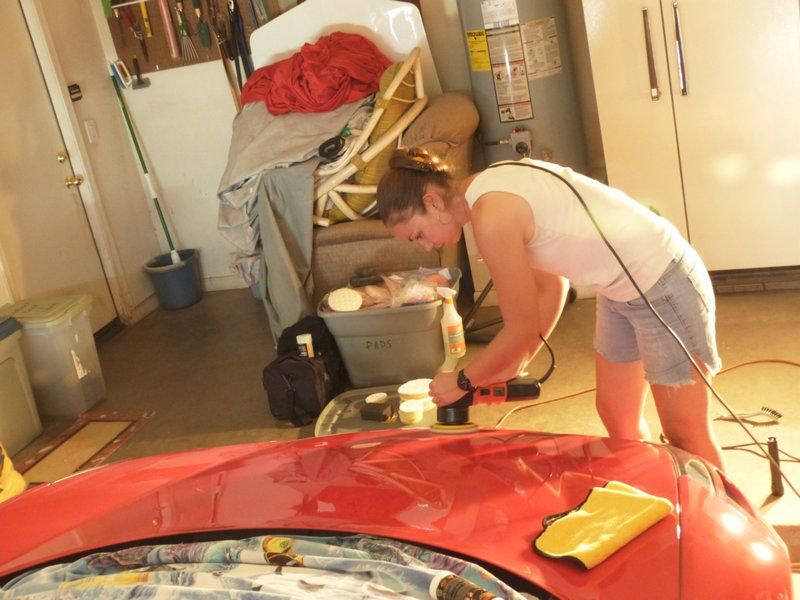
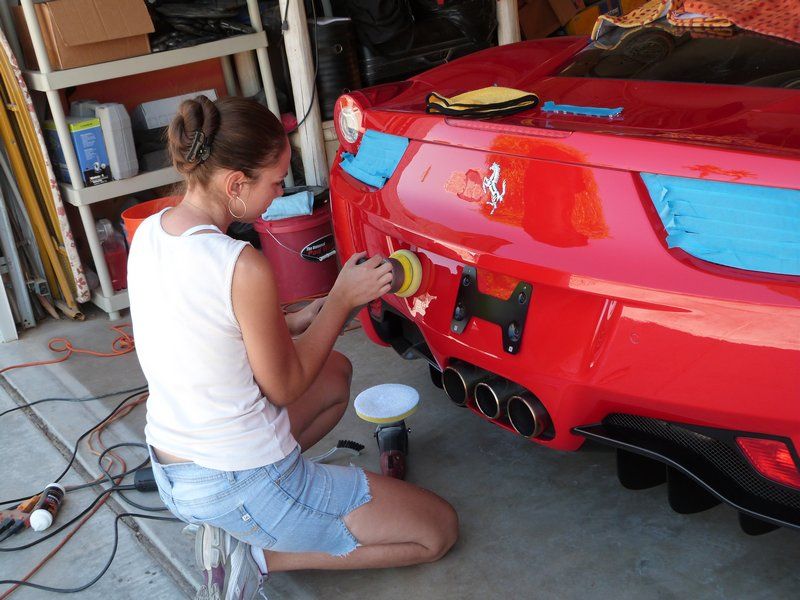
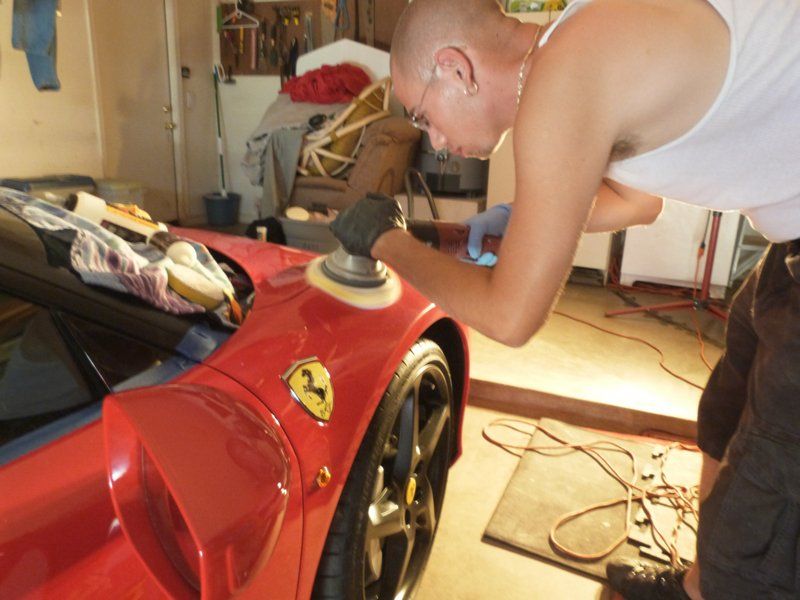
We obviously had our work cut out for us. First up would be compounding the paint. This would be an aggressive step to eliminate all the swirls and scratches seen in the paint. This is usually my job:
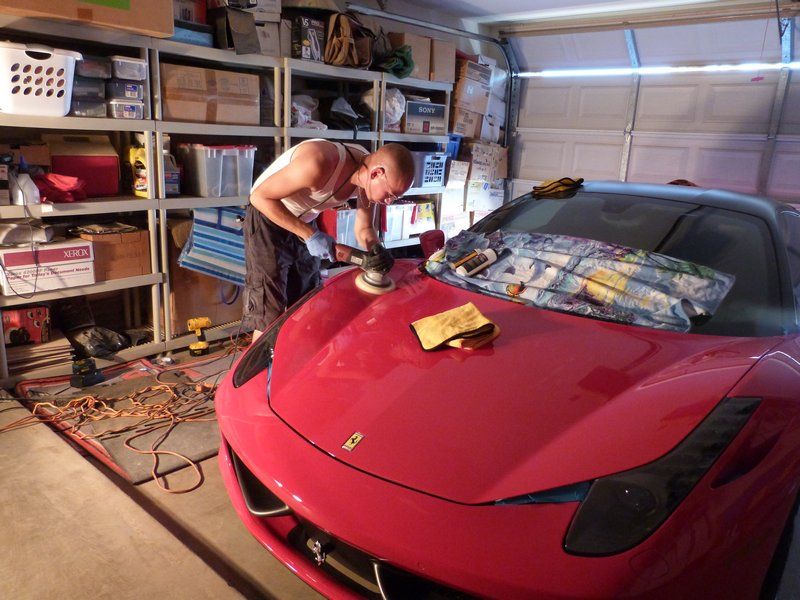
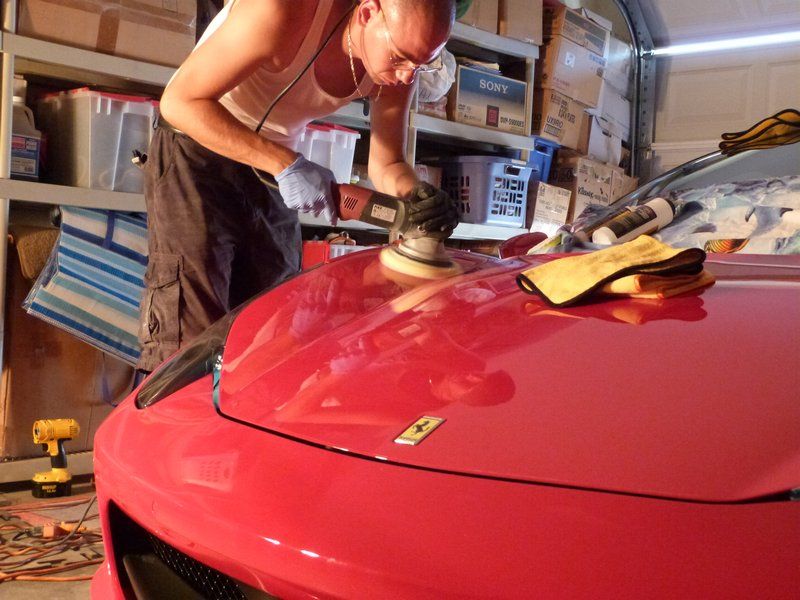
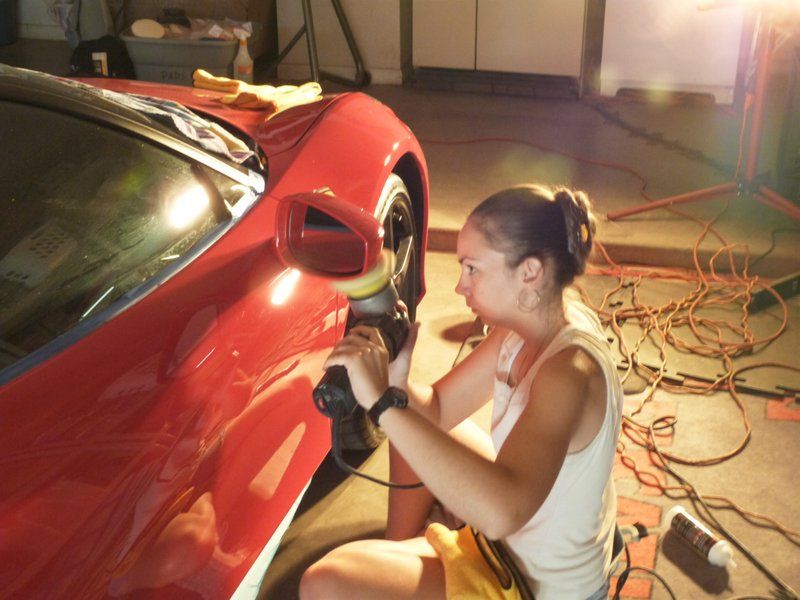
If i look hot, its because i was. Please forgive the tank top but, we were in a closed garage in Arizona where the temp. was well above 100 degrees...and then on top of that, we had these things beaming ontop of us:
1,000 watts of hell right on our backs. BUT, they were needed to properly see the paint and to make sure our work was coming out the way we wanted it to.
After my compounding step, my sister will usually do the polishing step. This eliminates any haze or micro marring left from the compounding step...most eye's won't see it but, ours do.
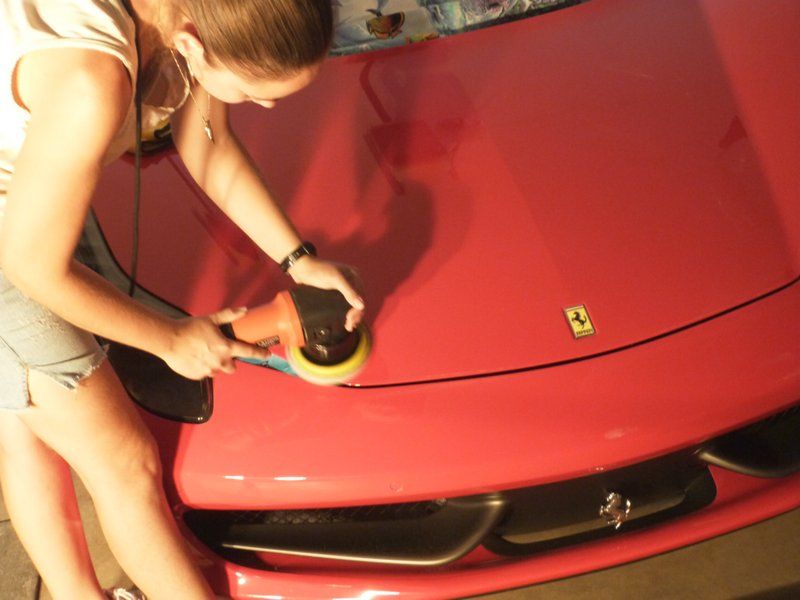
Intense...
Pad flat, slow movement, even pressure
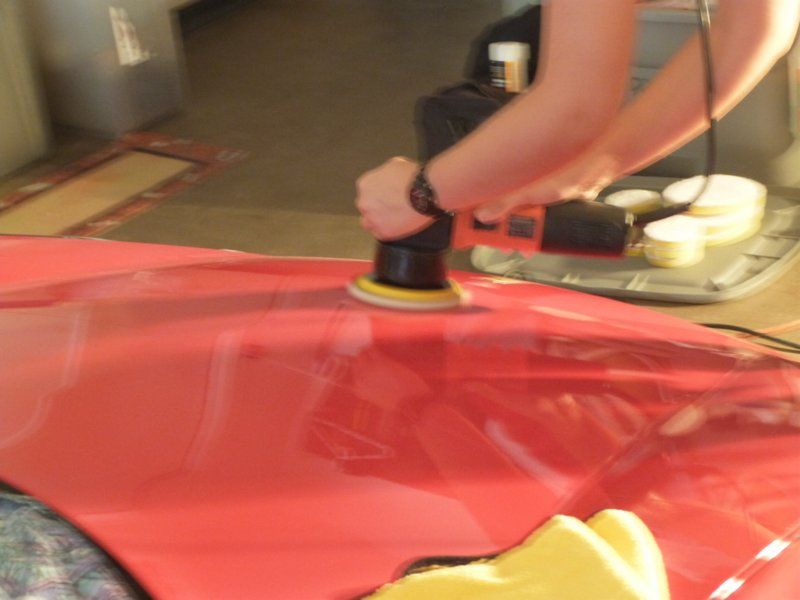
The polishing step is essential to get the highest level of gloss and clarity, otherwise the job is only half way done.
In some cases, multiple compounding steps are needed. Just because you go over a section with compound does NOT mean it magically erases all of the swirls and scratches. Often times there are still some left that need extra attention, sometimes you have to change the pad or the product or even the machine. In some cases you may have to wet sand...whatever the case, there is a lot more to getting 90% or more correction then just turning on a machine and going over an area slowly.
It's this relentless approach that allows us to take this:

and change it to this:
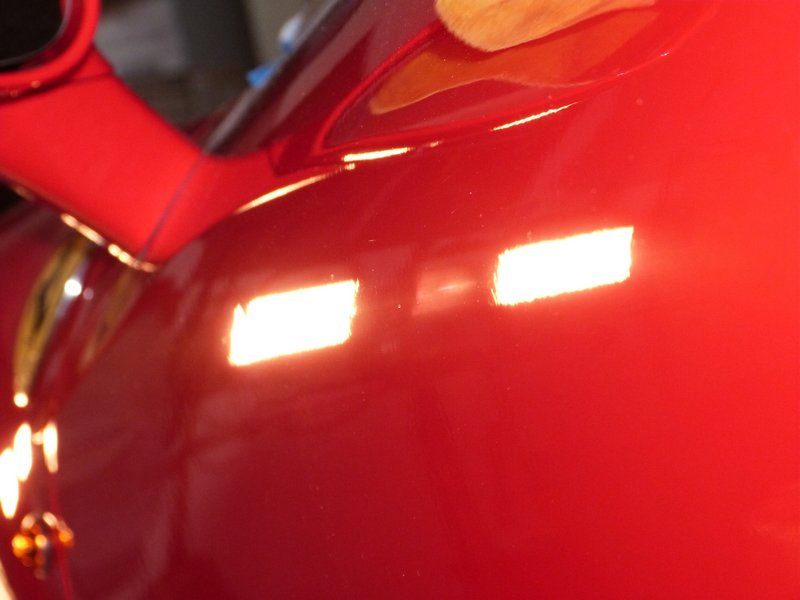
It didn't just POP UP and turn into that after going over it once with compound, once with polish and calling it a day. It takes time and patience and not giving in even when you've been working for 8 or 9 or 10 hours straight and have sweated off about 5 lbs in water weight!
Remember those deep scratches above the Ferrari emblem?
They too were removed
And as i said, every inch of paint was polished, even those areas that chances are, no one else but us will see.
This is why we have several different machines and pads in different sizes, so we can get into these hard to reach spaces. This IS called detailing after all...
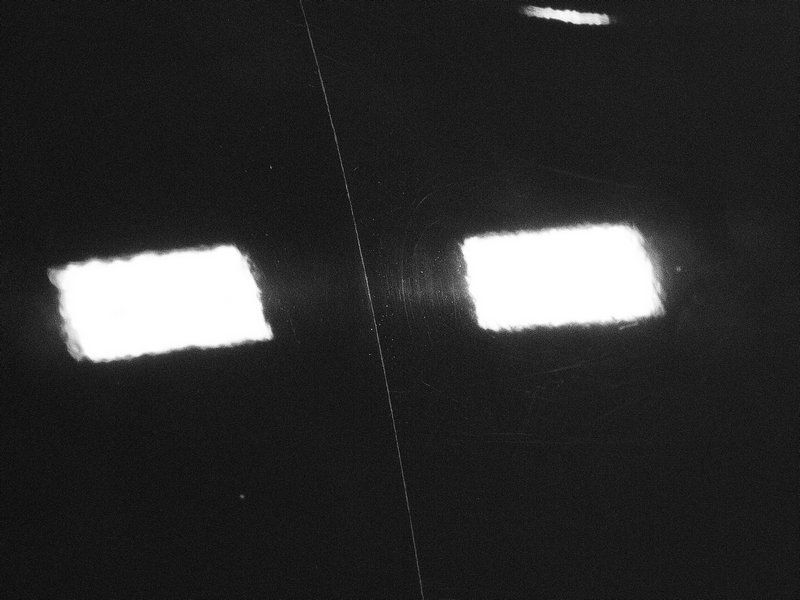
A side by side before and after view of our work shows the transition. Here you can see the line down the middle where we applied the tape, the left side is clear and glossy, free of swirls...and the right side is still in its original swirly state:
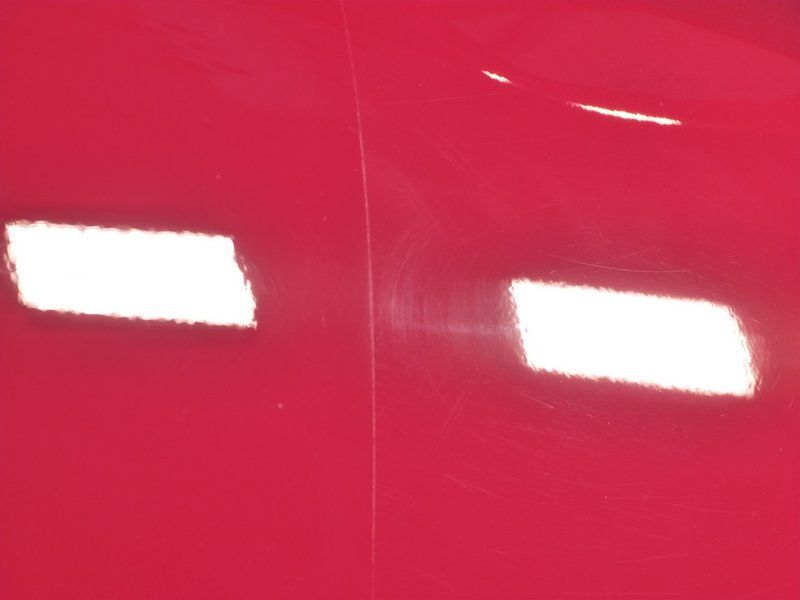
I took a photo in different exposure to put the swirls in a 'different light' so to speak. In black and white the scratches are a bit easier to view:
Here is another 50/50 shot on the passenger Quarter Panel:

Different lights at a different angle of the same spot:
And then once the entire QP was finished, it looked like this:
Next finishing up on the top part of the quarter panel:
Here is what the paint looked like when we finished:

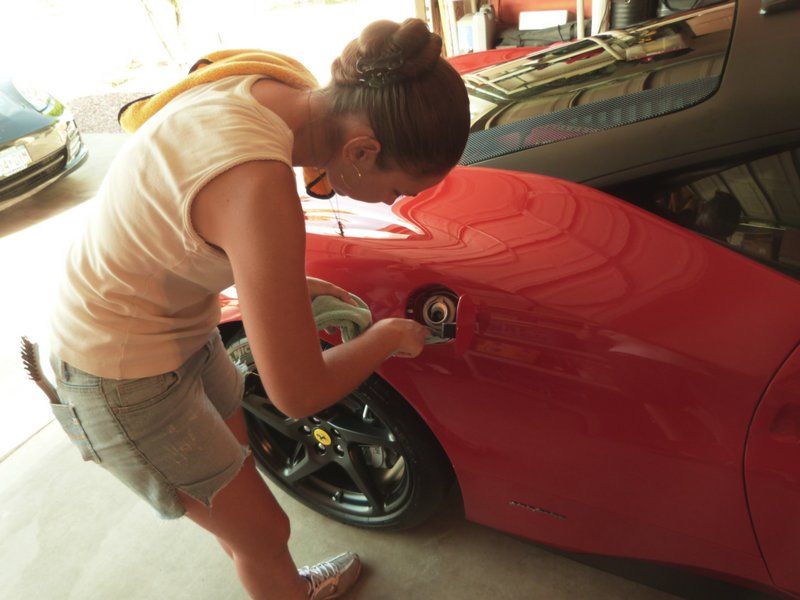
After SEVERAL hours of compounding and polishing in the heat, we then re-washed the car to remove any compounding/polishing dust as well as any residue left on the paint. Then all the small areas were cleaned - door jambs, body lines...gas chamber:
Finally she was ready to be waxed. Our wax of choice for this was Wolfgang Fuzion...Fuzion for the Ferrari:
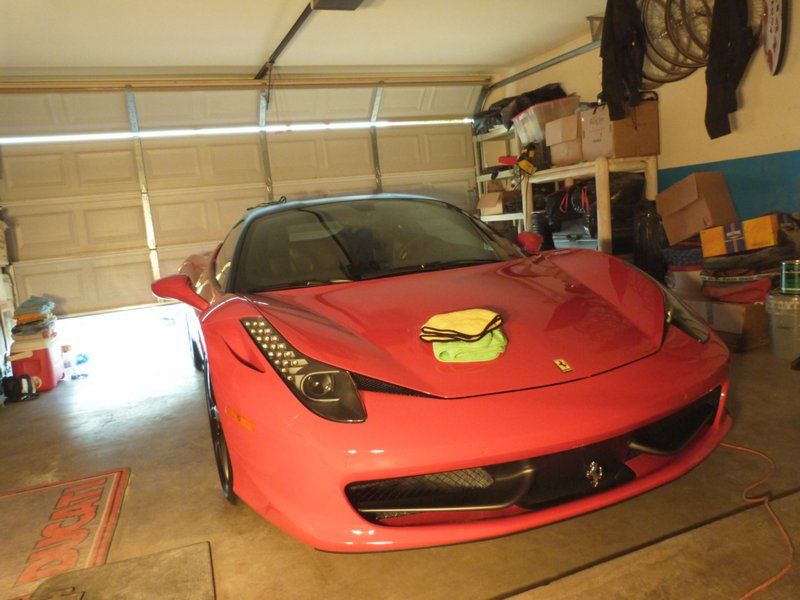
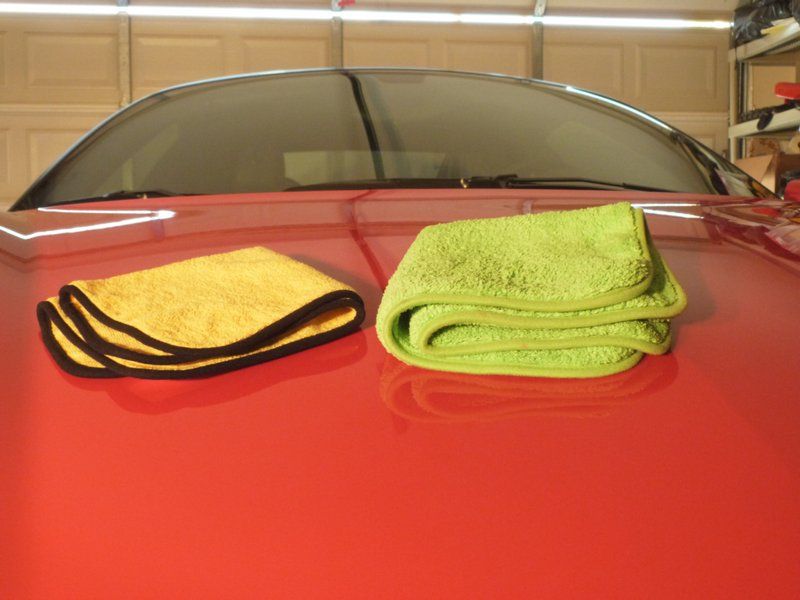
I wanted to test out a new towel for wax removal. The fibers were long so i wasn't sure how well it would work but, i was very impressed with how our Big Green worked out. The thickness made me feel like there was NO chance that i could possibly mar the paint when removing the wax. Here is a side by side of our Big Green next to what we call our Honey Badger microfibers, which too are awesome towels, but didn't quite...stack up for this process compared to the Big Green:
While i worked on applying the wax, Dani grabbed a few after photos of the interior she had cleaned, dressed and conditioned during the time i did the engine detail.
EVERYTHING in this car was leather...seats, door panels, dash...everything:
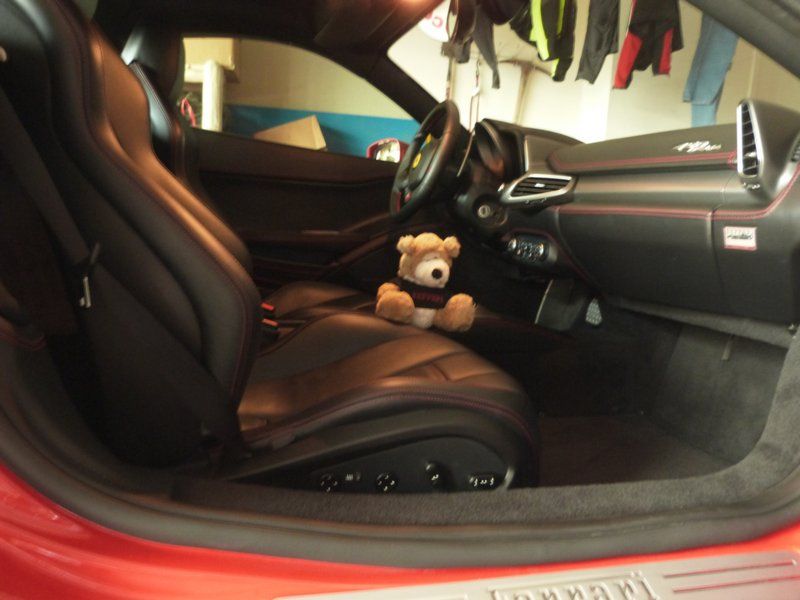
Ferrari Bear is ready to head out
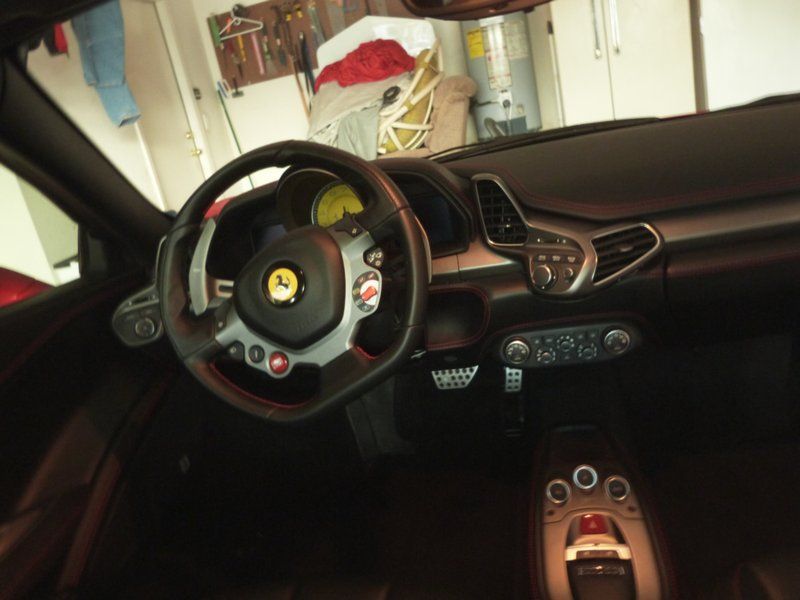
Can't beat a clean cockpit
After the wax was removed we stood back and admired the 'new' ride. It was too dark at this point to grab after photos, but the owner allowed us to come grab some the next morning.
This should say it all:

Even the small tight spots looked good:
LOVED this picture:
No swirls on this paint:
And if you remember all the damage that was done to the clear bra...well...even it turned out very nice:

Lookin sharp:
This is would be the Ferrari i made mention of in that write up. This was a dream to do. Not only was it a beautiful exotic in our favorite color for a Ferrari, it was also a perfect example of why even 'detailed' cars are not usually up to par with what we consider...detailed.
Here she was waiting for us:
The lesson to be learned from this baby was, what looks good from afar does not always look good up close. While the Italia was quite clean (with the exception of the wheels and some spots on the engine), it was apparently very well waxed too, as the water beaded up very nicely when we went to wash it and the paint was pretty slick too. The owner also had it detailed quite often, but even with all that, it didn't meet our standards. What standards? Well, these...
Welcome to the wonderful world of swirls folks. These little guys don't care if you're a Ferrari or a Fiat, they will show up with no problem over time if your ride is not properly cared for. When i say cared for that includes things as simple as washing, the wrong technique as well as using dirty mitts/water/towels will eventually scratch the paint and leave you with these. So like i said, what looked beautiful from far away, was a bit more flawed when inspected up close in direct light (in this case the sun).
In our book of standards, these are not acceptable. While they take a great deal of time, knowledge and skill to remove...it is very possible...which we will show soon enough. But for now, a few more photos of the swirls.....
These little guys covered the hood:
Whether it was in the clear bra as seen in the photo above..or in the paint itself as seen in the photo below:
The look was still the same, very swirled. But thats ok, we were there to fix that.
Of course the first thing we did was inspect the paint. The car was in pretty good shape with the exception of a couple rock chip hits that tore into the clear bra up front, other than that it was good to go.
Next we took pictures to document the condition of the car before we did any work to it. Some are shown above, here are a few others:
These were pretty deep:
The back around the FERRARI emblem was also in pretty bad shape:
And of course we had some break dust built up in the wheels. No surprise, look at the size of those breaks!
And as i said, the engine was a bit dusty, not really bad at all but, had some room for improvement for sure:
The owners pet peeves were the slots around the plastic pieces on the sides of the engine, the lettering on the engine itself...and the glass that separated the engine bay from the interior of the car. Any dirt on those areas stood out like a sore thumb to him so he asked that we pay special attention to those areas, which of course we did.
You can see a light layer of Arizona dust had settled onto the entire bay.
Here you can better see the plastic vents on the side that he war referring to.
After a careful cleaning of the bay along dressing the plastic and rubber for protection and helping to darken everything back up, we got it back to how it should look:
A closer look:
I prefer doing the engine first as it can sometime be a little messy. Nothing crazy but, it is possible for a little water to hit the body of the car during the process, so the engine is done first that way any mess made on the body is taken care of during the wash. No sense in washing the car first and then getting it dirty again.
The thing with this Ferrari however is, the glass that covered the engine is not air tight (for cooling reasons I'm assuming) so, while washing, some water did manage to drip into the bay. Not a big deal, just had to go back and wipe it up...but that is why it is important to pay attention to what you're doing. If we were to 'finish' the detail and then show the owner the engine and it had water run spots/drips all over, that would not look very good...just a note.
Next we cleaned the tires and rims, getting the dirtiest job done first, again, so we don't chance slinging grime onto clean paint.
Then we pressure washed the loose dirt off. Personally, pressure washing is a big plus in my book, as long as it is done carefully it can really help to get cracks and crevices clean that would other wise be very very difficult to get completely spotless, which is what we were aiming for
Removing the license plate is a must to insure the dirt hidden behind it is removed and to allow access to the paint behind it so that it too can be polished.
After the pressure wash, the car is foamed and allowed to set to help loosen the dirt that is left over. Then a hand wash is performed. With the foam helping to loosen the dirt, it makes for a much safer wash with fewer chances of the dirt needing extra agitation to be removed. This helps lower the chance of instilling more swirls.
After washing and then rinsing, we pulled her back into the garage, carefully dried her and then clayed the entire vehicle, glass and all. There wasn't a TON of bonded contaminants on the paint, but there was enough, which is why we always clay before polishing...we don't want to risk dragging those contaminants around on the paint with our polishers.
Now that the surface was prepped, it was time to re-inspect the paint under the lights we would be using inside the garage...
Here was the chip in the clear bra i spoke of earlier:
More swirls:
Some nice deep ones here:
Ouch...
We obviously had our work cut out for us. First up would be compounding the paint. This would be an aggressive step to eliminate all the swirls and scratches seen in the paint. This is usually my job:
If i look hot, its because i was. Please forgive the tank top but, we were in a closed garage in Arizona where the temp. was well above 100 degrees...and then on top of that, we had these things beaming ontop of us:
1,000 watts of hell right on our backs. BUT, they were needed to properly see the paint and to make sure our work was coming out the way we wanted it to.
After my compounding step, my sister will usually do the polishing step. This eliminates any haze or micro marring left from the compounding step...most eye's won't see it but, ours do.
Intense...
Pad flat, slow movement, even pressure
The polishing step is essential to get the highest level of gloss and clarity, otherwise the job is only half way done.
In some cases, multiple compounding steps are needed. Just because you go over a section with compound does NOT mean it magically erases all of the swirls and scratches. Often times there are still some left that need extra attention, sometimes you have to change the pad or the product or even the machine. In some cases you may have to wet sand...whatever the case, there is a lot more to getting 90% or more correction then just turning on a machine and going over an area slowly.
It's this relentless approach that allows us to take this:
and change it to this:
It didn't just POP UP and turn into that after going over it once with compound, once with polish and calling it a day. It takes time and patience and not giving in even when you've been working for 8 or 9 or 10 hours straight and have sweated off about 5 lbs in water weight!
Remember those deep scratches above the Ferrari emblem?
They too were removed
And as i said, every inch of paint was polished, even those areas that chances are, no one else but us will see.
This is why we have several different machines and pads in different sizes, so we can get into these hard to reach spaces. This IS called detailing after all...
A side by side before and after view of our work shows the transition. Here you can see the line down the middle where we applied the tape, the left side is clear and glossy, free of swirls...and the right side is still in its original swirly state:
I took a photo in different exposure to put the swirls in a 'different light' so to speak. In black and white the scratches are a bit easier to view:
Here is another 50/50 shot on the passenger Quarter Panel:
Different lights at a different angle of the same spot:
And then once the entire QP was finished, it looked like this:
Next finishing up on the top part of the quarter panel:
Here is what the paint looked like when we finished:
After SEVERAL hours of compounding and polishing in the heat, we then re-washed the car to remove any compounding/polishing dust as well as any residue left on the paint. Then all the small areas were cleaned - door jambs, body lines...gas chamber:
Finally she was ready to be waxed. Our wax of choice for this was Wolfgang Fuzion...Fuzion for the Ferrari:
I wanted to test out a new towel for wax removal. The fibers were long so i wasn't sure how well it would work but, i was very impressed with how our Big Green worked out. The thickness made me feel like there was NO chance that i could possibly mar the paint when removing the wax. Here is a side by side of our Big Green next to what we call our Honey Badger microfibers, which too are awesome towels, but didn't quite...stack up for this process compared to the Big Green:
While i worked on applying the wax, Dani grabbed a few after photos of the interior she had cleaned, dressed and conditioned during the time i did the engine detail.
EVERYTHING in this car was leather...seats, door panels, dash...everything:
Ferrari Bear is ready to head out
Can't beat a clean cockpit
After the wax was removed we stood back and admired the 'new' ride. It was too dark at this point to grab after photos, but the owner allowed us to come grab some the next morning.
This should say it all:
Even the small tight spots looked good:
LOVED this picture:
No swirls on this paint:
And if you remember all the damage that was done to the clear bra...well...even it turned out very nice:
Lookin sharp:

")