speedfreak81
New member
The owner of this car is a fellow member on the corvette forum and contacted me through the site. He picked the car up a year ago from Carmax after getting a good deal on it because of the paint condition. Upon speaking with him he explained that there was bad acid rain etching over the entire car, and was actually thinking of having it repainted. We arranged to have me look at it, and upon seeing it I was confident I could repair the finish. I'll let the pictures speak for themselves, but I think it's safe to say he's a happy camper now!
Products used:
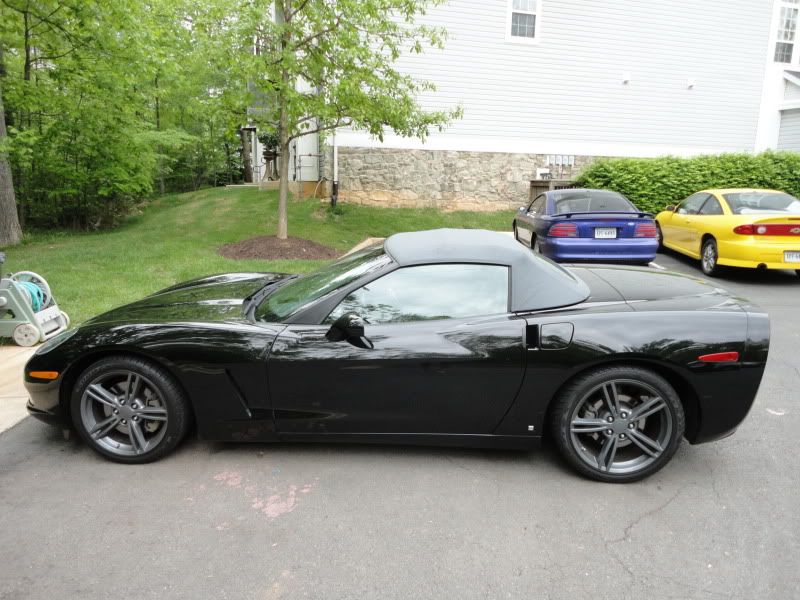
The car as I arrived.....as I said, looks great from ten feet!
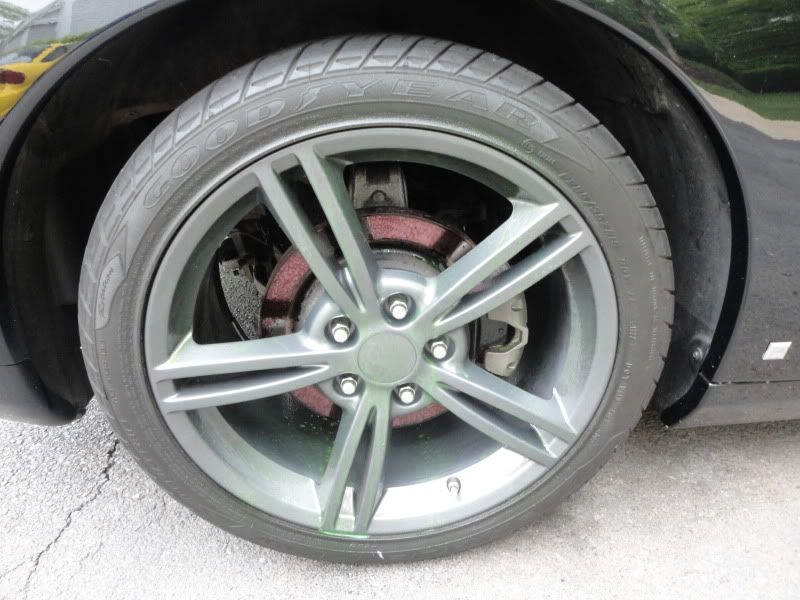
Getting the standard Sonax Full Effect treatment
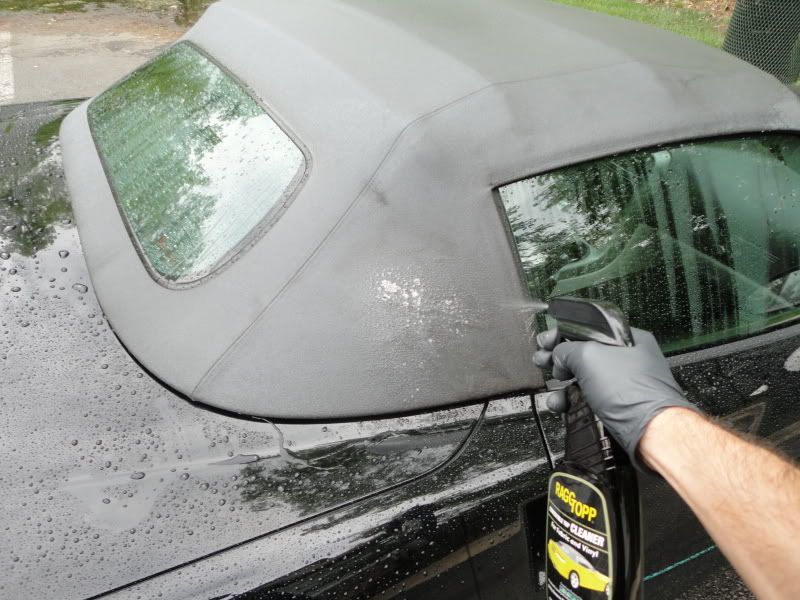
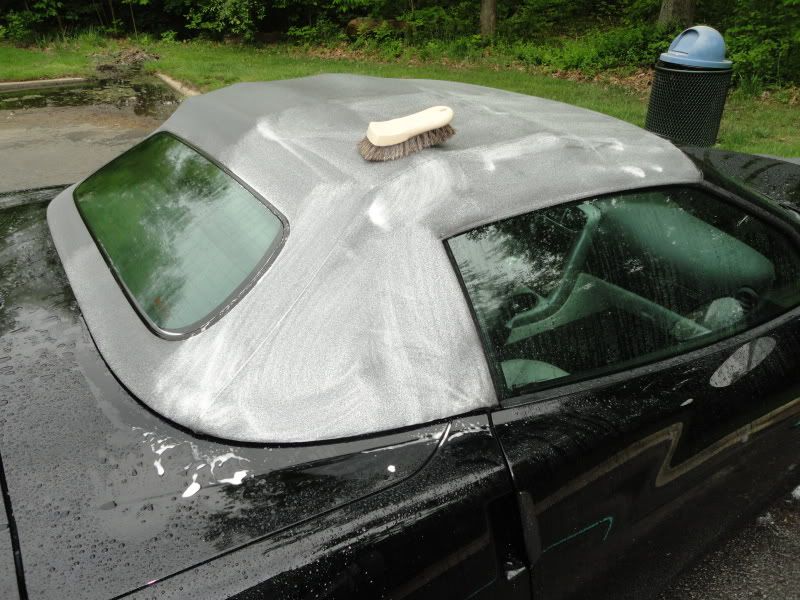
Convertible top had some staining that needed to be addressed
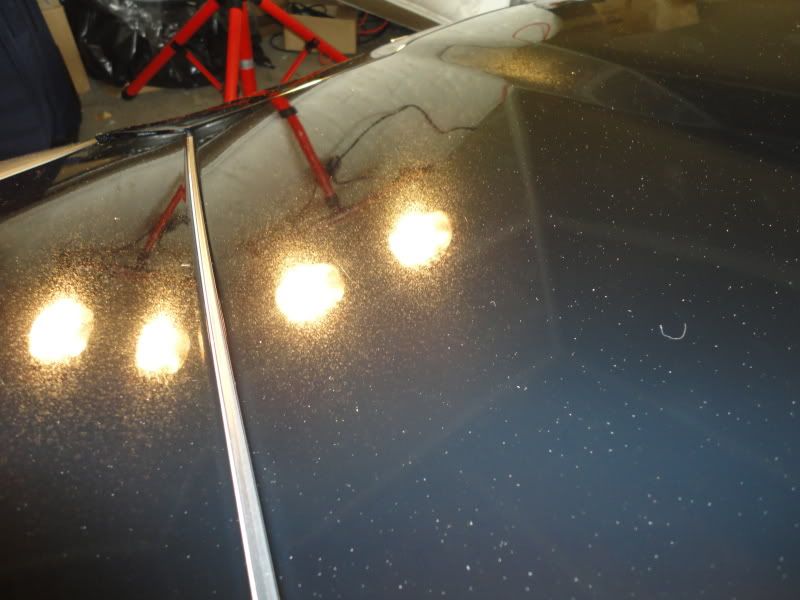
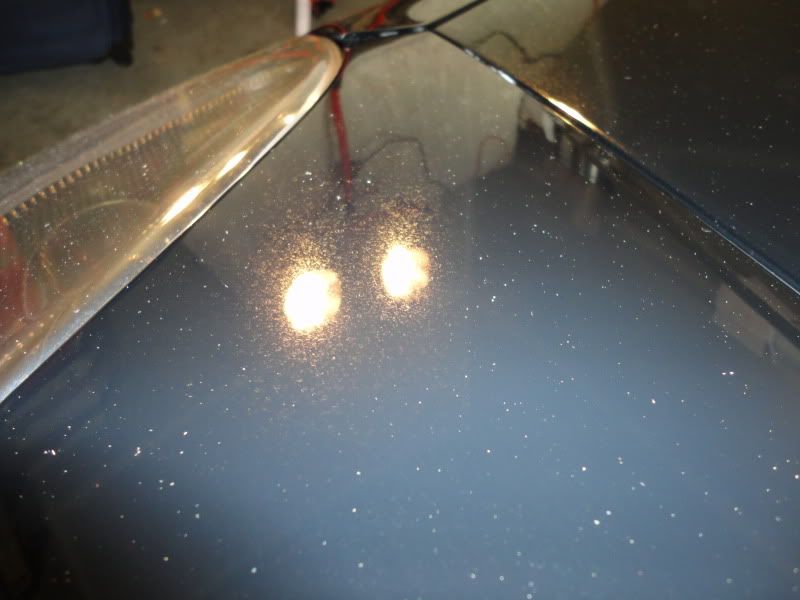
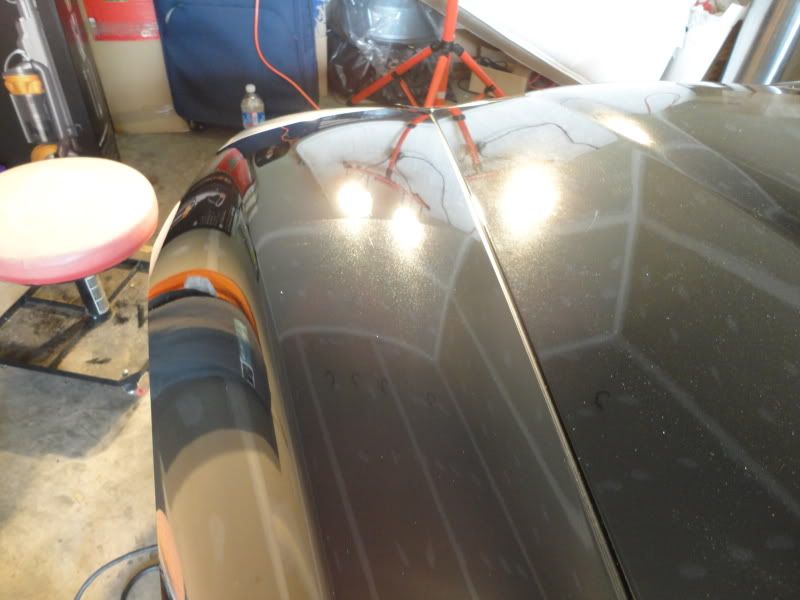
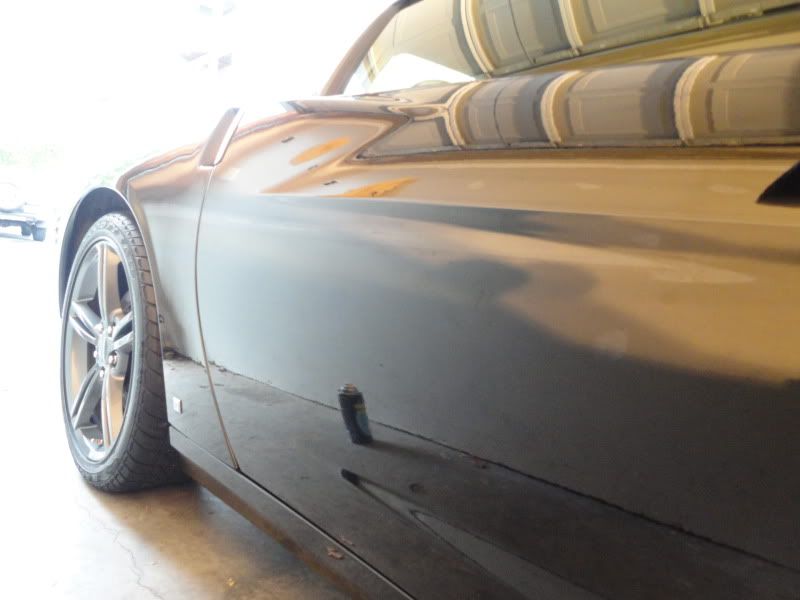
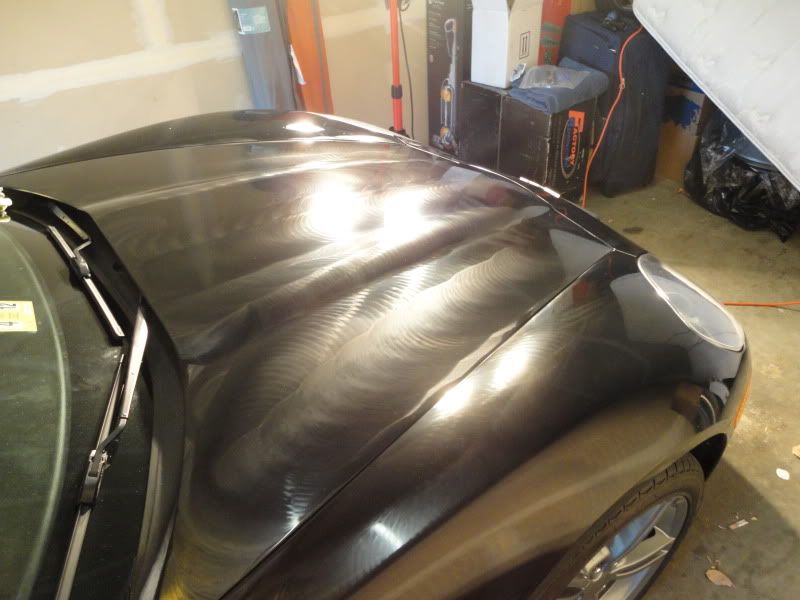
And now for the horror show......this is how the entire car looked after all previous LSP had been stripped away and and the paint clayed. :confused
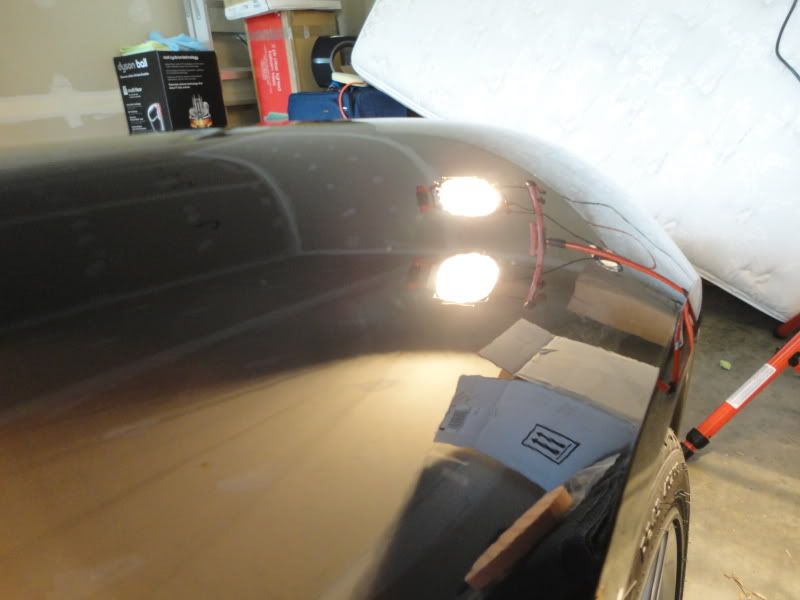
Working on a 50/50 on the fender. Forward portion after M105 on yellow
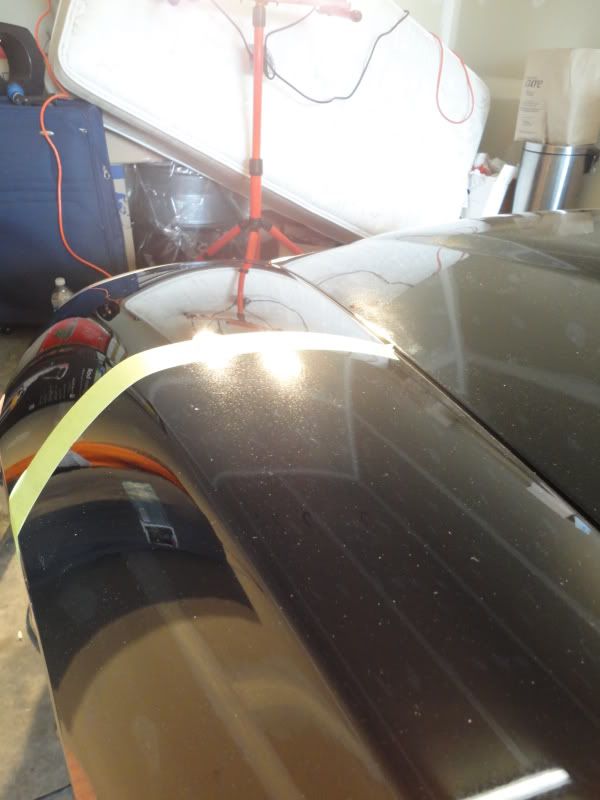
50/50 tape removed
Fender fully corrected
Hood fully corrected
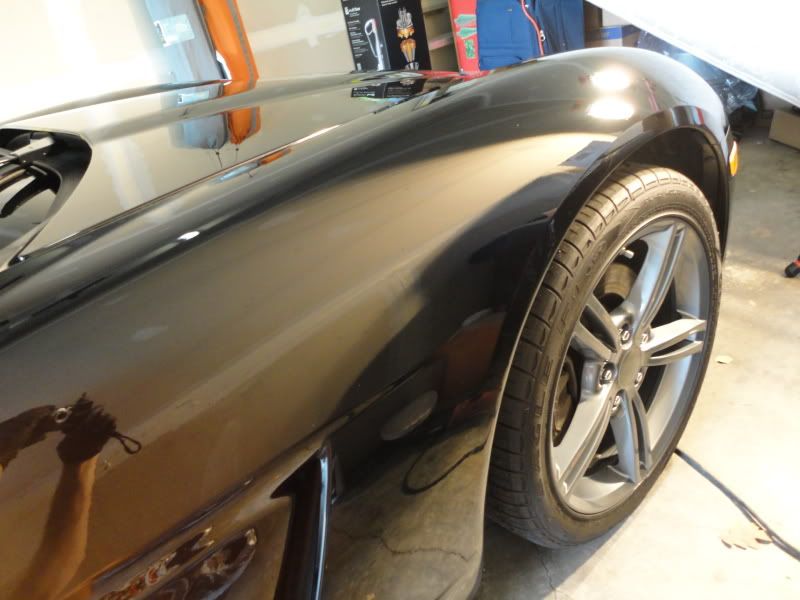
Passenger fender fully corrected
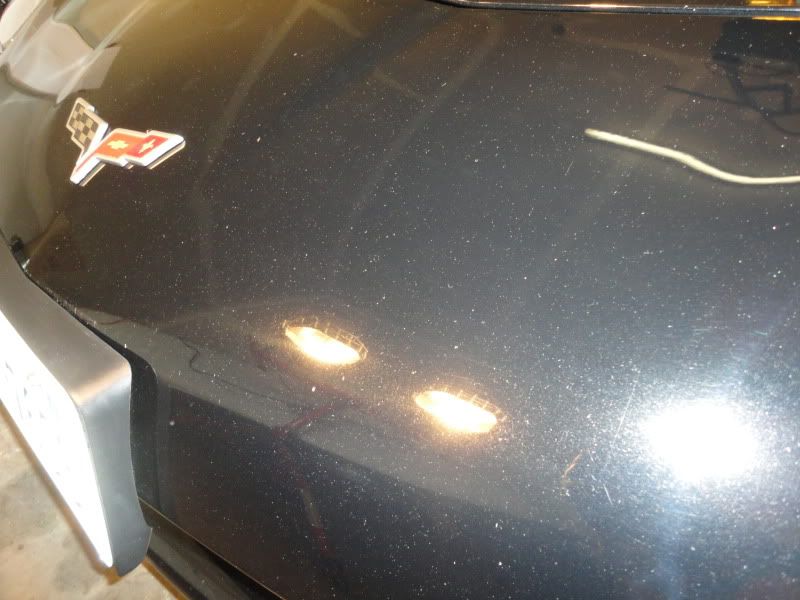
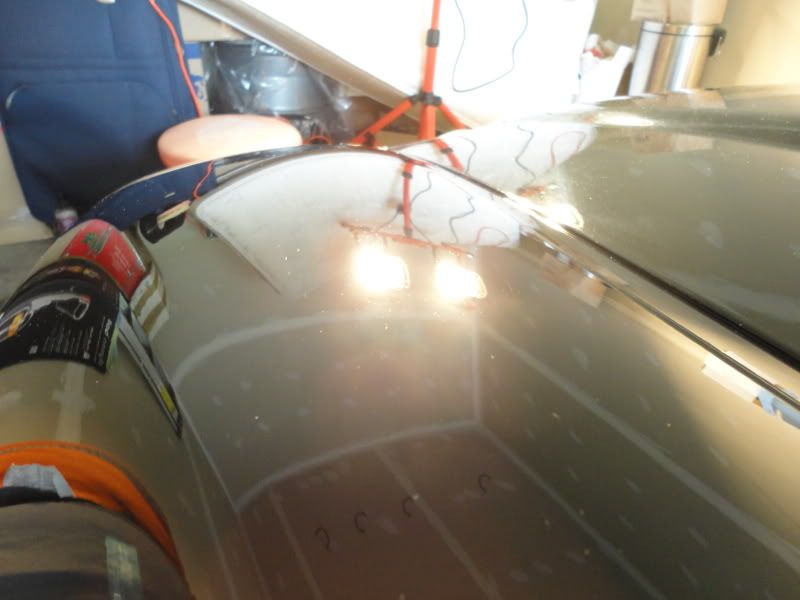
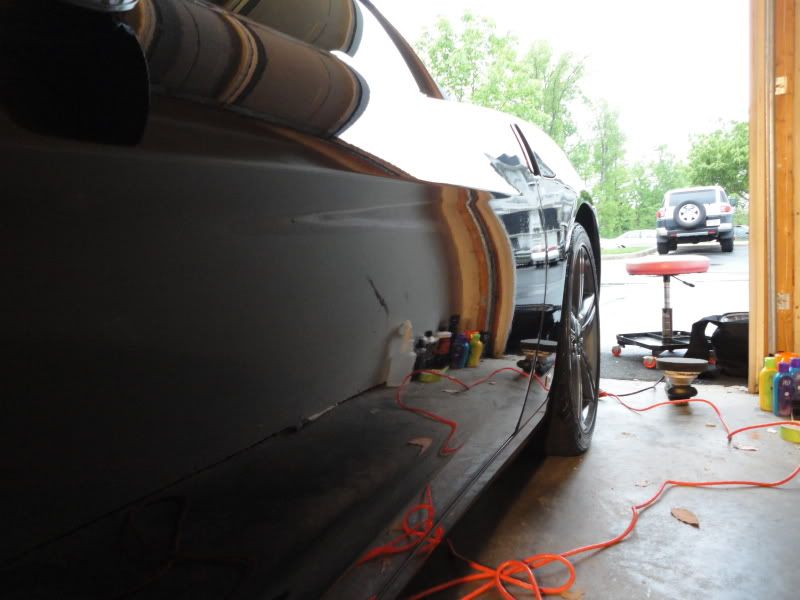
Getting ready to tackle the trunk lid, the clear coat etching was esp bad here
Driver's side fully corrected
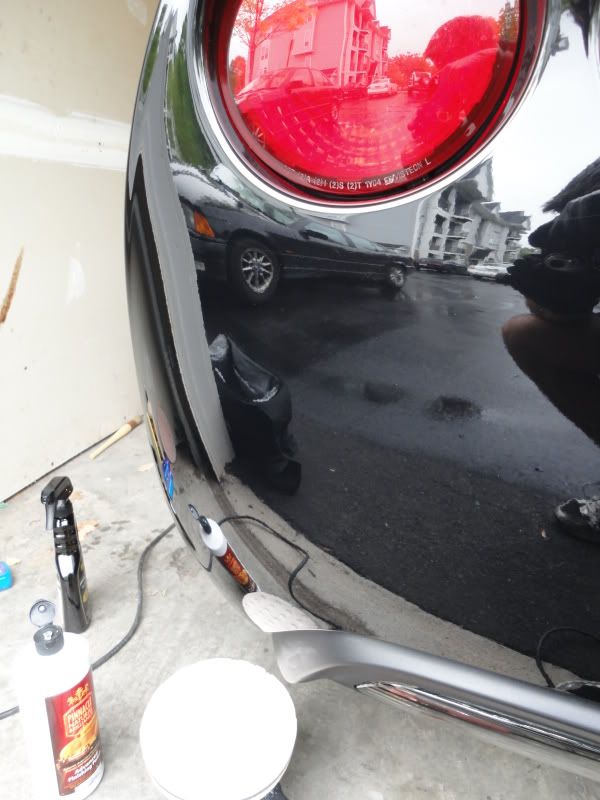
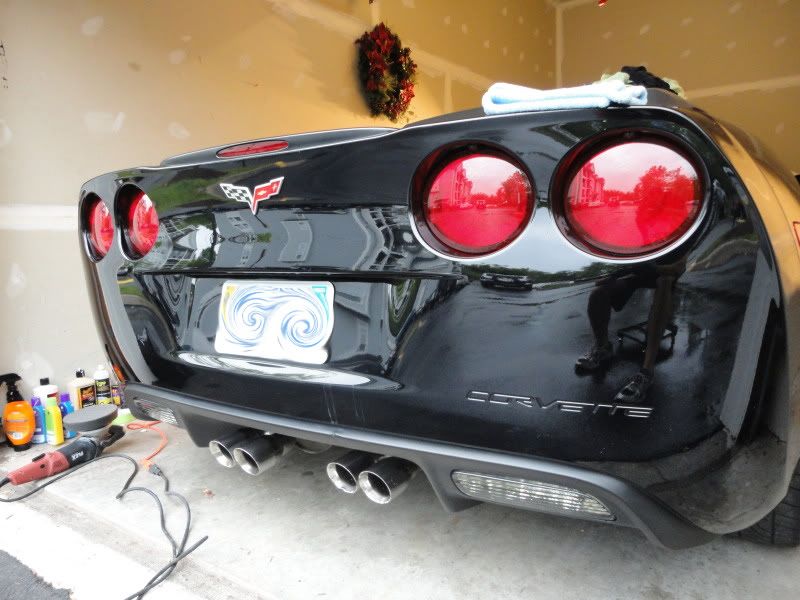
Bumper cover done!
Mirror after correction
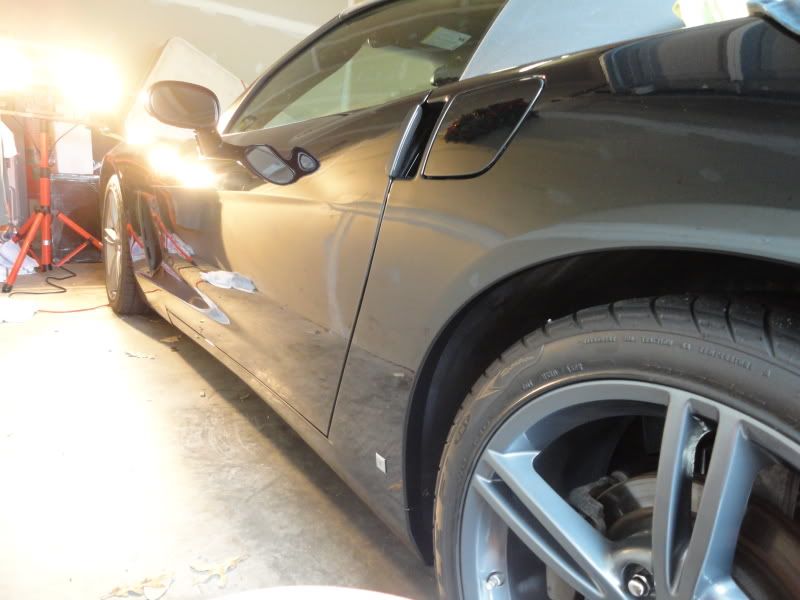
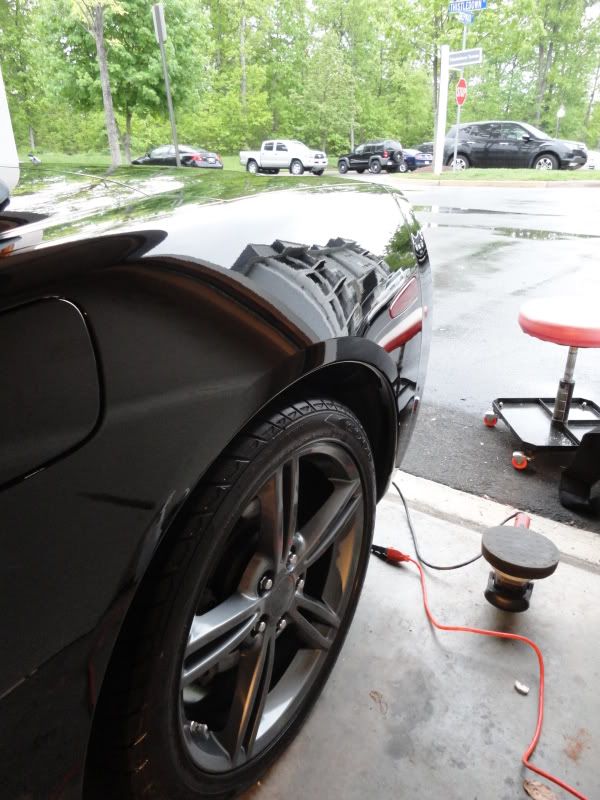
Passenger side fully corrected
HD Poxy curing.....LOVE this stuff!!!
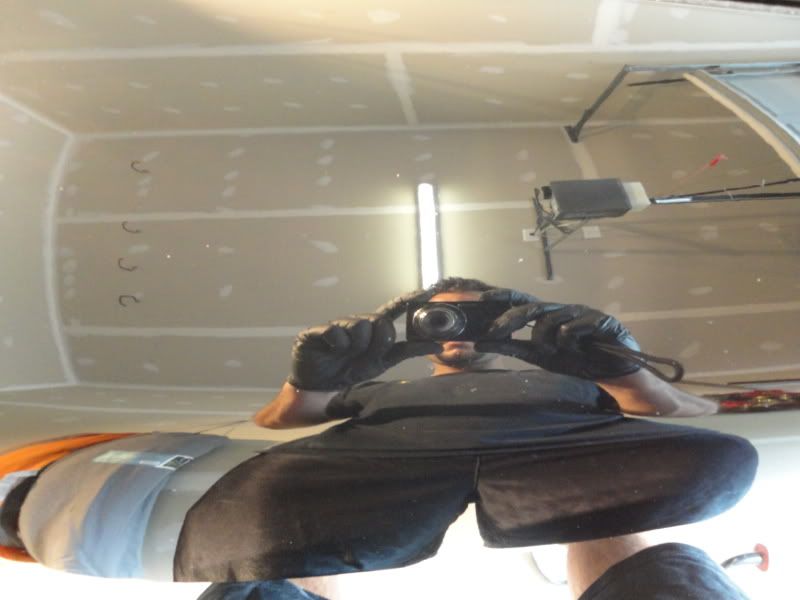
AFTERS
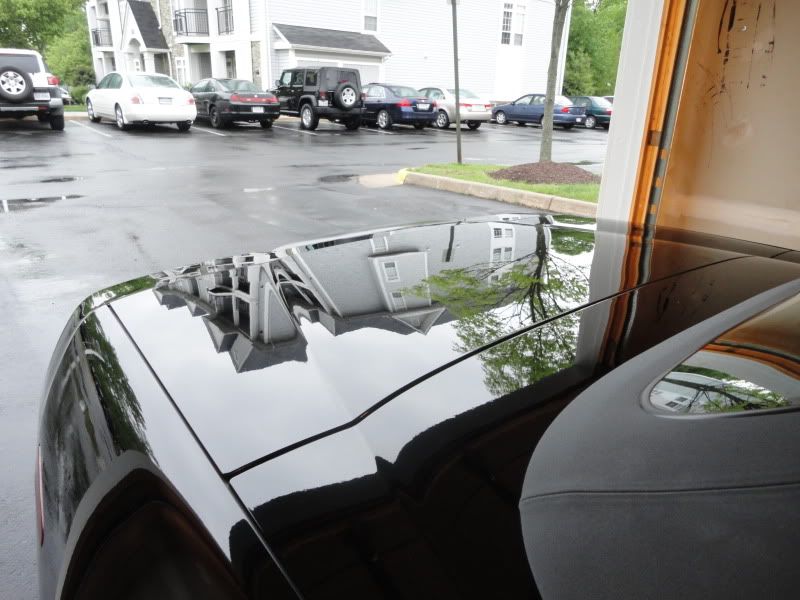
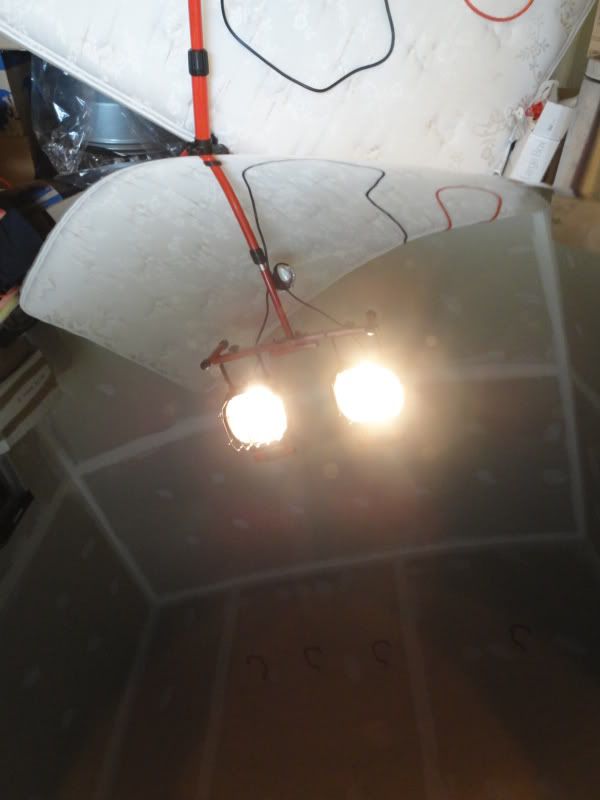
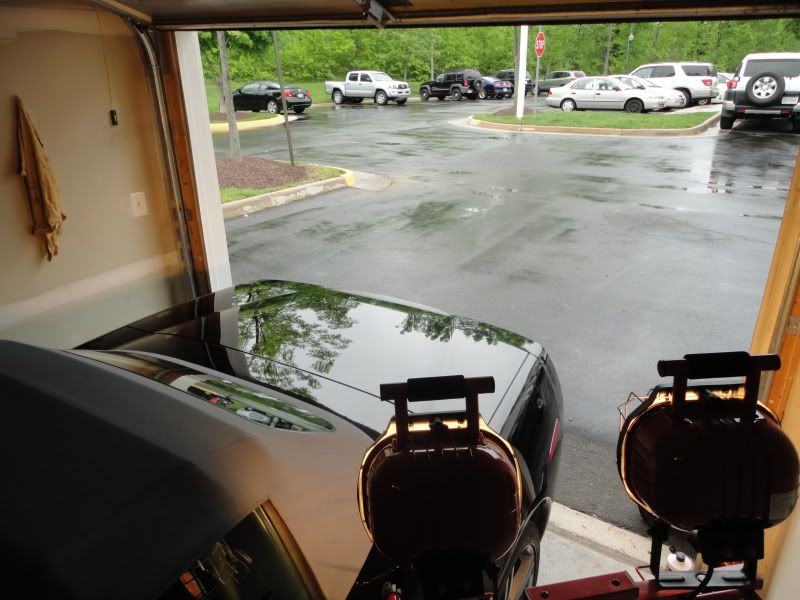
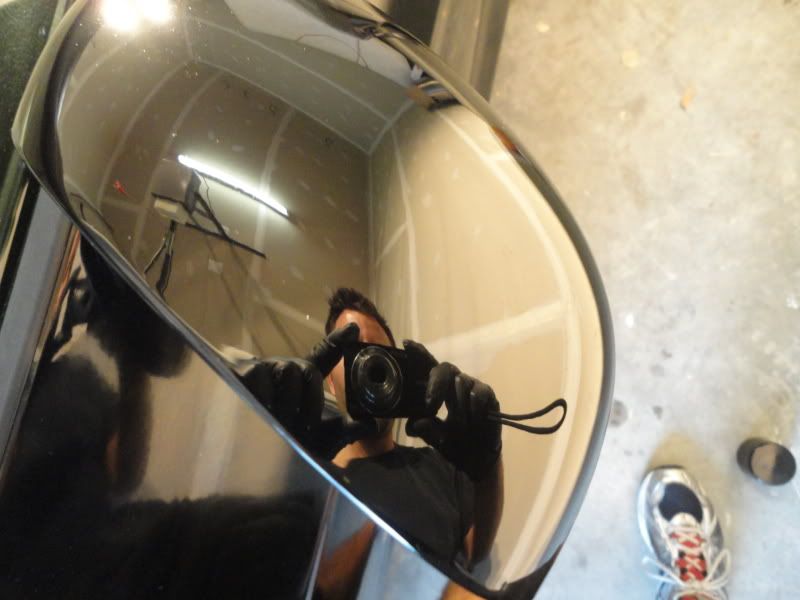
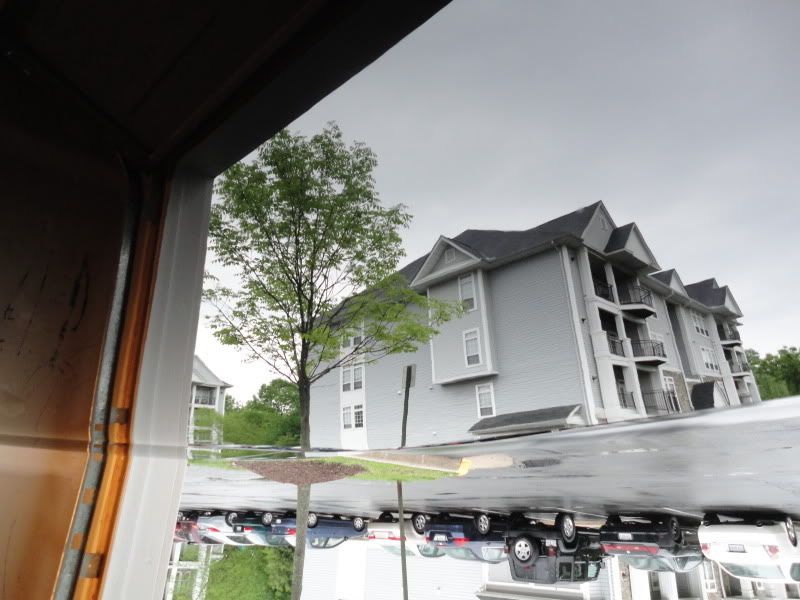
And now for the money shot: prob one of the clearest reflection shots I've ever grabbed. Look closely at the picture, it is a shot taken into the trunk lid, and I flipped it over to show the building in the background. Notice the upsideown cars....that is the edge of the trunk lid.
Thanks for looking!!
-Brian
Products used:
- Dawn super concentrated dish soap w/2 bucket method/grit guards
- Sonax Full Effect wheel cleaner
- Pinnacle XMT Speed Clay
- Poorboy's World QD as clay lubricant
- M105 on LC CCS Yellow Pad w/FLEX 3401
- HD Uno on LC CCS Orange pad w/FLEX 3401
- Pinnacle Advanced Finishing Polish on LC CCS White pad w/FLEX 2401
- HD Poxy applied w/ LC CCS grey finishing pad via FLEX 3401
- Optimum Metal polish
- Poorboy's World wheel sealant
- Stoner's Invisible Glass
- Armor All tire gel
- Meguiar's Professional APC diluted @ a 4:1 ratio
- RaggTopp convertible top cleaner
- RaggTopp fabric top protectant - 3 coats
The car as I arrived.....as I said, looks great from ten feet!
Getting the standard Sonax Full Effect treatment
Convertible top had some staining that needed to be addressed
And now for the horror show......this is how the entire car looked after all previous LSP had been stripped away and and the paint clayed.
:confused
Working on a 50/50 on the fender. Forward portion after M105 on yellow
50/50 tape removed
Fender fully corrected
Hood fully corrected
Passenger fender fully corrected
Getting ready to tackle the trunk lid, the clear coat etching was esp bad here
Driver's side fully corrected
Bumper cover done!
Mirror after correction
Passenger side fully corrected
HD Poxy curing.....LOVE this stuff!!!
AFTERS
And now for the money shot: prob one of the clearest reflection shots I've ever grabbed. Look closely at the picture, it is a shot taken into the trunk lid, and I flipped it over to show the building in the background. Notice the upsideown cars....that is the edge of the trunk lid.
Thanks for looking!!
-Brian
")
")