This is probably a stupid question but here it goes anyway....After reading up on JasonC's posts about adding more than 3 coats of SG id like to try and add a few more to my ride w/o starting over again from scratch. Is this possible to do by washing with Dawn to strip the Blitz w/o harming the layers of Klasse? Or should I really start over again with the AIO?
Navigation
Install the app
How to install the app on iOS
Follow along with the video below to see how to install our site as a web app on your home screen.
Note: This feature may not be available in some browsers.
More options
Style variation
You are using an out of date browser. It may not display this or other websites correctly.
You should upgrade or use an alternative browser.
You should upgrade or use an alternative browser.
Toyota Yaris ?Swirl edition? vs Menzerna Powerfinish
- Thread starter ALM
- Start date
G
Guest
Guest
I doubt that Dawn is smart enough to remove your Blitz and keep your SG fully intact.
Just layer your Blitz if you really want to layer without starting over.
Just layer your Blitz if you really want to layer without starting over.
DETAILKING
New member
That should do the job. Dawn will strip carnuba, but not the polymer.

DETAILKING
New member
Sal gets her to detail his viper and loans her out to his best VIP customers! Hahaha (picture edited for a PG rating).
http://albums.photopoint.com/j/View?u=1575126&a=11974151&p=52366117
http://albums.photopoint.com/j/View?u=1575126&a=11974151&p=52366117
DETAILKING
New member
what is your email....I will send you the link!
So who's my closest Zaino distributor in South Texas? Hehe!
Detailking, clear something up before I begin to think bad. What do you mean Sal loans HER out to his VP customers? Do you mean the Viper or the young lady? Come on, admit it!
My email is [email protected]
Thanks.
Detailking, clear something up before I begin to think bad. What do you mean Sal loans HER out to his VP customers? Do you mean the Viper or the young lady? Come on, admit it!
My email is [email protected]
Thanks.
imported_porta
New member
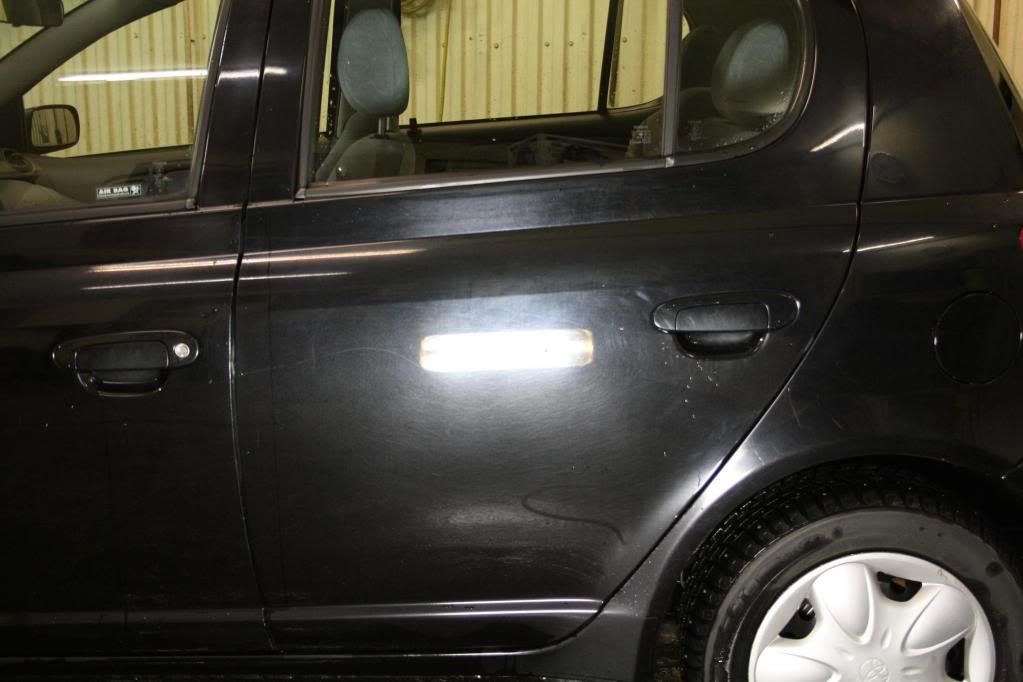
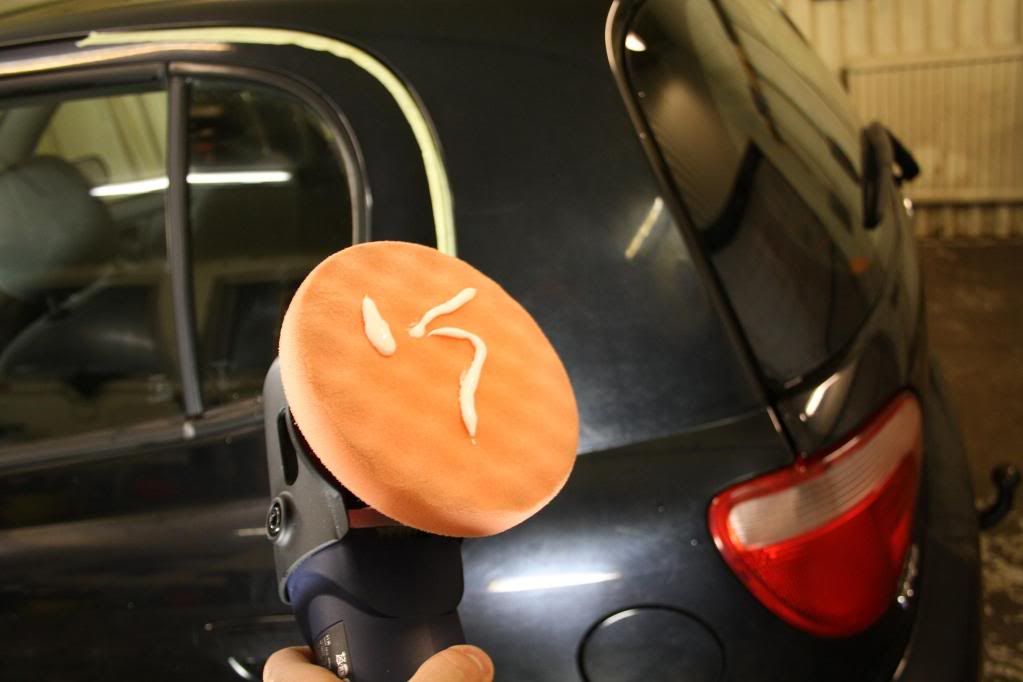
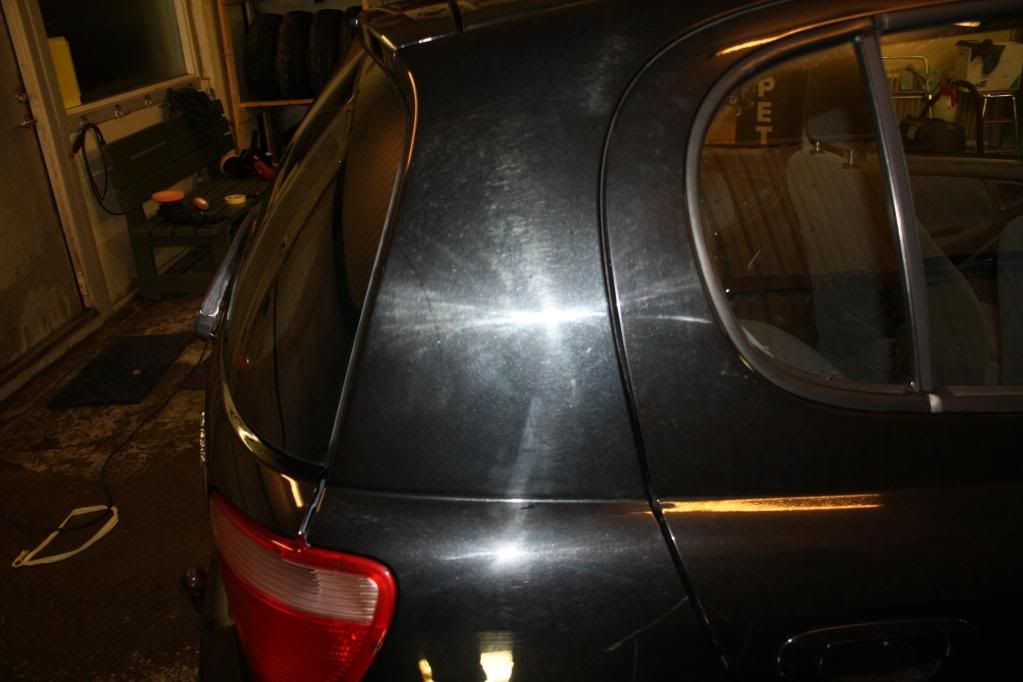
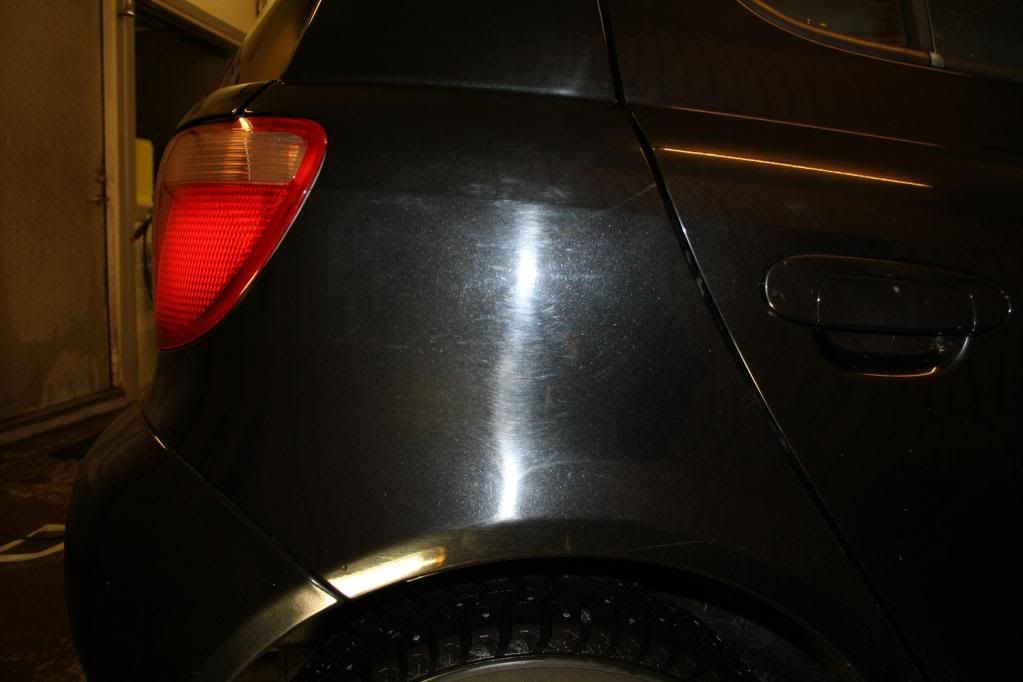
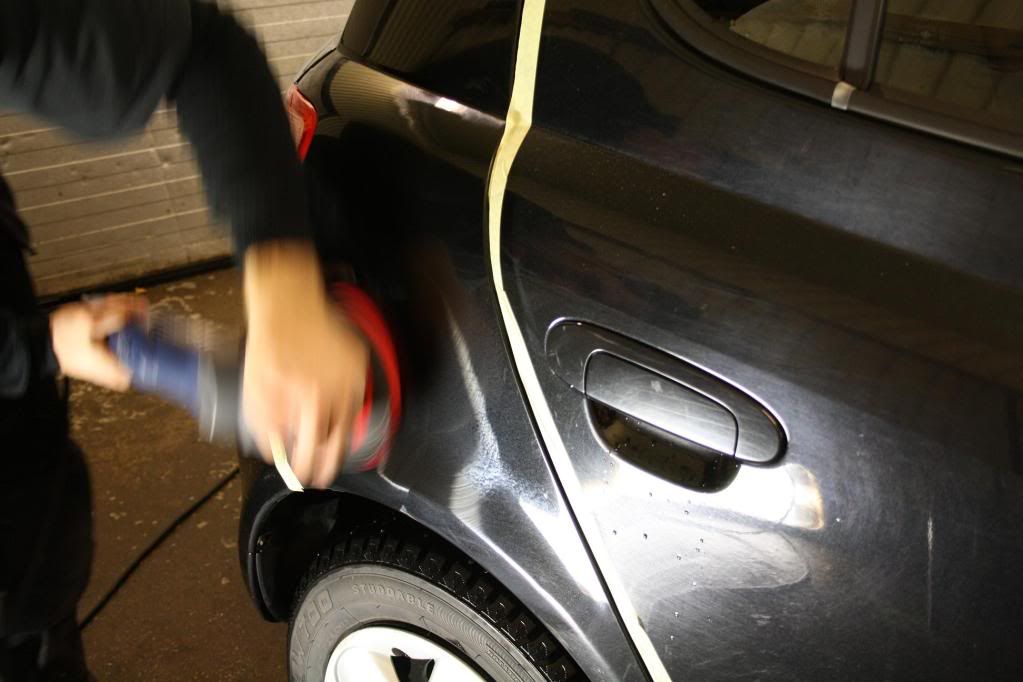
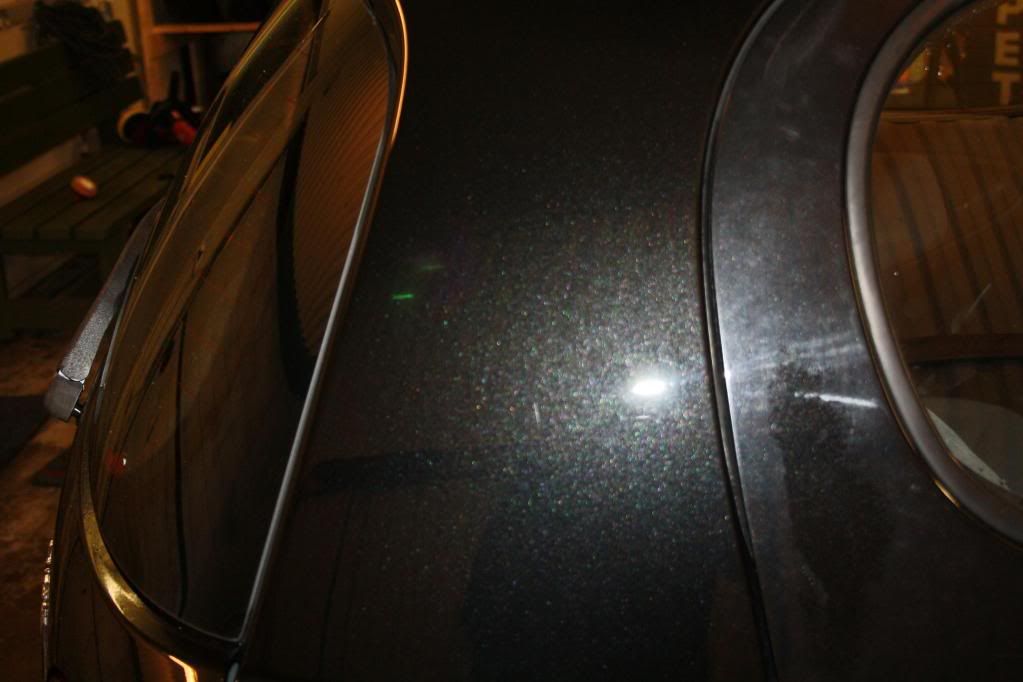
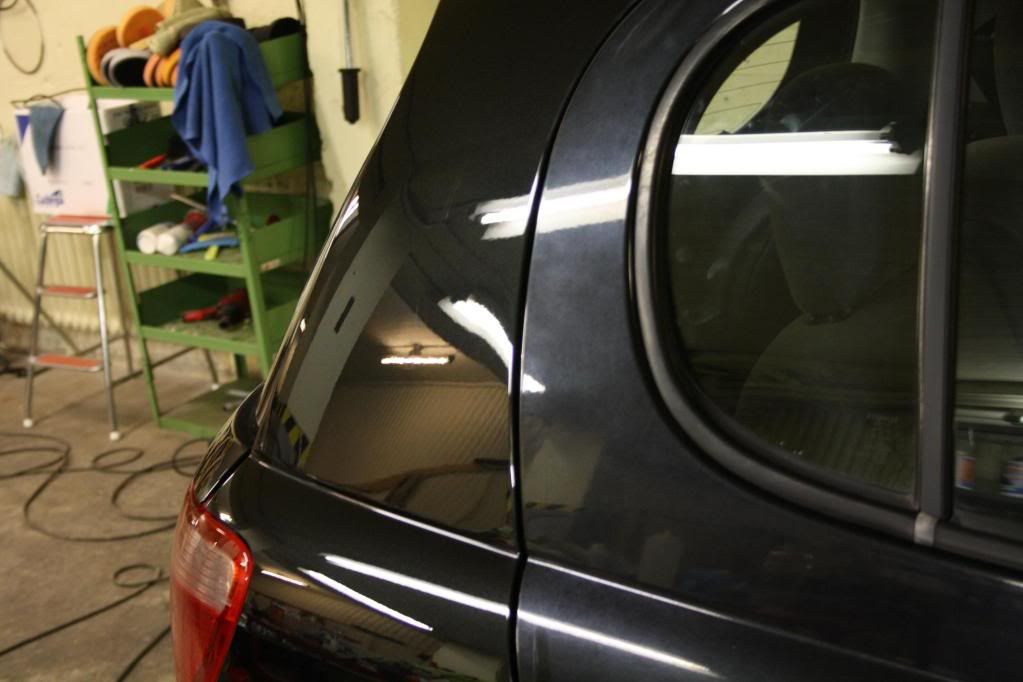
This Toyota was hammerd and I was helping a friend. We talked about how we should get this car look as good as possible with minumum effort, and I think we nailed it. I have only pictures of the panel I polished and the car will be finished on monday.
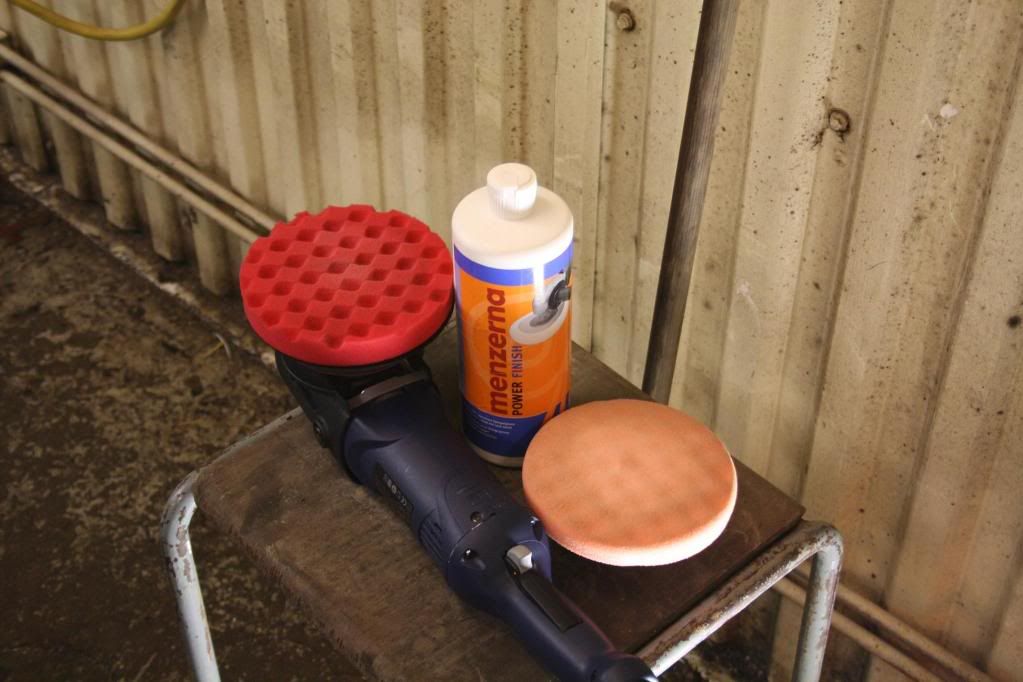
I used 2 different kinds of techniques. On the driver side, I just used a orange coolshine pad and PO203S. Spread at 900 rpm, correction at 1500-1700 rpm and finished with multipel passes at 900.
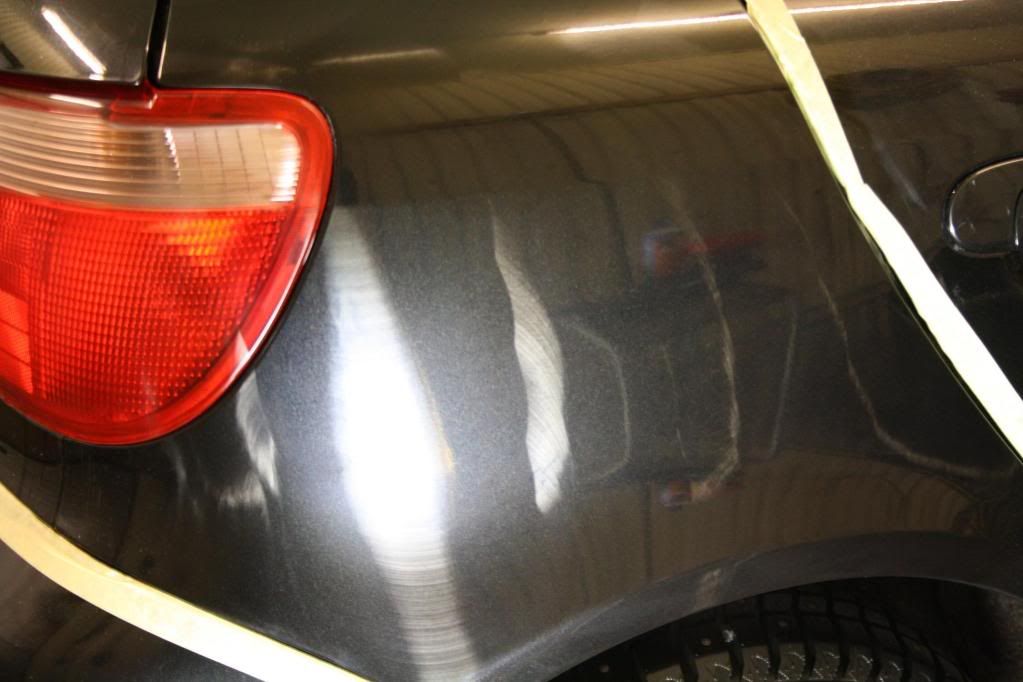
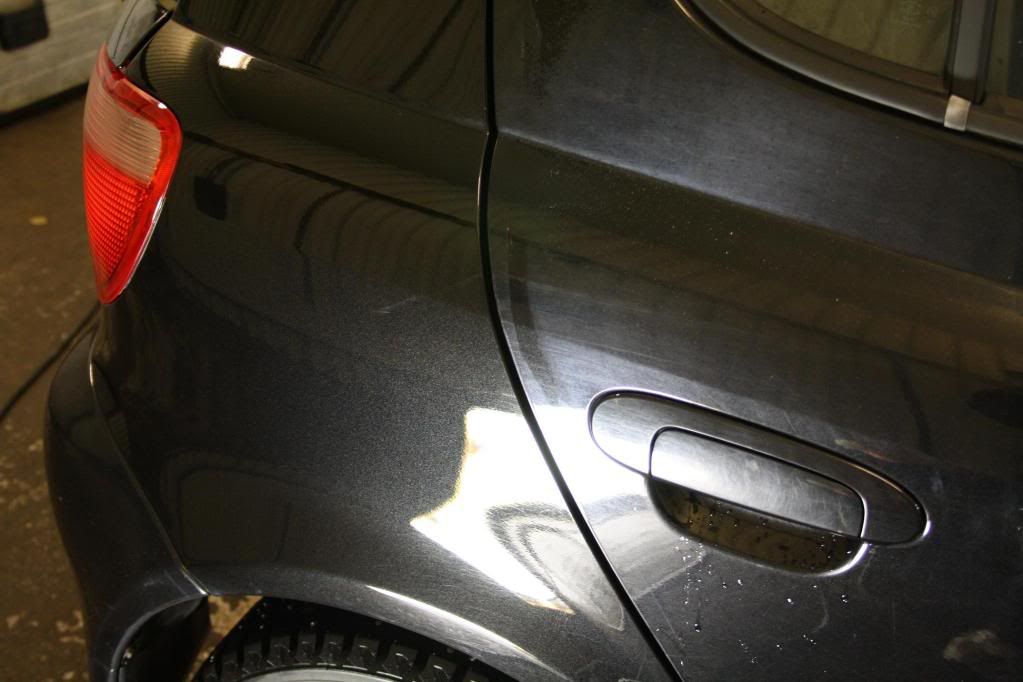
On the passenger side I did the following. Spread at 900, correction at 1500-1700, and when the polish started to break down, I switched to a finishing pad and did the finishing at 1200-900 with multipel passes.
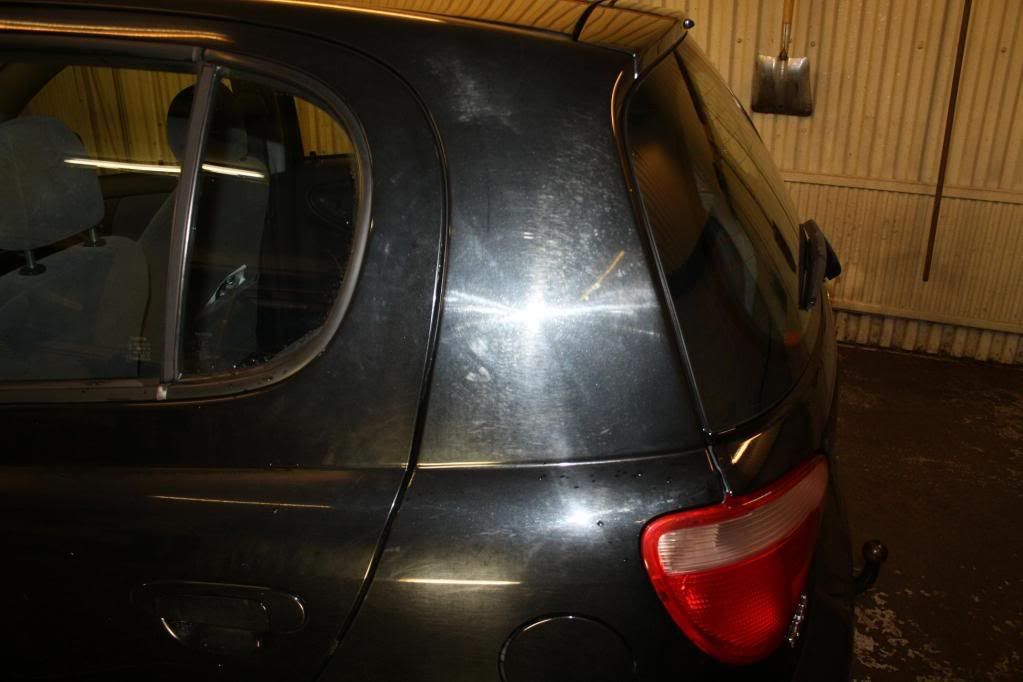
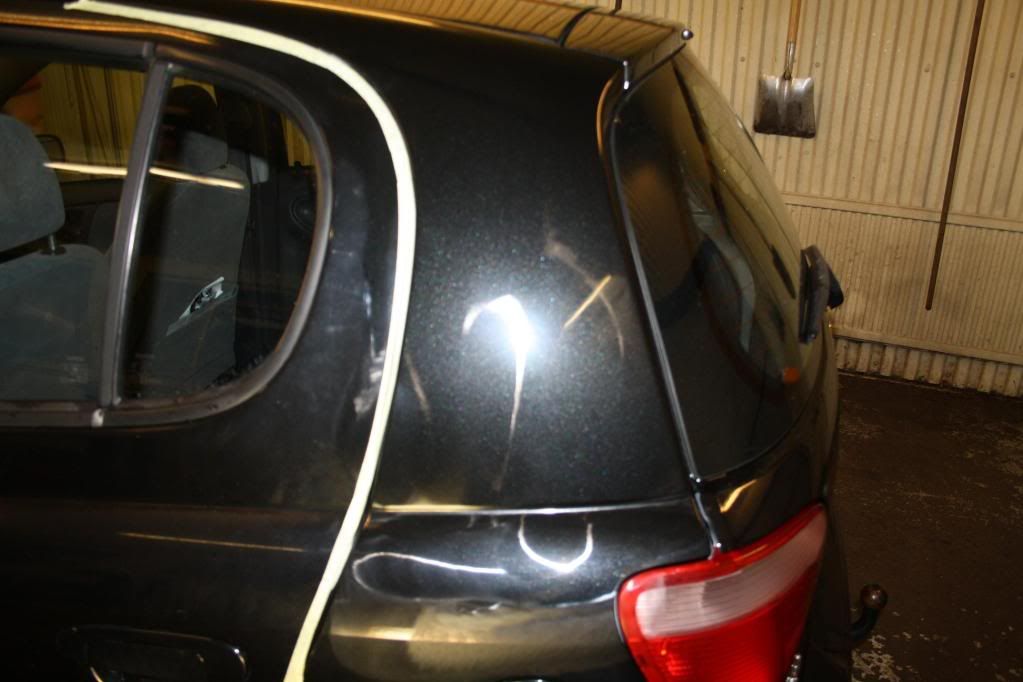
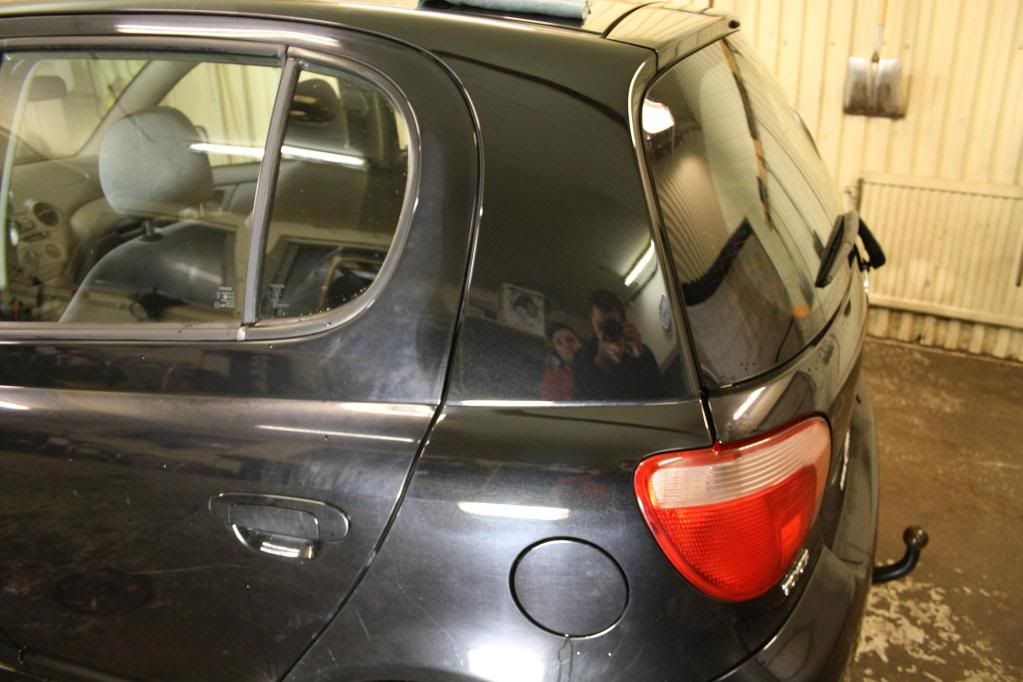
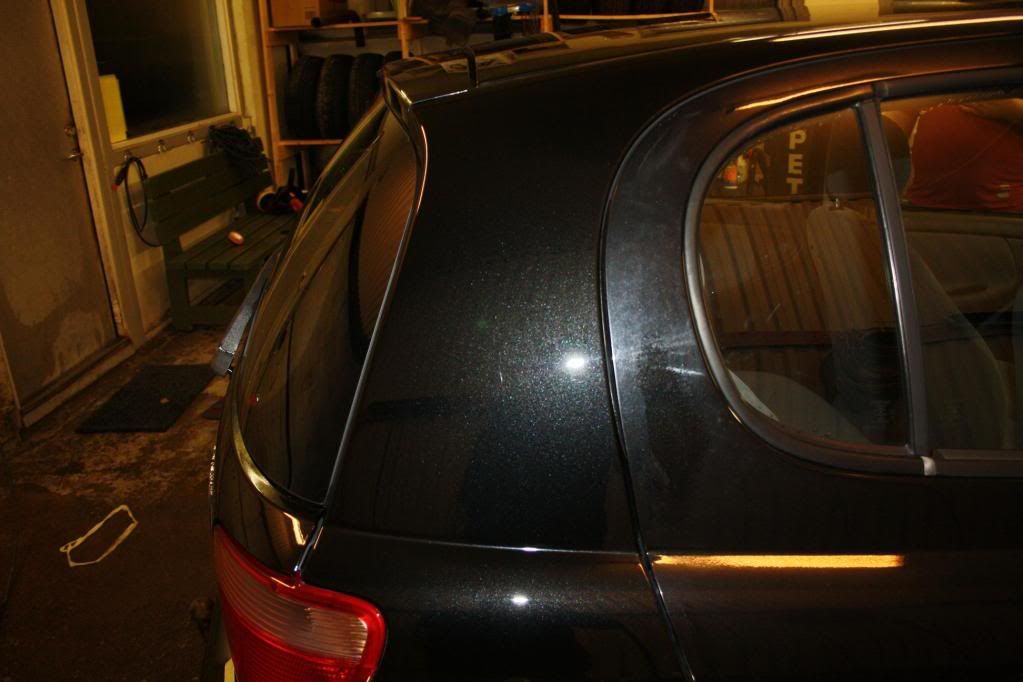
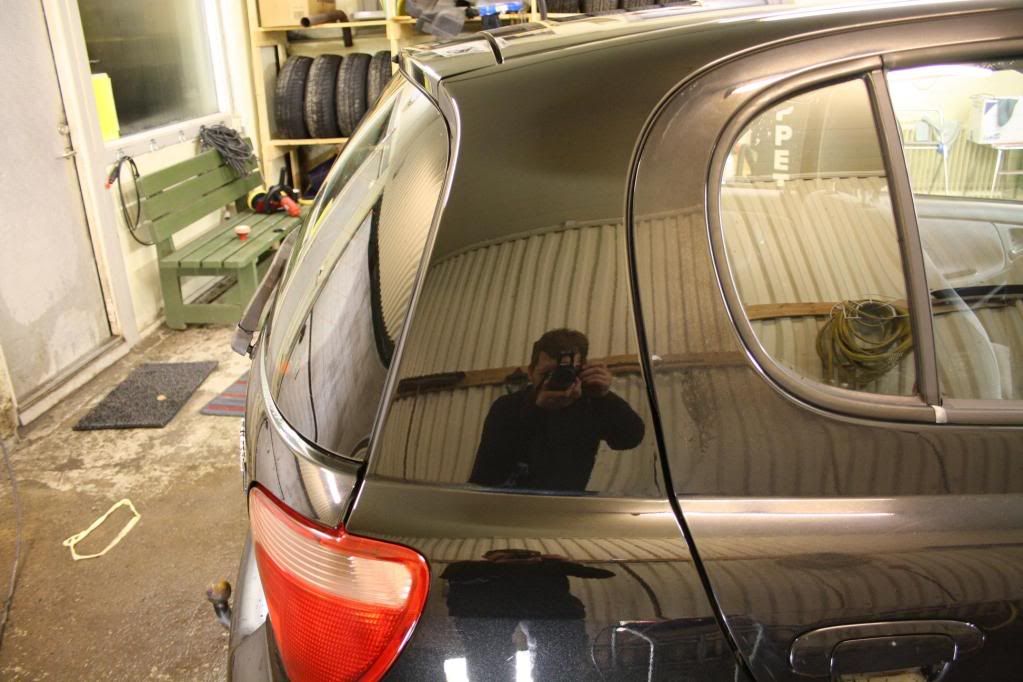
After the polishing step I used IPA and 3M surface cleaner to remove all the lubrication and to avoid intentional filling. The result? Maybee 90% correction and a very glossy paint with minumum effort, I will let the pictures do the talking.
All the pictures are before lsp and are not enhanced.
Weapon of choice
Driver side
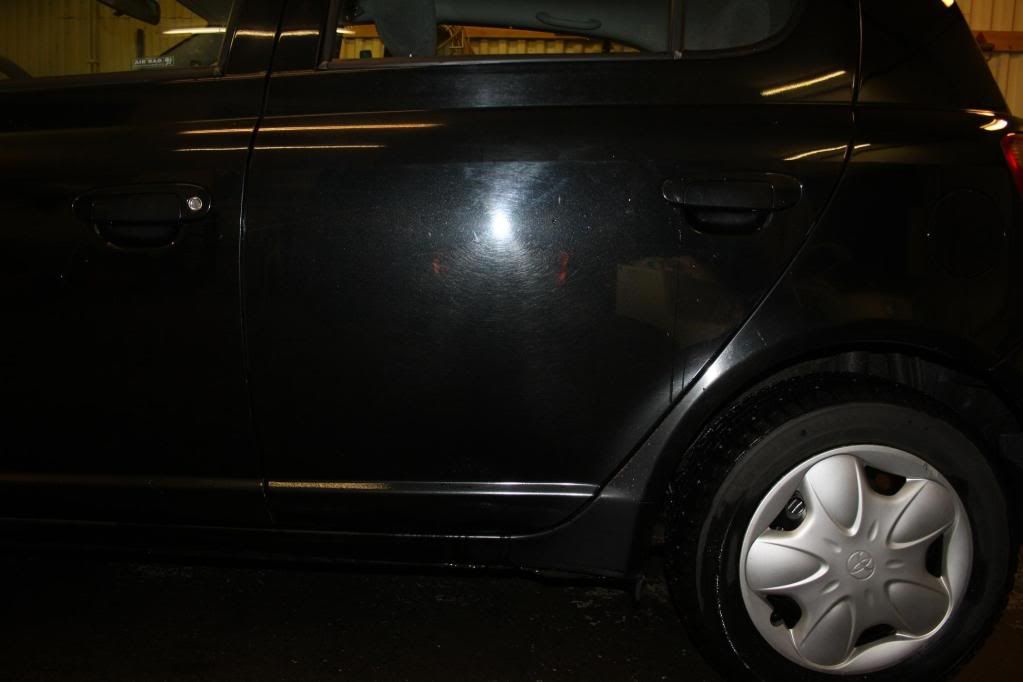

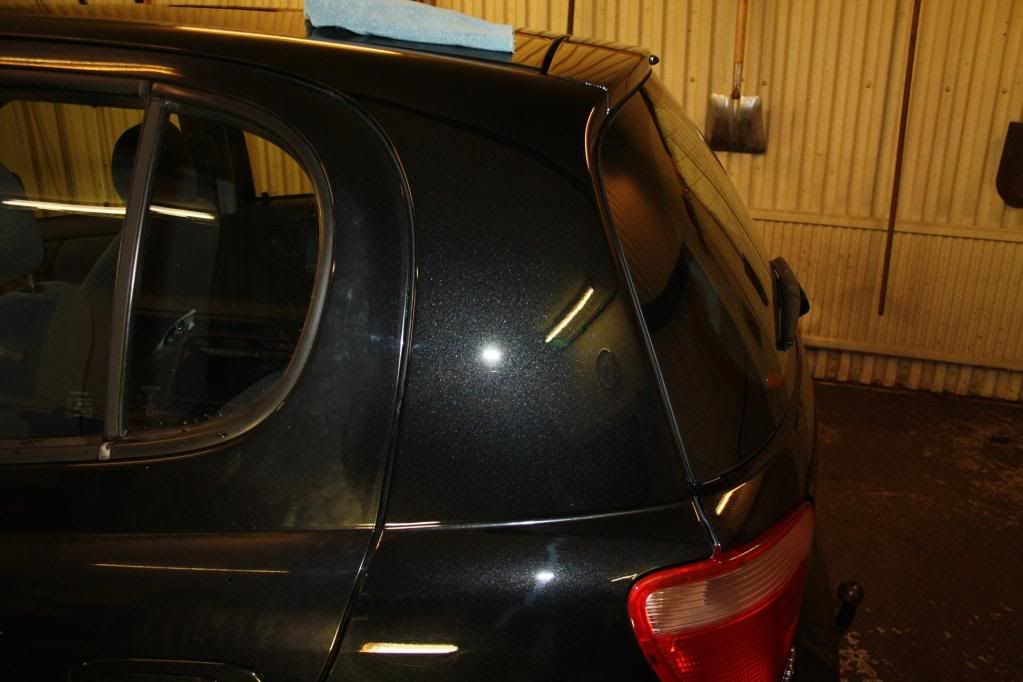
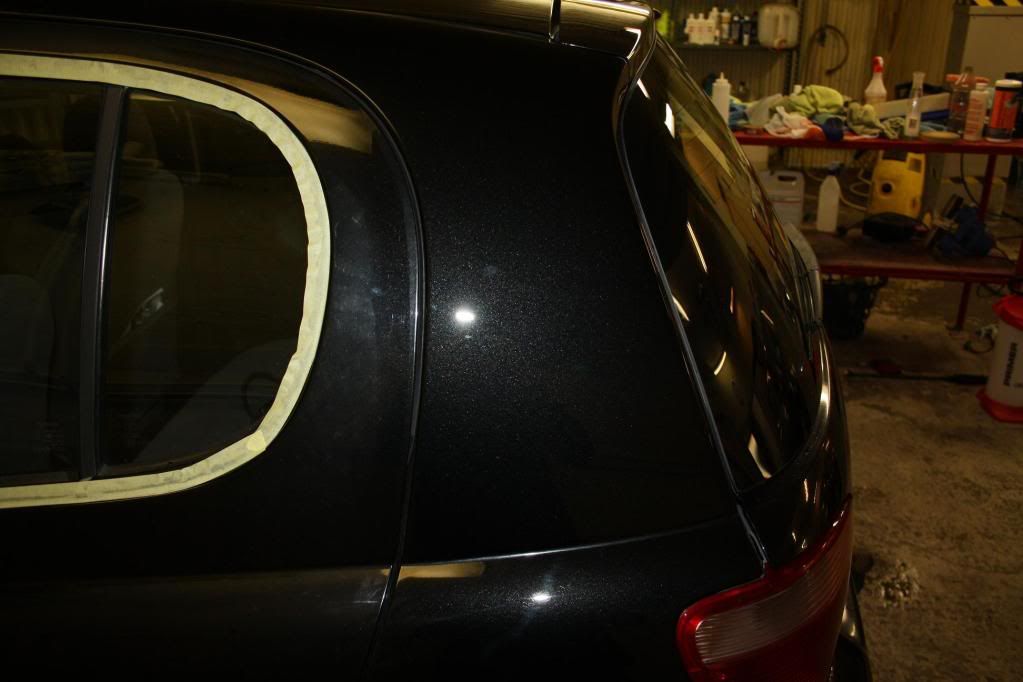
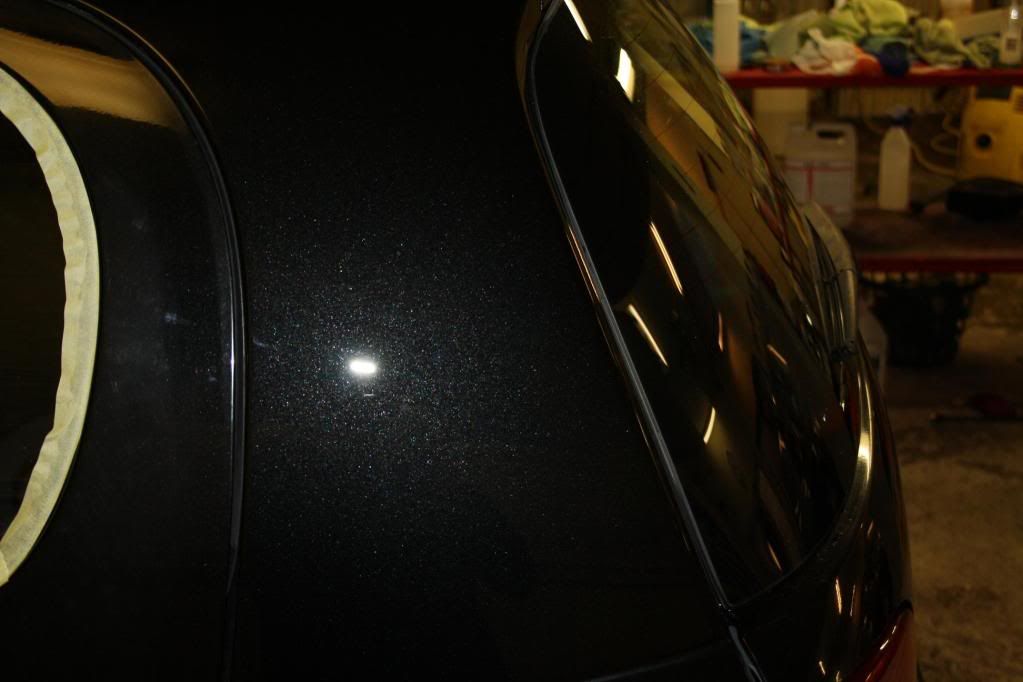
Passenger side
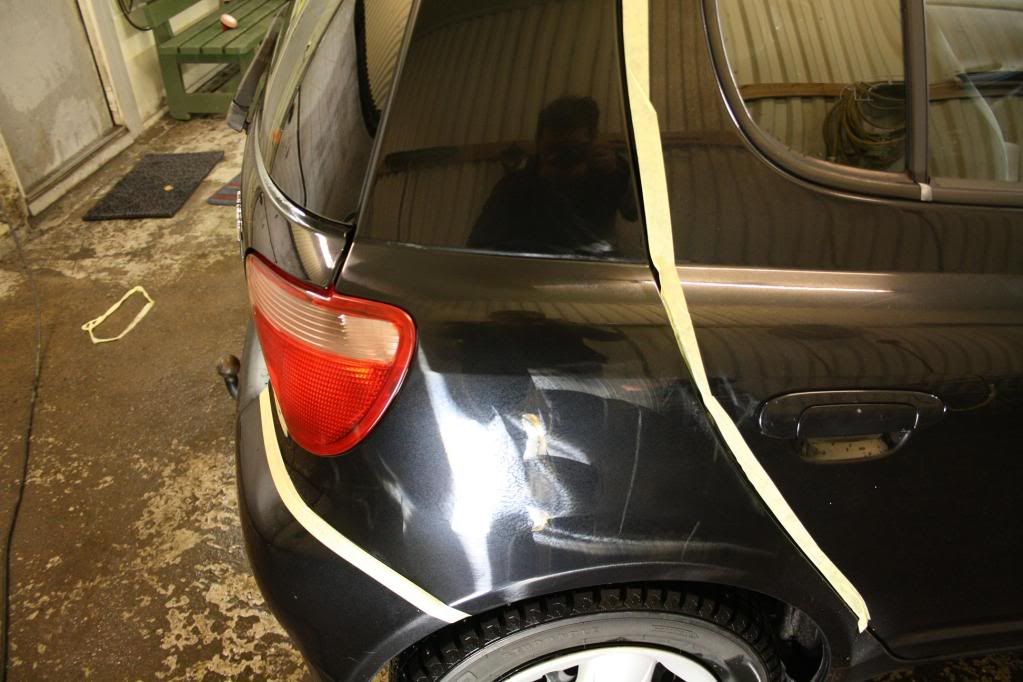
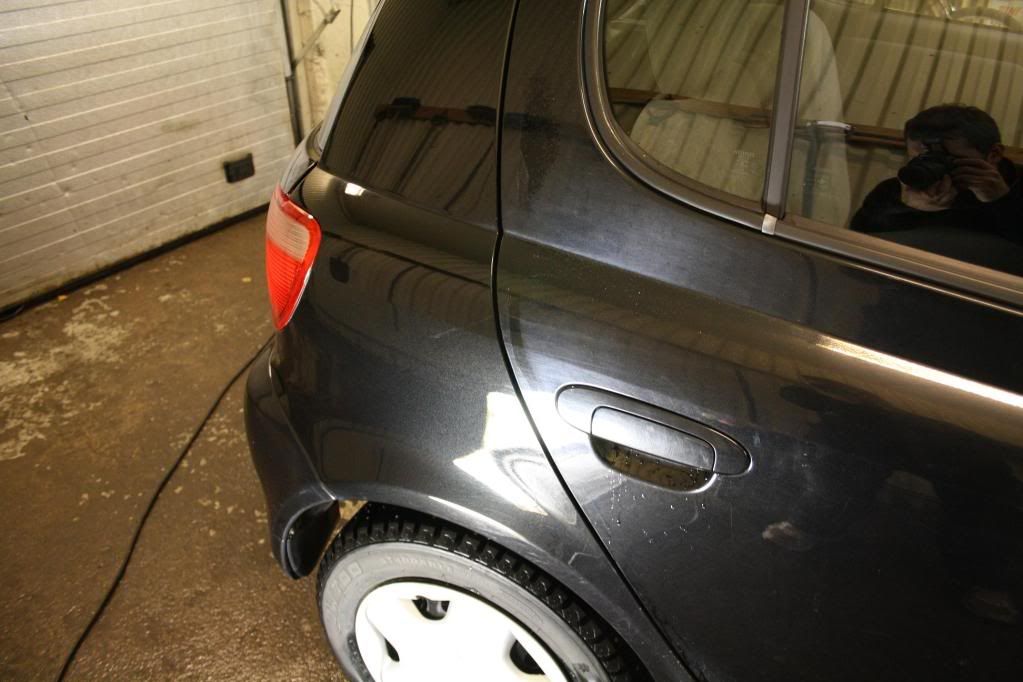
I used 2 different kinds of techniques. On the driver side, I just used a orange coolshine pad and PO203S. Spread at 900 rpm, correction at 1500-1700 rpm and finished with multipel passes at 900.
On the passenger side I did the following. Spread at 900, correction at 1500-1700, and when the polish started to break down, I switched to a finishing pad and did the finishing at 1200-900 with multipel passes.
After the polishing step I used IPA and 3M surface cleaner to remove all the lubrication and to avoid intentional filling. The result? Maybee 90% correction and a very glossy paint with minumum effort, I will let the pictures do the talking.
All the pictures are before lsp and are not enhanced.
Weapon of choice
Driver side
Passenger side
*MustangGT/25YRS*
New member
*;O]*
Yes,Give some UpDate Picz when you're done,please.
Very Nice/:thumbup: Have a Nice WeekEnd.
Regards/
Raymond
Yes,Give some UpDate Picz when you're done,please.
Very Nice/:thumbup: Have a Nice WeekEnd.
Regards/
Raymond
imported_Luster
New member
Nice correction! Huge difference in the paint!!!
imported_Flash Gordon
New member
Man you wasn't kiddin, that thing was hammered. Looks very good so far. Looking forward to a full pictorial when you get everything sorted out :toetap05:
What kinda machine is that you use?
What kinda machine is that you use?
Old Pirate
AMG Classic Car Detailing
Where is the rest? Looking great:clap:
Tuck91
New member
Nice correction work ")
imported_porta
New member
Wow what a difference - nice work. Please post the an update when you get all done.
Thanks, and yes I will try to get some photos on the car when it?s done.
Yes,Give some UpDate Picz when you're done,please.
Very Nice/:thumbup: Have a Nice WeekEnd.
Regards/
Raymond
Thanks. And have a nice weekend you to
")
Nice correction! Huge difference in the paint!!!
Thanks, Luster. I tought so as well
Man you wasn't kiddin, that thing was hammered. Looks very good so far. Looking forward to a full pictorial when you get everything sorted out :toetap05:
What kinda machine is that you use?
Thanks, Gordon. The machine is a AEG PE150 rotary. Works very nice, check out this video http://www.youtube.com/watch?v=pqZ8R_hB828
Where is the rest? Looking great:clap:
On monday, Angelo
Nice correction work
Thanks, mate!
Wow nice work! I can't wait to see the finished product!
Thanks, mate! I will get some more pictures after a coat of Collinite 845