The Road to Cavillino complete (177 pictures) 1 wk from show

Todd@RUPES

Just a regular guy
Updated 10/21 30 new pics on post 5​

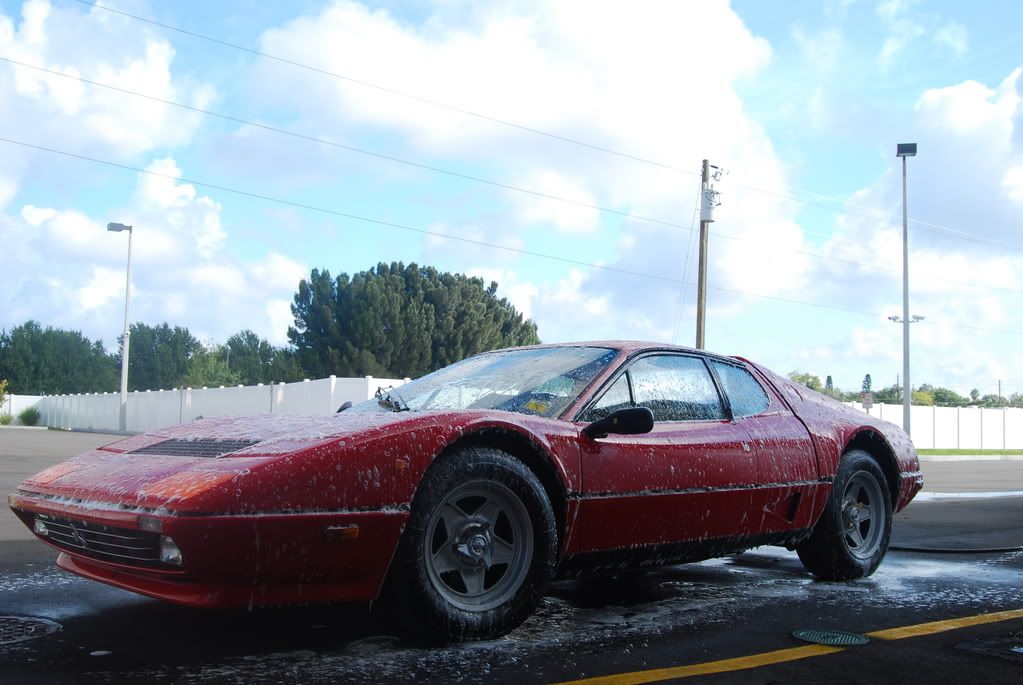
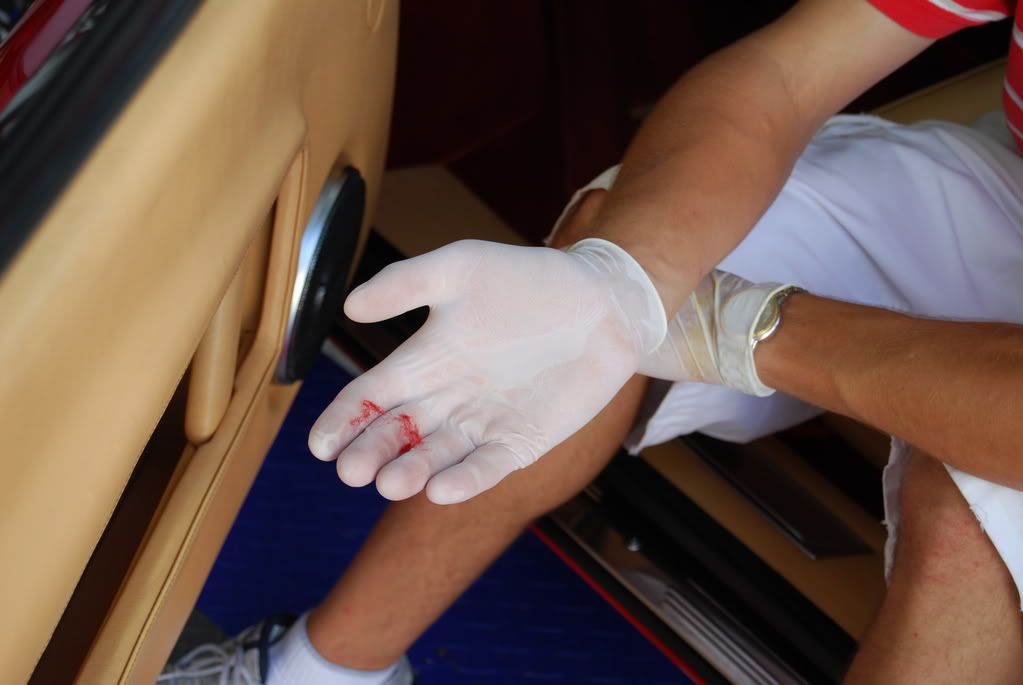
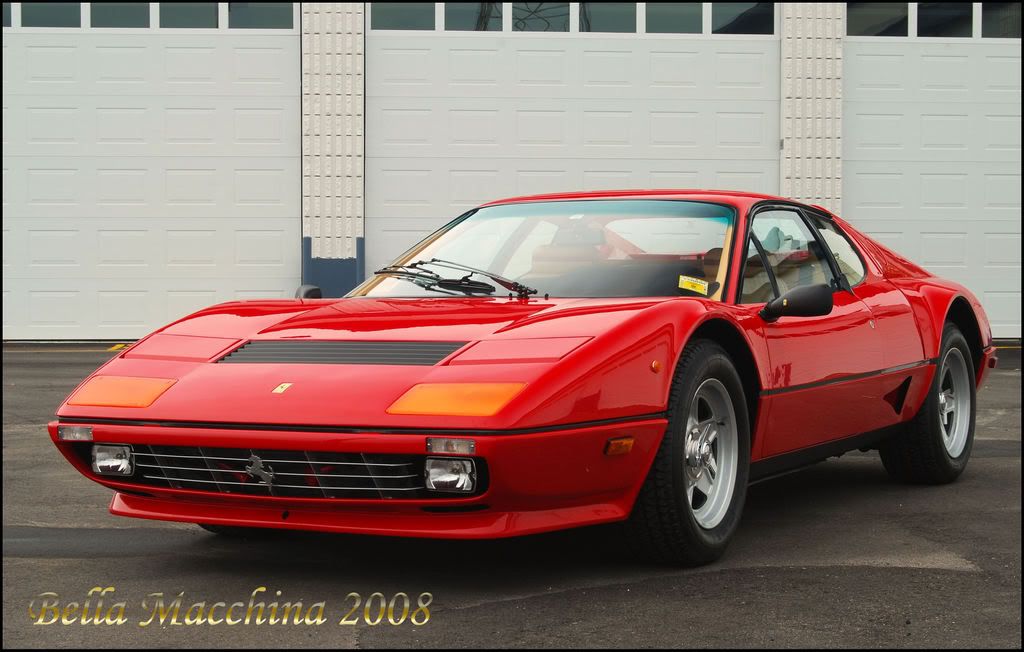
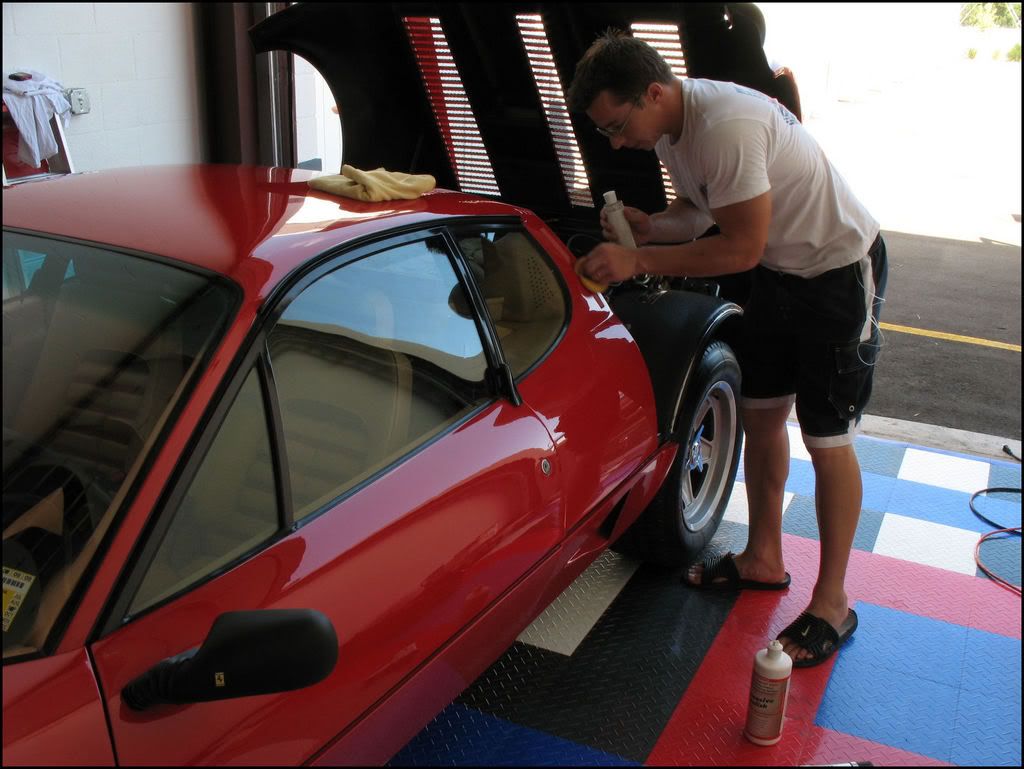
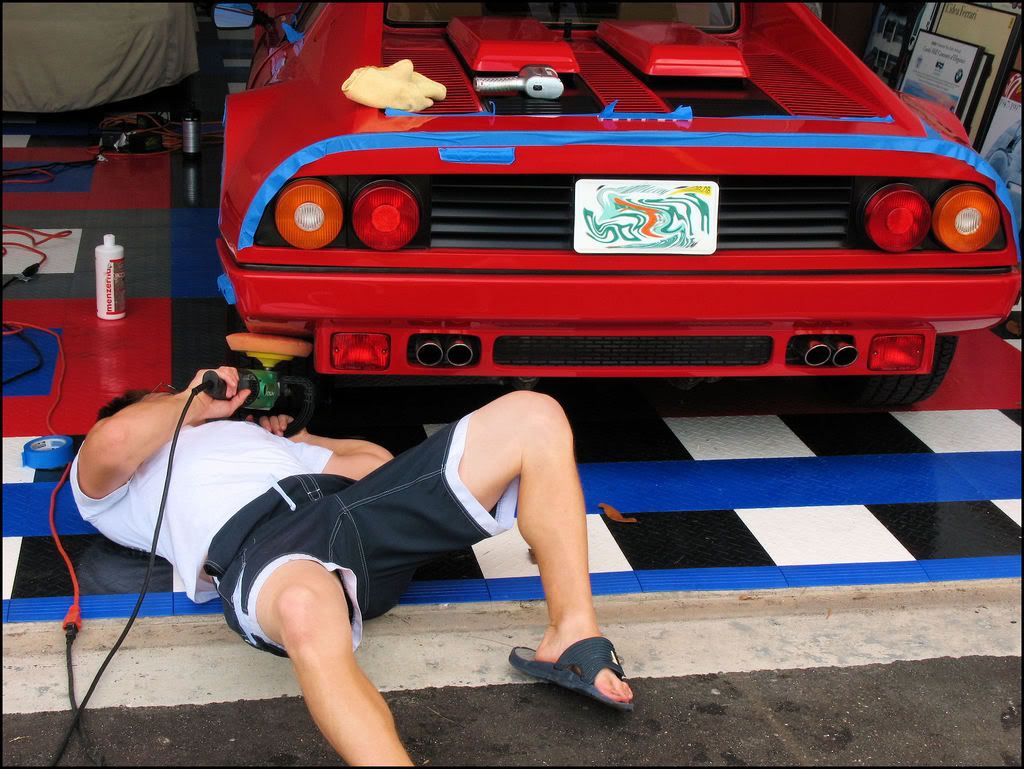
This weekend, I had the chance to spend three long days (about 28 hours total) preparing a 1984 Ferrari BBi for the Cavallino Concours show in south Florida in January. The goal was to get it about 90 percent done (minus the under carriage, which will be done a little later) for the Winter Park Concours show in a couple weeks. This way, the owner and I will know what we need to work on for Cavallino. I am very excited by this opportunity. The only road block has been the owner, because we would chitchat about cars for a couple hours at a time!!! VERY COOL.


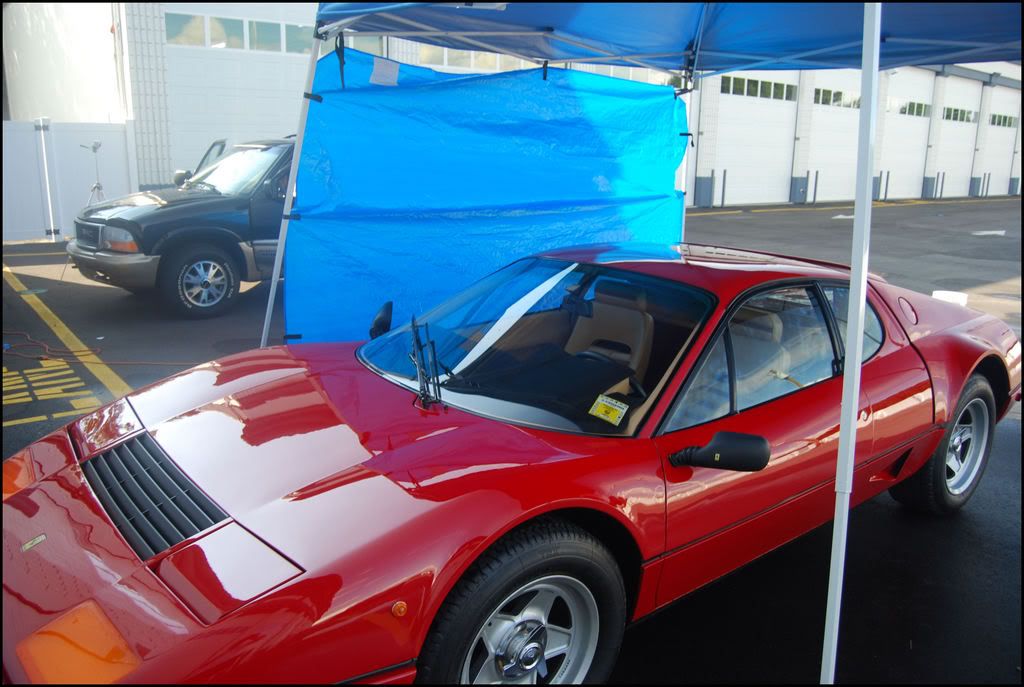
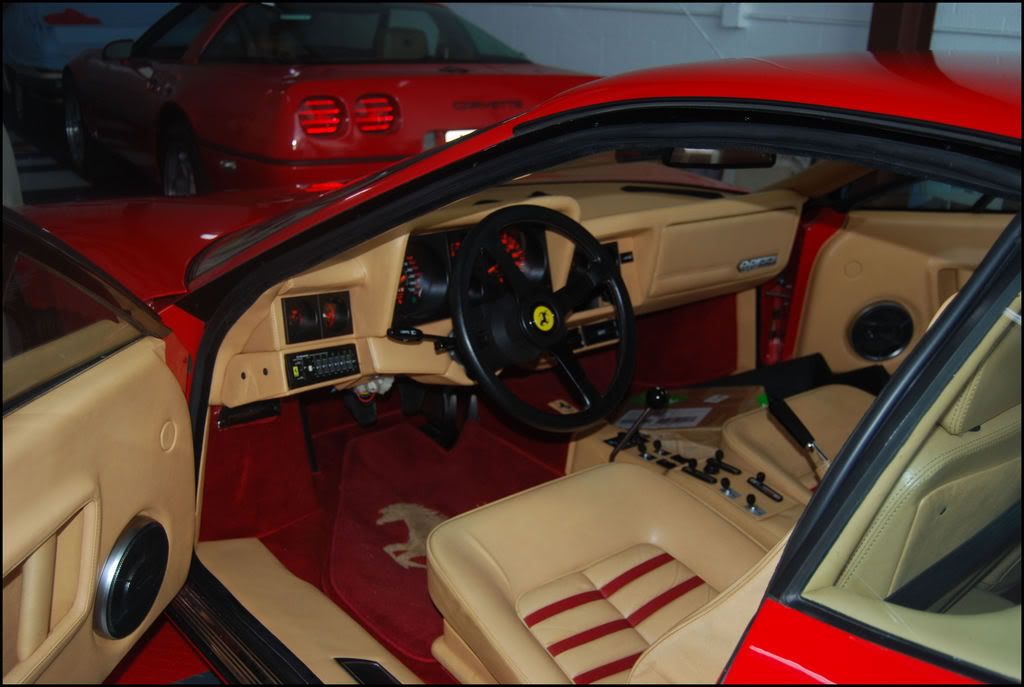
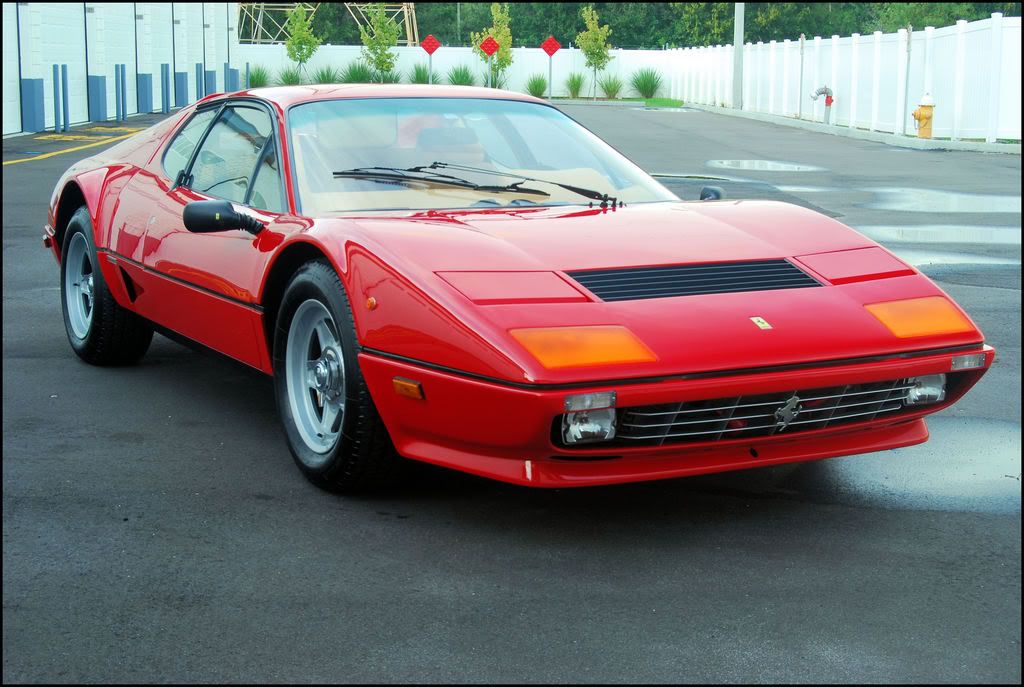
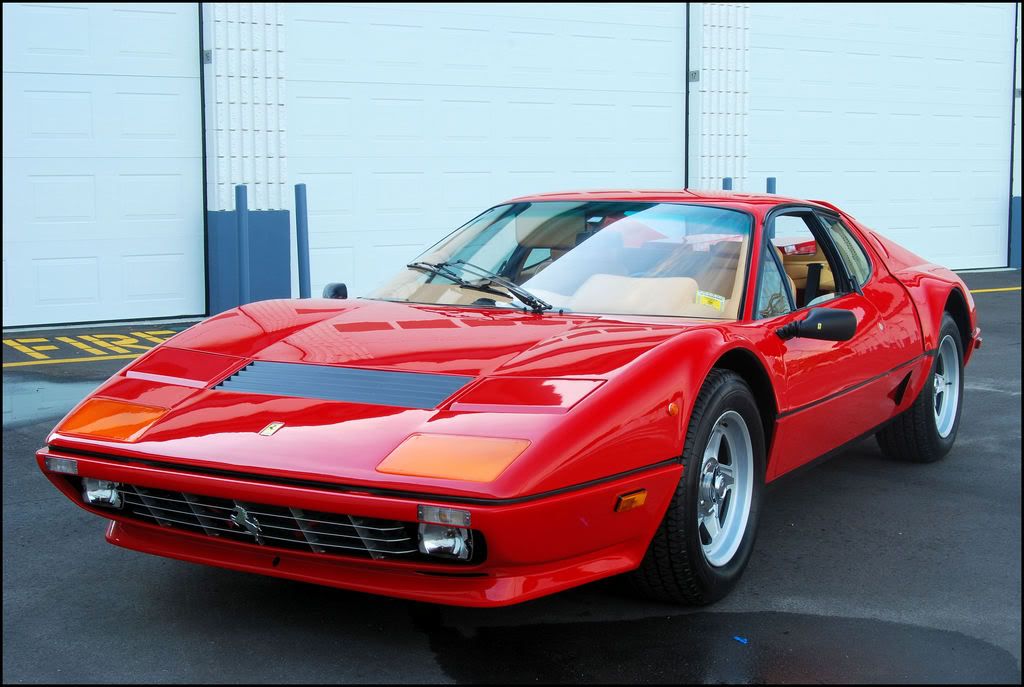
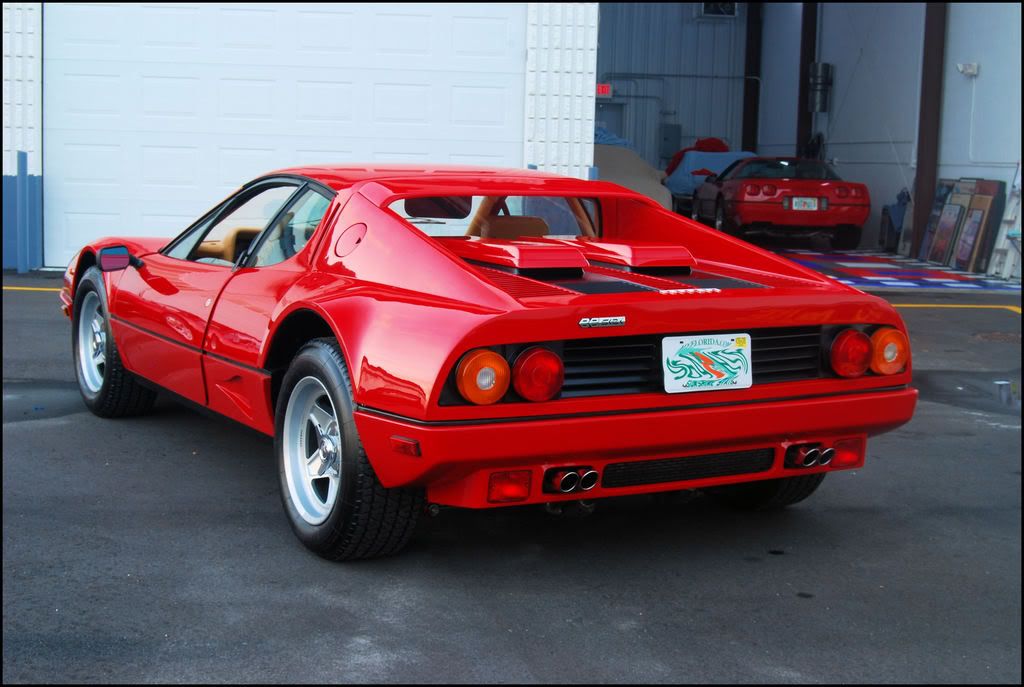
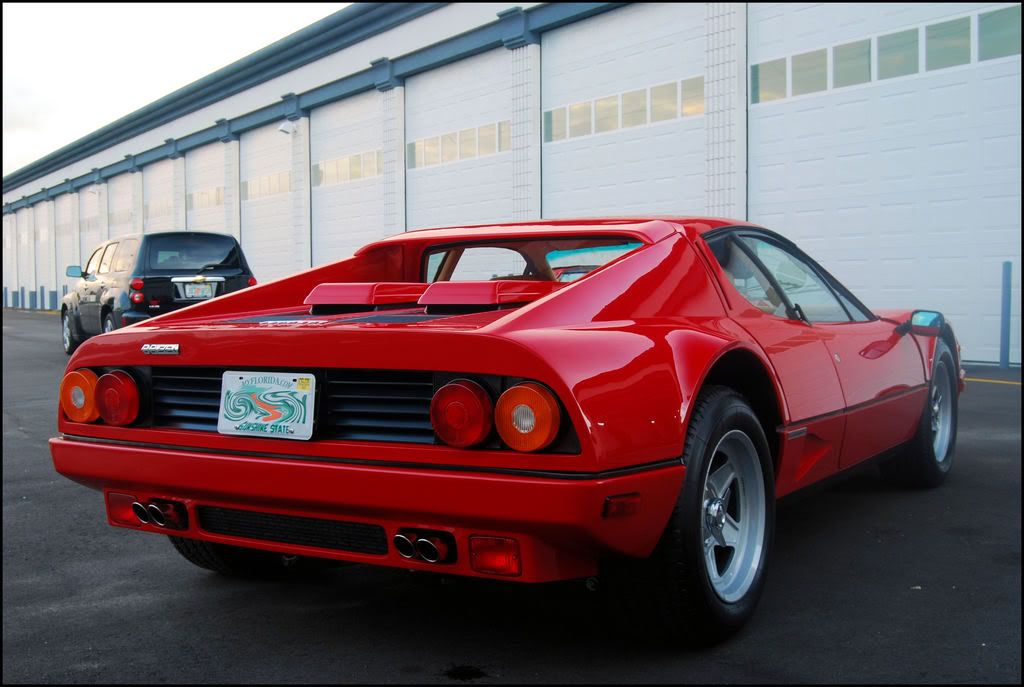
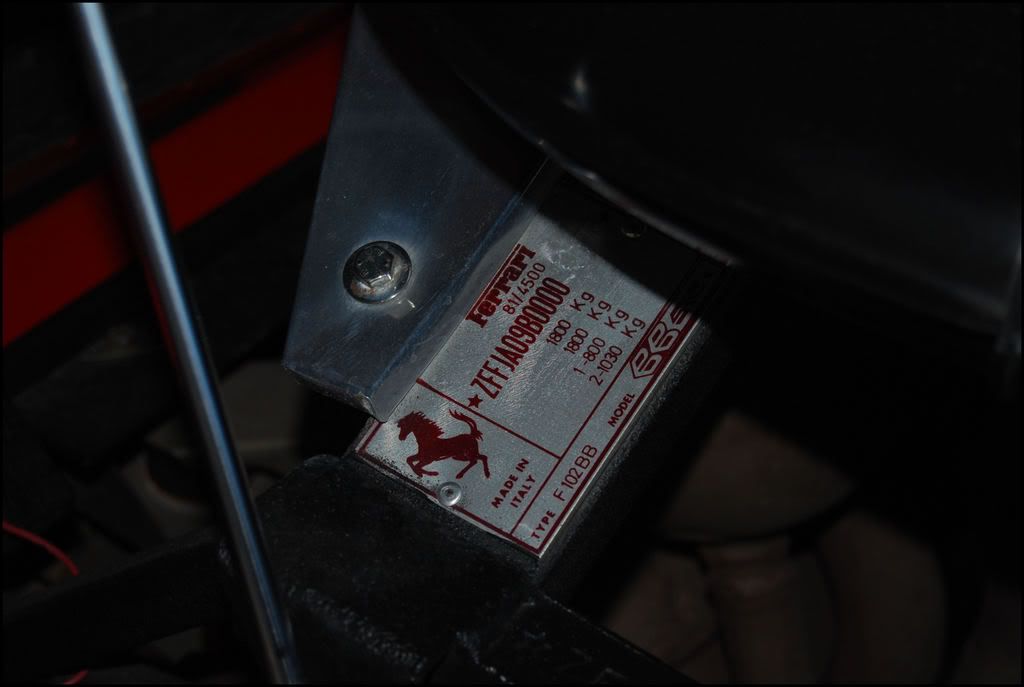
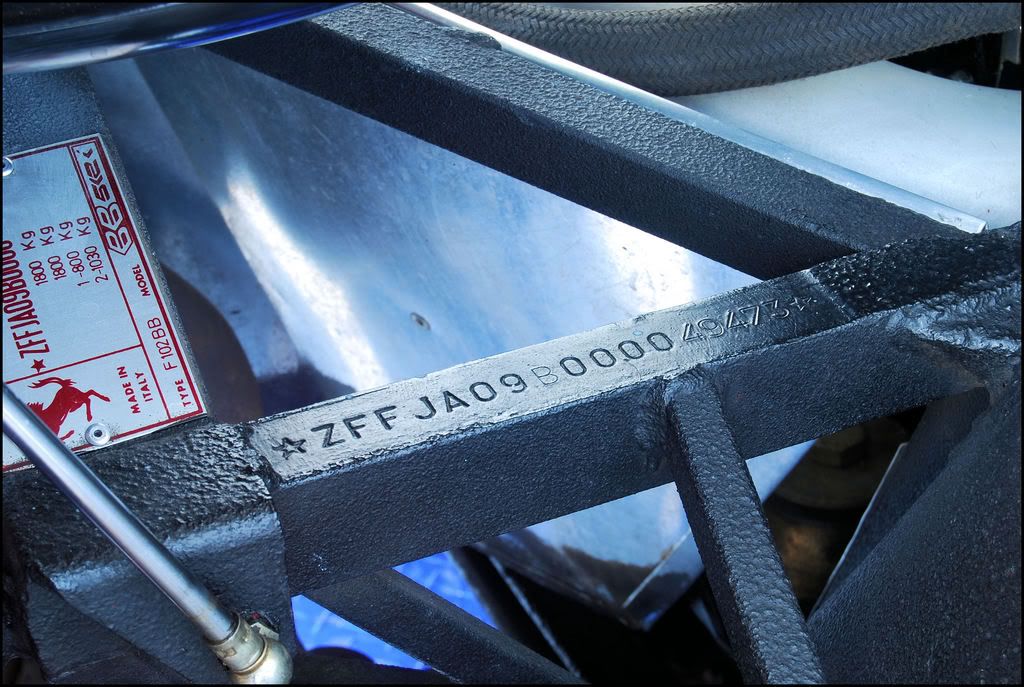
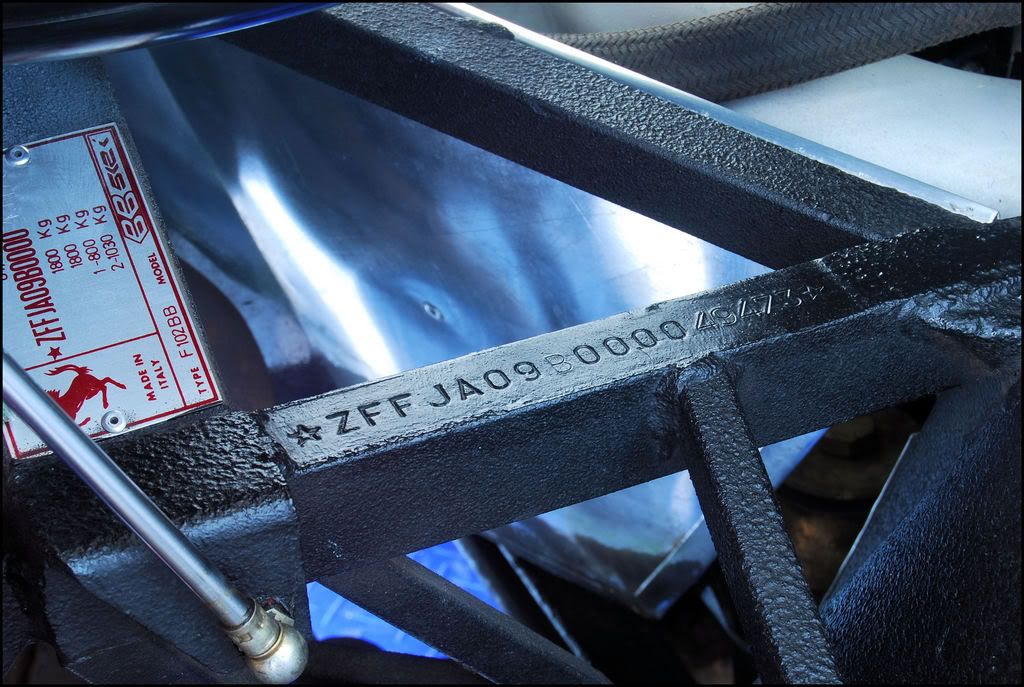
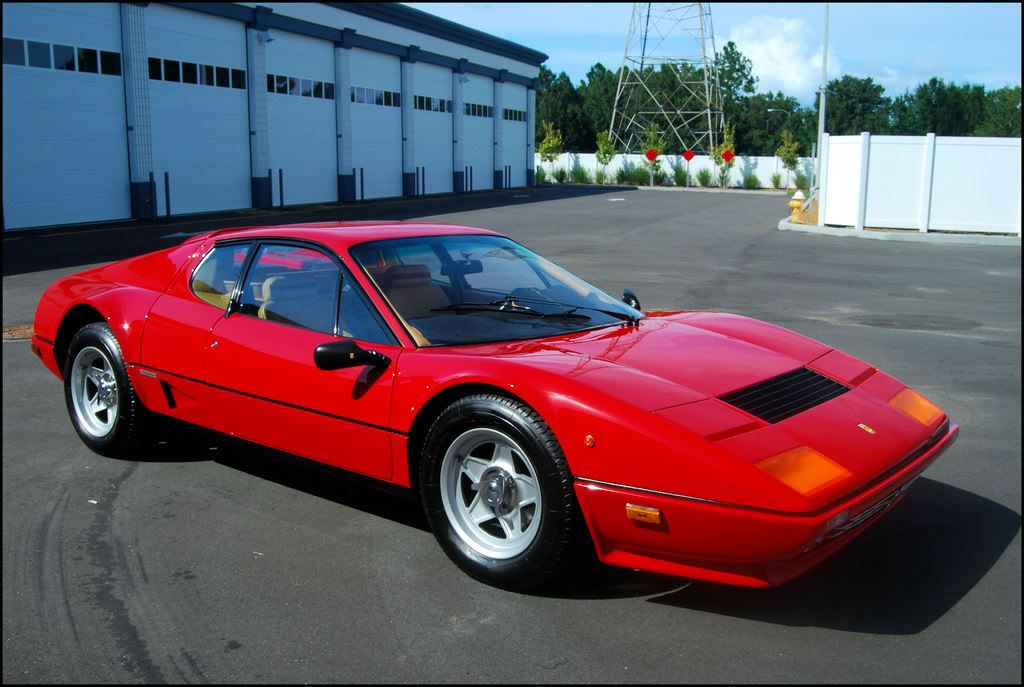
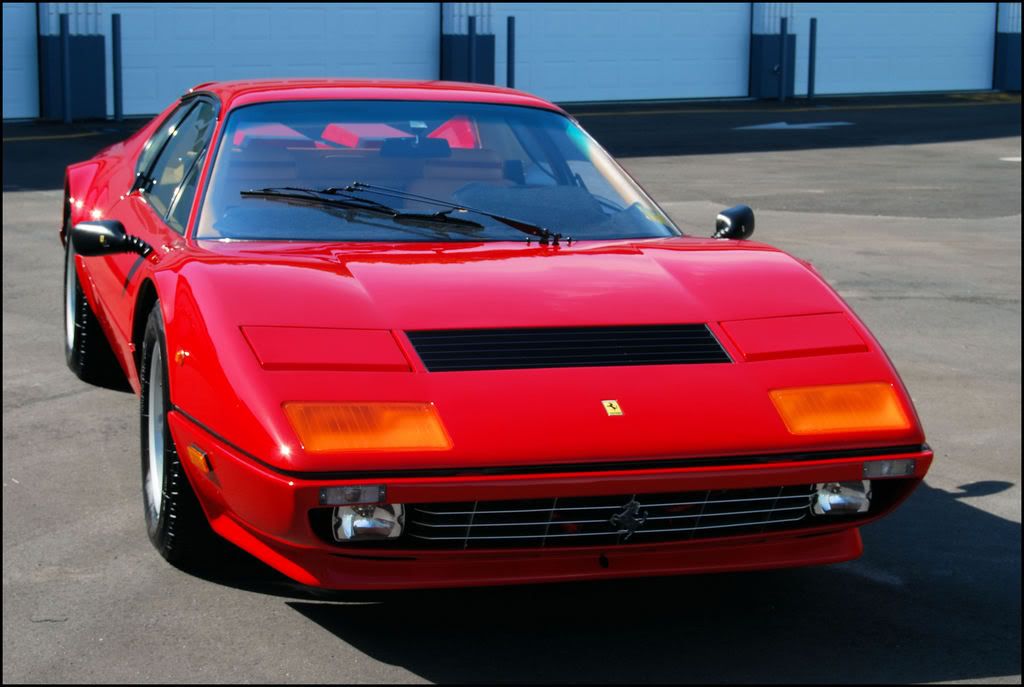
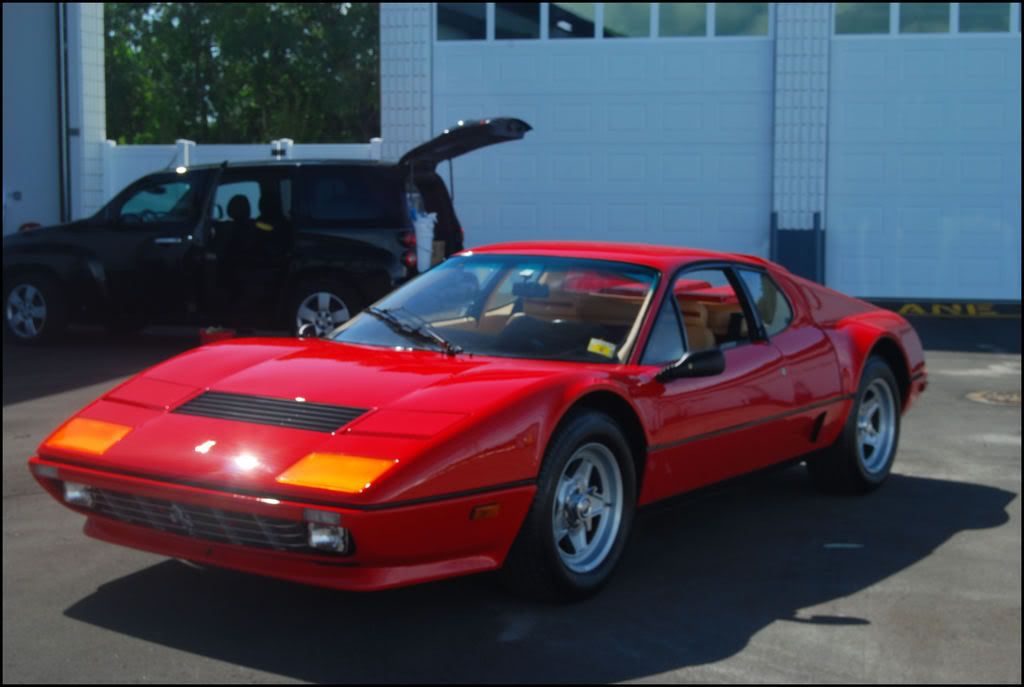
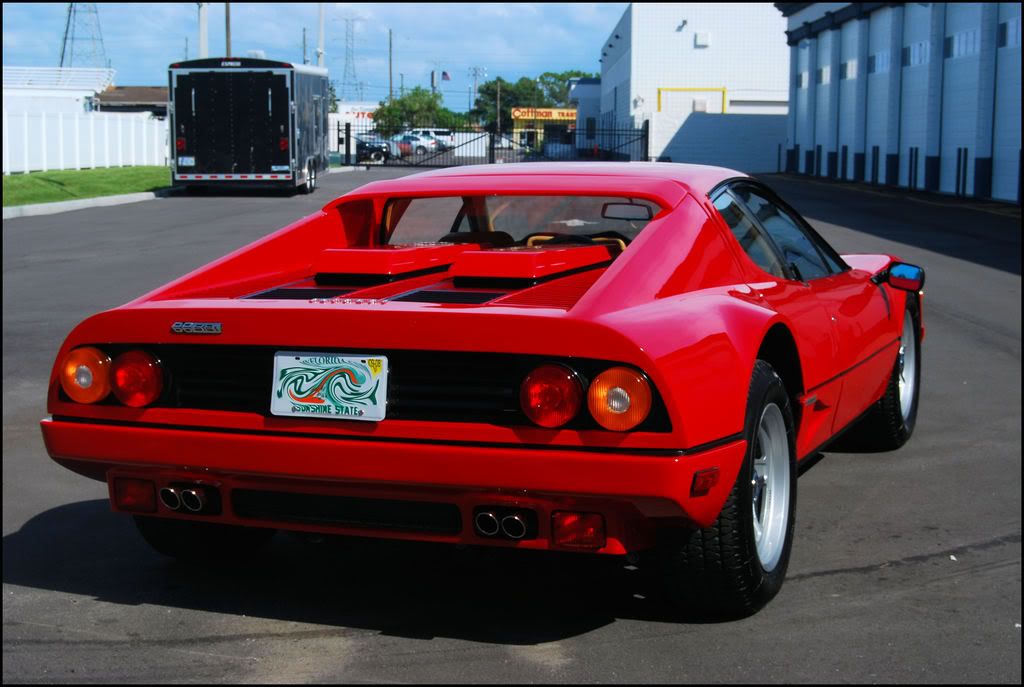
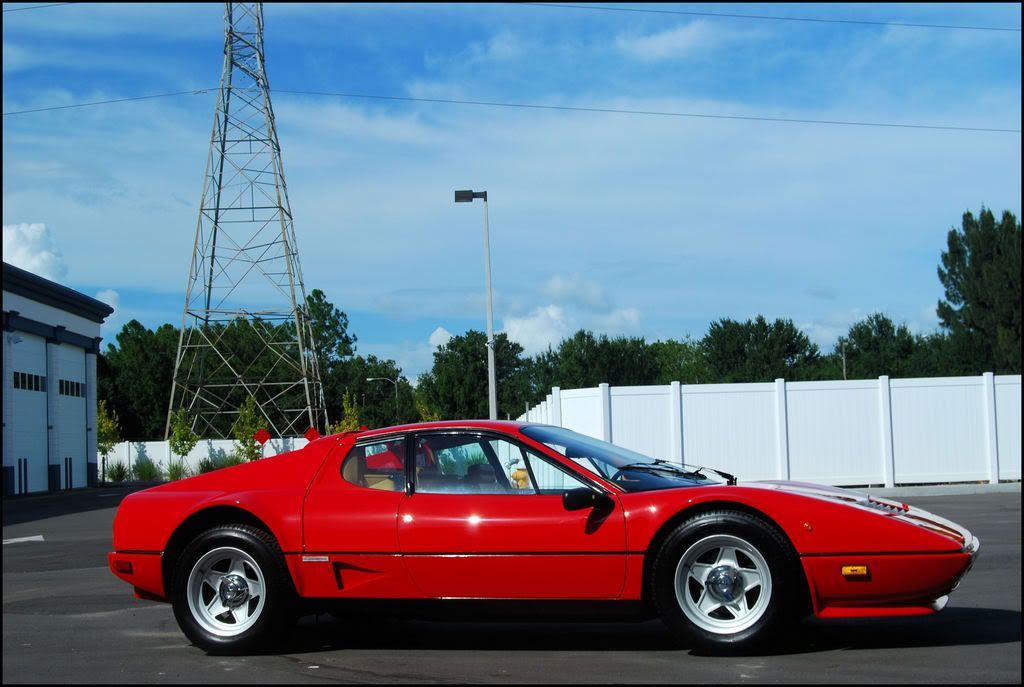
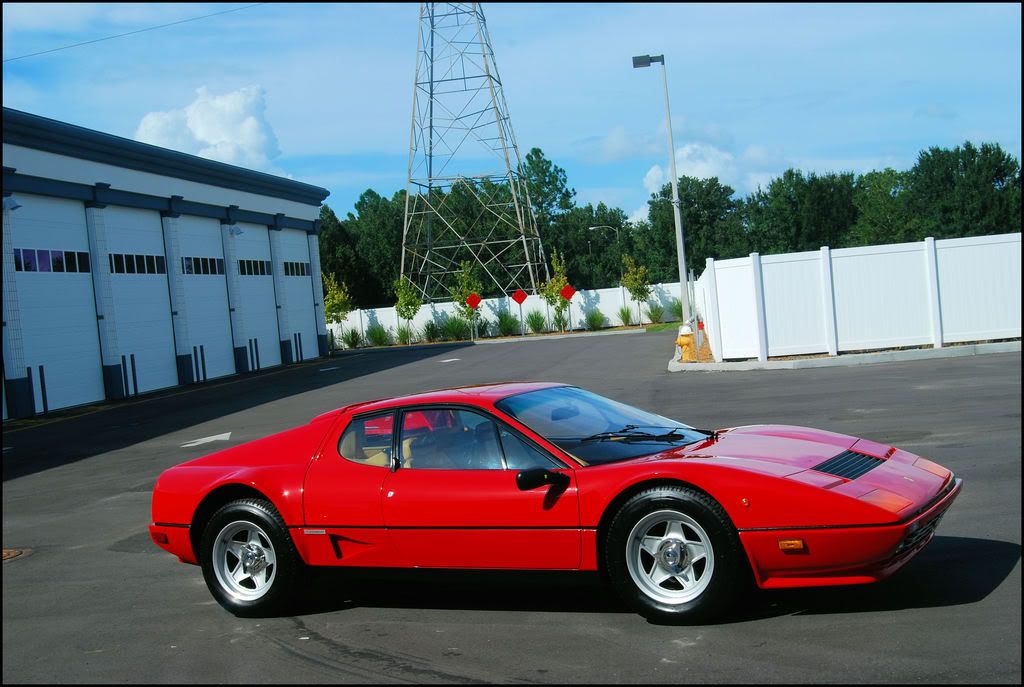
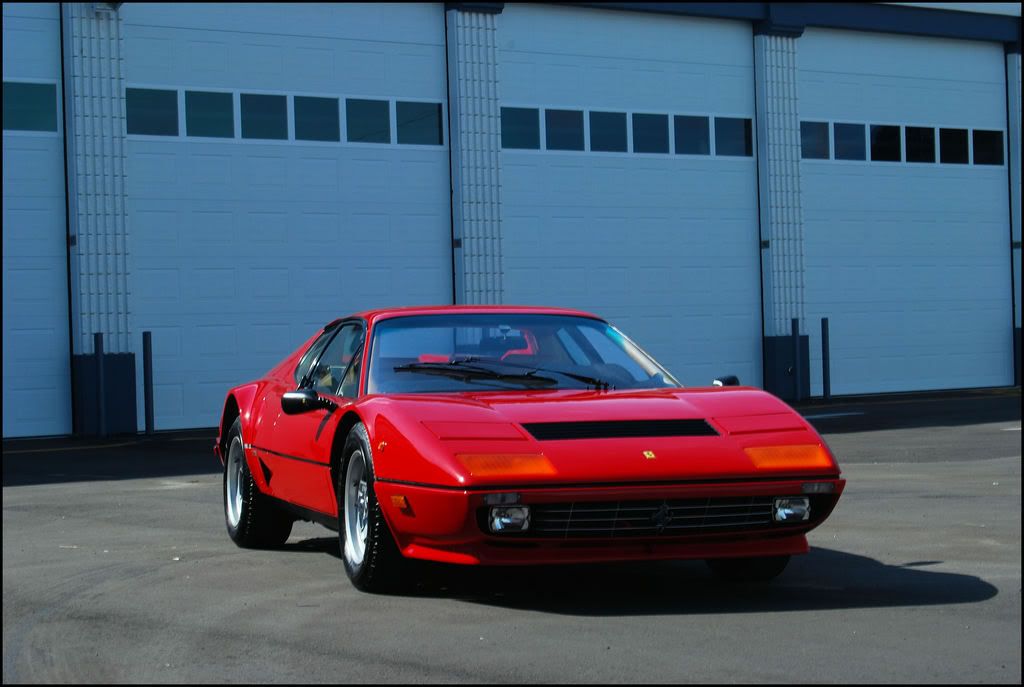
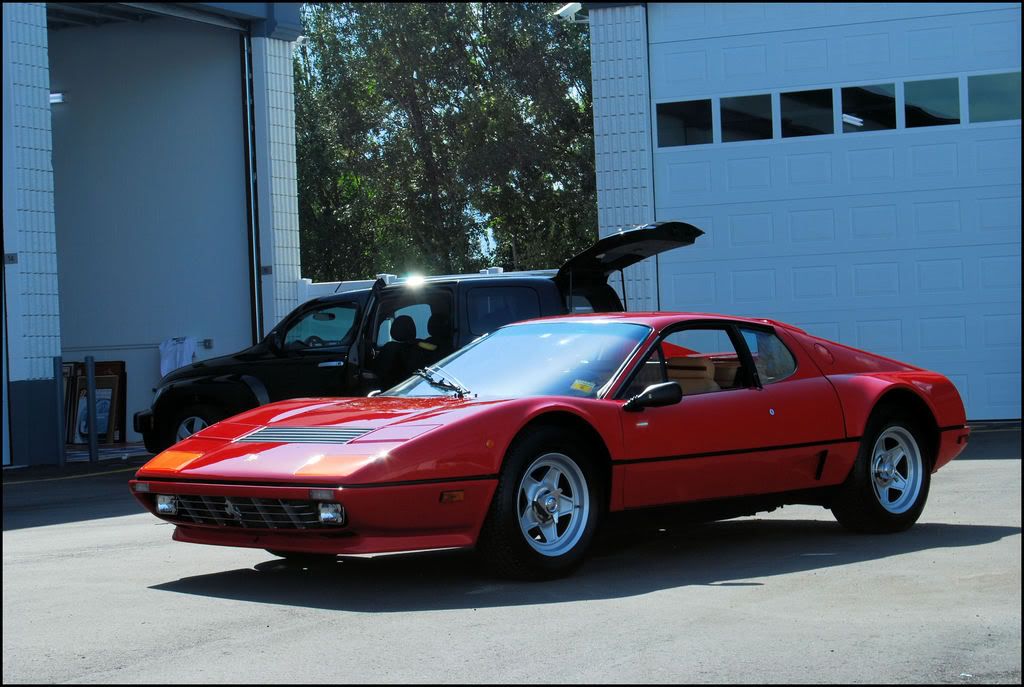
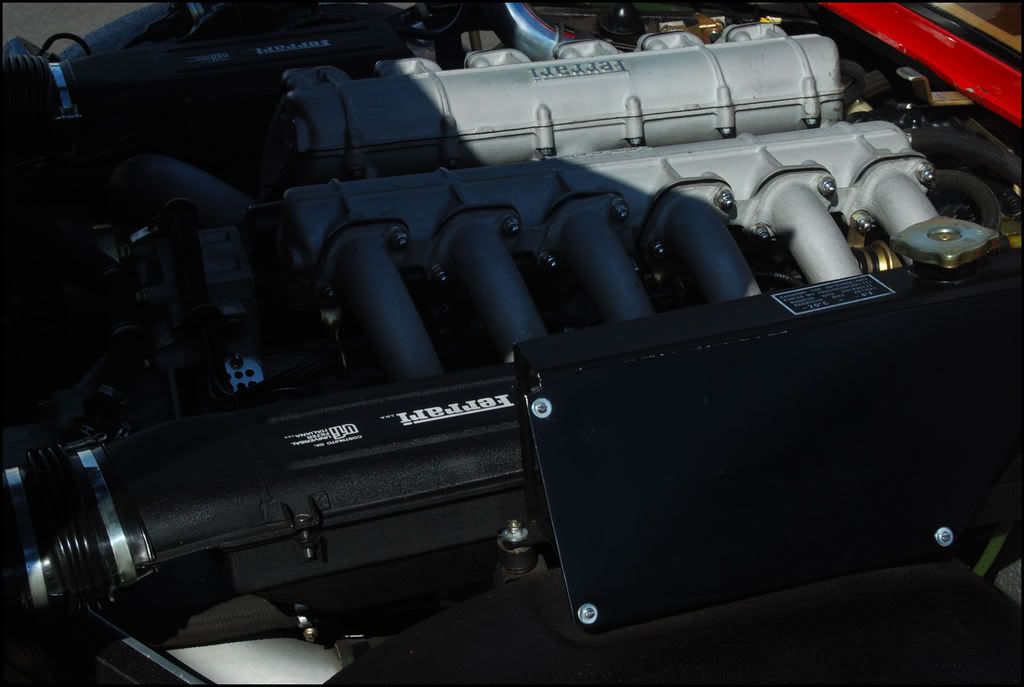
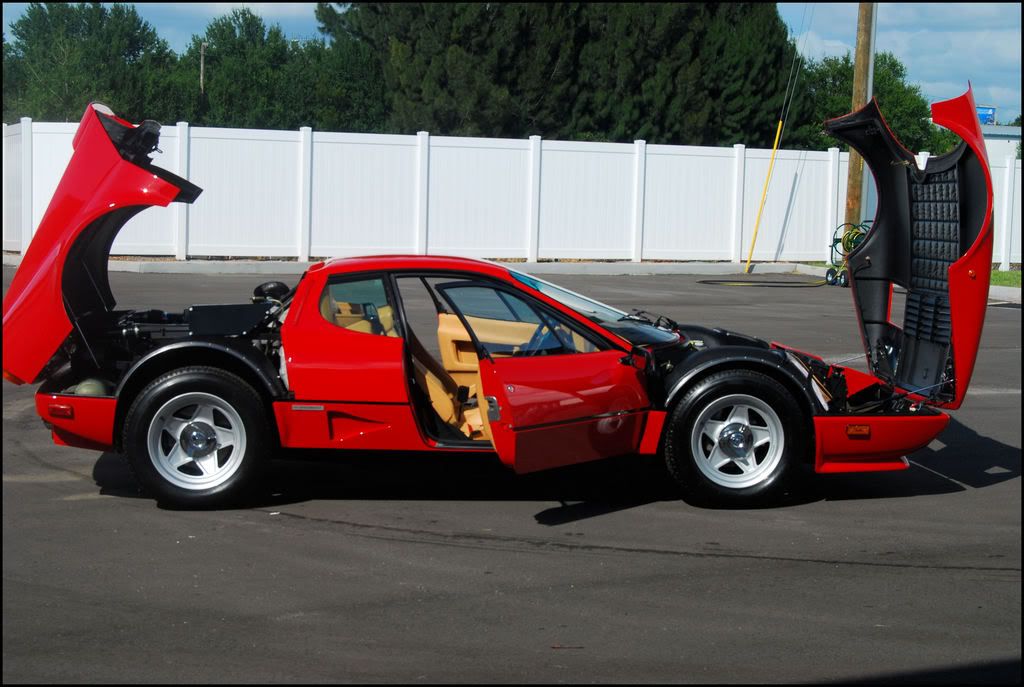
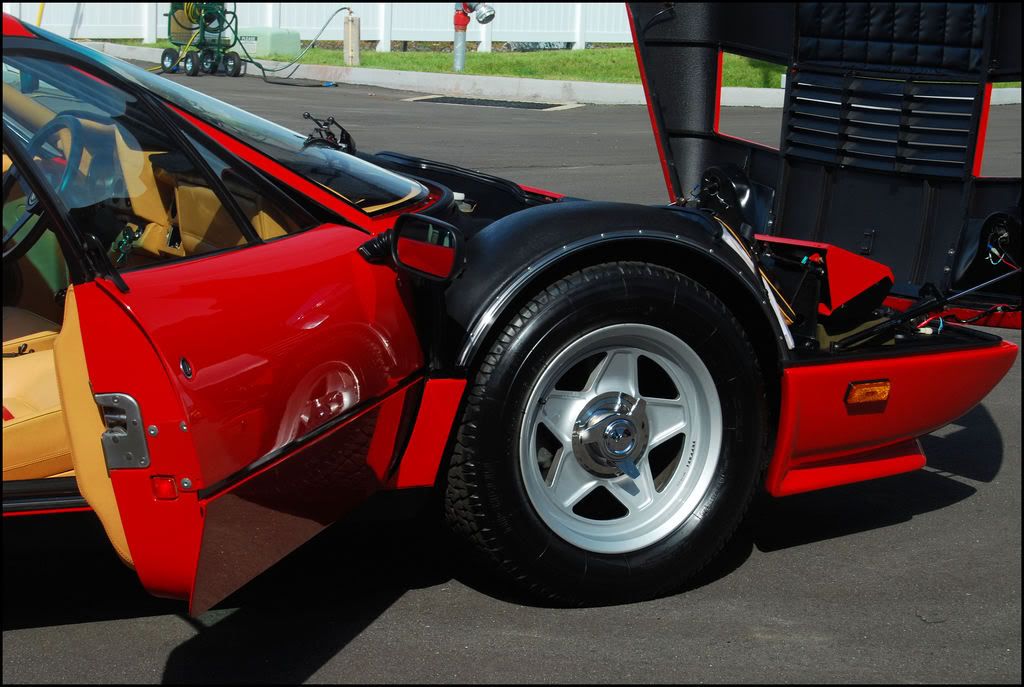
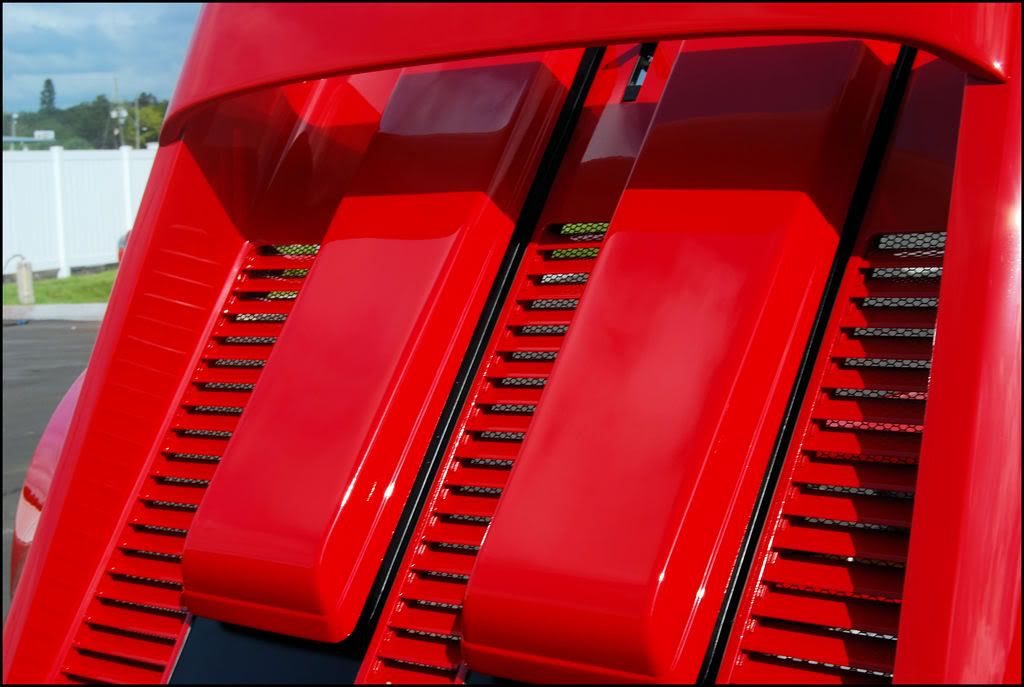
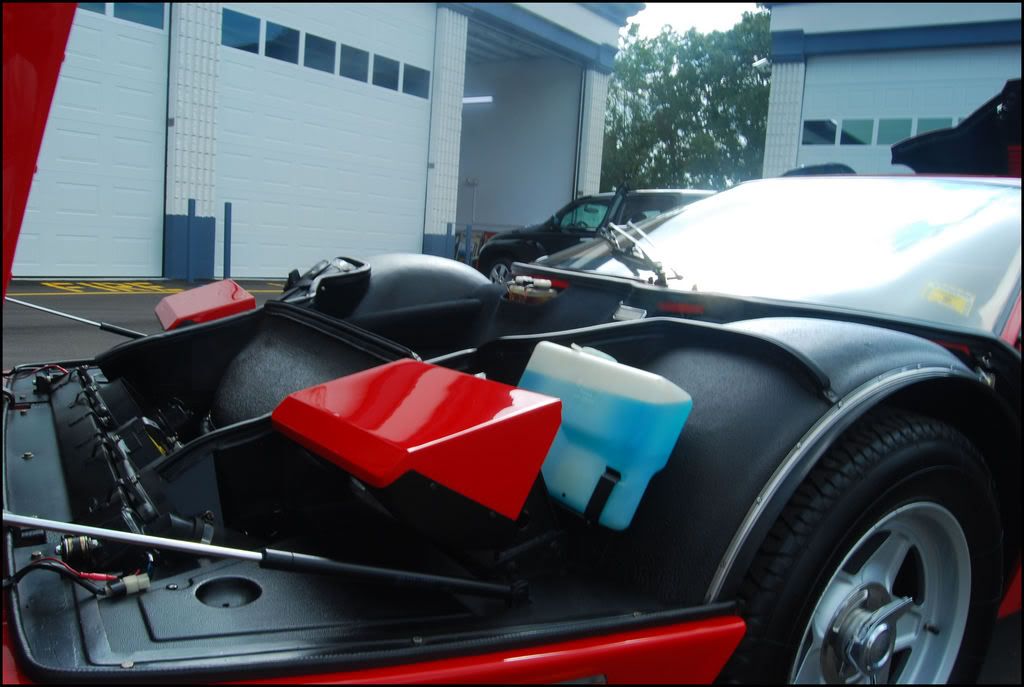
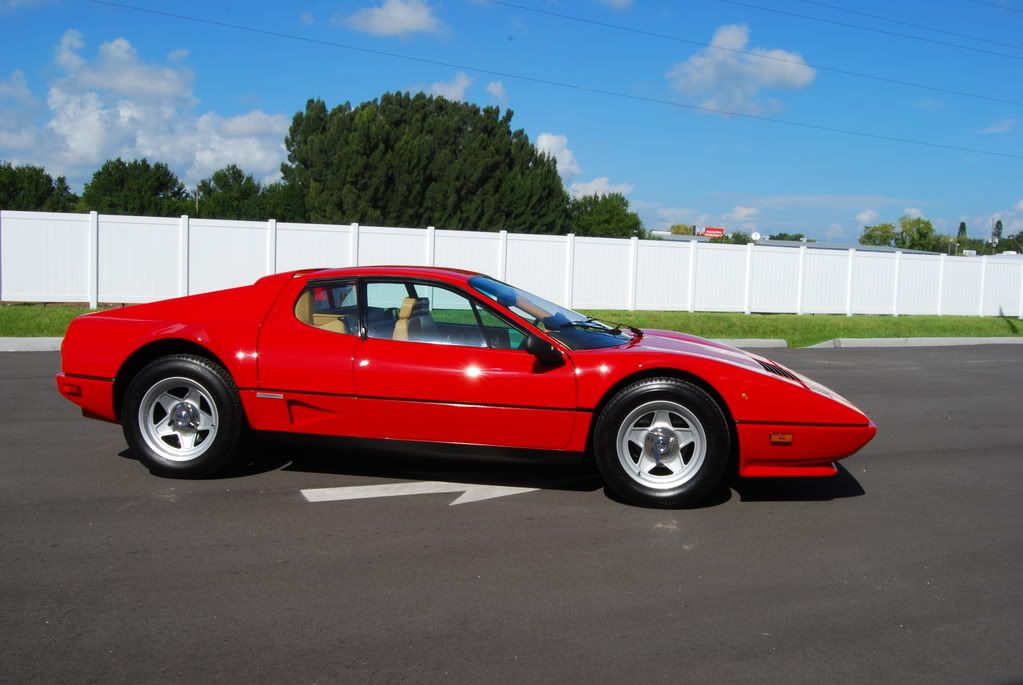
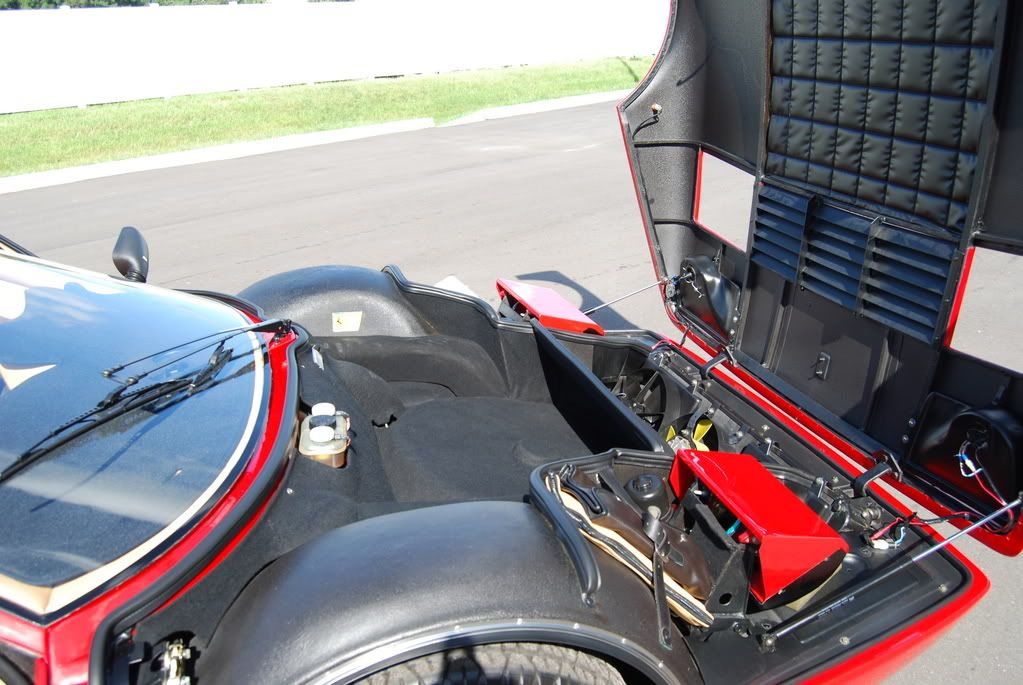
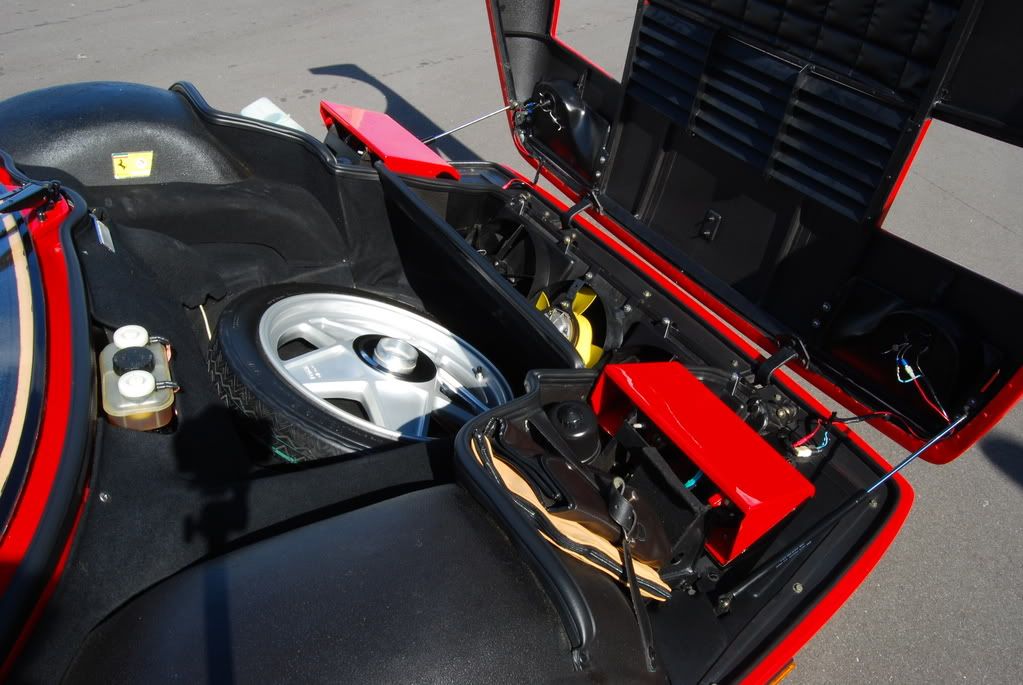
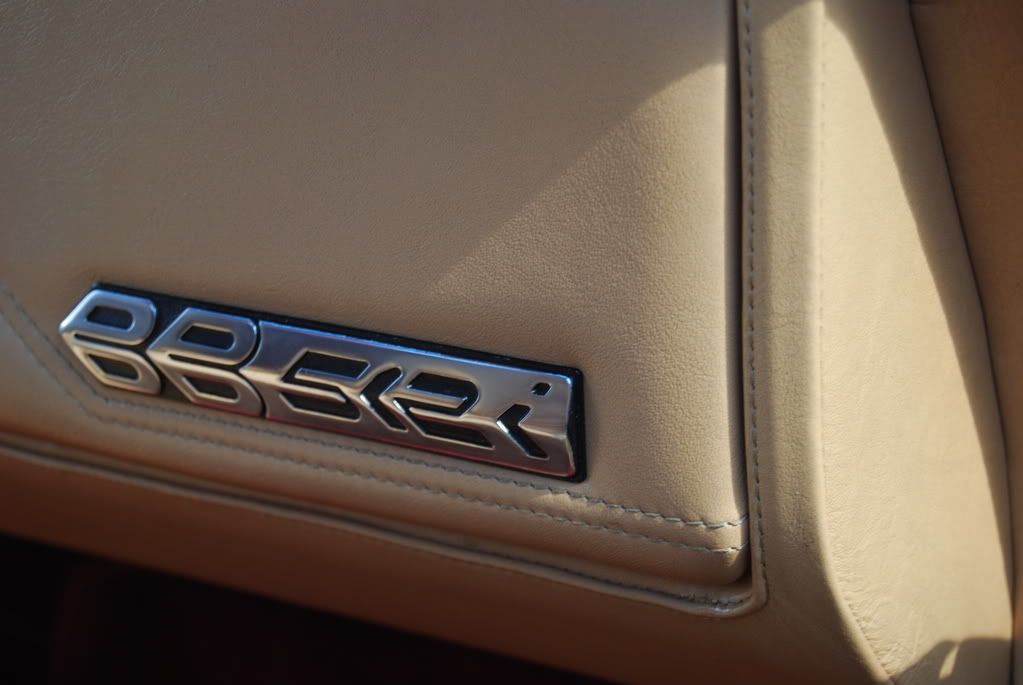
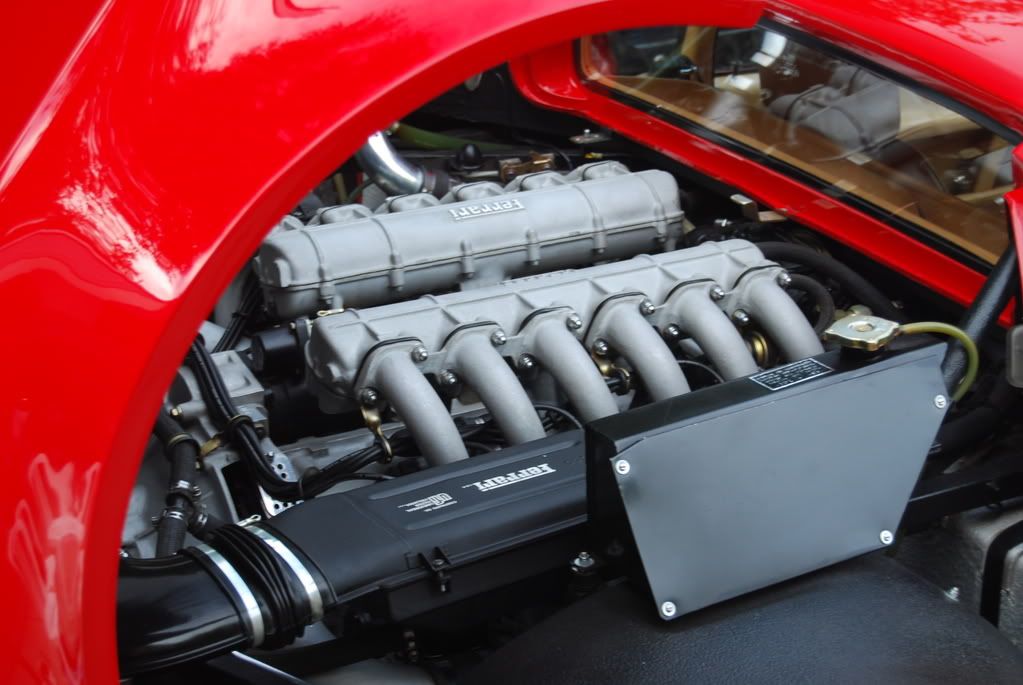
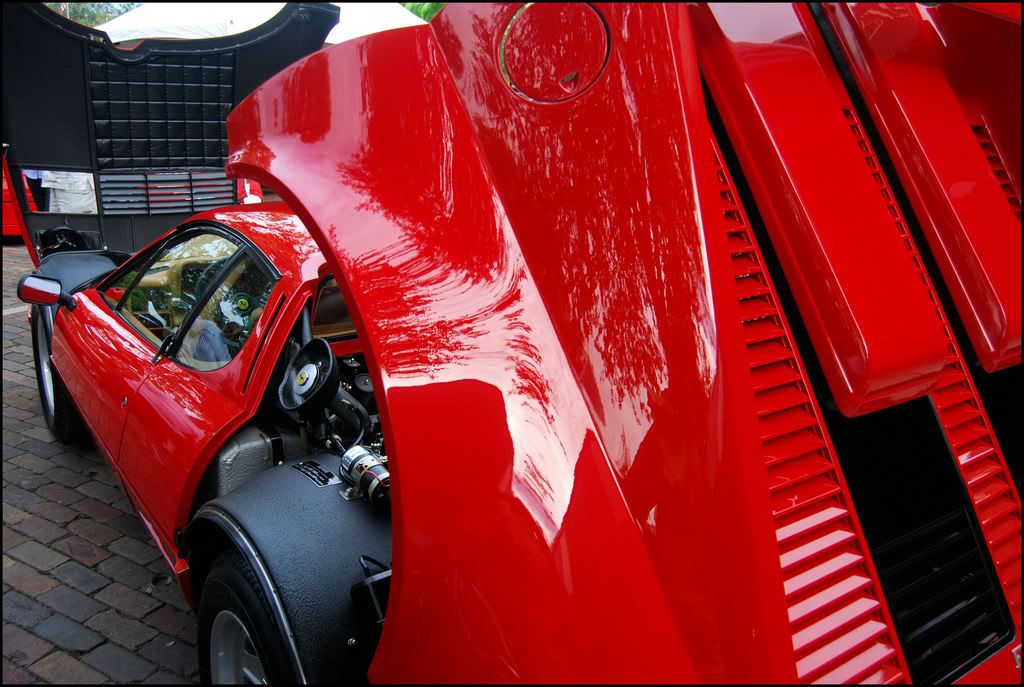
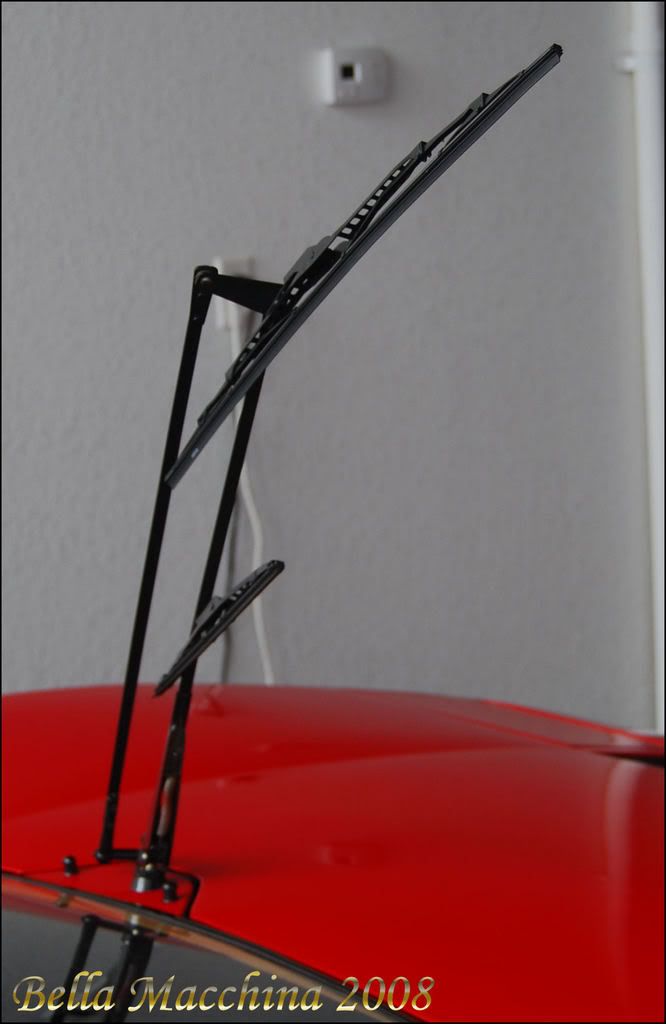
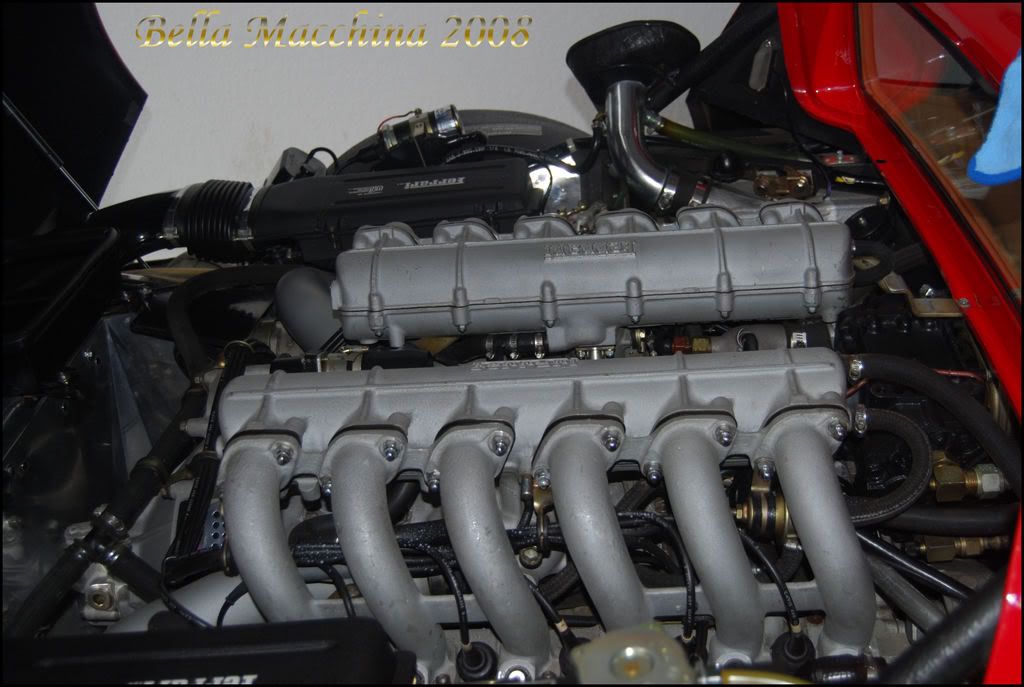
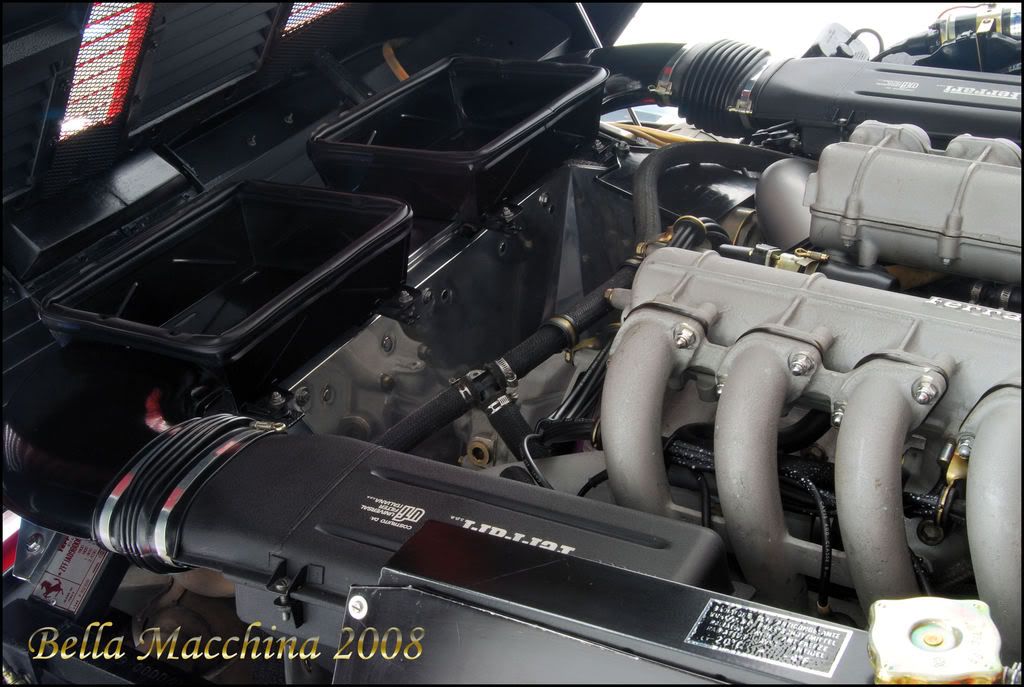
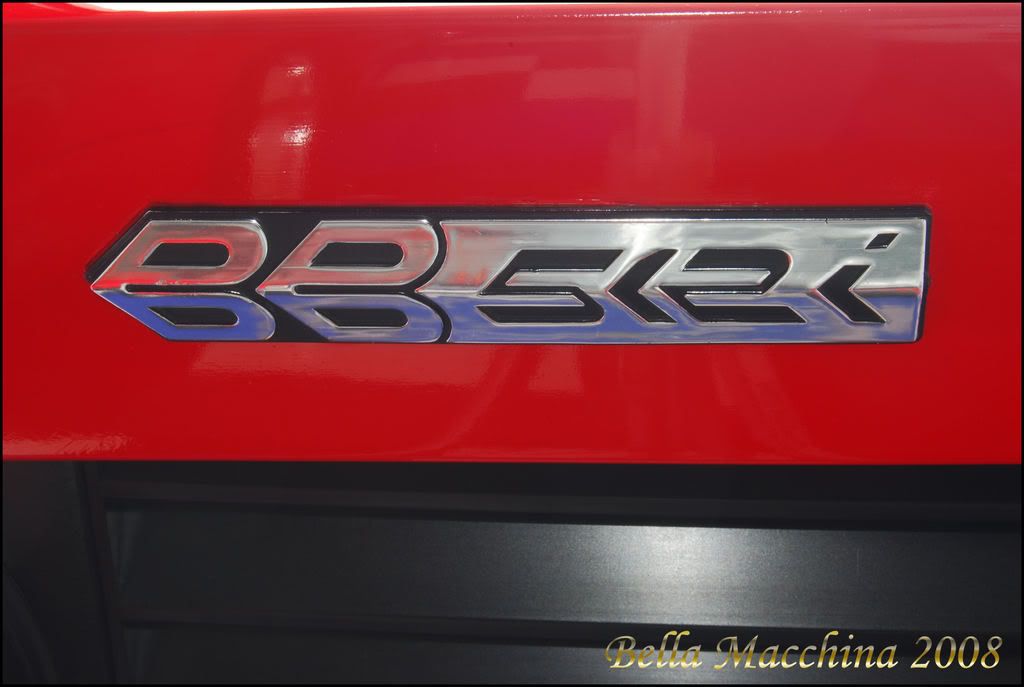
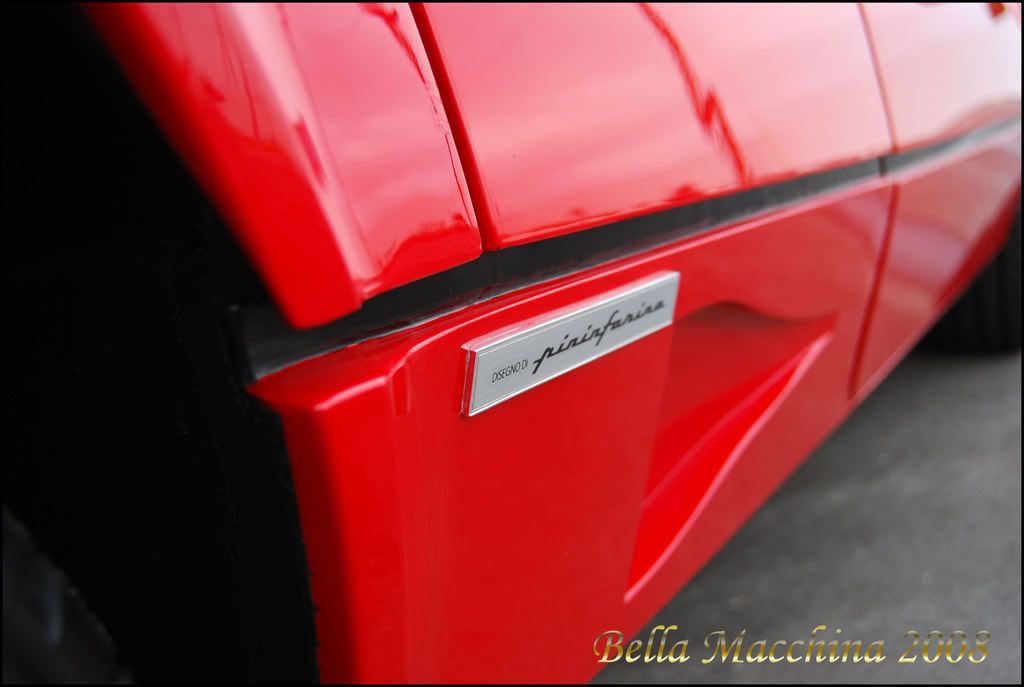
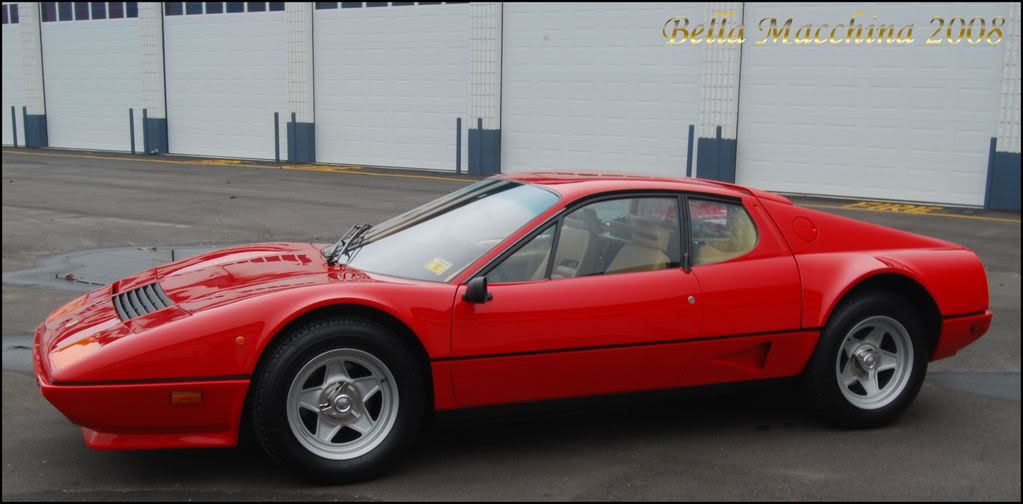
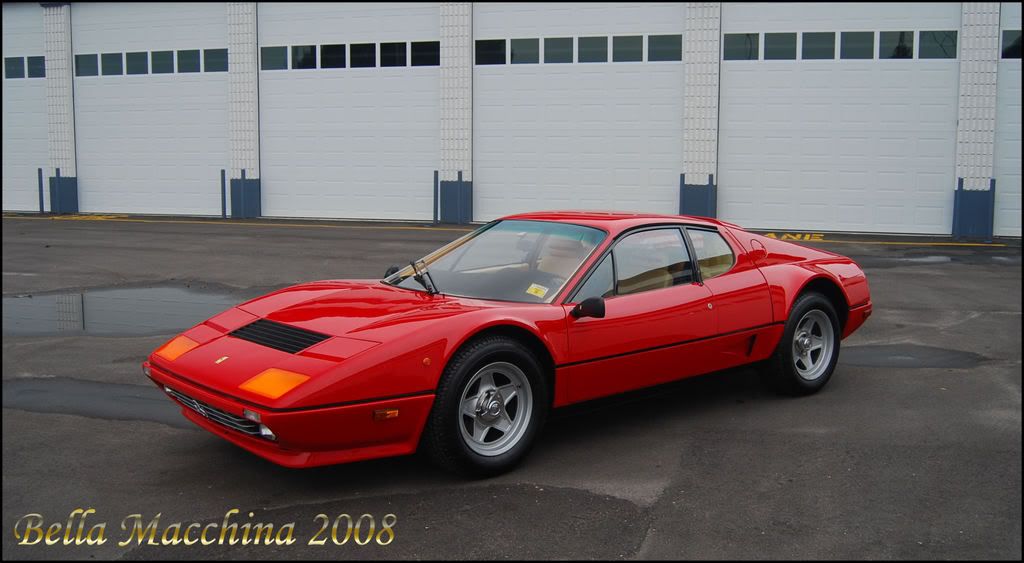
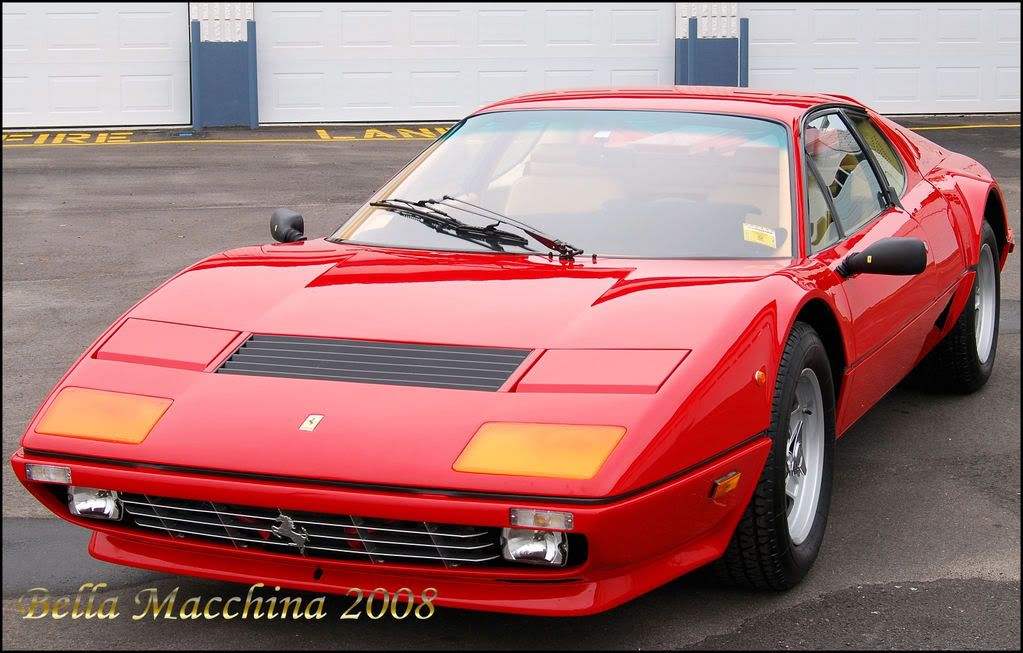
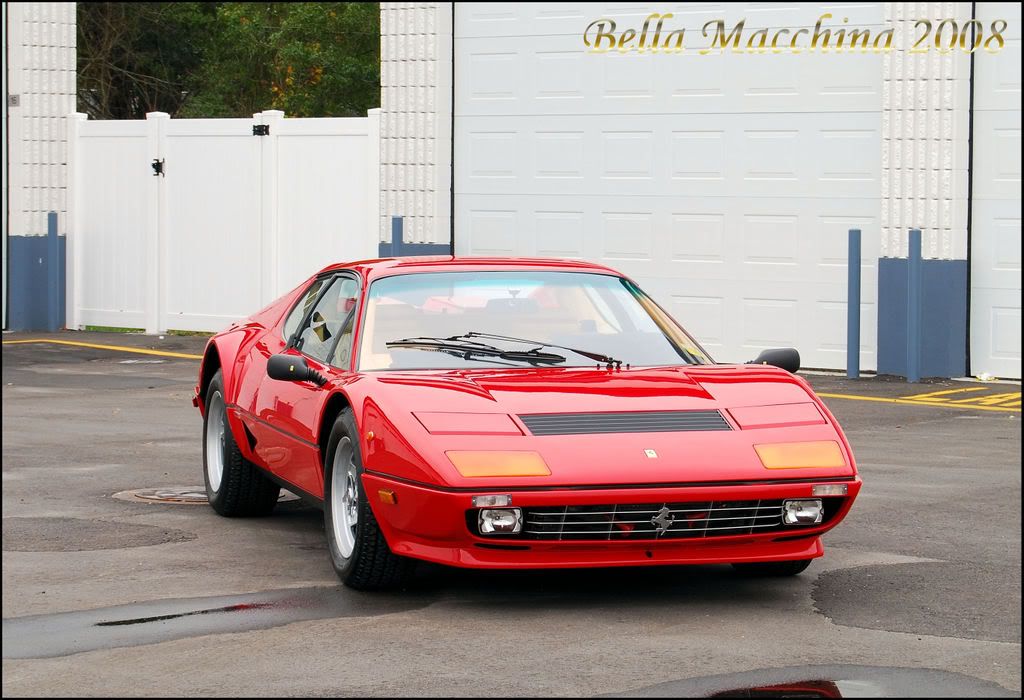
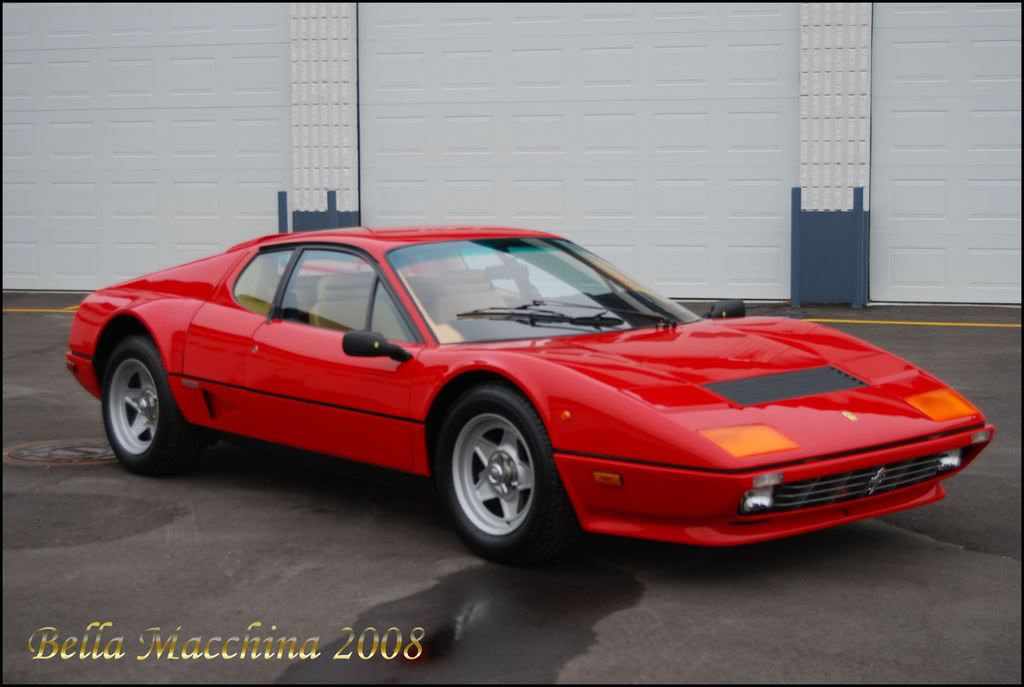
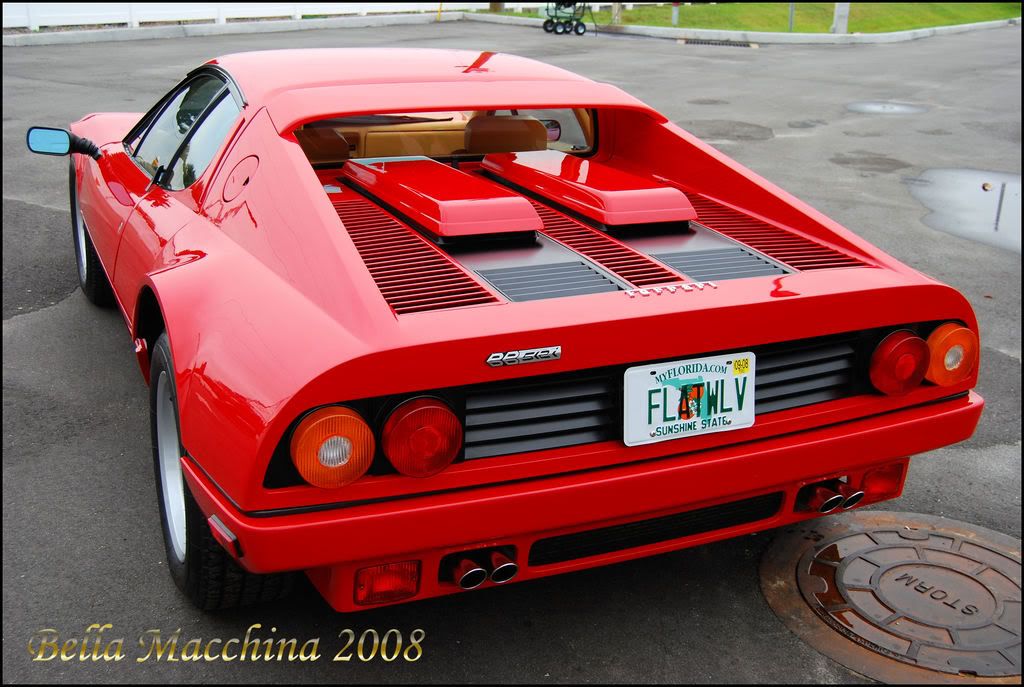
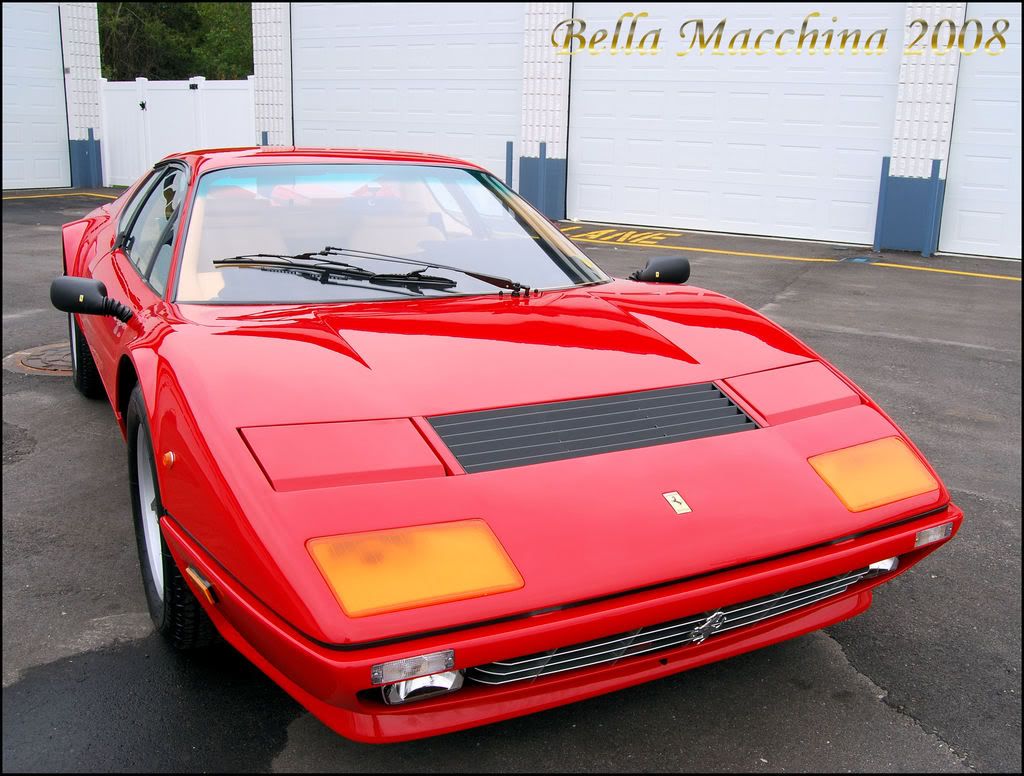
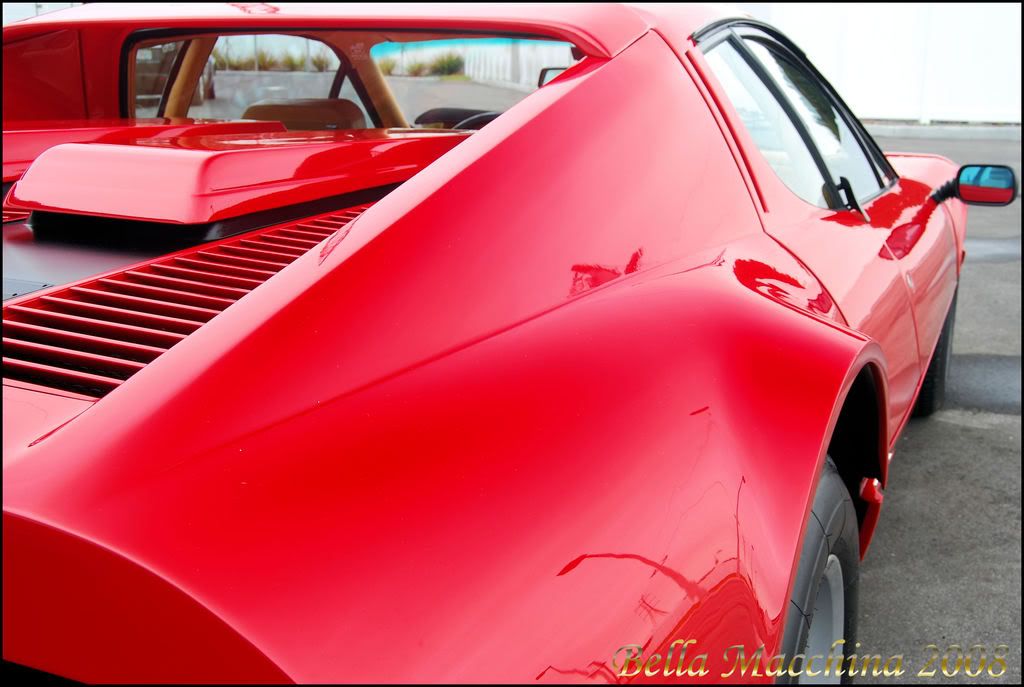
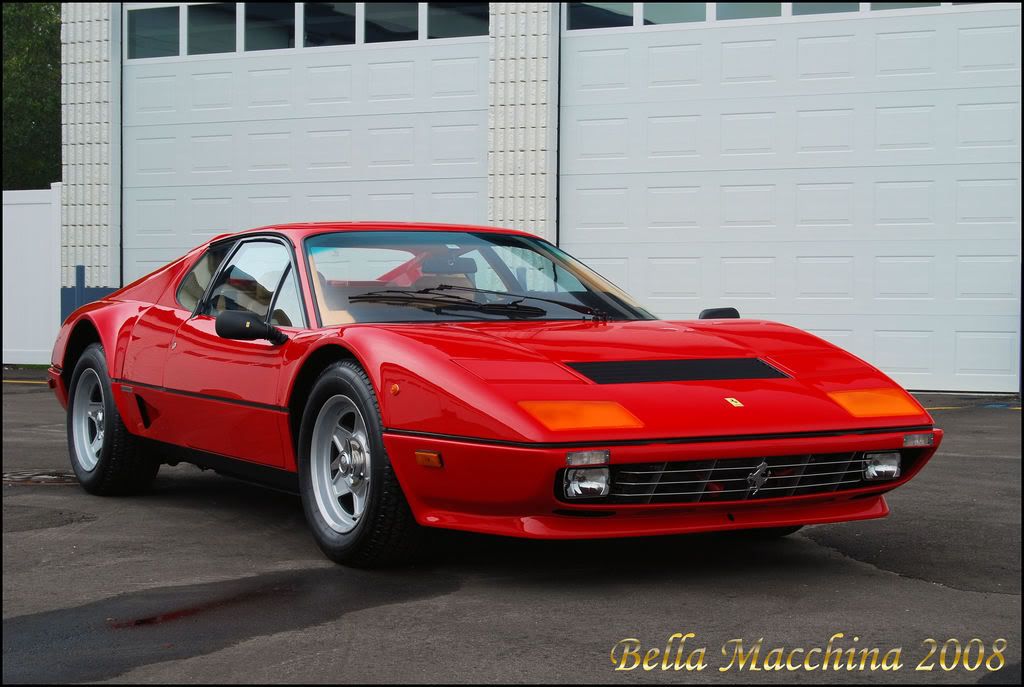
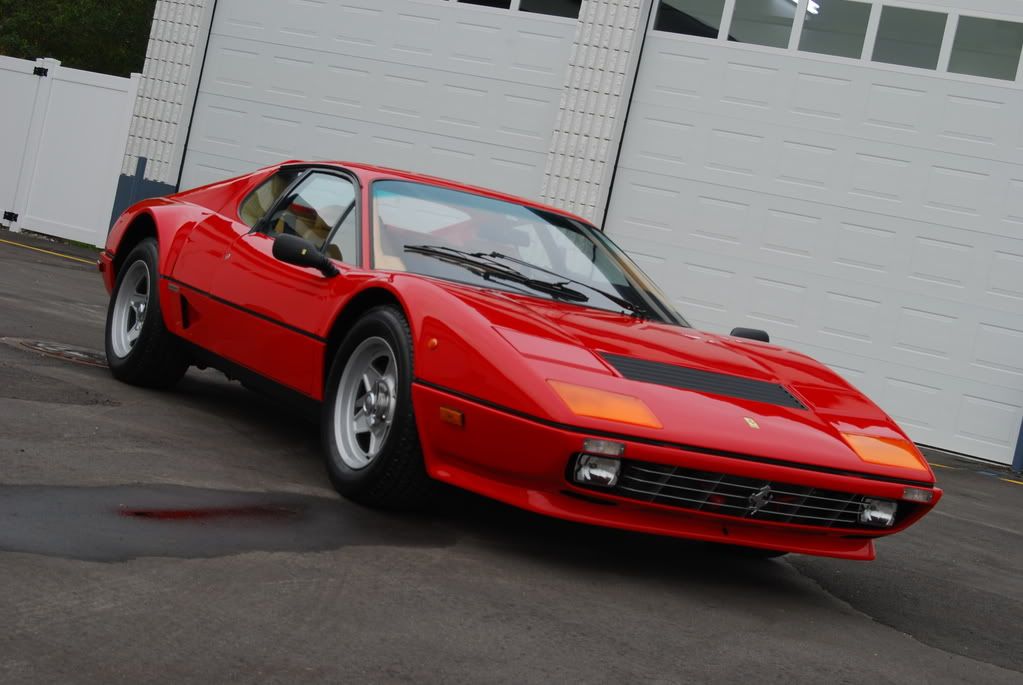
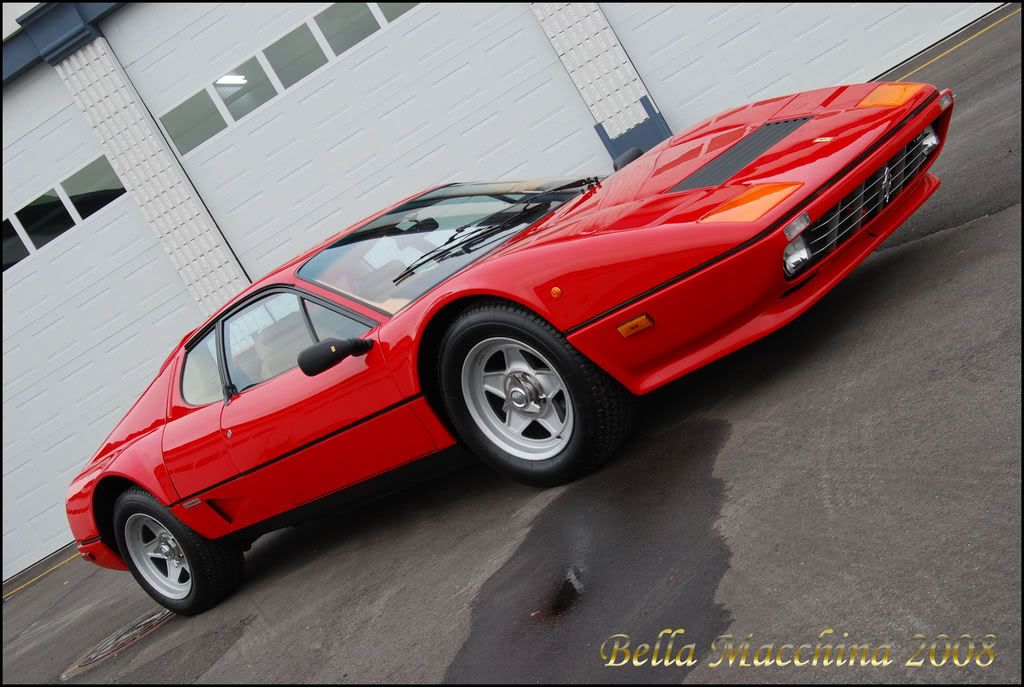
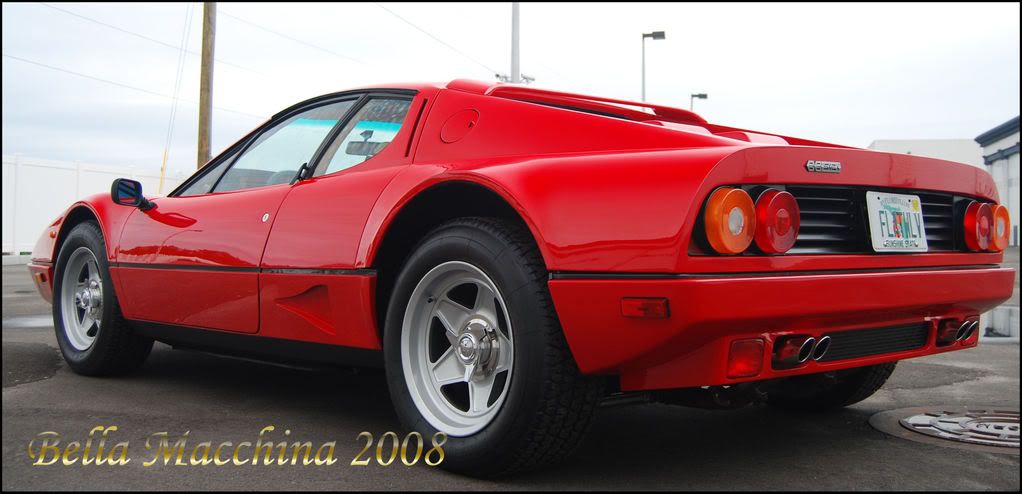
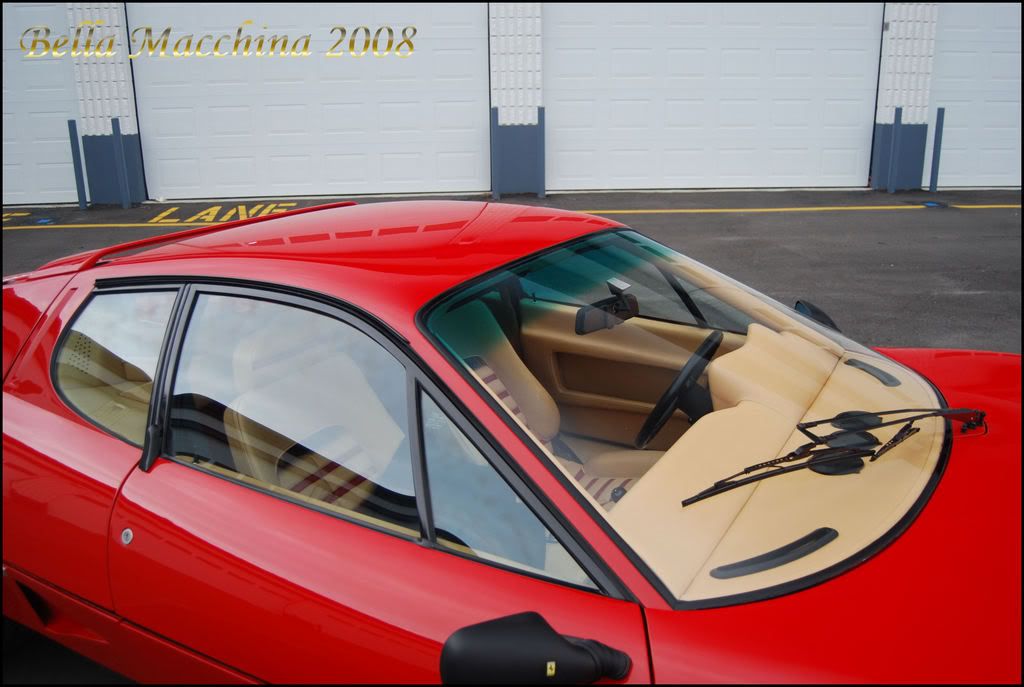
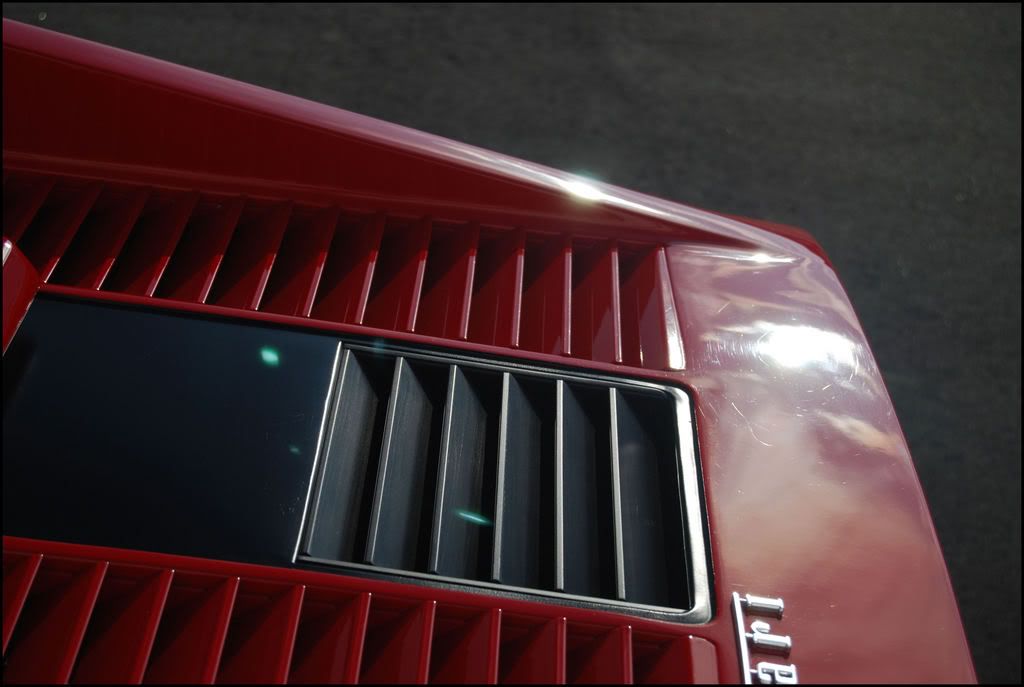
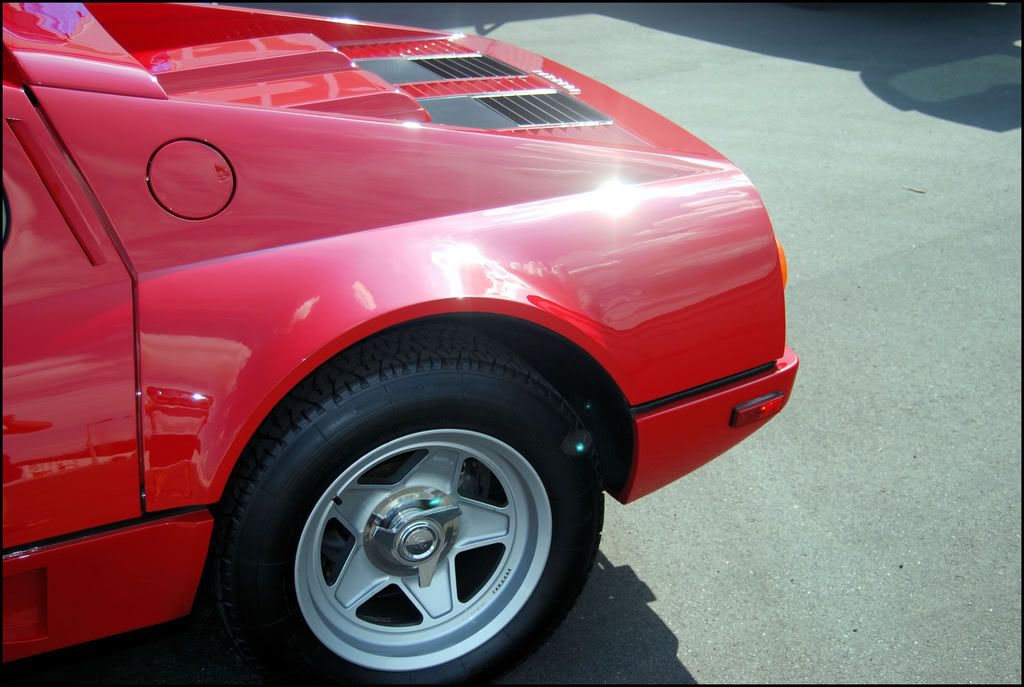
The 1984 Ferrari BBi (Berlinetta Boxer injection) was the last year for the style, which started as the 365 GT4 in 1973. This car was Ferrari's first mid engine road car, and featured a flat twelve cylinder (taken from the F1 cars of the time). It took a while to convince Enzo Ferrari to built a mid engine car, but with the success of the Lamborghini Miura, Ferrari had to fight back. This particular 1984 was a "grey market" car, imported from Europe, so doesn't have the awkward American bumpers.


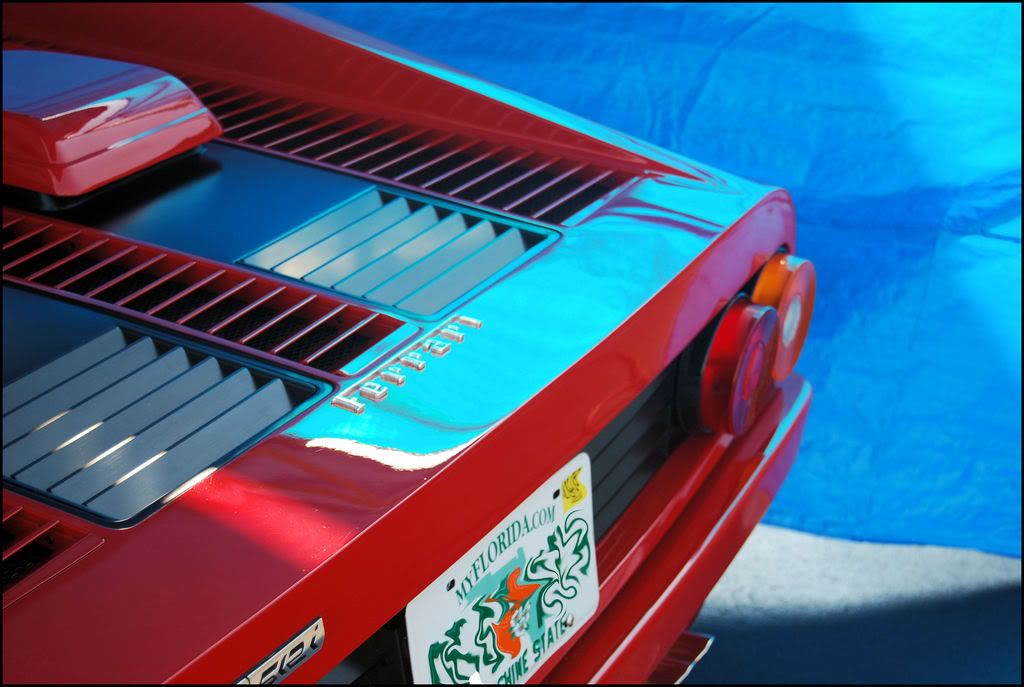
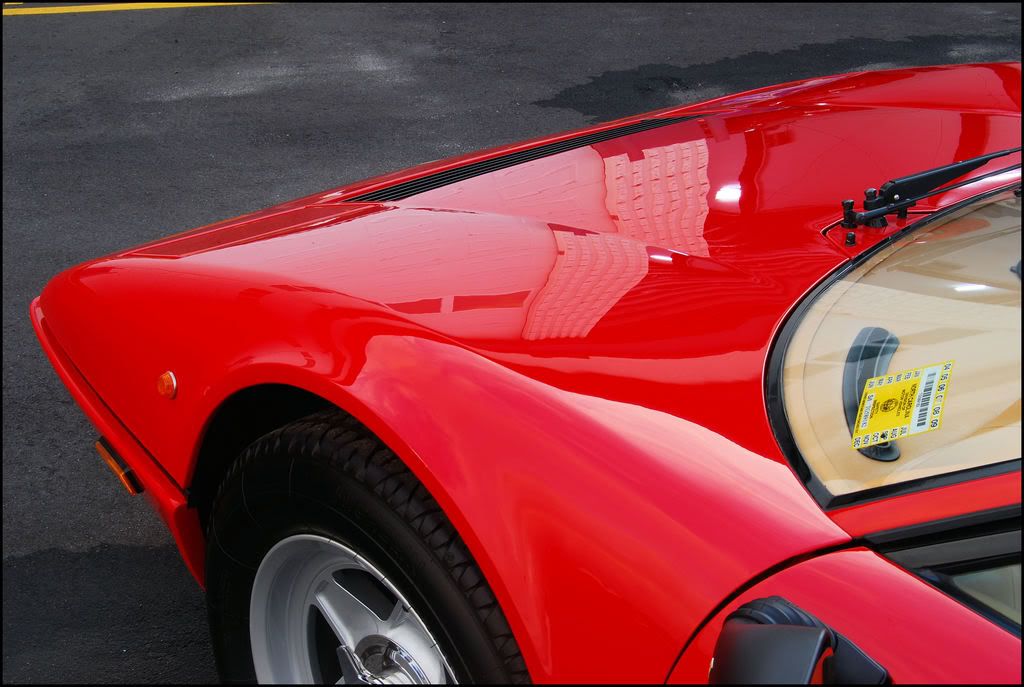
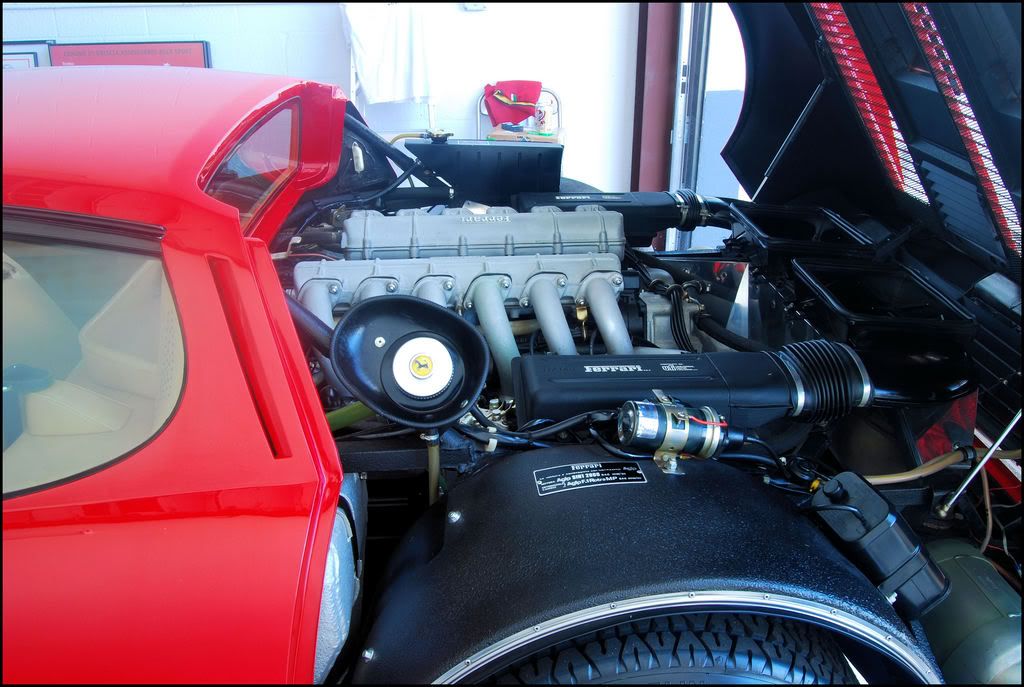
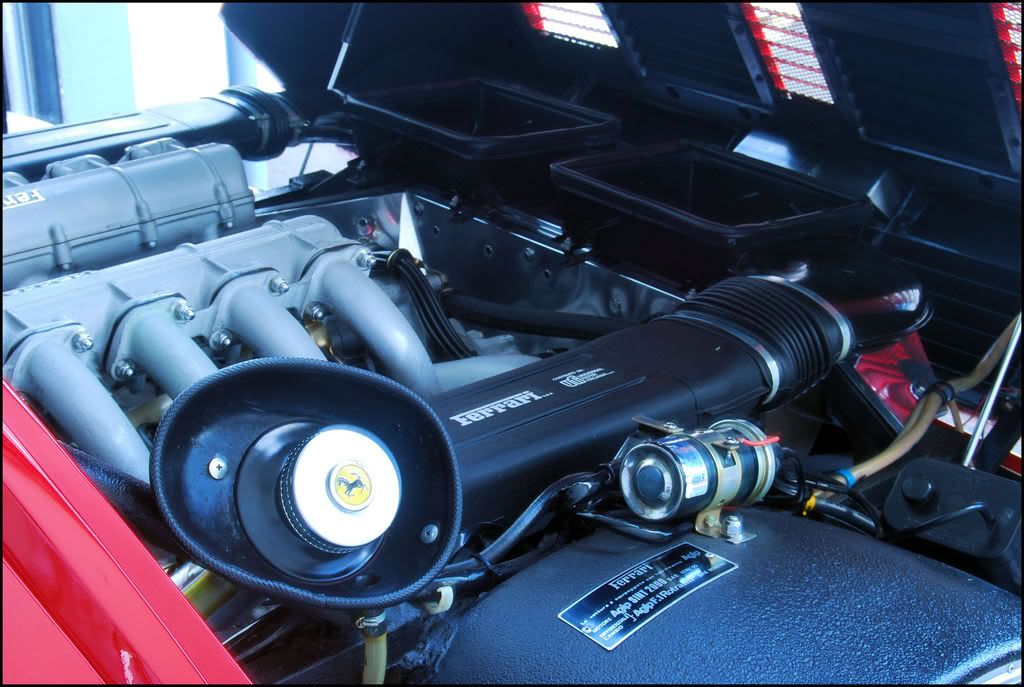
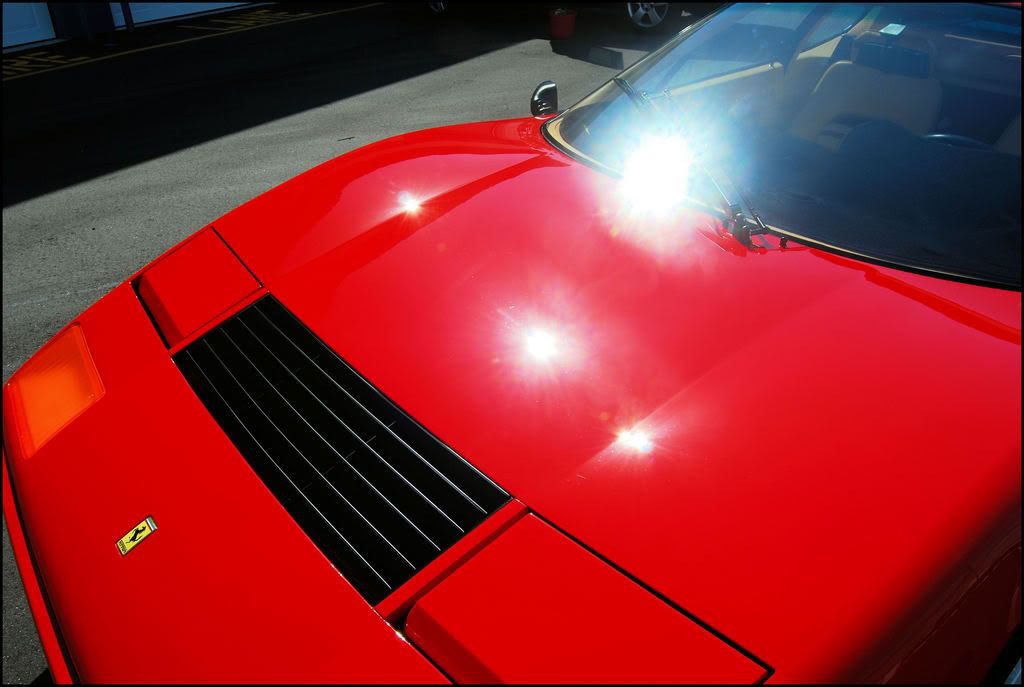
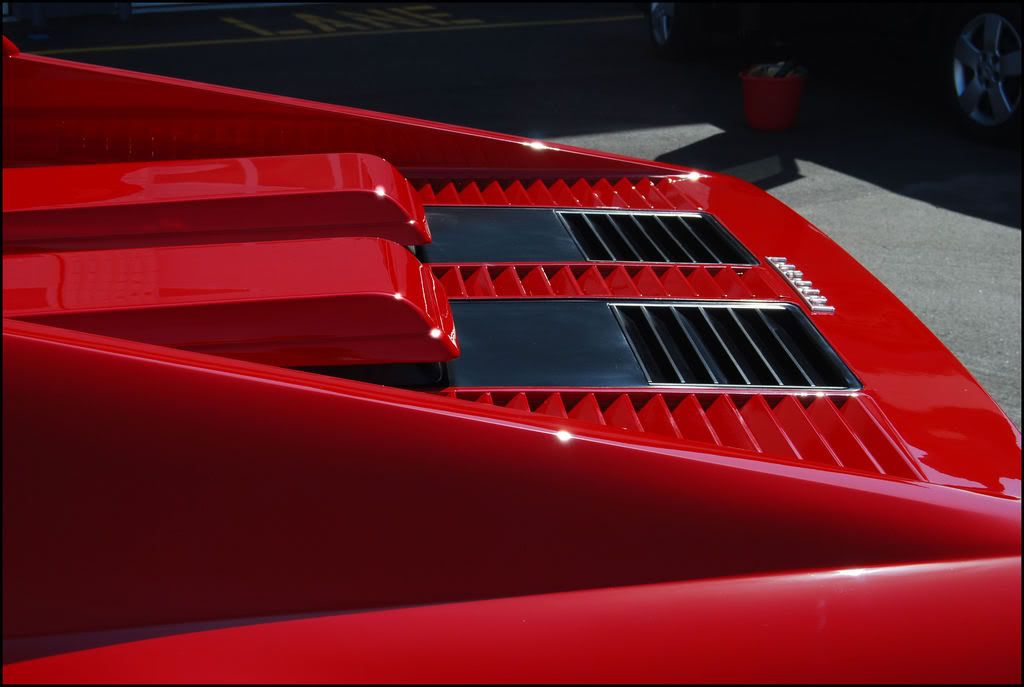
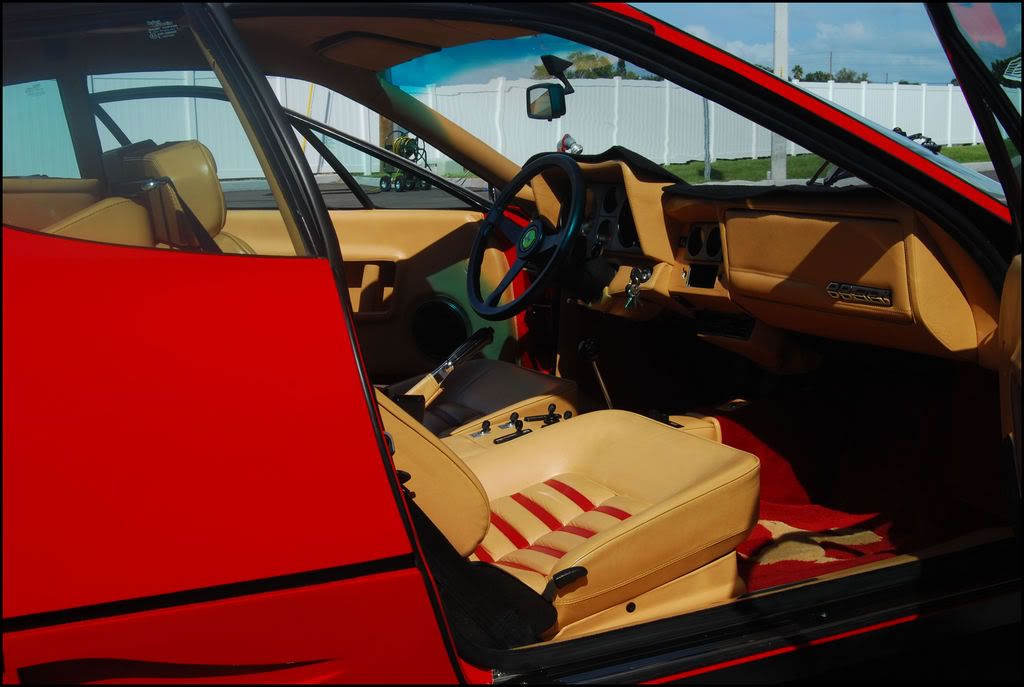
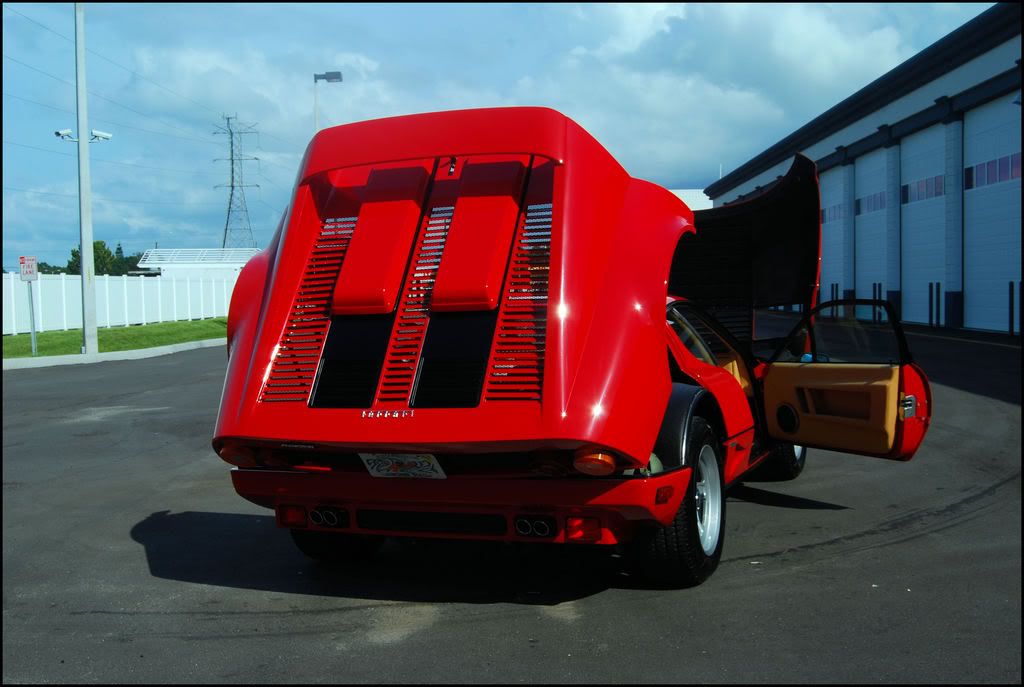
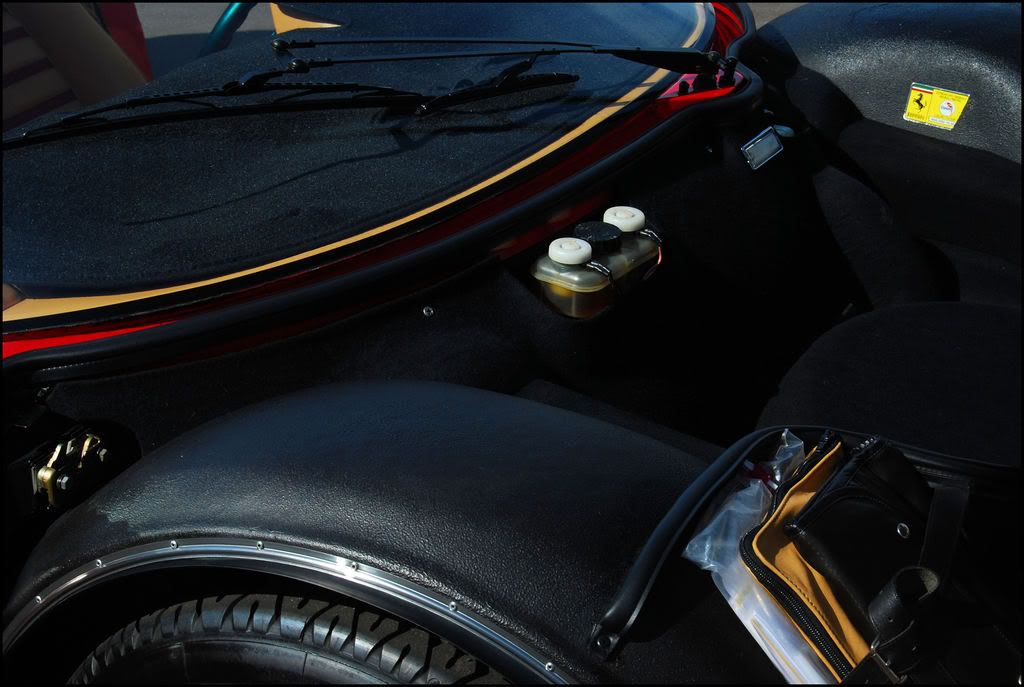
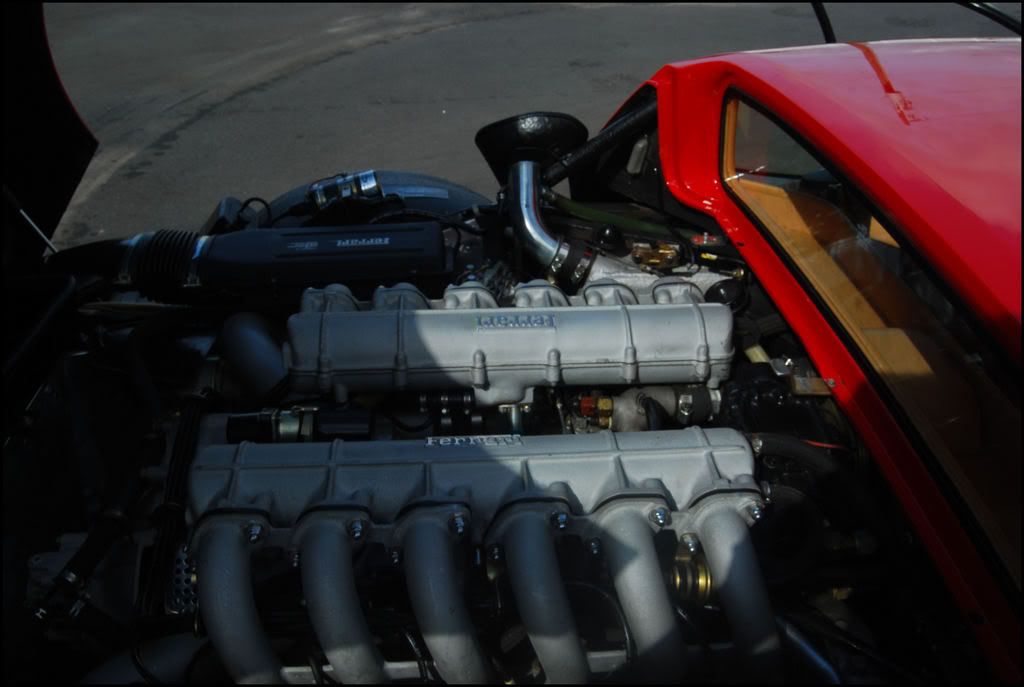
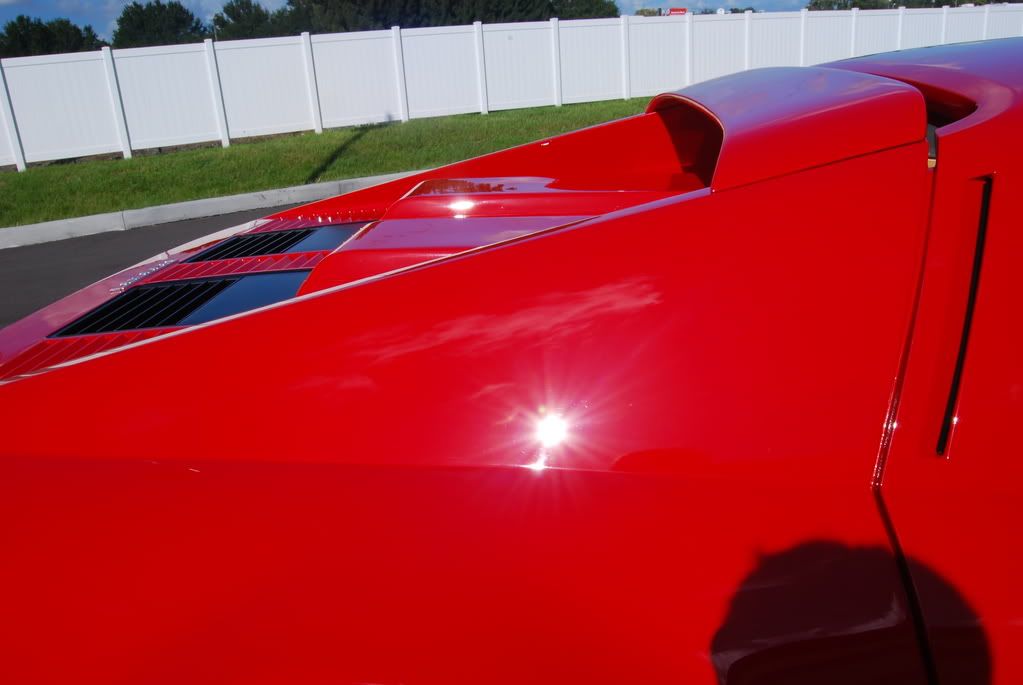
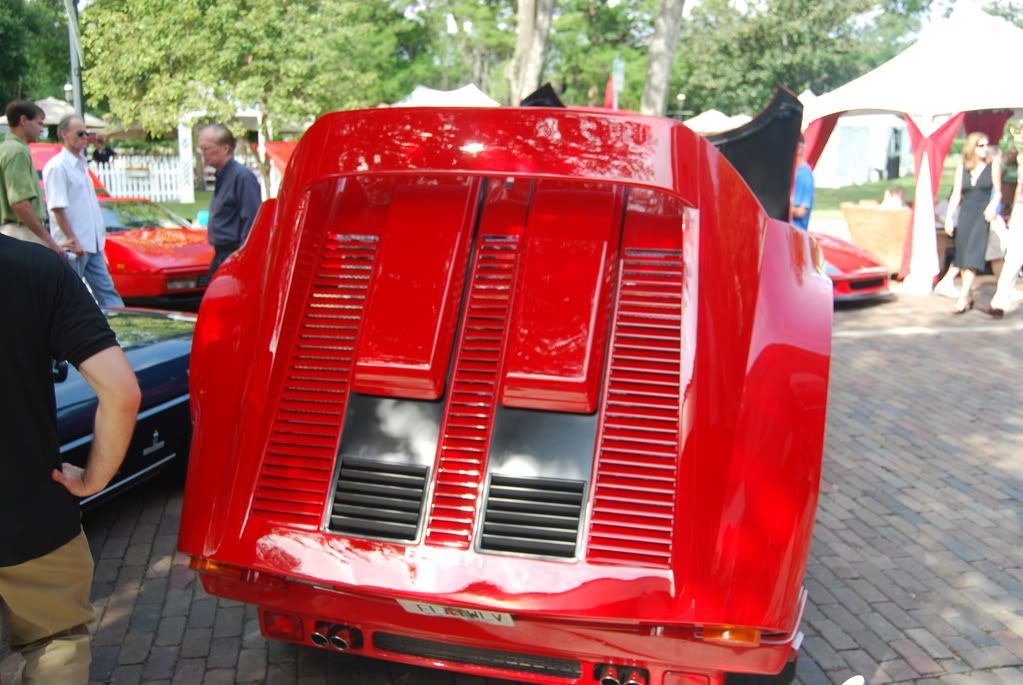
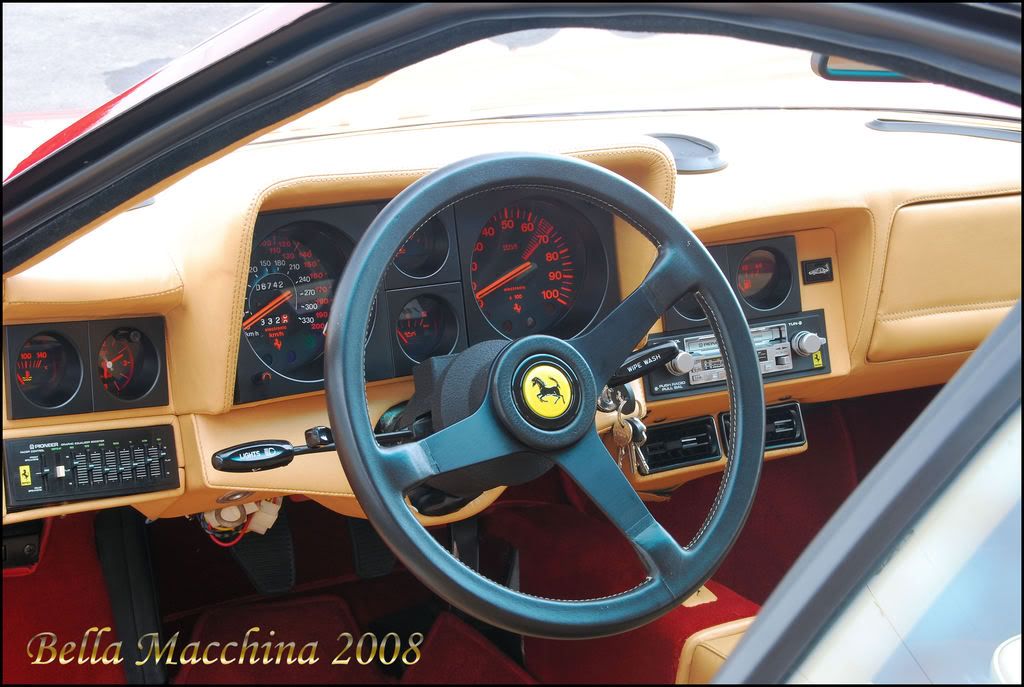
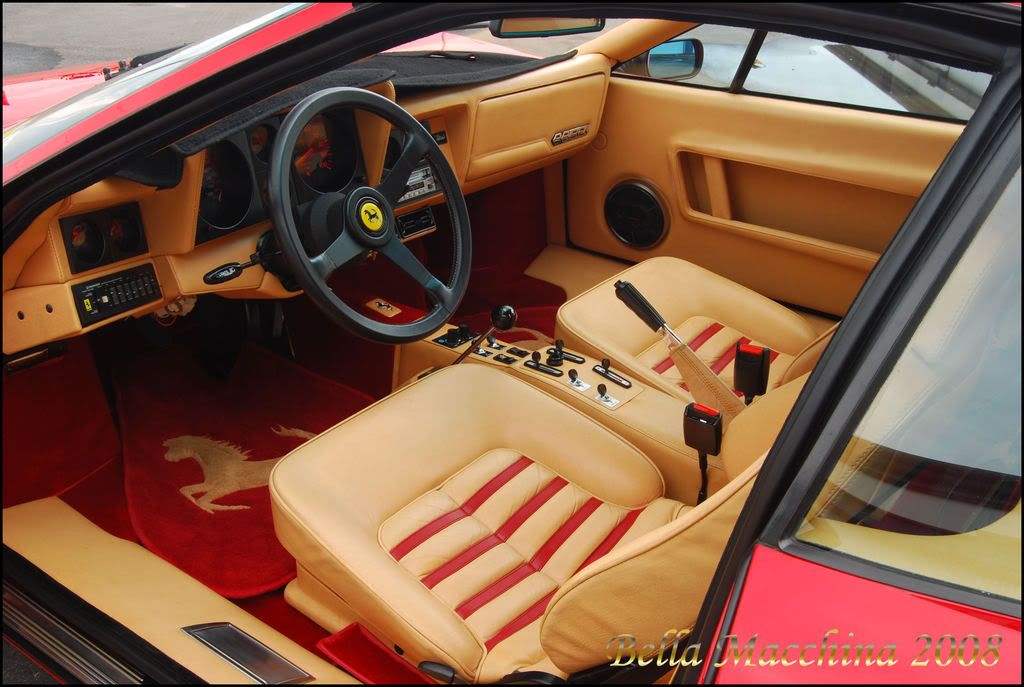
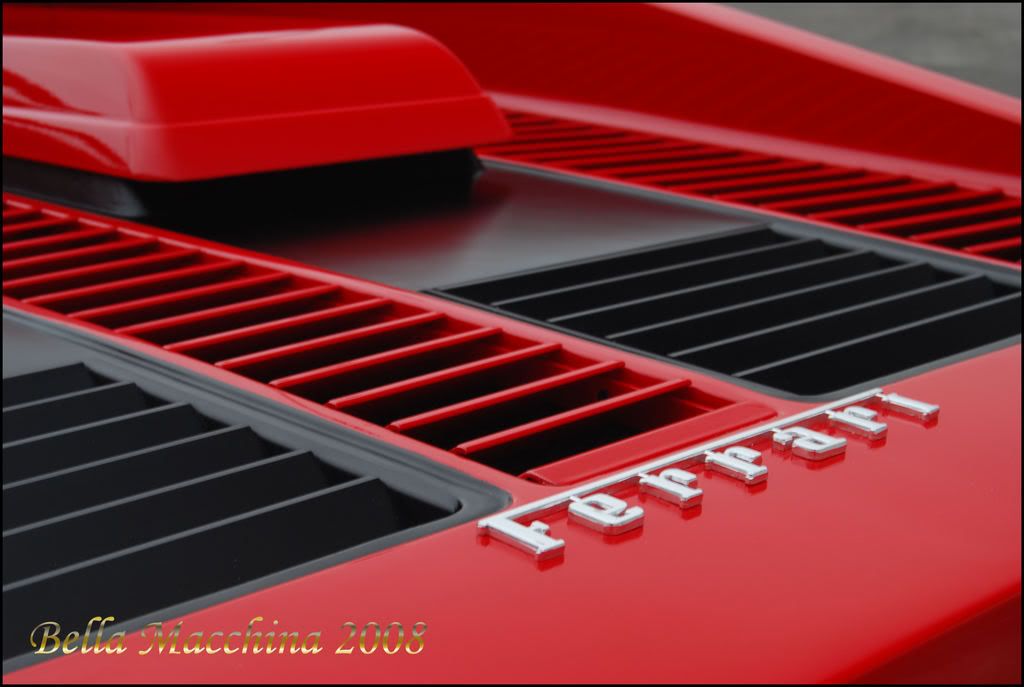
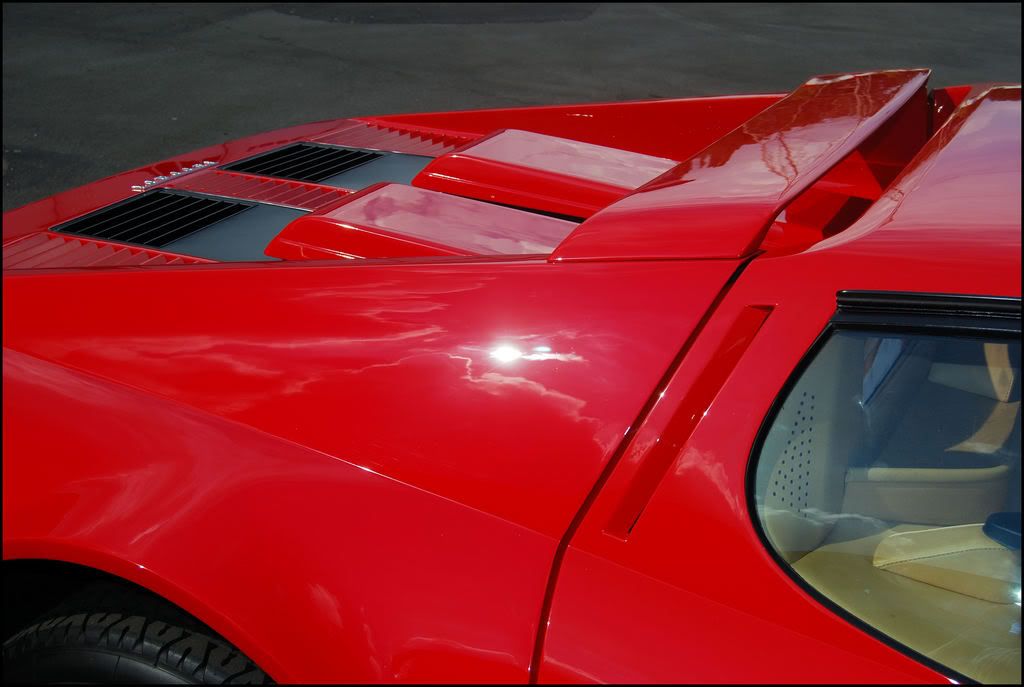
The '84 Ferrari BBi was also the last of hand built bodies, which adds to the romance of the car. The bodies where shaped and sculpted by artists, using metal working tools to hammer perfection into existence. Amazing and completely hand built! The engine is a fast (very fast for 1984) 5 liter, full injected flat twelve, developing 340 horsepower (back when a Corvette made about 220), pushing the BBi to 60 in under six seconds and to top speed close to 180. Back when this car was built, its easy to imagine Enzo Ferrari in all his fury screaming at his workings, making sure everything was to his specs and perfect. My goal was simple, to make Enzo proud.


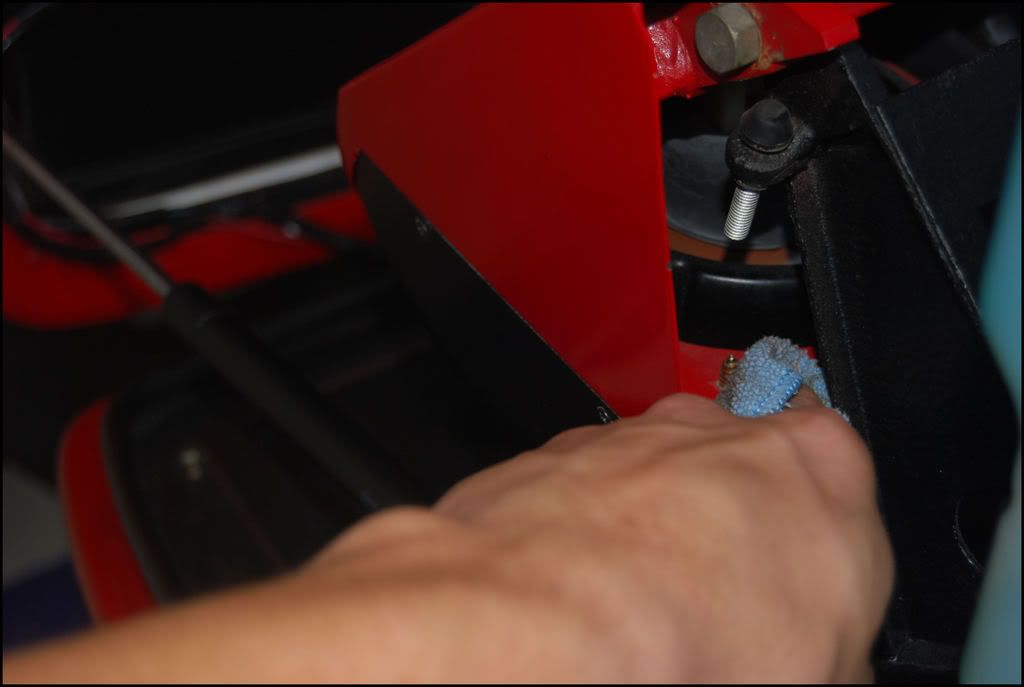
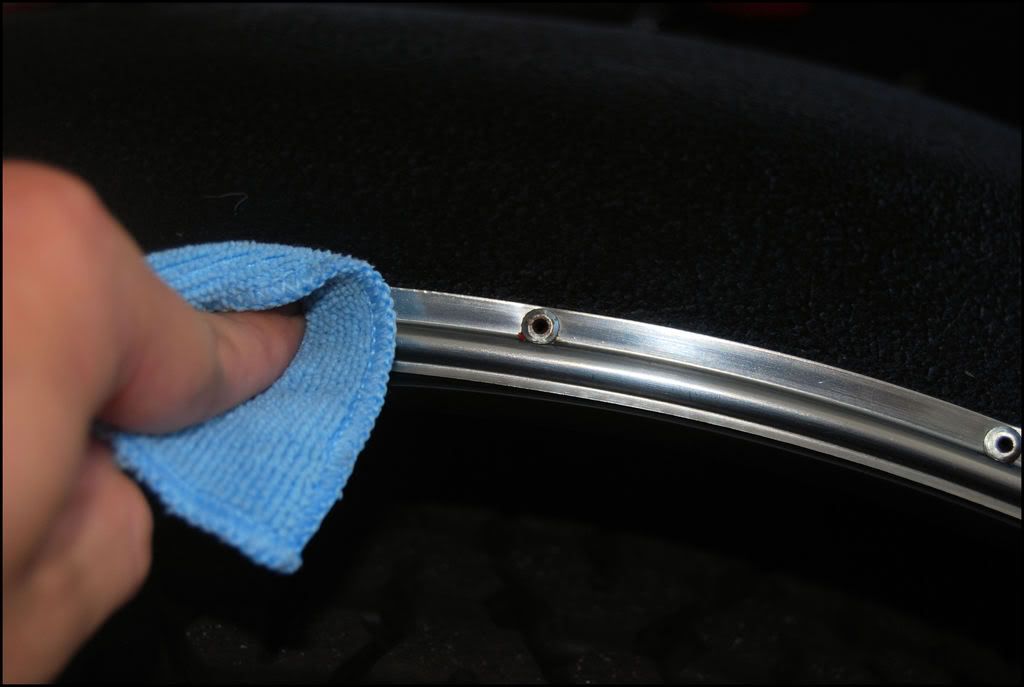
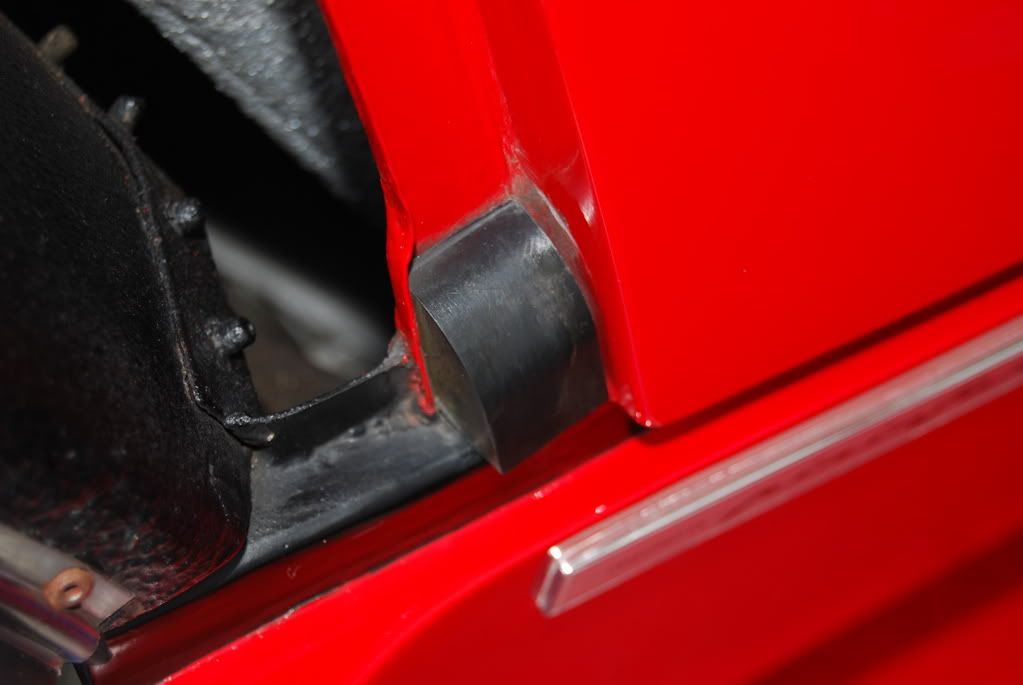
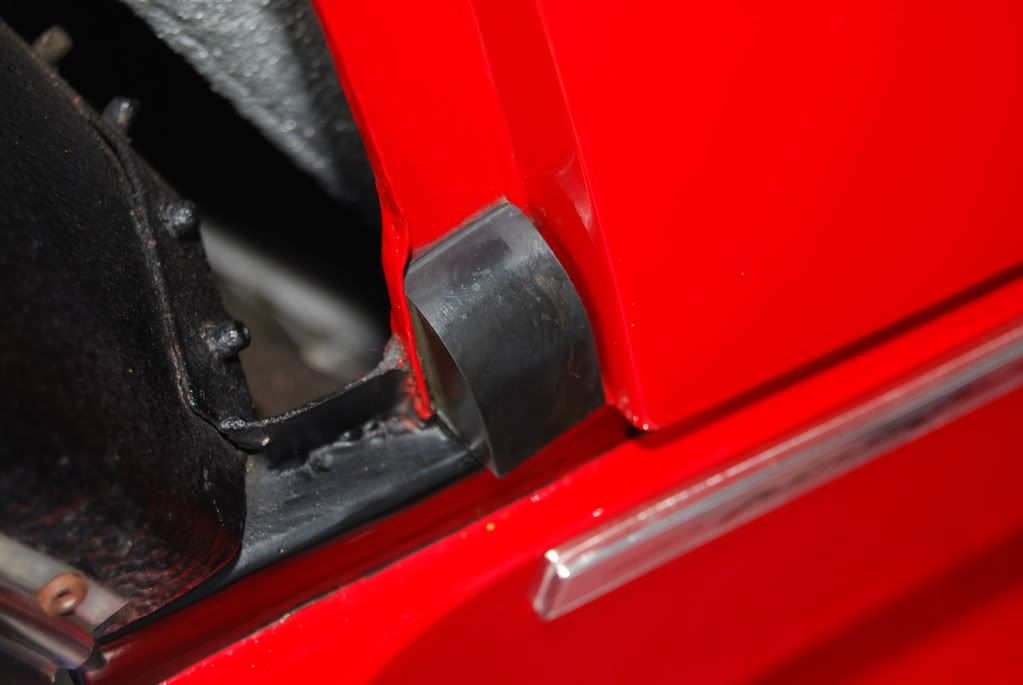
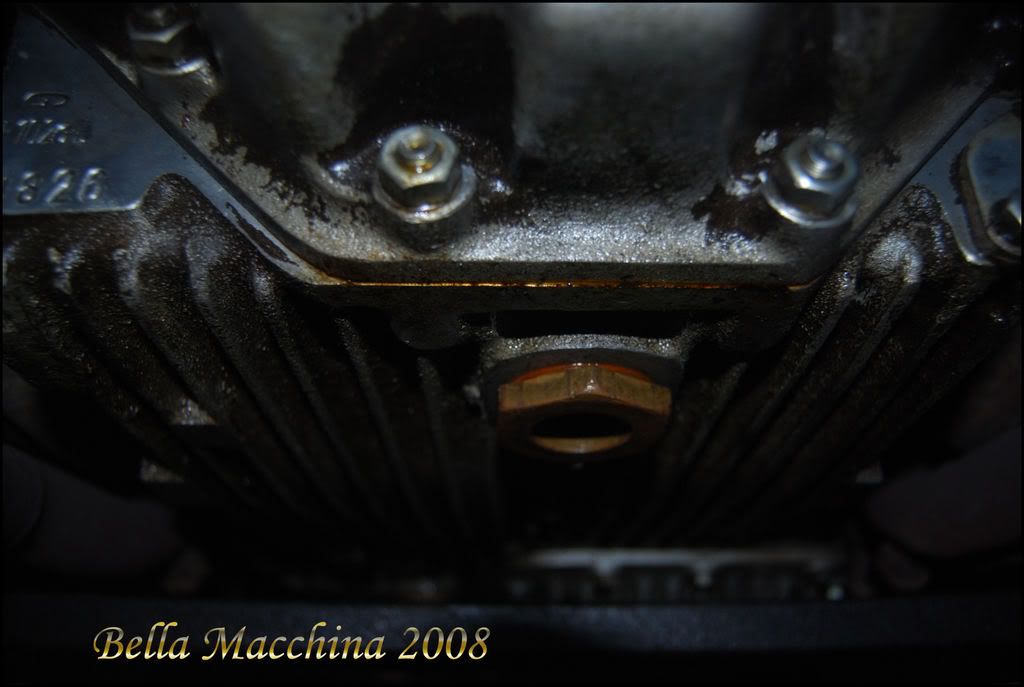
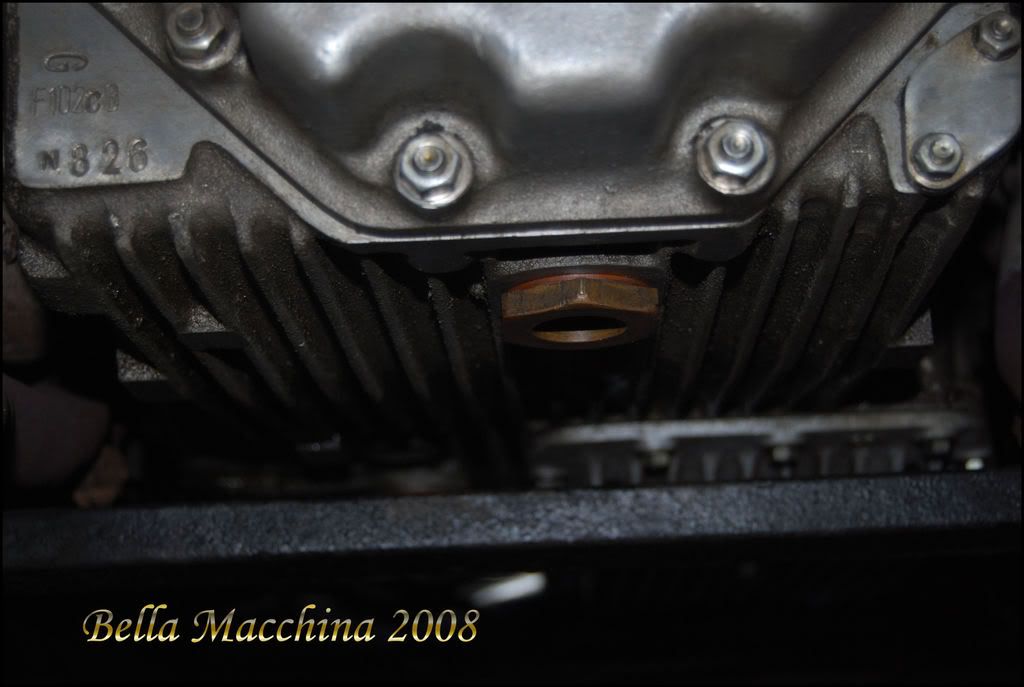
Over the course of 3 days, I was able to spend a lot of time working towards that goal. I will update this thread later (and ask a mod to change the title) as I get pictures from the Winter Park Show, then the undercarriage detailing, and finally in January, from the Cavallino Concours, where we (the owner and myself) plan on taking platinum!


Day One, October 4th, 8:00 AM to 6:00 PM


Process and Product Outline


Wipe car with Zaino Z6 to clean off any dust and dirt from the body

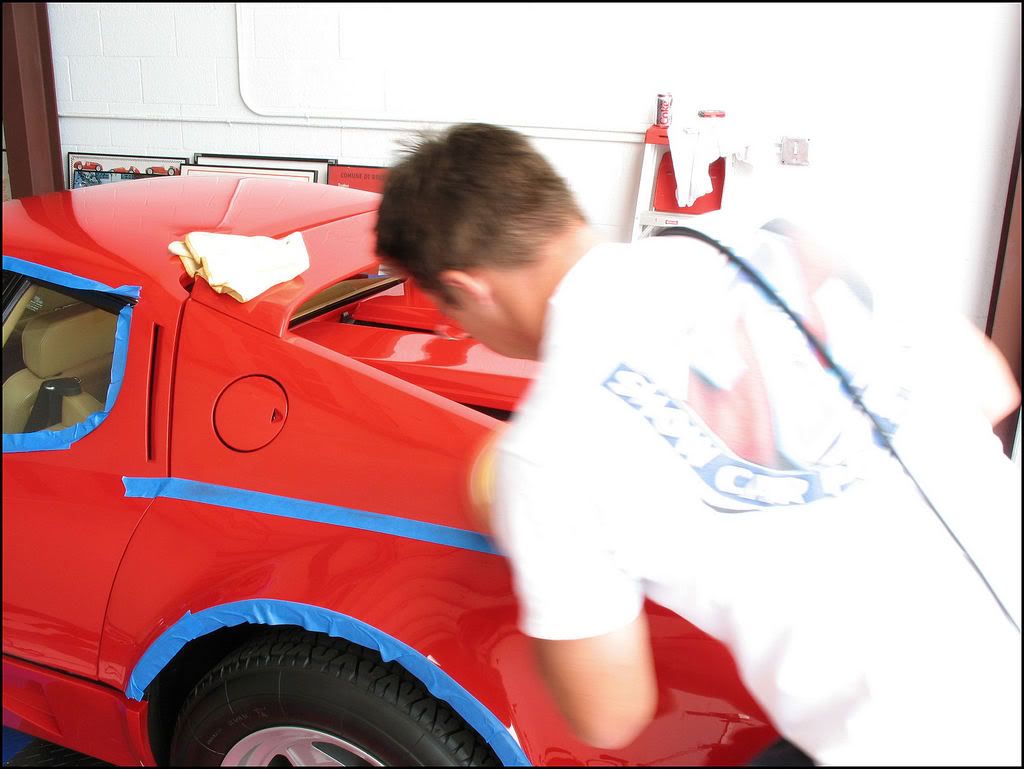
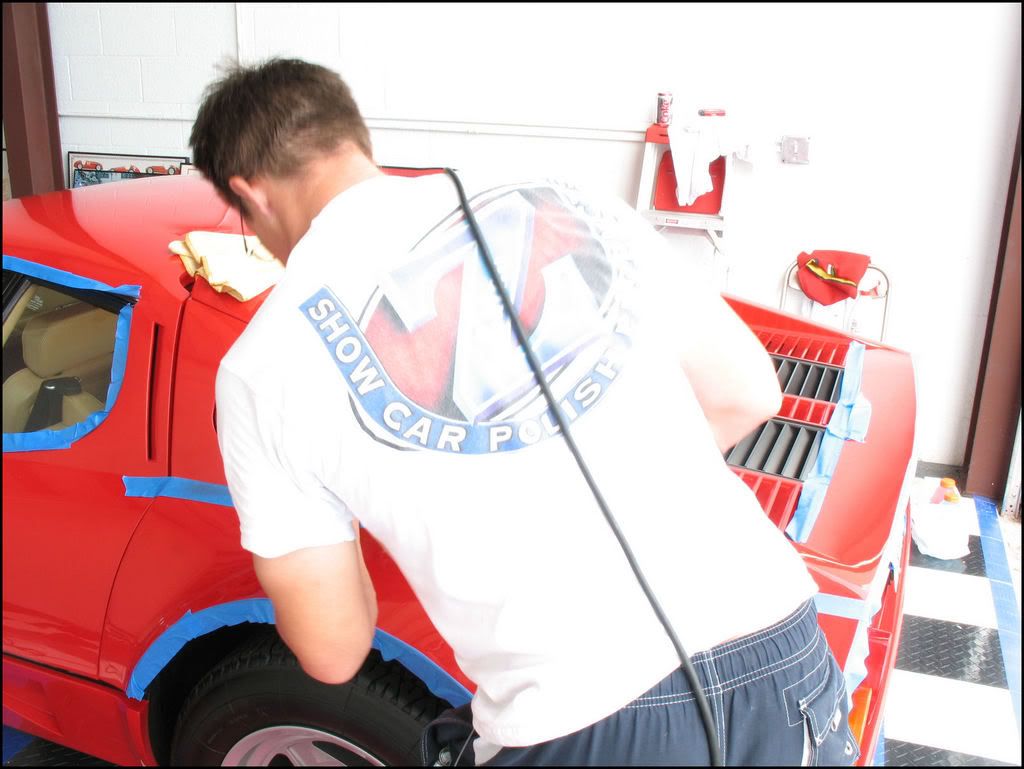
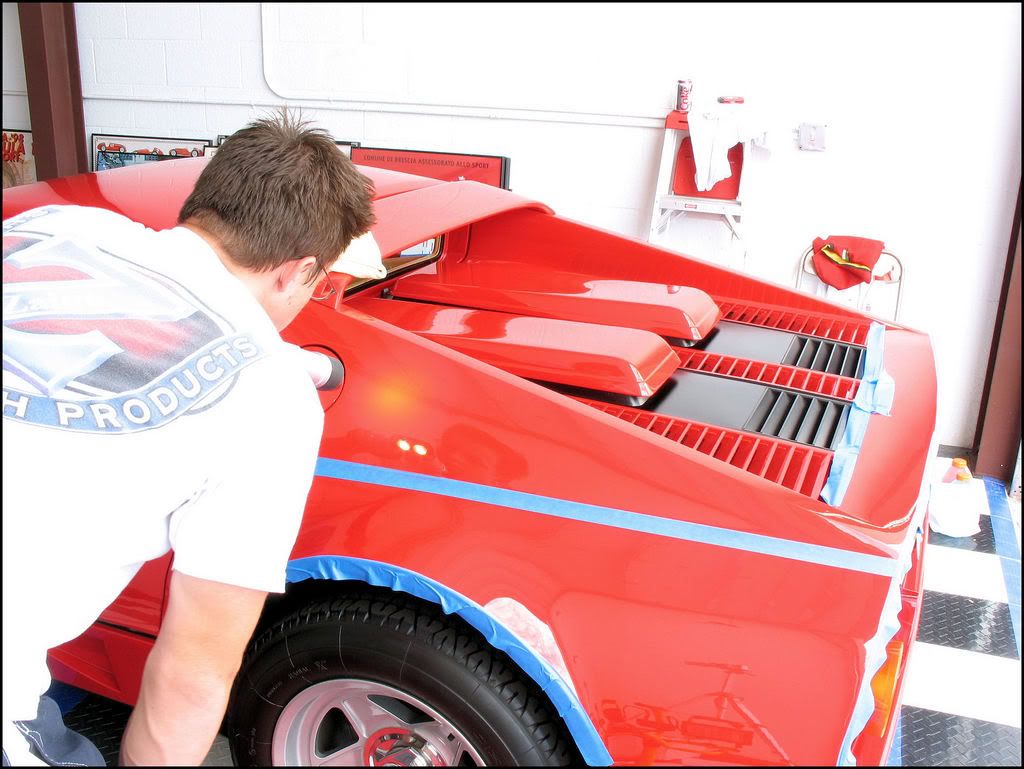
Tape car with 3M Blue Painter's Tape

Polish with

3M Extra Cut Compound on a Lake Country Orange CCS 7 1/2 inch pad on the

Hitachi at 1800 RPM

Menzerna SIP on a Lake Country Orange CCS 7 1/2 pad on the Hitachi at 1200 RPM

3M UltraFina on a Lake Country White CCS 7 1/2 pad at 1800 RPM, brough down to

1000 RPM to refine the polish

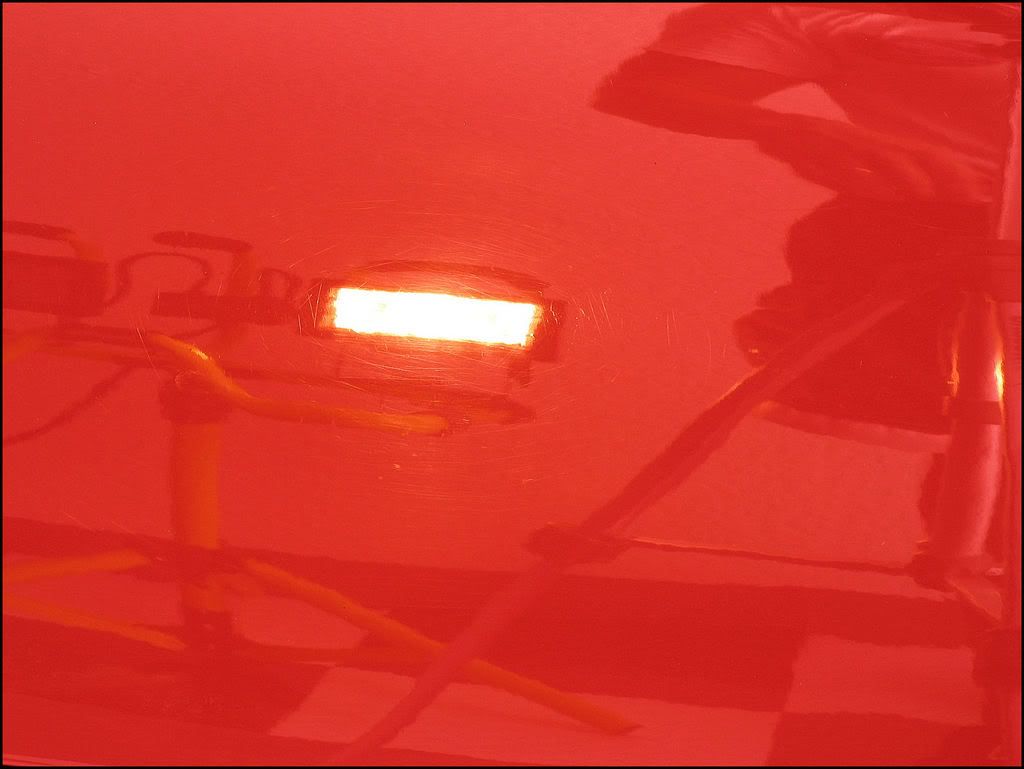
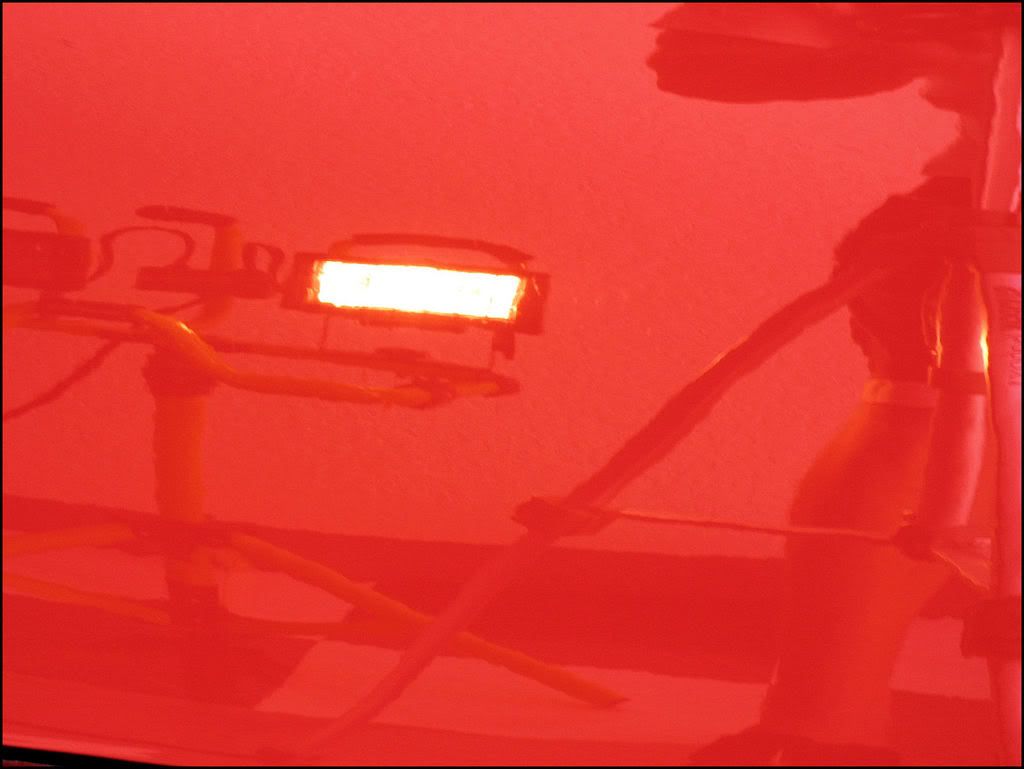
*after each pass, the paint was inspected with Xenon light, and additional passes where

made to ensure all defects where removed

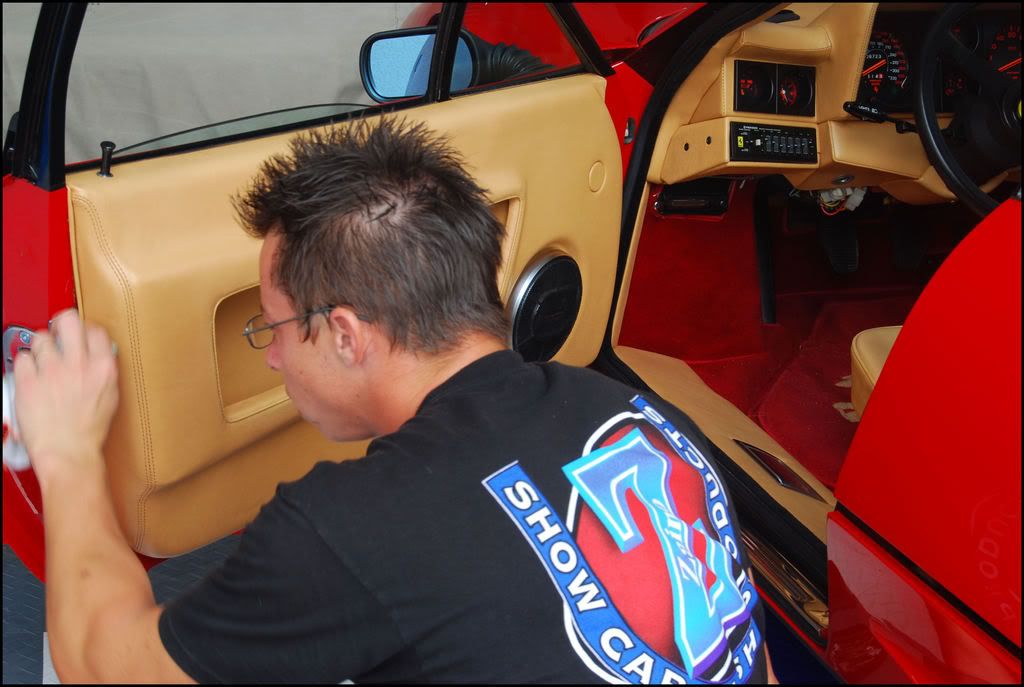
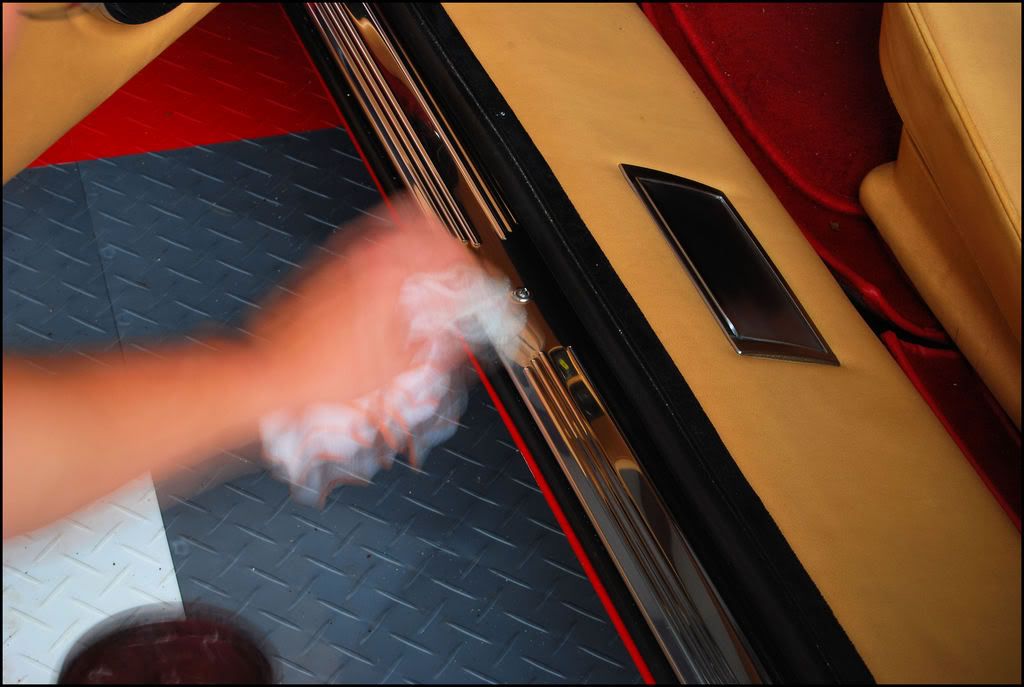
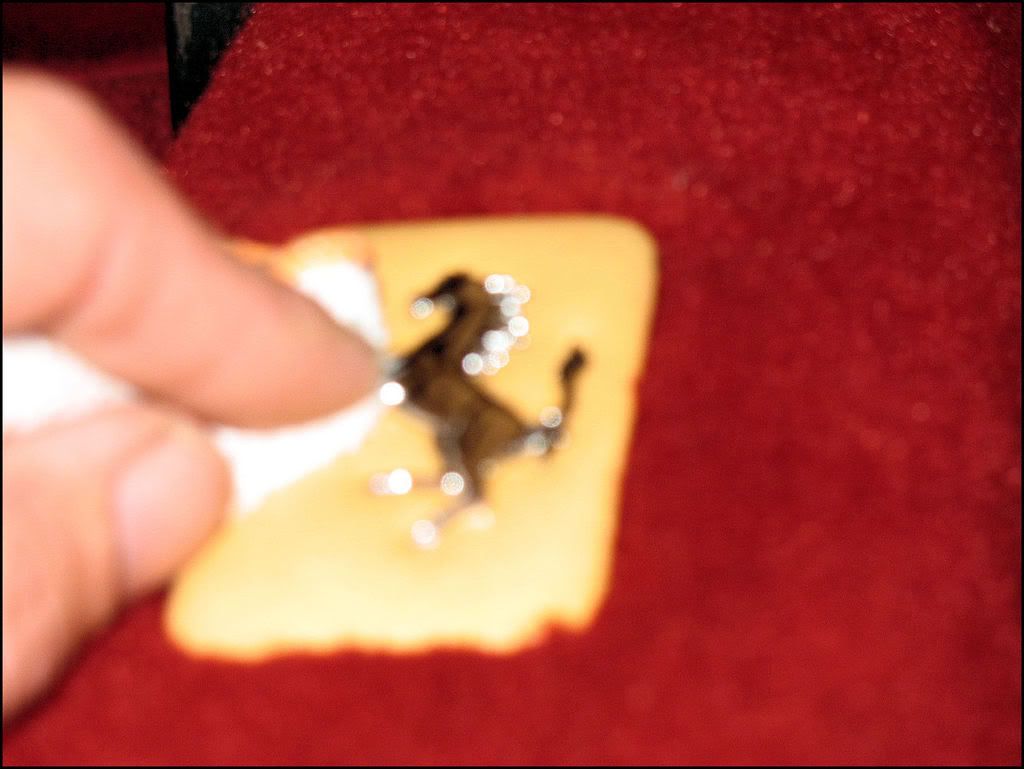
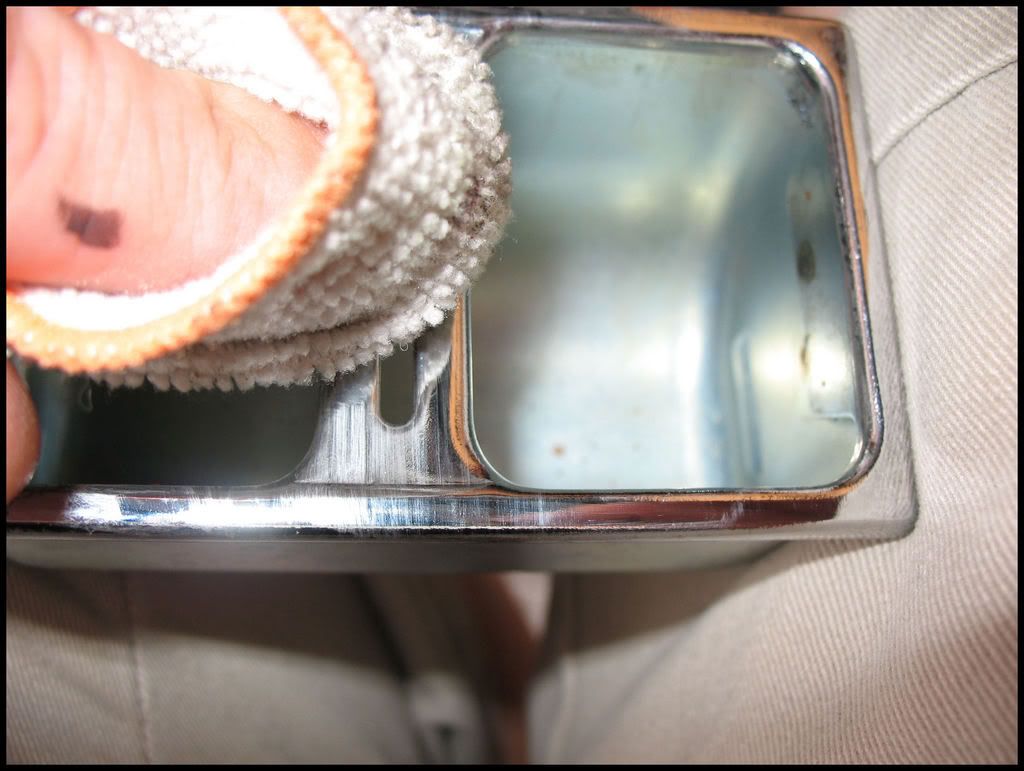
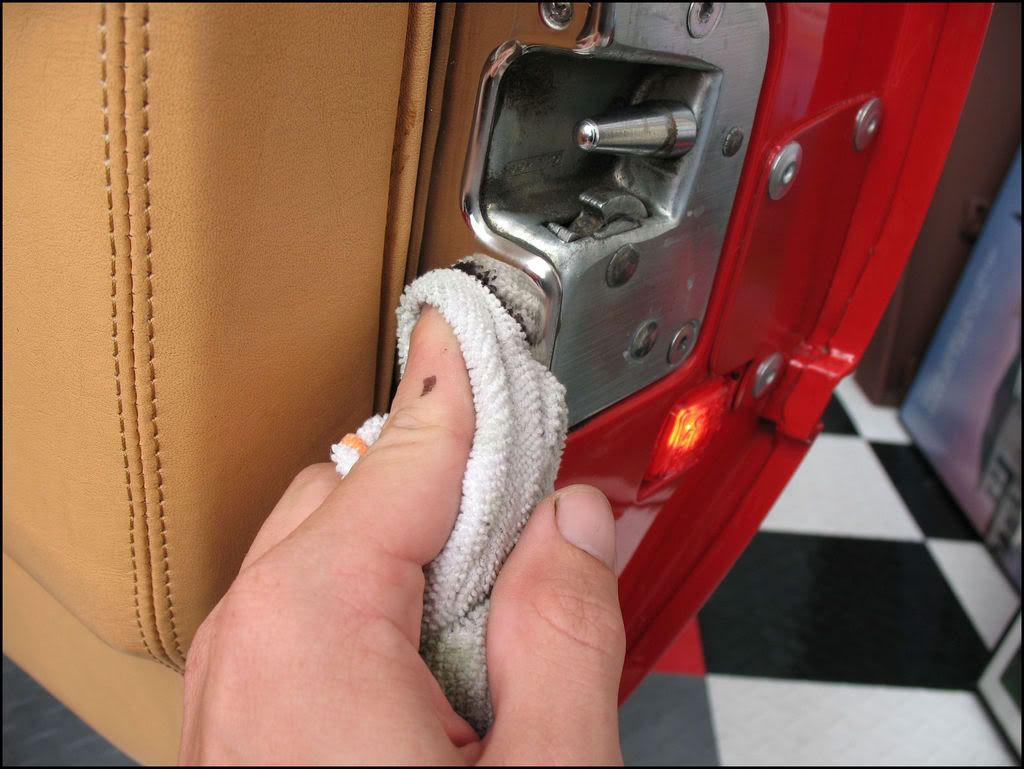
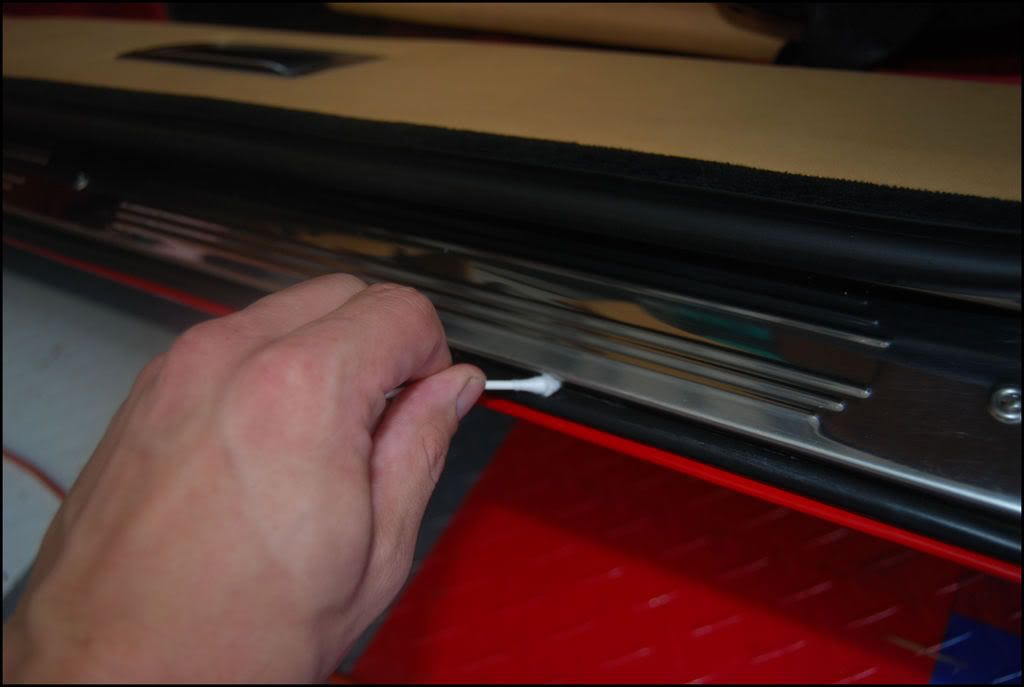
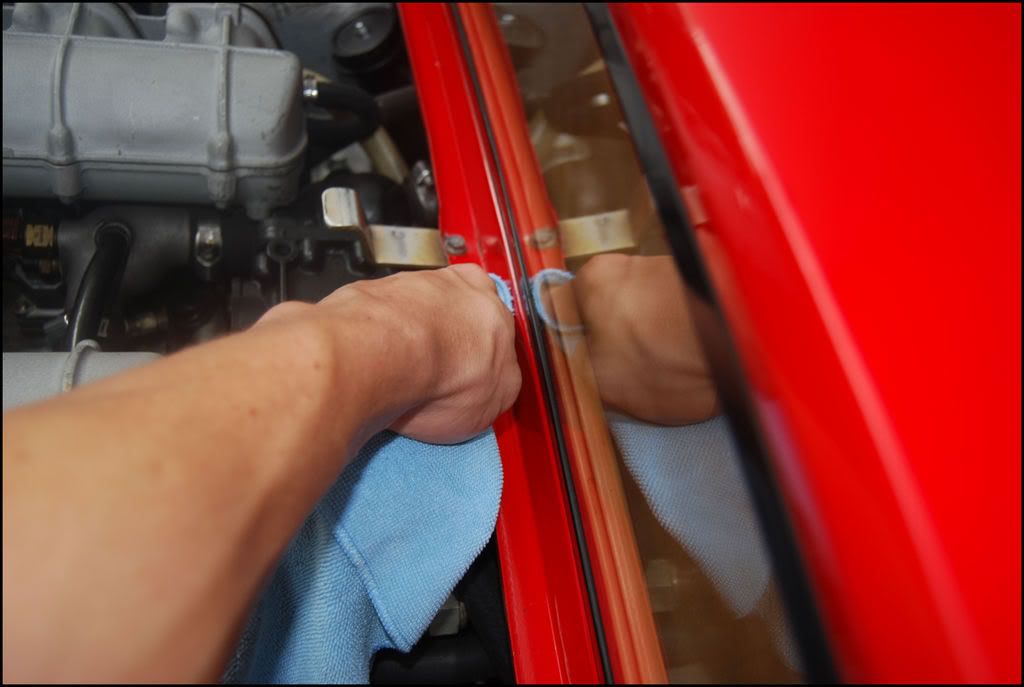
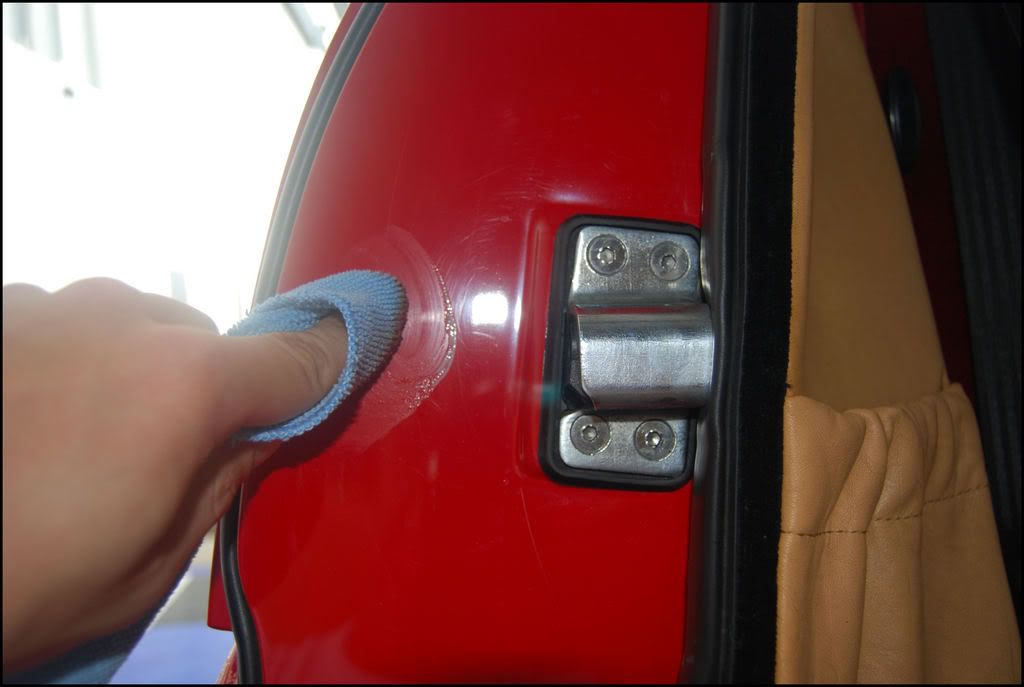
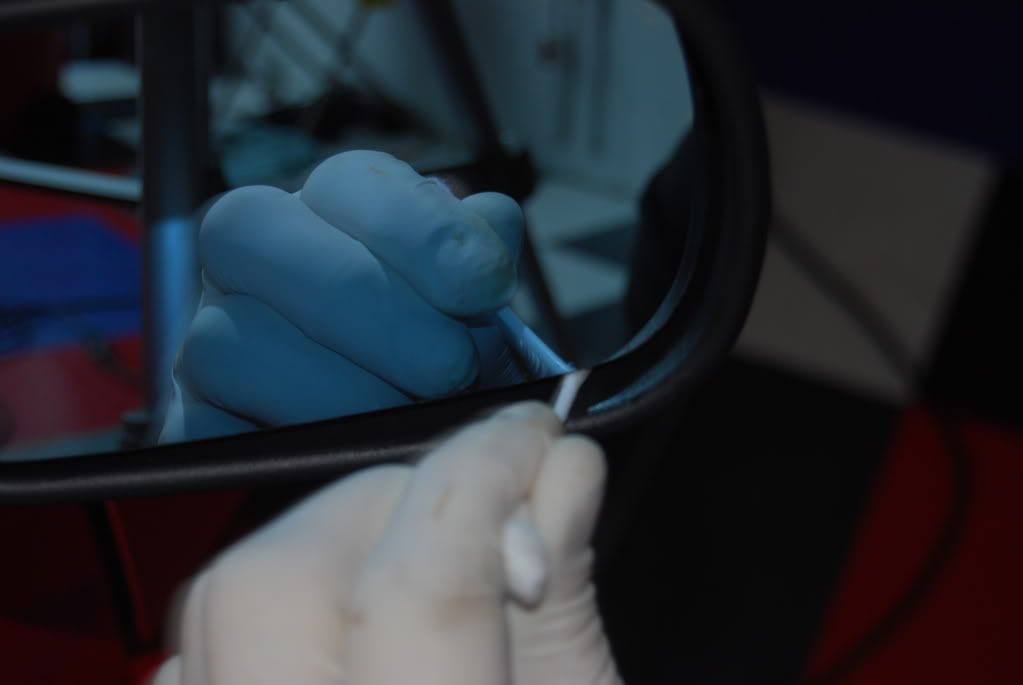
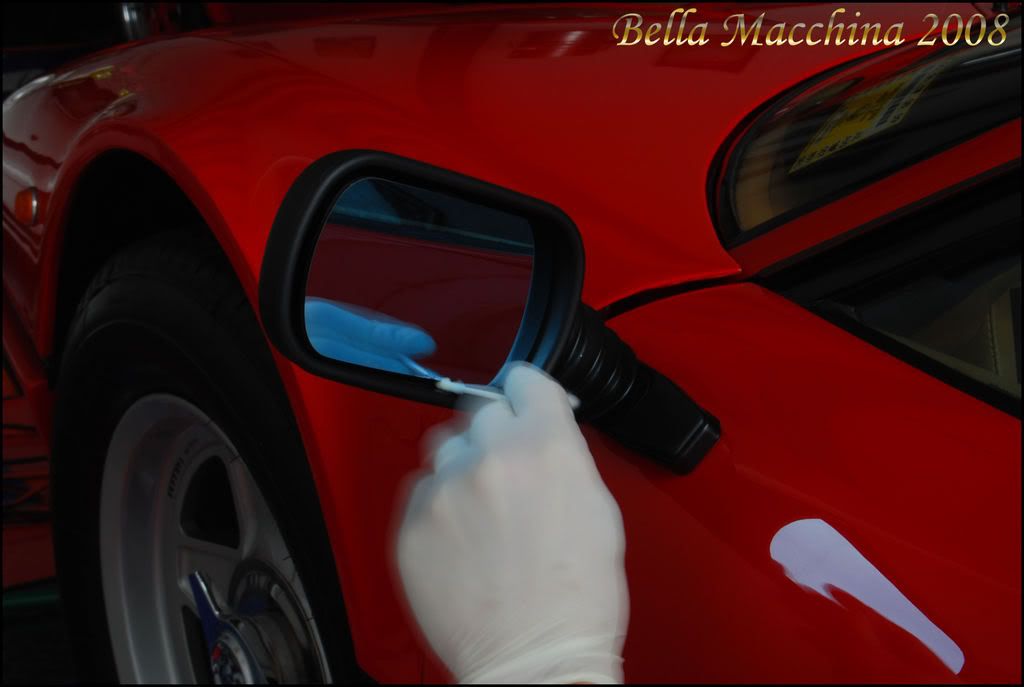
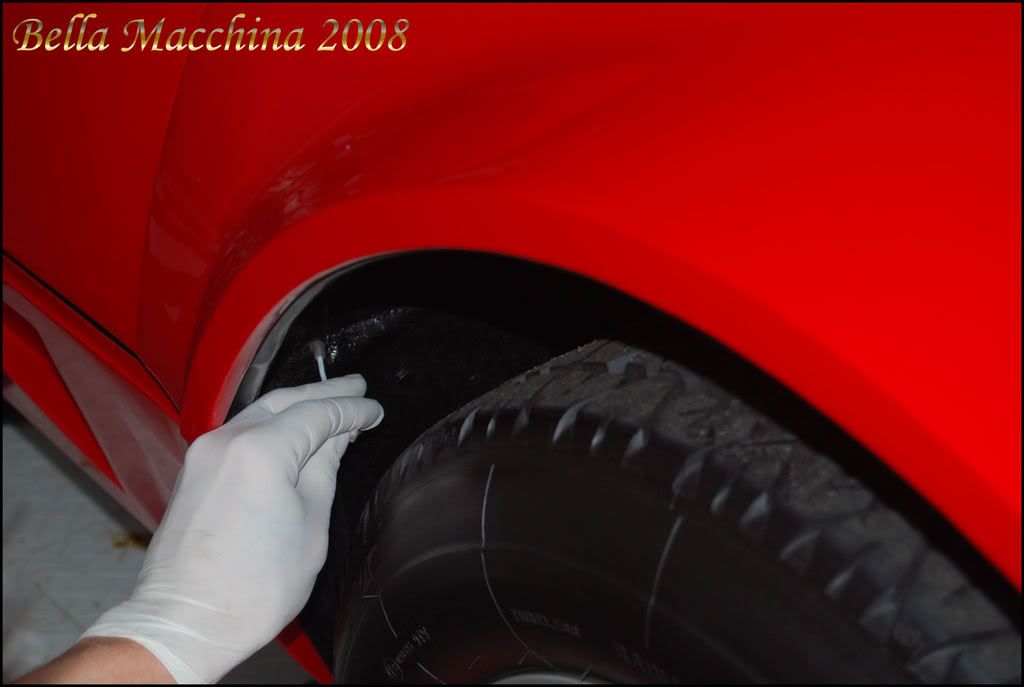
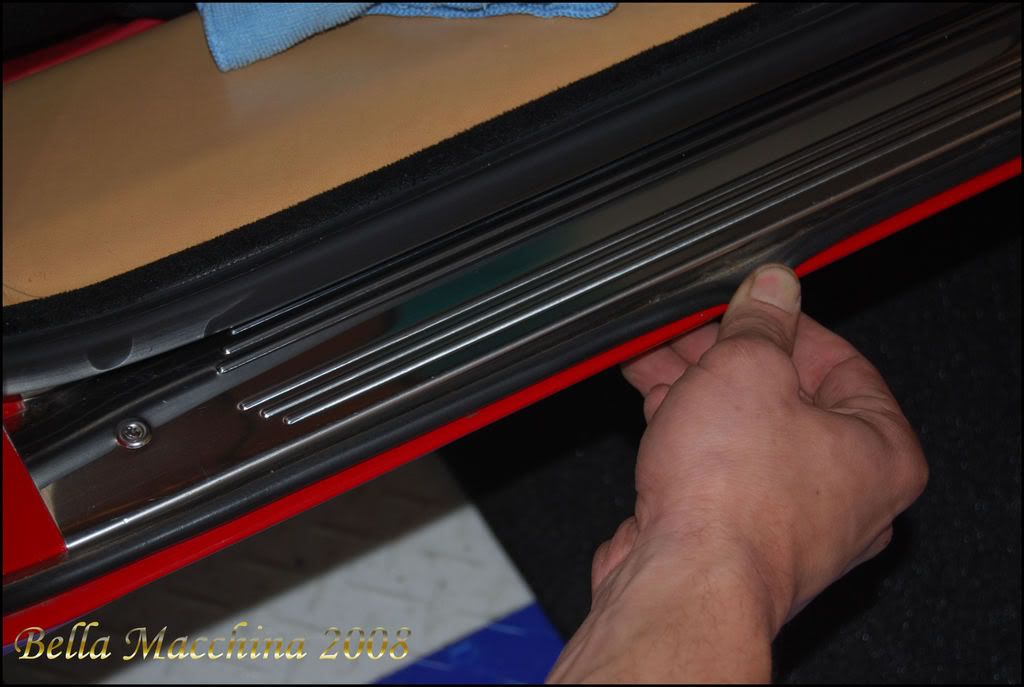
Hand Polish all impossible to reach areas with

Menzerna SIP using a terry cloth

Zaino Z-PC using a Meg's FoamApplicator Pad

Headlights/Tailights polished with SIP/Orange, Plasticx with PC/White

50/50 wipedown

Wash with Zaino Z7, using a two bucket method

Inspect in direct sunlight for any remaining marring


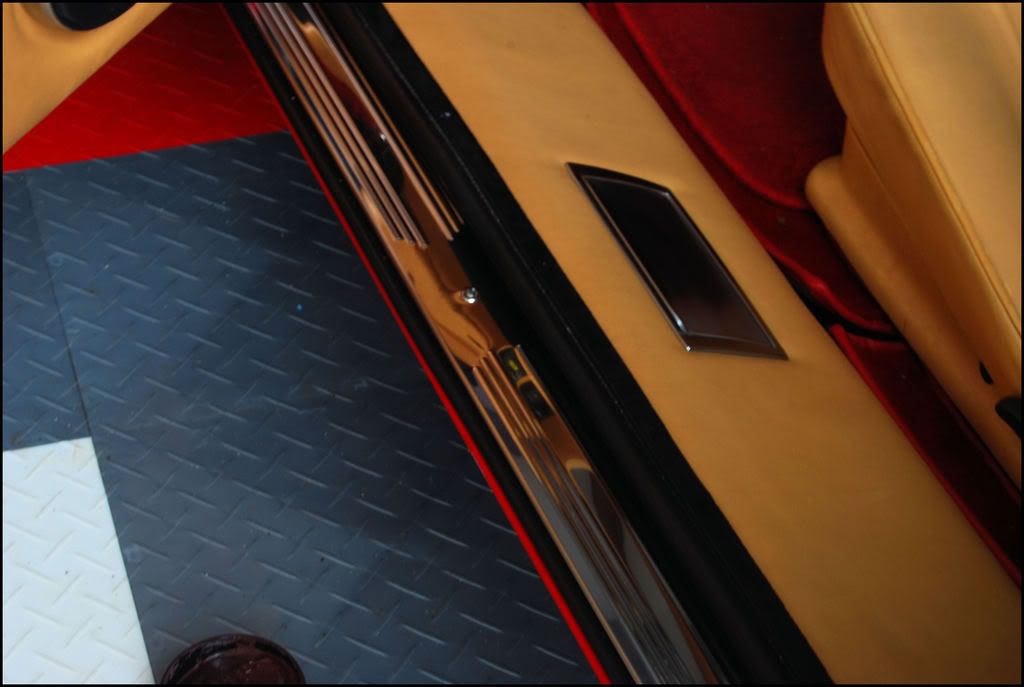
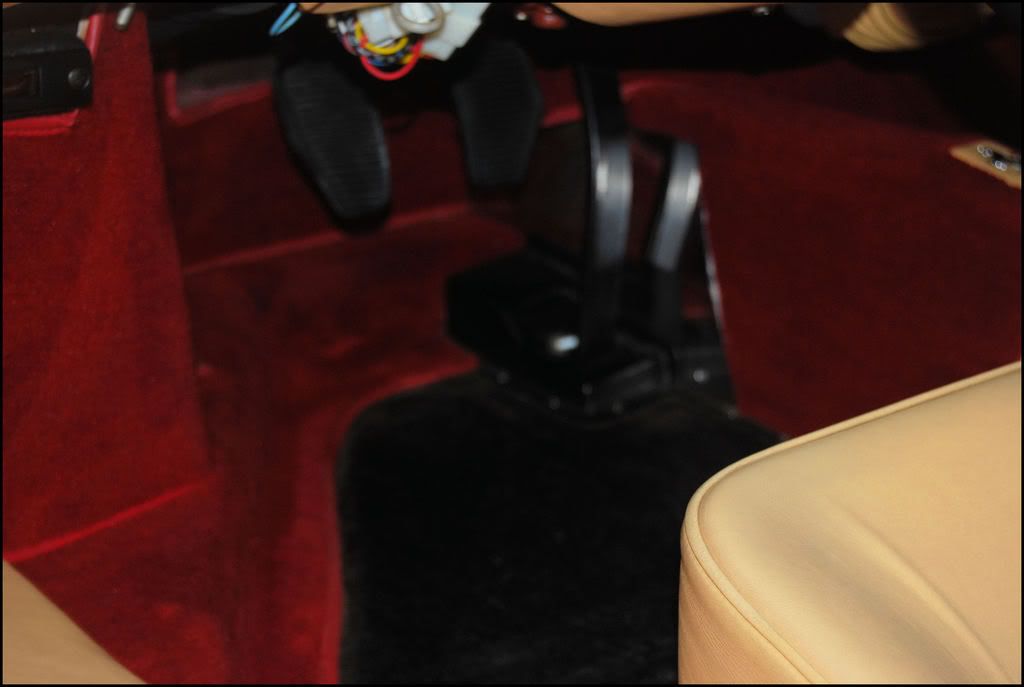
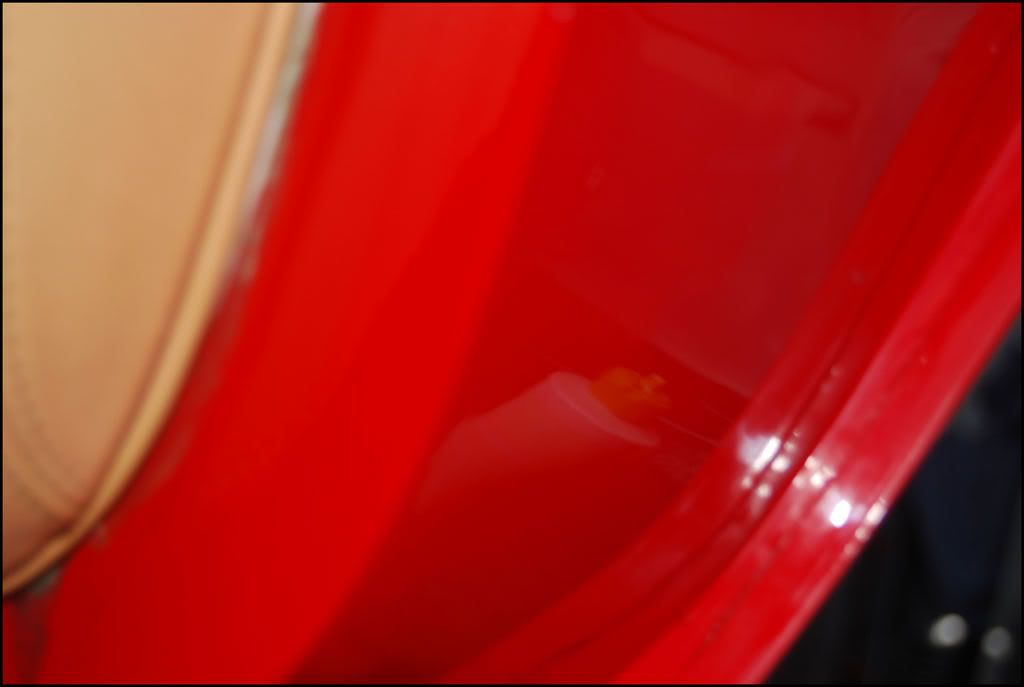
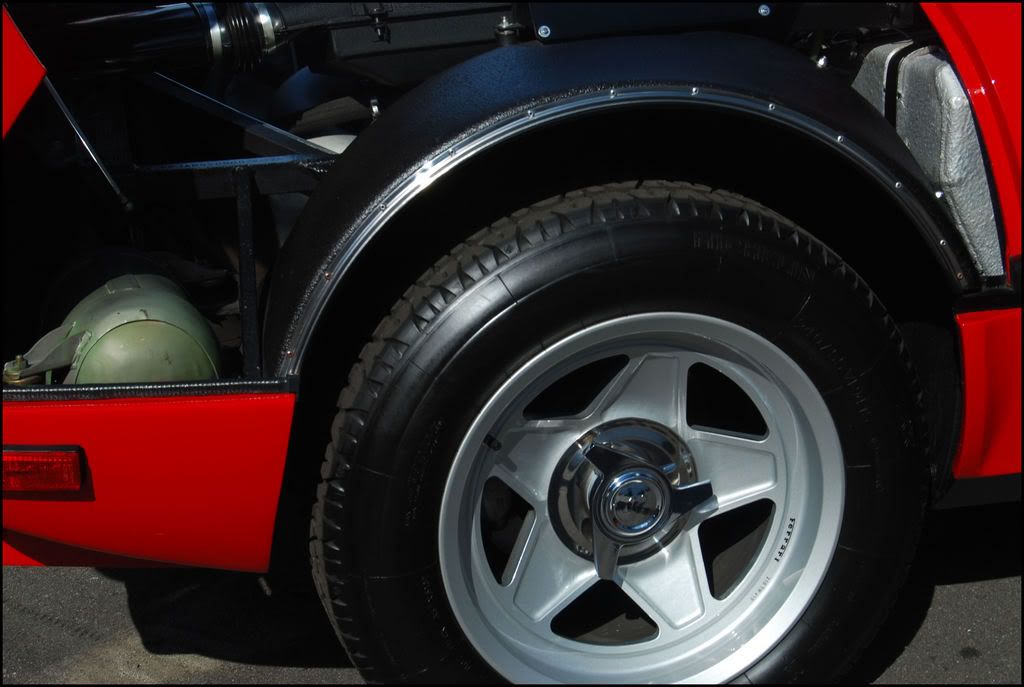
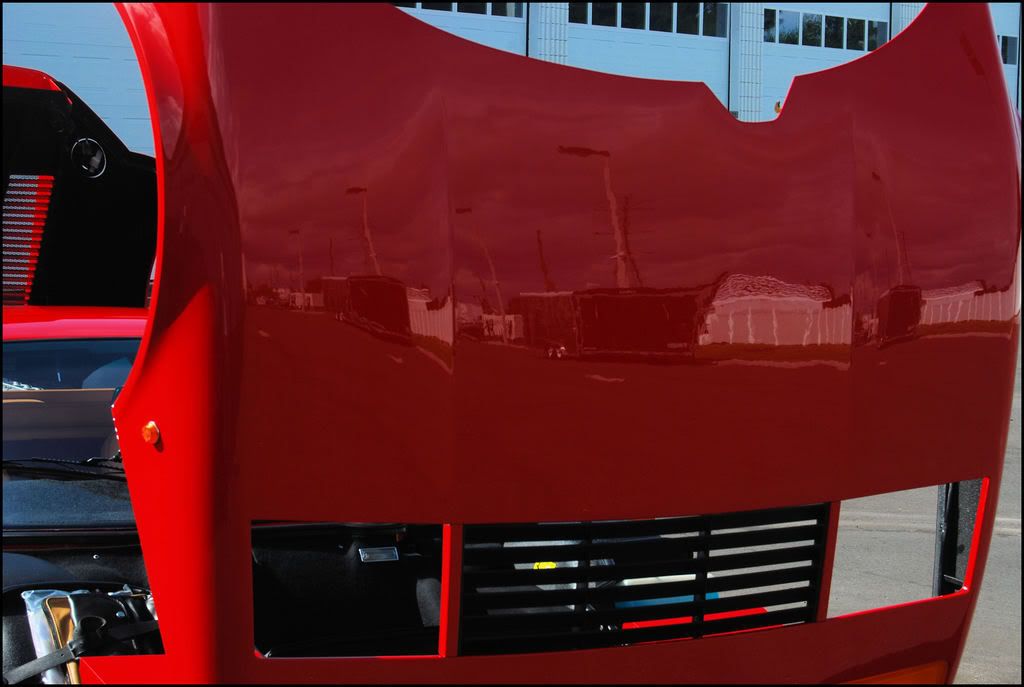
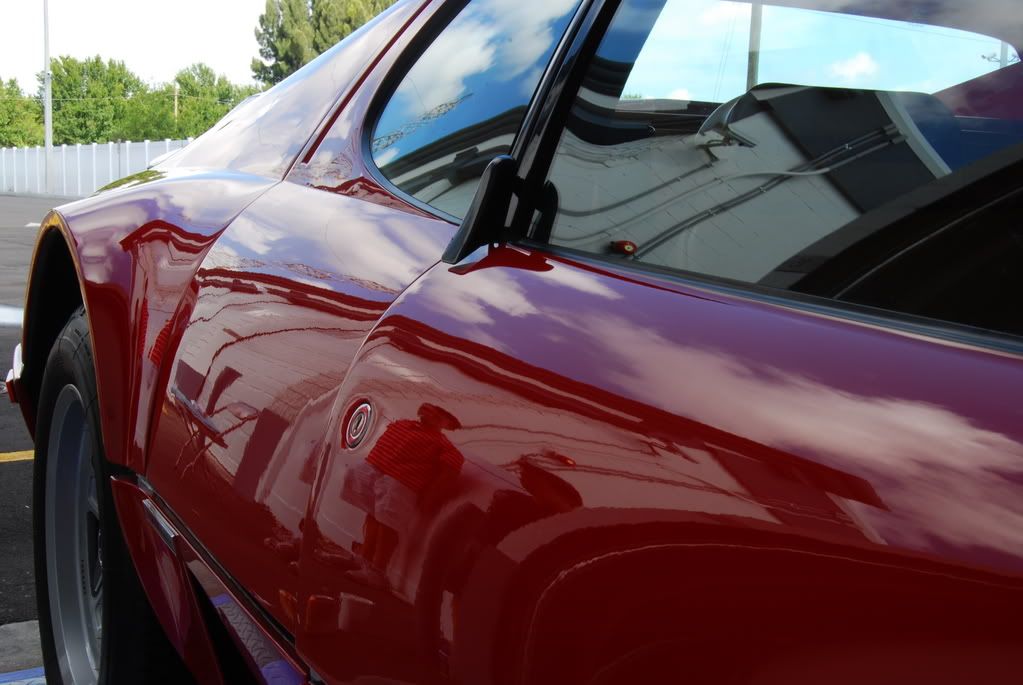
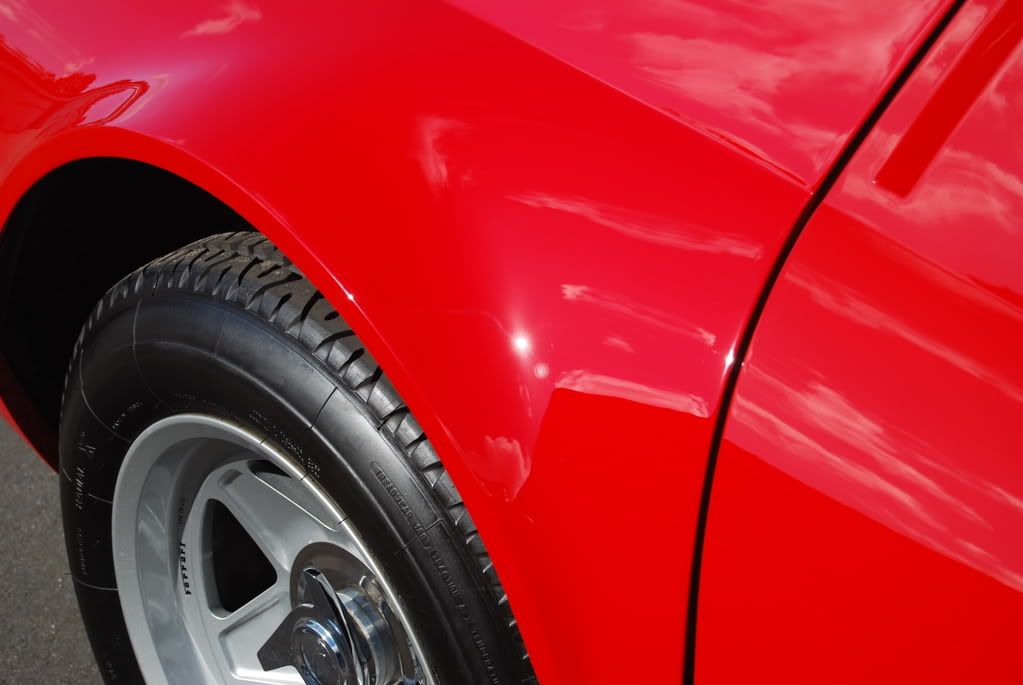
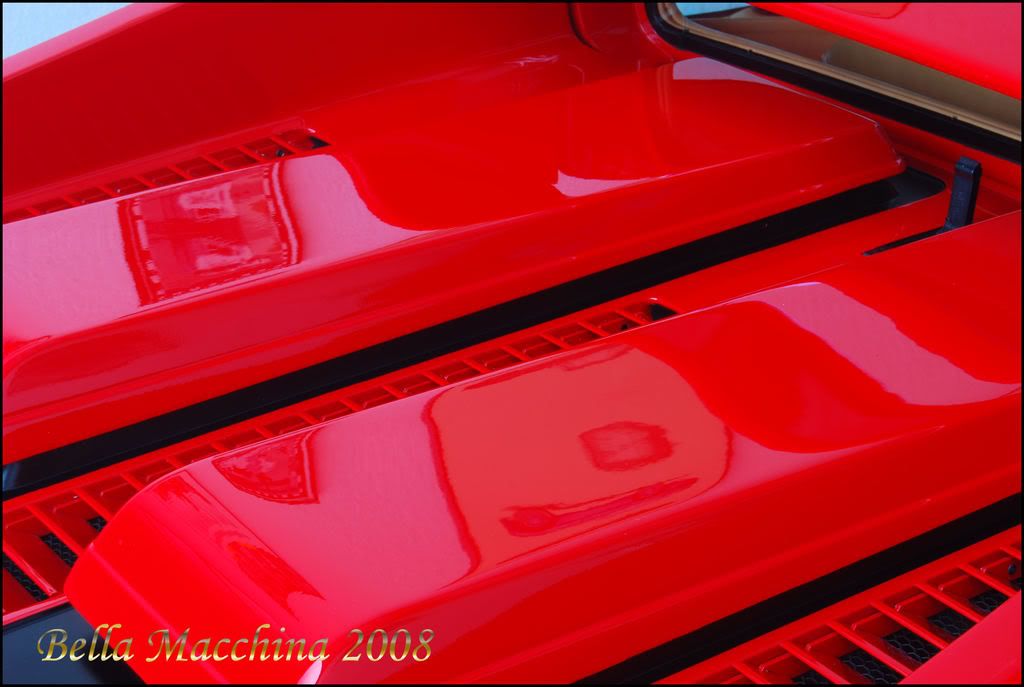
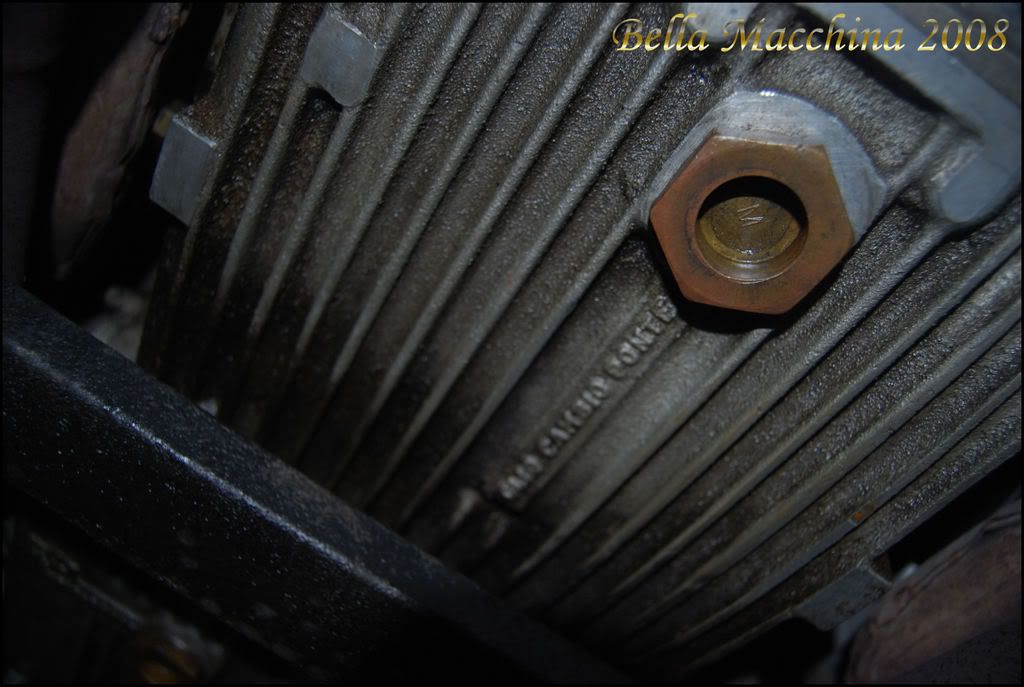
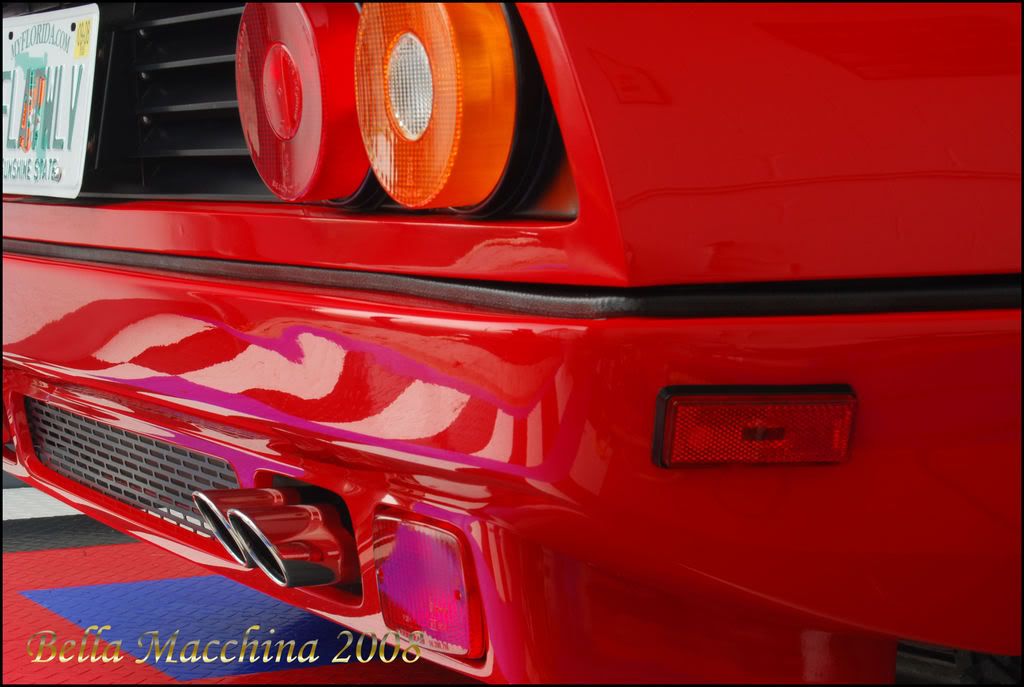
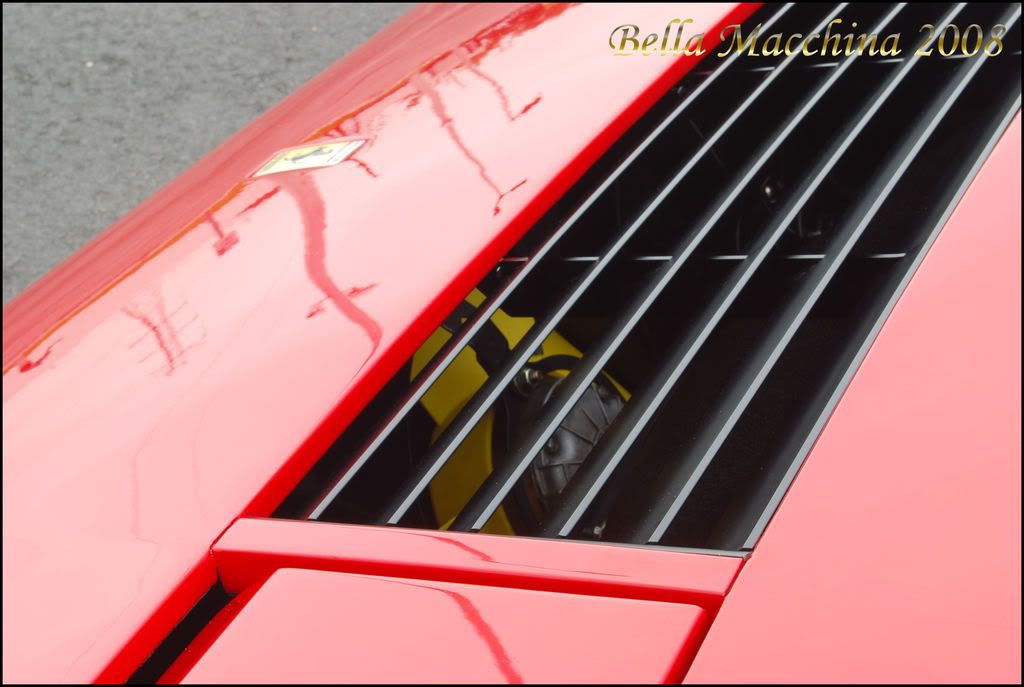
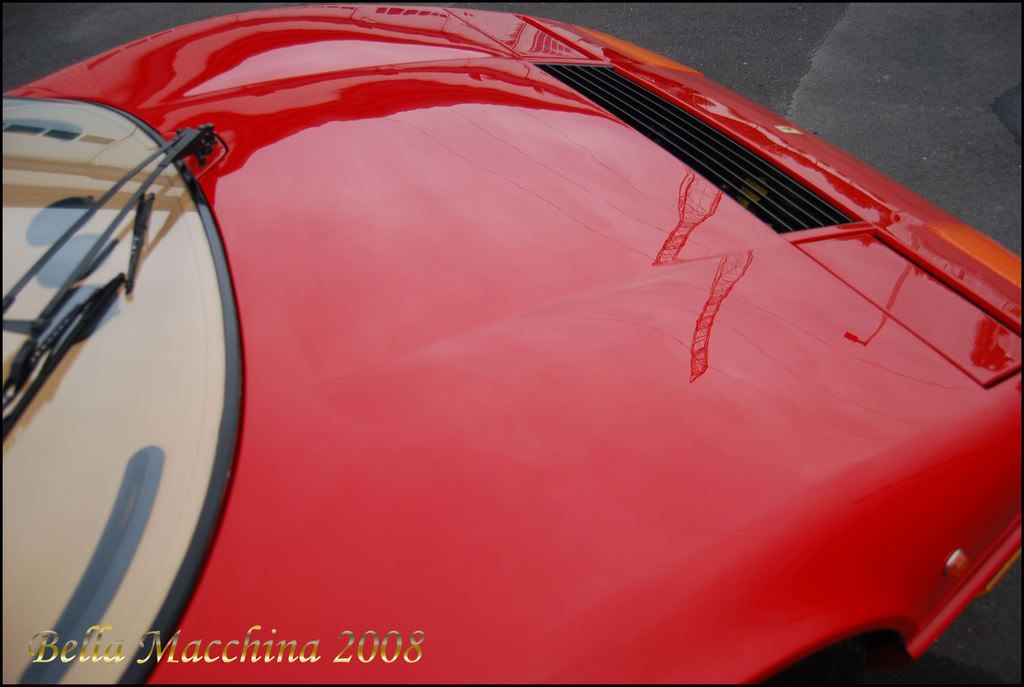
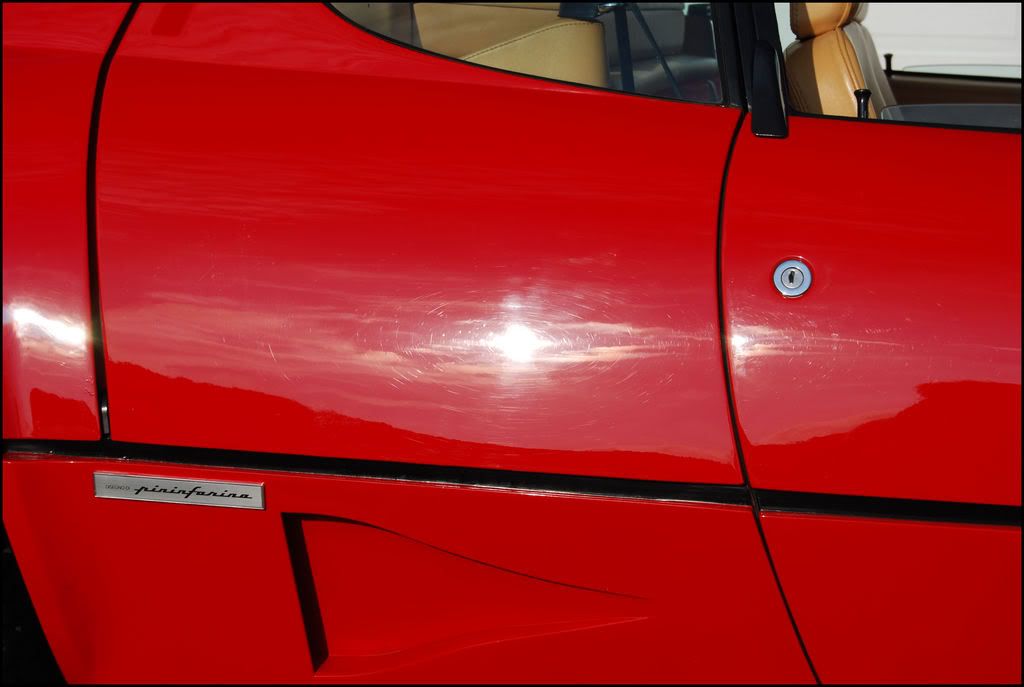
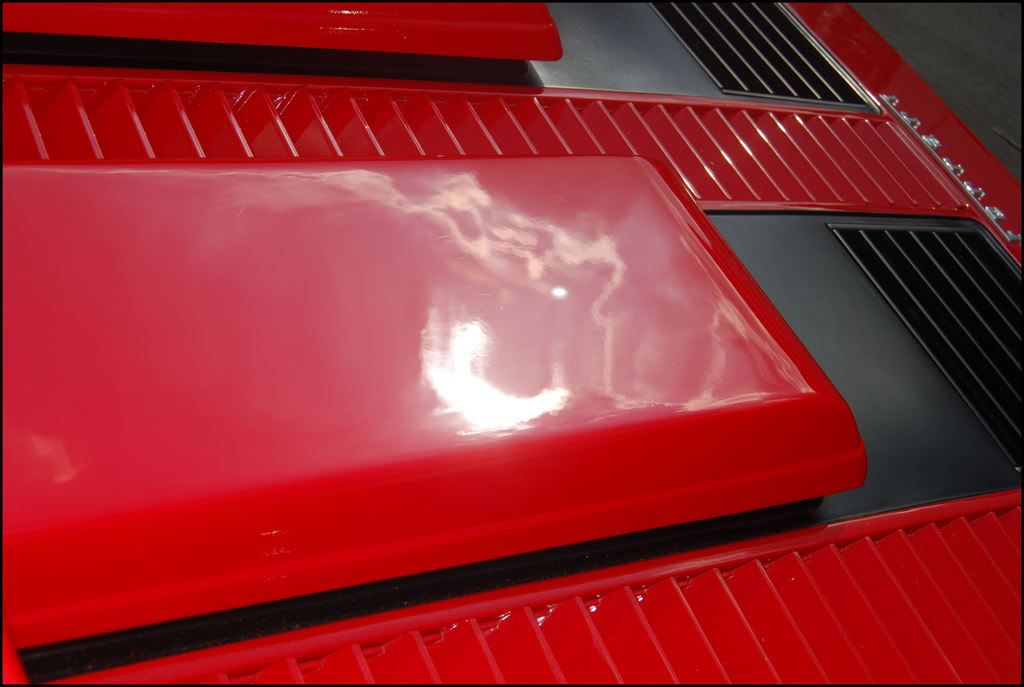
This Ferrari was still had the original single stage Rosso Corsa lacquer, which polished beautifully, but was SUPER thin on some edges. Some edges didn't even have paint! There are also some runs in the paint that the owner and I decided to leave be, as they are there from the factory, and as such, add the absolute charm of this car.


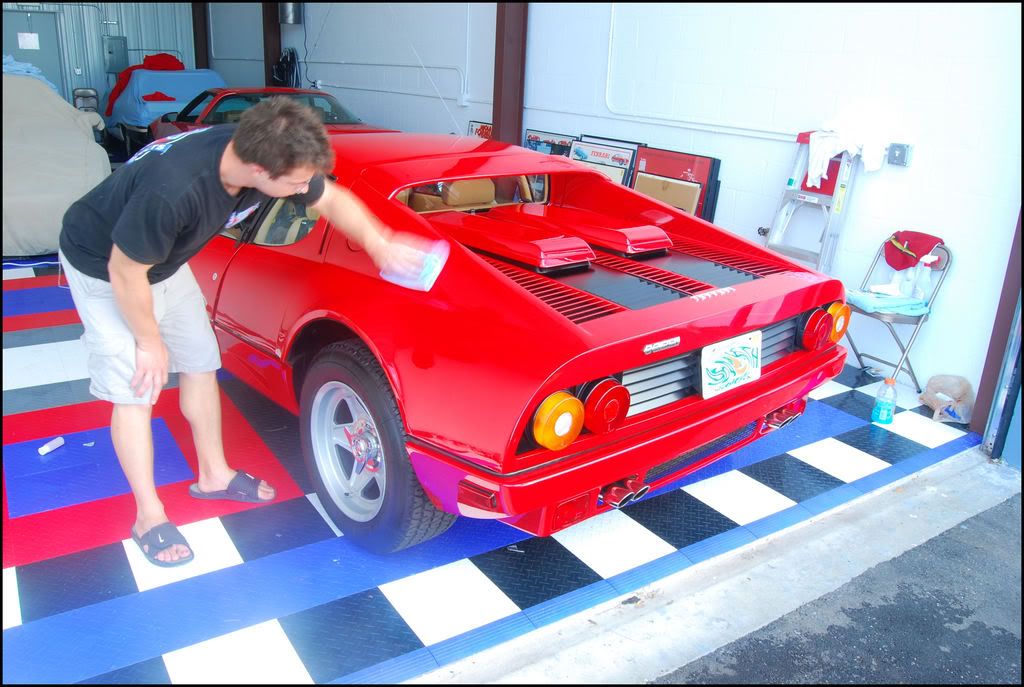
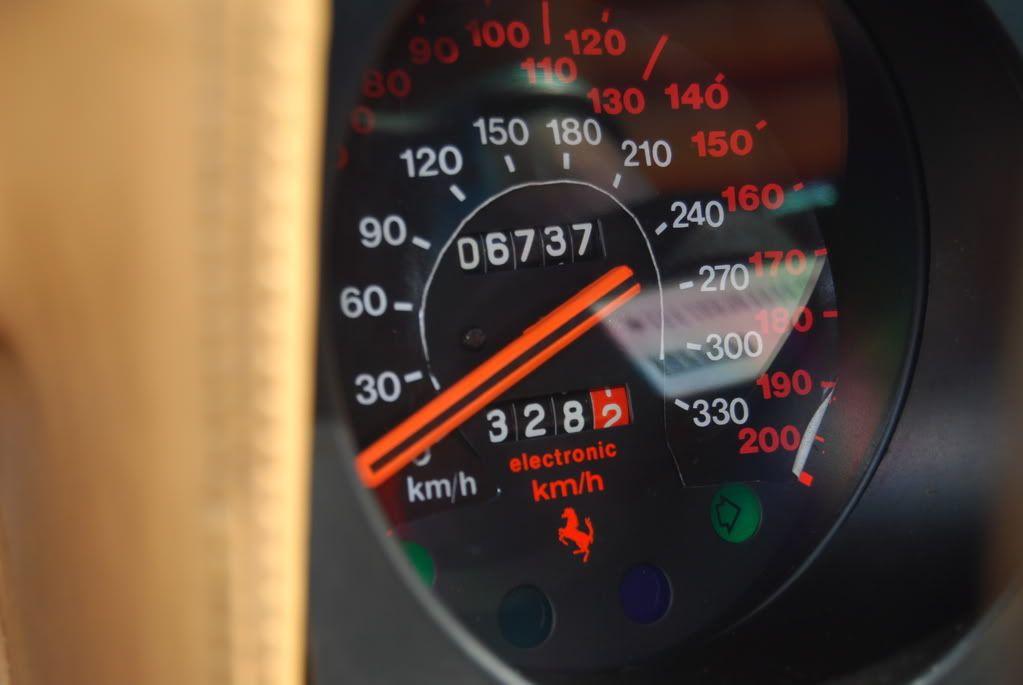
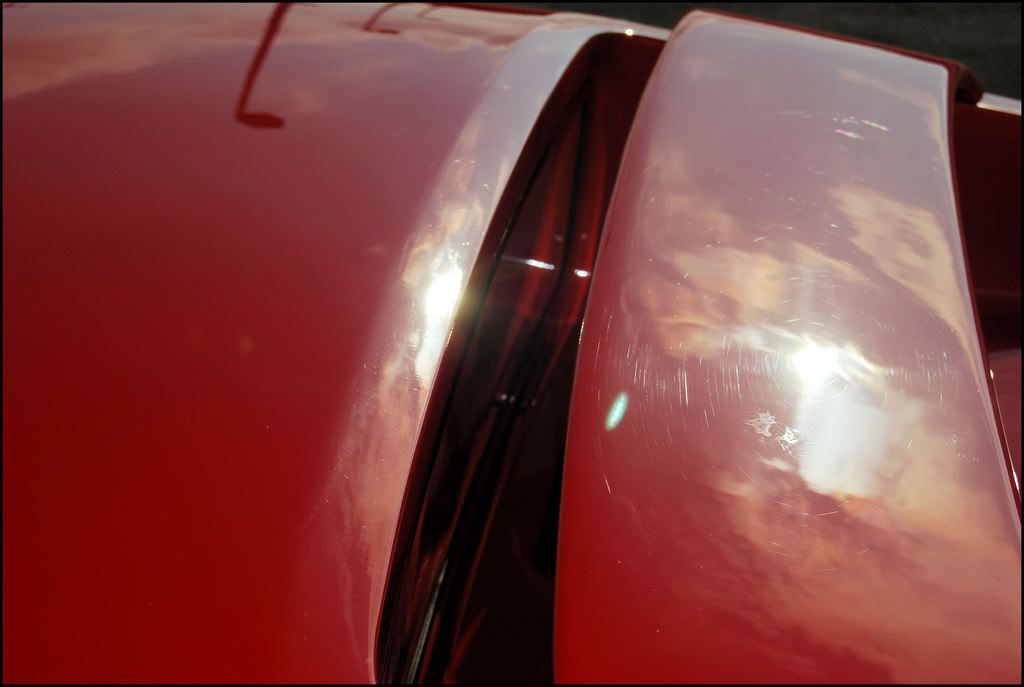
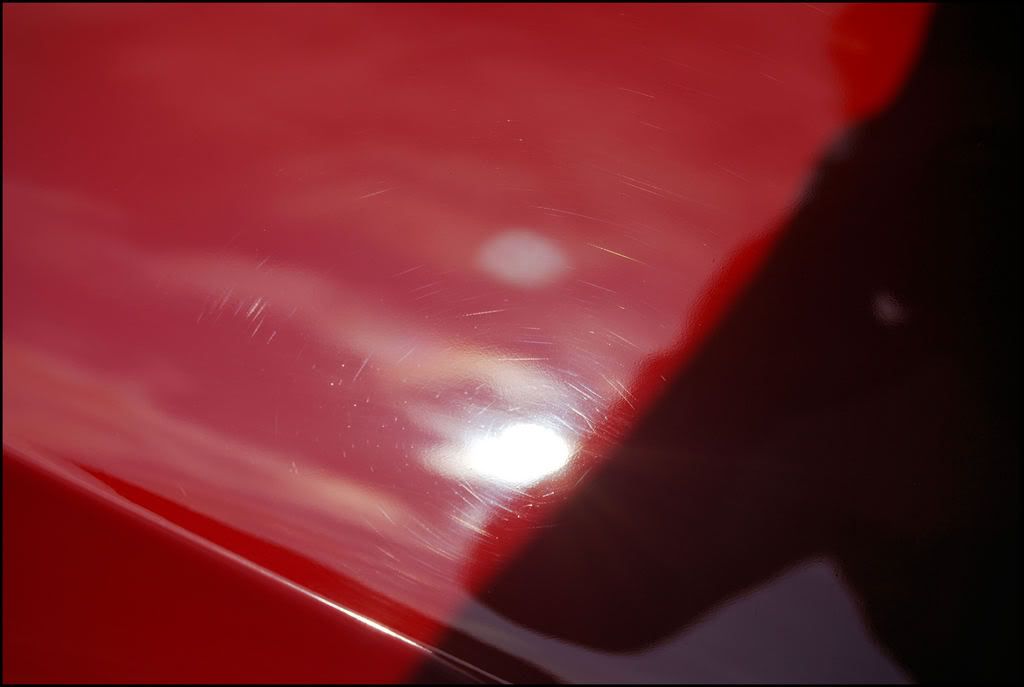
Some pictures from in the early morning sun. The soft lacquer paint mars easily, and despite showing only 4000 miles on the odometer, the Ferrari had moderate to heavy swirling in places.


DSC_0030.jpg


DSC_0032.jpg


DSC_0034.jpg


DSC_0035.jpg


Under the halogens...


Picture001.jpg


After one pass of 3M Extra Cut...


Picture002.jpg


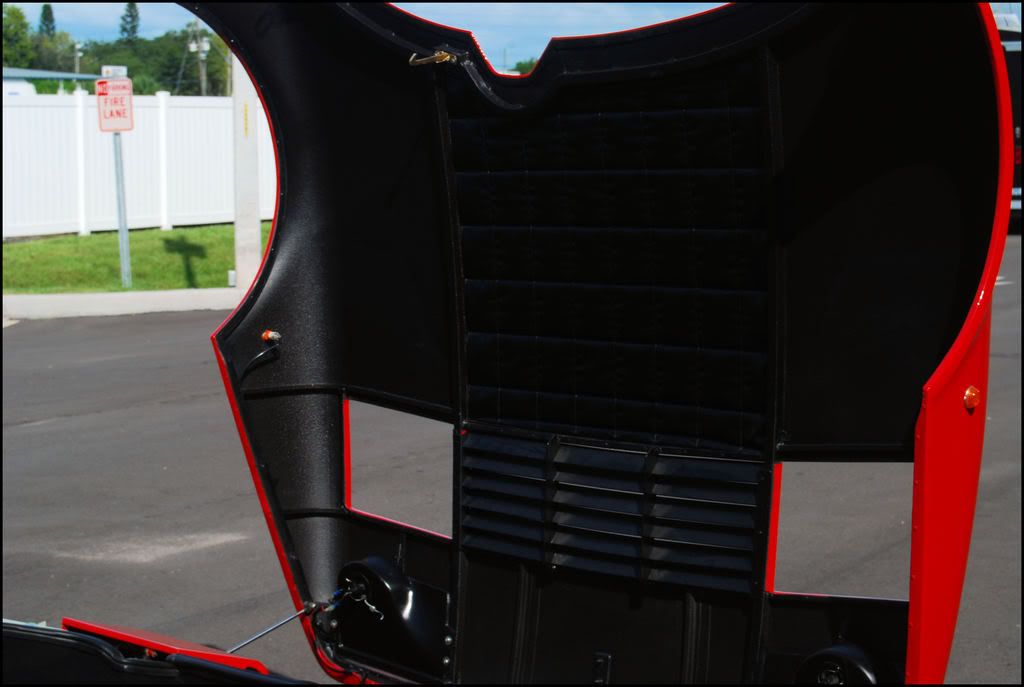
Polishing by hand in the numerous creases, crevices, and hard to reach spots found on the gorgeous hand scuplted Italian body.


Picture006.jpg


Polishing with SIP on the Hitachi. Care was taken to tape off all creases and edges, to avoid polishing thru the thin, soft laqcuer.


Picture007.jpg


Picture008.jpg


Inspecting the finish with a Brinkman Xenon


Picture009.jpg


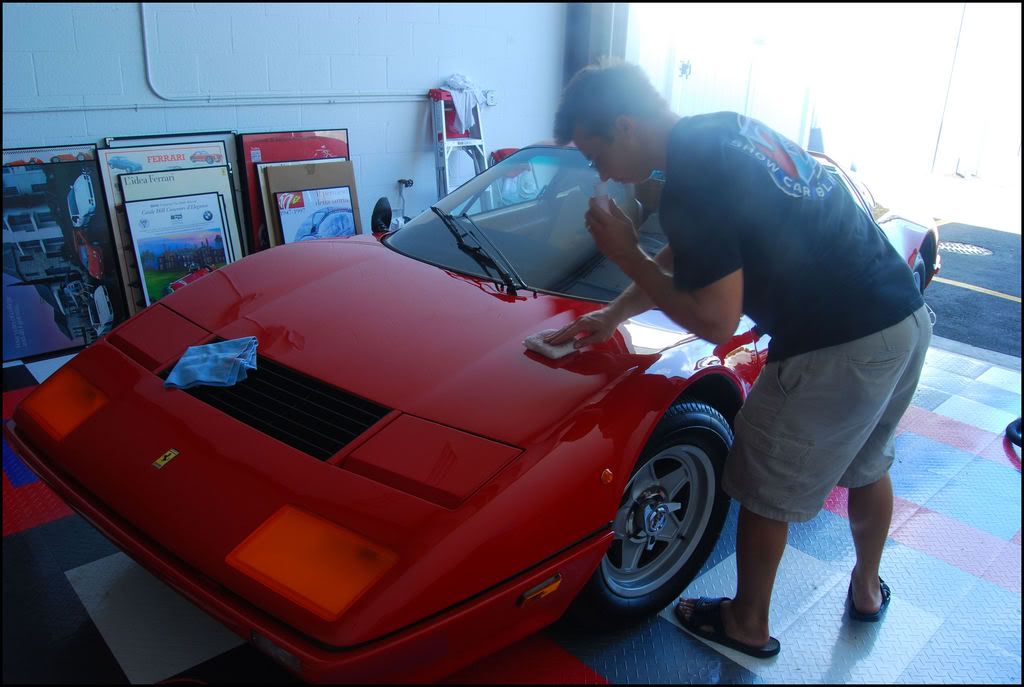
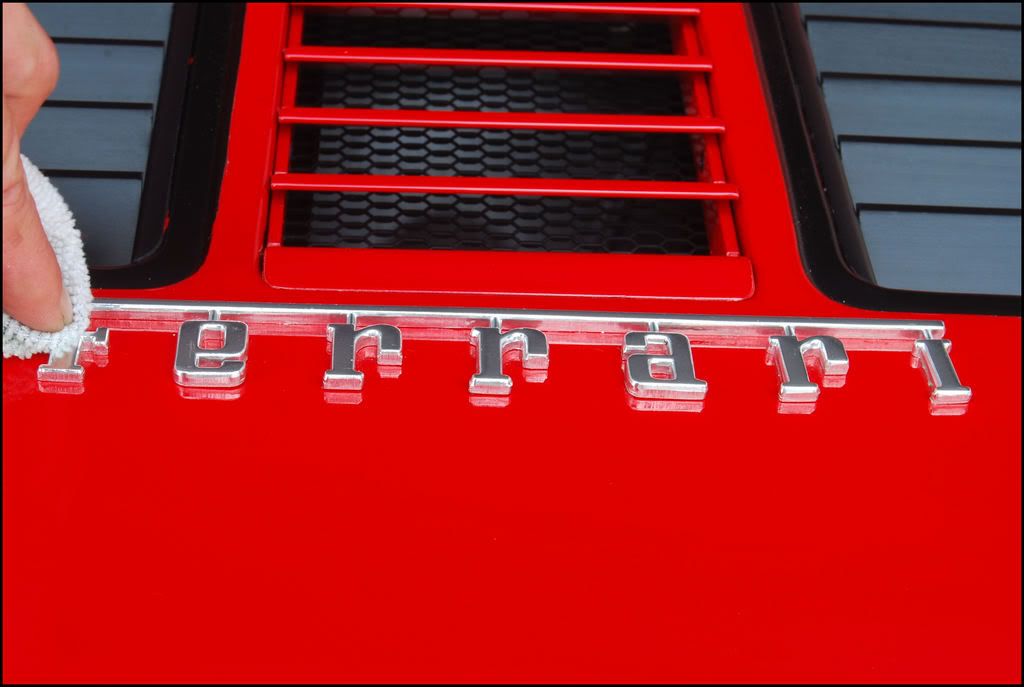
Back to work! When I tell you every square inch of the Ferrari was polished swirl free, I'm not kidding :D


Picture010.jpg


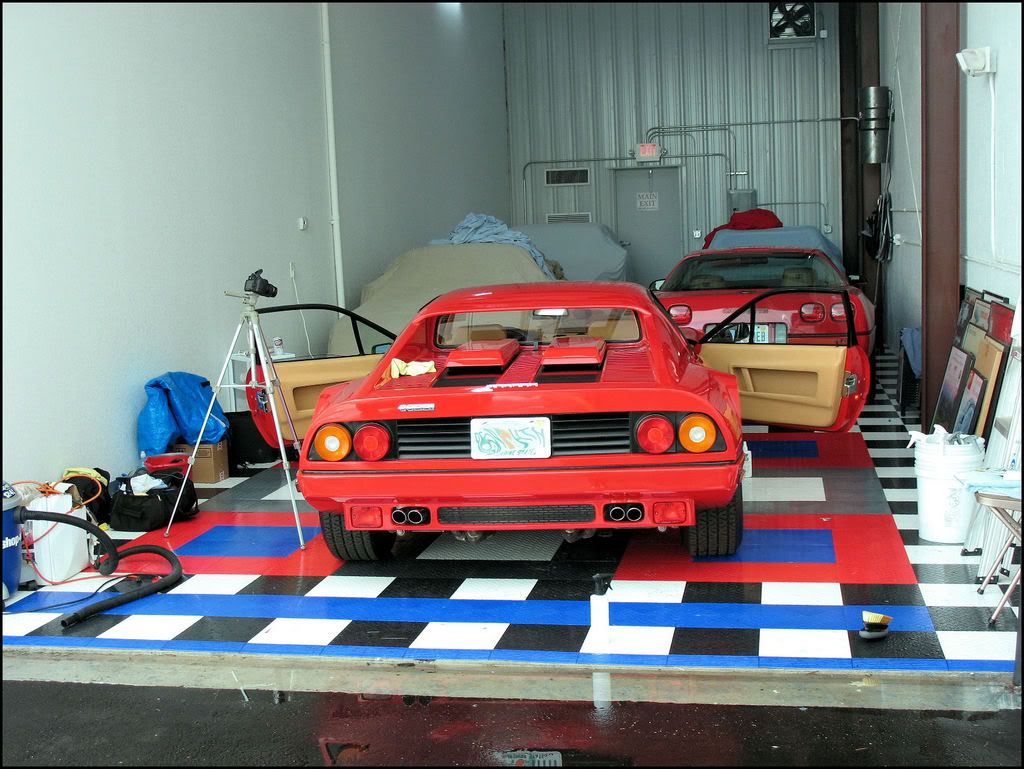
The air conditioned garage I had the pleasure of working in....


Picture011.jpg


Under the halogens and perfect!


DSC_0050.jpg


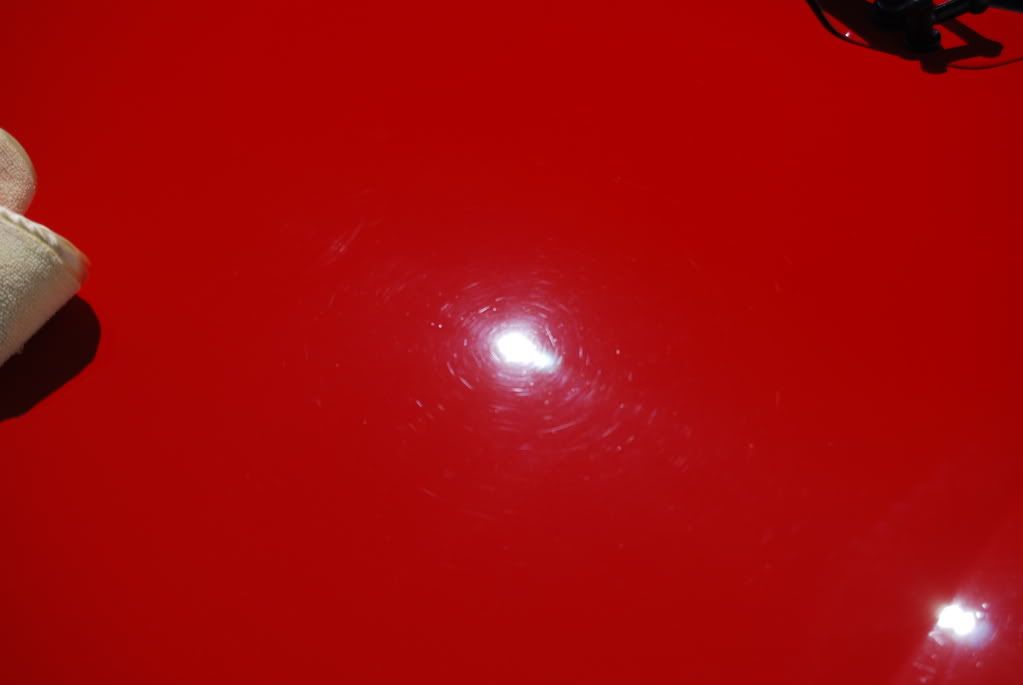
These next two shots cleary show the amazing correction ability of 3M Extra Cut 3000, but also the limitations. The swirls where blasted away, but the paint still had micro marring (compound hazing) that needed to be dealt with.


DSC_0054.jpg


DSC_0053.jpg


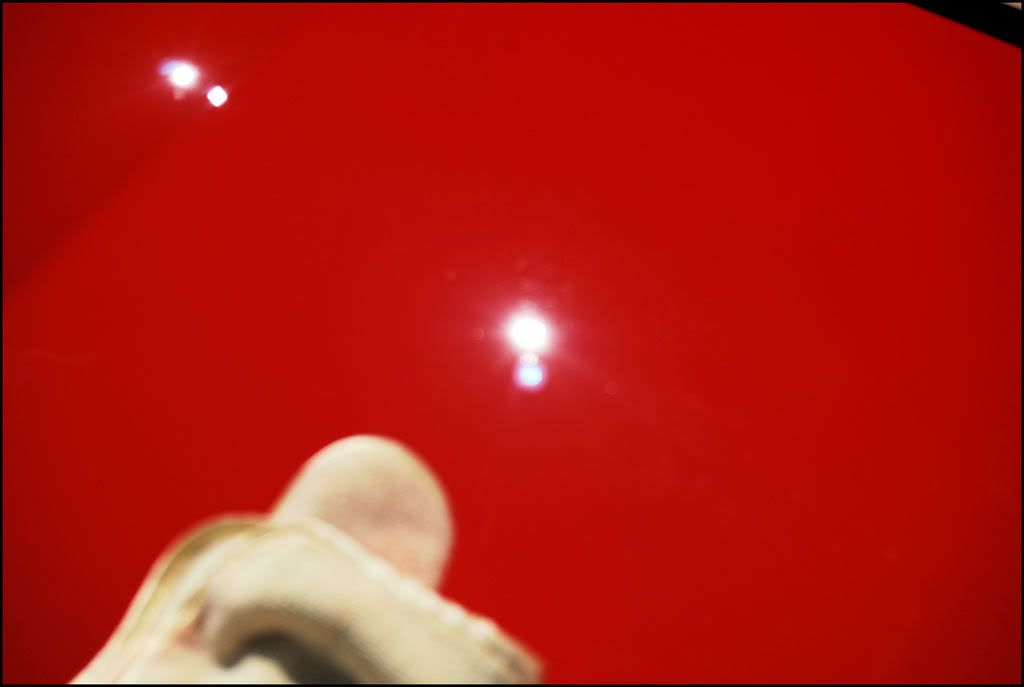
I was constantly checking my work in the sun light as well, checking and rechecking areas and truly aiming for a perfect finish. Since the sun was overhead, it did give a better account how truly marred the finish was to begin with.


DSC_0057.jpg


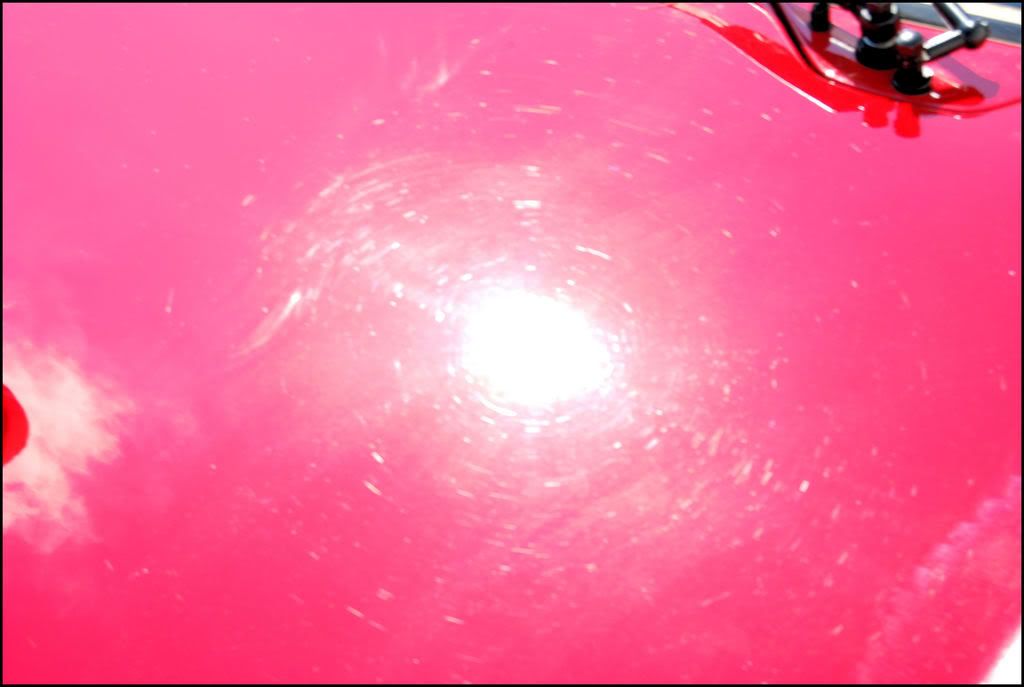
Here is the side of the hood after being polished with Extra Cut and SIP. Because of the soft lacquer and moderate cut of the Orange Pad (used with SIP) there was some faint micro marring, though the surface did appear hologram free. I would follow with UltraFina to ensure that all micromarring was removed and the car was 100 percent hologram free.


DSC_0059.jpg


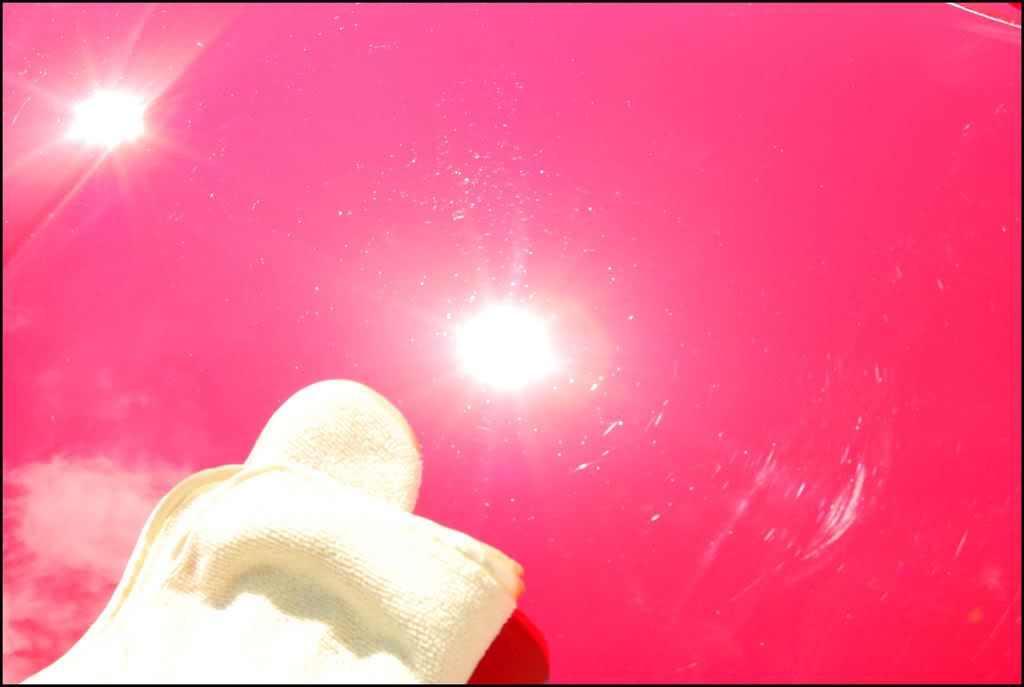
And finally a 50/50 shot of the sorts, as the left side has been polished the right side hasn't...


DSC_0060.jpg


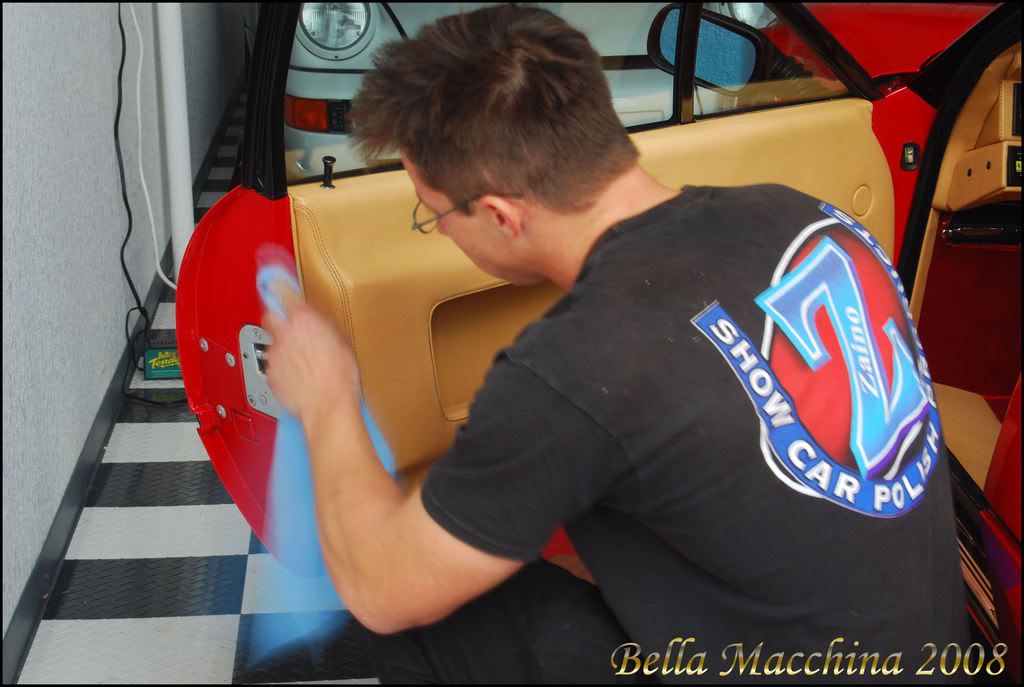
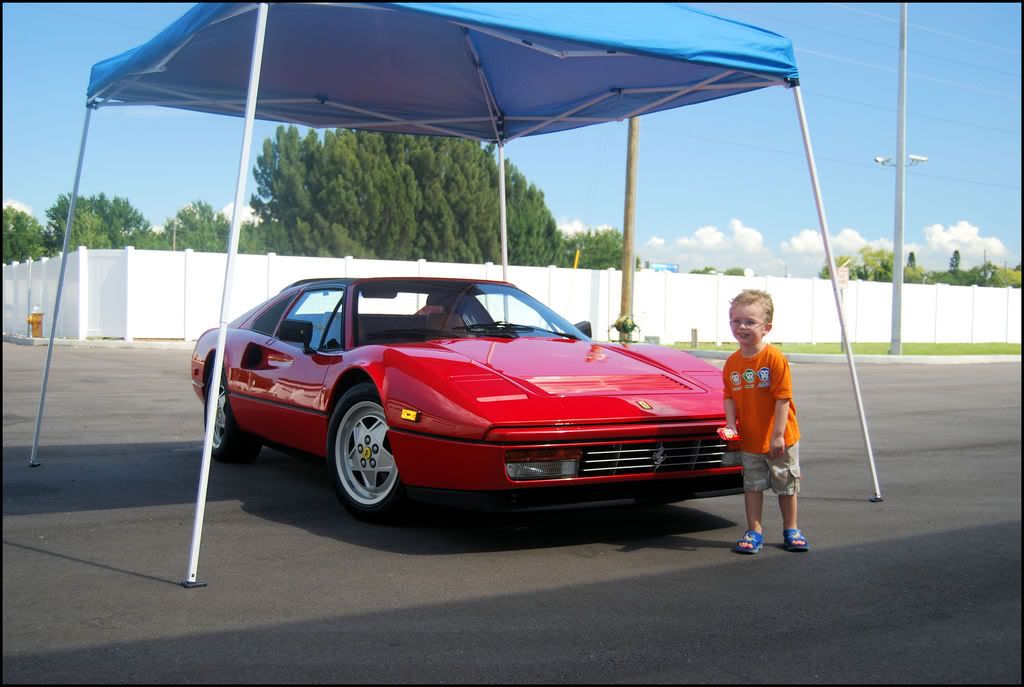
My son stopped by to make sure his daddy was doing a good job (and to bring me burger king as well!)


DSC_0061.jpg


He also checked out the owners 328 (which will get the full treatement next year for Cavallino)


DSC_0064.jpg


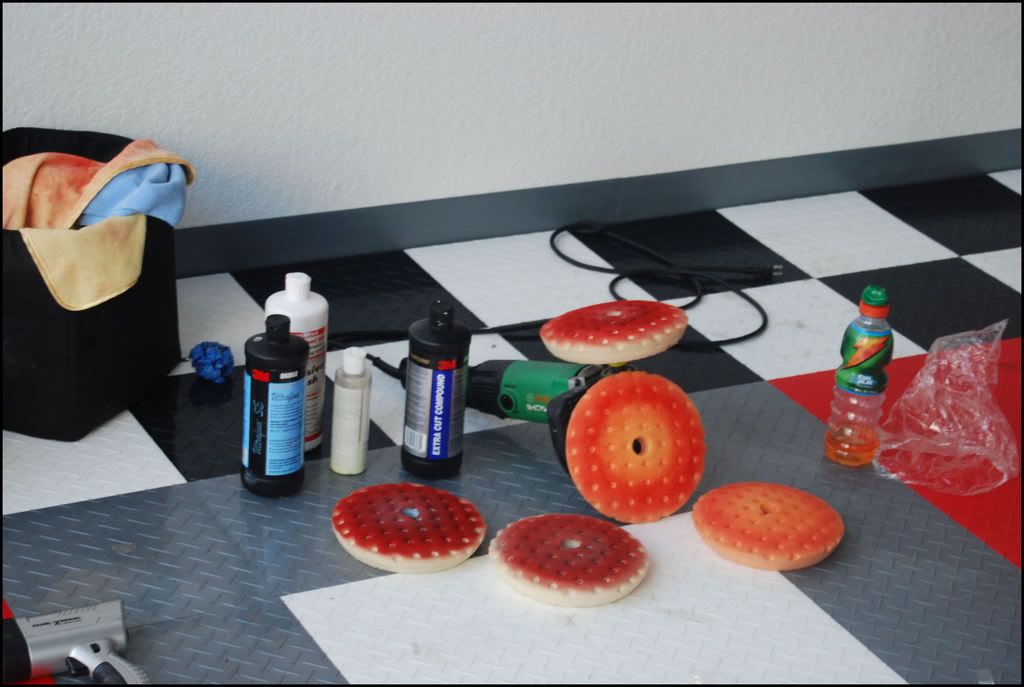
Here are the products that where used. What isn't shown is about 10 other orange pads, as lacquer seems to "gum" up the pads much quicker.


DSC_0084.jpg


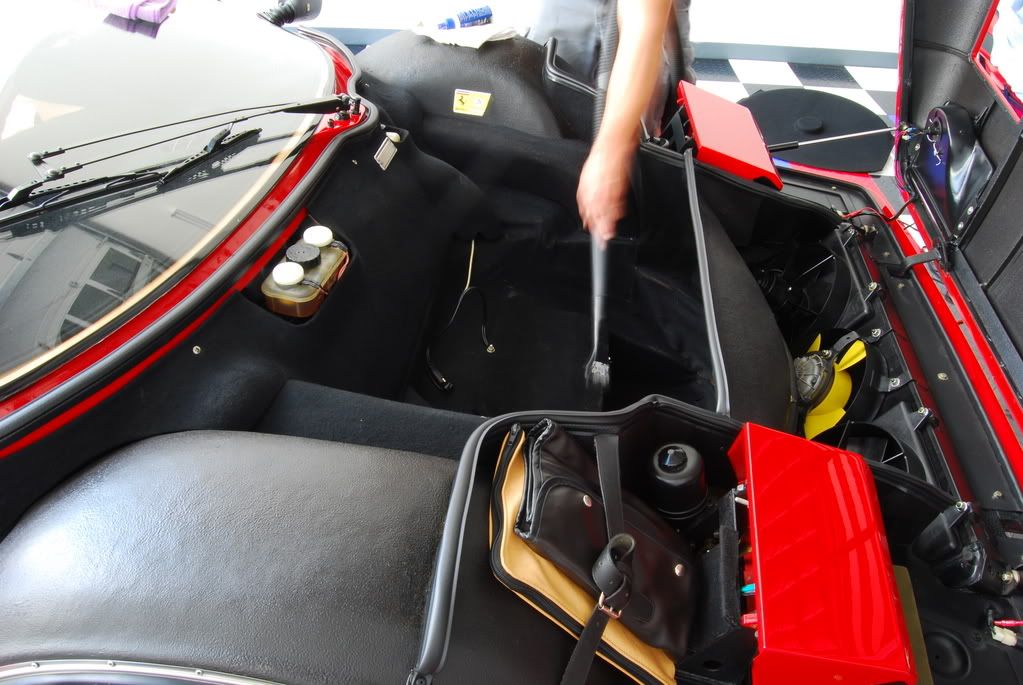
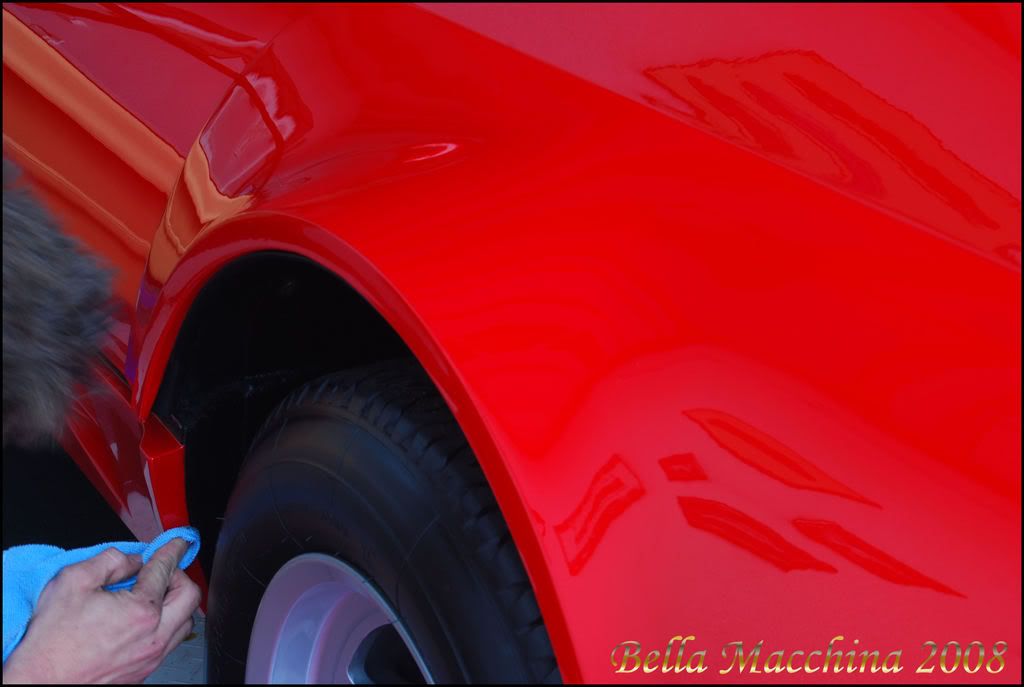
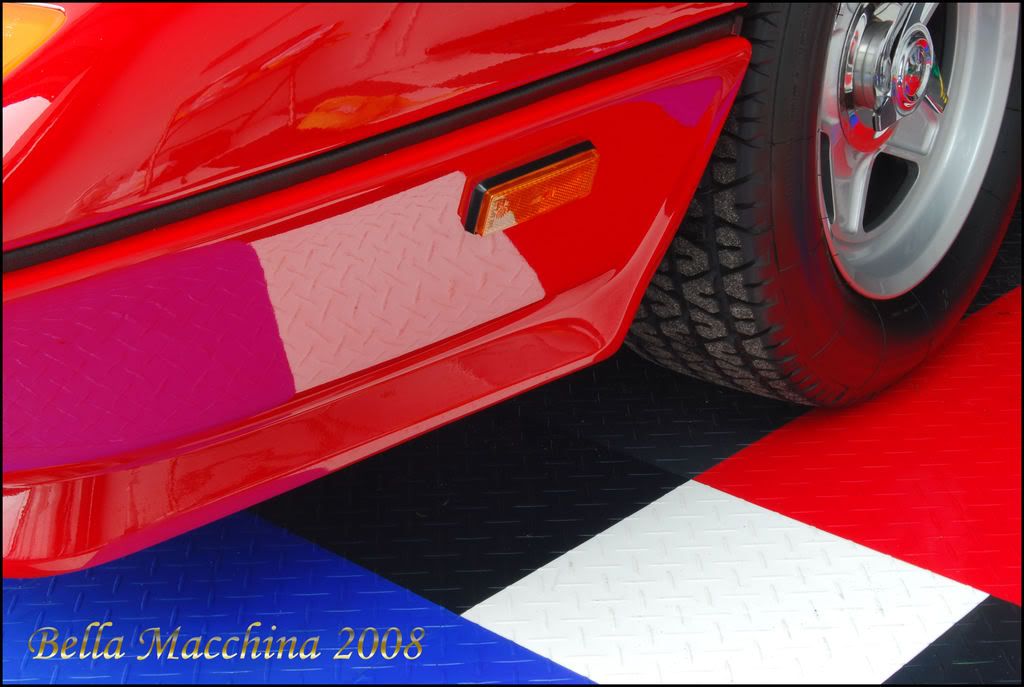
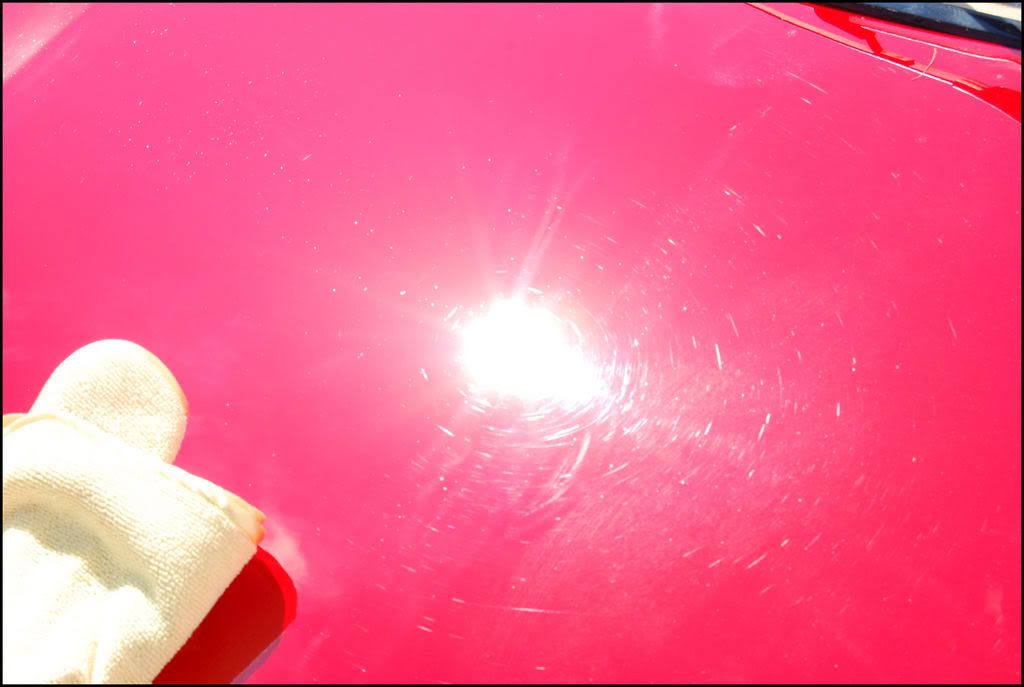
I pulled the BBi back out of the garage to wash it, and also inspect for any swirling in the paint.


DSC_0067.jpg


DSC_0068.jpg


DSC_0069.jpg


DSC_0070.jpg


DSC_0071.jpg


DSC_0072.jpg


DSC_0073.jpg


DSC_0075.jpg


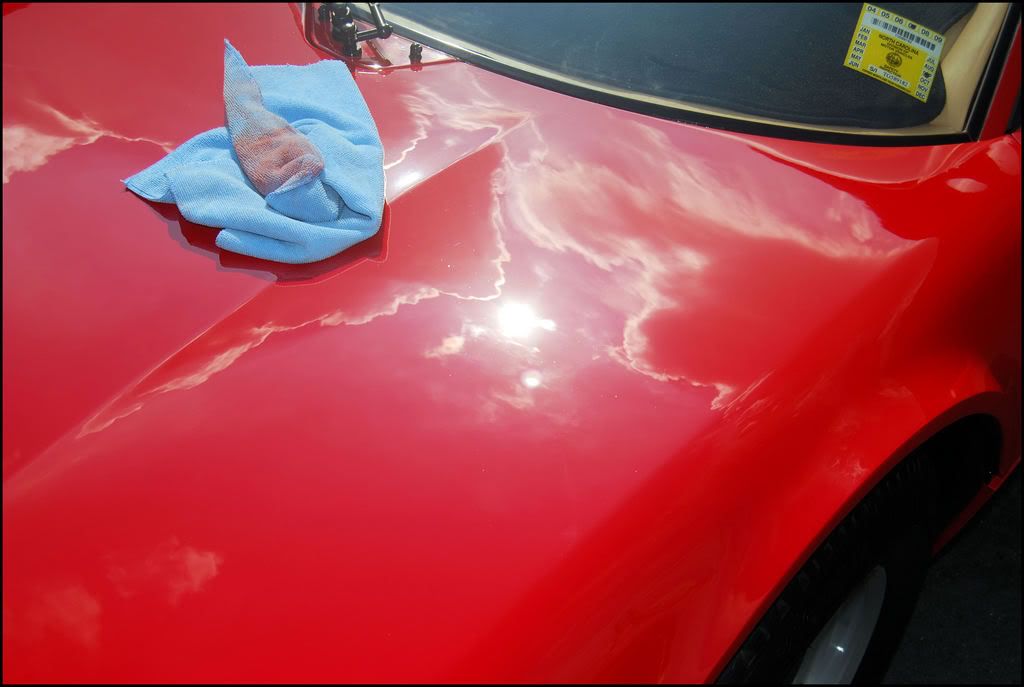
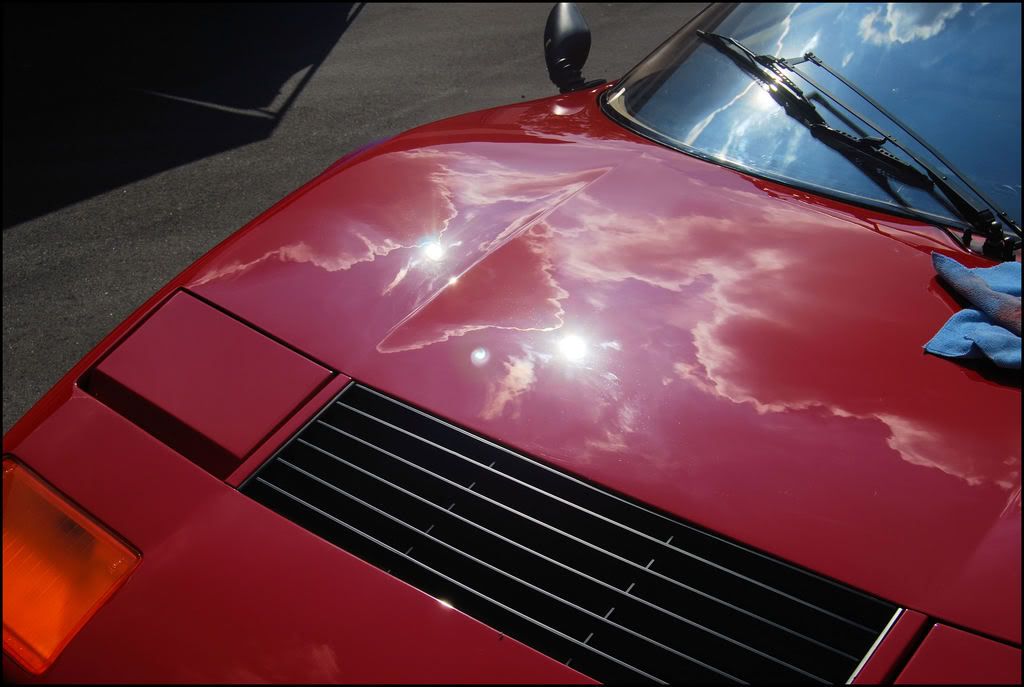
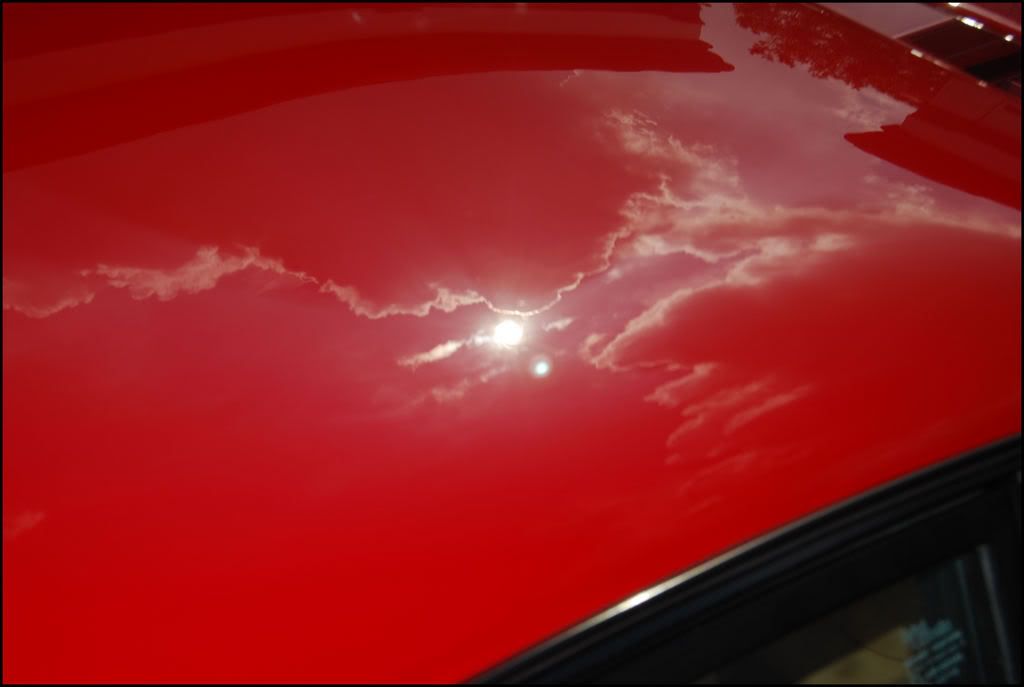
A couple pictures after washing with Z7 to remove any dust and polishing residue.
 
DSC_0079.jpg


DSC_0080.jpg


DSC_0081.jpg


The end of day one....


Day Two, October 5th, 9:00 AM-12:00 PM 1:45 AM-7:00 PM


Product and Process Outline


Wipe car with Z6 to remove any dust that may have settled

3 layers of Zaino Z5pro (ZFX enabled)

Wash wheels with ONR

Wheels recieved 3 layers of DeepFinish Deep SWAX

Exhaust and Center Hubs polished with DeepFinish Deep Chrome

*the inner exhaust tips where heavily souted and needed a pass of Menzerna IP to

remove the grit, over 45 mintues was spent just cleaning the inside lips!

Door jamb plates sanded with 2000 grit in areas to remove scratches, then polished with

DeepFinish Deep Chrome to a perfect shine

All interior metal levers, strikers, and emblems polished with DeepFinish Deep ALUM

Tires recieved 3 coats of Zaino Z16 *45 minutes apart*

Leather cleaned with Z9 and a soft toothbrush

Leather conditioned with Z10 x 2

Plastic lenses where lightly polished Meg's PlastX

Meg's Natural Shine on interior plastic (about 4 square inches, the rest is leather!)


Notes: I had the pleasure of meeting with Angelo (ZoomZoomMazda) in the morning and also had to take a break at lunch to run to a local Chevy dealer about getting a paint defect in my brand work car fixed (they will have to repaint the rear). I bought the car the night before.


Applying the ZFX enabled Z5pro...


DSC_0092.jpg


Wiping off the the third coat...


DSC_0086.jpg


Reflection after the third coat...


DSC_0098.jpg


The leather was painstakingly cleaned (about 2 hours) with a soft bristle and Zaino Z9.


DSC_0100.jpg


Polishing the door latches with Deep Chrome


DSC_0101.jpg


Some scratches in the door plates where lightly sanded away and polished with SIP by hand. Then Deep Chrome brought the stainless plates back to a high gloss...


DSC_0103.jpg


DSC_0102.jpg


Picture016.jpg


Even the ashtrays where removed and polished back to their orginal luster.


Picture018.jpg


The outside brushed parts of the latches where cleaned, and the chrome sections where polished...


Picture019.jpg


Picture019.jpg


DSC_0110.jpg


It was getting late and sun was starting to go down, so I pulled the BBi outside to snap some photos before it was completely dark... Not bad for 23 year old, single stage lacuqer, when polished to perfection...pretty wet huh?


DSC_0112.jpg


DSC_0113.jpg


DSC_0114.jpg


DSC_0117.jpg


DSC_0119.jpg


DSC_0127.jpg


DSC_0128.jpg


DSC_0130.jpg
 
end of day two...


Day Three, October 7th, 8:00 AM-4:30 PM


Product and Process Outline


Wipedown with Z6 to remove dust

3 coats of ZFX enabled Z5pro

Carpets removed, vaccumed, and shampooed with Meg's APC 10:1

Engine degreased with Meg's Super Degreaser

Engine metals polished with Deep Chrome/Deep ALUM

Engine and Front Trunk plastics/hoses dressed with Meg's Hyperdressing/ Zaino Z16

Dressed weatherstripping with Z16

Door Jambs/Creases polished with Z-AIO by hand, followed by Z5pro

Tires recieved 2 more coats of Z16 *45 minutes apart*

Wheels recieved 2 mores coats of DeepFinish Deep SWAX


The engine was remarkably clean for a 23 year old car, but there was some grease and dirt in the valley. This was sprayed with a mild cut of Super Degreaser, agitated with a brush, and vacuumed clean. Here is a before picture...


DSC_0044.jpg


Another before picture of the glorious Flat 12, you can see that the trim was lightly oxidized, and it looks like somebody previous forgot to remove all the polish...


DSC_0045.jpg


The carpets where removed piece by piece...


a001.jpg


a003.jpg


and shampooed. The floor board was vacuumed as well, and detailed using Megs Hyperdressing to restore a factory satin finish...


a002.jpg


Weather stripping that could be removed was lighty pryed loose and the paint work was cleaned underneath to remove 23 years of grim and dirt. The weather stripping that was glued on was cleaned with q-tips to remove the dirt that sneeks behind the trim and paint.


a004.jpg


Polishing every jamb and lip with Zaino AIO..


a005.jpg


a006.jpg


The grim and dirt that accumulates in lips of door seams was polished away to a brilliant luster..


a007.jpg


Polishing the inside of the headlights..


a008.jpg


Polishing the aluminum wheel arches...


a009.jpg


Half and half of the aluminum plating in the various nooks in the engine compartment...


a010.jpg


Plating before...


a011.jpg


After...


a012.jpg


4 hours in the engine bay later... All bolts, metal wires, trim, plating, nuts, screws, ect where polished and all the plastics, rubber, and black trim was dressed with Z16 or Meg's Hyperdressing (4:1) for a satin look...


a013.jpg


a014.jpg


The front trunk... All trim was covered in Z16, the fans, shrouds (inner and outer) where cleaned and dressed with Hyperdressing (about 2 hours spent in here)...


a016.jpg


a017.jpg


a018.jpg


The underside of the trunk/hood and engine cover where cleaned and dressed with Hyperdressing...


a019.jpg


Okay some after photos in the sunlight, day three comes to an end. We are ready for Winter Park :woot:, but not quite ready for Cavallino!
 
*** UPDATE 10/21/2007***

Winter Park Prep and Show


Day Four: October 18th, 2007


Day four began three days out to the Winter Park Concours Show. This was a big event as it was the lead into the Cavallino Show. We figured that this would be a good test, and point out any weeknesses with Cavallion getting closer.


For day four, I had planned to increase the Zaino coverage to build more wetness/depth into the paint (if it was possible), touch up any spots, and get the interior sorted better. I was lucky to have Brian (VaSuperShine) help on the interior, since, from personal experience, Brian can take interiors in a the "next" level.


I started around 10 A.M. with a Z7 wash with a foam gun to rid the Ferrari of any dust. Then I sheeted the water off, and gently wiped the surface down with Z6. Then I applied 3 coats of ZFX'd Z2pro, followed by clear seal, and a Z8 final wipe. The paint was stunning!!!


Brian showed up and went to work on the interior, using a mydrid of products to take the interior from 99 percent to beyond perfect. It was very cool to watch a master at work!! We spent and hour touching up the emblems, finding little spots of dirt, cleaning the luggage, spare tire, ect...


Process/Procedure


Wash with Zaino Z7 and a foam gun

Z6 Wipe down

Z2pro (ZFX) x 3

Z-CS

Z8 wipedown


Optimum Leather and Vinyl on the orginal toolcase

Z8 wipe down on the orginal tools

Megs ACP wipe on the orginal spare tire and rim

Deep Finish Deep ALUM on spare tire hub

Z18 on spare

Deep Finish Deep SWAX on spare rim

303 Protectant on uncovered surfaces


Interior...


Bryans SECRETS! :nana:


Z7 with foam gun...


a063.jpg


Zainoed to the extreme...


a064.jpg


I removed the spare tire cover and spare tire to vacuum the holding area...


a065.jpg


The orginal tool kit bag was removed and the tools removed from it before being cleaned and conditioned...


a066.jpg


The tools where wiped down with Z6 (I may repaint and refinish them before the show in Cavallino)


a068.jpg


Everything cleaned and put back together...


a067.jpg


After Brian spent hours on the interior, perfecting the carpet by shampooing, brushing, and vacuuming, he used a very unqiue technique to remove the loose fibers, bringing the carpet's orginal vibrance back. Very cool!


This picture is after just the kick panel!!!


a070.jpg


The picture shows a spot I missed. It didn't look this "bad" in person, but it could be better...


Before


a071.jpg


After (A q-tip and a little Meg's APC)


a072.jpg


Front of the spare tire after being detailed...


a073.jpg


Back of the spare tire after being detailed...


a074.jpg


The front trunk and tire after being detailed...


a075.jpg


a078.jpg


a082.jpg


The front with the spare tire covered...


a085.jpg


The front with the spare tire removed...


a091.jpg


a092.jpg


Brian's master work on the carpets...


a093.jpg


23 year old leather perfected by Brian :D


a095.jpg


The original "grey market" speedometer..


a099.jpg


a100.jpg


a101.jpg


Loading up the trailer and heading to Winter Park for the initial test...


a103.jpg


Pictures from the Winter Park Concours

October 21st, 2007​


We learned that we would be going head to head vs. TWO previous Cavallino Platinum cars... Oh jeezed, I hope we did are homework (and prep!!!)


All the work under the hood led to a factory fresh look!


a104.jpg


a105.jpg


a107.jpg


a108.jpg


b.jpg
 
Day Five, January 18th, 8:00 AM to 7:00 PM


Process and Product Outline


Wipe car with Zaino Z6 to clean off any dust and dirt from the body

Wash undercarriage with a combination of alkaline soap and various brushes, rinse and repeat x 3

Clean aluminum parts with 0000 steel wool and alkaline soap.

303 Areospace Protectant on all plastic and rubber.

Zaino Fusion Z-PC via PC and LC Blue Pad on a couple ligh spots on the B pillars

Zaino Z5 pro x 2 (zfx'd) to paint.

Zaino Z2 pro x 1 (zfx'd) to paint

Zaino Z8 final wipedown.

Deep Finish Deep Swax to rims (outside and in).

Meguiars #16 to wheel well lips, door jambs, hood and trunk jambs.

Meguiars Pro Line Window Cleaner on glass.

Zaino Z12 Glass Polish by hand on waterspots on window

Q-tipped entire car, inside and outside, upside and underneath.


I started at 7:30 by wiping the car down lightly with Zaino Z6 to remove the light dust that had settled on the exterior and wiping the interior down with Meguiars' Quik Interior Detailier. The carpets where revaccumed.


The paint received an additional 3 coats of Zaino. In the interm, since the last show, the owner of this Ferrari had some pretty cool pictures hung in the garage, so I decieded to capture some reflections of the vintage Ferrari's that adorn his walls.


Picture001.jpg


Picture002.jpg


Picture004.jpg


Picture006.jpg


The original plan was to drive the car to a lift to clean the undercarriage. Because of the weather (and impending rain) I choose to drive the car on to ramps and squeeze underneath. About 4 hours where spent, contourting my arms and hands to ways that I didn't know possible.


Here is the transaxle cover and transmission case before...


Picture008.jpg


After...


Picture038.jpg


Here is 50/50 (the far area hasn't been done) of the pan after a LOT of scrubbing with 0000 steel wool and degreaser.


Picture024.jpg


Different view...


Picture037.jpg


Finished up...


Picture041.jpg


The rest of the undercarriage was mostly black plastic belly pans that where scrubbed and treated to 303. Because of the tight fit under the car, I couldn't document with photo's how I had planned to. Sorry.


So now it was time to find any surface that wasn't perfect and spend as much time to make it perfect.


The inside lips of the exhaust tips had some light carbon staining that 0000 steel wool removed (in combination with Meguiars NXT All Metal Polysh). The left side has been down, the right still has the light staining on the inner lip. The difference is small, but perfection is the goal.


Picture012.jpg


Picture011.jpg


In my search for any dust or dirt, I found some hiding behind the mirrors!


Picture014.jpg


A q-tip and some Meguiars APC (10/1)...


Picture015.jpg


Perfect (minus the dried APC which, of course, was removed)


Picture016.jpg


Other mirror...


Picture017.jpg


All connections, crevices, and any spot where dust or grim might have worked its way into was q-tipped with APC, then treated with 303.


Picture018.jpg


Picture013.jpg


Wheel well lips and all jambs recieved a coat of M16 on top of the Zaino.


Picture010.jpg


Picture009.jpg


Almost done... Looks great right...


Picture019.jpg


Wrong.. twenty four years of grim had found its way into some pretty tigher areas...


Picture020.jpg


So the big stuff was vacuumed away...


Picture023.jpg


My favorite, q-tips...


Picture026.jpg


Perfect....


Picture021.jpg


And dressed with 303...


Picture022.jpg


And so the process repeated on every square inch of the car... :D


Including the windshield wiper...
 
Picture029.jpg


The big, Flat 12 Ferrari engine...


Picture025.jpg


Picture032.jpg


Picture003.jpg


The emblems...


Picture035.jpg


Picture058.jpg


and the interior...


Picture061.jpg


Picture060.jpg


Every square inch of the body has taken to its highest potential, is 100 percent swirl free and extremely glossy. Not bad for 24 year old paint :D


Picture034.jpg


Picture027.jpg


So as the day wound down, I pulled it outside for the final after pictures...


Picture039.jpg


Picture040.jpg


Picture042.jpg


Picture043.jpg


Picture046.jpg


Picture047.jpg


Picture048.jpg


Picture049.jpg


Picture050.jpg


Picture052.jpg


Picture053.jpg


Picture054.jpg


Picture056.jpg


Picture057.jpg


Picture059.jpg


Picture062.jpg


Picture063.jpg


The big show is only a week away, so wish us look, and hopefully the final update will include the platinum award. Thanks for looking :D
 
Dude, that is awesome!!!! I don't think the prancing horse looked that great when it was new.

Fantastic work!!!!:woot: :waxing: :buffing: :clap:
 
Beautiful work on an equally beautiful car. I recently worked on a 1949 Mercury with single stage paint, and although I feel that it requires a bit more work, the results compared to clear coated finishes is not comparible. Single stage polishes up so much more clear, and you showed that with this detail!
 
Amazing work. I would love to have a car that looked like that but then I could never drive it like it was meant to be driven. I guess I would have to have two.
 
You missed a spot! lol j/k.


That really is amazing work. I would have to say that Mr. Enzo would be proud of that car and impressed with your work.
 
Simply incredible work Todd. I am sure the owner was blown away. It looks like it was a fantastic detail. Ferrari's, your son, and Burger King....What more could you ask for...:D
 
Absolutely beautiful! Way to get your son involved too.


I get a kick out of those old cars. It's still a fast car by today's standards, but those were low profile tires back in the day!
 
jtford95 said:
Dude, that is awesome!!!! I don't think the prancing horse looked that great when it was new.

Fantastic work!!!!:woot: :waxing: :buffing: :clap:


Thanks JT!


GregCavi said:
OMG! I don't even know what to say!! That is absolutely incredible, Todd. You're the man!


Greg


Thanks Greg!!! :D


Anosmiac said:
Beautiful work on an equally beautiful car. I recently worked on a 1949 Mercury with single stage paint, and although I feel that it requires a bit more work, the results compared to clear coated finishes is not comparible. Single stage polishes up so much more clear, and you showed that with this detail!


Thanks for the compliment. Single Stage is a little more a PITA because of the pads gumming, but its nice to buff paint instead of plastic (like a clearcoat). You just feel more involved! It definetly cleans up nicer :D


DaGonz said:
Absolutely incredible work!


Thanks!!!


themightytimmah said:
That's hands down the most thorough job I've seen. I've never seen red get wet like that without a glaze/carnauba either.


Wow, awesome compliment!!! Thanks! How are things in So Flo?


Dave1 said:
Absolutely stunning.........


Just top of the line in everyway...........Your work is incredible.....


Thank you very much Dave :woot:


LucentTeg said:
Amazing work. I would love to have a car that looked like that but then I could never drive it like it was meant to be driven. I guess I would have to have two.


Thanks!!! How about 3, and you could give me one? :clap:


corvettecrazy said:
You missed a spot! lol j/k.


That really is amazing work. I would have to say that Mr. Enzo would be proud of that car and impressed with your work.


LOL, you gave me a heart attack. If, after 28 hours, I missed a spot, I should be fired!!! Thanks for the kind words.


stiffdogg06 said:
How many layers of z5pro does it officially have on it now?


6 layers of Z5pro. It will recieve at least 3 more of Z2pro before the show (I think Z2pro has better optics, but I wanted to make sure I had a nice, thick level of Z5pro on first to ensure the paint looks wet, then we will bring the gloss to an amazing level. By the time Cavallino roles around, it will likely have 15 or so coats of Zaino, then be topped by either Ultima or CS, and lots of Z8.


Pats300zx said:
Simply incredible work Todd. I am sure the owner was blown away. It looks like it was a fantastic detail. Ferrari's, your son, and Burger King....What more could you ask for...


One of my own Pat!!!! Thanks!


itb76 said:
Absolutely beautiful! Way to get your son involved too.


I get a kick out of those old cars. It's still a fast car by today's standards, but those were low profile tires back in the day!


The best part is that my son knew they where Ferrari's, LOL. I study with him every day for an hour or two (he's 3 so we do our ABC's, manners, counting, then he gets an hour of car study time). He even knew that the Corvette in the foreground of the garage was a Vette (he didn't know it was one of first ZR-1's built though).


Its quick by todays standards for sure (considering it was built in a time when emission controls where sucking the life out of engines faster then technology could keep up) but it does have some comprimises. I moved the car around the lot a couple times for photos, washing, checking work, ect, and each time was an exercise in clutch frustration. The clutch was like a hair trigger, and I most have stalled the motor 10 times at least... :(
 
Back
Top