ScheerSpeed
New member
This is probably my most thorough detail ever. it took 4 days between two people, totaling about 86 hours of combined labor between the two of us.
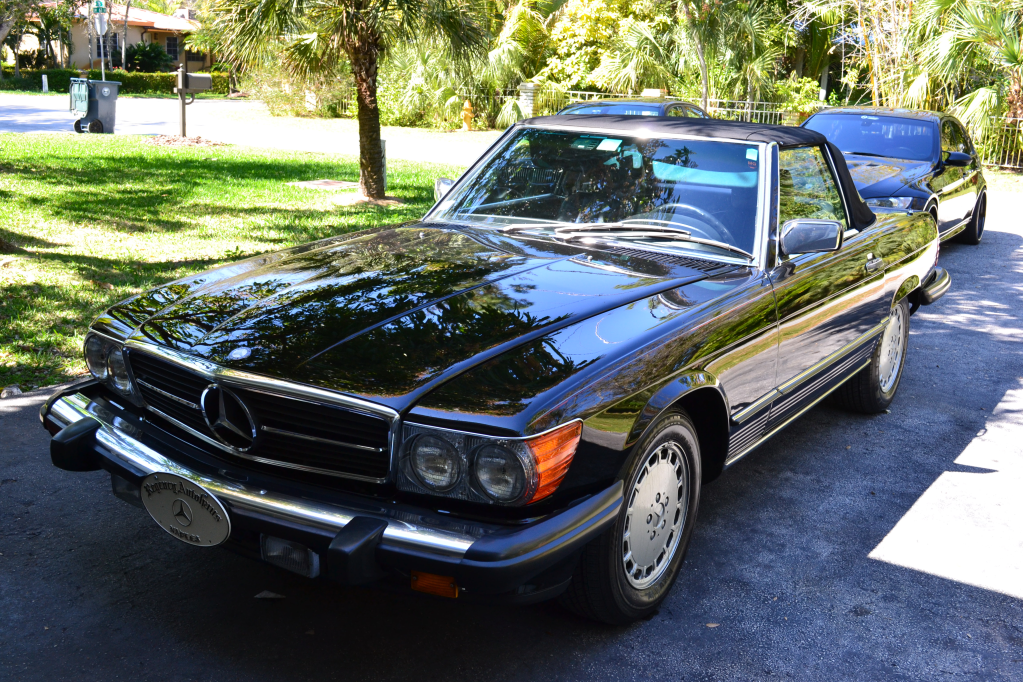
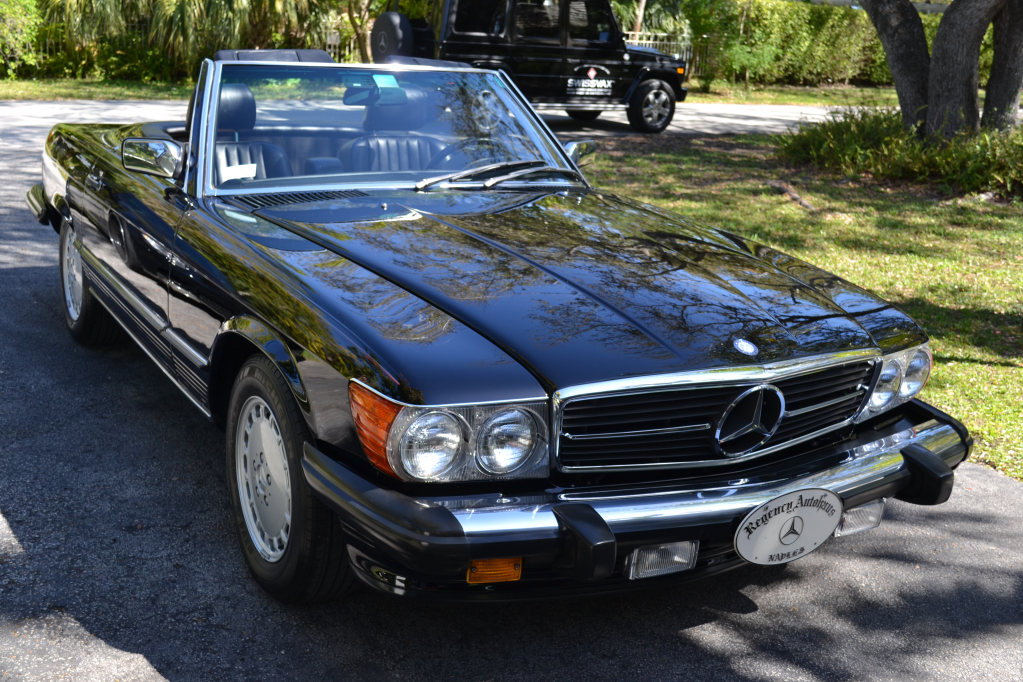
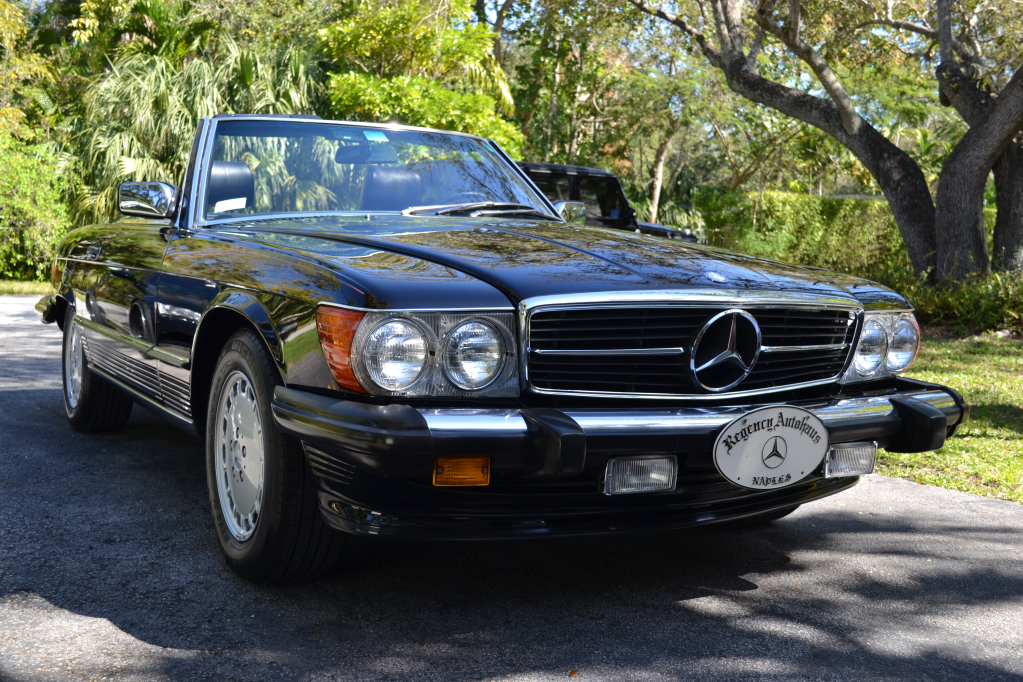
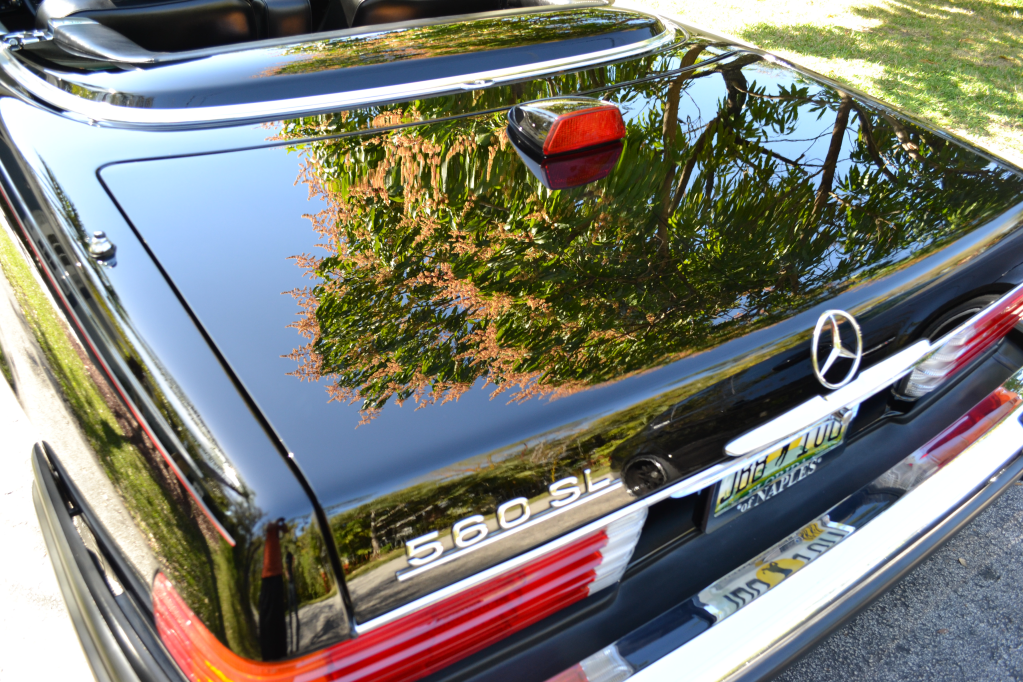
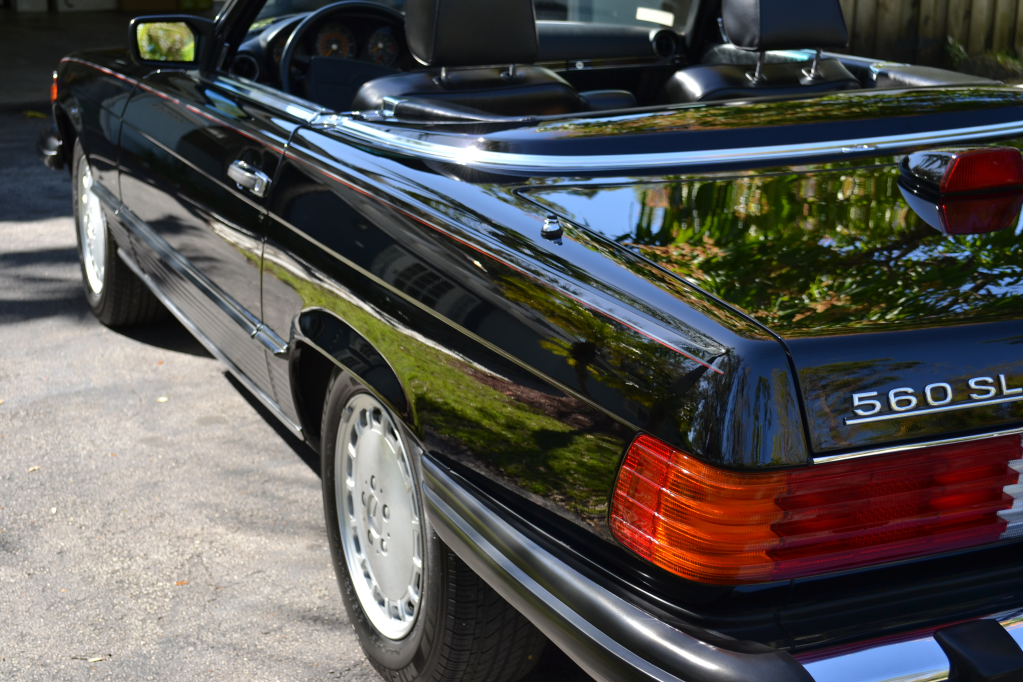
This 1987 Mercedez 560SL belongs to Georg Weidmann, the CEO of Swissvax. It is his personal car here in Miami that he purchased a few months ago. The car had been in an accident about two months back, and needed a new hood, driver side fender, front bumper, etc. The car had holograms all over the newly painted area, and the original paint was full of RIDS, deep scratches, overspray, and oxidation. This car has a single stage lacquer paint, thus making it VERY soft and hard to polish it perfectly without holograms, even with Swissvax Cleaner Fluid Medium / Professional and a Black Swissvax pad.
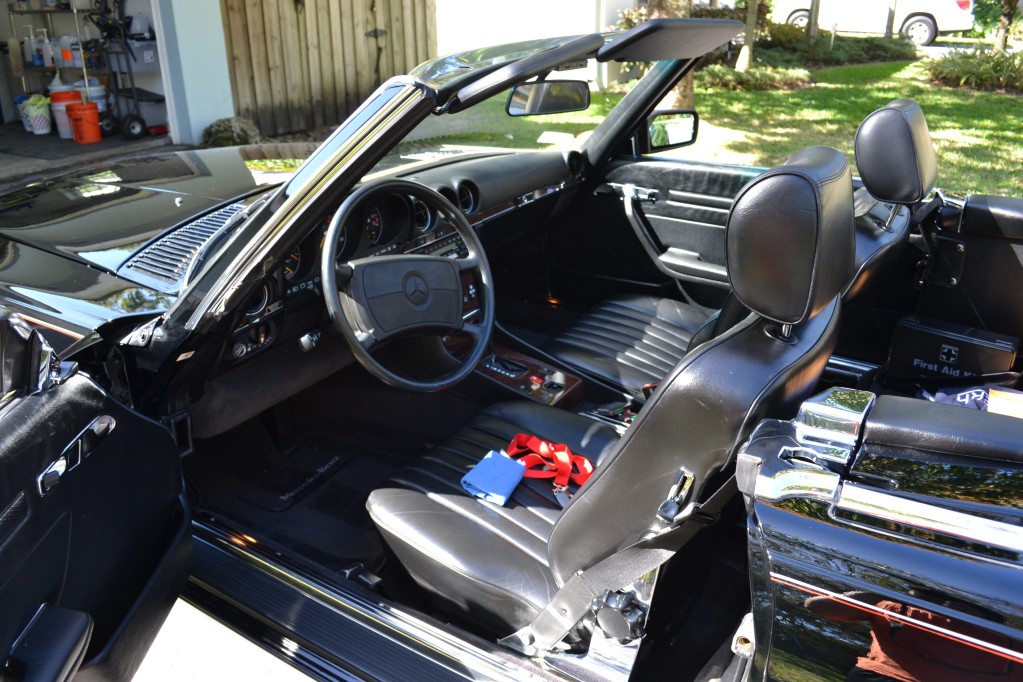
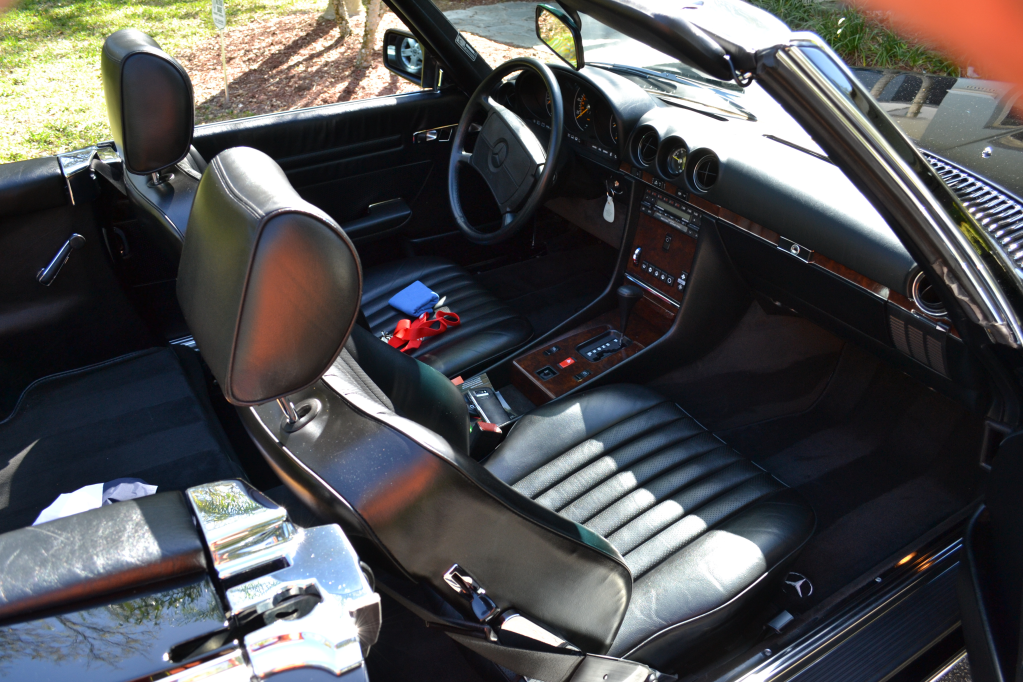
The car needed some serious polishing, not only on the paint, but the metals and interior wood as well.
We used mostly Swissvax products from Georg's personal detailing bag which he gave to us to use on his car.
Anyways, onto the pics and process.
Here's the products we used:
Exterior:
-Swissvax Car Bath
-Swissvax Paint Rubber (Yellow) / Swissvax Quick Finish
-Swissvax Mechanical Paint Repair (Isolated spots, trunk, hood) / Swissvax Strong pad
-Swissvax Cleaner Fluid Strong (2-5 passes depending on the severity of the scratches / Swissvax Orange pad
-Swissvax Cleaner Fluid Professional / Black Swissvax pad
-Swissvax Mirage (As requested by Georg) applied by hand
-Swissvax Metal Polish
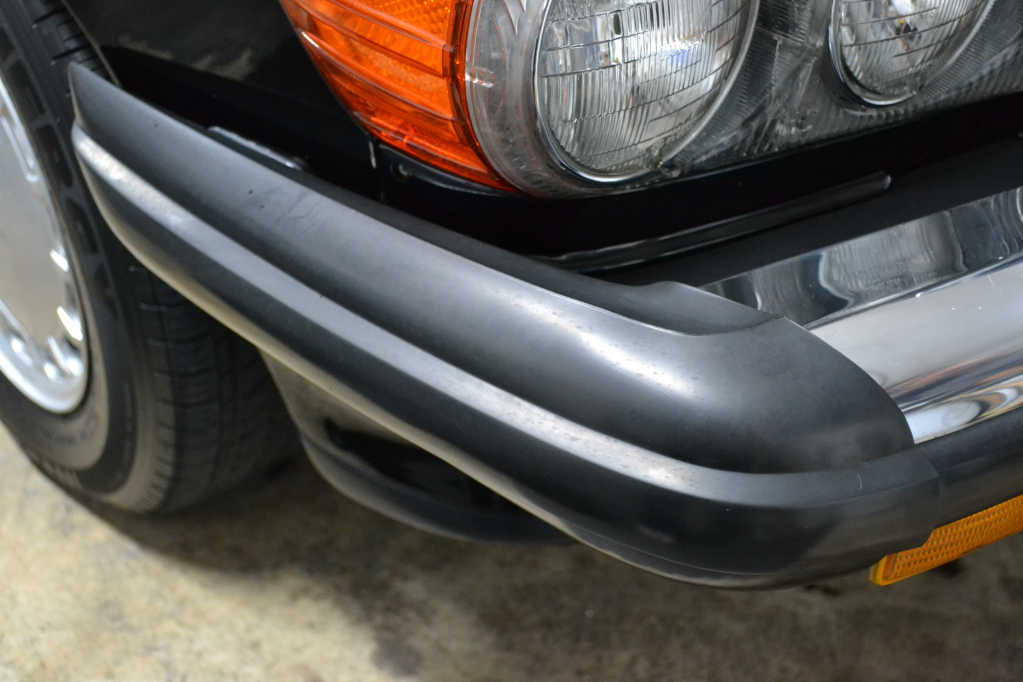
-Swissvax Nano Express (Rubber bumpers)
-Swissvax Protecton
-Swissvax Crystal
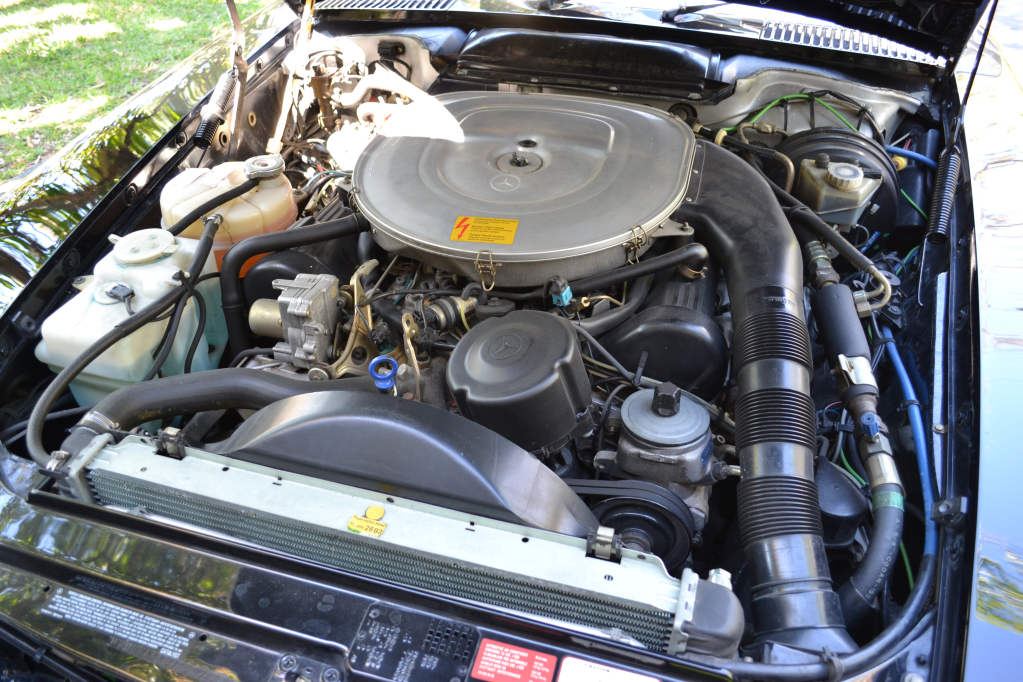
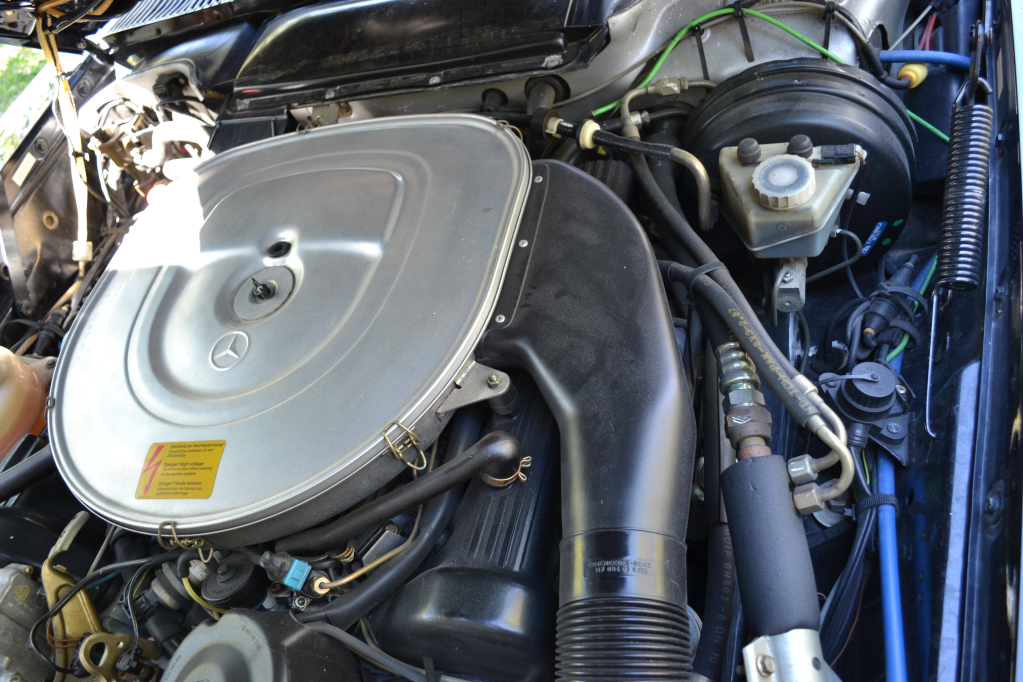
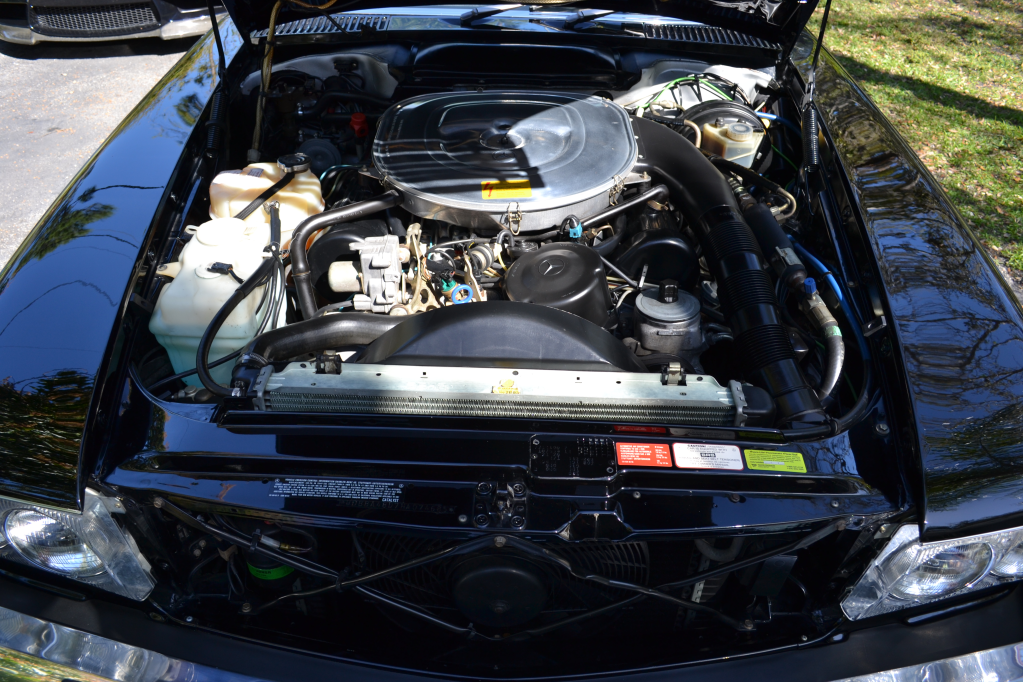
Engine:
-Swissvax Engine (diluted 1:1)
-Swissvax Protecton
-Swissvax Metal Polish
-Swissvax Cleaner Fluid Regular
Interior:
-Swissvax Cleaner Fluid Strong and followed by Professional on the wood trim
-Swissvax Wood Polish
-Swissvax Protecton Matt
-Swissvax Leather Cleaner
-Swissvax Leather Milk
-Swissvax Leather Healer
-Swissvax Metal Polish
-Swissvax Crystal
-Swissvax Cleaner Fluid Regular
-Chemical Guy's Lightning Fast
Wheels:
-SONAX wheel cleaner
-1Z Industrial Cleaner
-Swissvax Cleaner Fluid Medium
-Swissvax Autobahn
-Swissvax Pneu
i may have left a few out but i believe that covers all the products
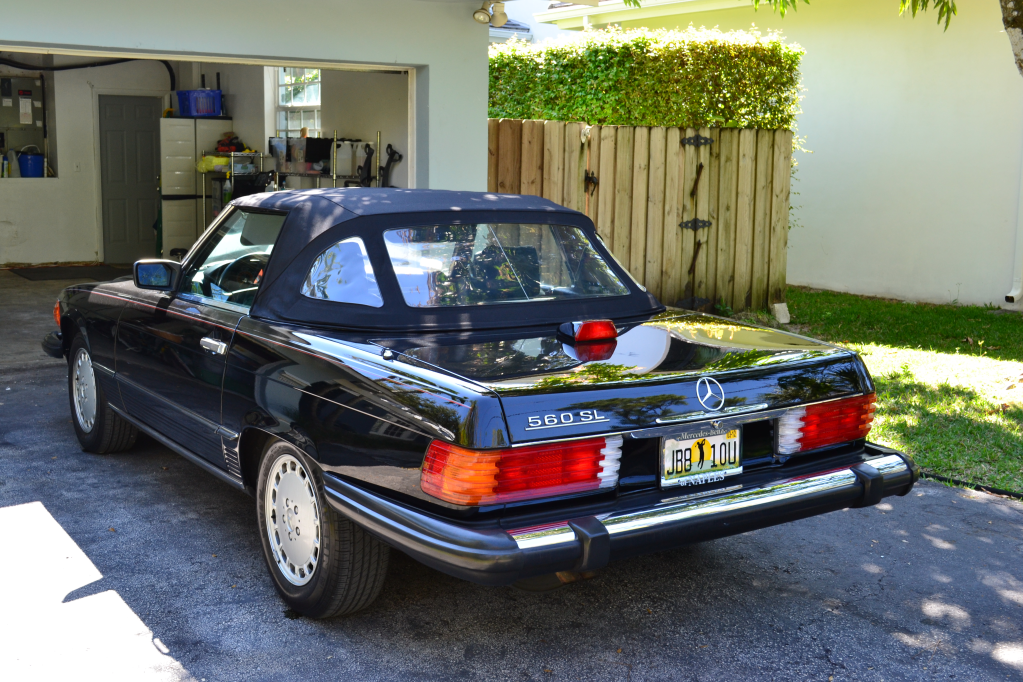
I would have applied Lotos Protectant to the convertible roof, however Georg asked that i left it alone.
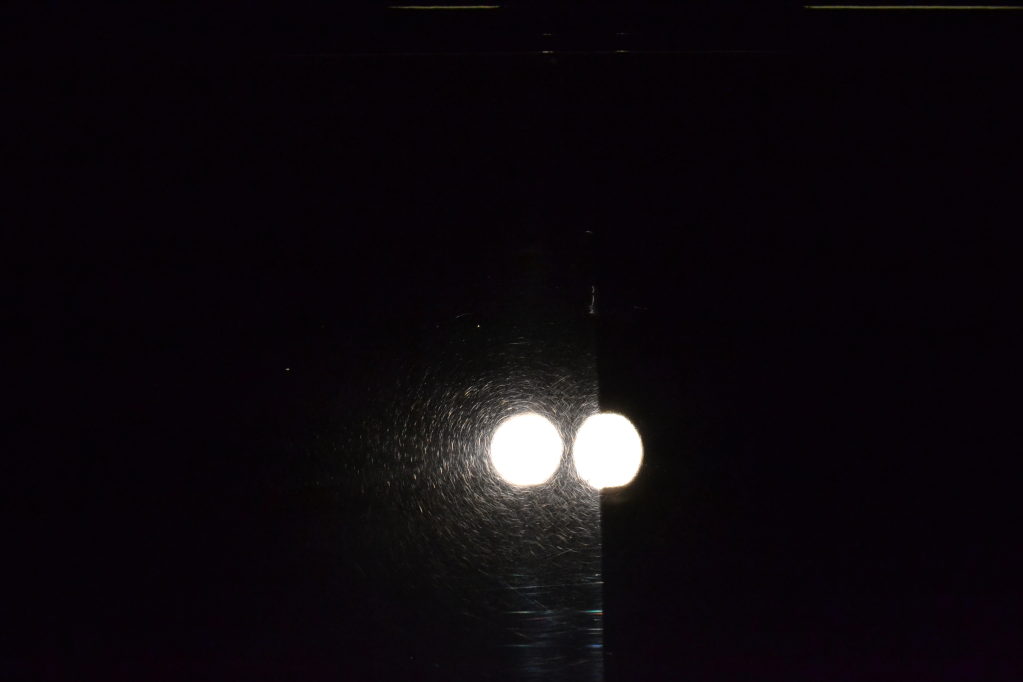
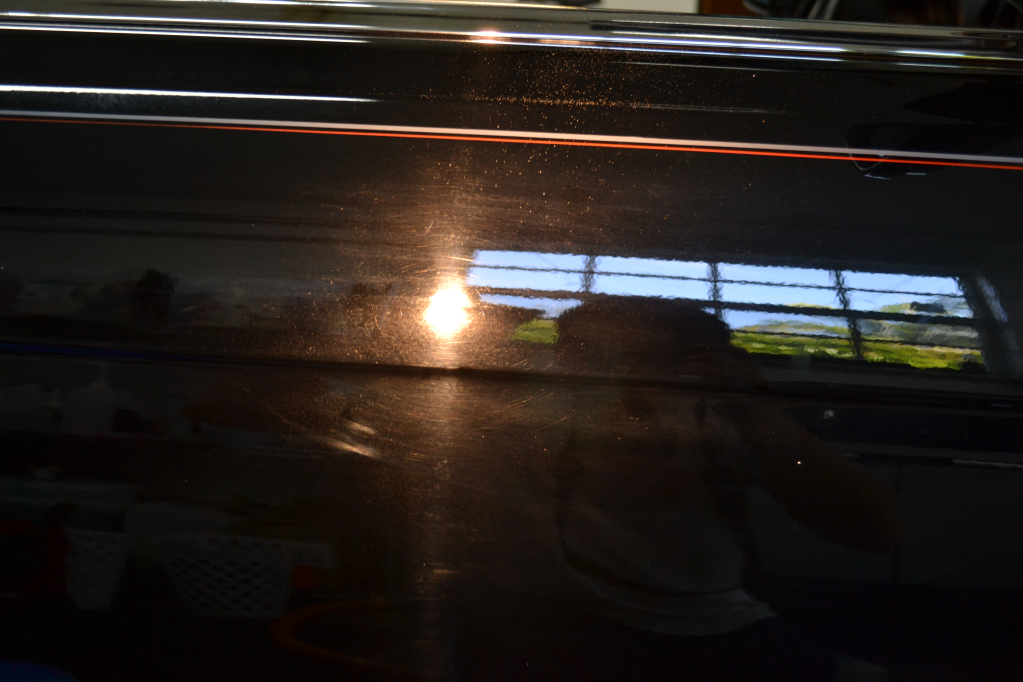
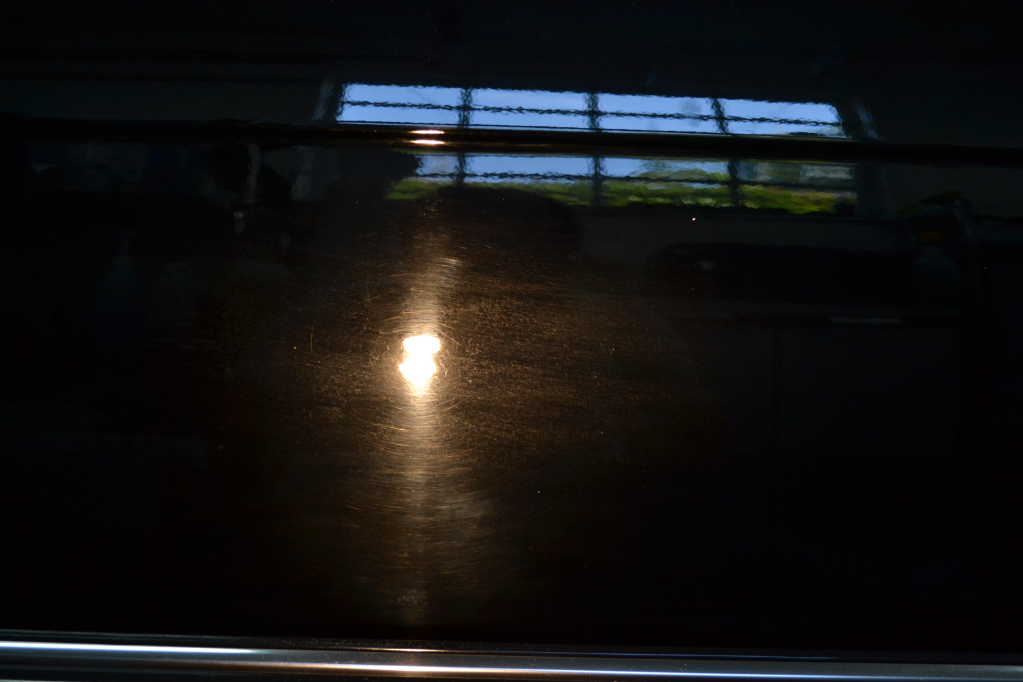
Here's how she looked before...
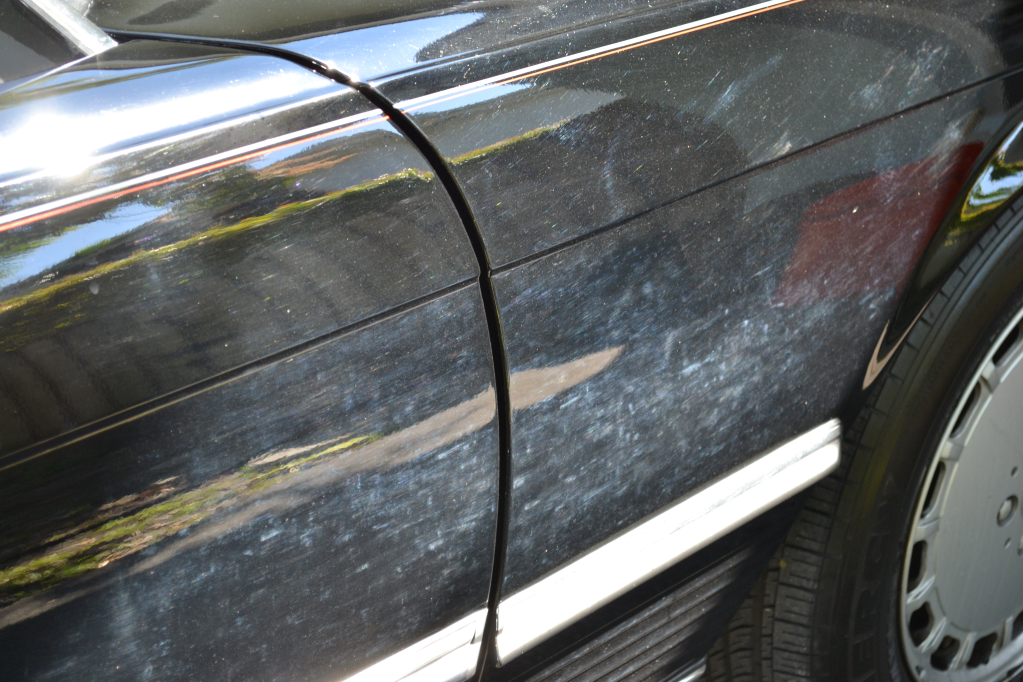

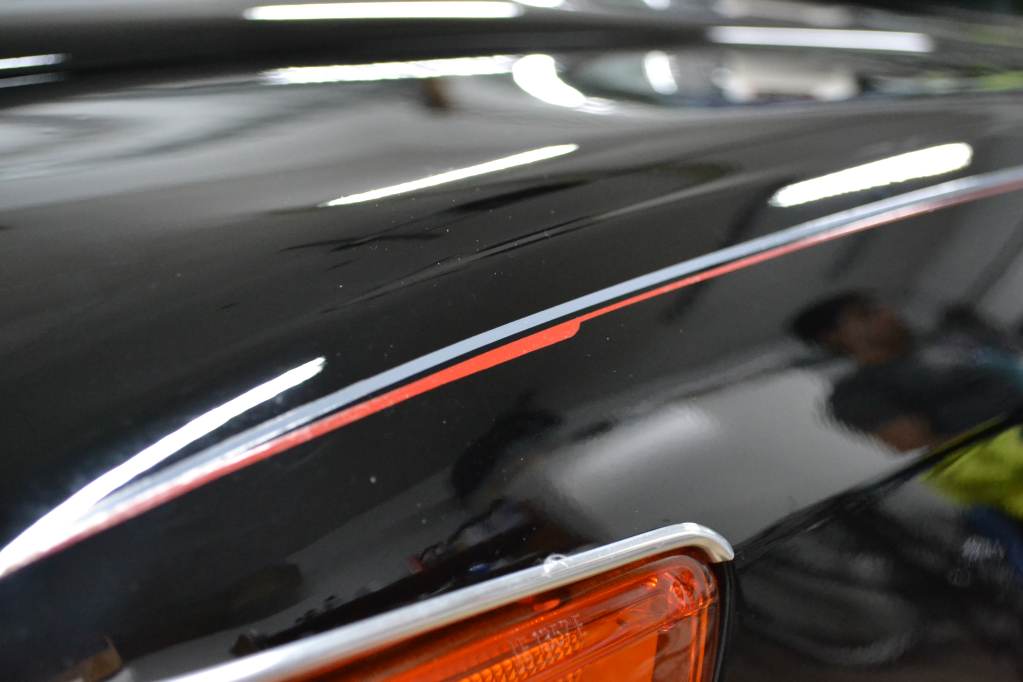
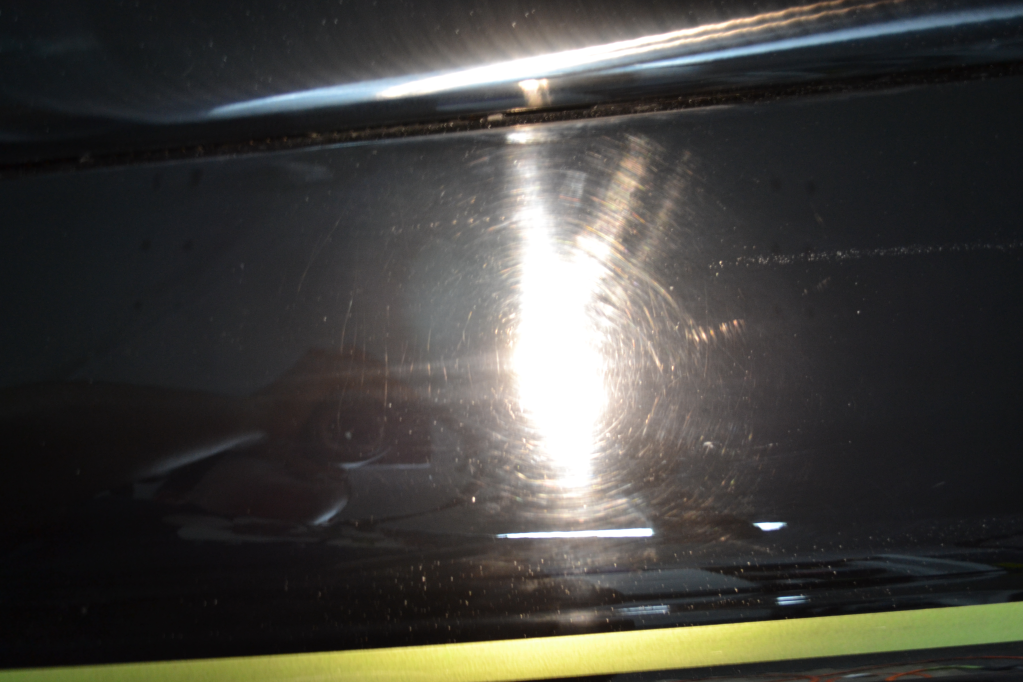
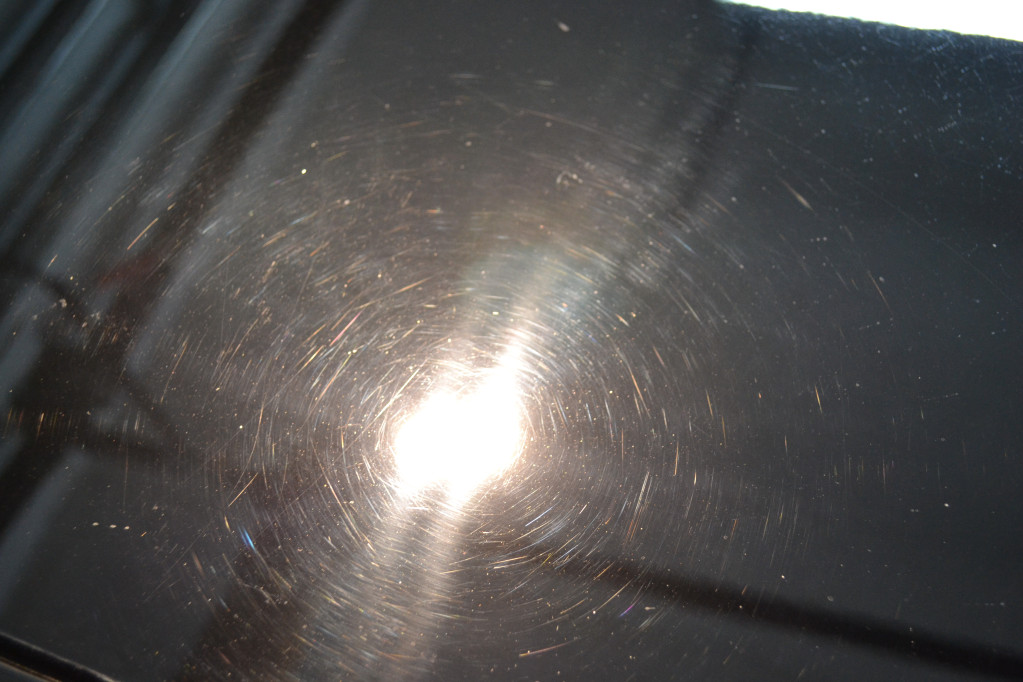
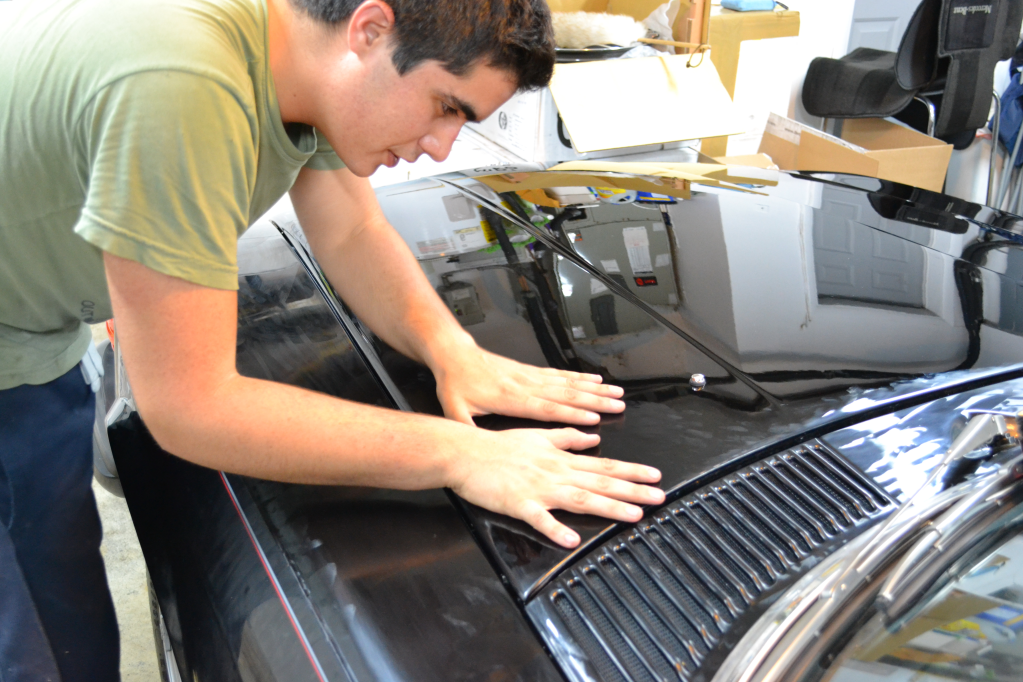
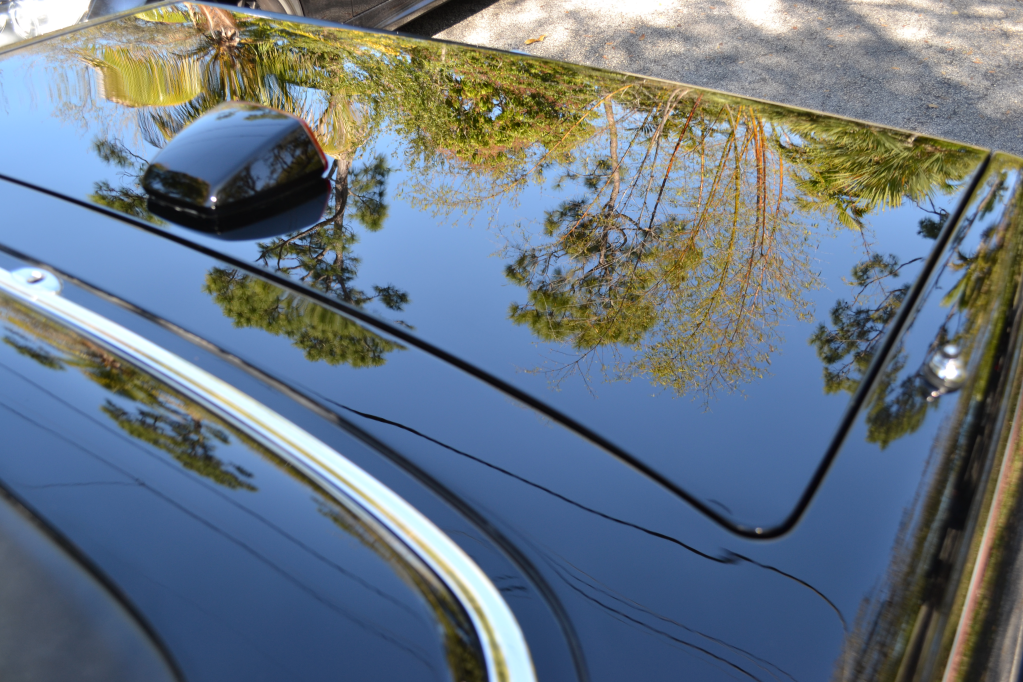
In this next picture you can see the compounding marks left behind from the body shop that repainted the hood and fender. the left side is untouched and the right side is after two passes with Cleaner Fluid Strong and an Orange pad.
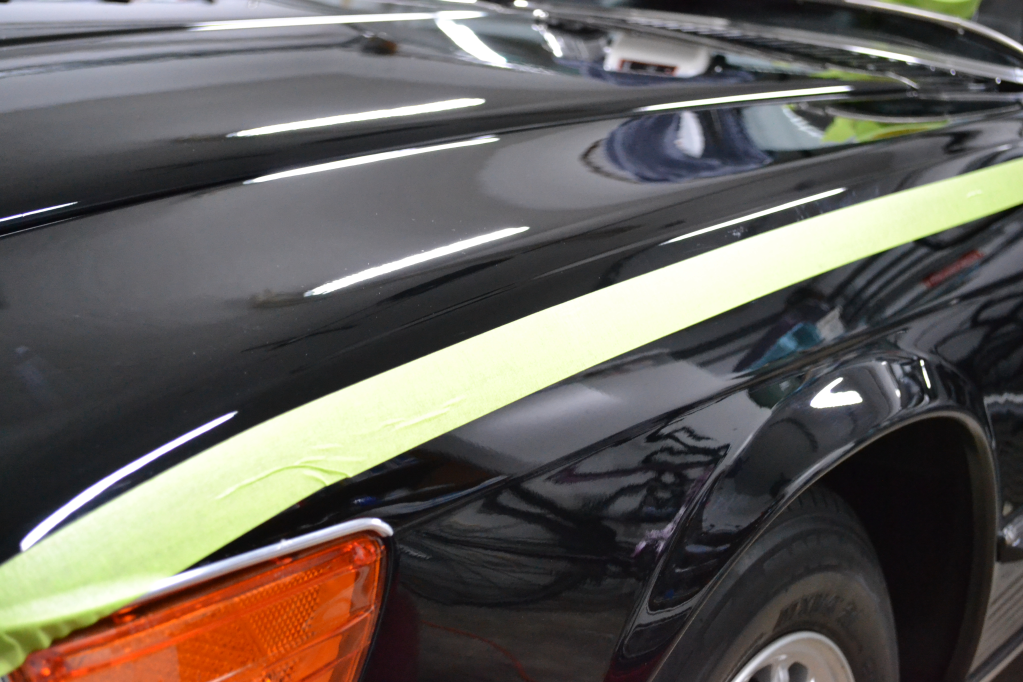
The pinstripe around the car is hand painted on, so i had to tape it up while doing the heavy polishing
Some more before pics
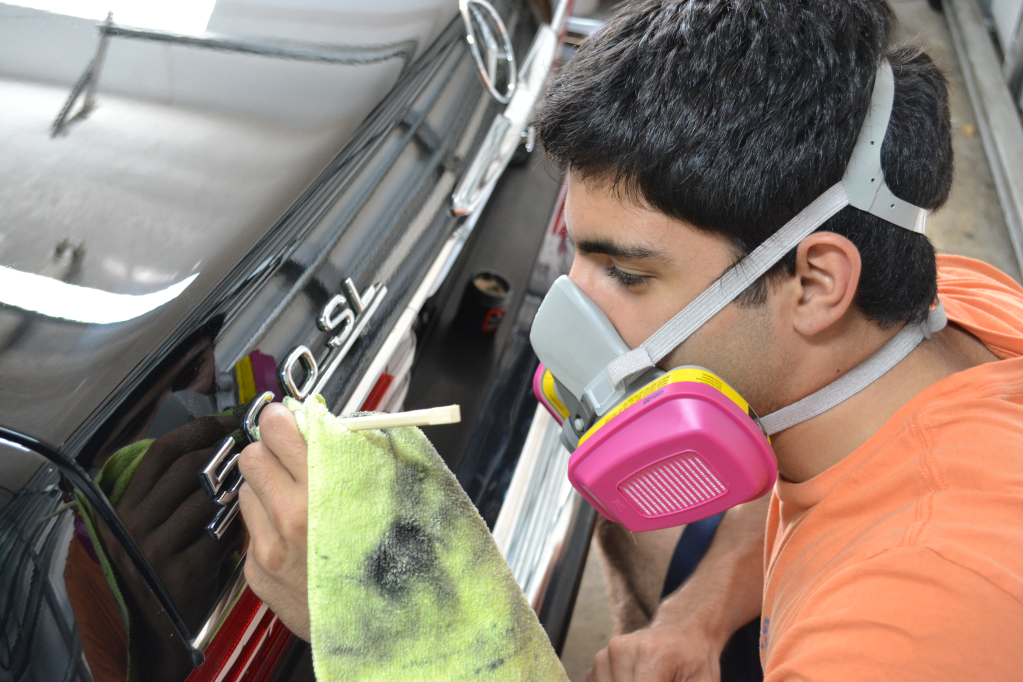
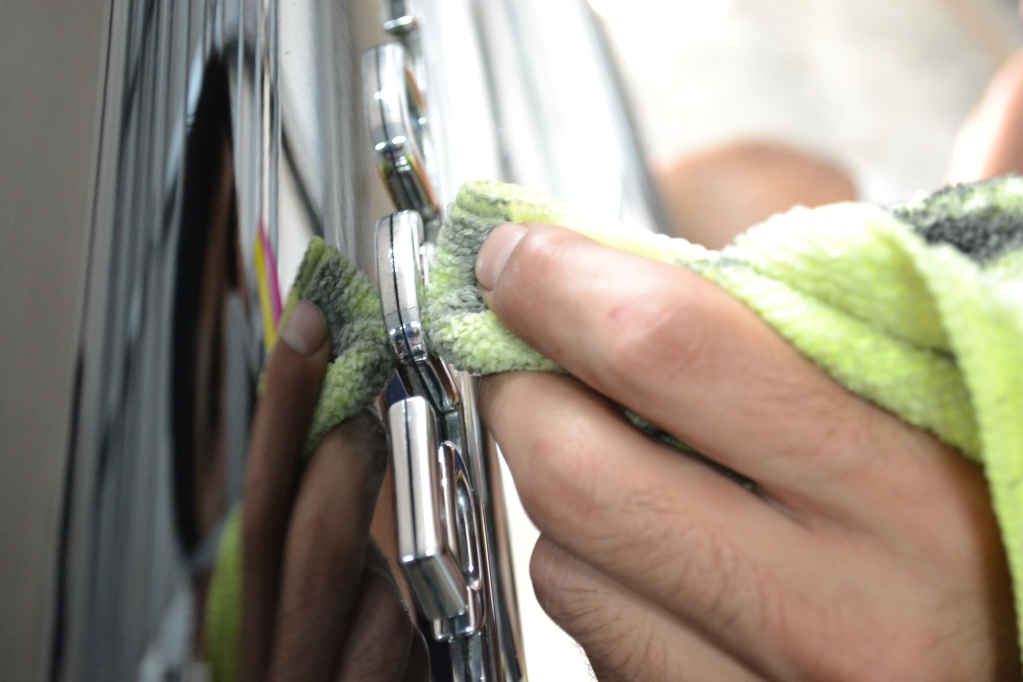
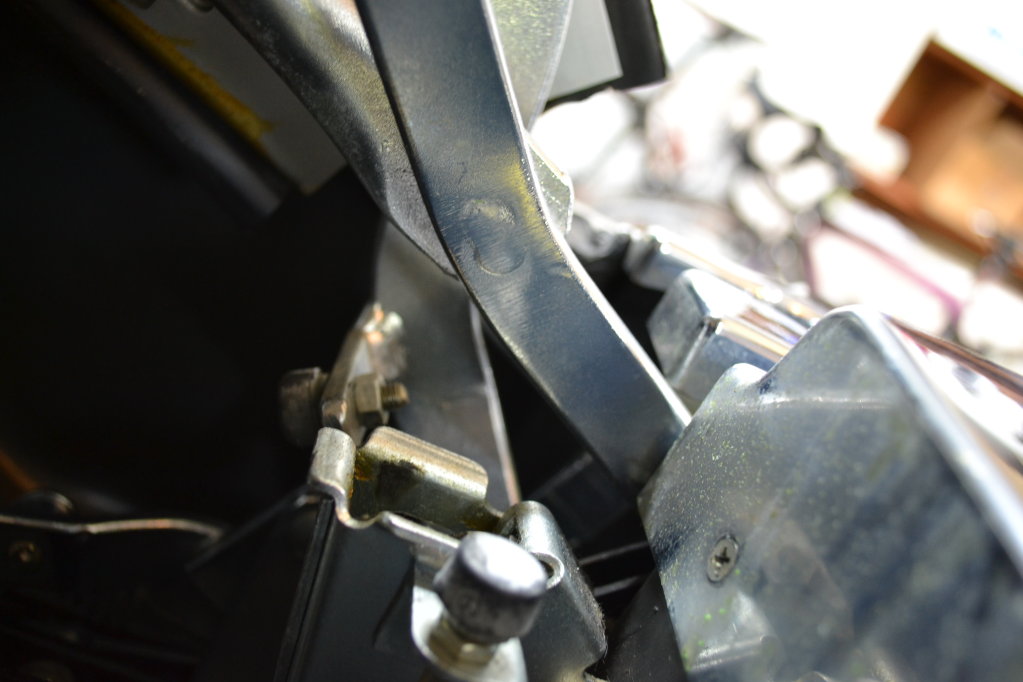
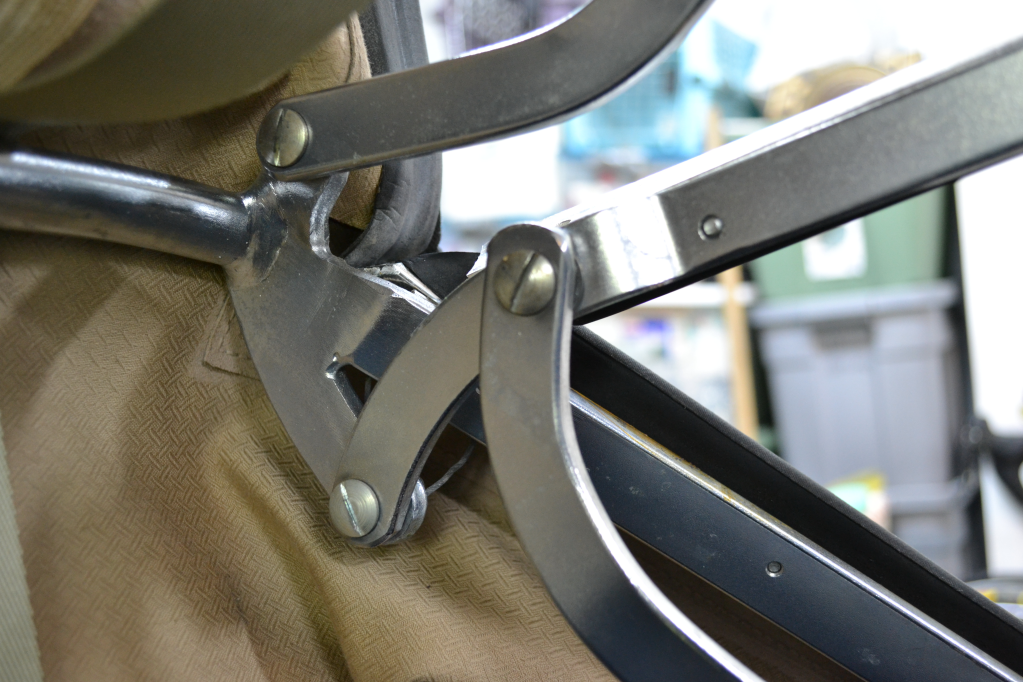
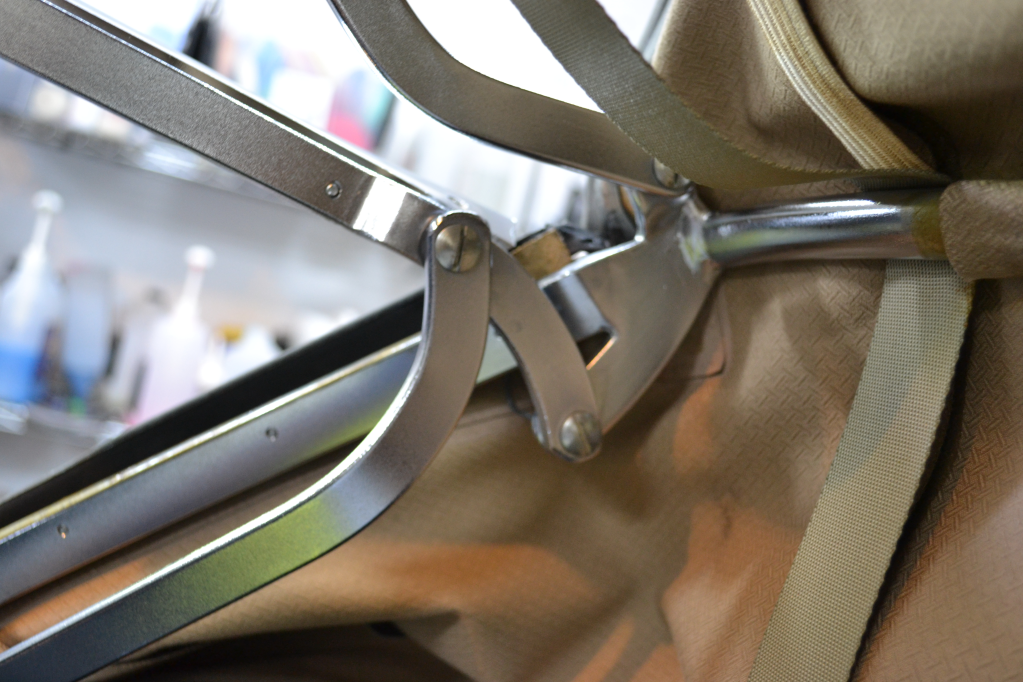
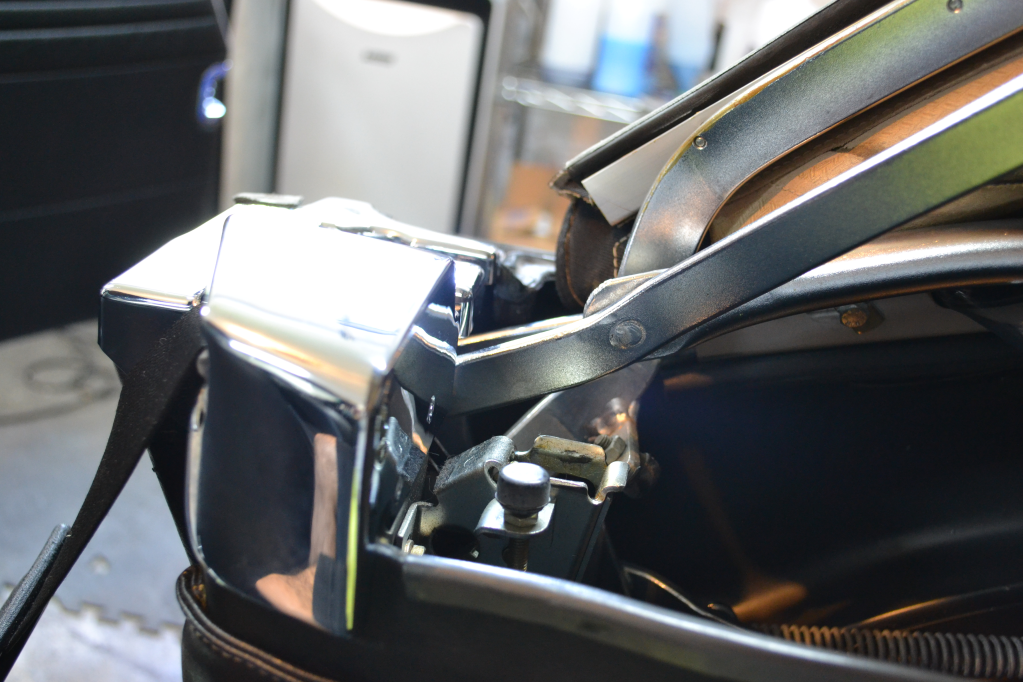
Beni spent countless hours polishing all the metal trim pieces on both the exterior and interior. In this pic he's polishing the 560SL badge using a Chop Stick to really get into the small spaces. i find these work really well to get in tight spaces with a microfiber towel.
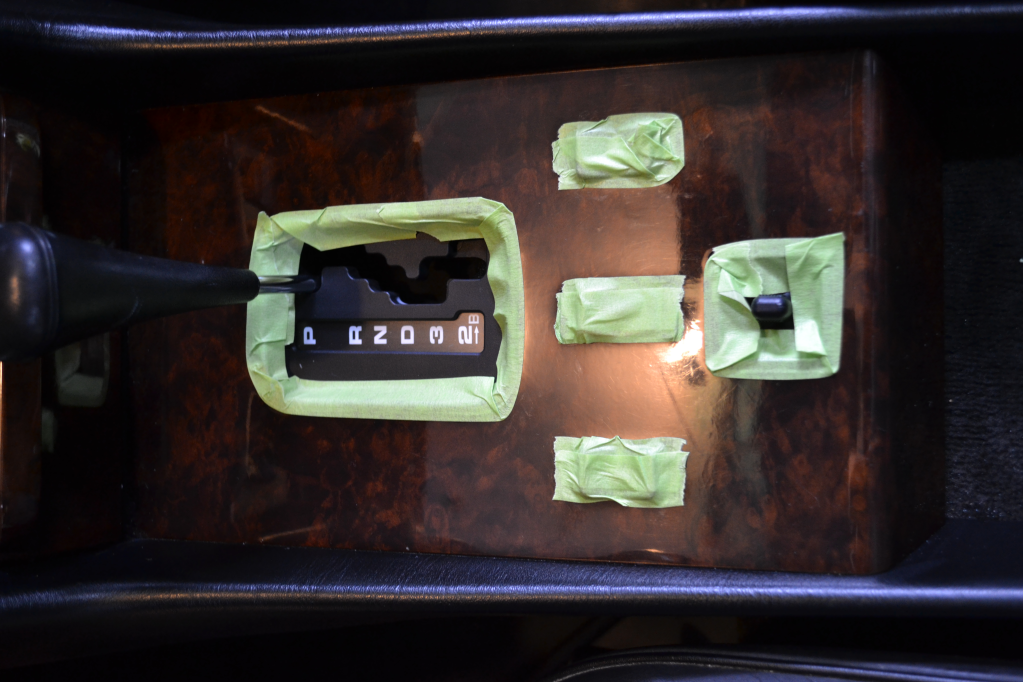
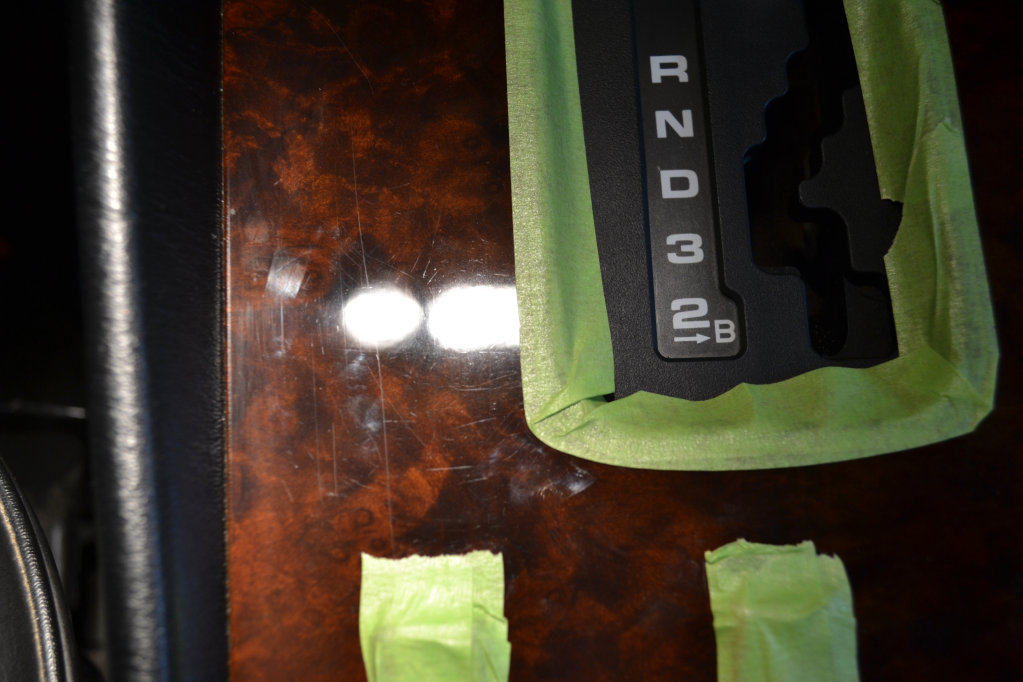
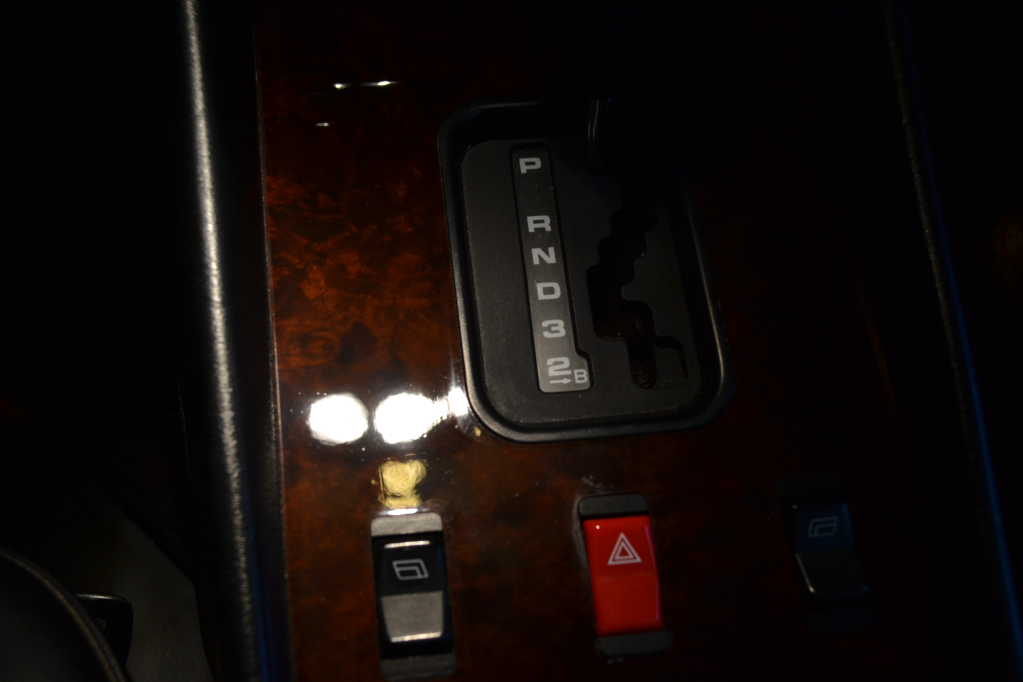
In order to polish the wood trim i had to tape up all the plastic pieces because i didn't want any polish getting into the cracks that would be nearly impossible to remove. I used the makita with a 3.5 inch Uber pad to apply the polishes.
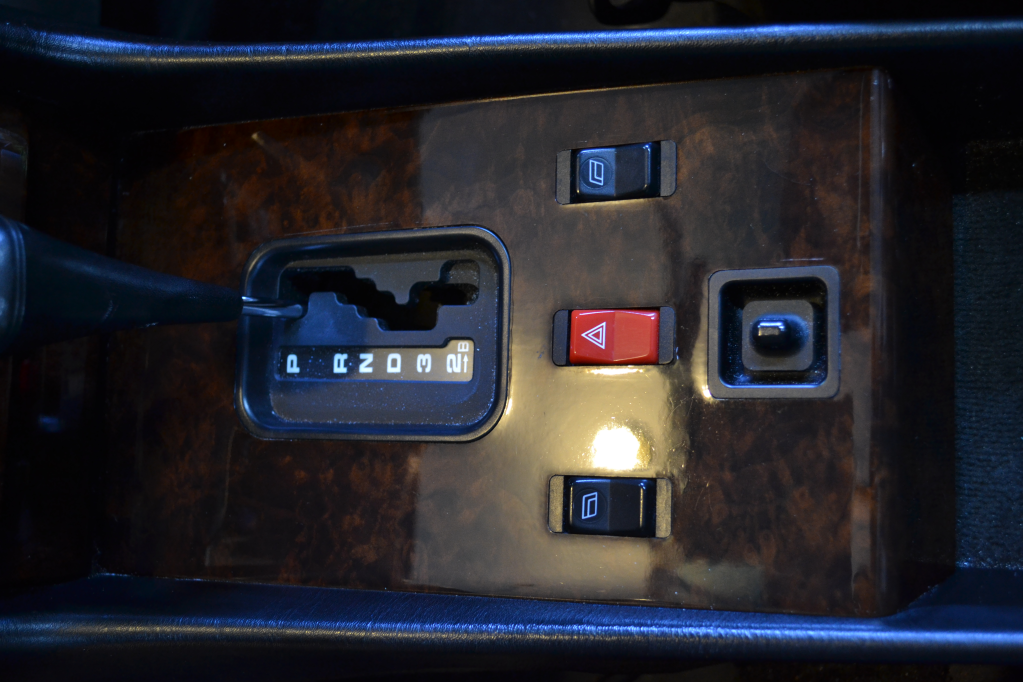
and after polishing, before Swissvax Wood Poliish...
This 1987 Mercedez 560SL belongs to Georg Weidmann, the CEO of Swissvax. It is his personal car here in Miami that he purchased a few months ago. The car had been in an accident about two months back, and needed a new hood, driver side fender, front bumper, etc. The car had holograms all over the newly painted area, and the original paint was full of RIDS, deep scratches, overspray, and oxidation. This car has a single stage lacquer paint, thus making it VERY soft and hard to polish it perfectly without holograms, even with Swissvax Cleaner Fluid Medium / Professional and a Black Swissvax pad.
The car needed some serious polishing, not only on the paint, but the metals and interior wood as well.
We used mostly Swissvax products from Georg's personal detailing bag which he gave to us to use on his car.
Anyways, onto the pics and process.
Here's the products we used:
Exterior:
-Swissvax Car Bath
-Swissvax Paint Rubber (Yellow) / Swissvax Quick Finish
-Swissvax Mechanical Paint Repair (Isolated spots, trunk, hood) / Swissvax Strong pad
-Swissvax Cleaner Fluid Strong (2-5 passes depending on the severity of the scratches / Swissvax Orange pad
-Swissvax Cleaner Fluid Professional / Black Swissvax pad
-Swissvax Mirage (As requested by Georg) applied by hand
-Swissvax Metal Polish
-Swissvax Nano Express (Rubber bumpers)
-Swissvax Protecton
-Swissvax Crystal
Engine:
-Swissvax Engine (diluted 1:1)
-Swissvax Protecton
-Swissvax Metal Polish
-Swissvax Cleaner Fluid Regular
Interior:
-Swissvax Cleaner Fluid Strong and followed by Professional on the wood trim
-Swissvax Wood Polish
-Swissvax Protecton Matt
-Swissvax Leather Cleaner
-Swissvax Leather Milk
-Swissvax Leather Healer
-Swissvax Metal Polish
-Swissvax Crystal
-Swissvax Cleaner Fluid Regular
-Chemical Guy's Lightning Fast
Wheels:
-SONAX wheel cleaner
-1Z Industrial Cleaner
-Swissvax Cleaner Fluid Medium
-Swissvax Autobahn
-Swissvax Pneu
i may have left a few out but i believe that covers all the products
I would have applied Lotos Protectant to the convertible roof, however Georg asked that i left it alone.
Here's how she looked before...
In this next picture you can see the compounding marks left behind from the body shop that repainted the hood and fender. the left side is untouched and the right side is after two passes with Cleaner Fluid Strong and an Orange pad.
The pinstripe around the car is hand painted on, so i had to tape it up while doing the heavy polishing
Some more before pics
Beni spent countless hours polishing all the metal trim pieces on both the exterior and interior. In this pic he's polishing the 560SL badge using a Chop Stick to really get into the small spaces. i find these work really well to get in tight spaces with a microfiber towel.
In order to polish the wood trim i had to tape up all the plastic pieces because i didn't want any polish getting into the cracks that would be nearly impossible to remove. I used the makita with a 3.5 inch Uber pad to apply the polishes.
and after polishing, before Swissvax Wood Poliish...


") !
!