Surbuf Buffing Pads: Tips and Tricks for Maximum Cut!

Todd@RUPES

Just a regular guy
1.jpg


Surbuf R Series Mico Finger Pads offer serious correction ability to DA users. These pads, because of the increased surface area they have, are capable of an immense amount of polishing action. They are different in use then a typical foam pad. This article will hopefully point on the differences and help you achieve maximum correction abillity from these unique pads.

Technical Stuff:

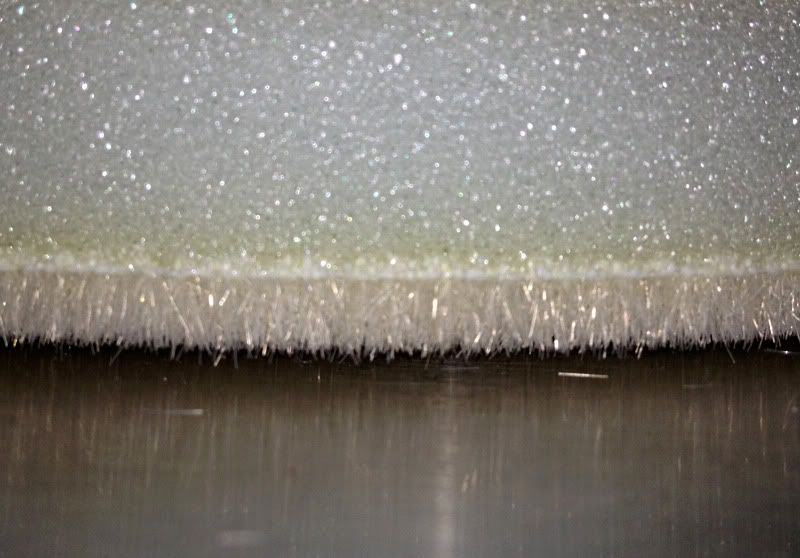
When you first look at a Surbuf R Series Pad the first thing you will likely notice is that the polishing face of the pad is covered with tiny hair-like material, like a buzz cut. These are called MicroFingers. These MicroFingers are densly packed and short. When polish is applied to the pad it coats to all 360 sixty degrees of the MicroFinger, which gives the Surbuf pad the ability to hold a lot more polish (and use more polish) then the flat face of a foam pad.

The tiny orbital movement of a Dual-Action polisher constantly exposes all of the 'sides (360 degrees)' of the MicroFinger so the amount of polishing actually working against the paint is far greater then the amount of polish a foam pad can engage. Much like the surface area of a full head of hair vs. a shaved or bald head.

Behind the MicroFinger face is a layer of open-celled foam that allows the MicroFingers to follow the curved surfaces. Behind the open-celled foam is a hook and loop attachment that allows SurBuf pads to be mounted on any traditional backing plate.

These pads are designed to be used with and perform best when used with a Dual-Action (Orbital) polisher.


Tips to getting the best performance.

Use the largest backing plate you can safely fit.

Surbuf pads are senstive to using the appropriate sized backing plate. The backing plate is responsible for transfering the motion of the machine to the motion of the pad directly. If you use a backing plate that is too small you will loose much of this motion, which greatly reduces the surface area of abrasives (from the polish) that work against the paint.

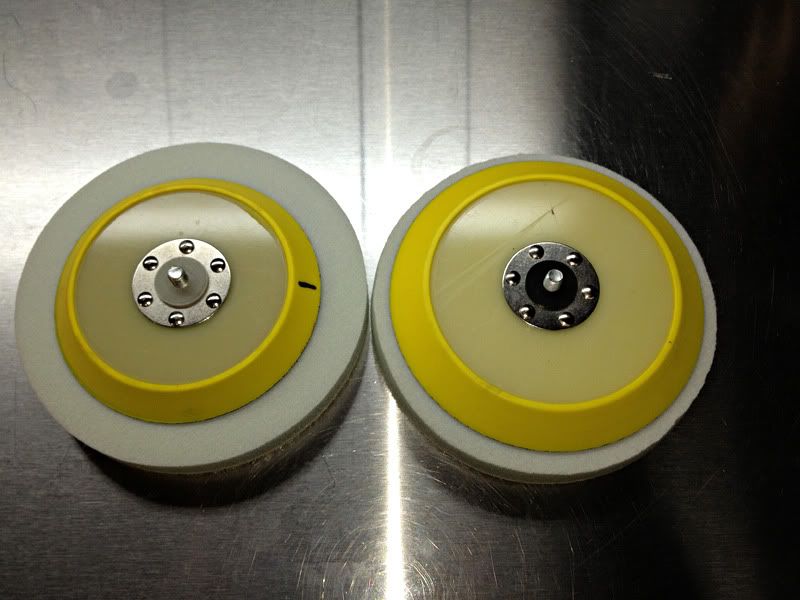
The picture below shows a 5 inch backing plate mounted on a 6.5 inch Surbuf R Series pad compared to a 6 inch backing plate mounted on a 6.5 inch Surbuf R Series pad. By using the smaller backing plate, you are effectively reducing the polishing action of the pad by a considerable amount. The 5 inch backing plate gives you an effective polishing area of approximately 19.63 inches squared, the 6 inch backing plate gives you an effective polishing area of approximately 28.26 inches squared. The larger backing plate engages the MicroFingers that would be traveling at the highest rate of speed so it is possible loose as much as 50% or more of your cutting action (polishing power) by using too small of a polishing pad.

2.jpg


Use a larger size and less pressure for more cut!

The Surbuf pads go against conventianal wisdom when it comes to achieving maximum polishing power. With most pads you want to increase pressure and use a smaller sized pad with a DA polisher.
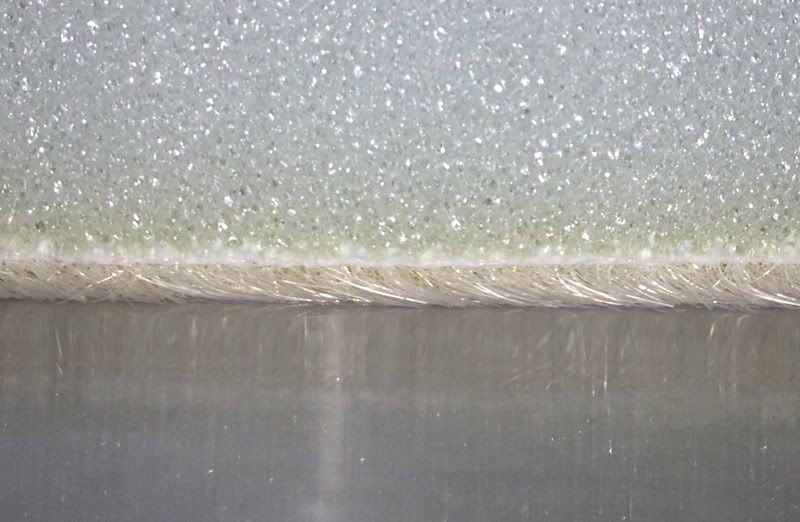
The MicroFingers are most effective when they are standing up and down or slightly folded to the side, were the tiny orbital motion of the polisher will expose their entire surface. This allows the MicroFingers, each with abrasives attached to them, to whisk across the paint.

3.jpg


If the MicroFingers are compressed too much then the active surface area of the pad decreases to that of a flat pad and the advantages of the Surbuf pads are reduced signifcantly.

4.jpg


It is for the same reason that a larger pad can be more effective with the Surbuf pads. Even when you don't add pressure to the pad the machine is adding its own pressure. With the smaller Surbuf pads even the weight of the machine can cause the fingers to collapse. This can be countered by lifting slightly on the machine as you polish. The 6.5 inch and 7 inch Surbuf R Series pads seem to hold the weight of a DA polisher much better allowing you to polish with just the weight of the machine.


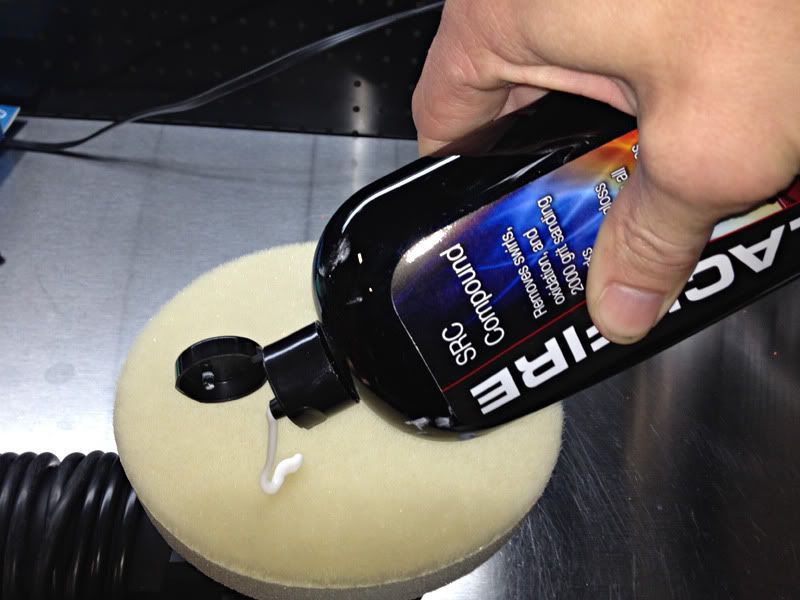
Prime the pad with the maximum amount of polish prior to first use.

Because the advantage of the Surbuf R Series pad is its abililty to expose a maximum amount of abrasives to paint at a give time, it only makes sense that we need to provide those abrasives to the paint. Priming the pad packs as much abrasives on the pad as possible. Once the pad is primed, use three small dots for additional sections and clean the pad by brushing or compressed air after each section.

Start priming by adding an ample amount of polish to the pad.

5.jpg


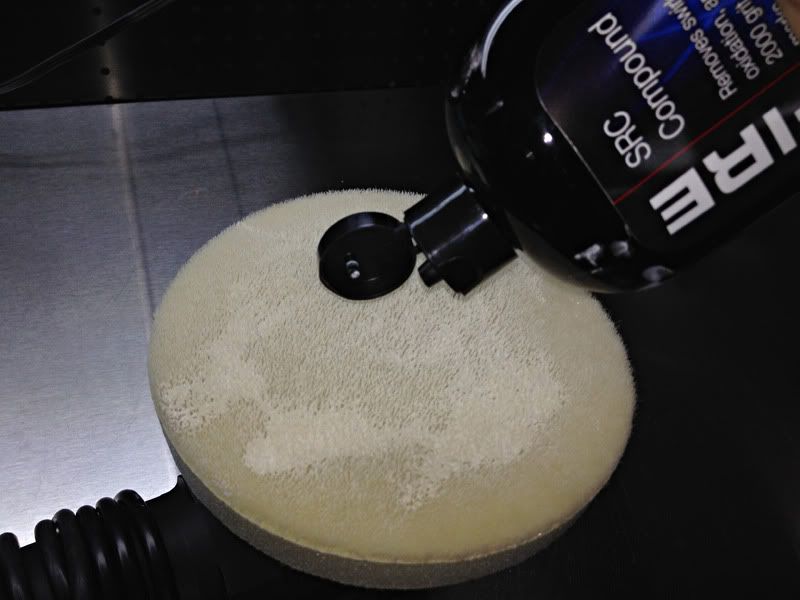
Work the polish into an even coat the completely covers the Surbuf pad.

6.jpg


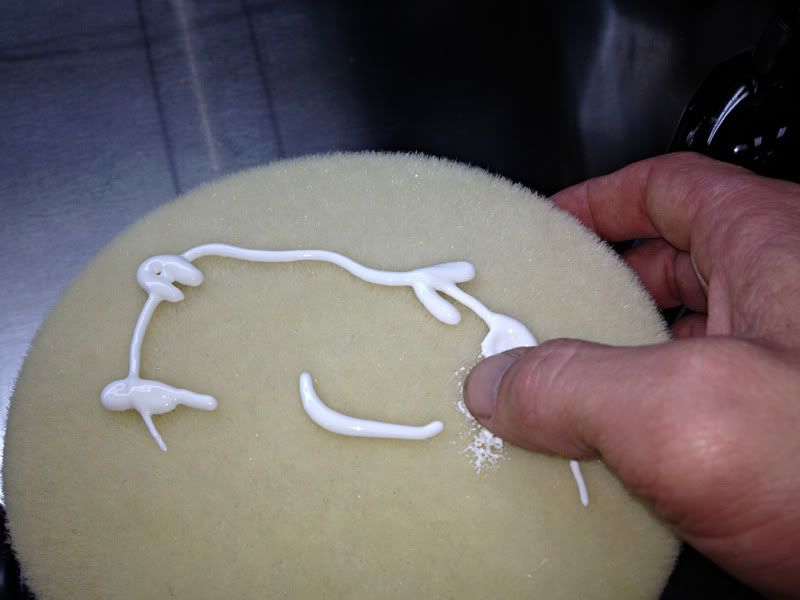
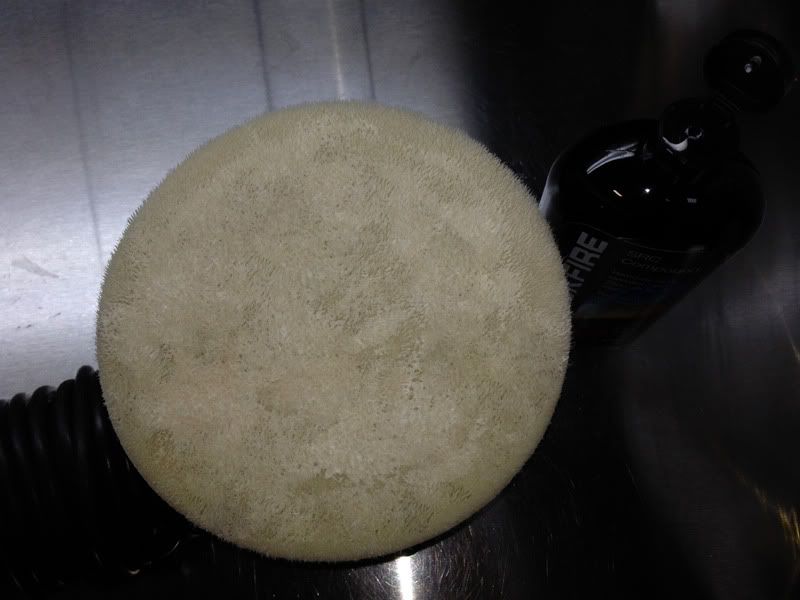
Fill in any bare spots with additional polish and continue to work into the face of the pad until the entire surface is primed.

7.jpg


8.jpg


For additional sections only a small amount of additional polish is needed.

9.jpg


Surbuf Series R Pads are available at Autopia Car Care.com: Surbuf MicroFingers R Series Buffing Pads, surebuff, microfiber pads
Any questions or comments are welcome!
 
Thanks for the tips, Todd. Surbufs do some impressive cutting and finish nicely enough to reduce the number of steps needed for corrections.
 
So do I understand correctly that you can actually use the bigger Surbuf pads on a PC or GGDA and not lose any cut? I know that with foam pads you really want to use the 5.5" pads on those machines, and stay away from the larger pads for fear of losing cut.
 
This has probably been asked before, but how do the Surbuf compare to the microfiber polishing/cutting pads??

More cut but doesn't finish quite as nice. Almost always need a finishing polish stage.

So do I understand correctly that you can actually use the bigger Surbuf pads on a PC or GGDA and not lose any cut? I know that with foam pads you really want to use the 5.5" pads on those machines, and stay away from the larger pads for fear of losing cut.

Yes, because of what Todd mentioned about not using too much pressure. I didn't believe it at first but it really is so.
 
How does the cut compare say with Surburf with M105 vs an LC Orange with M105?

It is going to be far more aggressive and leave micromarring. You can level out serious defects (up to 1500 grit sanding scratches on some paints) with Surbuf pads.


This has probably been asked before, but how do the Surbuf compare to the microfiber polishing/cutting pads??

In terms of use, you want to use less pressure with the Surbuf pads, or even slightly lift them off the paint.

In terms of what they do, the Surbuf pads are generally more aggressive, cut faster, but leave a more scoured surface.


So do I understand correctly that you can actually use the bigger Surbuf pads on a PC or GGDA and not lose any cut? I know that with foam pads you really want to use the 5.5" pads on those machines, and stay away from the larger pads for fear of losing cut.

Not only will you not lose any cut, you generally will gain cutting power because the larger pad has more surface area which means more polish is working at a given time. Since you don't want to add pressure to these pads, the benefits of a smaller pad are nullified.
 
what speed should you use with the surbuf pads ?

I have personally achieved best results around speed 4.5-5. The goal is to let the abrasive covered MicroFingers do the work for you by whisking (if you will) over the paint. It's a different concept then what we may be traditionally used to but it works amazingly well!
 
Good tips Todd! When using Surbufs with 105, I use Bryan B's technique of misting a little water after it starts to dry out. It can get a little messy and sometimes be a PITA to remove, but it chews through defects like a champ.
 
I have another SRT-4 to work on and will try out the 6.5" pads. I used the 5.5" pads with what I thought good success to cut through the hard clear, but if the 6.5" pads will cut faster then obviously that will be the way to go. Great article Todd!
 
I have another SRT-4 to work on and will try out the 6.5" pads. I used the 5.5" pads with what I thought good success to cut through the hard clear, but if the 6.5" pads will cut faster then obviously that will be the way to go. Great article Todd!

looking forward to your results
 
I have used these pads and one key is definately keeping the paf clean between each section. Cleaning them removes spent polish, removed paint and also stands the fibers back up so they will continue to cut good. I generally use a nylon brush and clean while the pad is spinning.
 
I have personally achieved best results around speed 4.5-5. The goal is to let the abrasive covered MicroFingers do the work for you by whisking (if you will) over the paint. It's a different concept then what we may be traditionally used to but it works amazingly well!

Todd, have you by chance followed Surbuf with Meg's MF cutting pads? If so what is your opinion - overkill, required, etc.? I still remember the very first time I did this and it just happened to be my first time using the Meg's discs and had trouble removing the tic marks left by Surbuf. In some areas M205/LC tangerine HT was enough to remove them but most areas required M105/LC cyan ht. I finally dialed in my technique thanks to lots of reading and annoying Rasky.

*Edit - I should note that it was on a black car.
 
Use these pads very often. They are great for quickly removing defects, swirls, etc. even on the hardest of paints. They do leave a lot of micro marring and haze behind so you always need to follow up with a foam pad and polish.
 
Use these pads very often. They are great for quickly removing defects, swirls, etc. even on the hardest of paints. They do leave a lot of micro marring and haze behind so you always need to follow up with a foam pad and polish.

I agree they definitely leave some haze behind, but (at least in my experience) the haze is usually very uniform and extremely shallow. A finishing step is all that is required, most of the time, to achieve a perfect finish!

I was just thinking of the 'good old days' were everything was a three step rotary correction and the idea of two stepping something to perfection was a joke.
 
Thinking about giving these pads a shot at my Vettes hard clear coat. Should do the trick.:bigups

Im working on a C6 now, very hard paint but with enough patience you can level defects very well with M105 and Surbuf. Follow Todds tips and your all set..... so far it seems I am able to finish down in 1 step, one of the many benefits to hard clear cars :bow
 
Back
Top