Street Dreams: Black STi sticky respray

g37mt6

New member
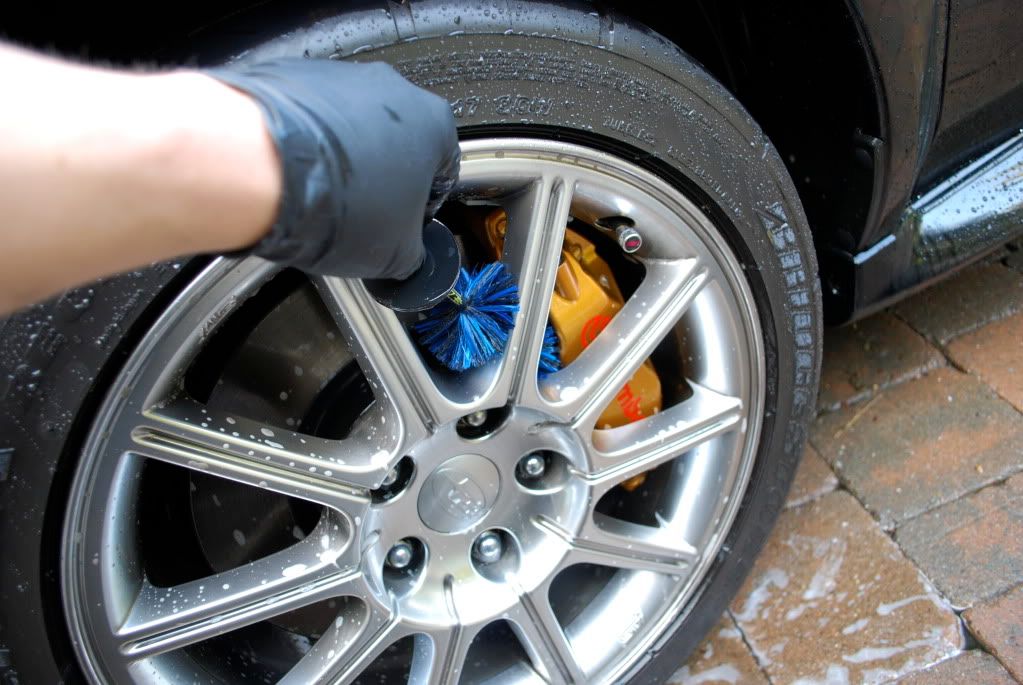
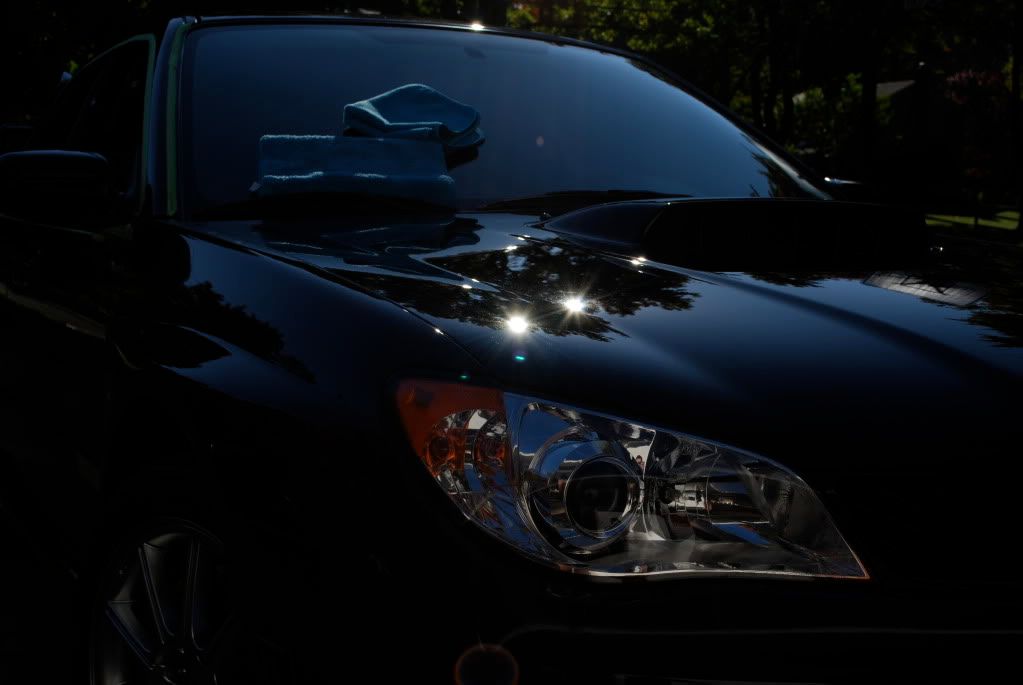
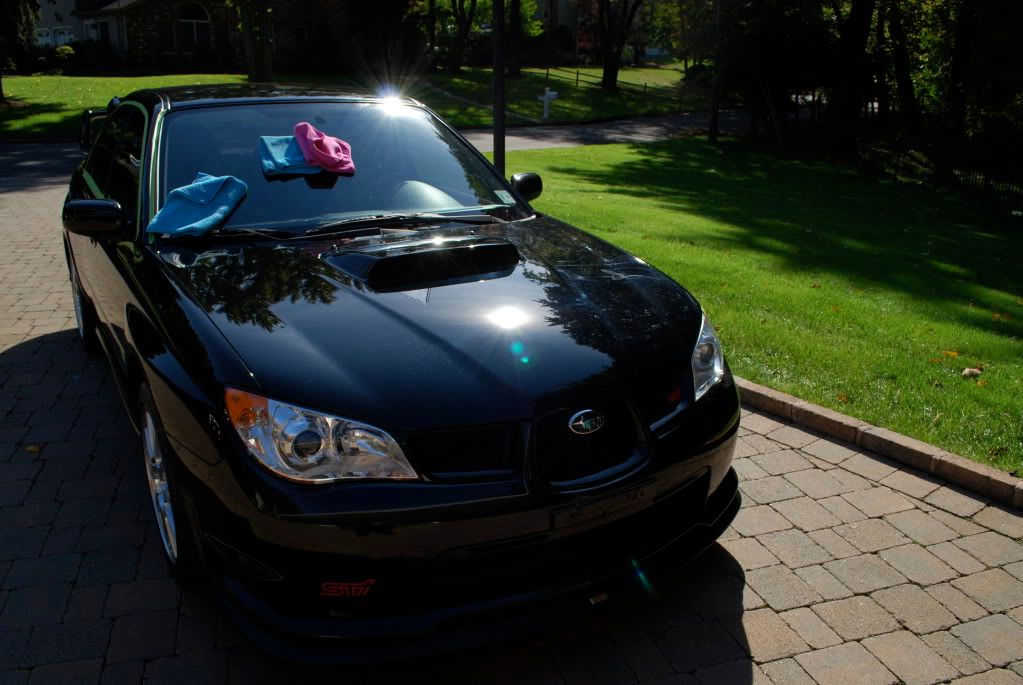
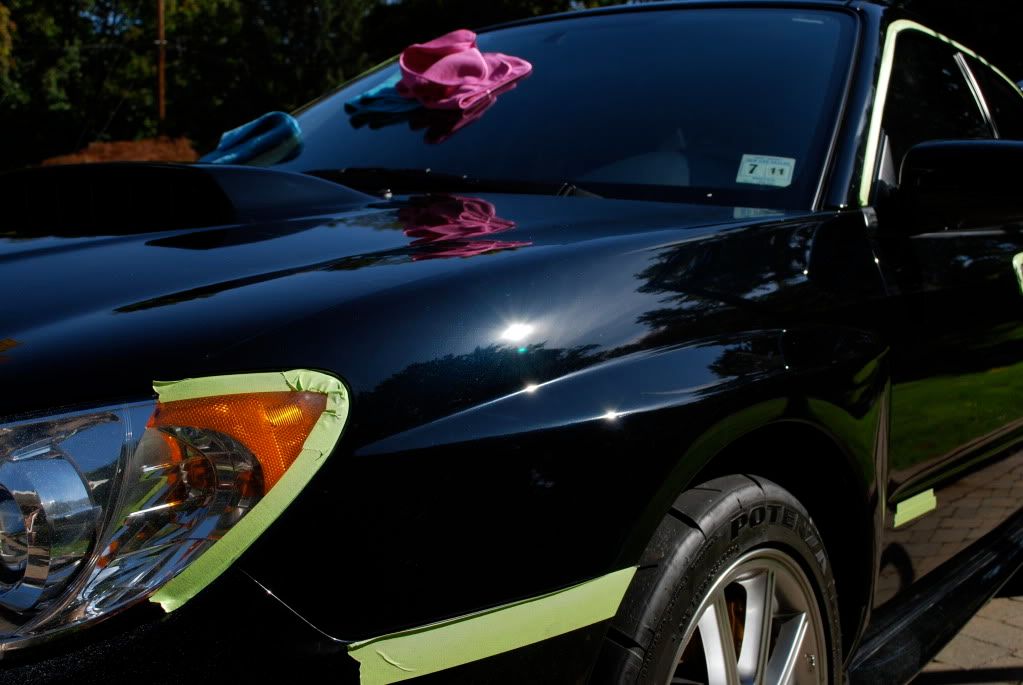
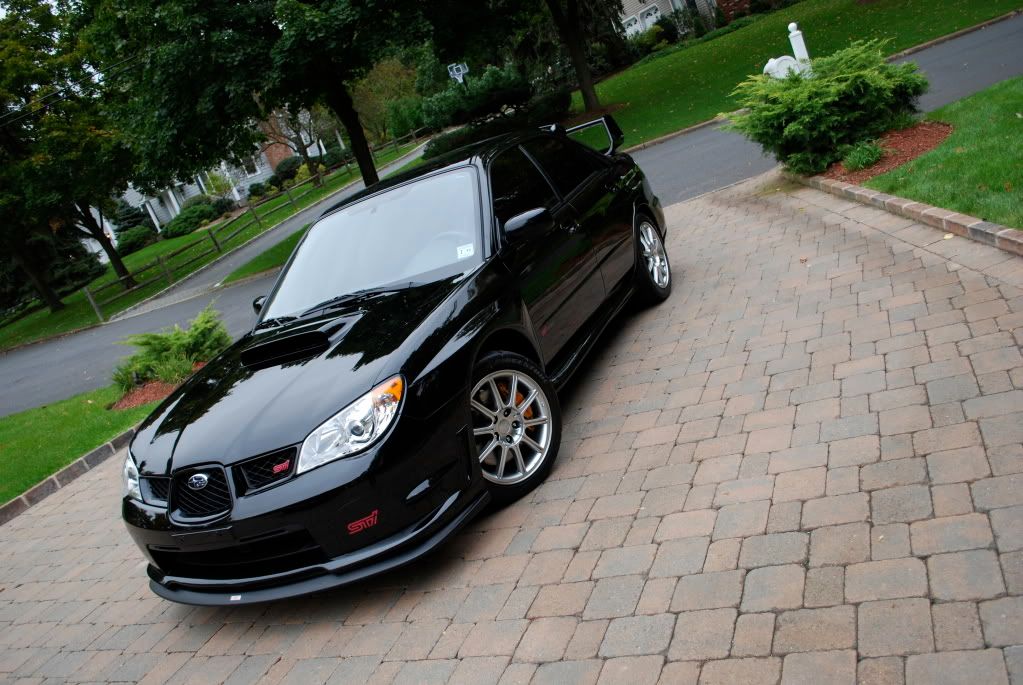
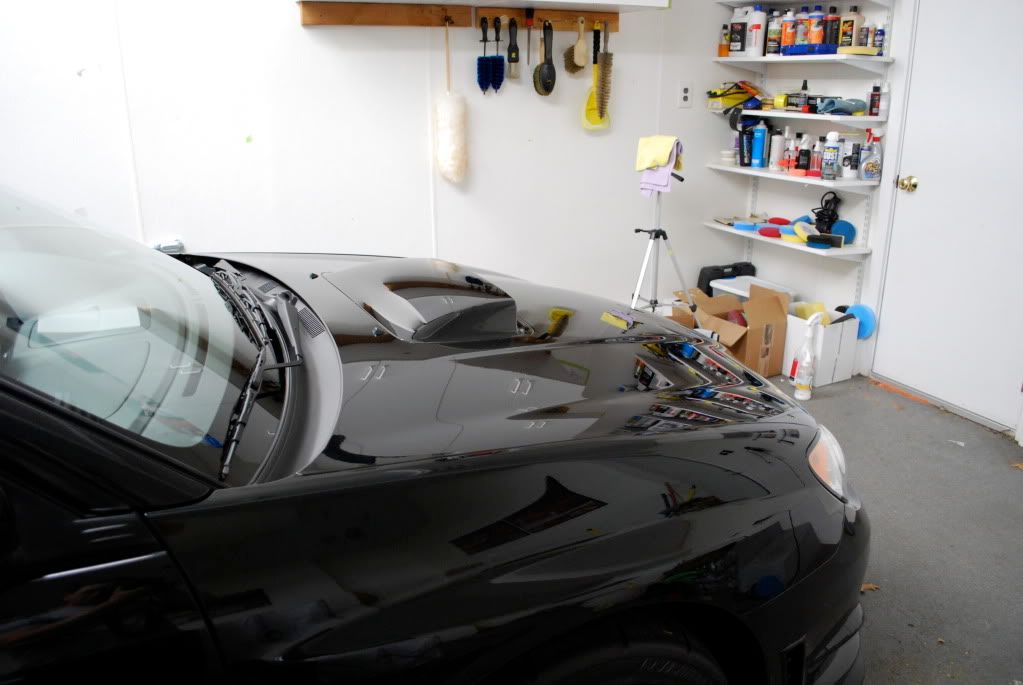
I understand chenille wash mitts are greatly favored here. I've been using them myself

for sometime. I use the two bucket method for washing to keep them as dirt free as

possible during washing. I do have a concern though...

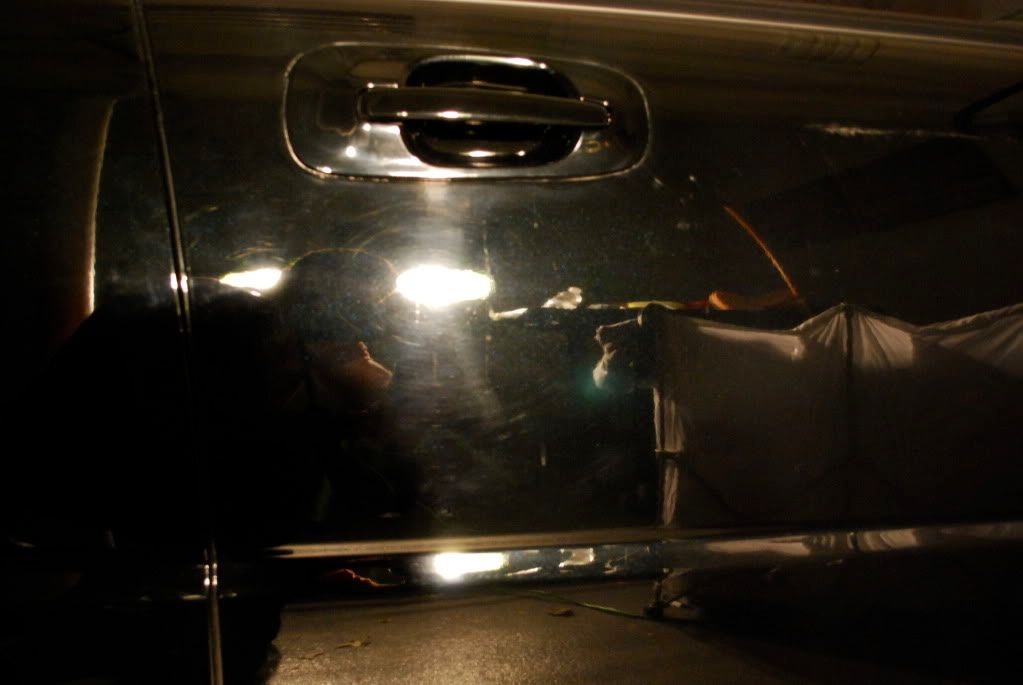
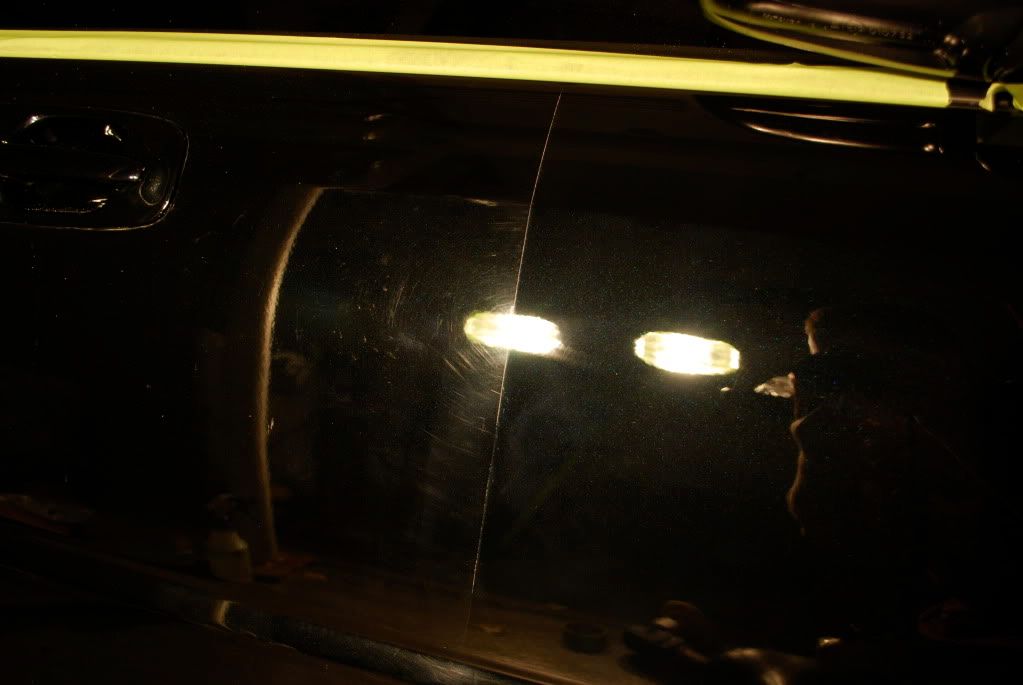
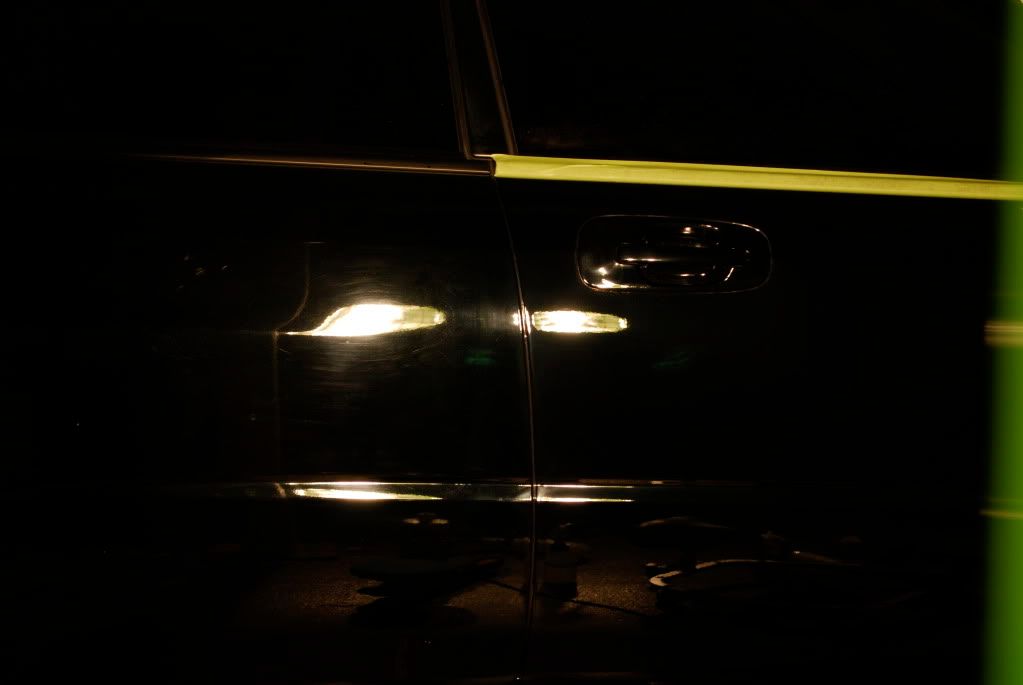
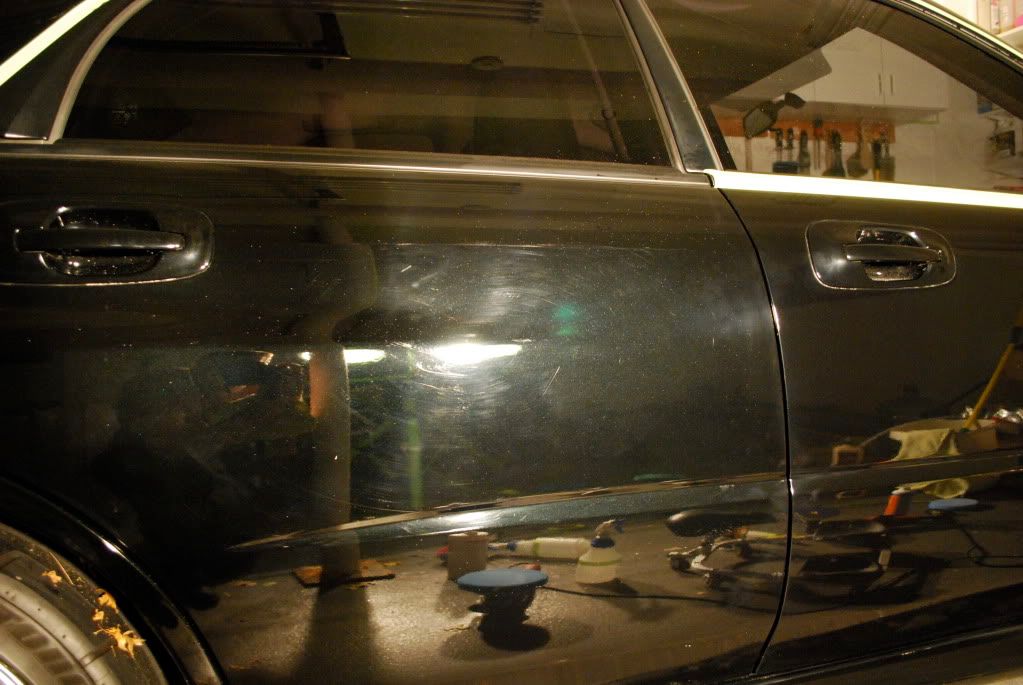
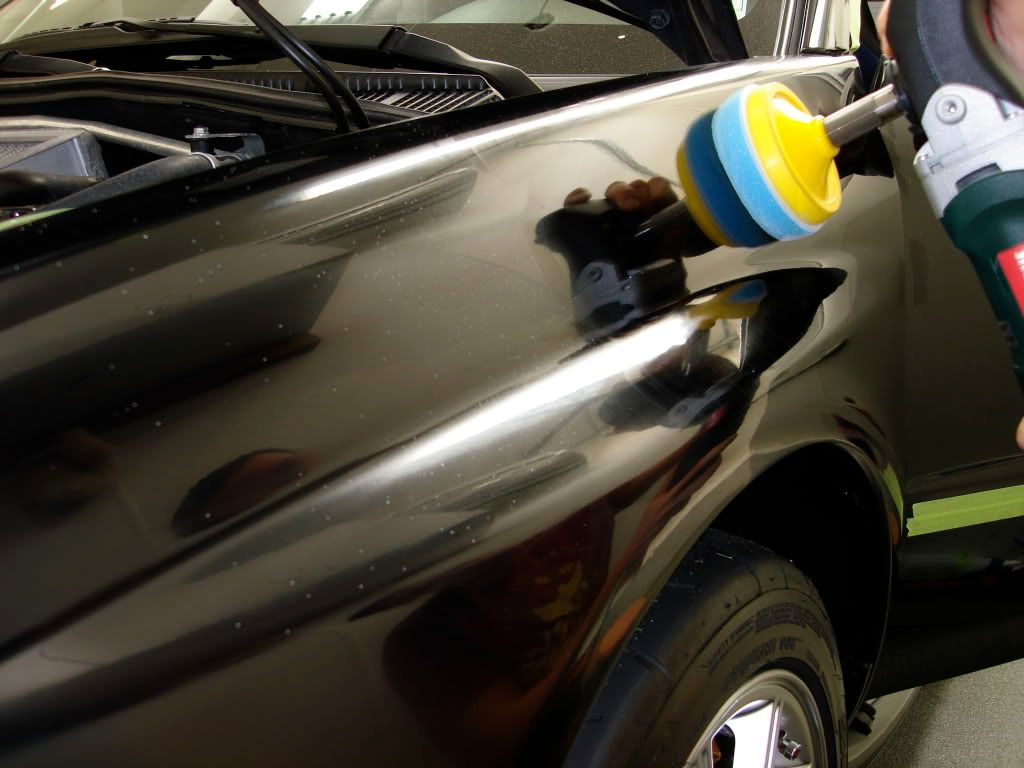
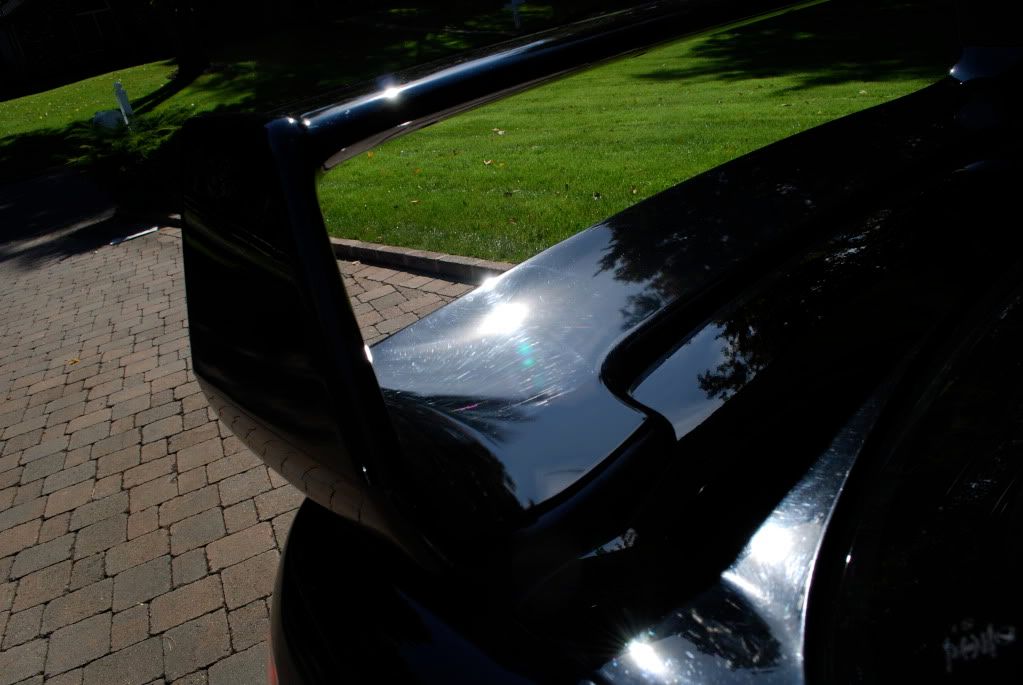
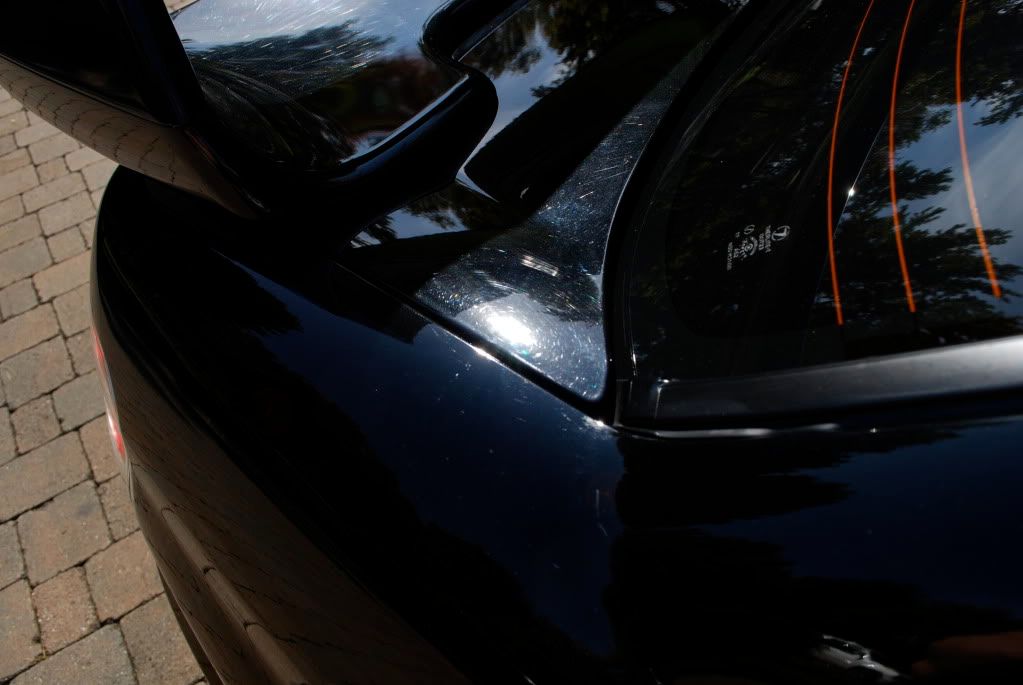
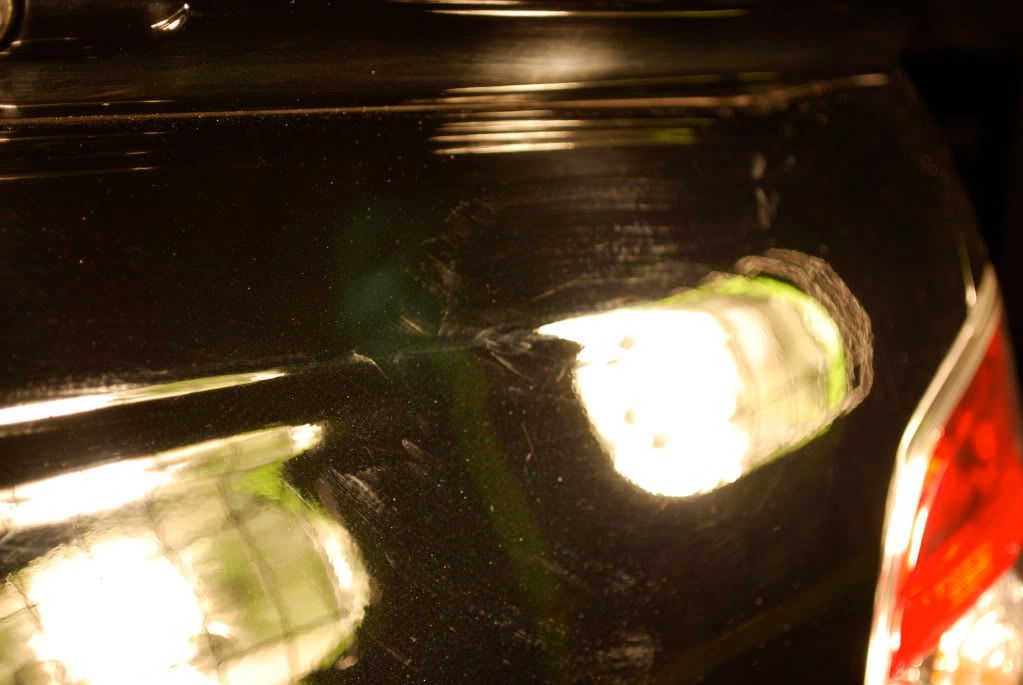
A good sponge has hundreds of small 'pours' to trap dirt. These pours can help prevent

the dirt from touching the surface of the vehicle while washing. The wash mitt, although

softer, has none. While washing, particles become lodged to the nap and consequently,

are dragged across the surface. Because of the long length of the nap, I don't think the

majority of these dirt particles are finding there way down far enough to keep them away

from the paint. Is this still better than a sponge? Potential scratch hazard here? Any

one else have thoughts on this?
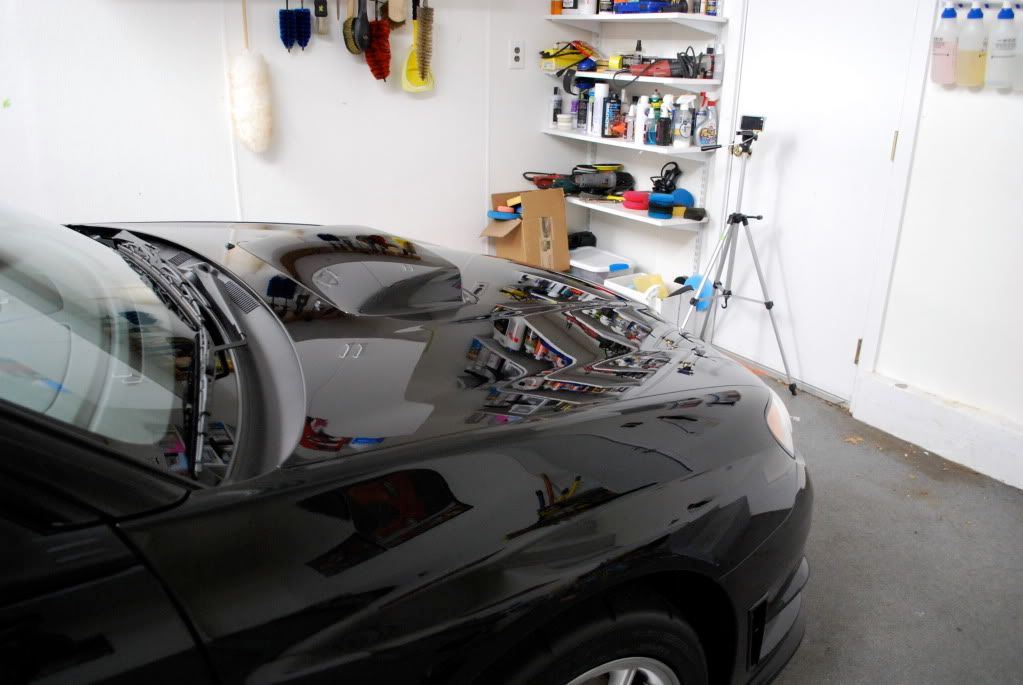
 
There is always a risk but the soft deep nap of the mitt still offers a better chance of protection than the sponge. More places for dirt to hide and easier for it to wash away on it's own. Also, the psi of the surface of a sponge is much greater than a mitt. So it follows that if any debris gets caught in the sponge it will be pressed much harder into the surface making the scratch worse. Also, the sponge material itself can scratch.

I still use synthetic lambswool mitts and have good luck with them. I recently purchased a chenille mitt and am looking forward to using it. <strong class='bbc'>Question:[/b] Can you wash the chenille mitts in the washing machine as I do the lambswool?
 
Probably no one on this board will ever even think of using a sponge. Many have posted terrible experiences with one. I know that I used a brand new sponge last year and scratched the hell out of my hood with it. In one day, I managed to do more harm to all my cars in 7 or 8 years of washing with chenille mitts. It was that bad. My friend was laughing his rear off as he knew how anal I am with my car. Anyway, the only reason I tried it that one time was because he was using another brand new sponge on his truck so I said, "Oh, what the hell. I'm sure nothing will happen if I use a sponge one time." Wrong.


Don't ever use a sponge. It's that simple. I don't think you could PAY any of the regulars to wash their cars with a sponge.


Beau? Arcticwhite? Well maybe Arcticwhite, afterall, she really doesn't mind using sponges on her Vett. Hehe! Jason? Tom P. We just wouldn't do it.
 
Are the Chenille mits the ones that look similar to pieces of yarn ? Could someone post a good source for chenille mits, or a picture of one. Most of the mits I see in the "local" auto supply stores do not say what they are made of.
 
$25 sea sponges? $70 Boar's Hair brushes? $15 genuine wool washmitts?


The $6 chenille wash mitt beats them all. Although I do use both a chenille wash mitt and another mitt that consists of a blend of real and synthetic wool. Thickest nap you've ever seen! Love it!
 
I'll use those throw away sponges on grimey wheels but have not used a sponge on the body of a car for a long time.


I alternate between syn-sheep and chenille mitts...depending upon my mood. I understand the chenille is the most forgiving. I just wish the durability was better.


Yes, I do wash all mitts in the washing machine but it probably degrades the chenille that much faster.
 
I got a Chenille Wash Mitt from CMA a couple of months ago. I always wash towels and mitts before using, so I threw the Chenille Mitt in the washer with some Miracle Towels. Well, what came out was not good. Most of the cotton pieces fell out.


I don't understand why that happened because my brother has been using the same Chenille wash mitt for over 2 years, washing it every month, and his is in good condition. He bought his at Wal-Mart, maybe it's just a brand issue.
 
I purchase my mitts from Walmart. They are under the 'Viking' brand name. They hold up very well in the washing machine (so far). I've tried the similiar mitts from Target but noticed that the nap on these is just too far apart - too much backing showing. The mitts at Walmart run about $5.00 a piece.
 
The STi was hit by a drunk driver (Director) on the drivers side, whole side was re-sprayed.... bodyshop in the end sanded the entire car.

Issues included sanding scratches left over, solvent pop and runs in the clear.

Car came in very clean, wheels almost immaculate.

Little EZ brush works very well in between calipers and the hub mounting face. P21s gel cleaned up the barrels quick too.

DSC_0045.jpg


Paint was pressure washed and I pre-soaked the whole car with a biodegradable APC at 5:1, this helped remove most of the prior wax coating. The owner did his best to maintain the finish.

Some of the prior oils/glaze dripping off with the pre-soak (learned this trick from Bryan Bursnwroth)

DSC_0053.jpg


DSC_0057.jpg


Car was rinsed again and washed with lusso auto bathe then clayed with Sonus green

Correction work

DSC_0058.jpg


DSC_0060.jpg


The paint was very unreceptive to the rotary, lots of buffer skip. Swicthed over to the new PC for correction, a little improvement but still very very sticky. I have done 2 OPB colored STI's prior and although they have a little sticky paint issue they are easily corrected.

This car was absorbing polish like crazy and gumming up cutting pads with 15seconds or so. After a few phone calls to Bob and Ryan (Rydawg) I realized there wasnt a wright or wrong answer as to how to approach correction on this clear, it just was a problem child.

M105 was needed to take care of some of the deeper defects but it was too aggressive for the paint and gummed up the pads very quickly.

Ened up with

SIP w/ green polishing pad
106FA w/ green polishing pad again
PO87mc w/ blue finishing pad

Even PO85rd on the PC left minor holograms, I switched up to 87mc because it has a tiny bit less cut and a bit more lubrication

After the 106FA, holos

DSC_0061.jpg


After 87mc

DSC_0066.jpg


DSC_0067.jpg


DSC_0071.jpg


Hood 50/50, haziness on the bottom half, corrected upper half

DSC_0105.jpg


Finished the hood and brough it outside to inspect my work

DSC_0073.jpg


DSC_0076.jpg


DSC_0077.jpg


Uncorrected area, rids and holos from the bodyshop

DSC_0082.jpg


Opposite side corrected

DSC_0086.jpg


Some experimenting with the new cyan cutting pads

DSC07008.jpg


Some results after the experimenting with the new cyan cutting pads. I like these pads on certain paints. I need to use them on a few more cars to give a conclusive review on weather they are great or just good.

DSC_0091.jpg


Back to the issues, with the sun out I could see what else was left on the rest of the cah


DSC_0097.jpg


DSC_0099.jpg


Sanding scratches left over on the trunk

DSC_0128.jpg


Wing 50/50

DSC_0111.jpg


DSC07011.jpg


Before

DSC_0115.jpg


After

DSC_0121.jpg


In the end I was very disappointed I couldn't get complete correction in every area. I'd say the car got to about 90% as a whole.

It got very messy during correction so I re-washed it with the FK1 shampoo/degreaser and gave it an IPA bath before LSP.

2 coats of blackfire wet diamond left to cure 2 hours each
wheel sealed with rejex for winter

Dusted off with "Zee" duster, used to make fun of it but now am a believer:thumb:

DSC_0163.jpg


Finished product

DSC_0130.jpg


DSC_0131.jpg


DSC_0132.jpg


DSC_0134.jpg


DSC_0133.jpg


DSC_0139.jpg


DSC_0147.jpg


DSC_0149.jpg


DSC_0155.jpg


DSC_0166.jpg


DSC_0169.jpg


DSC_0150.jpg


DSC_0180.jpg


Thanks for looking

;)
 
Great recovery on the STI, It had to be a heck of a job to work on paint like that, It shows great and shiny.
 
Magnificent turn-a-round. Top notch as always Dave....(I think your names Dave :redface: )

I have a bloke of mine from Ireland that moved here 10 years ago, Chappy has 1 of these that I sort for him 4 times a year. The bonet always gets dreaded water marks. Fortunately the windscreen isn't affected. I think they come from the car park, whilst I can't be certain though :happybday:
 
Back
Top