Street Dreams
New member
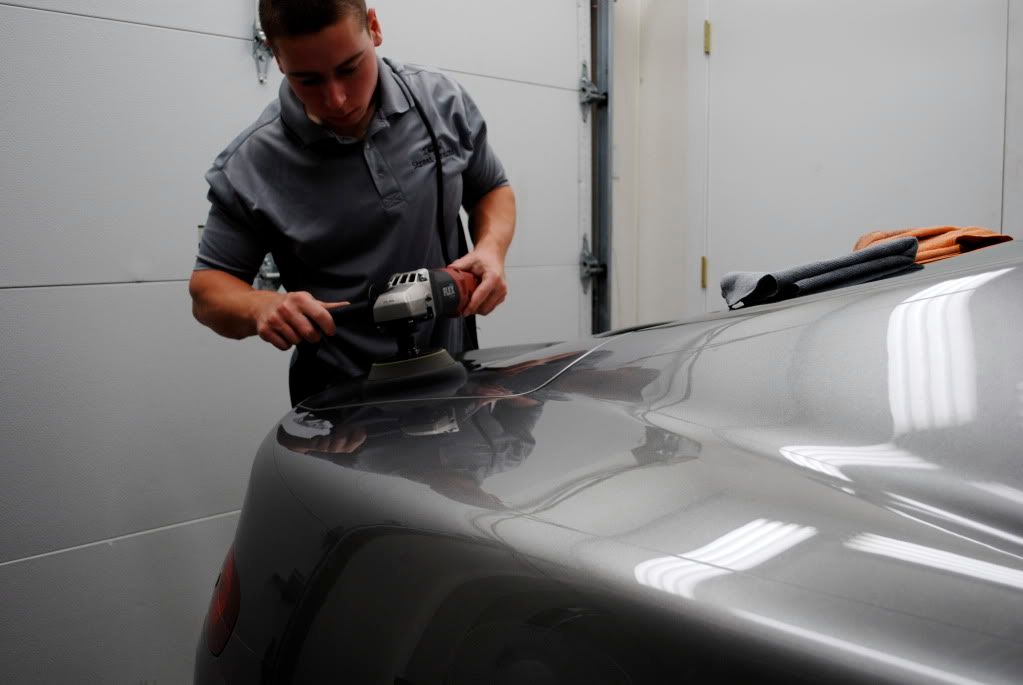
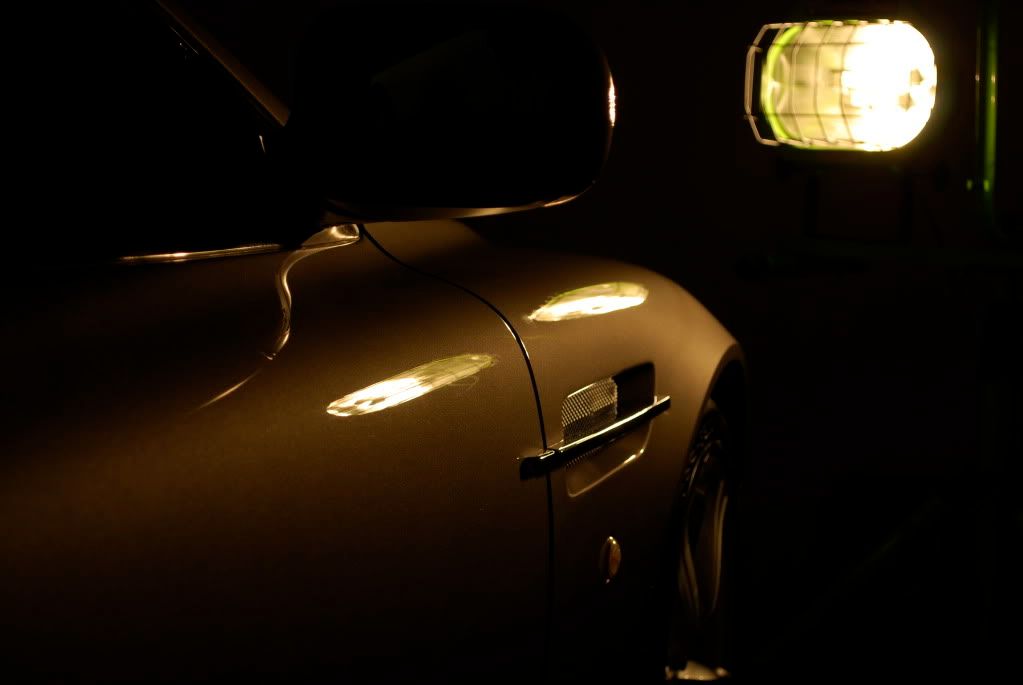
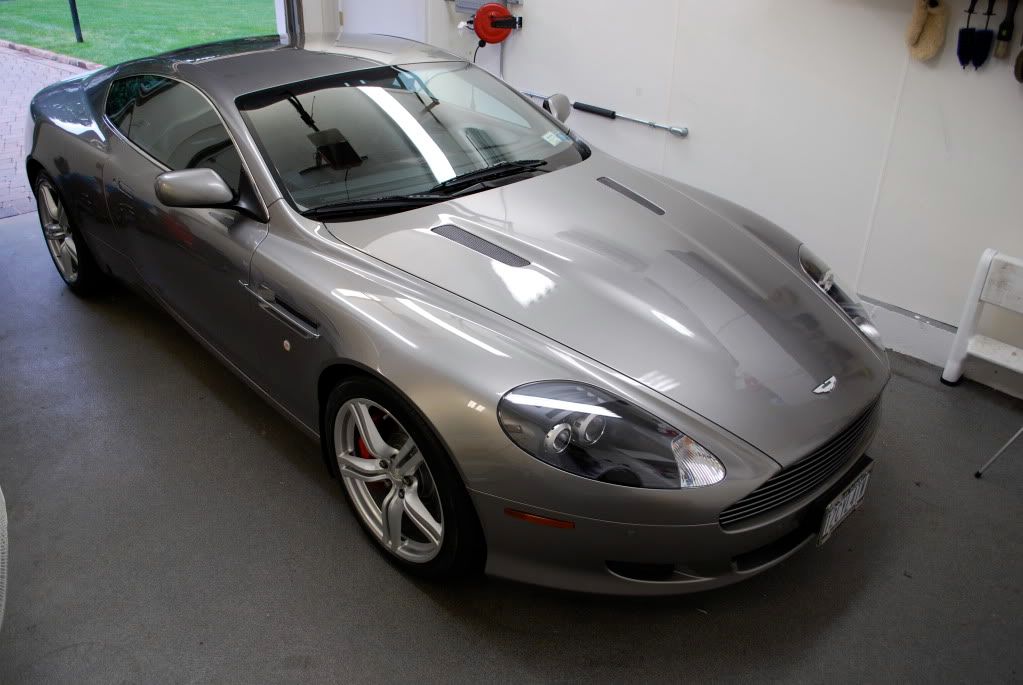
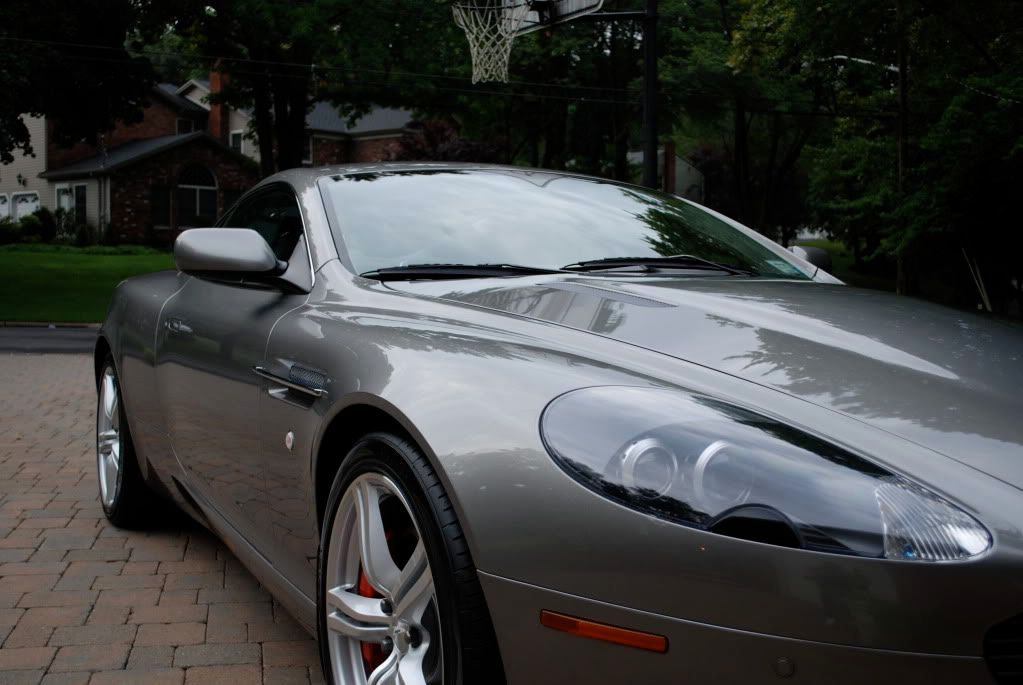
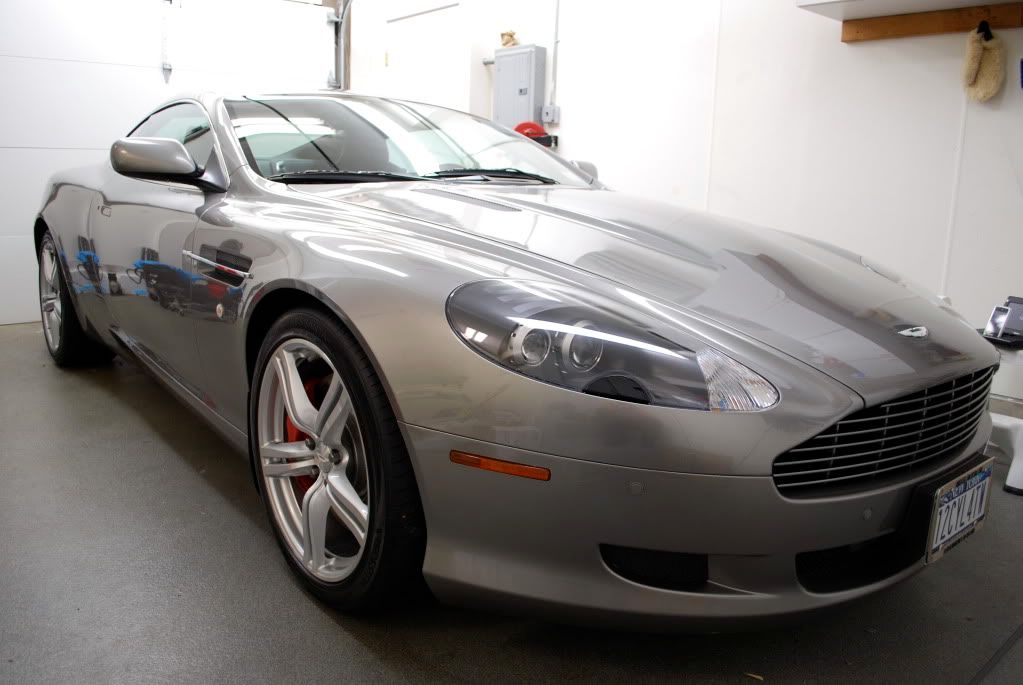
2008 Aston Martin DB9 Sport Pack
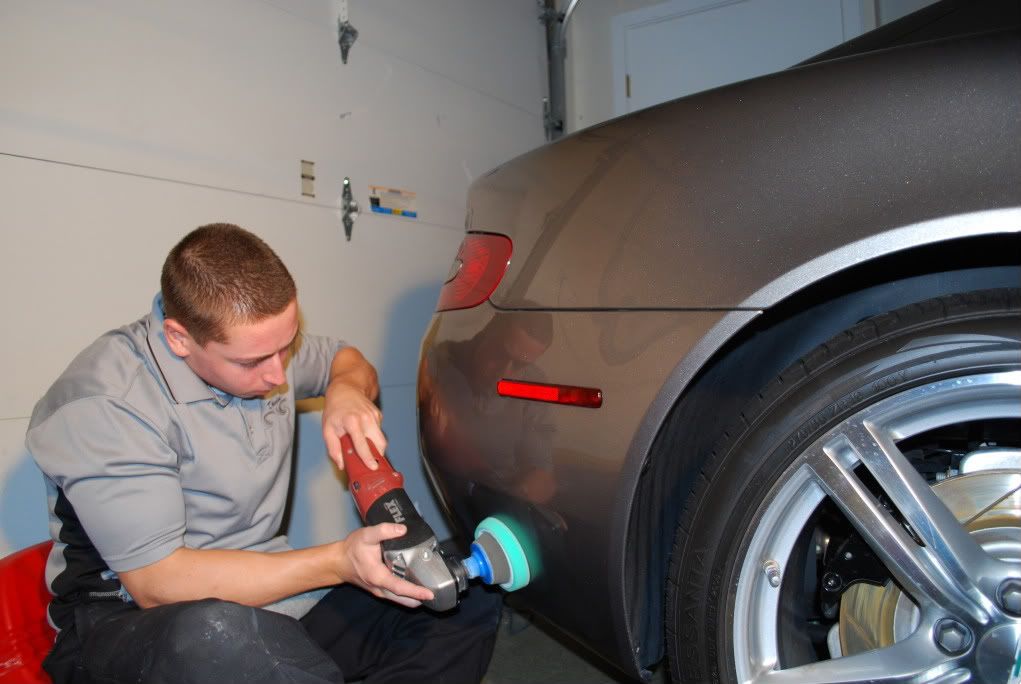
Car was booked for a 3 day full correction and show preparation.
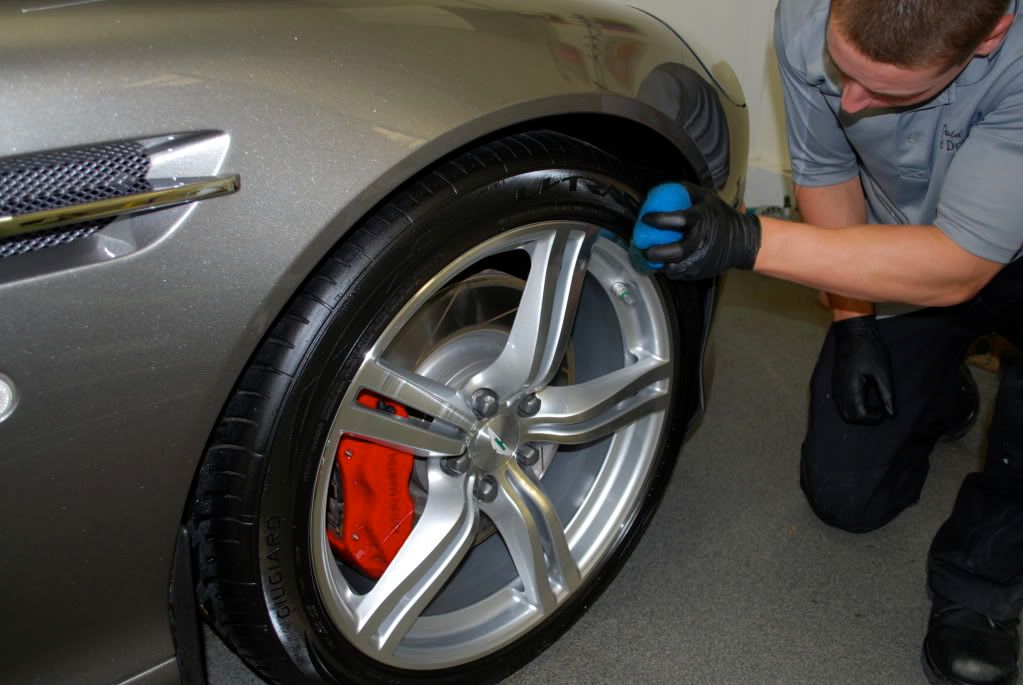
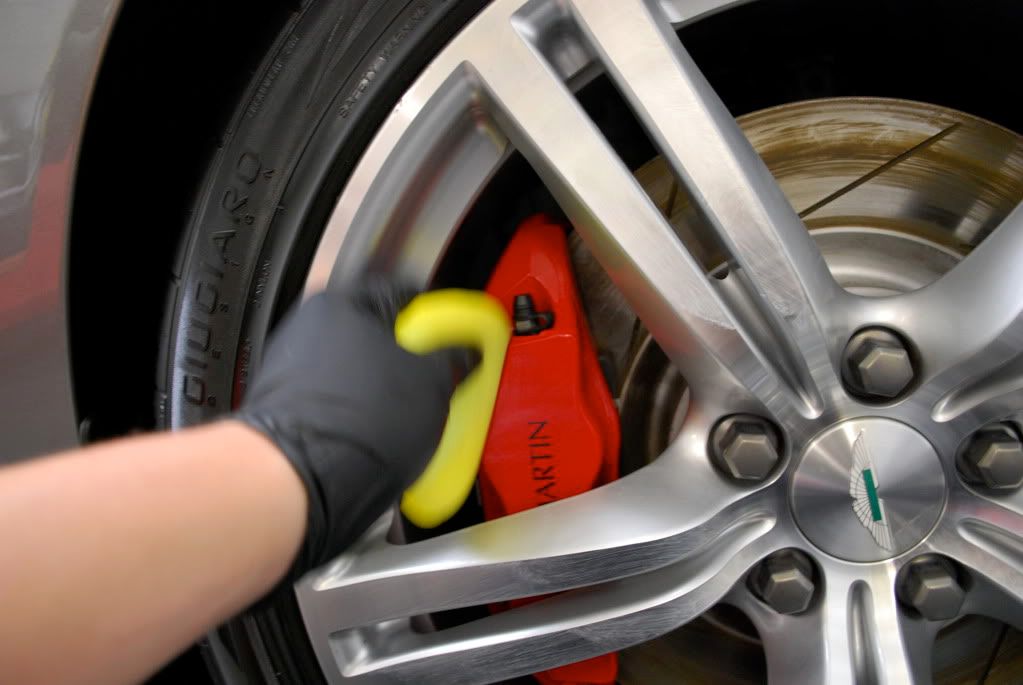
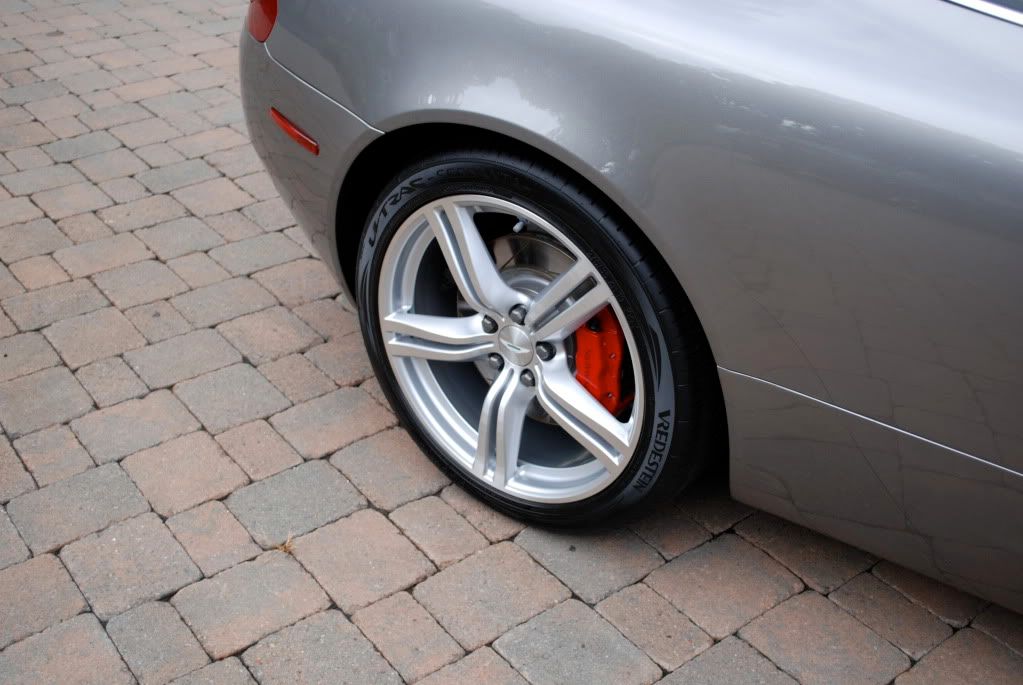
Wheels came first, tires pre cleaned using ARO. P21s wheel gel was left to sit for a few minutes, even though the wheels were very dirty I just dont believe in letting wheel cleaner sit on the wheel for 20 or 30 minutes. If it works, it will do the job in a few minutes or so... otherwise you need a stronger wheel cleaner but thats just my opinion.
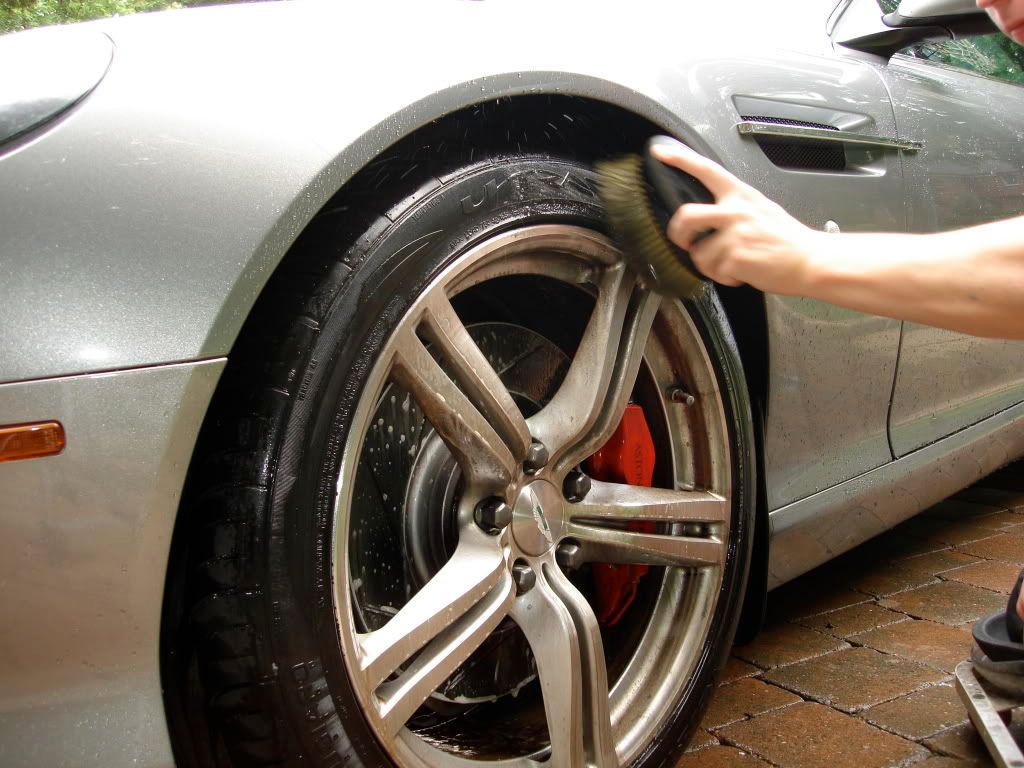
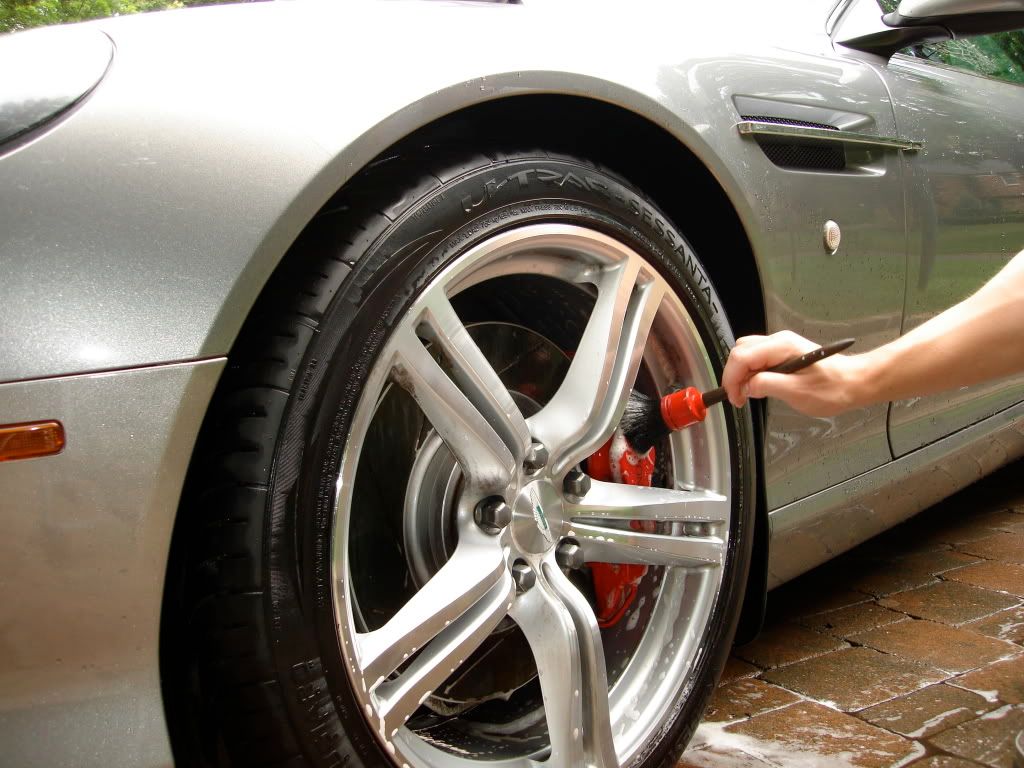
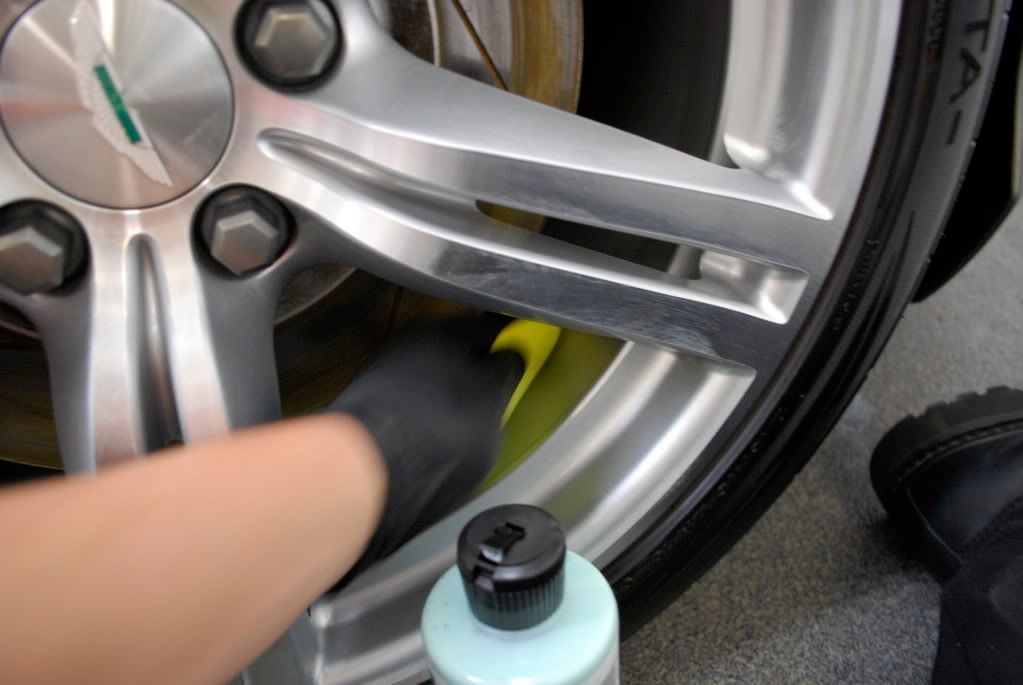
Behind the spokes, calipers, hub mounting face etc. all cleaned with various brushes. Wheel wells received APC 4:1 scrubbed with a MF mitt.
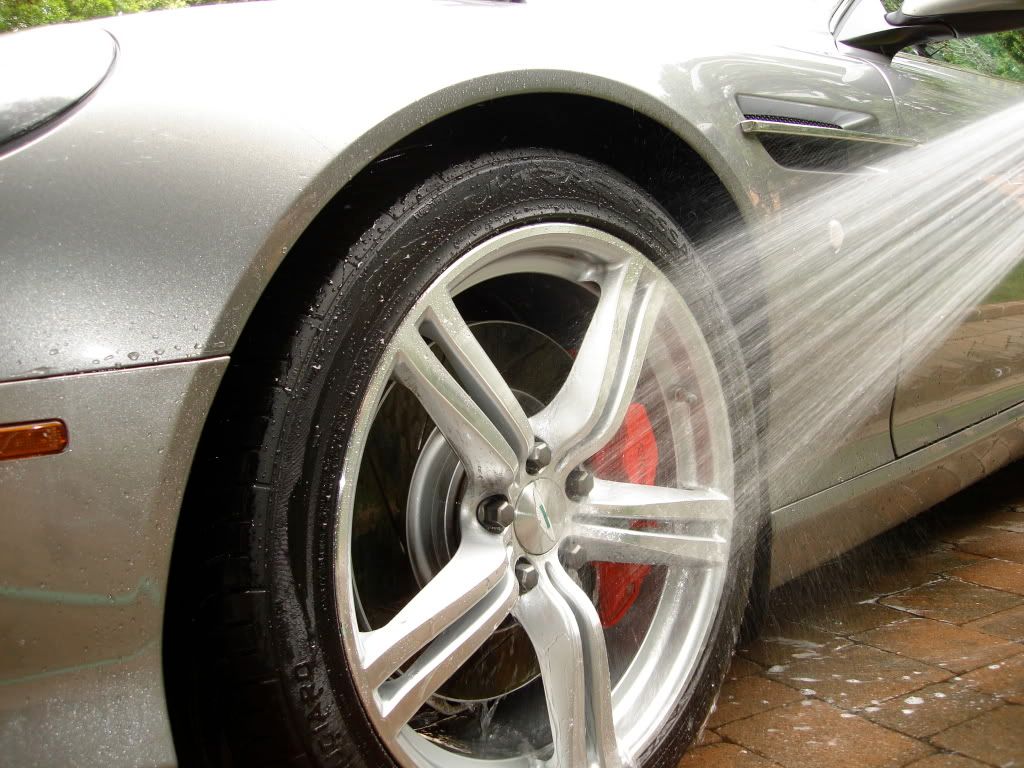
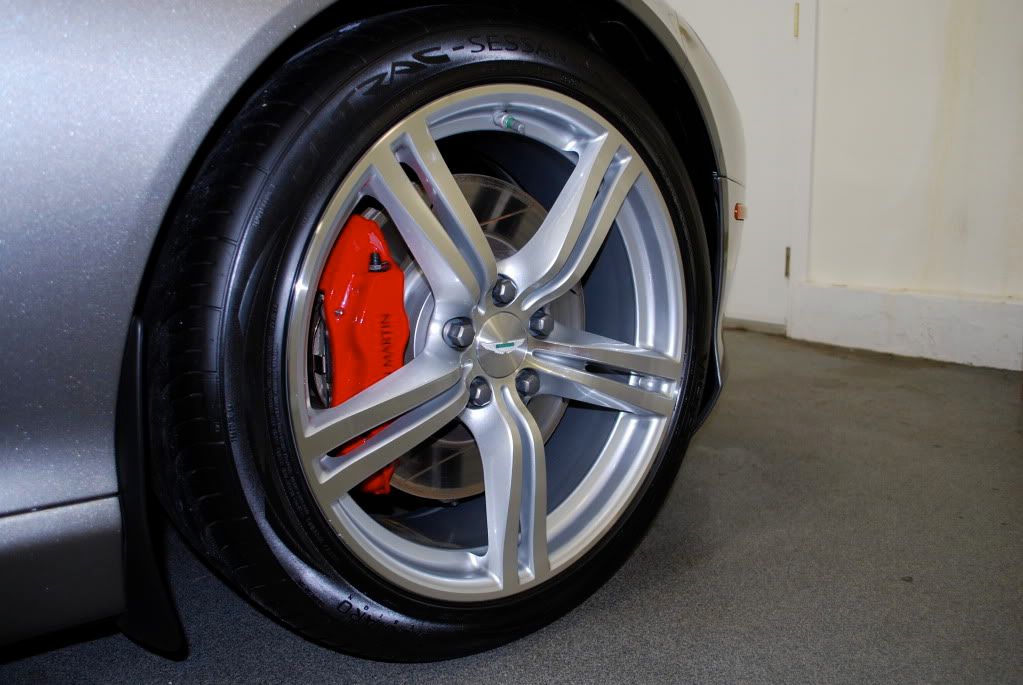
Everything was rinsed thoroughly...
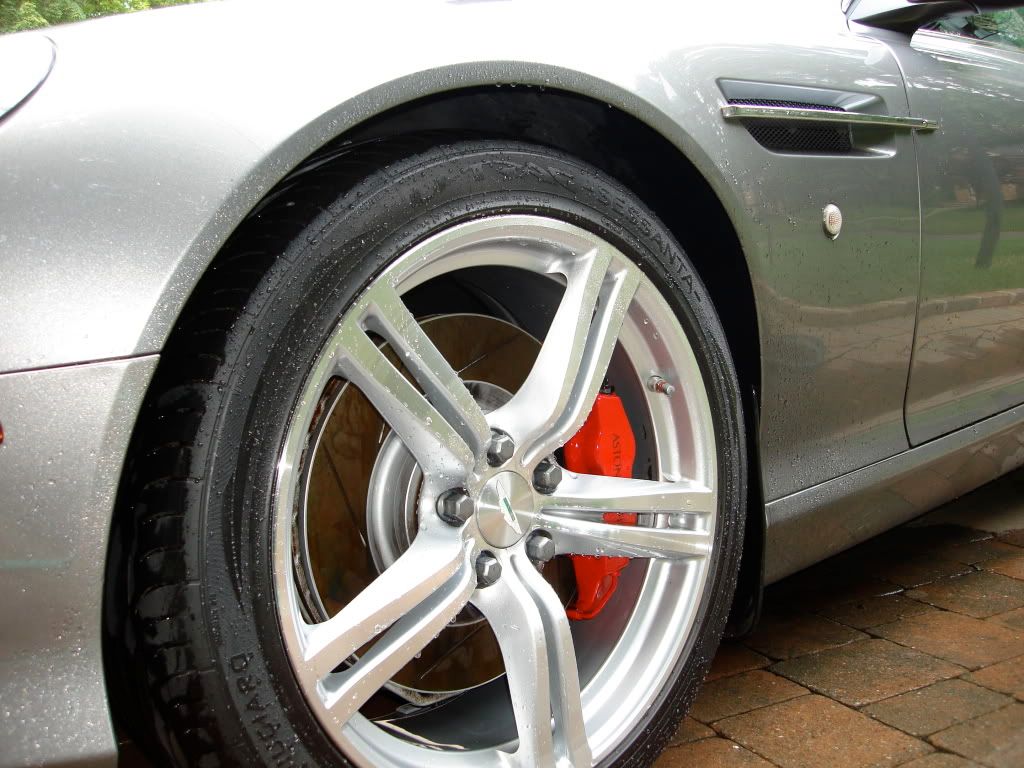
After, inner barrels de-tarred with Tarminator later on before polishing.
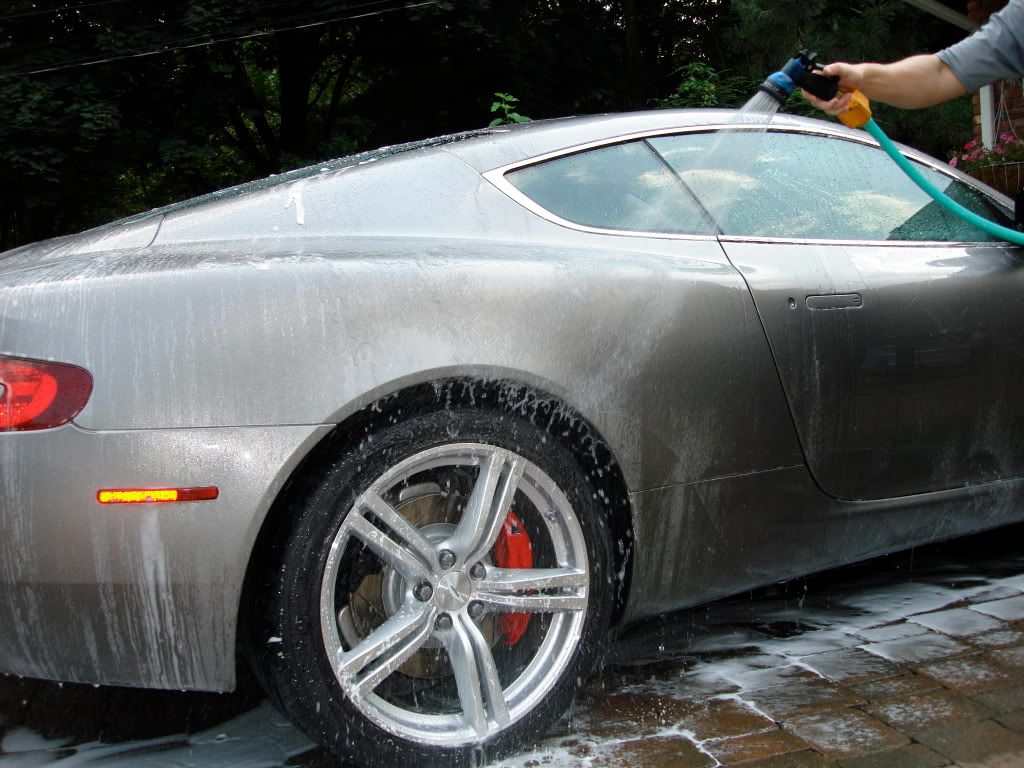
Paint was rinsed at high pressure, then foamed using a mixture of CG maxi Suds and a Biodegradable APC to help strip some of the prior LSP
Rinsing off the foam
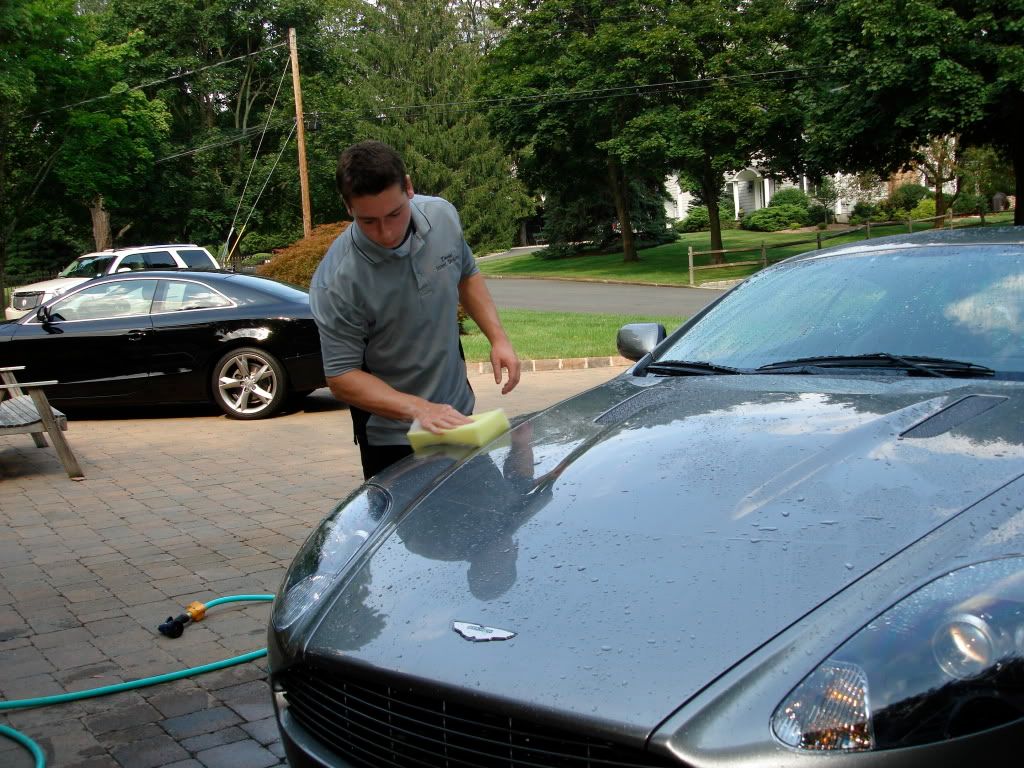
2 bucket method carried out using CG citrus wash and clear.
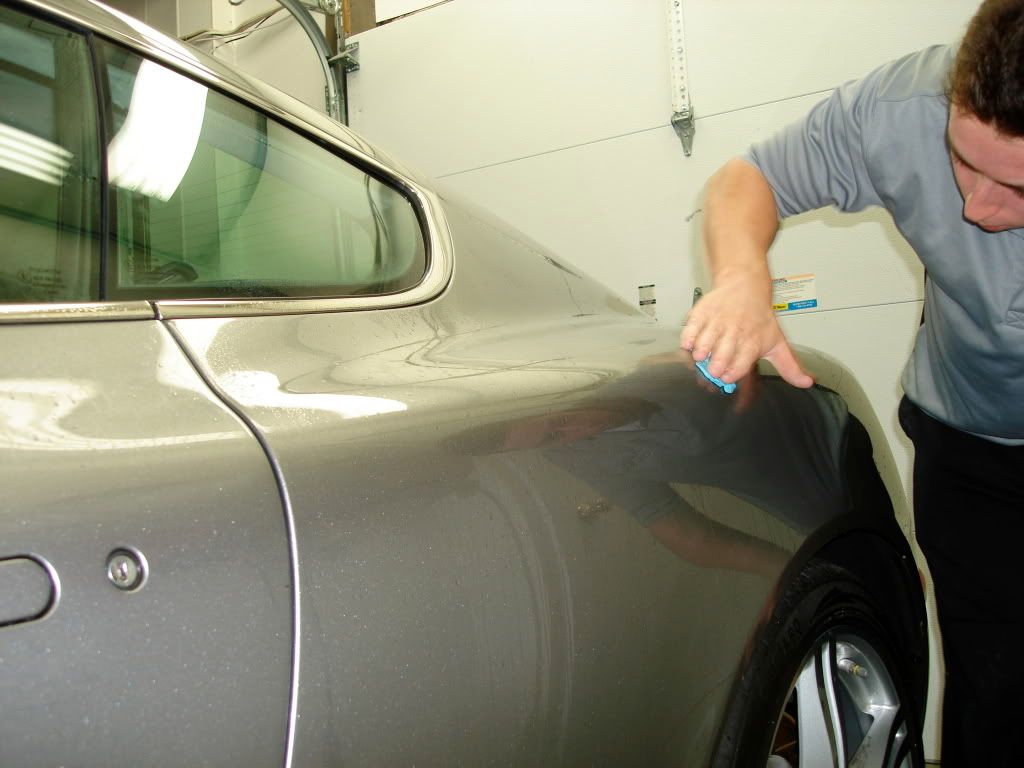
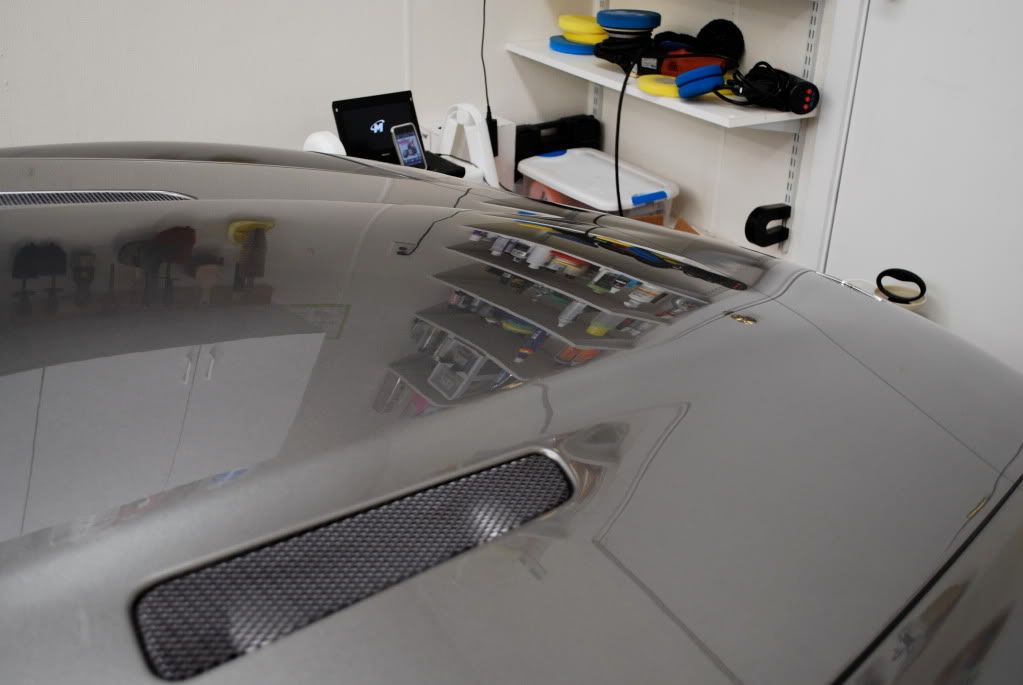
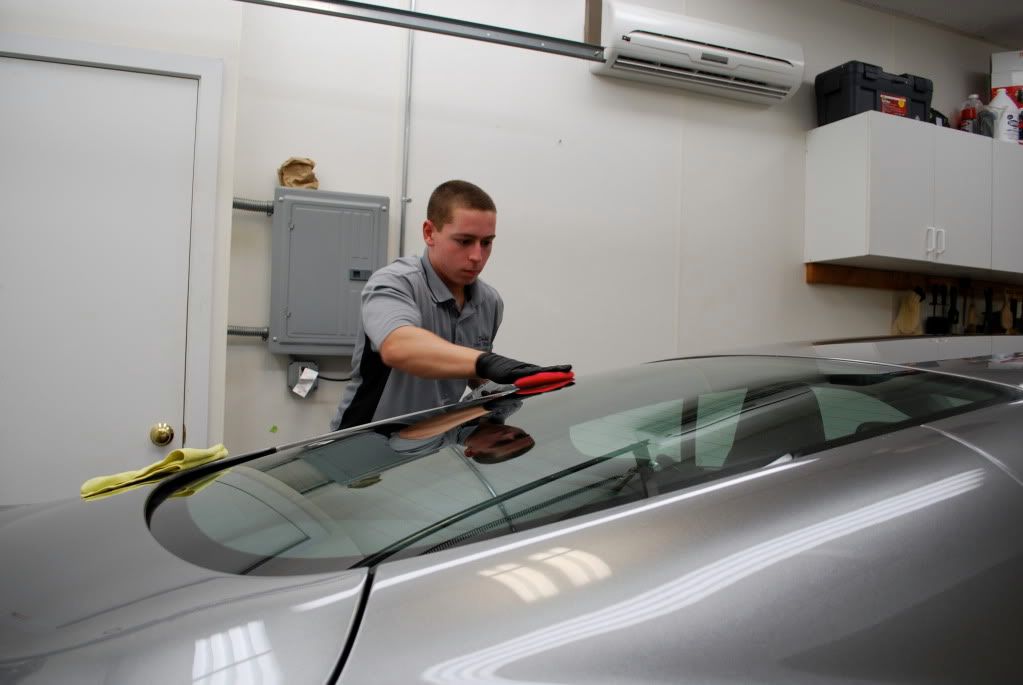
Before the sun came back out I pulled the car inside to dry it and begin claying. Megs mild clay and ONR lube were used. The clay picked up a good amount of grime, some areas like the hood and truck were clayed twice.
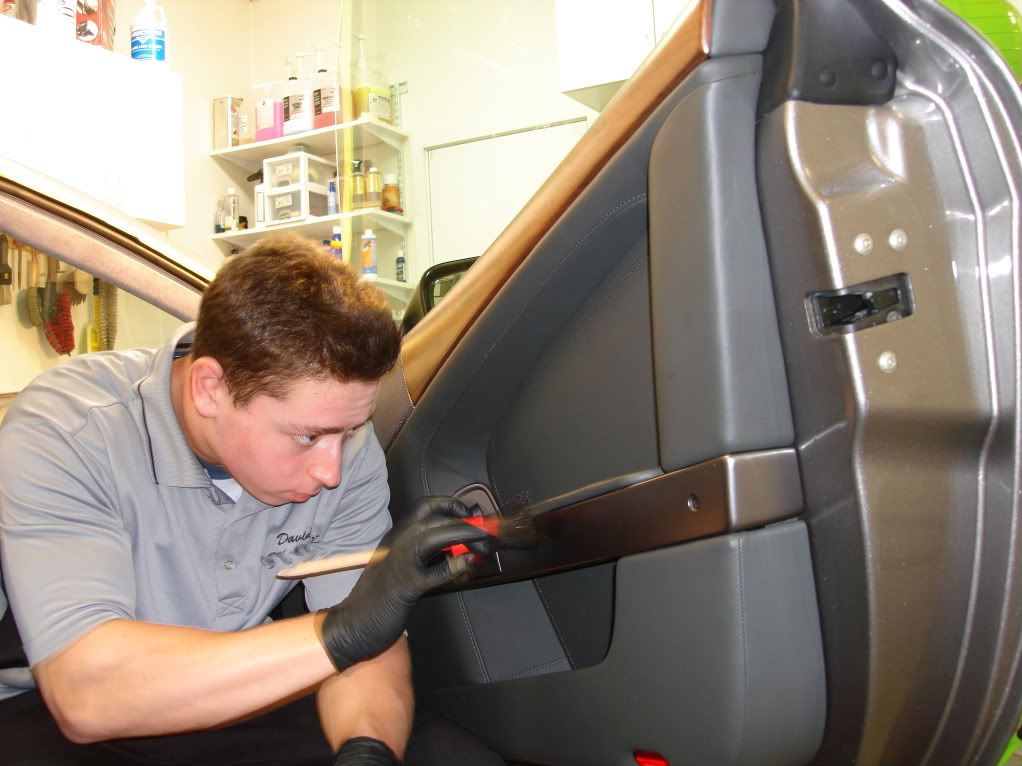
Before starting correction I worked on the interior
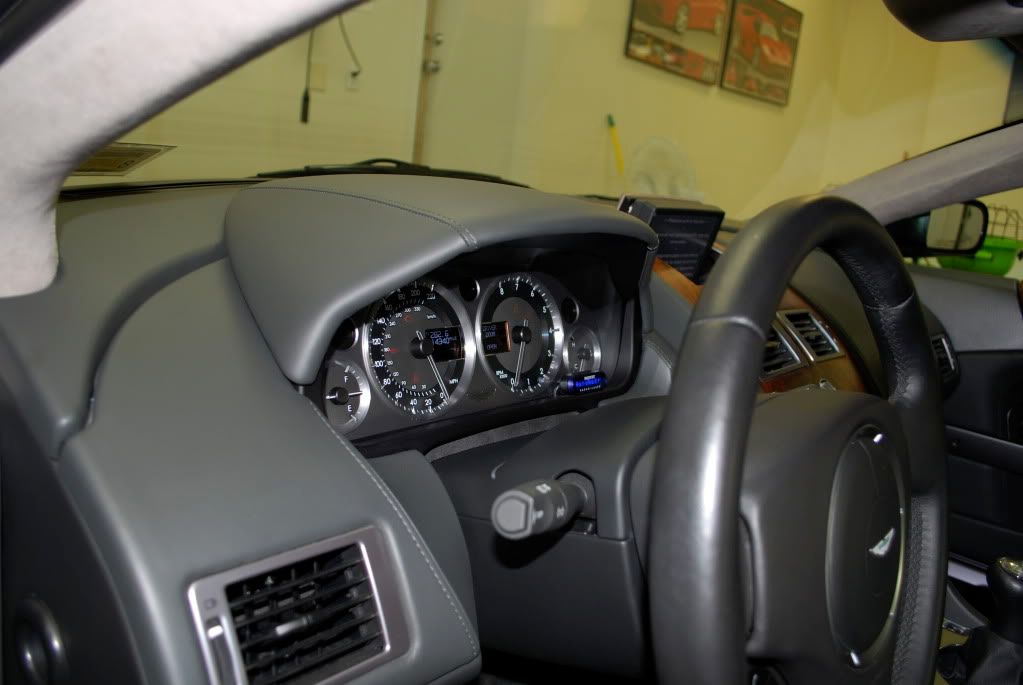
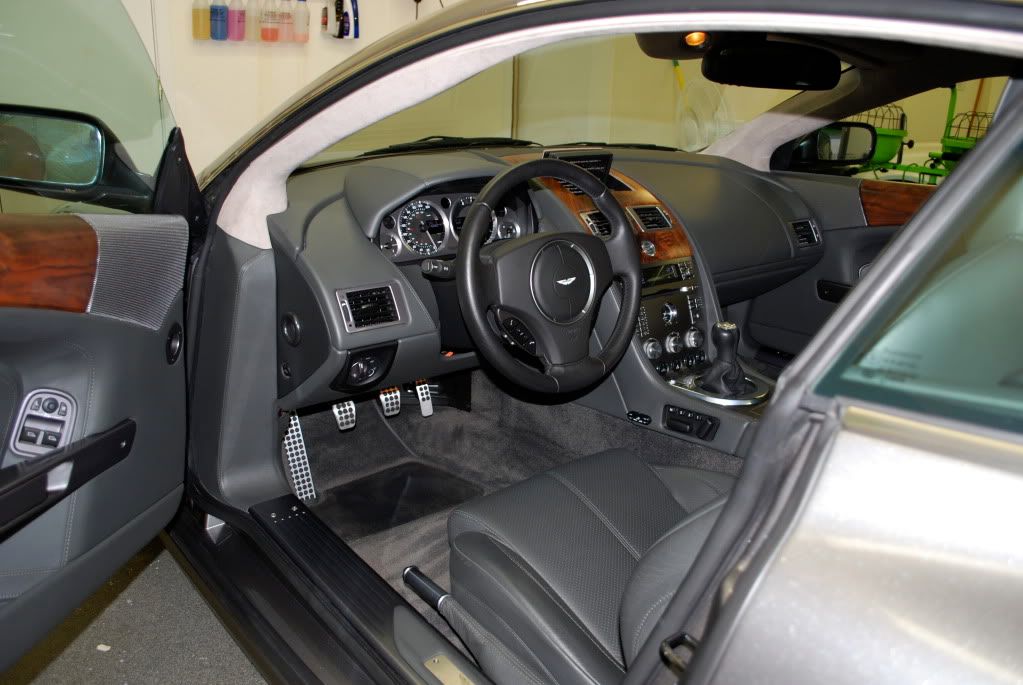
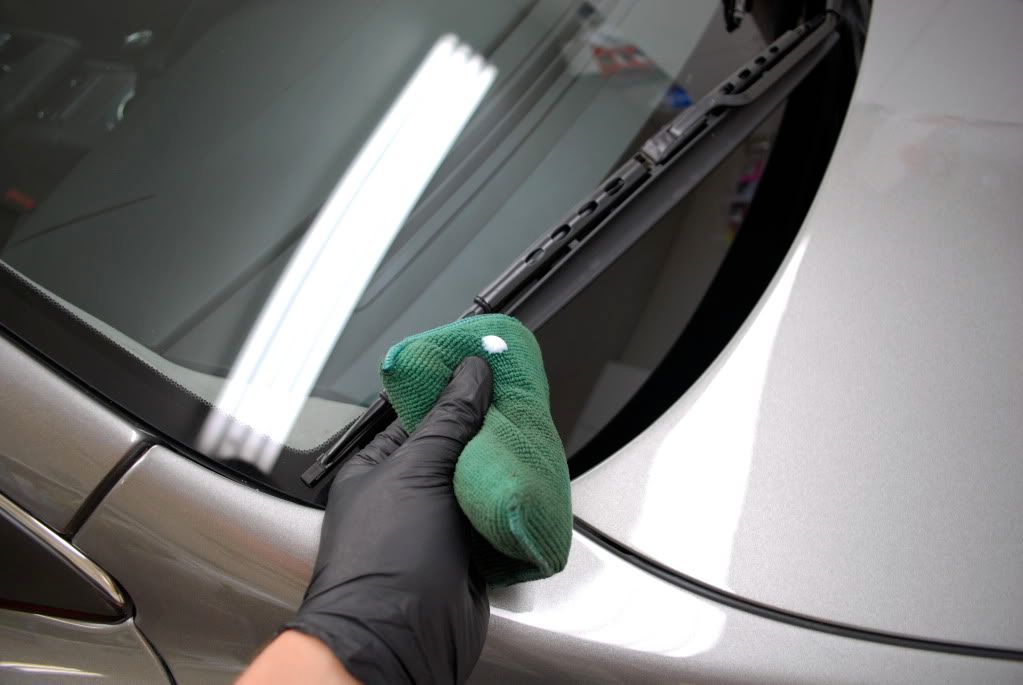
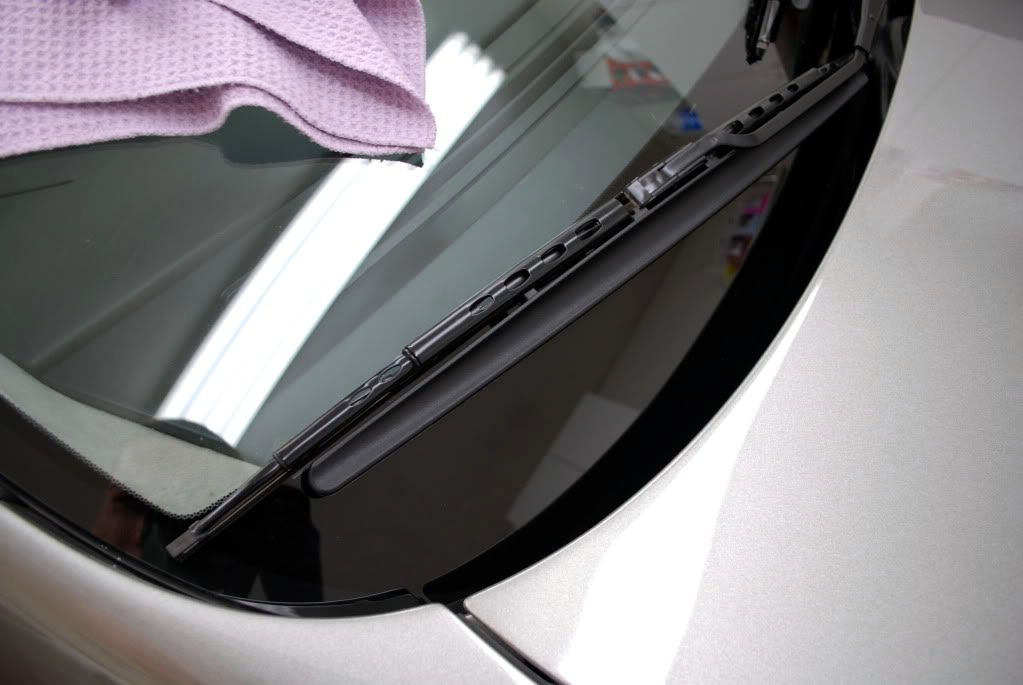
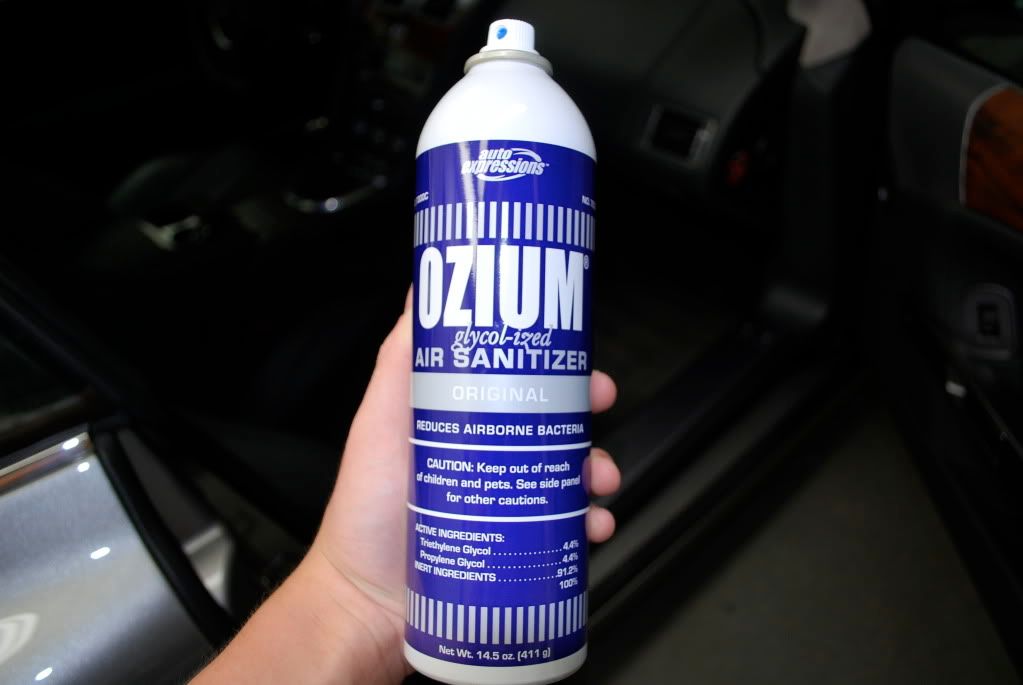
Interior, although small took me about 2 hours to get back to 100%. All plastics, glass, trim, doorjambs and leather were treated.
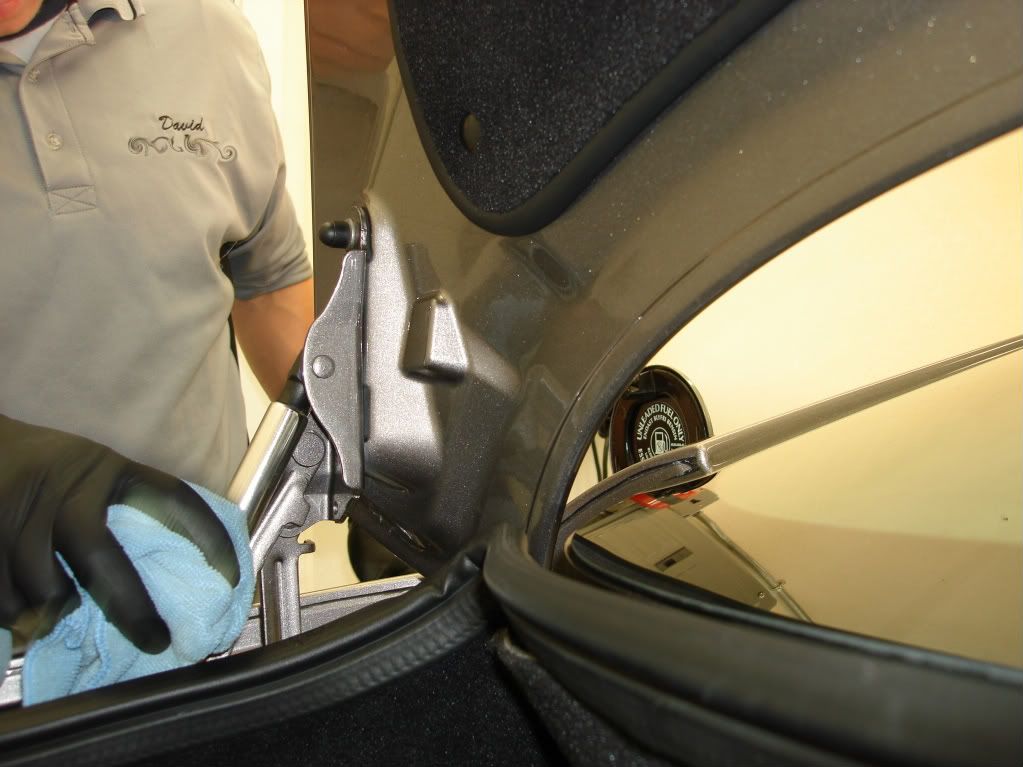
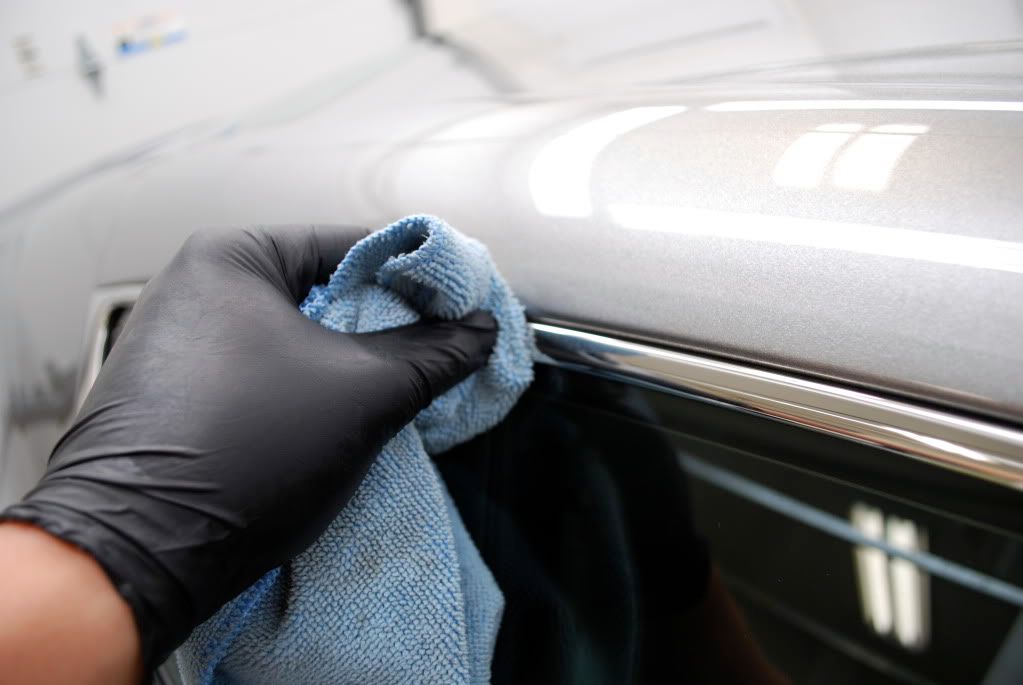
Doorjmabs were hand polished and sealed, the rubber trim around them was dressed with TRV too.
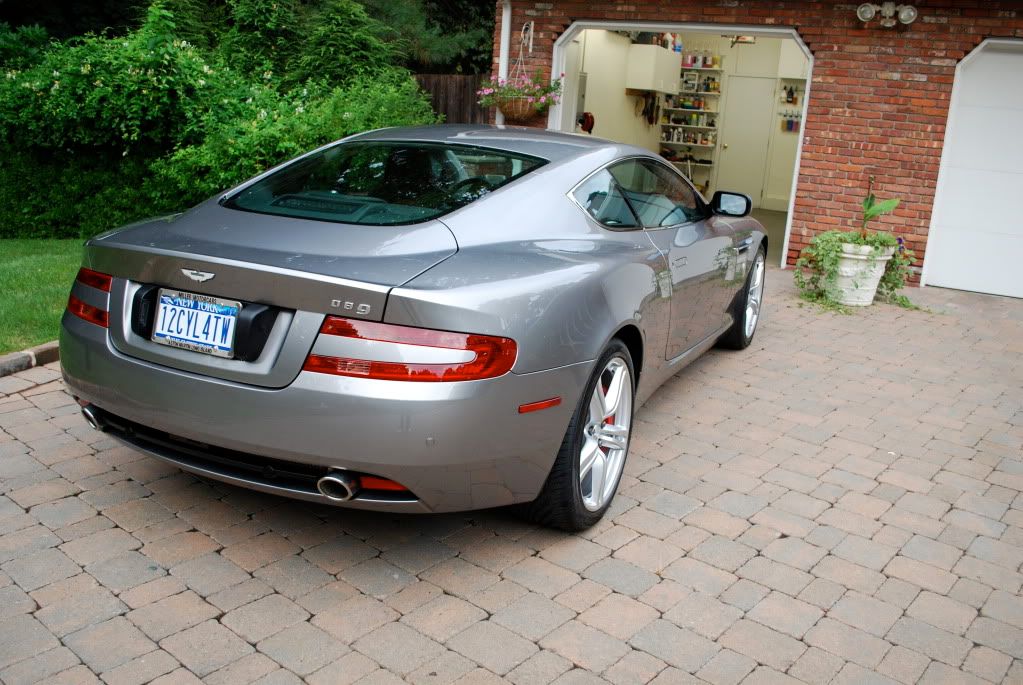
Some finished shots (Passport 9500i properly hardwired and discrete like it should be, so many of my customers have valentine 1 wires hanging from the windshield:shakehead")

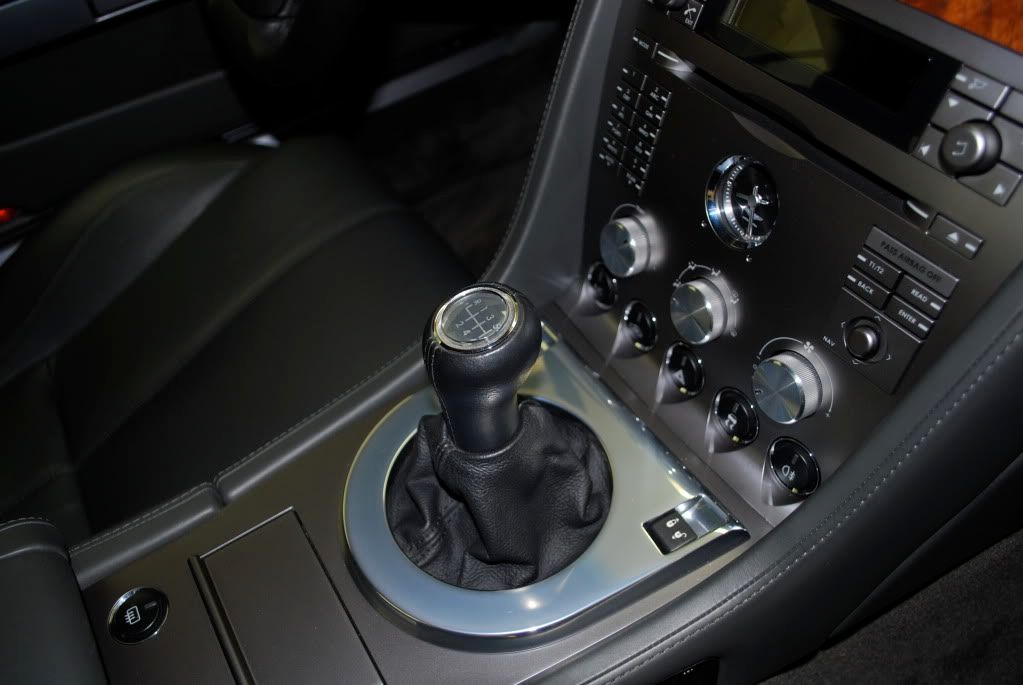
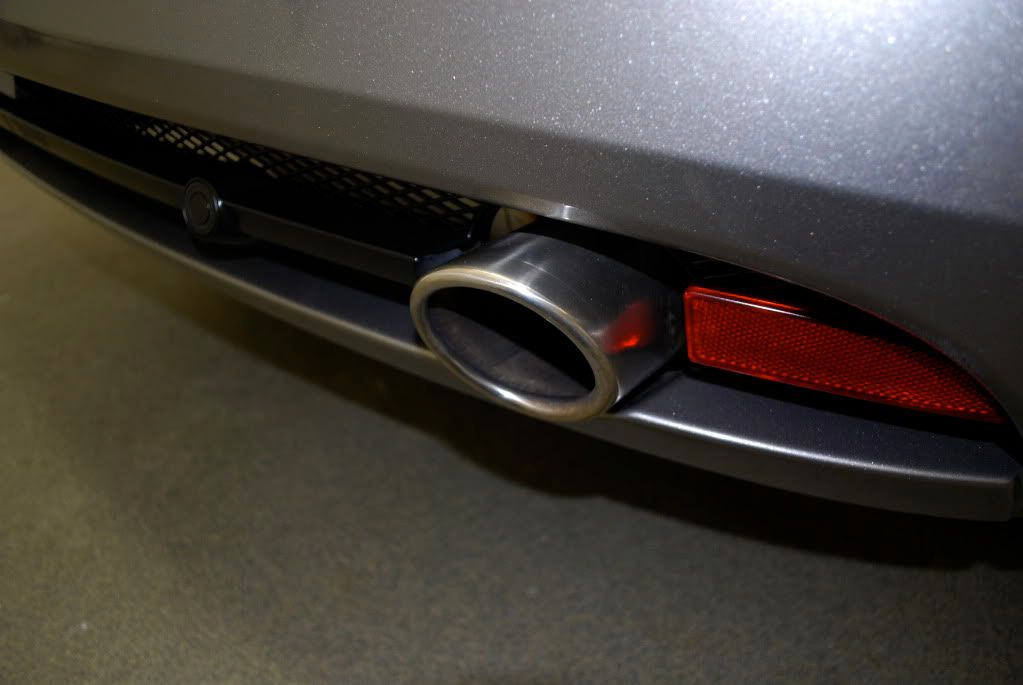
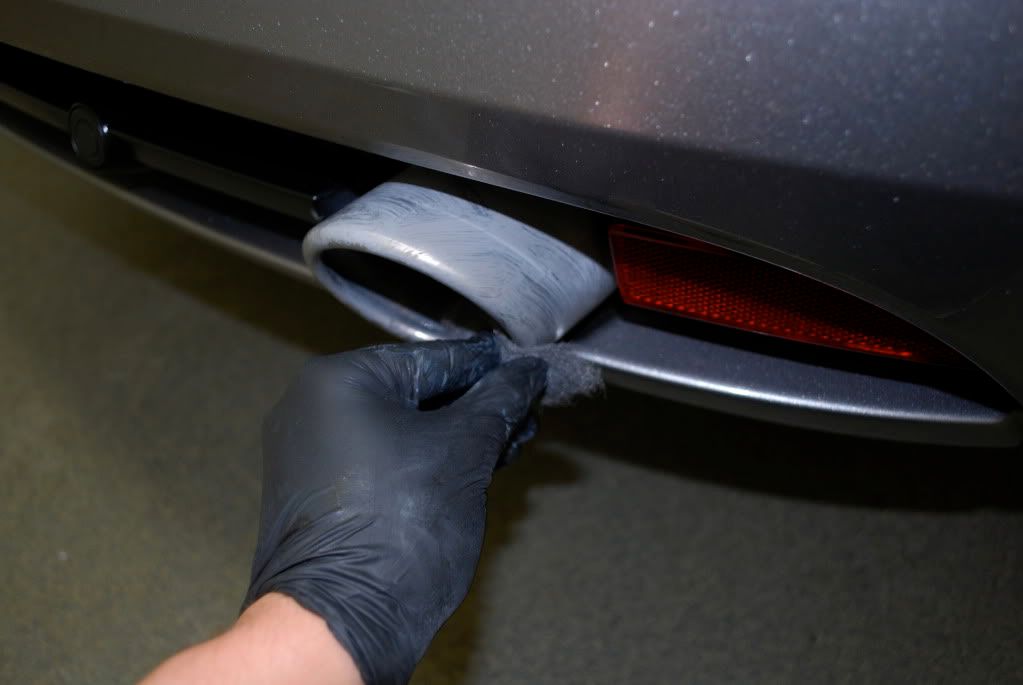
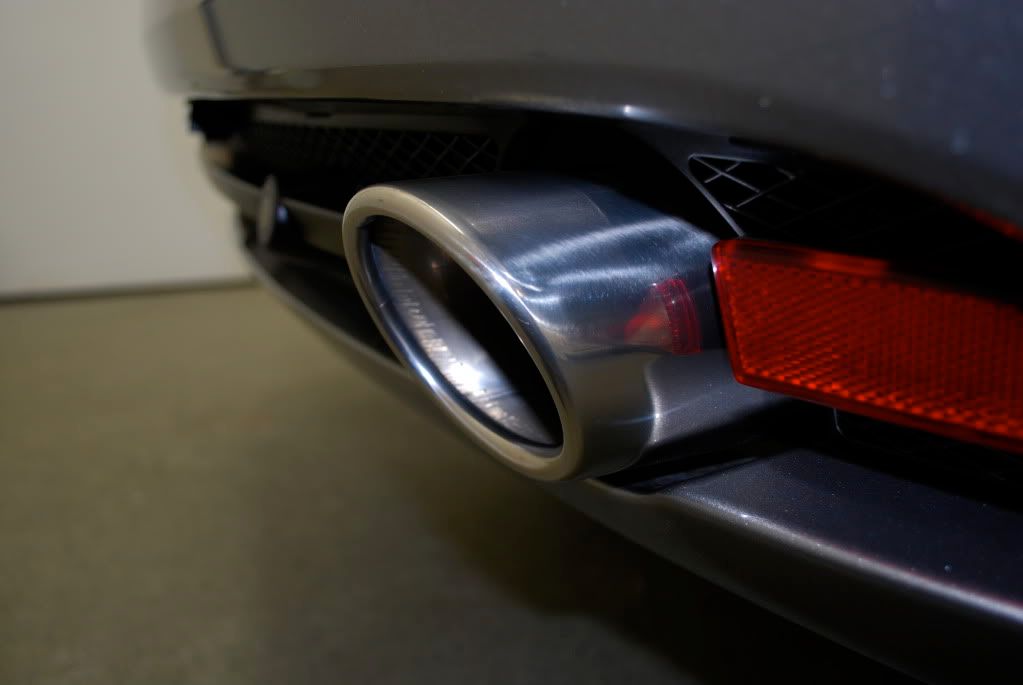
The aluminum trim around the shiftboot was hand polished using wet mirror finish, which has proven to be a killer all around product. After
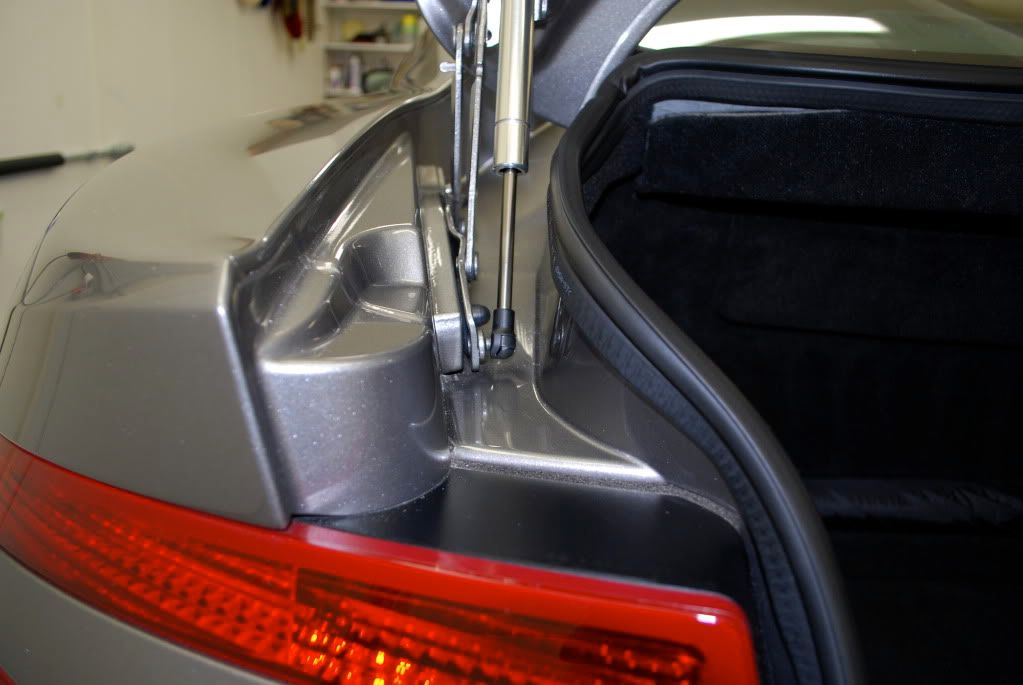
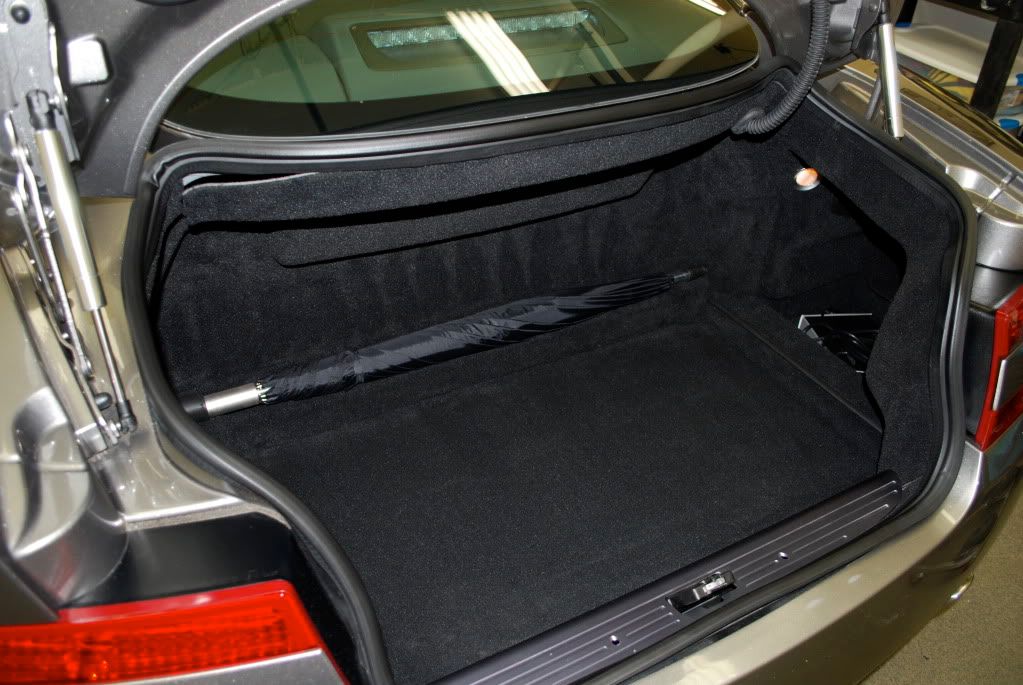
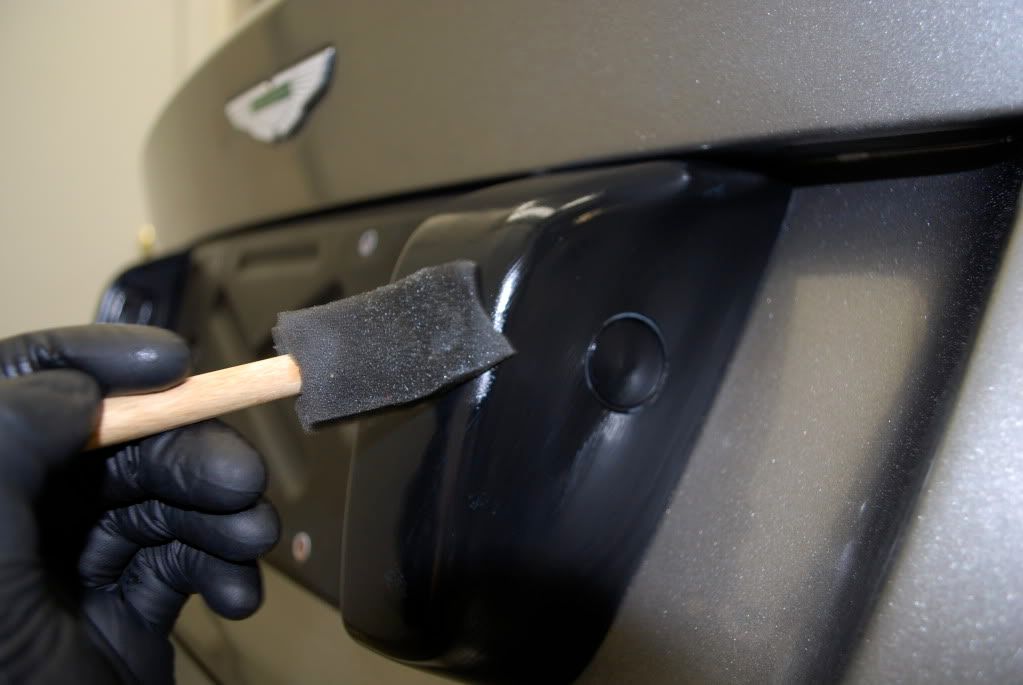
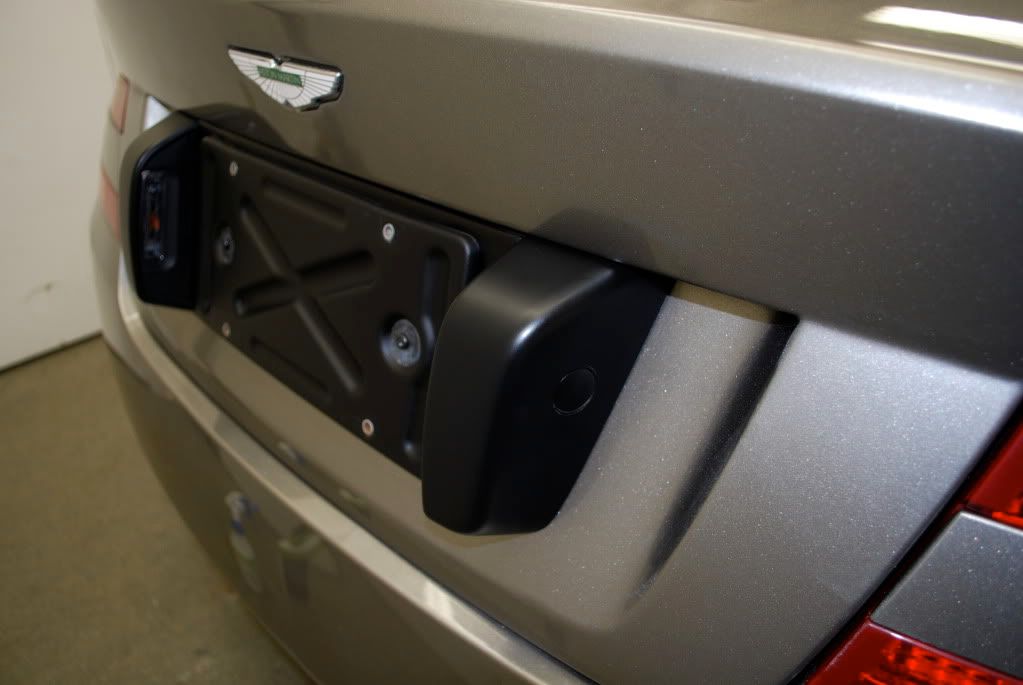
Trunk jambs were cleaned and sealed as well...
during
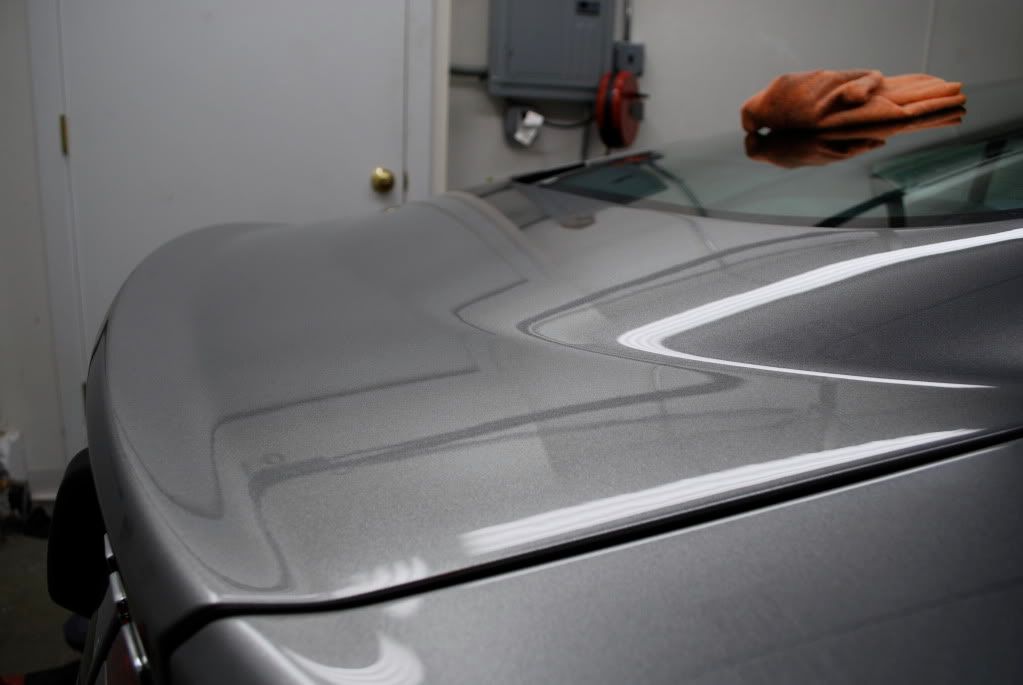
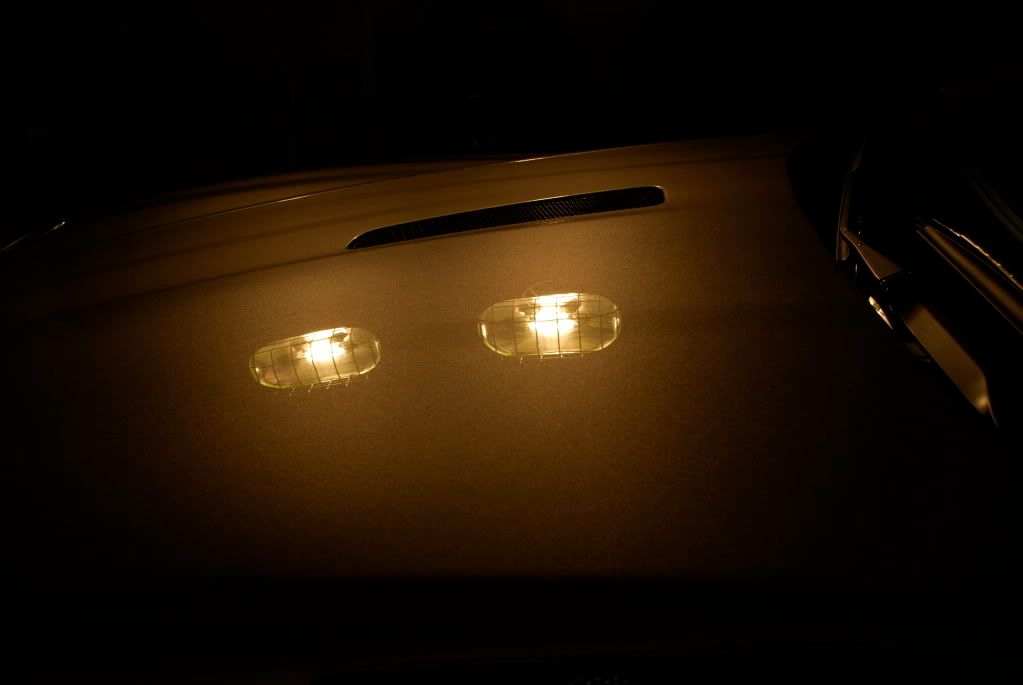
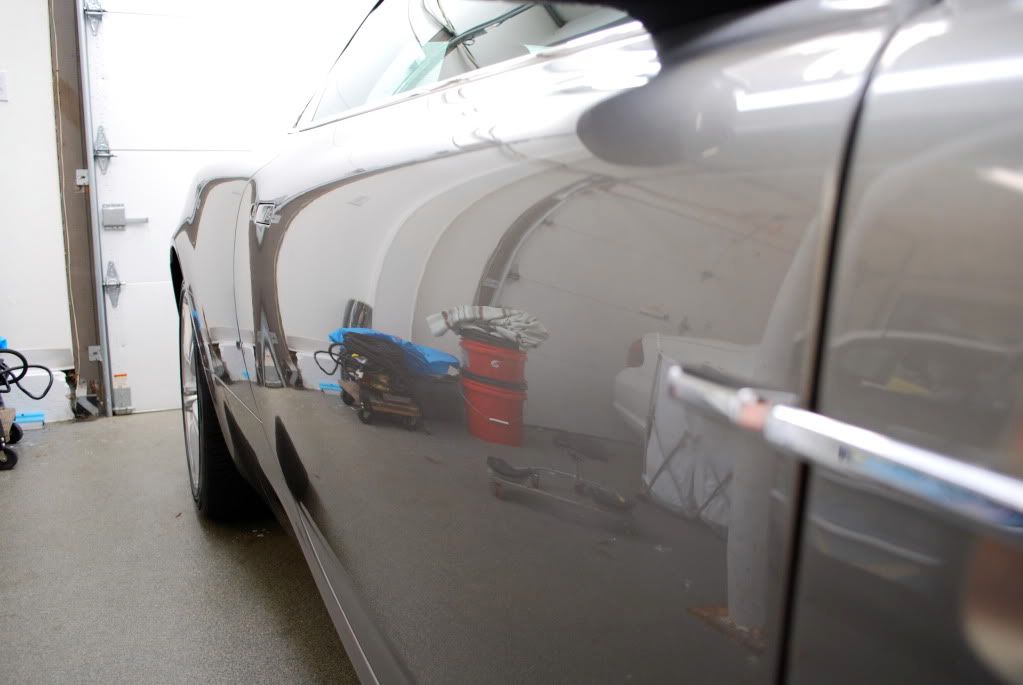
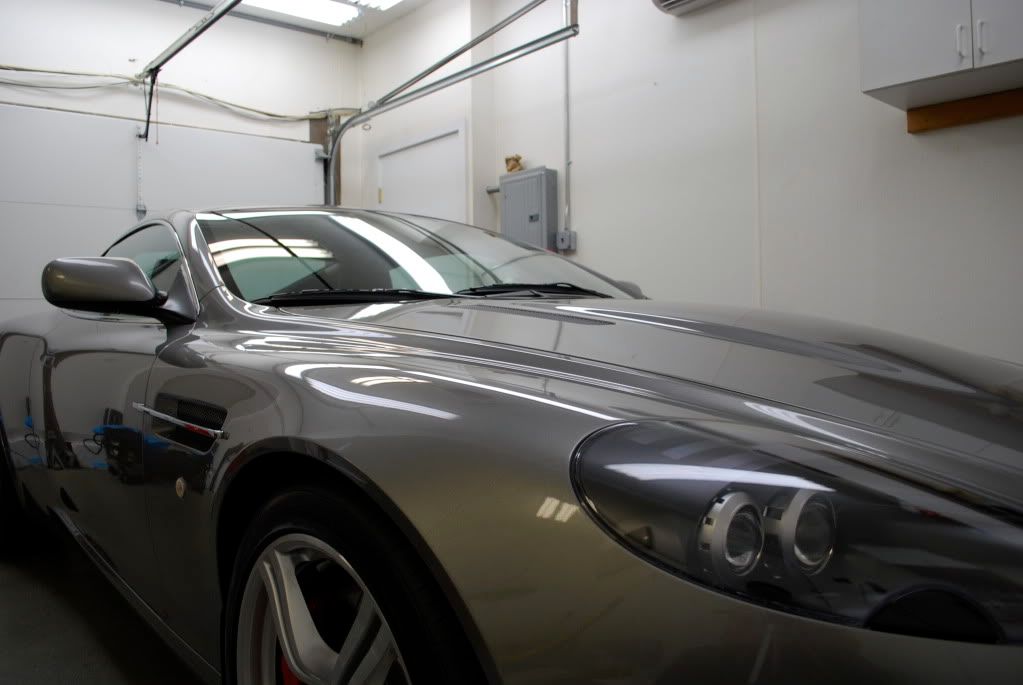
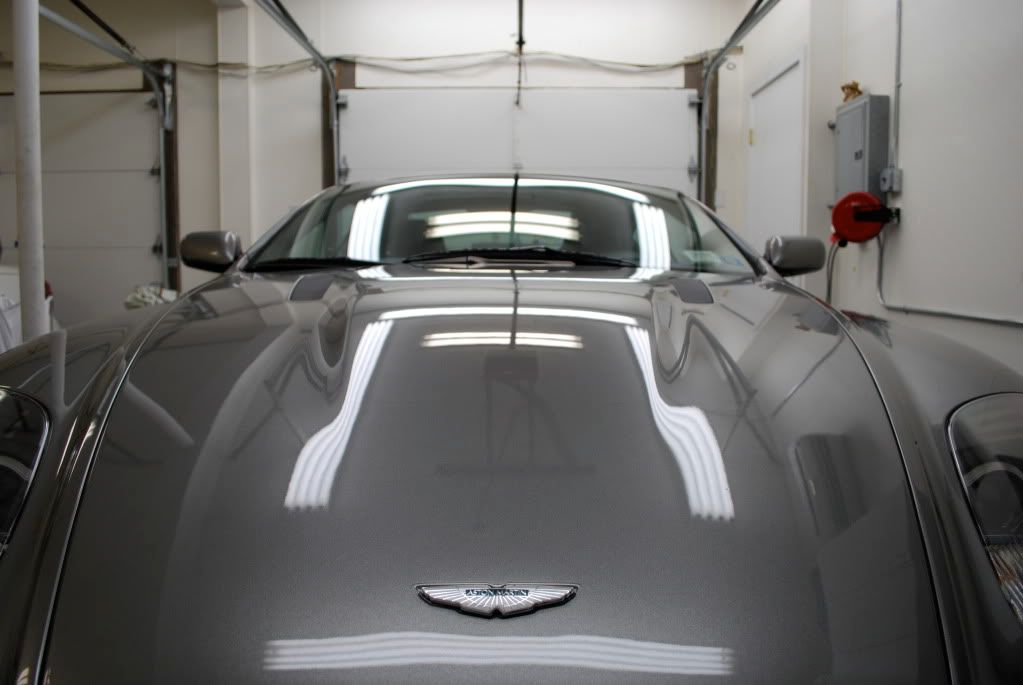
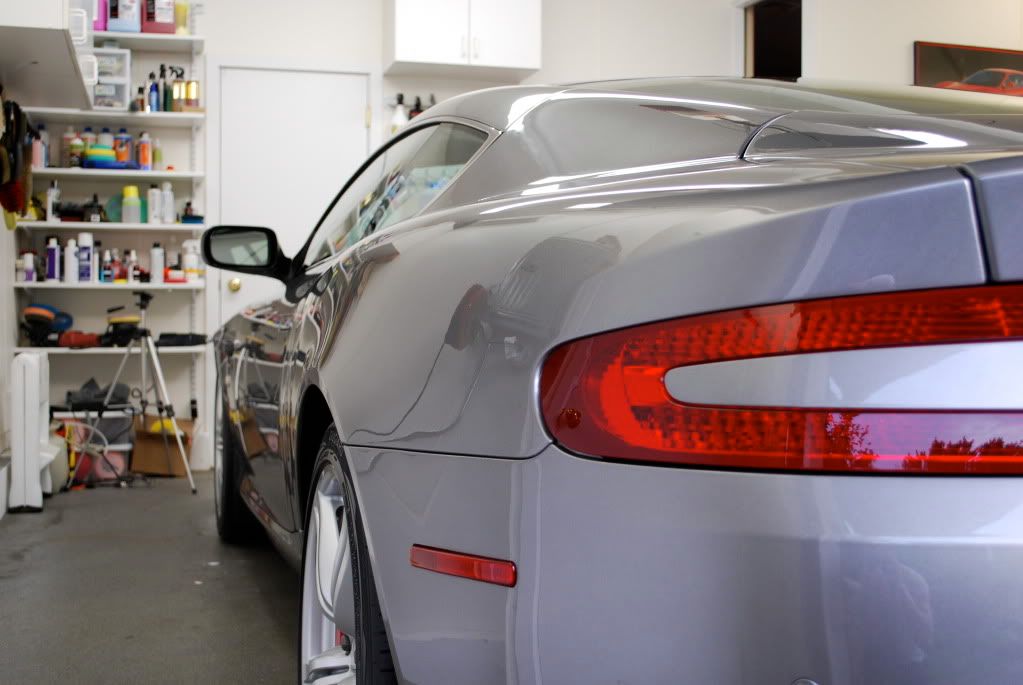
After...

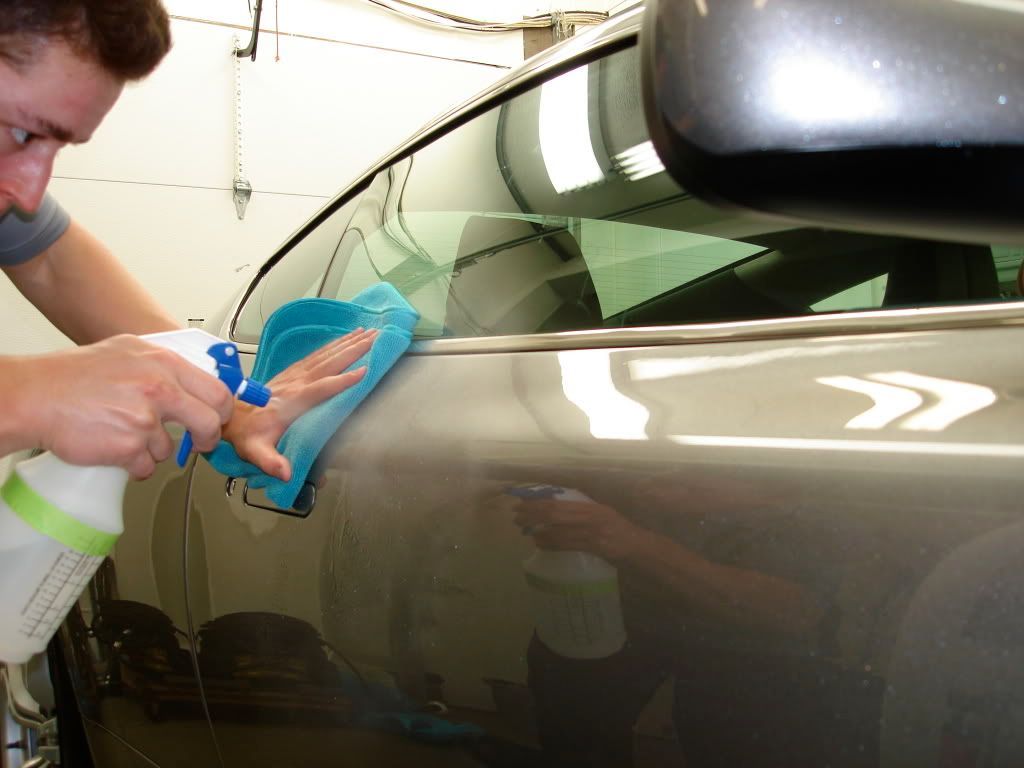
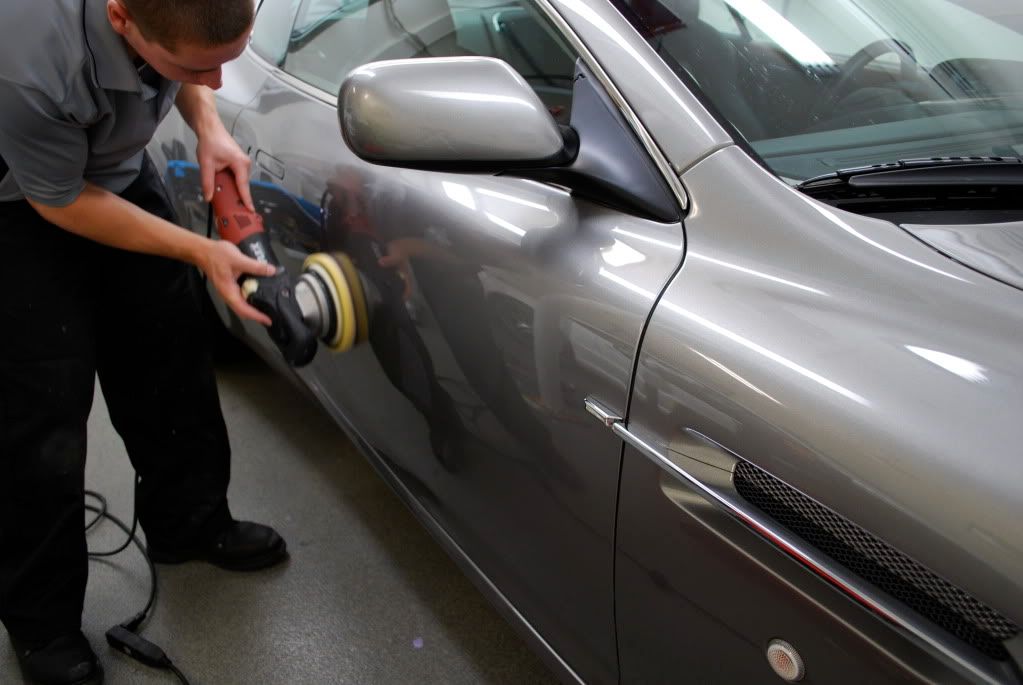
After claying the car was given 2 IPA wipedowns to ensure all prior waxes or sealants were stripped off as well as any clay residue. Good test to see if the finish is well stripped if to place your finger tip on a panel and gently rub, if it squeaks instantly your usually okay to move onto correction.
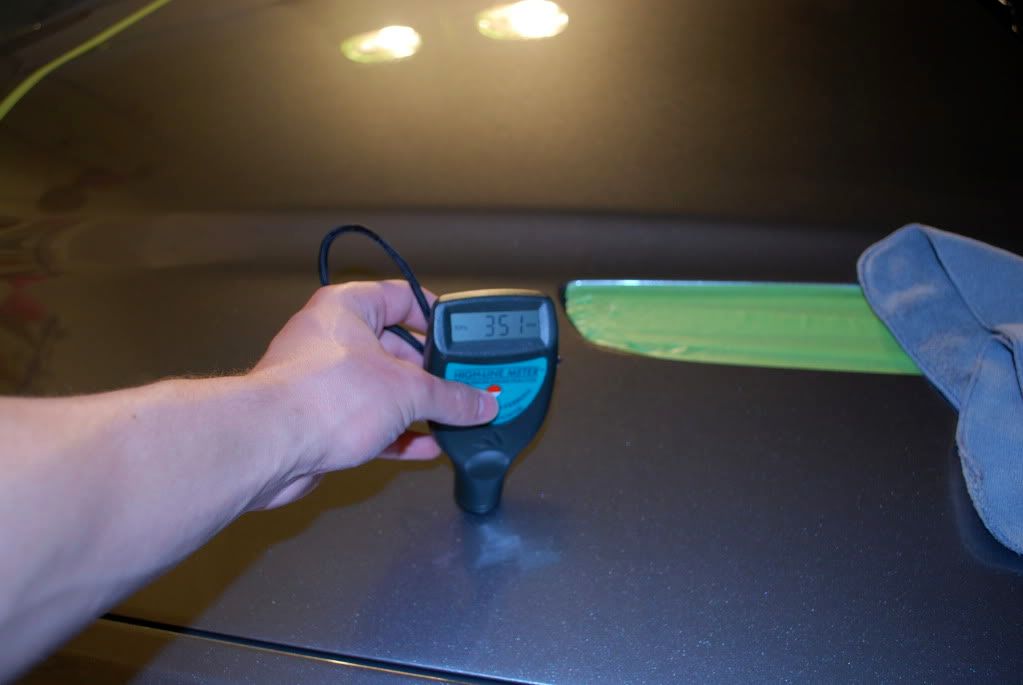
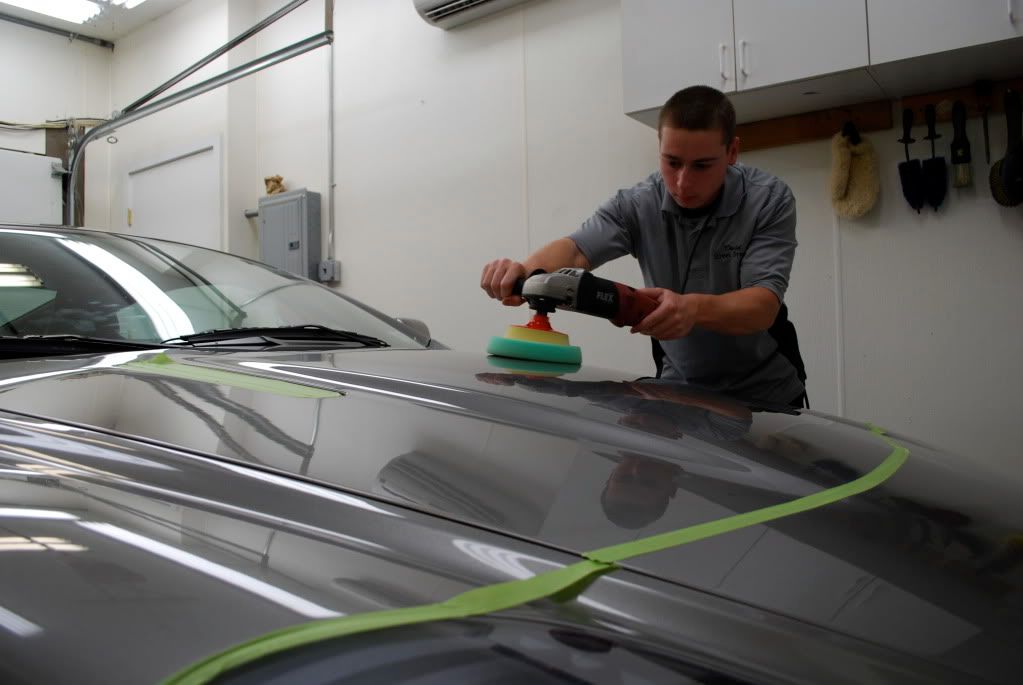
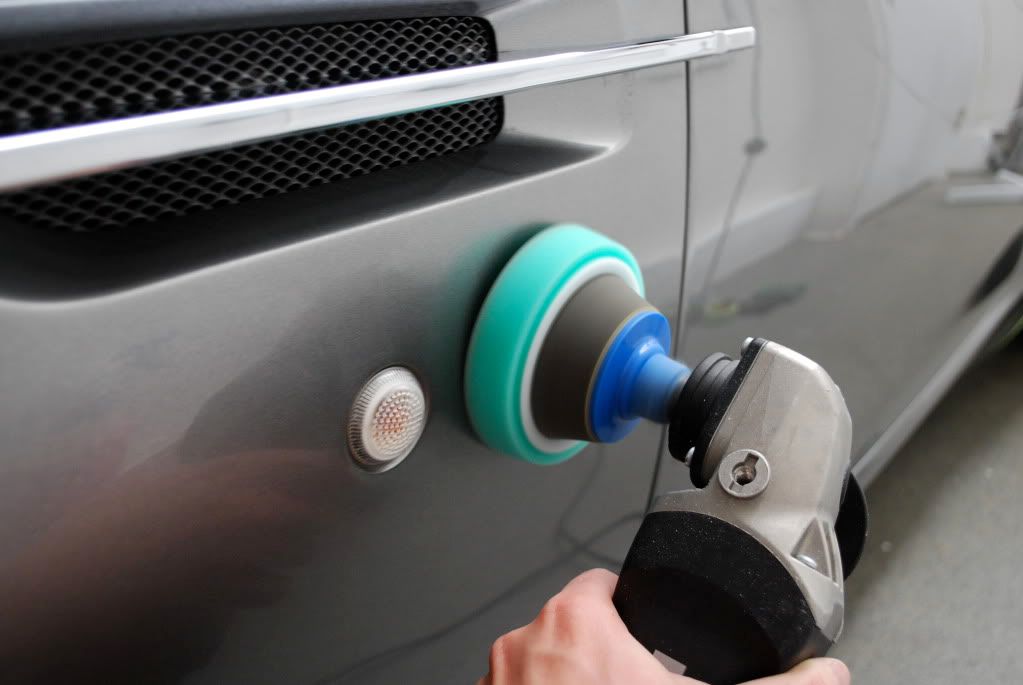
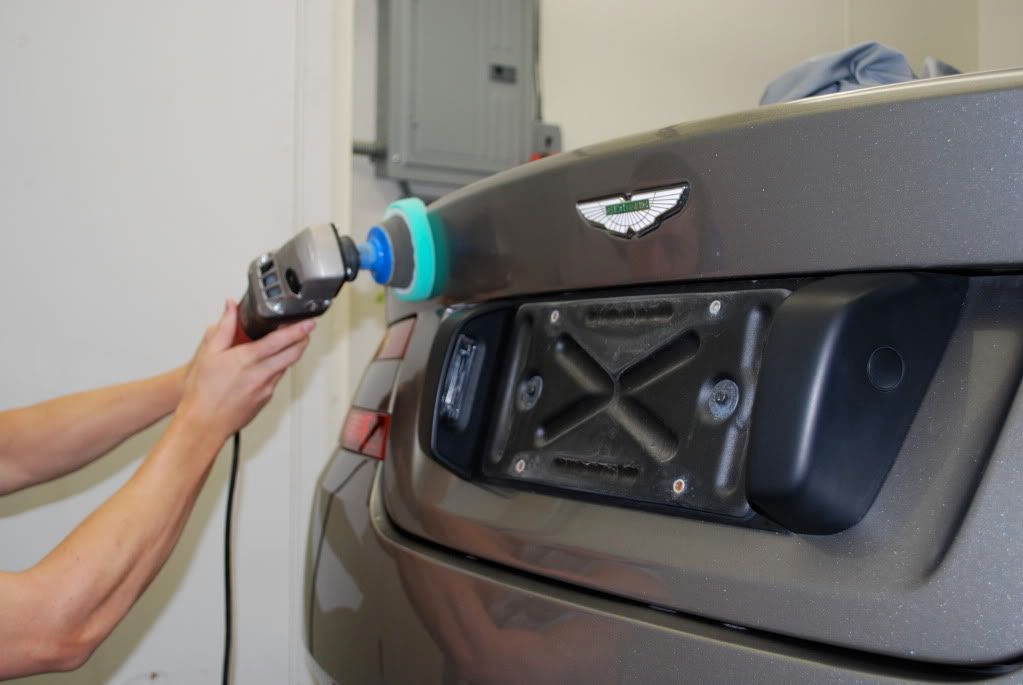
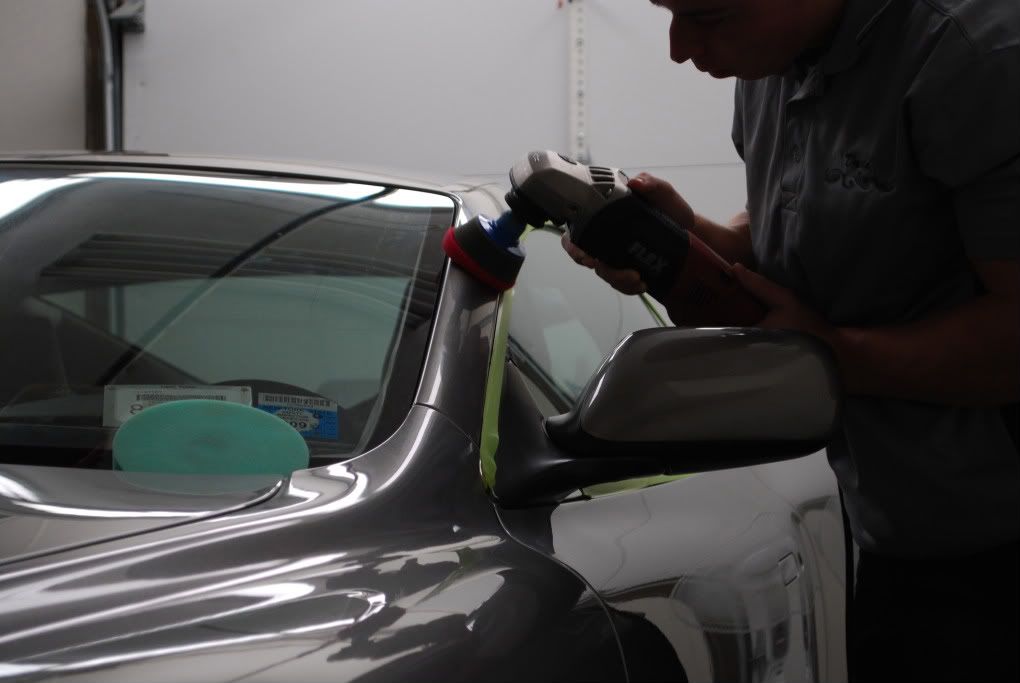
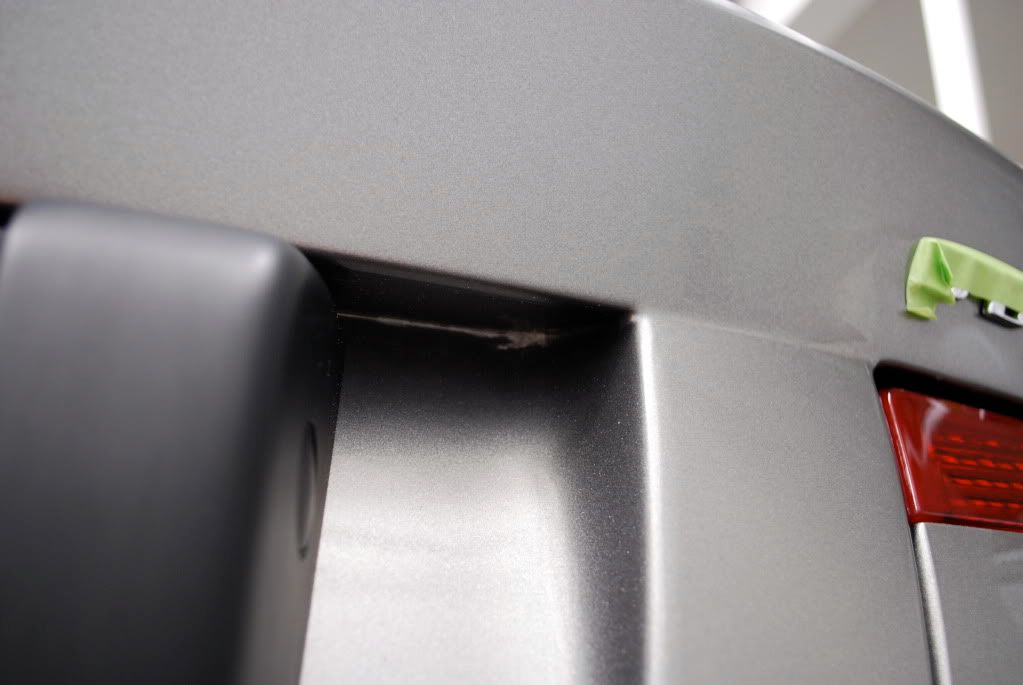
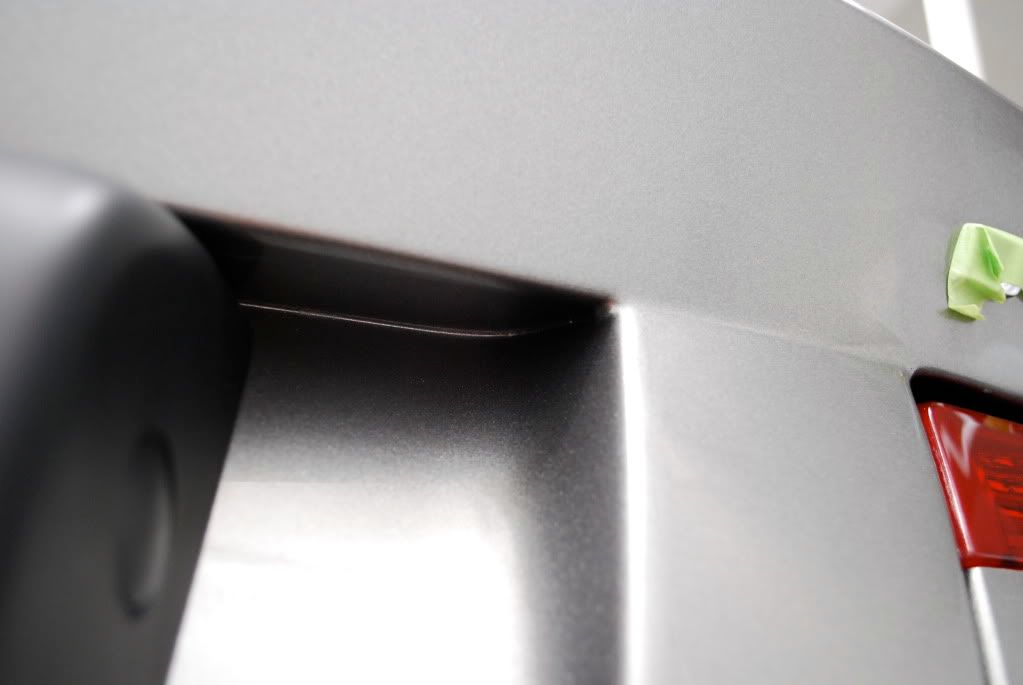
All delicate areas and trim were tapped off. Paint readings were taken after that, the driver side front fender had been repainted but was a surprising perfect match to the rest of the car.
Car was booked for a 3 day full correction and show preparation.
Wheels came first, tires pre cleaned using ARO. P21s wheel gel was left to sit for a few minutes, even though the wheels were very dirty I just dont believe in letting wheel cleaner sit on the wheel for 20 or 30 minutes. If it works, it will do the job in a few minutes or so... otherwise you need a stronger wheel cleaner but thats just my opinion.
Behind the spokes, calipers, hub mounting face etc. all cleaned with various brushes. Wheel wells received APC 4:1 scrubbed with a MF mitt.
Everything was rinsed thoroughly...
After, inner barrels de-tarred with Tarminator later on before polishing.
Paint was rinsed at high pressure, then foamed using a mixture of CG maxi Suds and a Biodegradable APC to help strip some of the prior LSP
Rinsing off the foam
2 bucket method carried out using CG citrus wash and clear.
Before the sun came back out I pulled the car inside to dry it and begin claying. Megs mild clay and ONR lube were used. The clay picked up a good amount of grime, some areas like the hood and truck were clayed twice.
Before starting correction I worked on the interior
Interior, although small took me about 2 hours to get back to 100%. All plastics, glass, trim, doorjambs and leather were treated.
Doorjmabs were hand polished and sealed, the rubber trim around them was dressed with TRV too.
Some finished shots (Passport 9500i properly hardwired and discrete like it should be, so many of my customers have valentine 1 wires hanging from the windshield:shakehead
The aluminum trim around the shiftboot was hand polished using wet mirror finish, which has proven to be a killer all around product. After
Trunk jambs were cleaned and sealed as well...
during
After...
After claying the car was given 2 IPA wipedowns to ensure all prior waxes or sealants were stripped off as well as any clay residue. Good test to see if the finish is well stripped if to place your finger tip on a panel and gently rub, if it squeaks instantly your usually okay to move onto correction.
All delicate areas and trim were tapped off. Paint readings were taken after that, the driver side front fender had been repainted but was a surprising perfect match to the rest of the car.


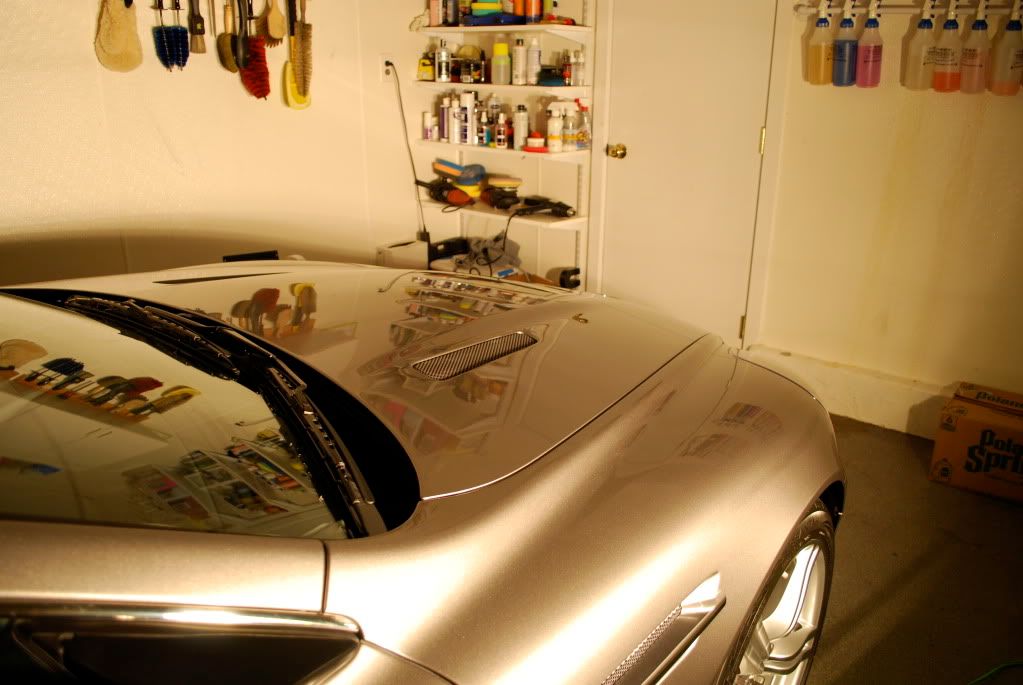
")