speedfreak81
New member
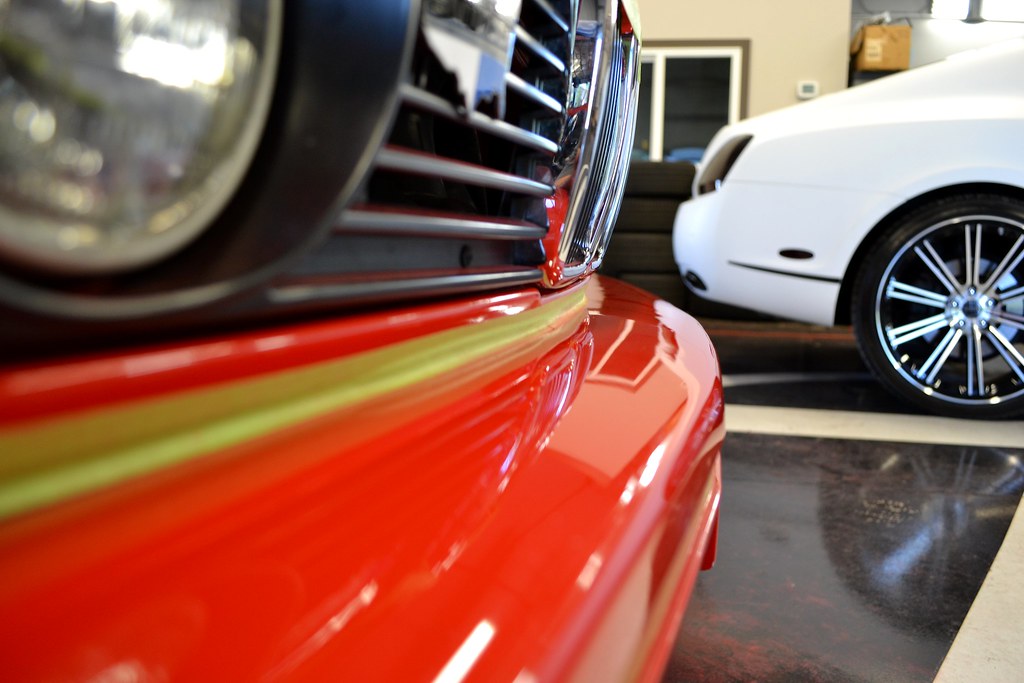
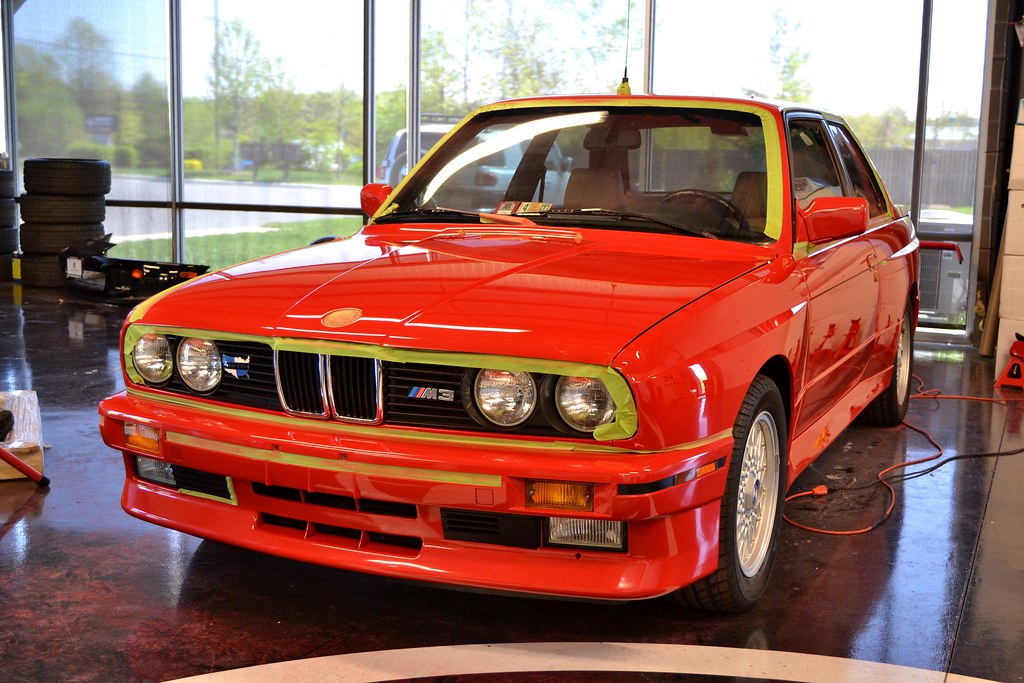
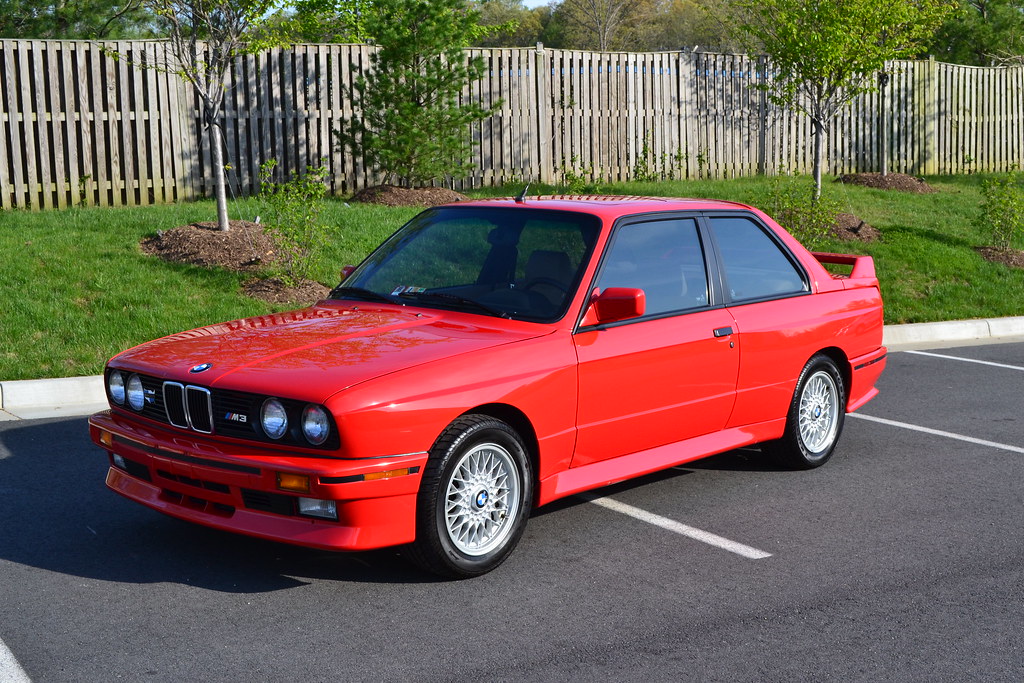
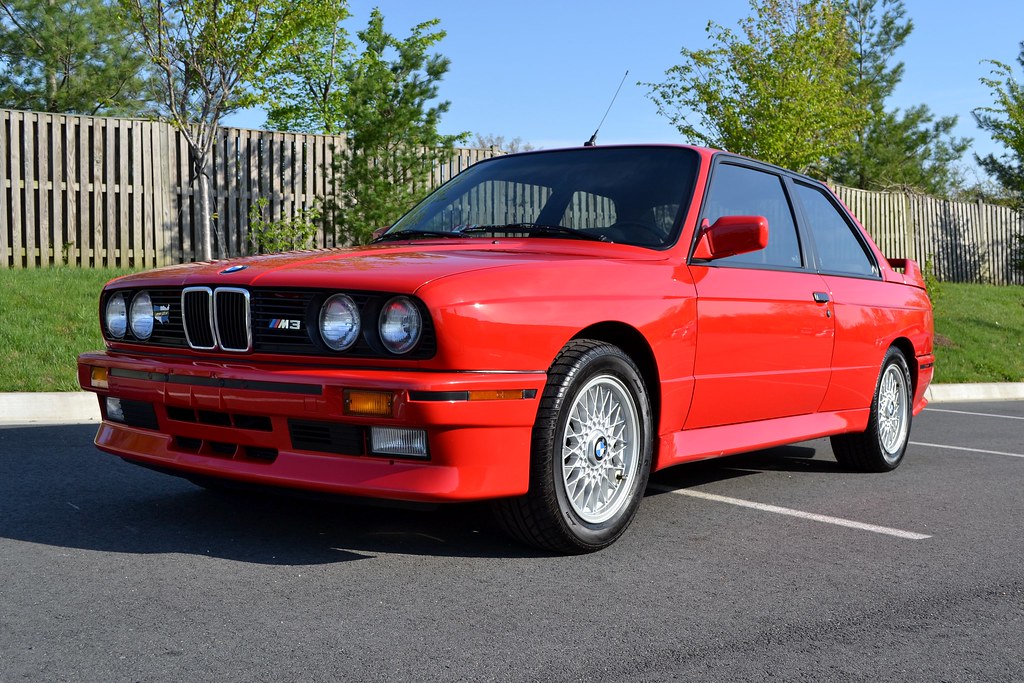
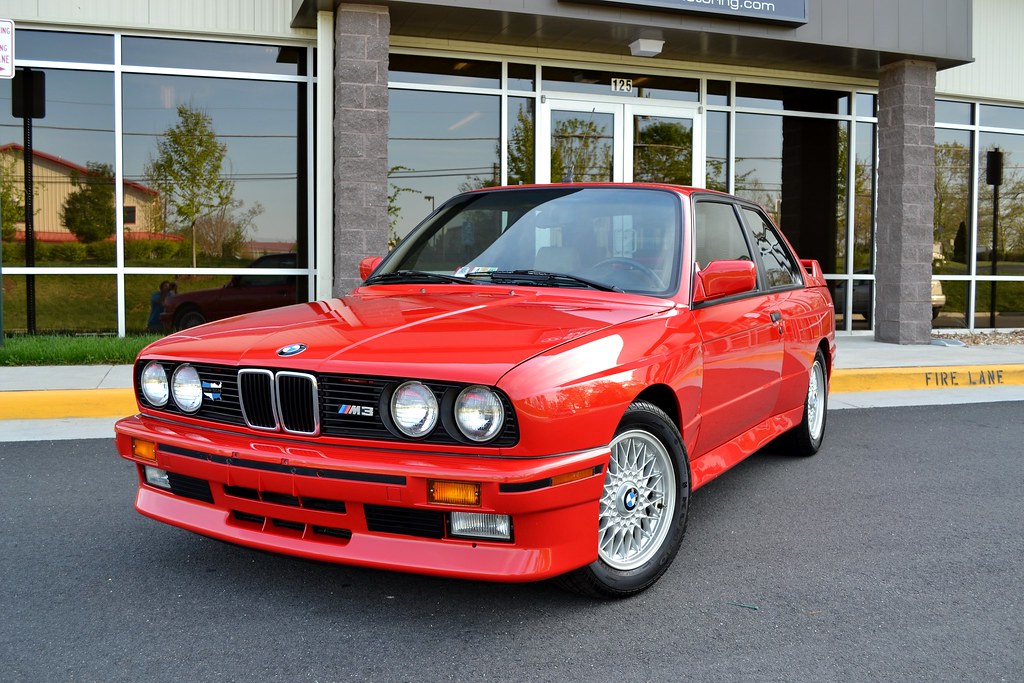
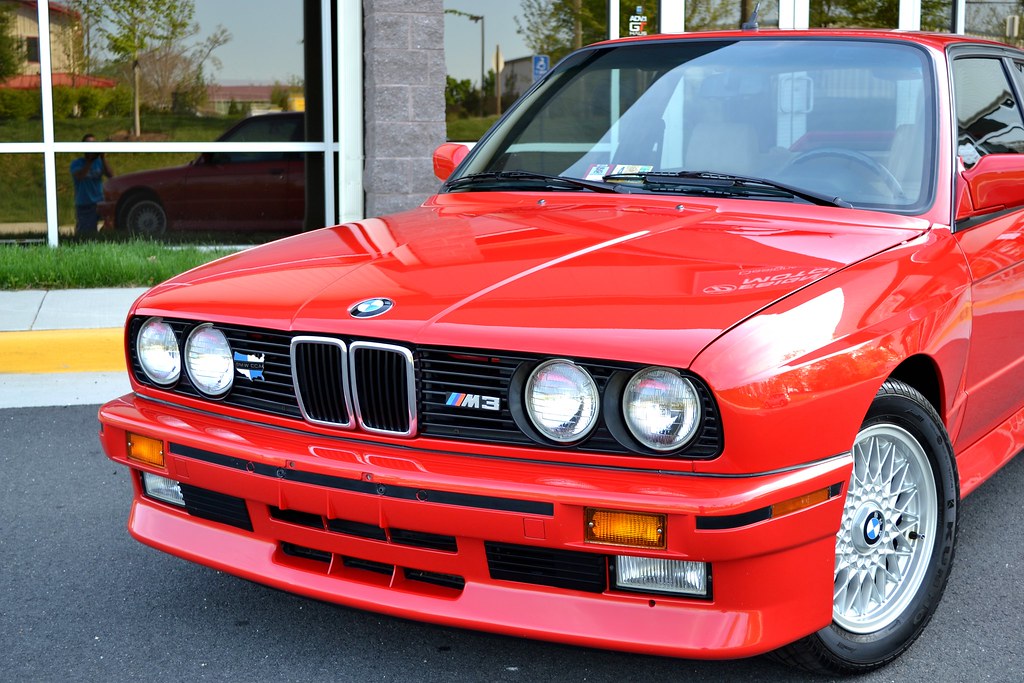
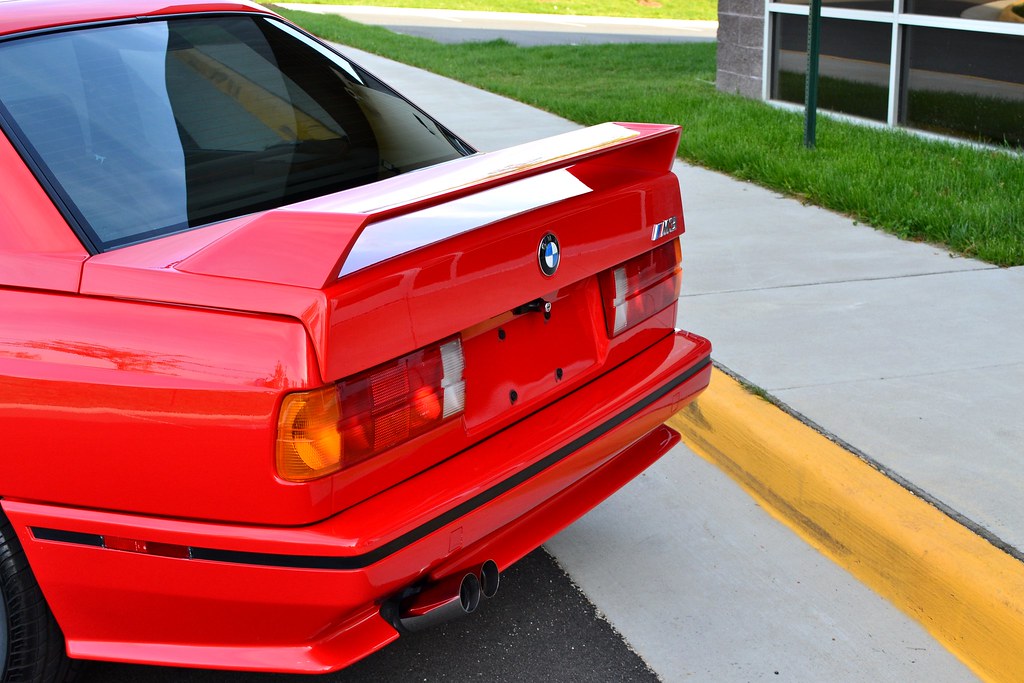
Hey guys, very proud to post this detail, as it pertains to a car I have always loved. The E30 M3 enjoys a cult following, and for good reason! I was contacted by the owner of this 1991 M3 in hopes of restoring the exterior. After 22 years, the single stage paint left a lot to be desired. From 10', it looked pretty good, but once thoroughly washed and under the halogens it was a different story. The surface was full of swirls, RIDS, and lots of haze and oxidation. The car had GREAT potential though, and after discussing with the owner we decided a full on resto was in order. Over the course of 5 days, we pulled dents and brought the paint back to near concours level. He will be showing the car at various BMW CCA events in the future so hopefully it does well. Now the exterior finally compliments the near mint interior of this 27k original mile icon!
Products used:
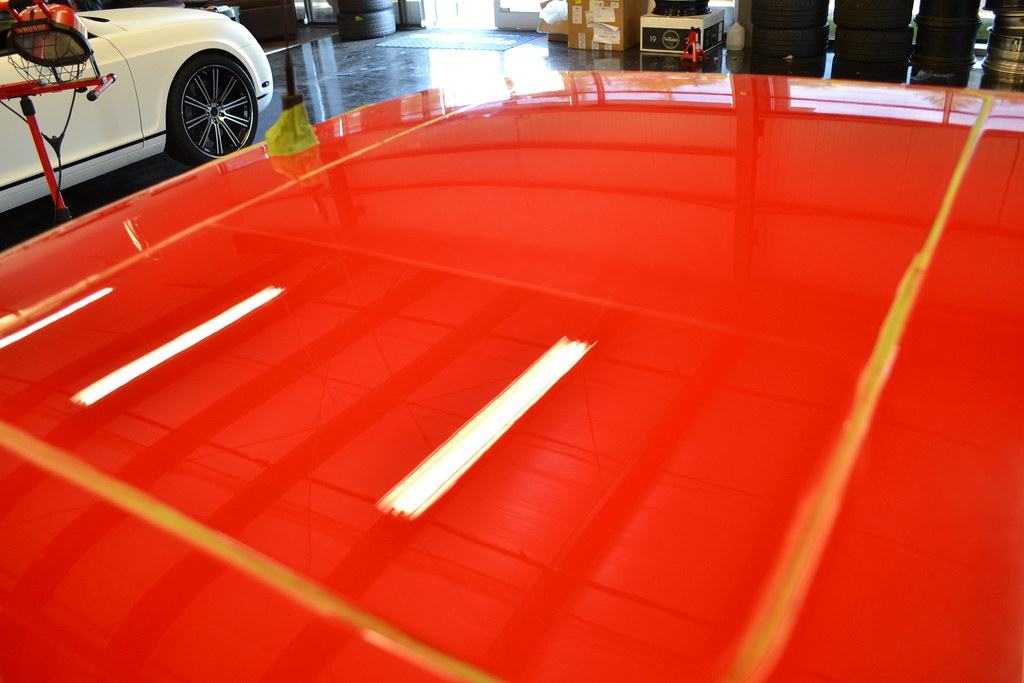
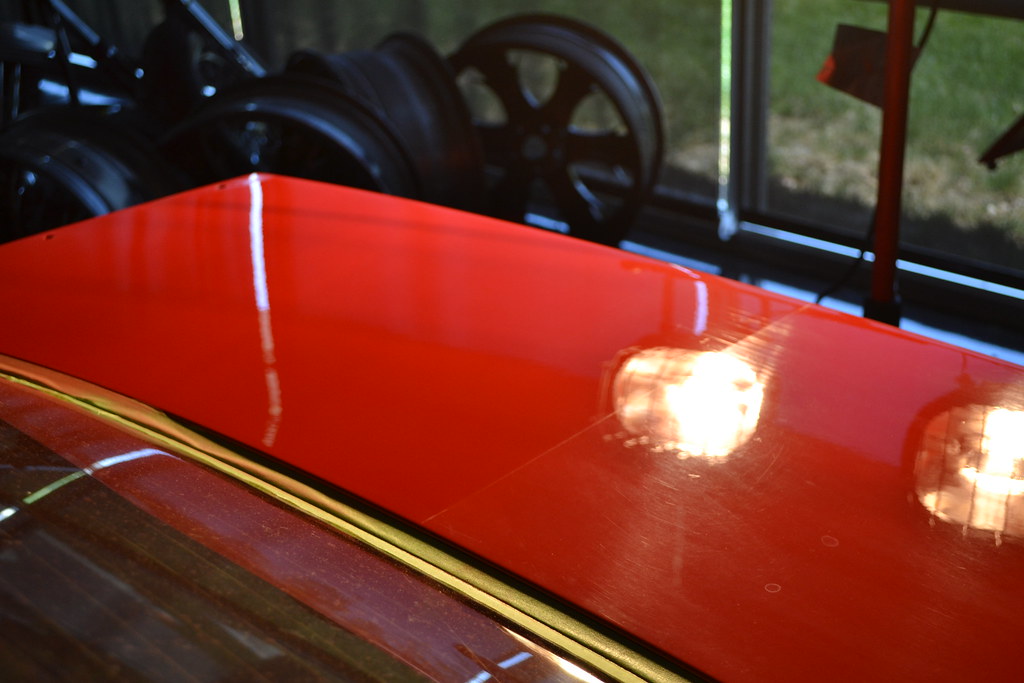
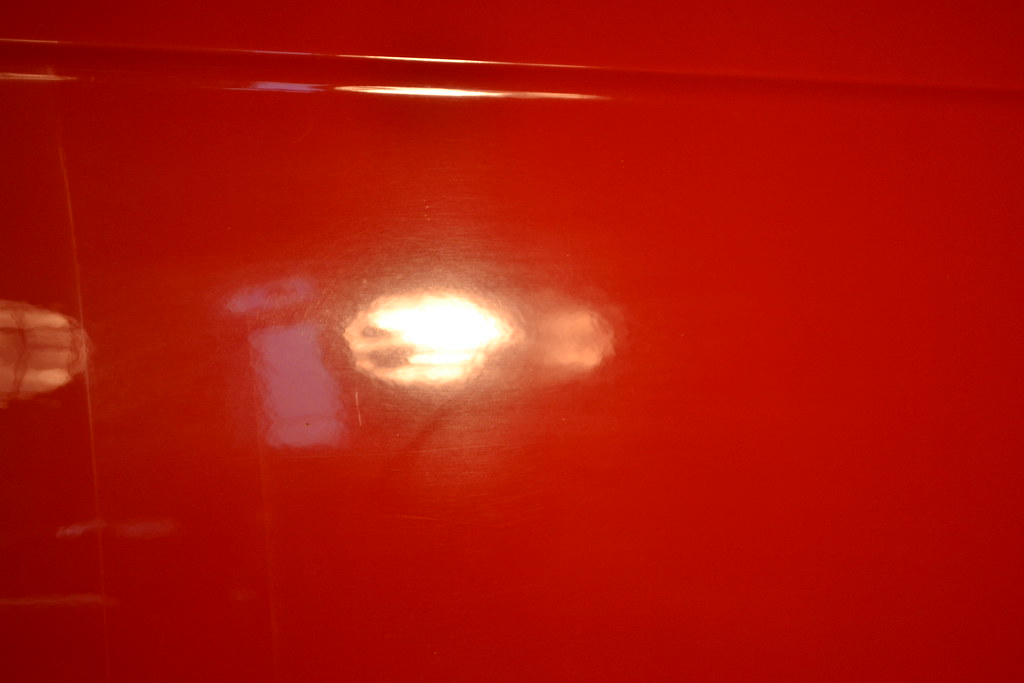
Started with the hood, center section untouched to show defects
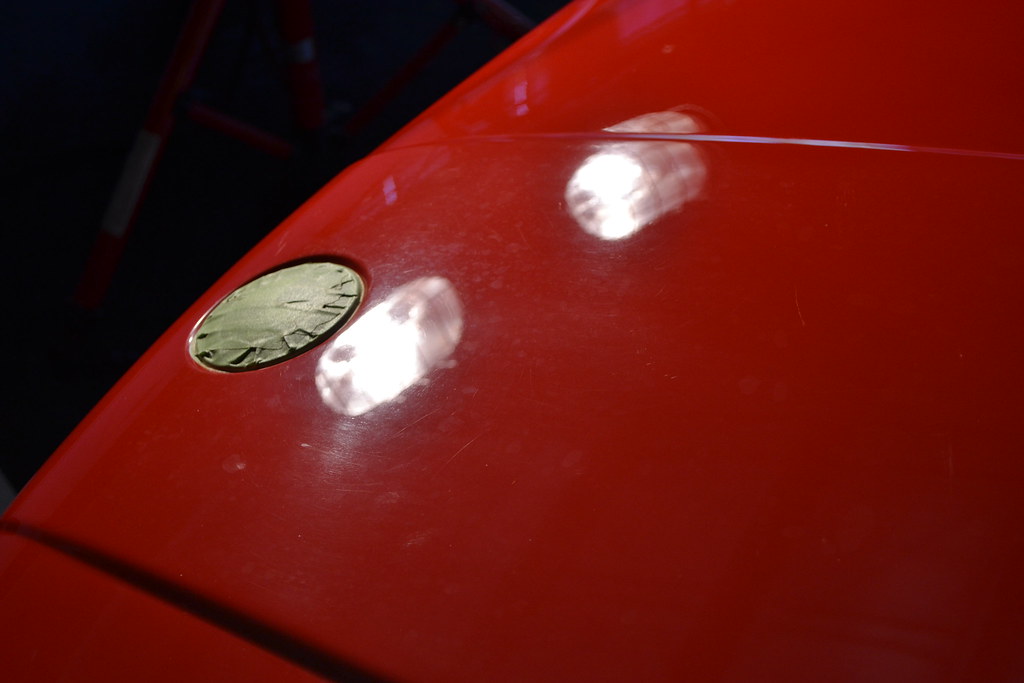
DSC_0204 by SpeedFreak81, on Flickr
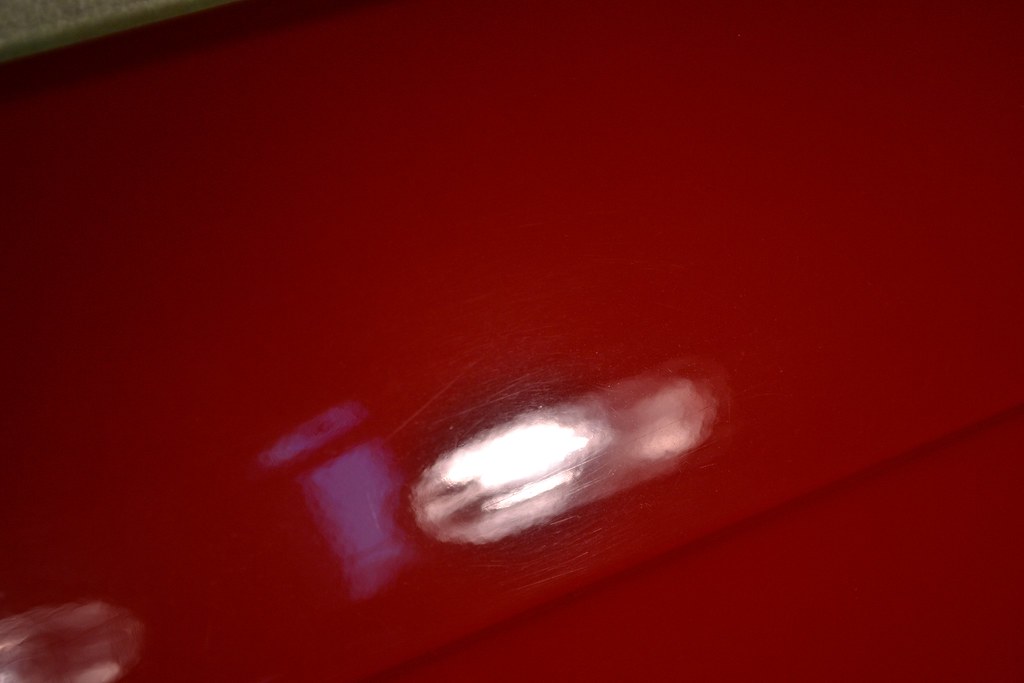
Center section untouched vs side section compounded
DSC_0206 by SpeedFreak81, on Flickr
DSC_0207 by SpeedFreak81, on Flickr
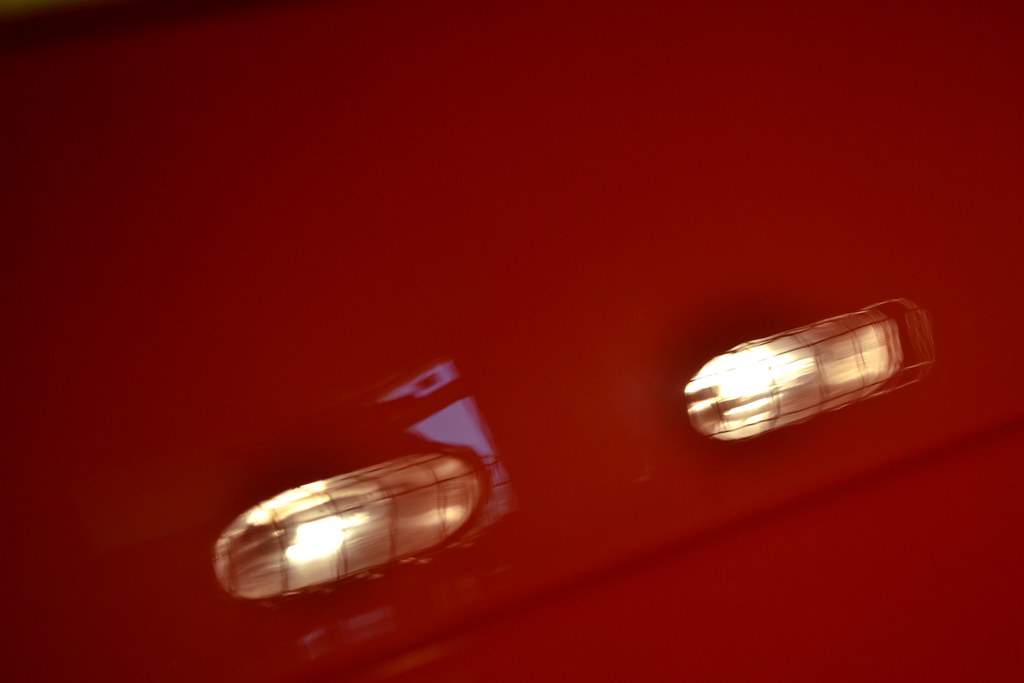
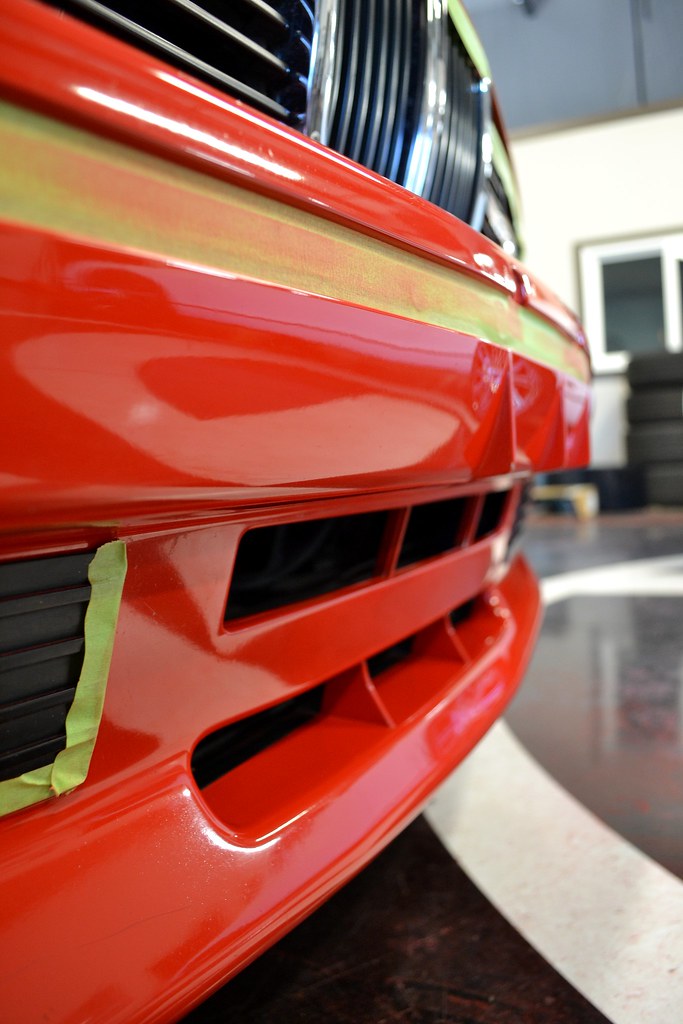
Top of front bumper 50/50 shots after compounding
DSC_0212 by SpeedFreak81, on Flickr
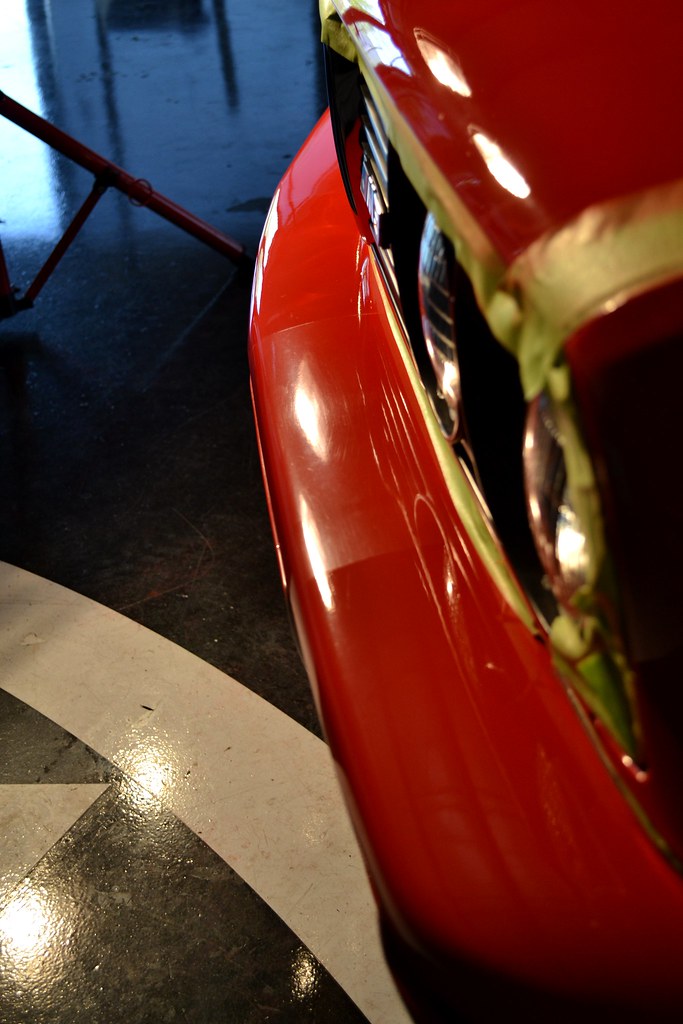
DSC_0209 by SpeedFreak81, on Flickr
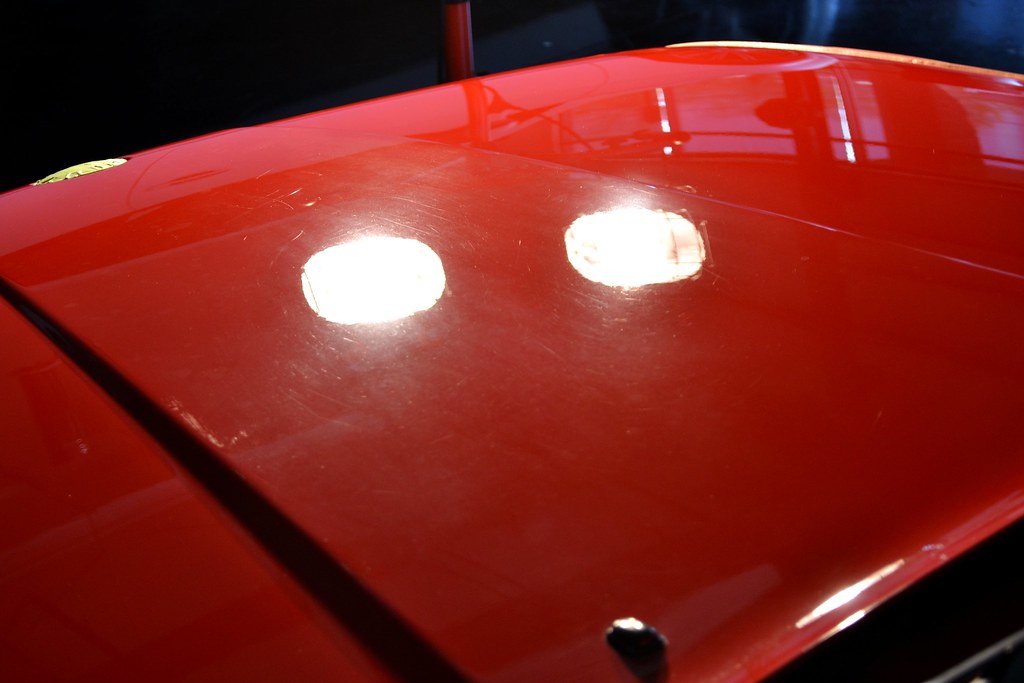
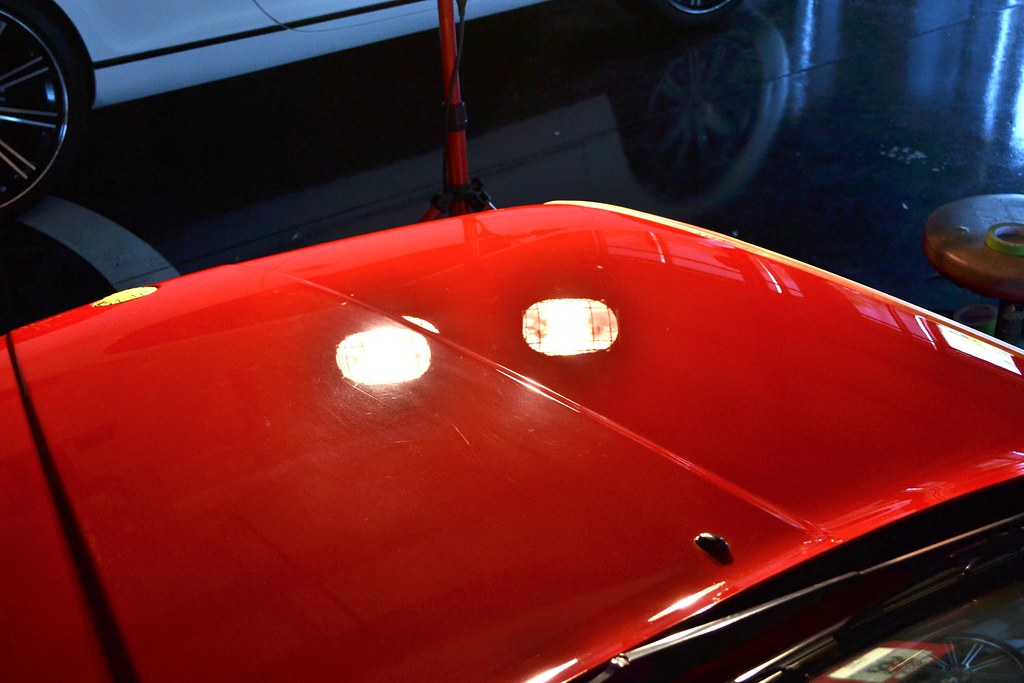
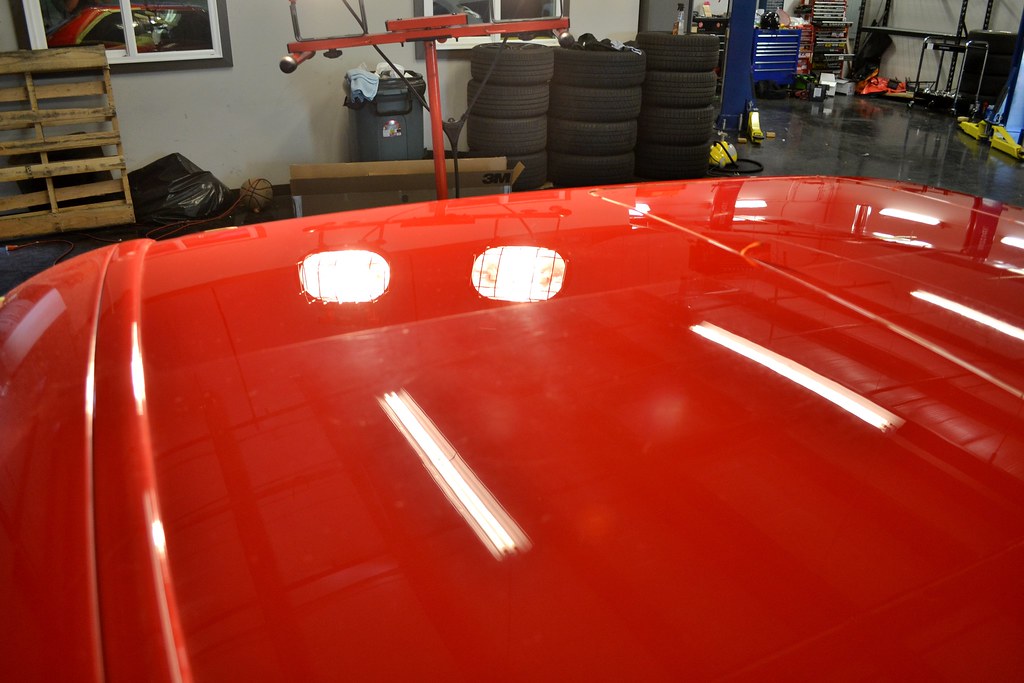
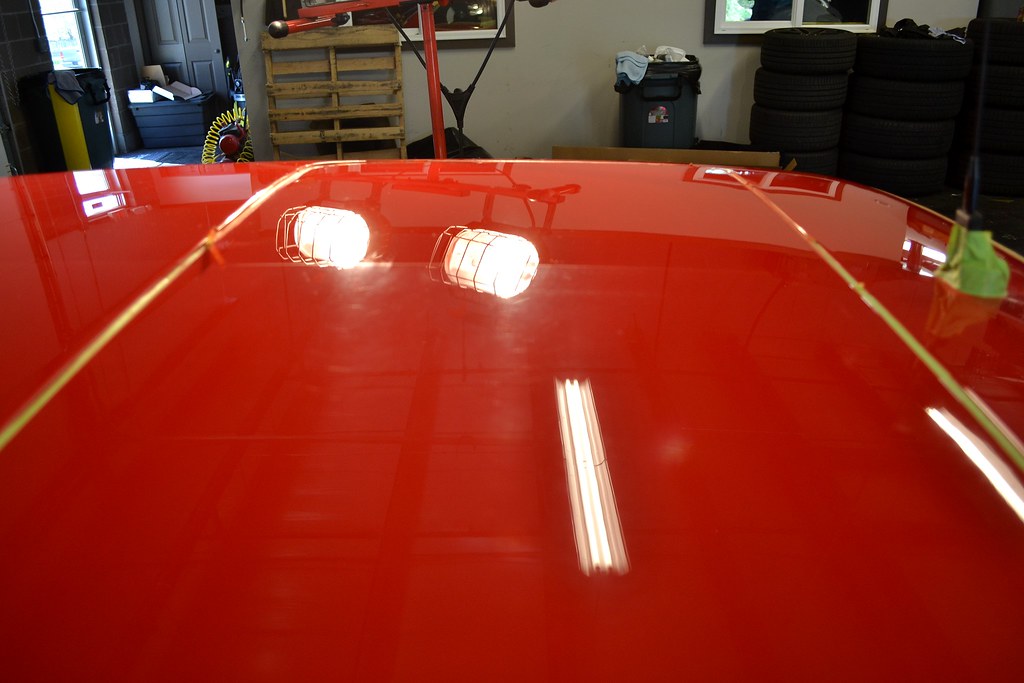
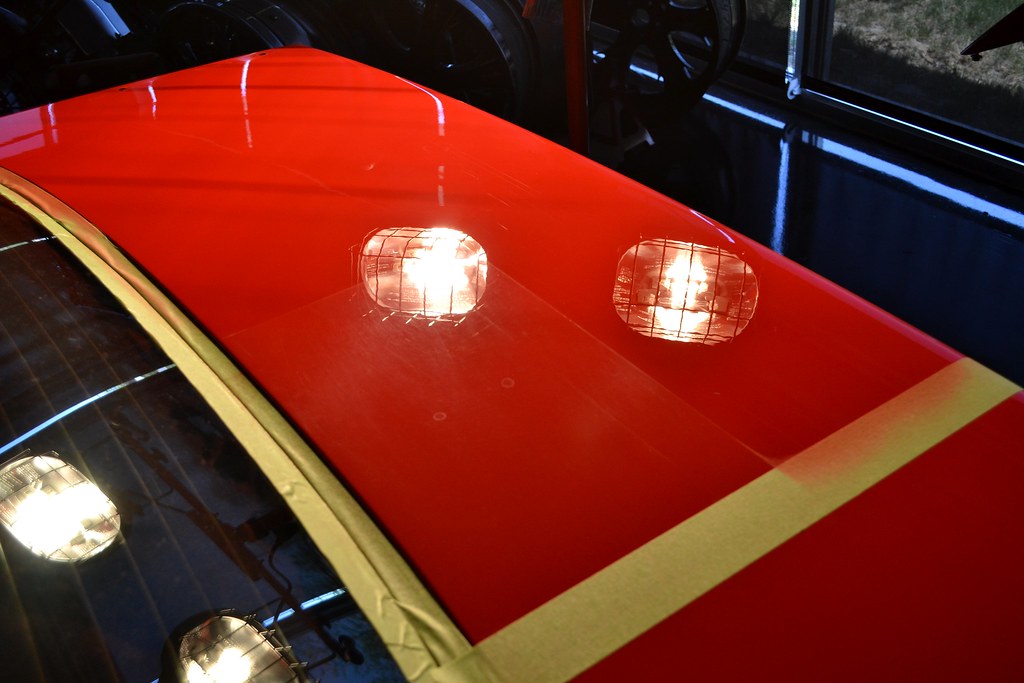
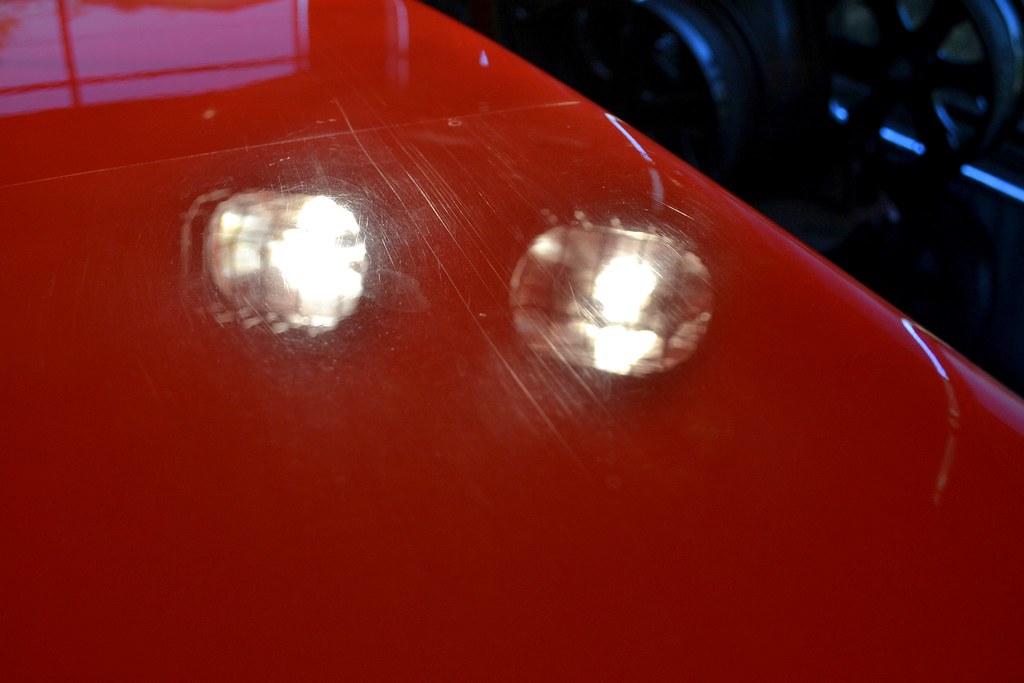
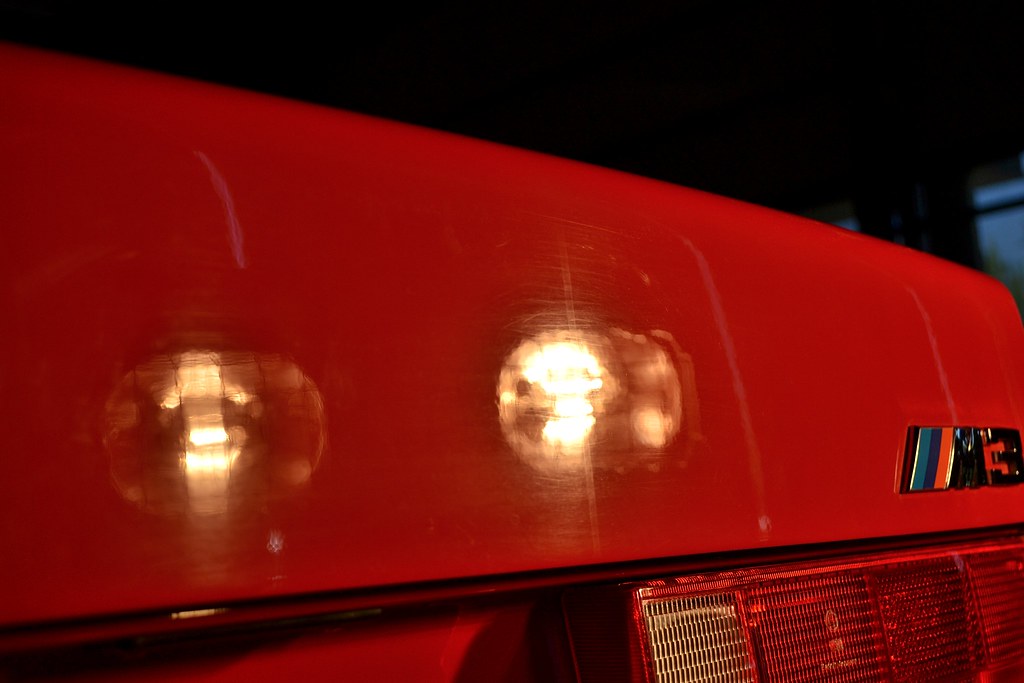
The horizontal panels like the roof take a beating and are routinely neglected, so no surprise I saw some dramatic results here
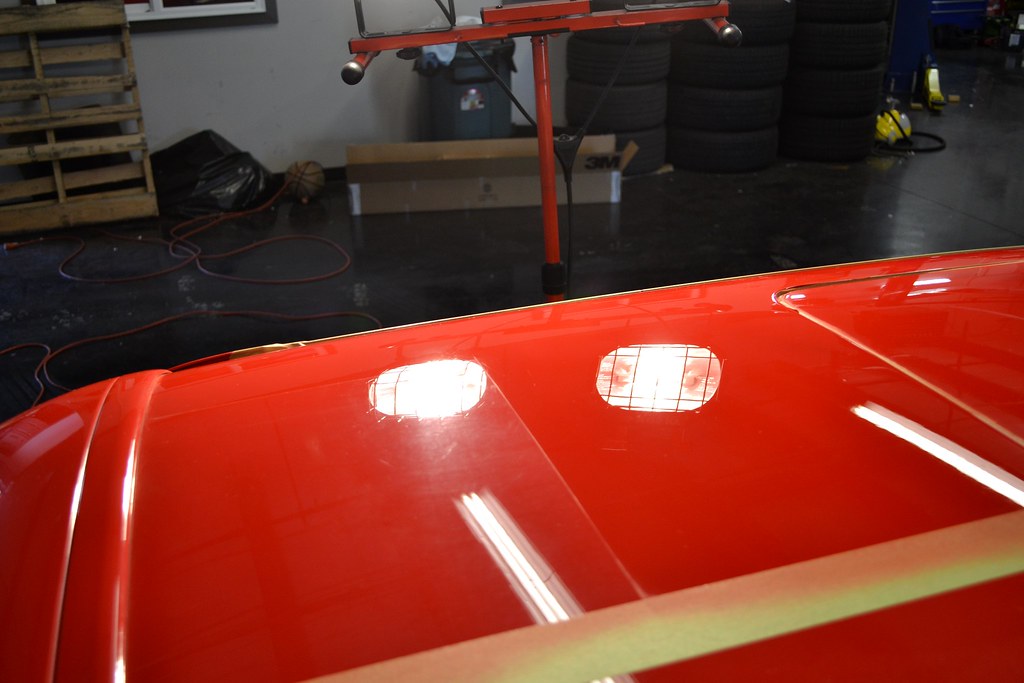
DSC_0215 by SpeedFreak81, on Flickr
DSC_0216 by SpeedFreak81, on Flickr
DSC_0217 by SpeedFreak81, on Flickr
DSC_0213 by SpeedFreak81, on Flickr
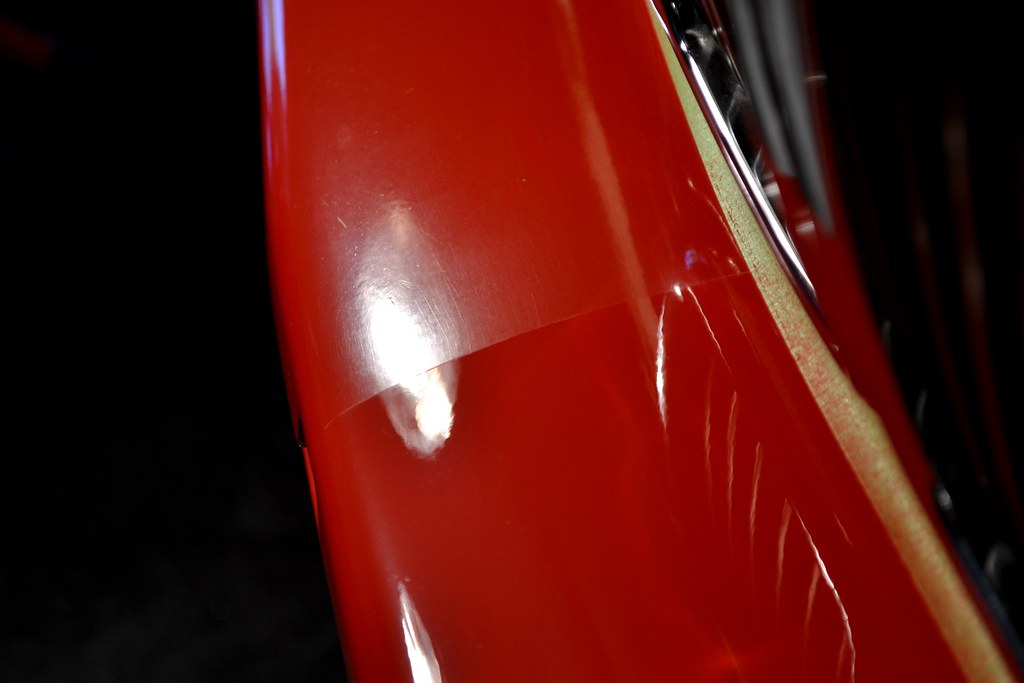
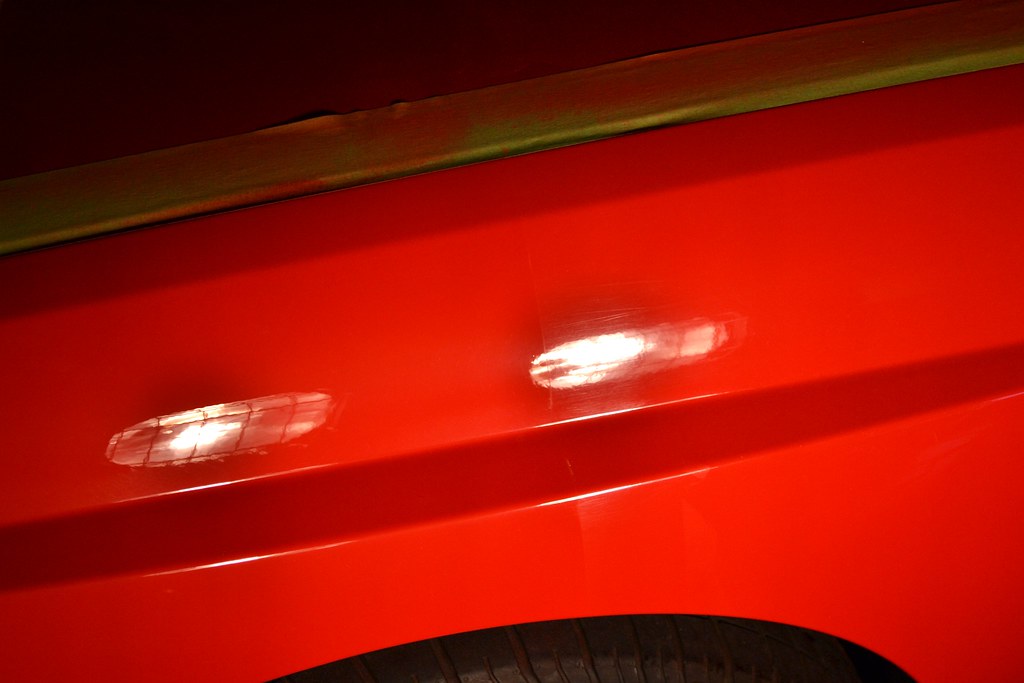
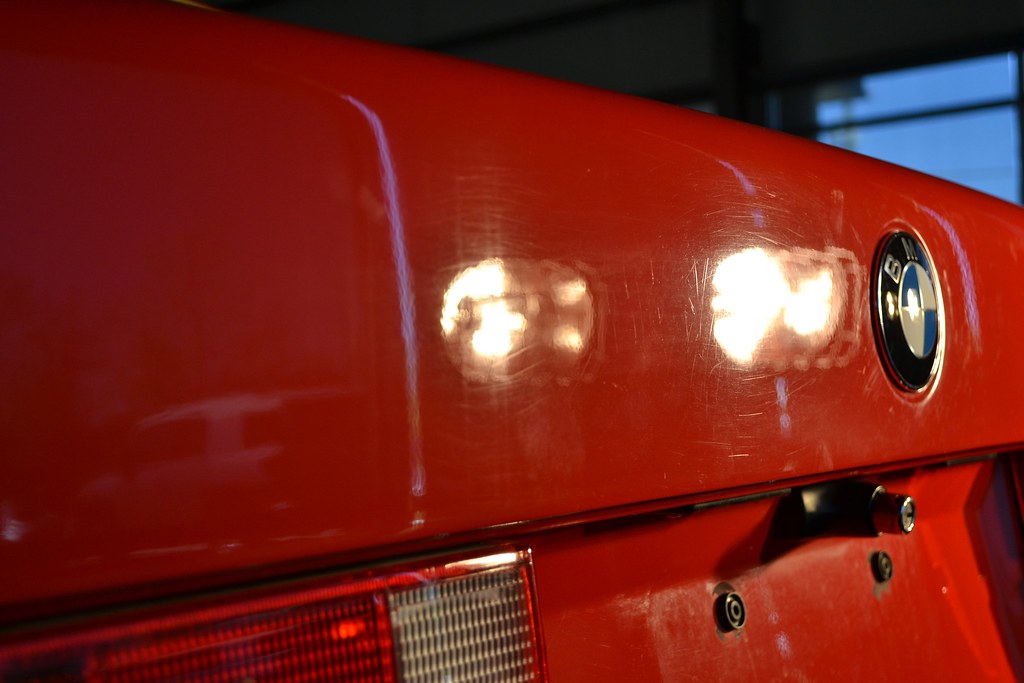
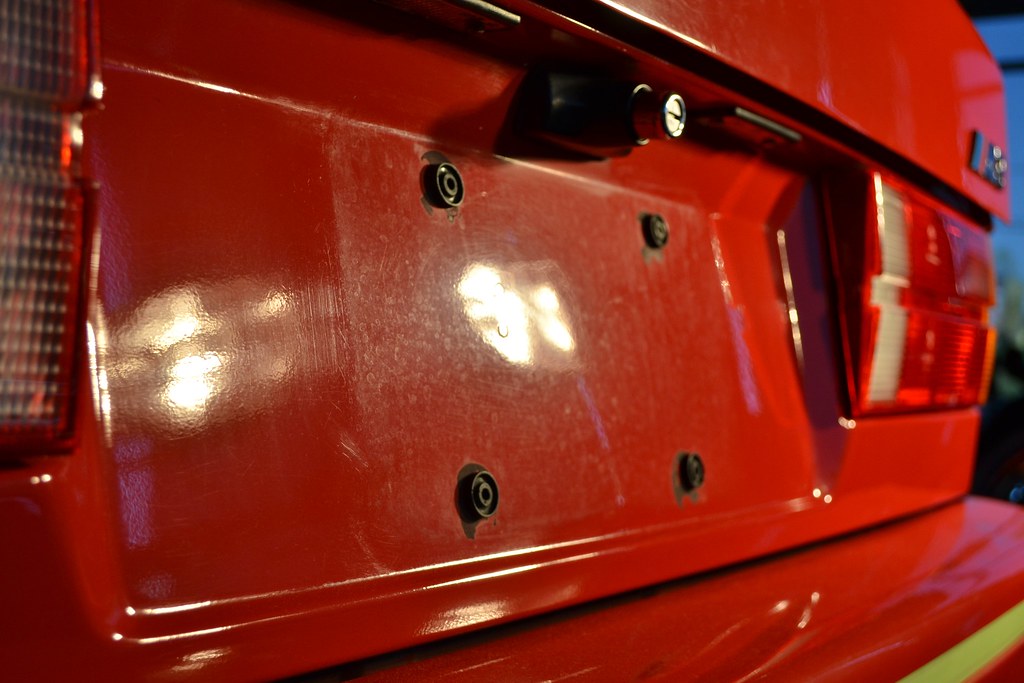
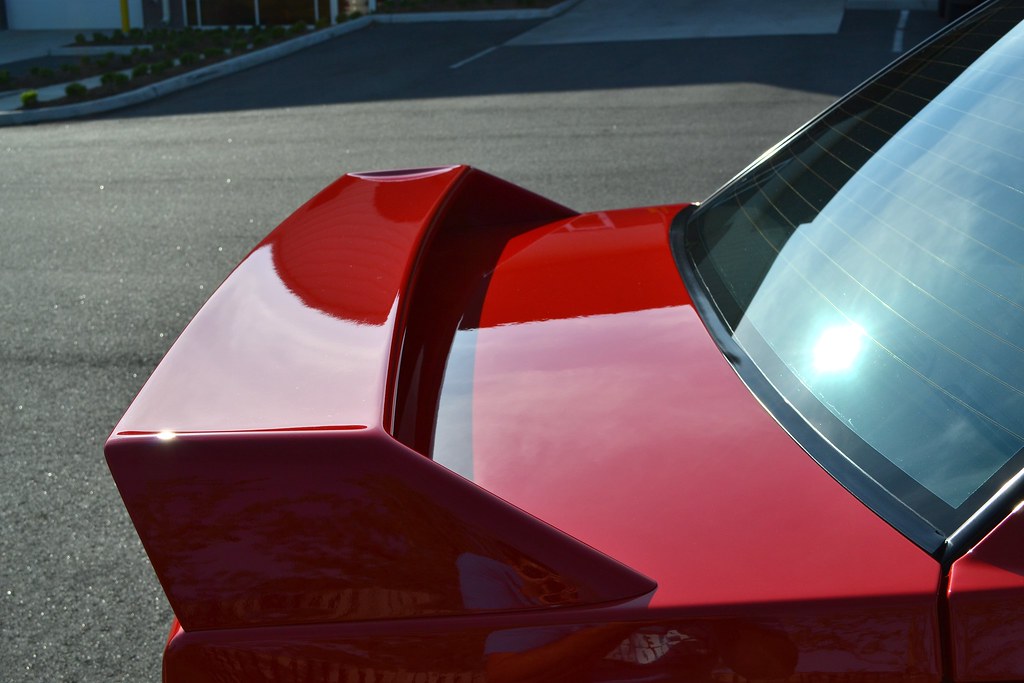
Next up was the trunk lid, for easier access the wing was removed. There were VERY deep scratches under the wing area that were too deep to be removed.
DSC_0221 by SpeedFreak81, on Flickr
DSC_0264 by SpeedFreak81, on Flickr
DSC_0260 by SpeedFreak81, on Flickr
DSC_0259 by SpeedFreak81, on Flickr
DSC_0262 by SpeedFreak81, on Flickr
Now that the horizontal panels had been compounded, it was time to start the vertical ones. I began at the driver's side fender, and worked my way back and around the car.
50/50 driver's fender
DSC_0201 by SpeedFreak81, on Flickr
fender fully compounded
DSC_0203 by SpeedFreak81, on Flickr
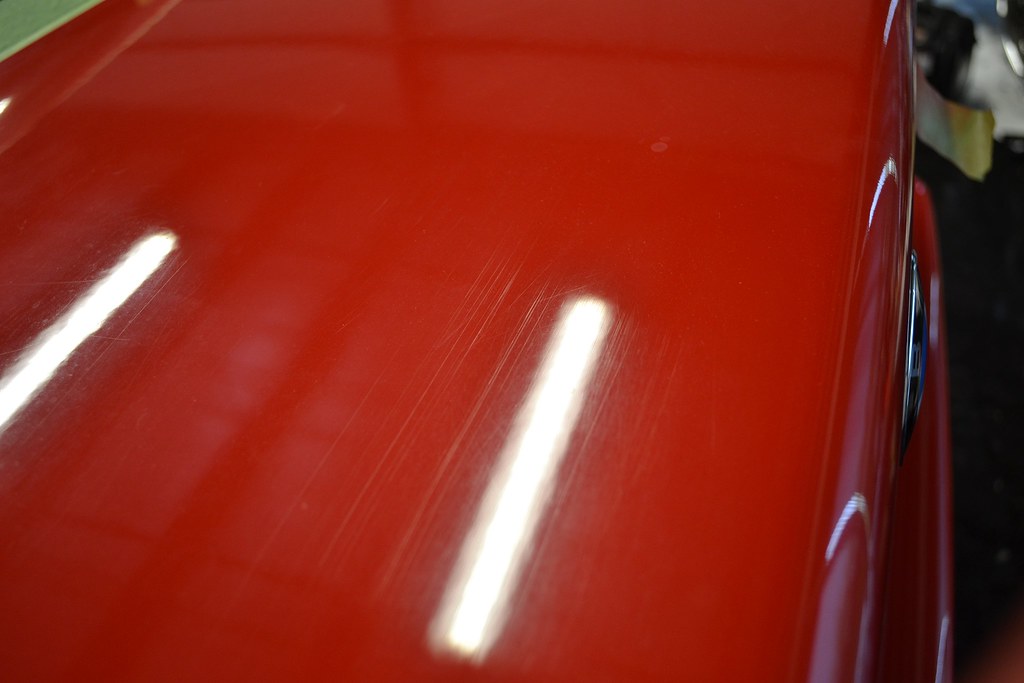
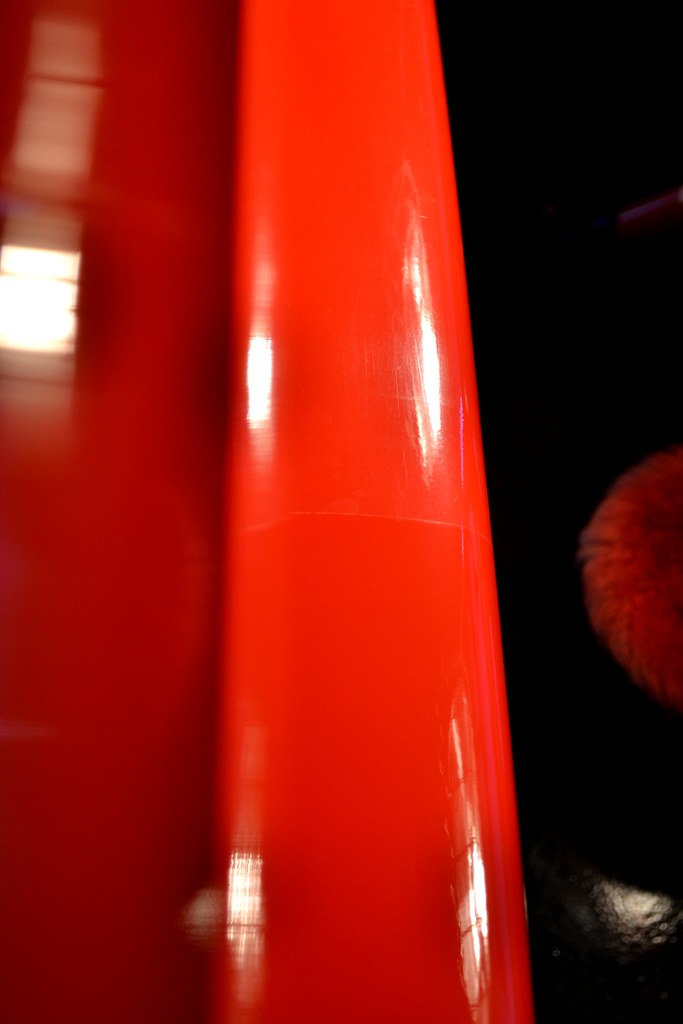
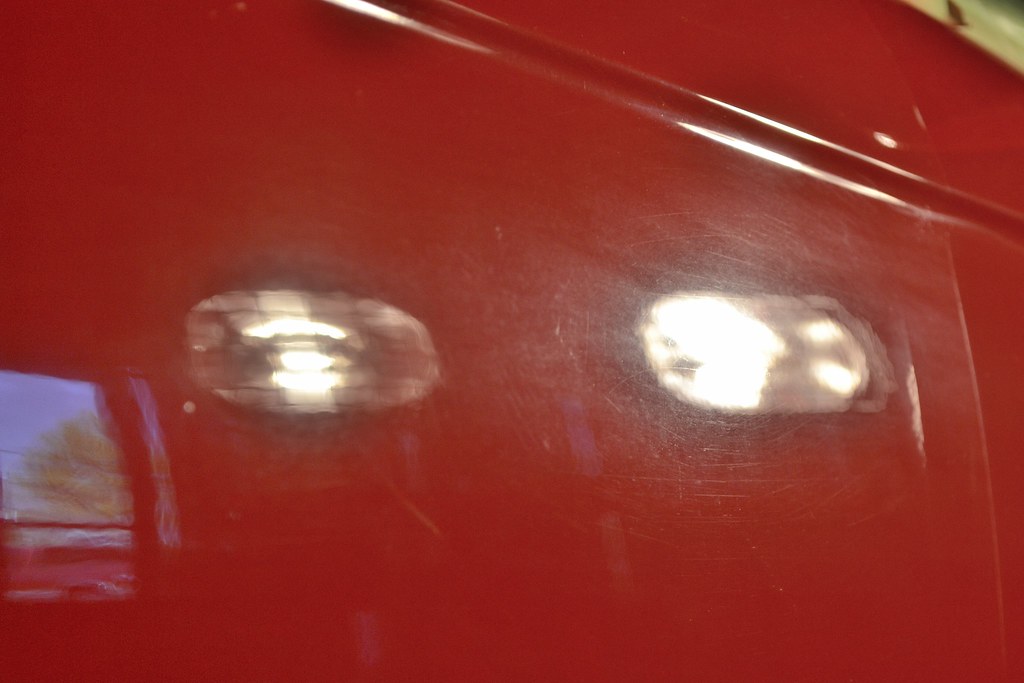
Close up shot of driver's door, before compounding
DSC_0195 by SpeedFreak81, on Flickr
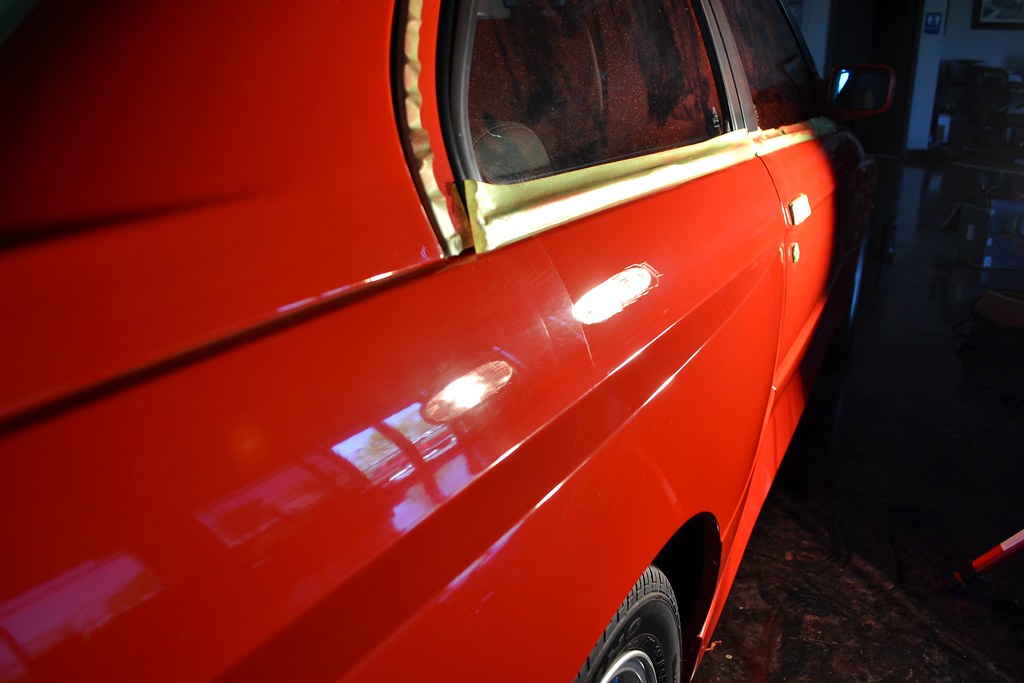
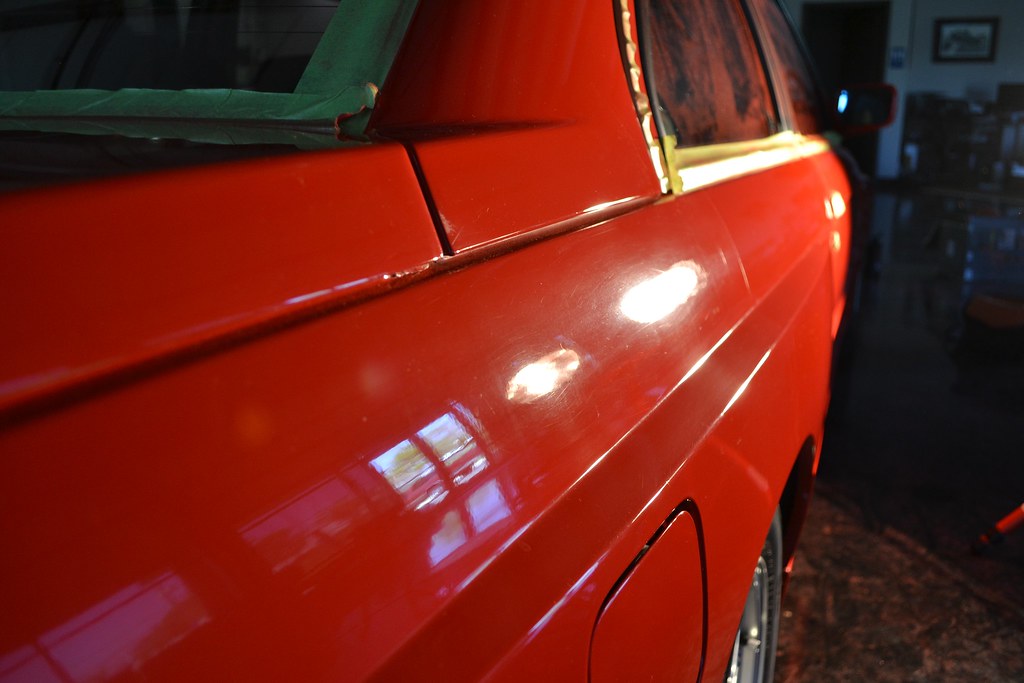
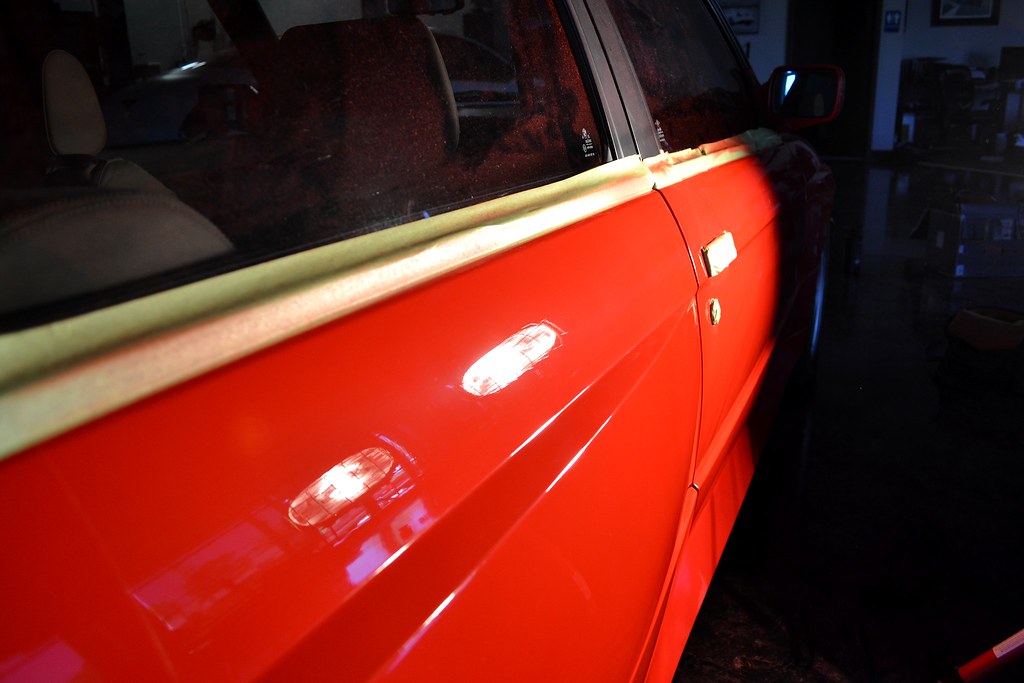
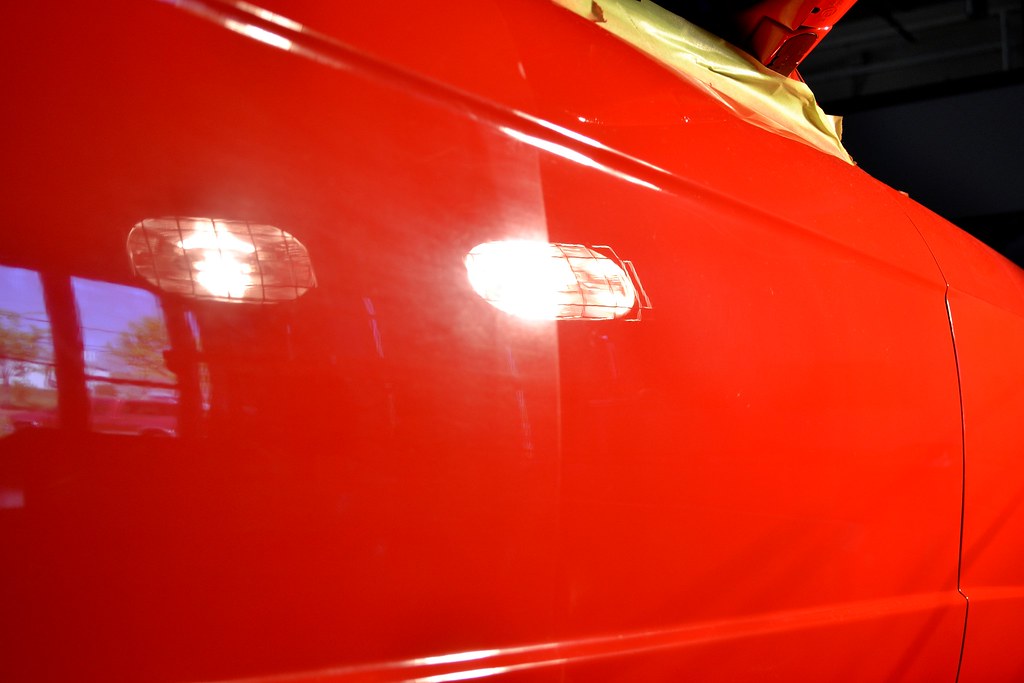
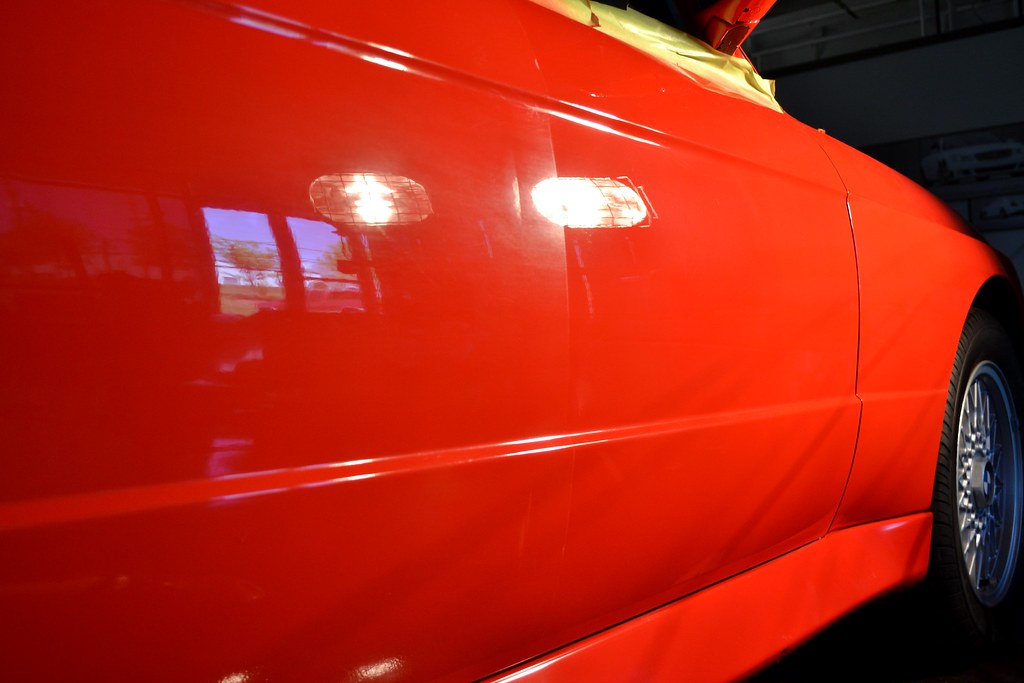
50/50 driver's door

DSC_0198 by SpeedFreak81, on Flickr
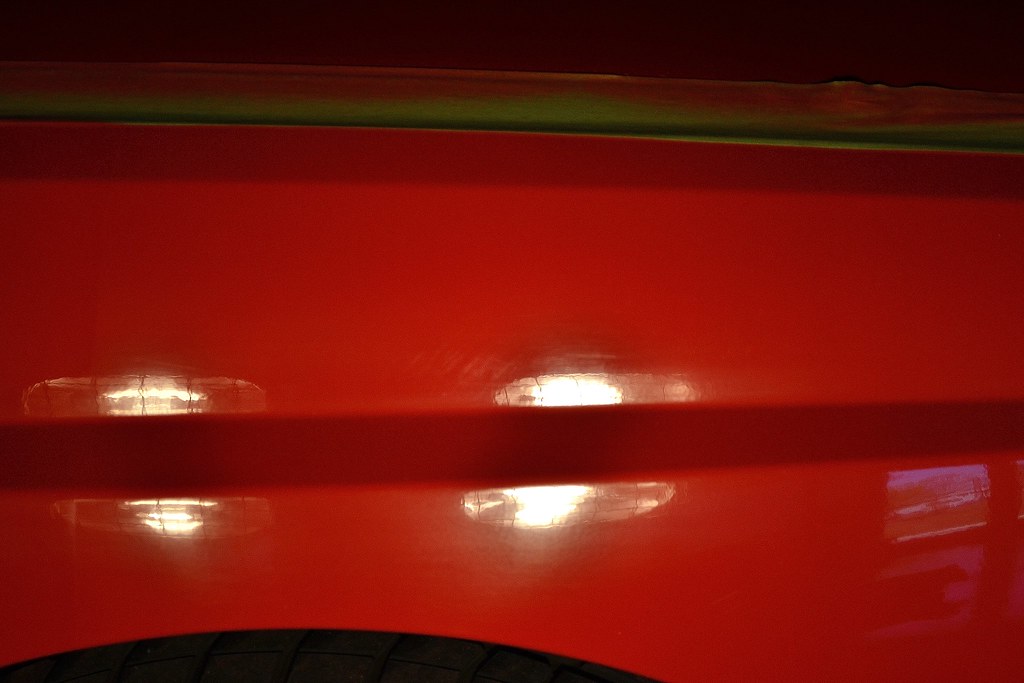
top portion of door before and after compound
DSC_0191 by SpeedFreak81, on Flickr
DSC_0192 by SpeedFreak81, on Flickr
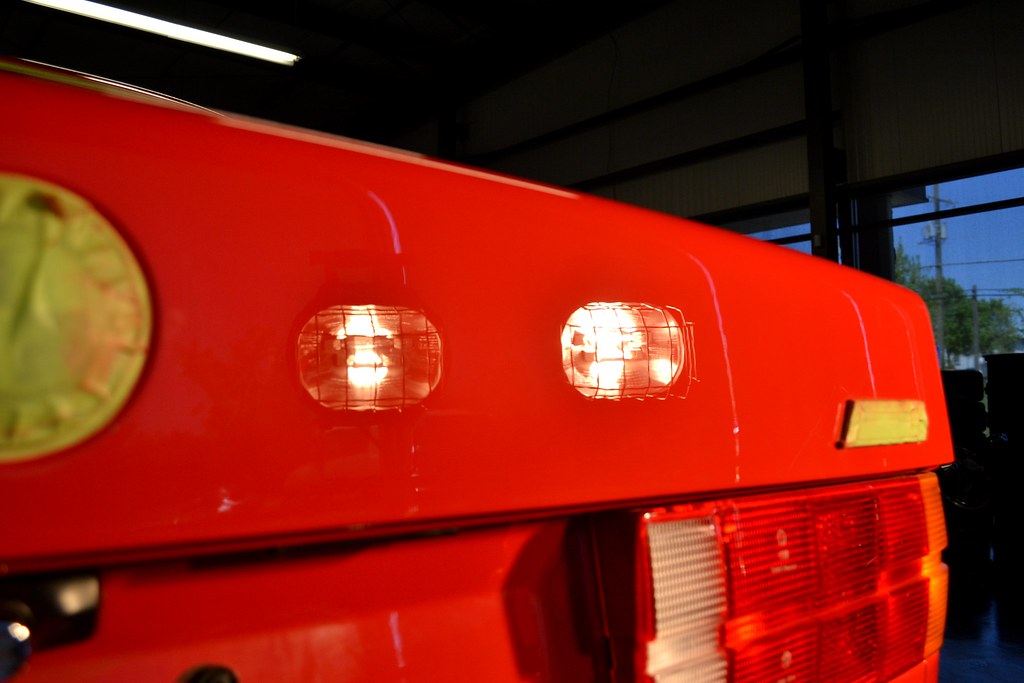
Moving along to the rear end, a few before shots
DSC_0266 by SpeedFreak81, on Flickr
DSC_0267 by SpeedFreak81, on Flickr
DSC_0268 by SpeedFreak81, on Flickr
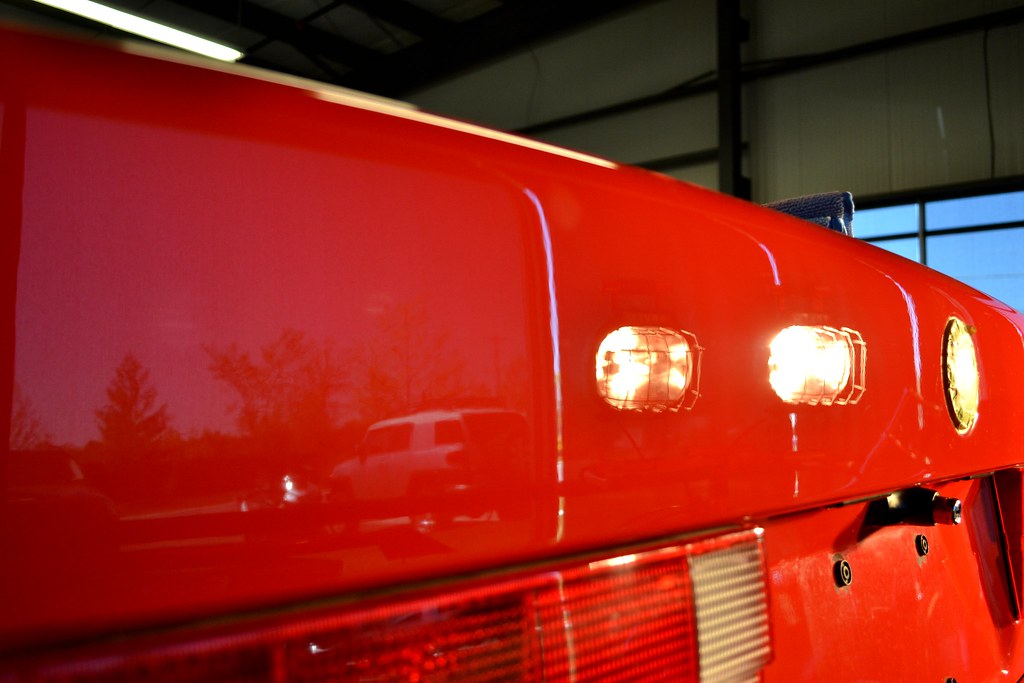
After compound
DSC_0270 by SpeedFreak81, on Flickr
DSC_0271 by SpeedFreak81, on Flickr
top of bumper cover 50/50
DSC_0272 by SpeedFreak81, on Flickr
Moving along to the passenger side, quarter panel up first
50/50, and a few compounded & uncompounded shots
DSC_0255 by SpeedFreak81, on Flickr
DSC_0254 by SpeedFreak81, on Flickr
DSC_0253 by SpeedFreak81, on Flickr
Passenger door was up next
DSC_0250 by SpeedFreak81, on Flickr
DSC_0247 by SpeedFreak81, on Flickr
DSC_0248 by SpeedFreak81, on Flickr
Moving along to the passenger fender
DSC_0240 by SpeedFreak81, on Flickr
50/50

DSC_0245 by SpeedFreak81, on Flickr
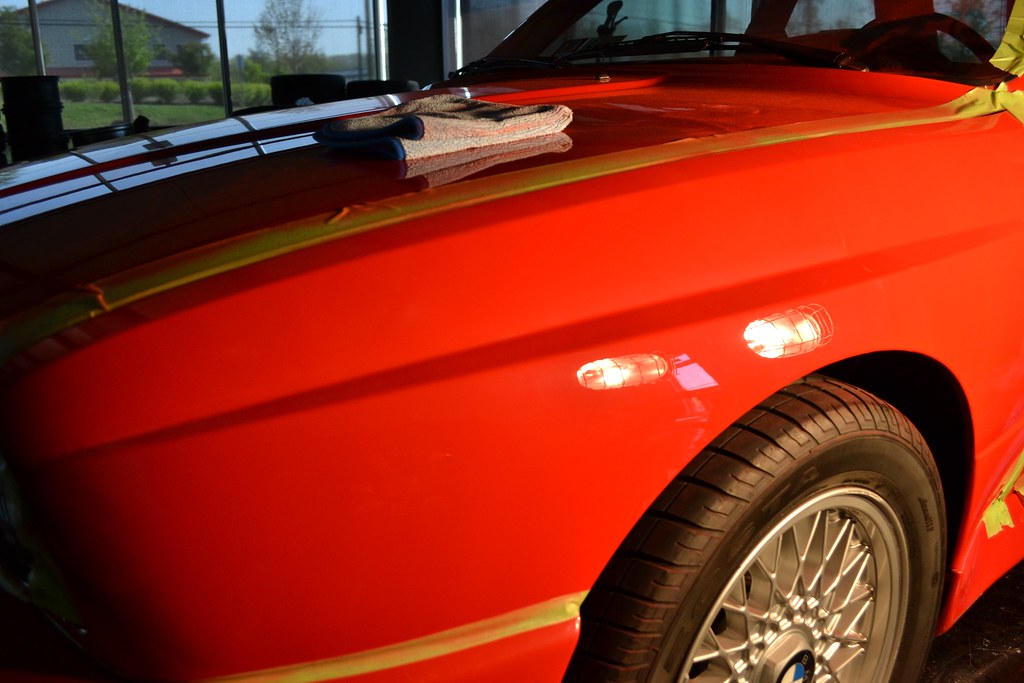
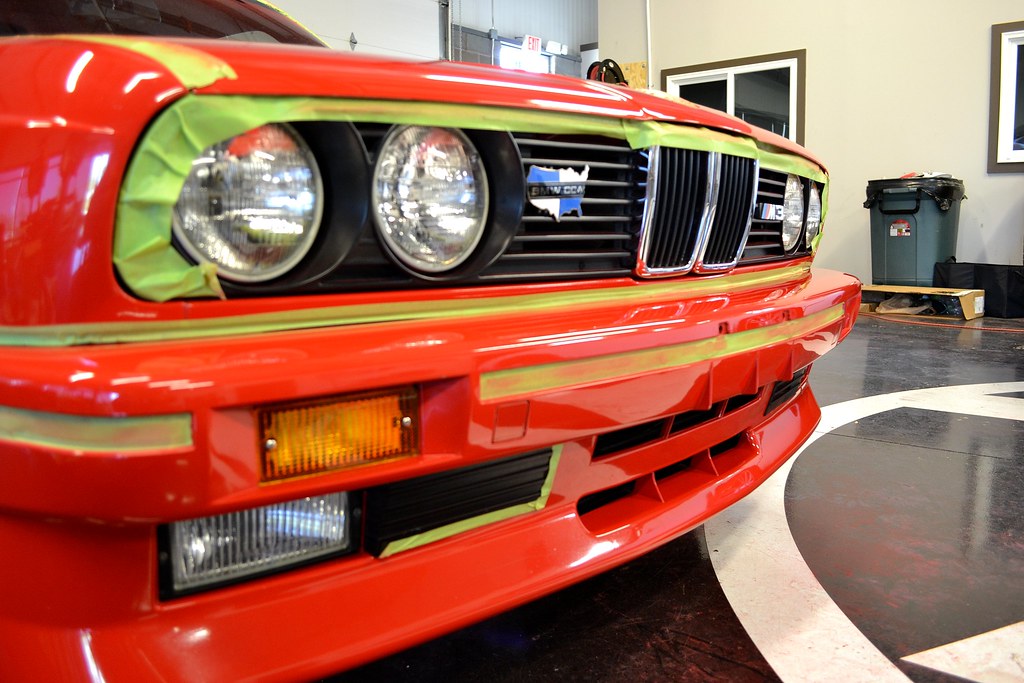
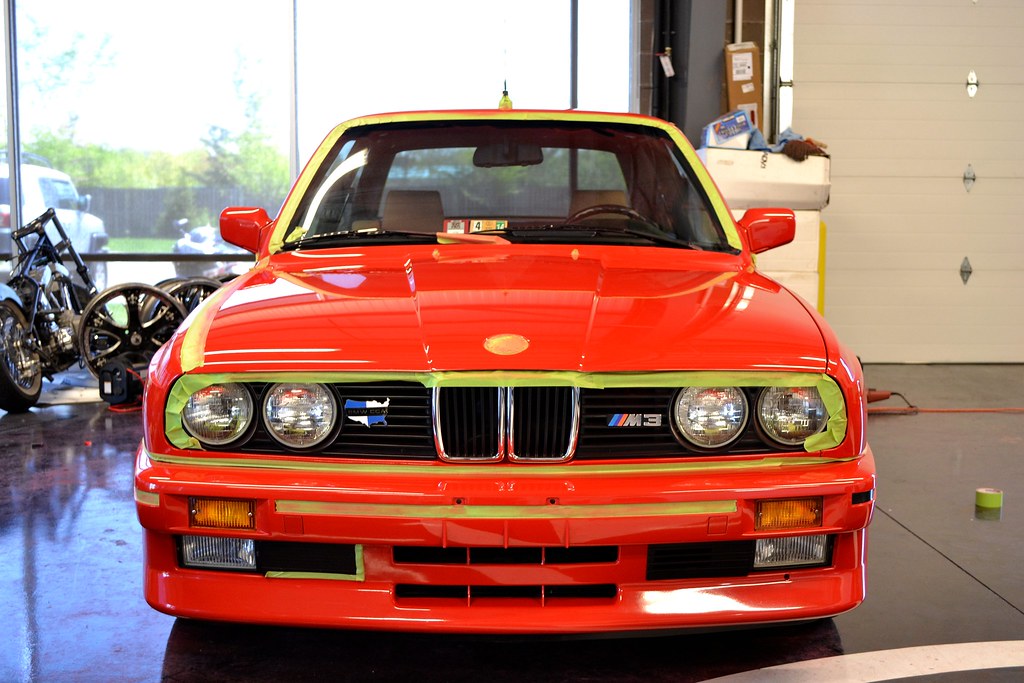
Some finished shots before de-taping & final wash
DSC_0239 by SpeedFreak81, on Flickr
DSC_0238 by SpeedFreak81, on Flickr
DSC_0237 by SpeedFreak81, on Flickr
DSC_0226 by SpeedFreak81, on Flickr
DSC_0230 by SpeedFreak81, on Flickr
DSC_0229 by SpeedFreak81, on Flickr
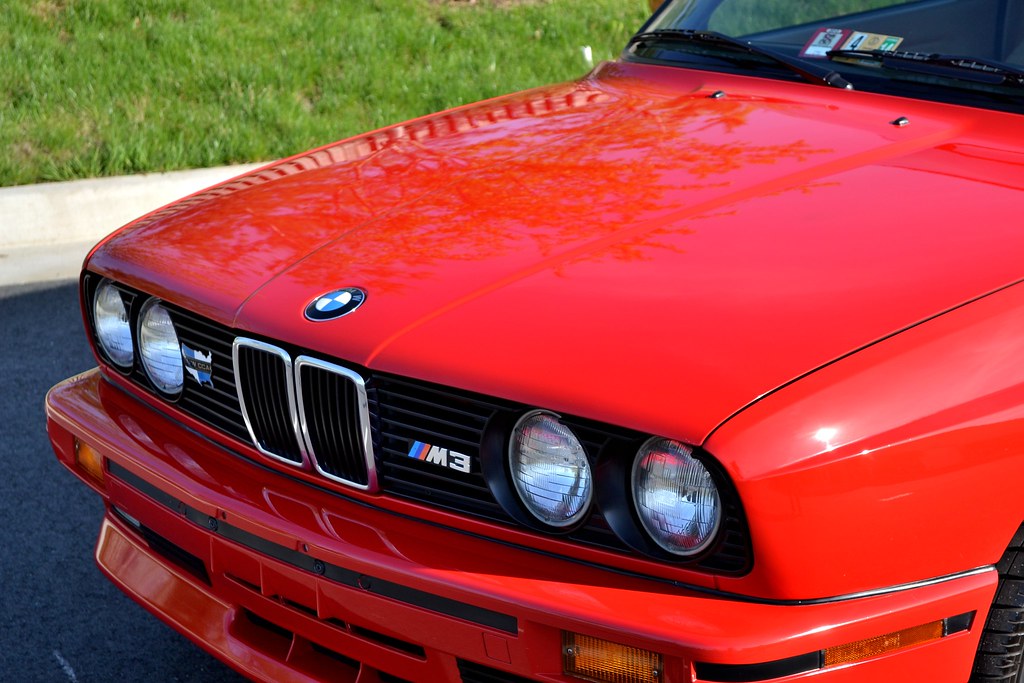
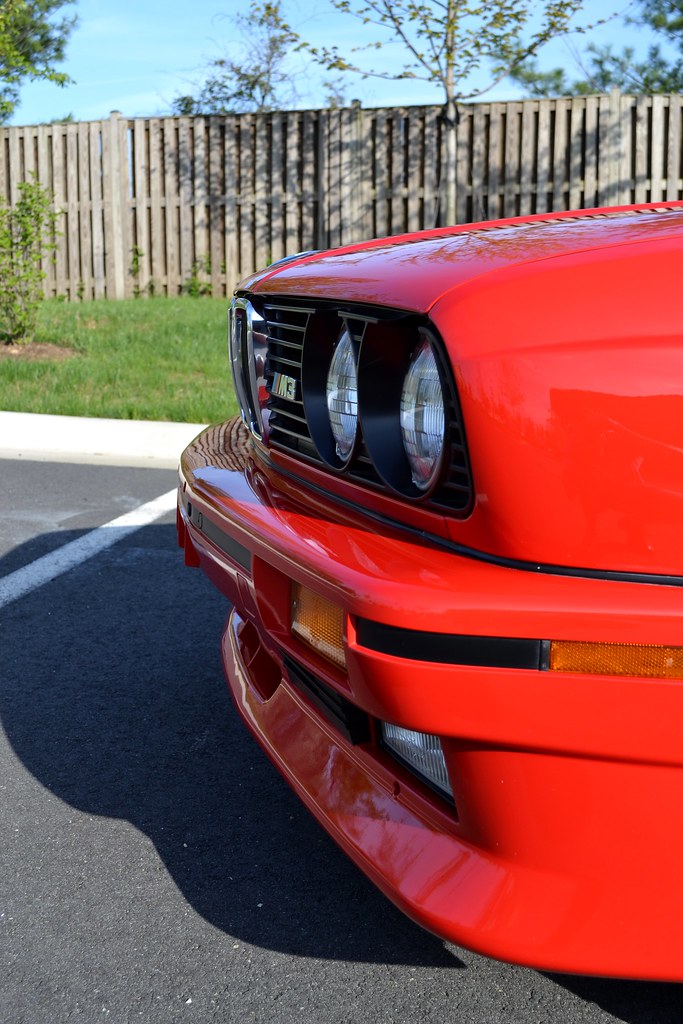
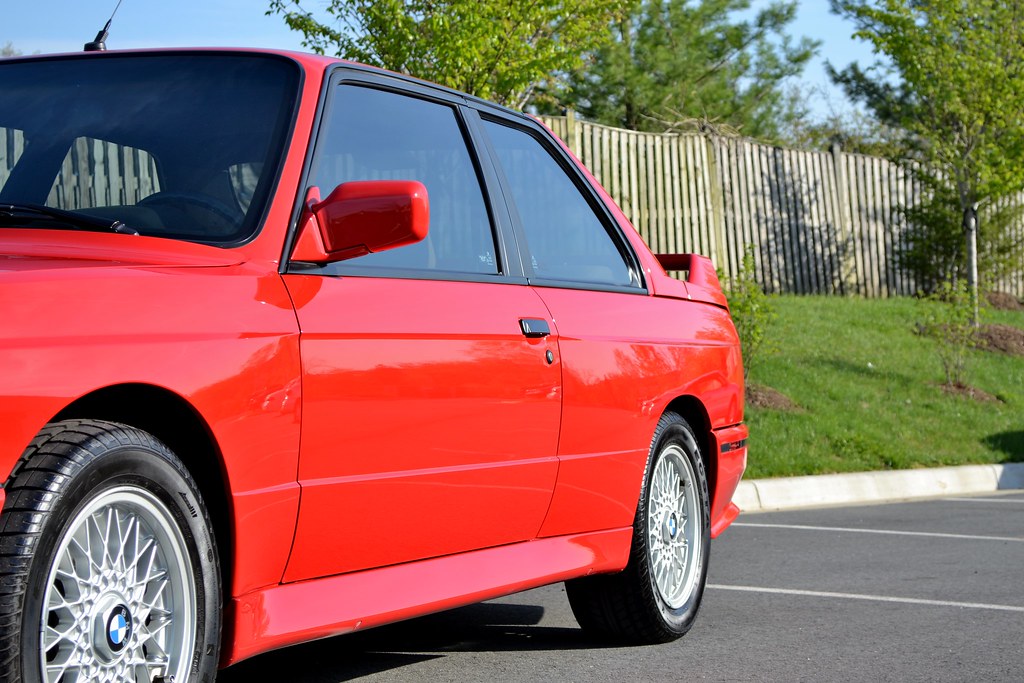
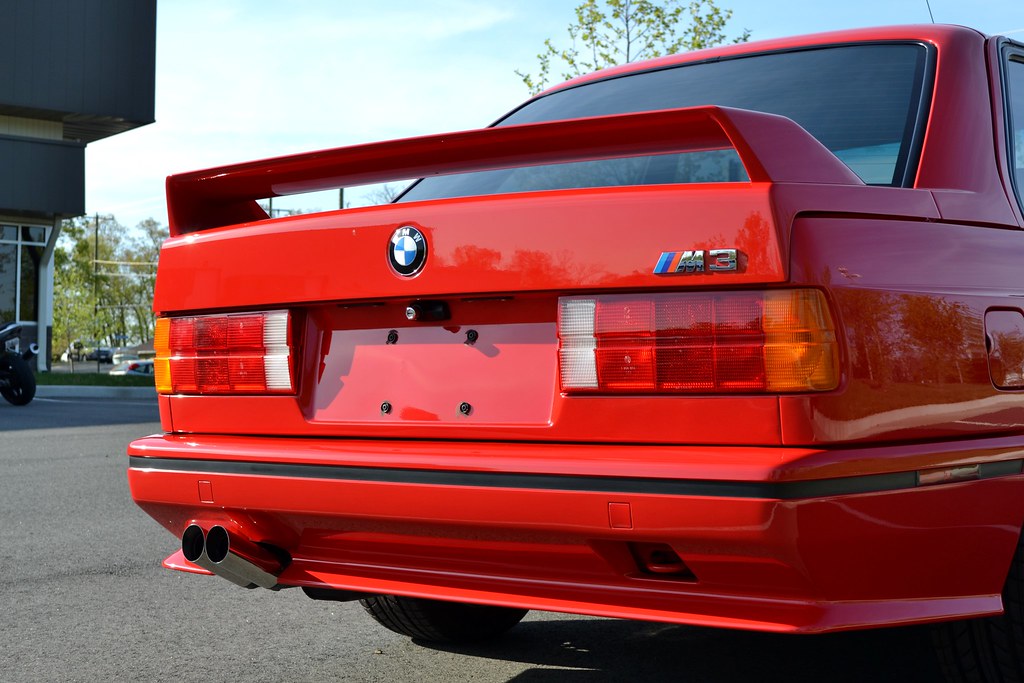
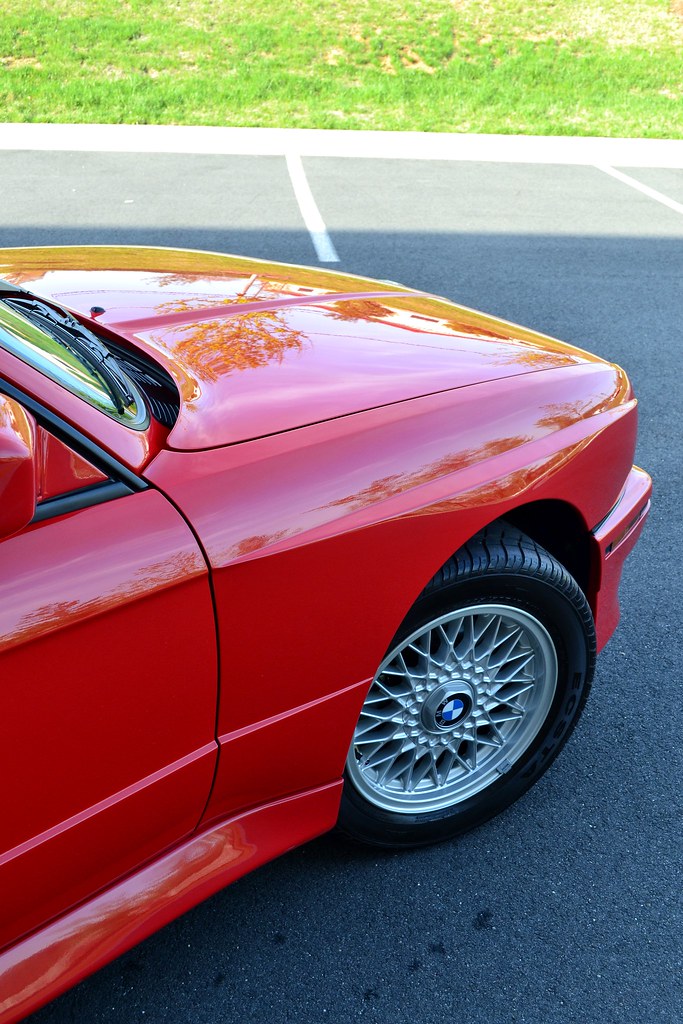
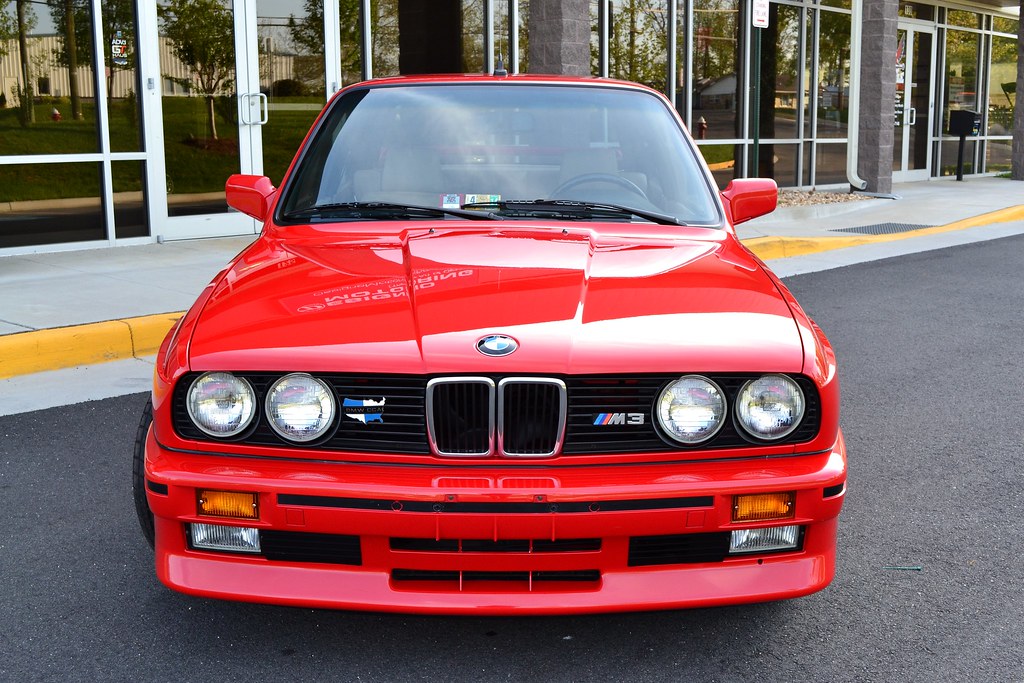
And now the "after" shots!
DSC_0275 by SpeedFreak81, on Flickr
DSC_0280 by SpeedFreak81, on Flickr
DSC_0278 by SpeedFreak81, on Flickr
DSC_0301 by SpeedFreak81, on Flickr
DSC_0281 by SpeedFreak81, on Flickr
DSC_0293 by SpeedFreak81, on Flickr
DSC_0290 by SpeedFreak81, on Flickr

DSC_0292 by SpeedFreak81, on Flickr

DSC_0286 by SpeedFreak81, on Flickr
DSC_0315 by SpeedFreak81, on Flickr
DSC_0316 by SpeedFreak81, on Flickr
DSC_0319 by SpeedFreak81, on Flickr
DSC_0312 by SpeedFreak81, on Flickr
DSC_0310 by SpeedFreak81, on Flickr
DSC_0311 by SpeedFreak81, on Flickr
DSC_0308 by SpeedFreak81, on Flickr
DSC_0306 by SpeedFreak81, on Flickr
DSC_0324 by SpeedFreak81, on Flickr
Thanks for looking!
Brian
Products used:
- Sonax Full Effect wheel cleaner
- 1Z W99 degreaser
- Meguiar's APC
- CG Citrus Wash
- Pinnacle Speed Clay
- DoDo Juice Born Slippery clay lube
- M105 on LC PFW pad via FLEX 3401
- M105 on LC cyan hydrotech pad via FLEX 3401
- Pinnacle Advanced Finishing polish on LC CCS white pad via FLEX 3401
- Menzerna SF4500 on LC CCS Grey pad via FLEX 3401
- Various sandpaper ranging from 2000-3000 grit
- Meguiar's #7 show car glaze
- Pinnacle Souveran paste wax
- Sonax glass cleaner
- Optimum metal polish on exhaust tips
- Adam's Super VRT tire dressing
Started with the hood, center section untouched to show defects
DSC_0204 by SpeedFreak81, on Flickr
Center section untouched vs side section compounded
DSC_0206 by SpeedFreak81, on Flickr
DSC_0207 by SpeedFreak81, on Flickr
Top of front bumper 50/50 shots after compounding
DSC_0212 by SpeedFreak81, on Flickr
DSC_0209 by SpeedFreak81, on Flickr
The horizontal panels like the roof take a beating and are routinely neglected, so no surprise I saw some dramatic results here
DSC_0215 by SpeedFreak81, on Flickr
DSC_0216 by SpeedFreak81, on Flickr
DSC_0217 by SpeedFreak81, on Flickr
DSC_0213 by SpeedFreak81, on Flickr
Next up was the trunk lid, for easier access the wing was removed. There were VERY deep scratches under the wing area that were too deep to be removed.
DSC_0221 by SpeedFreak81, on Flickr
DSC_0264 by SpeedFreak81, on Flickr
DSC_0260 by SpeedFreak81, on Flickr
DSC_0259 by SpeedFreak81, on Flickr
DSC_0262 by SpeedFreak81, on Flickr
Now that the horizontal panels had been compounded, it was time to start the vertical ones. I began at the driver's side fender, and worked my way back and around the car.
50/50 driver's fender
DSC_0201 by SpeedFreak81, on Flickr
fender fully compounded
DSC_0203 by SpeedFreak81, on Flickr
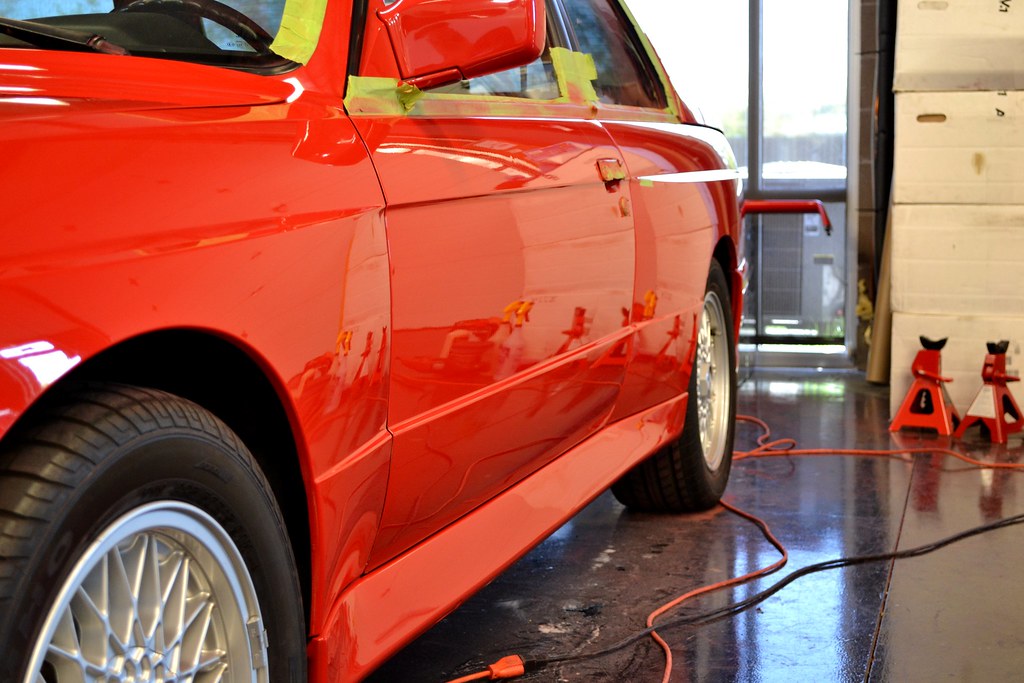
Close up shot of driver's door, before compounding
DSC_0195 by SpeedFreak81, on Flickr
50/50 driver's door
DSC_0198 by SpeedFreak81, on Flickr
top portion of door before and after compound
DSC_0191 by SpeedFreak81, on Flickr
DSC_0192 by SpeedFreak81, on Flickr
Moving along to the rear end, a few before shots
DSC_0266 by SpeedFreak81, on Flickr
DSC_0267 by SpeedFreak81, on Flickr
DSC_0268 by SpeedFreak81, on Flickr
After compound
DSC_0270 by SpeedFreak81, on Flickr
DSC_0271 by SpeedFreak81, on Flickr
top of bumper cover 50/50
DSC_0272 by SpeedFreak81, on Flickr
Moving along to the passenger side, quarter panel up first
50/50, and a few compounded & uncompounded shots
DSC_0255 by SpeedFreak81, on Flickr
DSC_0254 by SpeedFreak81, on Flickr
DSC_0253 by SpeedFreak81, on Flickr
Passenger door was up next
DSC_0250 by SpeedFreak81, on Flickr
DSC_0247 by SpeedFreak81, on Flickr
DSC_0248 by SpeedFreak81, on Flickr
Moving along to the passenger fender
DSC_0240 by SpeedFreak81, on Flickr
50/50
DSC_0245 by SpeedFreak81, on Flickr
Some finished shots before de-taping & final wash
DSC_0239 by SpeedFreak81, on Flickr
DSC_0238 by SpeedFreak81, on Flickr
DSC_0237 by SpeedFreak81, on Flickr
DSC_0226 by SpeedFreak81, on Flickr
DSC_0230 by SpeedFreak81, on Flickr
DSC_0229 by SpeedFreak81, on Flickr
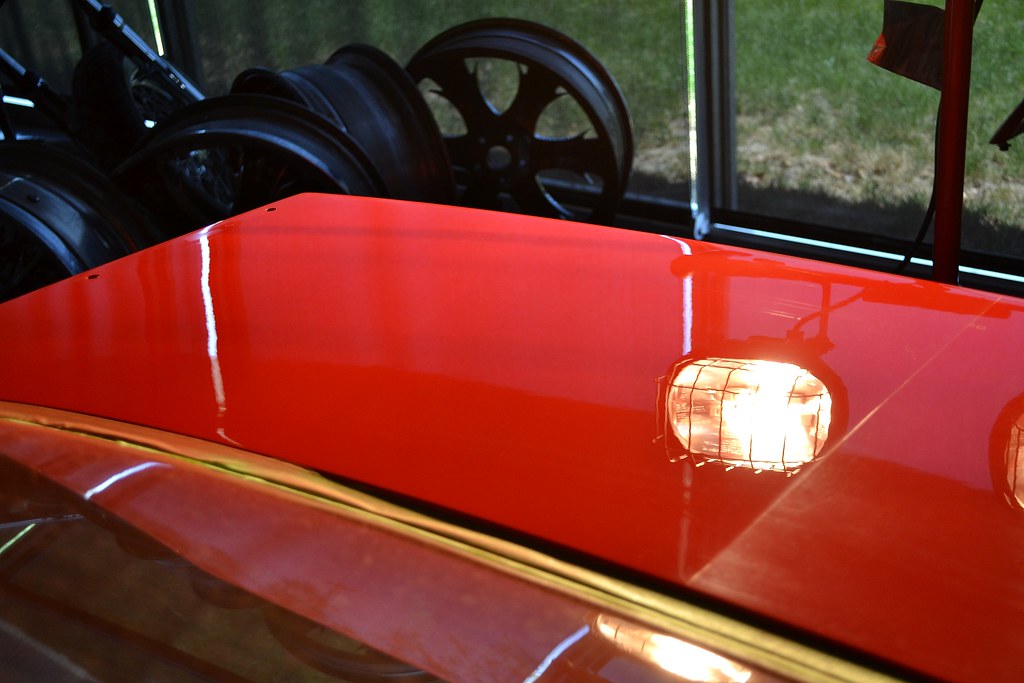
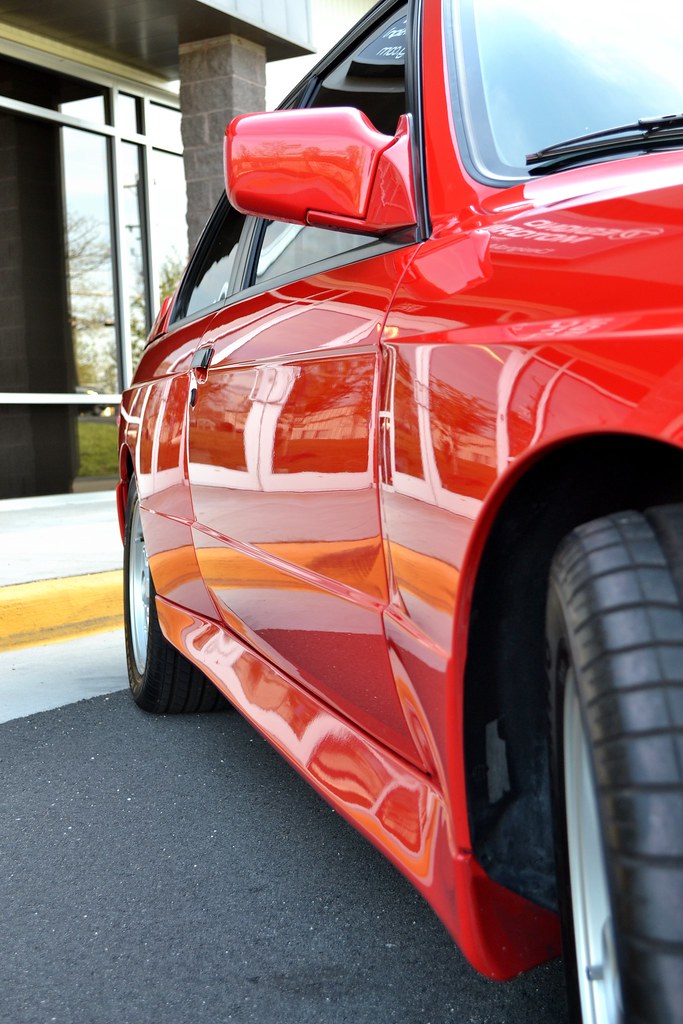
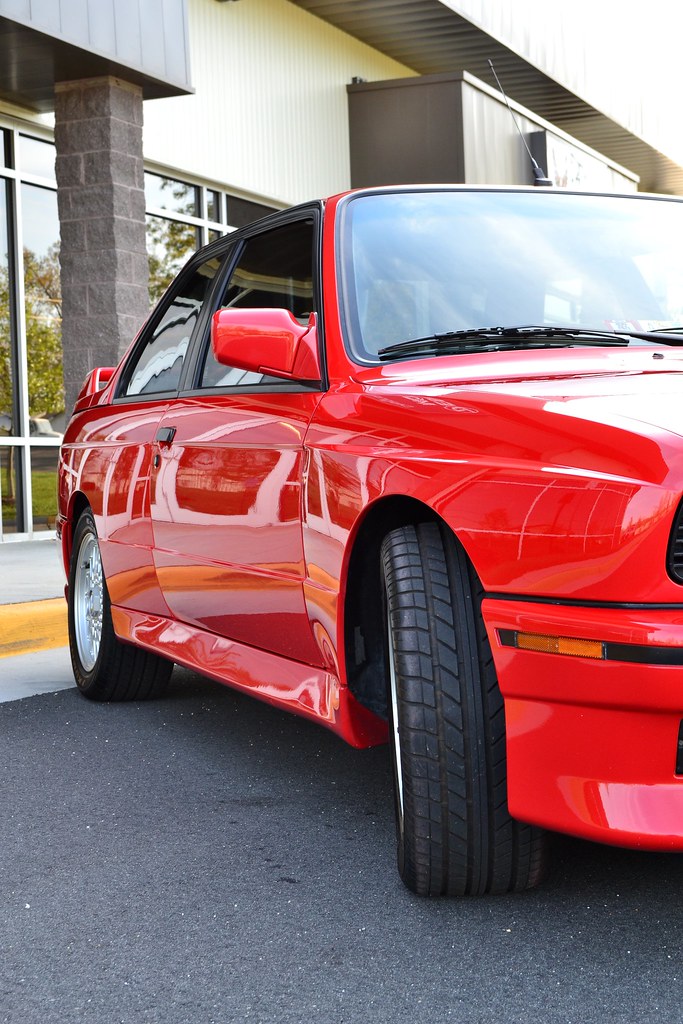
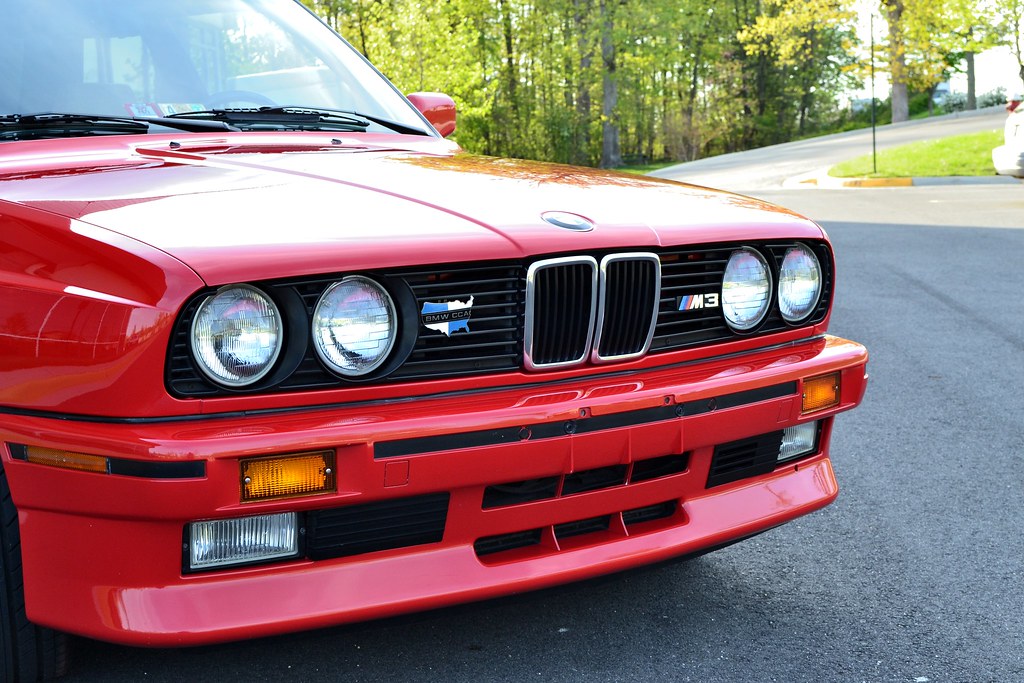
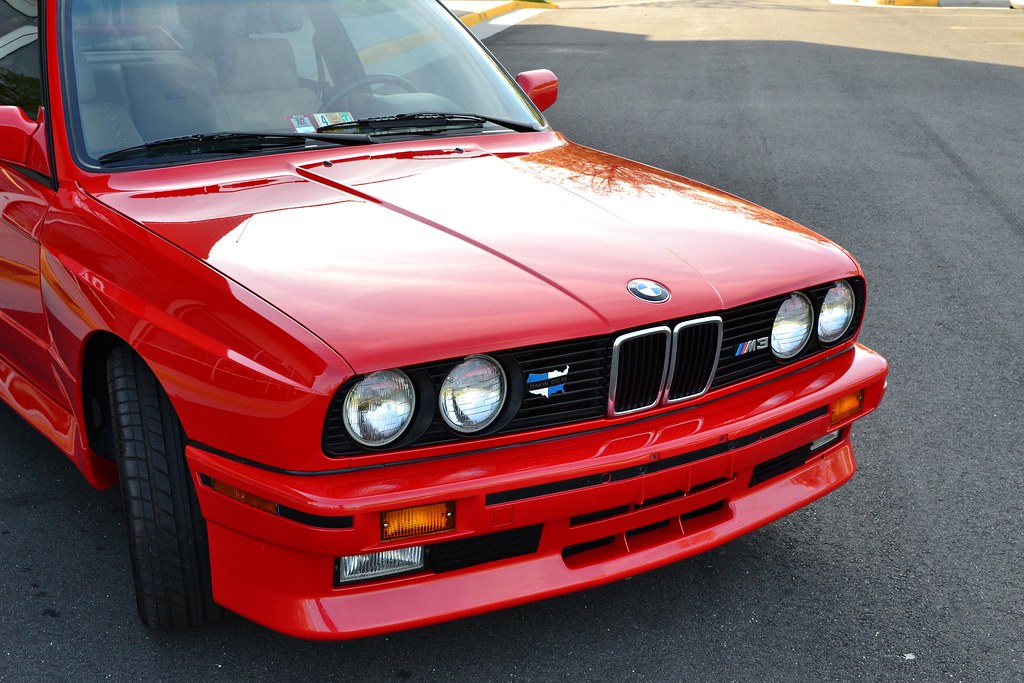
And now the "after" shots!
DSC_0275 by SpeedFreak81, on Flickr
DSC_0280 by SpeedFreak81, on Flickr
DSC_0278 by SpeedFreak81, on Flickr
DSC_0301 by SpeedFreak81, on Flickr
DSC_0281 by SpeedFreak81, on Flickr
DSC_0293 by SpeedFreak81, on Flickr
DSC_0290 by SpeedFreak81, on Flickr
DSC_0292 by SpeedFreak81, on Flickr
DSC_0286 by SpeedFreak81, on Flickr
DSC_0315 by SpeedFreak81, on Flickr
DSC_0316 by SpeedFreak81, on Flickr
DSC_0319 by SpeedFreak81, on Flickr
DSC_0312 by SpeedFreak81, on Flickr
DSC_0310 by SpeedFreak81, on Flickr
DSC_0311 by SpeedFreak81, on Flickr
DSC_0308 by SpeedFreak81, on Flickr
DSC_0306 by SpeedFreak81, on Flickr
DSC_0324 by SpeedFreak81, on Flickr
Thanks for looking!
Brian
")