LawrenceSA
New member
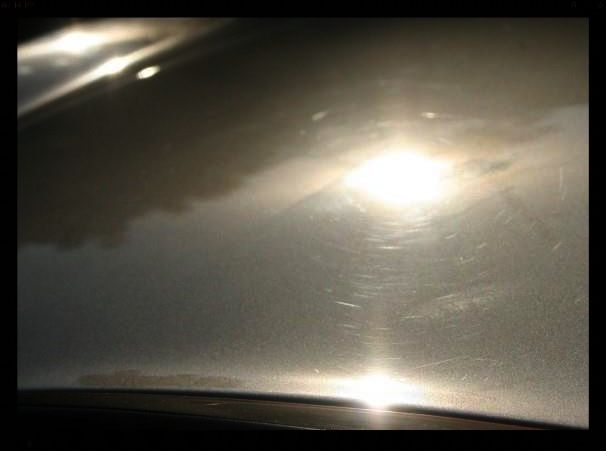
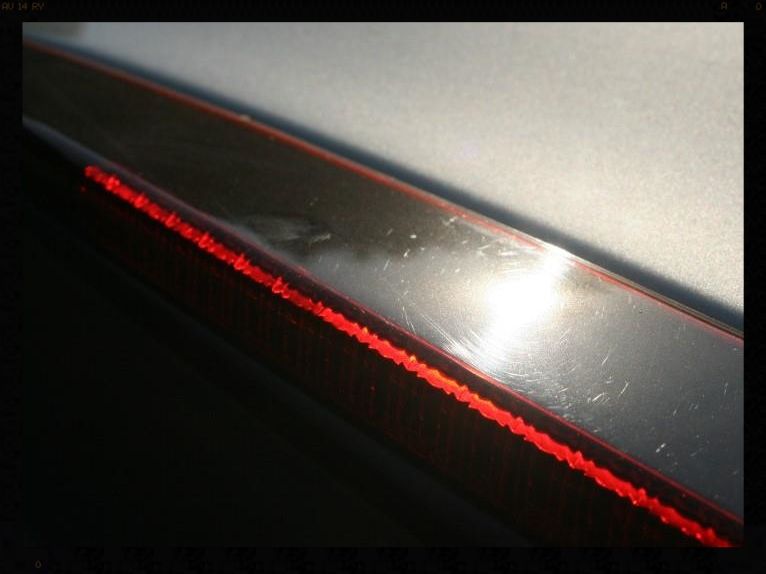
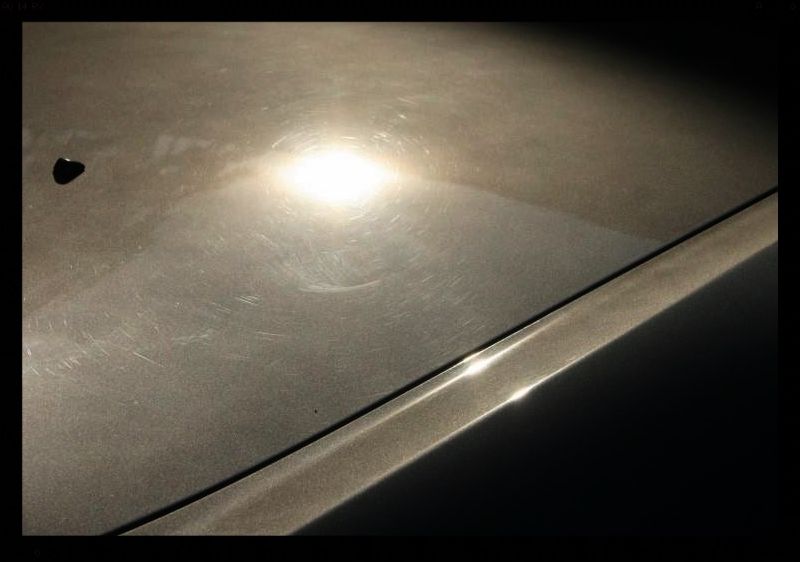
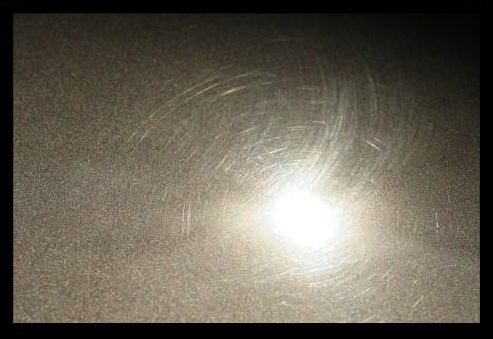
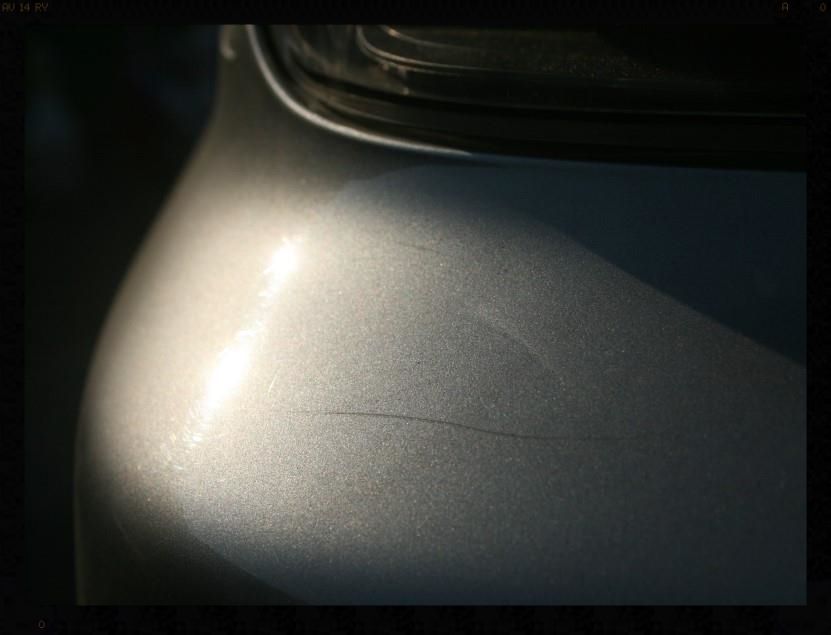
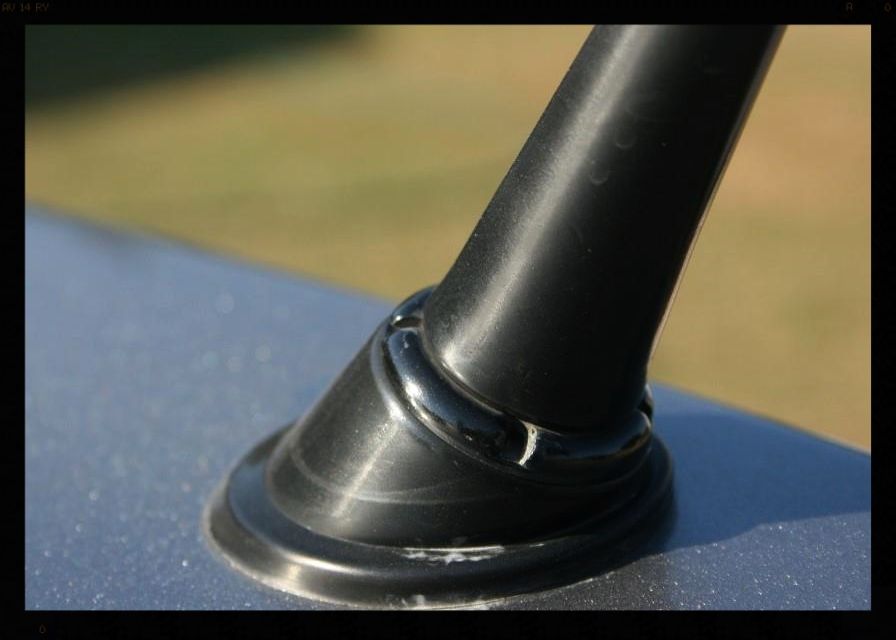
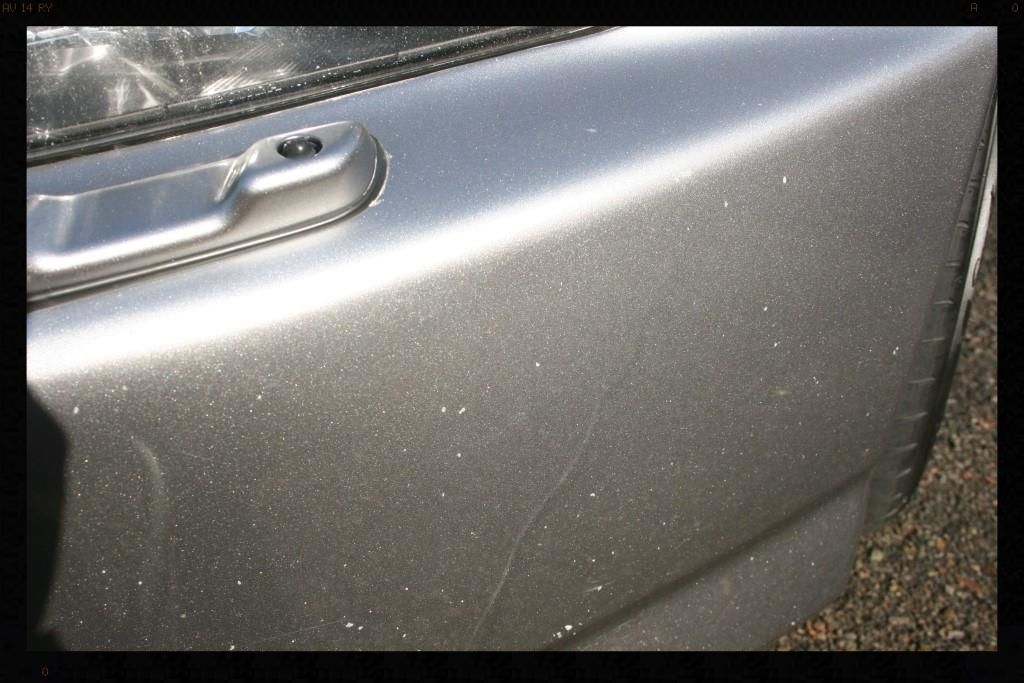
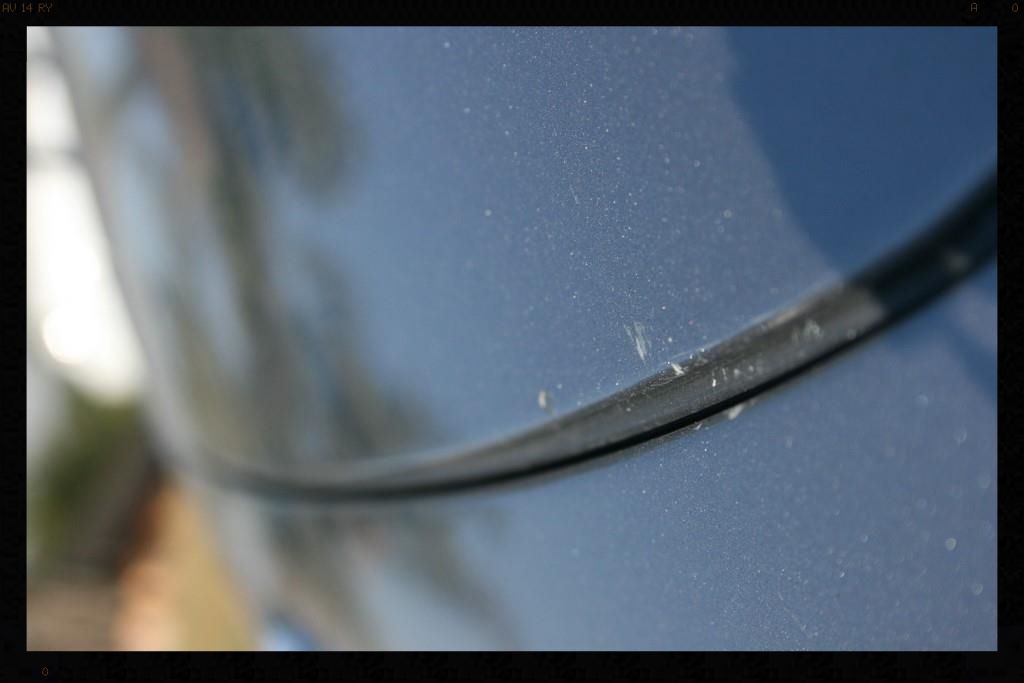
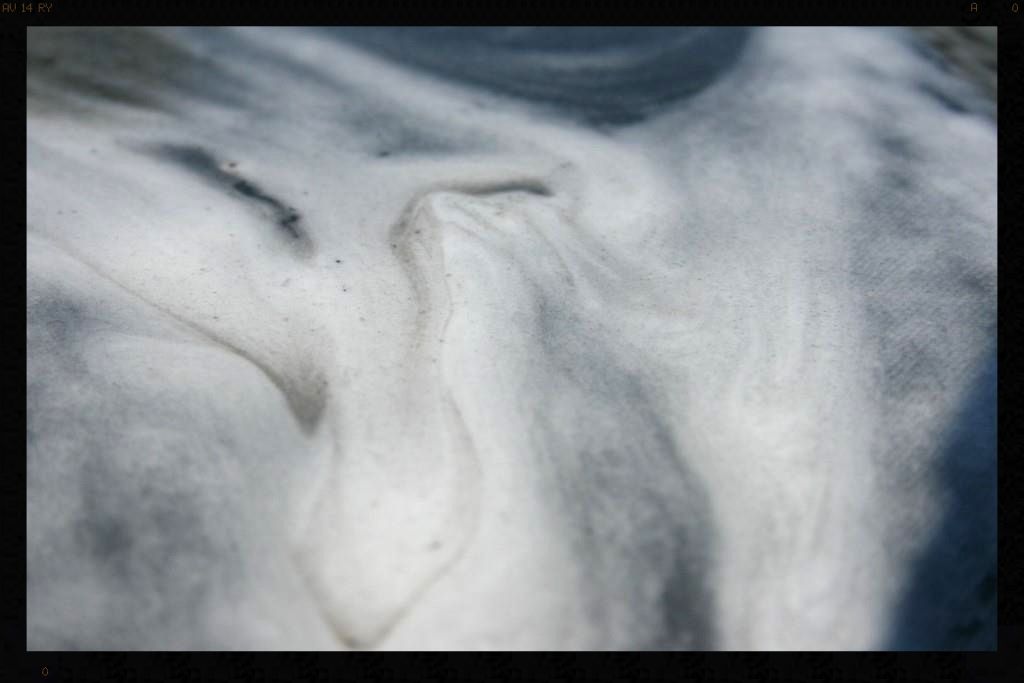
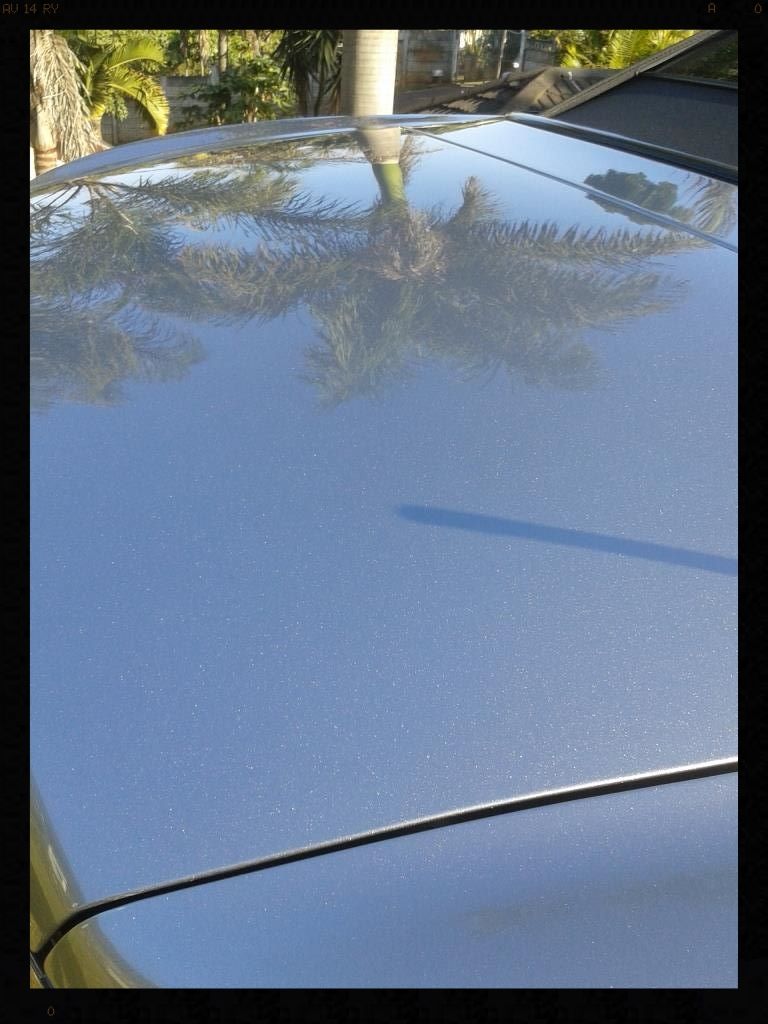
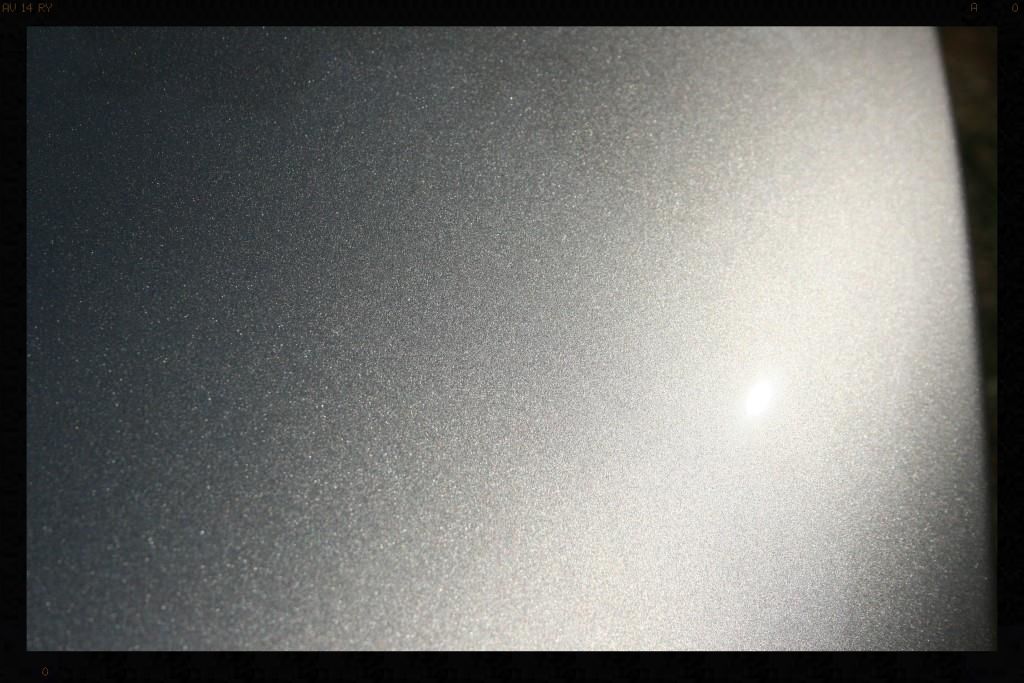
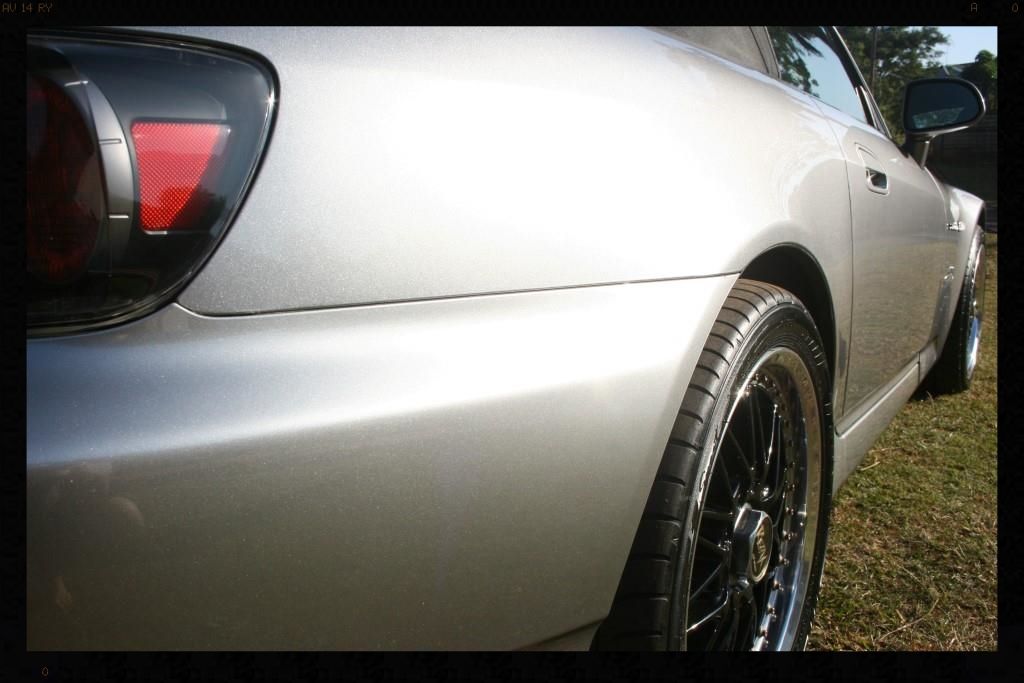
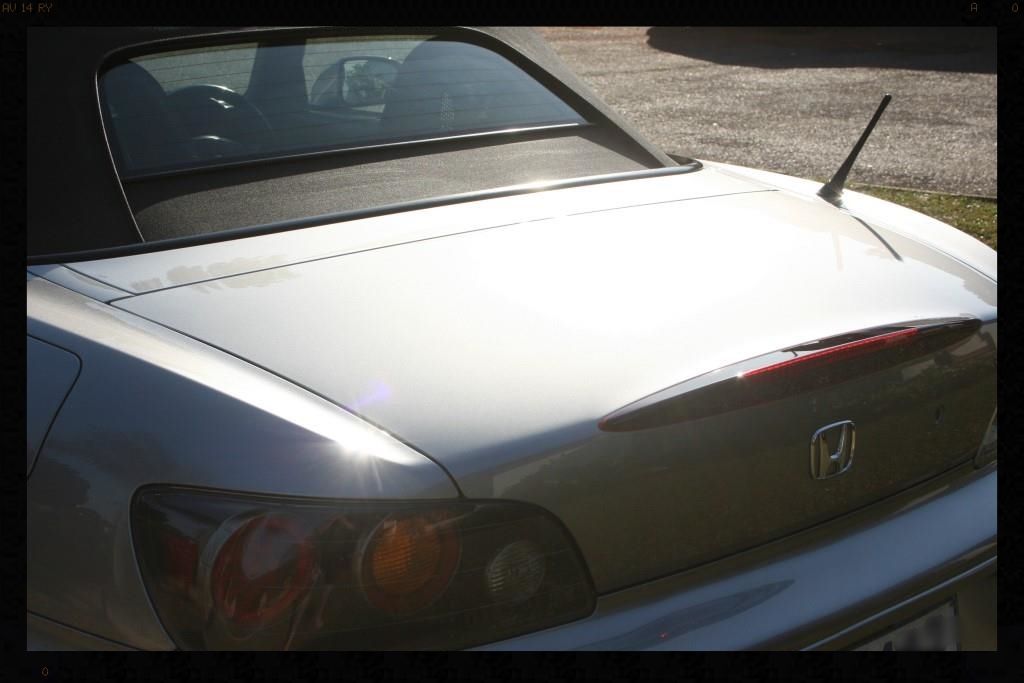
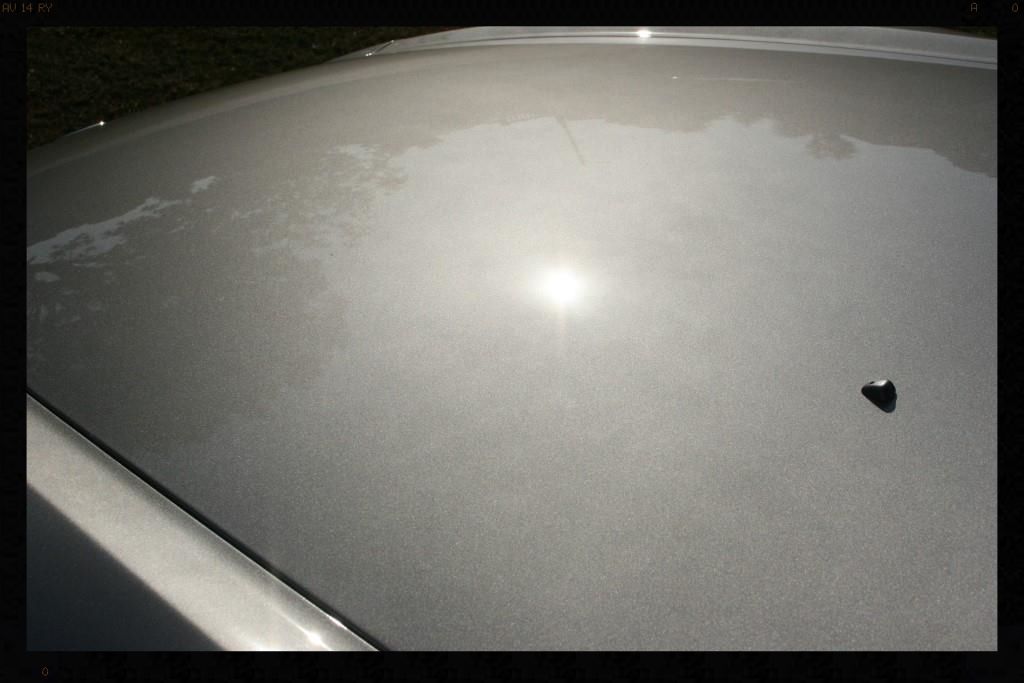
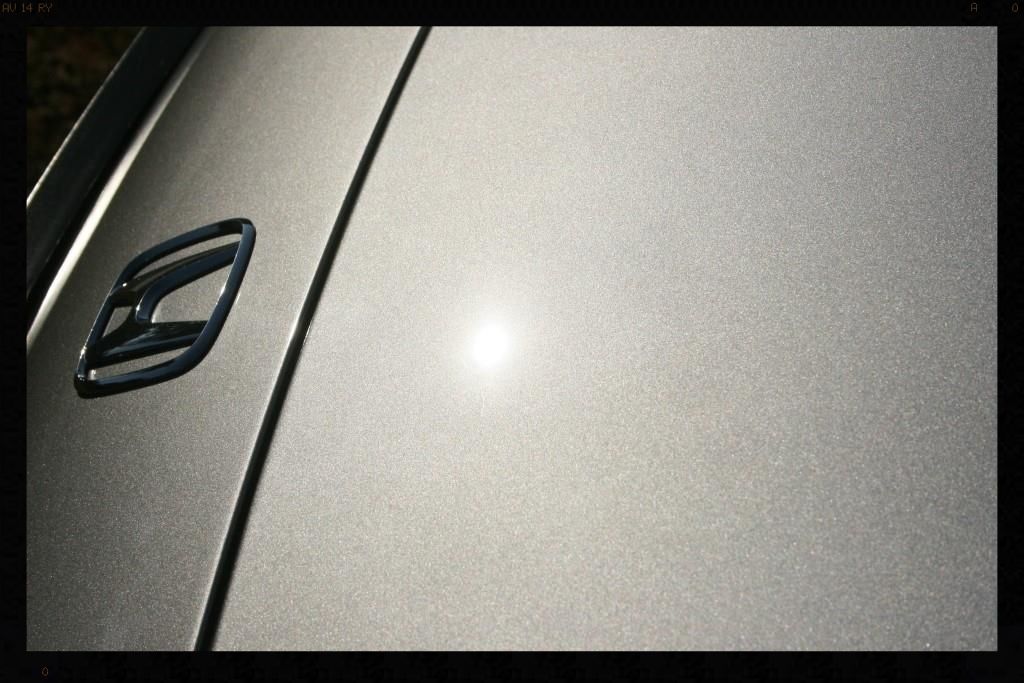
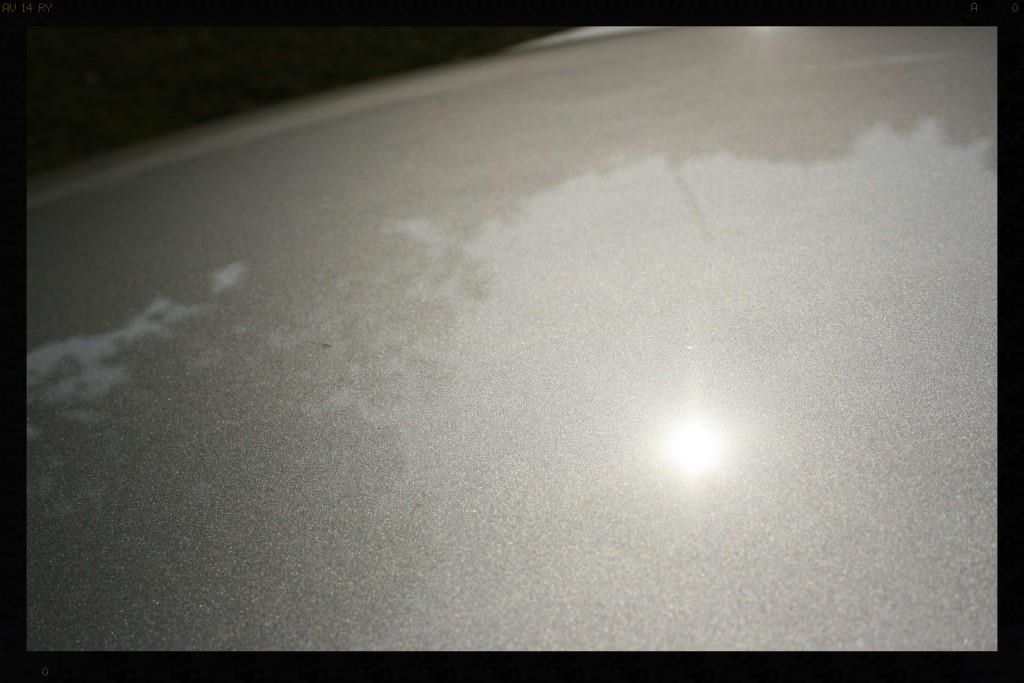
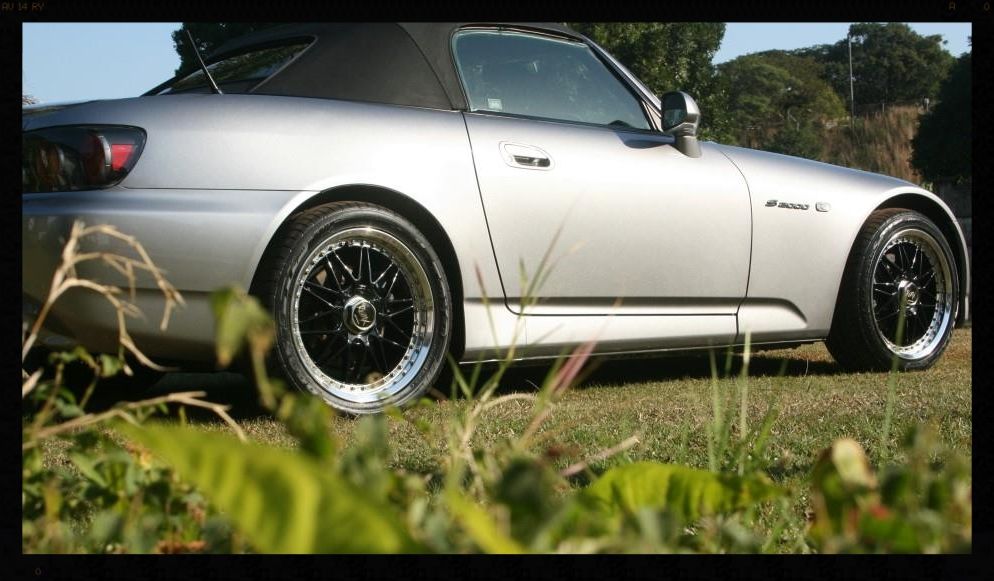
Some before pics
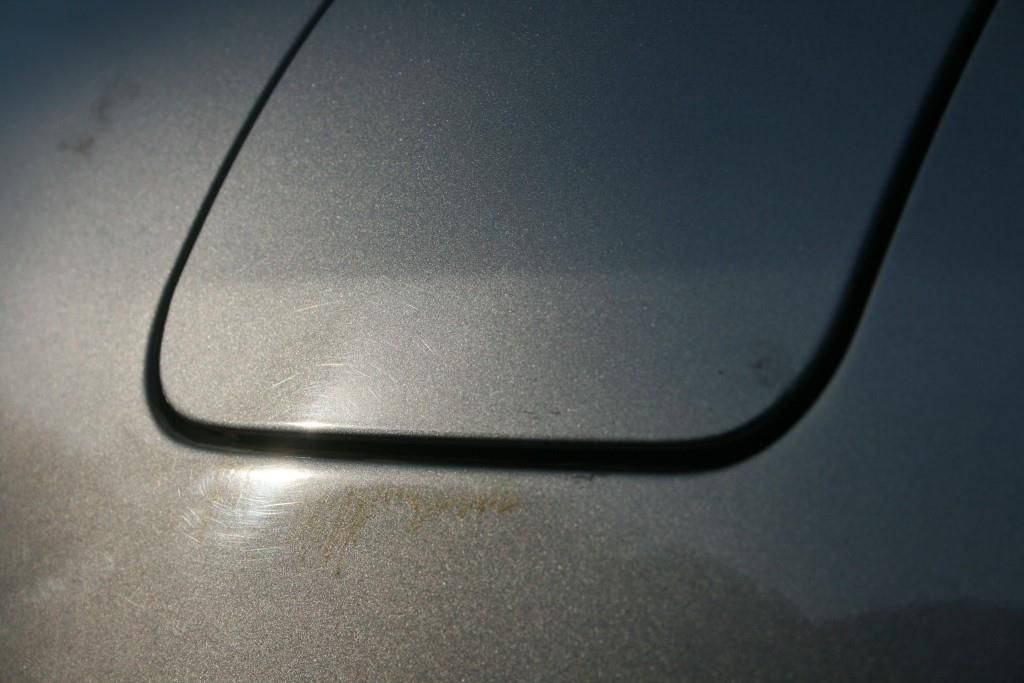
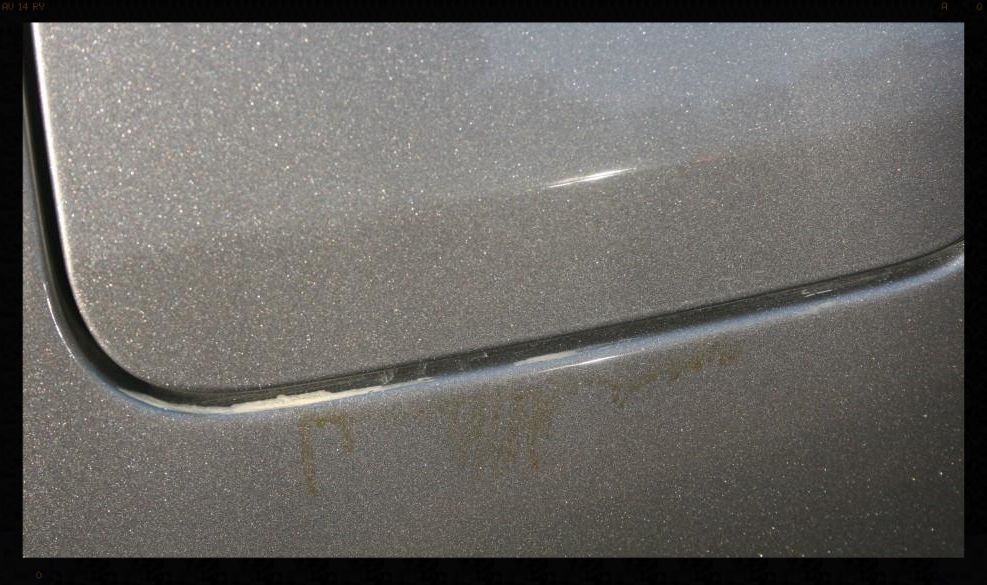
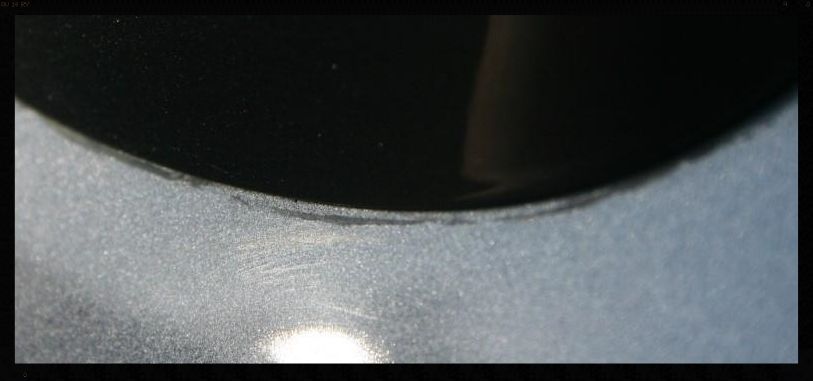
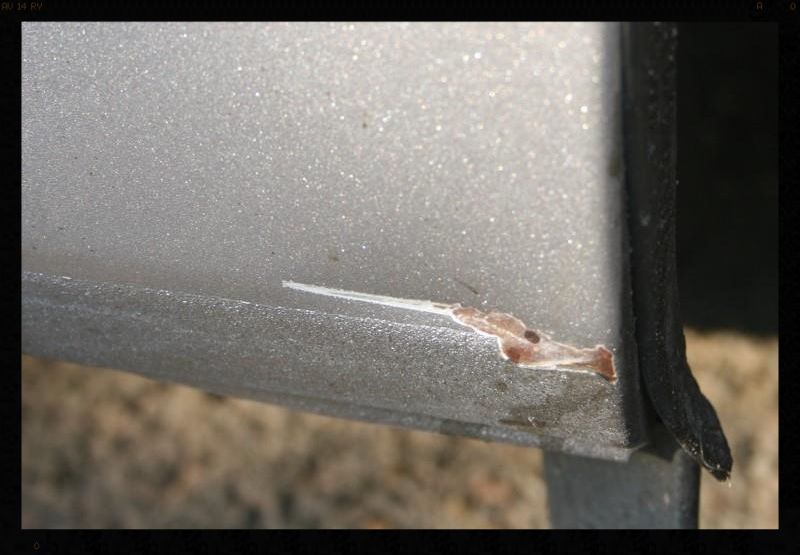
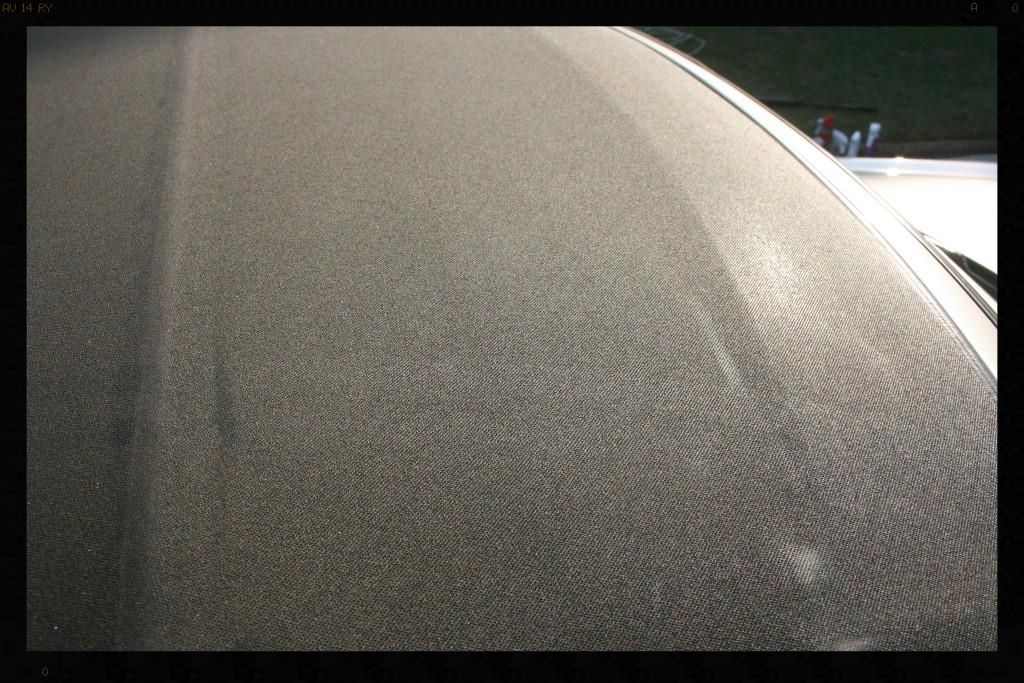
Here you will notice a stain below the fuel flap (presumably from some spilled octane booster :driving: ) - more on that later.
Some wax as a momento
Others


Arches: Rinsed with a HP washer, sprayed with Cyclo APC via a foaming trigger head and allowed to dwell and then agitated with a Mothers Fender Well Brush. This was followed with another HP Rinse. The arches would later be dressed with Glossworx Extreme Tyre Shine
Tires: Cleaned with Mothers Mothers FX Wheel Cleaner and a Mothers Tire Brush and later dressed with 2 coats of Optimum Optibond Tire Gel 12 hours apart.
Wheels and brake calipers: Rinsed with a HP washer then cleaned using Sonax FE Wheel Cleaner and a Daytona Jnr and a Valet Pro Boar Hairs brush and dried. The wheels were then thoroughly sprayed with Valet Pro Dragons Breath which was agitated after being allowed to dwell for a few minutes, using the same brushes, and then thoroughly rinsed and dried them. Valet Pro Citrus Tar & Glue Remover was used to remove any tar spots. The wheels were then foamed using Valet Pro Advanced Neutral Snow Foam when the rest of the car was being washed - this would ensure there were no remaining residue on the surface - then they were clayed and the lips polished using Meguiars NXT Metal Polish. The rest of the wheel was sealed with Menzerna Powerlock.
Before

During cleaning
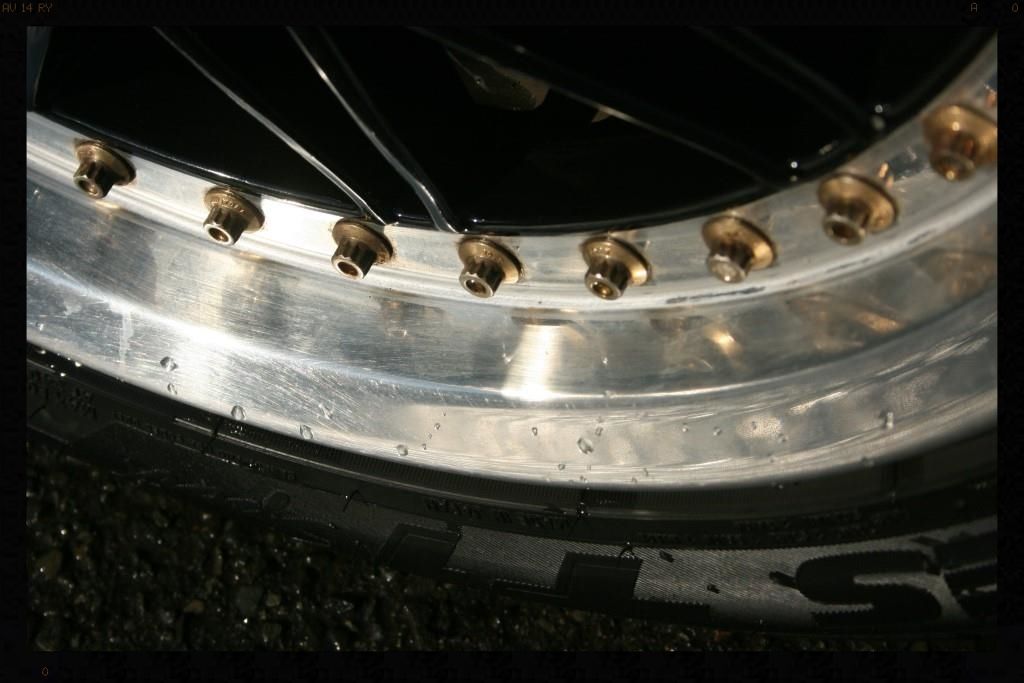
Busy polishing the lips

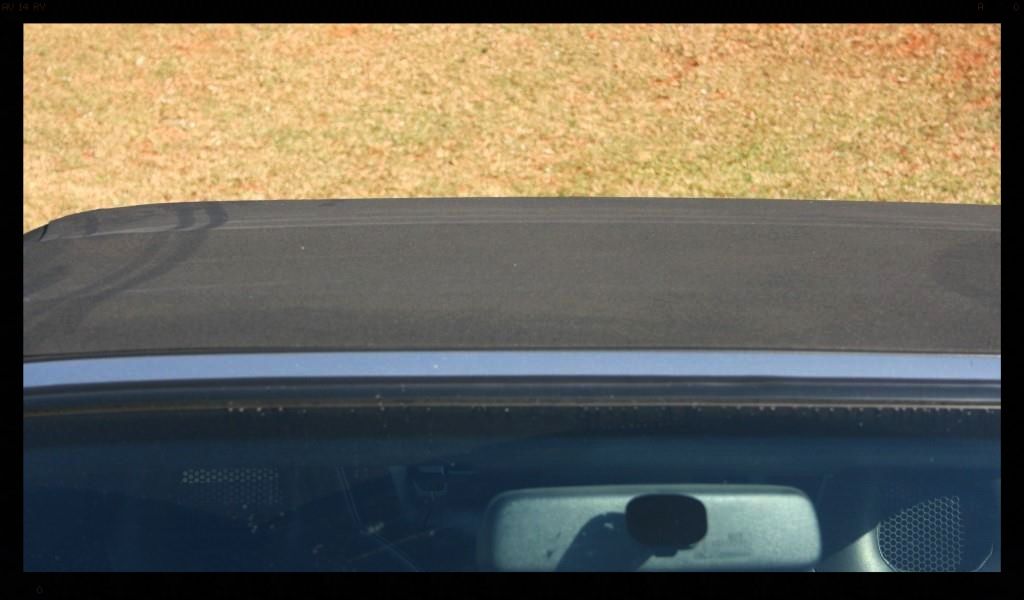
Convertible Top: Rinsed then Cyclo APC mixed at 10:1 was sprayed on via a foaming trigger head and then worked gently into the fabric using a soft bristled brush. This was then thoroughly rinsed off and the car left out in the sun to dry. The last step would be to apply some Scotchguard
Before
During
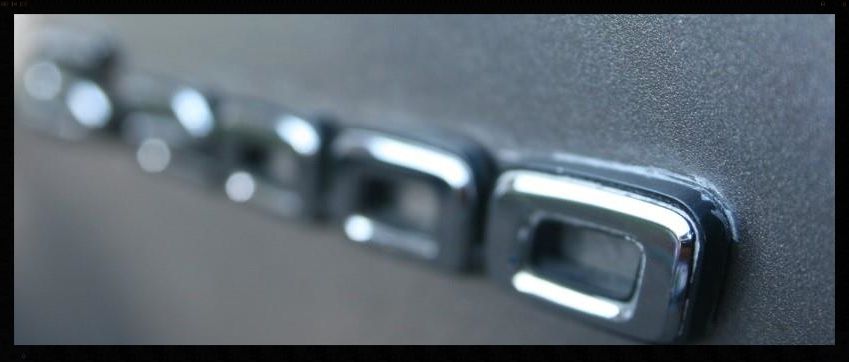
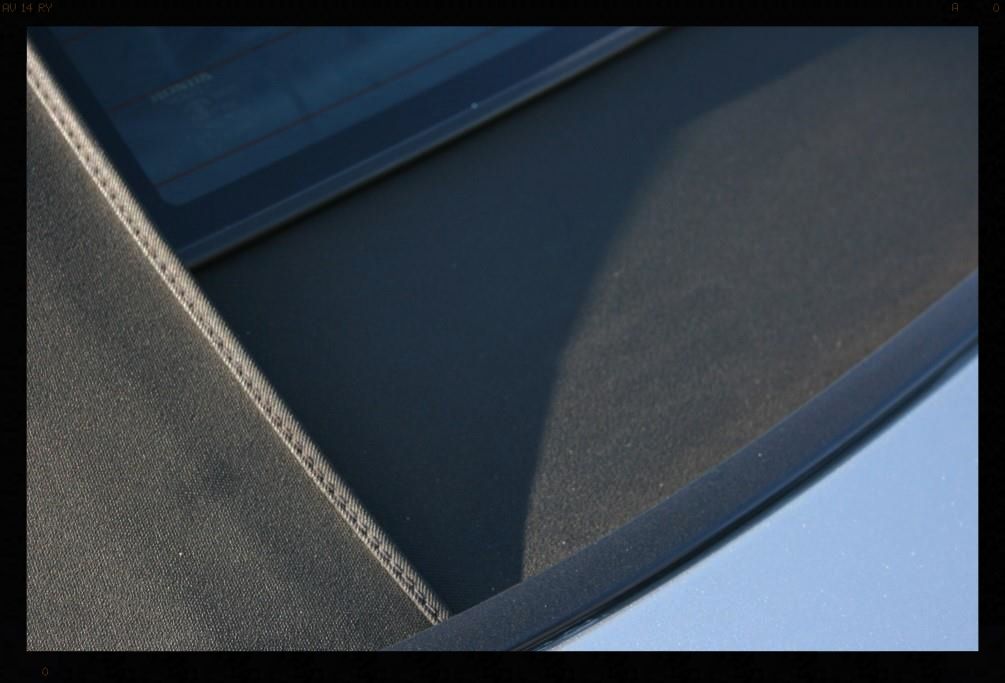
Door shuts, boot shut, window rubbers, fuel flap, badges etc: Cleaned using Cyclo APC with Valet Pro brushed and then HP Rinsed
Wash: Prefoamed using Valet Pro Advanced Neutral Snow Foam via foam cannon followed by a 2BM wash with Lambswool wash mitts and Glossworx Shampoo.
Dry: ONR at QD strength with WW Drying towels and compressed air
Decontamination: A baggie test was conducted revealing a 'normal'amount of contamination which was clayed off. I opted not to make use of an iron or tar remover as I did not want any getting onto the fabric.
With the paint now clean I got some readings of the thickness (in microns).
With with massive variances in the depth of paint on the car I had to take a multiphase approach to the correction.
The bonnet has some really thick paint, obviously re-painted and so I hit it with Menzerna FG400 on LC orange pads (6.5").
The rest of the car was repainted too, but had much less paint left (or much less applied during painting). The quality of their work was shocking, with a lot of mottling evident
For those of you interested in what mottling is here is some info coourtesy of the Dupont website
http://pc.dupont.com/dpc/en/US/html/visitor/s/trouble/PDSG_Mottling.html
Also known as: striping, banding, shadowing, flooding, floating, misting, precipitation, blooming, bloom, bleaching
Description : Occurs mainly in metallics, when the flakes float together to form a spotty or striped appearance
Origin and Potential Causes:
Unsuitable thinner or reducer for application conditions.
Materials not uniformly mixed.
Spraying too wet.
Holding spray gun too close to work.
Uneven spray pattern.
Incorrect spray PSI or gun setup
Low shop temperature.
The flash time of the basecoat was too short before the clearcoat was applied.
Coat affected by wet or humid air/weather.
Prevention Techniques:
Select the thinner or reducer that is suitable for existing shop conditions and mix properly. In cold, damp weather, use a faster-dry solvent.
Stir all pigmented topcoats - especially metallics - thoroughly.
Use proper gun adjustments, techniques, and air pressure.
Keep your spray gun clean (especially the needle fluid tip and air cap) and in good working condition.
Do not spray metallic basecoats too wet.
Keep spray gun parallel to panel.
Follow application recommendations per the Technical Data Sheet
Remedy
Allow color coat to set-up and apply a drier double coat or two single coats, depending upon which topcoat you are applying.
If the defect is only visible after the application of the clear, thoroughly dry the clear, sand and refinish.
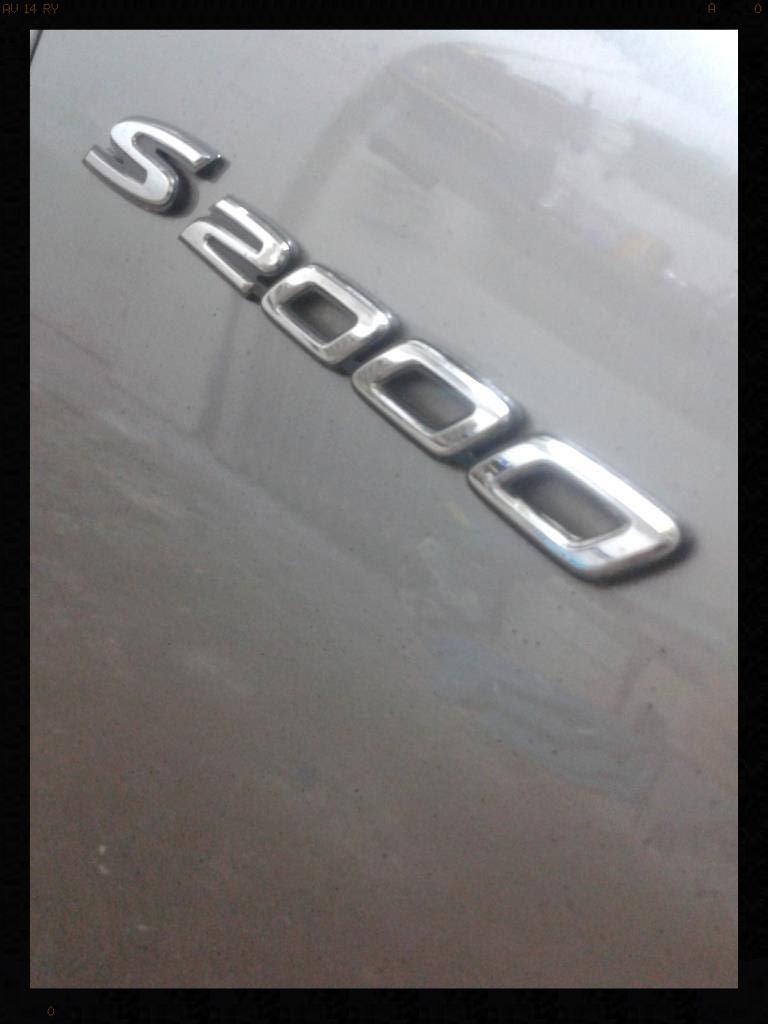
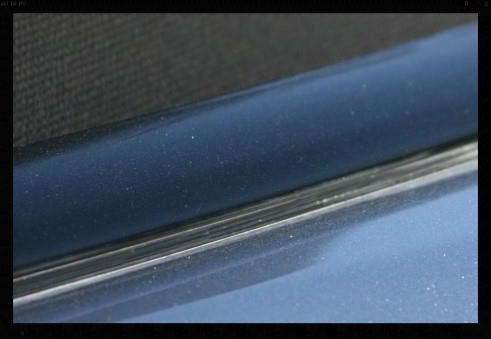
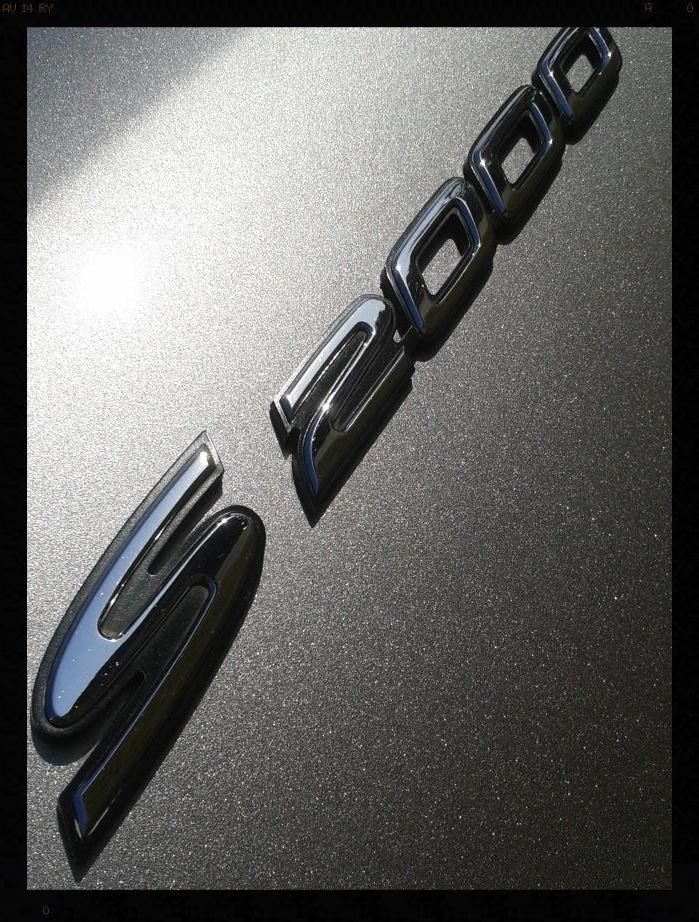
Both sides of the car including the fenders, doors and rear panels were much thinner, but more 'sort of normal'....and this was corrected using Menzerna PF2500 on on LC orange pads (6.5") and the thinned out spots with Menzerna SF4000 on a LC White Pad (6") [On the drivers side there was a really thin section under the S2000 badge on the front fender and on the rear panel another]
Remember the stain under the fuel flap.... well the low readings you see in the last column are where the *insert insult of choice* person who last polished the car presumably decided to try and polish the stain out. The extremely thin paint stretched over most of the rear panel
And saving the worst for last, the boot.... there was almost no paint left so this was gingerly polished using Menzerna SF4000 on a LC Crimson (5.5") followed by Autoglym SRP on a Menzerna Black Waffle Weave Finishing pad.
Tail light (and brake light) correction: Menzerna FG400 with LC orange pads (4") followed by Menzerna SF4000 with LC grey pad (4")
Protection: Collinite 845 [Autofinesse Tripple used on Door Jambs and under Bonnet]
Glass : Sample Fine Grade Clay / ONR at clay lube strength / Glossworx Glass Cleaner / Streak Free Microfiber Glass Cleaning Cloths / Insta Finish Bead Off
Door rubbers, plastic trim : Shield Heavy Duty Vinyl and Rubber Cleaner / Optimum Optibond Tire Gel
Interior: Blown out with compressed air / Vacuum / Autofinesse Spritz / Glossworx Leather Cleaner / Glossworx Leather Conditioner
Engine Bay: Blown out with compressed air / Wiped down with MF Towel and Cyclo APC / Dressed using Glossworx Extreme Tire Shine
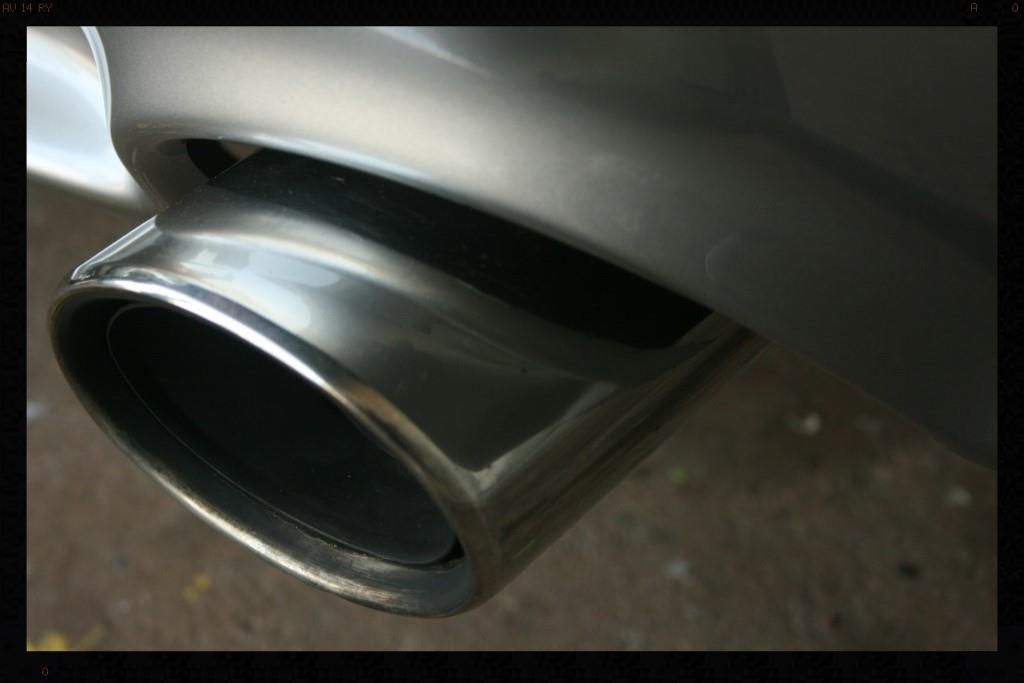
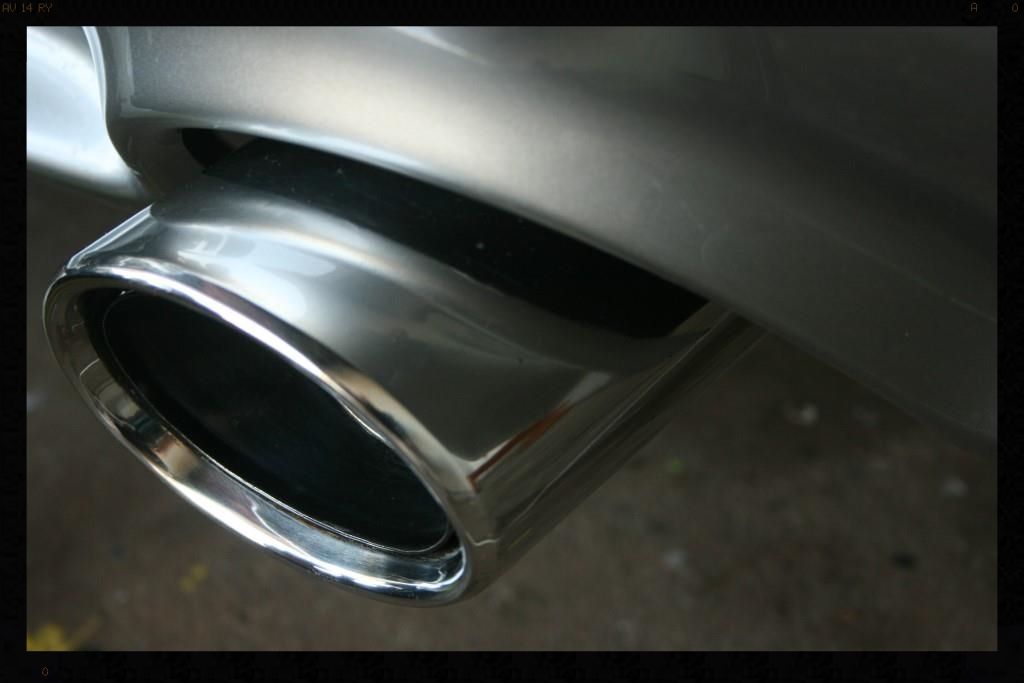
Exhaust tips: Cyclo CM30 APC / Various brushes / Meguiars NXT Metal Polish
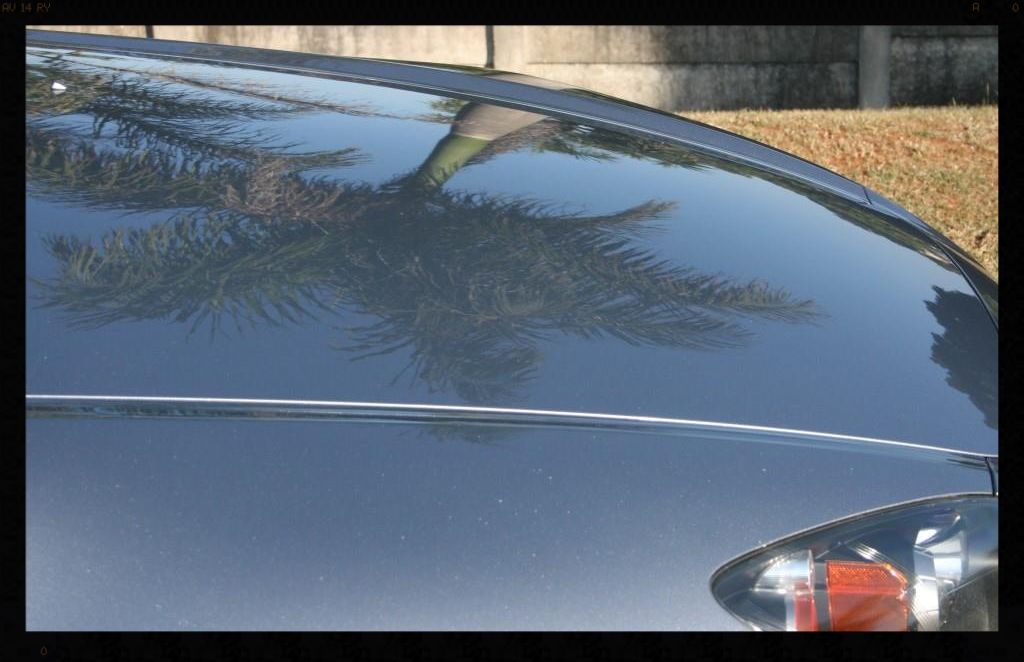
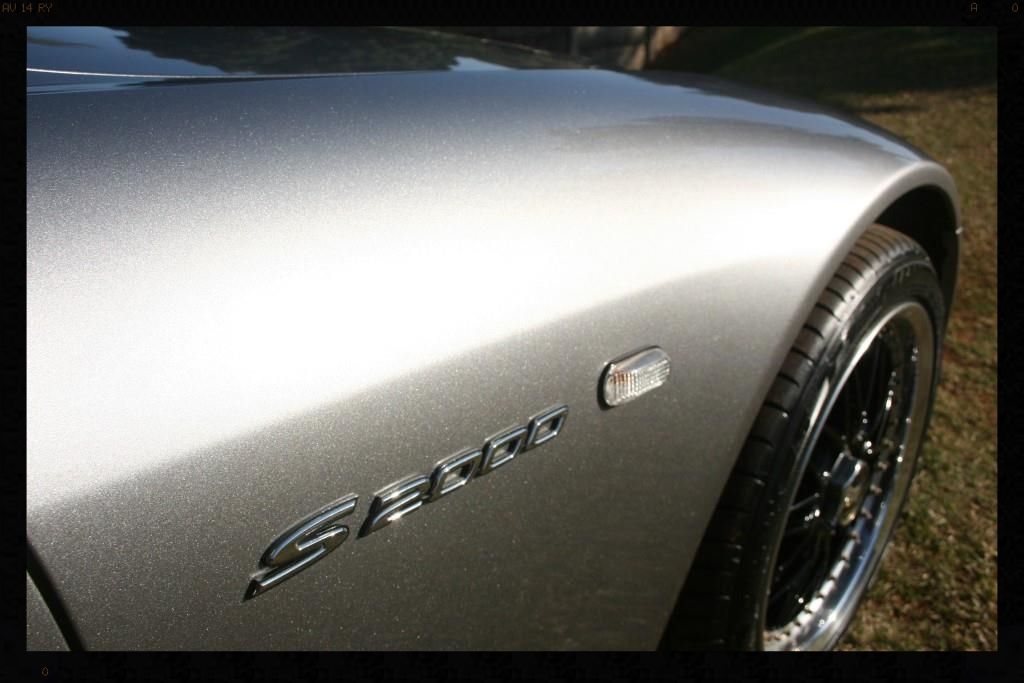
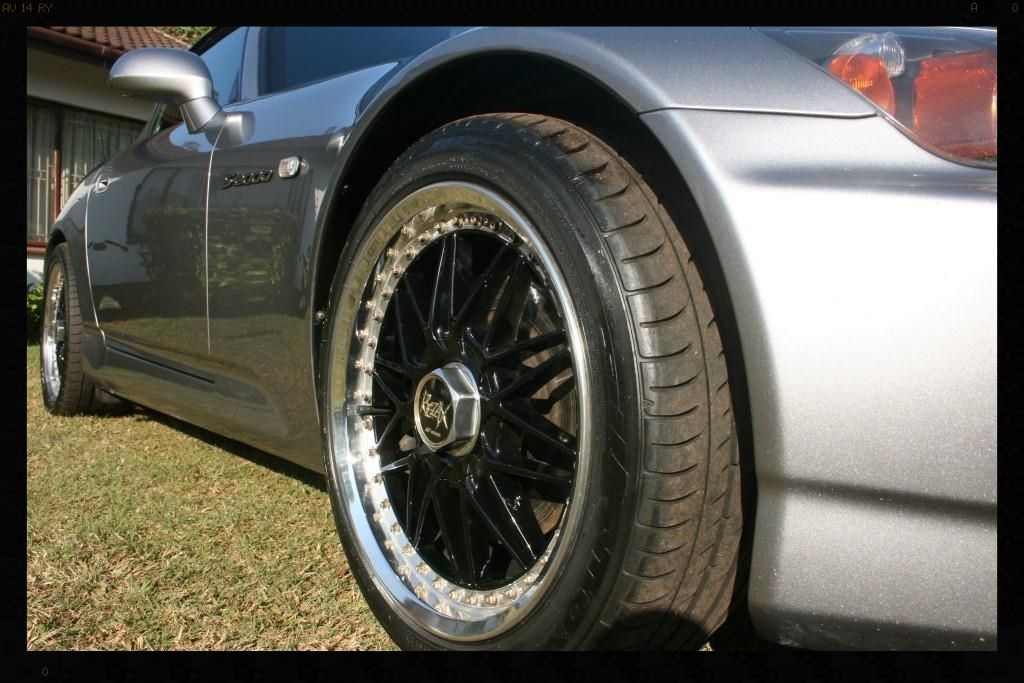
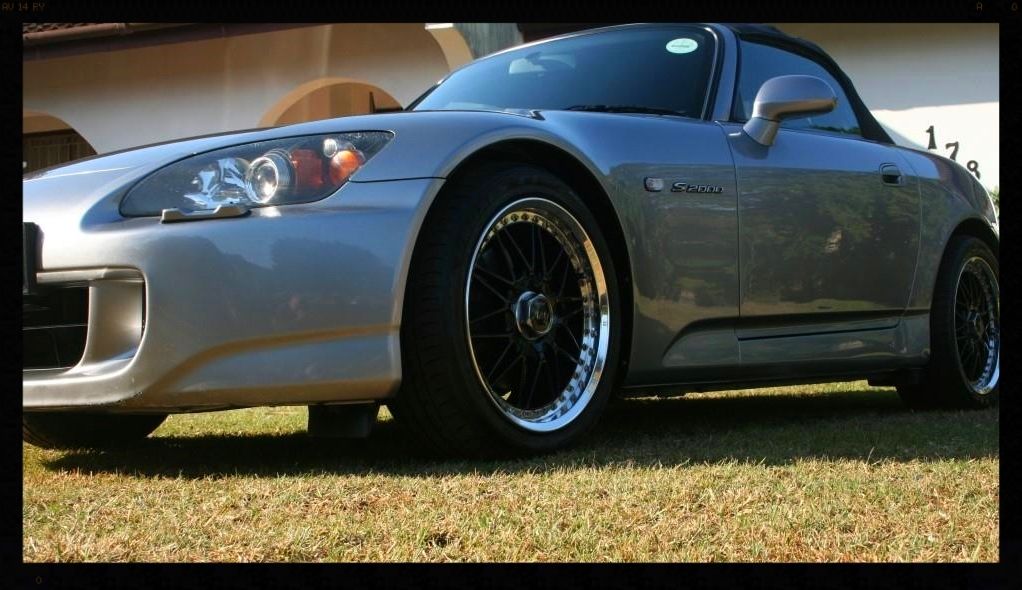
Onto some after pictures

Thanks for looking and as always and questions or comments are welcome.
Here you will notice a stain below the fuel flap (presumably from some spilled octane booster :driving: ) - more on that later.
Some wax as a momento
Others
Arches: Rinsed with a HP washer, sprayed with Cyclo APC via a foaming trigger head and allowed to dwell and then agitated with a Mothers Fender Well Brush. This was followed with another HP Rinse. The arches would later be dressed with Glossworx Extreme Tyre Shine
Tires: Cleaned with Mothers Mothers FX Wheel Cleaner and a Mothers Tire Brush and later dressed with 2 coats of Optimum Optibond Tire Gel 12 hours apart.
Wheels and brake calipers: Rinsed with a HP washer then cleaned using Sonax FE Wheel Cleaner and a Daytona Jnr and a Valet Pro Boar Hairs brush and dried. The wheels were then thoroughly sprayed with Valet Pro Dragons Breath which was agitated after being allowed to dwell for a few minutes, using the same brushes, and then thoroughly rinsed and dried them. Valet Pro Citrus Tar & Glue Remover was used to remove any tar spots. The wheels were then foamed using Valet Pro Advanced Neutral Snow Foam when the rest of the car was being washed - this would ensure there were no remaining residue on the surface - then they were clayed and the lips polished using Meguiars NXT Metal Polish. The rest of the wheel was sealed with Menzerna Powerlock.
Before
During cleaning
Busy polishing the lips
Convertible Top: Rinsed then Cyclo APC mixed at 10:1 was sprayed on via a foaming trigger head and then worked gently into the fabric using a soft bristled brush. This was then thoroughly rinsed off and the car left out in the sun to dry. The last step would be to apply some Scotchguard
Before
During
Door shuts, boot shut, window rubbers, fuel flap, badges etc: Cleaned using Cyclo APC with Valet Pro brushed and then HP Rinsed
Wash: Prefoamed using Valet Pro Advanced Neutral Snow Foam via foam cannon followed by a 2BM wash with Lambswool wash mitts and Glossworx Shampoo.
Dry: ONR at QD strength with WW Drying towels and compressed air
Decontamination: A baggie test was conducted revealing a 'normal'amount of contamination which was clayed off. I opted not to make use of an iron or tar remover as I did not want any getting onto the fabric.
With the paint now clean I got some readings of the thickness (in microns).
With with massive variances in the depth of paint on the car I had to take a multiphase approach to the correction.
The bonnet has some really thick paint, obviously re-painted and so I hit it with Menzerna FG400 on LC orange pads (6.5").
The rest of the car was repainted too, but had much less paint left (or much less applied during painting). The quality of their work was shocking, with a lot of mottling evident
For those of you interested in what mottling is here is some info coourtesy of the Dupont website
http://pc.dupont.com/dpc/en/US/html/visitor/s/trouble/PDSG_Mottling.html
Also known as: striping, banding, shadowing, flooding, floating, misting, precipitation, blooming, bloom, bleaching
Description : Occurs mainly in metallics, when the flakes float together to form a spotty or striped appearance
Origin and Potential Causes:
Unsuitable thinner or reducer for application conditions.
Materials not uniformly mixed.
Spraying too wet.
Holding spray gun too close to work.
Uneven spray pattern.
Incorrect spray PSI or gun setup
Low shop temperature.
The flash time of the basecoat was too short before the clearcoat was applied.
Coat affected by wet or humid air/weather.
Prevention Techniques:
Select the thinner or reducer that is suitable for existing shop conditions and mix properly. In cold, damp weather, use a faster-dry solvent.
Stir all pigmented topcoats - especially metallics - thoroughly.
Use proper gun adjustments, techniques, and air pressure.
Keep your spray gun clean (especially the needle fluid tip and air cap) and in good working condition.
Do not spray metallic basecoats too wet.
Keep spray gun parallel to panel.
Follow application recommendations per the Technical Data Sheet
Remedy
Allow color coat to set-up and apply a drier double coat or two single coats, depending upon which topcoat you are applying.
If the defect is only visible after the application of the clear, thoroughly dry the clear, sand and refinish.
Both sides of the car including the fenders, doors and rear panels were much thinner, but more 'sort of normal'....and this was corrected using Menzerna PF2500 on on LC orange pads (6.5") and the thinned out spots with Menzerna SF4000 on a LC White Pad (6") [On the drivers side there was a really thin section under the S2000 badge on the front fender and on the rear panel another]
Remember the stain under the fuel flap.... well the low readings you see in the last column are where the *insert insult of choice* person who last polished the car presumably decided to try and polish the stain out. The extremely thin paint stretched over most of the rear panel
And saving the worst for last, the boot.... there was almost no paint left so this was gingerly polished using Menzerna SF4000 on a LC Crimson (5.5") followed by Autoglym SRP on a Menzerna Black Waffle Weave Finishing pad.
Tail light (and brake light) correction: Menzerna FG400 with LC orange pads (4") followed by Menzerna SF4000 with LC grey pad (4")
Protection: Collinite 845 [Autofinesse Tripple used on Door Jambs and under Bonnet]
Glass : Sample Fine Grade Clay / ONR at clay lube strength / Glossworx Glass Cleaner / Streak Free Microfiber Glass Cleaning Cloths / Insta Finish Bead Off
Door rubbers, plastic trim : Shield Heavy Duty Vinyl and Rubber Cleaner / Optimum Optibond Tire Gel
Interior: Blown out with compressed air / Vacuum / Autofinesse Spritz / Glossworx Leather Cleaner / Glossworx Leather Conditioner
Engine Bay: Blown out with compressed air / Wiped down with MF Towel and Cyclo APC / Dressed using Glossworx Extreme Tire Shine
Exhaust tips: Cyclo CM30 APC / Various brushes / Meguiars NXT Metal Polish
Onto some after pictures
Thanks for looking and as always and questions or comments are welcome.