Greg Gellas
I'm Greg :)
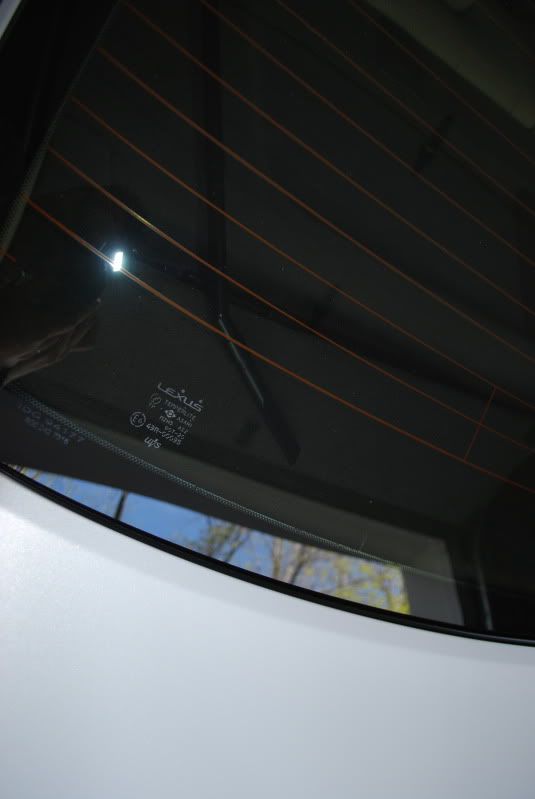
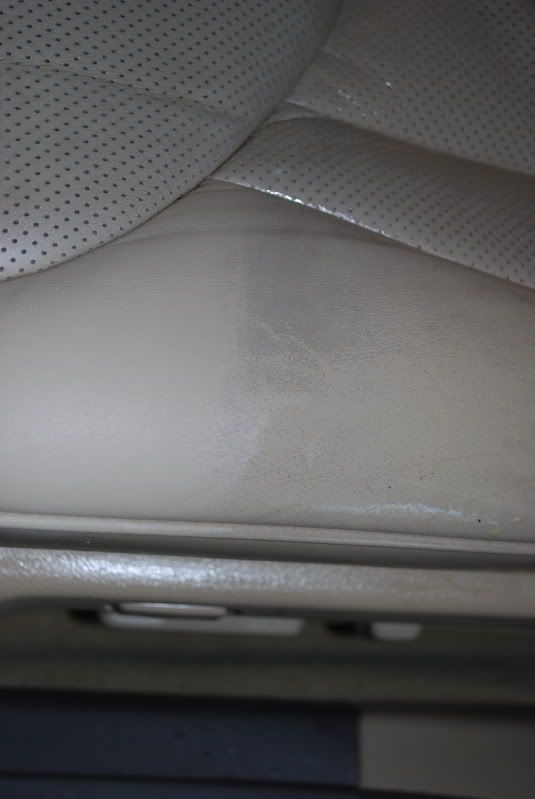
I had a 2 day job on a 1995 Lexus LS430. I have worked with the owner on his wife's SUV before, and he is very knowledgeable about detailing and the process that I am doing on the car. I love chatting with him as we talk about detailing products and exactly how he has treated the car  He's cool too
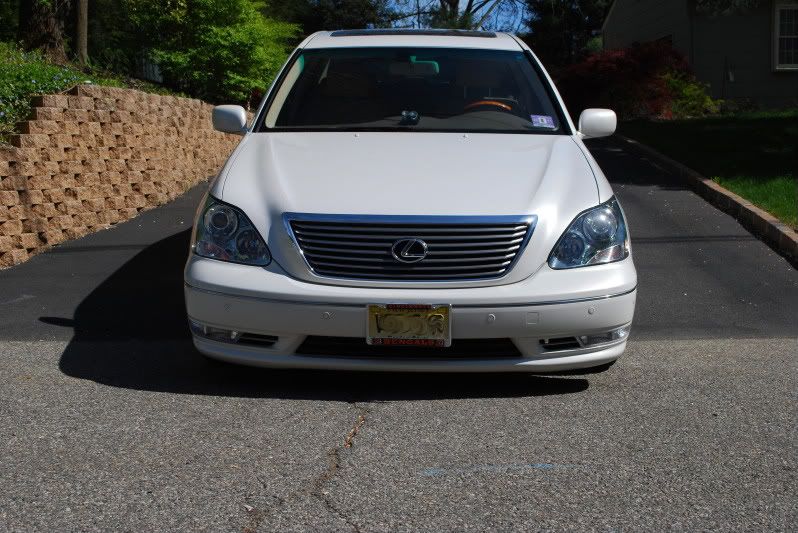
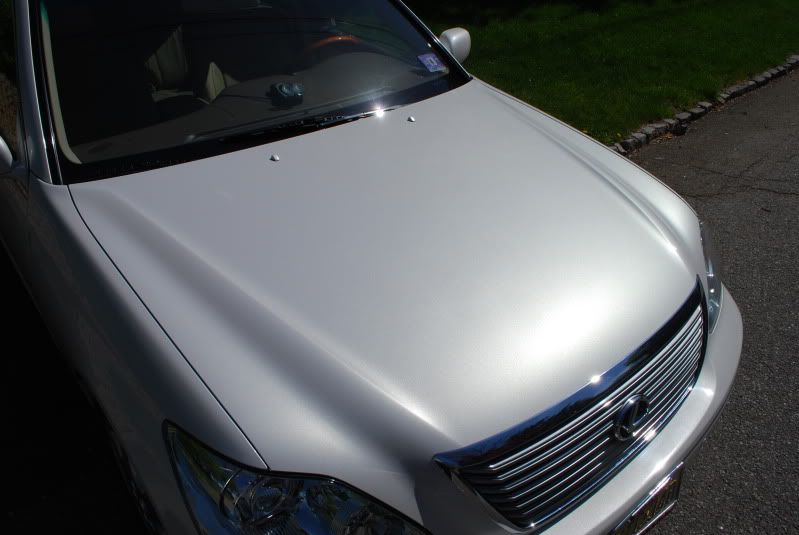
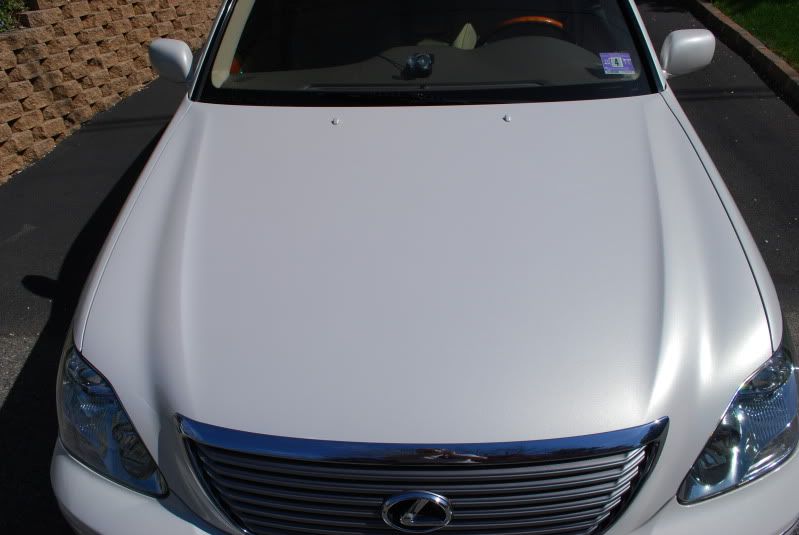
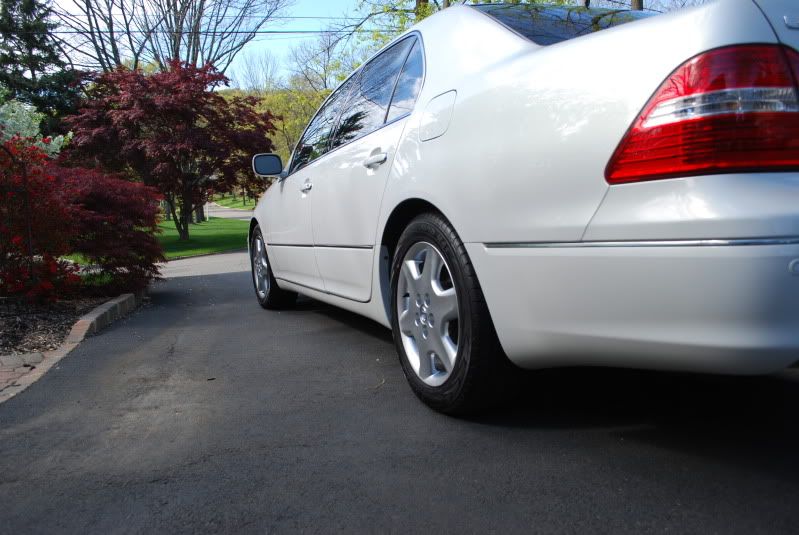
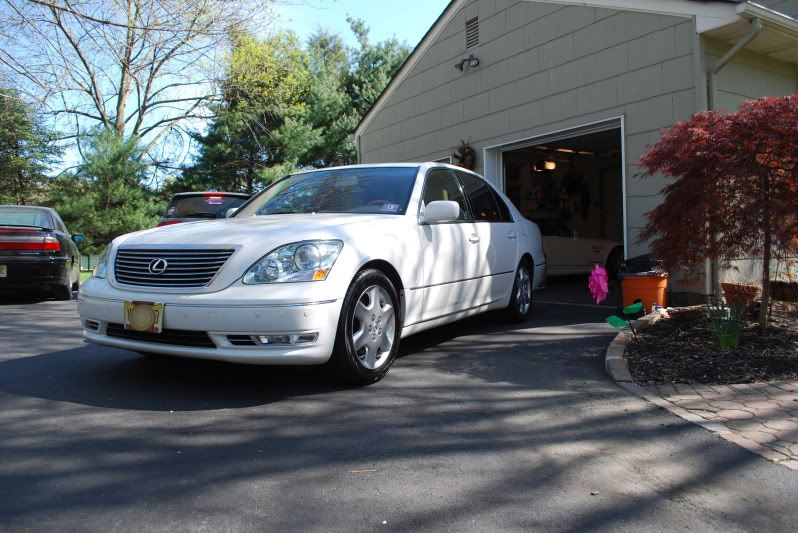
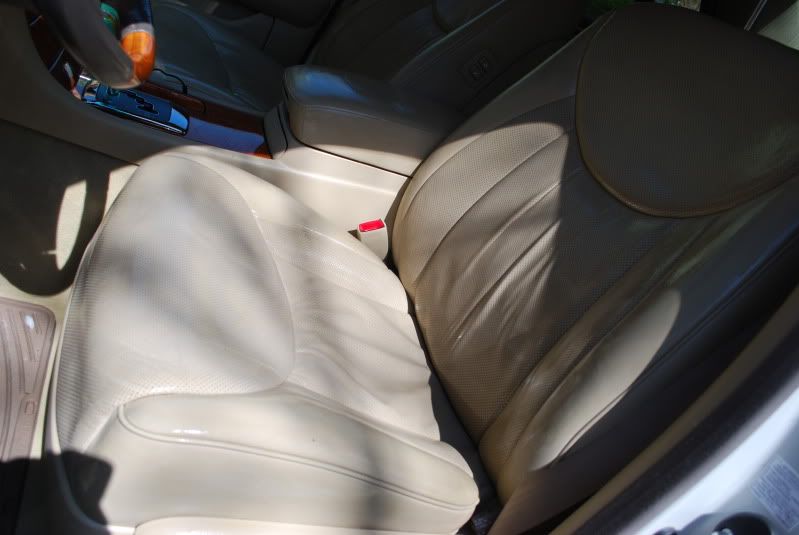
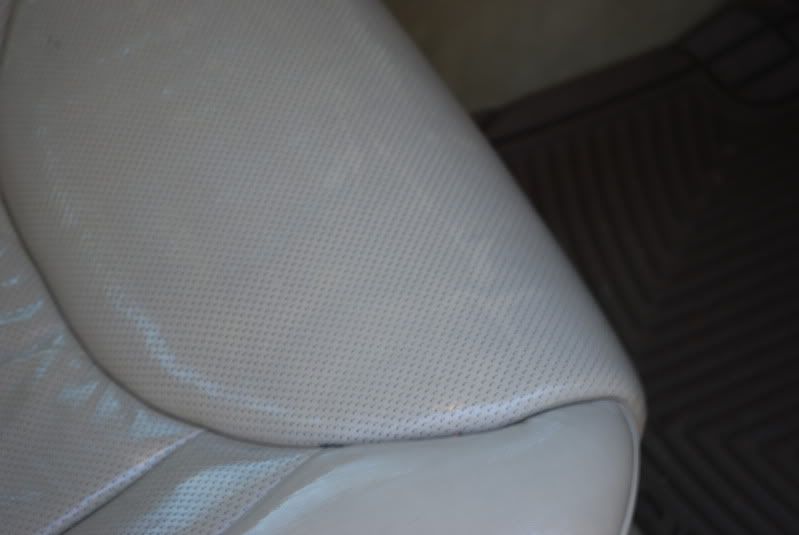
 ") So that's a bonus….This time I was working on his personal DD. This is the condition it was in when he dropped it off…
So that's a bonus….This time I was working on his personal DD. This is the condition it was in when he dropped it off…


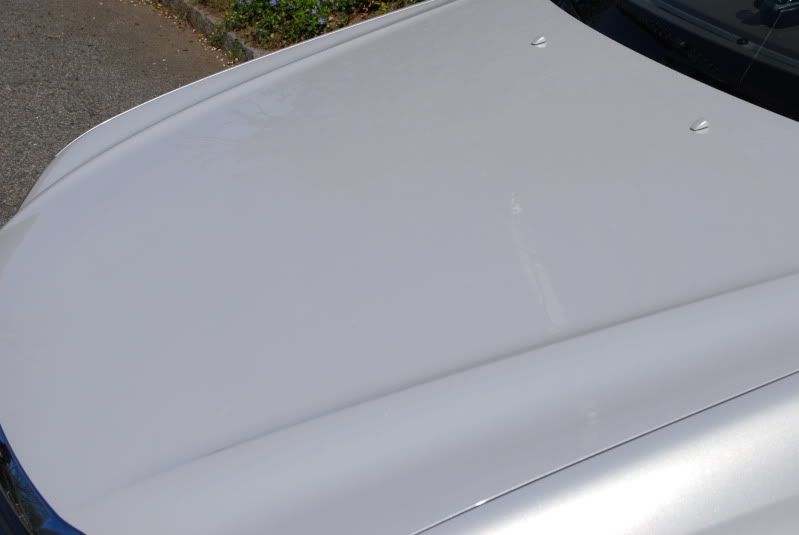
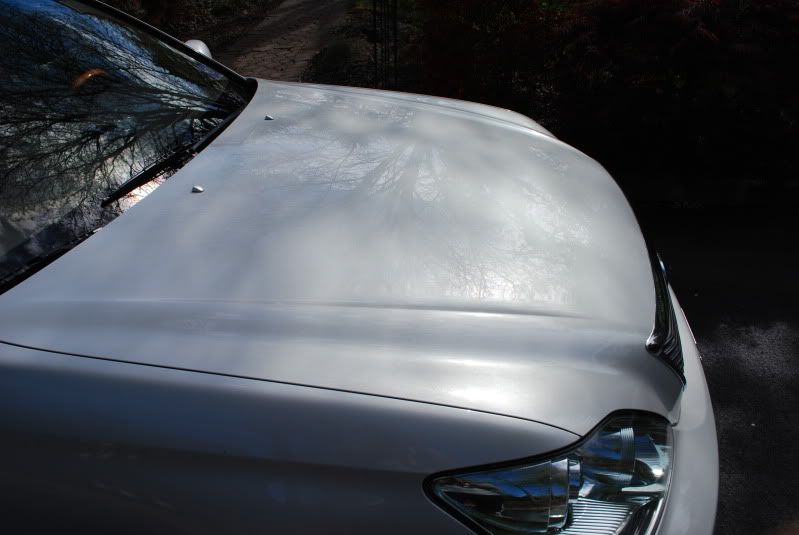
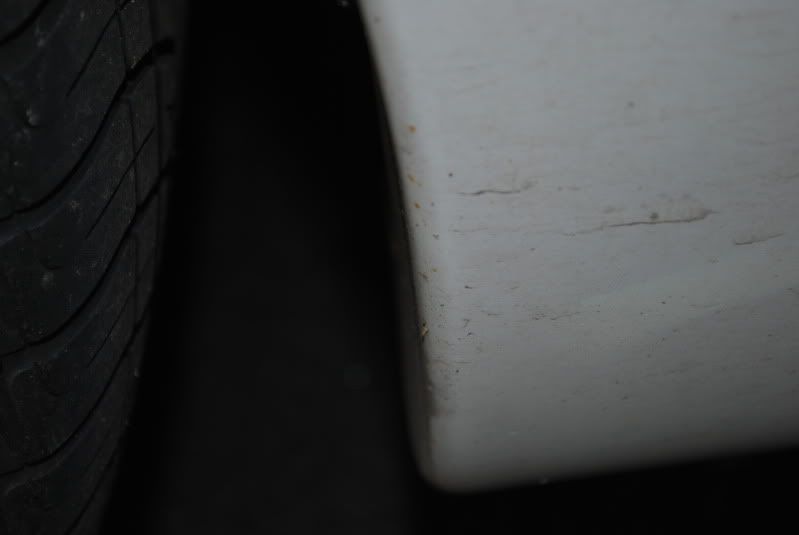
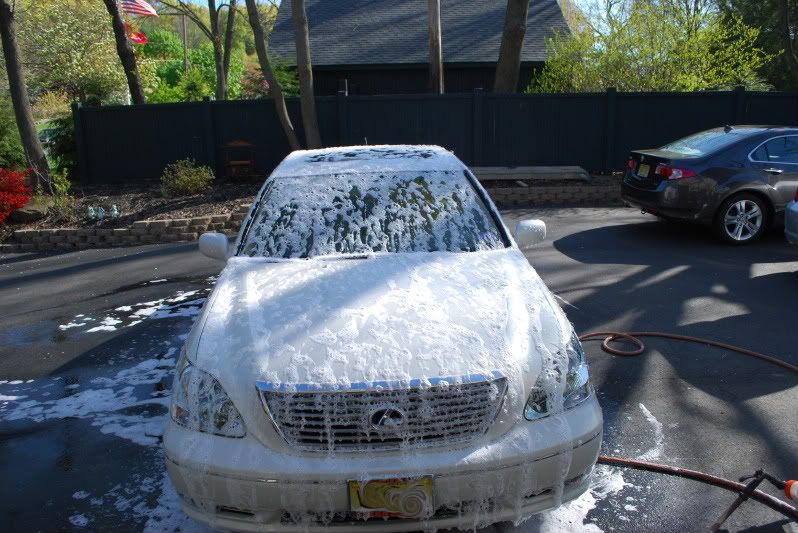
It had ALOT of rail dust over most of the lower panels.

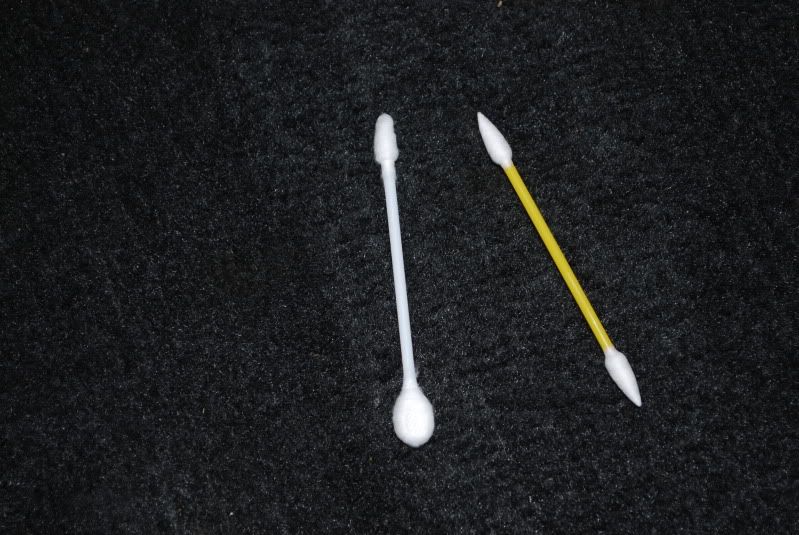
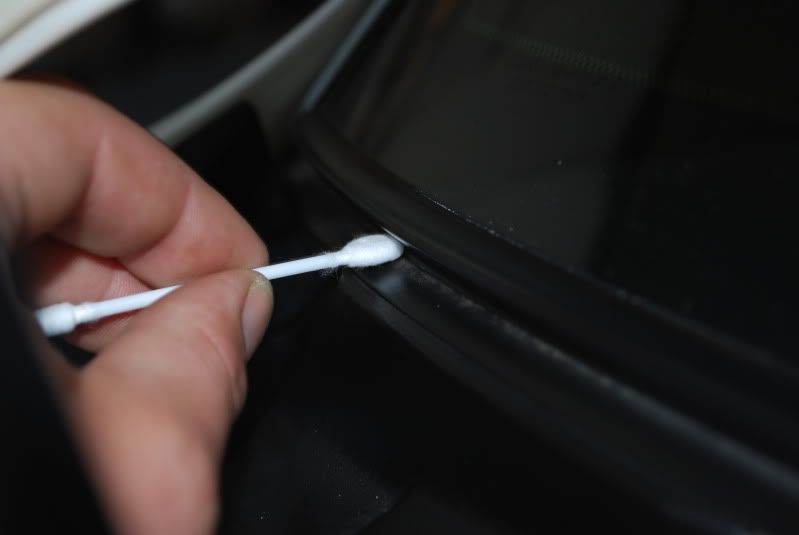
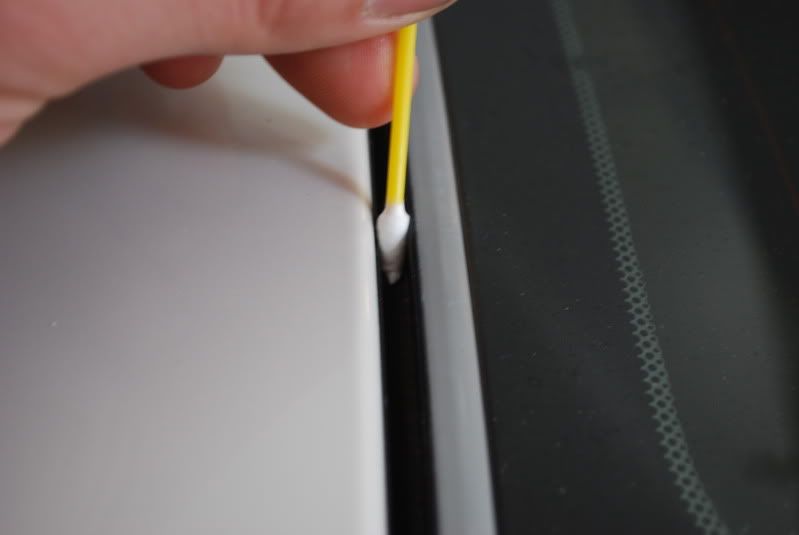
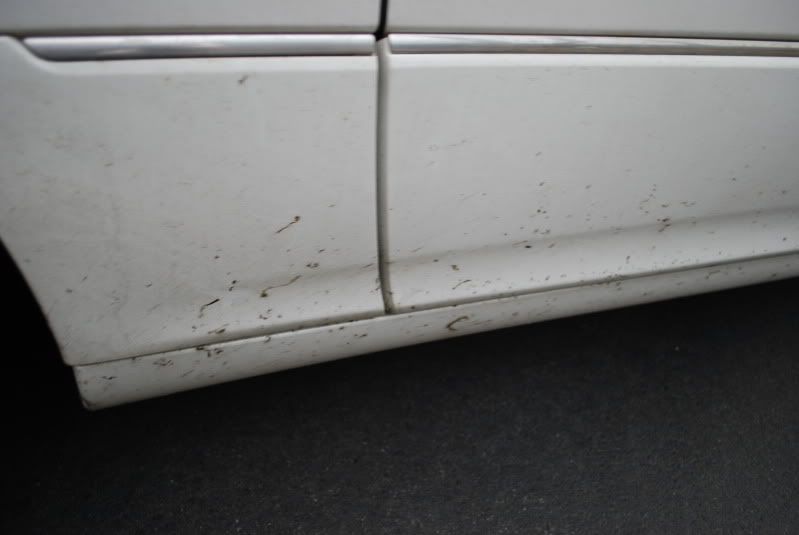
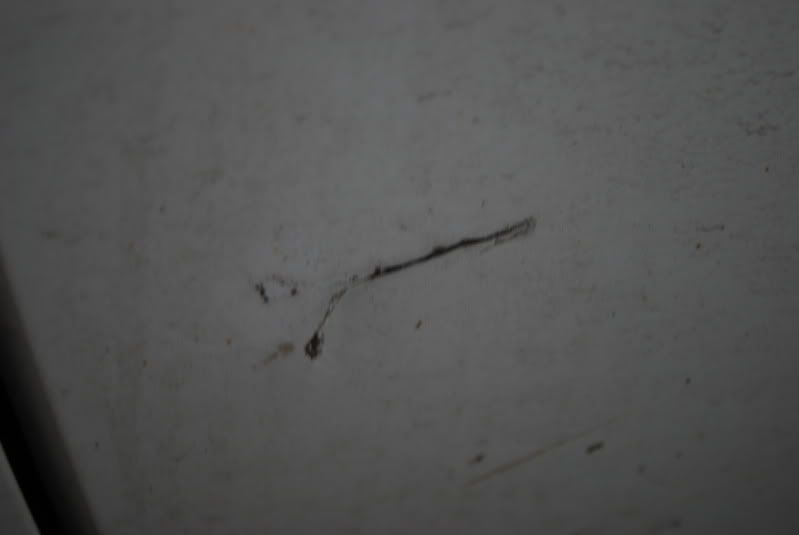
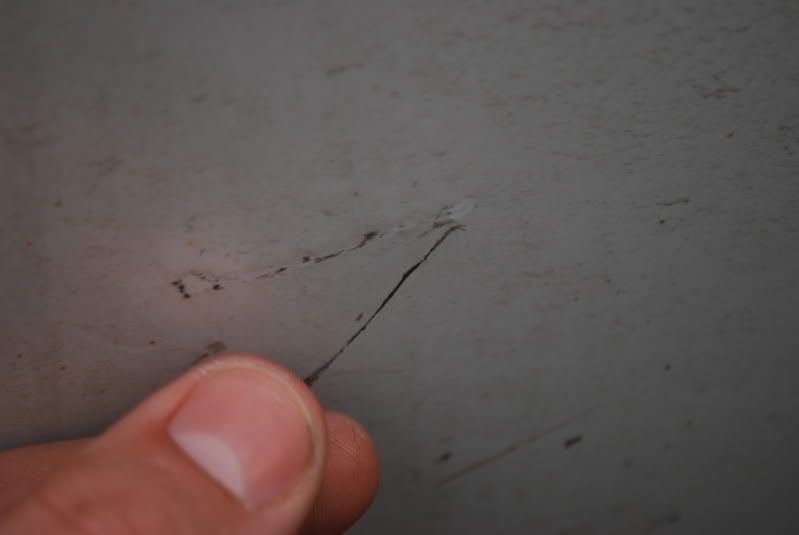
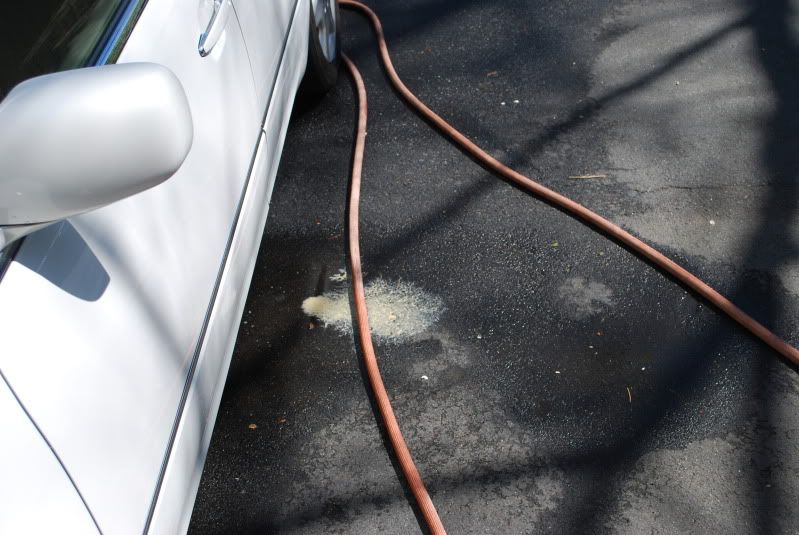
There was also this "debris" of some sort along the rocker panels that was stuck on there pretty good. It would come off in strips if I pulled it off by hand.
Since it was just dropped off around 6:30 the sun was fading, I knew I had a long day 1 ahead of me so I pulled the car into my garage and went in. I decided it would be smart move to get a good long nights sleep.

He's cool too So that's a bonus….This time I was working on his personal DD. This is the condition it was in when he dropped it off…
It had ALOT of rail dust over most of the lower panels.
There was also this "debris" of some sort along the rocker panels that was stuck on there pretty good. It would come off in strips if I pulled it off by hand.
Since it was just dropped off around 6:30 the sun was fading, I knew I had a long day 1 ahead of me so I pulled the car into my garage and went in. I decided it would be smart move to get a good long nights sleep.


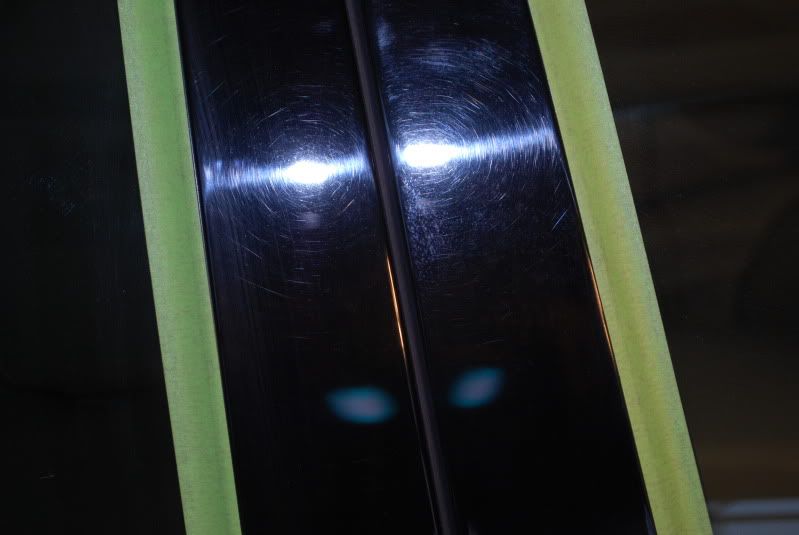

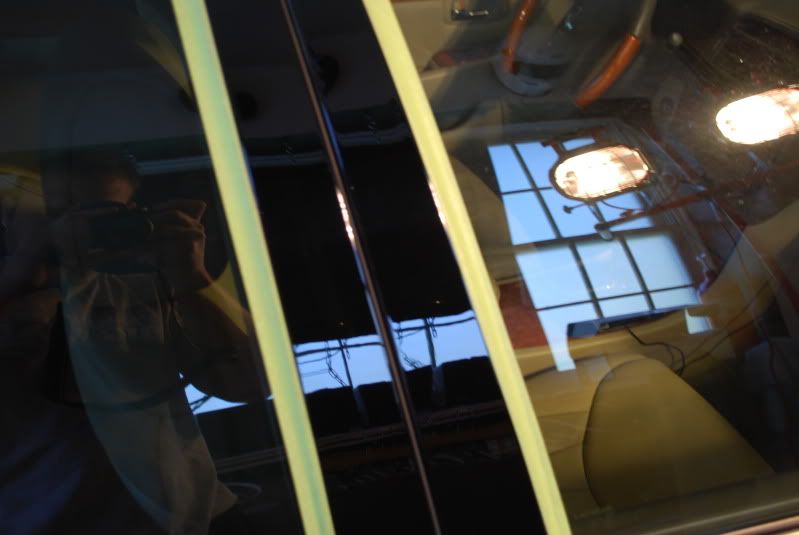


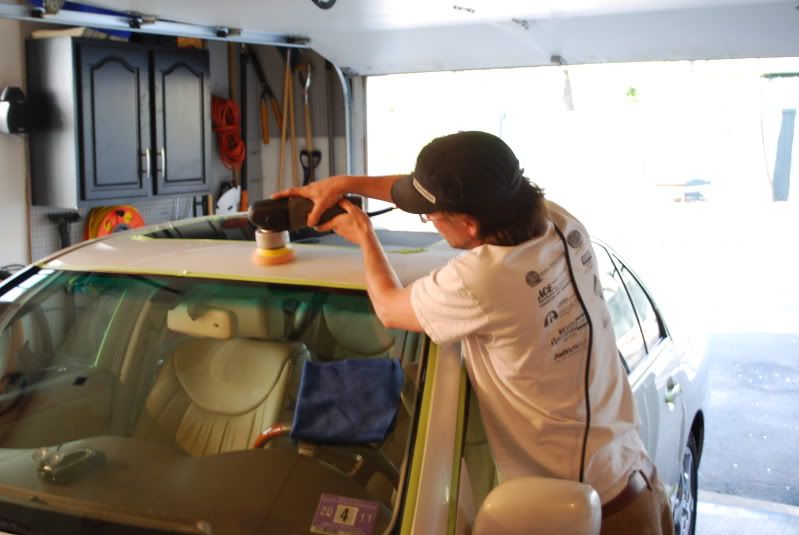
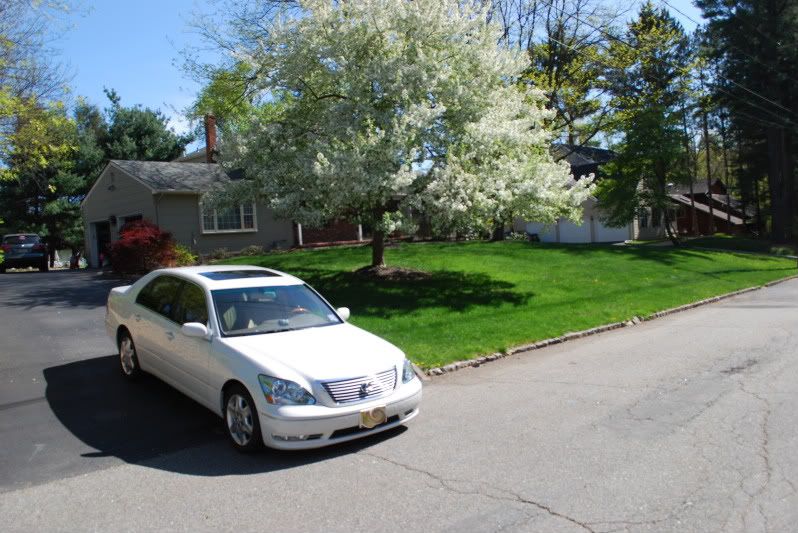
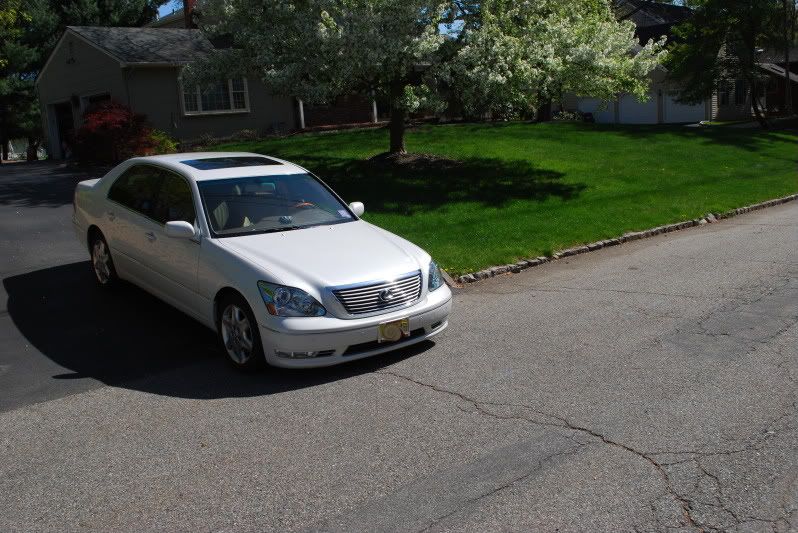
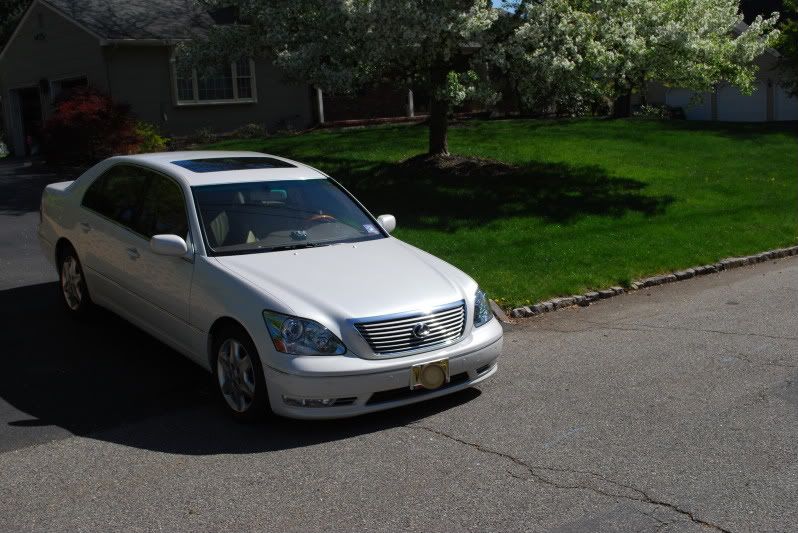
") Needless to say he has become a very talented detailer. We both grabbed a DA and went to town on the paint. After a test spot I decided that Menzerna 203s was a perfect one step and brought out alot of the pearl, finishing down nicely, yet still getting 85+% correction.
Needless to say he has become a very talented detailer. We both grabbed a DA and went to town on the paint. After a test spot I decided that Menzerna 203s was a perfect one step and brought out alot of the pearl, finishing down nicely, yet still getting 85+% correction.