ShaneB
New member
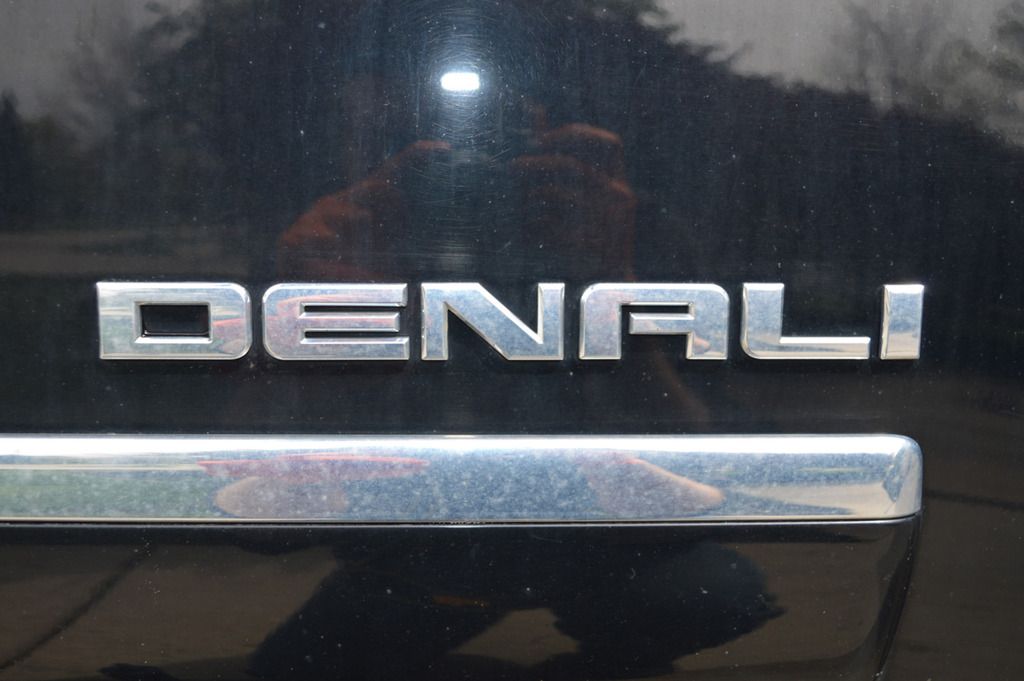
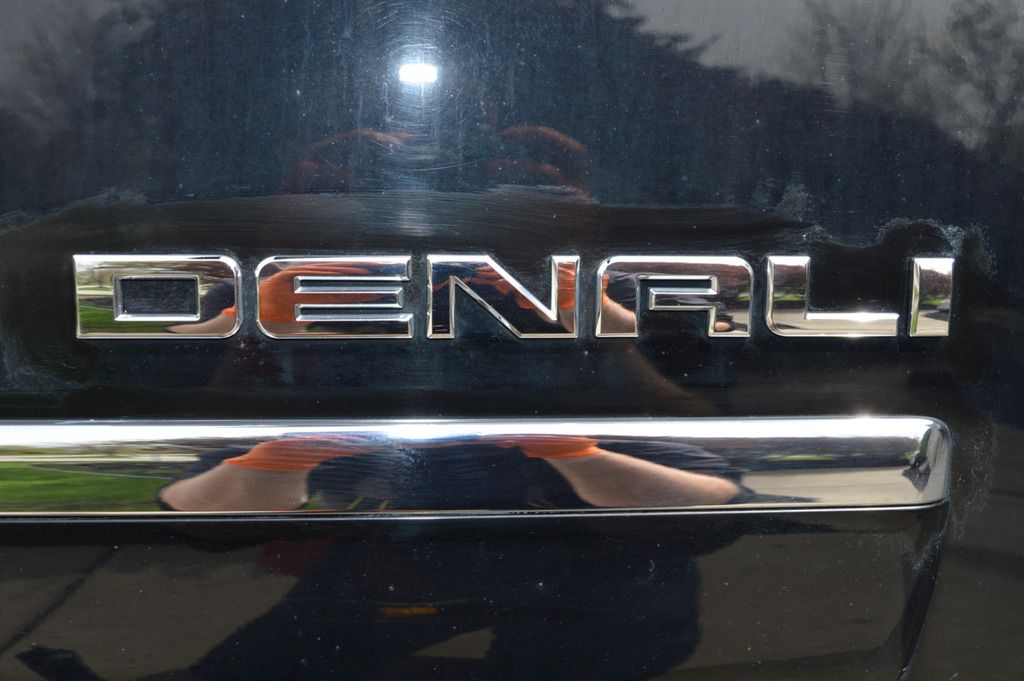
Had a customer contact me asking about my services and specifically asked about removing some swirls he had noticed he had on his hood. Said he had the car detailed before and didn`t notice any of it until after the fact. He asked about my polishing and if it will remove the swirls. He doesn`t just want to have it polished if it wouldn`t remove them. After some discussion about my standard exterior detail with a quick polish and the difference of moving up to an actual paint correction, he settled on a single step correction. Didn`t spring for a 2-step unfortunately as this car NEEDED it so badly! Now I don`t know the full story, and he didn`t even know if the other detailer did the damage to the car, but needless to say this puppy had been abused more than once. The paint was absolutely TRASHED! My pictures don`t do it justice but you`ll get the idea. The chrome trim and wheels also were in pretty rough shape and took me a few hours to clean up.
This was my first time reaching for the 3D AAT polishes. I had read a lot of the hype and wanted to see it for myself. I figured since I knew a single step wouldn`t be enough, that this would be a hell of a test for the finishing polish. I am nothing less than completely impressed by the ability of this polish. The results were achieved with 3 slow passes on speed 5 with my Rupes, and one quicker pass at 4 with lighter pressure. I couldn`t believe the amount of correction this combo was able to achieve. I started with a buff n shine green polishing pad and was blown away by the results, no need to go any more aggressive (although I did try in one spot with the compound for the hell of it, haze )
)
Please forgive my camera work as this was the first time I got to take out my new DSLR (Nikon D3200). Having never used one before I have a lot to learn! Major upgrade from the cell phone pictures though
Tools/Products Used
Wheels - Griot`s HD Wheel Cleaner, Daytona speed master brush, Mothers wheel brush and 1" detail brush
Wheel polish - 3D HD Metal and #0000 Steel wool
Wheels sealed - Hydro2
Tires - Tuff Shine Tire Cleaner and low profile tire brush
Chrome polish - 3D HD Metal and microfiber towels
Foam Pre soak - CG Citrus Wash Red and bug squash in foam lance
Wash - Megs Hyper Wash w/ micro chenille wash mitt
Decon - Bug squash for bugs/tar, Nanoskin medium grade mitt w/ wash soap for lubricant
Dried using WW MF towels and DP turbo car dryer
Correction
Polishers - Rupes 21 and Flex PE-8
Pads - Buff n Shine Green polishing pads and Flex 3" green polishing pads
Polish - 3D AAT Finishing Polish
LSP
Paint - Ultima Paint Guard Plus
Tires - Optimum Opti-Bond Tire Gel
Trim - Carpro Perl
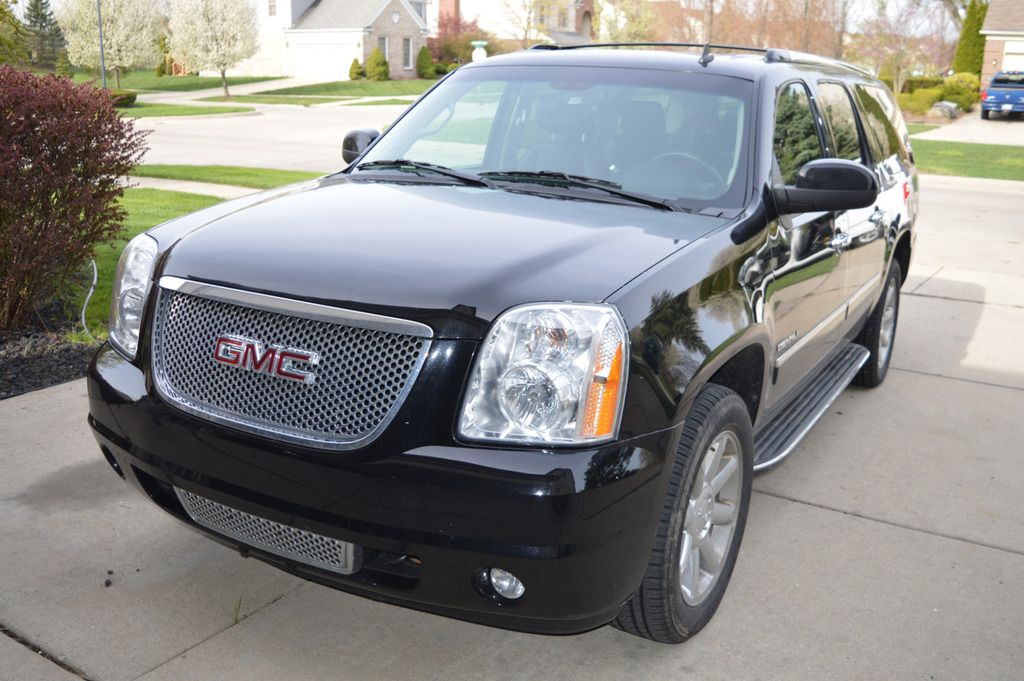
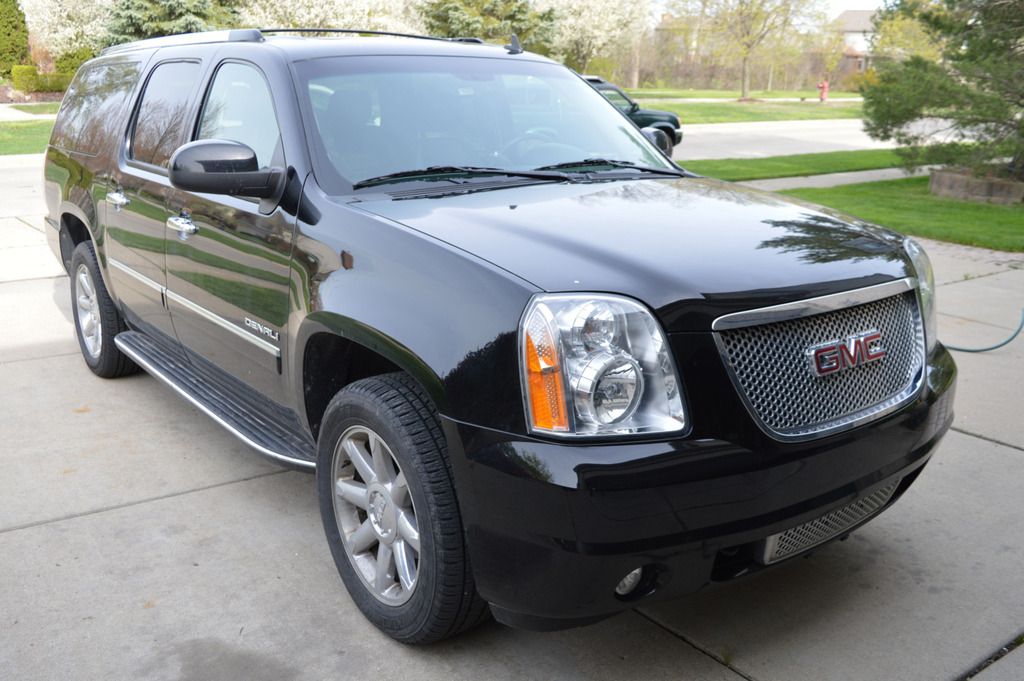
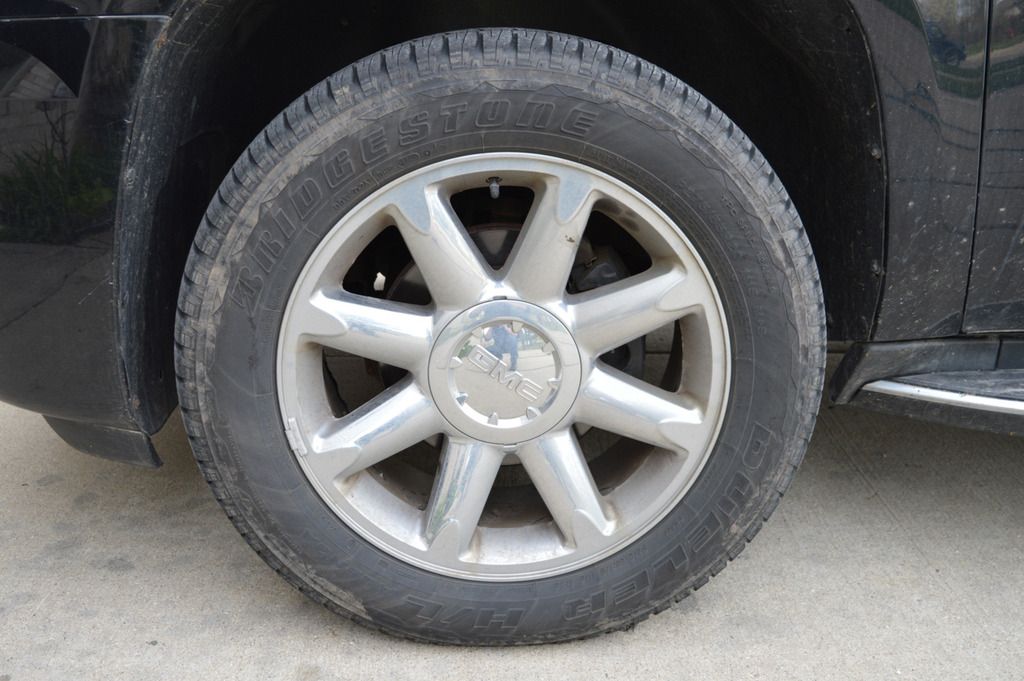
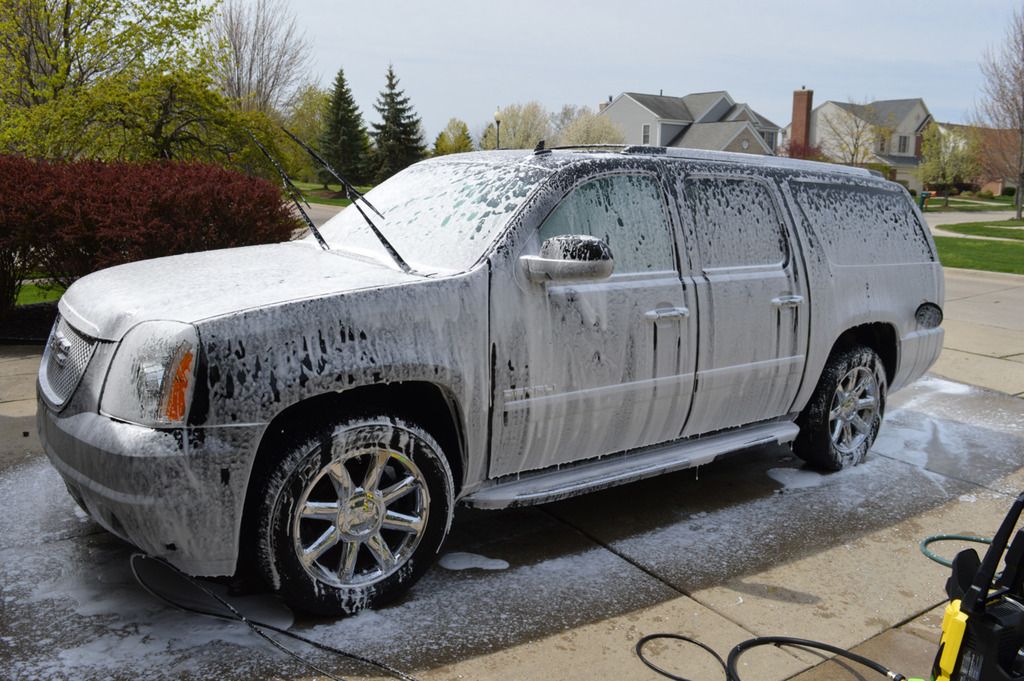
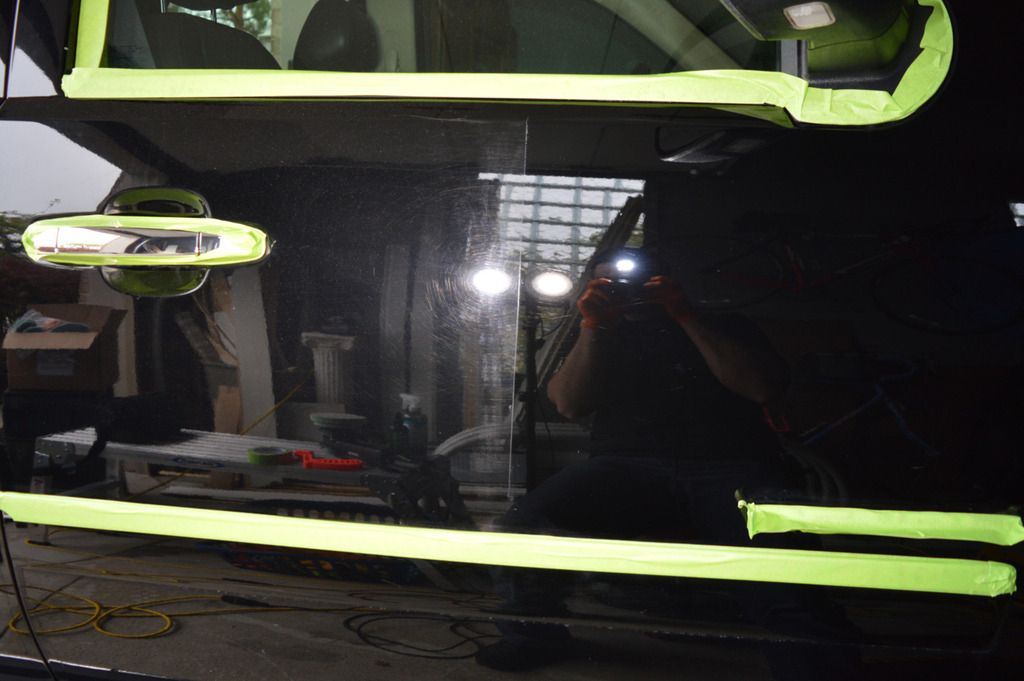
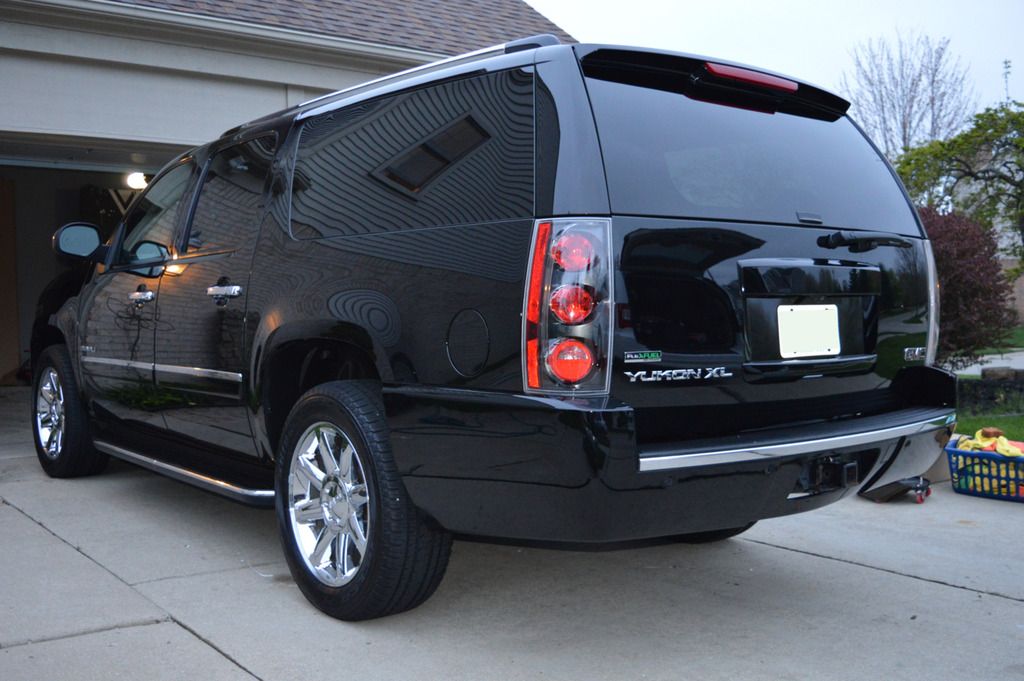
Upon arriving at the customers house here is the car. Obviously not in the greatest shape.
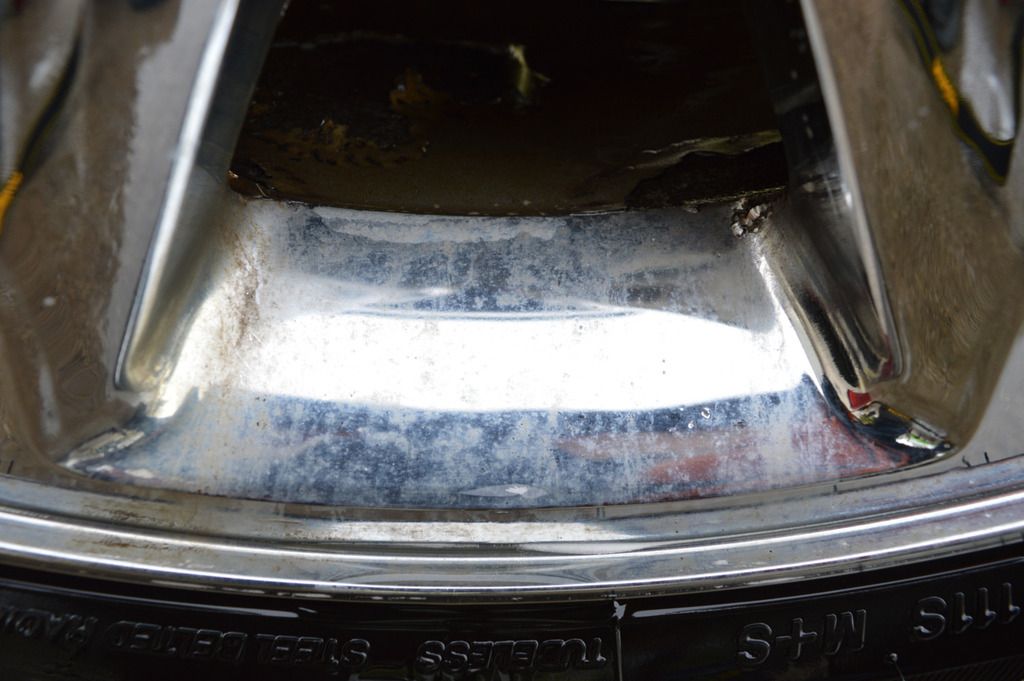
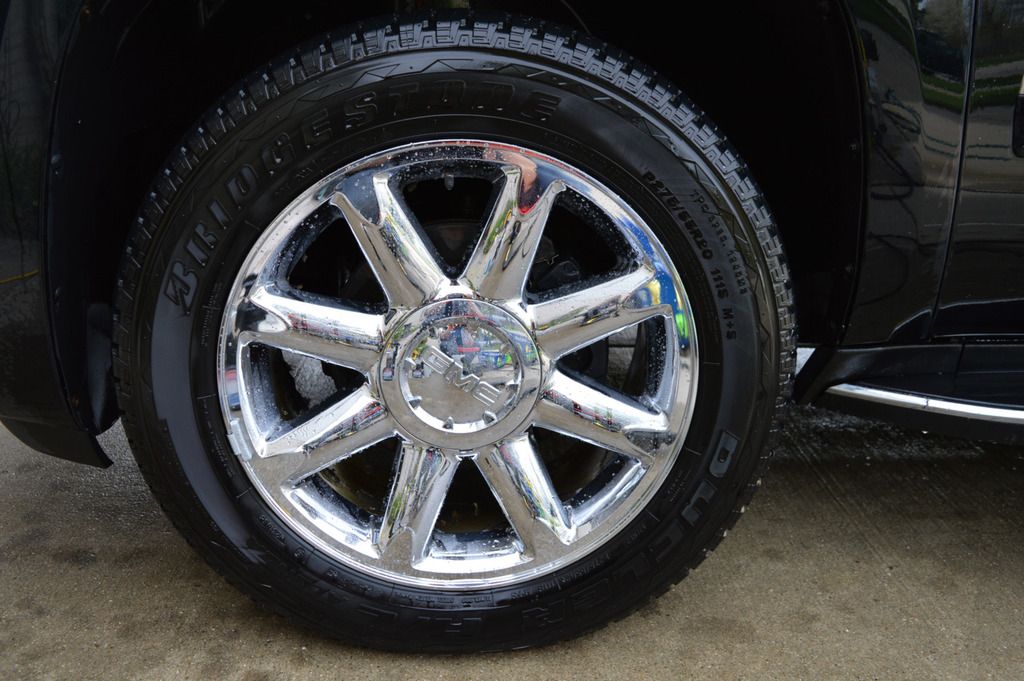
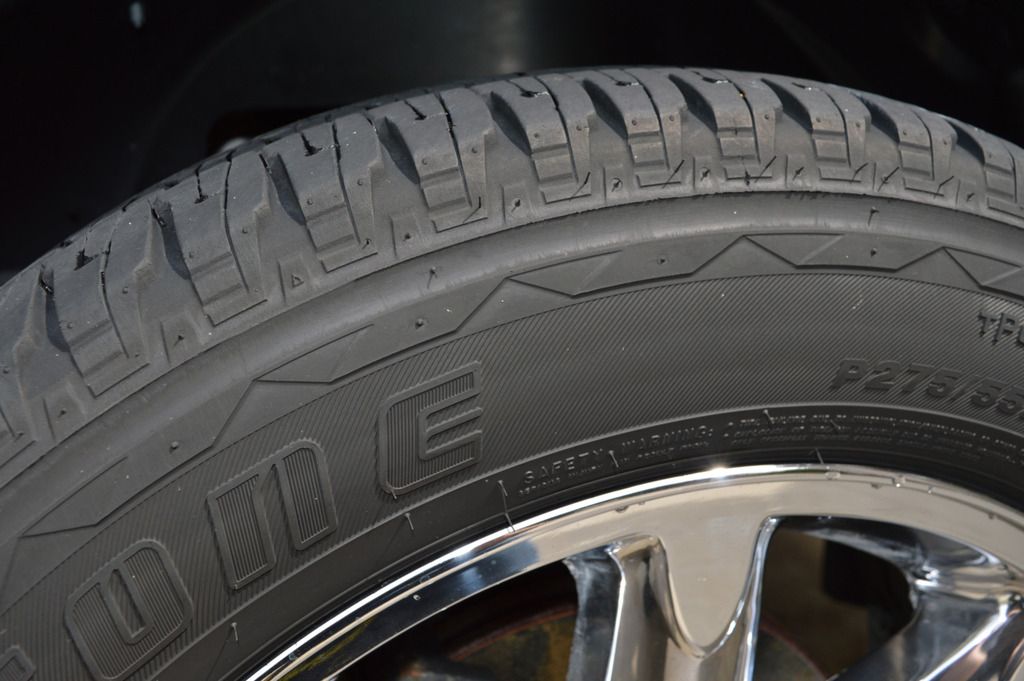
Started with the wheels and tires. The tires took 3-4 rounds with tuff shine to get them clean. After cleaning the wheels with the Griot`s HD wheel cleaner, they still looked FILTHY! Nasty staining in the chrome. Nothing some 3D HD Metal and some #0000 steel wool couldn`t handle though. Unfortunately the barrels of the wheels were beyond saving as the chrome was peeling uncontrollably (I actually pulled out a loose piece about 5x5").
Before
Stained chrome before
After
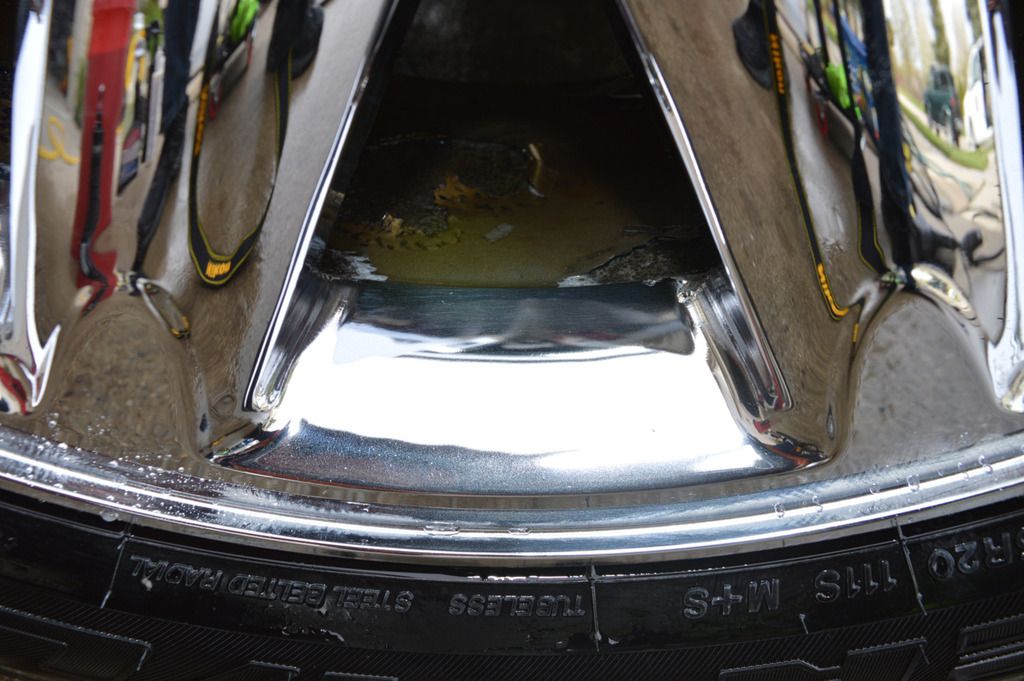
Another stained area (the wheels all looked like this)
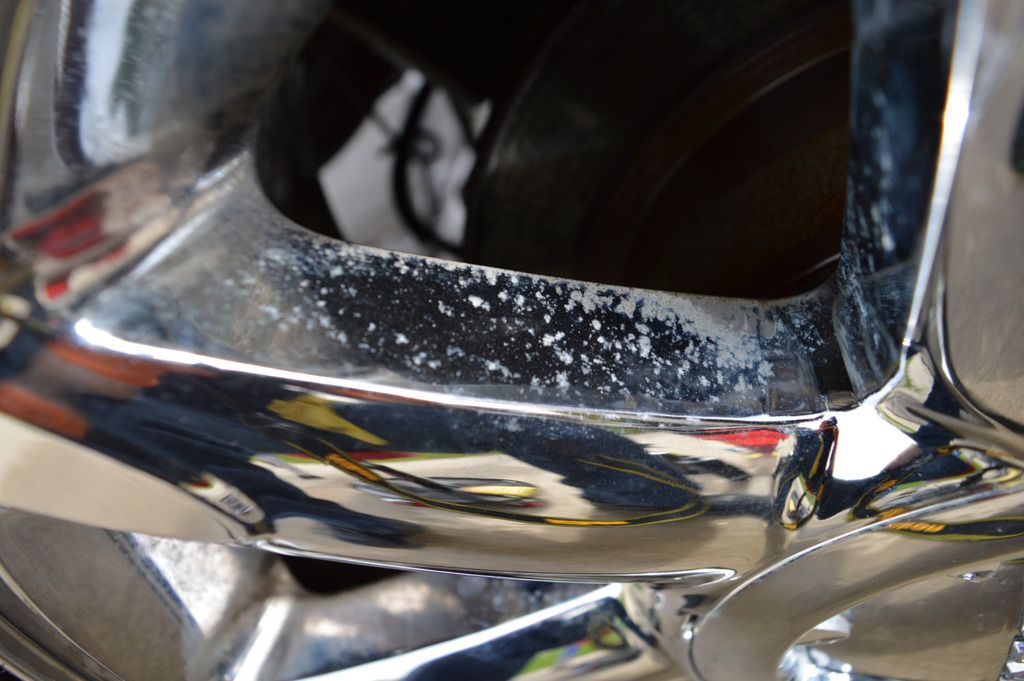
After polishing
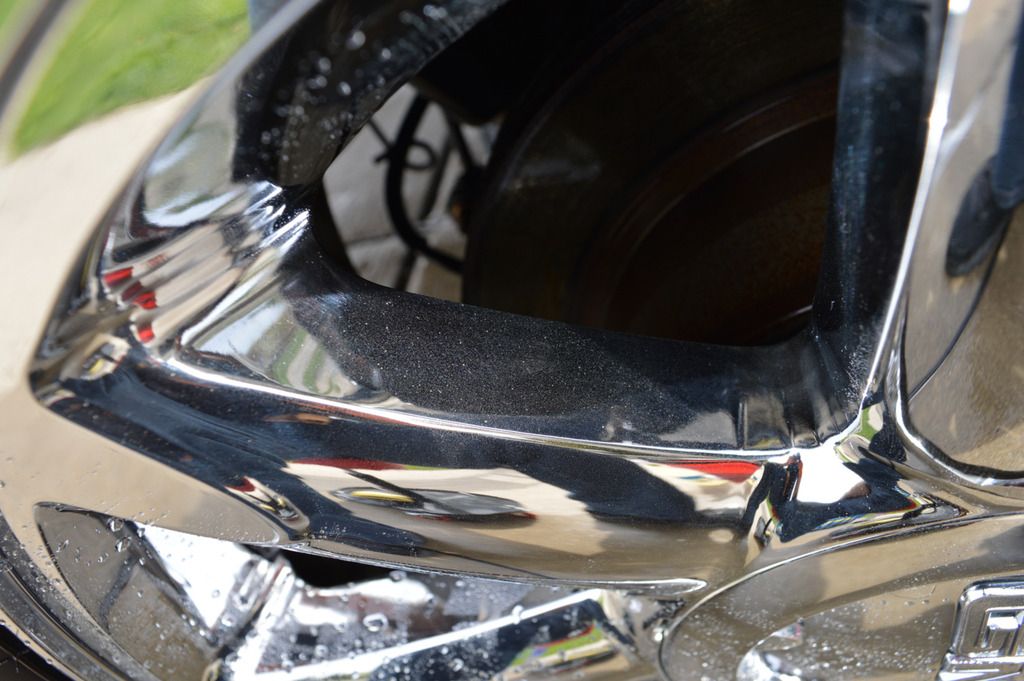
All clean ready to move on!
Clean rubber, ready for dressing.
The wheels and tires alone took me over 2 hours to clean up. After they were done, since I was in a chrome polishing mood, I decided to hit the chrome trim around the vehicle with the HD Metal and a microfiber.
Emblem before
Emblem after (forgive the streak)
After this, the SUV was foamed with a mixture of CG Citrus Wash Red and some Bug Squash
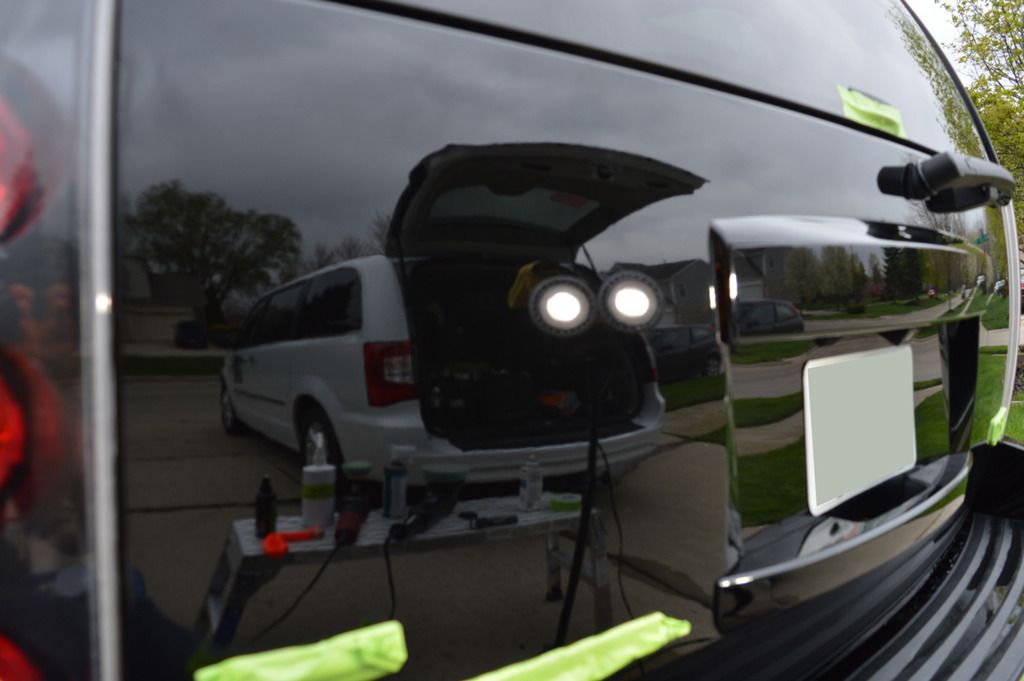
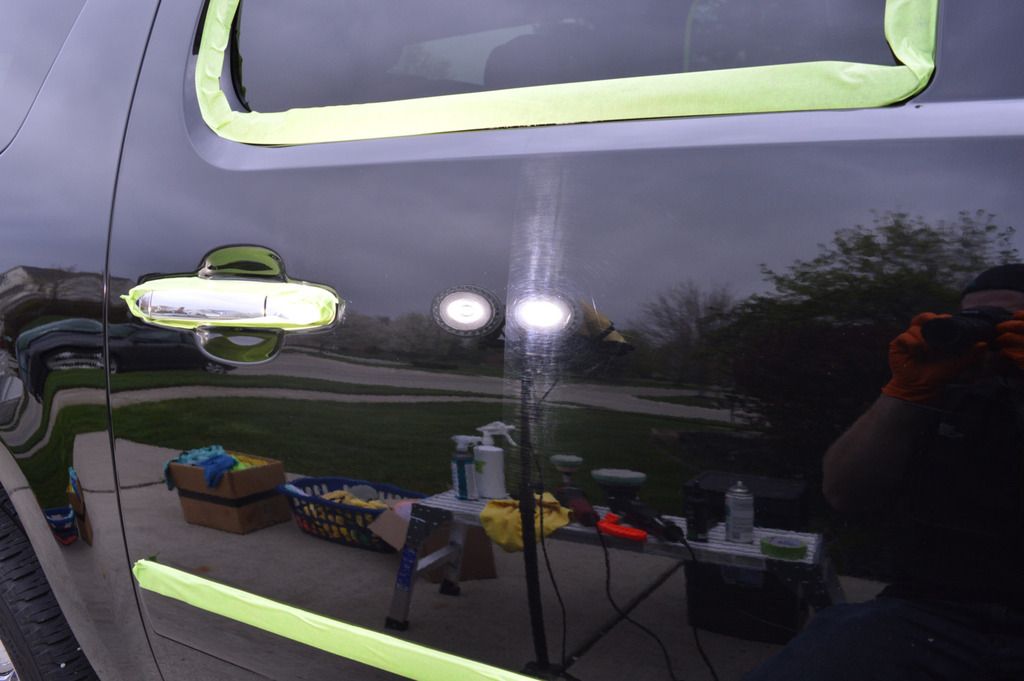
After a wash and decon, it was time to pull it into the garage and start the correction process. You`ll notice that I didn`t do the entire job in the garage. I did this over 2 days and had a cool cloudy day the 2nd day and was able to work outside in the driveway (with more room to move). Prepare yourselves. This gets nasty.
Correction done with a Rupes 21, Flex PE-8 and Green buff n shine polishing pads (green Flex polishing pads on the PE-8) and 3D AAT Finishing Polish
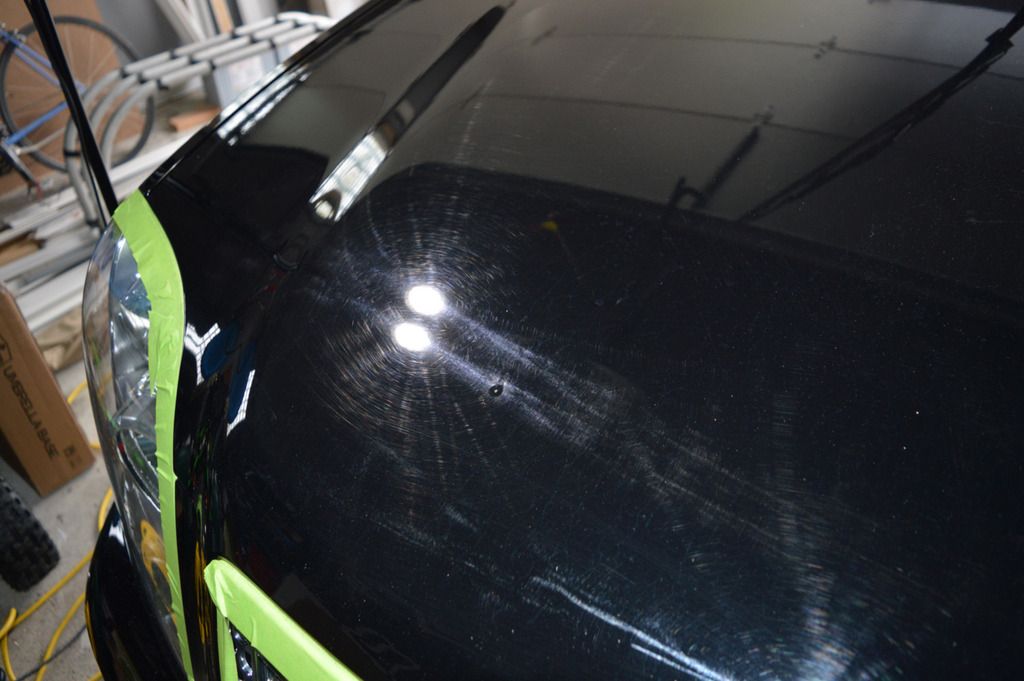
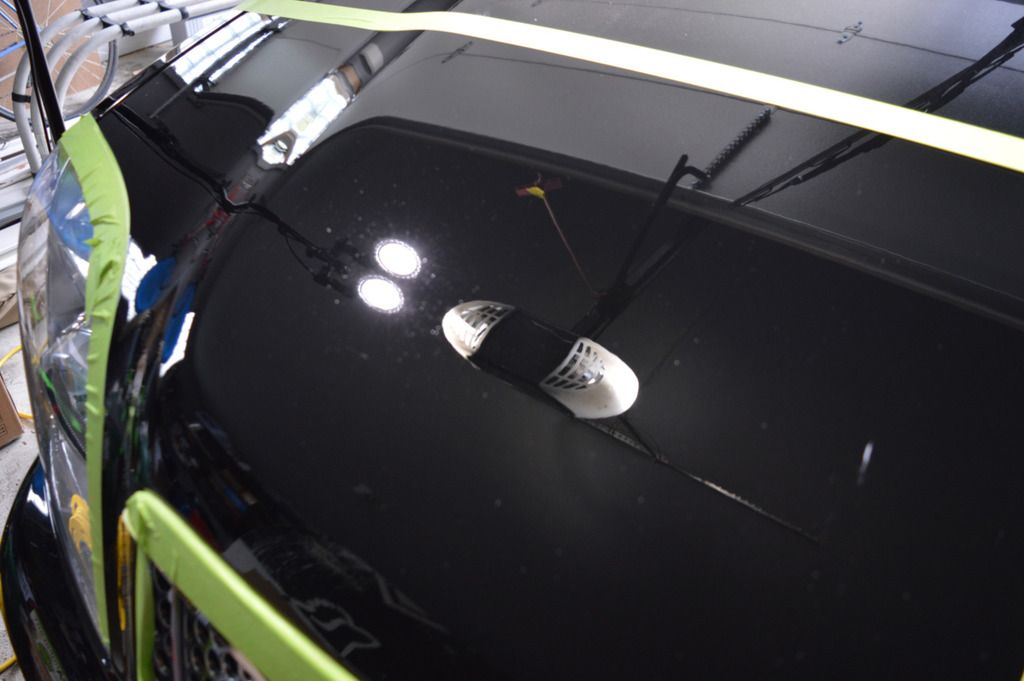
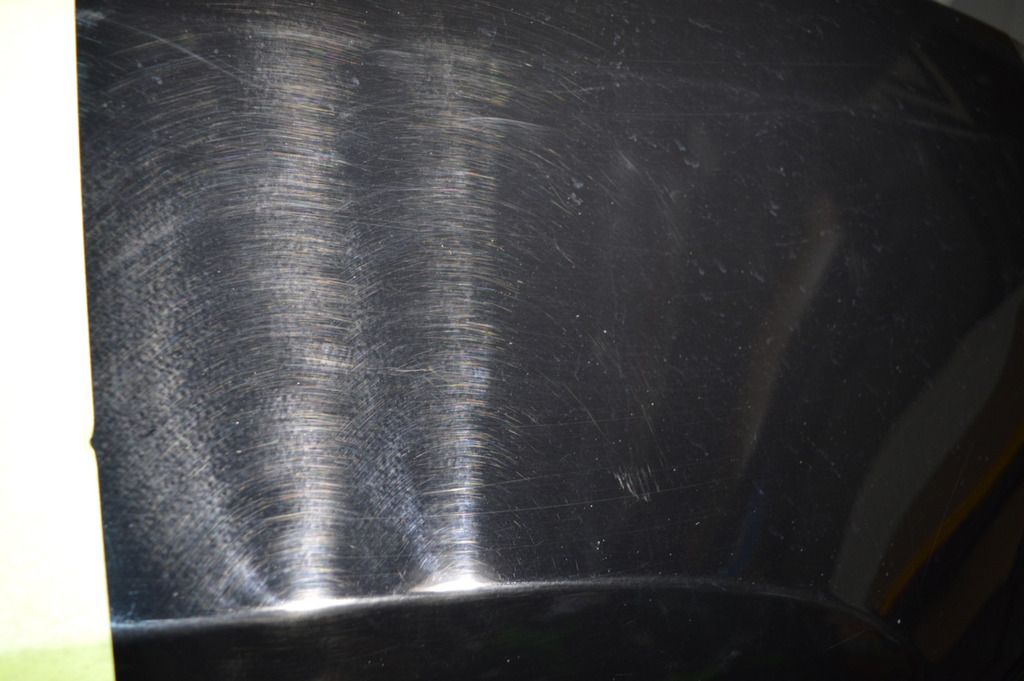
Hood section before
After
Right front fender before
50/50
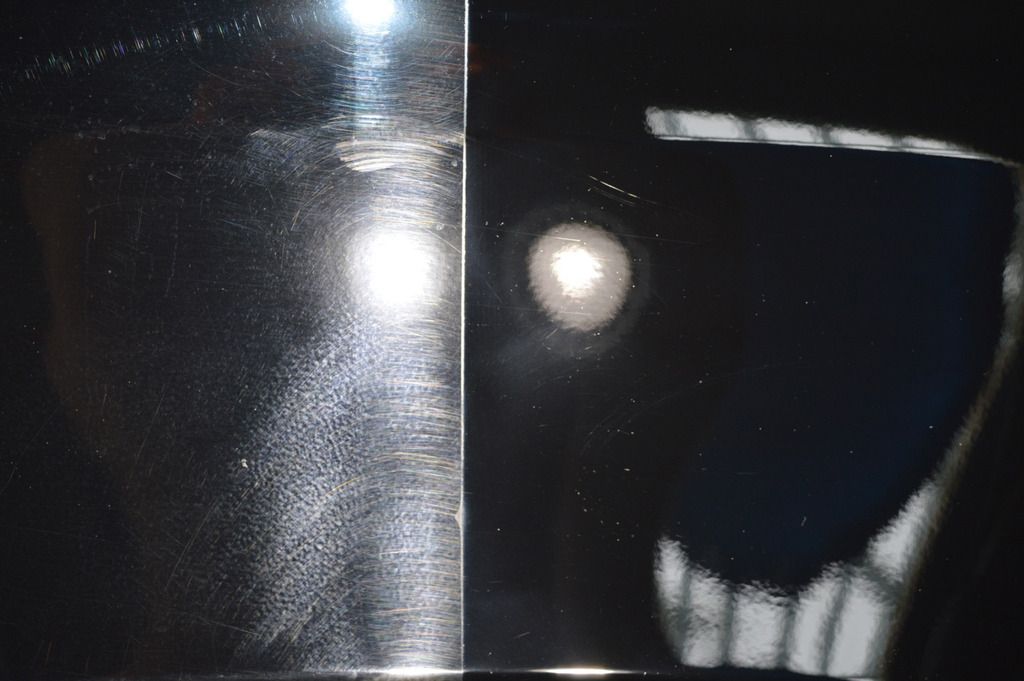
After
Front passenger door before
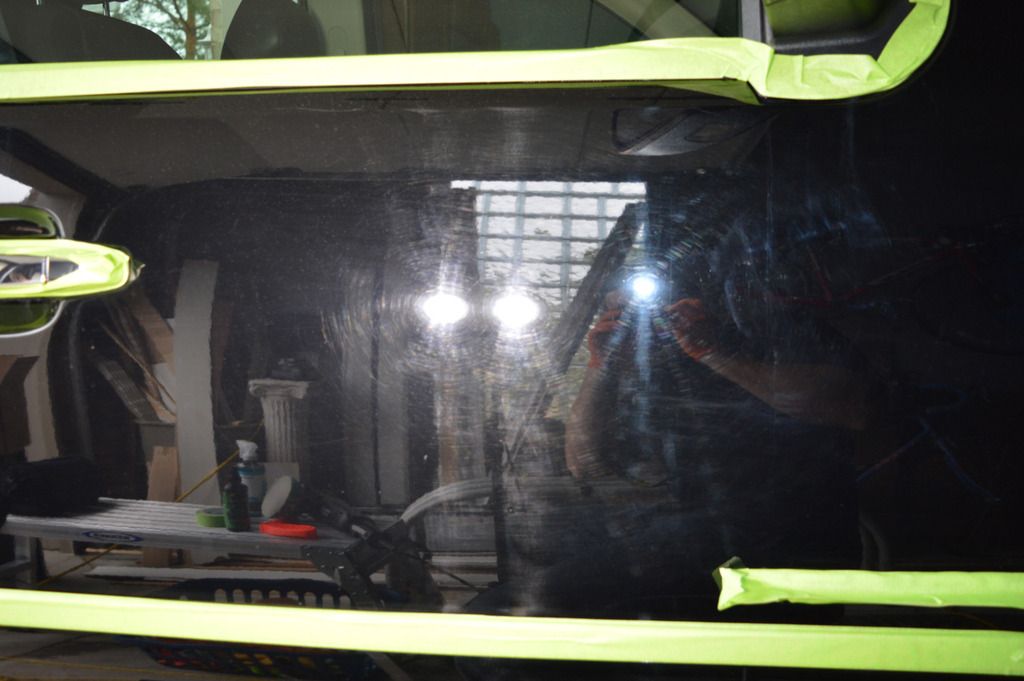
50/50
After
Left fender before
After
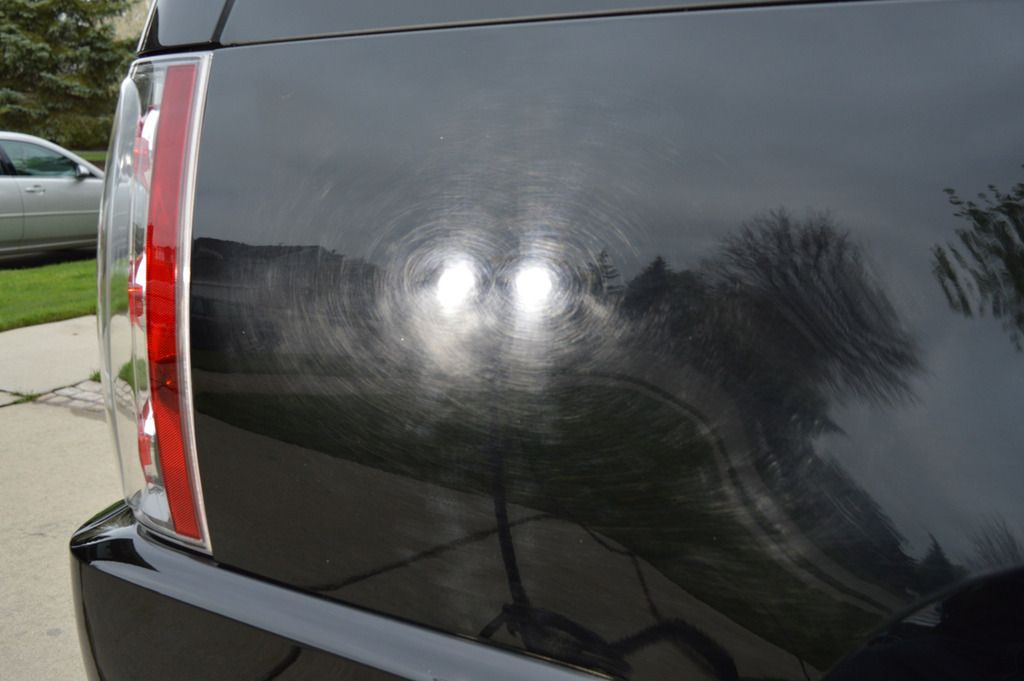
The WORST spot on the car, no idea what happened here but it is TRASHED! Right side quarter panel
Before
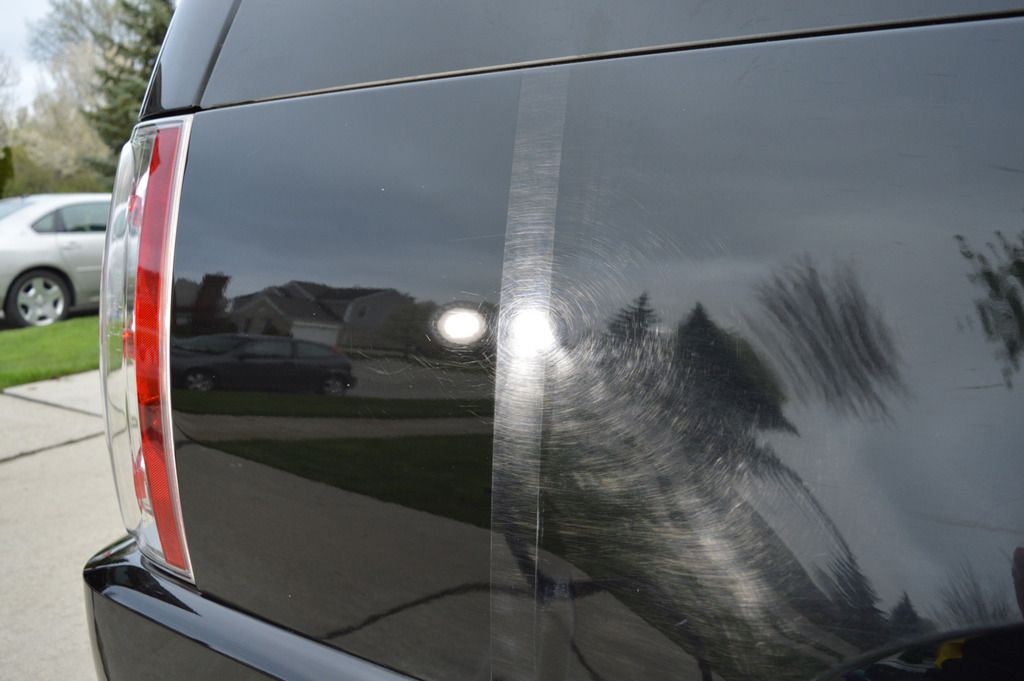
50/50
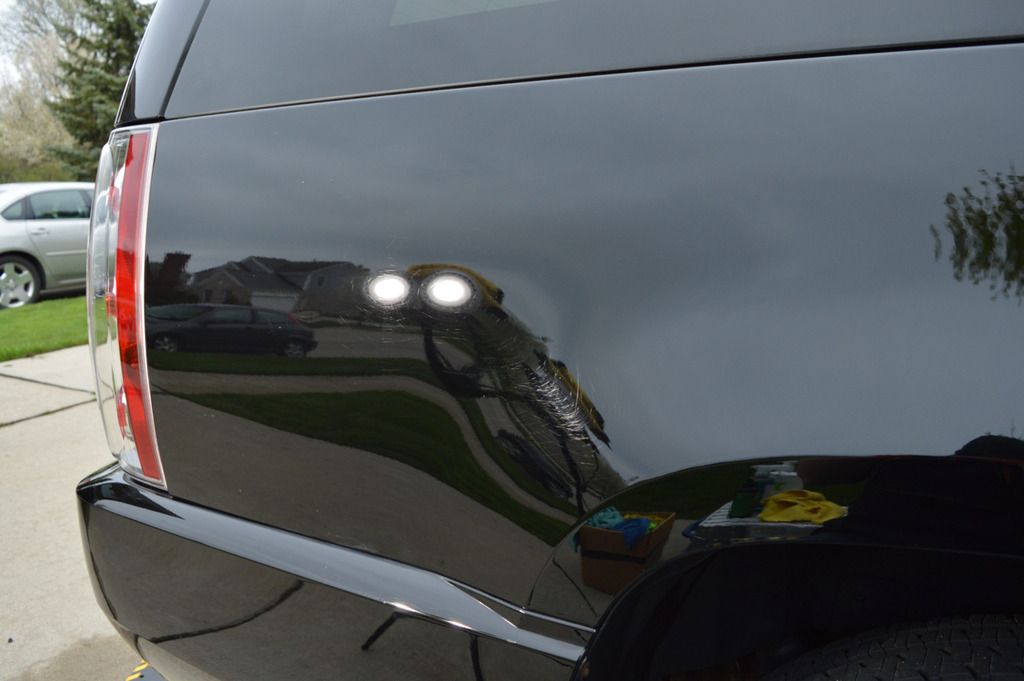
After
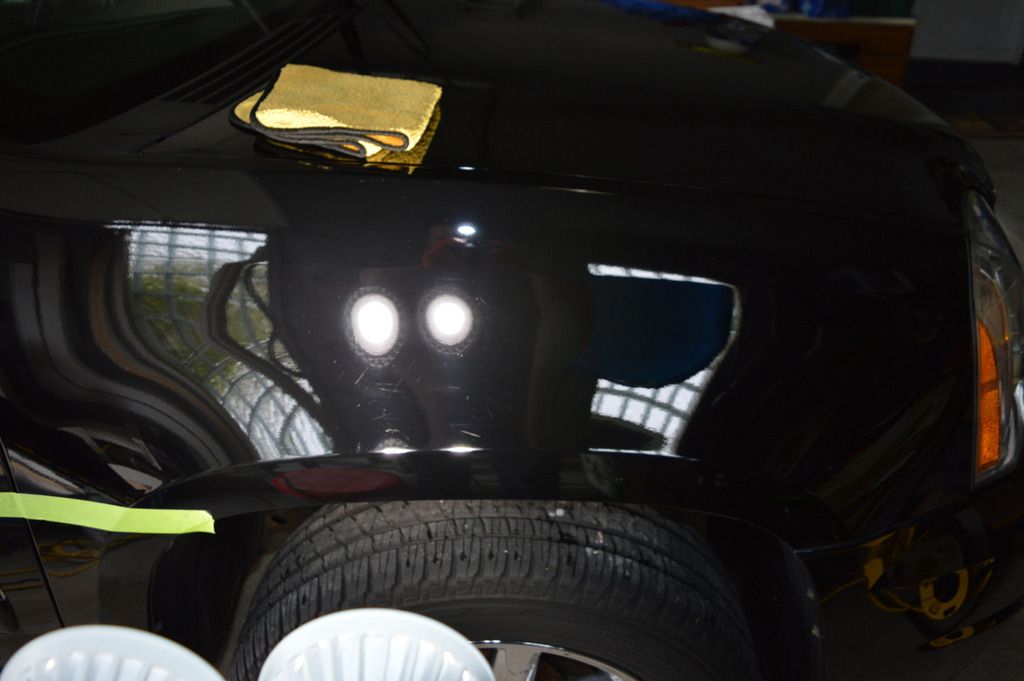
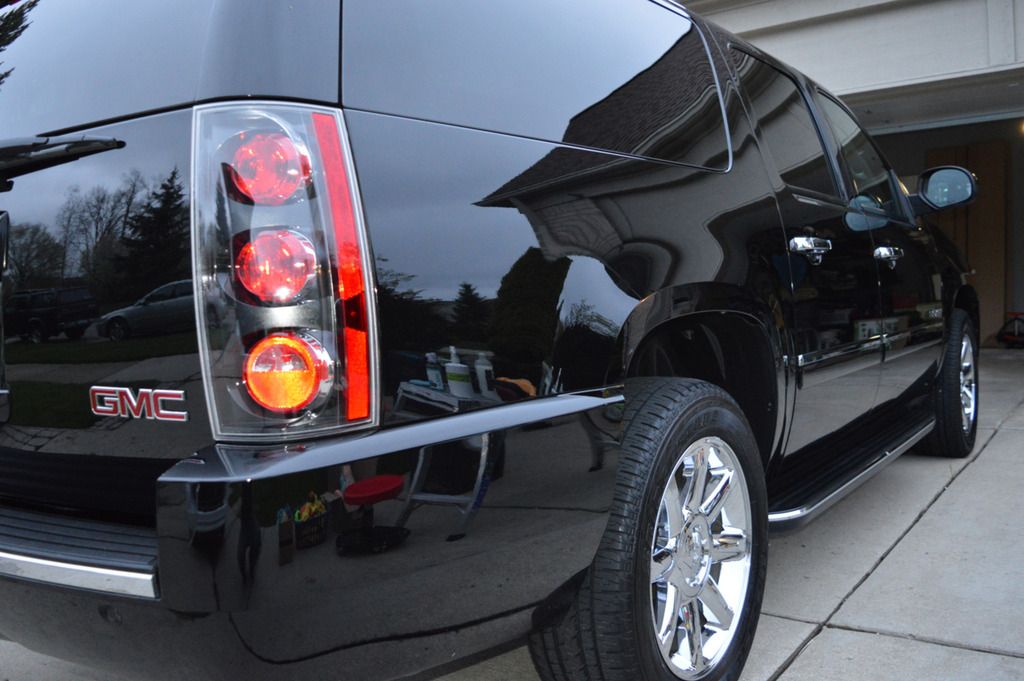
Tailgate before
After
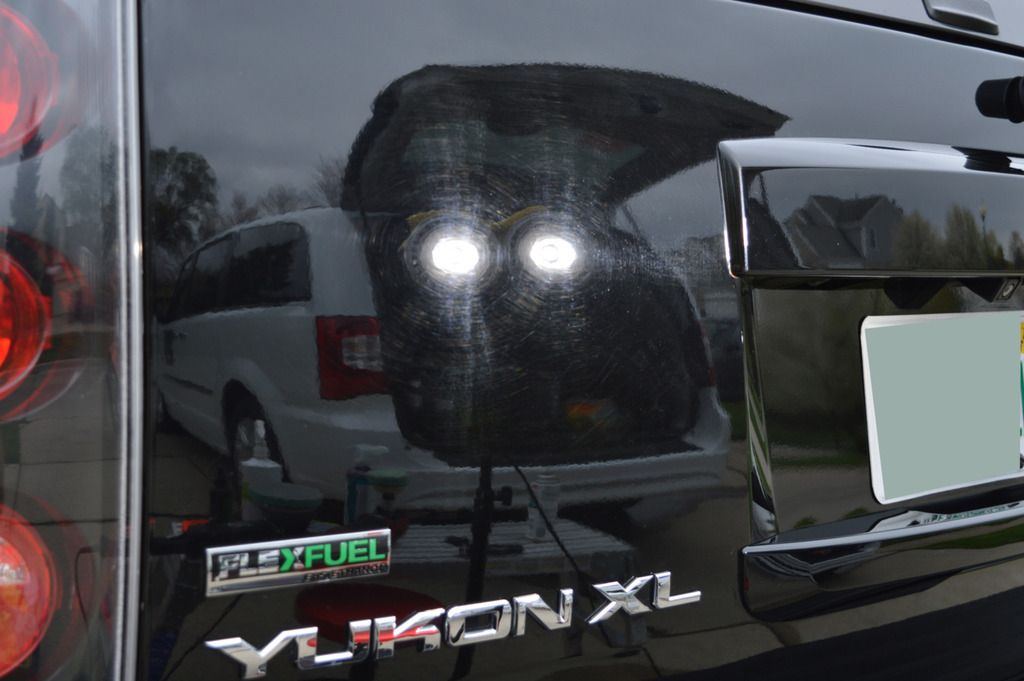
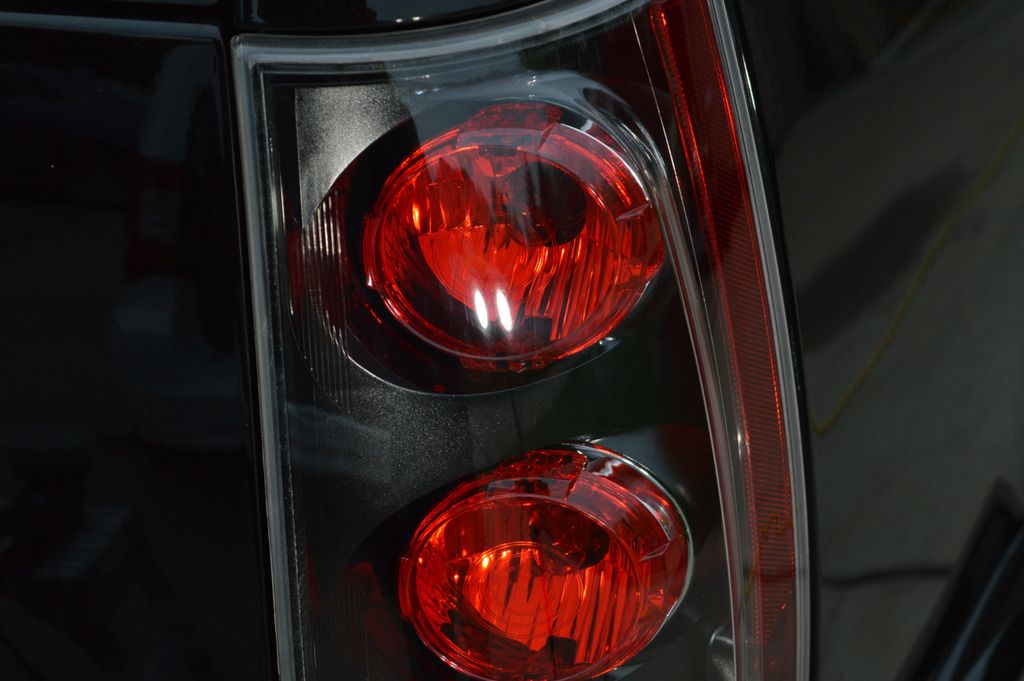
Even the taillights were wrecked
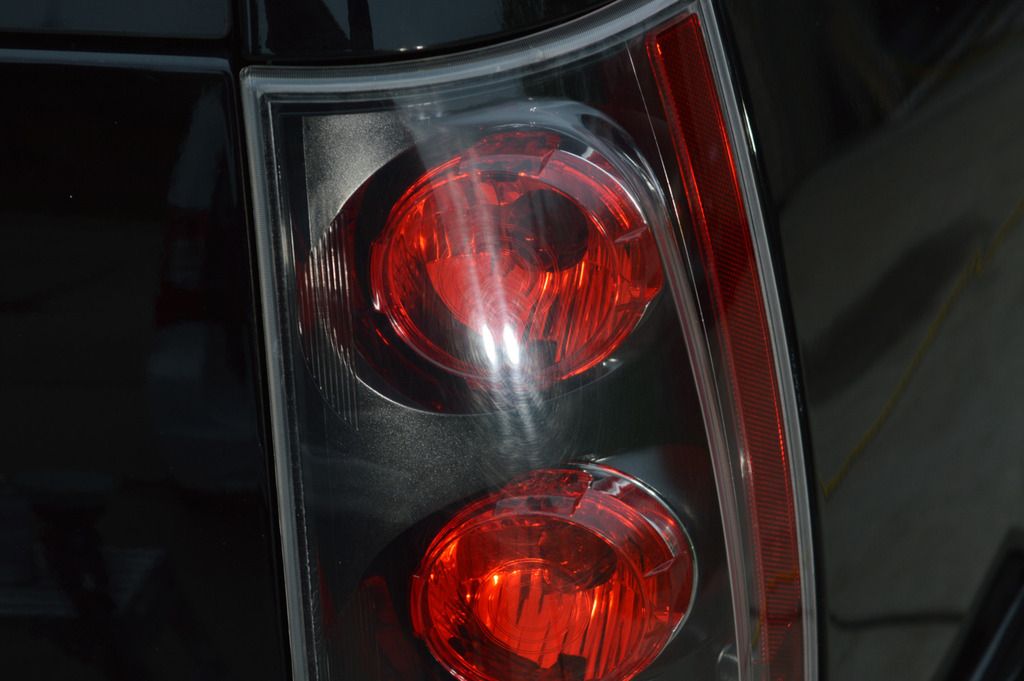
After
Rear passenger door before
50/50
After

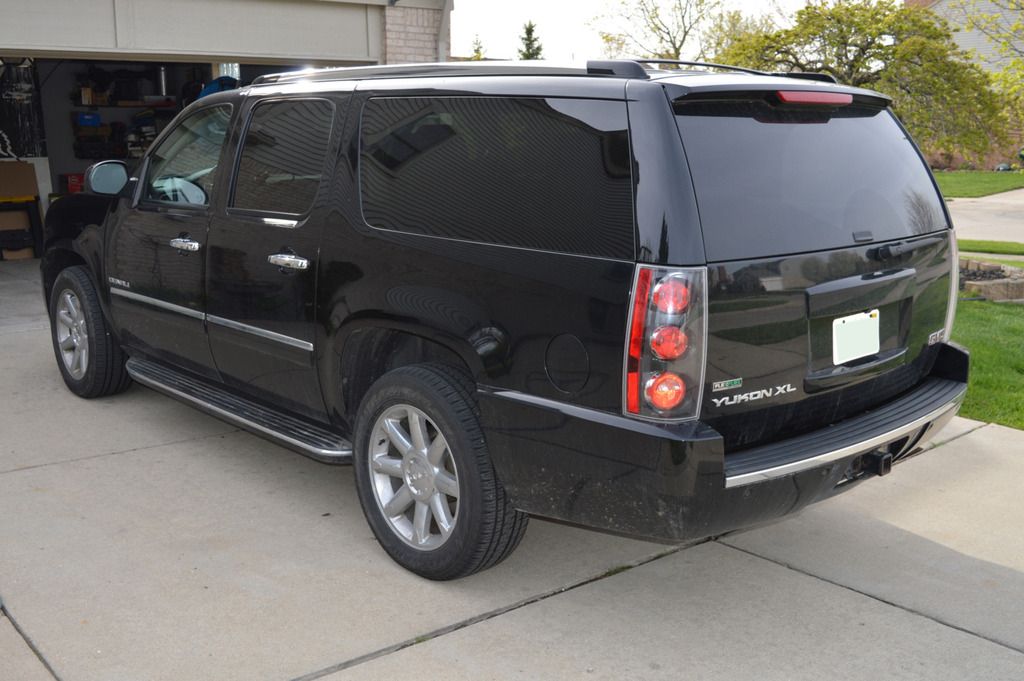
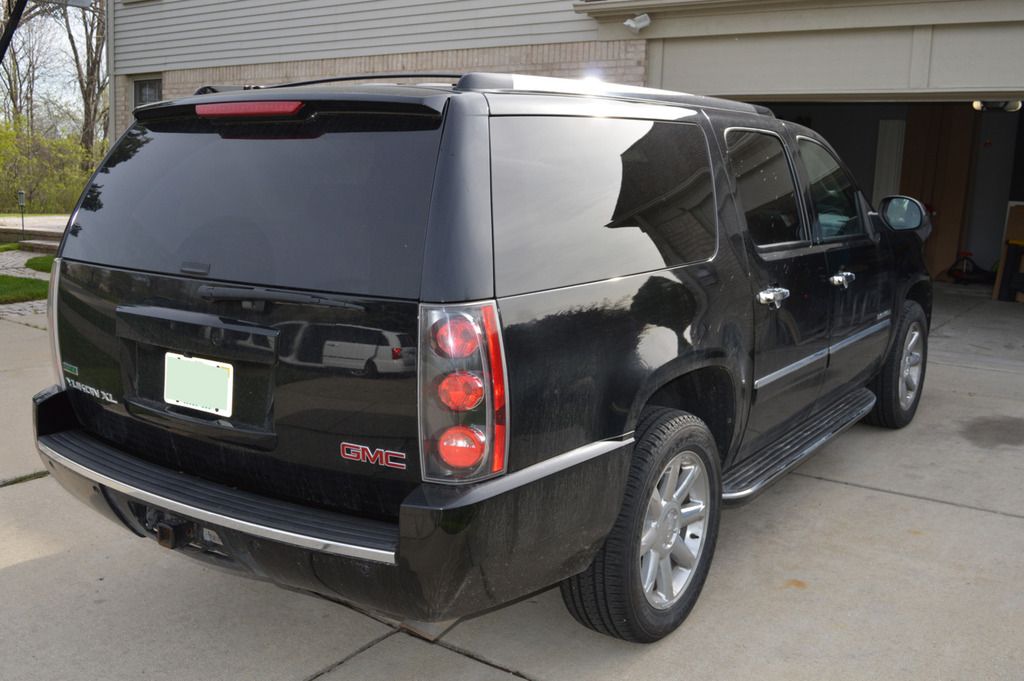
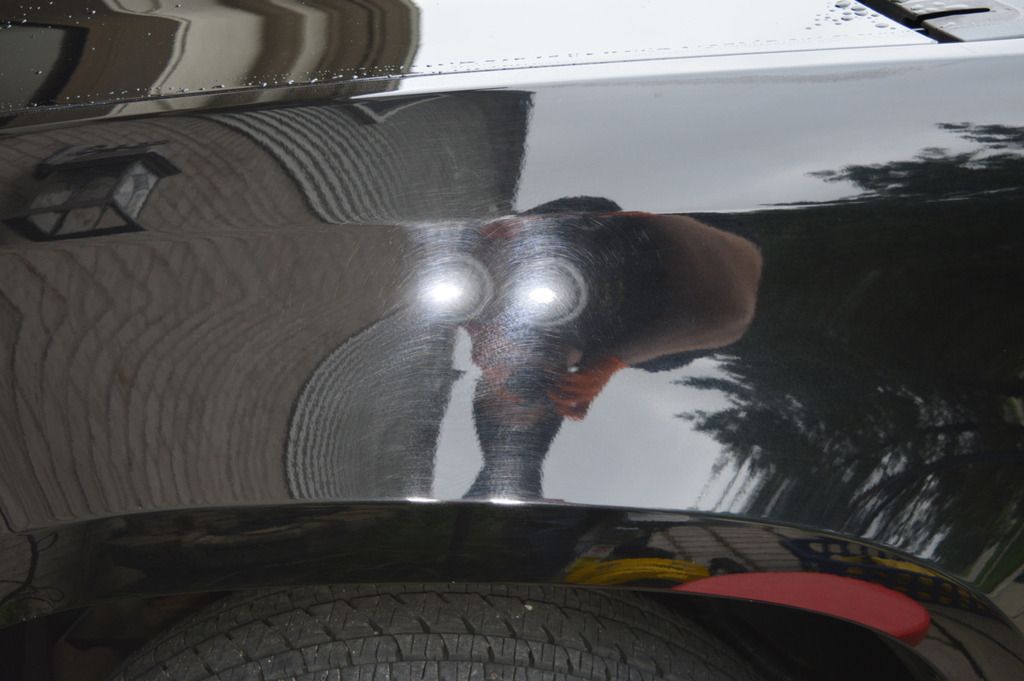
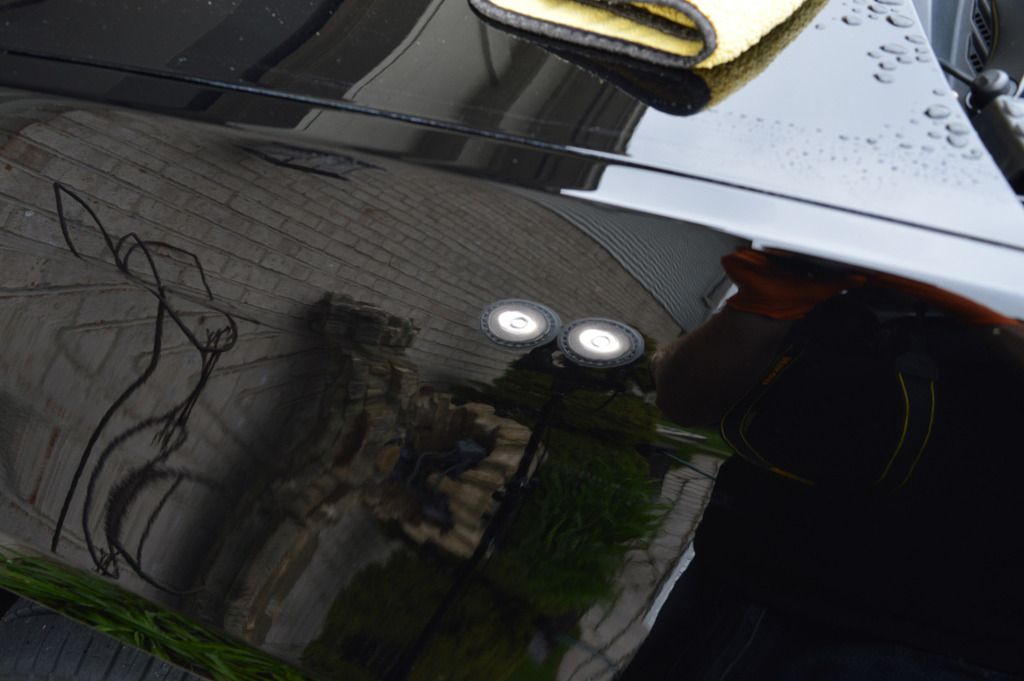
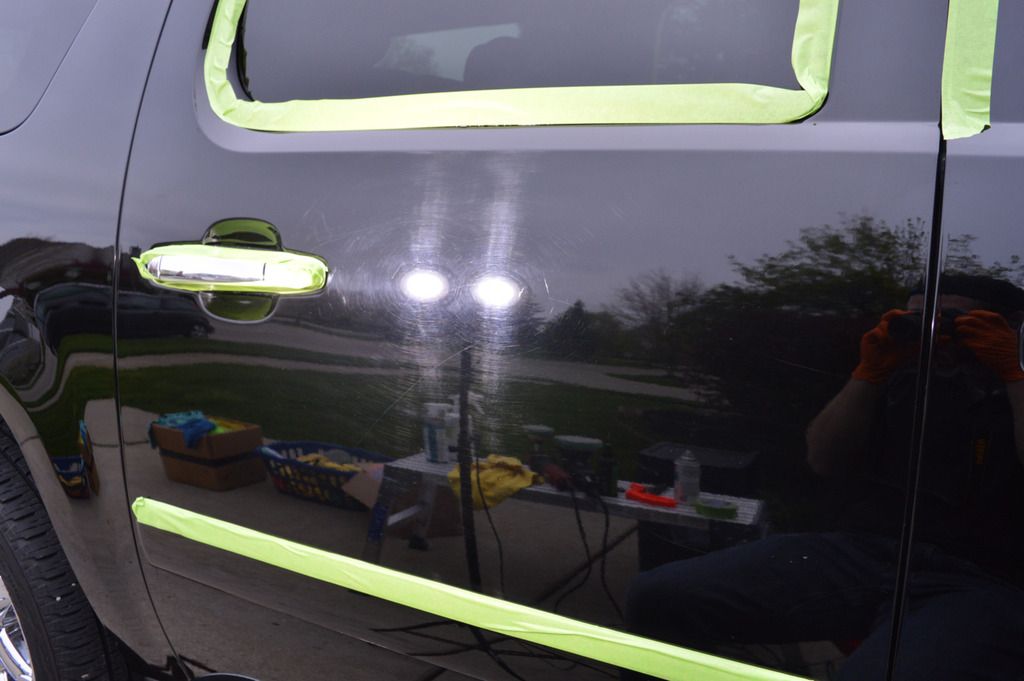
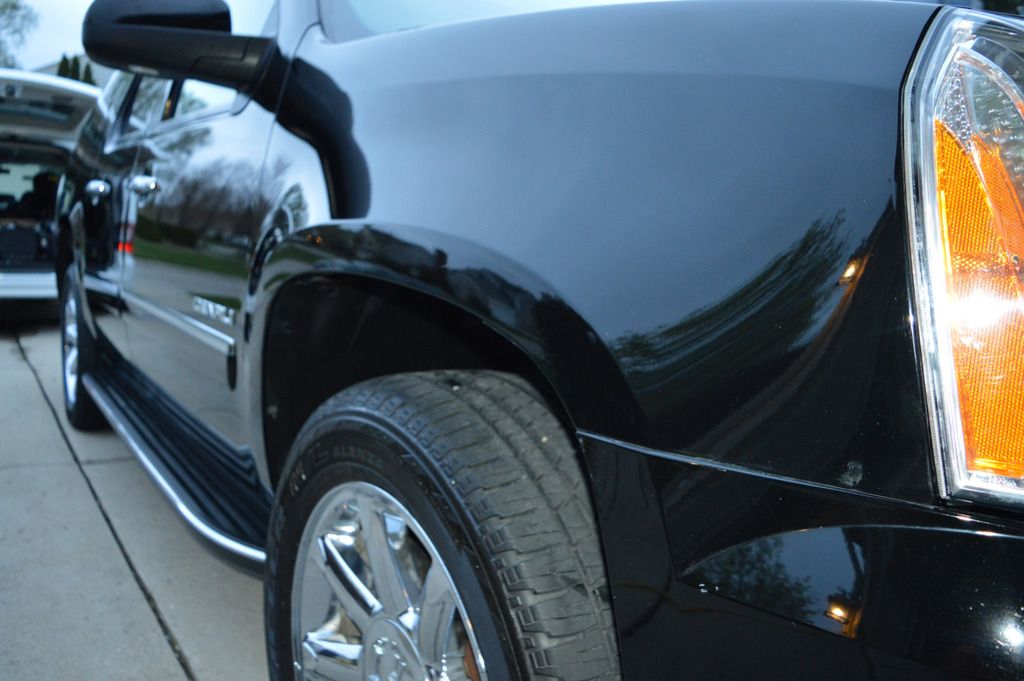
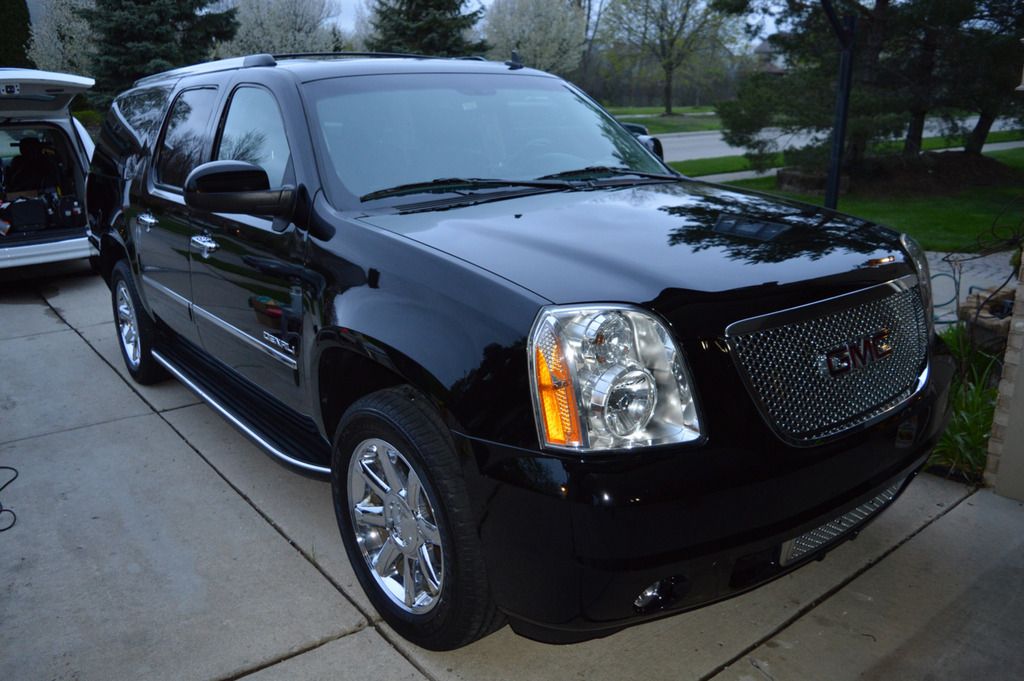
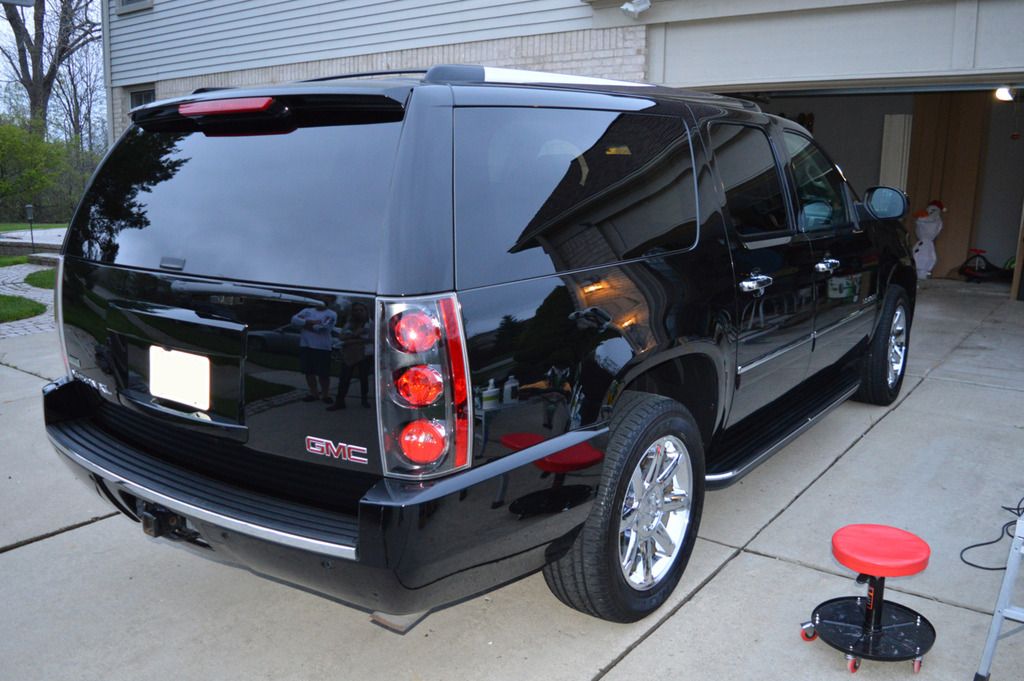
By the time I was wrapping up I was losing daylight fast. I applied a coat of Ultima Paint Guard Plus, dressed the trim and tires and got my pictures before it was too late. Sadly, no sun shots. I will be going back to give it a wash in a week or two and hopefully it will be a sunny day and I can get some glamour shots. For now, this was all I was able to get

Total time spent 14+ hours. This was a real endurance test for me. Its bad enough it was a Yukon, what`s worse is the fact that its the XL. Doesn`t seem like much but the added area really makes the grind that much longer. I really wish the owner would of gone with a 2-step so I could of had the chance to get a lot more of the defects out, but it is what it is. It turned out great for how bad it was. Back to looking respectable!
Thanks for looking! Comments/criticism are welcome and I encourage those who are more experienced to let me know what I can do better next time
This was my first time reaching for the 3D AAT polishes. I had read a lot of the hype and wanted to see it for myself. I figured since I knew a single step wouldn`t be enough, that this would be a hell of a test for the finishing polish. I am nothing less than completely impressed by the ability of this polish. The results were achieved with 3 slow passes on speed 5 with my Rupes, and one quicker pass at 4 with lighter pressure. I couldn`t believe the amount of correction this combo was able to achieve. I started with a buff n shine green polishing pad and was blown away by the results, no need to go any more aggressive (although I did try in one spot with the compound for the hell of it, haze
)Please forgive my camera work as this was the first time I got to take out my new DSLR (Nikon D3200). Having never used one before I have a lot to learn! Major upgrade from the cell phone pictures though
Tools/Products Used
Wheels - Griot`s HD Wheel Cleaner, Daytona speed master brush, Mothers wheel brush and 1" detail brush
Wheel polish - 3D HD Metal and #0000 Steel wool
Wheels sealed - Hydro2
Tires - Tuff Shine Tire Cleaner and low profile tire brush
Chrome polish - 3D HD Metal and microfiber towels
Foam Pre soak - CG Citrus Wash Red and bug squash in foam lance
Wash - Megs Hyper Wash w/ micro chenille wash mitt
Decon - Bug squash for bugs/tar, Nanoskin medium grade mitt w/ wash soap for lubricant
Dried using WW MF towels and DP turbo car dryer
Correction
Polishers - Rupes 21 and Flex PE-8
Pads - Buff n Shine Green polishing pads and Flex 3" green polishing pads
Polish - 3D AAT Finishing Polish
LSP
Paint - Ultima Paint Guard Plus
Tires - Optimum Opti-Bond Tire Gel
Trim - Carpro Perl
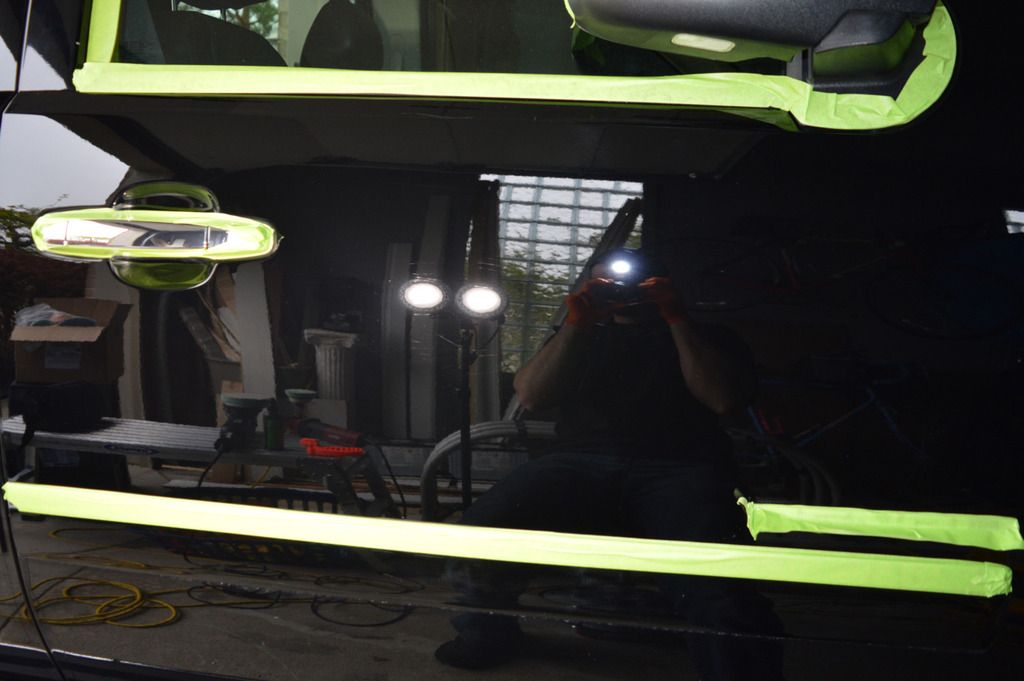
Upon arriving at the customers house here is the car. Obviously not in the greatest shape.
Started with the wheels and tires. The tires took 3-4 rounds with tuff shine to get them clean. After cleaning the wheels with the Griot`s HD wheel cleaner, they still looked FILTHY! Nasty staining in the chrome. Nothing some 3D HD Metal and some #0000 steel wool couldn`t handle though. Unfortunately the barrels of the wheels were beyond saving as the chrome was peeling uncontrollably (I actually pulled out a loose piece about 5x5").
Before
Stained chrome before
After
Another stained area (the wheels all looked like this)
After polishing
All clean ready to move on!
Clean rubber, ready for dressing.
The wheels and tires alone took me over 2 hours to clean up. After they were done, since I was in a chrome polishing mood, I decided to hit the chrome trim around the vehicle with the HD Metal and a microfiber.
Emblem before
Emblem after (forgive the streak
)
After this, the SUV was foamed with a mixture of CG Citrus Wash Red and some Bug Squash
After a wash and decon, it was time to pull it into the garage and start the correction process. You`ll notice that I didn`t do the entire job in the garage. I did this over 2 days and had a cool cloudy day the 2nd day and was able to work outside in the driveway (with more room to move). Prepare yourselves. This gets nasty.
Correction done with a Rupes 21, Flex PE-8 and Green buff n shine polishing pads (green Flex polishing pads on the PE-8) and 3D AAT Finishing Polish
Hood section before
After
Right front fender before
50/50
After
Front passenger door before
50/50
After
Left fender before
After
The WORST spot on the car, no idea what happened here but it is TRASHED! Right side quarter panel
Before
50/50
After
Tailgate before
After
Even the taillights were wrecked
After
Rear passenger door before
50/50
After
By the time I was wrapping up I was losing daylight fast. I applied a coat of Ultima Paint Guard Plus, dressed the trim and tires and got my pictures before it was too late. Sadly, no sun shots. I will be going back to give it a wash in a week or two and hopefully it will be a sunny day and I can get some glamour shots. For now, this was all I was able to get
Total time spent 14+ hours. This was a real endurance test for me. Its bad enough it was a Yukon, what`s worse is the fact that its the XL. Doesn`t seem like much but the added area really makes the grind that much longer. I really wish the owner would of gone with a 2-step so I could of had the chance to get a lot more of the defects out, but it is what it is. It turned out great for how bad it was. Back to looking respectable!
Thanks for looking! Comments/criticism are welcome and I encourage those who are more experienced to let me know what I can do better next time