Todd@RUPES
Just a regular guy
Mistakes and accidents happen. I am proof. In the last 2 years I have rolled a car (4 times), been T-boned and most recently wrecked my motorcycle. Can you imagine the risk to the leather items I own? I'm a walking hazard.
Luckily, because of my propensity to wreck things on a big scale, I am often left with projects that need to be fixed. One of the victims of my motorcycle accident (besides my bike) was my new Icon brand leather jacket. The cow hide did an excellent job at sacrificing itself while I skidded across the tarmac at 50 miles per hour (before tumbling like a weed, but that's a different story for a different thread on a different forum).
I thought this would be the perfect opportunity to try the 3M Leather & Vinyl Repair Kit (Part #08579 for you 3M fans).
A couple of notes:
Additional items needed:
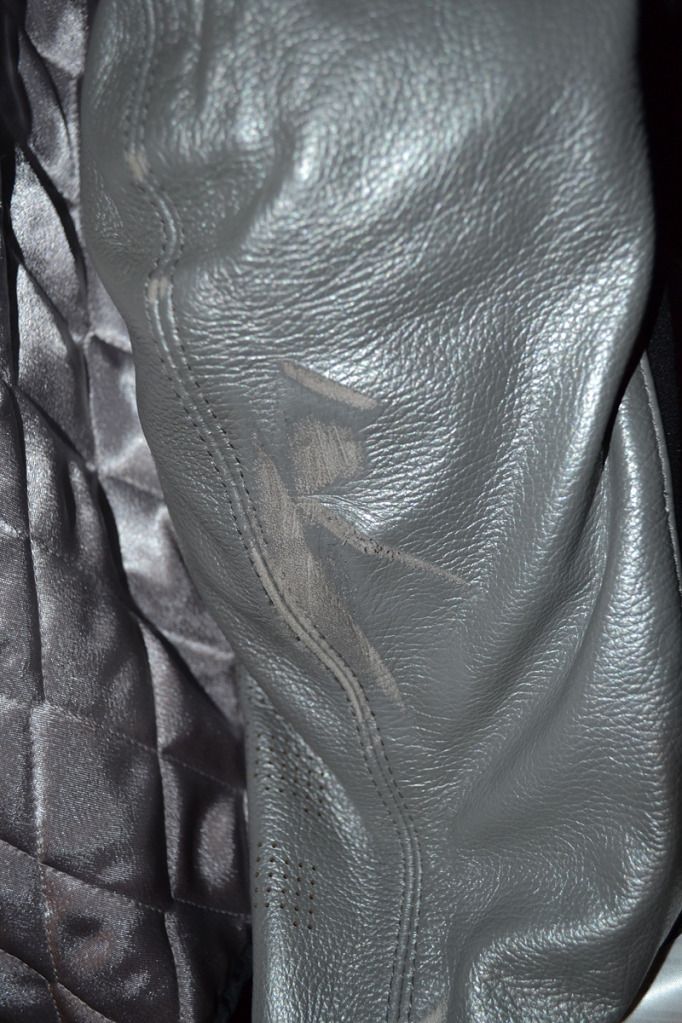
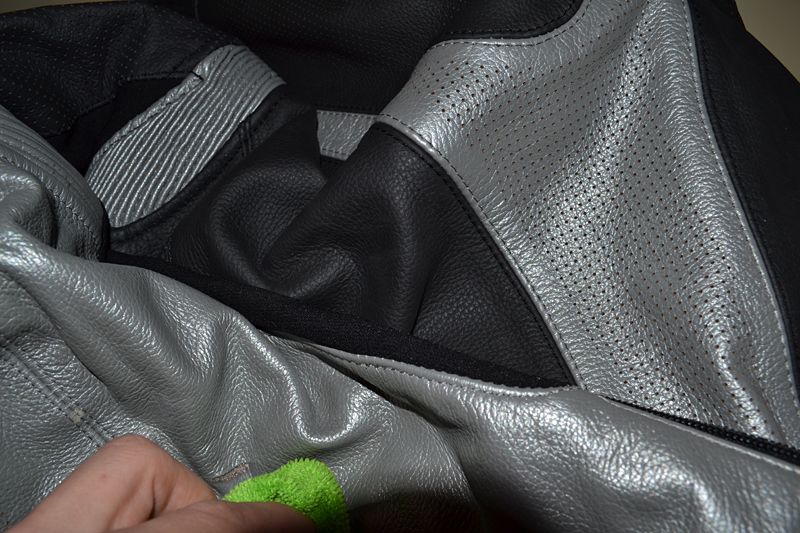
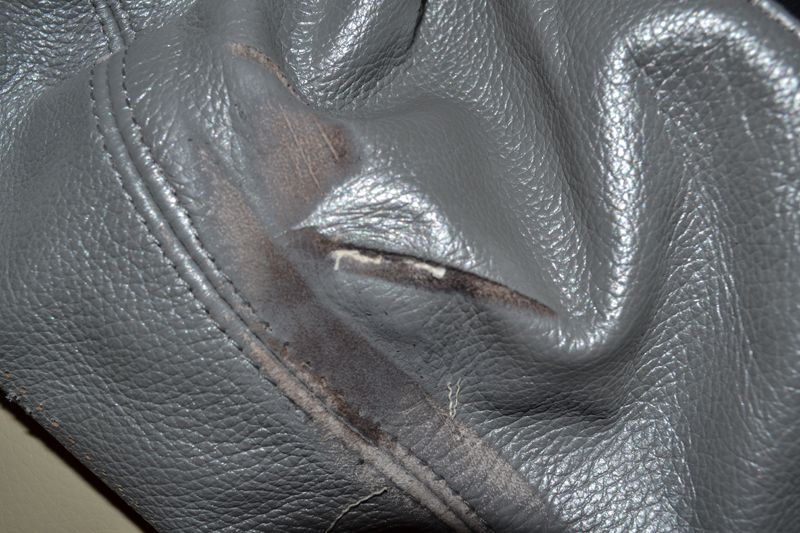
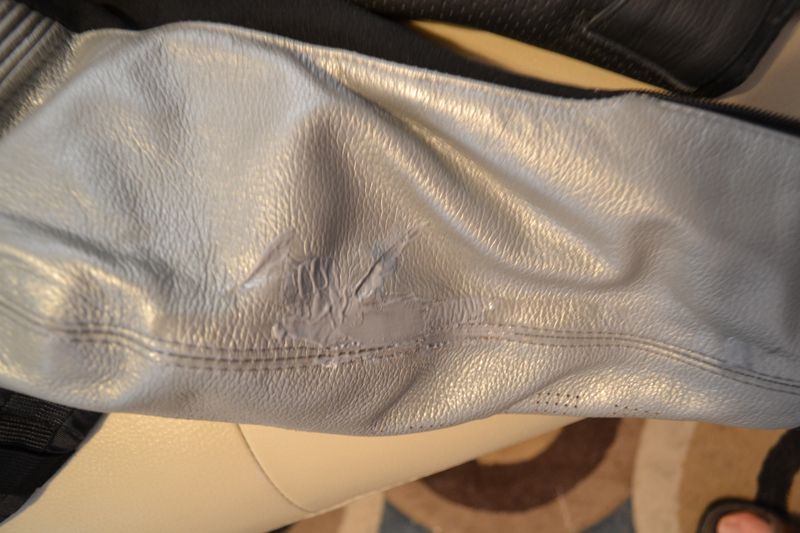
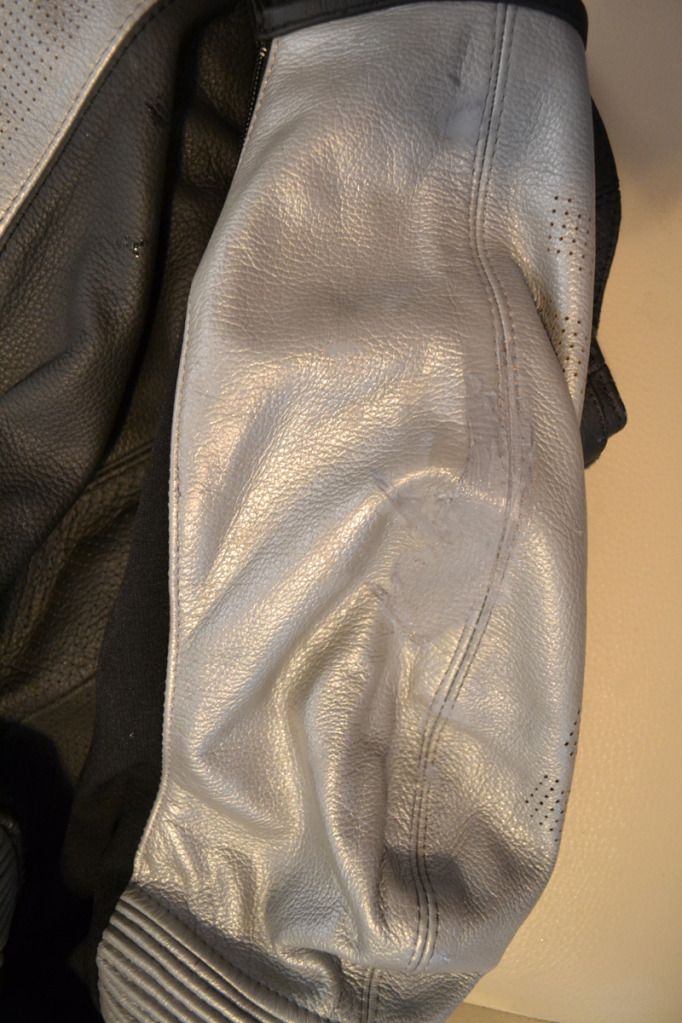
Here is the brunt of the damage, to the left forearm section of the sleeve.
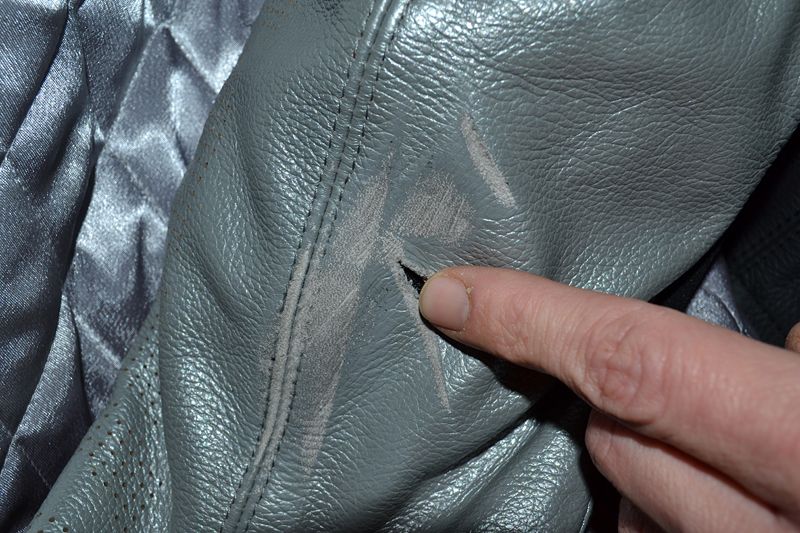
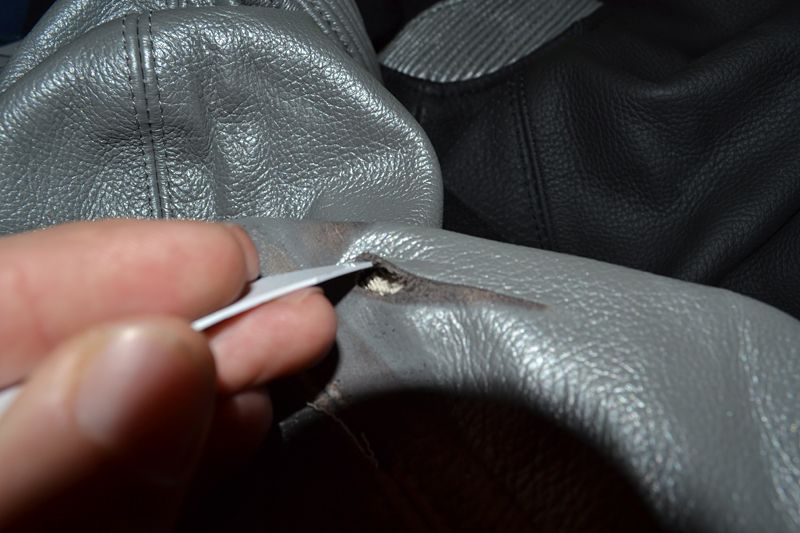
Here is the tear, just wide enough to insert my finger into.
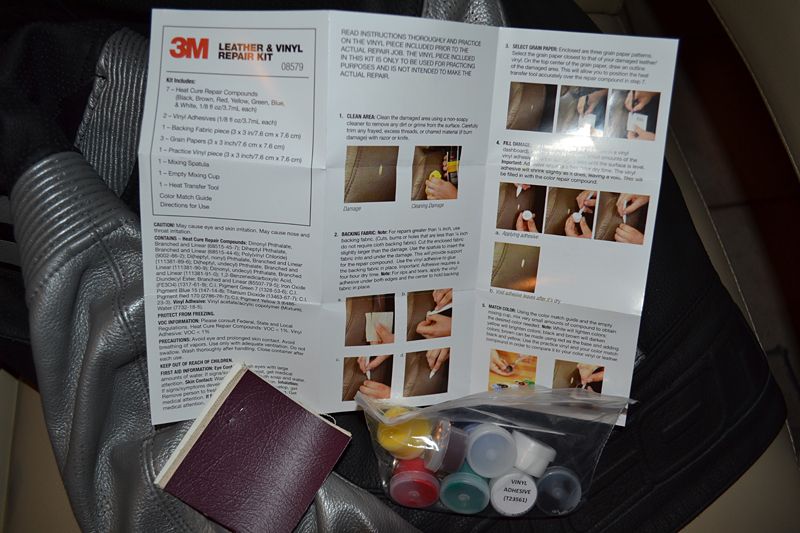
The 3M Leather & Vinyl Repair Kit comes neatly packed in a plastic "box".

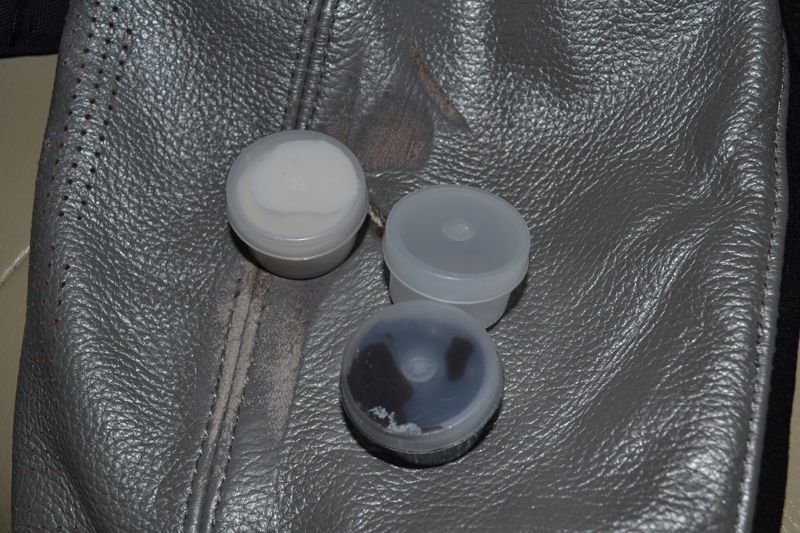
Opening the box reveals containers of vinyl adhesive & leather heat compound dyes, a spatula, 3 various grain papers, a vinyl plastic sheet, a mixing container and a set of detailed instructions.
Here is the grain heat-transfer papers (3 different grains) and the burgundy colored practice vinyl. You will need match the closest grain paper to the grain of your leather in later steps.

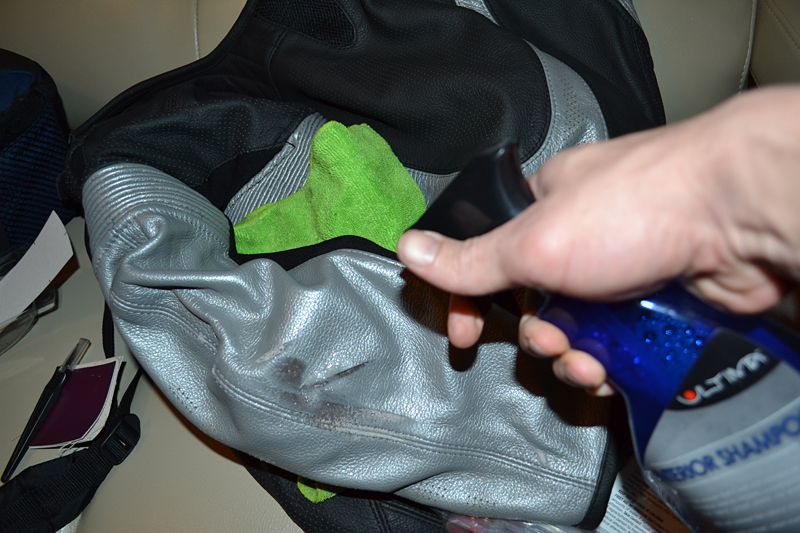
Start by cleaning the area to be repaired. I used Ultima's Interior Gel Shampoo and a green microfiber towel.
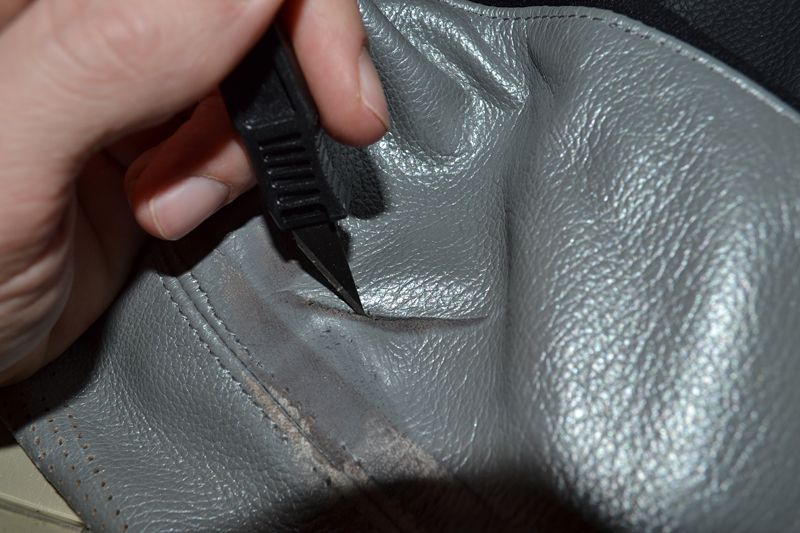
Next trim any frayed edges from the cut. For this I used a hobby knife, although an exacto blade or box cutter blade will work just fine.
For tears and cuts larger then 1/4" it is recommended to repair them first with the vinyl repair paper. I removed the foam armor from the motorcycle jacket's sleeve to allow me to apply pretty from the inside for a better seal.
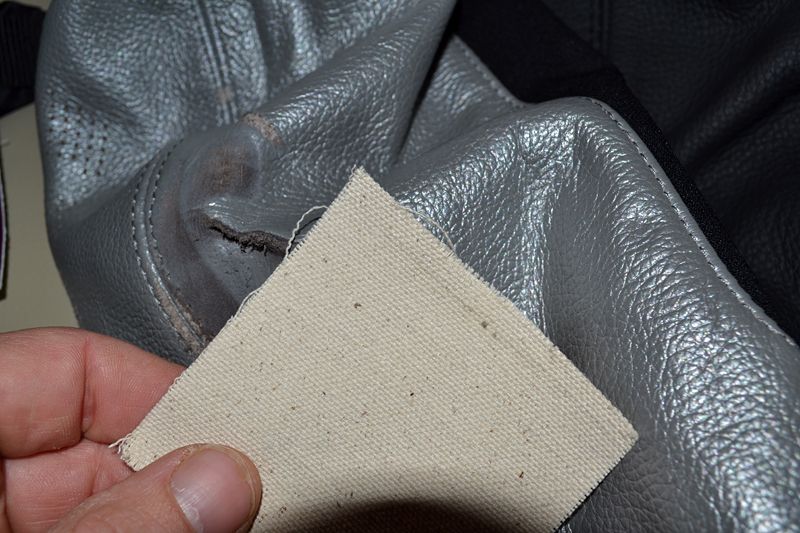
Trim the vinyl repair fabric so that it is slightly larger then the tear.
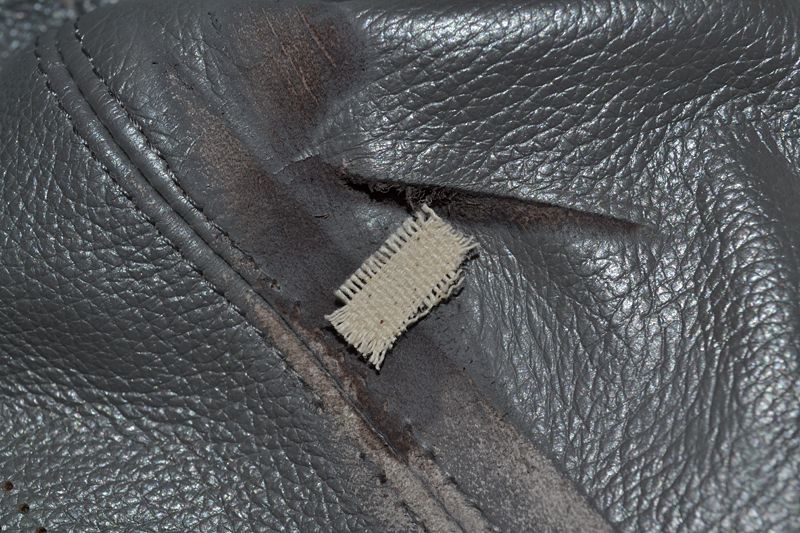
If you are repairing a car seat or furiture the next step is easier since you will have backing material to rest the fabric on. Working on the sleeve proved a little more tricky because the fabric would slide down and become trapped in between the leather and the interior liner. I used the supplied spatula to push the fabric into and underneath the cut then applied the supplied 3M Leather Adhesive into the hold.
I pushed up on the fabric from inside the sleeve to secure it in place.
Give the repair 4 hours to dry.
Next, select the grain paper that adequately mimics the grain of your leather. Motorcycle jackets have a rough grain that was not really mimicked by any of the papers, so I choose the closest match.
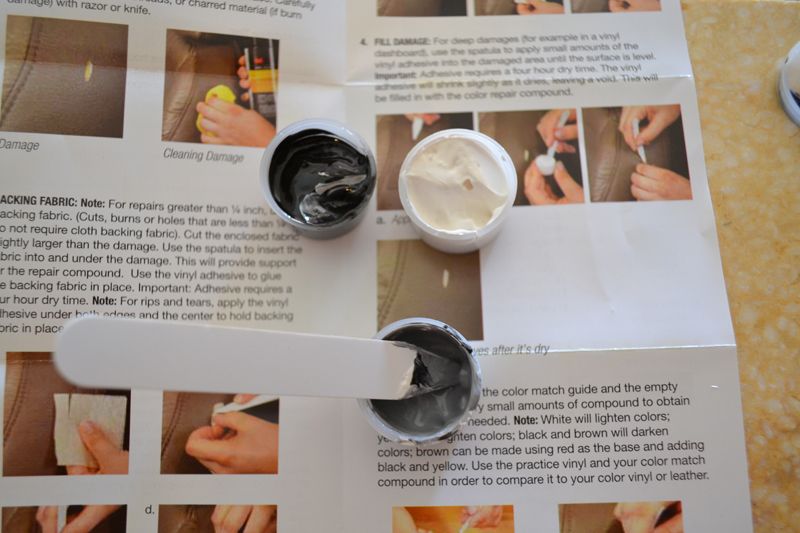
Now its time to mix up the various colored heat-repair compounds. 3M provides a hint chart, but luckily for me I was dealing with silver. Silver, my nature, is a metallic gray, so I knew that the color would be impossible to match. However, by finding the right tone of gray I would minimize the appearance of the repair.
Starting with a base of white and adding small amount of black with the spatula I formed gray.
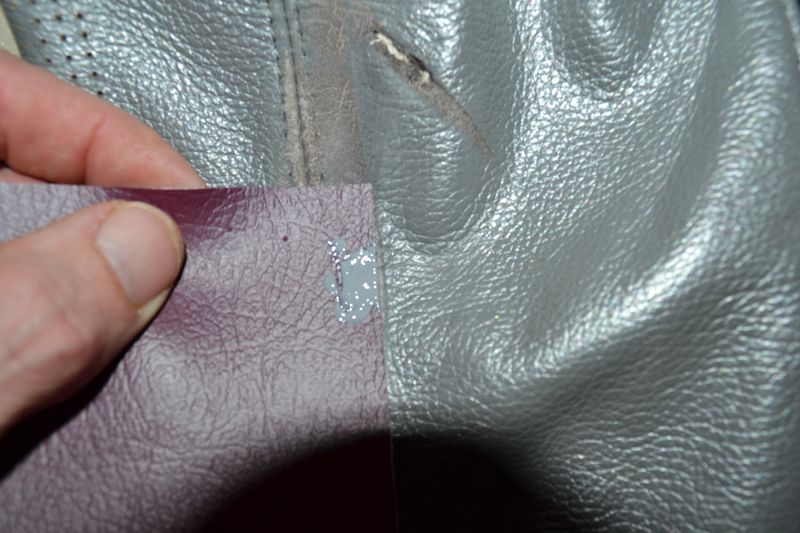
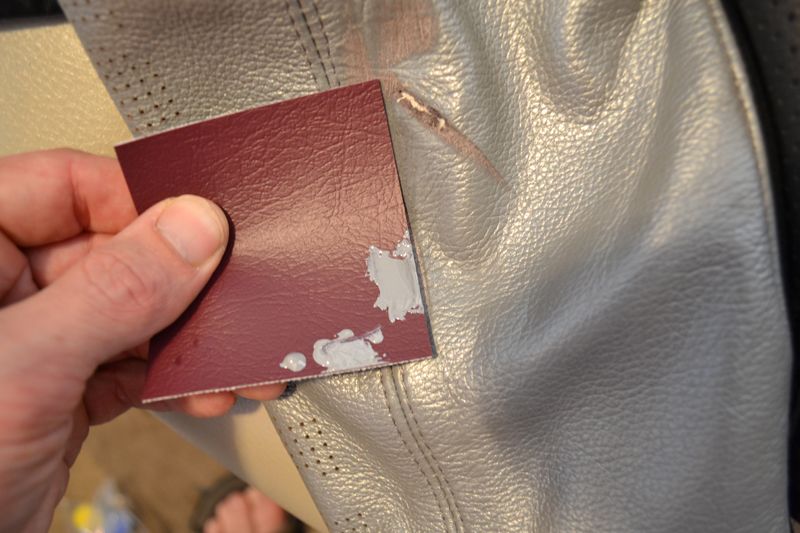
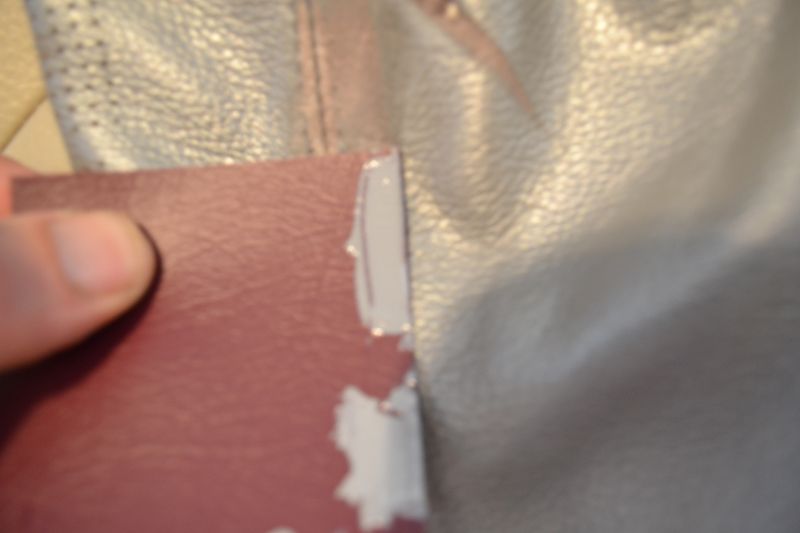
Using the supplied piece of vinyl, I wiped some of my color on it and compared it to the leather.
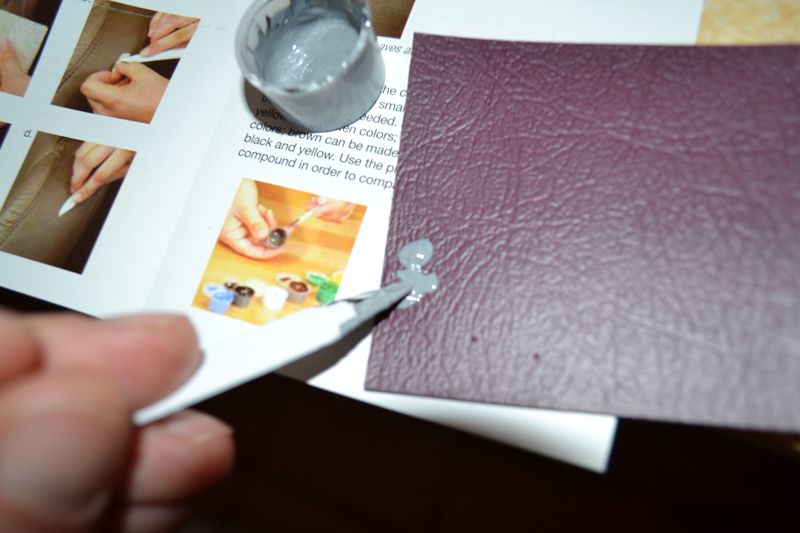
Too white, so I added a little more black.
Just a little more black and it was very close...
Carefully apply the compound to all areas that need to be repaired. It will feel wet and tacky.
Now lay the grain pattern face down on the compound. Plug in a heating iron and allow it to get hot. Heat the transfer tool on the iron for a few minutes.
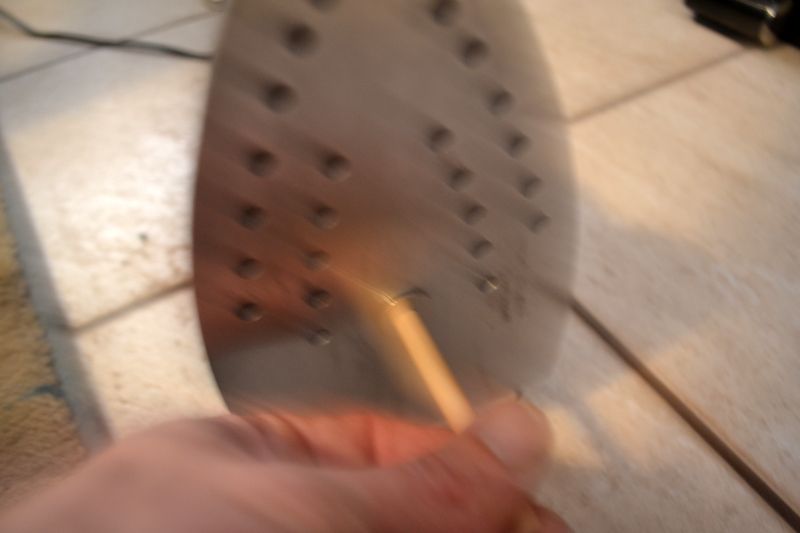
Now pressure down on and work the tool over the grain paper, curing the compound and imprinting the grain design into the fabric. Pull the fabric paper away. If any area is still tacky, re-heat the transfer tool and place the fabric face down. Again press the area until the compound is dry.
While the results are not perfect, they are much better then before. Keeping in mind that this system was designed to fix cuts and tears in automotive and furniture leather, I am very pleased with the results. This is a kit that anybody can do at home, the hardest part was matching the color. (Which is easy, just take your time and check often).
I am confident that I could do a much better job the second time around.
Luckily, because of my propensity to wreck things on a big scale, I am often left with projects that need to be fixed. One of the victims of my motorcycle accident (besides my bike) was my new Icon brand leather jacket. The cow hide did an excellent job at sacrificing itself while I skidded across the tarmac at 50 miles per hour (before tumbling like a weed, but that's a different story for a different thread on a different forum).
I thought this would be the perfect opportunity to try the 3M Leather & Vinyl Repair Kit (Part #08579 for you 3M fans).
A couple of notes:
- This was my first time using the kit
- It is designed to repair small tears and cuts in leather seats and furniture, not tears in motorcycle jackets.
Additional items needed:
- A clothes iron
- A hobby knife, exacto blade or box cutter
- Non-soapy leather cleaner
Here is the brunt of the damage, to the left forearm section of the sleeve.
Here is the tear, just wide enough to insert my finger into.
The 3M Leather & Vinyl Repair Kit comes neatly packed in a plastic "box".
Opening the box reveals containers of vinyl adhesive & leather heat compound dyes, a spatula, 3 various grain papers, a vinyl plastic sheet, a mixing container and a set of detailed instructions.
Here is the grain heat-transfer papers (3 different grains) and the burgundy colored practice vinyl. You will need match the closest grain paper to the grain of your leather in later steps.
Start by cleaning the area to be repaired. I used Ultima's Interior Gel Shampoo and a green microfiber towel.
Next trim any frayed edges from the cut. For this I used a hobby knife, although an exacto blade or box cutter blade will work just fine.
For tears and cuts larger then 1/4" it is recommended to repair them first with the vinyl repair paper. I removed the foam armor from the motorcycle jacket's sleeve to allow me to apply pretty from the inside for a better seal.
Trim the vinyl repair fabric so that it is slightly larger then the tear.
If you are repairing a car seat or furiture the next step is easier since you will have backing material to rest the fabric on. Working on the sleeve proved a little more tricky because the fabric would slide down and become trapped in between the leather and the interior liner. I used the supplied spatula to push the fabric into and underneath the cut then applied the supplied 3M Leather Adhesive into the hold.
I pushed up on the fabric from inside the sleeve to secure it in place.
Give the repair 4 hours to dry.
Next, select the grain paper that adequately mimics the grain of your leather. Motorcycle jackets have a rough grain that was not really mimicked by any of the papers, so I choose the closest match.
Now its time to mix up the various colored heat-repair compounds. 3M provides a hint chart, but luckily for me I was dealing with silver. Silver, my nature, is a metallic gray, so I knew that the color would be impossible to match. However, by finding the right tone of gray I would minimize the appearance of the repair.
Starting with a base of white and adding small amount of black with the spatula I formed gray.
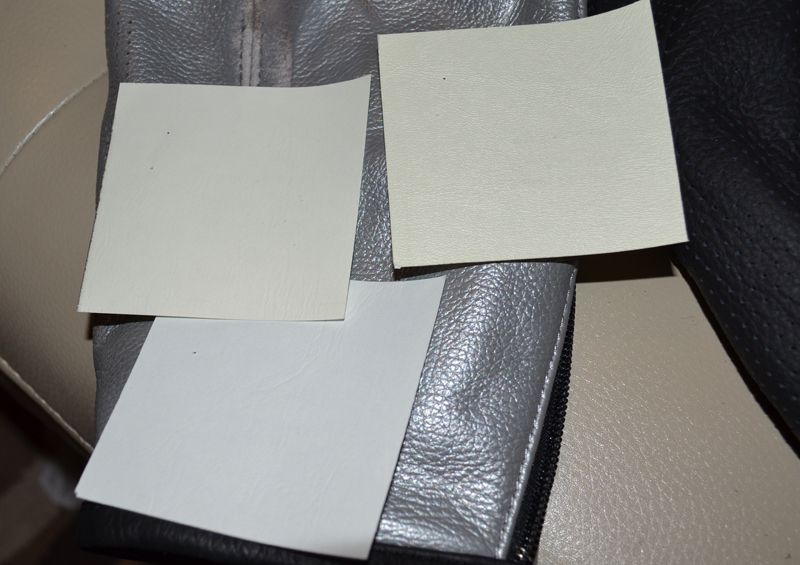
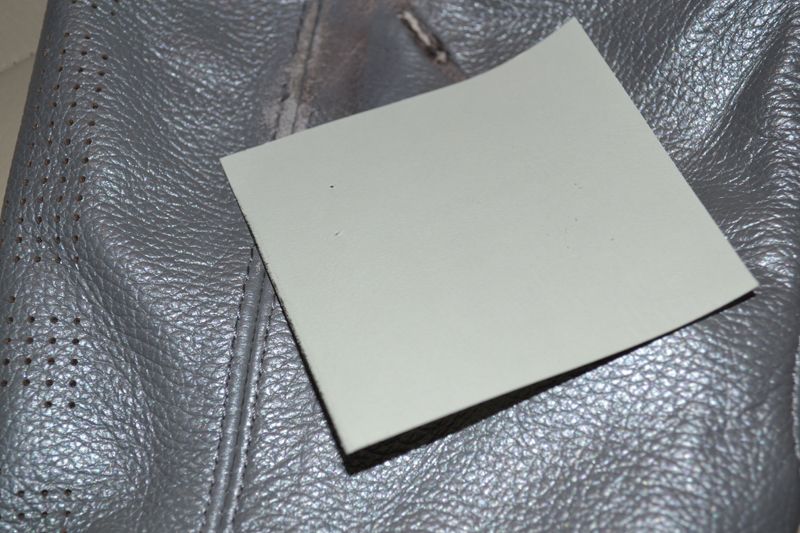
Using the supplied piece of vinyl, I wiped some of my color on it and compared it to the leather.
Too white, so I added a little more black.
Just a little more black and it was very close...
Carefully apply the compound to all areas that need to be repaired. It will feel wet and tacky.
Now lay the grain pattern face down on the compound. Plug in a heating iron and allow it to get hot. Heat the transfer tool on the iron for a few minutes.
Now pressure down on and work the tool over the grain paper, curing the compound and imprinting the grain design into the fabric. Pull the fabric paper away. If any area is still tacky, re-heat the transfer tool and place the fabric face down. Again press the area until the compound is dry.
While the results are not perfect, they are much better then before. Keeping in mind that this system was designed to fix cuts and tears in automotive and furniture leather, I am very pleased with the results. This is a kit that anybody can do at home, the hardest part was matching the color. (Which is easy, just take your time and check often).
I am confident that I could do a much better job the second time around.
")
")