LawrenceSA
New member
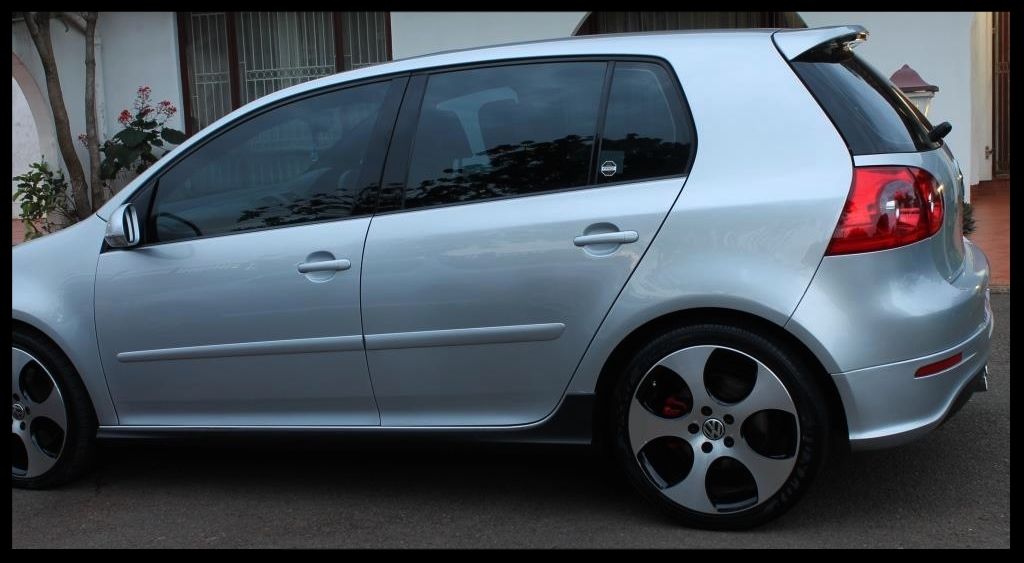
I was still busy completing the detail when the owner arrived to collect the car, about an hour after I had planned to be done and have the car outside for some after shots - which was long enough for the winter sun to disappear.
But despite the lack of 'beauty shots' here it is...
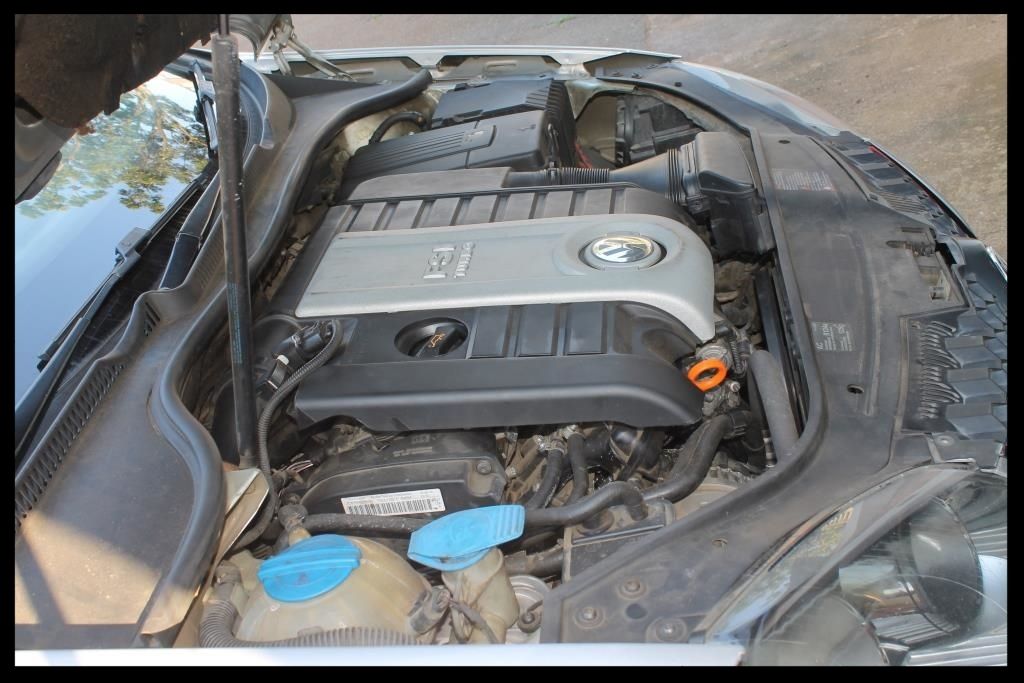
Up first as always, the engine bay.
The fabric was removed, sprayed with some Carchem APC, scrubbed with a Mothers Carpet Brush and HP rinsed, then left out to dry in the sun.
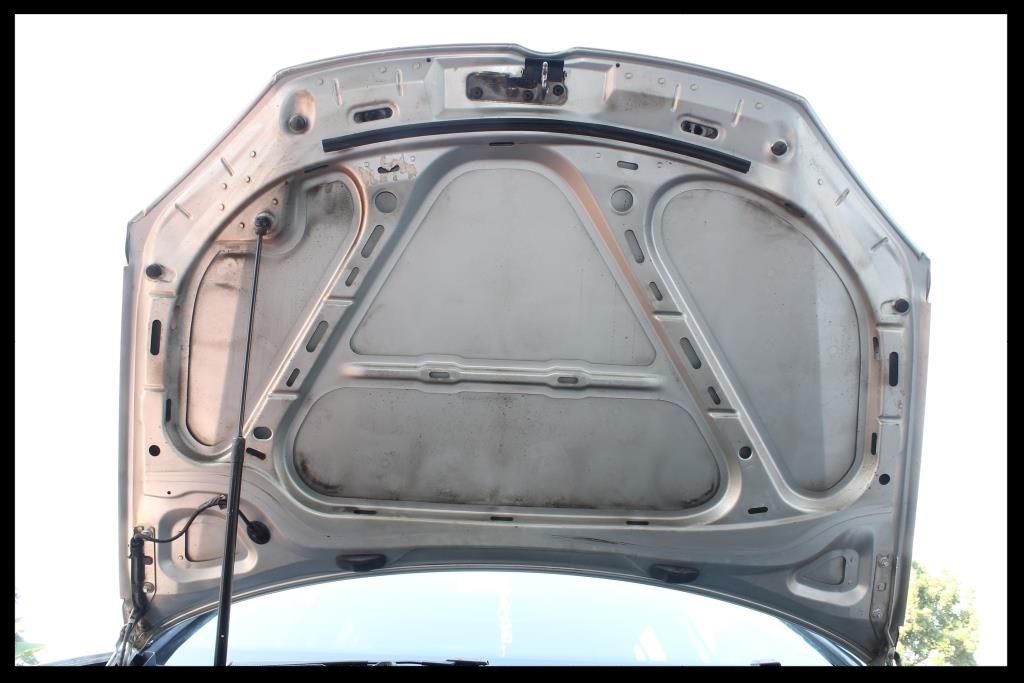
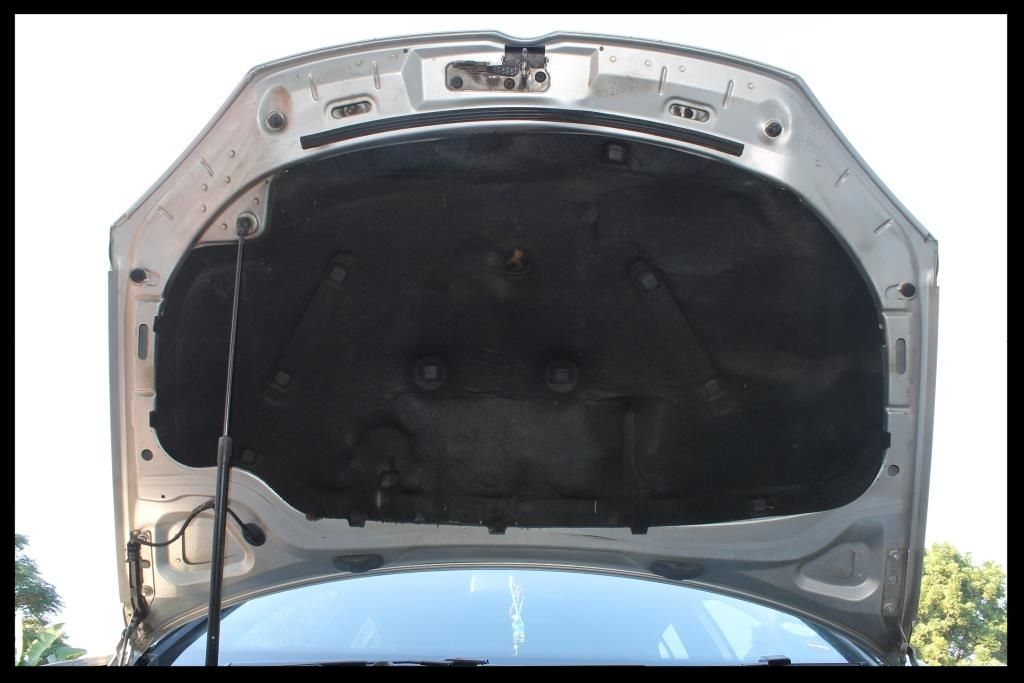
The underside of the bonnet was then cleaned using Carchem APC, various brushes and HP rinsed. This area would later be cleaned/polished/protected using Autofinesse Tripple.
Valet Pro Citrus prewash was sprayed over the entire bay and this was then followed with APC, various brushes and MF towels and a HP rinse to remove all the years of dirt and grime. The painted surfaces were then cleaned/polished/protected using Autofinesse Tripple on a MF applicator pad. Plastics and rubbers were cleaned using Shield Heavy Duty Vinyl and Rubber cleaner and dressed using Aerospace 303 Protectant.
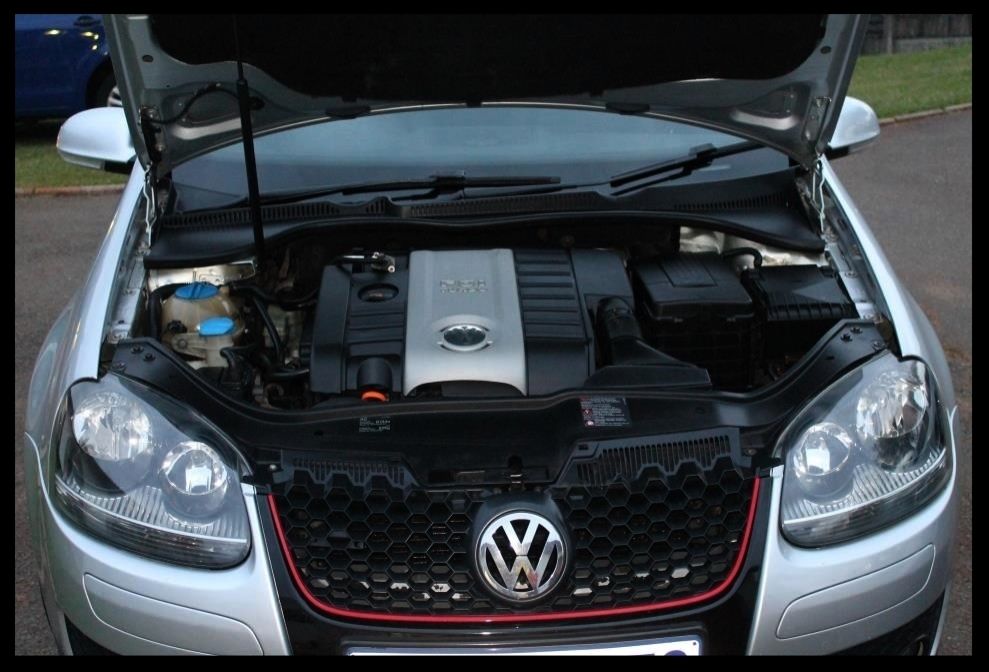
Here is one of the really crummy after pics
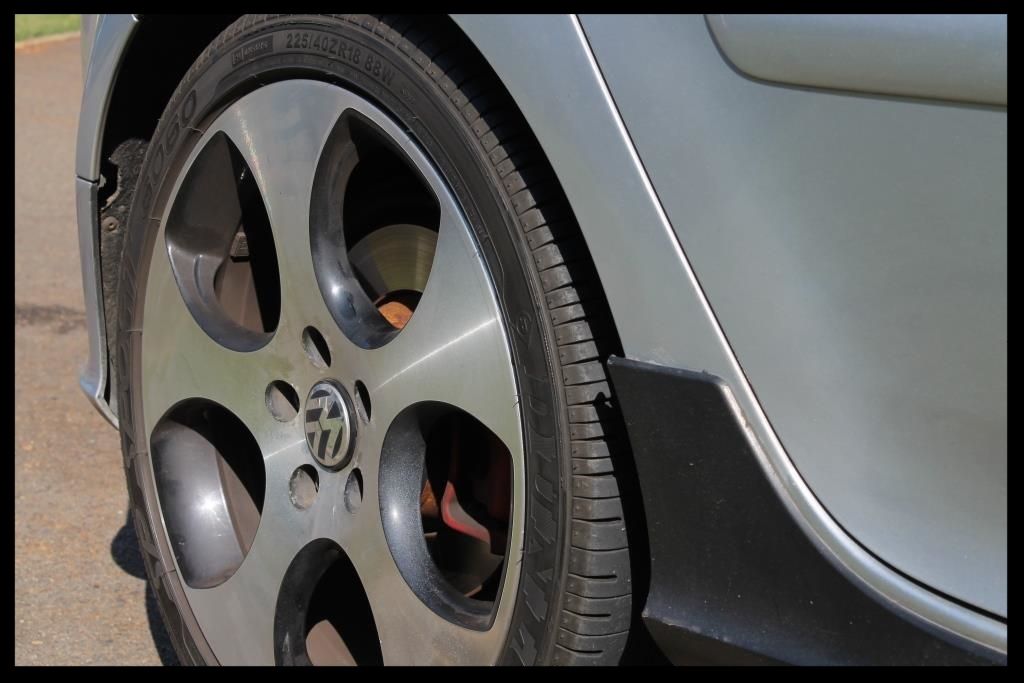
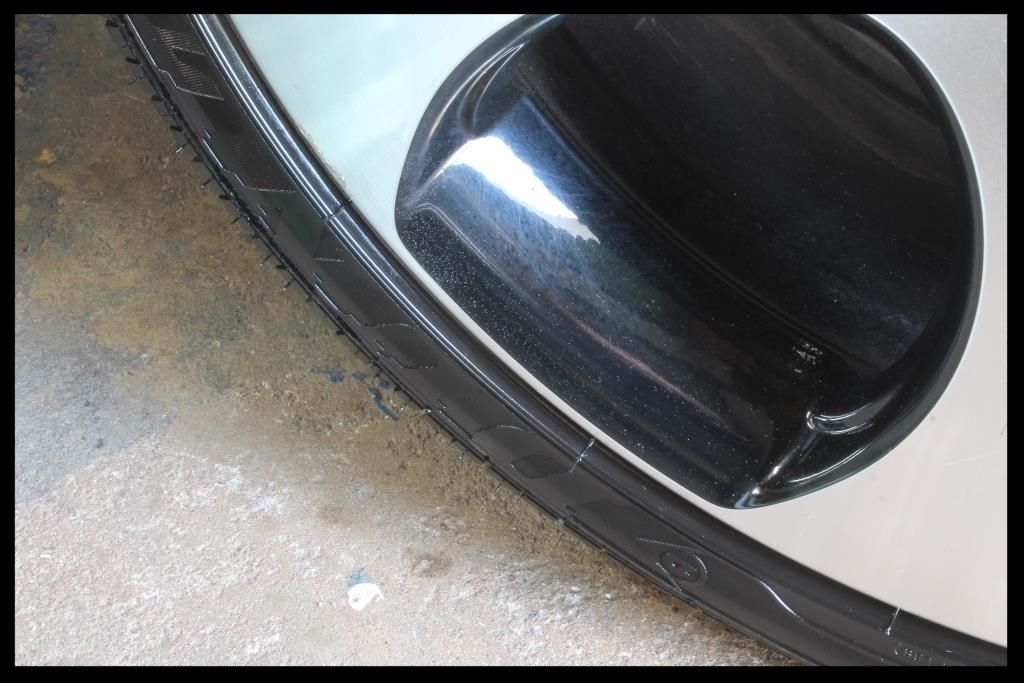
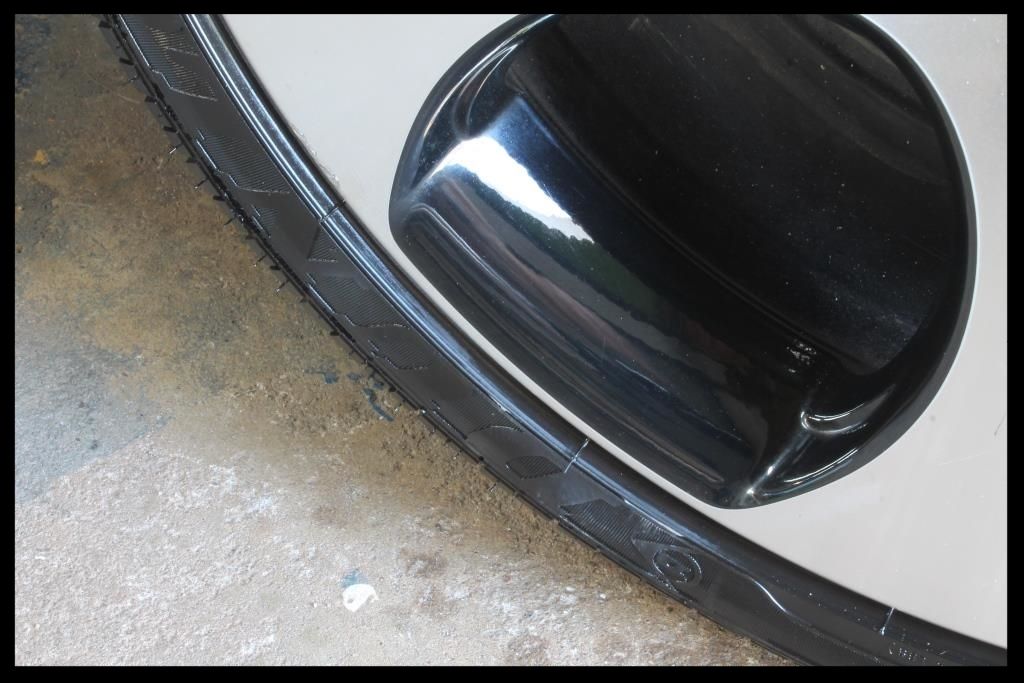
Now it was time to turn my attention to the wheels.
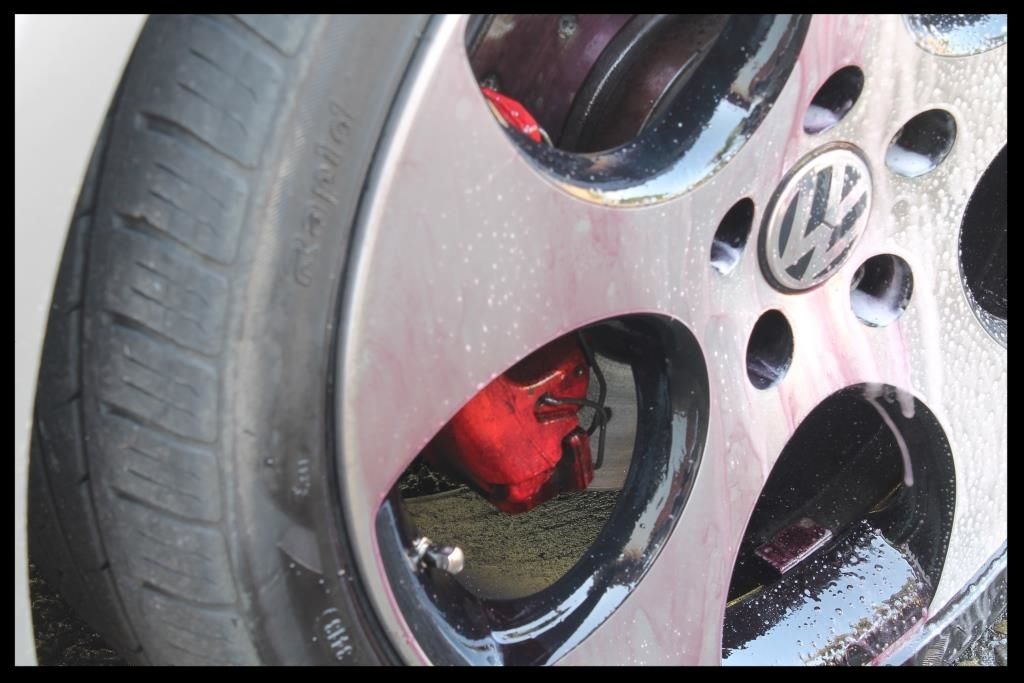
This is what it looked like to start off with.
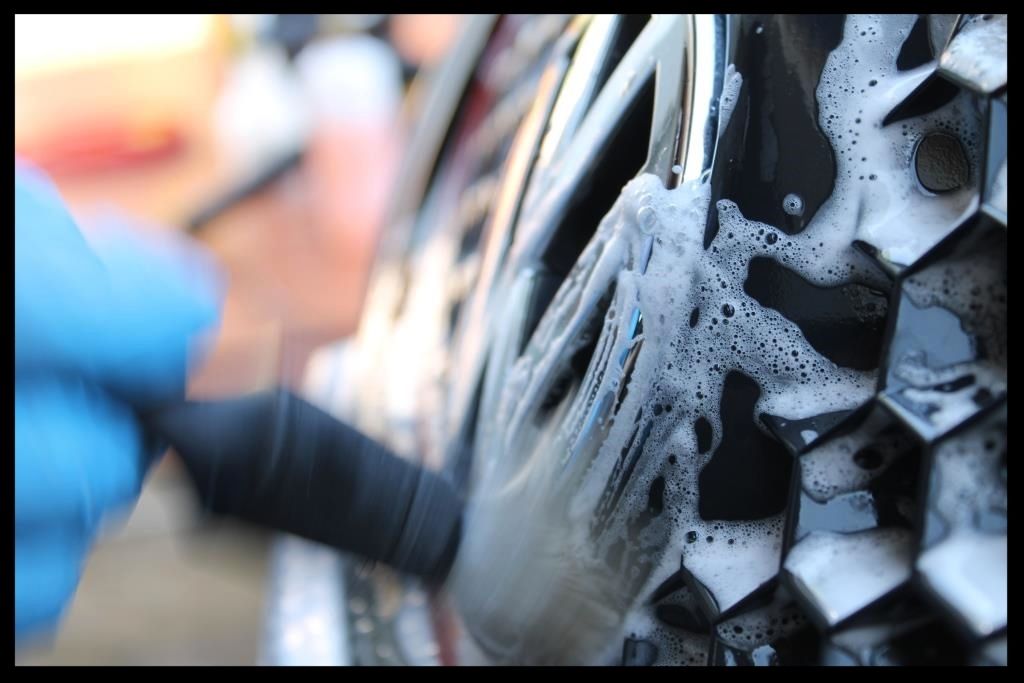
After cleaning the wheels and tires with Valet Pro Billberry and various brushes

Beginning the decontamination process
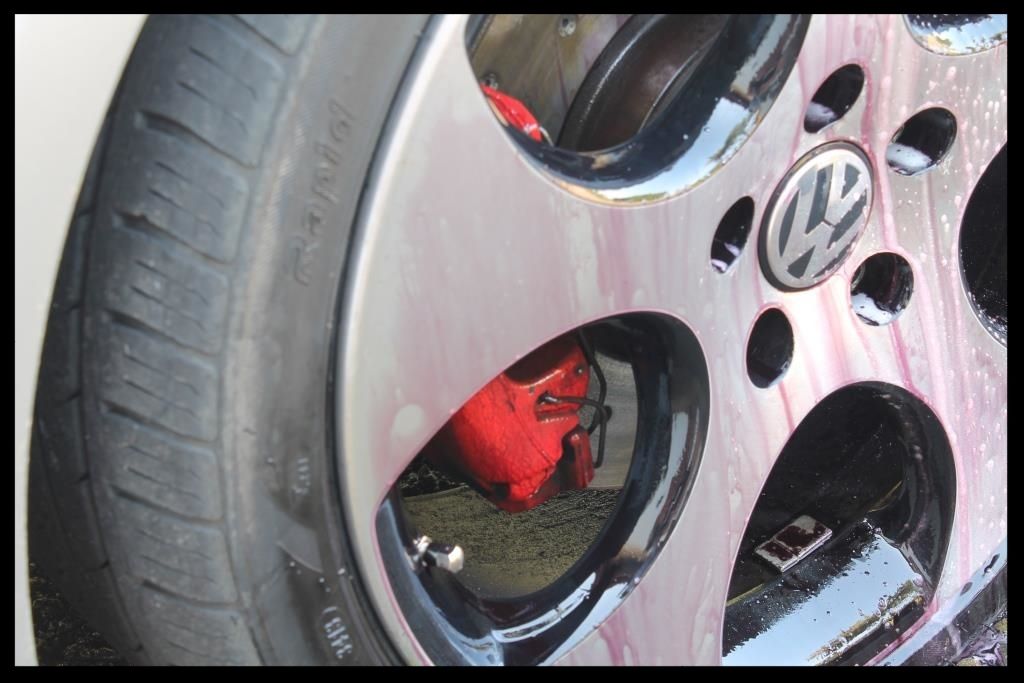
After iron removal
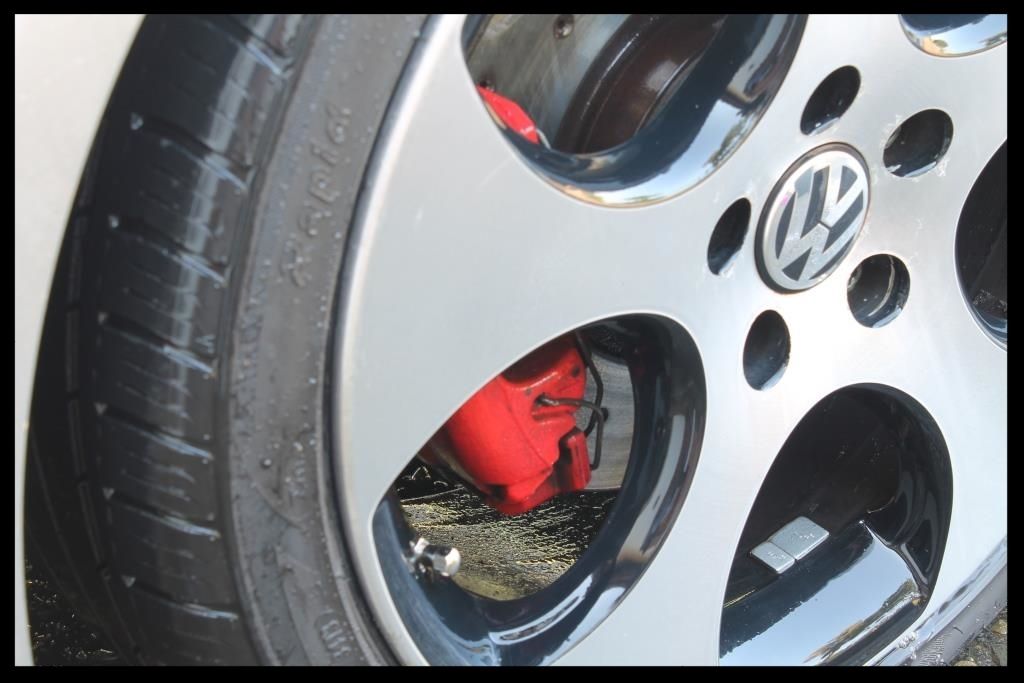
After claying (notice you can no longer see all the silver over-spray on the wheels [near the brake caliper])
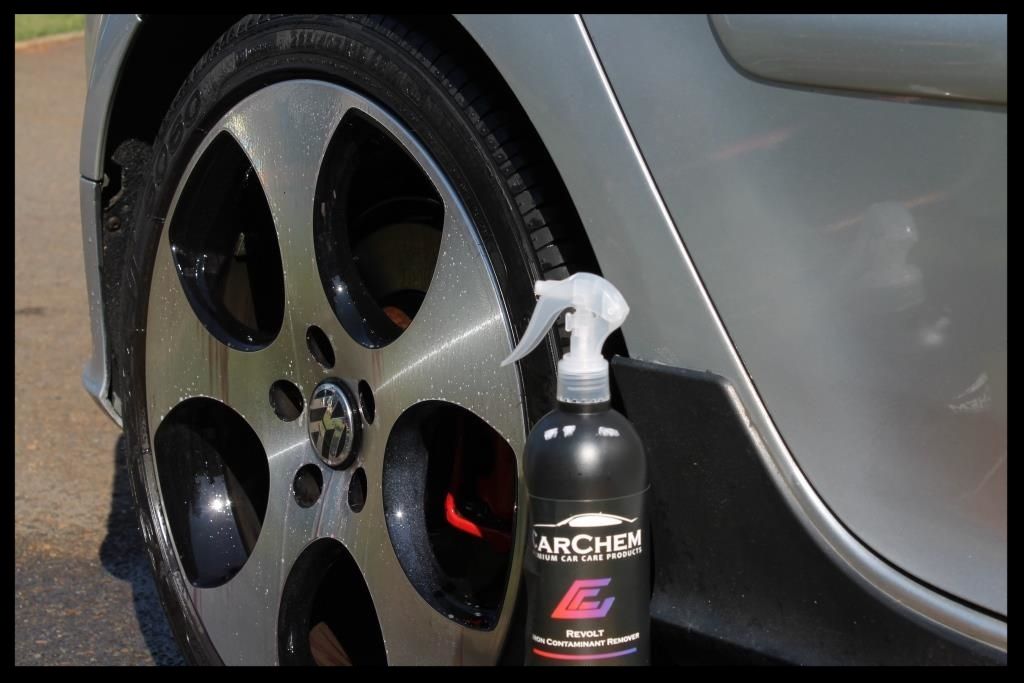
I then decided to test Carchem Revolt against my 'go-to' iron remover, Valet Pro Dragon's Breath and selected a front wheel, which obviously has a largere buildup of embedded brake dust and dirt.
Revolt sprayed on the LHS and Dragon's Breath on the RHS (only the face of the wheel was sprayed - that disgusting mess you see inside the barrel was what seemed like a liftetime of built up dirt that had probably never been cleaned - all in all it took 4 hits with the iron remover and my Speedmaster brushes to get it cleaned up again) - Revolt starts color changing almost immediately.
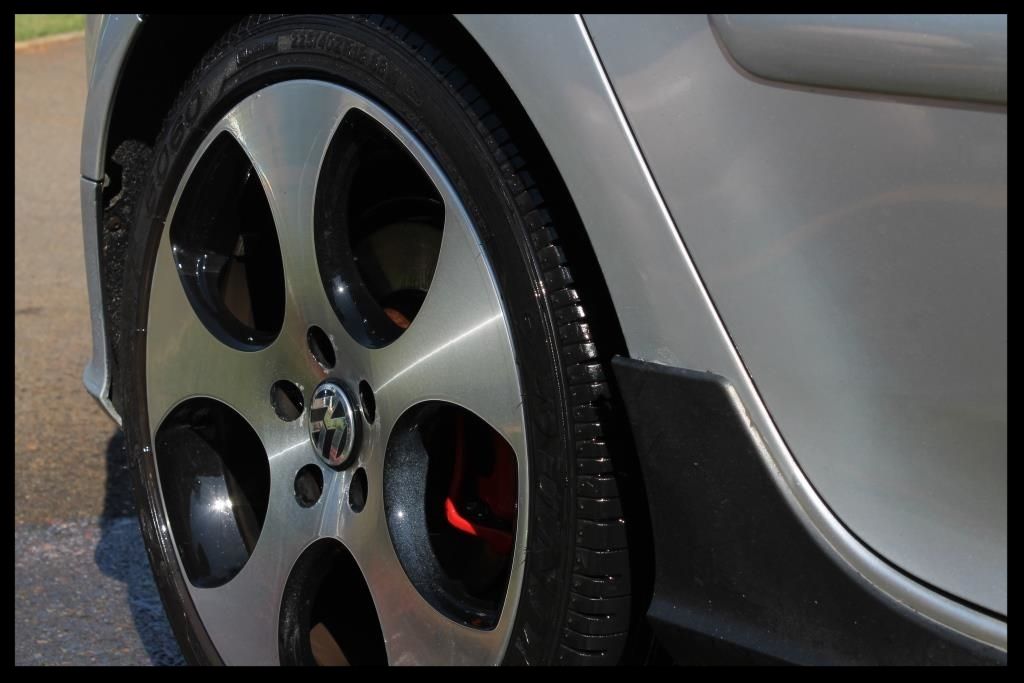
Dragon's Breath takes a little longer to start changing, but when it does, it seems to change a darker color of purple...
I want to test these products without any agitation so at this point I simply rinsed the wheel down with the HP washer, revealing this.
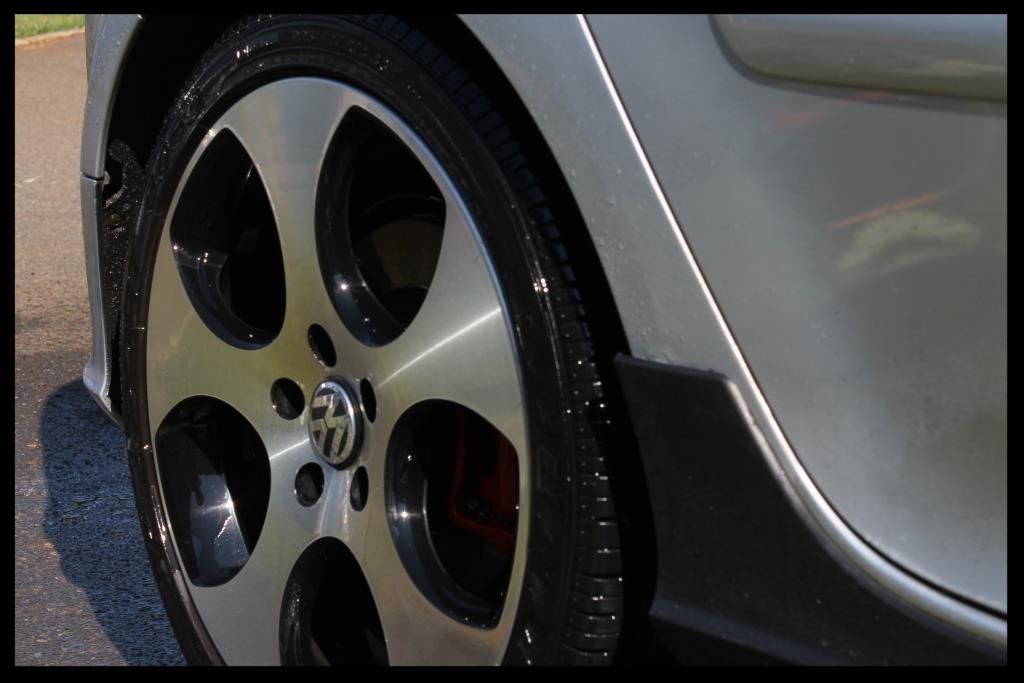
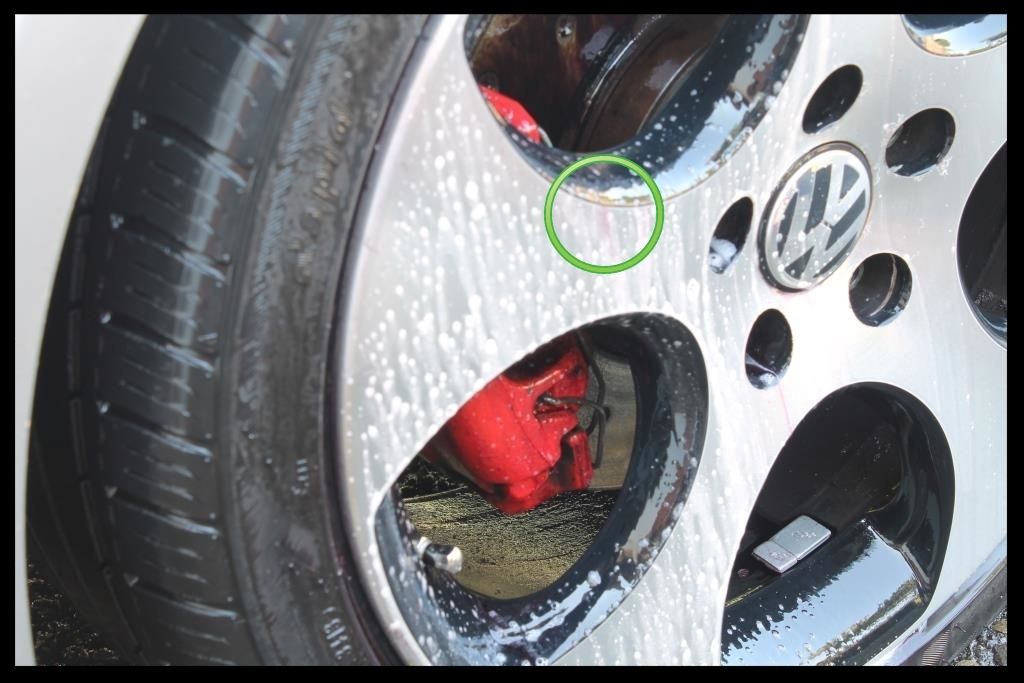
Now I wanted to switch the sides I had sprayed the respective iron removers on, in order to see if the Dragon's Breath would be able to 'find' any iron not taken care of by the Revolt and vice versa.
Except for the tiniest of spots (circled in green) the Carchem Revolt managed to equal the Dragon's Breath in terms of effectiveness, and at the much reduced price, I think this is going to be a big win for us locally.... :thumbup:
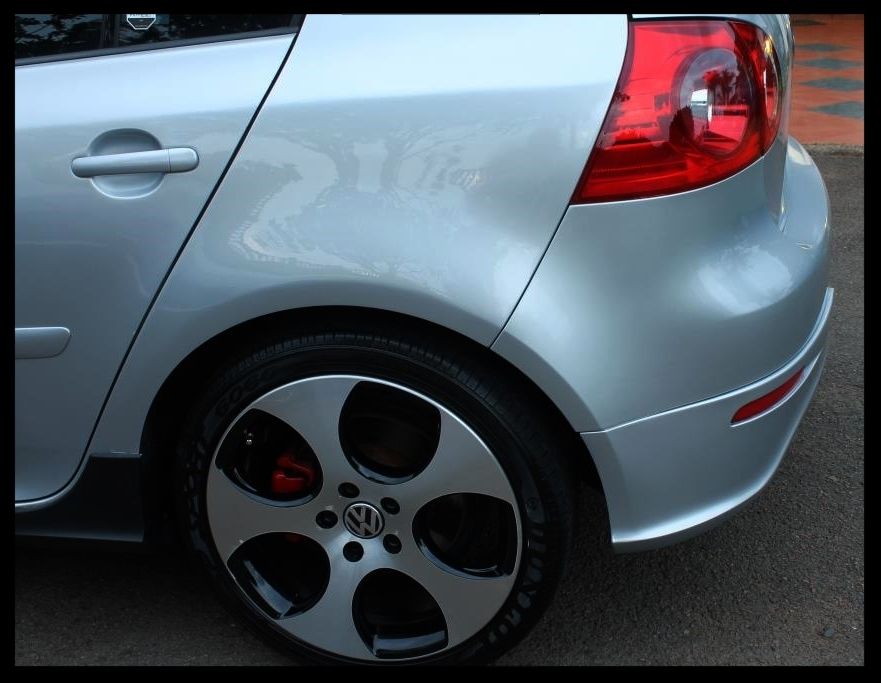
Later on I would set about polishing the wheels. Years of improper washing had lead to a very swirled up surface which made the wheels appear very dull.
I used Menzerna FG400 on a Mothers Power Ball Mini and a drill to tackle the bulk of the scratches which transformed the finish into this
I would then use a MF applicator by hand with FG400 to knock out the corners and other intricate areas before wiping down the wheels with Gyeon Prep and then sealing them with Menzerna Powerlock. The tires were dressed with Optimum Optibond followed by Optimum Tire Sheen. The plastic wheel nut covers were cleaned using APC and dressed using Shield Sheen. Wheel well liners (fronts - the rears are carpeted) were dressed using Aerospace 303.
Then it was time to tackle the door/boot shuts and fuel flap (no pics) which were cleaned using Carchem APC and various brushes before being rinsed out and further cleaned/polishes/protected using Autofinesse Tripple.
After that the front honeycomb area was sprayed with APC and agitated using various brushes
With all the dirty work out of the way, it was time to give the car a wash.... as you can see it had a fair amount of dirt on it...
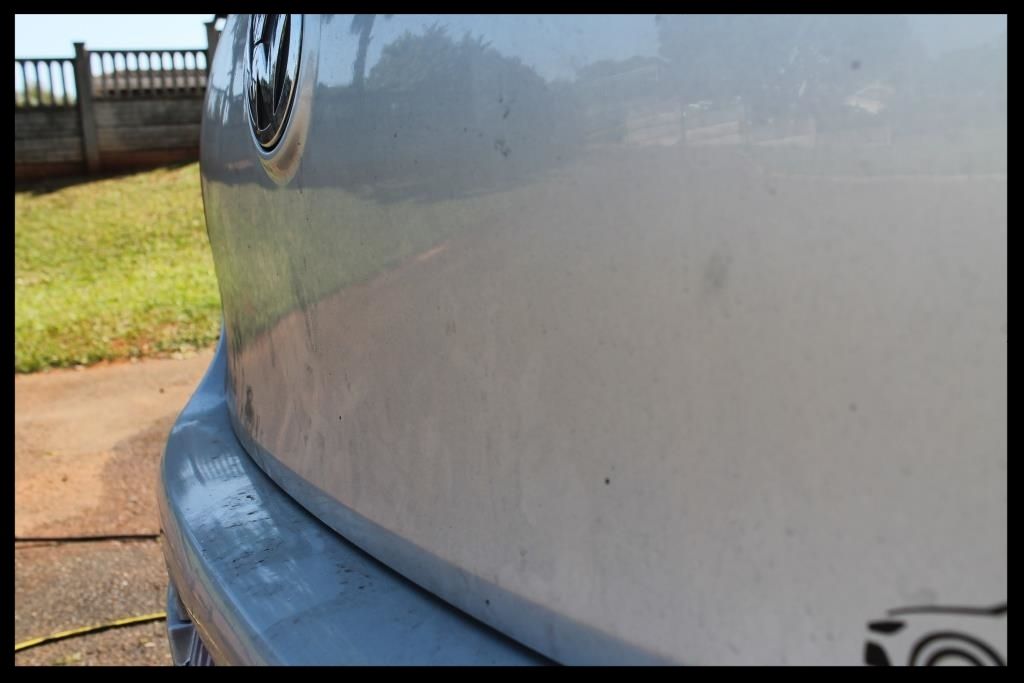
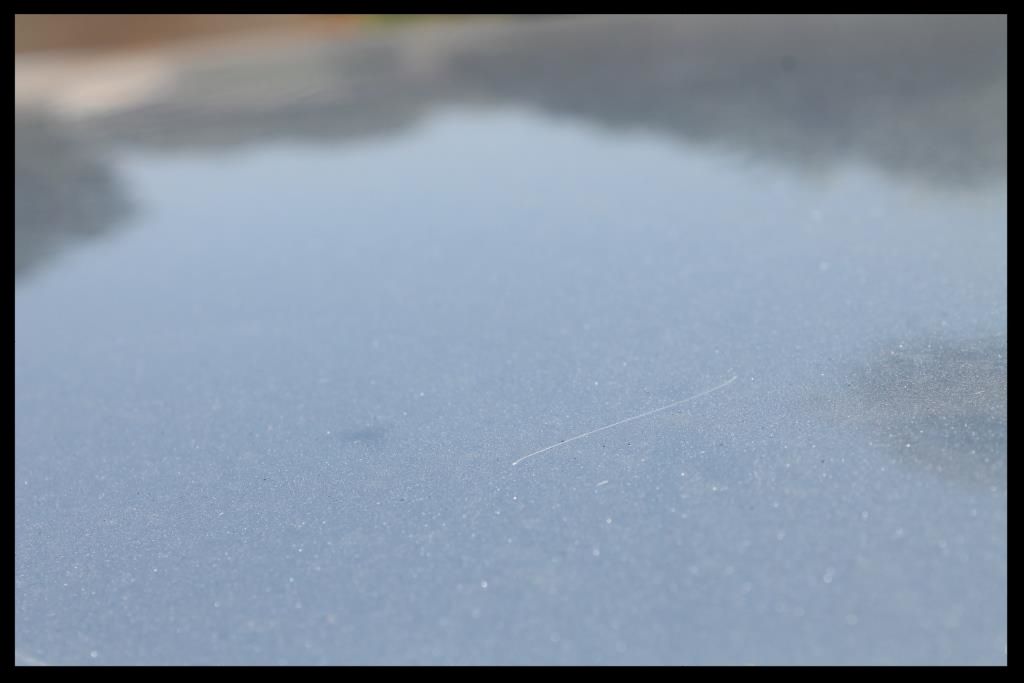
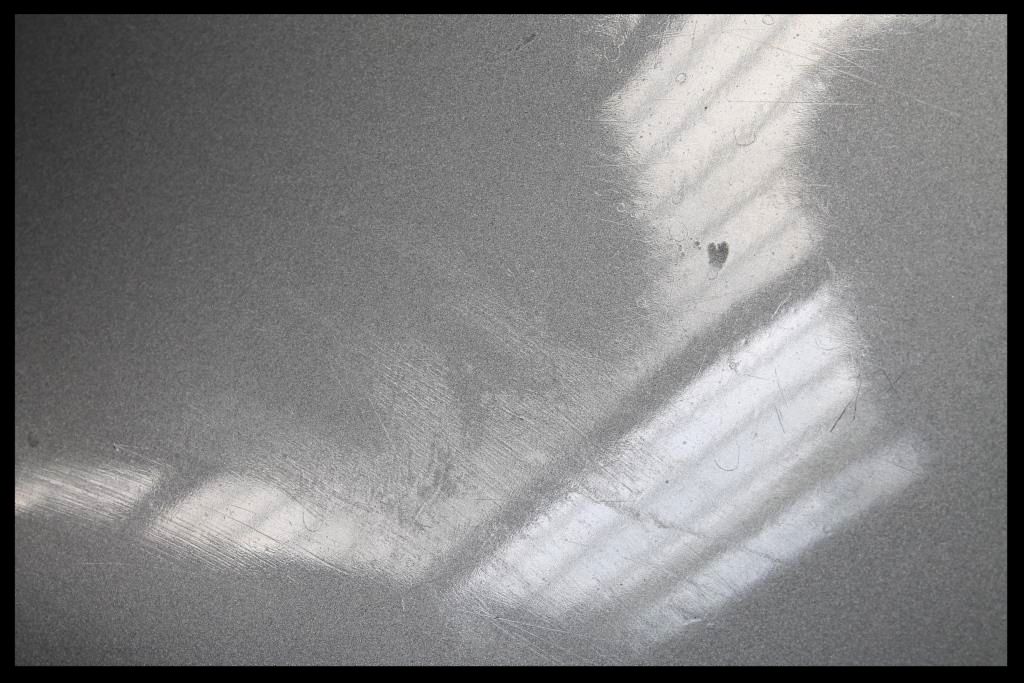
And some deep RIDS and etching were already visible
Here is a close up of the etching
The first step was to thoroughly HP rinse the car to try and remove as much dirt as possible. This was then followed by a full foaming using Chemical Guys Maxi Suds II using the CD ver 2 Foam Cannon and a Karcher K7 HP washer. This was followed by another HP rinse, then I sprayed Valet Pro Citrus Prewash through a pump sprayer, let that sit on the paint for around 5 minutes and HP rinsed that off. This left the car a lot cleaner than it initially was, and much less prone to any further damaged during the subsequent 2 bucket wash, which was done using 4 Lambswool wash mitts, and CarChem shampoo. The vehicle was then flood rinsed, sprayed with ONR at QD dilution as a drying aid dried using 3 x waffle weave drying towels.
The paint was then fully decontaminated using Valet Pro Citrus Tar Remover, Valet Pro Dragons Breath and Shield Heavy Duty Clay with ONR as lube.
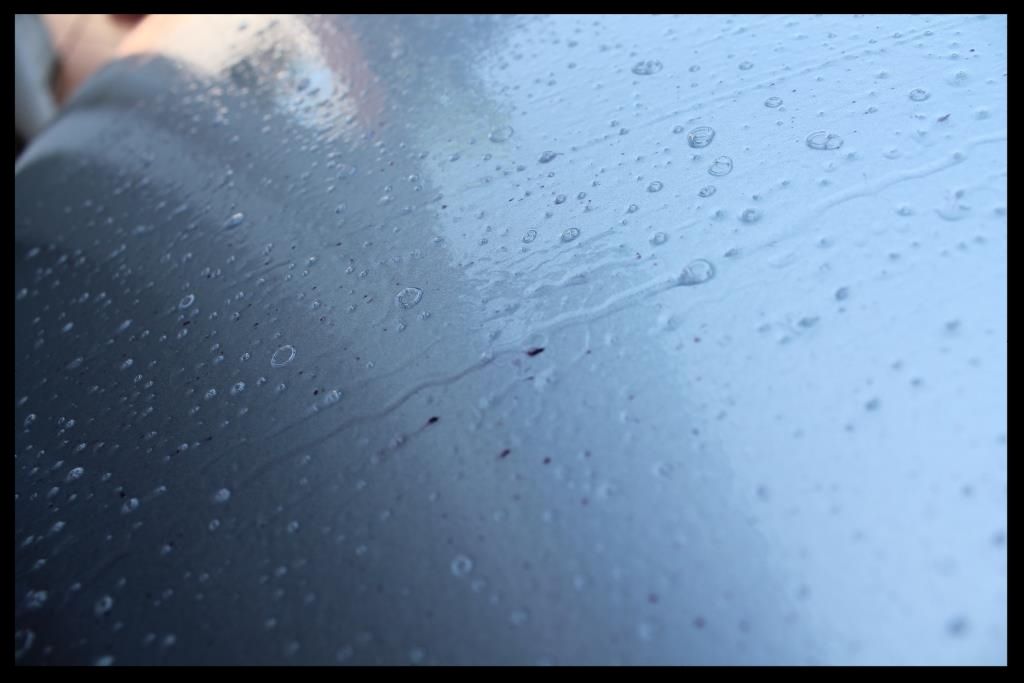
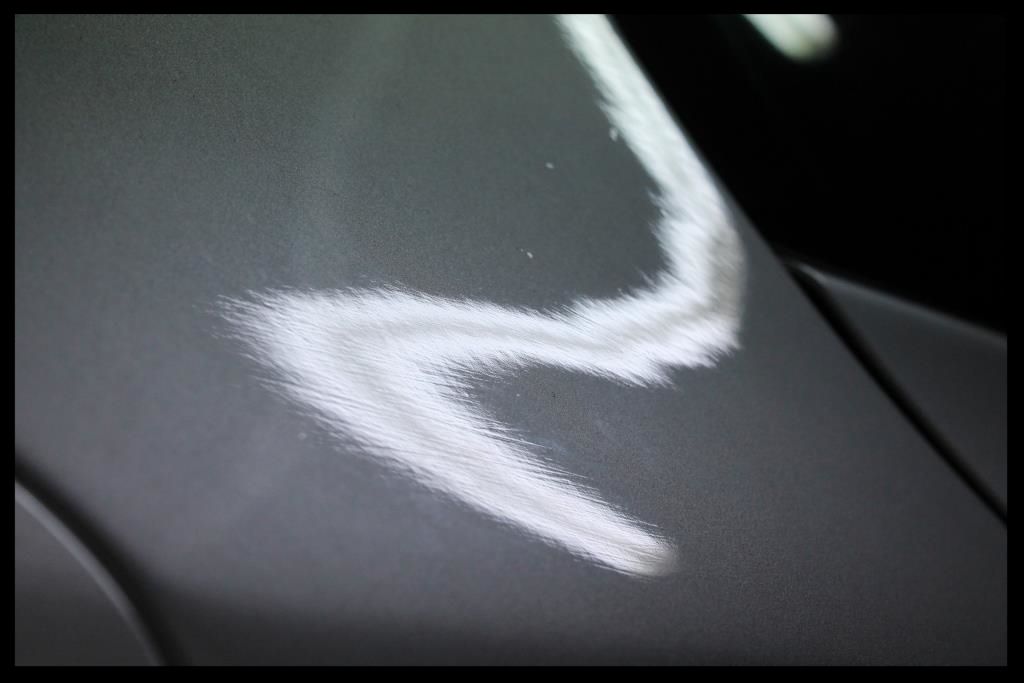
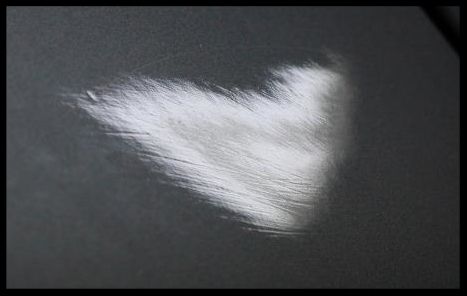
I managed one quick pick of the iron remover starting to work on the paint.... (certainly not the best 'bleeding pic' but here it is nonetheless)
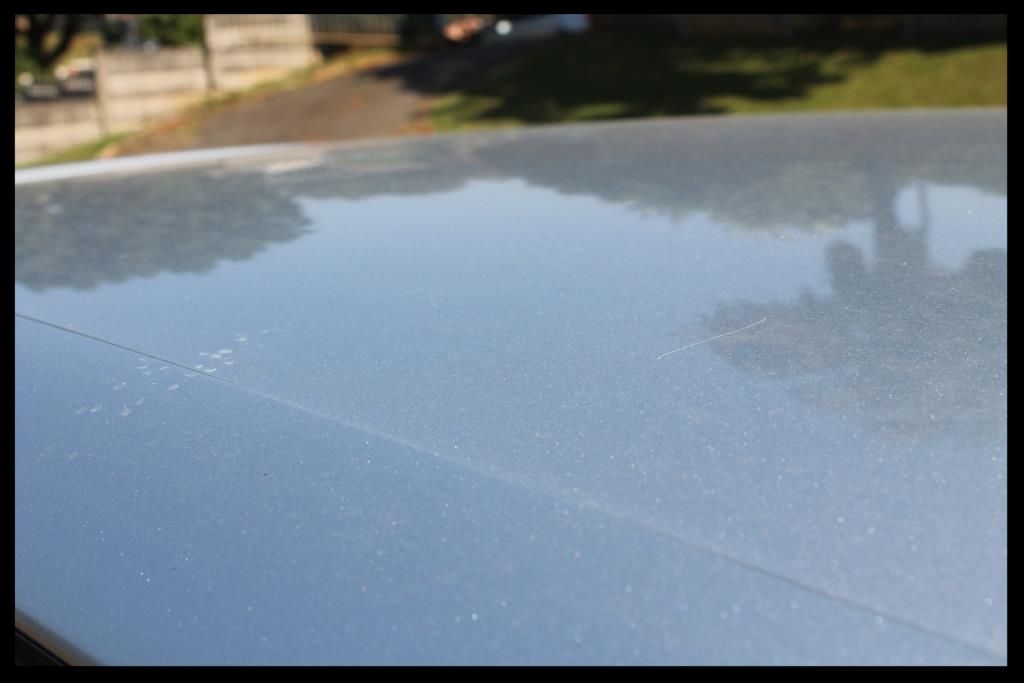
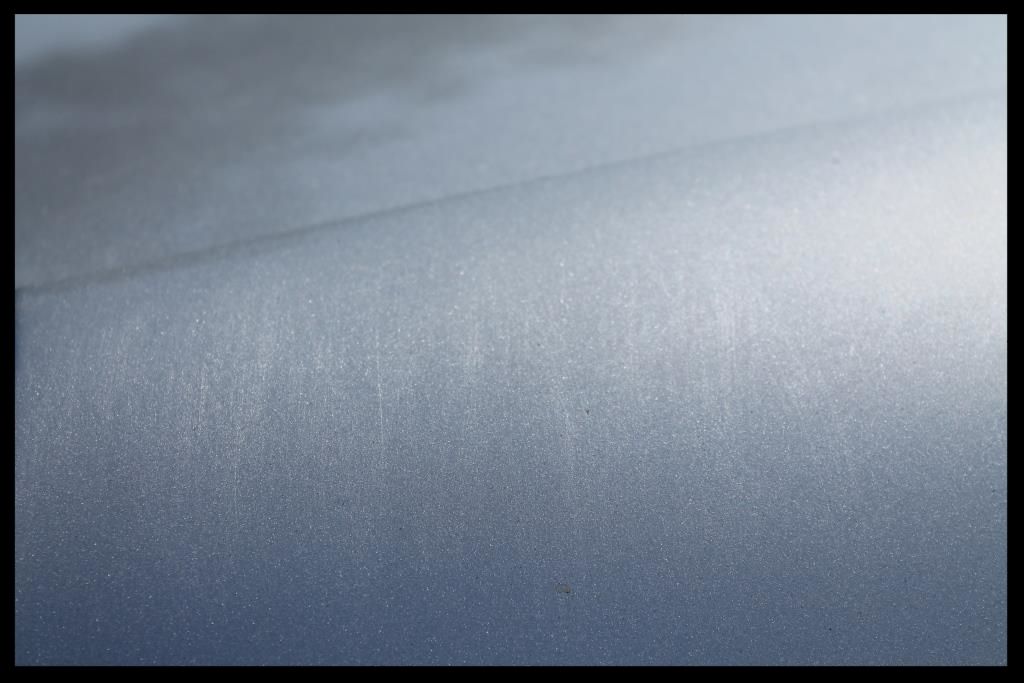
Now onto the paint...which was bad.... not so much from the swirls (there were obviously some) but more so from the pathetic repaint.... how pathetic.... well.... there is the obligatory sanding marks not polished out
More sanding marks, orange peel, wavy paint and dirt nibs everywhere
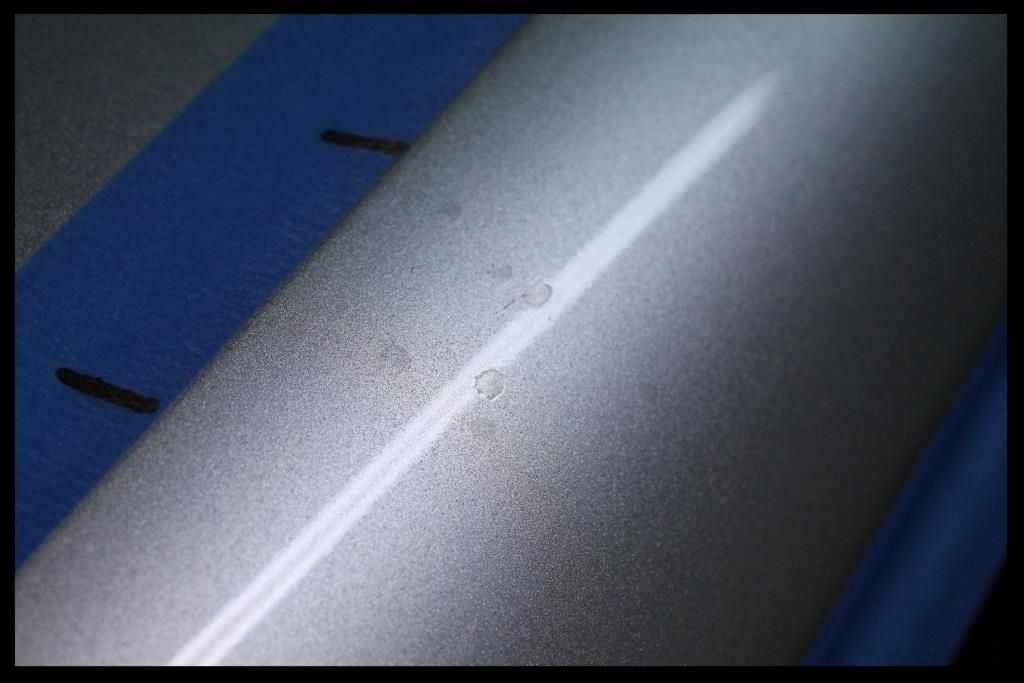
How about some sanding marks left IN THE BASE COAT. Obviously nothing can be done to rectify this save a repaint.

This mess
More dirt nibs and little craters in the paint
So as you can imagine, I had to put my head down and focus on the paint correction, and still had the interior to sort out thereafter, along with windows, door rubbers, window rubbers, exhaust tips, cleaning and dressing exterior plastics.... so I had to shelve the camera and get cracking.
Paint readings ranged from 100µ to 147µ on the OEM paint and 180µ to 283µ on the repainted sections.
Correction was:
1. Flex 3401, a Lake Country Blue Hybrid Wool Pad and Menzerna FG400 for the initial cut on the really bad areas (a few took 2 sets to get acceptable), followed by a White Hybrid Pad and Menzerna SF4000. Then the Flex 3401 with Lake Country Orange Hybrids and FG 400 followed by a White Hybrid Pad and Menzerna SF4000 for the remainder of the car which was I guess you could say was 'normal'.
The paint on the B-pillars is typically a lot softer than the rest of the car and so I switched to the Shield DA with 4" Lake Country White and Grey pads and used Menzerna PF2300 and SF4000 respectively to correct them. The idea was not to chase perfection, especially given the deeper damage, but rather just a decent improvement.
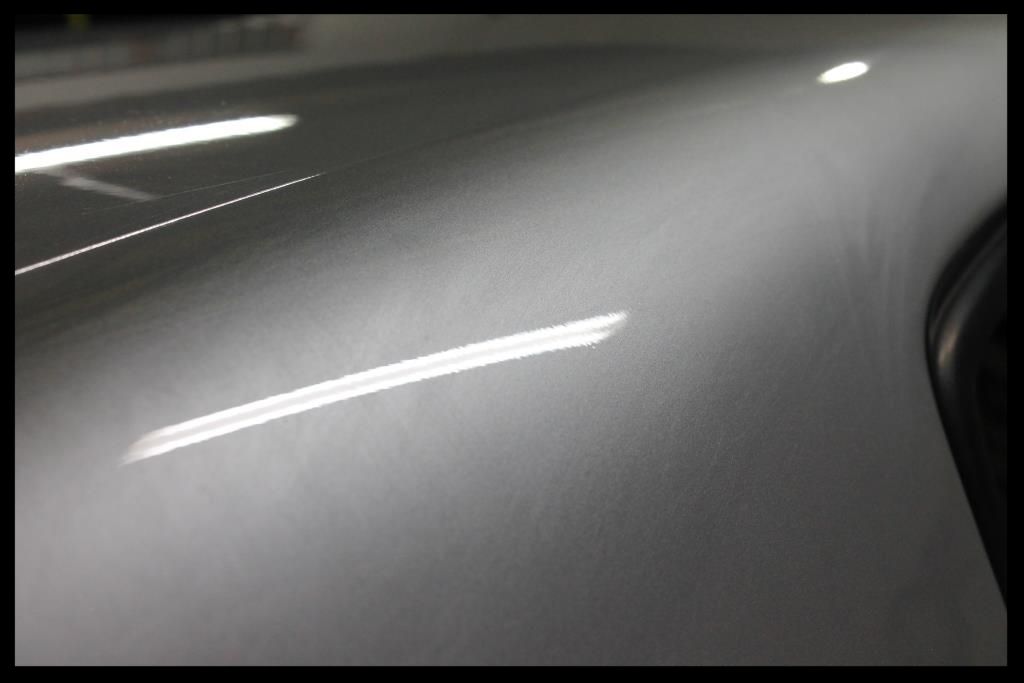
Before
After
I tackled the last remaining items below before finally waxing the car with Collinite 915
Glass
-Shield Heavy Duty Clay / ONR
-Glossworx Glass Cleaner
-Wynns C-Thru
Door rubbers, window rubbers, exterior plastic trim
- Cleaned using Shield Heavy Duty Vinyl and Rubber Cleaner
- Protected using Aerospace 303
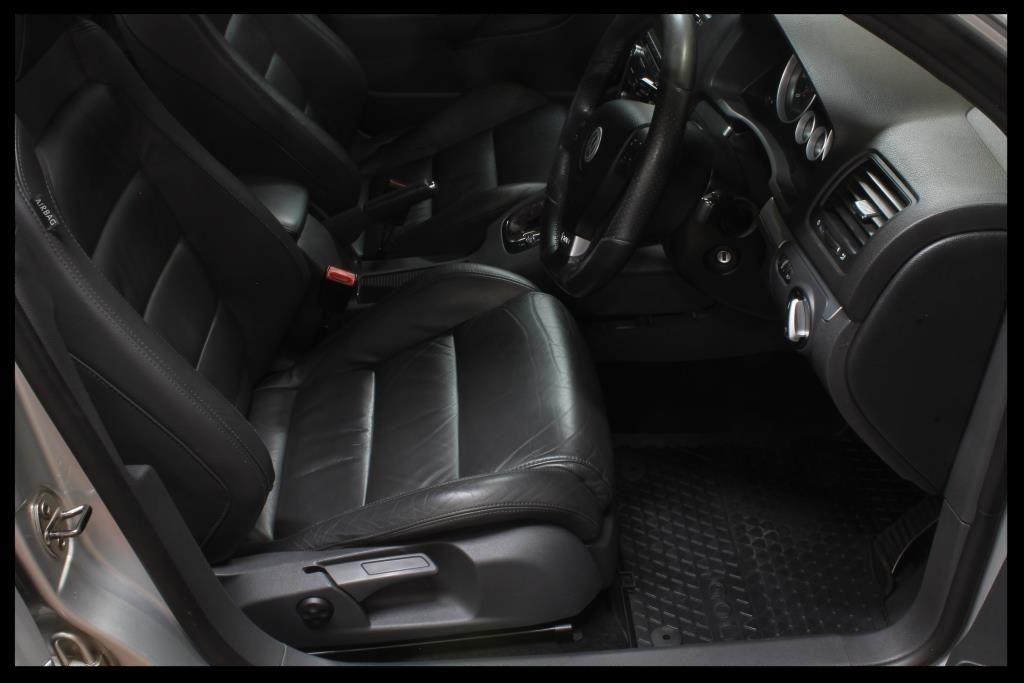
Interior
-Blower
-Plastics and leather cleaned using Carchem APC
-Plastics protected using Aerospace 303
-Leahter protected using Collinite #855
-Vacuum (Flex)
Before
After
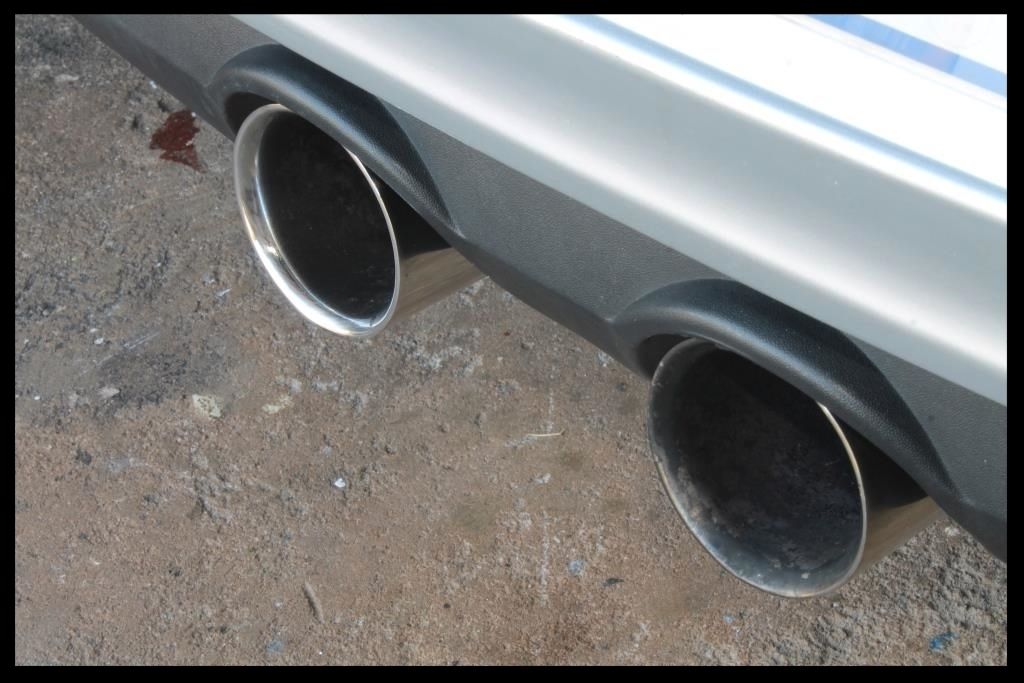
Exhaust Tips
-Cyclo APC
-Meguiars NXT All Metal Polish
A few very quick pictures I managed to grab just before the owner left.... please excuse the terrible pics but with the owner standing there and it getting very dark, pics were not at the top of my priority list....

Total time spent = 30 hours
Thanks for looking and as always and comments or questions are welcome.
:hi:
But despite the lack of 'beauty shots' here it is...
Up first as always, the engine bay.
The fabric was removed, sprayed with some Carchem APC, scrubbed with a Mothers Carpet Brush and HP rinsed, then left out to dry in the sun.
The underside of the bonnet was then cleaned using Carchem APC, various brushes and HP rinsed. This area would later be cleaned/polished/protected using Autofinesse Tripple.
Valet Pro Citrus prewash was sprayed over the entire bay and this was then followed with APC, various brushes and MF towels and a HP rinse to remove all the years of dirt and grime. The painted surfaces were then cleaned/polished/protected using Autofinesse Tripple on a MF applicator pad. Plastics and rubbers were cleaned using Shield Heavy Duty Vinyl and Rubber cleaner and dressed using Aerospace 303 Protectant.
Here is one of the really crummy after pics
Now it was time to turn my attention to the wheels.
This is what it looked like to start off with.
After cleaning the wheels and tires with Valet Pro Billberry and various brushes
Beginning the decontamination process
After iron removal
After claying (notice you can no longer see all the silver over-spray on the wheels [near the brake caliper])
I then decided to test Carchem Revolt against my 'go-to' iron remover, Valet Pro Dragon's Breath and selected a front wheel, which obviously has a largere buildup of embedded brake dust and dirt.
Revolt sprayed on the LHS and Dragon's Breath on the RHS (only the face of the wheel was sprayed - that disgusting mess you see inside the barrel was what seemed like a liftetime of built up dirt that had probably never been cleaned - all in all it took 4 hits with the iron remover and my Speedmaster brushes to get it cleaned up again) - Revolt starts color changing almost immediately.
Dragon's Breath takes a little longer to start changing, but when it does, it seems to change a darker color of purple...
I want to test these products without any agitation so at this point I simply rinsed the wheel down with the HP washer, revealing this.
Now I wanted to switch the sides I had sprayed the respective iron removers on, in order to see if the Dragon's Breath would be able to 'find' any iron not taken care of by the Revolt and vice versa.
Except for the tiniest of spots (circled in green) the Carchem Revolt managed to equal the Dragon's Breath in terms of effectiveness, and at the much reduced price, I think this is going to be a big win for us locally.... :thumbup:
Later on I would set about polishing the wheels. Years of improper washing had lead to a very swirled up surface which made the wheels appear very dull.
I used Menzerna FG400 on a Mothers Power Ball Mini and a drill to tackle the bulk of the scratches which transformed the finish into this
I would then use a MF applicator by hand with FG400 to knock out the corners and other intricate areas before wiping down the wheels with Gyeon Prep and then sealing them with Menzerna Powerlock. The tires were dressed with Optimum Optibond followed by Optimum Tire Sheen. The plastic wheel nut covers were cleaned using APC and dressed using Shield Sheen. Wheel well liners (fronts - the rears are carpeted) were dressed using Aerospace 303.
Then it was time to tackle the door/boot shuts and fuel flap (no pics) which were cleaned using Carchem APC and various brushes before being rinsed out and further cleaned/polishes/protected using Autofinesse Tripple.
After that the front honeycomb area was sprayed with APC and agitated using various brushes
With all the dirty work out of the way, it was time to give the car a wash.... as you can see it had a fair amount of dirt on it...
And some deep RIDS and etching were already visible
Here is a close up of the etching
The first step was to thoroughly HP rinse the car to try and remove as much dirt as possible. This was then followed by a full foaming using Chemical Guys Maxi Suds II using the CD ver 2 Foam Cannon and a Karcher K7 HP washer. This was followed by another HP rinse, then I sprayed Valet Pro Citrus Prewash through a pump sprayer, let that sit on the paint for around 5 minutes and HP rinsed that off. This left the car a lot cleaner than it initially was, and much less prone to any further damaged during the subsequent 2 bucket wash, which was done using 4 Lambswool wash mitts, and CarChem shampoo. The vehicle was then flood rinsed, sprayed with ONR at QD dilution as a drying aid dried using 3 x waffle weave drying towels.
The paint was then fully decontaminated using Valet Pro Citrus Tar Remover, Valet Pro Dragons Breath and Shield Heavy Duty Clay with ONR as lube.
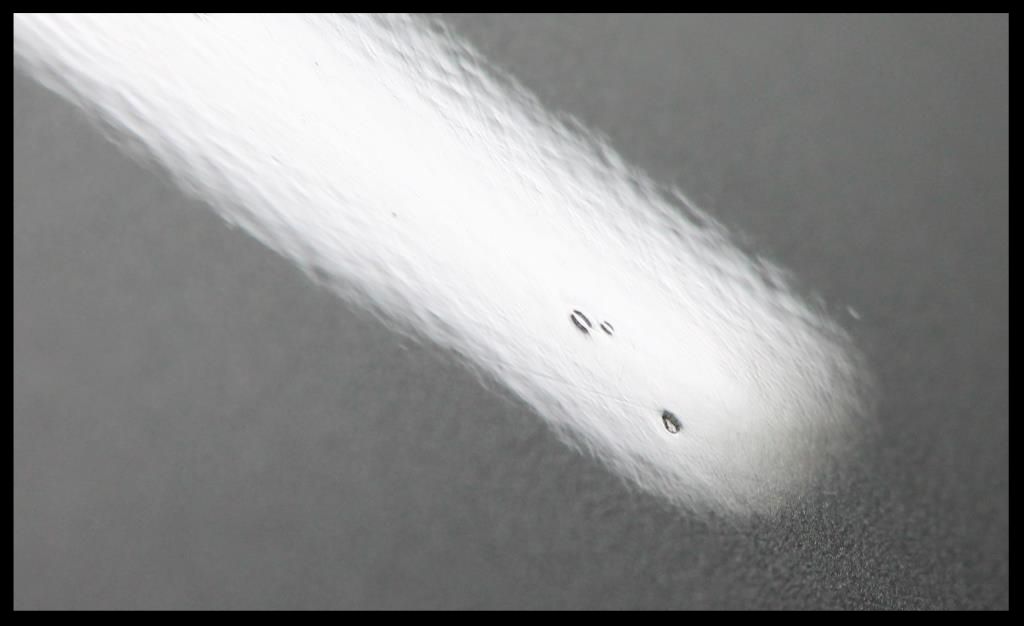
I managed one quick pick of the iron remover starting to work on the paint.... (certainly not the best 'bleeding pic' but here it is nonetheless)
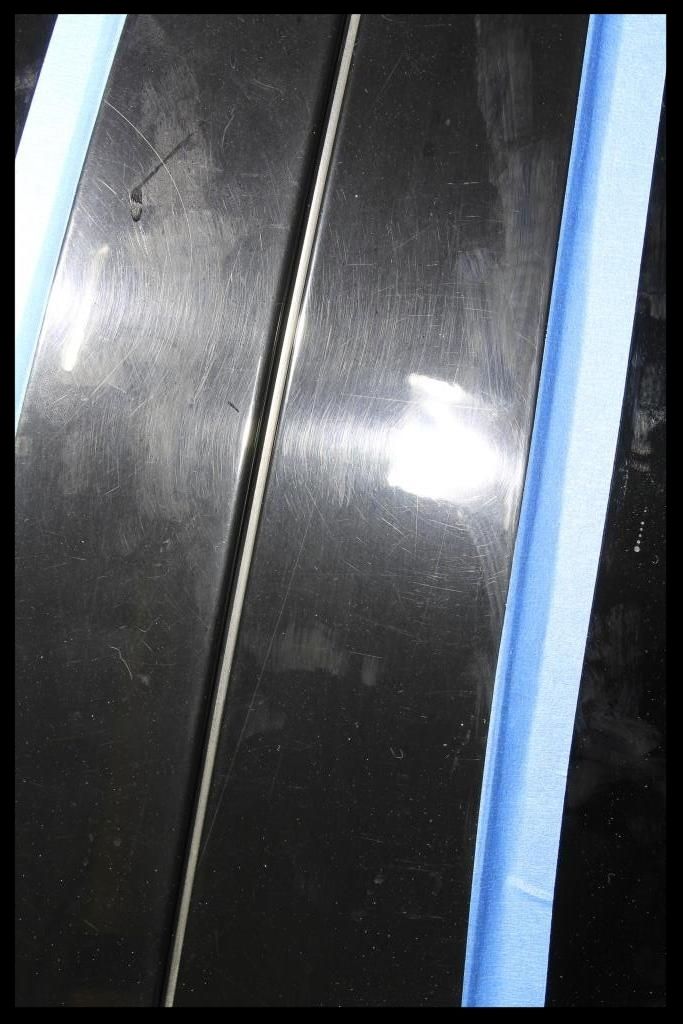
Now onto the paint...which was bad.... not so much from the swirls (there were obviously some) but more so from the pathetic repaint.... how pathetic.... well.... there is the obligatory sanding marks not polished out
More sanding marks, orange peel, wavy paint and dirt nibs everywhere
How about some sanding marks left IN THE BASE COAT. Obviously nothing can be done to rectify this save a repaint.
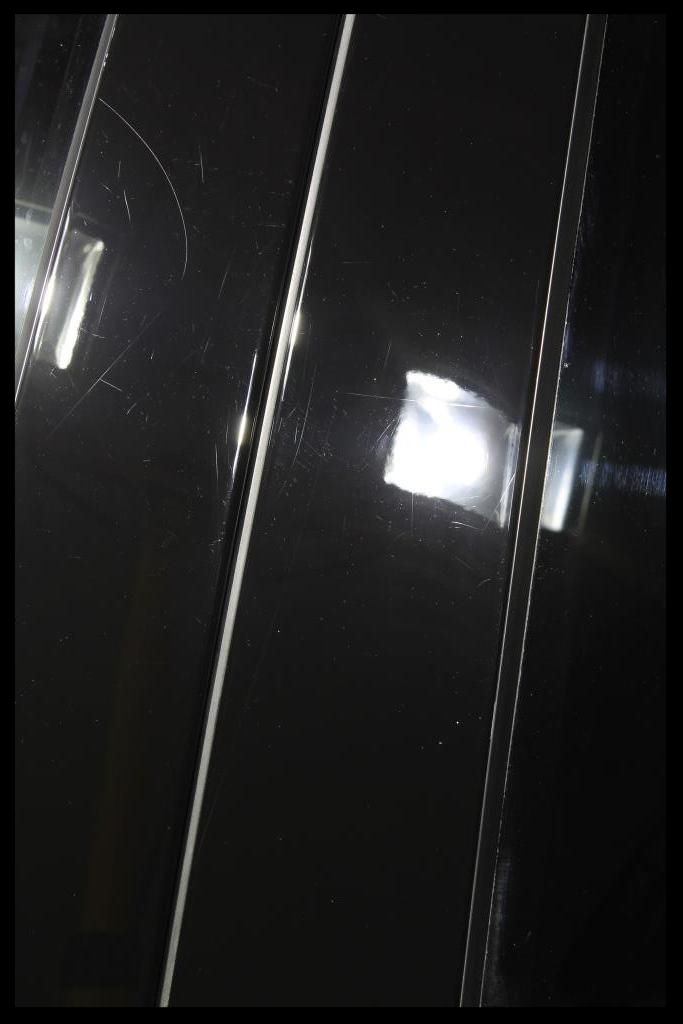
This mess
More dirt nibs and little craters in the paint
So as you can imagine, I had to put my head down and focus on the paint correction, and still had the interior to sort out thereafter, along with windows, door rubbers, window rubbers, exhaust tips, cleaning and dressing exterior plastics.... so I had to shelve the camera and get cracking.
Paint readings ranged from 100µ to 147µ on the OEM paint and 180µ to 283µ on the repainted sections.
Correction was:
1. Flex 3401, a Lake Country Blue Hybrid Wool Pad and Menzerna FG400 for the initial cut on the really bad areas (a few took 2 sets to get acceptable), followed by a White Hybrid Pad and Menzerna SF4000. Then the Flex 3401 with Lake Country Orange Hybrids and FG 400 followed by a White Hybrid Pad and Menzerna SF4000 for the remainder of the car which was I guess you could say was 'normal'.
The paint on the B-pillars is typically a lot softer than the rest of the car and so I switched to the Shield DA with 4" Lake Country White and Grey pads and used Menzerna PF2300 and SF4000 respectively to correct them. The idea was not to chase perfection, especially given the deeper damage, but rather just a decent improvement.
Before
After
I tackled the last remaining items below before finally waxing the car with Collinite 915
Glass
-Shield Heavy Duty Clay / ONR
-Glossworx Glass Cleaner
-Wynns C-Thru
Door rubbers, window rubbers, exterior plastic trim
- Cleaned using Shield Heavy Duty Vinyl and Rubber Cleaner
- Protected using Aerospace 303
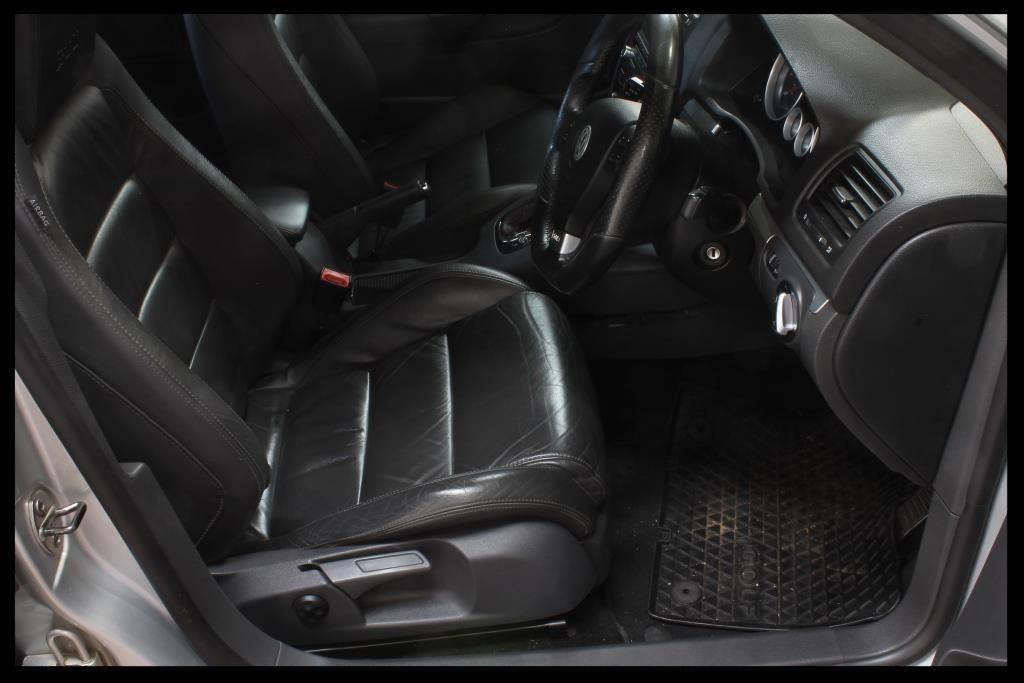
Interior
-Blower
-Plastics and leather cleaned using Carchem APC
-Plastics protected using Aerospace 303
-Leahter protected using Collinite #855
-Vacuum (Flex)
Before
After
Exhaust Tips
-Cyclo APC
-Meguiars NXT All Metal Polish
A few very quick pictures I managed to grab just before the owner left.... please excuse the terrible pics but with the owner standing there and it getting very dark, pics were not at the top of my priority list....
Total time spent = 30 hours
Thanks for looking and as always and comments or questions are welcome.
:hi: