Presidential Details Presents Barry Theal as he Refines a 2005 Porsche Carrera S

Barry Theal

New member
Logo.jpg


Pres·i·den·tial (prz-dnshl)


adj. Of or relating to a president or presidency


De·tails (d-tls, dtls)


1.To provide with artistic or decorative detail:


2.With attention to particulars; thoroughly or meticulously


Presidential Details is the coalition of Art and Science. Driven by passion, Barry Theal created a business designed to offer a professional detail that is beyond bespoke. Passionate about his craft, He strives for perfection.


Mission Statement:


To provide a quality result that satisfies our clients’ needs and expectations the first time, every time!


Our goal is to satisfy clients’ needs, whether it be through timely delivery; providing the best value for the money; efficient and courteous service; or superior quality, reliability and durability of our products. As such, we have committed ourselves to the following:


1. Understanding and responding to our customers’ needs and expectations.


2. Improving the Methods of practice to generate continuing quality and productivity improvements.


3. Establishing long term relationships with our clients.


4. Constantly improving on all of the above.


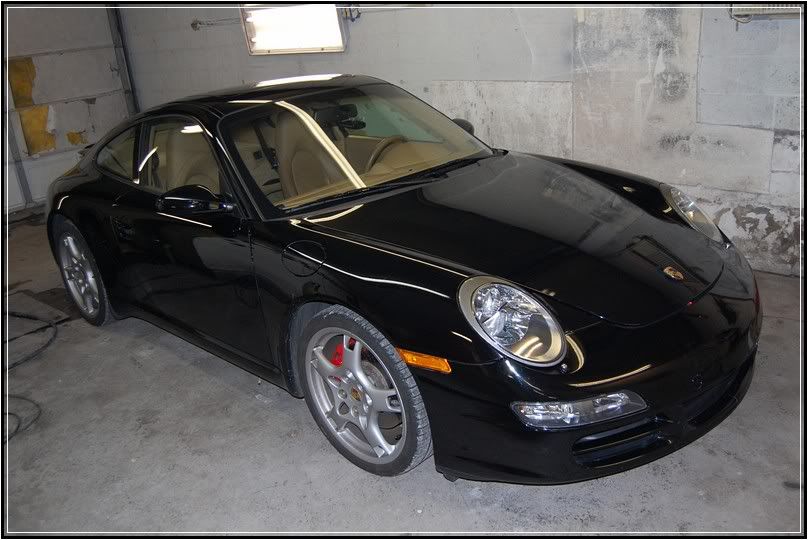
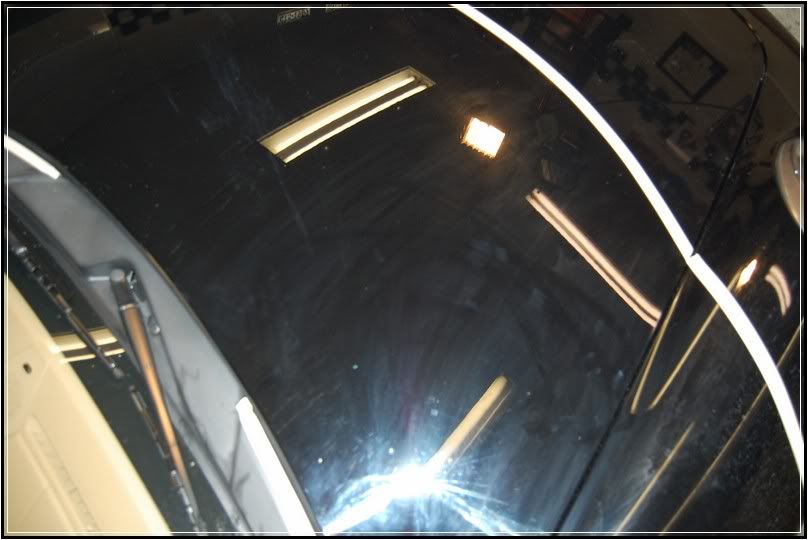
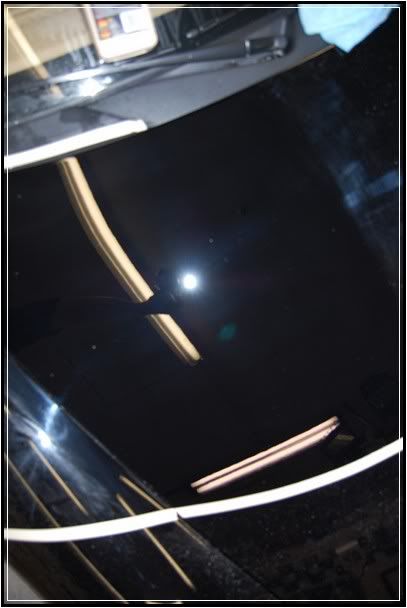
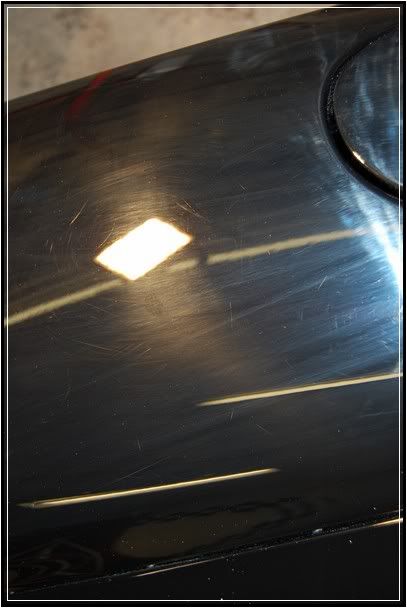
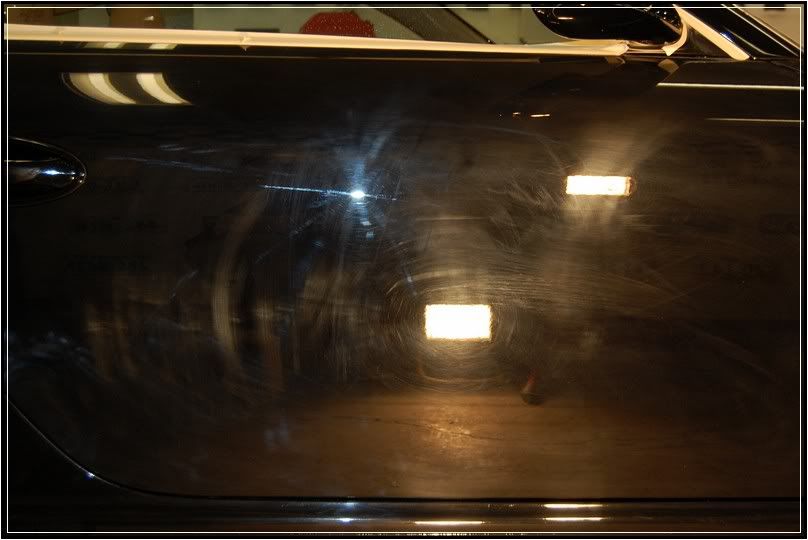
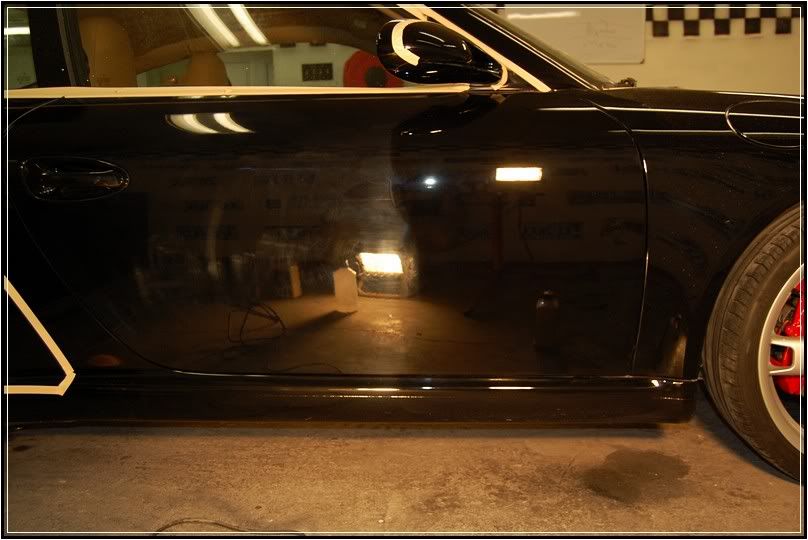
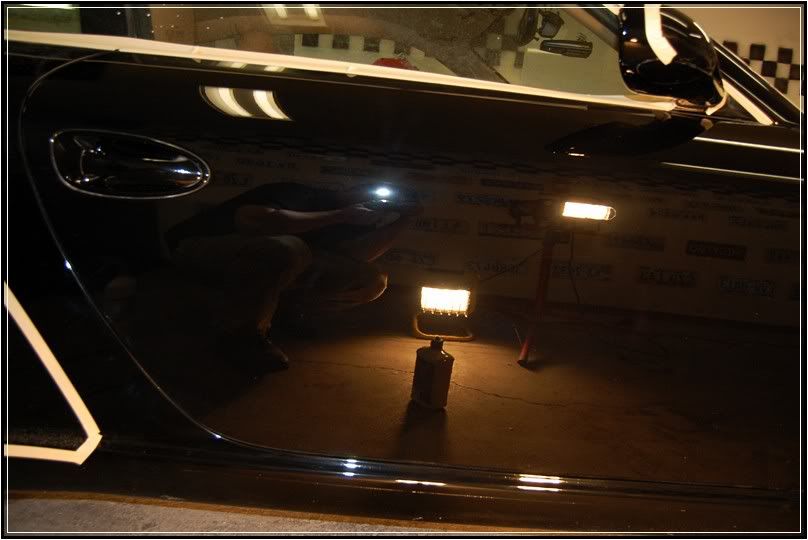
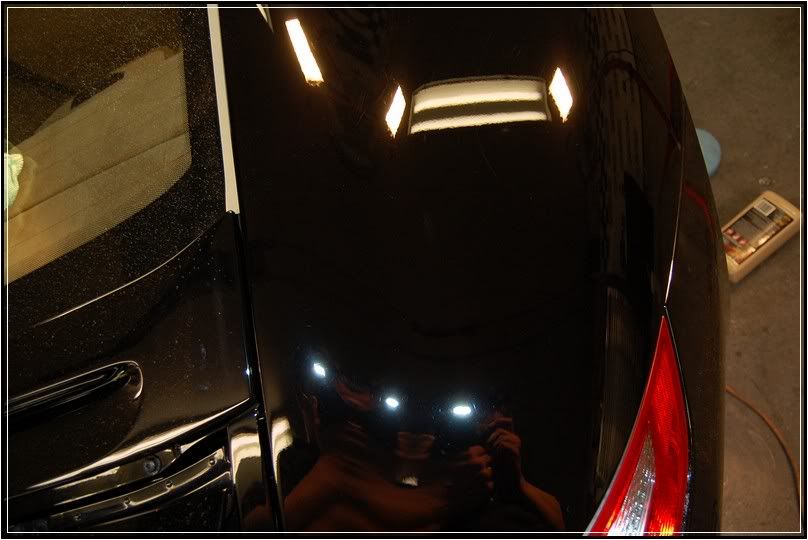
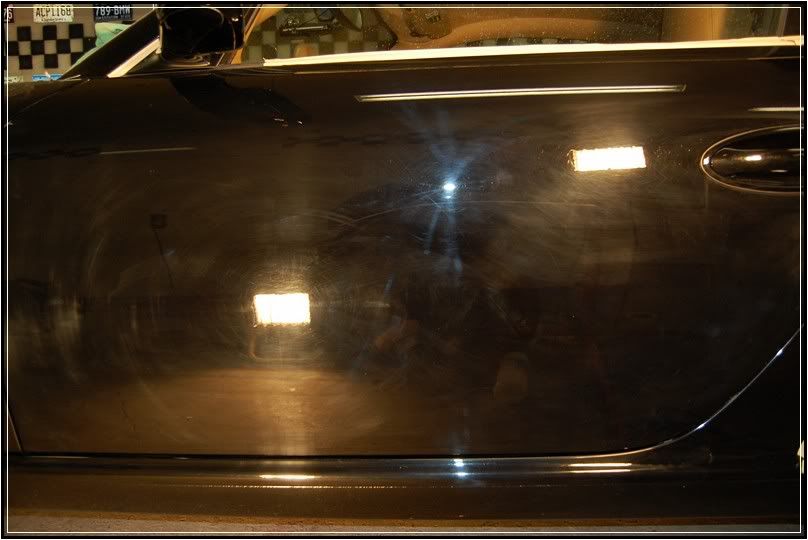
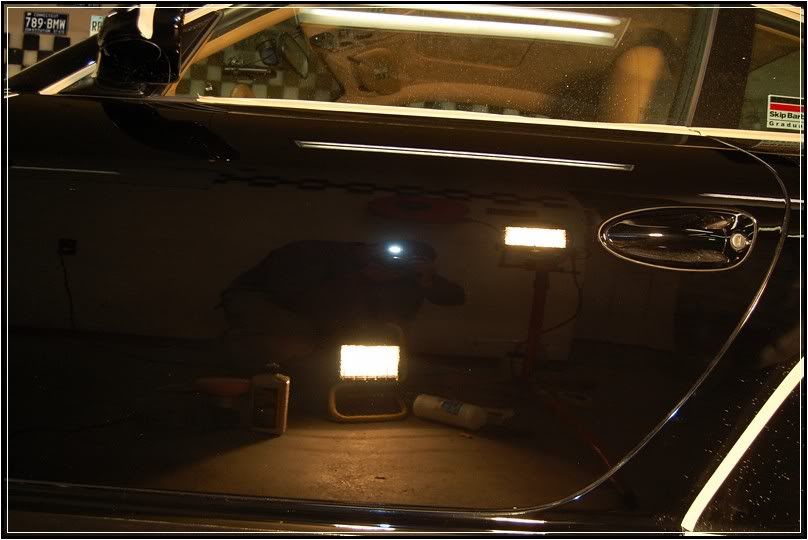
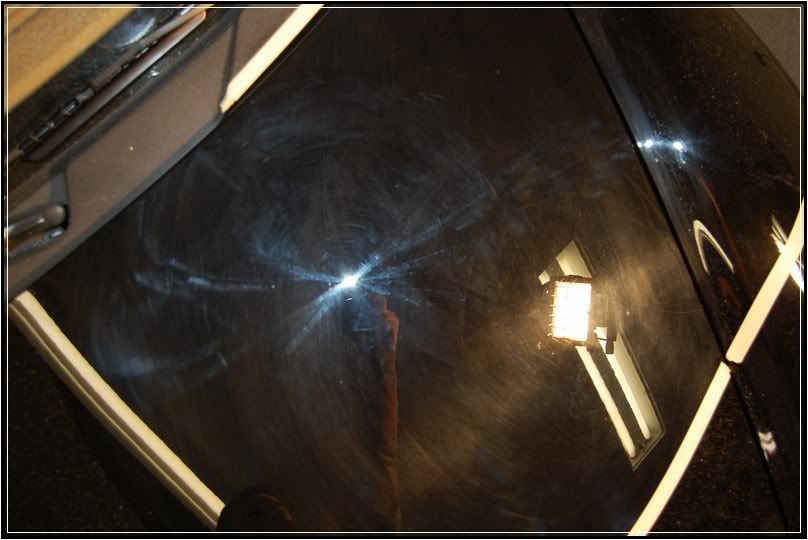
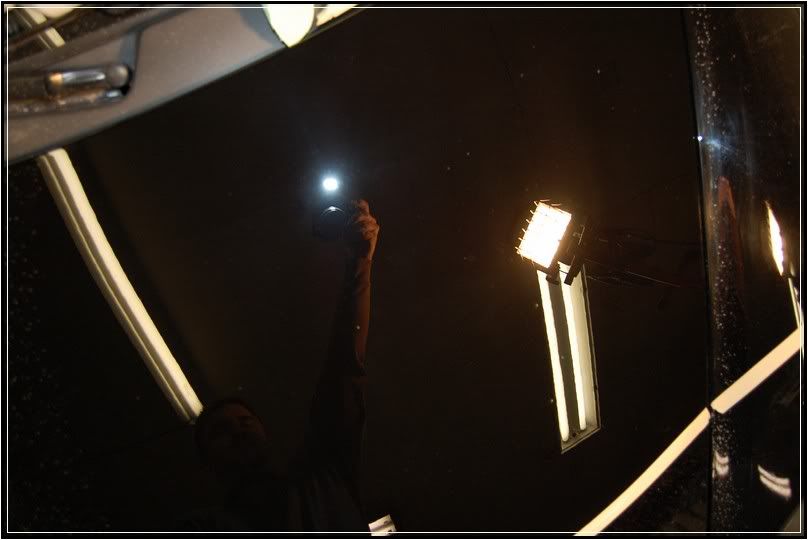
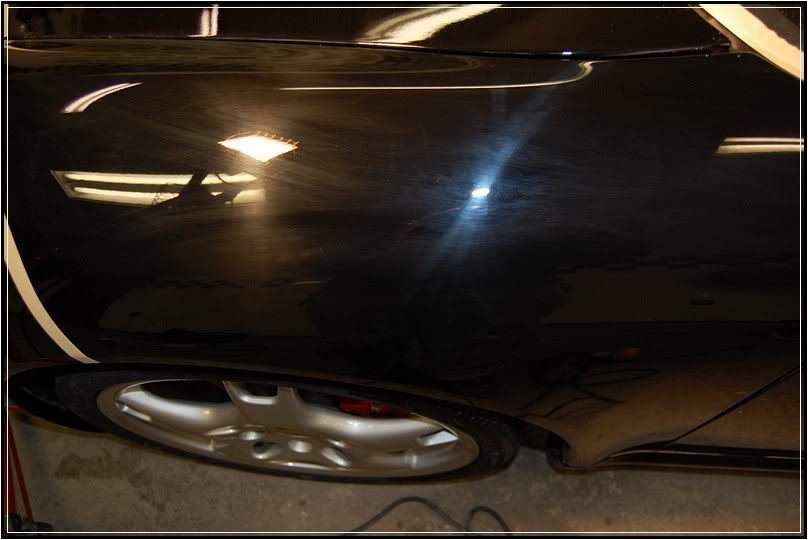
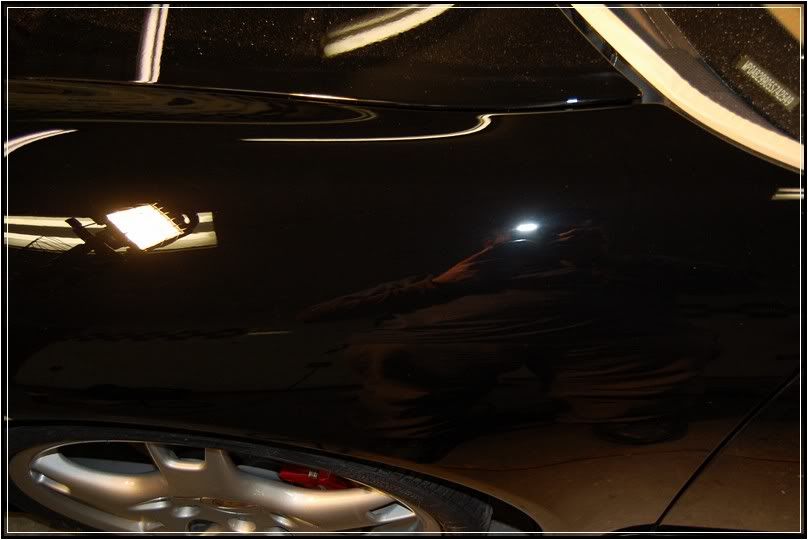
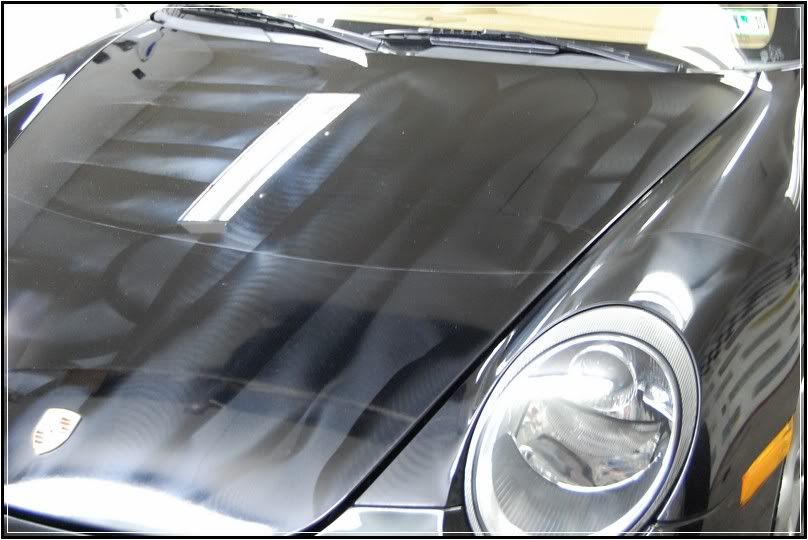
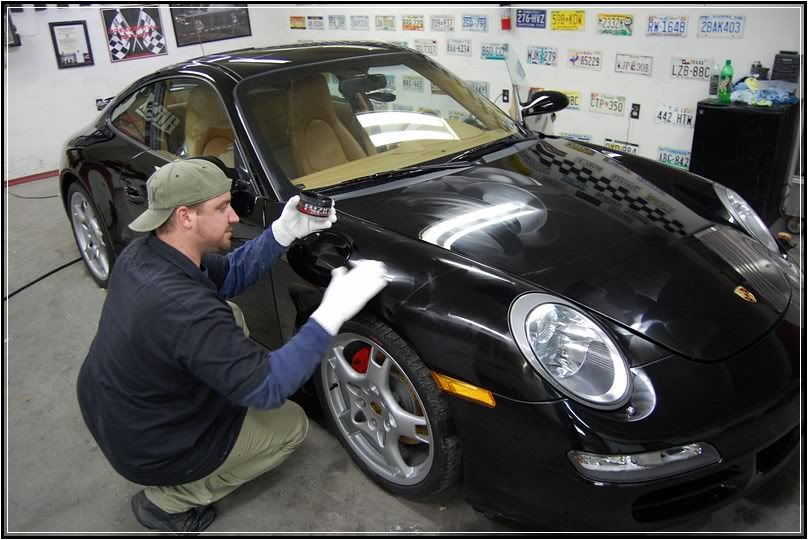
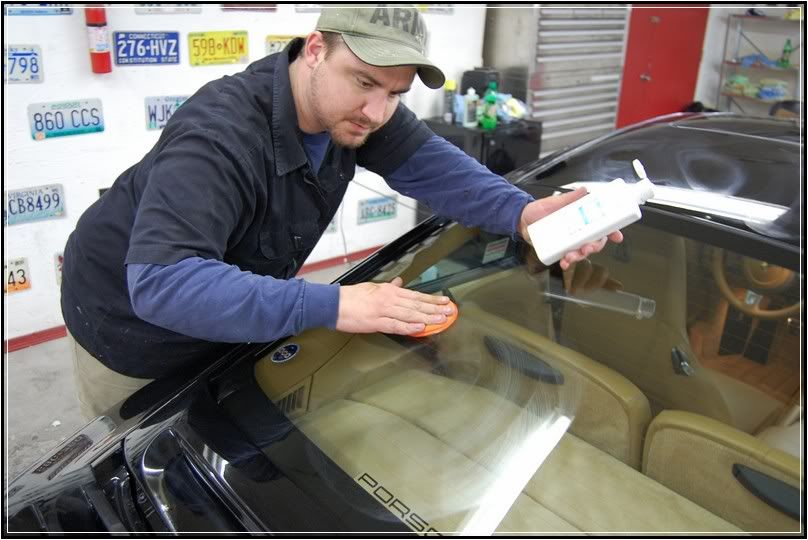
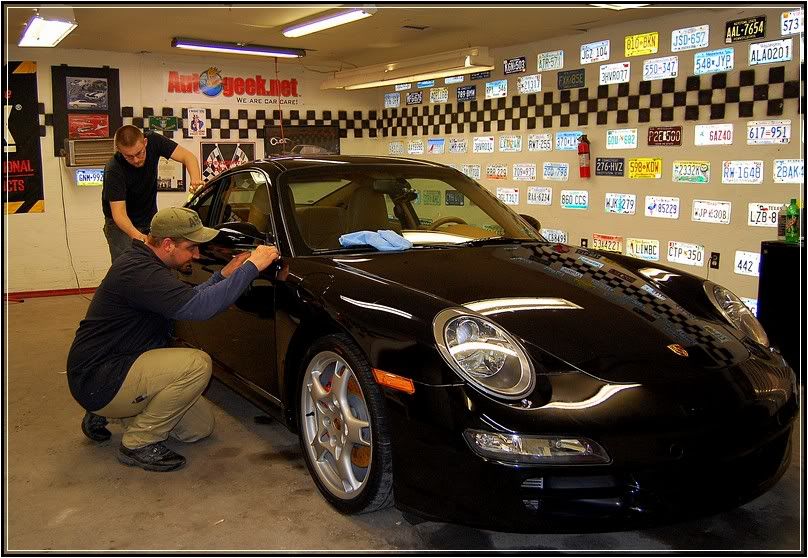
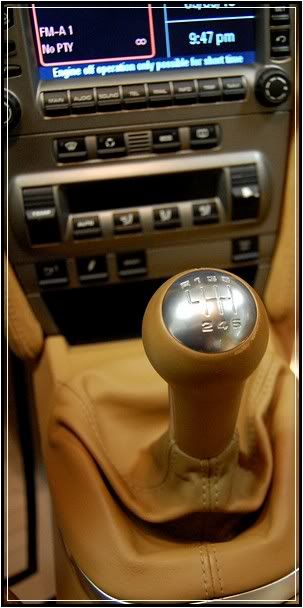
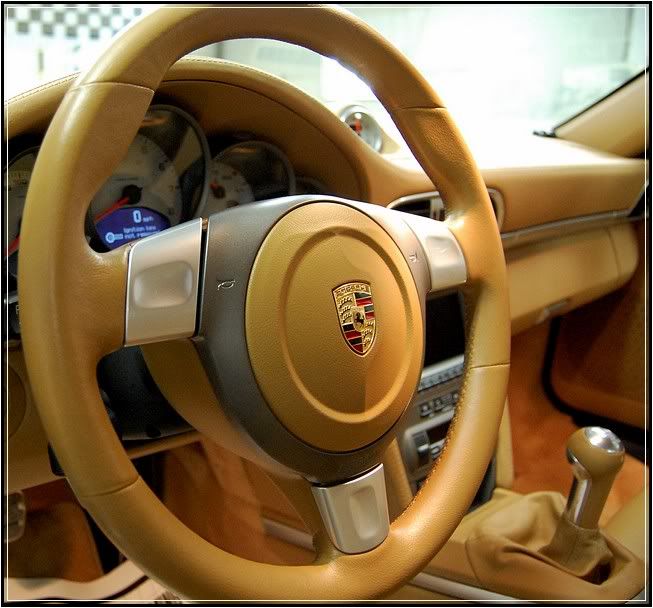
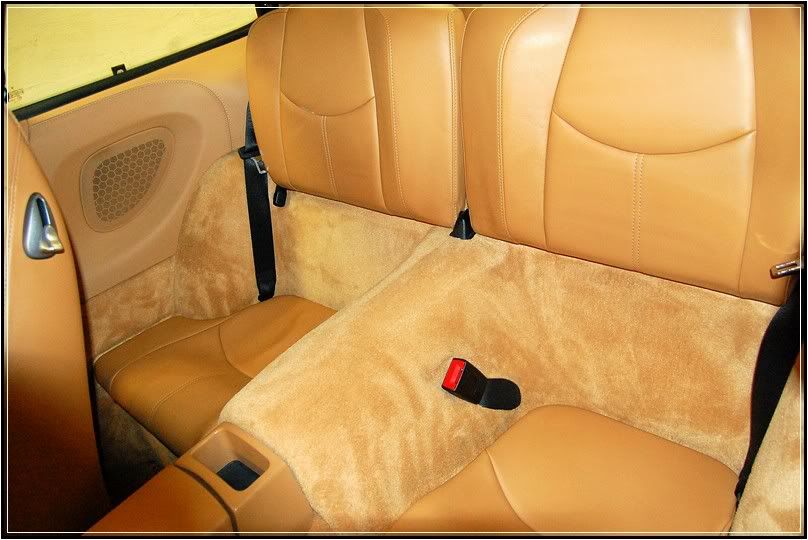
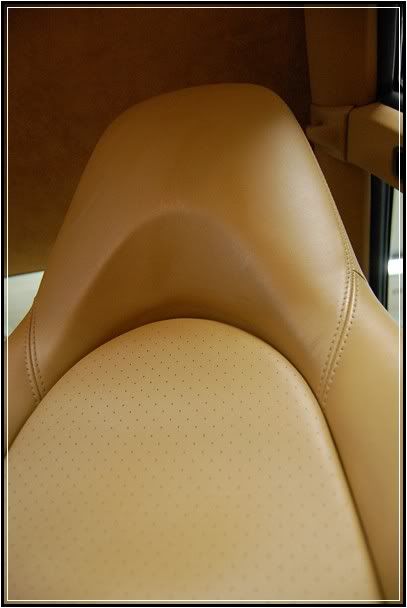
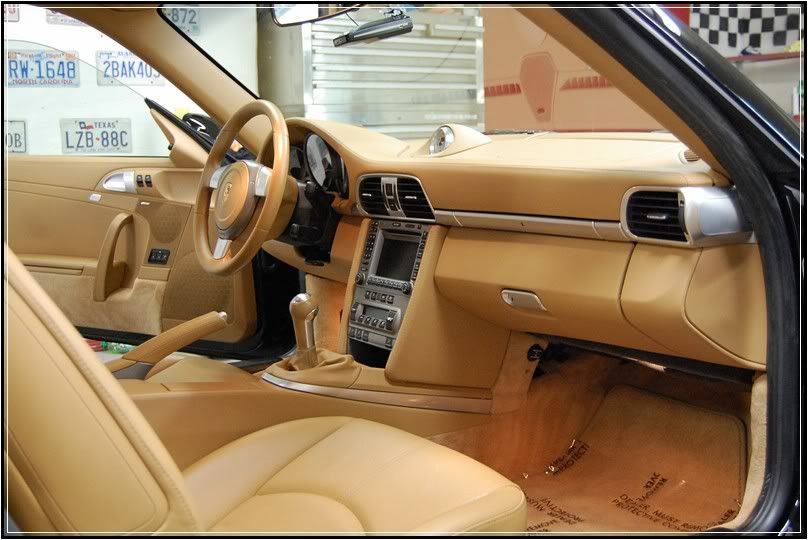
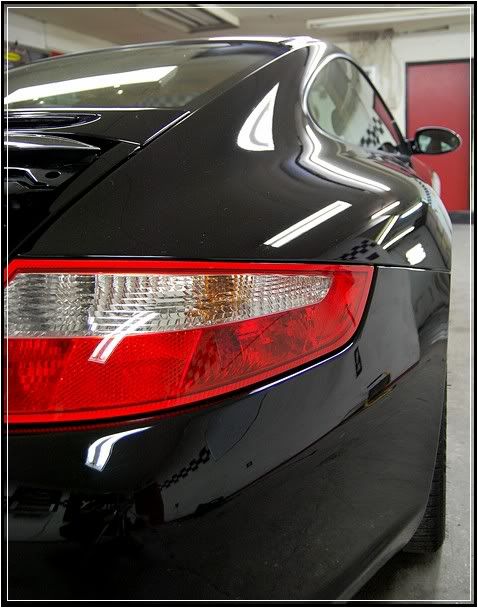
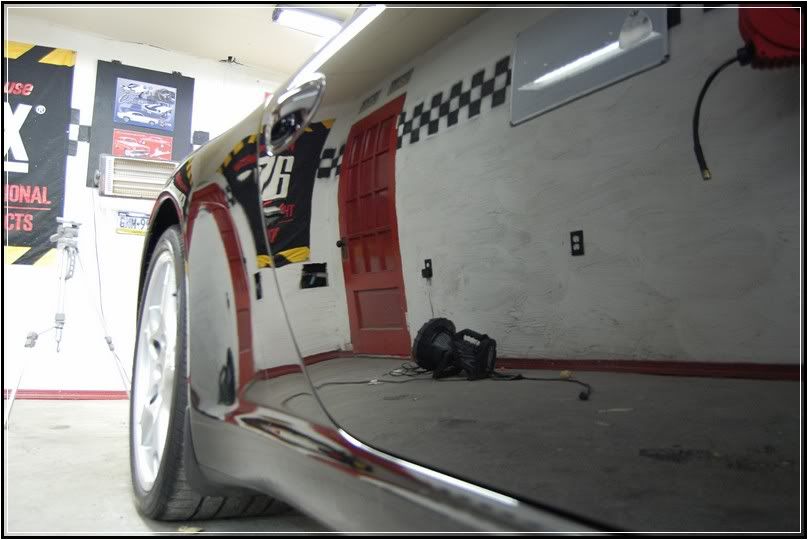
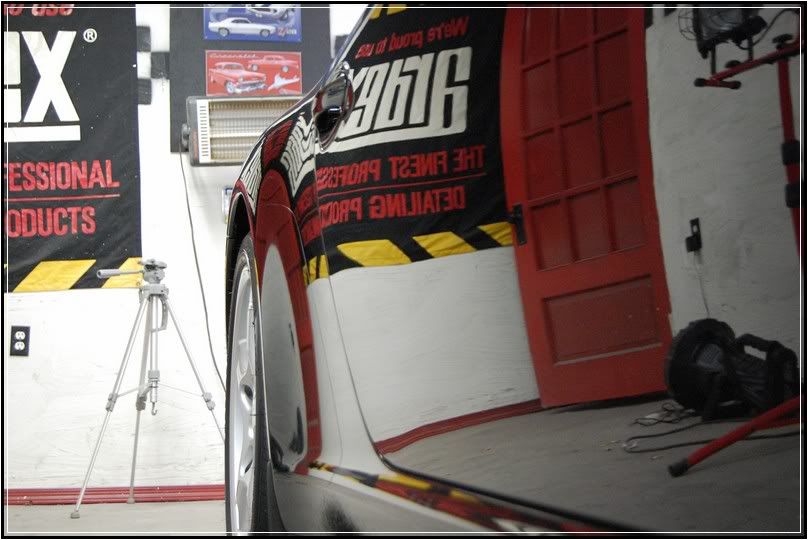
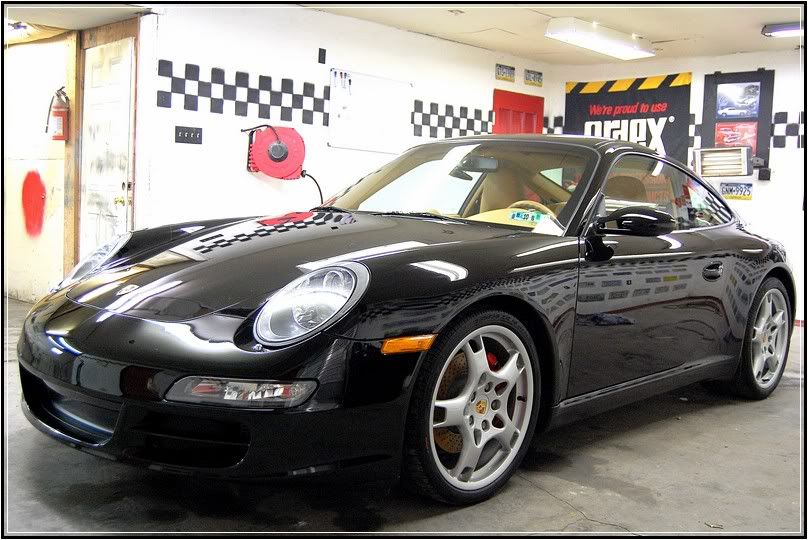
Presidential Details of Lancaster County, Pennsylvania presents Barry Theal as he details a 2005 Porsche Carrera S in Jet black. This Porsche is a common example of power, style, and luxury in the same car. Upon contact from the owner he explained the car was daily driven and from day one of his purchase, the had some swirls. Upon inspection my first thought was wow it had a lot. The owner had drop the vehicle off for several days and allowed me to put the proper time in to detail this car accordingly. This car received a complete refinement.


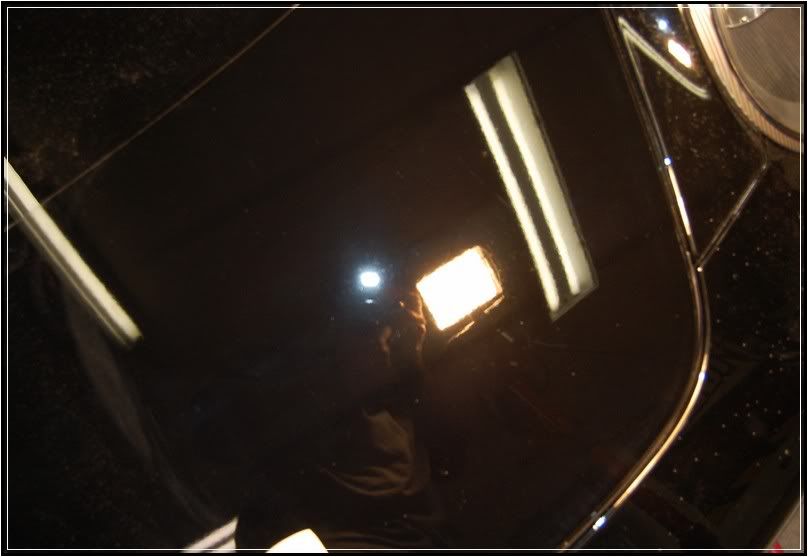
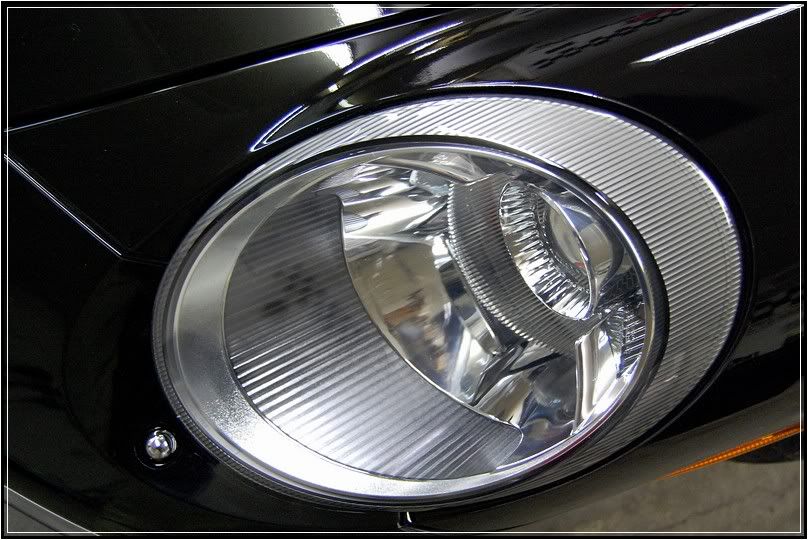
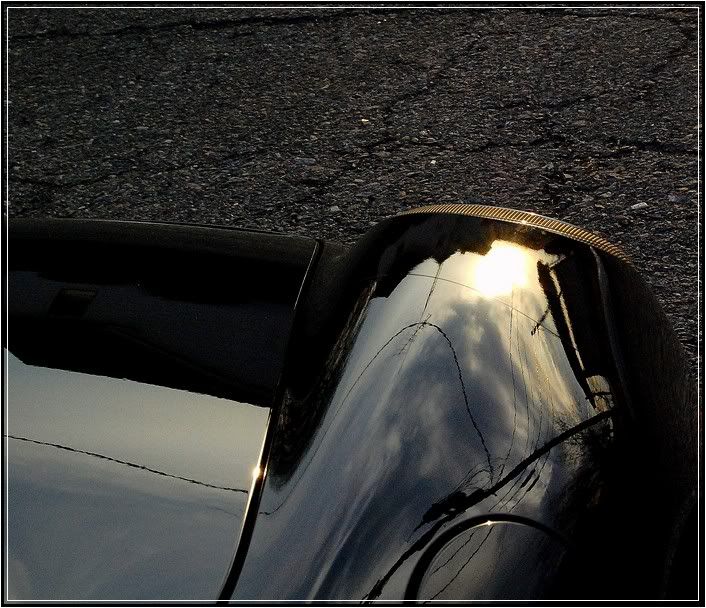
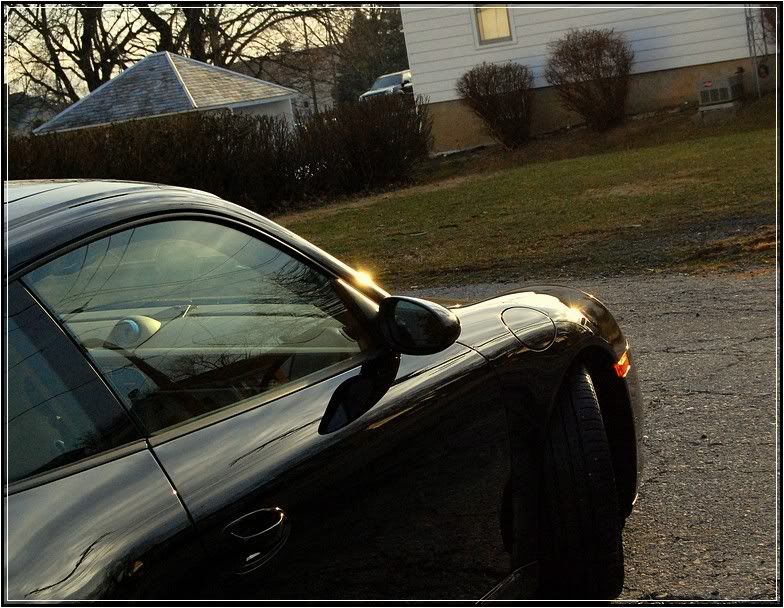
As the presents itself when it arrived:


DSC_0281.jpg


DSC_0282.jpg


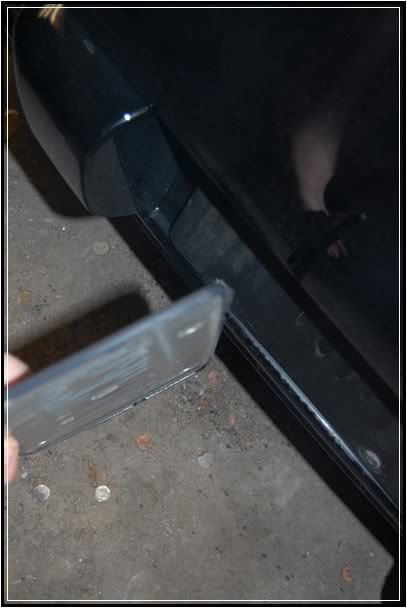
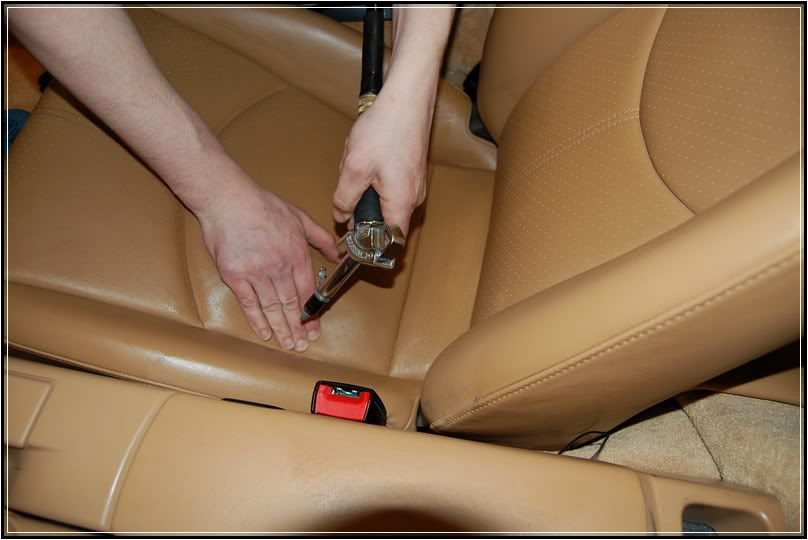
First things first, before I could turn my passion into perfection, I like to start with a dismantle phase. During this stage of the detail, my goal is to remove anything that can come off. Today it was just the registration plate and bracket.


DSC_0283.jpg


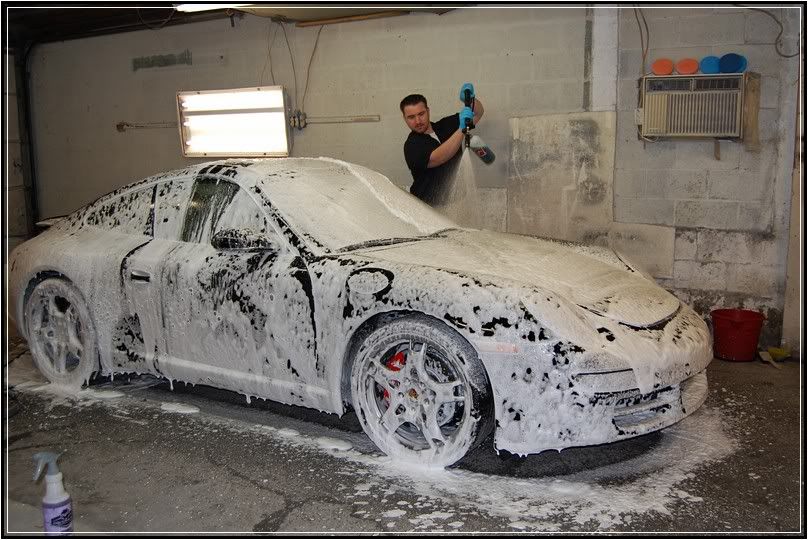
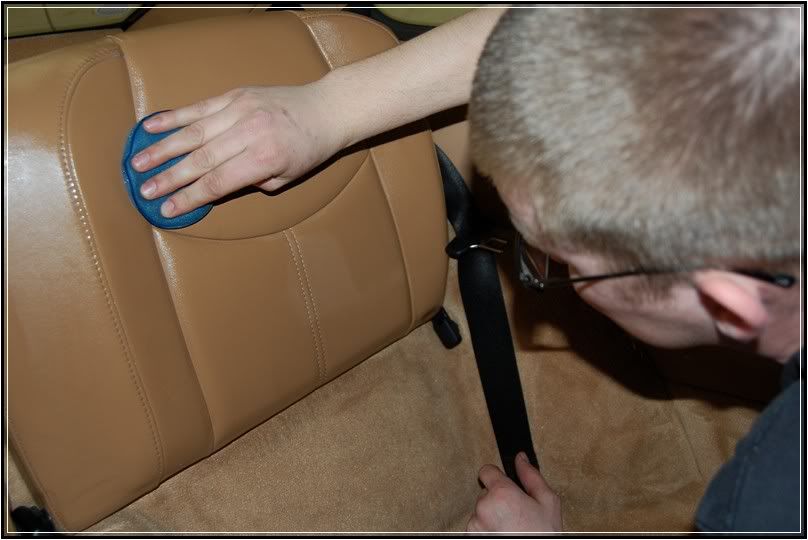
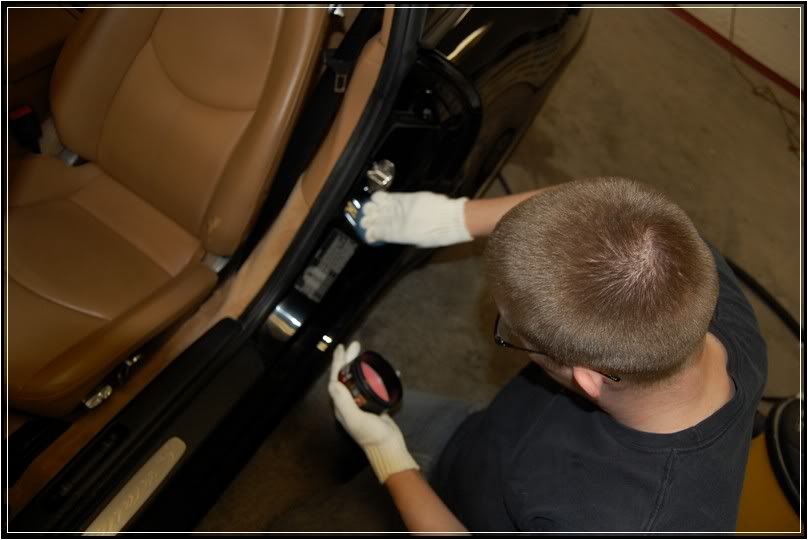
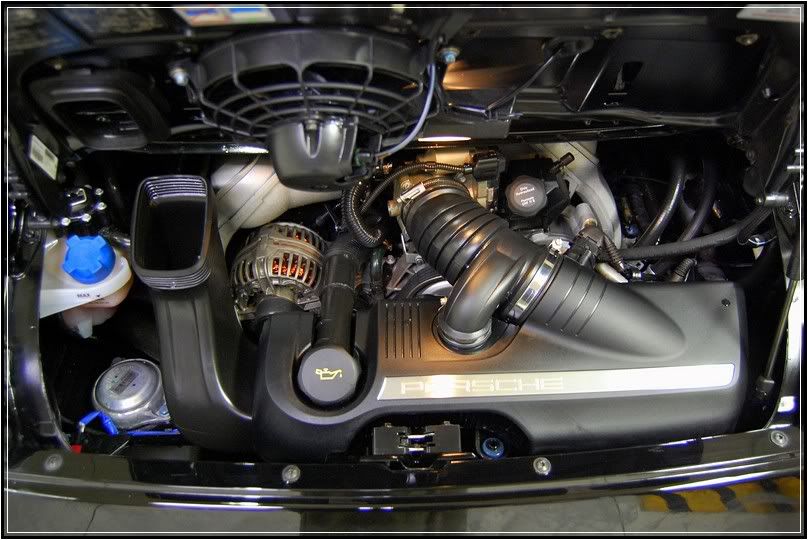
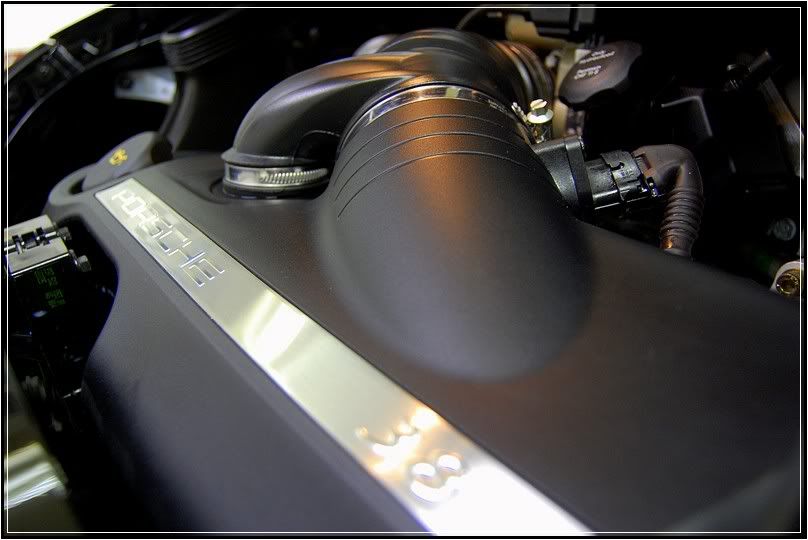
Onto the Decontamination Stage. This stage is designed to cleanse the car. This is the first stage of this vehicles reconditioning. During this stage my main focus is cleansing. The entire exterior receives a gentle yet very effective contamination removal from all painted surfaces, engine, door jams, wheels, and arches.


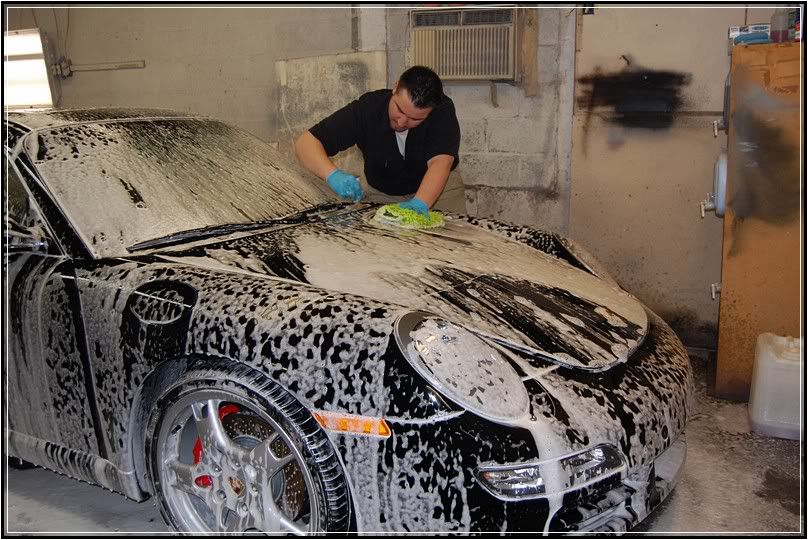
First I started with a nice foam bath with a soap designed to remove wax yet ph balanced. Here in these to portraits you can see how the foams works. This is actually a very nice crucial step. Its main purpose is to loosen and dirt and loose debris from the vehicles surface. It allows for the debris to be removed with out touching the paint. I have found it to be a must in the ultimate prevention against washed induced marring.


DSC_0285.jpg


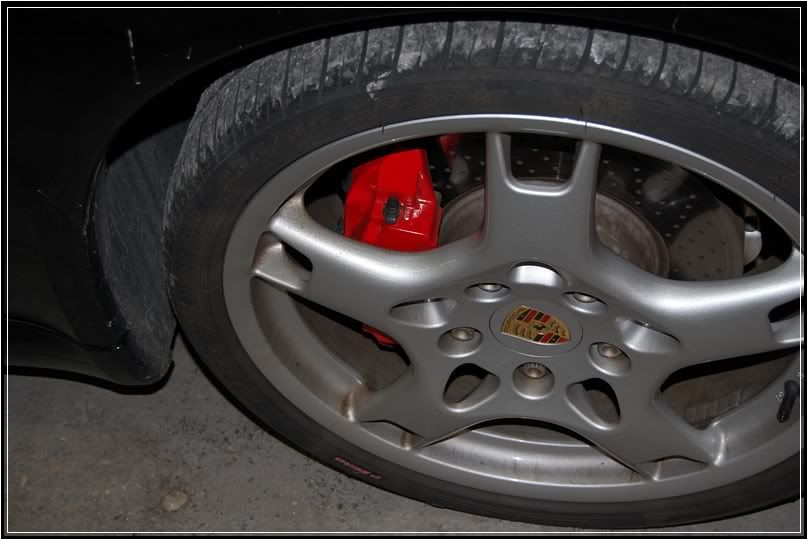
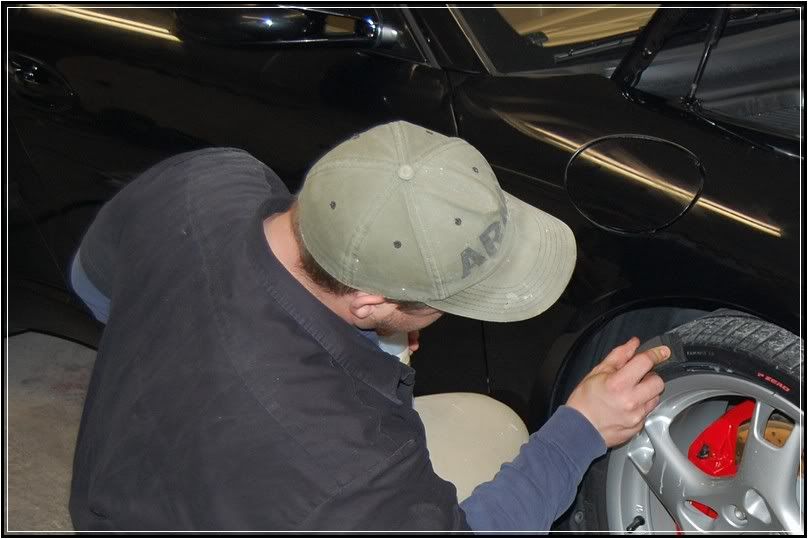
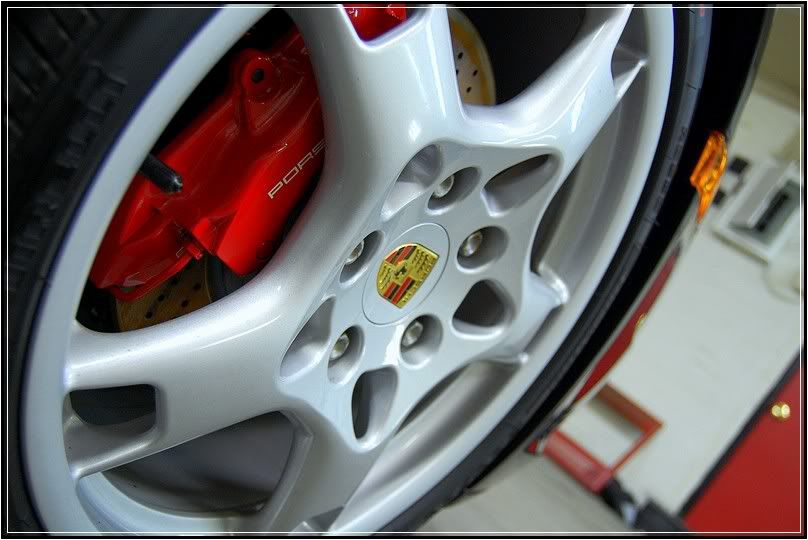
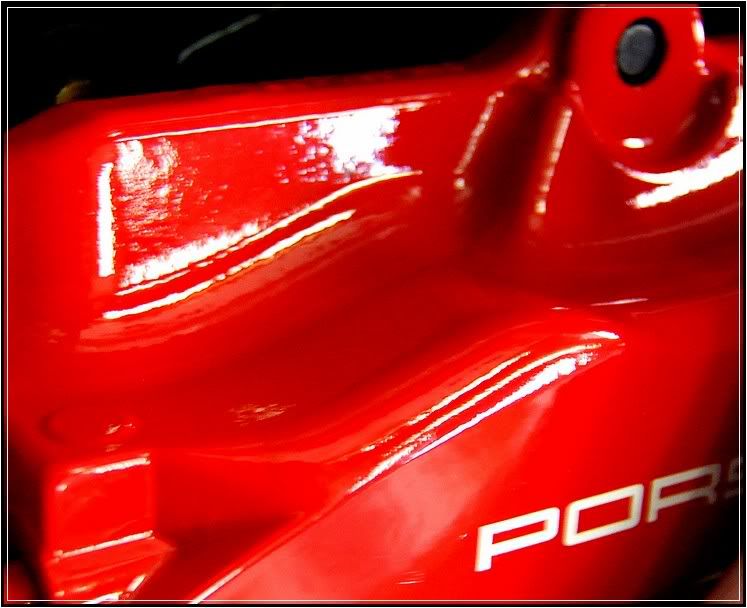
Once the car was foam I cleaned all the wheels first with Meguairs Wheel Brightener , then they were rotated 180 degrees to ensure all inner barrels were clean.


DSC_0290.jpg


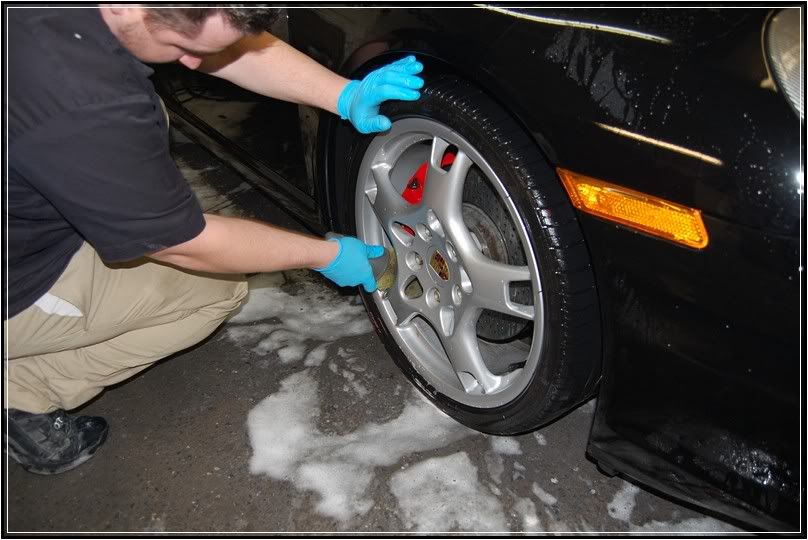
All door jams, motor, and tires were Sprayed with Autoglym Engine and Parts Cleaner. All areas were agitated and rinsed off. Here you can see the tires were real dirty.


DSC_0293.jpg


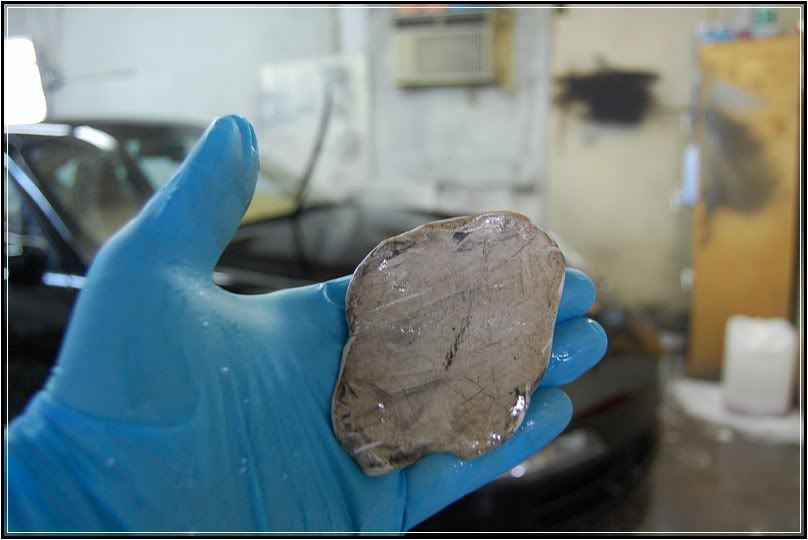
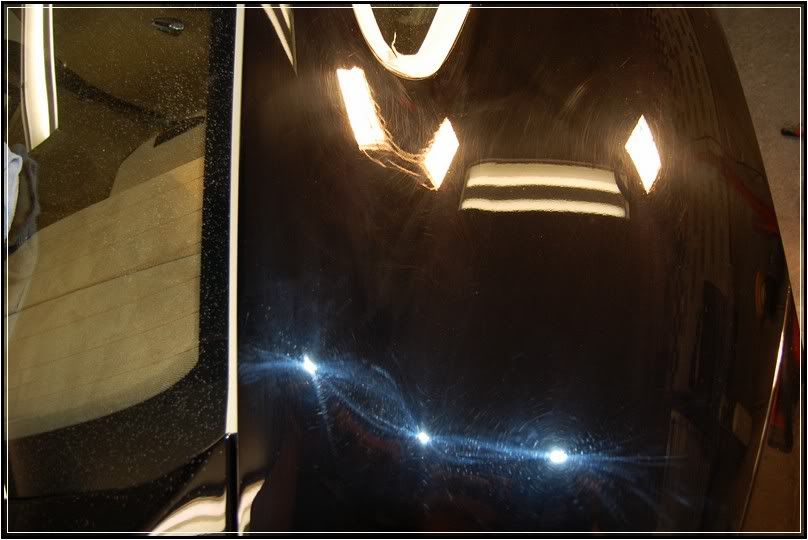
Once this task was completed, I gave the car another foam bath and rinse. Now it was time to ensure the paint was smooth and decontaminated. I choose a fine grade clay bar to remove the surface contaminants. Upon initial inspection the paint felt a little rough, but nothing major. After the clay bar treatment I was shocked to see how much was actually removed. In the next two pictures you can see that before and after. This was a brand new piece of clay.


DSC_0295.jpg


DSC_0296.jpg


DSC_0298.jpg


The car was then dried with compressed air. I prefer this method. It allows you to get all the water out of every crack and crevice. Water sitting in tight spots can lead to rust, this prevents it.


DSC_0302.jpg


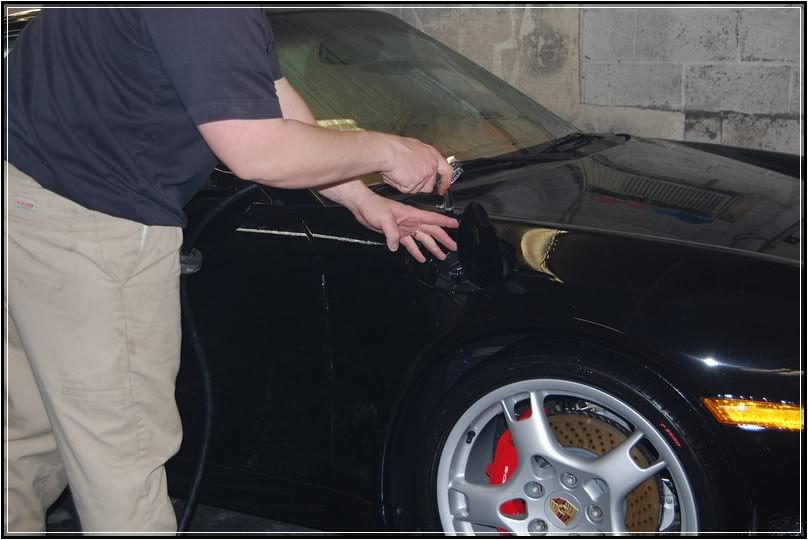
I then taped the car up. There was a lot of tape used. As this particular vehicle had a clear bra on the entire front half of the car. All clear bra edges got taped along with anything that could be damaged by the polisher.


Off I went with the initial paint correction. This step consisted of M105 Ultra Cut Compound . I utilized A
 
Porter Cable 7424xp and a Tangerine Hydro foam pad in 5.5 inches for the correction. I used Kevin Brown’s Method of Machine Polishing.


DSC_0320.jpg


Here in the before and after pictures you can see how effective the Kevin Brown Method of paint correction and machine polishing truly is. Take notice as you look at the lights. You can clearly see some excellent examples of some light swirling and rids. Rids is short for random isolated deep scratches. You want o focus on the area’s around the lights. For this stage of lighting I used a 500 watt halogen lamp and a camera flash. Keep in mind this is after just M105.


DSC_0318.jpg


DSC_0324.jpg


DSC_0328.jpg


DSC_0332.jpg


Here is a 50/50 Shot of the door and fender.


DSC_0333.jpg


A few more before and afters for you.


DSC_0336.jpg


DSC_0340.jpg


DSC_0342.jpg


DSC_0356.jpg


DSC_0360.jpg


DSC_0362.jpg


DSC_0371.jpg


DSC_0376.jpg


DSC_0377.jpg


DSC_0378.jpg


DSC_0379.jpg


DSC_0380.jpg


All the clear bra was corrected as well during this step.


DSC_0381.jpg


DSC_0383.jpg


Once I finished with the compounding I called John over and asked to help with the inside. Various tools were used from compressed air to a steamer. A complete interior detail was performed.


Here you see john using compressed air to get in between the seat crevices.


DSC_0411.jpg


All leather was conditioned.


DSC_0415.jpg


While John was working on the inside I began to polish the exterior using Menzerna 85rd. Then I laid down Blackfire Wet Diamond sealant. It was then removed.


DSC_0417.jpg


DSC_0425.jpg


We then layed down Wolfgangs Fuzion for the final LSP. ( Last Step Product ) This gave the paint a nice warm glow
 
DSC_0435.jpg


DSC_0437.jpg


The tires were dressed to a natural look. The wheels were also protected with Colinites 845 insulator wax.


DSC_0438.jpg


The motor cleaned up nicely. This area was also dressed to a natural sheen.


DSC_0444.jpg


DSC_0448.jpg


Next we took a little break from reality. I recently purchased a Stoners window tool. It allows you to reach the inner windows at the deep spots. Once John opend it. We found it came with four steps to a clean window. Here we are reading directions! LOL


DSC_0449.jpg


We choose to stick with the Presidential Details Standard and polish the glass by hand.


DSC_0451.jpg


Once the final wax cured John removed it and I followed paying attention to the details. It sure is nice to have a good team working together. I have been working with John for 5 years now. I use to manage him at a high volume shop. The nice thing is he knows me and my standards. He became an excellent member of the Presidential Details Team. John has helped me a lot this past year and you will see more of his work as time goes on.


DSC_0455.jpg


The interior cleaned up rather nicely I must say. Take notice there is no dressing at all. Its how it looks out of the factory.


DSC_0520.jpg


DSC_0475.jpg


DSC_0478.jpg


DSC_0481.jpg


DSC_0482.jpg


DSC_0486.jpg


DSC_0488.jpg


DSC_0490.jpg


The exterior cleaned up nicely as well.


DSC_0461.jpg


DSC_0463.jpg


DSC_0464.jpg


DSC_0509.jpg


DSC_0516.jpg


DSC_0518.jpg


DSC_0521.jpg


DSC_0522.jpg


DSC_0523.jpg


DSC_0524.jpg


DSC_0466.jpg


Once finished I pulled the car out to make room for the next detail. Stay tuned as we spend the next 2 weeks with it! This is detail is going to introduce the Barry Theal Signature Detail.


DSC_0549.jpg


As always thanks for looking. God Bless.
 
Thanks for sharing. One of these days, I'm gonna drive to Lancaster and just watch a master at work (and gofer cold drinks and lunch).


You made the 105 finish out pretty well.


Can't wait to see the "Signature Detail."
 
Great work Barry!! Those door shots were incredible. Closeup on the caliper was cool too. What a turnaround on that car!!


Can't wait to see the "Signature" on the Ferrari!
 
I wish I could say great work as always, but I want to be honest and say that this whole package - detail/photos/write up - has topped ALL your previous attempts.


YOUR BEST ONE YET.


LOVED READING IT.
 
Hey said:
Thanks for sharing. One of these days, I'm gonna drive to Lancaster and just watch a master at work (and gofer cold drinks and lunch).


You made the 105 finish out pretty well.


Can't wait to see the "Signature Detail."


Thanks Moe for the kind words. Why watch when you can help lol.


Sudz On The Run said:
Great work next time the family and i go to lancaster i will make sure we stop in


Anytime man!


gofast908z said:
Great work Barry!! Those door shots were incredible. Closeup on the caliper was cool too. What a turnaround on that car!!


Can't wait to see the "Signature" on the Ferrari!


Thanks Bud!


Labster said:
great work as usual Barry! I'll have to make a trip out to Lancaster this summer sometime.


That would be cool Labster. Let me know.


jtford95 said:
I couldn't wait to see this one. Great job! I love the porsches.


So do I, I actually bought an older porsche last year in october I think, I still haven't had a chance to start the restoration. Its pretty bad.


Apollo_Auto said:


Awwwww. Jesse your such a sweetheart! LOL thanks homie.


tdekany said:
I wish I could say great work as always, but I want to be honest and say that this whole package - detail/photos/write up - has topped ALL your previous attempts.


YOUR BEST ONE YET.


LOVED READING IT.


Thanks THomas. I just seen that old MB yyou posted I'm subscribed!


master touch again


transform every thng


keep it up


just loving it


KC's Bud I'm just trying to keep up with all your crazy work! Thanks man. By the way that white bmw made me say oh my my! thanks man
 
corrswitch said:
wow, such high standards. Great to see a mission statement. You're an inspiration :)


Thanks man! How are things with you corrswitch


Pats300zx said:
Stunning job Barry....:bow


I am really looking forward to your next project.


Thanks Pat! I am to. I'm still figuring out how I want to approach it. I got this baby till March 27. Thats the owners birthday. :buffing:


2005GTPinMD said:
Barry that is an awesome job. That Carrera S looks stunning. What did you use to polish the windows?


I used Autoglym glass polish. Its actaully really great stuff. I had helped a friend with some buffing skilld and he thanked me with some supplies.
 
Fantastic work. The one thing I noticed is you waxed right over the clear mask line. You don't have to worry about waxing the edge with Blackfire Wet Diamond? I have never used the product before, but I always stay off the edge of clearmasks no matter what I'm using.


John
 
fdresq4 said:
Barry,


You work is an insperation for me to try harder and be better at detailing, Great work sir.


Steve


Thank you sir!


JohnKleven said:
Fantastic work. The one thing I noticed is you waxed right over the clear mask line. You don't have to worry about waxing the edge with Blackfire Wet Diamond? I have never used the product before, but I always stay off the edge of clearmasks no matter what I'm using.


John


John I never had a problem with waxing right over the edge of a clear bra before. I stayed off the edge obviously during the compounding and polishing. It was taped. Yea the blackfire and the wolfgang fuzion never gave me a problem with it. You should try the black fire. I know your a carnuba guy. Its a very slick base. Thanks for the compliments.

Barry
 
Wow, that's all I can say right now. That car looks fantastic. Incredible work.

I love the fact that the car is daily driven, but man, looks as if that thing has been through a lot.

Great work Mr. Theal.
 
Back
Top