PresdntialDtail
New member
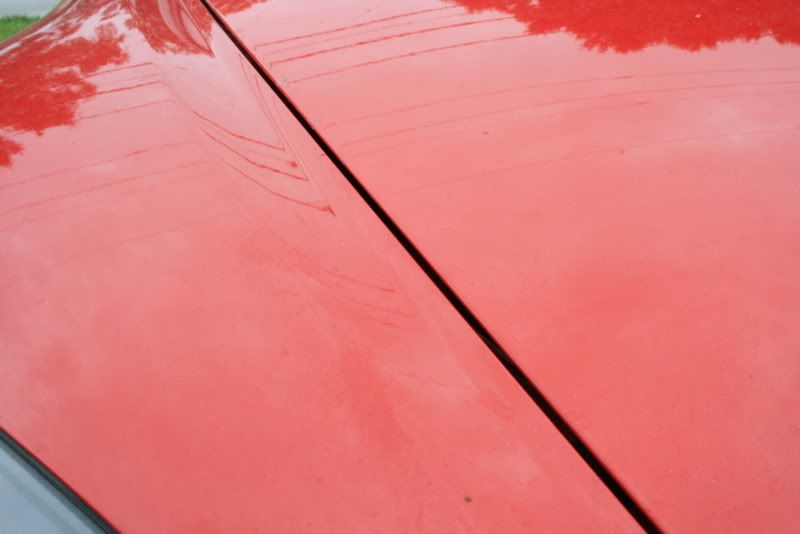
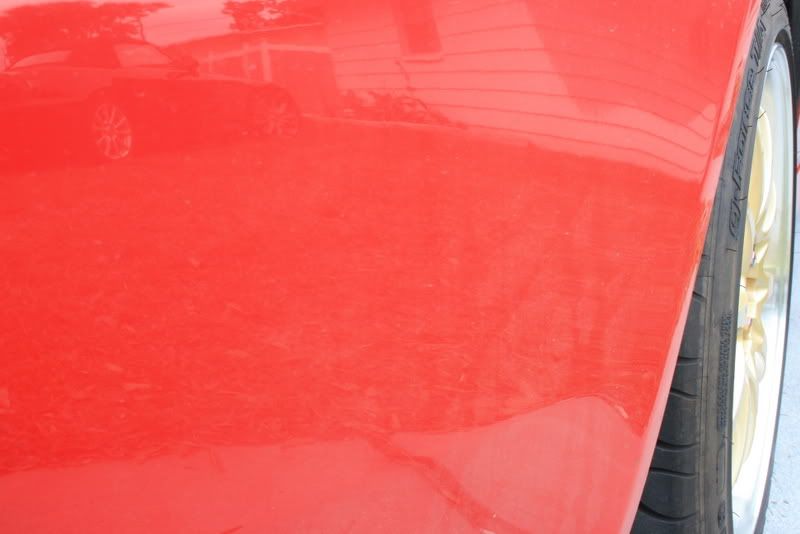
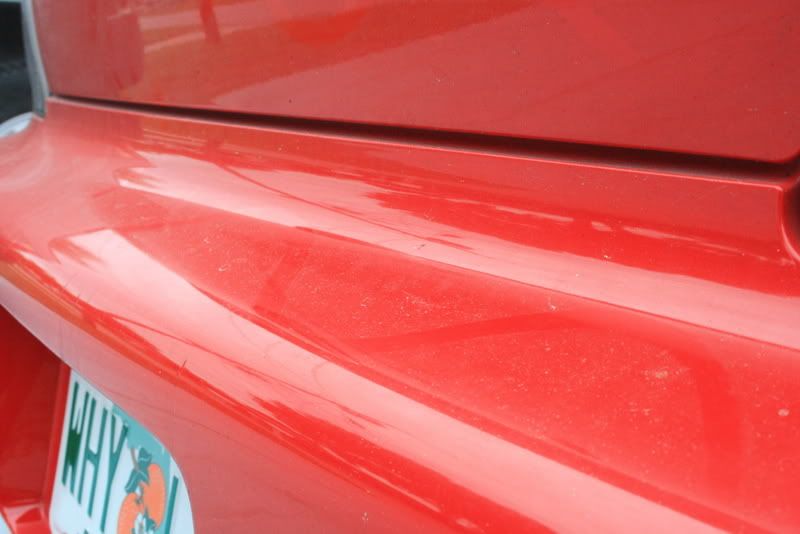
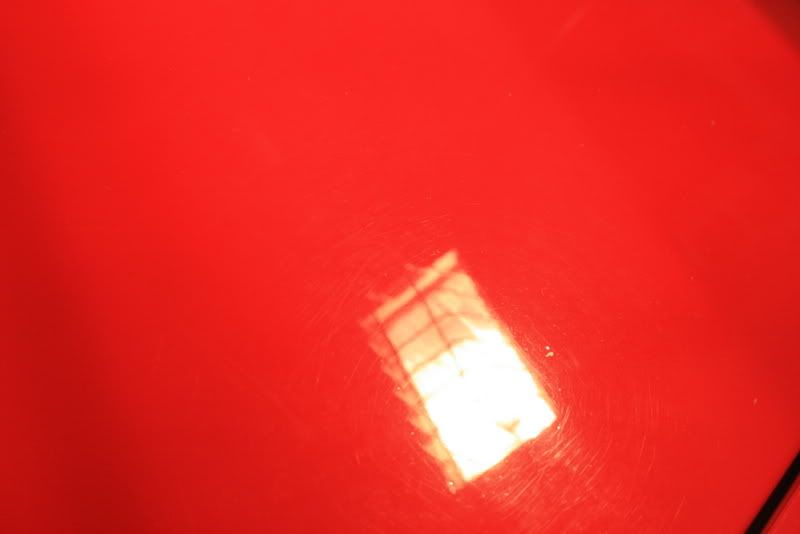
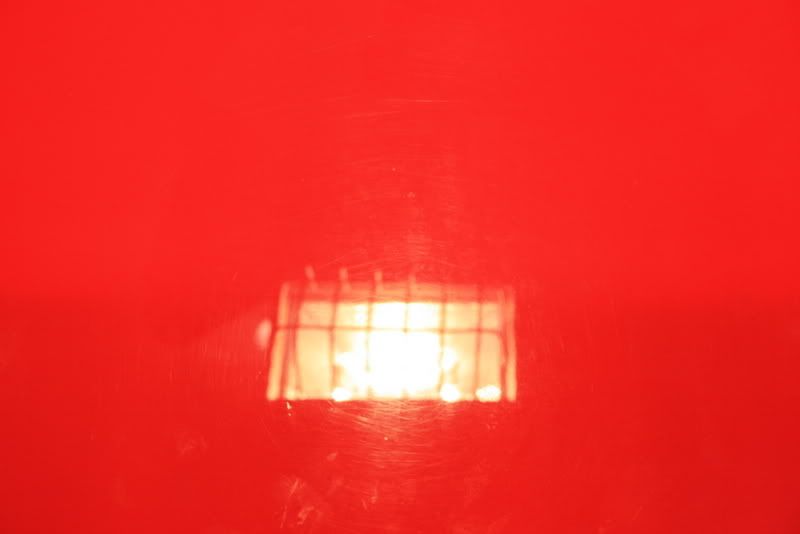
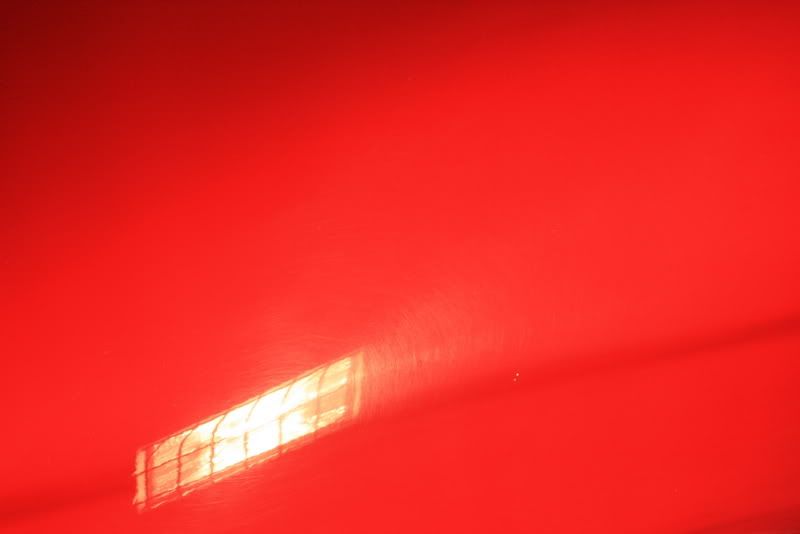
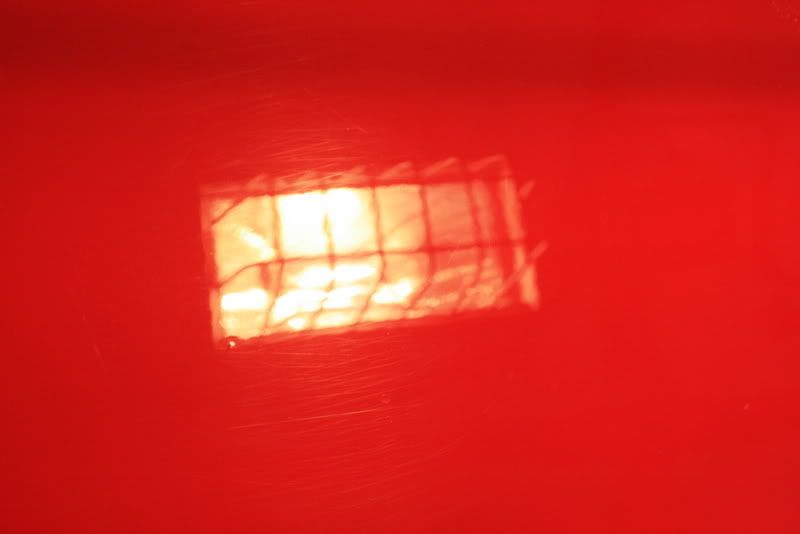
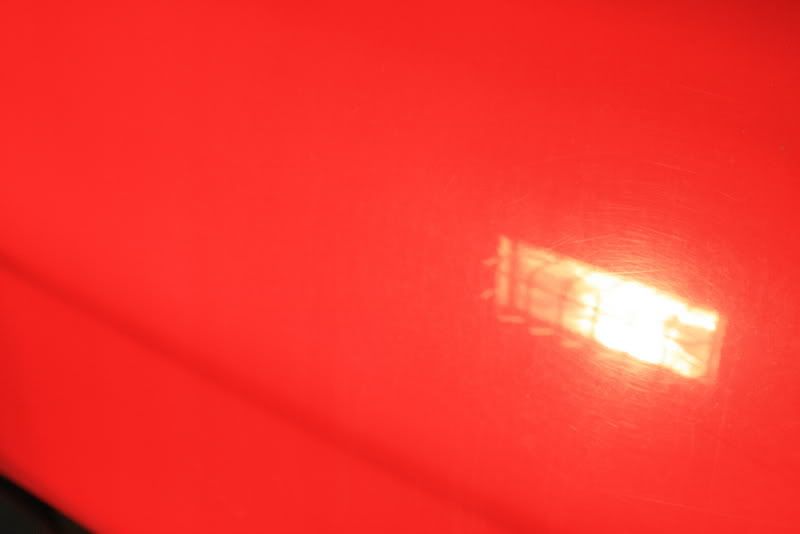
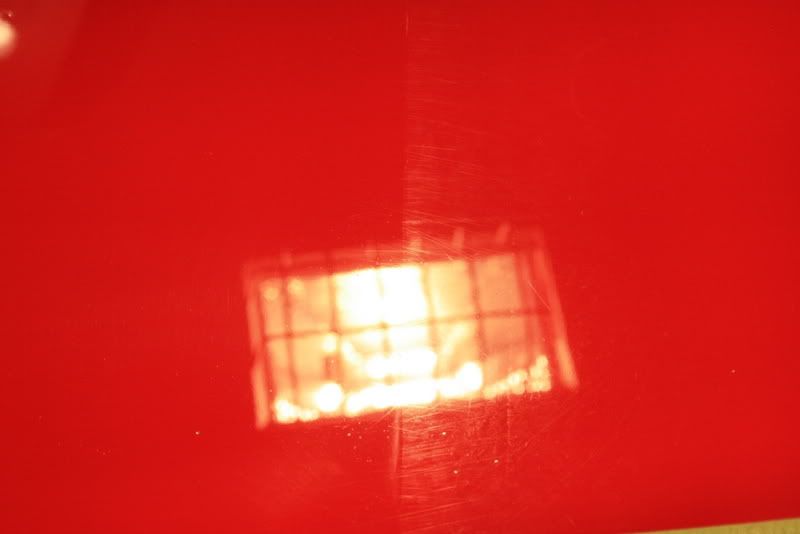
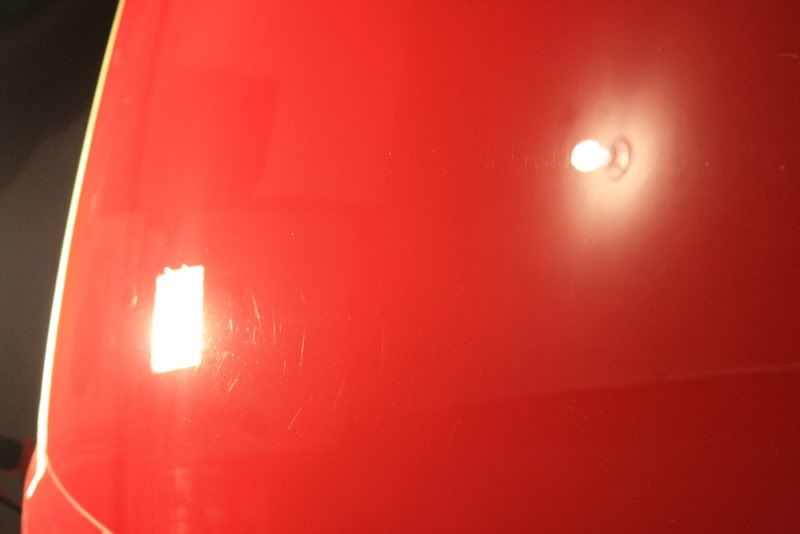
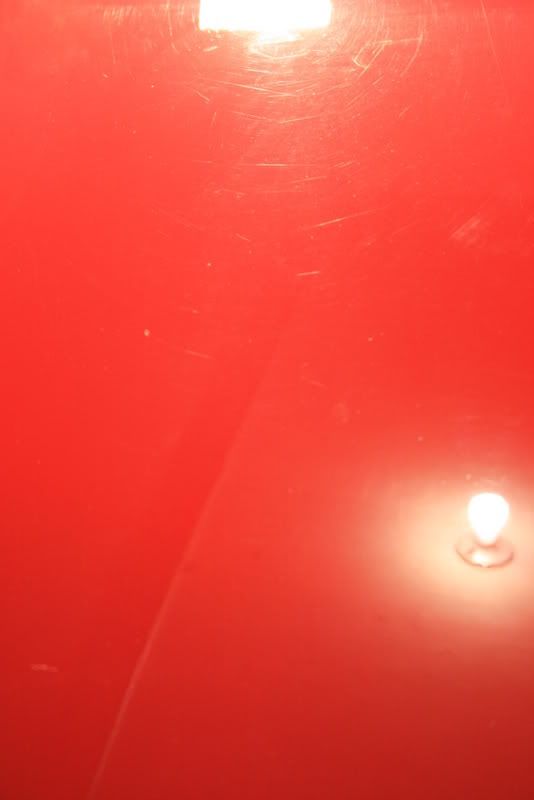
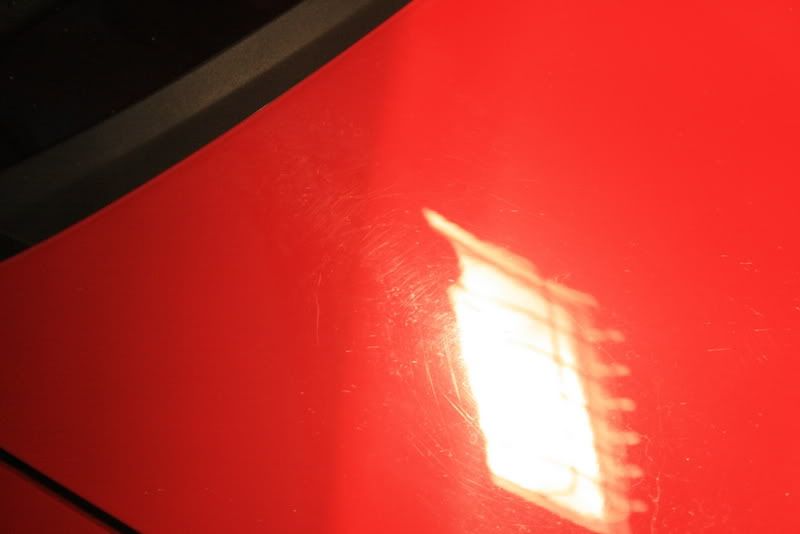
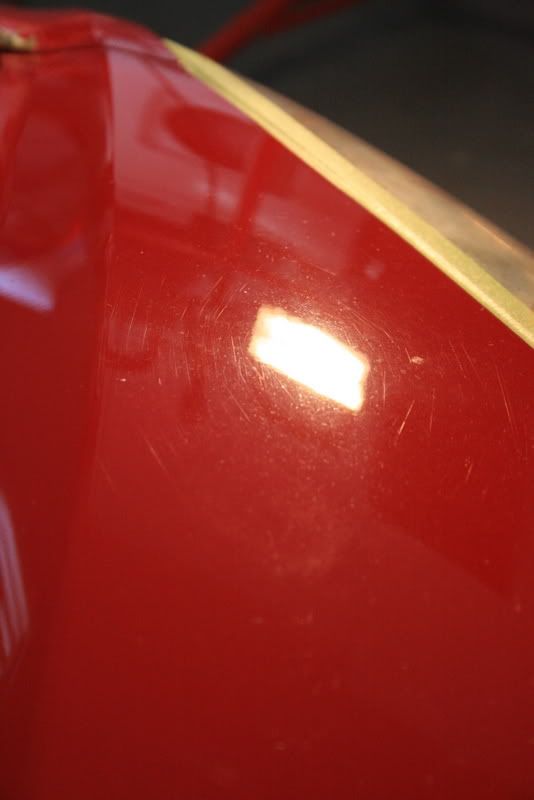
This car provided a very good learning experience for me, the owner said it was in rough shape, and it was. I looked it over, noticed there was lots of swirling and the finish was kind of hazy. It had been sitting under a cover for nearly a year with no use. I figured it would be the run of the mill swirl removal on soft Honda paint as usual...WRONG!! Turns out the ENTIRE front half of the car from the doors forward were repainted with superman strength clearcoat. I tried everything I have including M105 on a Burgandy Solo Wool multiple passes with NO LUCK! I couldnt believe it. I was ready to give up and came to the conclusion the swirls were UNDER the new clear/paint. Well I was wrong again..
I posted up this thread, http://www.autopia.org/forum/car-detailing/112746-2-passes-m105-wool-no-luck.html , looking for advice. No one knew what to tell me except for "iamwaxman" aka Kevin. He informed me of a new method on how to use the M105 and get two to three times more cut!
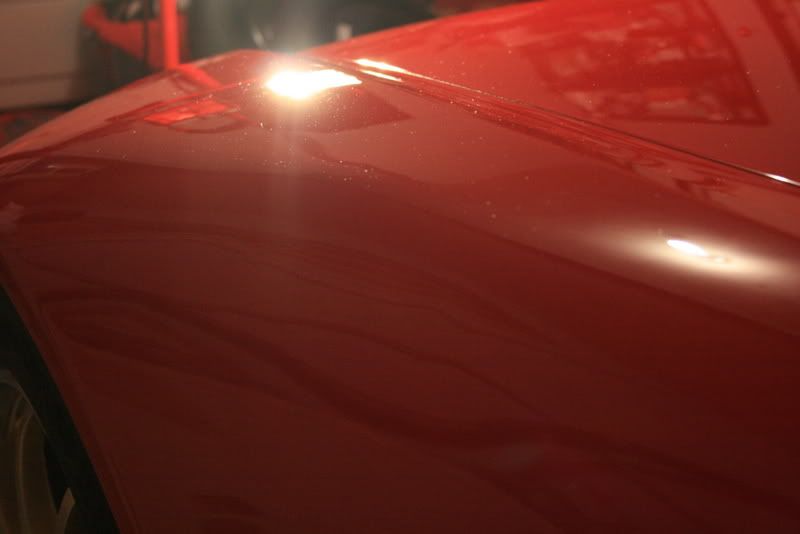
And I went into the garage and followed the directions precisely. FIRST TRY ALL SWIRLS ARE REMOVED!!! I couldnt believe my eyes! Not to mention the fantastic gloss it leaves once finished down!
Well anyways, on to the pictures!
Exterior:
Dawn Soap Pre-Wash
Optimum Car Wash-Final Wash
DD "Uber" Red Drying Towel
DD "Uber" Wool Mitt
Dual Buckets with Grit Guards
3m "green" Masking Tape
Adams Professional Clay Bar
P21S TAW
Meguairs APC+
Meguairs Hyperdressing
Megs M105/Megs Solo Burgandy Wool(new method) x2
Menzerna PO85rd/LC FLAT Black 5.5"
Menzerna Top Inspection
Tons of Uber MF Towels
Black WOW
Griots Garage Wheel Cleaner Gel
Swissvax Pneu
LSP:
Lusso Oro applied with Uber Foam Applicator
Tools:
Dual Work Lamps
Dewalt Hi Speed Rotary
World's Greatest Boar's Hair Wheel Brush
Foam Pad Cleaning Brush
DD Detail Sponge
The Wheel Well/Fender Brush
The Spoke Brush
Canon Rebel XTi
Craftsmen 295MPH Vac/Blow
E-Z Detail Wheel Brush
Swissvax Wheel Brush
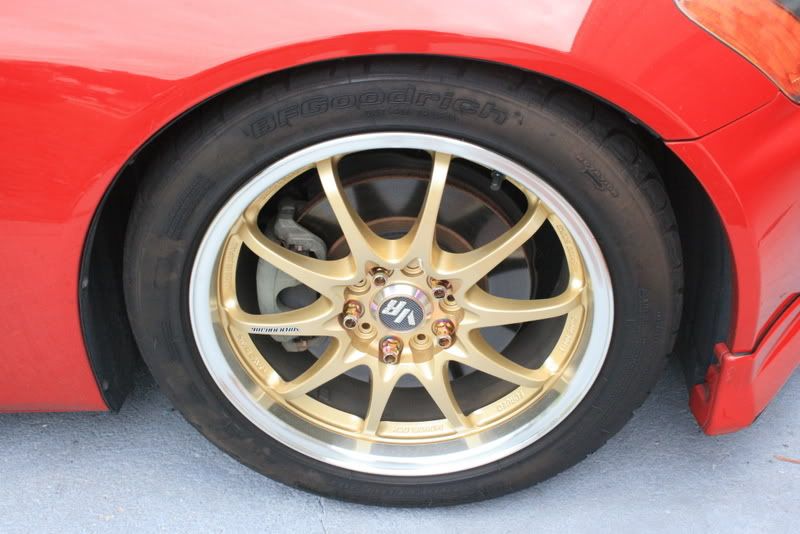
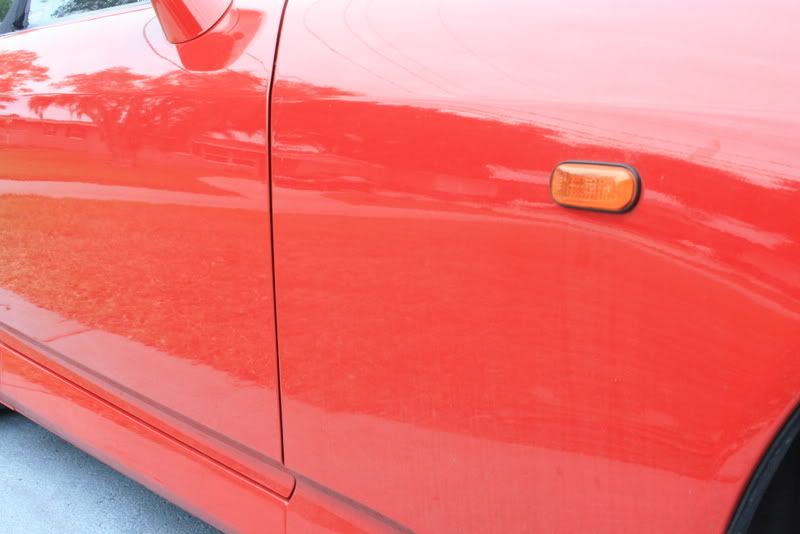
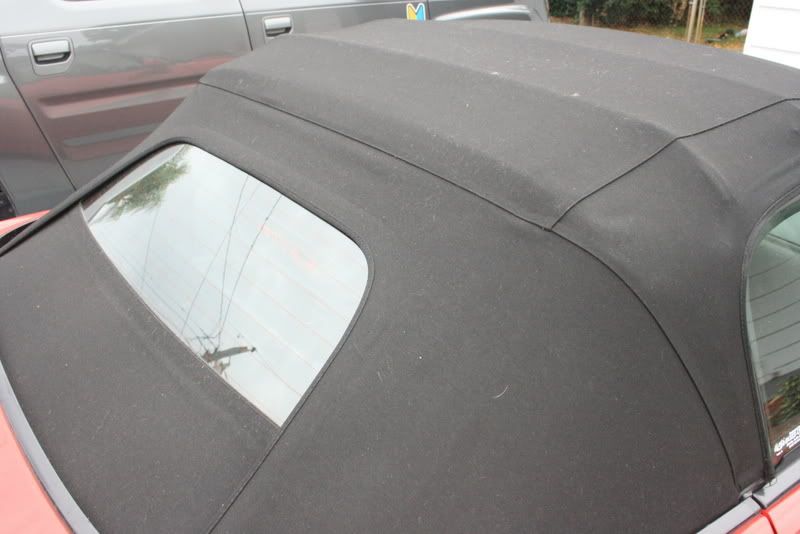
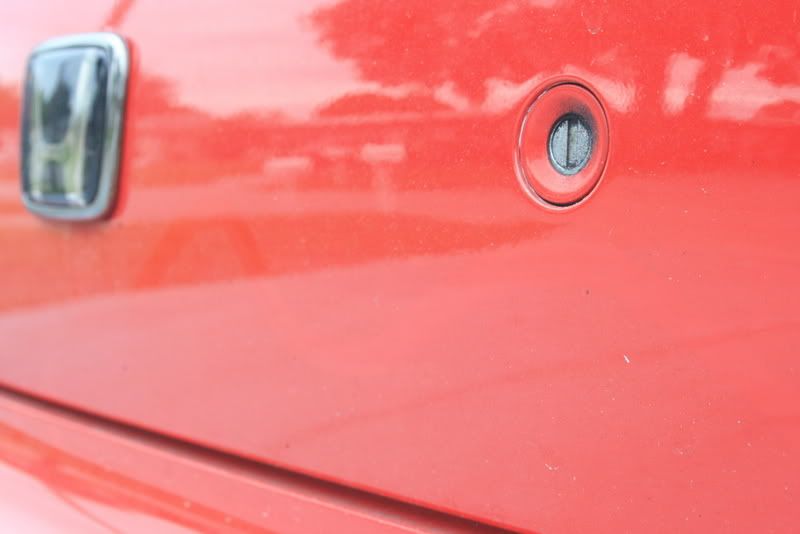
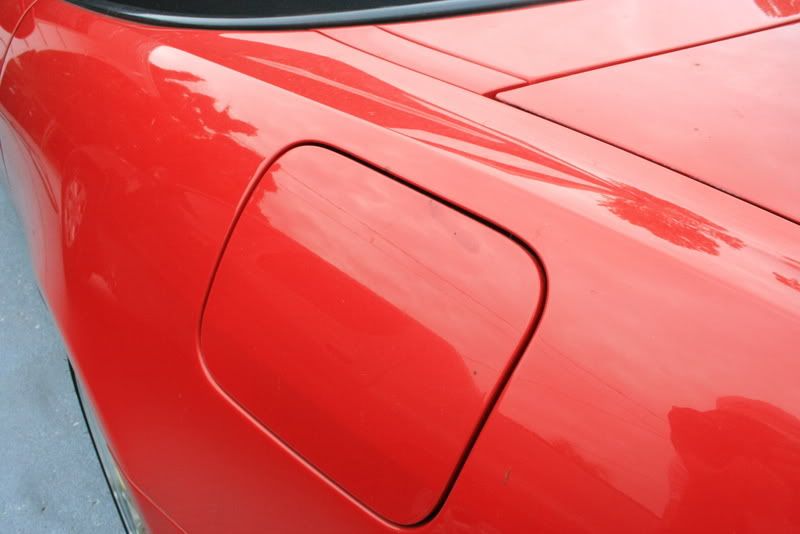
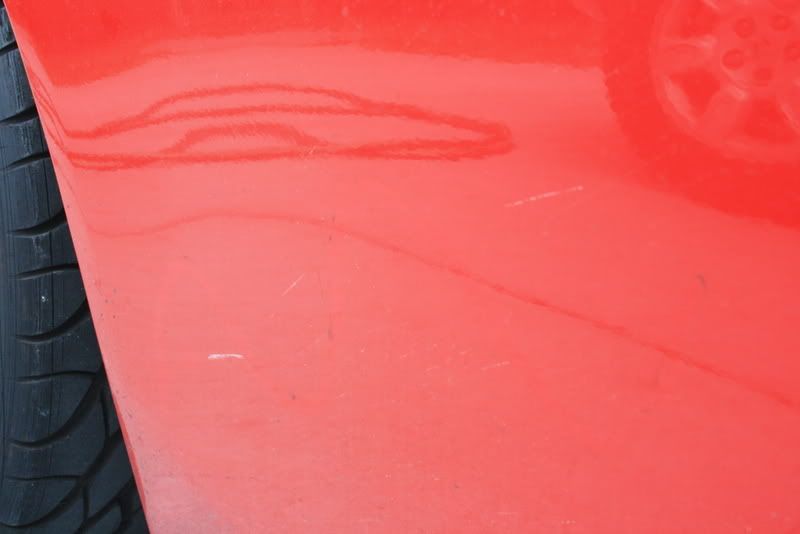
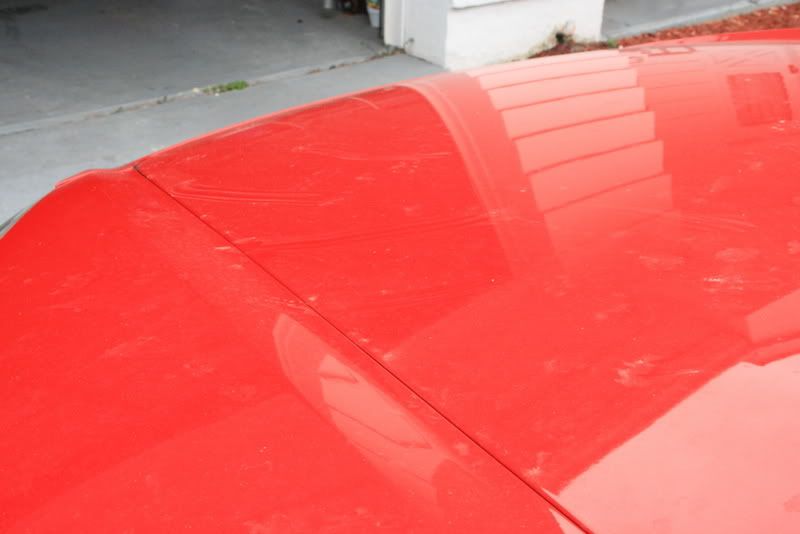
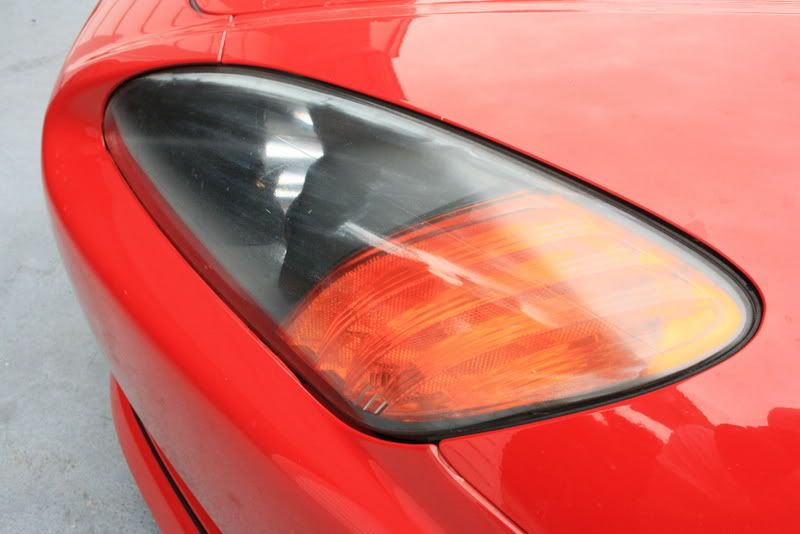
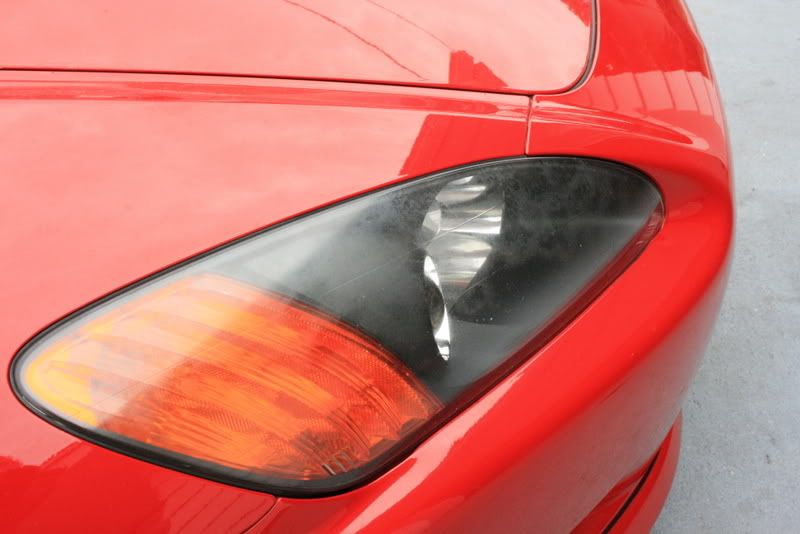
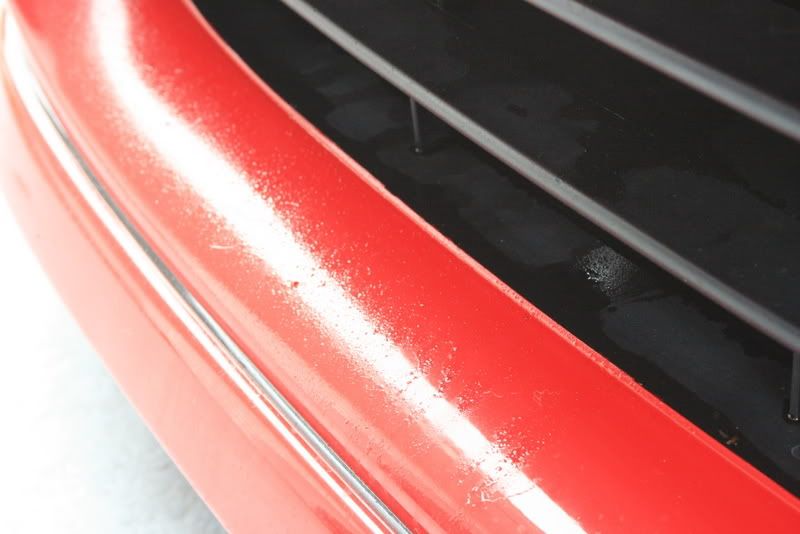
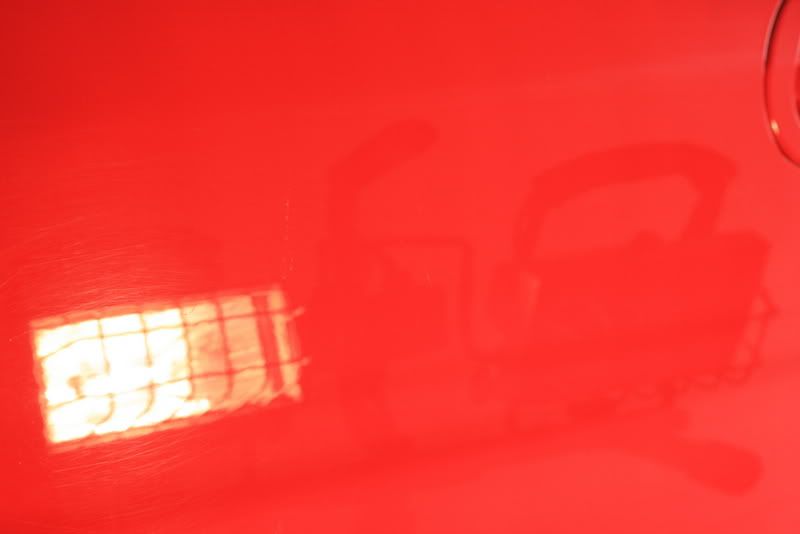
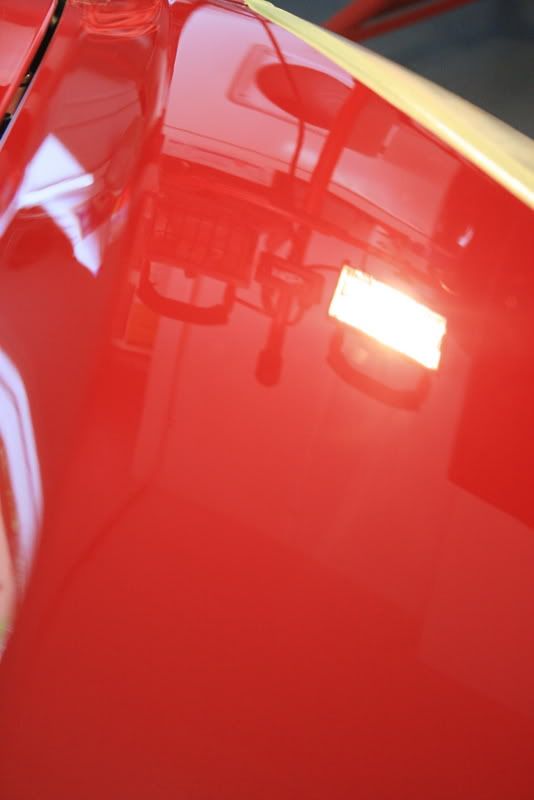
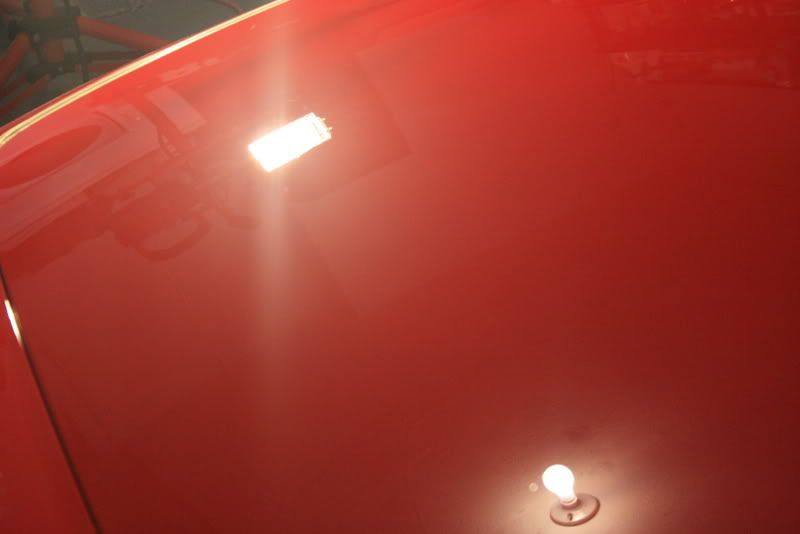
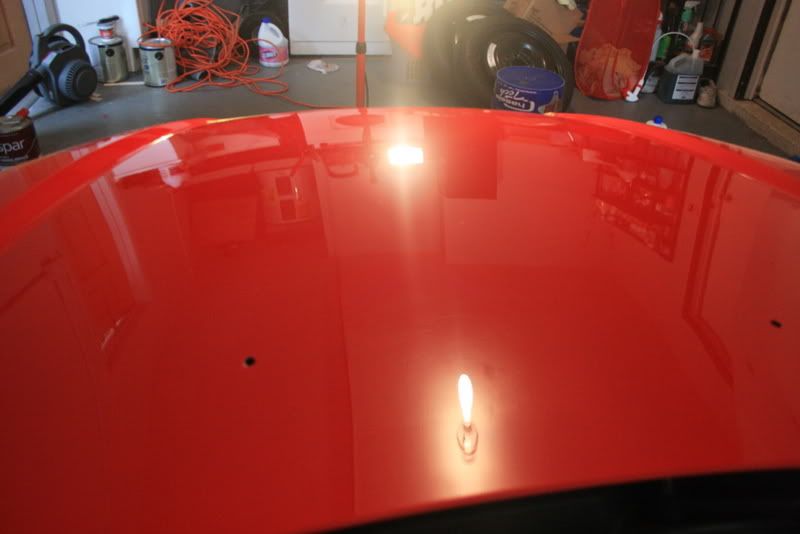
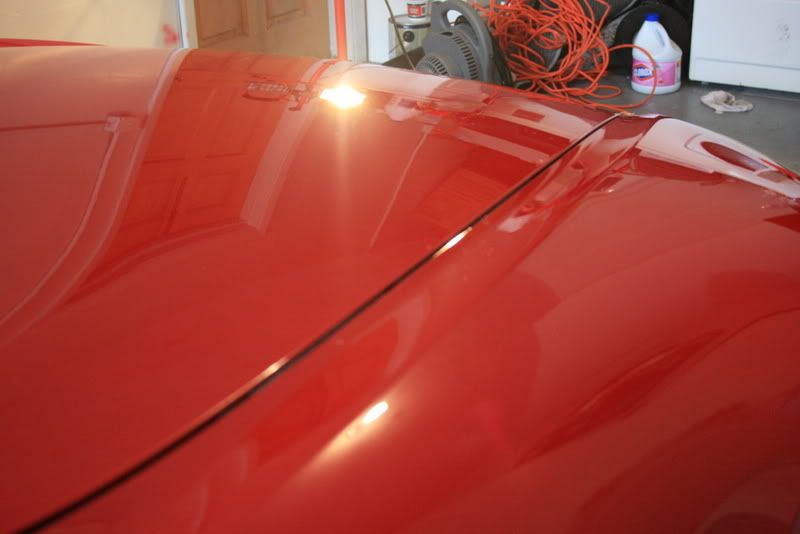
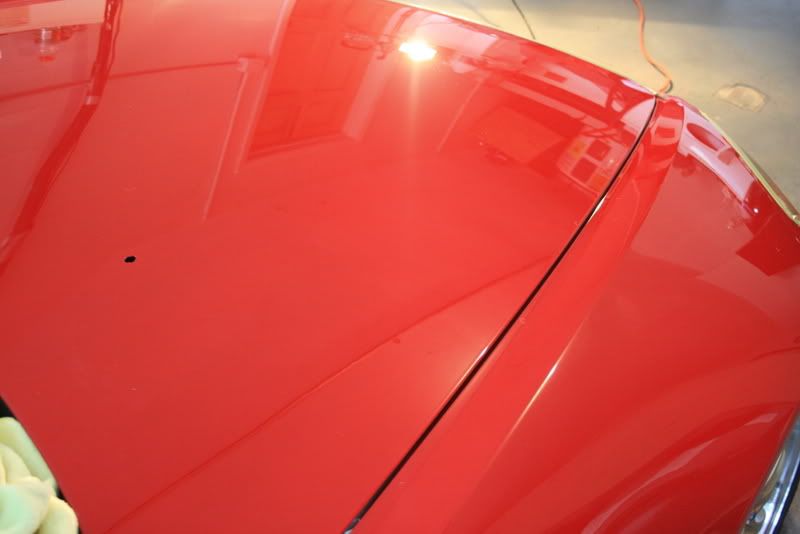
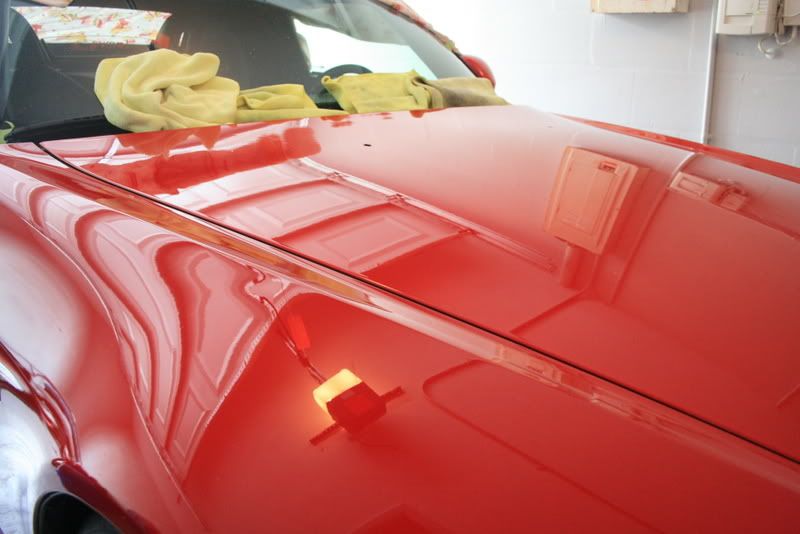
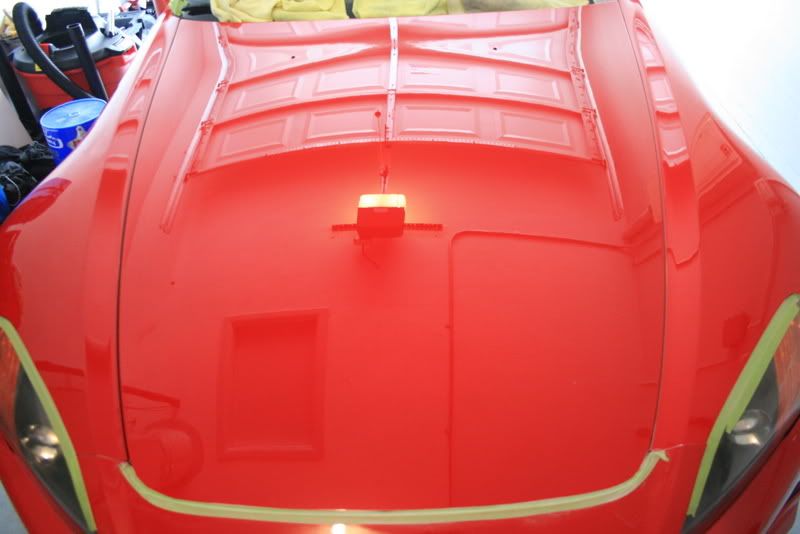
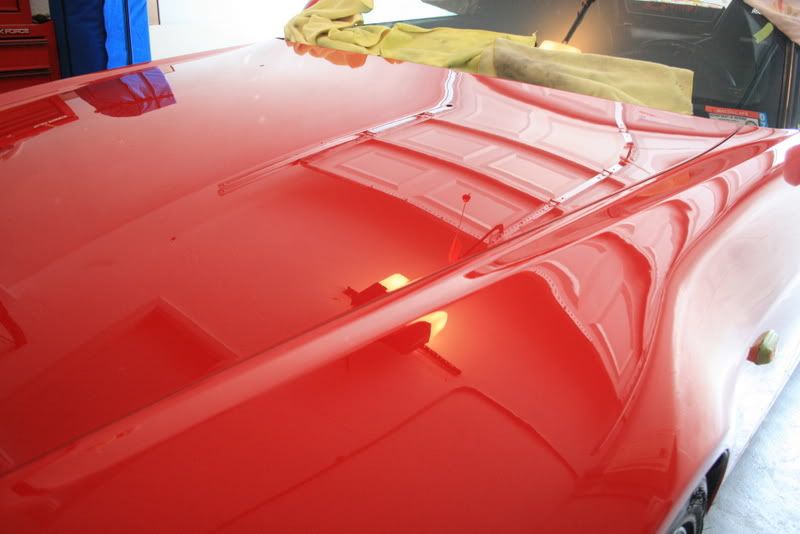
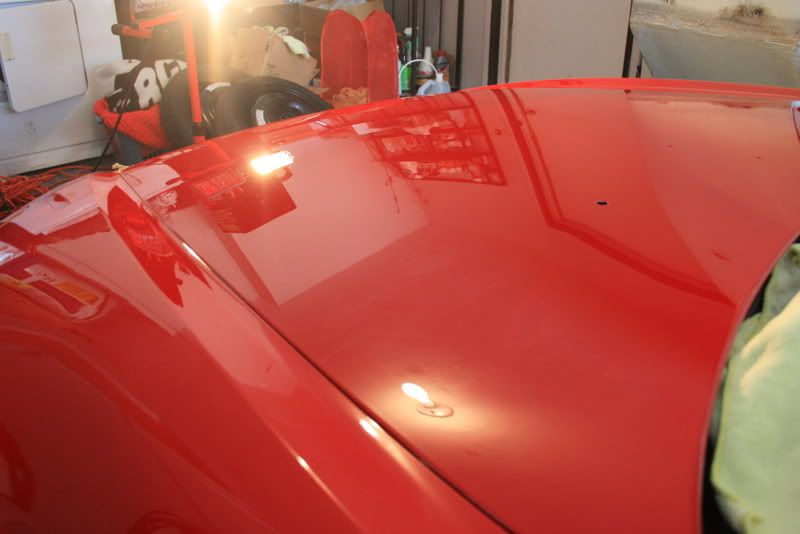
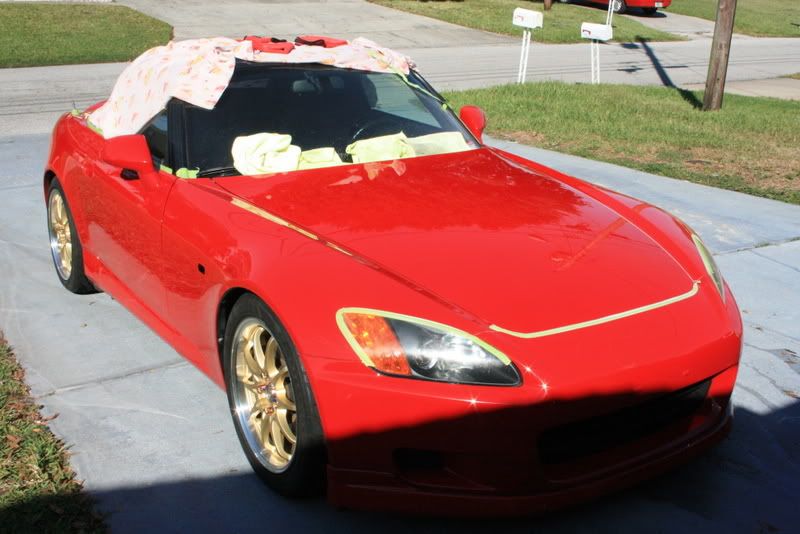
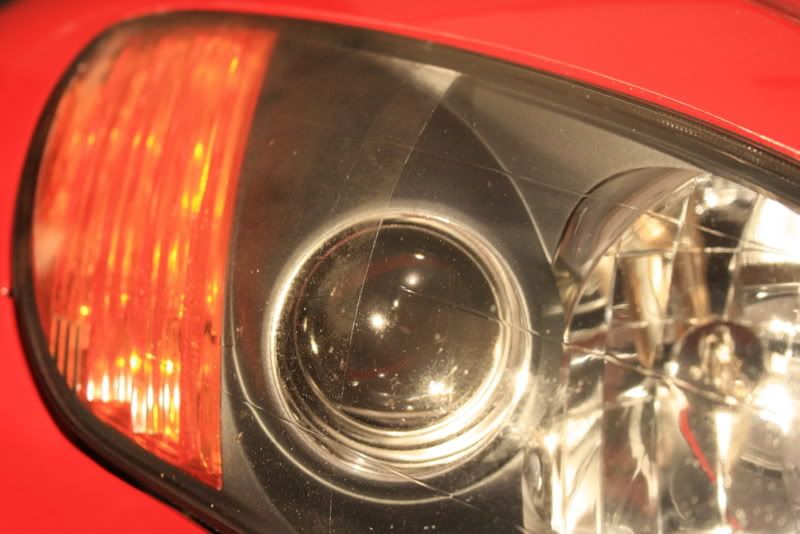
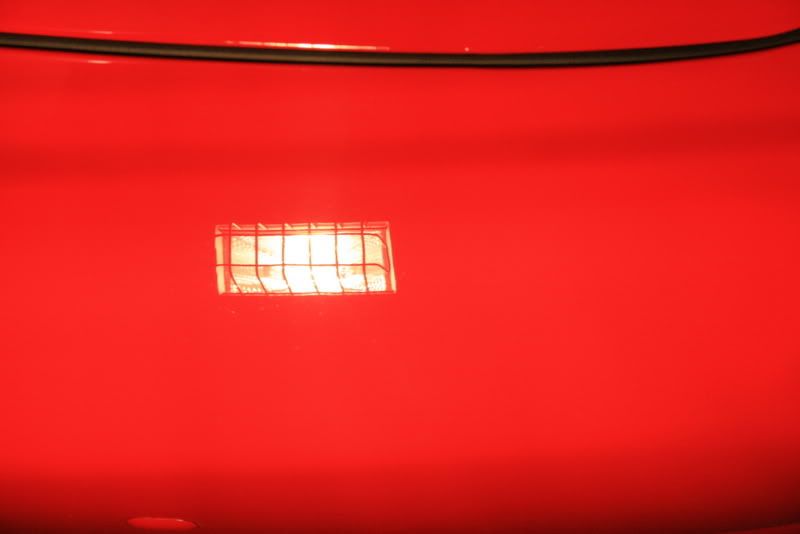
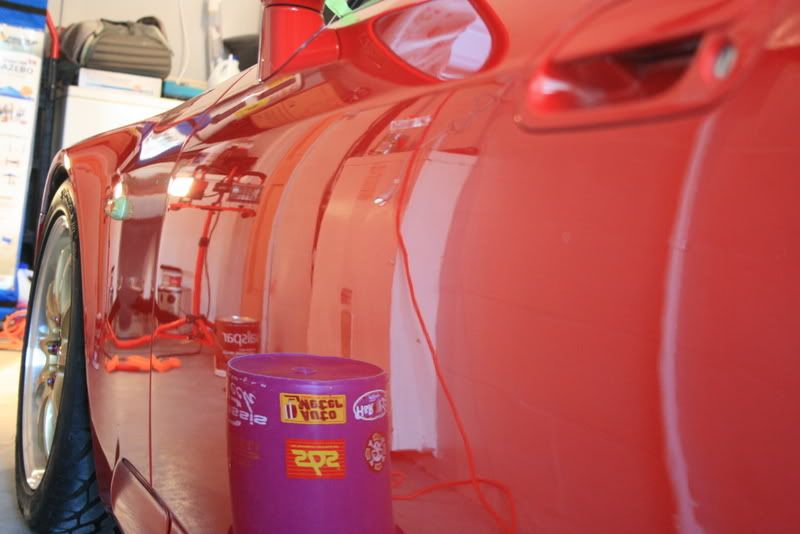
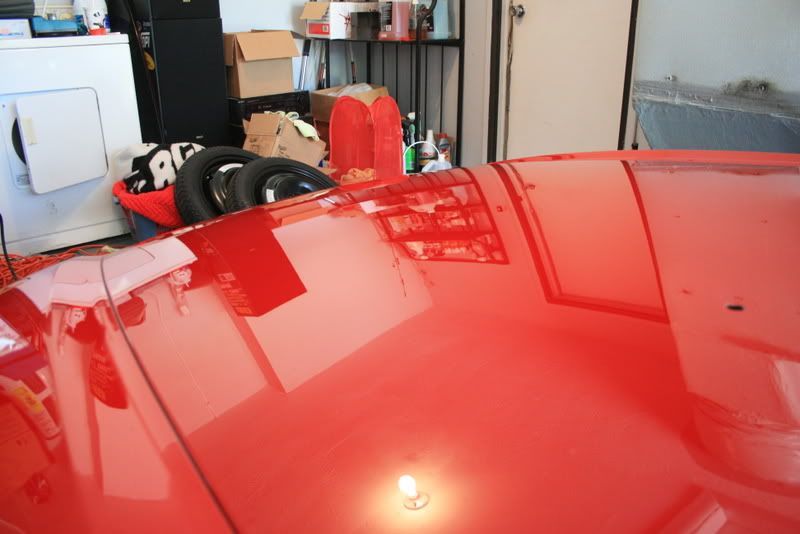
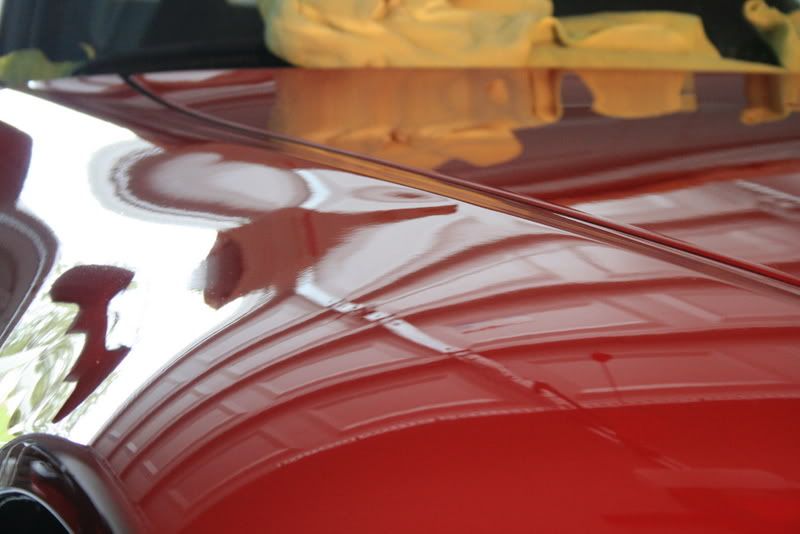
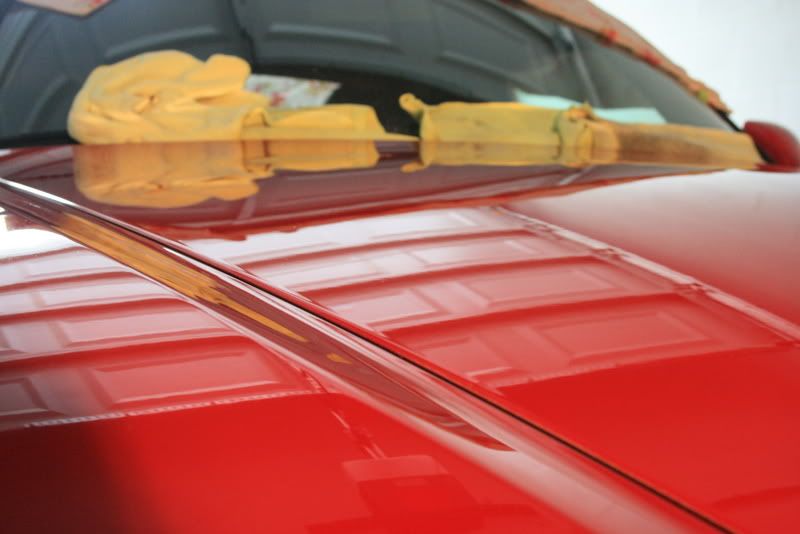
BEFORE:
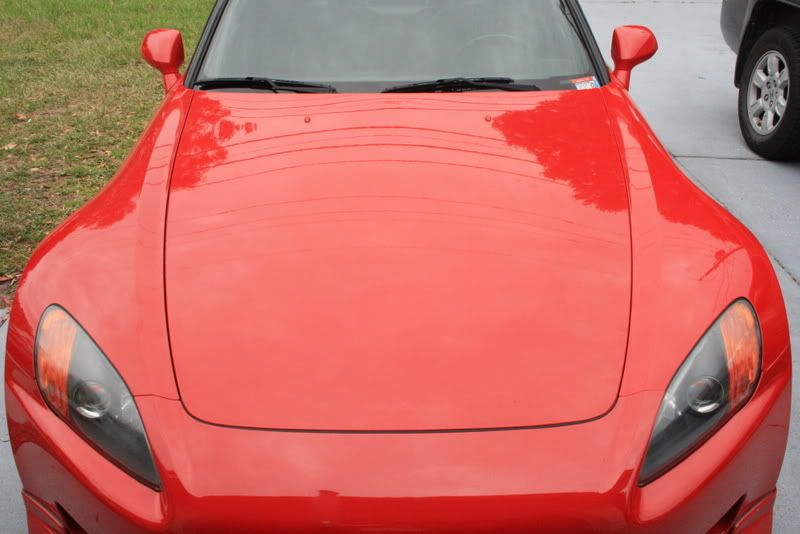
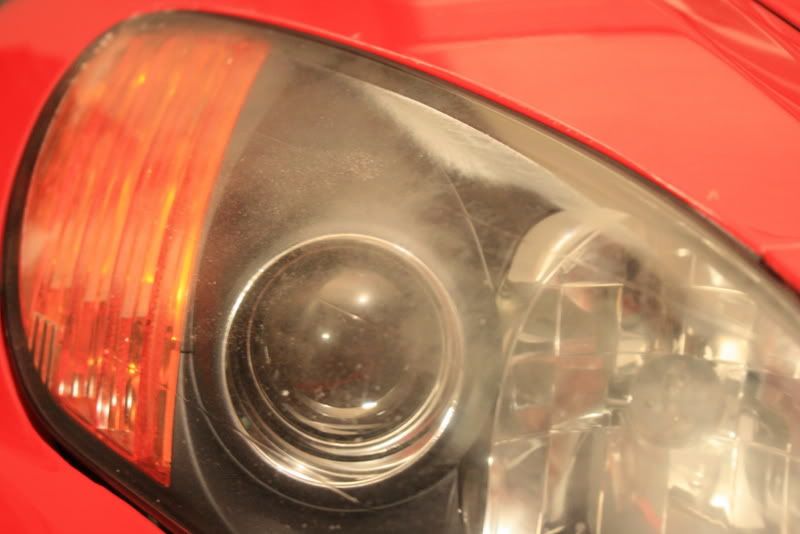
The headlights were in rough shape, well take care of those later.
The owner spilled about a quart of oil on accident while performing an oil change, now my duty to clean it up! haha!
I posted up this thread, http://www.autopia.org/forum/car-detailing/112746-2-passes-m105-wool-no-luck.html , looking for advice. No one knew what to tell me except for "iamwaxman" aka Kevin. He informed me of a new method on how to use the M105 and get two to three times more cut!
iamwaxman said:Since you've already got the M105 and the wool pad (plus plenty of others)...
Go ahead and try this:
1. Prime the pad THOROUGHLY.
Rub it in with your hand. It'll take a bit more than you're used to applying.
2. Apply a bead of M105 to the surface, pull it in, and polish at low speed (1000 rpm).
Try 2-3 passes, or until the M105 is just starting to dry.
3. Using a fine mist, spray the surface with water.
Do not add additional product- Just re-polish with what's already in the pad.
I think you'll see a 50% improvement in the cut, but you'll probably see an increase in swirling (it can be easily removed).
After trying this method (count it as one cycle), spur the wool pad (blow it clean with compressed air if you have it).
I won't PROMISE a better result, but I am pretty sure you're going to GET a better result.
And I went into the garage and followed the directions precisely. FIRST TRY ALL SWIRLS ARE REMOVED!!! I couldnt believe my eyes! Not to mention the fantastic gloss it leaves once finished down!
Well anyways, on to the pictures!
Exterior:
Dawn Soap Pre-Wash
Optimum Car Wash-Final Wash
DD "Uber" Red Drying Towel
DD "Uber" Wool Mitt
Dual Buckets with Grit Guards
3m "green" Masking Tape
Adams Professional Clay Bar
P21S TAW
Meguairs APC+
Meguairs Hyperdressing
Megs M105/Megs Solo Burgandy Wool(new method) x2
Menzerna PO85rd/LC FLAT Black 5.5"
Menzerna Top Inspection
Tons of Uber MF Towels
Black WOW
Griots Garage Wheel Cleaner Gel
Swissvax Pneu
LSP:
Lusso Oro applied with Uber Foam Applicator
Tools:
Dual Work Lamps
Dewalt Hi Speed Rotary
World's Greatest Boar's Hair Wheel Brush
Foam Pad Cleaning Brush
DD Detail Sponge
The Wheel Well/Fender Brush
The Spoke Brush
Canon Rebel XTi
Craftsmen 295MPH Vac/Blow
E-Z Detail Wheel Brush
Swissvax Wheel Brush
BEFORE:
The headlights were in rough shape, well take care of those later.
The owner spilled about a quart of oil on accident while performing an oil change, now my duty to clean it up! haha!


") damn fine job PD
damn fine job PD