PresdntialDtail
New member
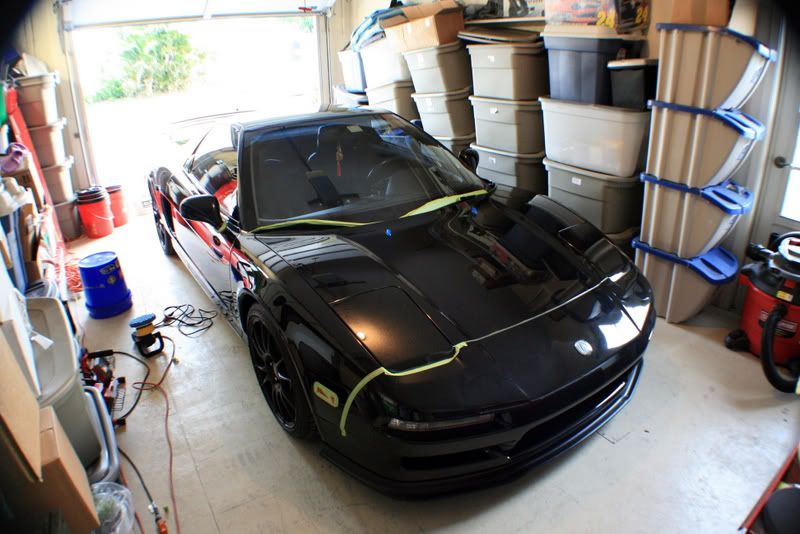
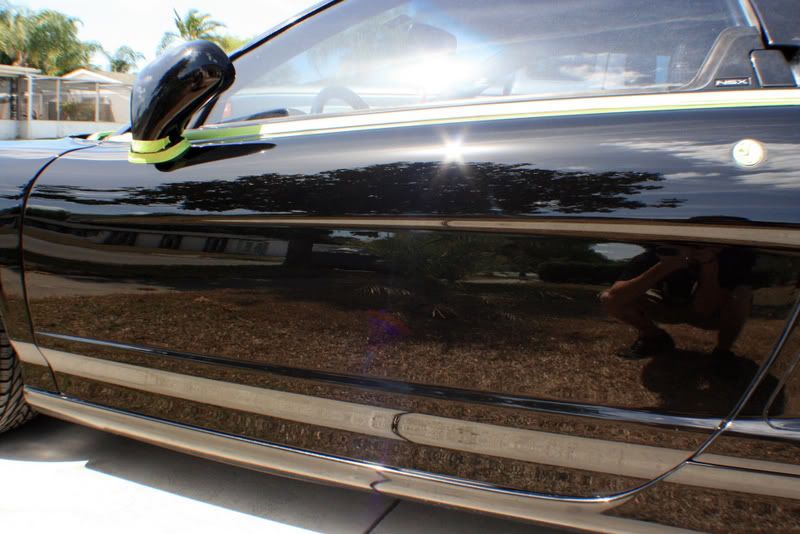
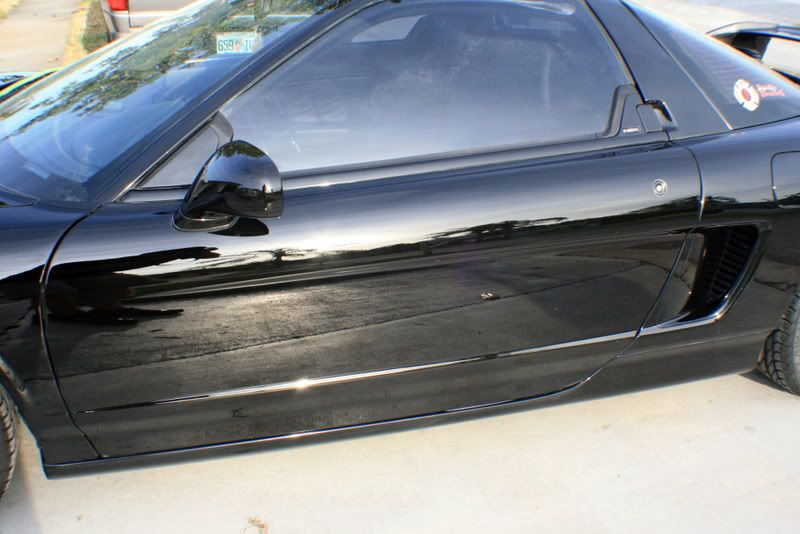
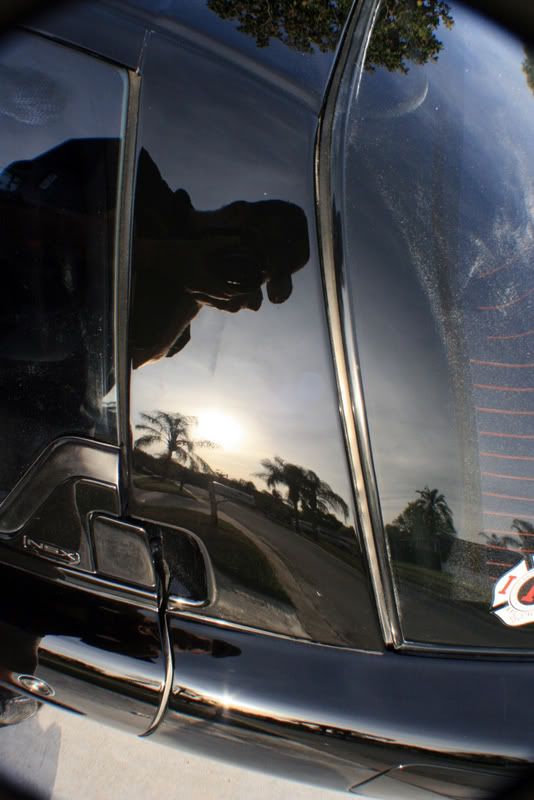
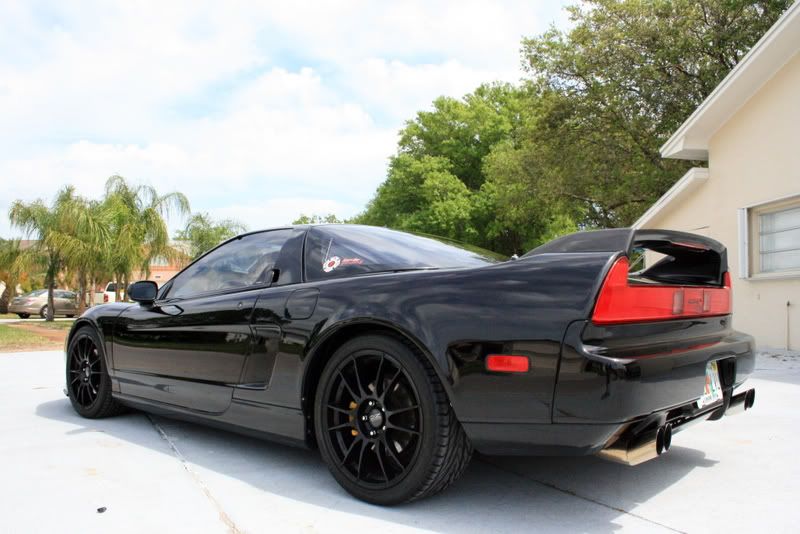
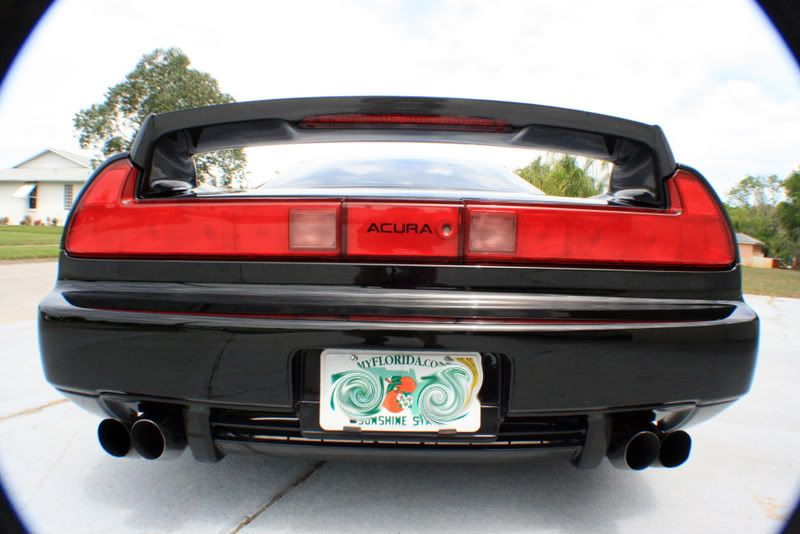
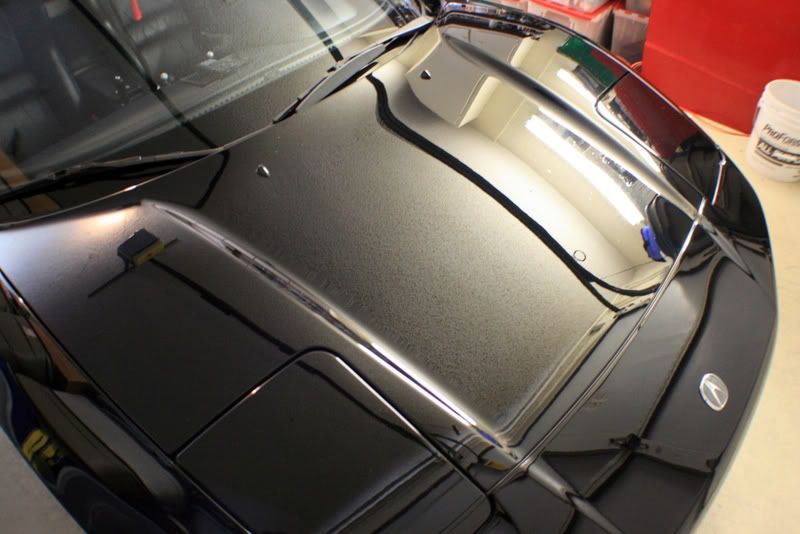
After a very fun weekend at Autogeeks Detail Fest, and a very informational class with Mike Phillips at the Meguiars training class it was time to get back to work on Monday morning. I had a beautiful black NSX waiting for me! I had just received my new G110 polisher earlier last week and was dying to give it a shot with the KBM and M105 and M205 as well! As with almost every other NSX I have seen, it had super soft paint so one or two passes with M105 on a 8207 Polishing Pad using the G110 on speed setting 5 with moderate pressure for the first couple passes and then lightening up for 1-2 more passes was good for full defect removal to my surprise, but who am I kidding, I used the KBM!! :chuckle:
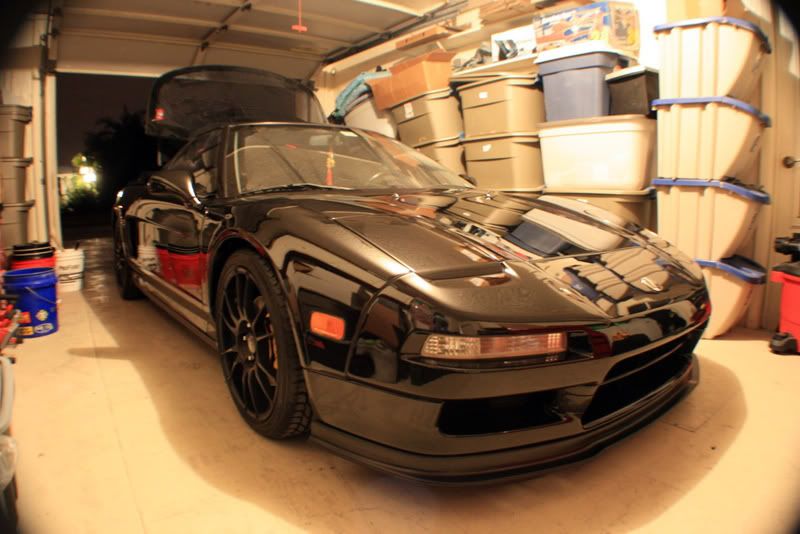
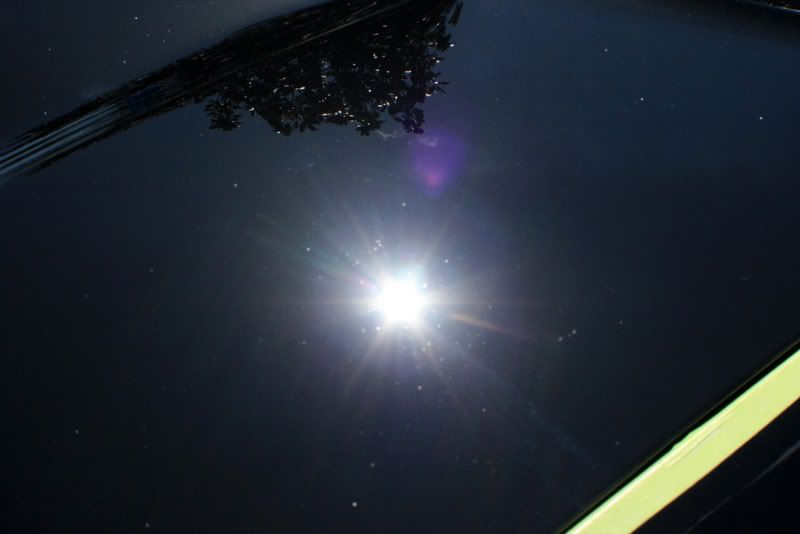
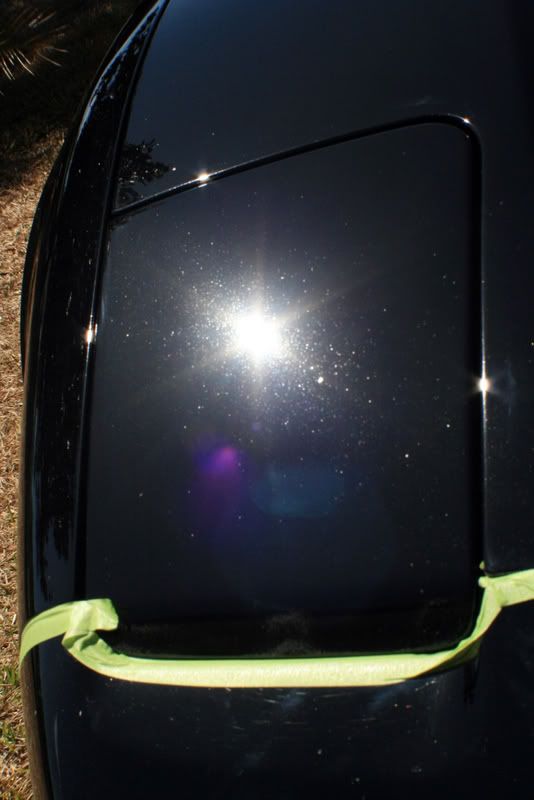
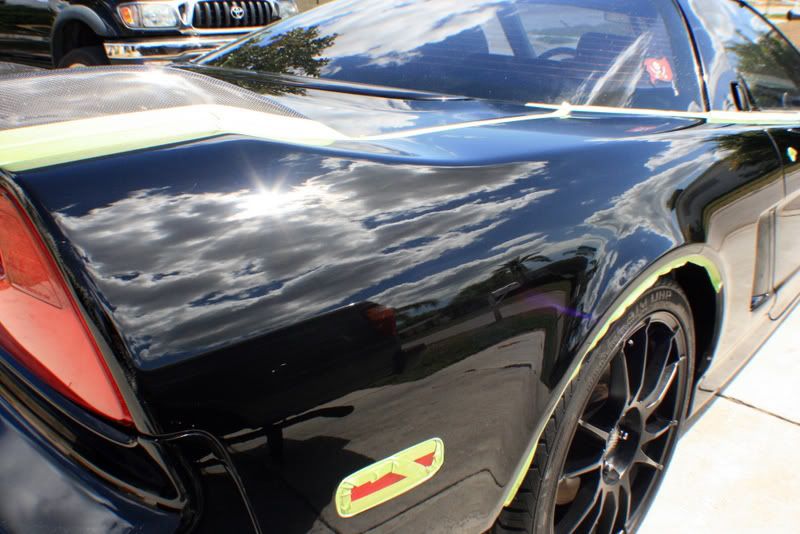
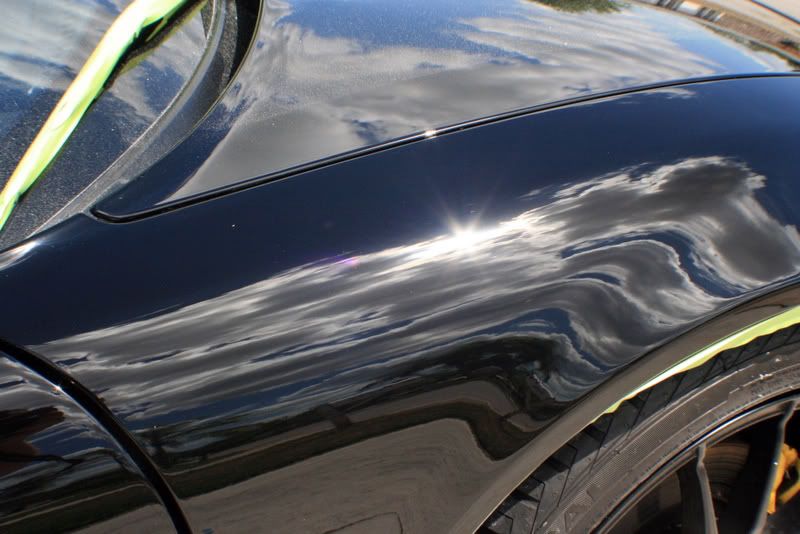
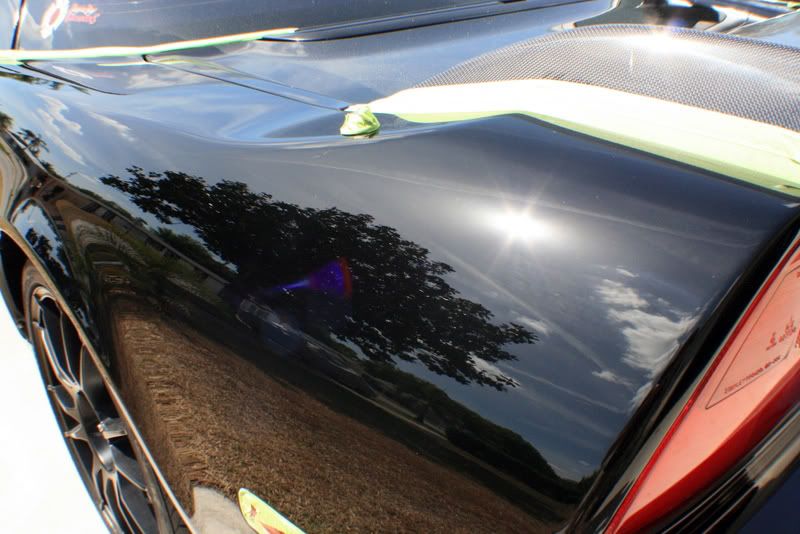
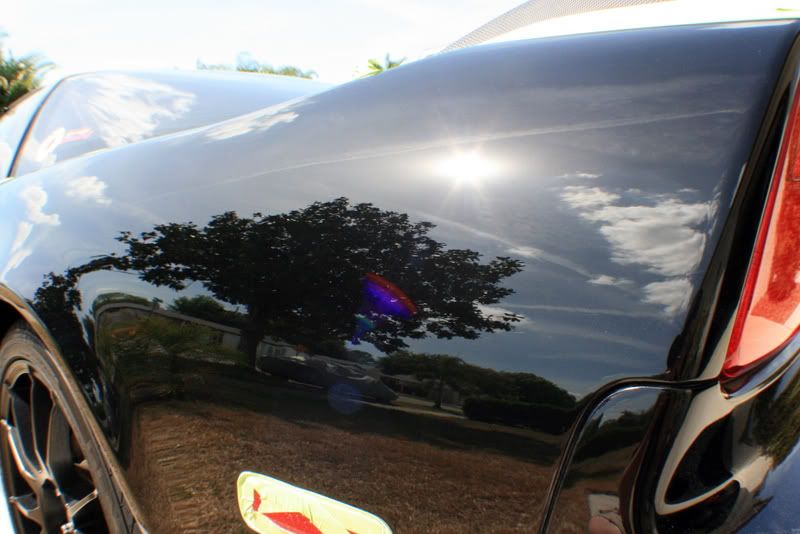
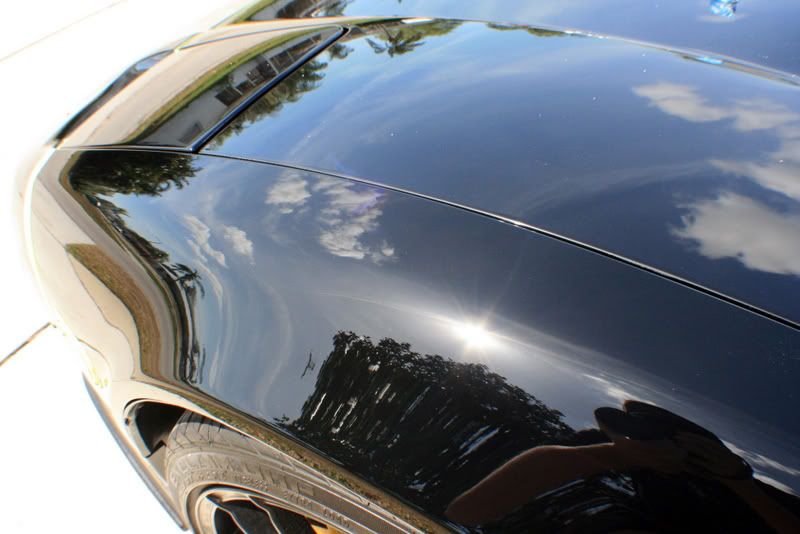
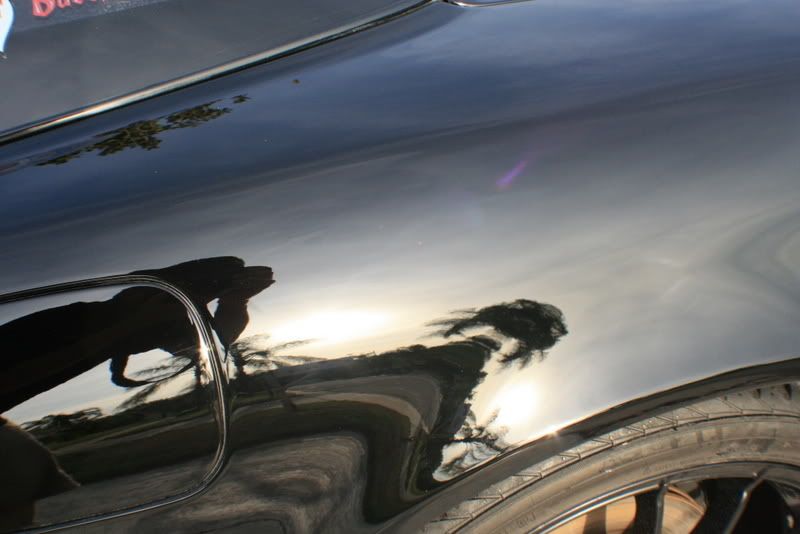
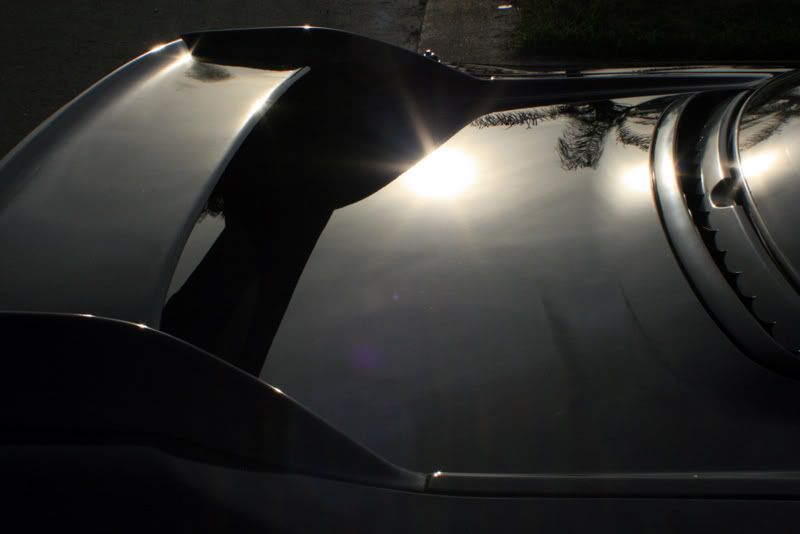
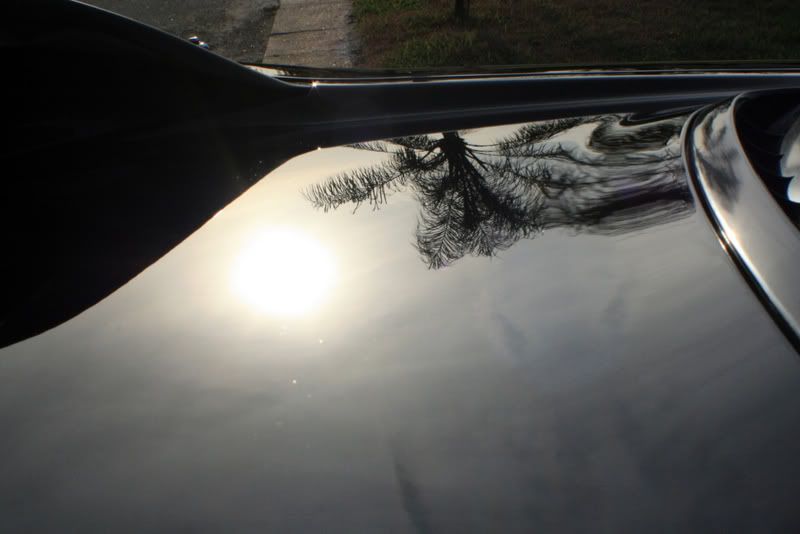
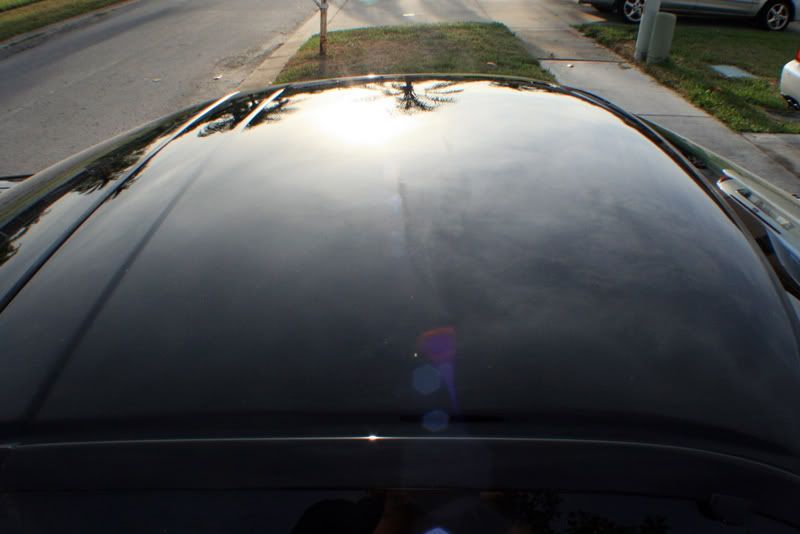
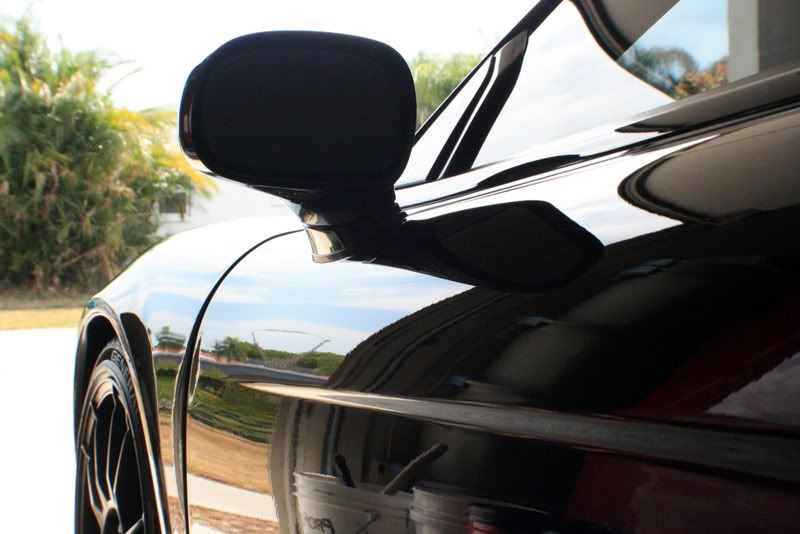
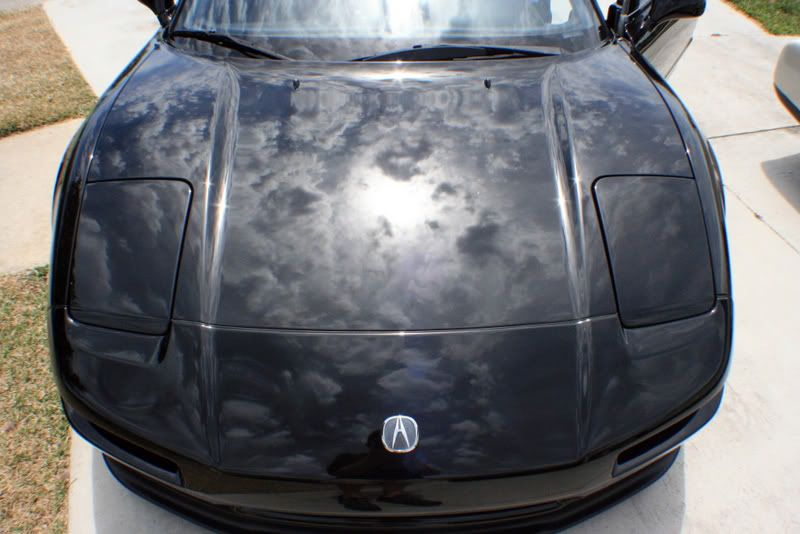
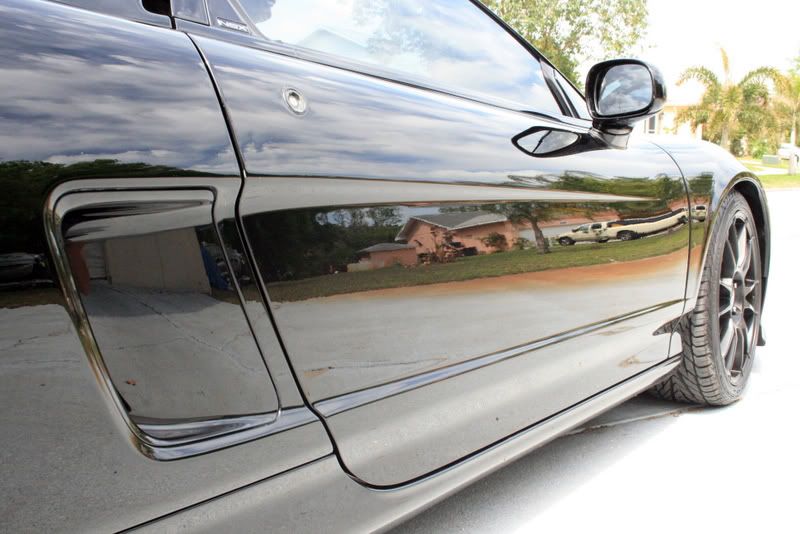
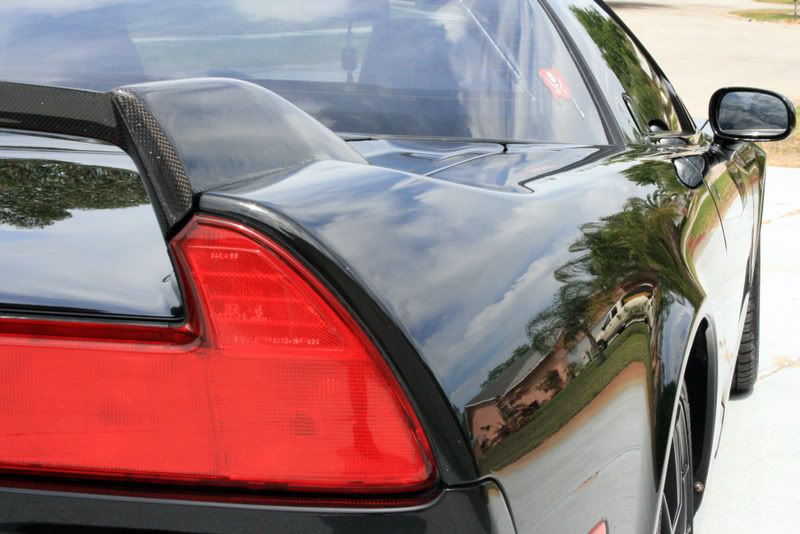
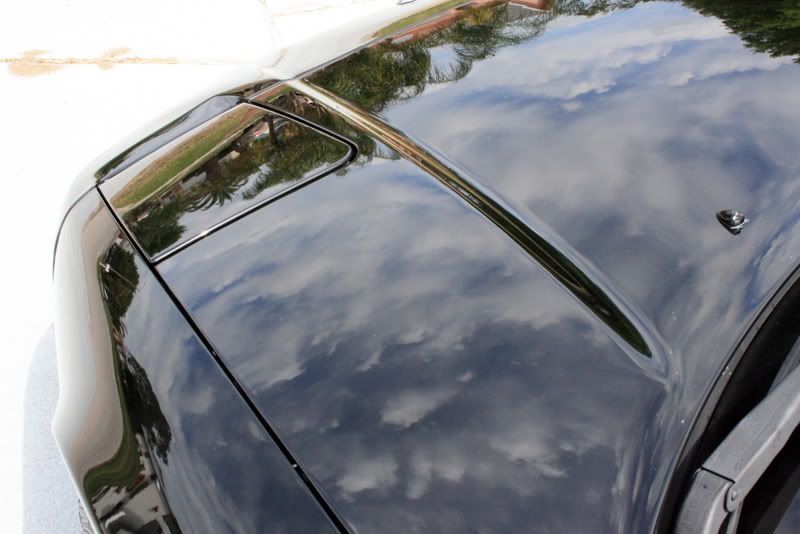
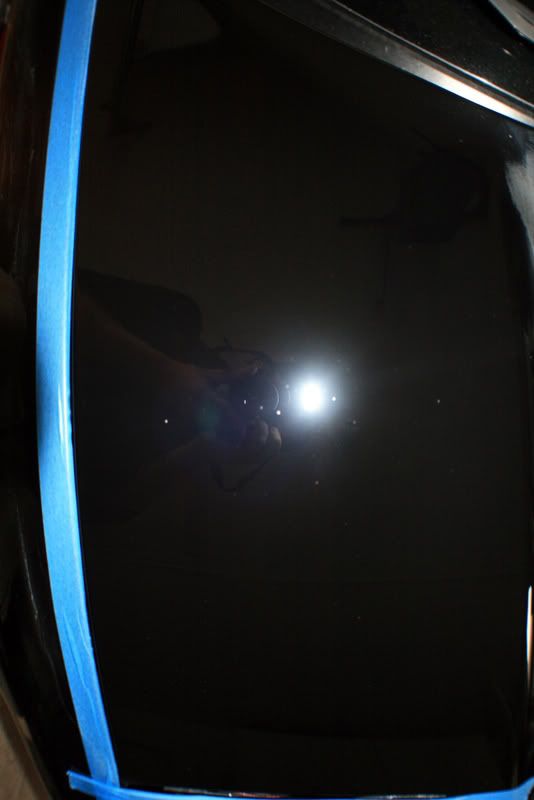
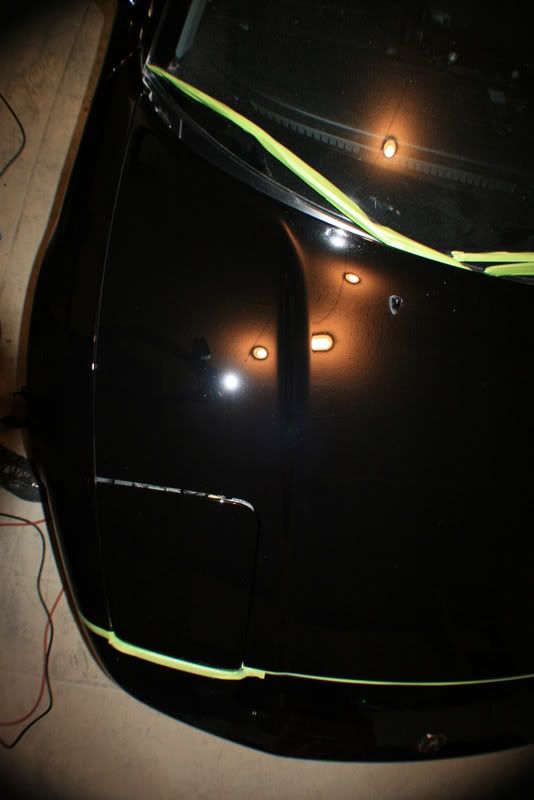
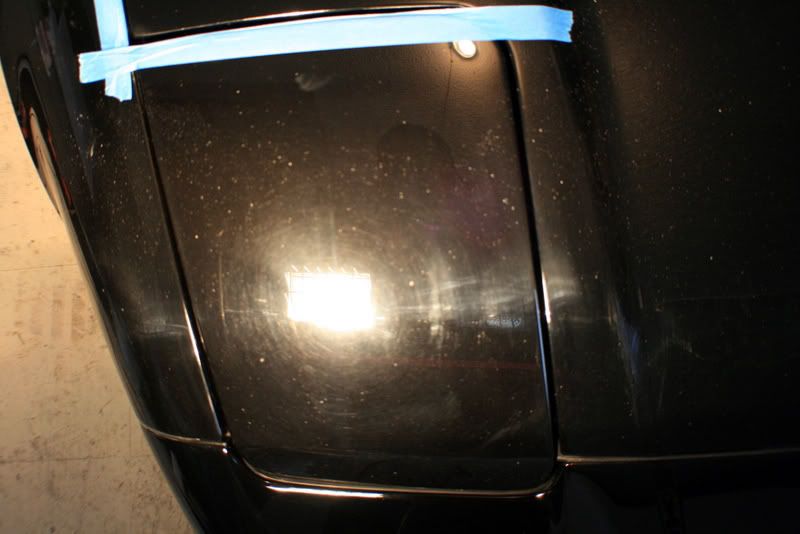
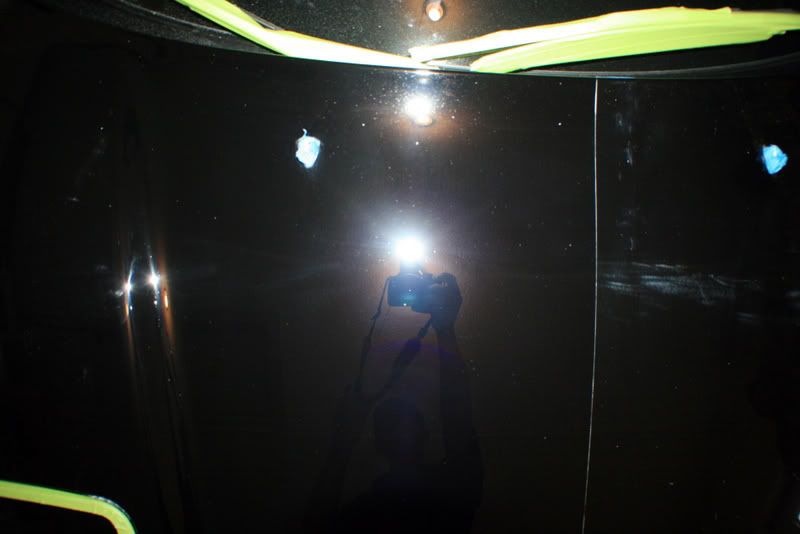
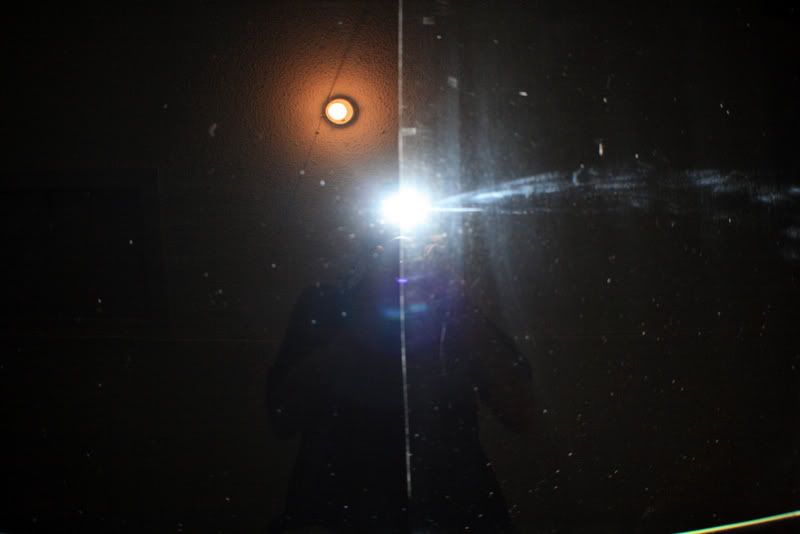
I have never had anything but great results using M105 no matter what method or machine I used and I was eager to try out M205. I used this with Megs 9207 Finishing Pad. It did a great job at clearing up any marring from the previous polishing step and left a pretty good finish, but I wasnt convinced it was the best finish I could get. I could pull the car into the sun, shine the halogens and there was no signs of holograms or swirls, but I noticed by using the flash on my camera the finish just seemed a bit hazy to me. This was later confirmed with one more pass using 3m Ultrafina on a 3m Finishing pad using the G110 as well, this left the finish unbelievably deep and glossy and the haziness I saw was no longer apparent. I am not by any means knocking on M205, as I believe it would be a great finishing product on maybe a little harder clear. The NSX has one of the softest clears out there, and M205 may have been just a little too aggressive to finish down completely on this particular car. Who knows, it could have been my technique being it was my first car to ever use a DA on! :waxing:
Process:
M105/Megs 8207 Polishing Pad KBM
M205/Megs 9207 Finishing Pad MPM(Thats right, Mike Phillips method, a little something we learned last weekend") )
)
3m UF/3m UK Finishing Pad
LSP:
Optimum Opti-Seal left to cure overnight
Dodo Juice Supernatural x2
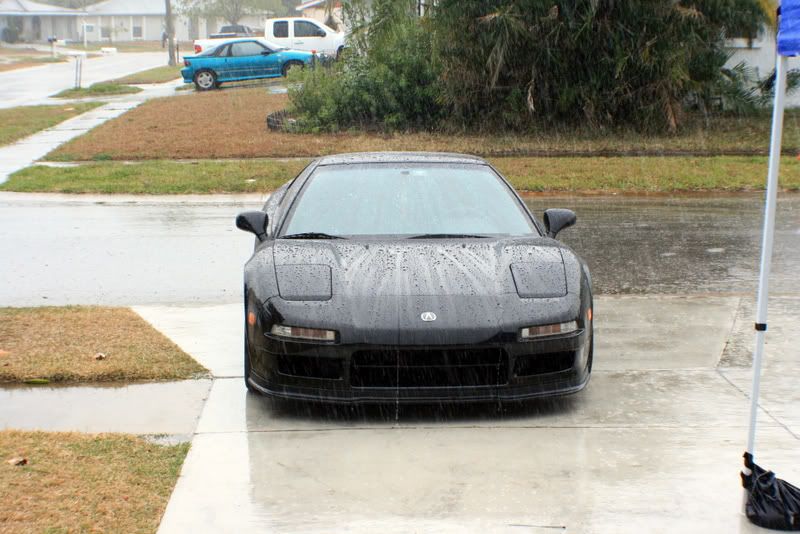
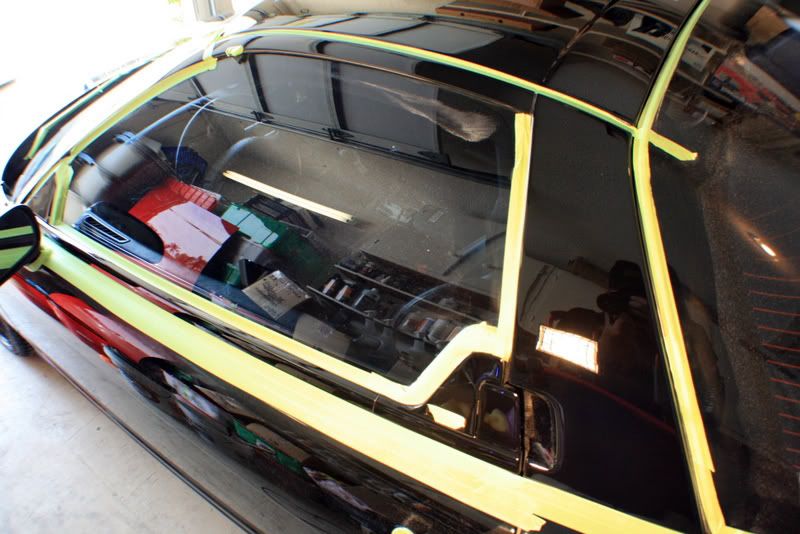
As soon as I pulled the car out it started to rain so I pulled out the EZ-UP tent and proceeded to prep the car for polishing.
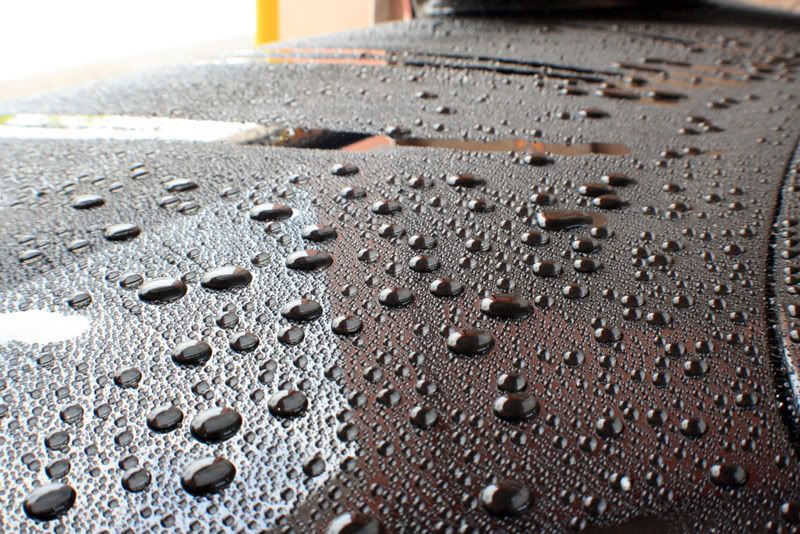
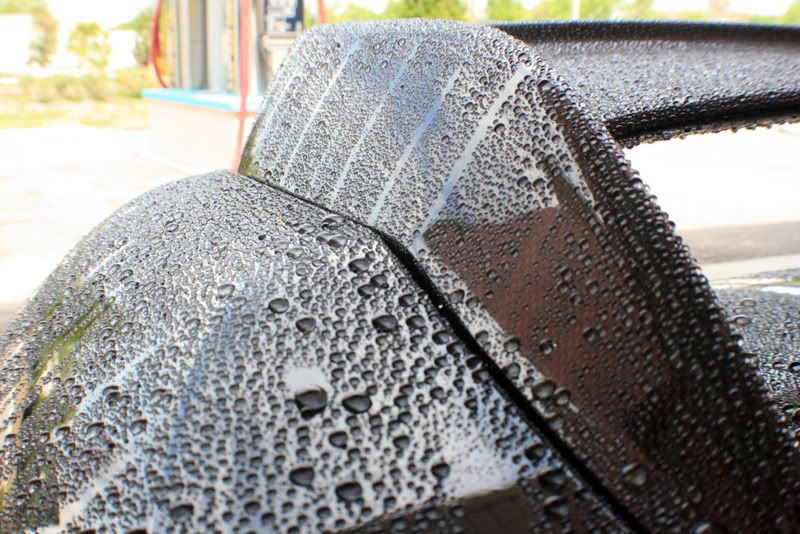
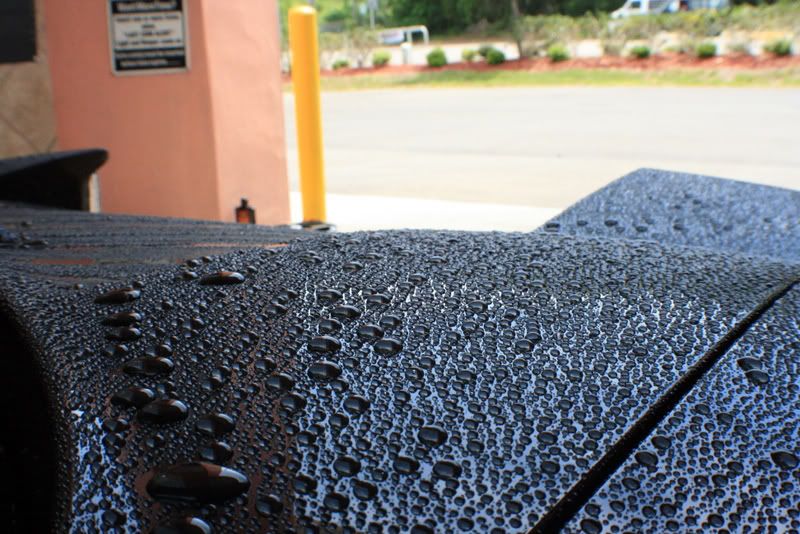
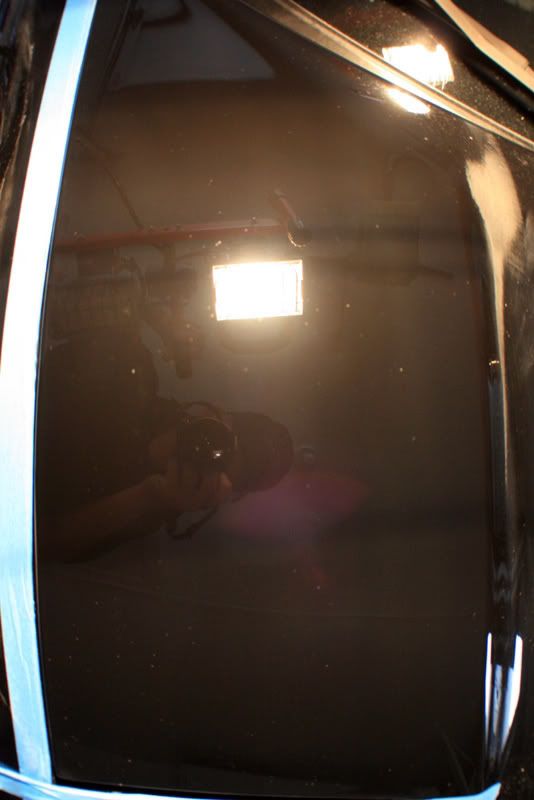
This did reveal one thing to me though, this car had a TON of wax on it as it was beading quite well.

I ended up washing the car three times with Dawn Soap, twice before clay, and once after to ensure the surface was completely clean. The car was no longer beading at this point so I was happy.

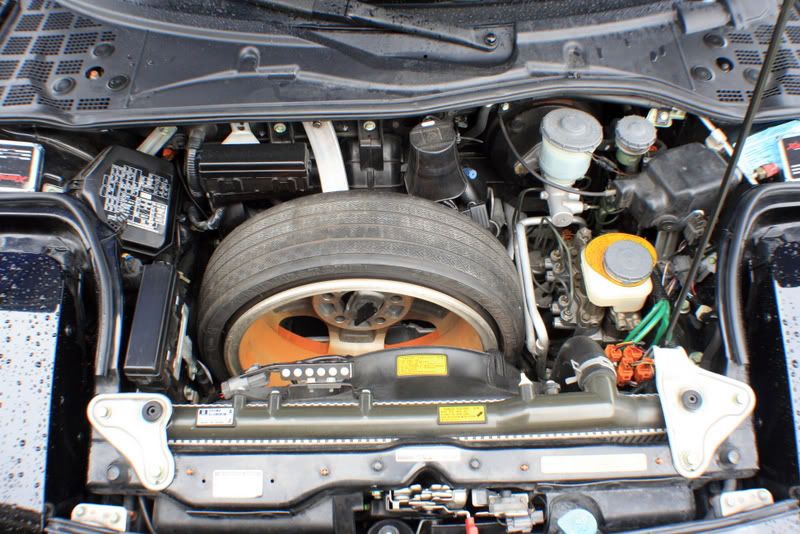
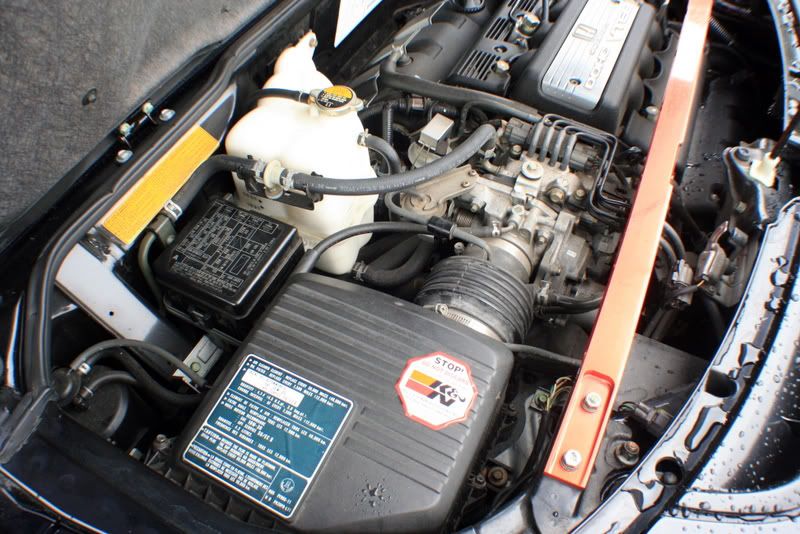
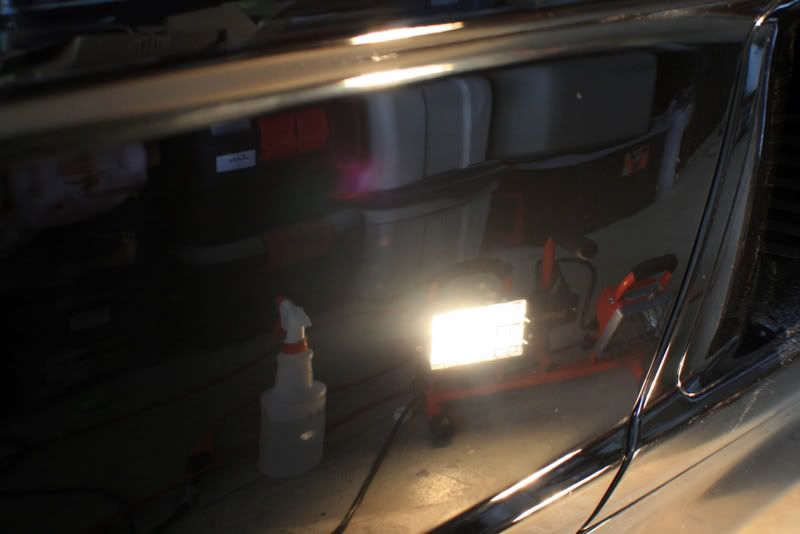
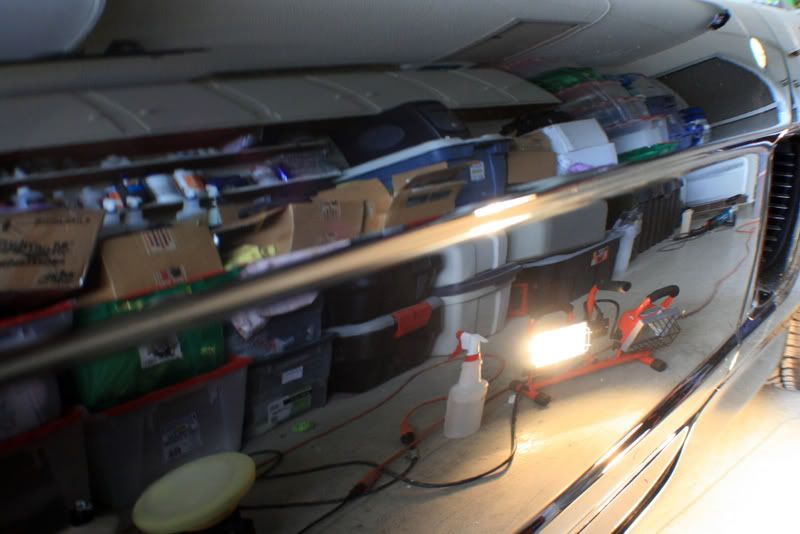
I removed the spare tire so that I could better access the front compartment..
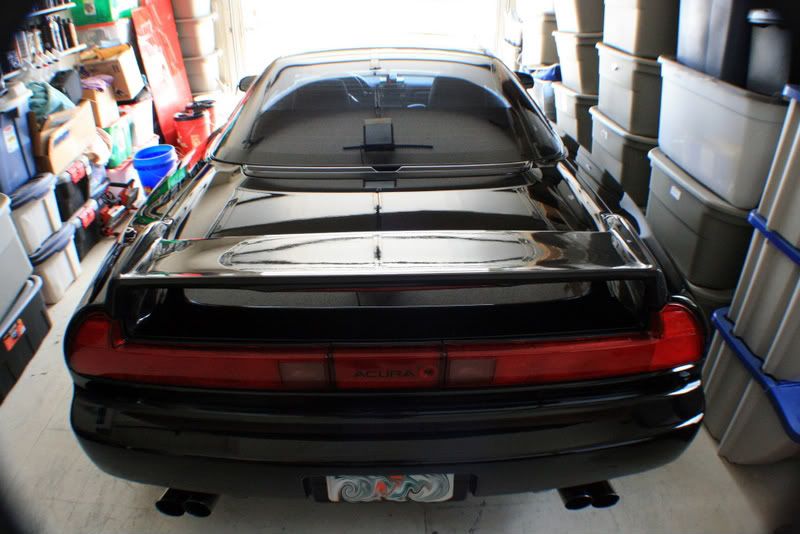
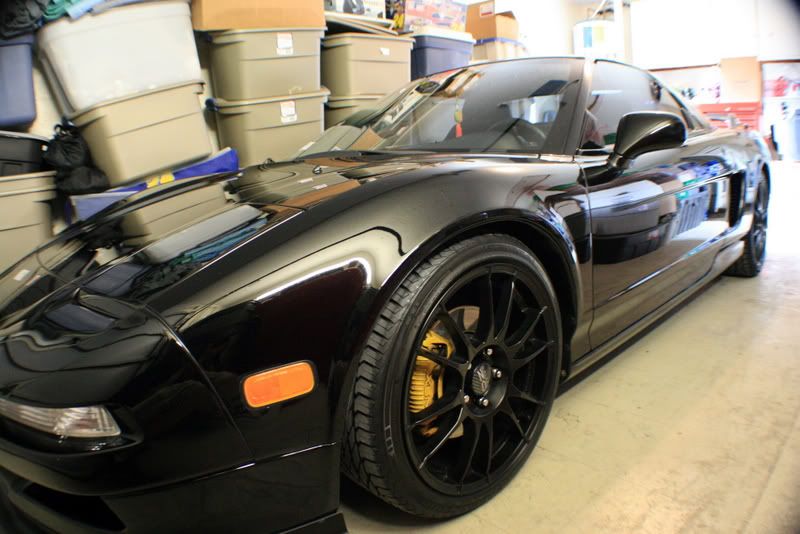
AFTER:

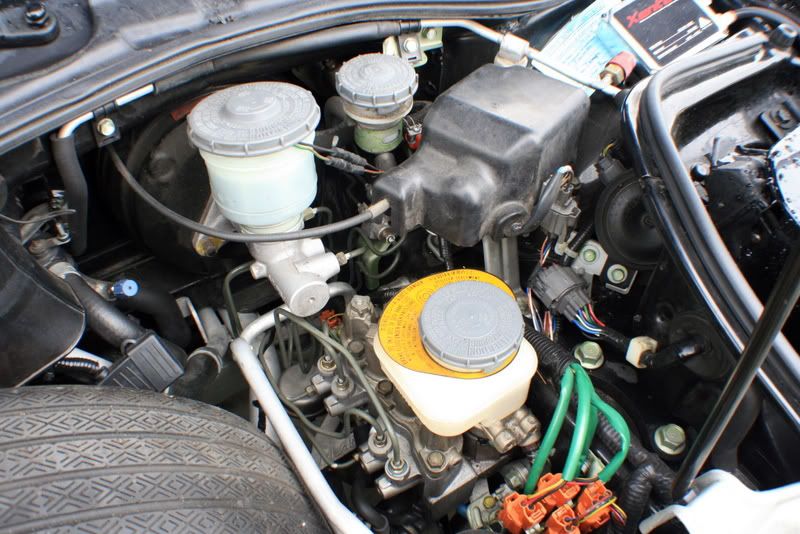
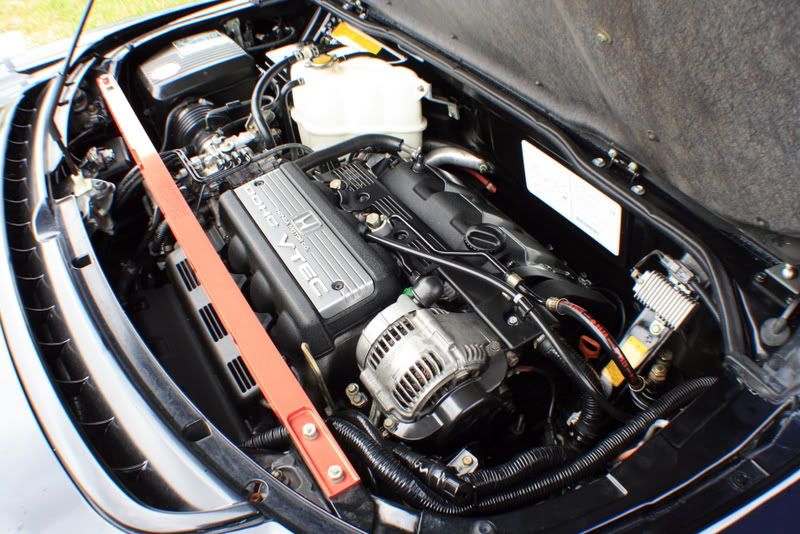
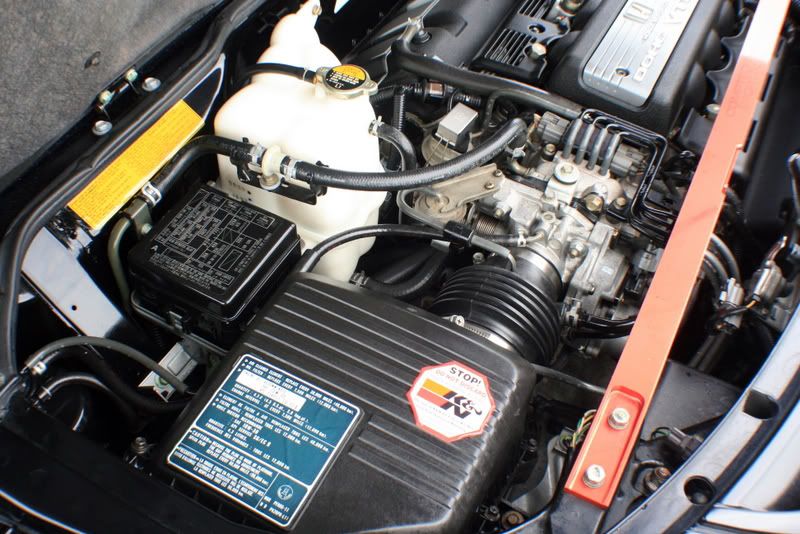
The engine was cleaned up as well..
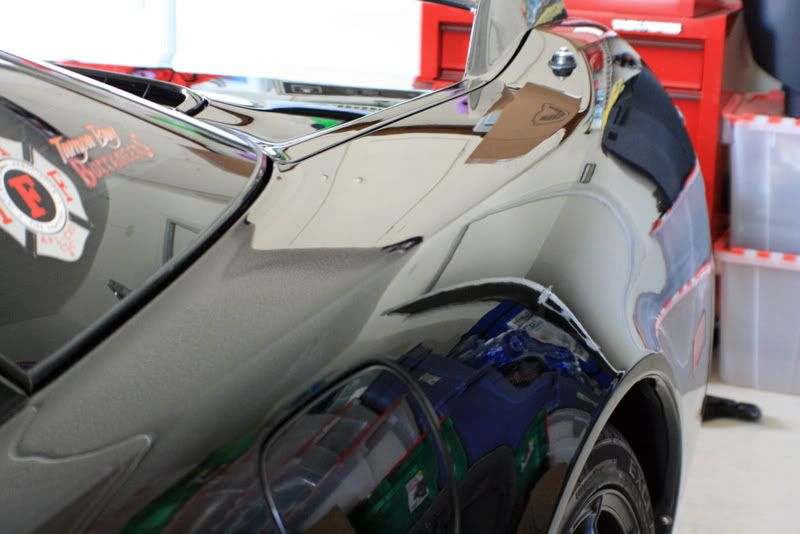
Before:

After:
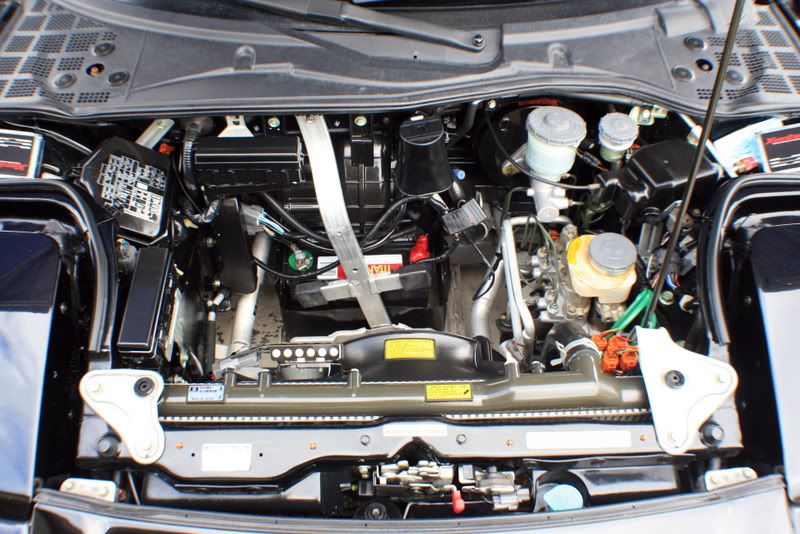
It was sprinkling still, which is why the airbox looks uneven, it was later touched up.
I have never had anything but great results using M105 no matter what method or machine I used and I was eager to try out M205. I used this with Megs 9207 Finishing Pad. It did a great job at clearing up any marring from the previous polishing step and left a pretty good finish, but I wasnt convinced it was the best finish I could get. I could pull the car into the sun, shine the halogens and there was no signs of holograms or swirls, but I noticed by using the flash on my camera the finish just seemed a bit hazy to me. This was later confirmed with one more pass using 3m Ultrafina on a 3m Finishing pad using the G110 as well, this left the finish unbelievably deep and glossy and the haziness I saw was no longer apparent. I am not by any means knocking on M205, as I believe it would be a great finishing product on maybe a little harder clear. The NSX has one of the softest clears out there, and M205 may have been just a little too aggressive to finish down completely on this particular car. Who knows, it could have been my technique being it was my first car to ever use a DA on! :waxing:
Process:
M105/Megs 8207 Polishing Pad KBM
M205/Megs 9207 Finishing Pad MPM(Thats right, Mike Phillips method, a little something we learned last weekend
) 3m UF/3m UK Finishing Pad
LSP:
Optimum Opti-Seal left to cure overnight
Dodo Juice Supernatural x2
As soon as I pulled the car out it started to rain so I pulled out the EZ-UP tent and proceeded to prep the car for polishing.
This did reveal one thing to me though, this car had a TON of wax on it as it was beading quite well.
I ended up washing the car three times with Dawn Soap, twice before clay, and once after to ensure the surface was completely clean. The car was no longer beading at this point so I was happy.
I removed the spare tire so that I could better access the front compartment..
AFTER:
The engine was cleaned up as well..
Before:
After:
It was sprinkling still, which is why the airbox looks uneven, it was later touched up.


")