zmcgovern45
New member
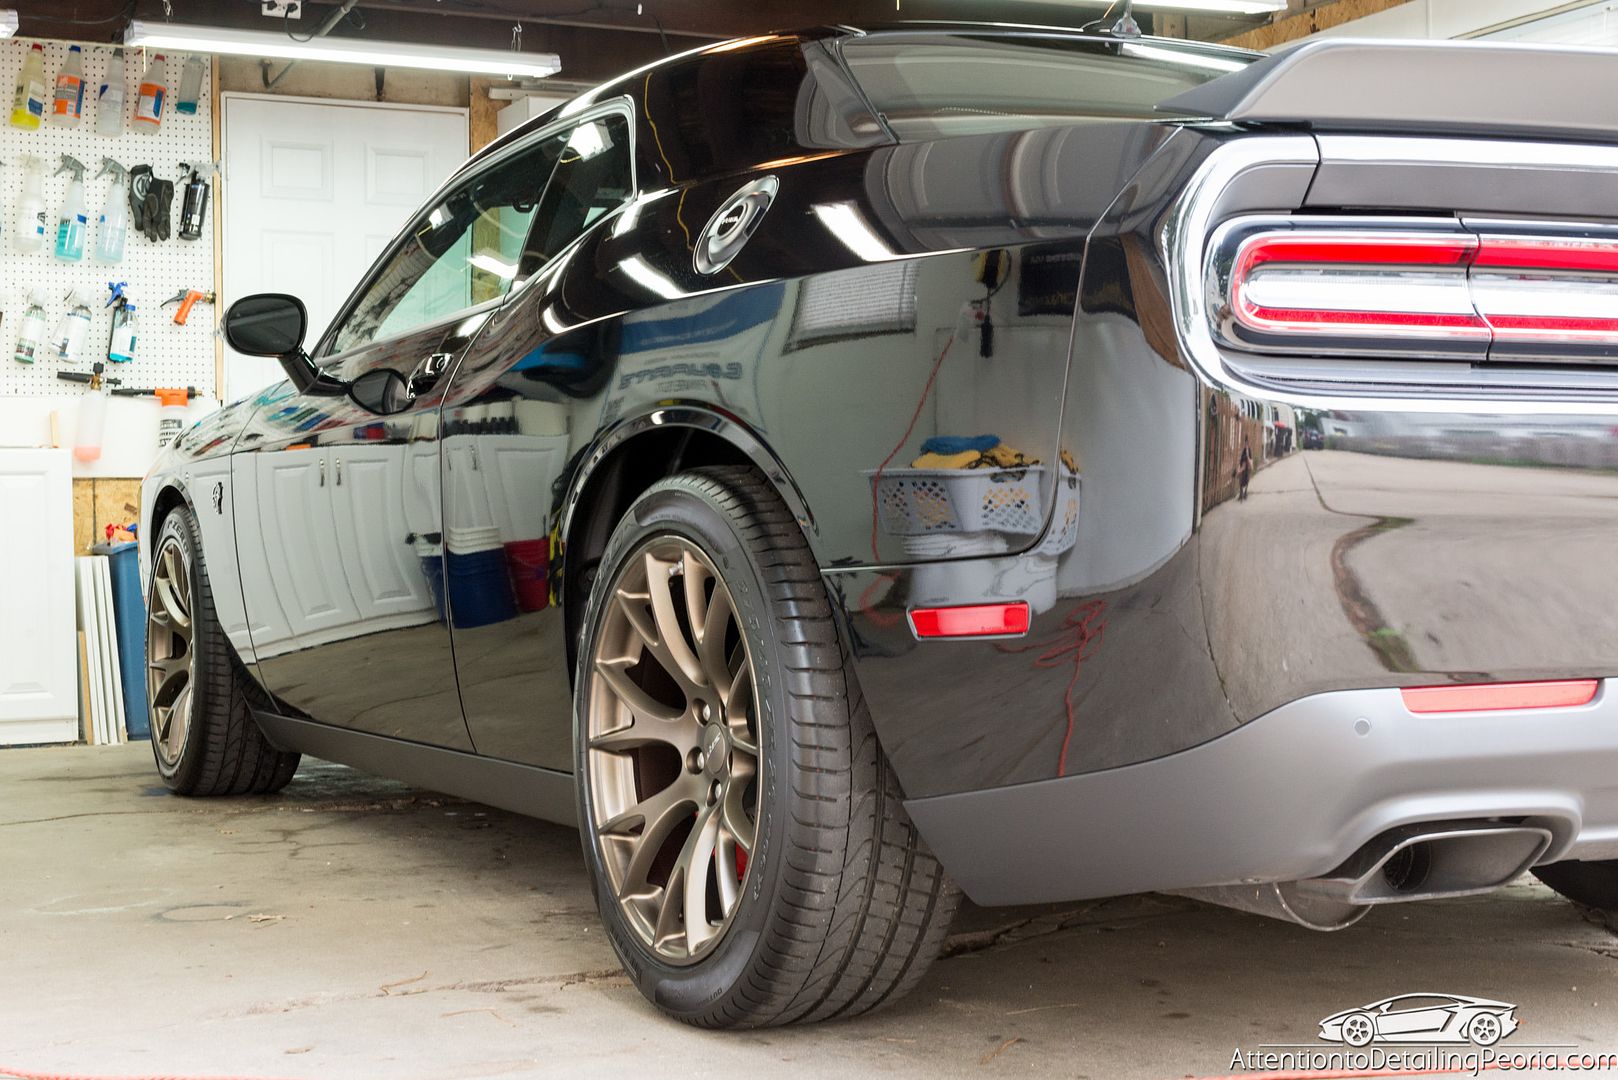
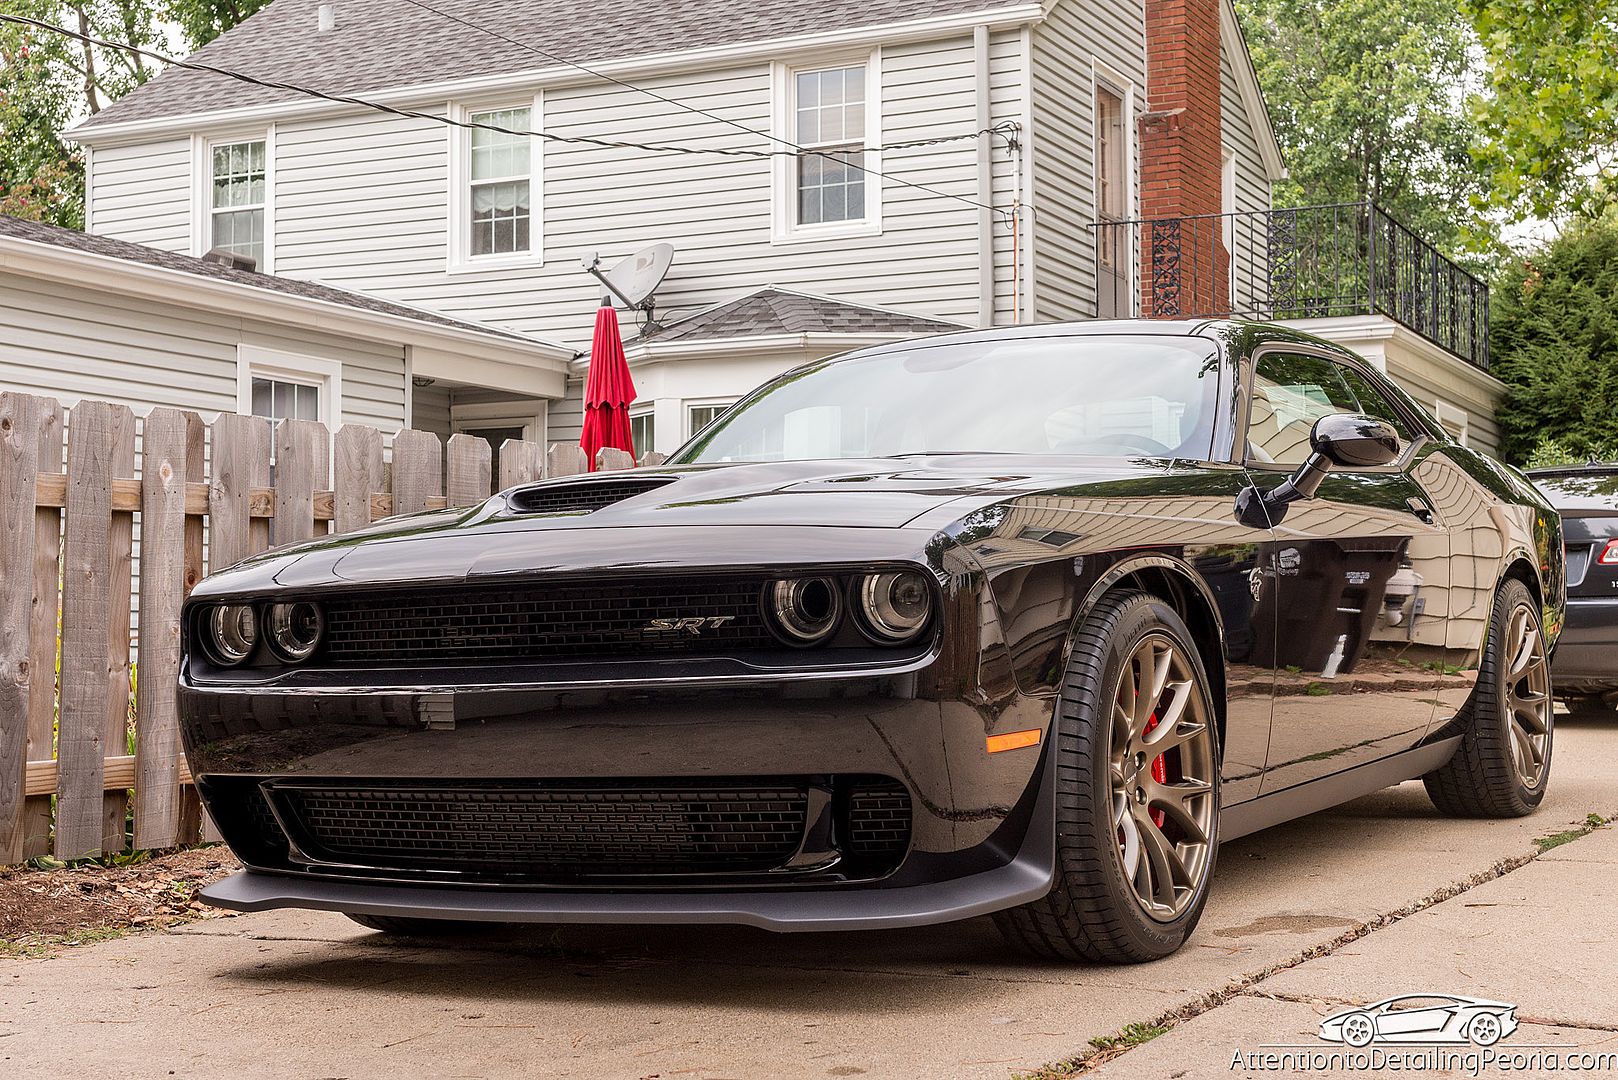
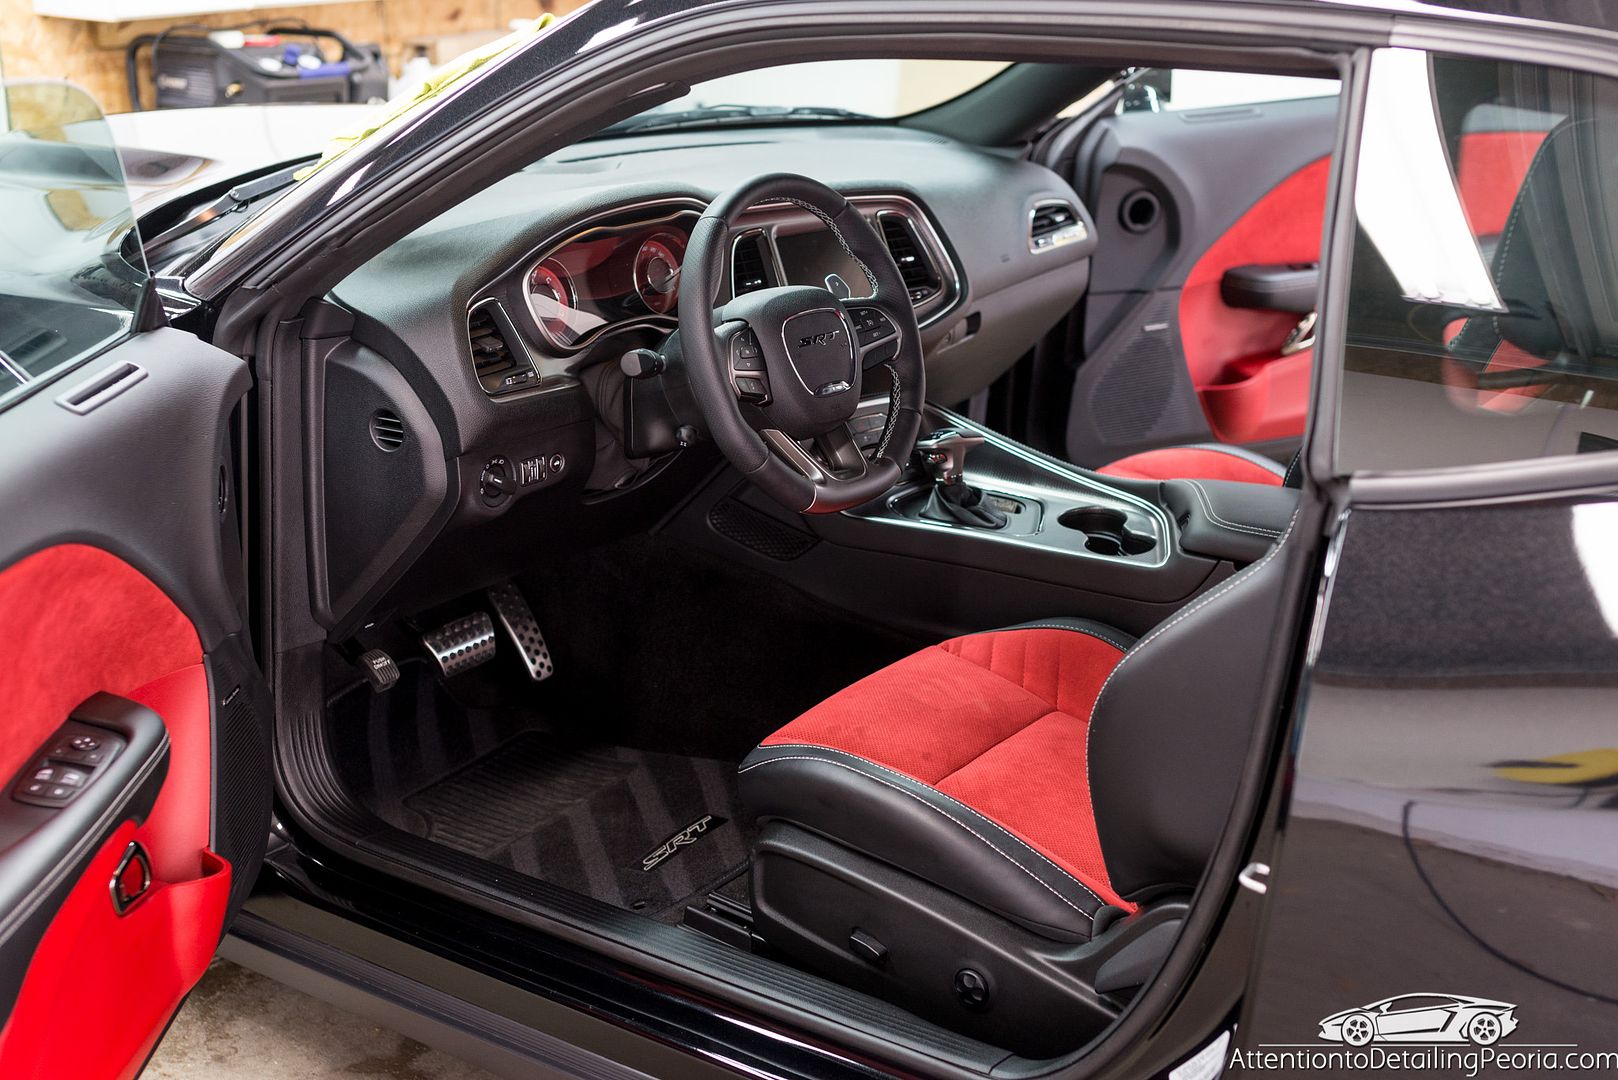
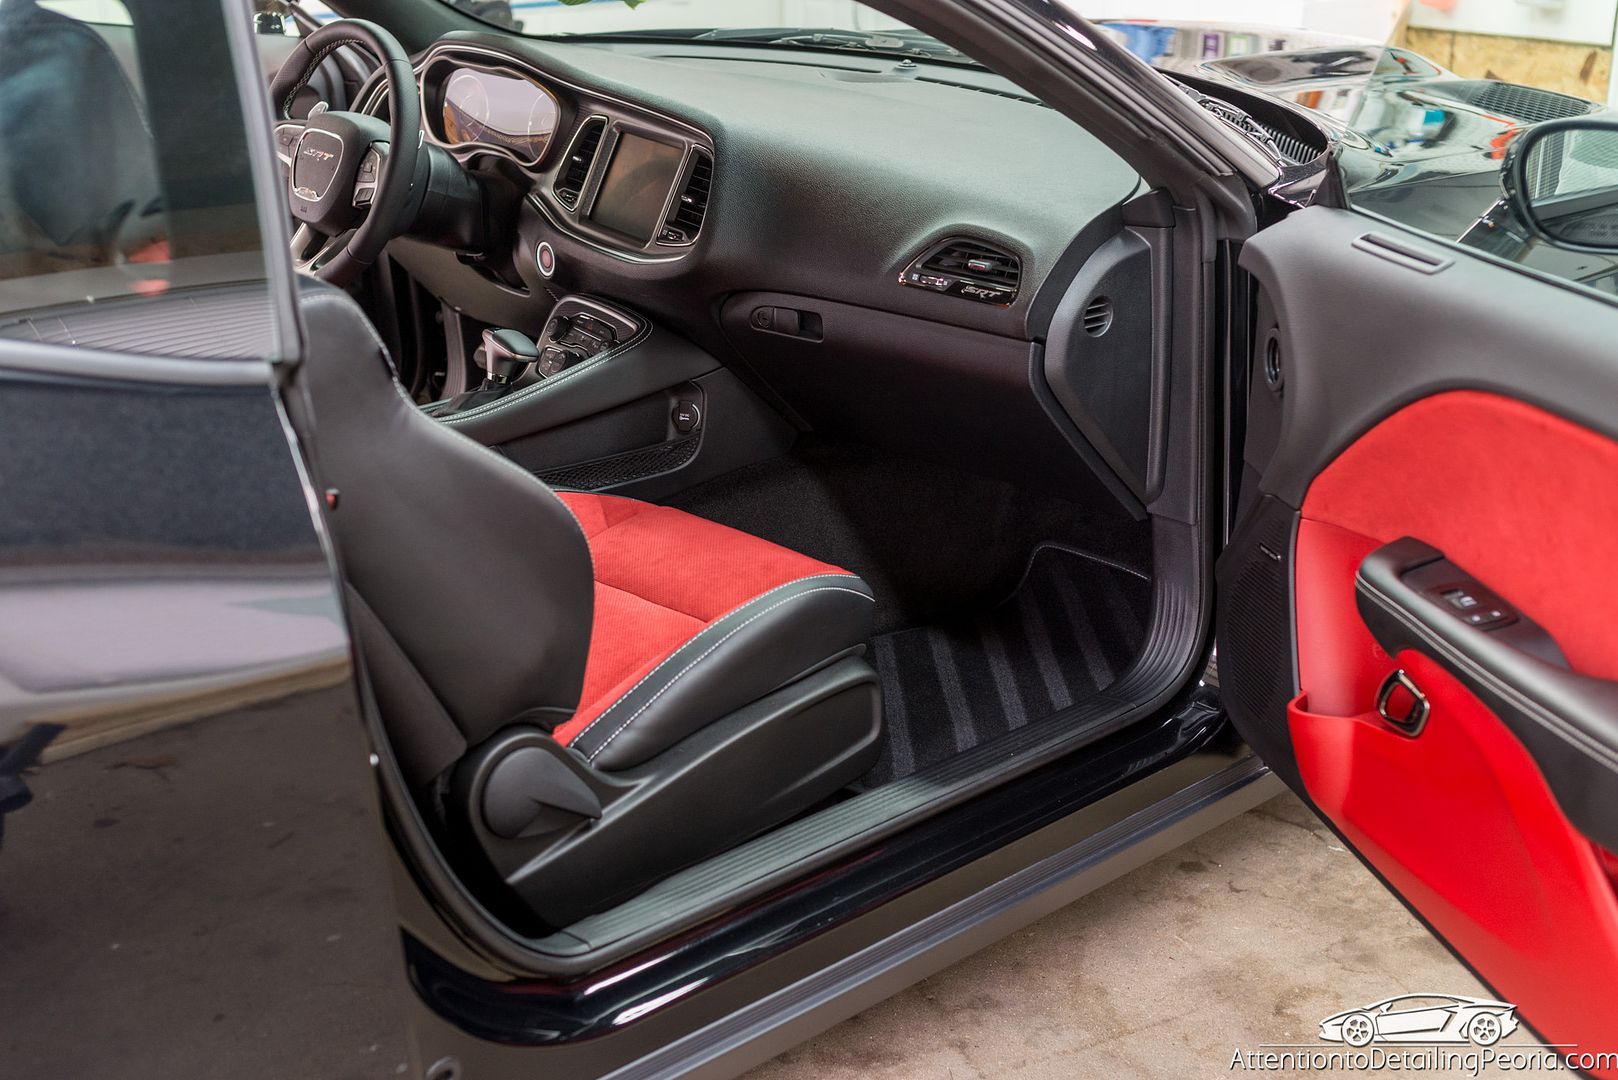
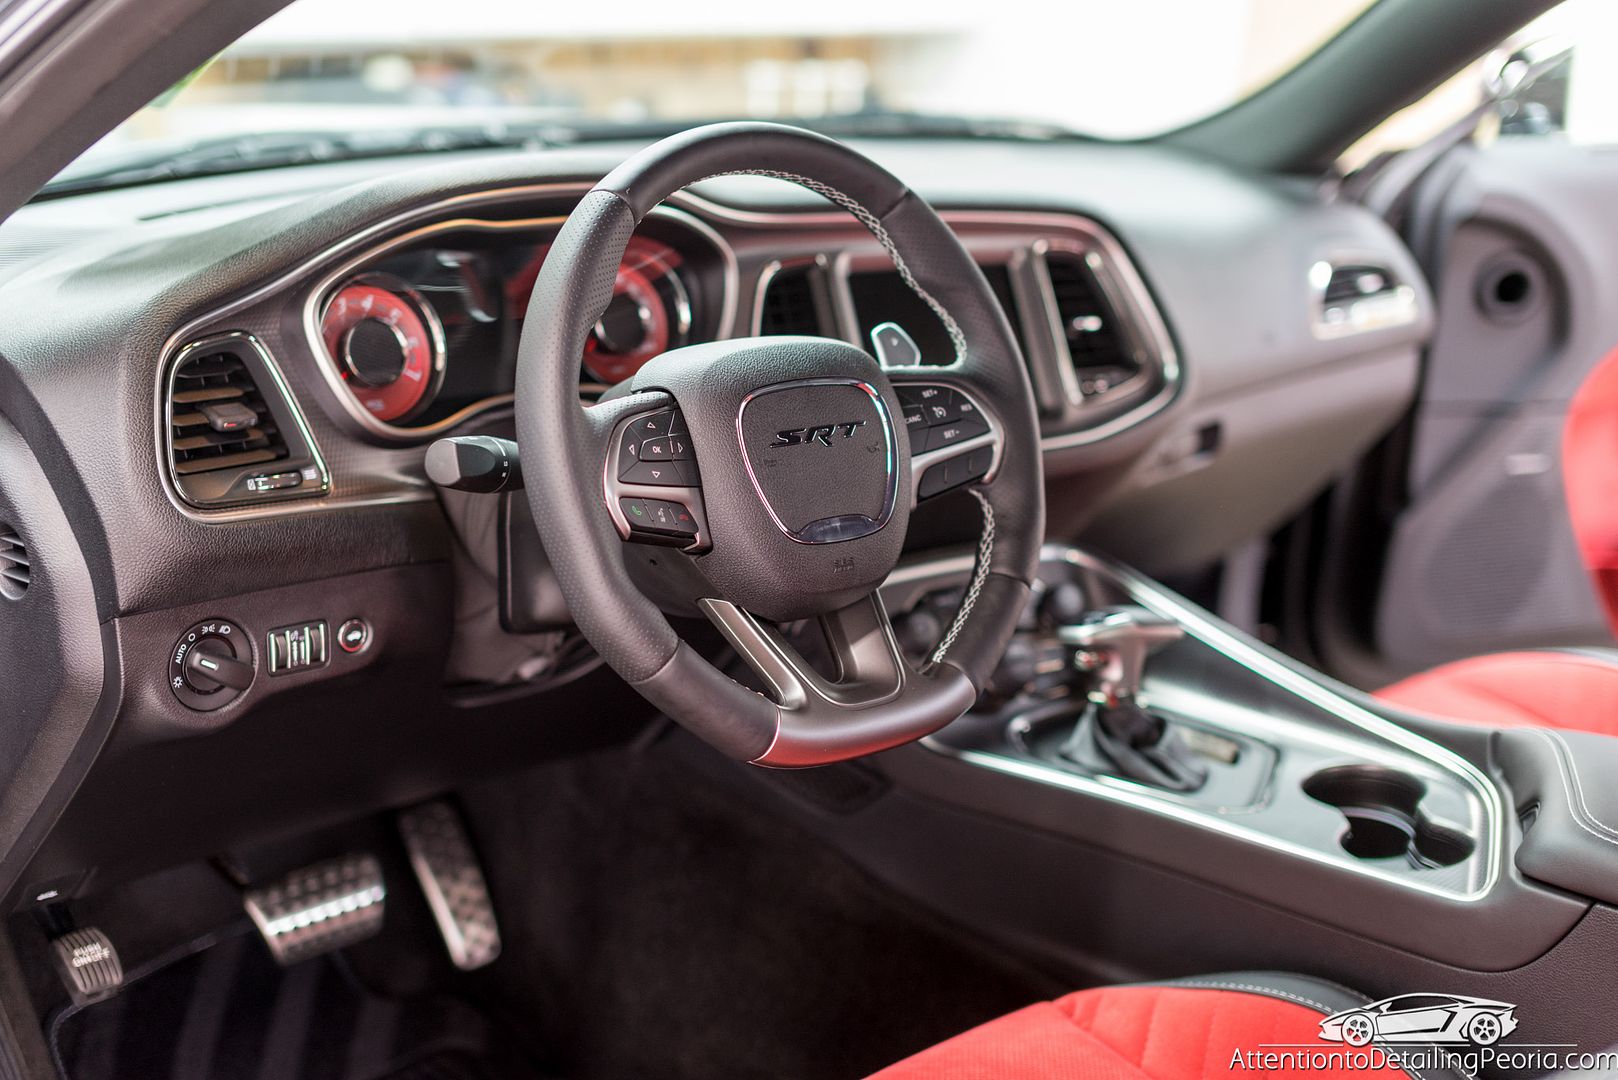
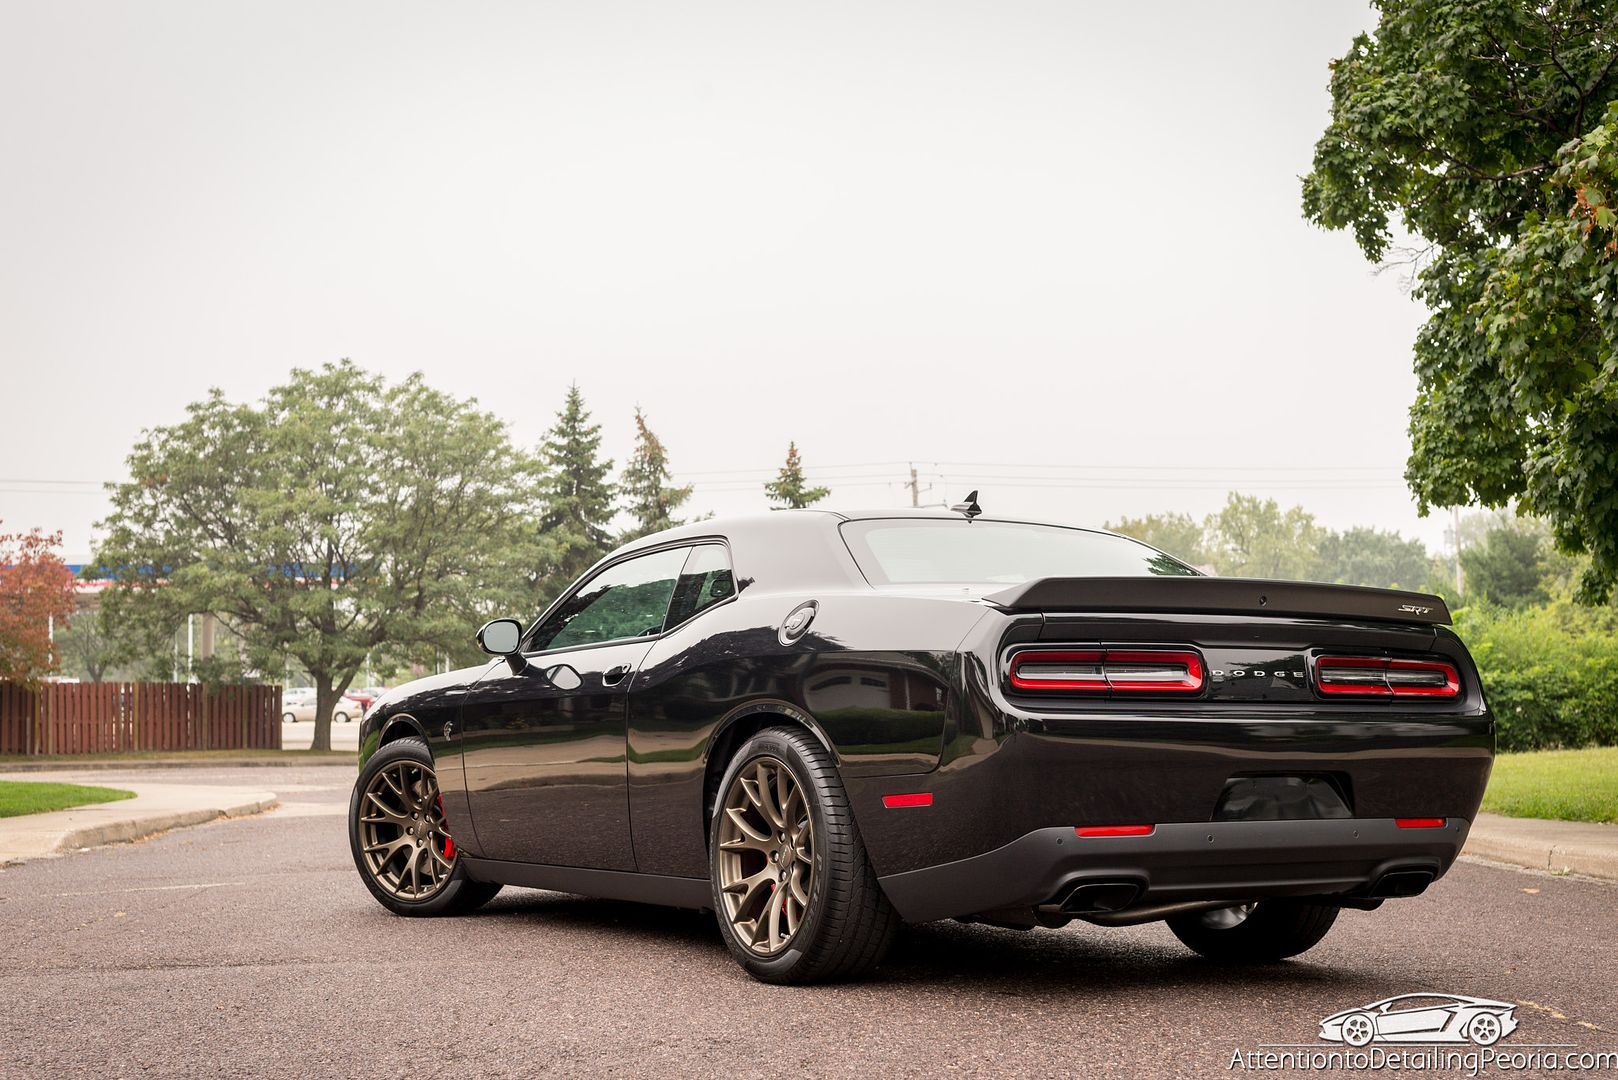
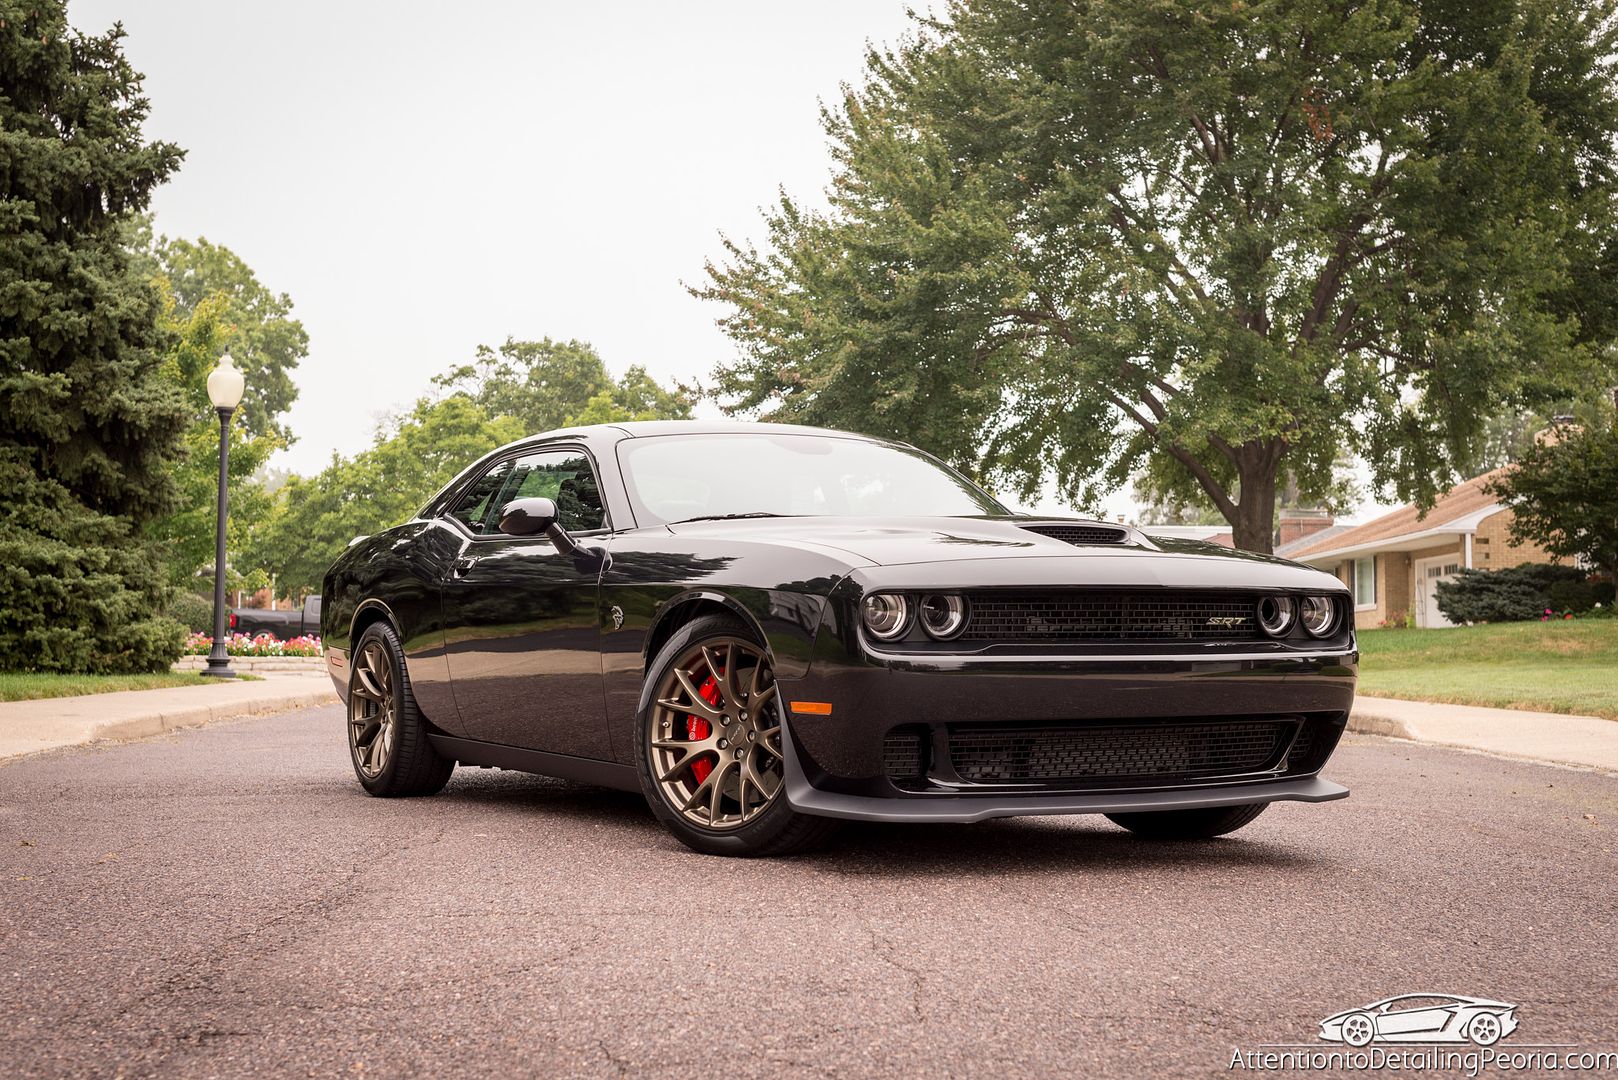
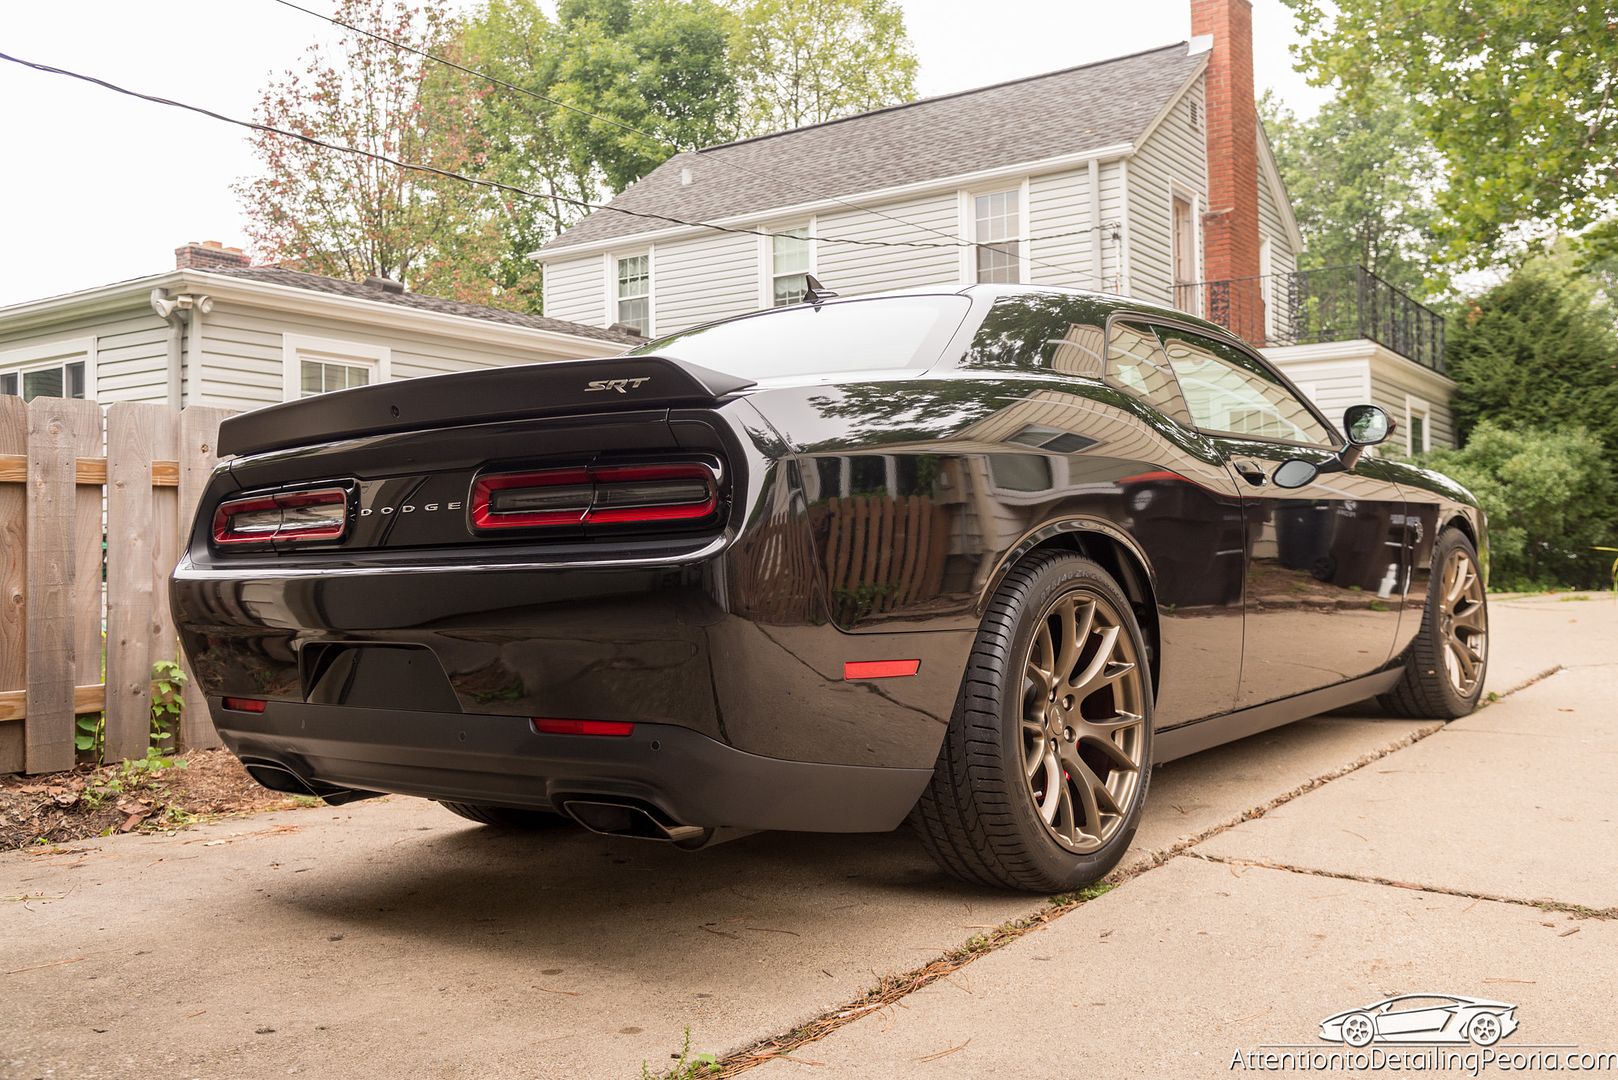
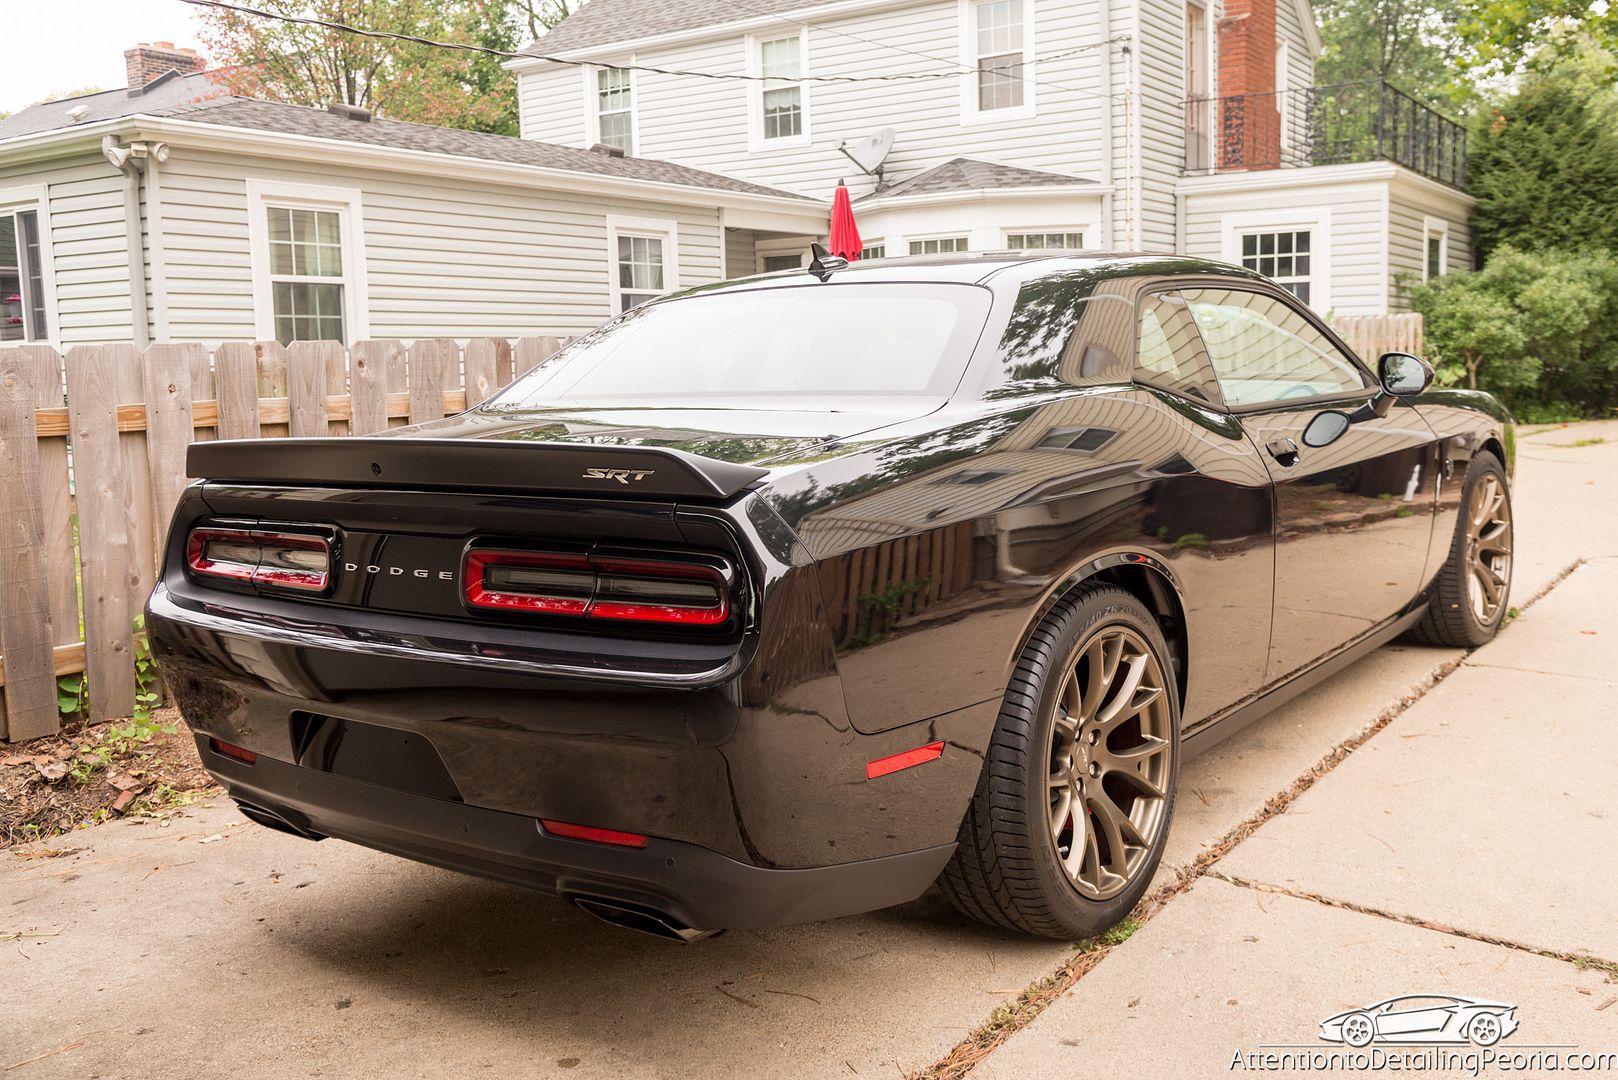
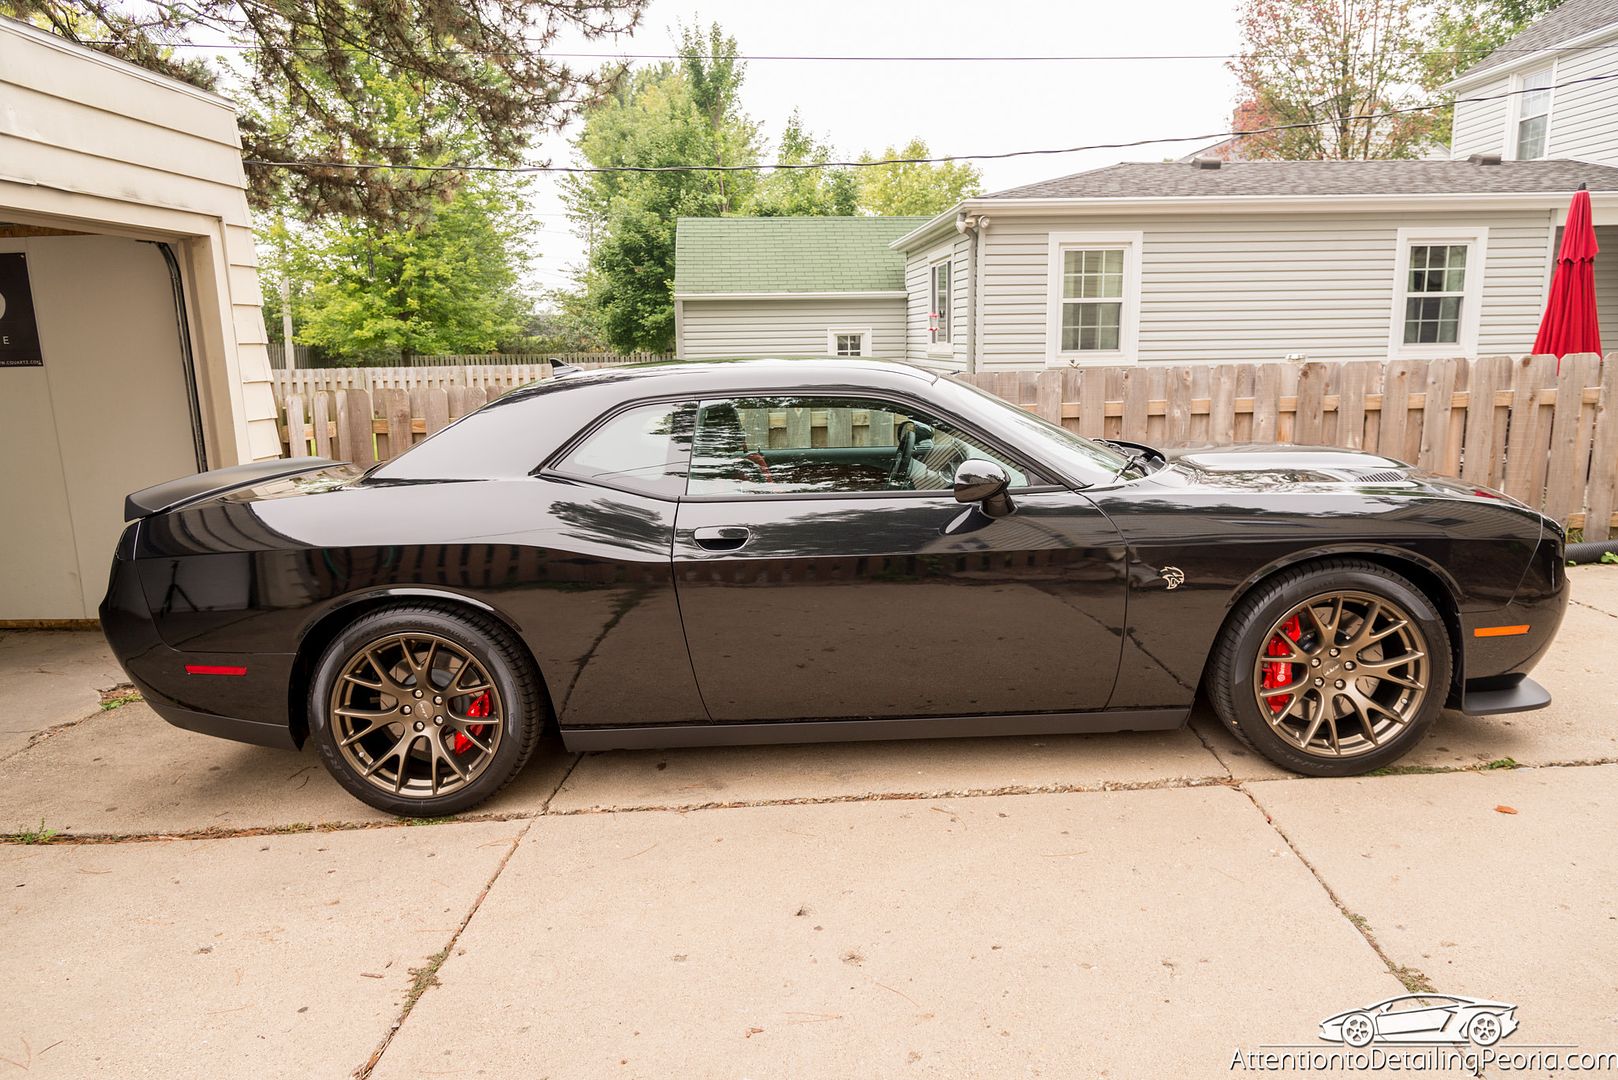
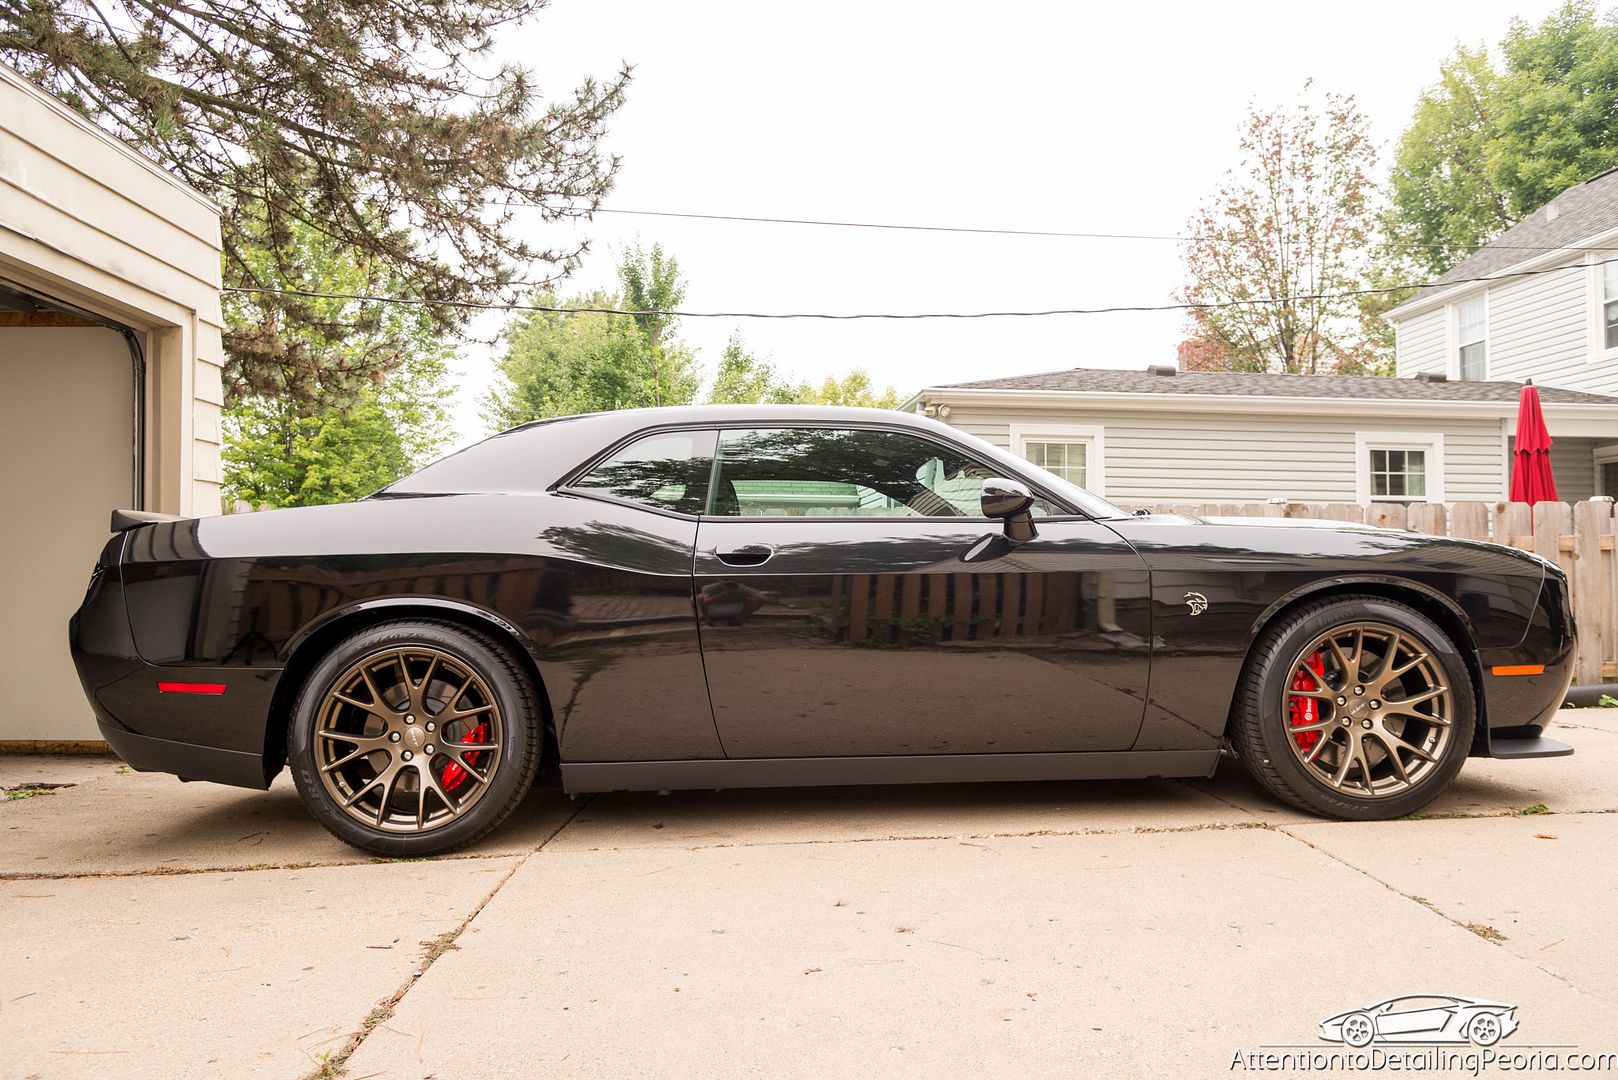
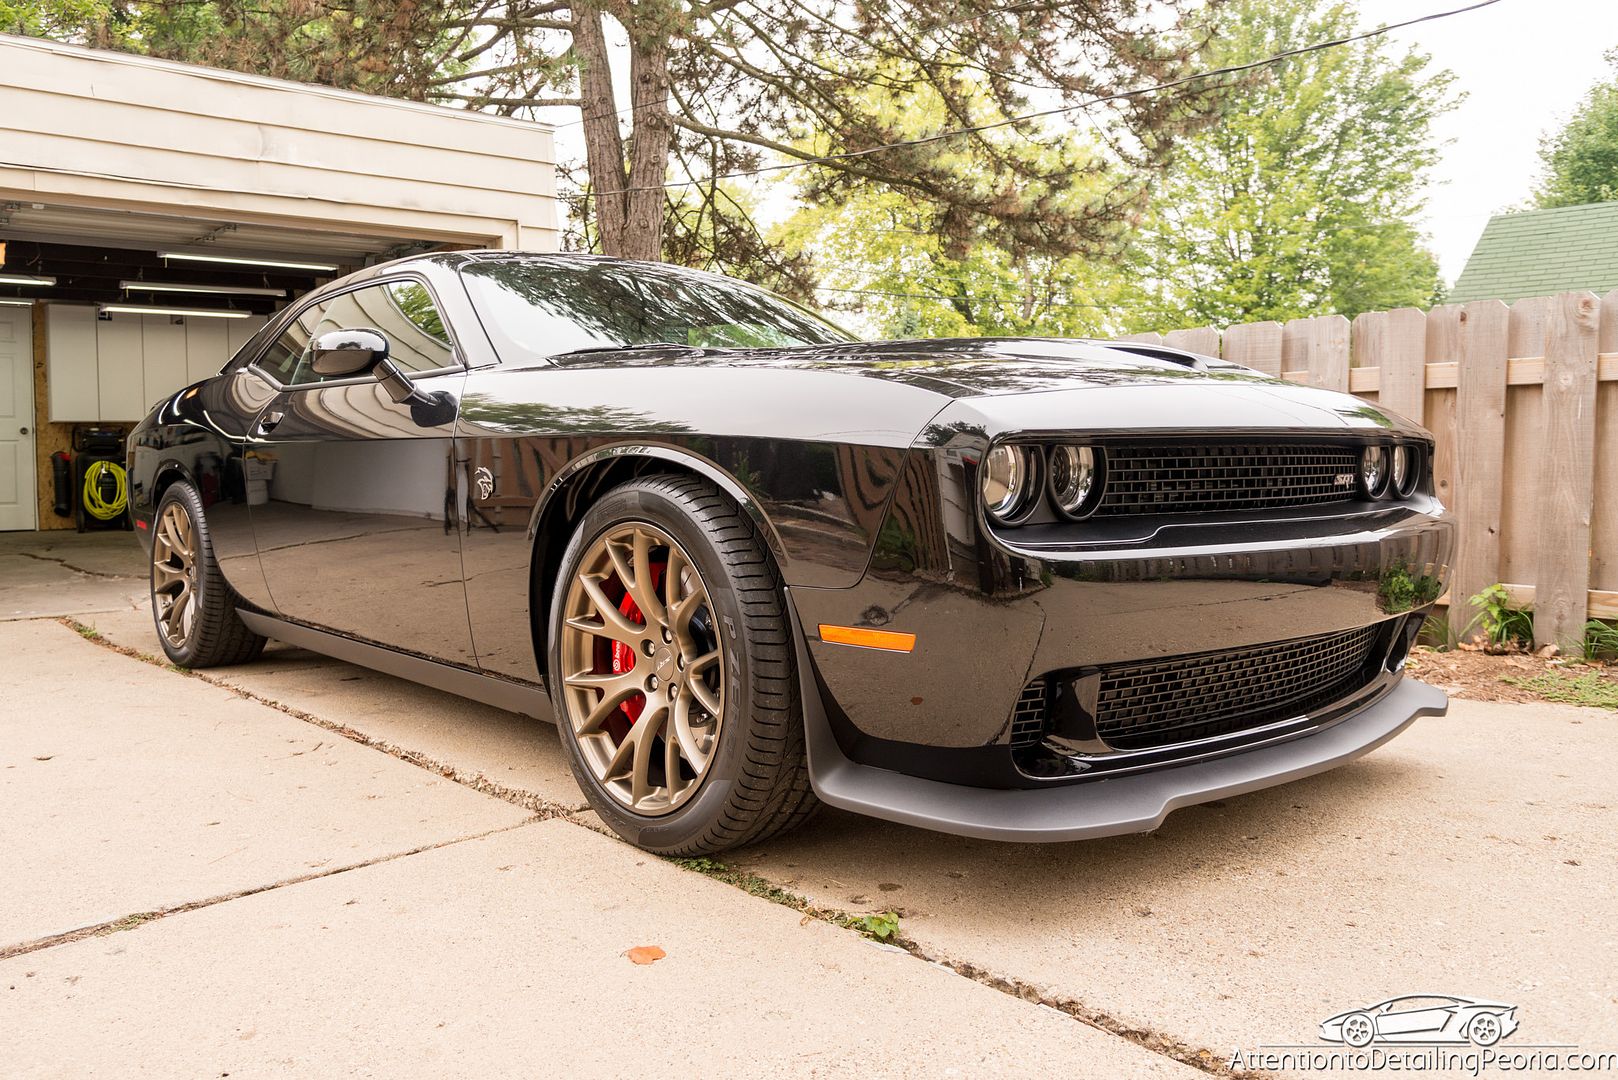
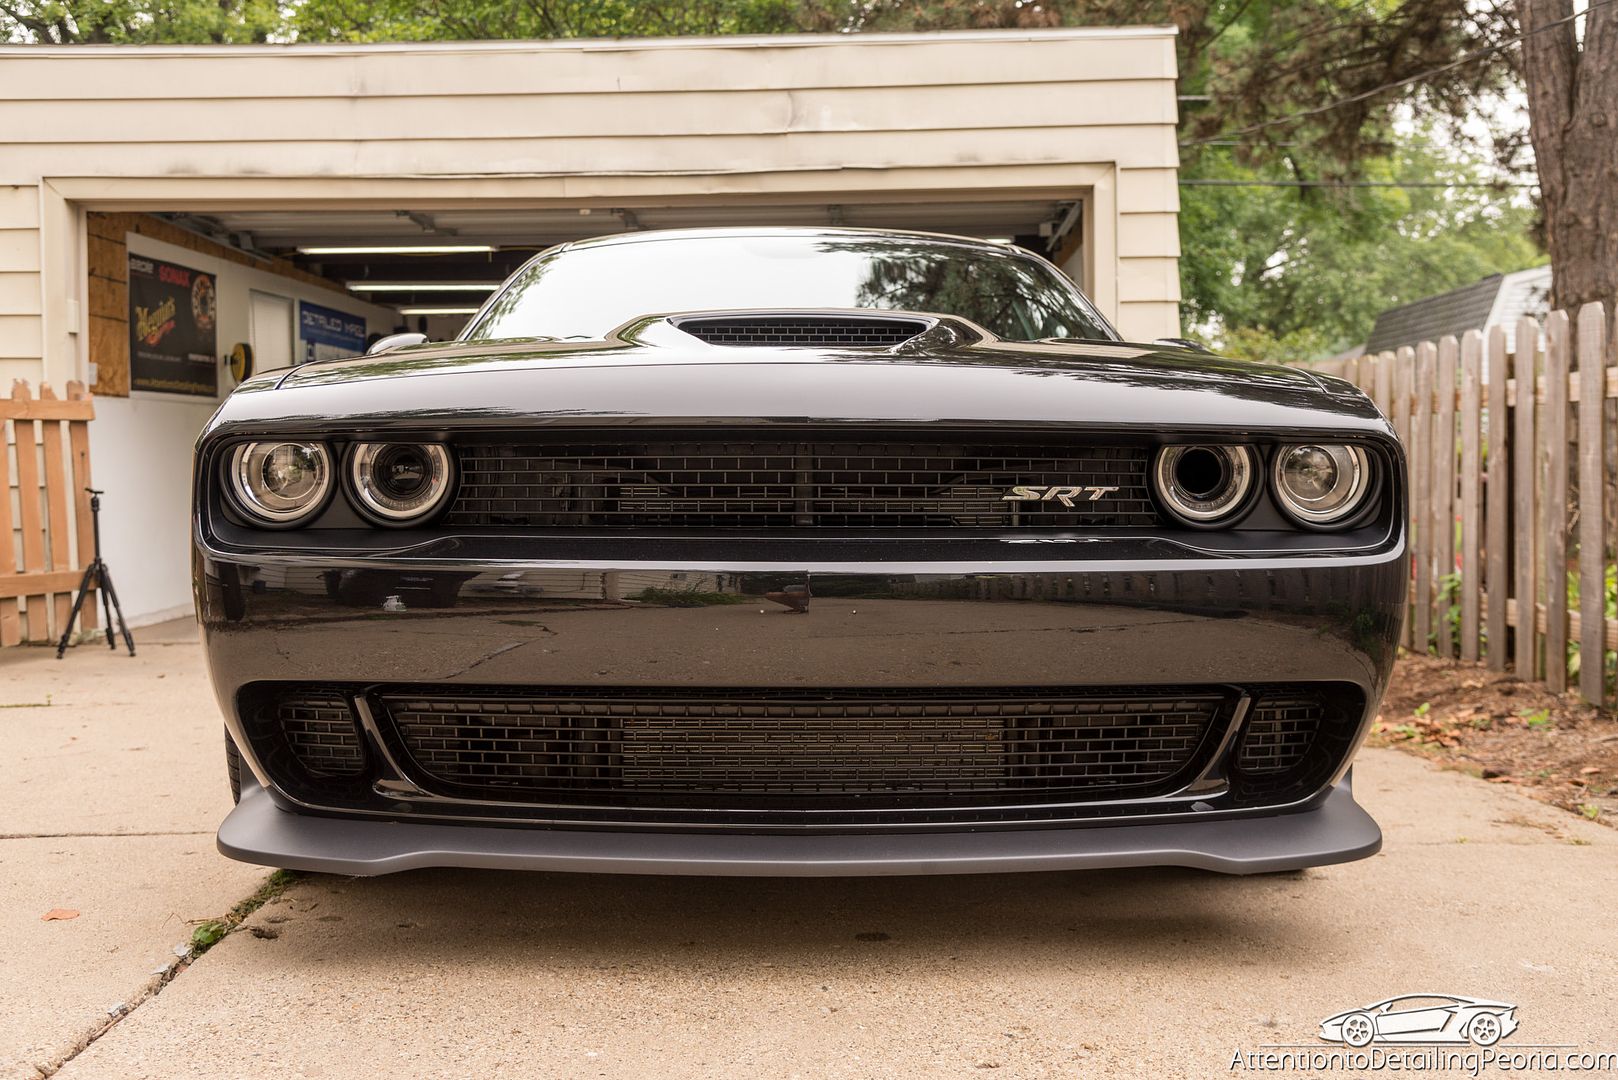
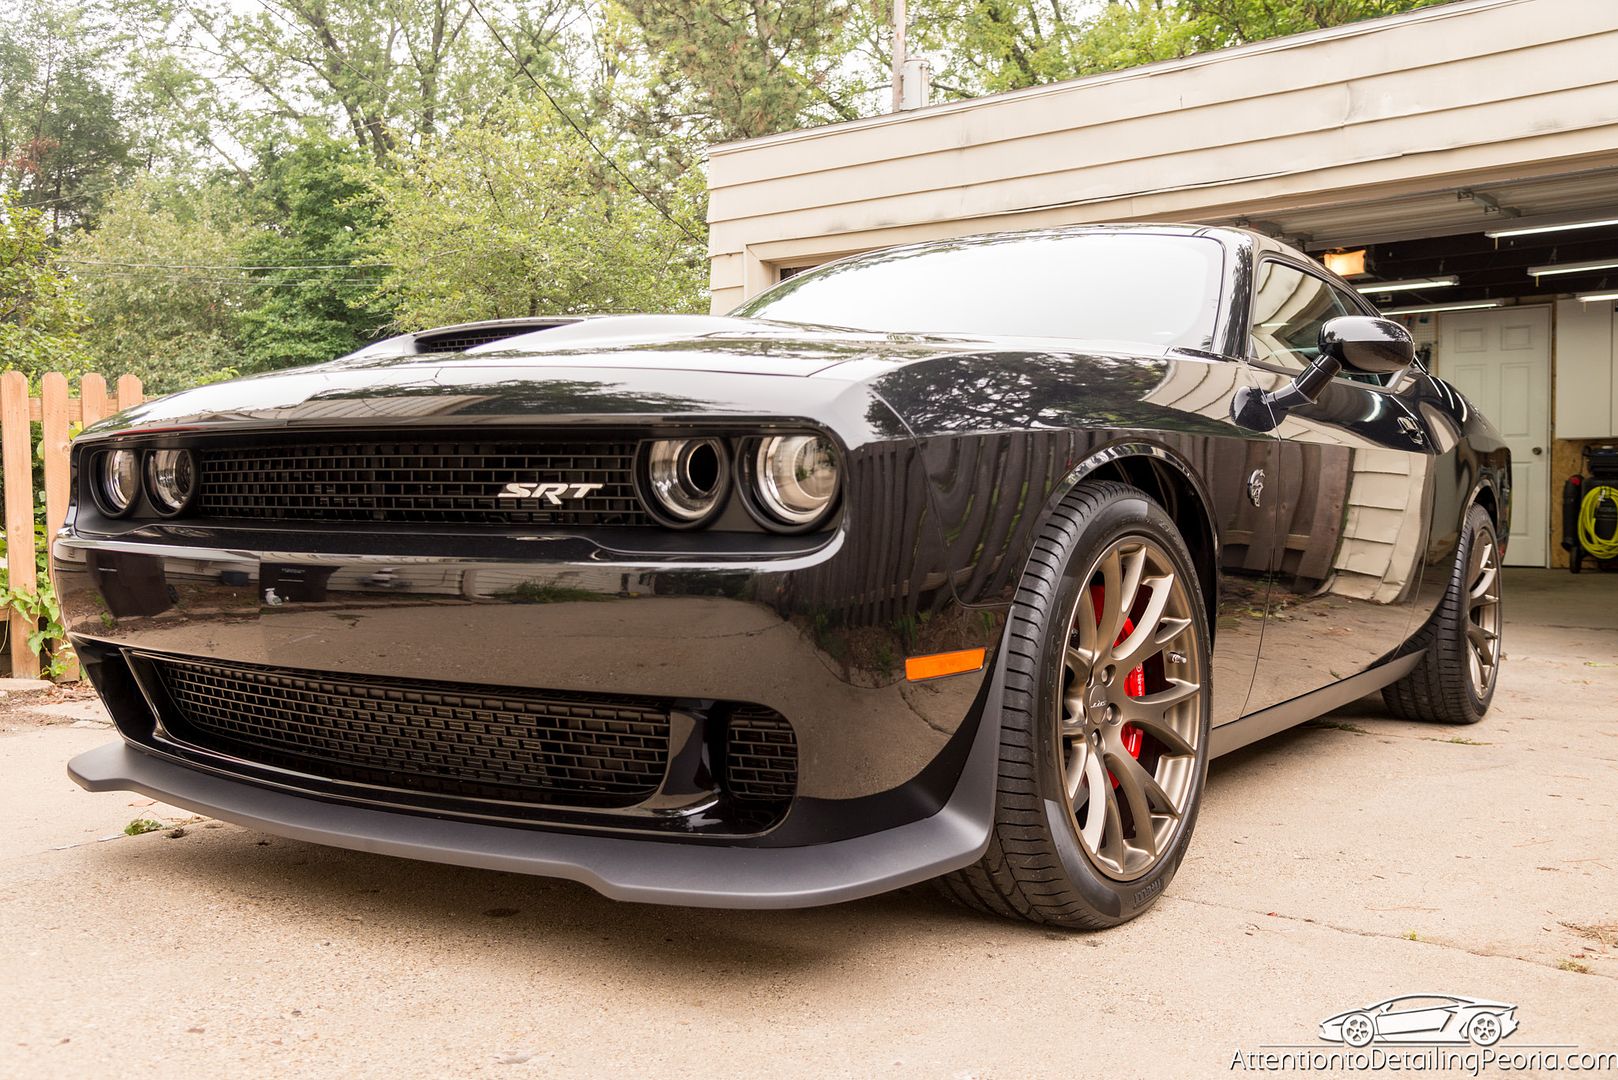
This vehicle was brought to us for a proper new car prep. The owner was very interested in having excellent protection applied to all painted surfaces and wheels. The paint was thoroughly cleaned, spot corrected, polished, and coated with 2 coats of CQuartz Finest. The wheels were removed and thoroughly cleaned inside and out; they were then coated with CQuartz DLUX. While we had the wheels off, the brake calipers were cleaned & coated, wheel wells were cleaned, and suspension was cleaned. The interior was lightly cleaned as well. When it was all said and done, this car looked amazing!
Process
Tires: Tuf Shine Tire Cleaner & Brush
Wheels: Sonax Full Effect & Various Brushes
Wash: Citrus Wash
Decontaminate: CarPro IronX, Tarminator, Nanoskin Speed Prep Mitt w/ Nanoskin Glide
Paint Thickness Readings Taken
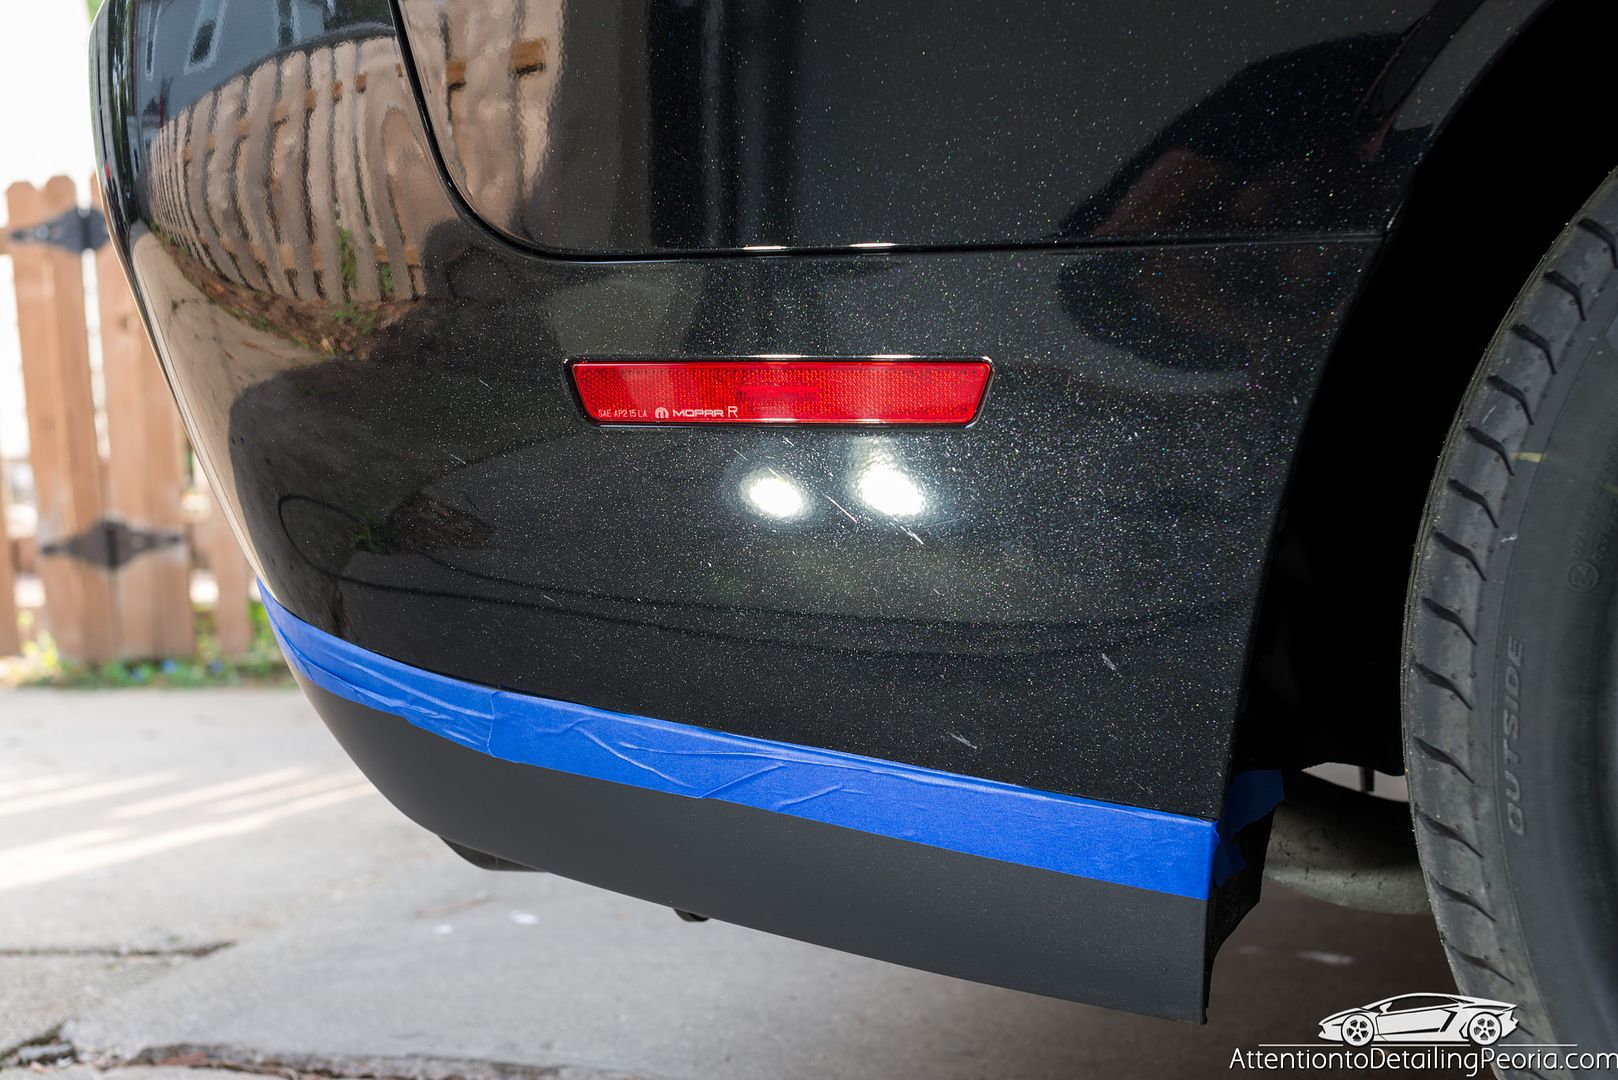
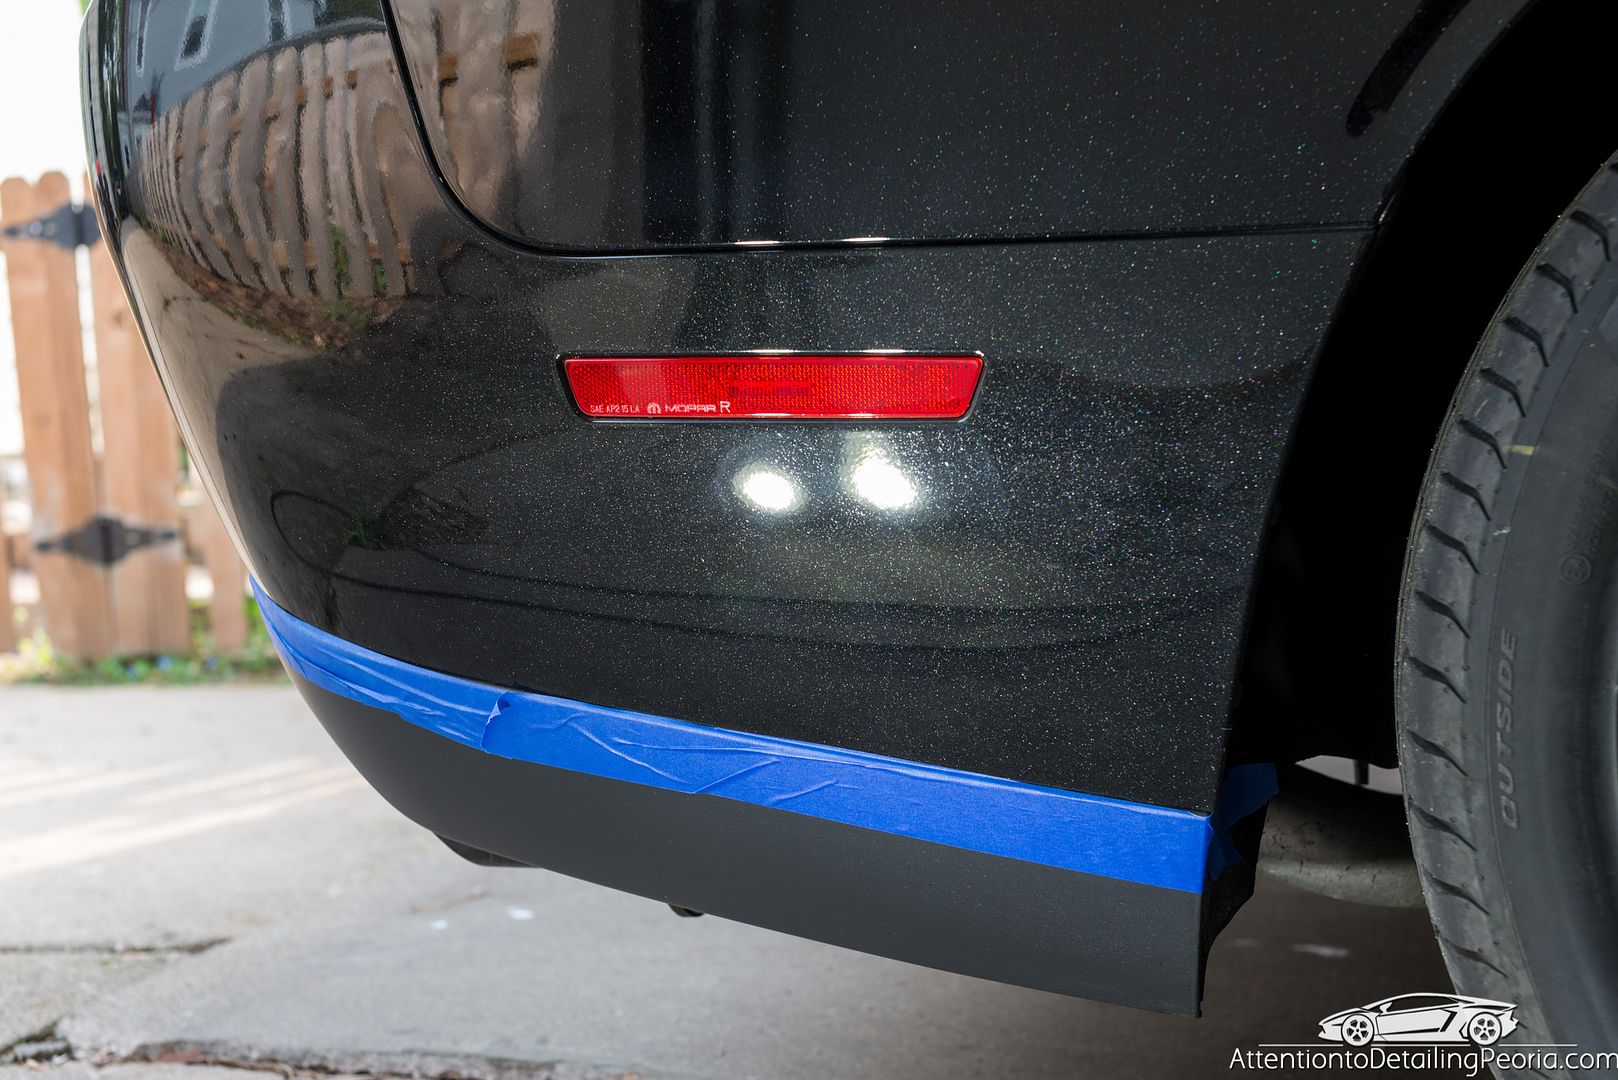
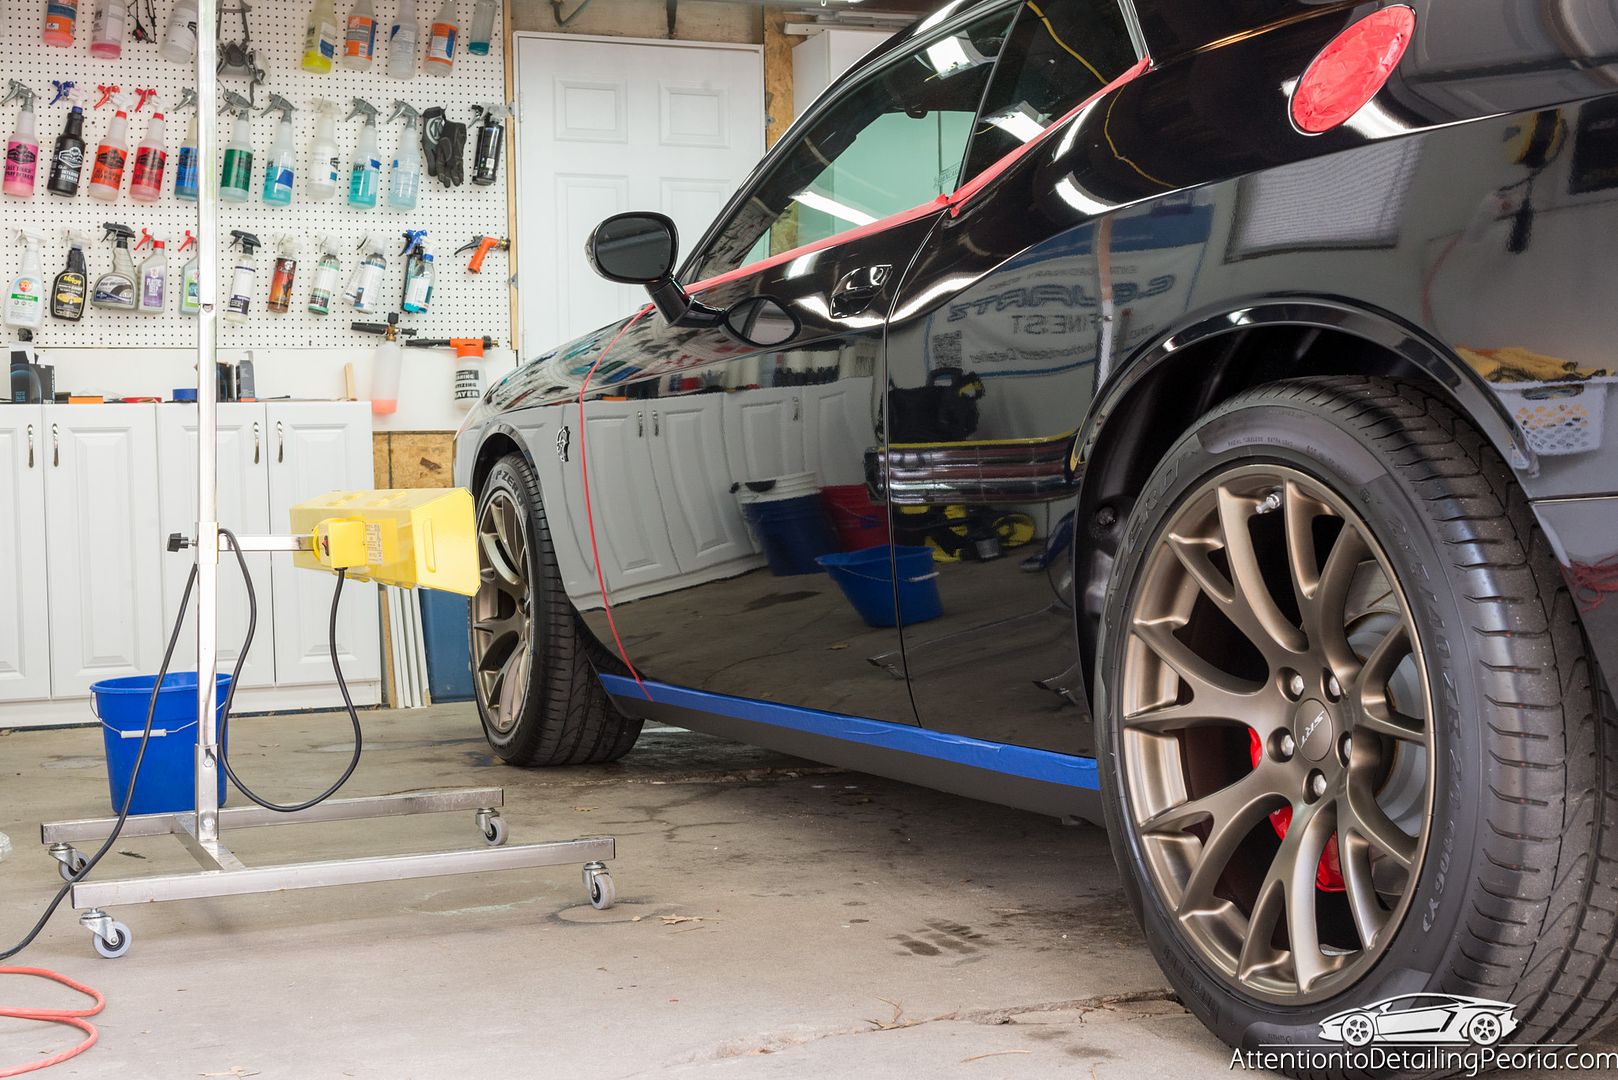
Trim & Areas of concern taped with CarPro Masking Tape
Correction: Shine Supply Flat Top on Orange LC Foam via BOSS G21, Rupes LHR21 and 75e
Polish: Meguiar's M205 on White LC Foam via BOSS G21, Rupes LHR21, and 75e
Coating Prep: CarPro Eraser
Paint Coating: CQuartz Finest
Wheel Coating: CQuartz DLUX
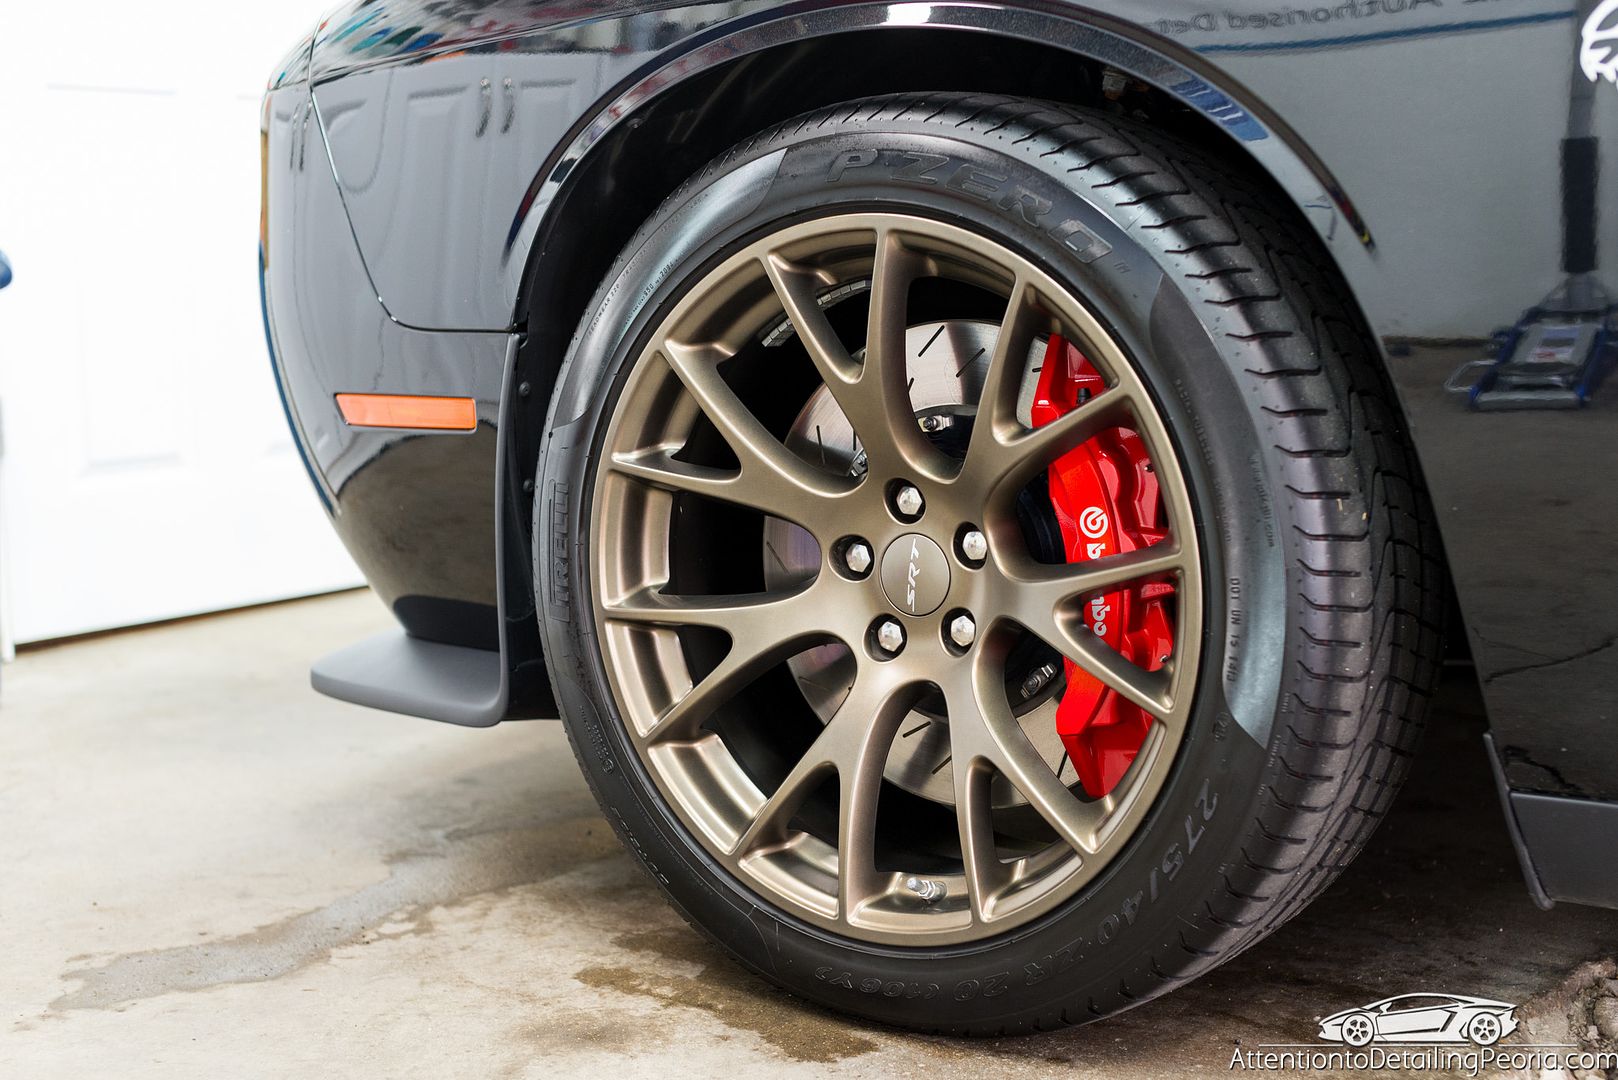
Caliper Coating: CQuartz DLUX
Tire Dressing: WaxAddicts Slick Spray Tyre Dressing
Glass: Meguiar's D120
Interior: Vacuum, 303, D120

As always, we began by cleaning the tires. There was a considerable amount of dirt and grime built up on the rubber.
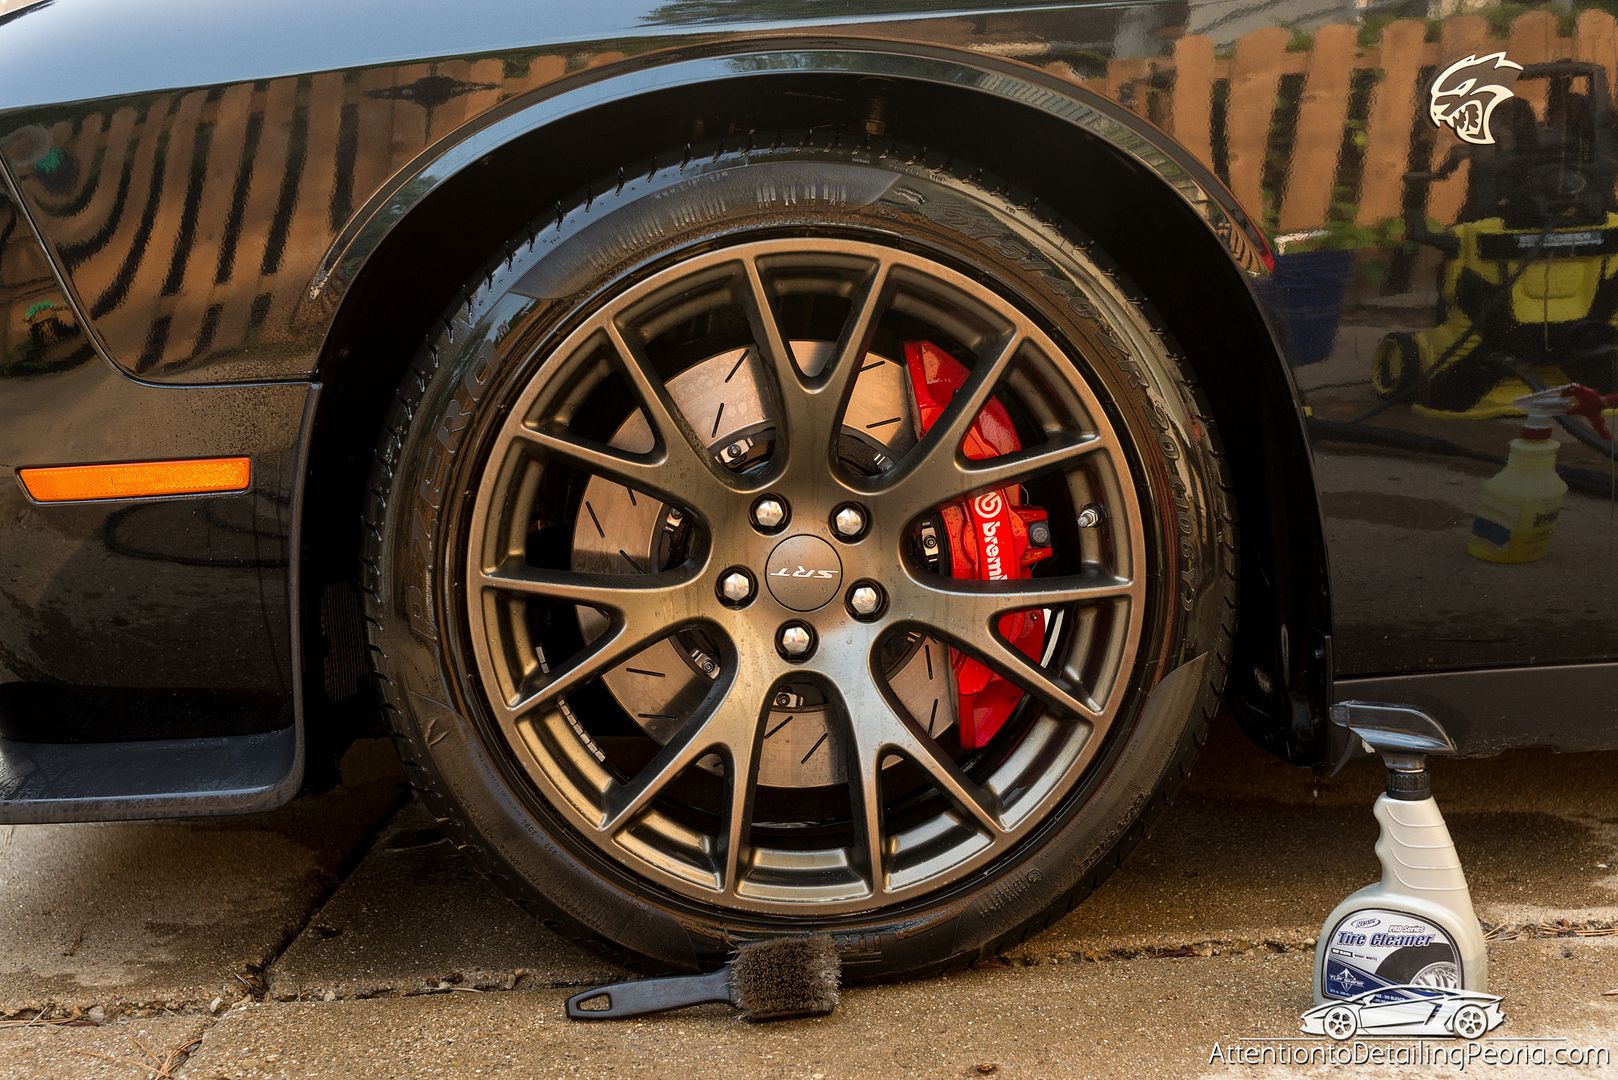
We continue repeated cleaning until the tires and brush remain clean which indicates no more dirt is being removed.
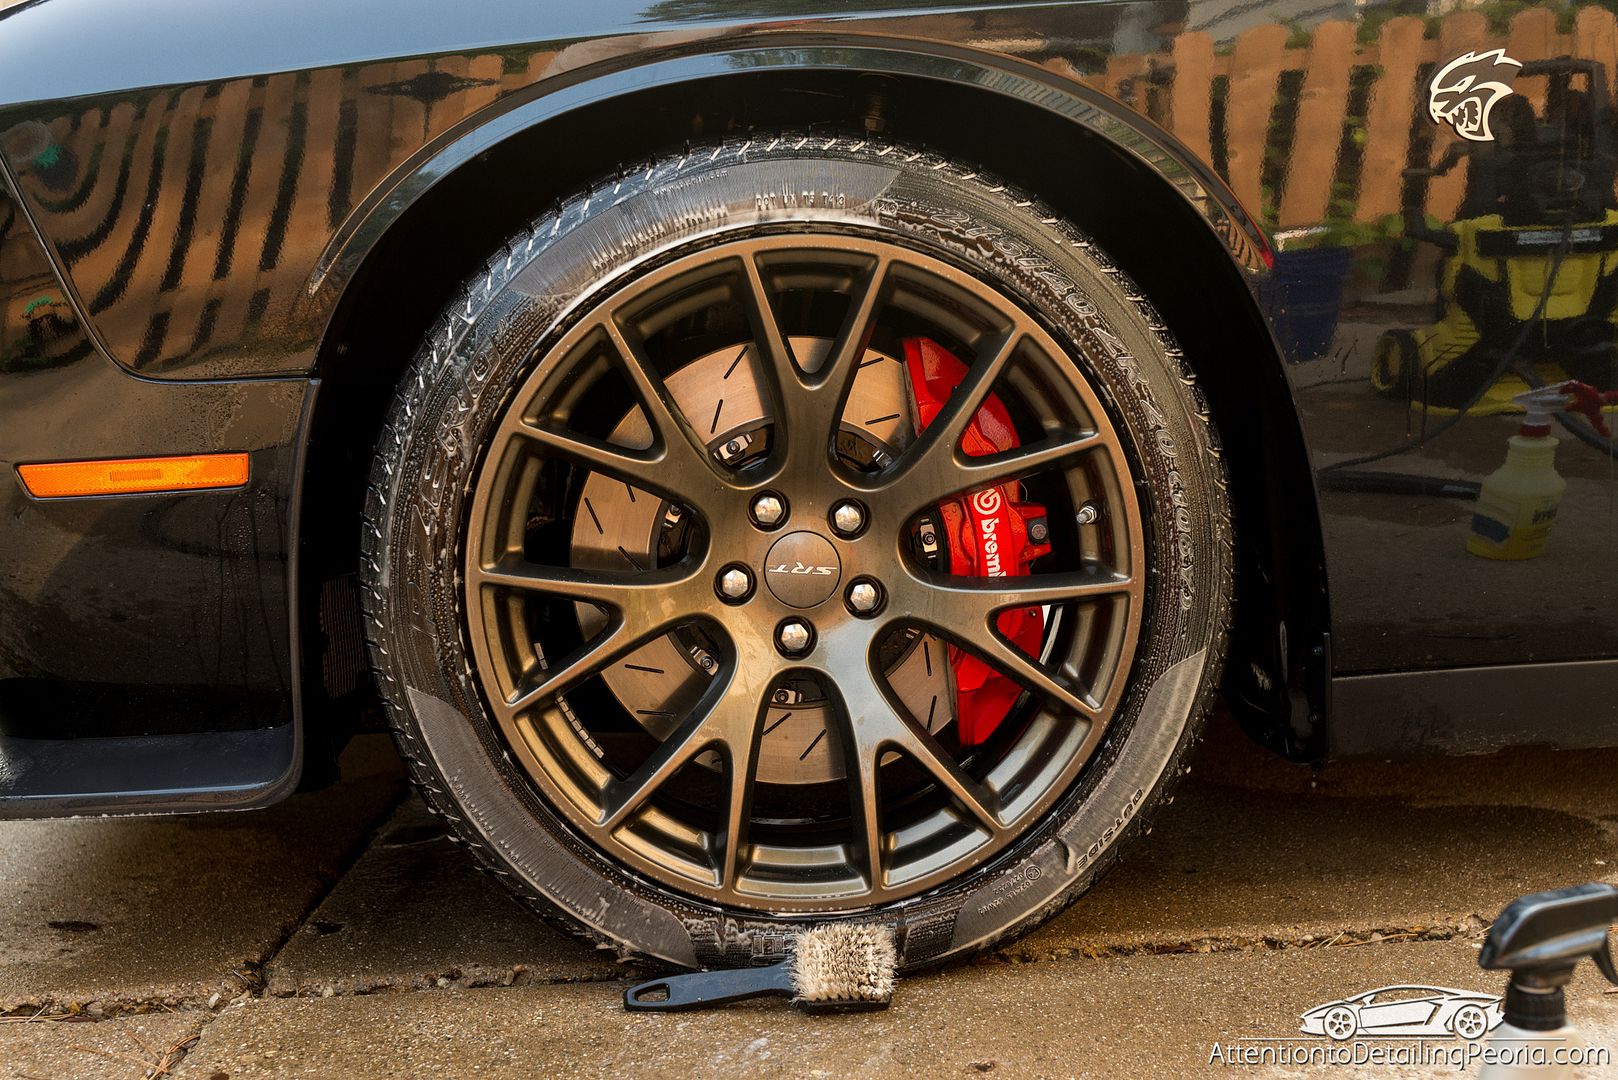
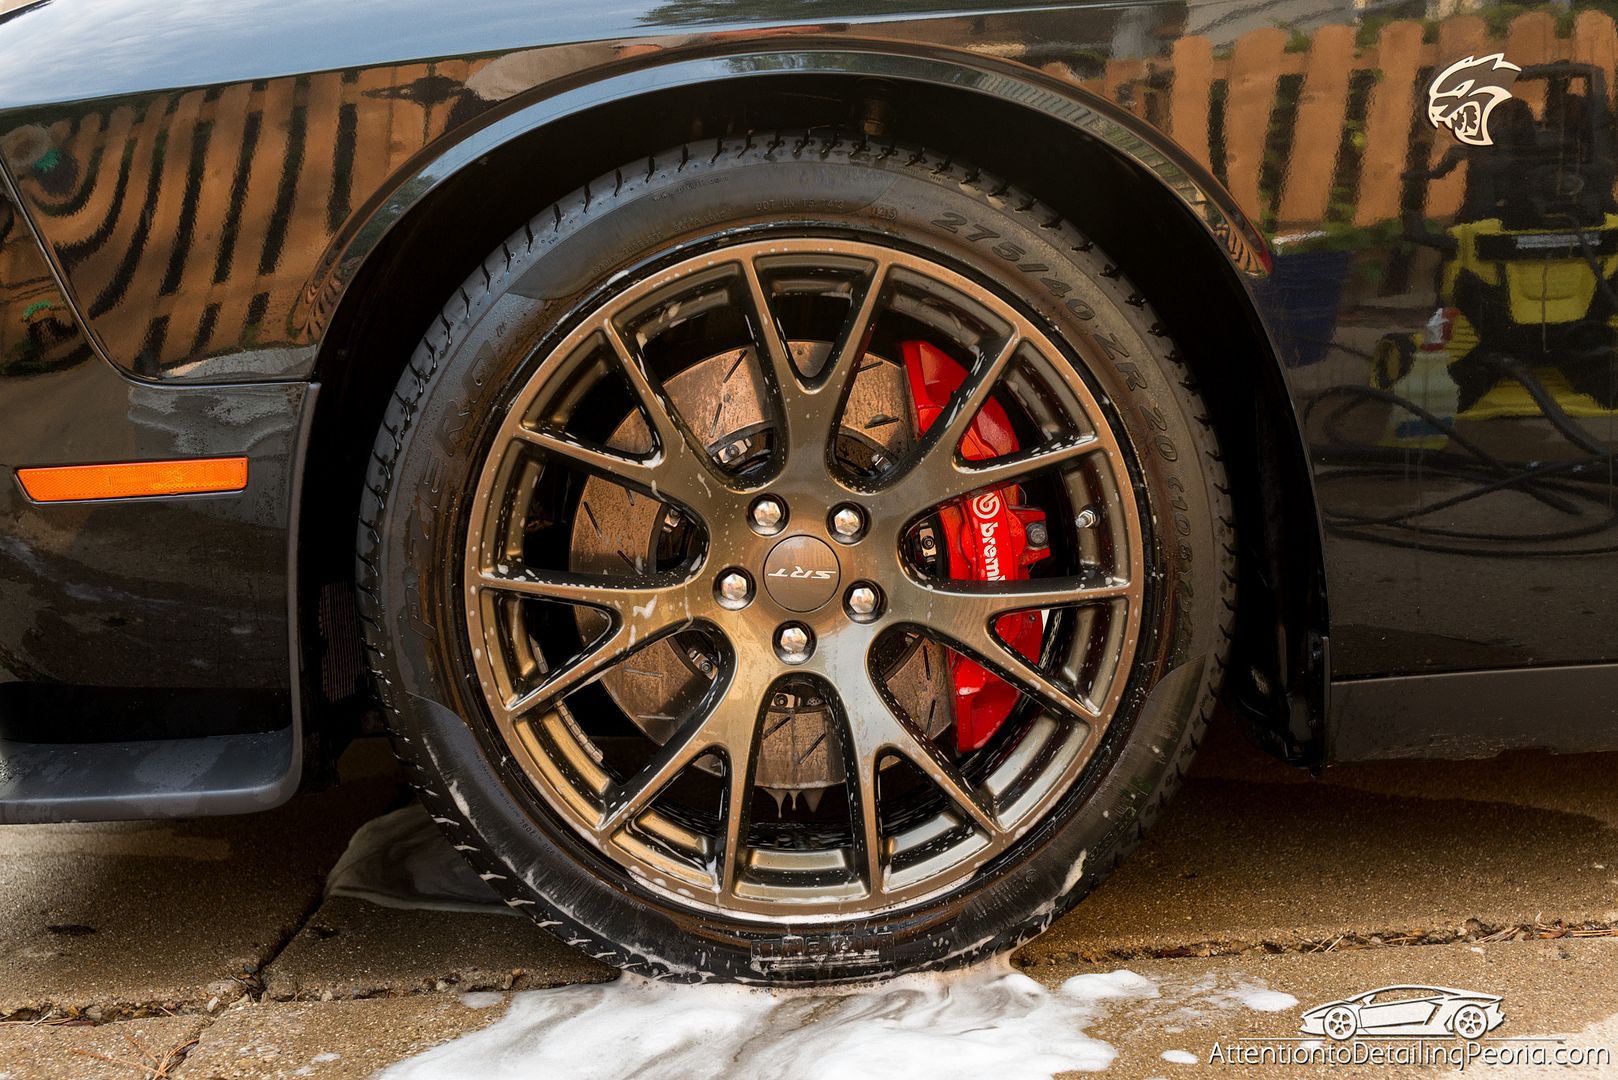
Barrels were then cleaned as best as possible while the wheels were still mounted.

Wheel faces were then cleaned.
The vehicle was then soaked in a thick layer of shampoo while I used a soft boar's hair brush to clean all the cracks and crevices. The vehicle was then carefully washed and decontaminated.
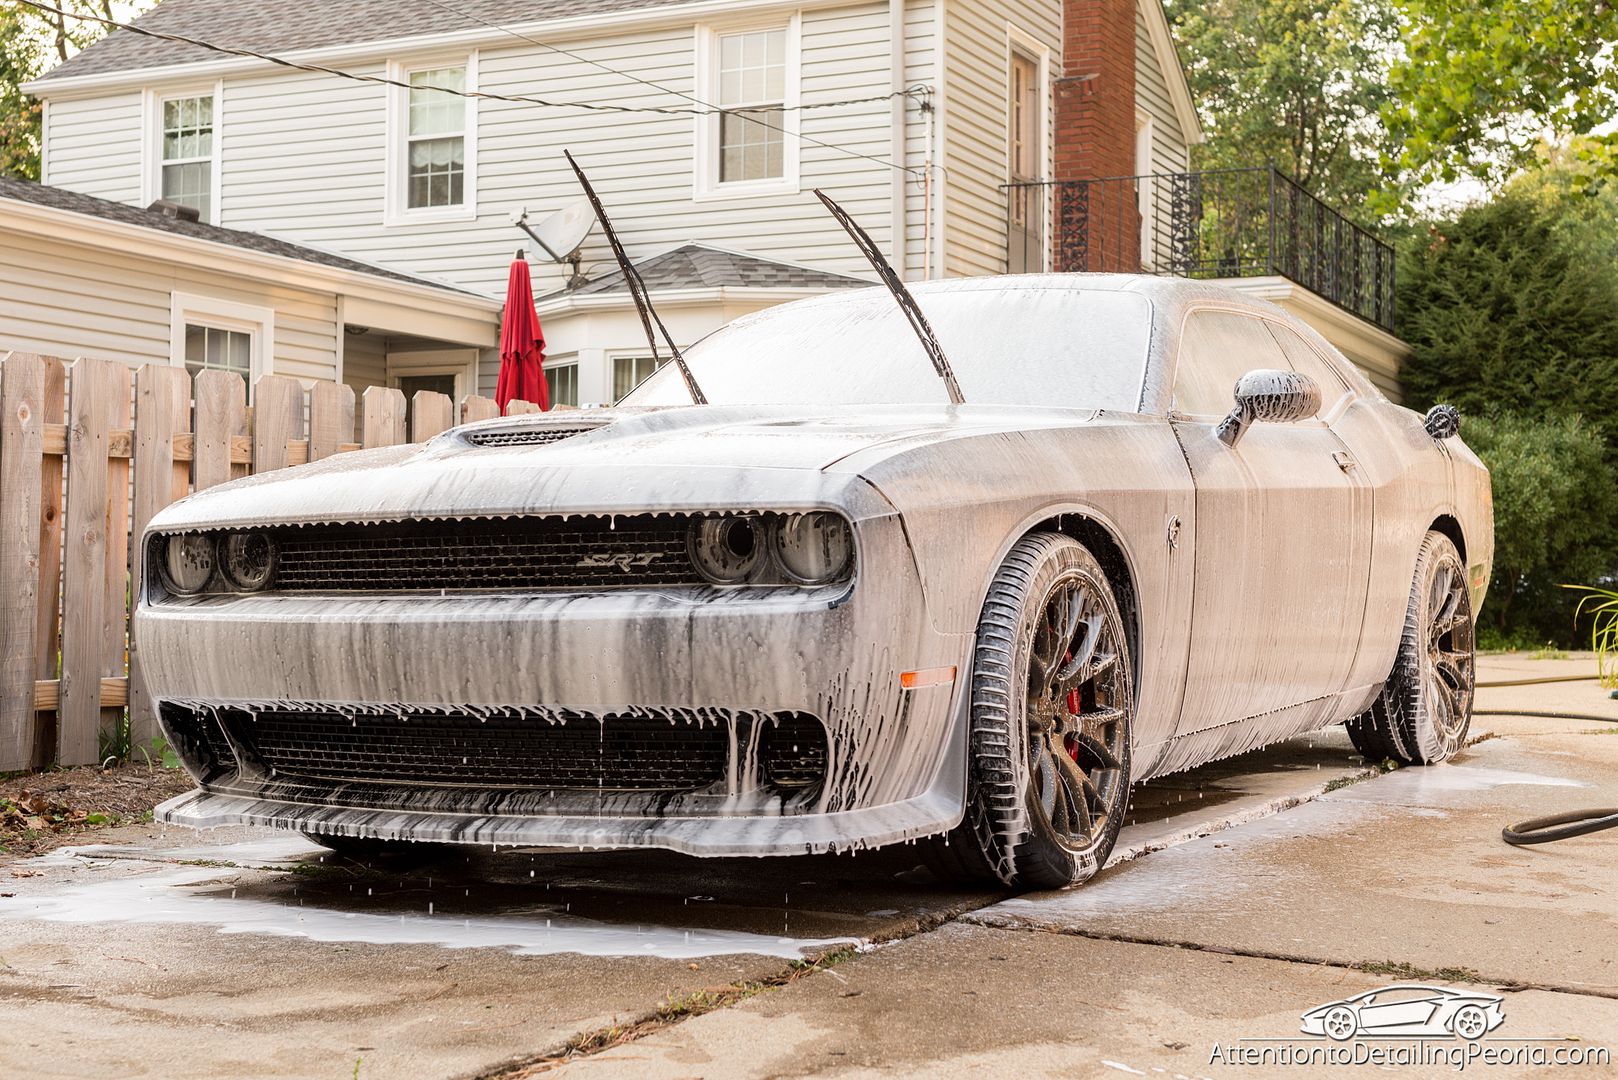
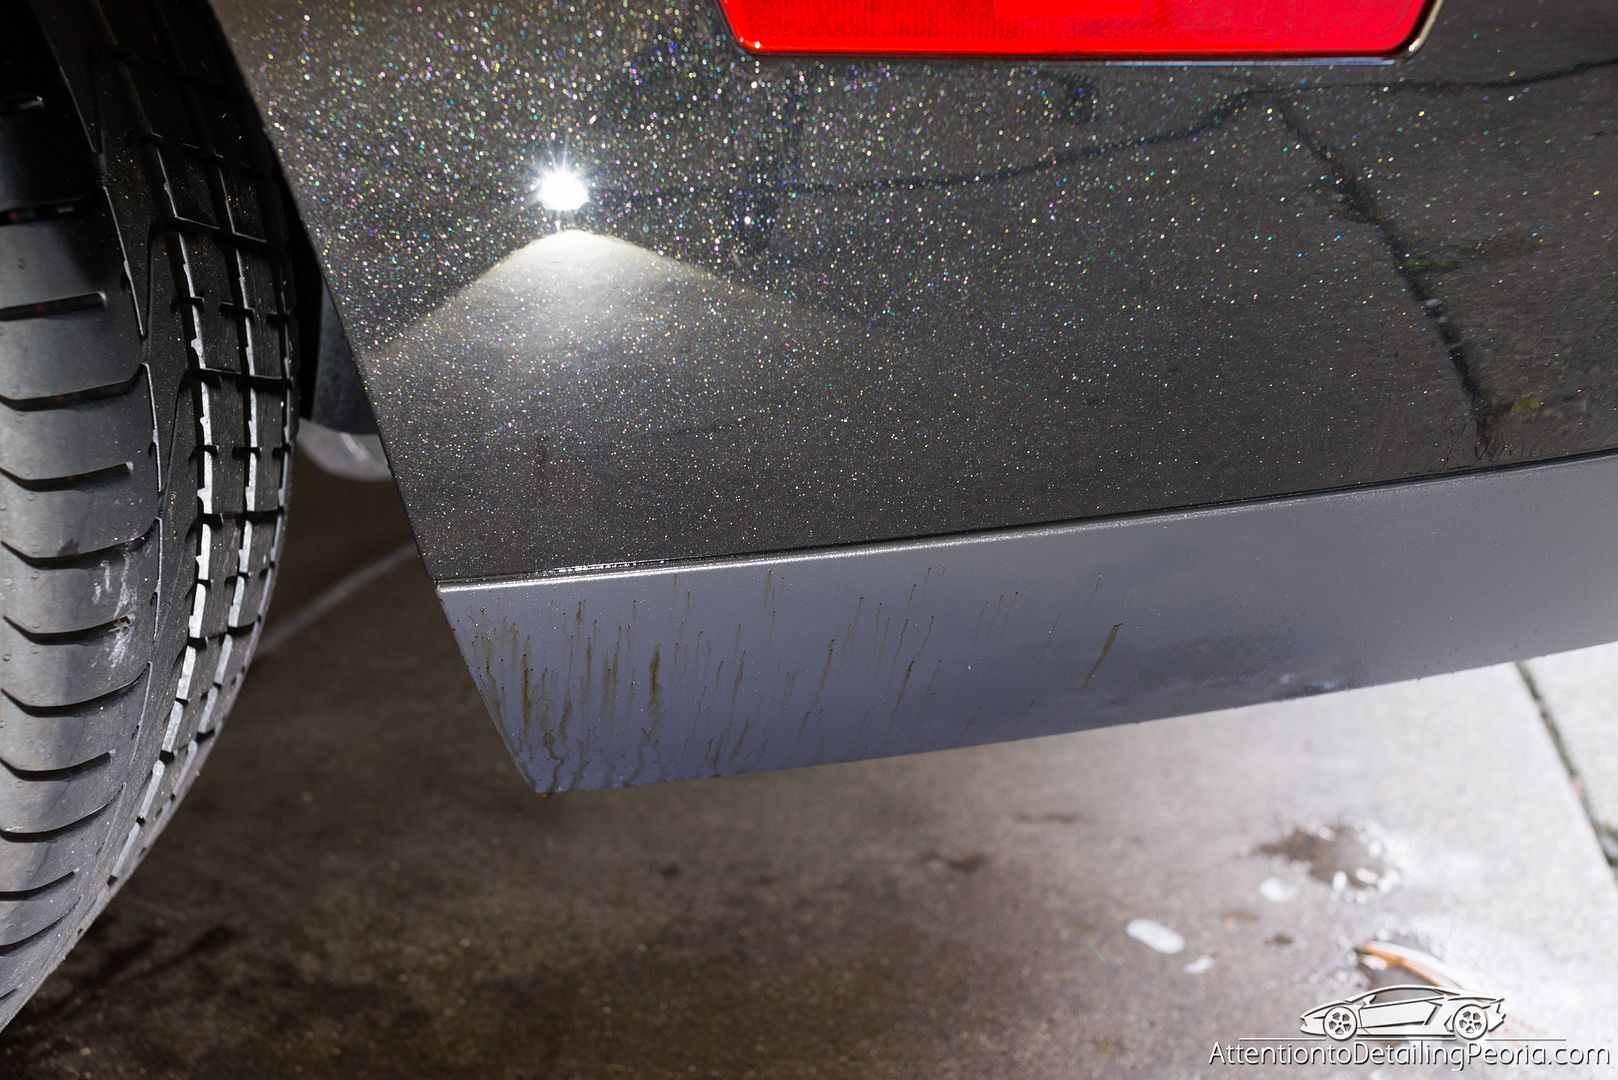
Tar was removed from all lower panels.
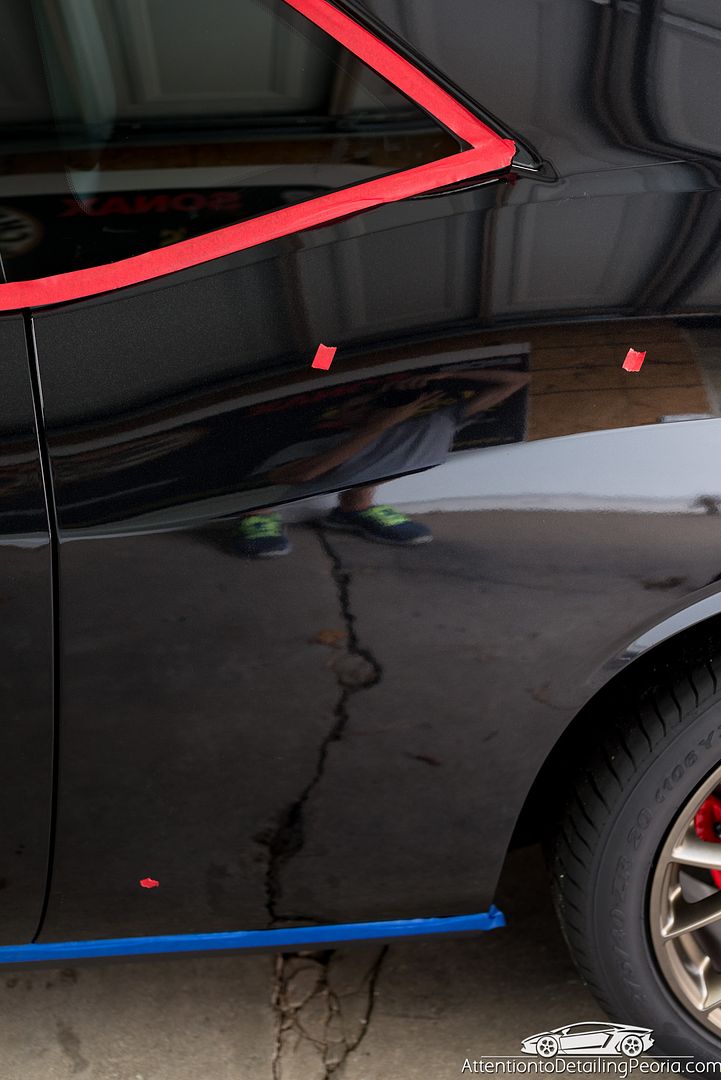
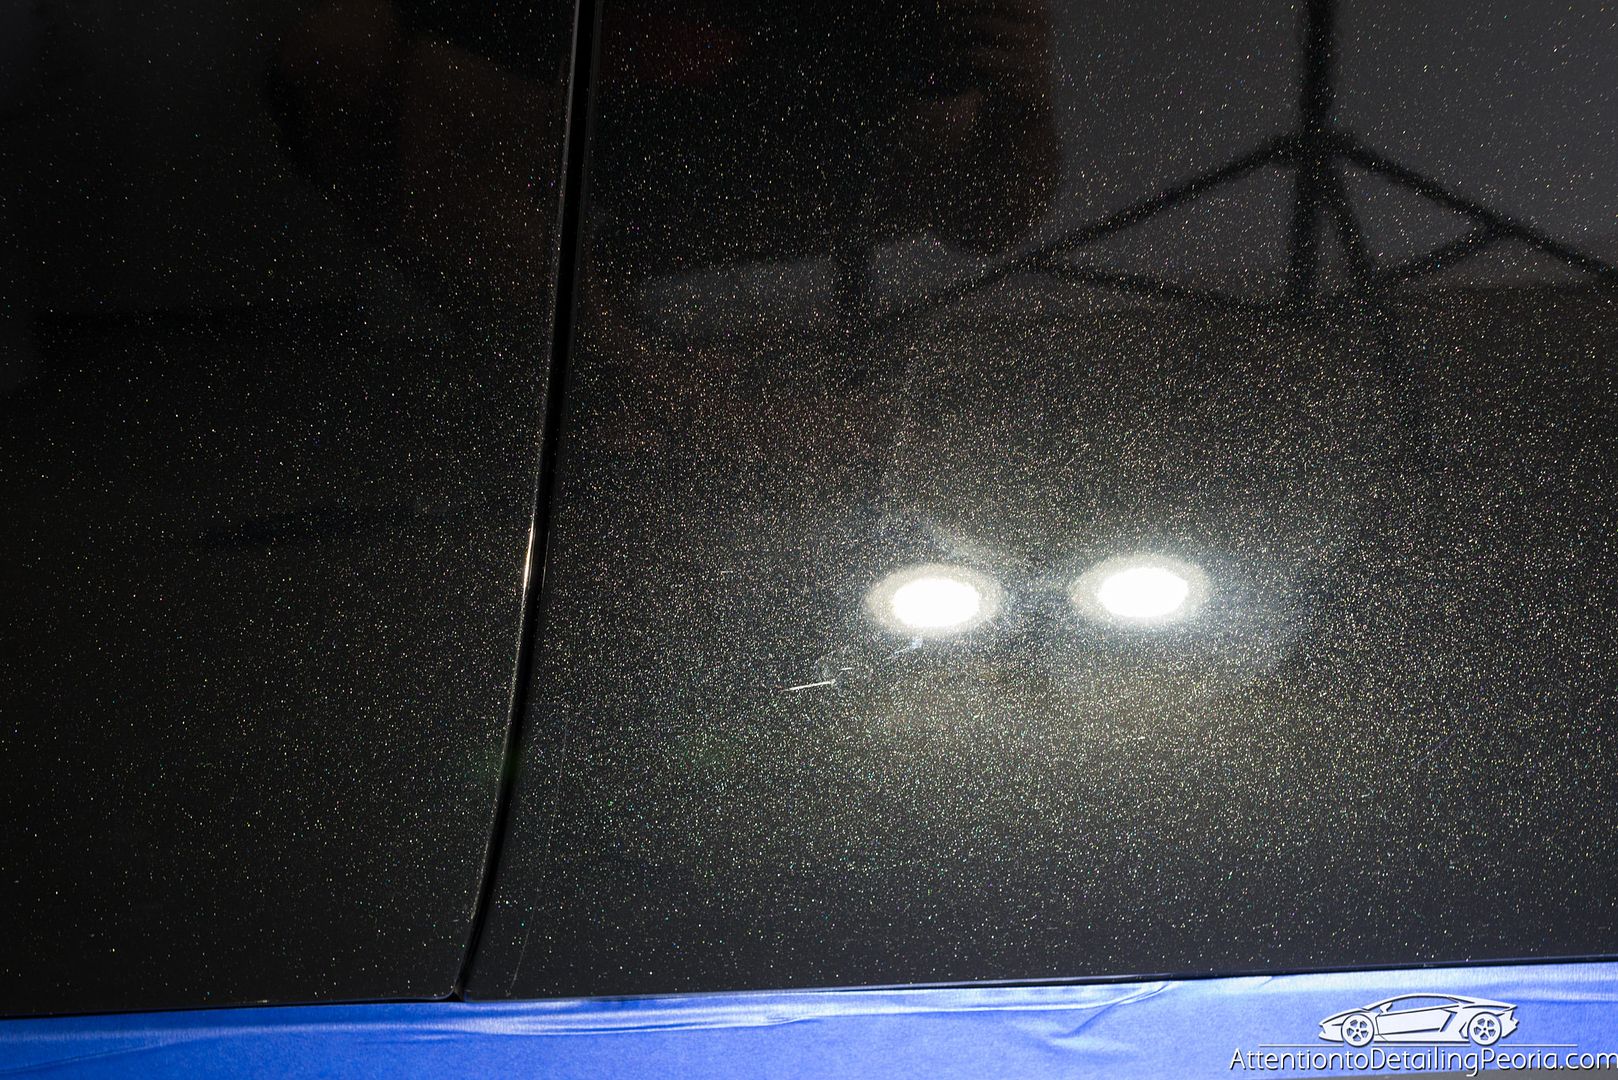
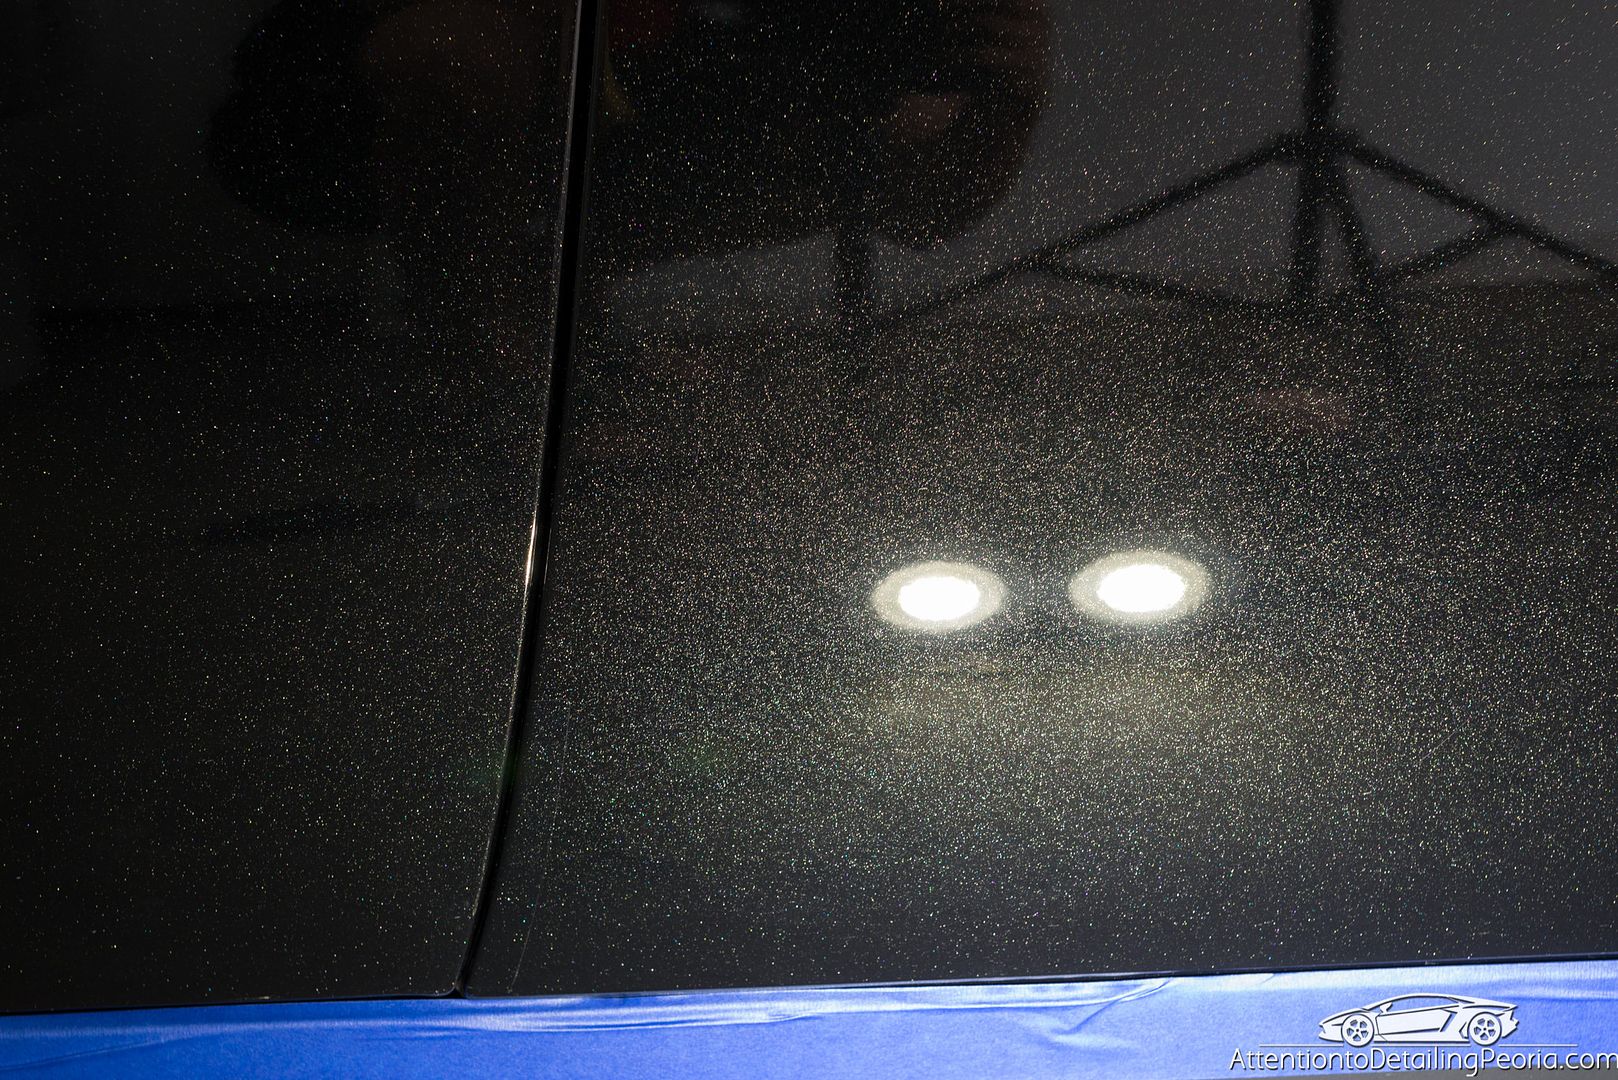
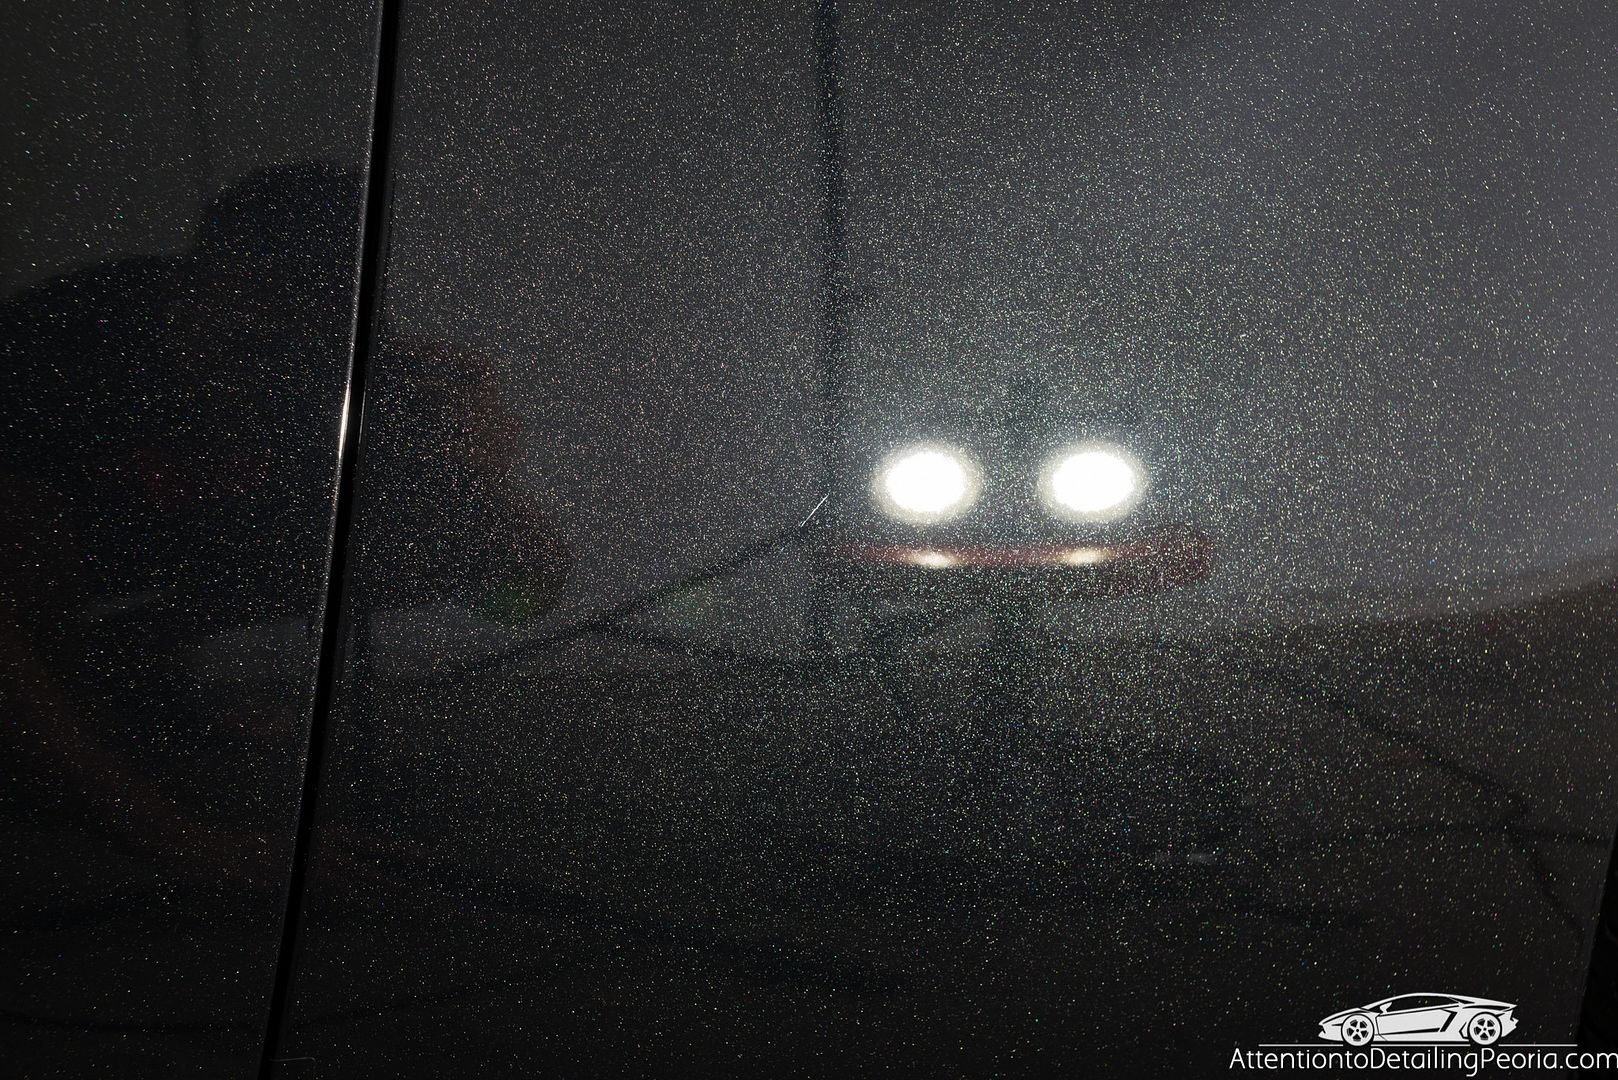
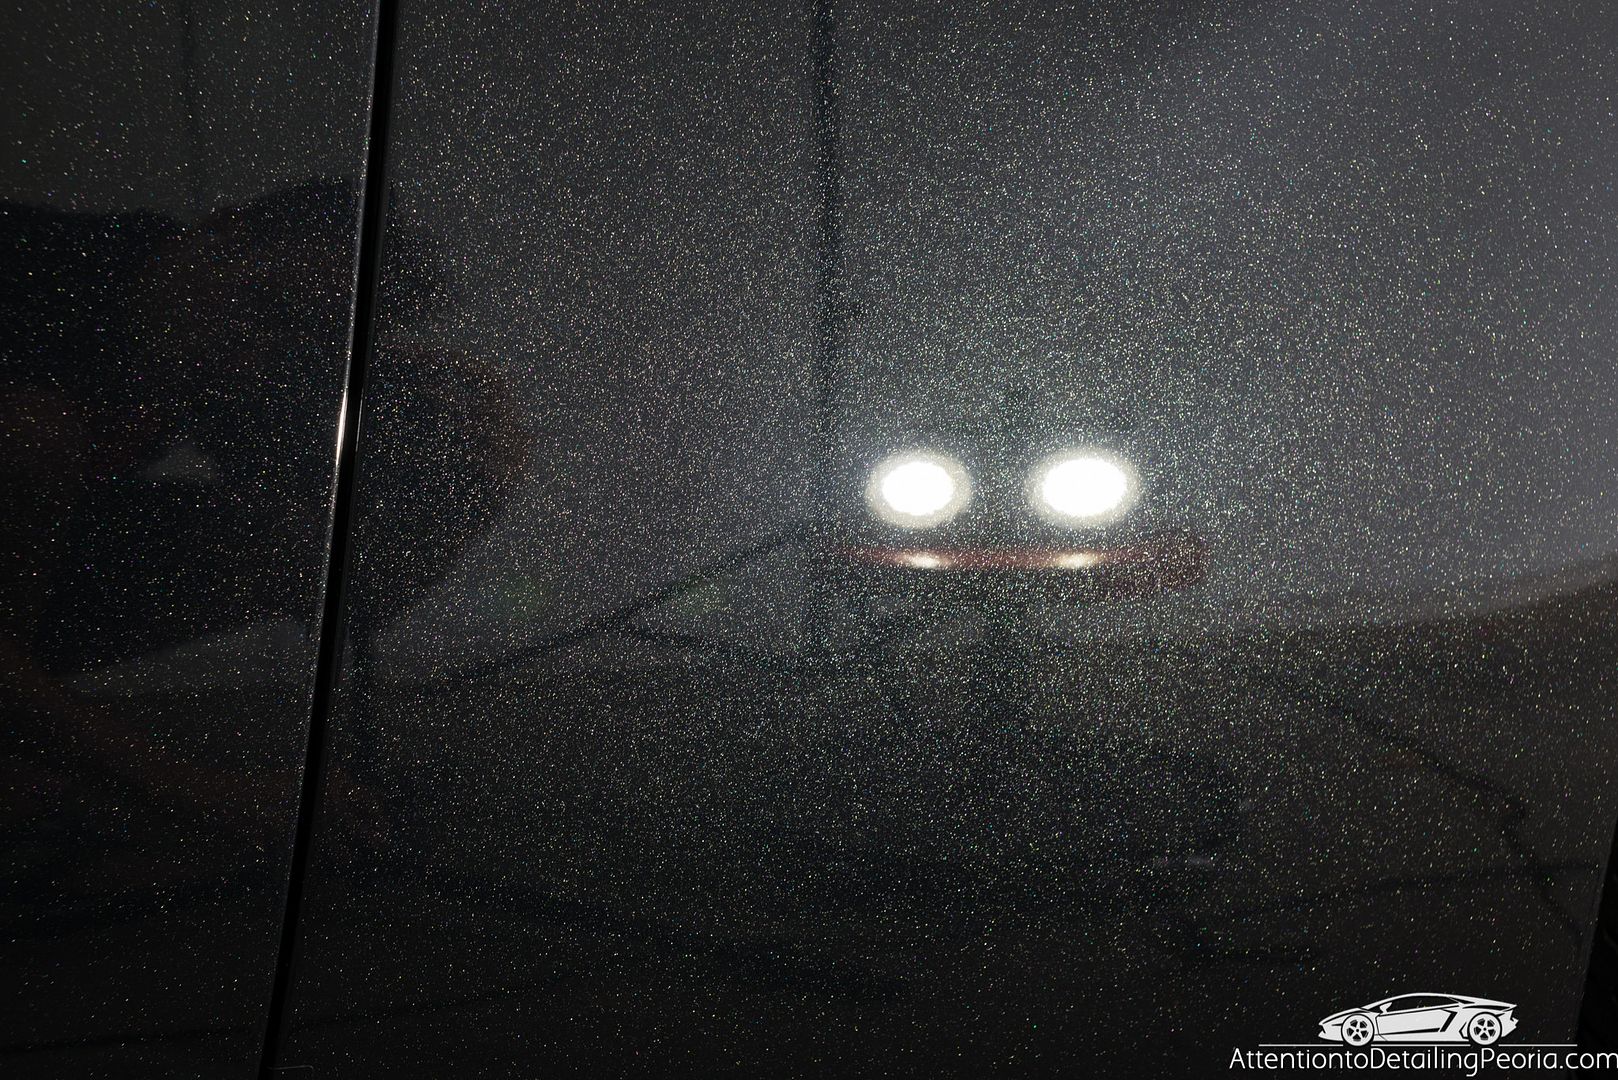
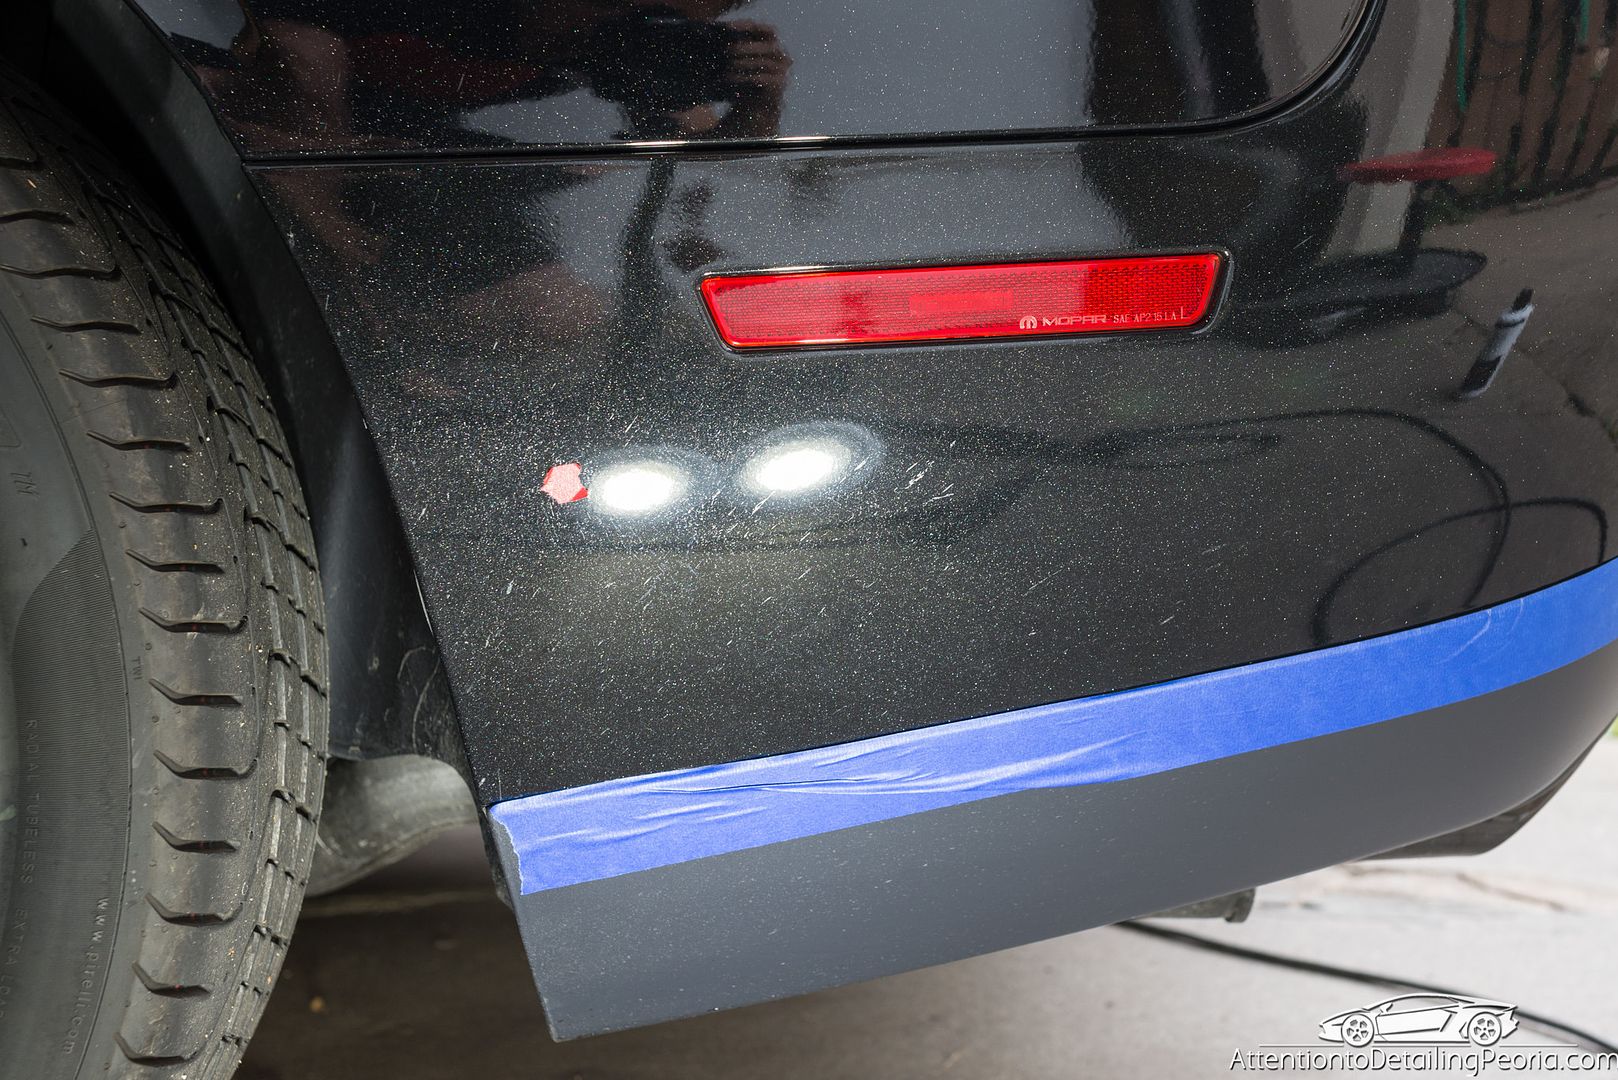
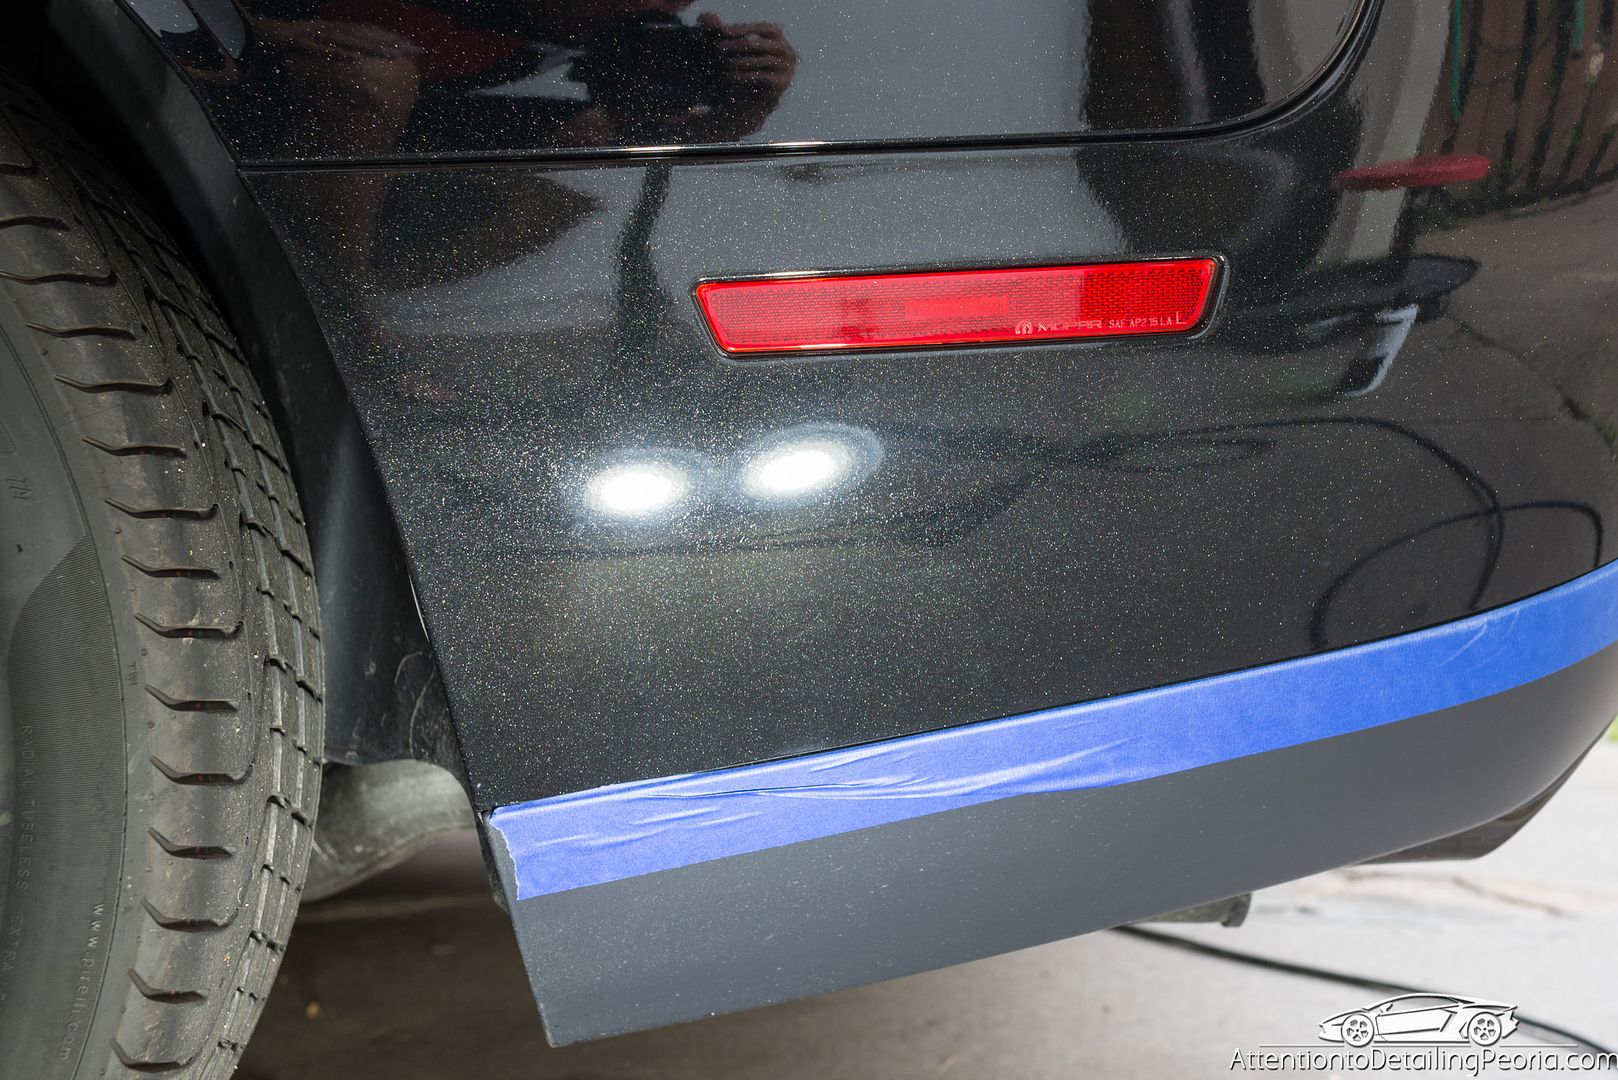
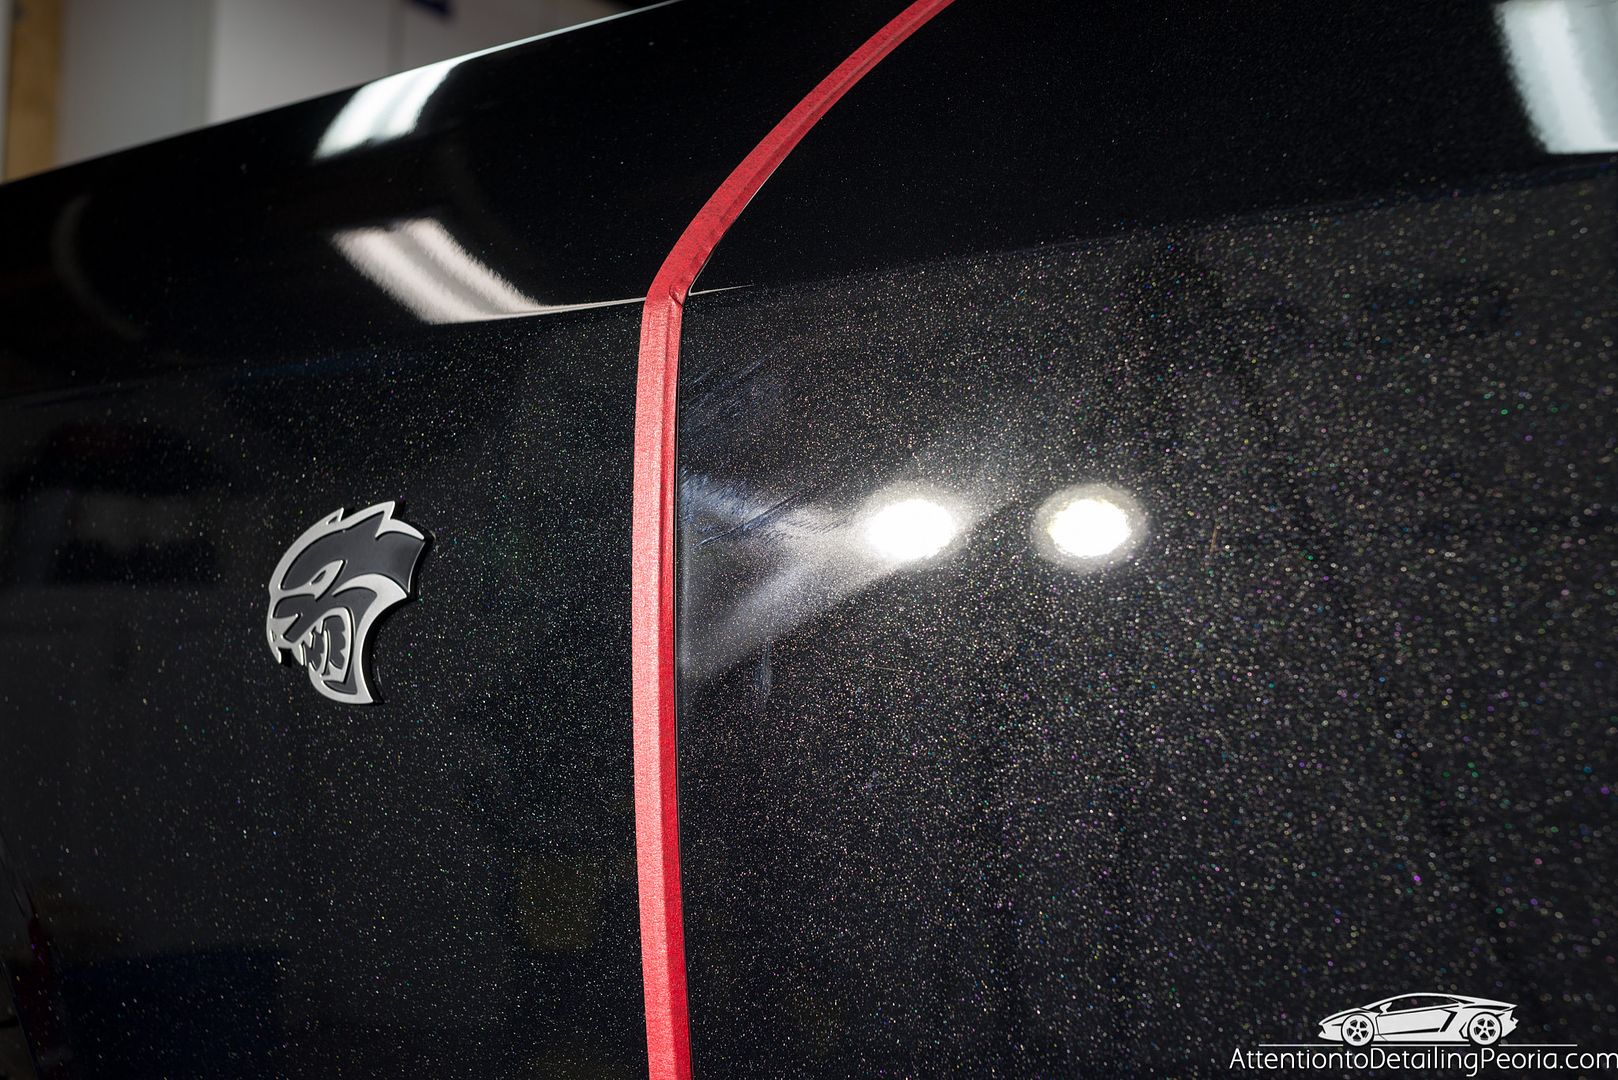
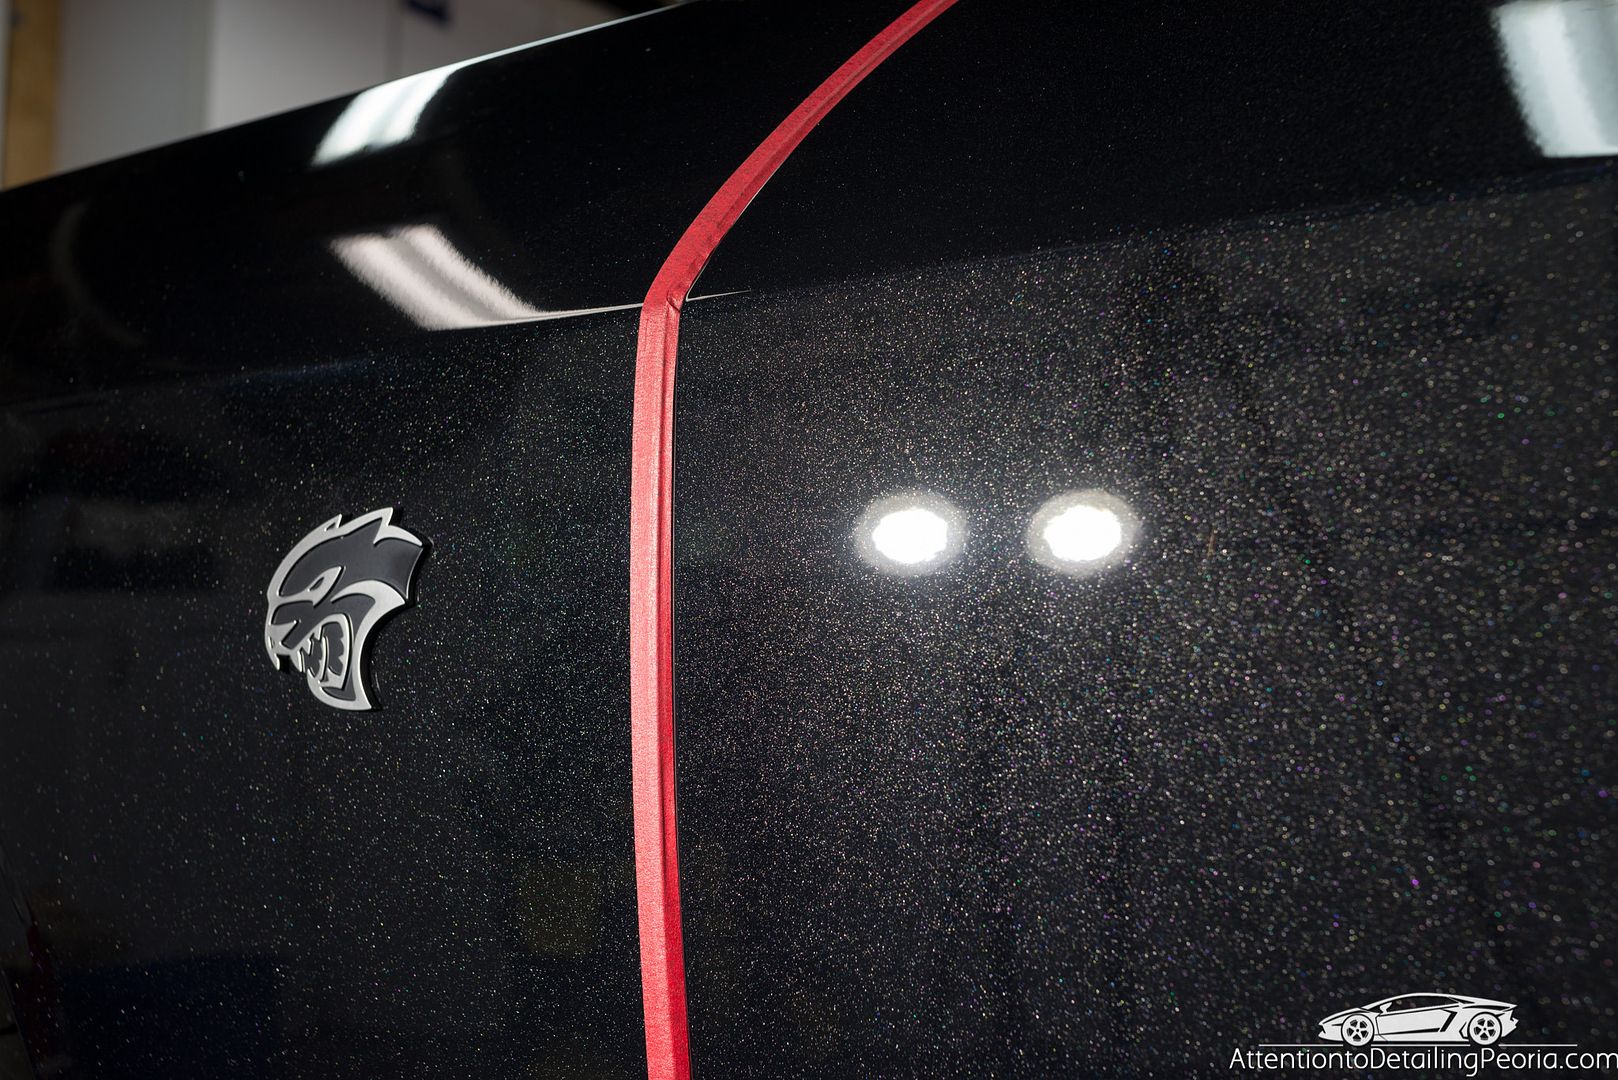
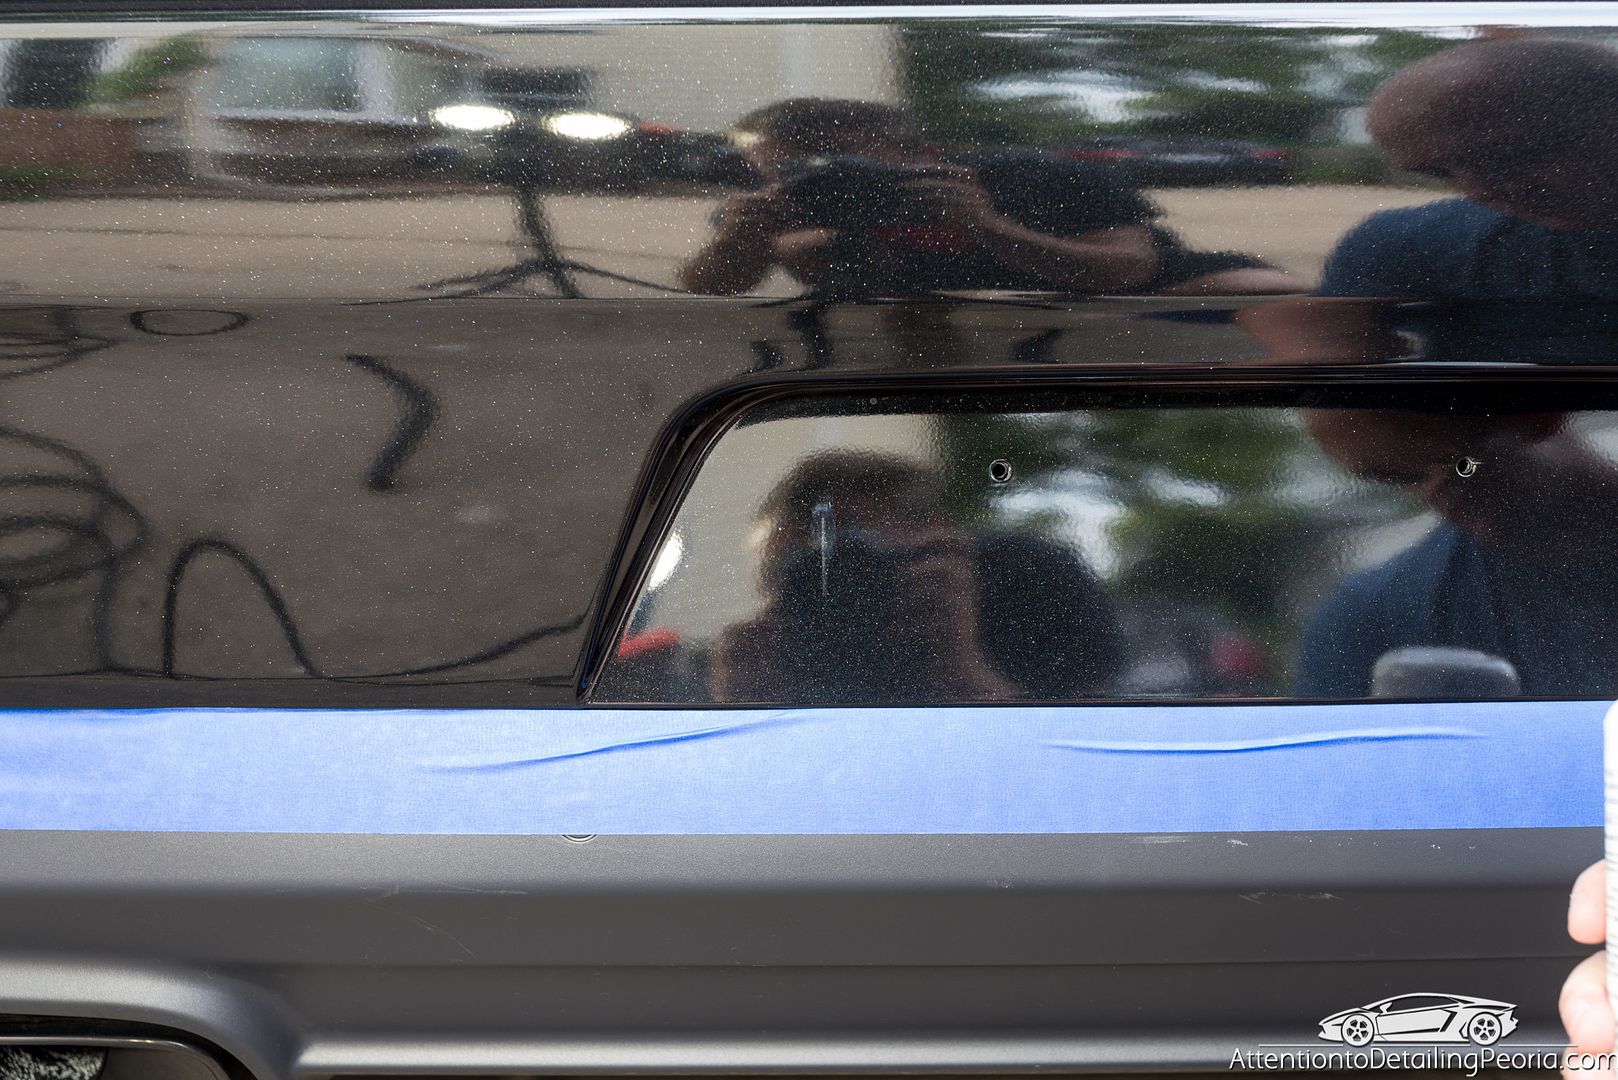
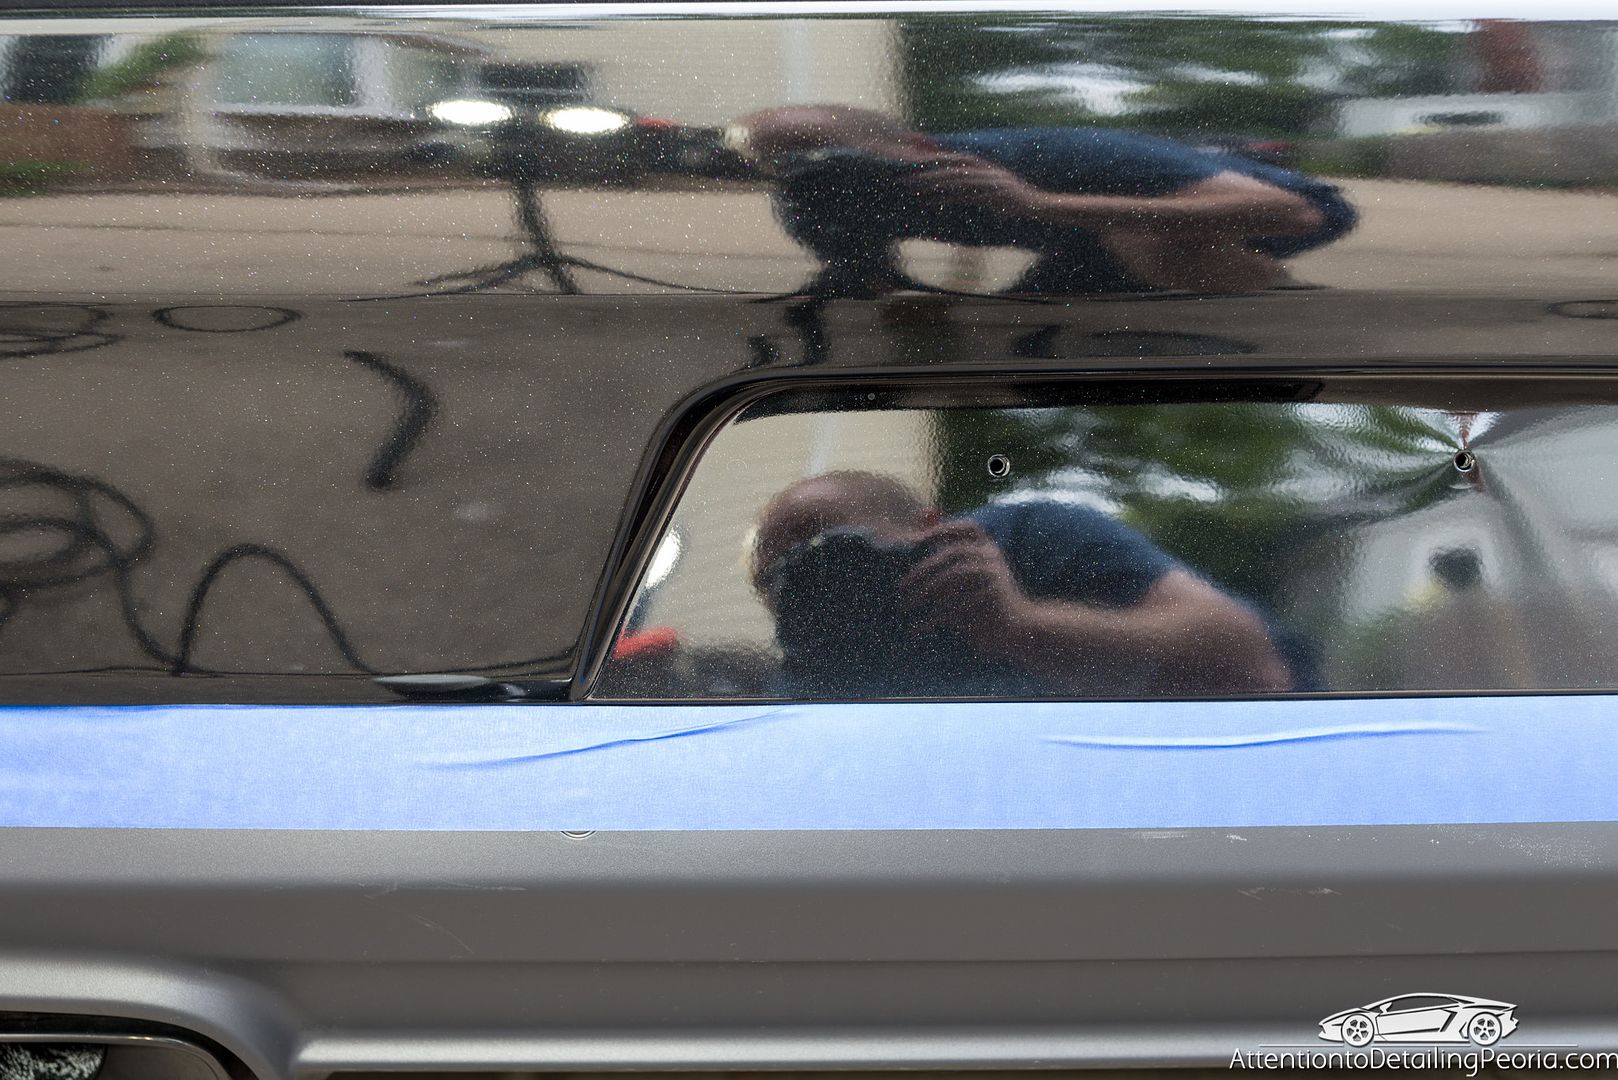
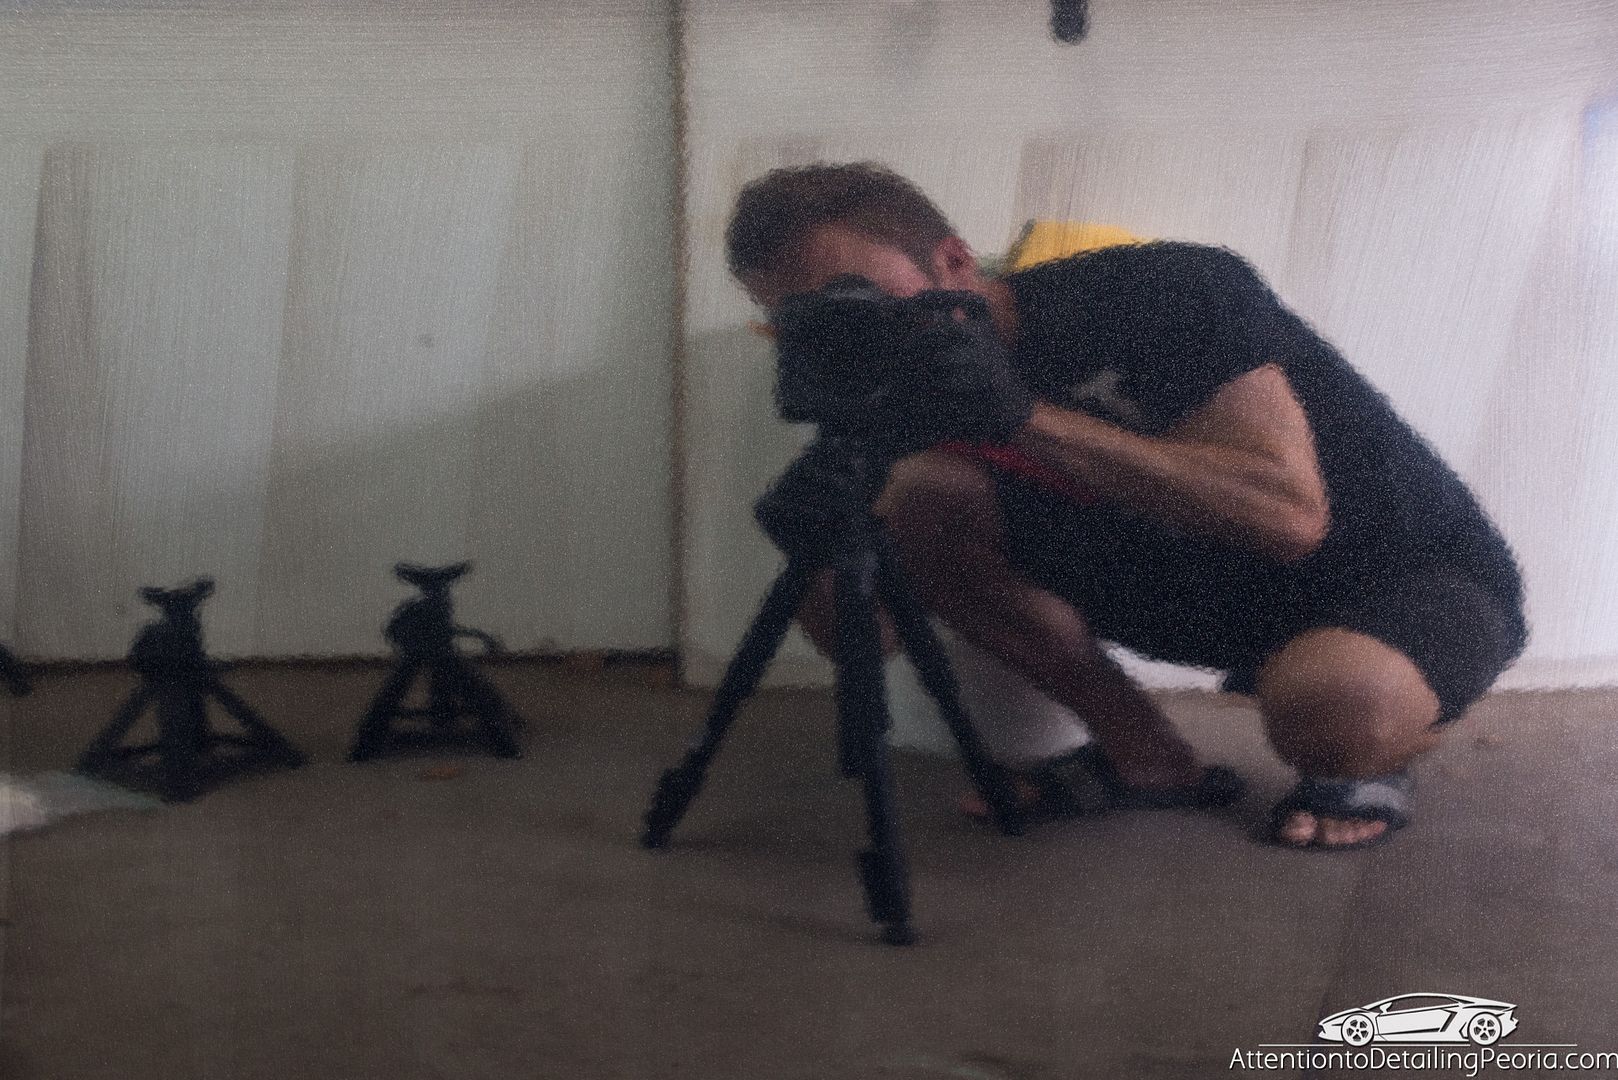
Once clean, the vehicle was then brought inside for inspection. Trim and areas of concern were taped off to avoid accidental damage while polishing. Defects were marked with small pieces of tape.
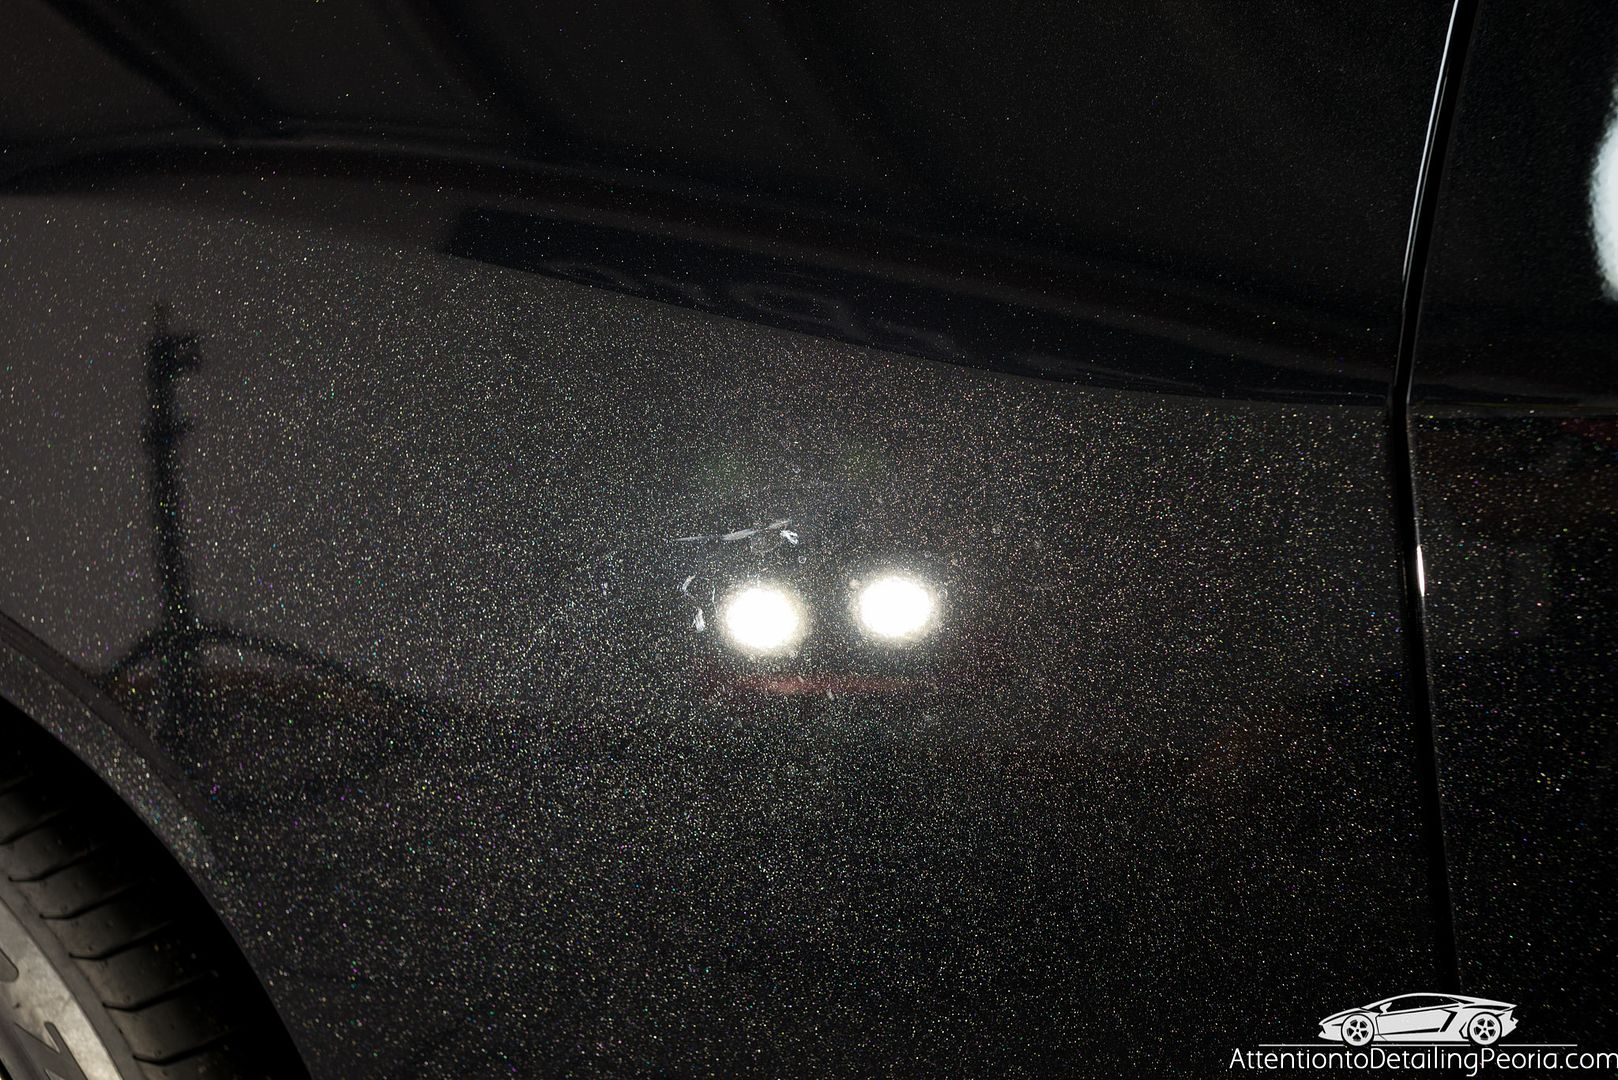
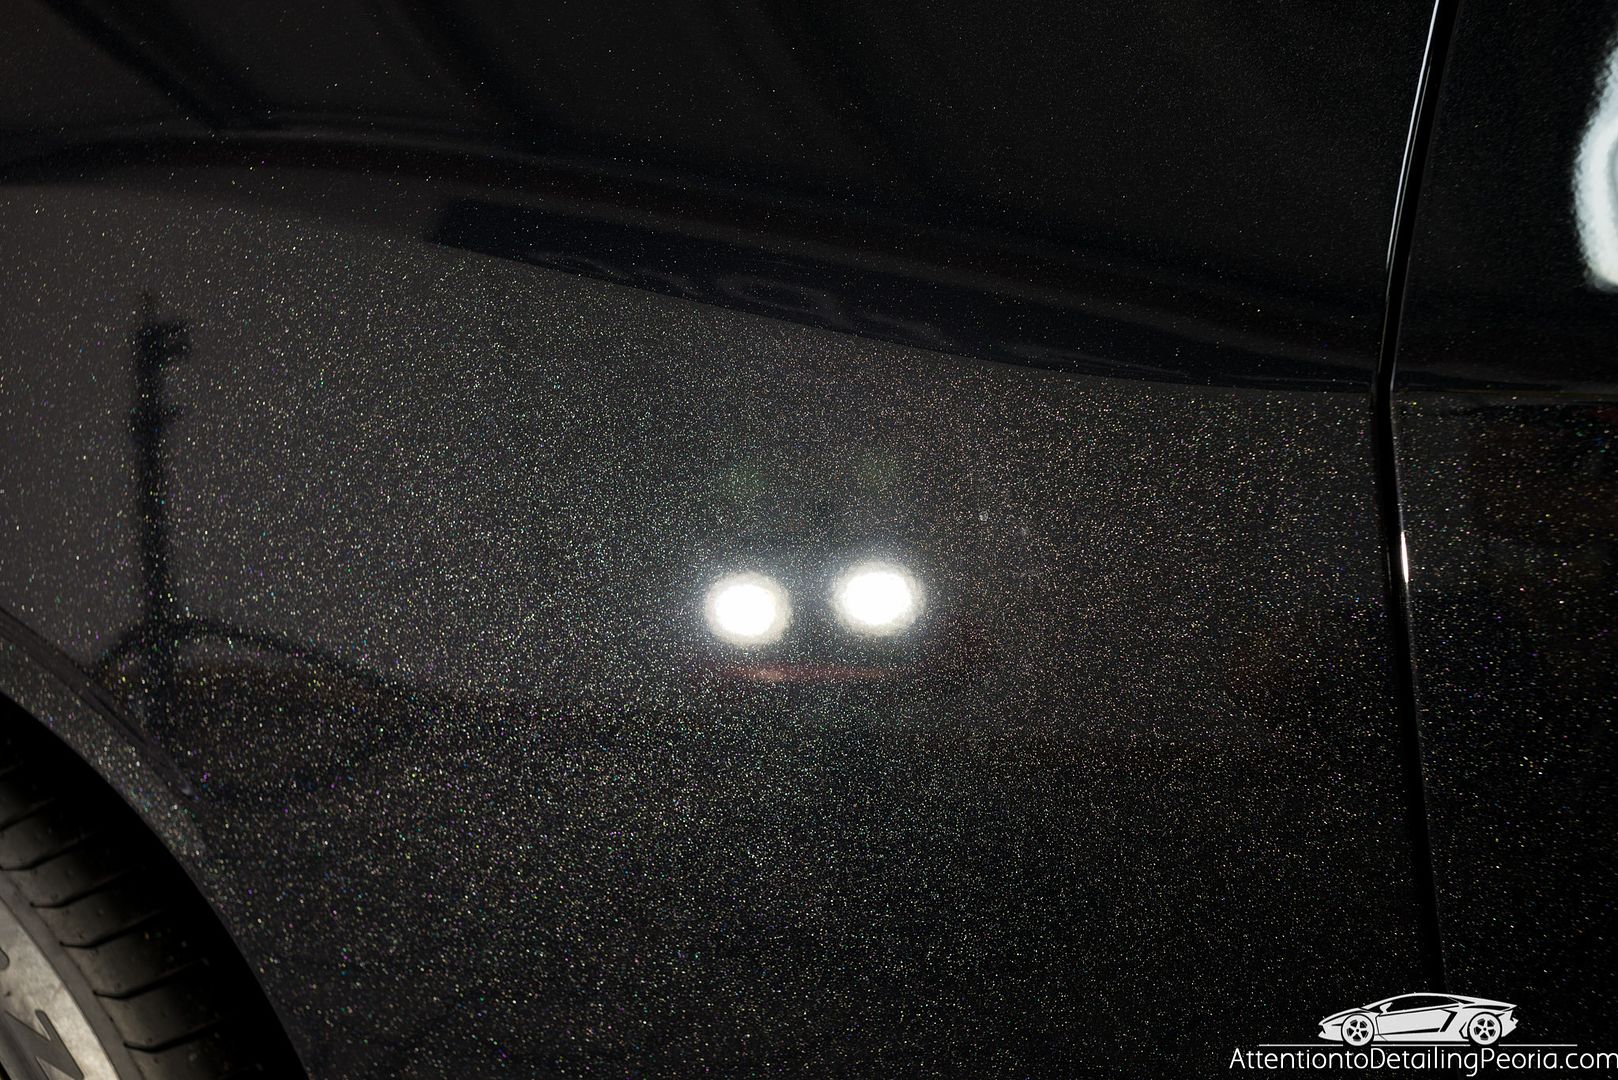
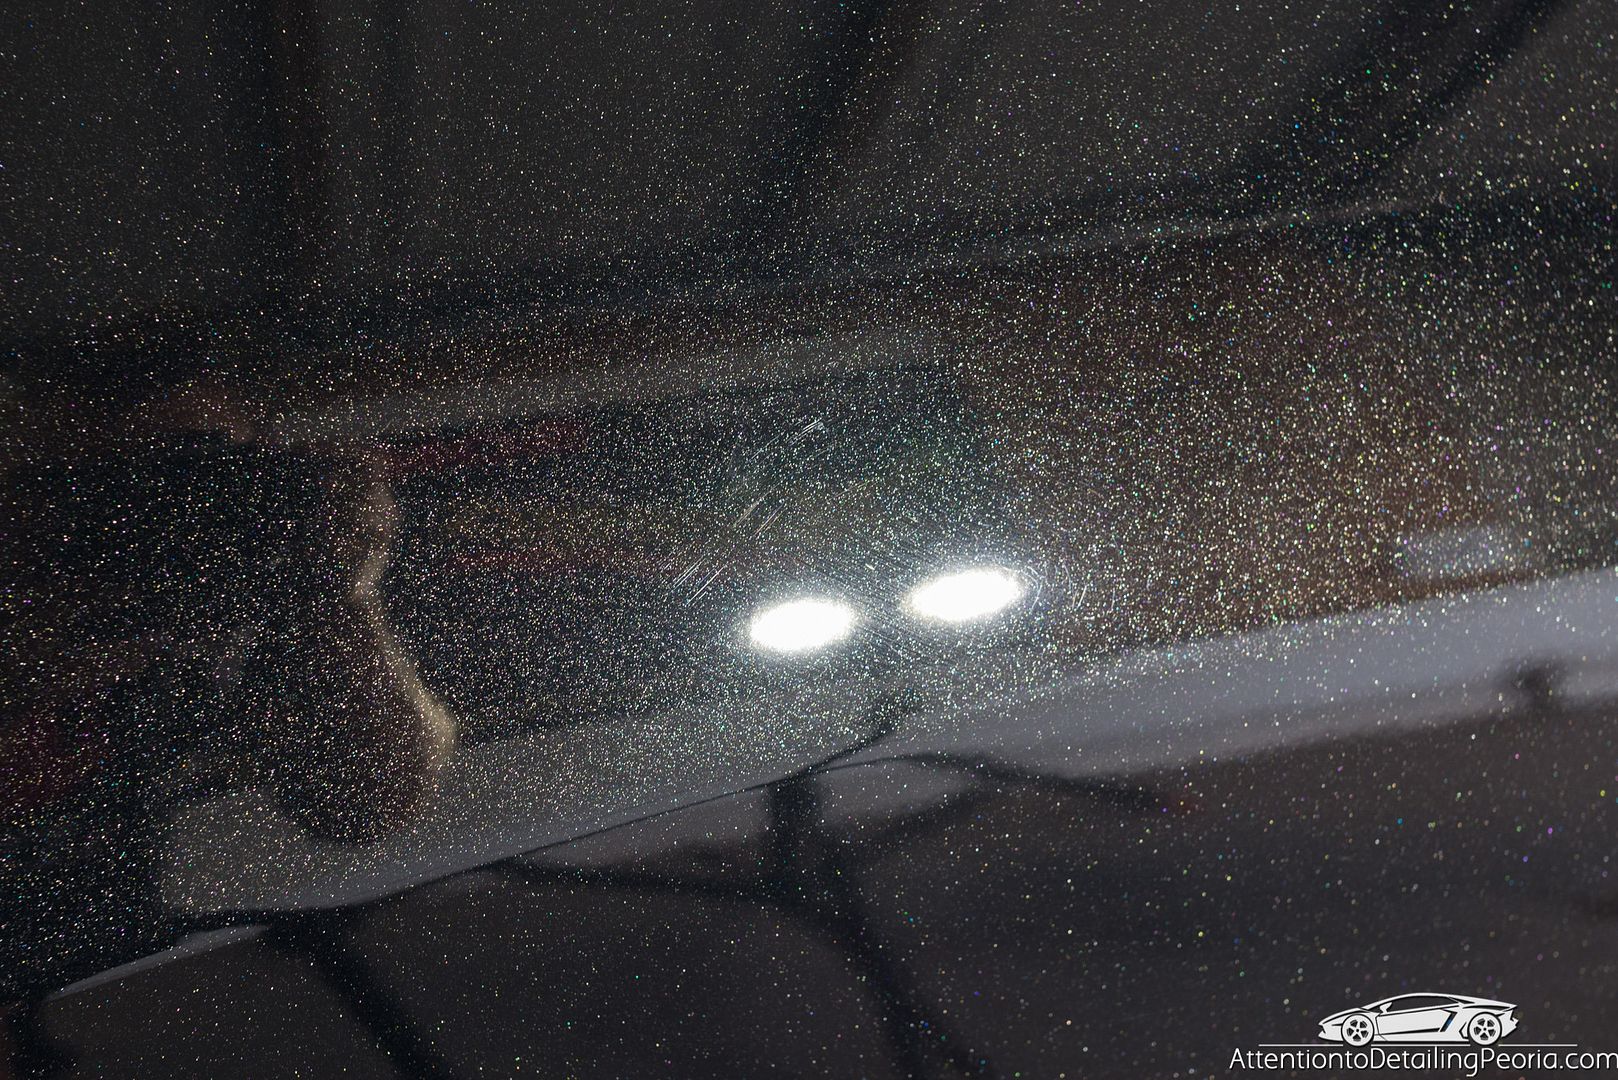
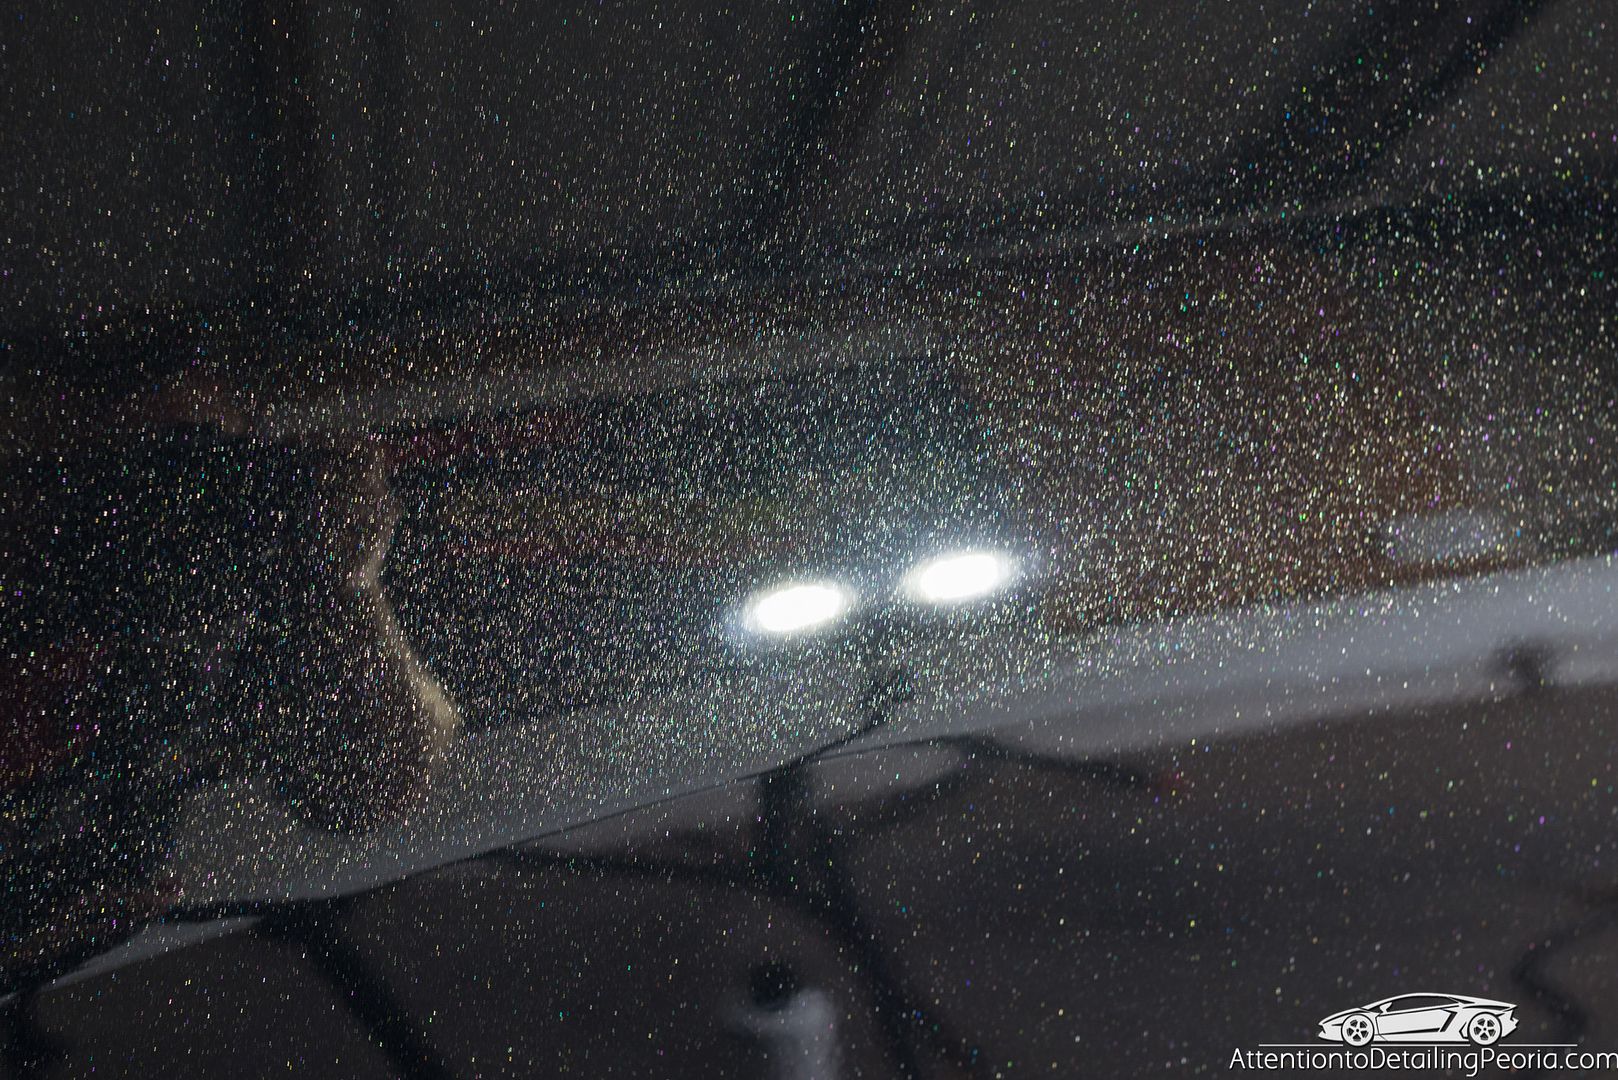
I then proceeded to make my way around the vehicle and spot correct as many defects as I could find, no matter how small. Some before and after shots.
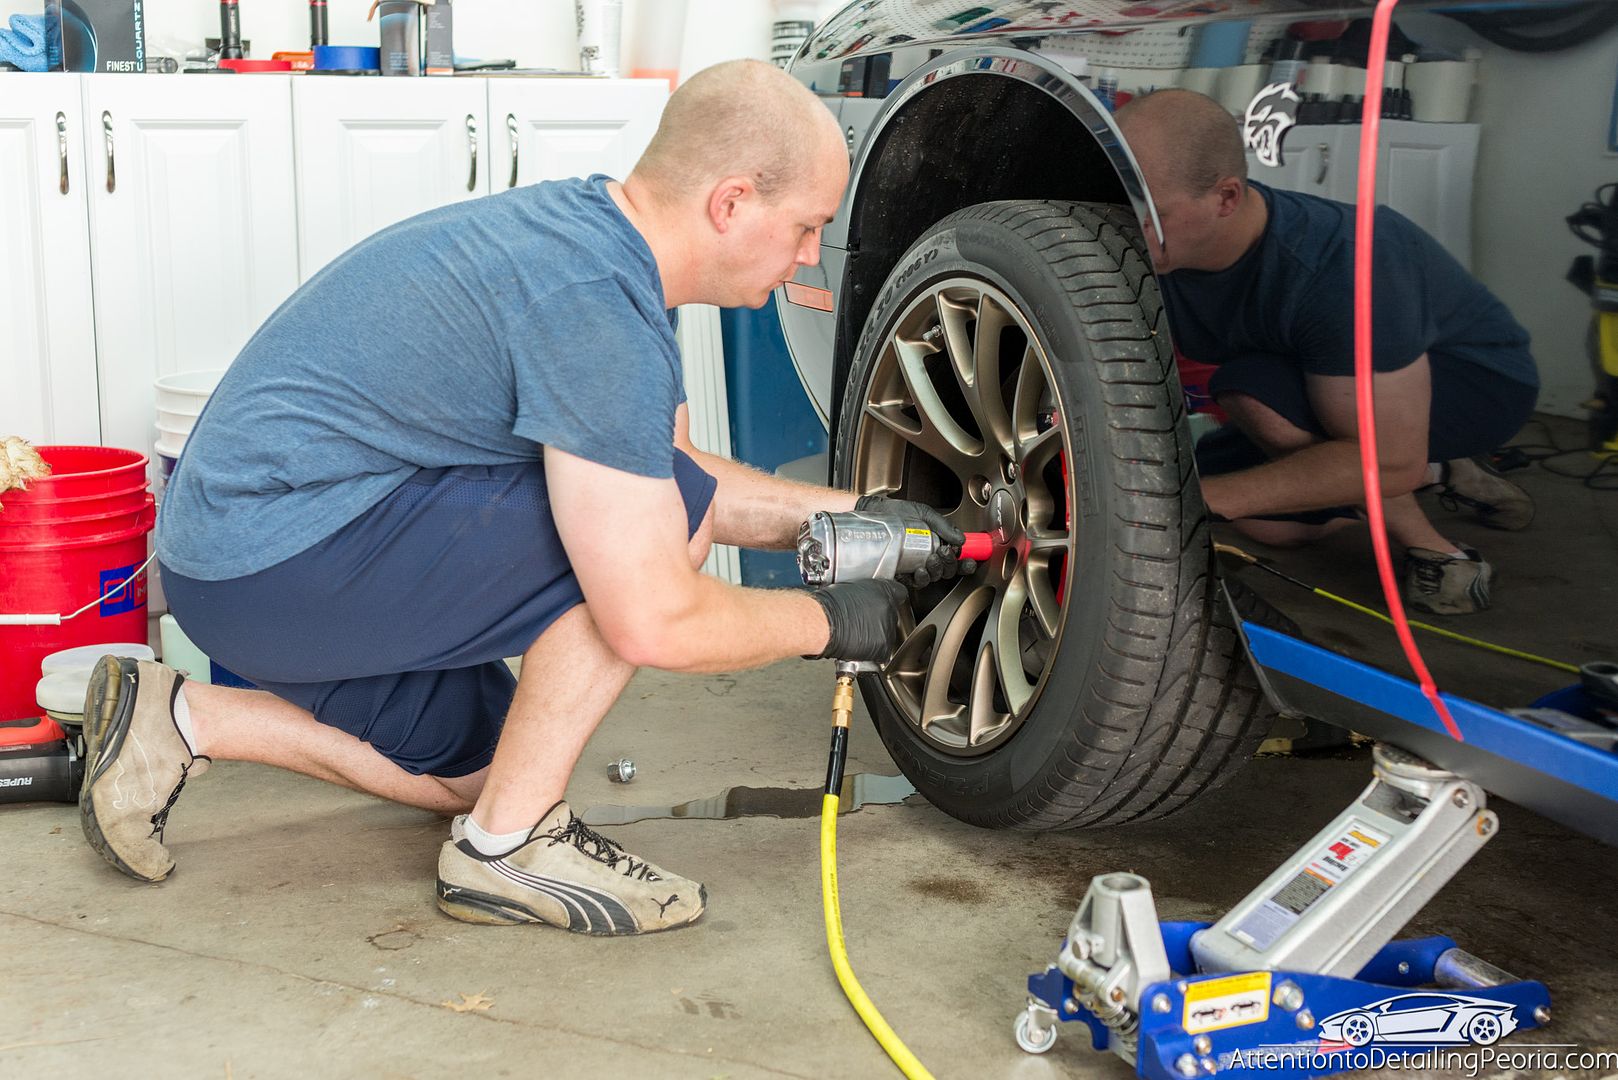
Carefully removing wheels with protected wheel sockets.
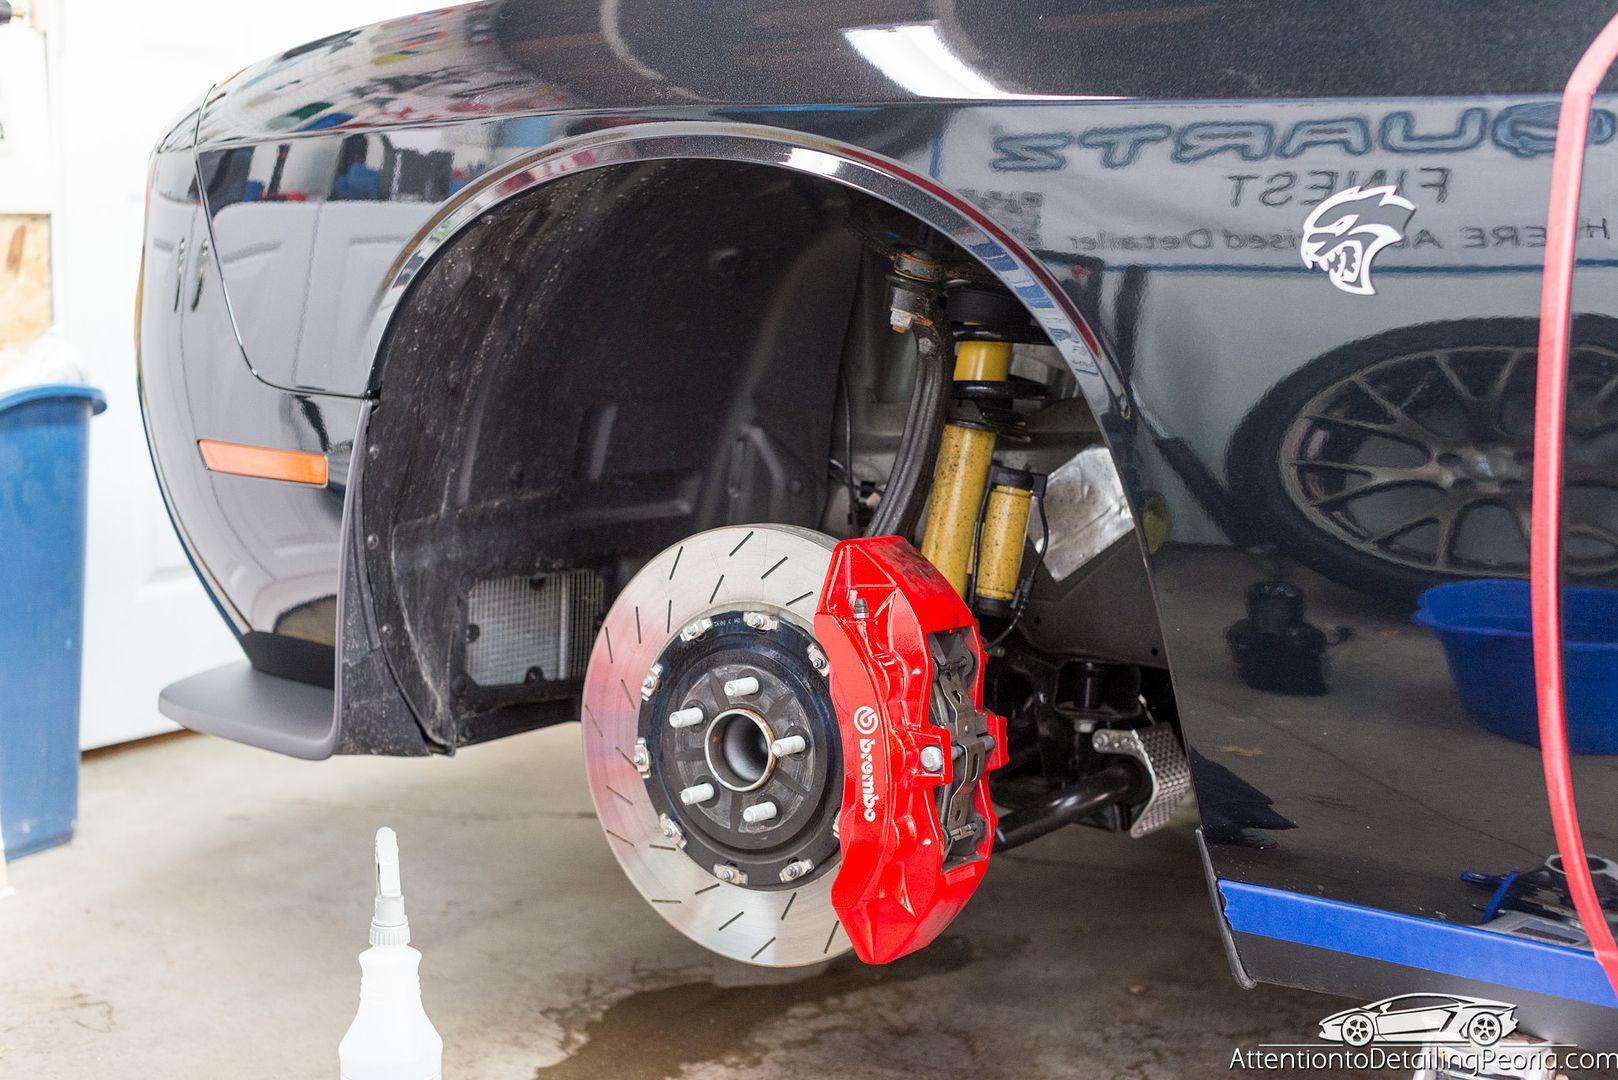
Wheel well before.
Wheel well after.
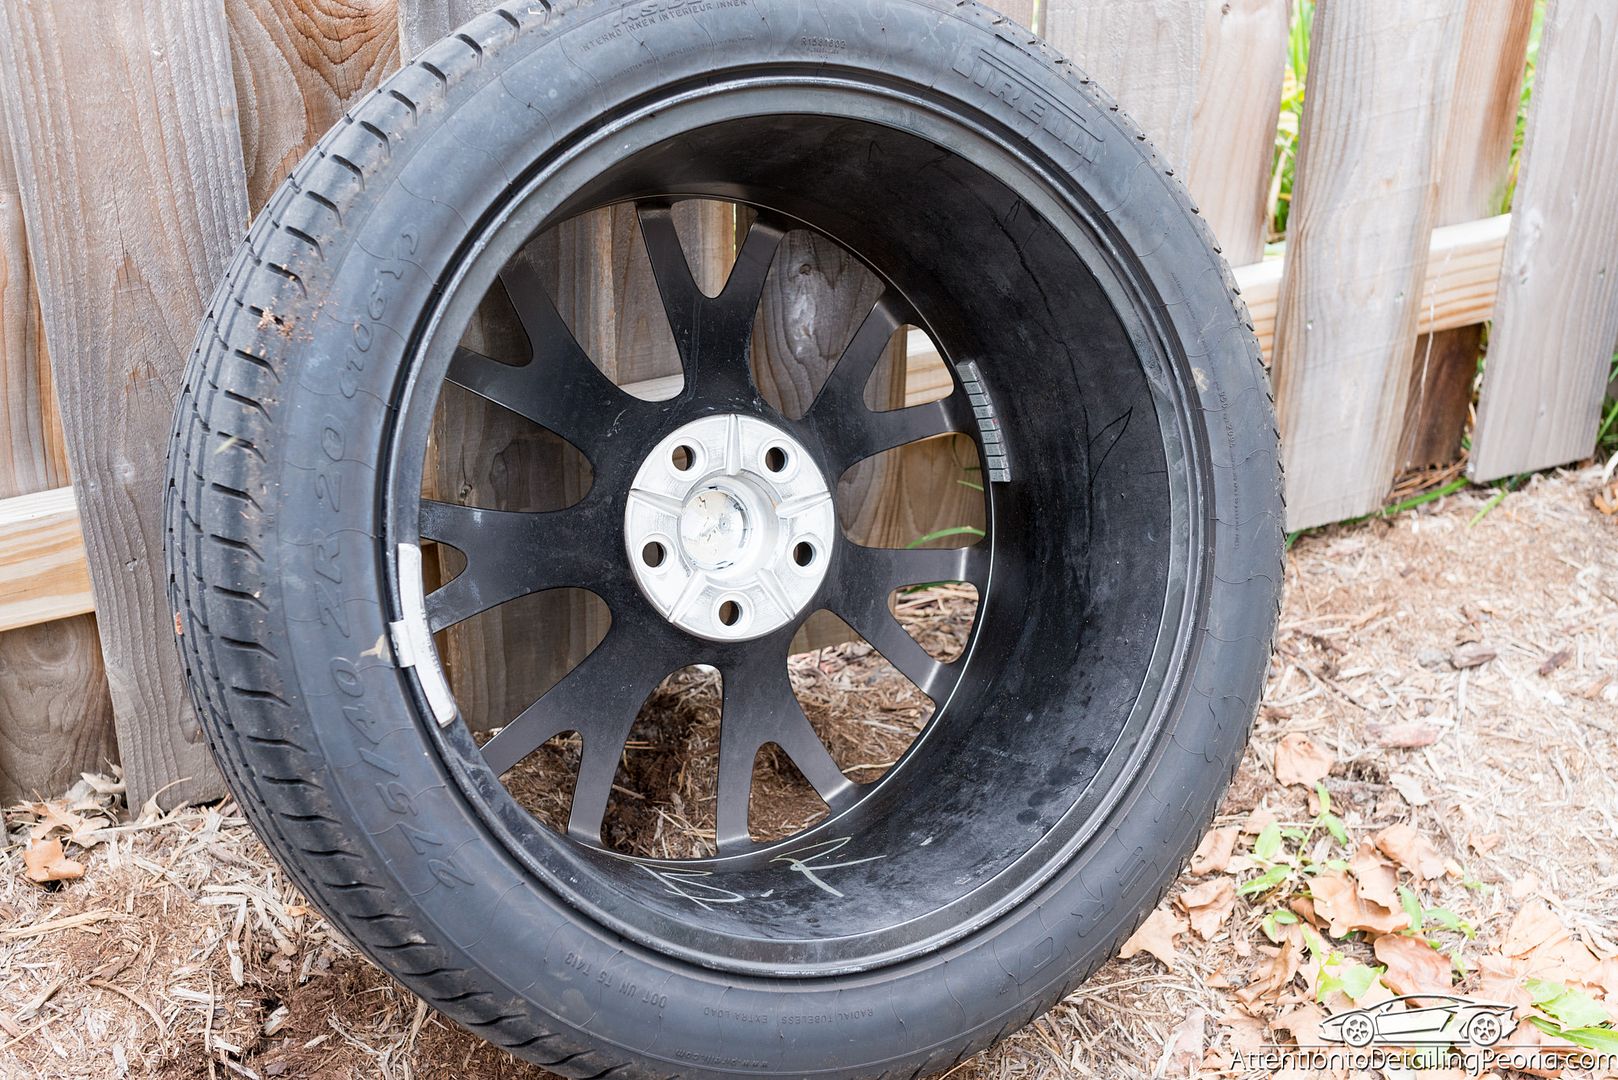
Wheel barrel before thorough cleaning.
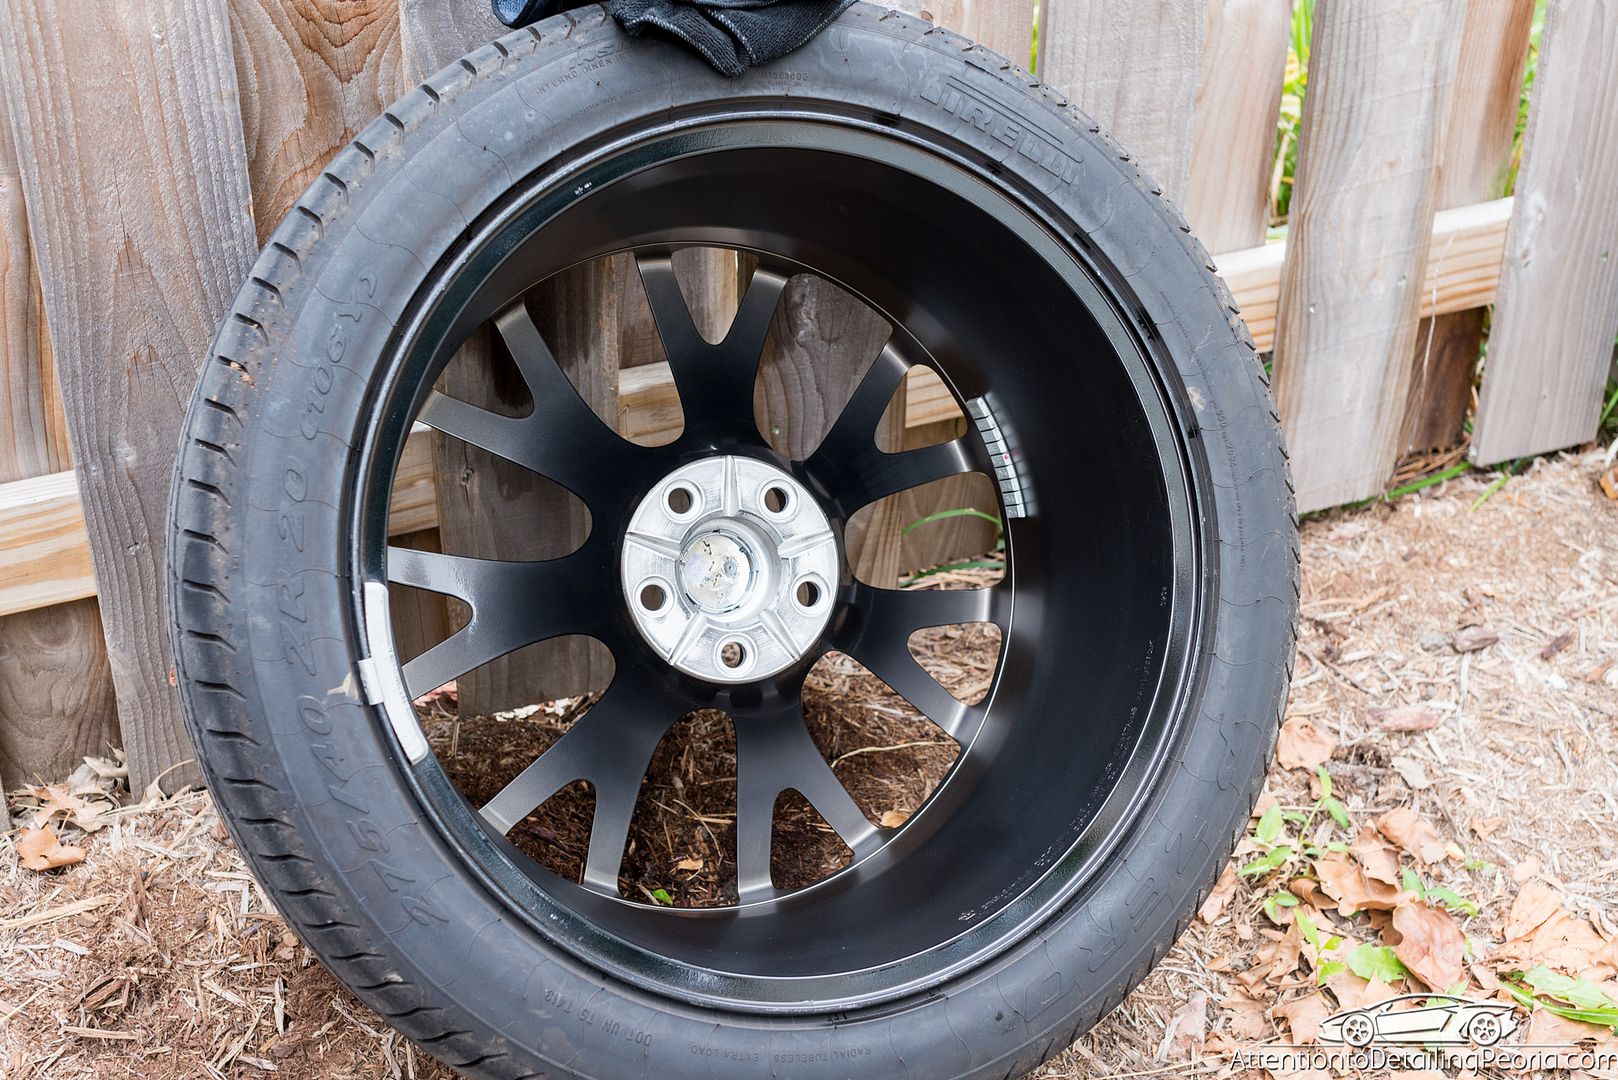
Wheel barrel after cleaning and coating.
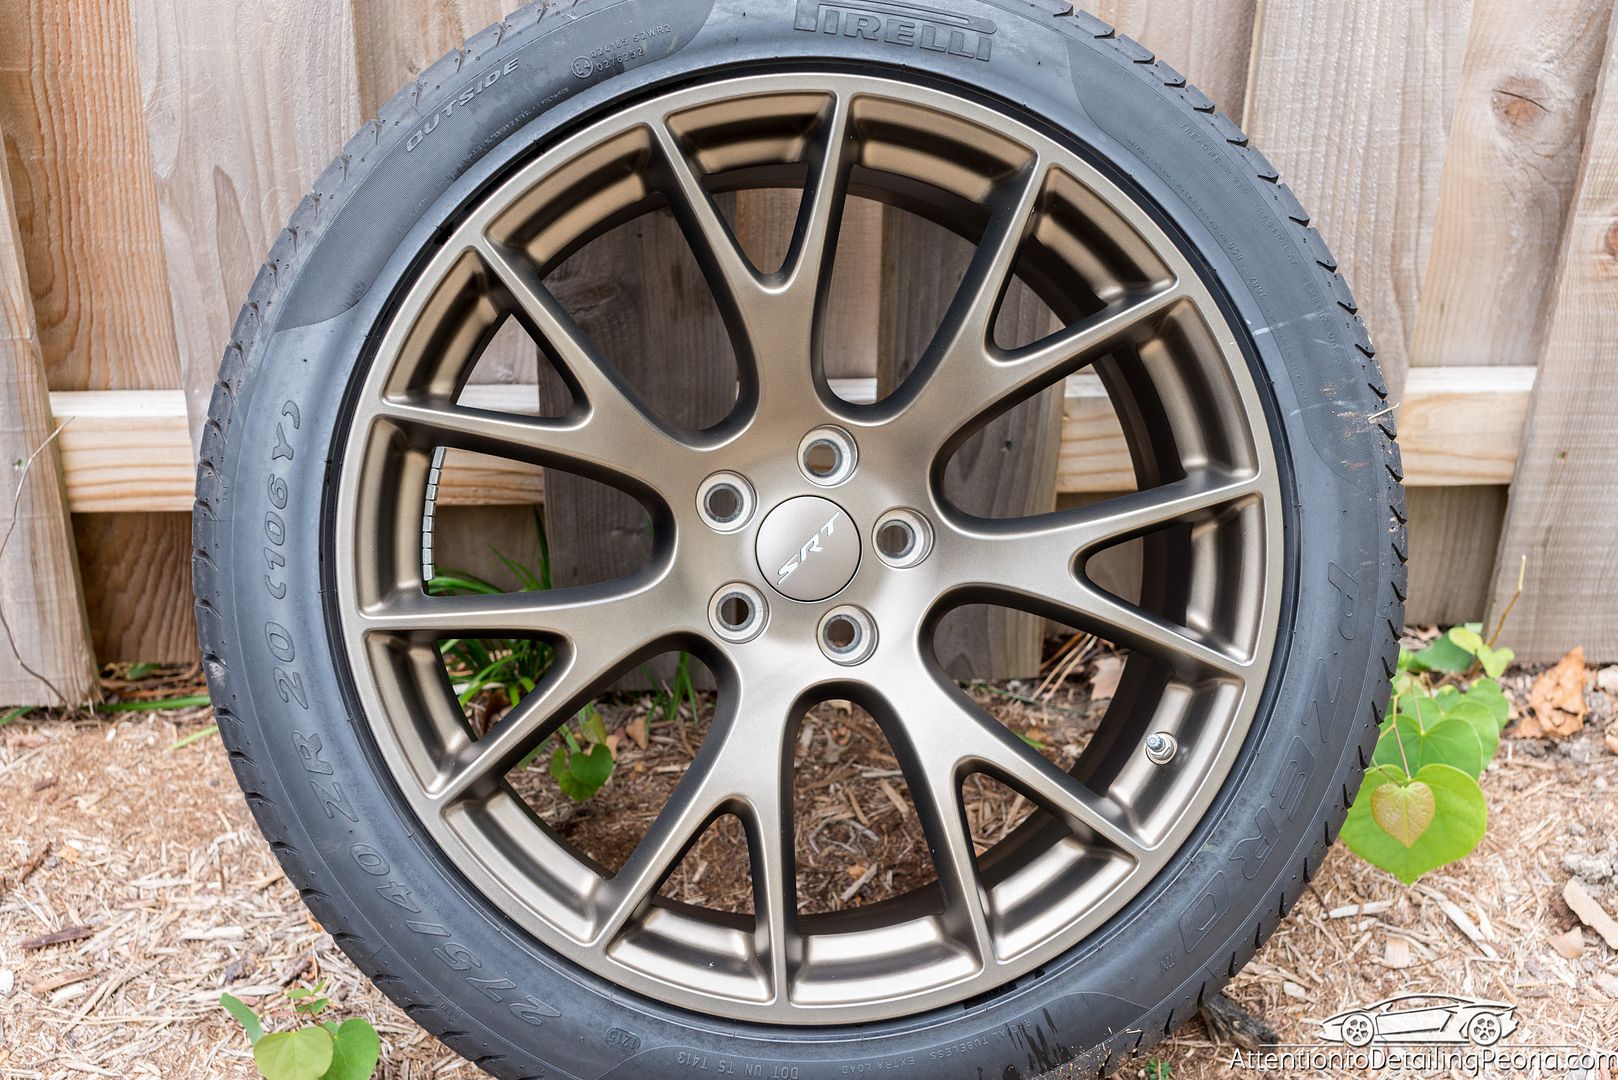
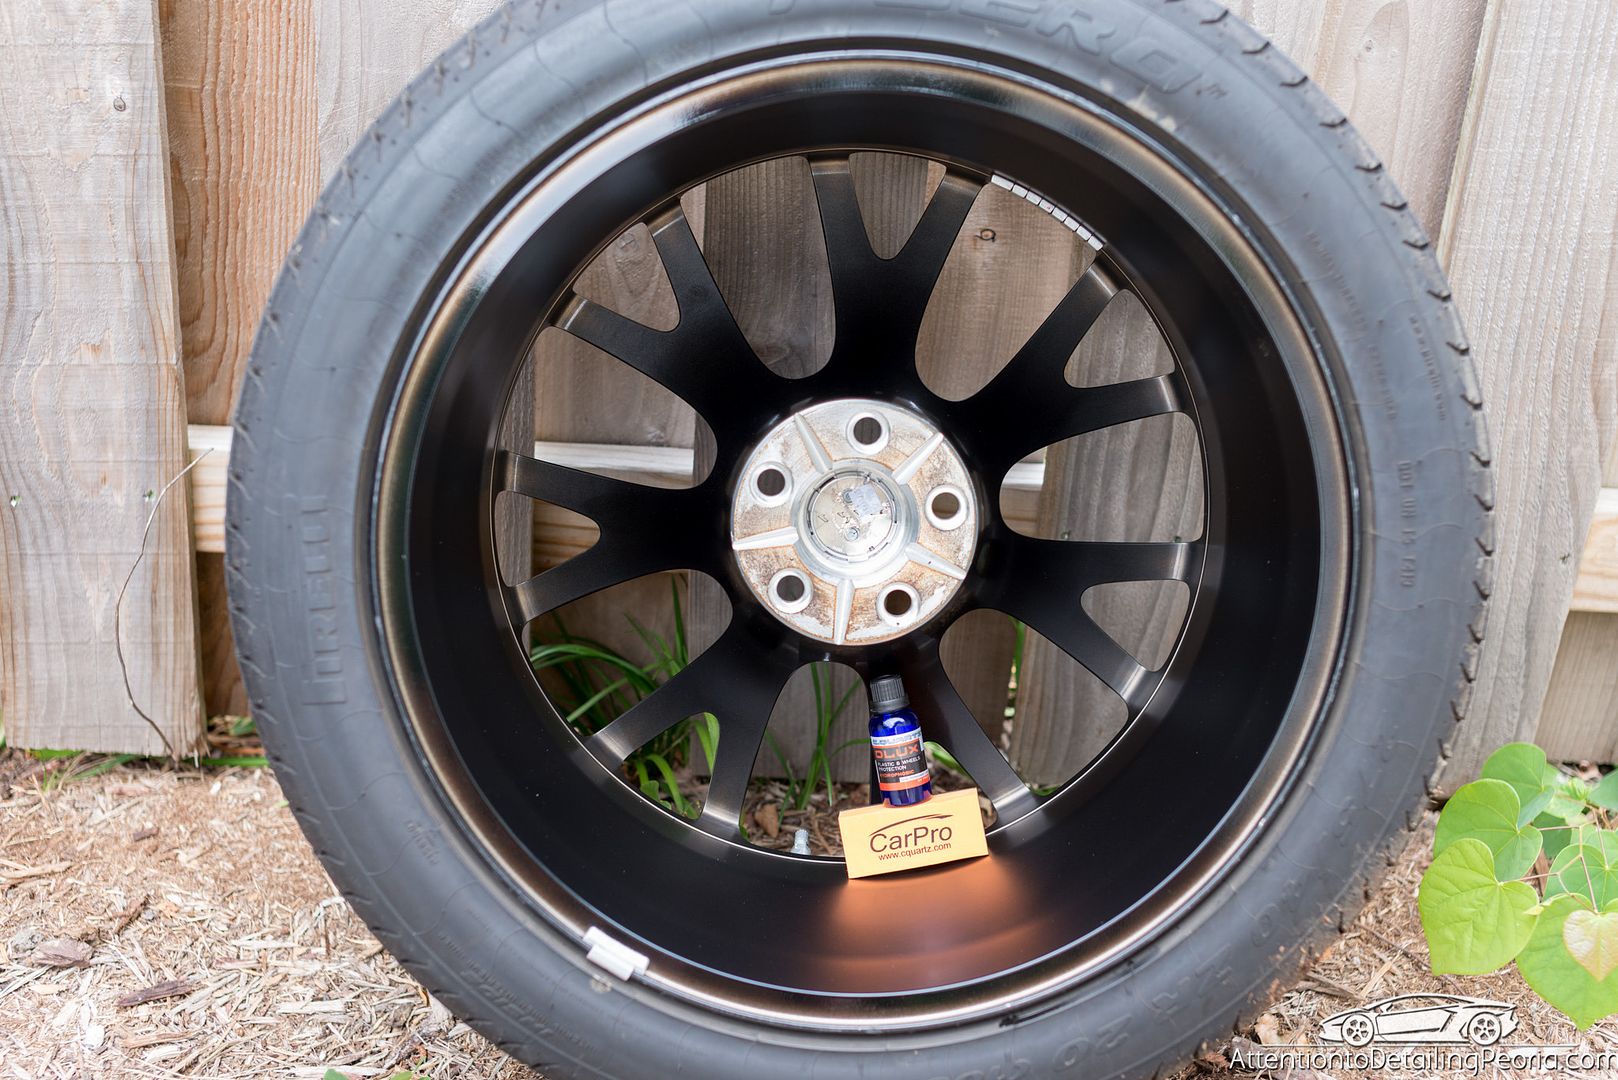
Wheel faces thoroughly cleaned.
Wheel well before.
Wheel well after.
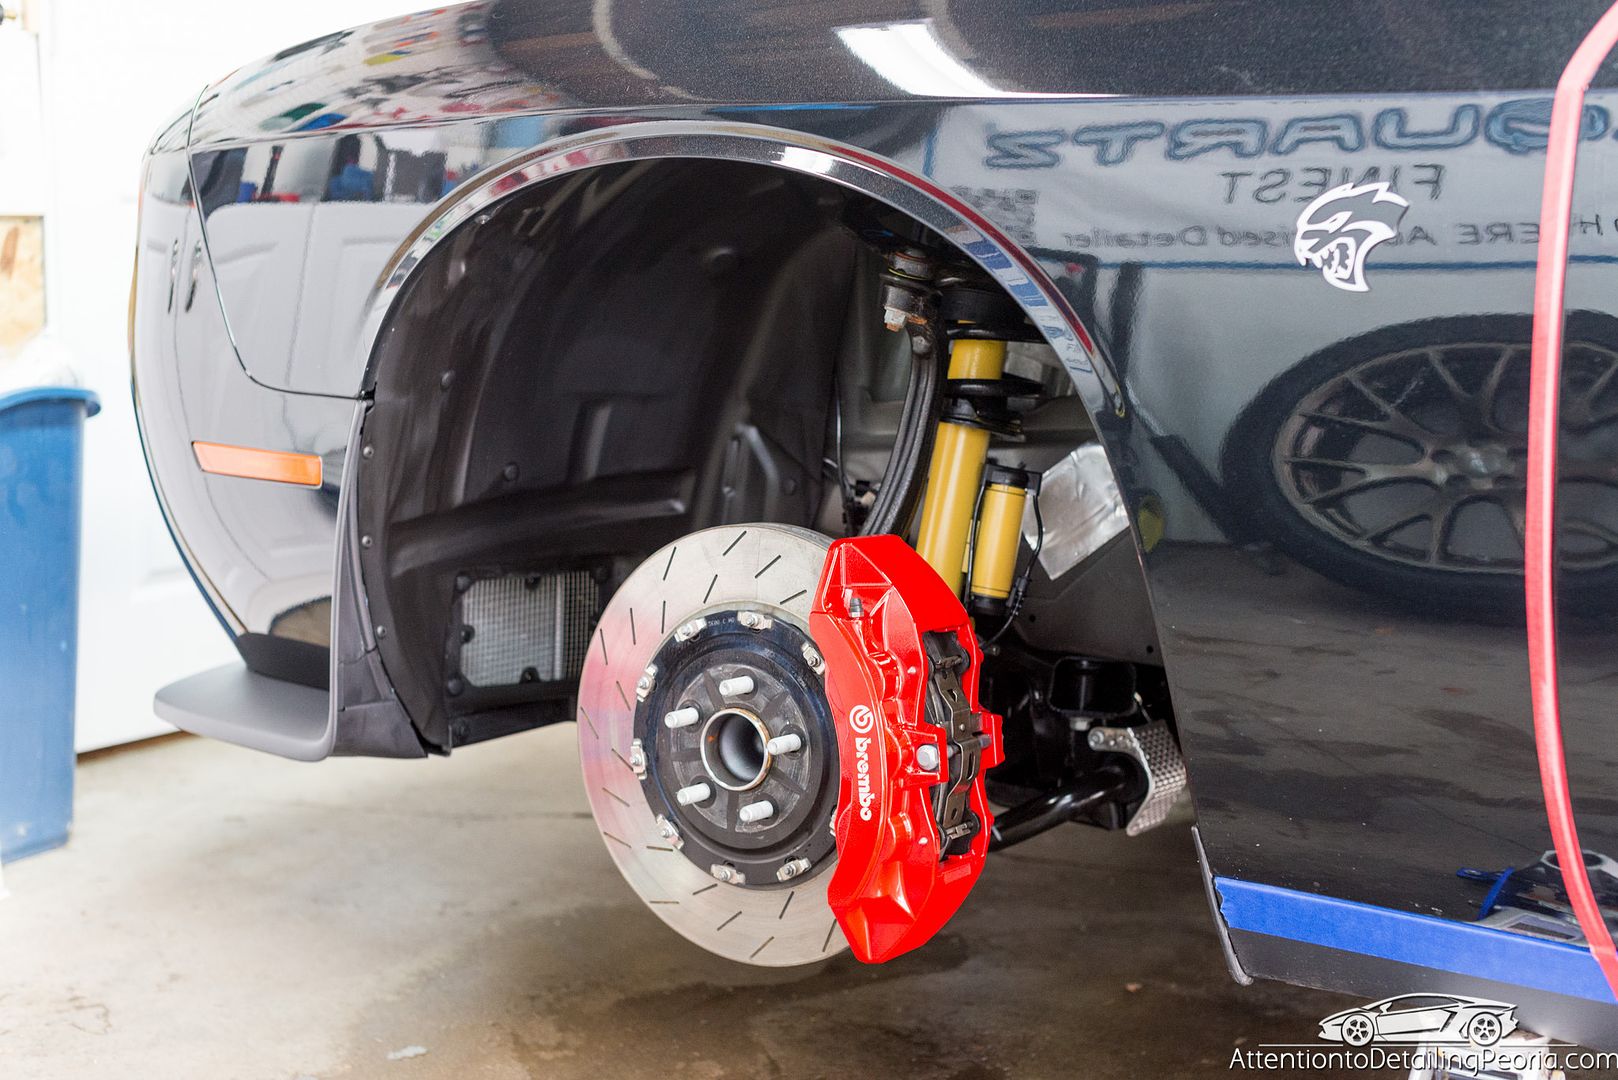
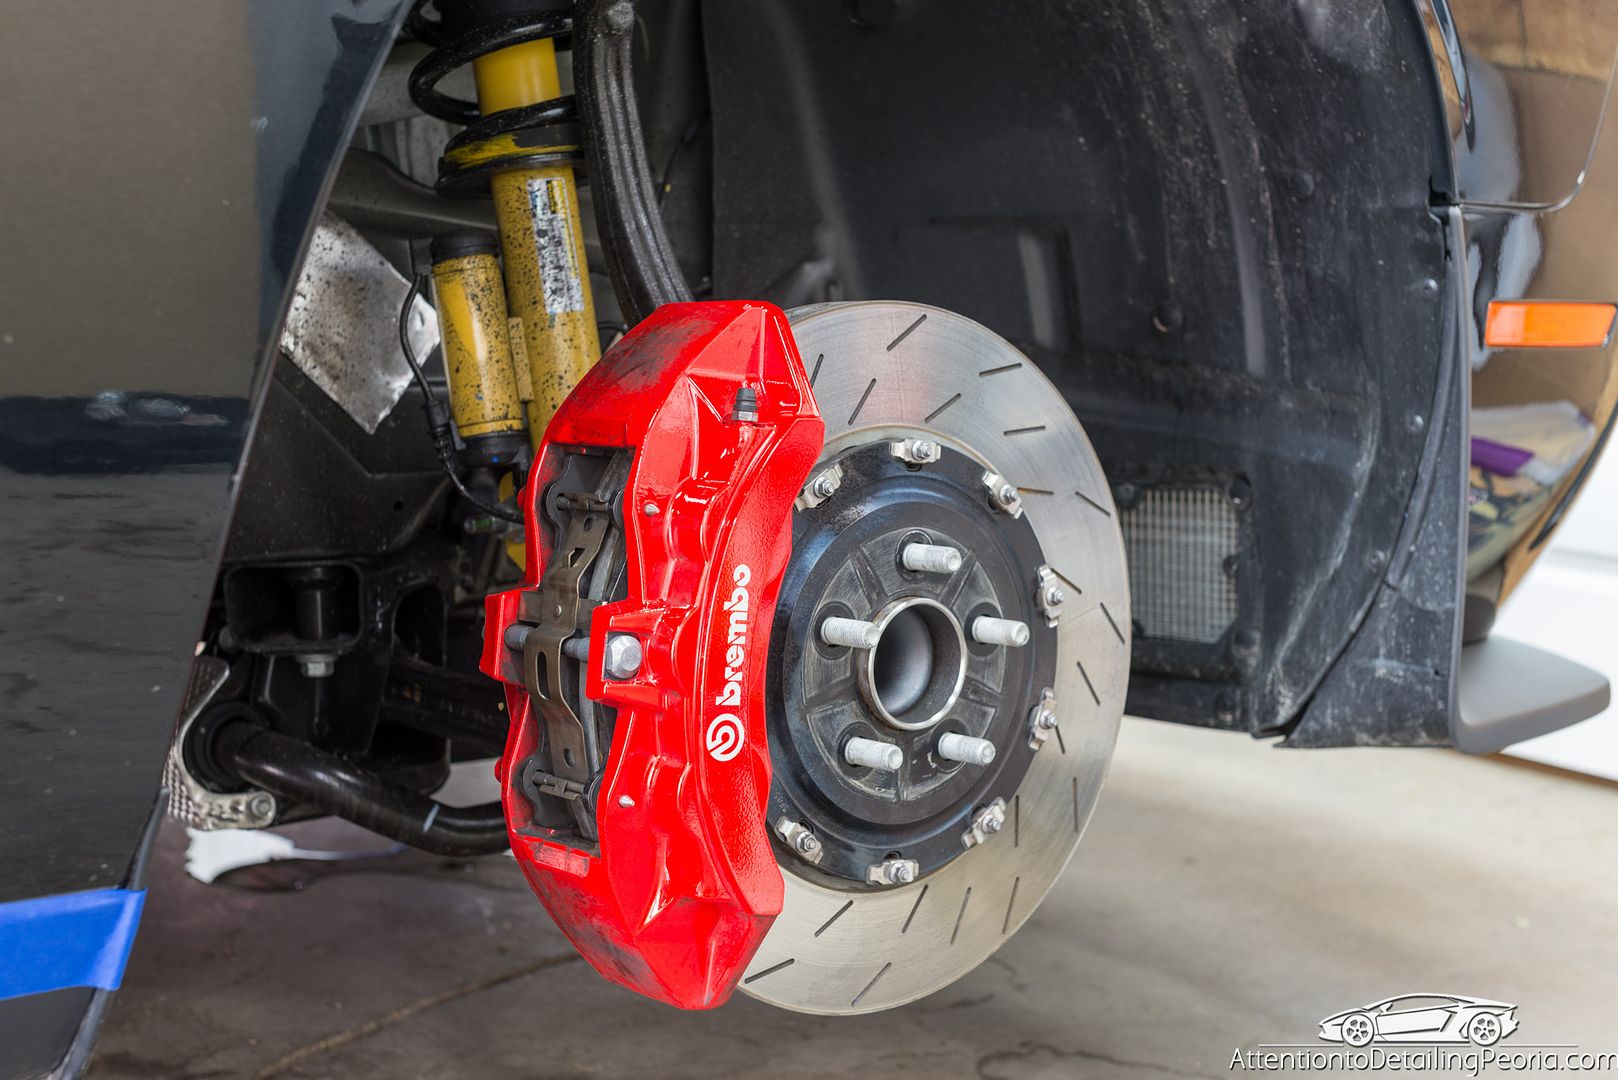
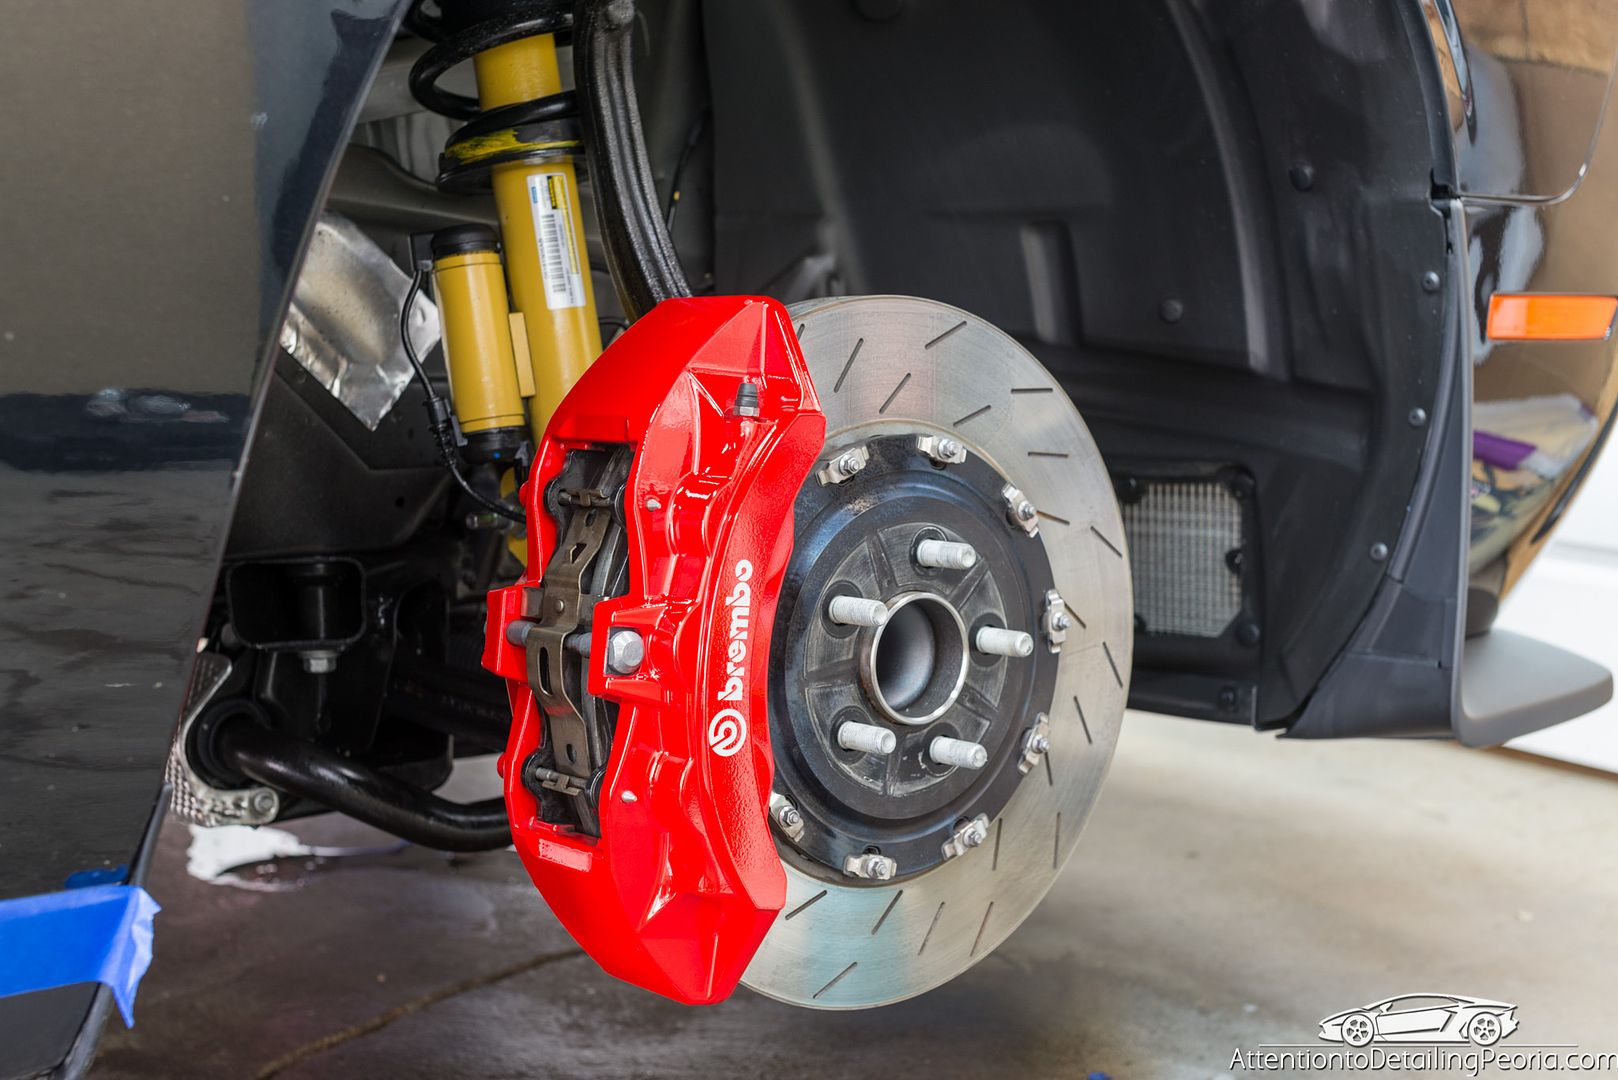
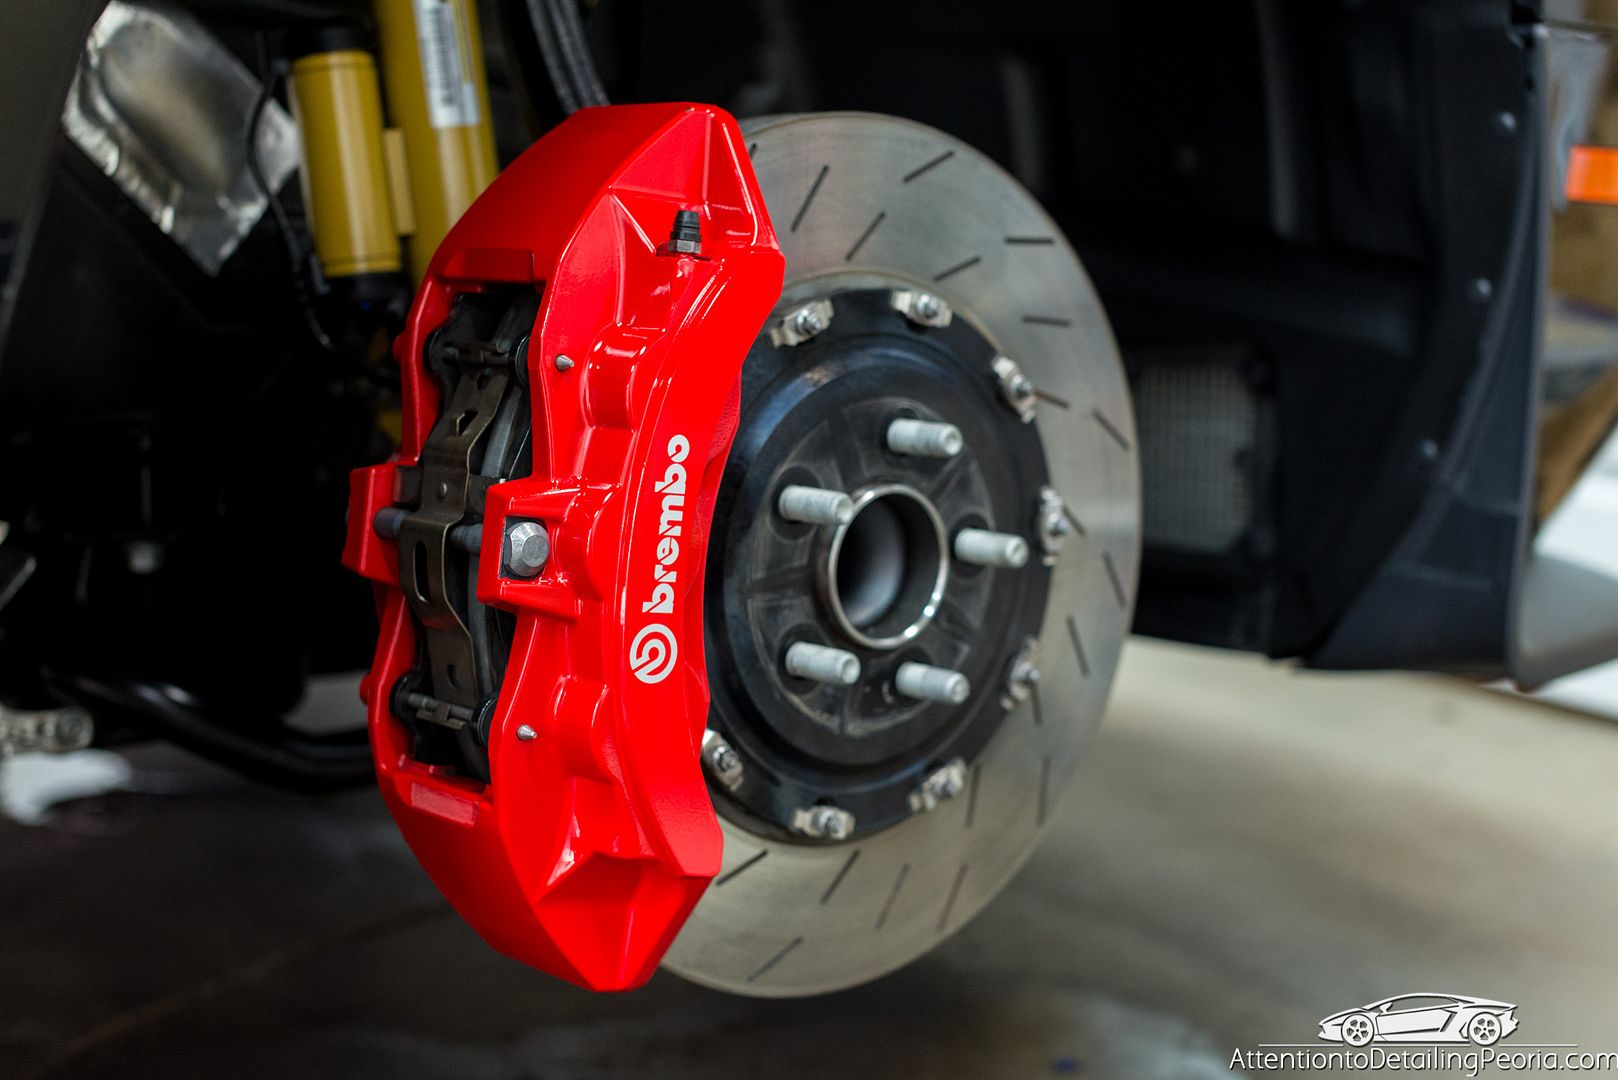
Calipers were then coated with CQuartz for added protection
Applying CQuartz Finest.
Baking CQuartz Finest with infrared curing lamps.
Wheels looked amazing after being coated
Process
Tires: Tuf Shine Tire Cleaner & Brush
Wheels: Sonax Full Effect & Various Brushes
Wash: Citrus Wash
Decontaminate: CarPro IronX, Tarminator, Nanoskin Speed Prep Mitt w/ Nanoskin Glide
Paint Thickness Readings Taken
Trim & Areas of concern taped with CarPro Masking Tape
Correction: Shine Supply Flat Top on Orange LC Foam via BOSS G21, Rupes LHR21 and 75e
Polish: Meguiar's M205 on White LC Foam via BOSS G21, Rupes LHR21, and 75e
Coating Prep: CarPro Eraser
Paint Coating: CQuartz Finest
Wheel Coating: CQuartz DLUX
Caliper Coating: CQuartz DLUX
Tire Dressing: WaxAddicts Slick Spray Tyre Dressing
Glass: Meguiar's D120
Interior: Vacuum, 303, D120
As always, we began by cleaning the tires. There was a considerable amount of dirt and grime built up on the rubber.
We continue repeated cleaning until the tires and brush remain clean which indicates no more dirt is being removed.
Barrels were then cleaned as best as possible while the wheels were still mounted.
Wheel faces were then cleaned.
The vehicle was then soaked in a thick layer of shampoo while I used a soft boar's hair brush to clean all the cracks and crevices. The vehicle was then carefully washed and decontaminated.
Tar was removed from all lower panels.
Once clean, the vehicle was then brought inside for inspection. Trim and areas of concern were taped off to avoid accidental damage while polishing. Defects were marked with small pieces of tape.
I then proceeded to make my way around the vehicle and spot correct as many defects as I could find, no matter how small. Some before and after shots.
Carefully removing wheels with protected wheel sockets.
Wheel well before.
Wheel well after.
Wheel barrel before thorough cleaning.
Wheel barrel after cleaning and coating.
Wheel faces thoroughly cleaned.
Wheel well before.
Wheel well after.
Calipers were then coated with CQuartz for added protection
Applying CQuartz Finest.
Baking CQuartz Finest with infrared curing lamps.
Wheels looked amazing after being coated

")