OakesDetail
New member
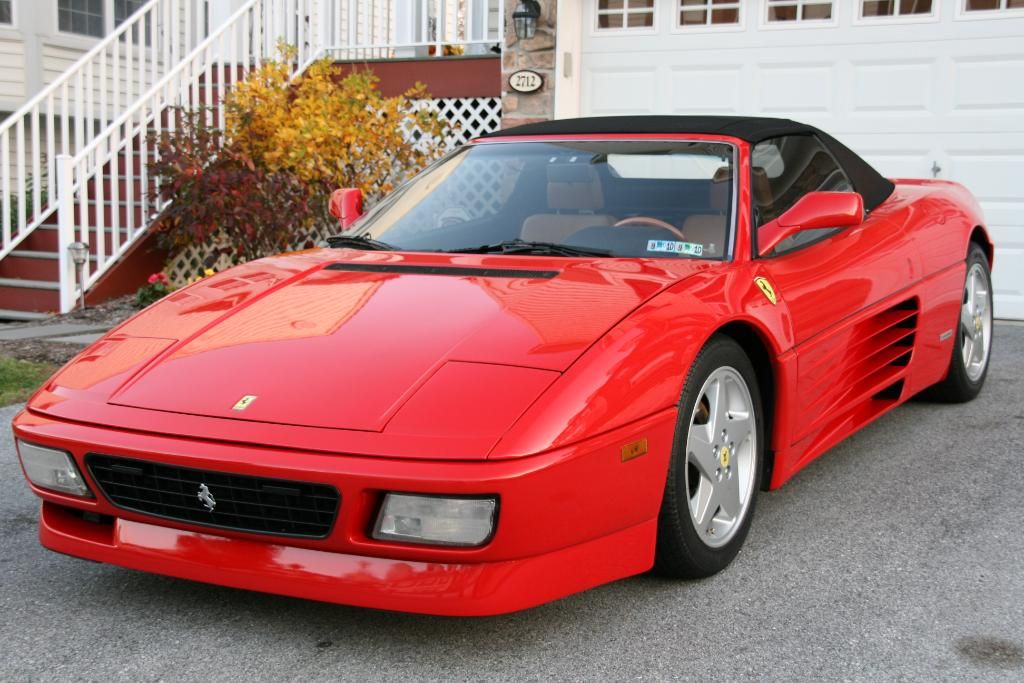
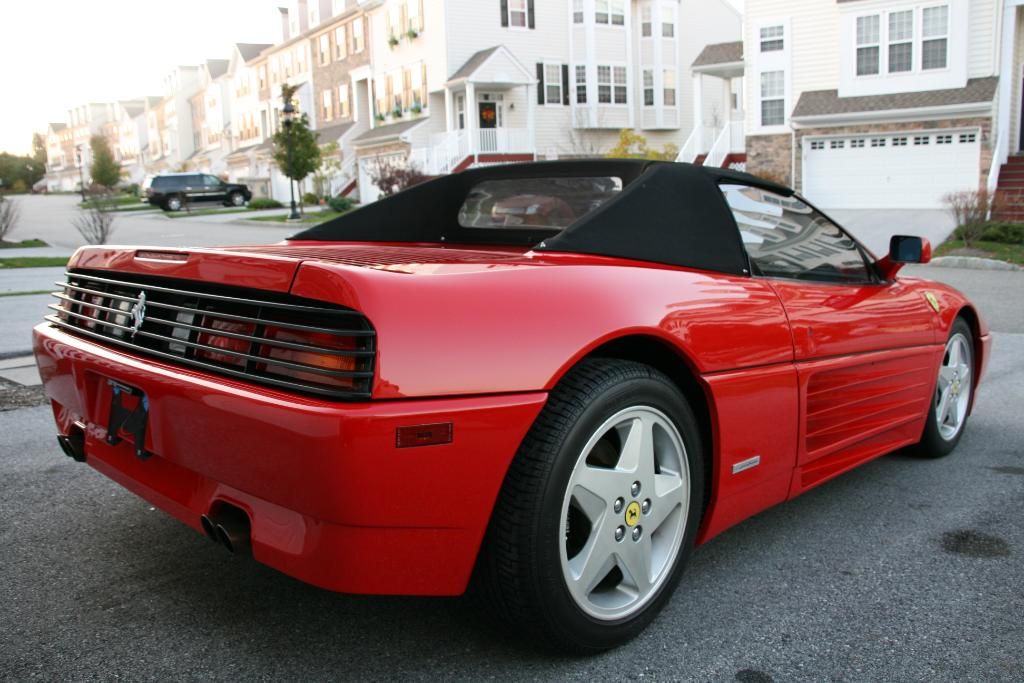
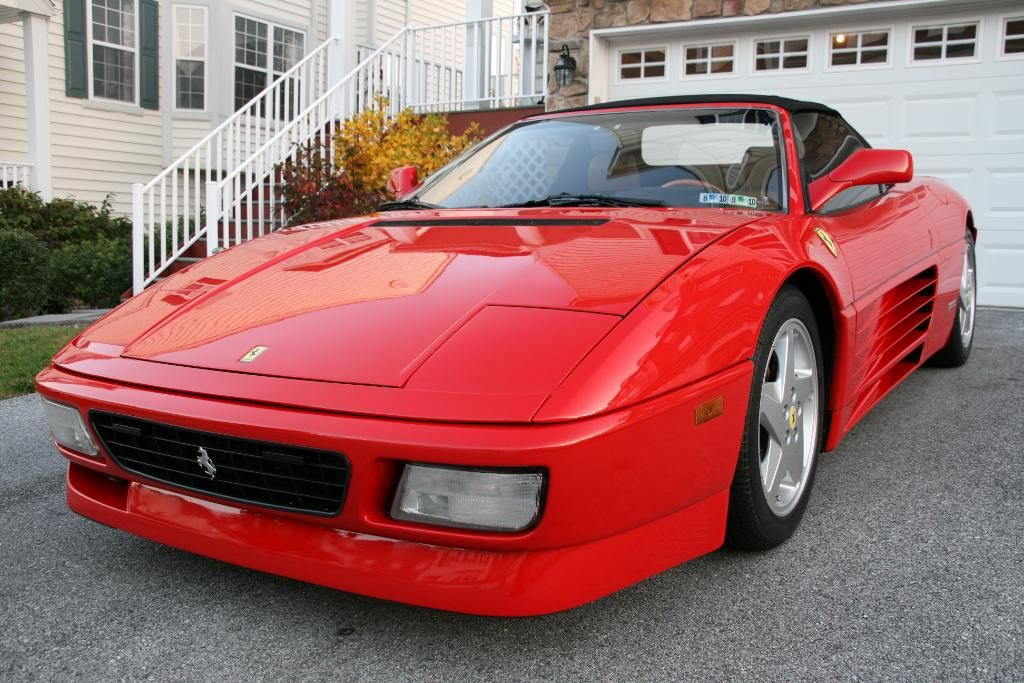
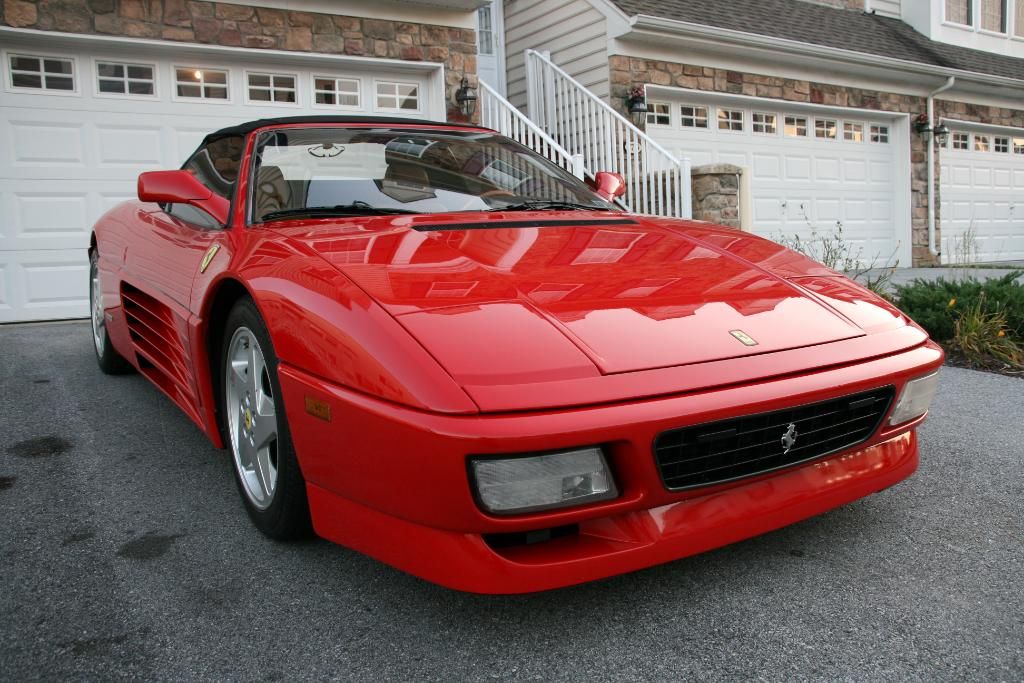
I present you, a full detail of a 1995 Ferrari 348 Spider in Rosso Red. This car is a recent purchase of the owner, but not his first Ferrari, and he wanted to get it into top shape. I started out detailing exotics for Aston Martin and have worked on a handful of Ferrari's, so this wasn't new territory for myself.
The owner was referred to me by a previous customer - if you all remember the 609 hp Evo I detailed, Good Vibes Autosport. The goal for his car was to get it looking new again, from front the back, every nook and cranny looked over and taken care of. The previous owner didn't take the best care of the car, a lot of dried up wax was found in crevices and the car just wasn't cared for well enough.
Unfortunately, this morning as I went through the pictures, I realized that I forgot to snap some after photos of the interior, which I'm very bummed about. I will see if I can get some from the owner.
Over the course of 4 days, myself and Mikhael went over this car from top to bottom with the following processes.
Exterior:
Full wash/degrease - Poorboy's Citrus Autowash
Swissvax Paint Rubber
Menzerna 203 - LC and Uber Orange pads
Menzerna PO85RD - LC and Uber Green pads
P21S Paint Cleanser - P21S soft sponge
Blackfire Wet Diamond Sealant - LC Blue pads
DoDo Juice Supernatural - Hand applied
Interior:
All leather treated with Leatherique Pristine clean and Rejuevenator Oil
All plastics cleaned and then treated with 303 Aerospace Protectant
All glass cleaned and treated with rain-x
Swissvax detail brushes used on all crevices
Wheels:
Full degrease/wash
Menzerna Final Polish II - white pad
Poorboy's Wheel sealant
Convertible top:
Cleaned and treated with Raggtop Fabric cleaner and protectant
Now onto the pics of the process!
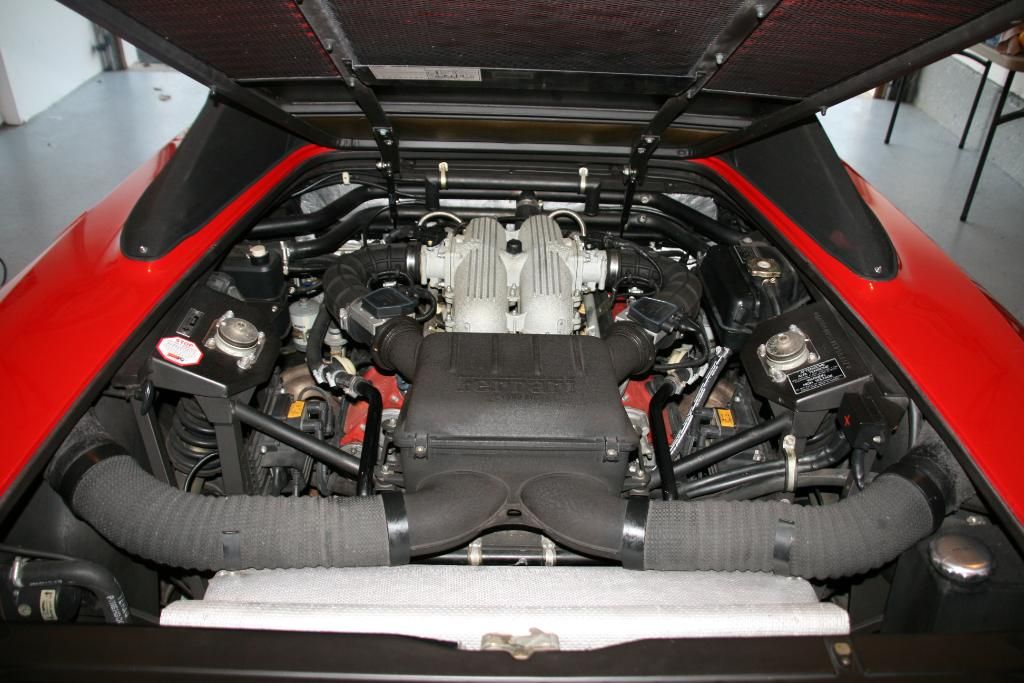
Engine bay before/after
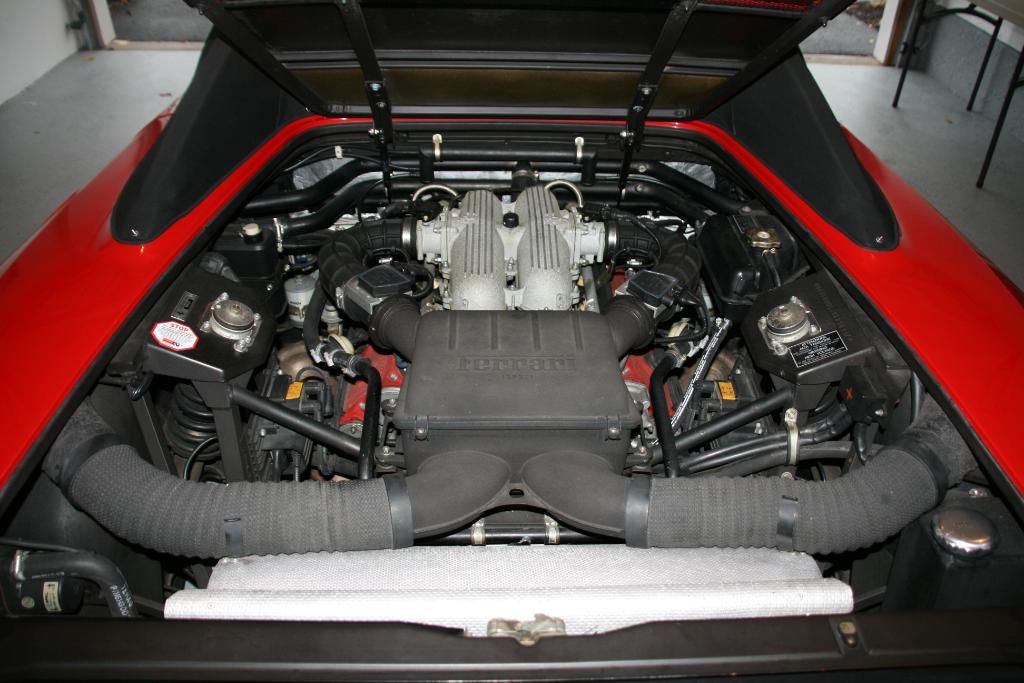
Cleaning it up with my favorite detail brush

After
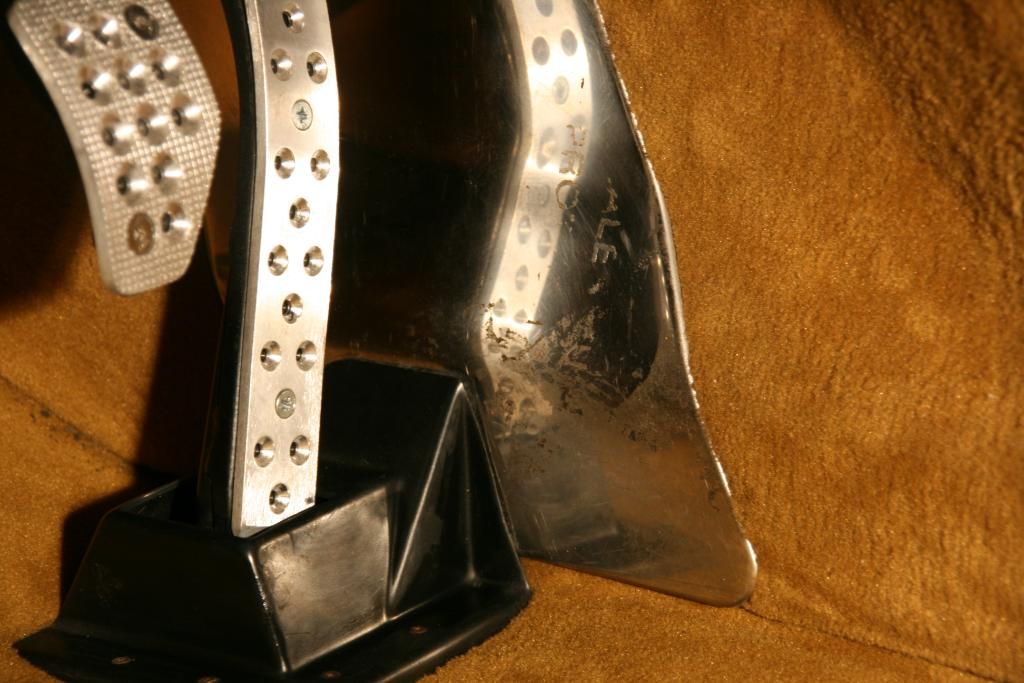
You can see some residue/glue on the pedal guard in this photo
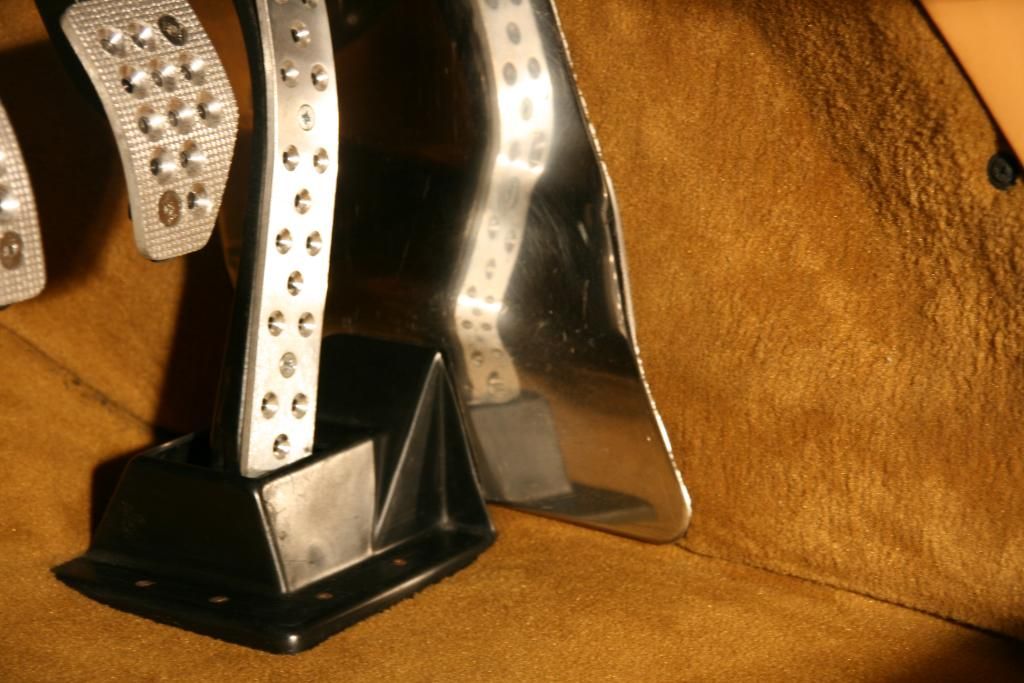
Residue removed and shined up
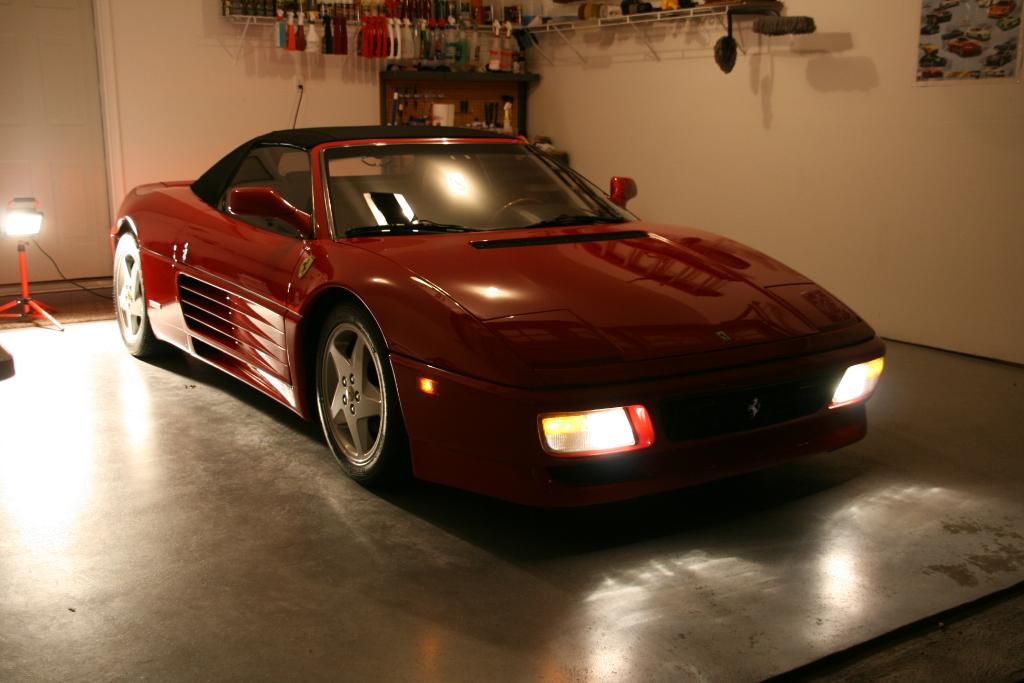
A little shot of the garage while I was working the interior

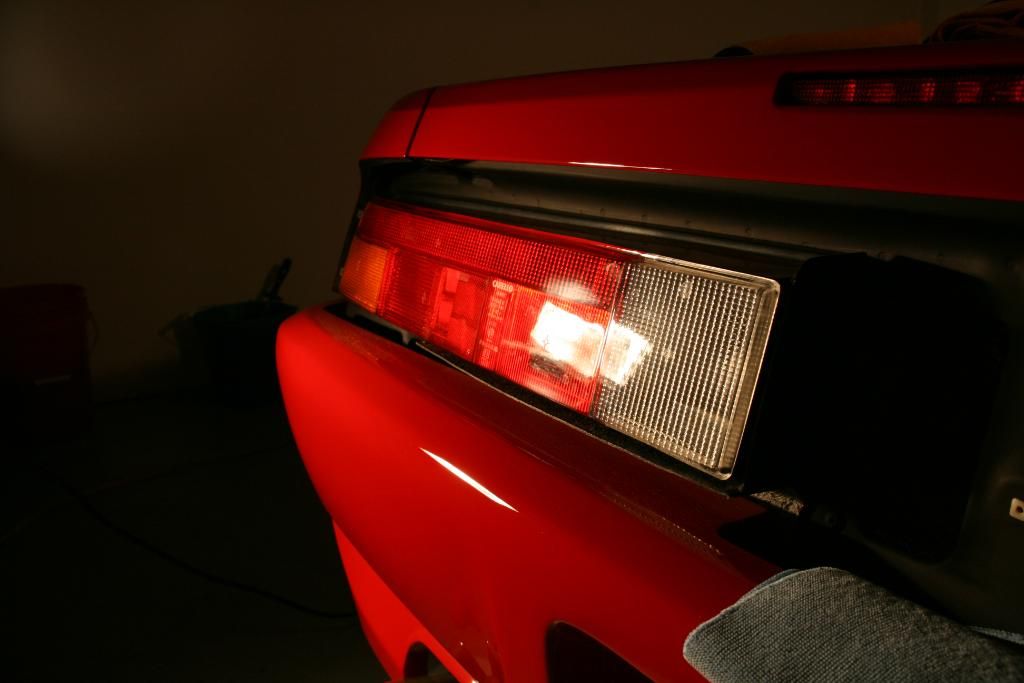
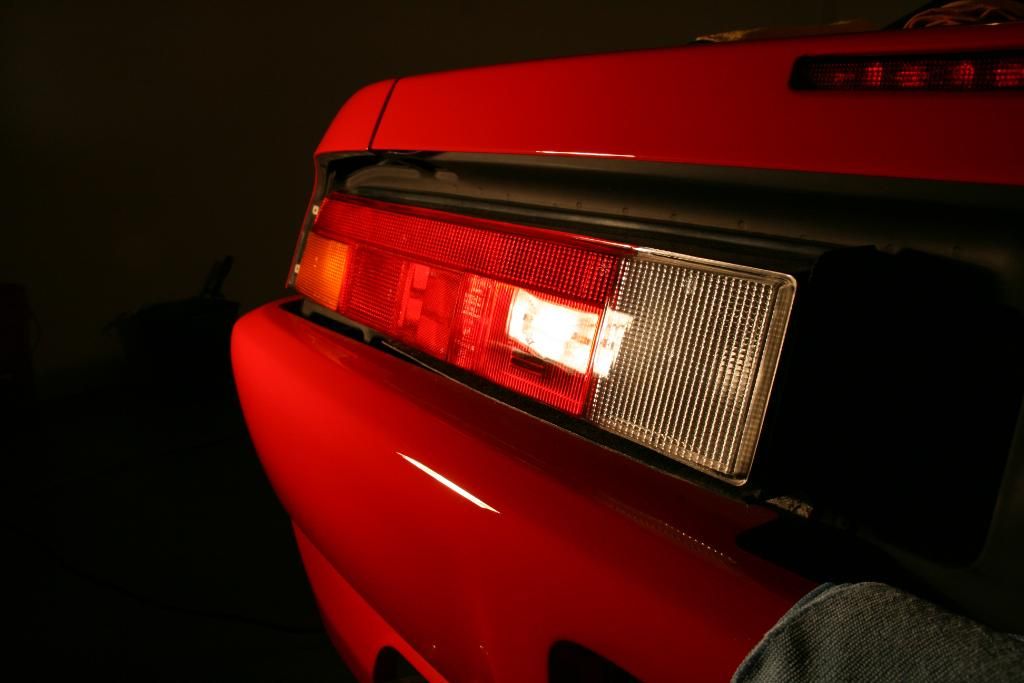
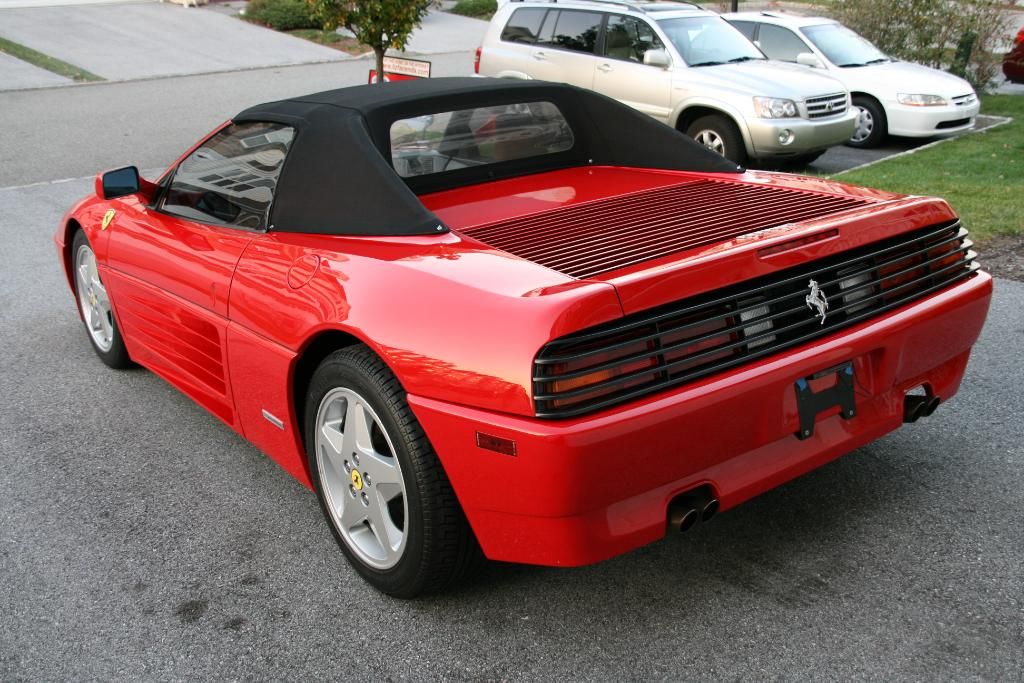
Here is a difference photo in the tail lights that were polished and sealed, you can see the defects in the before photo that appears to be a "haze"
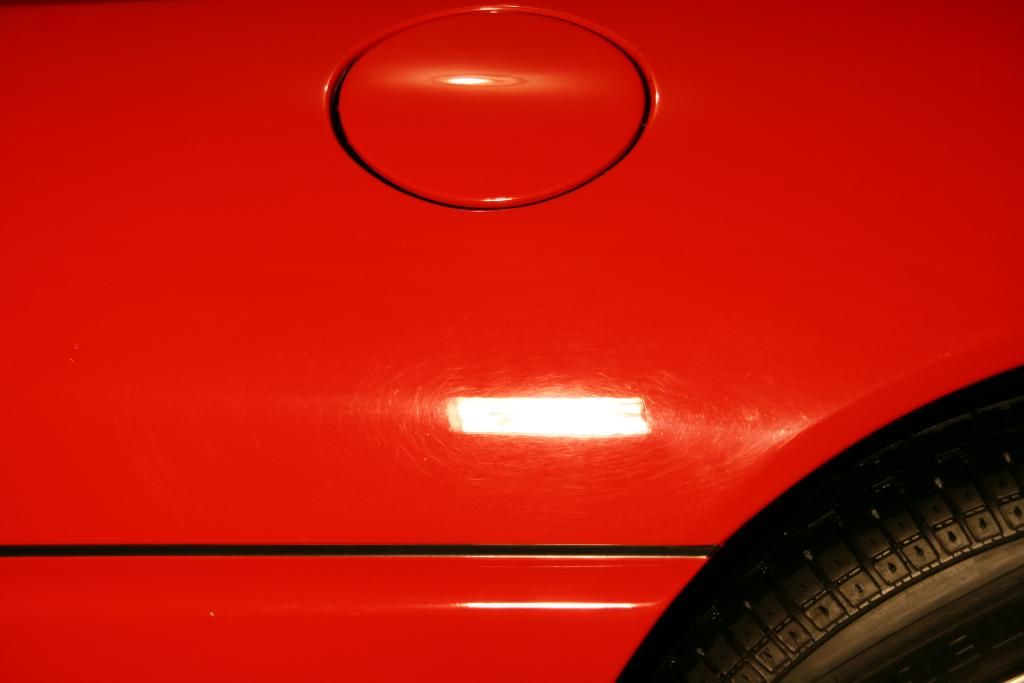
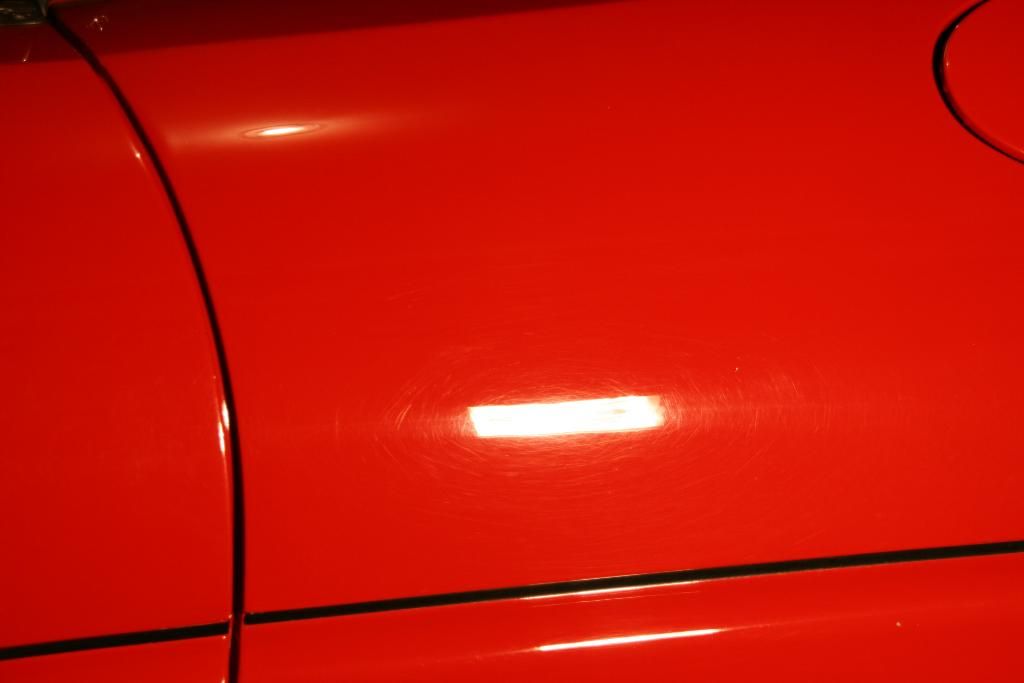
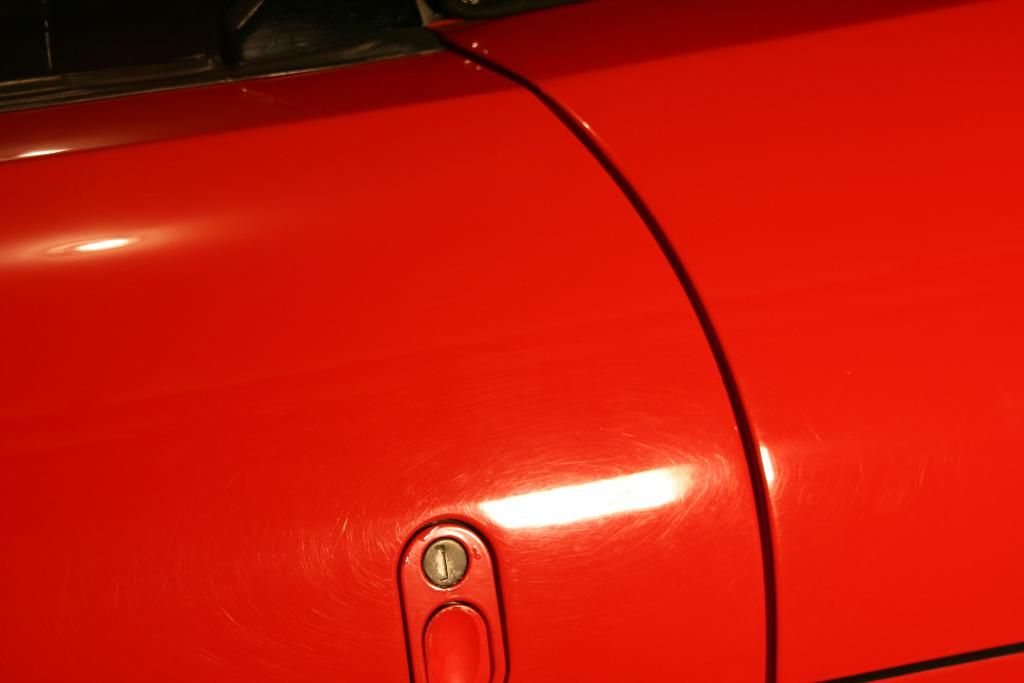
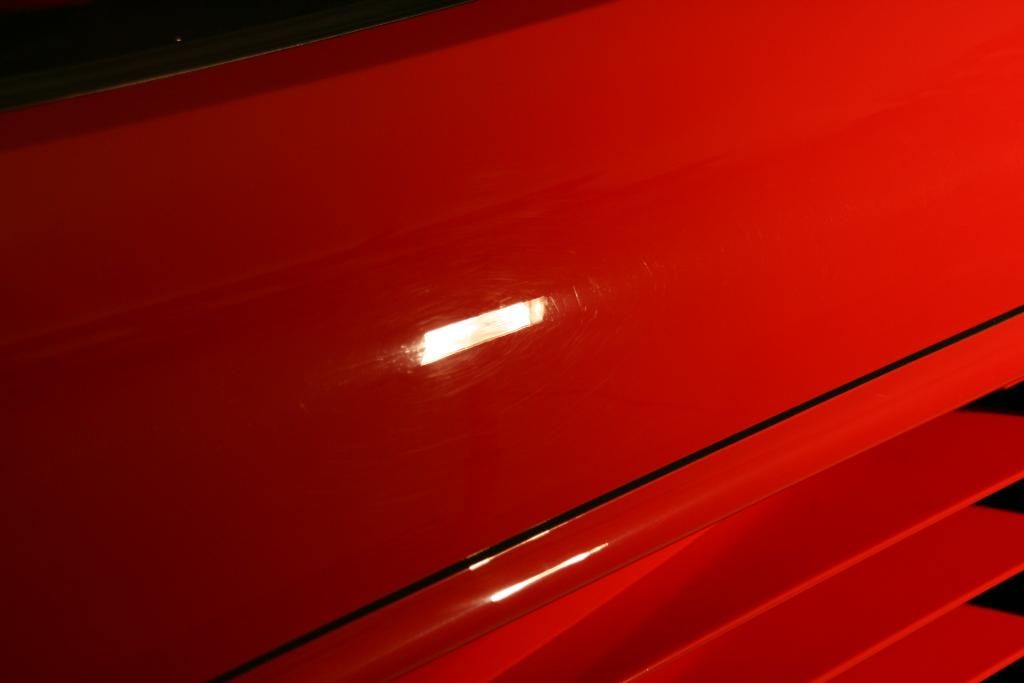
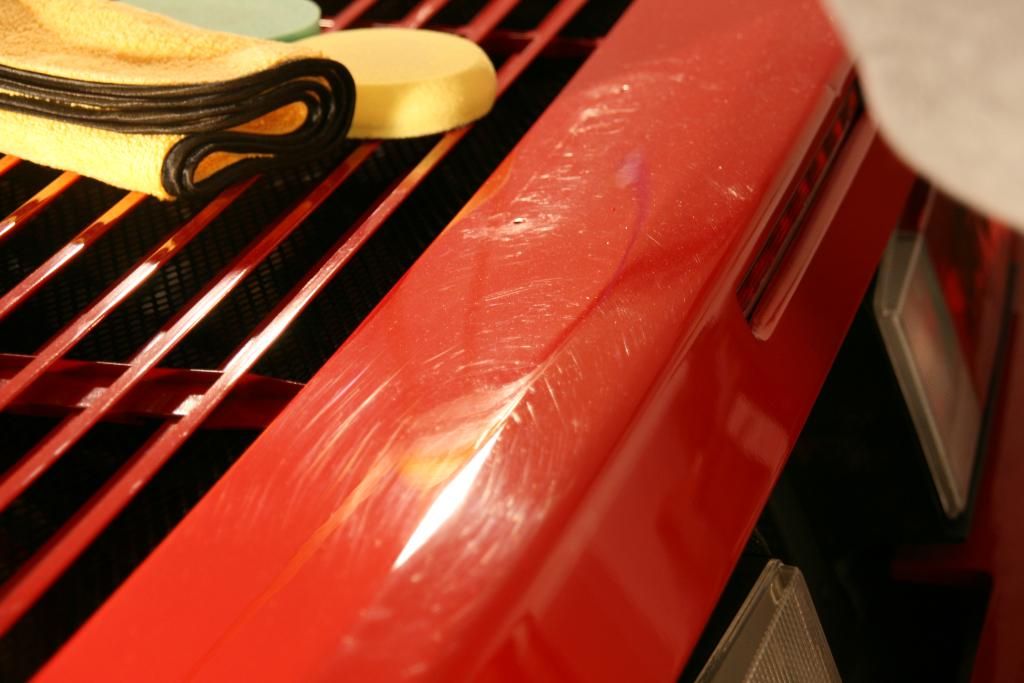
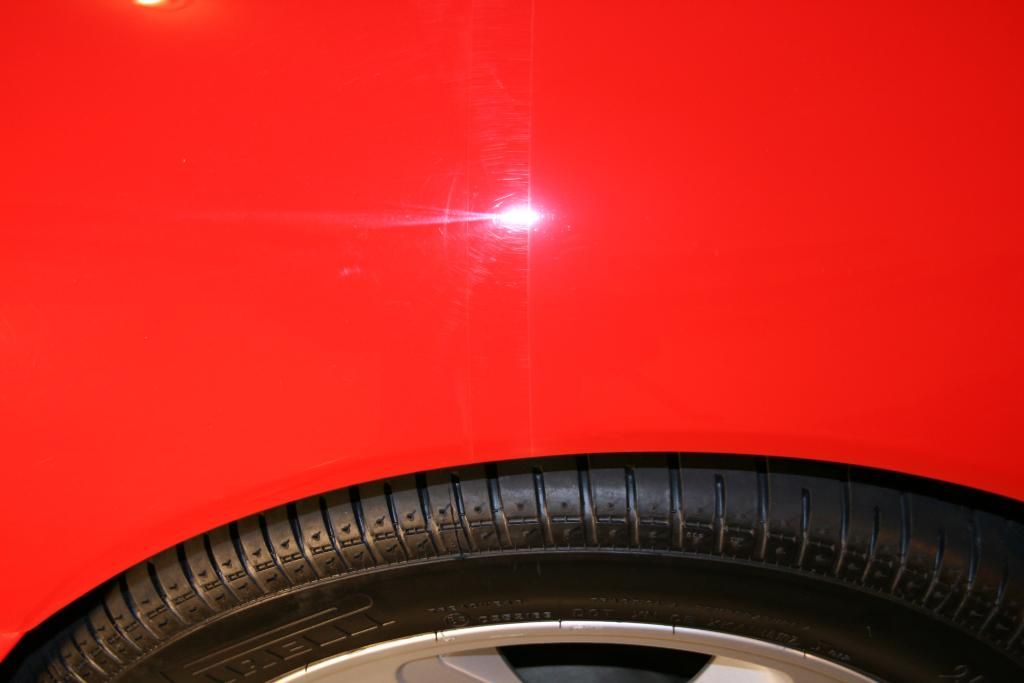
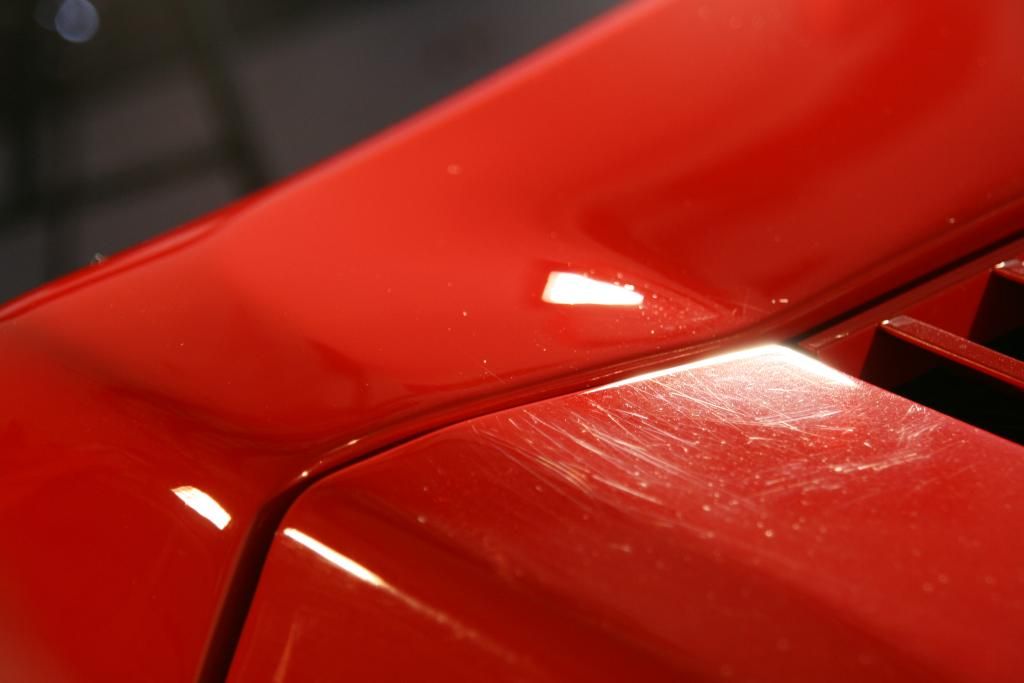
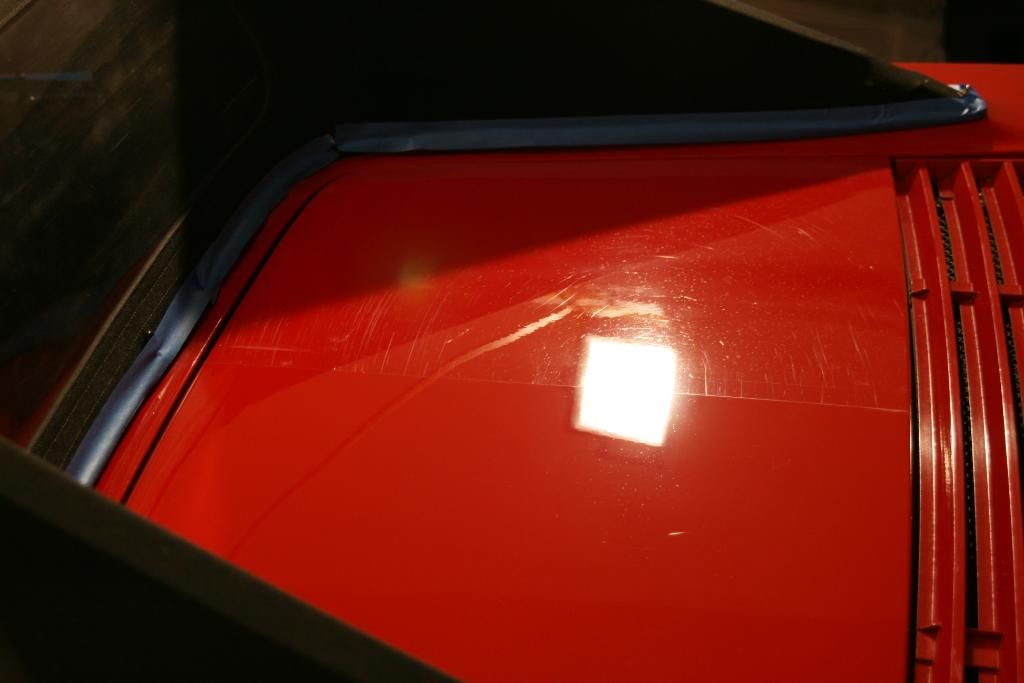
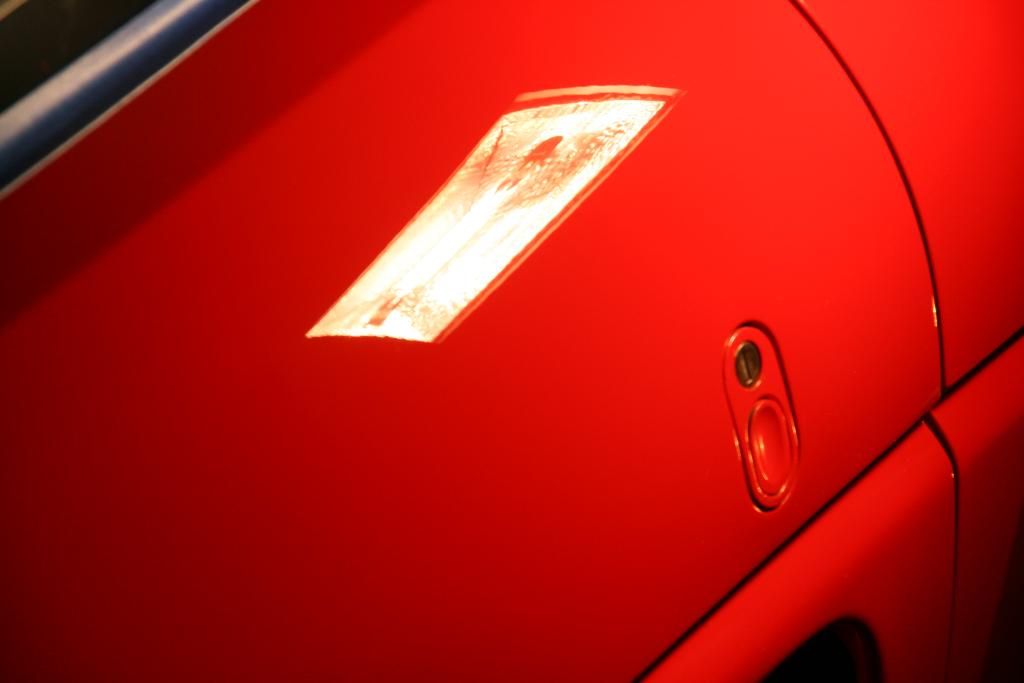
These photos are of the paint after the wash/prep. As you can see, it was in need of a proper correction.


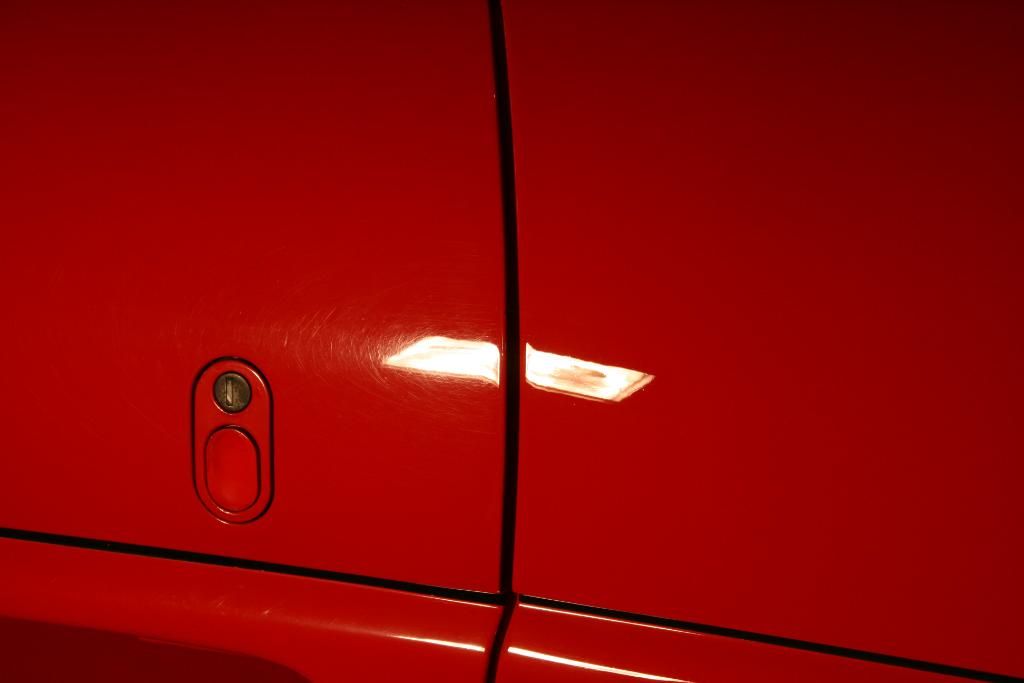
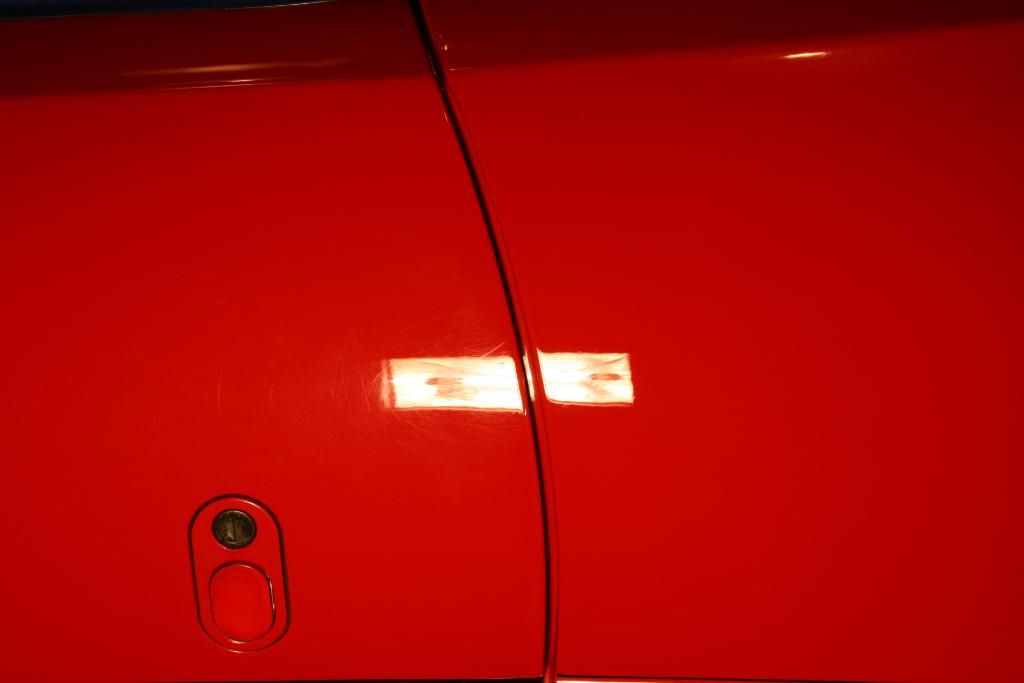
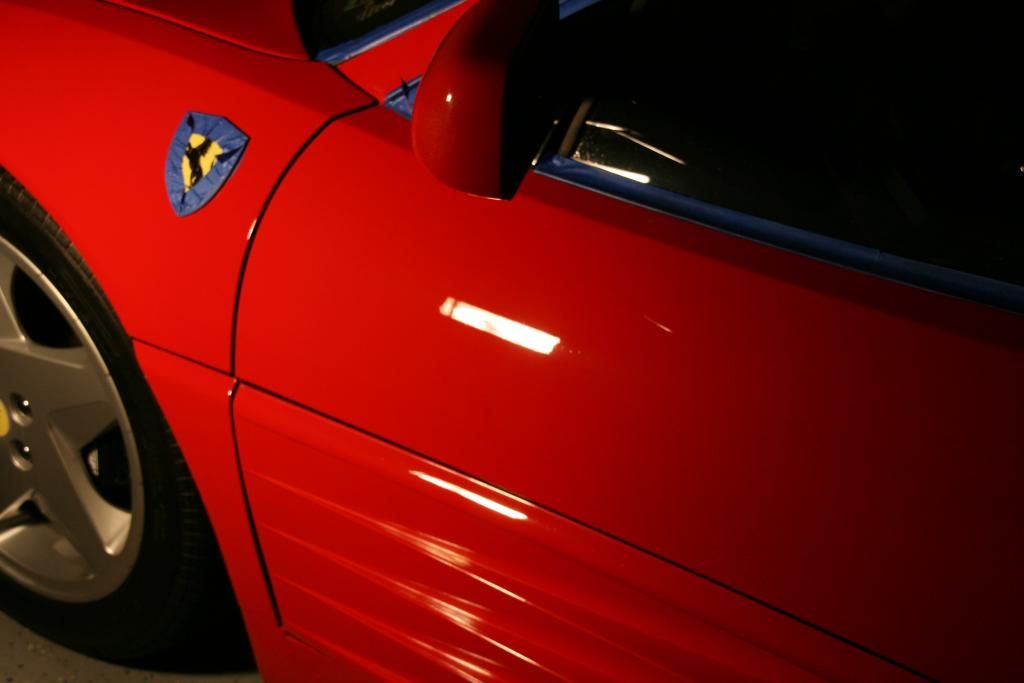
Grabbed a few 50/50 shots of the correction, everyones favorite.
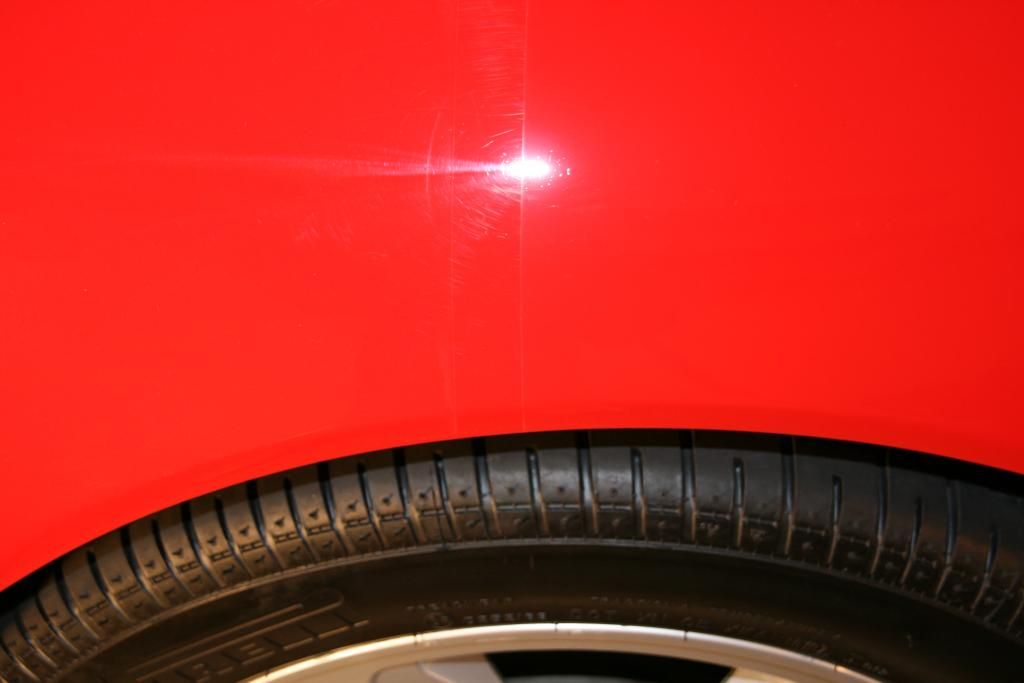

The door is uncorrected, the rear quarter is corrected in these photos
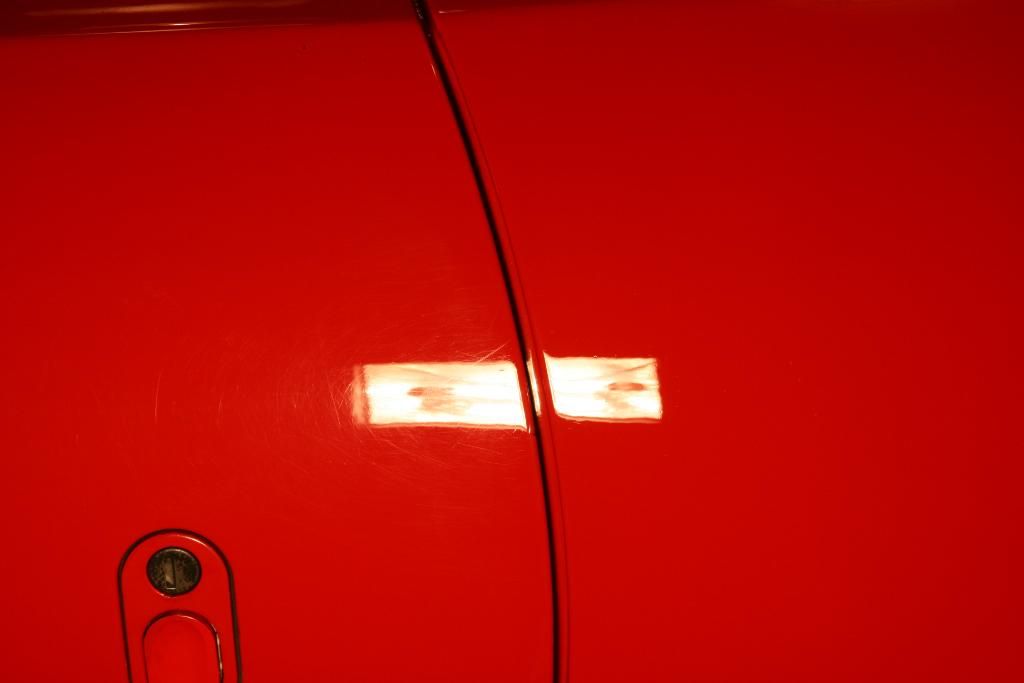
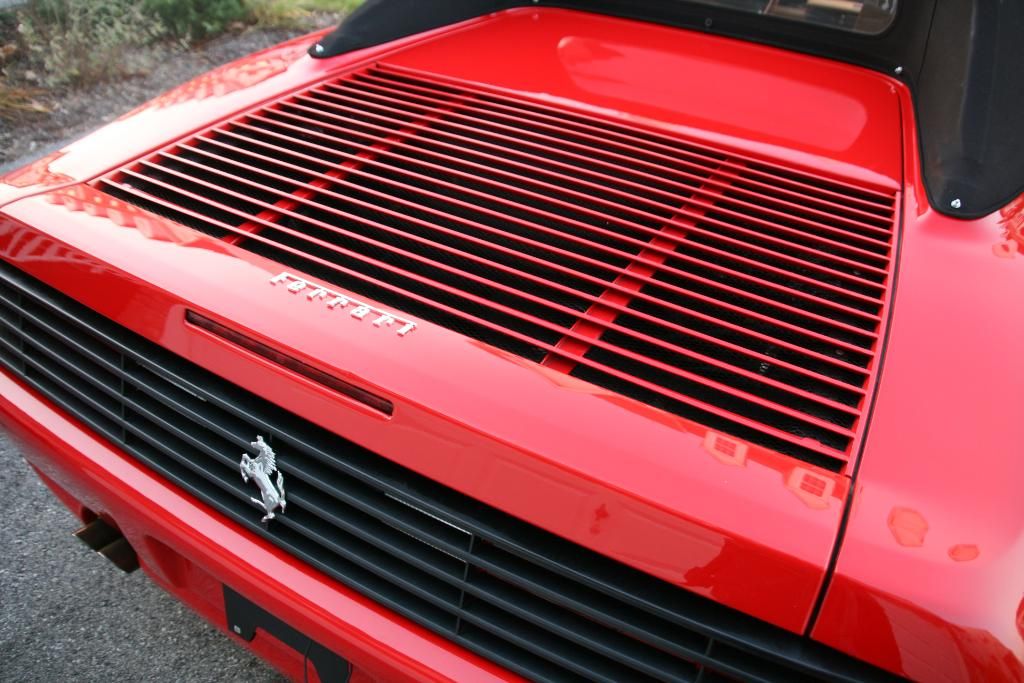
Here is a correction difference from the engine cover and the quarter panel

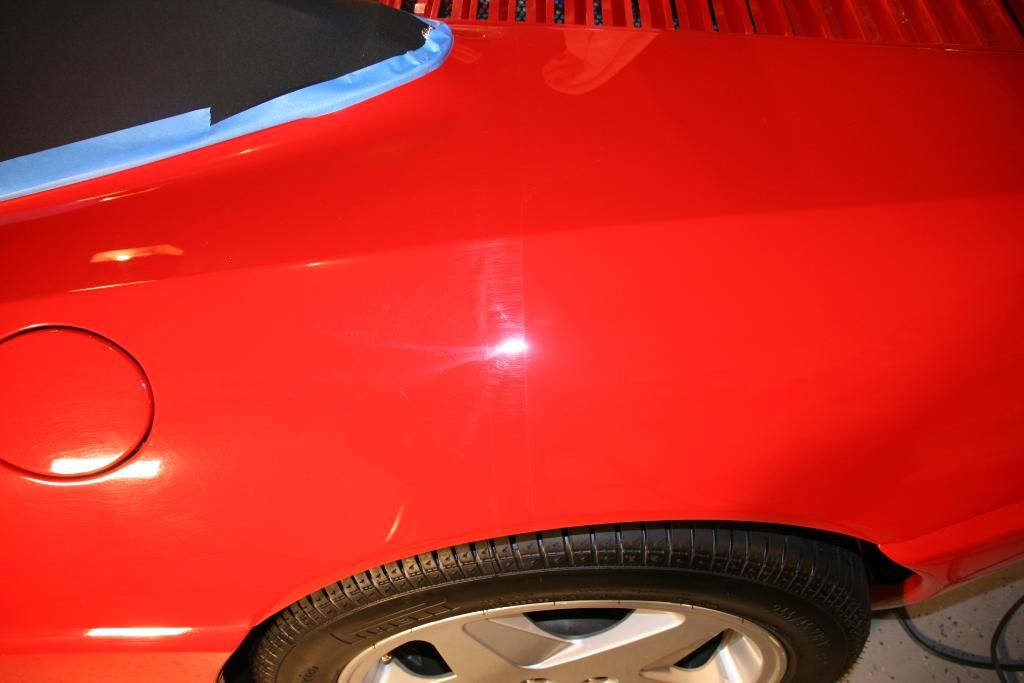
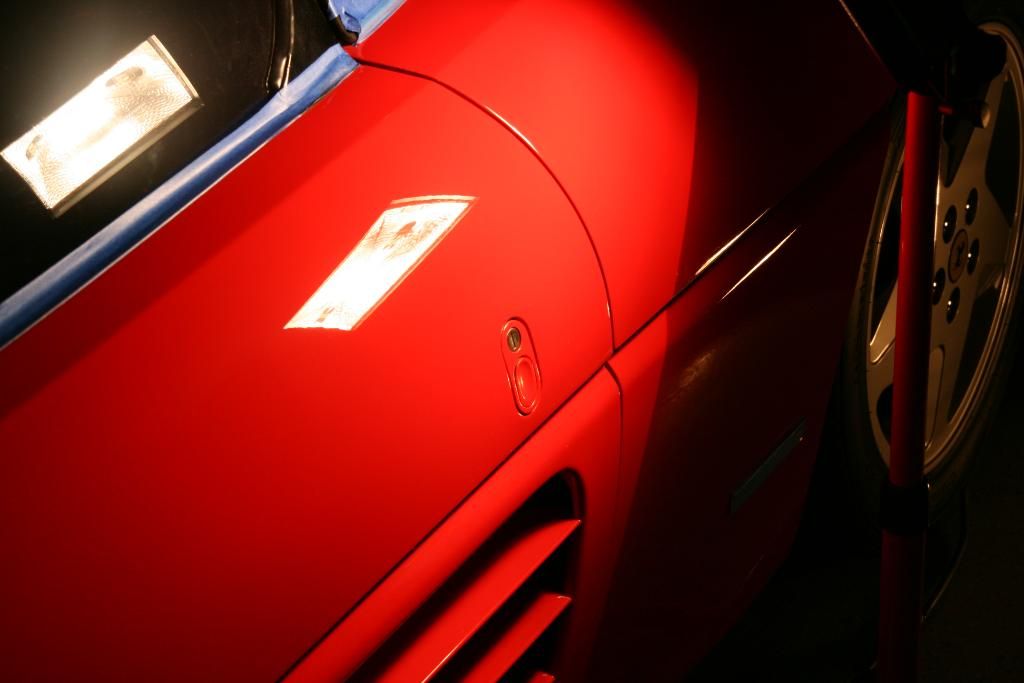
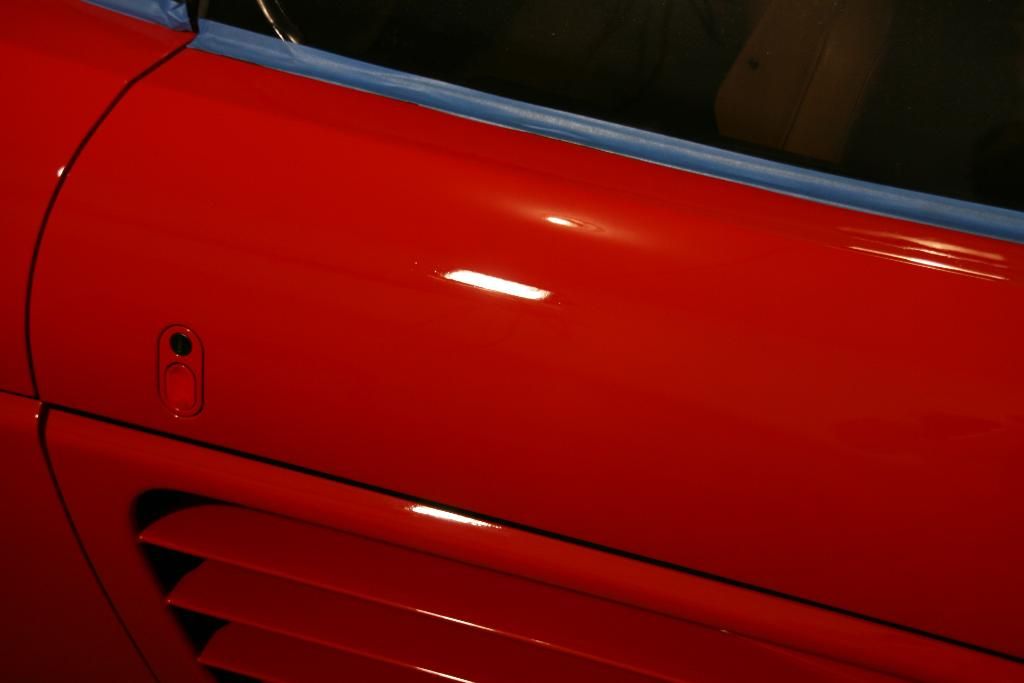
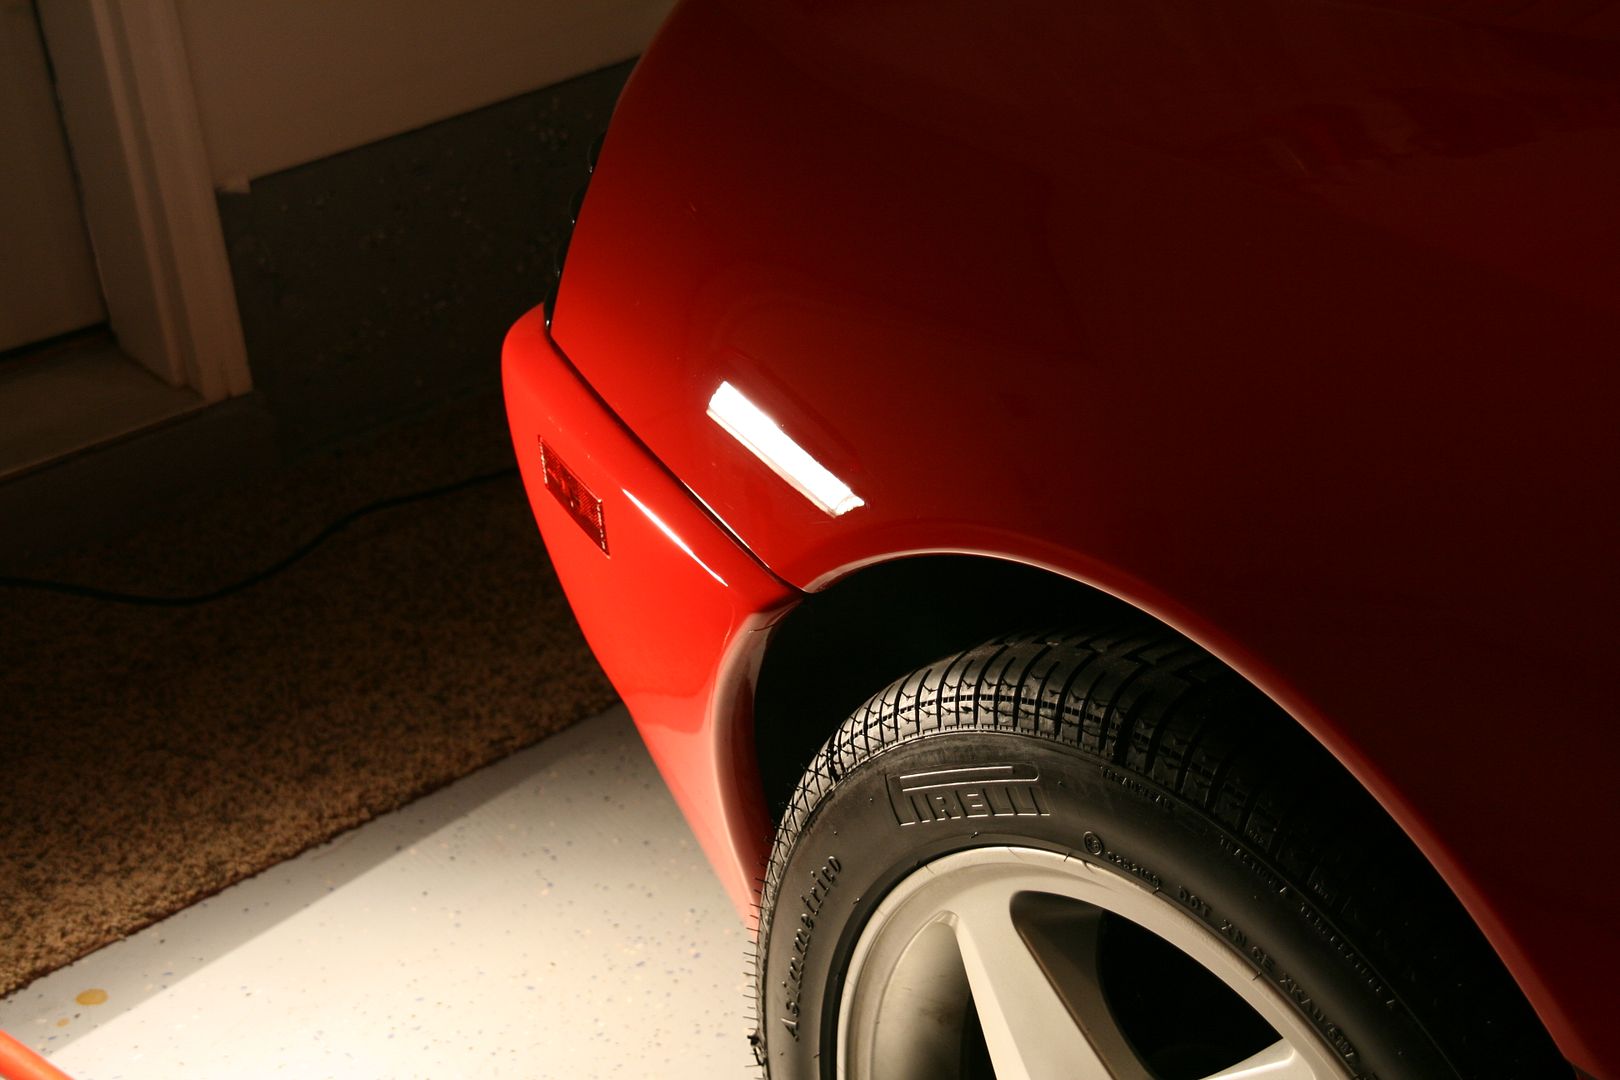
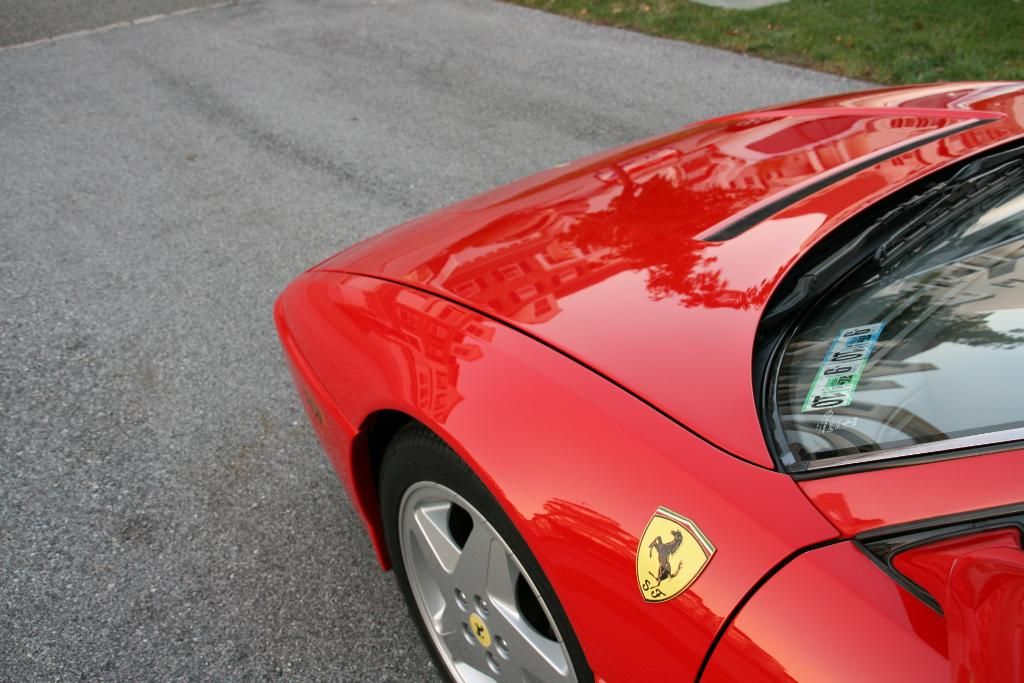
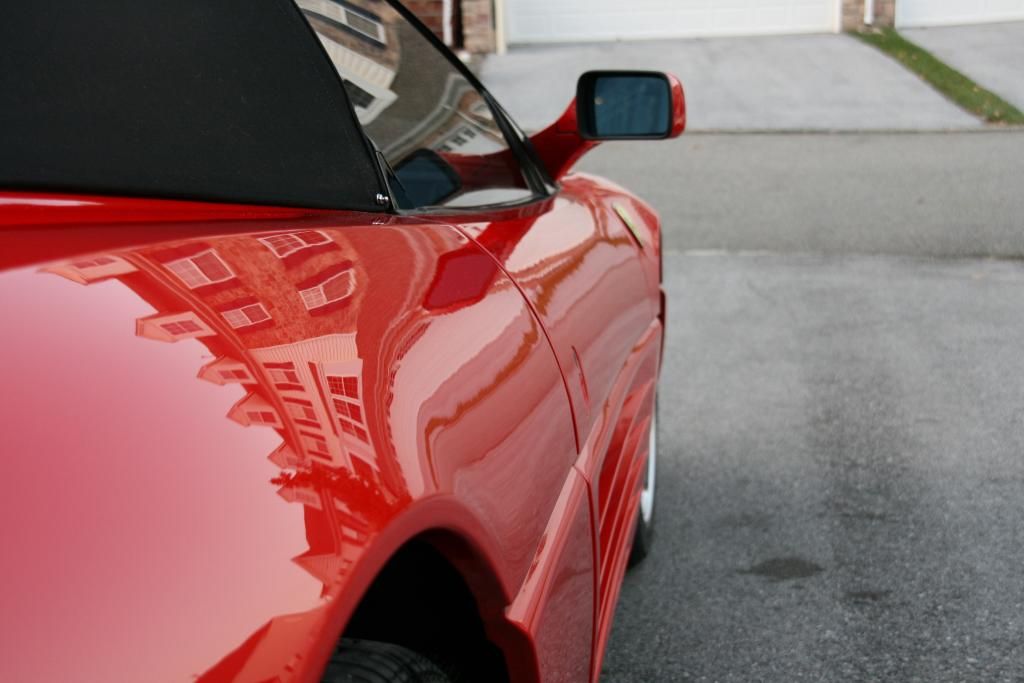
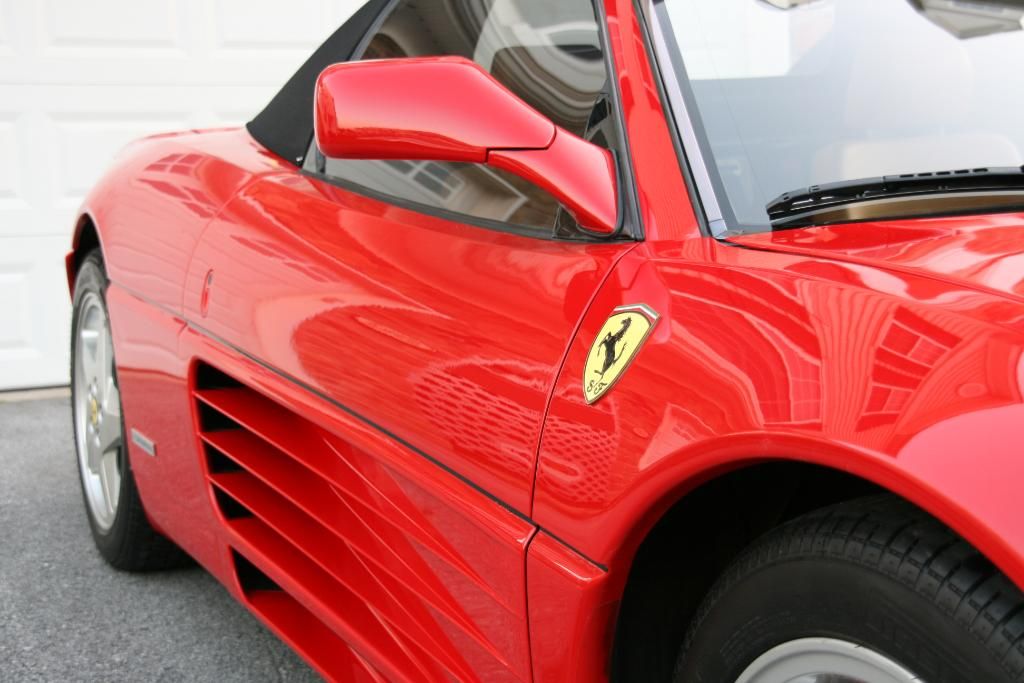
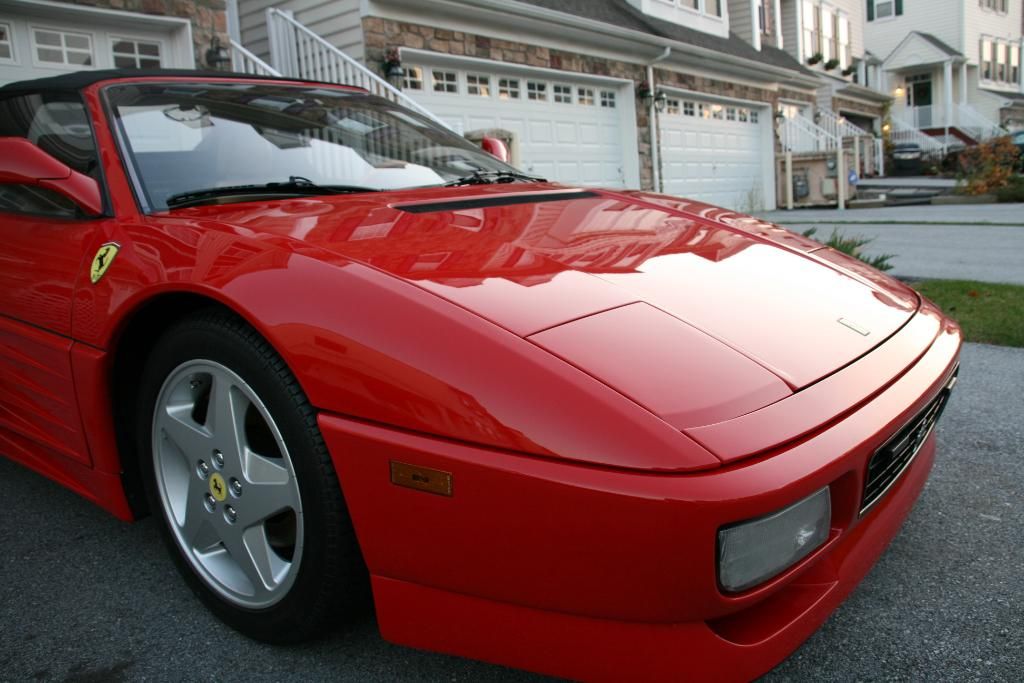
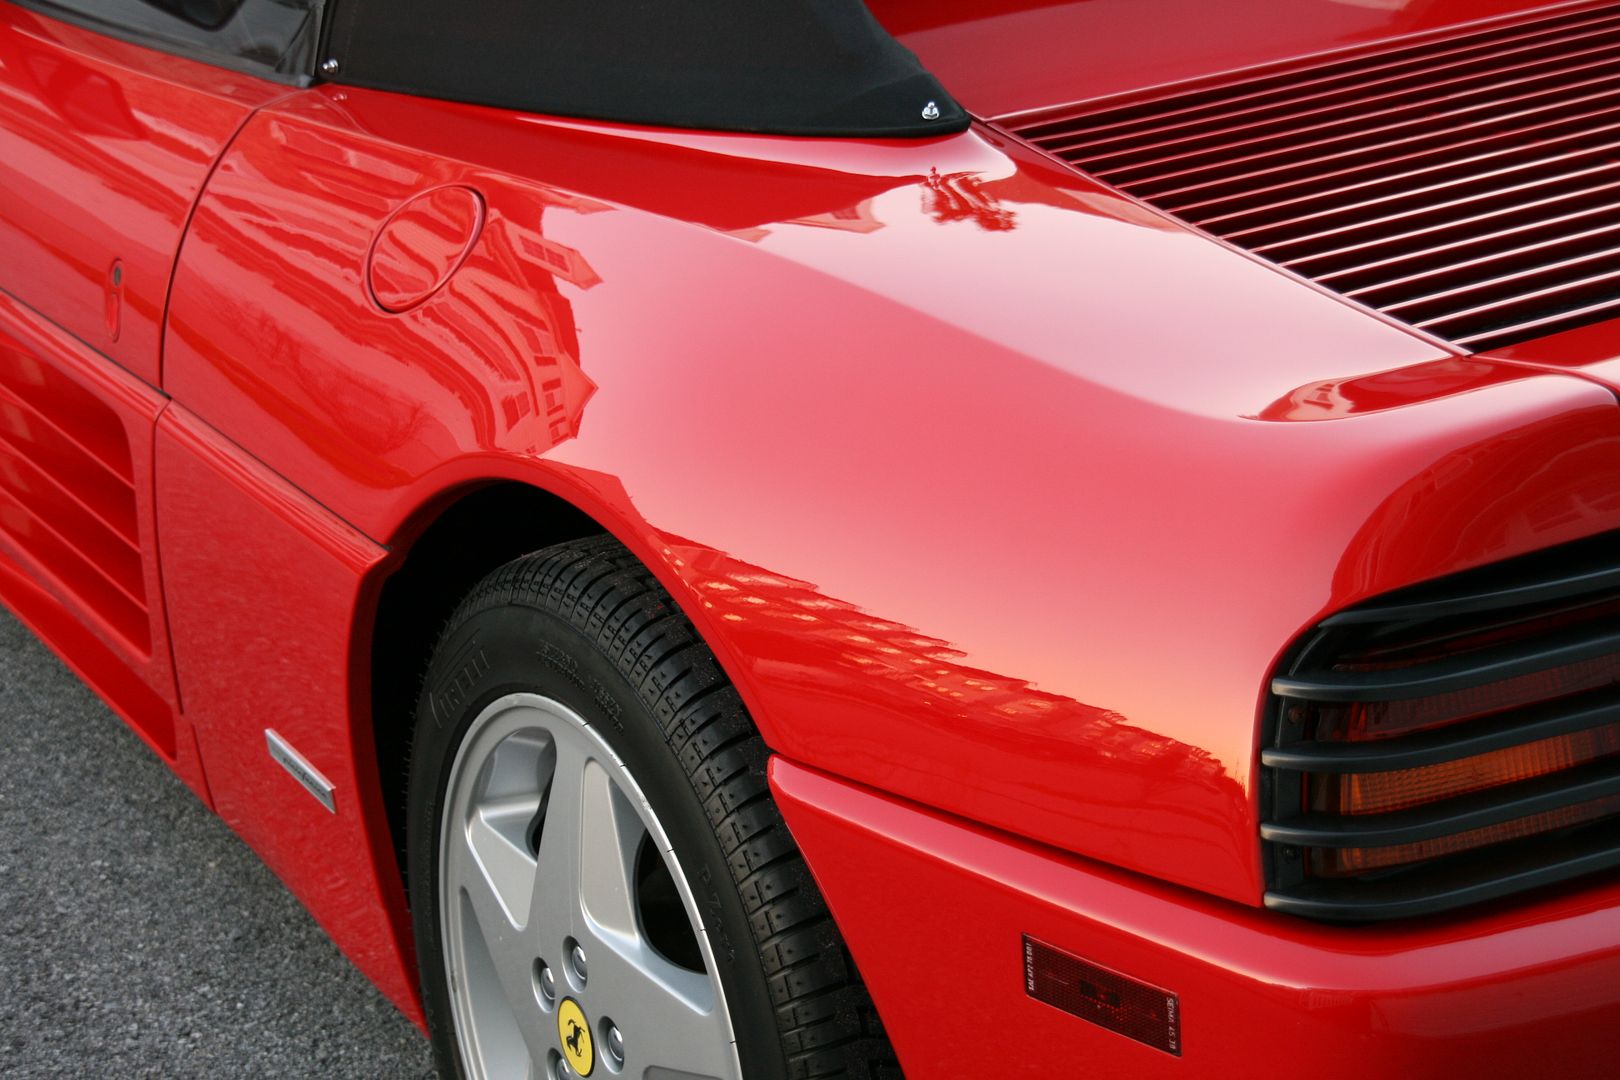
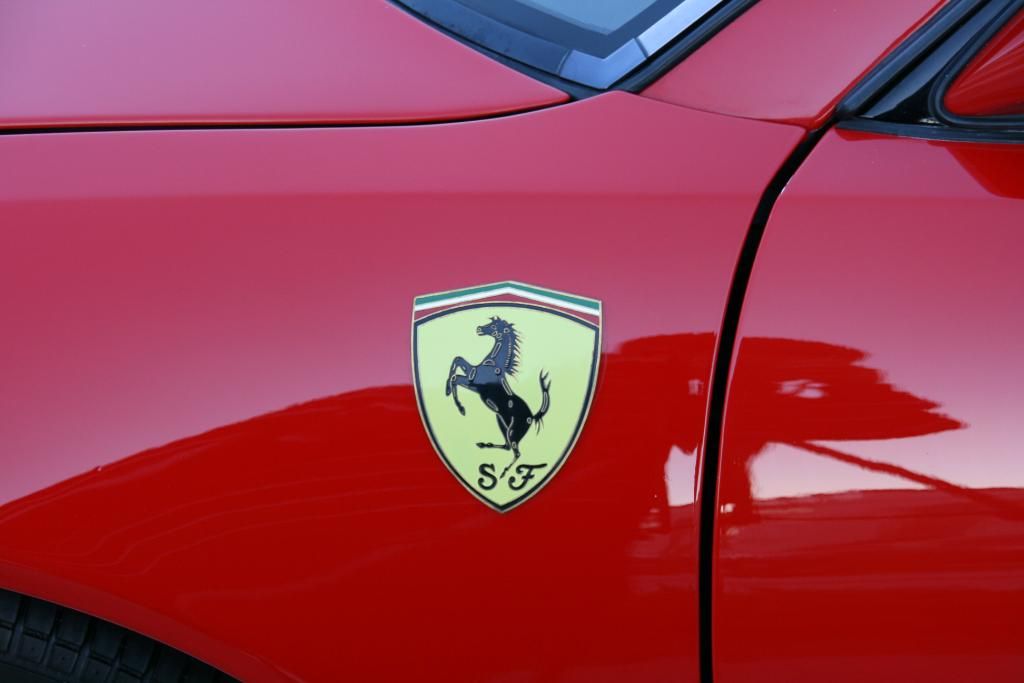
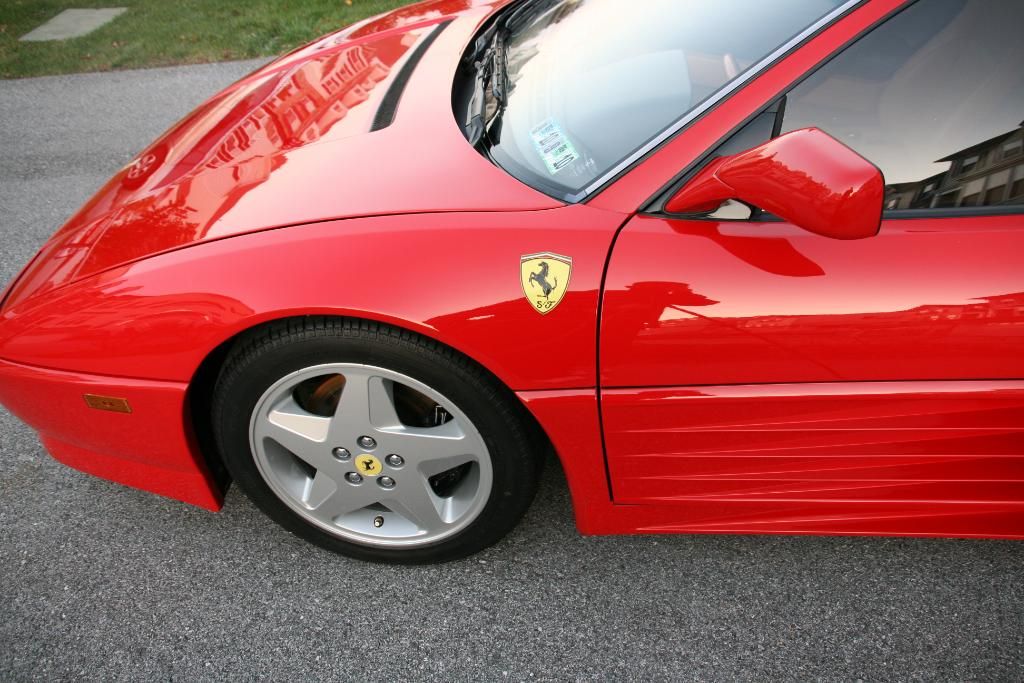
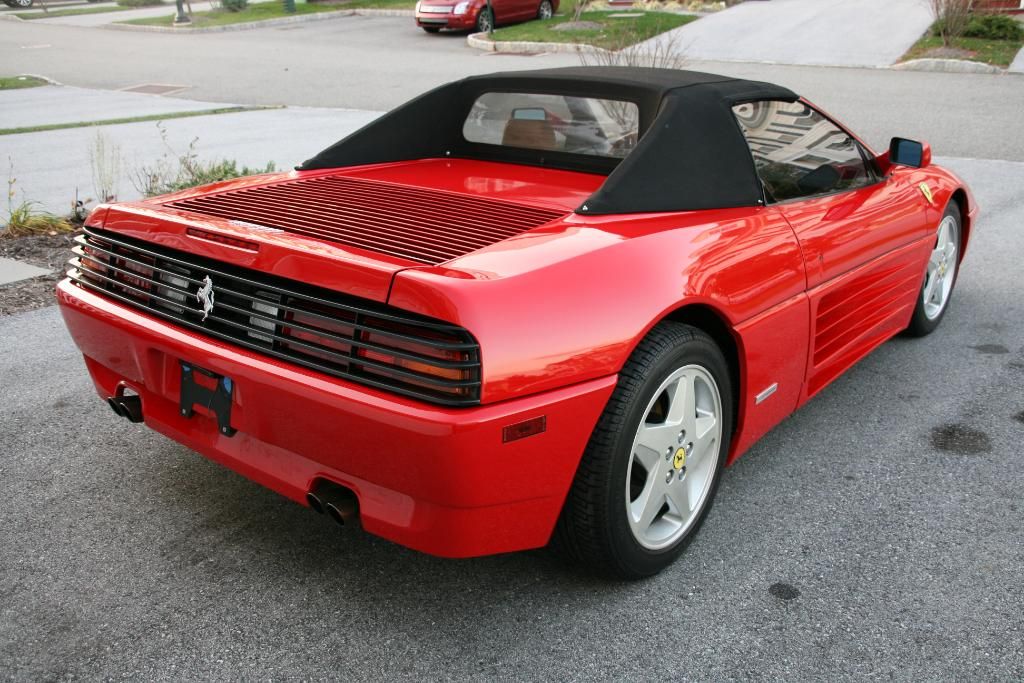
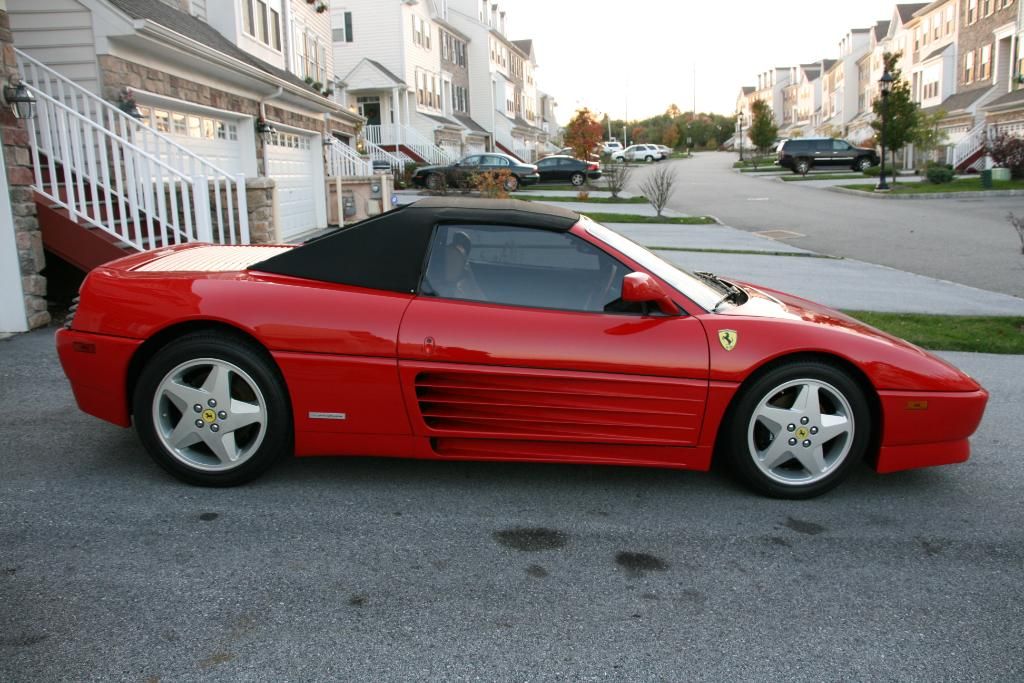
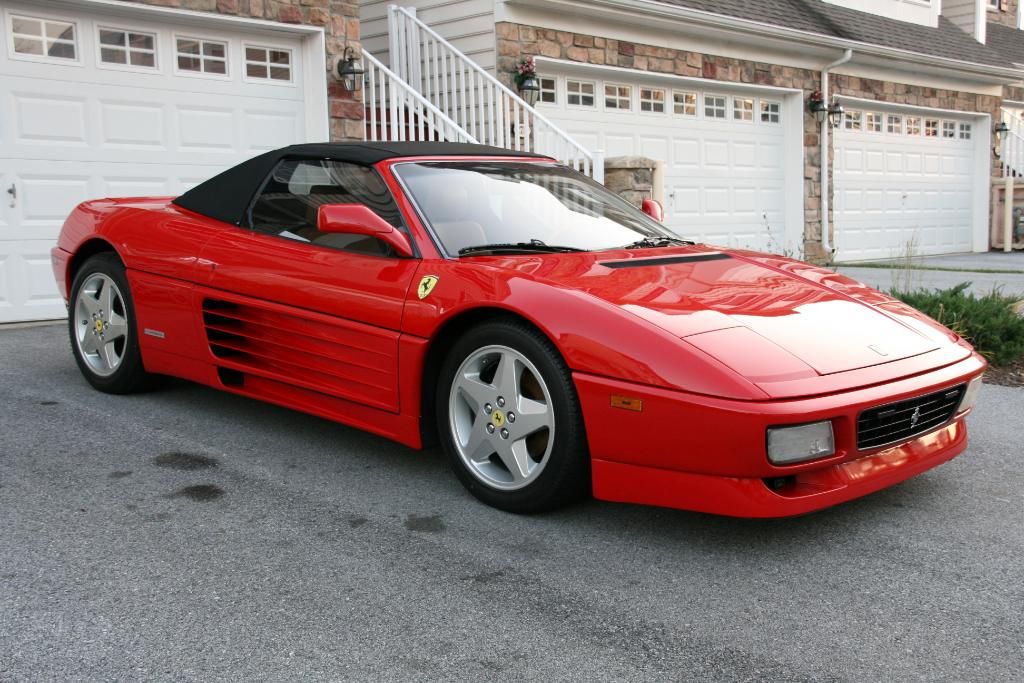
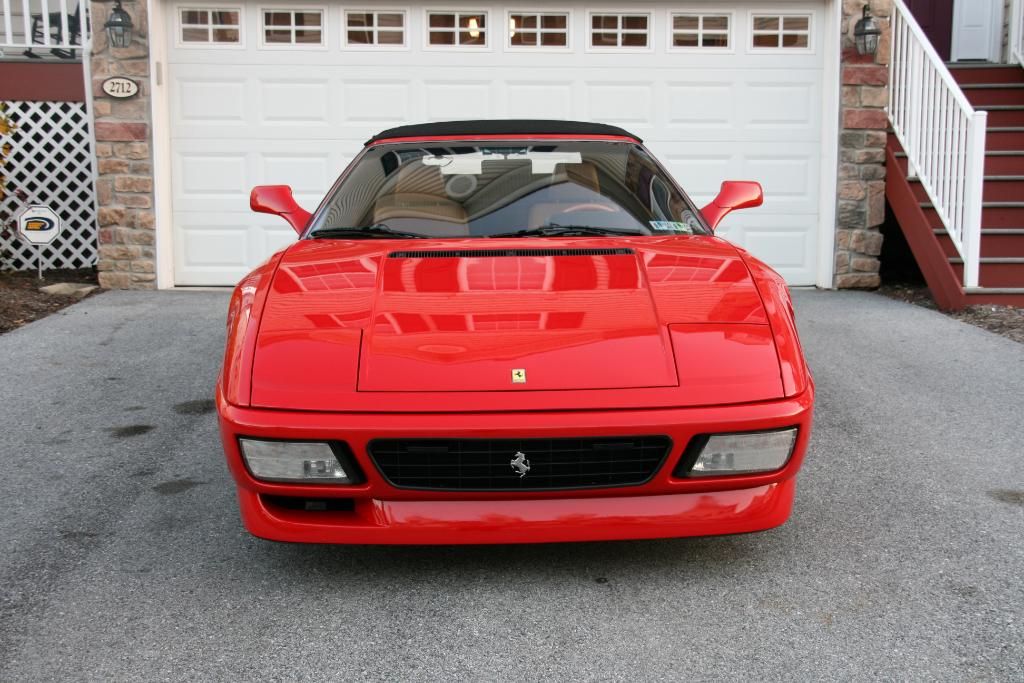
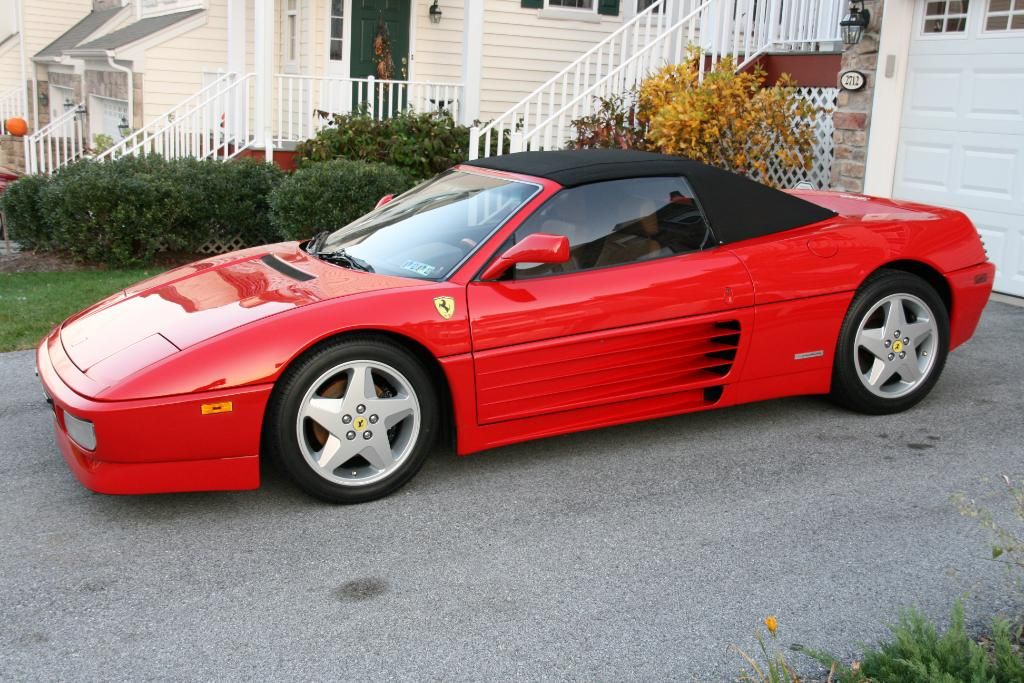
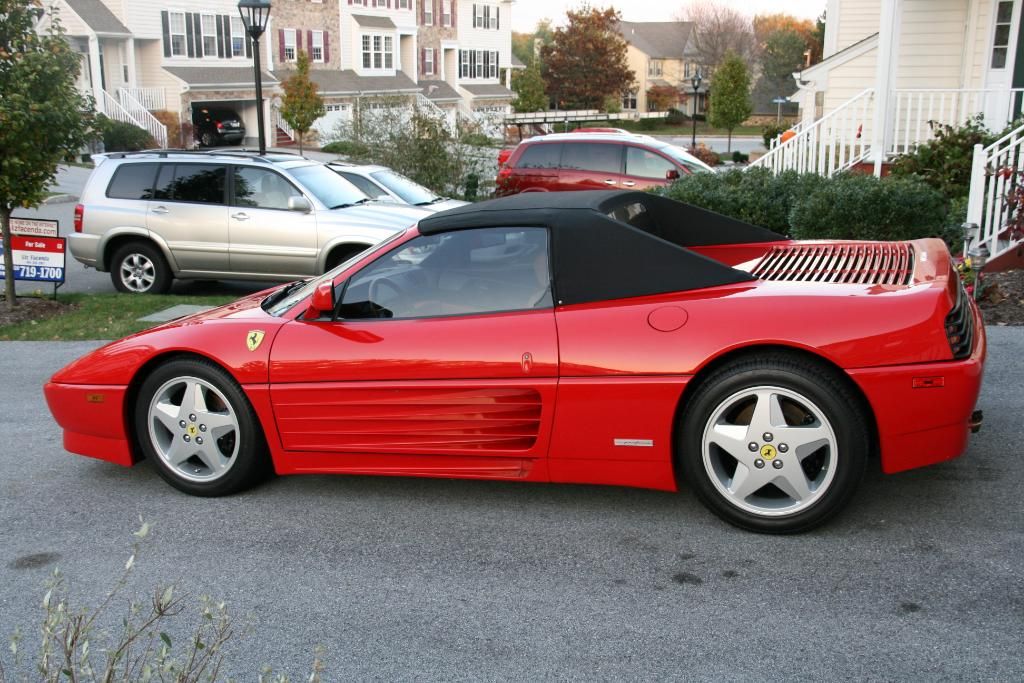
Now for the corrected paint photos
The owner was referred to me by a previous customer - if you all remember the 609 hp Evo I detailed, Good Vibes Autosport. The goal for his car was to get it looking new again, from front the back, every nook and cranny looked over and taken care of. The previous owner didn't take the best care of the car, a lot of dried up wax was found in crevices and the car just wasn't cared for well enough.
Unfortunately, this morning as I went through the pictures, I realized that I forgot to snap some after photos of the interior, which I'm very bummed about. I will see if I can get some from the owner.
Over the course of 4 days, myself and Mikhael went over this car from top to bottom with the following processes.
Exterior:
Full wash/degrease - Poorboy's Citrus Autowash
Swissvax Paint Rubber
Menzerna 203 - LC and Uber Orange pads
Menzerna PO85RD - LC and Uber Green pads
P21S Paint Cleanser - P21S soft sponge
Blackfire Wet Diamond Sealant - LC Blue pads
DoDo Juice Supernatural - Hand applied
Interior:
All leather treated with Leatherique Pristine clean and Rejuevenator Oil
All plastics cleaned and then treated with 303 Aerospace Protectant
All glass cleaned and treated with rain-x
Swissvax detail brushes used on all crevices
Wheels:
Full degrease/wash
Menzerna Final Polish II - white pad
Poorboy's Wheel sealant
Convertible top:
Cleaned and treated with Raggtop Fabric cleaner and protectant
Now onto the pics of the process!
Engine bay before/after
Cleaning it up with my favorite detail brush
After
You can see some residue/glue on the pedal guard in this photo
Residue removed and shined up
A little shot of the garage while I was working the interior
Here is a difference photo in the tail lights that were polished and sealed, you can see the defects in the before photo that appears to be a "haze"
These photos are of the paint after the wash/prep. As you can see, it was in need of a proper correction.
Grabbed a few 50/50 shots of the correction, everyones favorite.
The door is uncorrected, the rear quarter is corrected in these photos
Here is a correction difference from the engine cover and the quarter panel
Now for the corrected paint photos


")
")