MarcHarris
New member
Classic cars pose various challenges for detailers and owners alike. Proper maintenance means the car will hold value, and potentially appreciate, better than other vehicles of its make and model. Subsequently, vehicles not properly cared for may actually lose value.
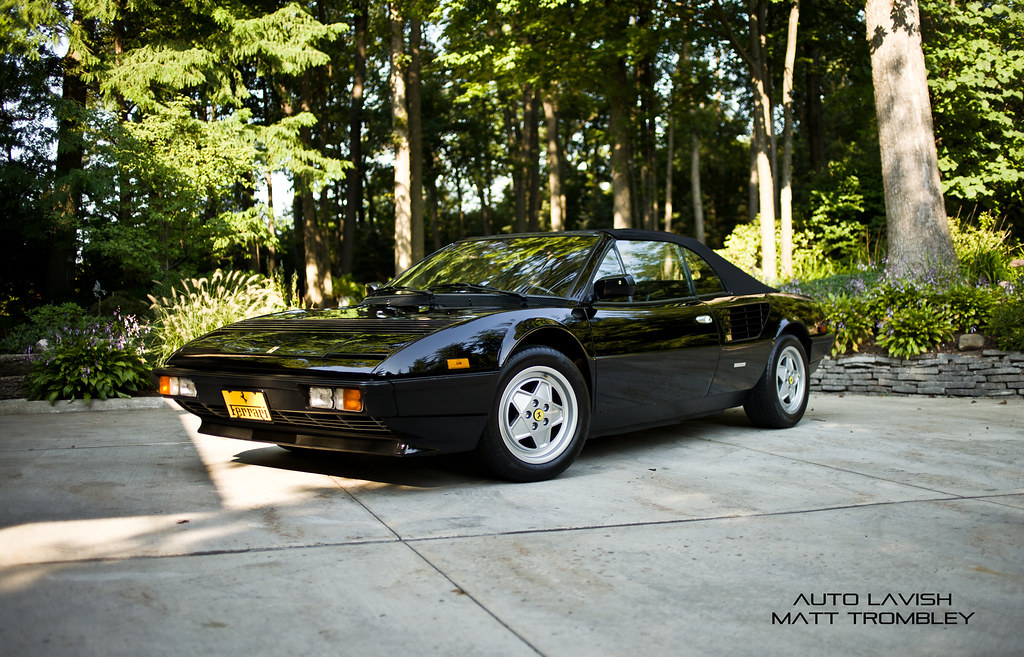
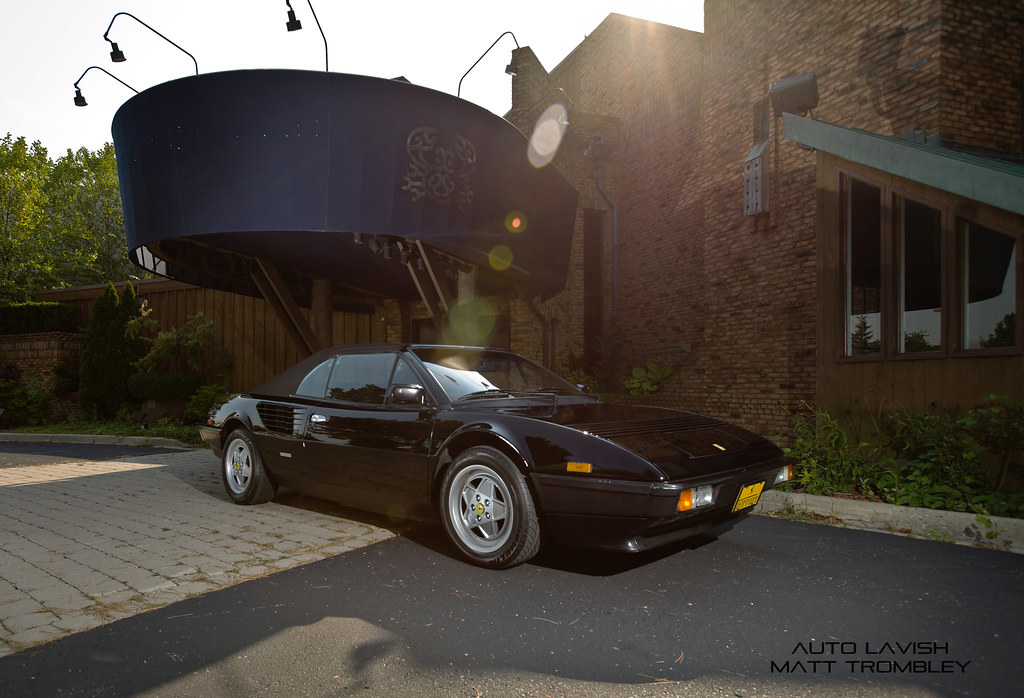
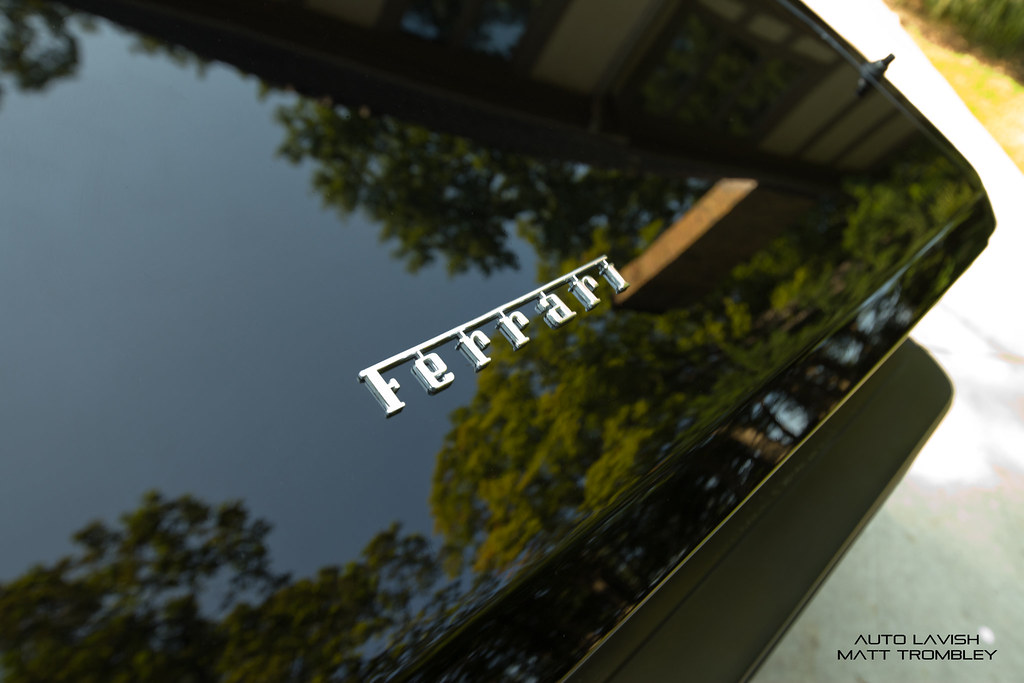
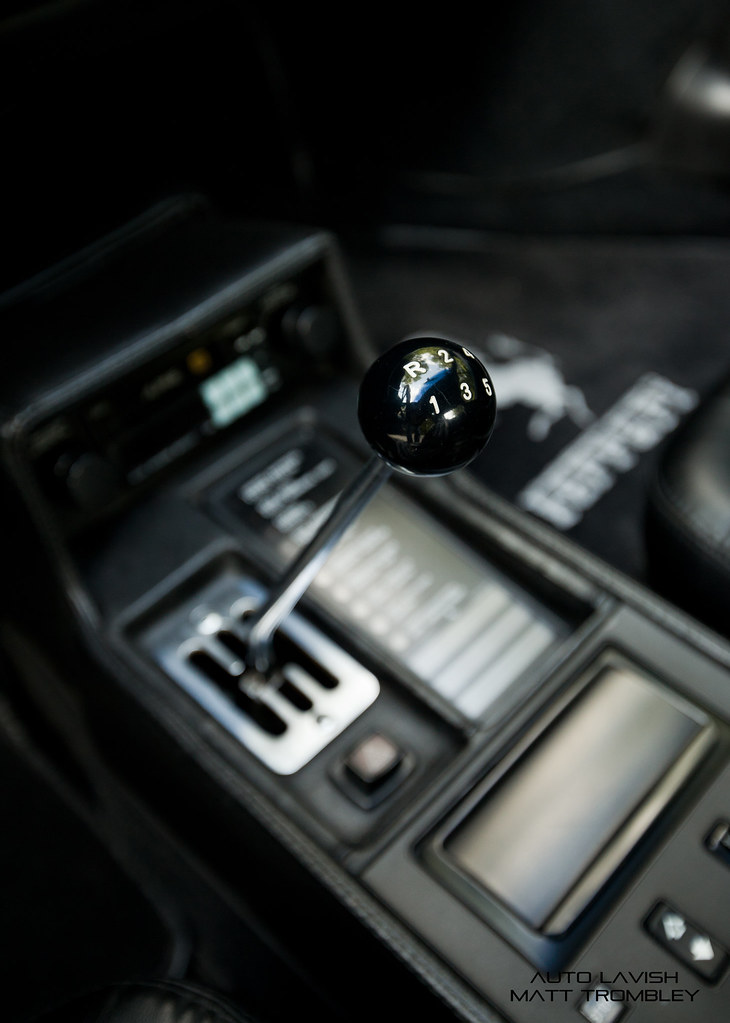
While many people have grown to understand paint care and have a decent understanding of some "do's" and "do not's" with touching their paint, washing it, and applying wax, one area that still has a long way to go is proper leather care. This particular 1983 Nero Ferrari Mondial Cabriolet had both paint and leather issues that would need to be addressed.
We started off as we usually do: removing the license plate which allowed thorough cleaning behind the plate bracket.

Next, we addressed the door handles. A light bit of cleaning can make these classy and beautiful door handles look truly proper.

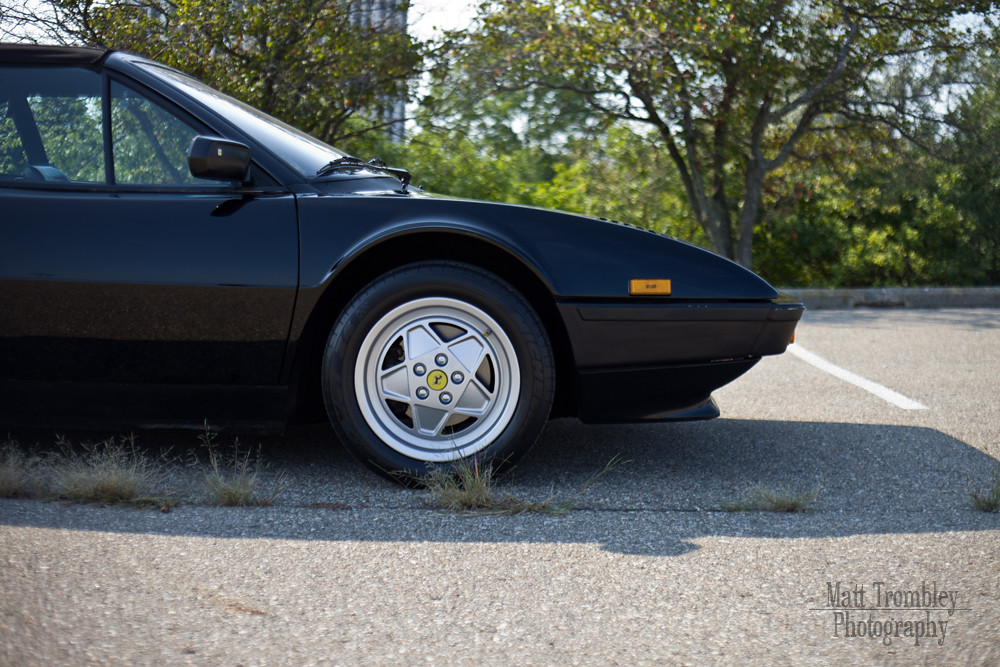
The wheels weren't horrible, but certainly could use a thorough cleaning.


Using various size brushes, the wheel faces, lug nut cut-outs, and inside of the wheels were cared for; leaving the wheels completely clean and truly in mint condition.


A condition we've found to be present on many cars lately is heavy build-up of dressings, leaving the tires nasty looking. Tim used a Tuf Shine tire brush with Optimum Power Clean to thoroughly scrub the tires.


Pre-treatment of old residue, to include wax build-up, was a real issue on a classic Ferrari like this. P21S Total Auto Wash combined with a soft brush allowed for thorough agitation.


A foam bath allows for plenty of cleaning and lubricating agents to be applied to the paint work. This helps to break down dirt and grime while making the wash process a bit more gentle; lowering risk to the vehicle's surface.


After being carefully washed, the Mondial was dried with microfiber towels and an electric leaf blower, then pulled back into the garage where we could give attention to other aspects of the vehicle.
One of the biggest issues with this particular car was significant build-up on the leather. While not an unusual problem, cars with 20k miles don't normally look this bad. An issue with many exotic cars like the Ferrari is giving the car too much attention. Too many wipe-downs mean the paint has a large amount of scratches and swirls. Too many sloppy waxing sessions and you have wax build up on panel edges, around emblems, and on trim. And finally, many owners want to make sure they continously "treat" the leather with "conditioning" products which actually make the leather wear out faster. This Ferrari Mondial doesn't have semi-aniline leather like I've seen on some newer Ferraris, but rather has fully coated leather (like the overwhelming majority of automotive leather is). The actual leather surface has a urethane coating over it to help protect it from wear. By using bogus "leather care" products, residue builds up on the surface which attracts additional dirt and grime, making the leather wear, crease, tear, rip, and fail much quicker.
Take a look at the large amount of shine and gloss on the seats. These seats should have a silky / sheen look, NOT a glossy appearance.

Pay special attention to the seat bottoms, where cracks and creases have started to form.

The first step to treat these seats was to completely remove all dirt, grime, oils, sweat, and old product build-up. Leather Master Strong Cleaner was used with toothbrushes to thoroughly clean every square inch.


Residue was wiped off with a soft clean microfiber towel.

The difference was remarkable!


Even the seat bottoms responded well to a thorough and proper cleaning.


With the leather purged of the unusually large amount of build up, the surface looked and felt MUCH better. The leather had a subtle sheen and truly looked like new. Still, we weren't finished. An ultra thin coat of Leather Master Vital was applied to the hides, and over a day later, Leather Master Protection Cream was applied. While Vital is designed to give a softer feel and more uniform look to the surface, Protection Cream is a water-based product made for protecting leather much like wax protects paint; by being a sacrificial barrier to contamination and potential damage. The product makes the surface less "grabby" so that wear is lowered on the urethane coating, and the Protection Cream acts as a breathable (to the leather) barrier to contamination.
The following pictures shows me applying a thin layer of Vital which would dry and matte down.

While many people have grown to understand paint care and have a decent understanding of some "do's" and "do not's" with touching their paint, washing it, and applying wax, one area that still has a long way to go is proper leather care. This particular 1983 Nero Ferrari Mondial Cabriolet had both paint and leather issues that would need to be addressed.
We started off as we usually do: removing the license plate which allowed thorough cleaning behind the plate bracket.
Next, we addressed the door handles. A light bit of cleaning can make these classy and beautiful door handles look truly proper.
The wheels weren't horrible, but certainly could use a thorough cleaning.
Using various size brushes, the wheel faces, lug nut cut-outs, and inside of the wheels were cared for; leaving the wheels completely clean and truly in mint condition.
A condition we've found to be present on many cars lately is heavy build-up of dressings, leaving the tires nasty looking. Tim used a Tuf Shine tire brush with Optimum Power Clean to thoroughly scrub the tires.
Pre-treatment of old residue, to include wax build-up, was a real issue on a classic Ferrari like this. P21S Total Auto Wash combined with a soft brush allowed for thorough agitation.
A foam bath allows for plenty of cleaning and lubricating agents to be applied to the paint work. This helps to break down dirt and grime while making the wash process a bit more gentle; lowering risk to the vehicle's surface.
After being carefully washed, the Mondial was dried with microfiber towels and an electric leaf blower, then pulled back into the garage where we could give attention to other aspects of the vehicle.
One of the biggest issues with this particular car was significant build-up on the leather. While not an unusual problem, cars with 20k miles don't normally look this bad. An issue with many exotic cars like the Ferrari is giving the car too much attention. Too many wipe-downs mean the paint has a large amount of scratches and swirls. Too many sloppy waxing sessions and you have wax build up on panel edges, around emblems, and on trim. And finally, many owners want to make sure they continously "treat" the leather with "conditioning" products which actually make the leather wear out faster. This Ferrari Mondial doesn't have semi-aniline leather like I've seen on some newer Ferraris, but rather has fully coated leather (like the overwhelming majority of automotive leather is). The actual leather surface has a urethane coating over it to help protect it from wear. By using bogus "leather care" products, residue builds up on the surface which attracts additional dirt and grime, making the leather wear, crease, tear, rip, and fail much quicker.
Take a look at the large amount of shine and gloss on the seats. These seats should have a silky / sheen look, NOT a glossy appearance.
Pay special attention to the seat bottoms, where cracks and creases have started to form.
The first step to treat these seats was to completely remove all dirt, grime, oils, sweat, and old product build-up. Leather Master Strong Cleaner was used with toothbrushes to thoroughly clean every square inch.
Residue was wiped off with a soft clean microfiber towel.
The difference was remarkable!
Even the seat bottoms responded well to a thorough and proper cleaning.
With the leather purged of the unusually large amount of build up, the surface looked and felt MUCH better. The leather had a subtle sheen and truly looked like new. Still, we weren't finished. An ultra thin coat of Leather Master Vital was applied to the hides, and over a day later, Leather Master Protection Cream was applied. While Vital is designed to give a softer feel and more uniform look to the surface, Protection Cream is a water-based product made for protecting leather much like wax protects paint; by being a sacrificial barrier to contamination and potential damage. The product makes the surface less "grabby" so that wear is lowered on the urethane coating, and the Protection Cream acts as a breathable (to the leather) barrier to contamination.
The following pictures shows me applying a thin layer of Vital which would dry and matte down.


")