My most important detail of all time - please give your suggestions!

MansonOzz

New member
Hey guys,


This weekend I've got a magazine shoot with a top Mustang magazine, and I want the car to look better than ever.


So far I have washed (Megs gel), clayed (Megs mild), and swirl removed (3M mild abrasive - which works well on my cutting pad for the DA).


Next is where I'm wondering if I can get a little extra bit if deepness to show up as the end result. I never dislike the way my detailing jobs come out, but I never know if I could've done better.


I have AIO, Blackfire sealant, Megs 7 polish, Megs 26 , Megs Gold Class, and of course - NXT.


I was planning on doing AIO, #7, Blackfire, then topping with NXT.


Is that a good idea or is there a better way to utilize what I have?
 
Since all you are looking at is something deep for the photo shoot, I would just use #7 and then #26. 26 looks great on red, deeper than I believe NXT looks, but I guess its all in the eye of the beholder. No one else but you will ever know the diff , and you might be seeing things!!!


If I were going to really work something, I would take my time and I would use the 3m and go over the car exactingly, probably going over each panel at least 2 times and maybe more. Get some really good lights and view from lots of different angles.


Of course, when all is said and done, it probably will look the same as on your website, which is to say, Great.


Sam
 
Thanks for the tips. The color is red.


I know how it is thinking I'm seing things, haha, that's why I came to you guys to see if I'm missing something.


I'll go over with the 3M some more and make sure that is taken care of before moving on. Thanks for that.


So the AIO and Blackfire wouldn't be of much use for my goal?


Also I know their cameras will pick up the color and depth WAY more than my little digital.
 
I wouldnt worry abut sealing, I'd just go with something like #80, then 7, or just 7. Do you have to seal? Another remedy would be something like RMG or VM......as a stand alone.....

Keep a bottle of Qd available also....

You would run into smearing issues with 7 and BF for sure.....
 
I don't have to seal, no. I was under the assumption that it helped keep the prep work where I brought it. I do have a 5-hour road trip to take and figure I'll battle with some road grime and crap :(


I'm going to go look up what VM, IP and RMG are :)


QD and other essentials never leave my cargo area in the trunk :D
 
Ok -


Turns out I have Klasse Sealant Glaze and NOT Blackfire. I must've used up all the Blackfire.


Still, same properties and probably not what I want to use?


Also can't find the acronym for RMG. What's that? :)
 
Clearkote Red Moose Machine Glaze. Like VM, but intended for machine rather than hand application.


If I were you, I'd try to get my hands on the following products before the shoot (Try to trade for samples on the starred items, just buy the non-starred ones outright).


Menzerna PO85RD*

Clearkote VM

Clearkote RMG*

Pinnacle Souveran


This combo will give you an AMAZING look. If you want to use what you have, go 3M SMR -> #7 -> #26, but it will be more work and less depth/wetness than what I've suggested. Howver, it'll be less money too :).
 
a.k.a. Patrick said:
I wouldnt worry abut sealing, I'd just go with something like #80, then 7.....


Yeah, if you have time to get some #80 I'd use that as a final polish/initial glaze. #7 might work and might not, it can be finicky on basecoat/clear. IMO the #80 topped with a wax would be fine.


You could try the RMG or something similar for an "extra glaze effect" between th3 #80 and the wax (I'd probably use Meg's #5 just because it's foolproof).


This just isn't an application for AIO. Glaze and wax all the way.


And yeah, topping with Souveran *would* really be a nice finishing touch.
 
I went with #7 and #26, because I didn't want to take the chance of ordering something new and not receiving it and then rushing to finish, and I am very happy. I haven't taken it out of the garage though, so I can't say how the sun against it is looking. We shall see :)


Either way, it can only look as 'bad' as it always does, which is not at all, so no worries there.


I'll be back with pics and will try to get a couple during the photo shoot itself


THANKS GUYS!
 
The weekend is over with, and everything went well. I took 1st place in my class and the photoshoot went smoothly.


A few pics:


cherry1.JPG


engine.JPG


My girlfriend took some better pics of the engine, but I haven't got those yet


mike3.JPG


rear.JPG


mike2.JPG
 
Thanks guys! I spent the winter sitting on the K-member with various equipment to smooth it all out, then my friend and I shot the paint this spring.


The engine itself has been an ever-lasting project getting shinier by the week and month, a little here and there. When it came out of the car, I finished off everything that hadn't been touched yet, and repolished a few things that had become a little bit dull.


As you can tell, it's my main centerpiece :)
 
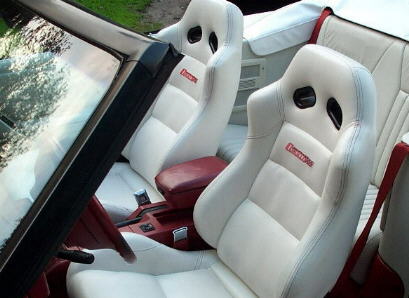
Here you go :)


cerullos.jpg


The armrest has been deleted since this pic's been taken


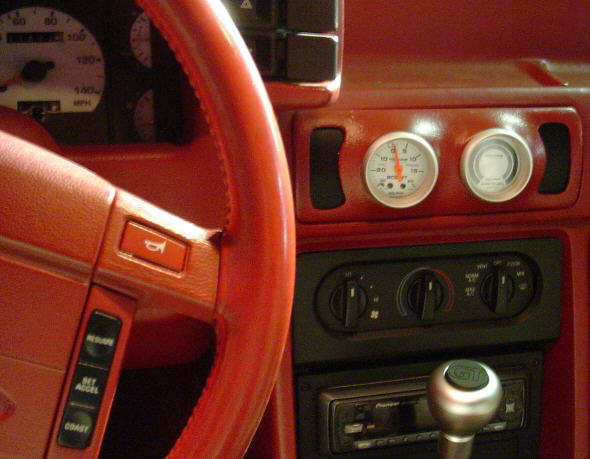
pod3.jpg


custom dash pod, gauges and shift knob


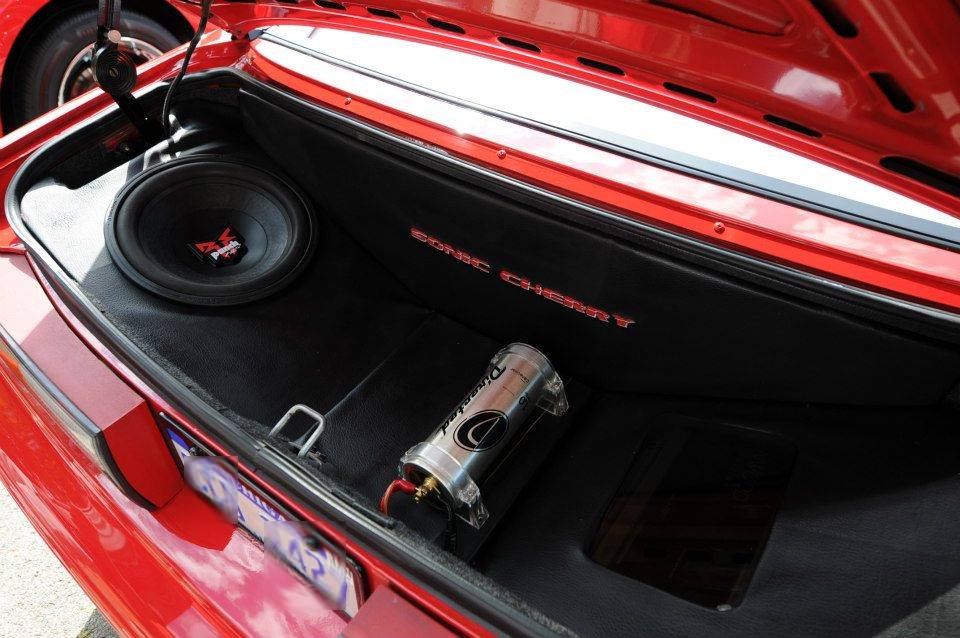
trunk.jpg


I took the grille off since then, I didn't like it as much as I thought I would.
 
Back
Top