extreme-detail
New member
sorry for not posting for some time as life is very busy :thumb:
would like to say as extreme detail i offer the very best in detailing and i dont put any fancy name to it to hype it up. its simply EXTREME.
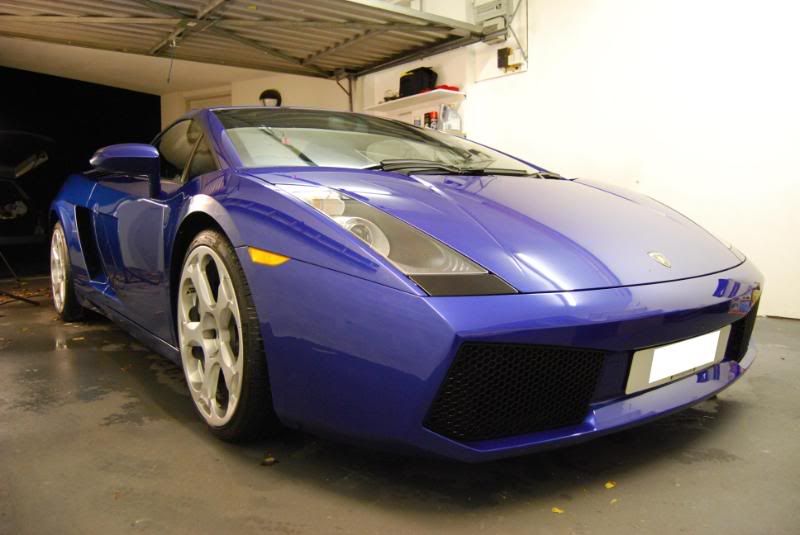
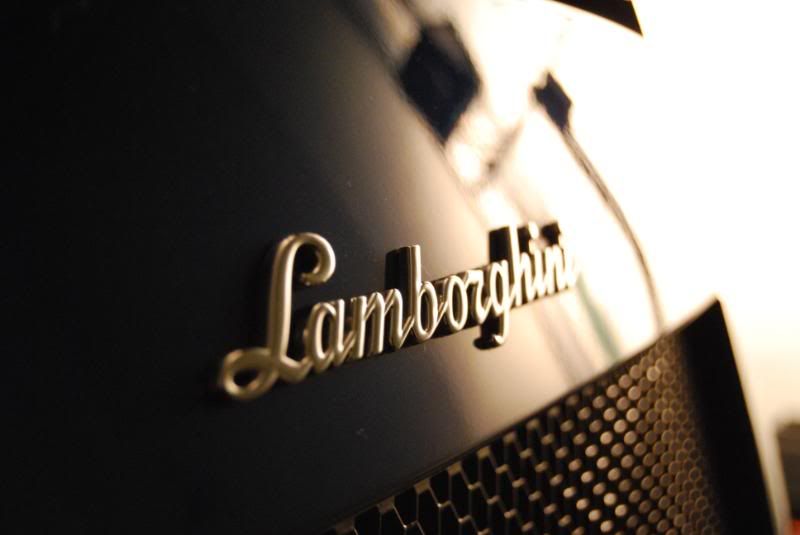
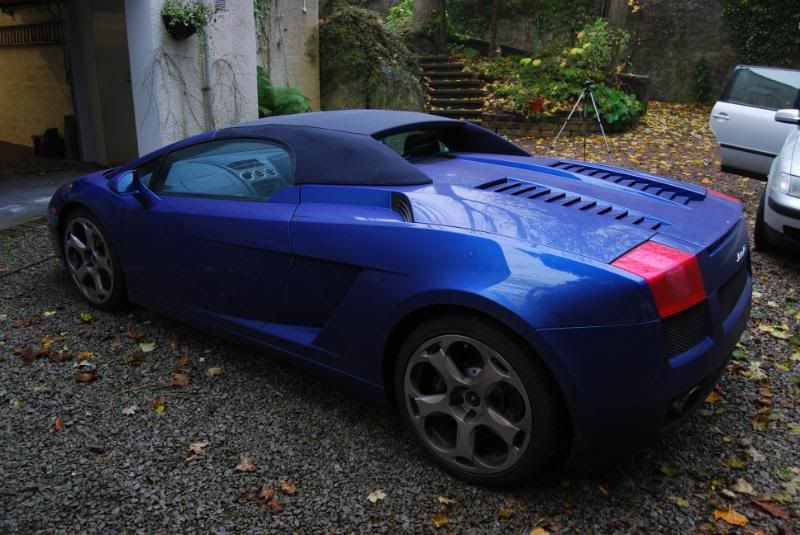
now then this lambo some of you might notice it from another detail i did some time ago, as it belongs to the owner of the dino i did. as the owner was so happy with te detail i did on the dino he wanted the gallardo done to.
so the other day i went back through to Aberdeen but this time i went to the owners town house, the last time to do the dino it was at the country house with that massive garage :doublesho. the owner said to me before and that he could take it to the country house so that i would have more space, i asked how big is the garage at the town house. he replyed that you can open the doors and still have space to walk round. so i said to the client i offer a service that suits his needs as people have busy life`s these days and that i would have ample work space at the town house so no need for him to take time out of his busy life just to give me even more space.
so i turned up at 8am at the town house :doublesho very nice indeed. so there was the car sitting in the garage and the owner took the car out.
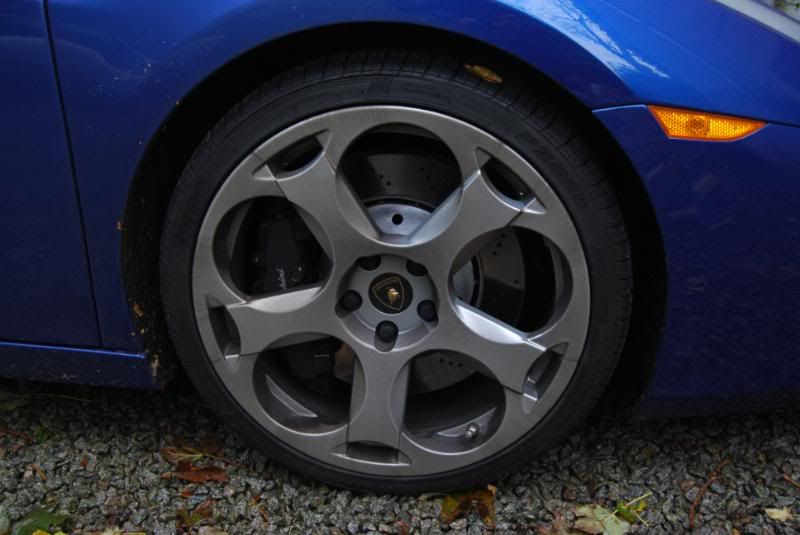
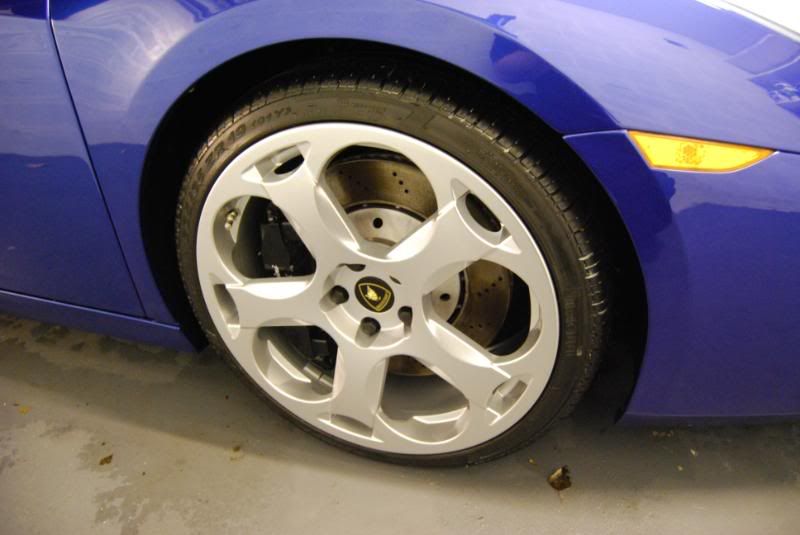
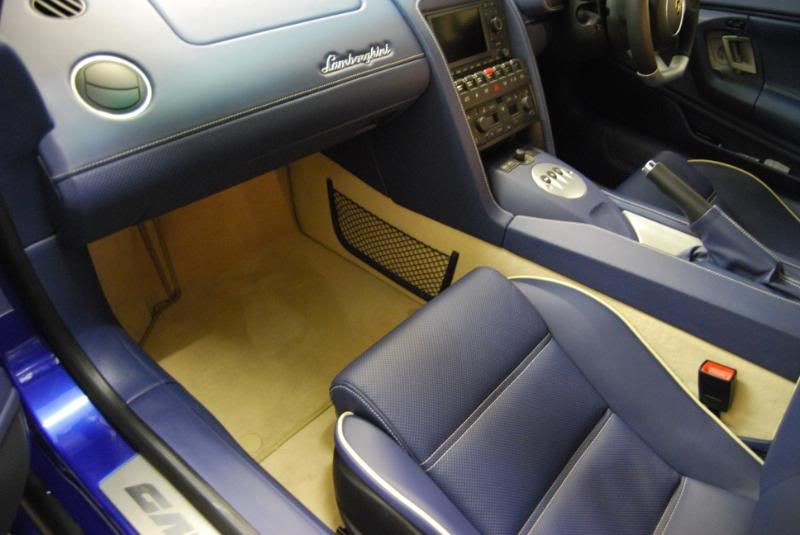
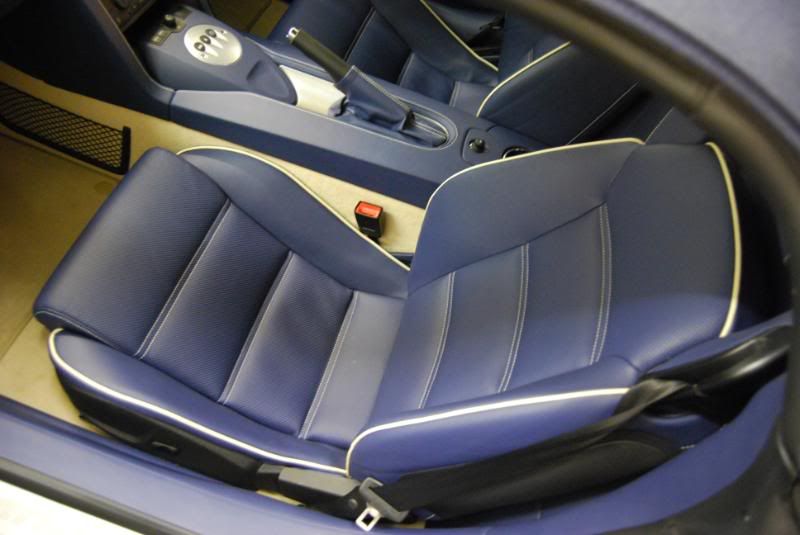
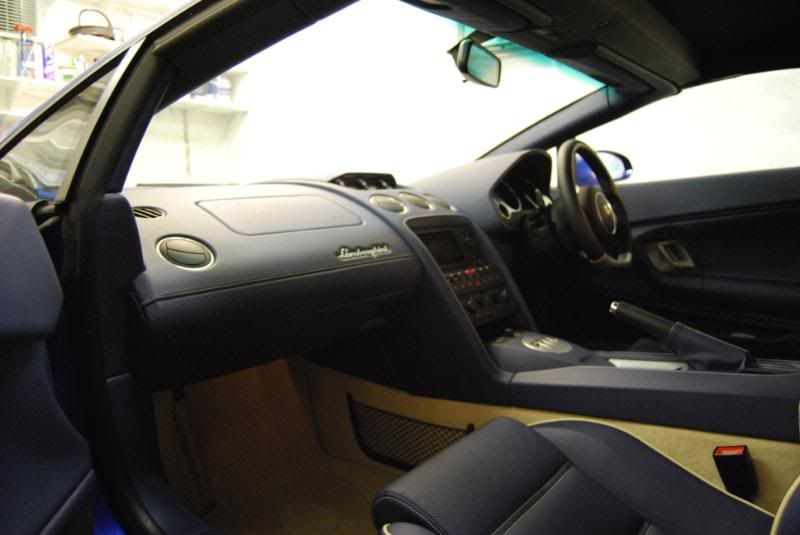
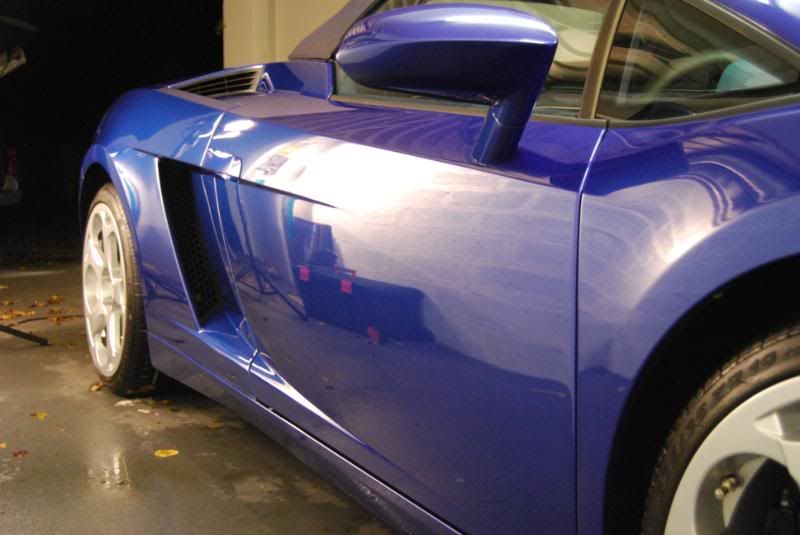
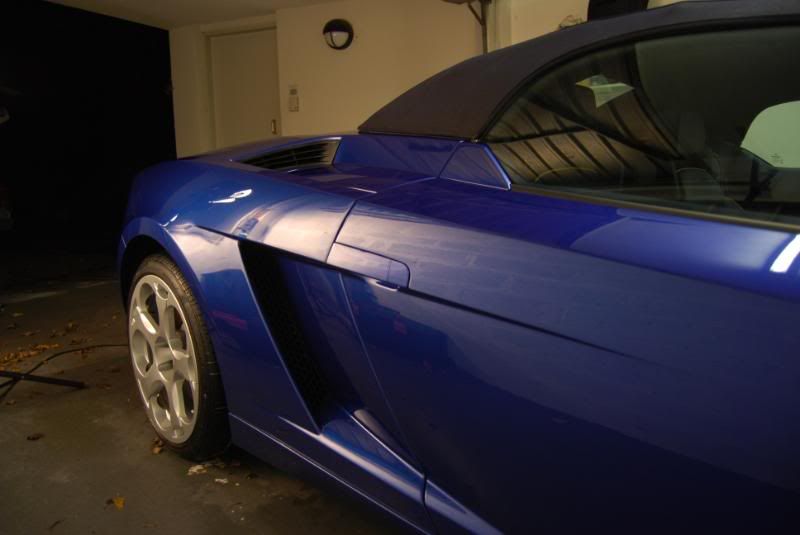
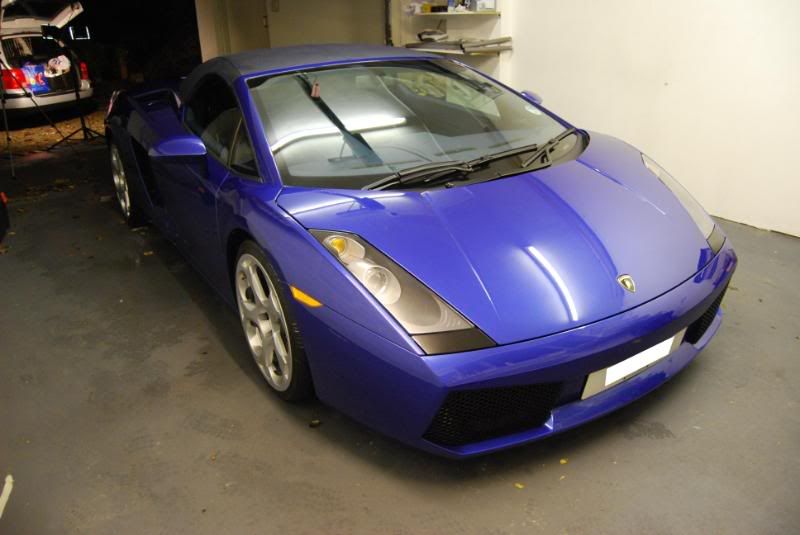
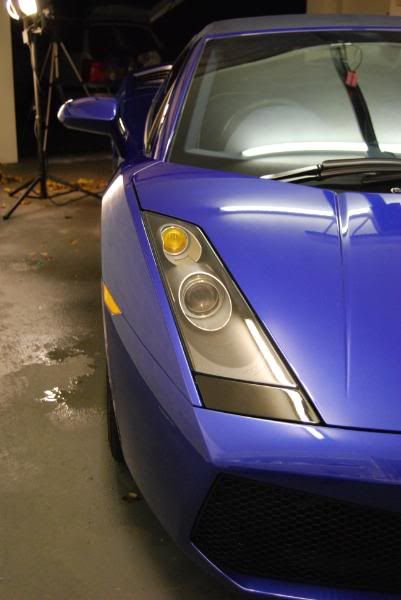
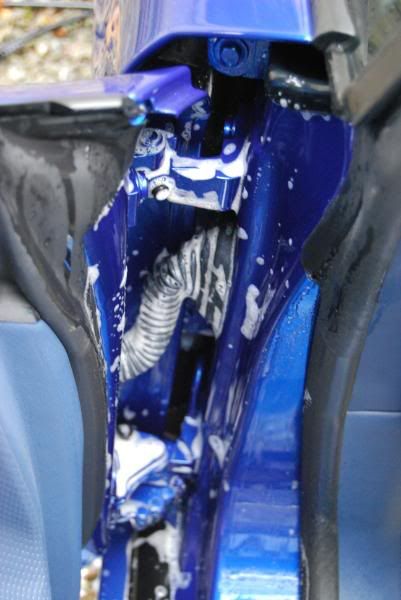
so this is how i found the car
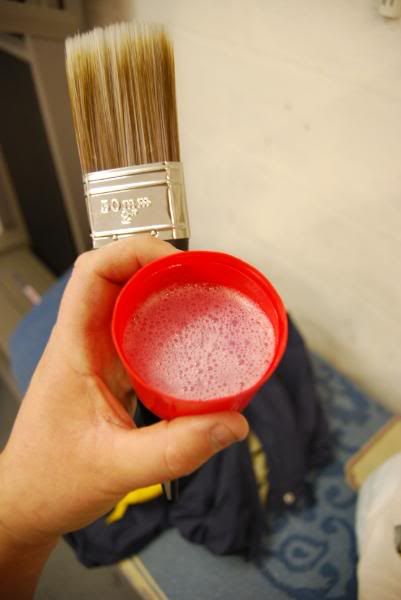
so first off was to pre soak the car with the citrus

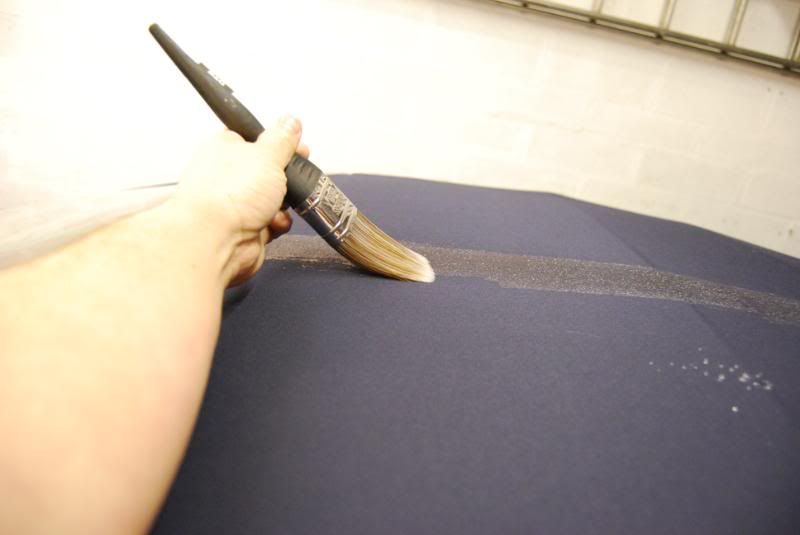
then foamed the car
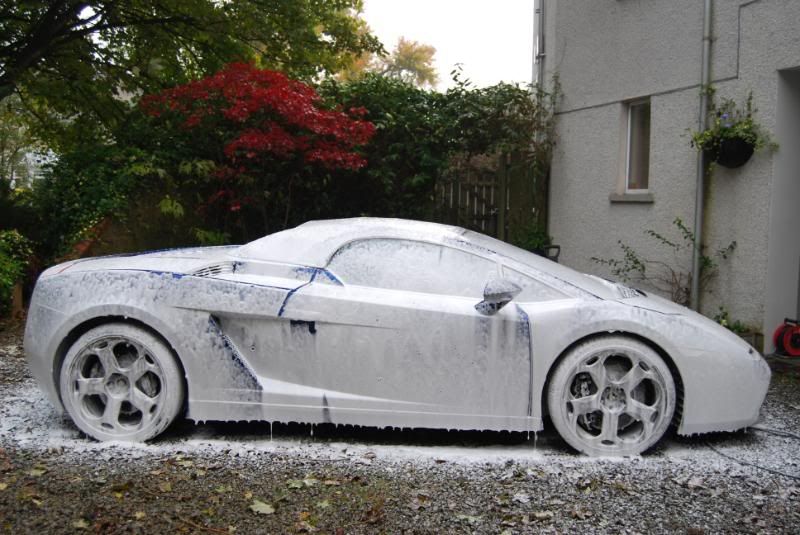
the car was rinsed down after 5 mins then foamed again so i could clean all the grills
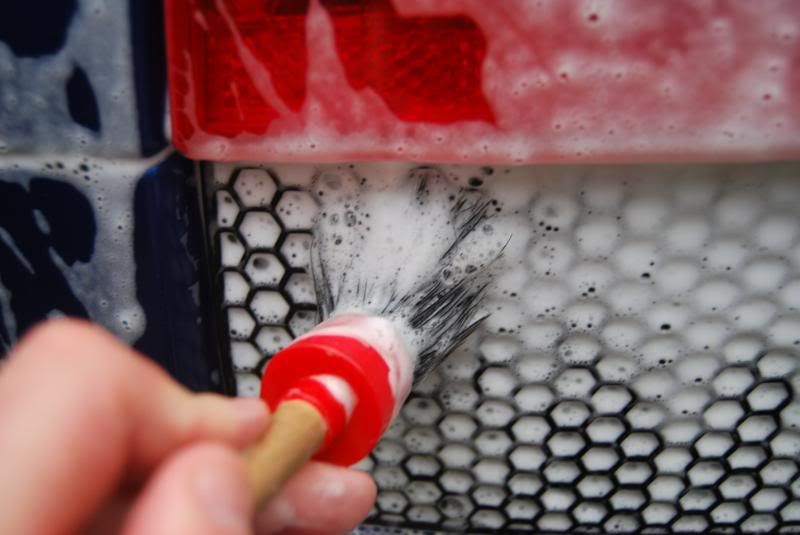

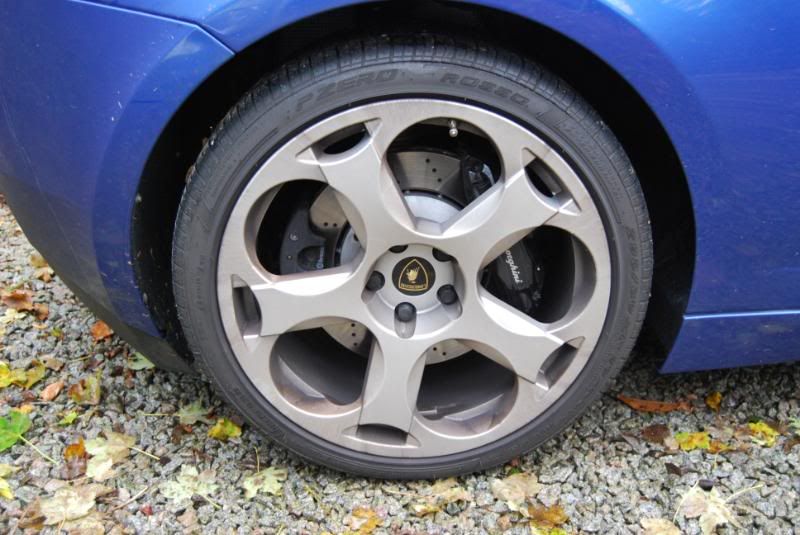
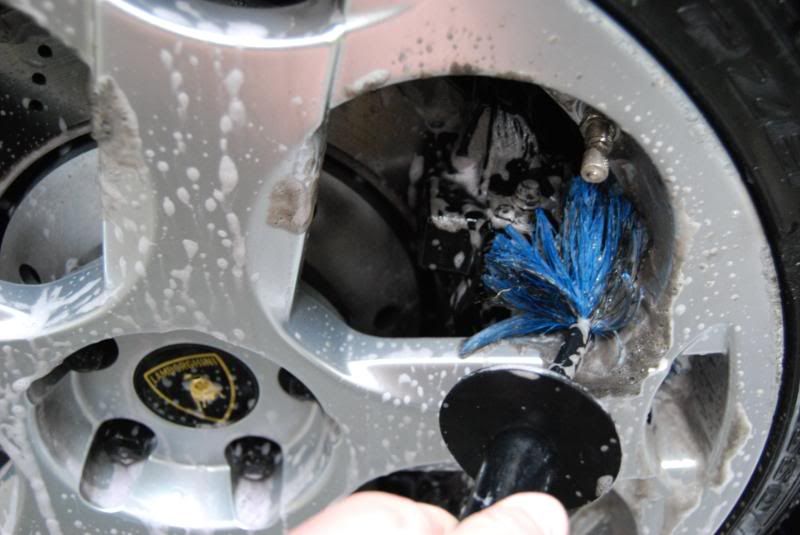
the wheels were then cleaned using a EZ brush, wash mitt and a swissvax brush
the car was rinsed again
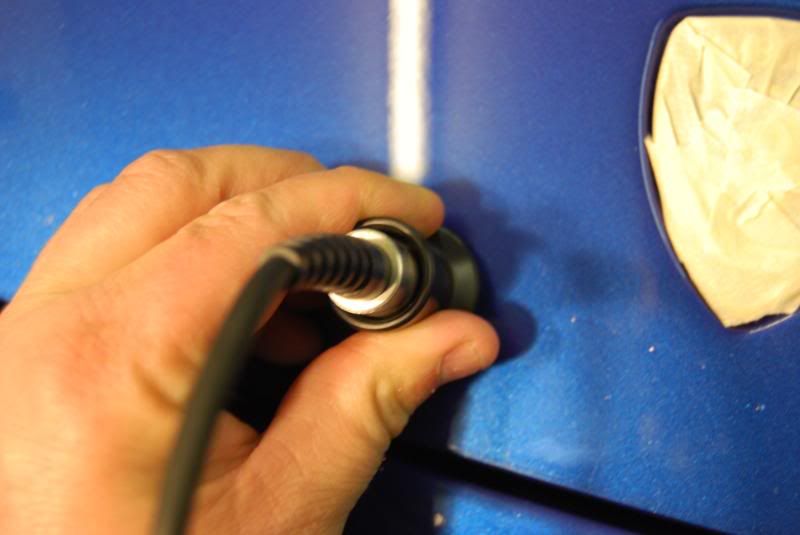
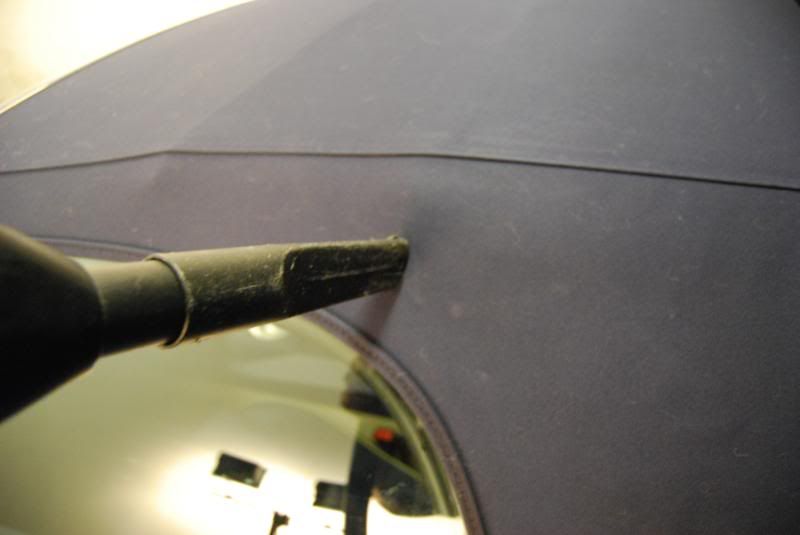
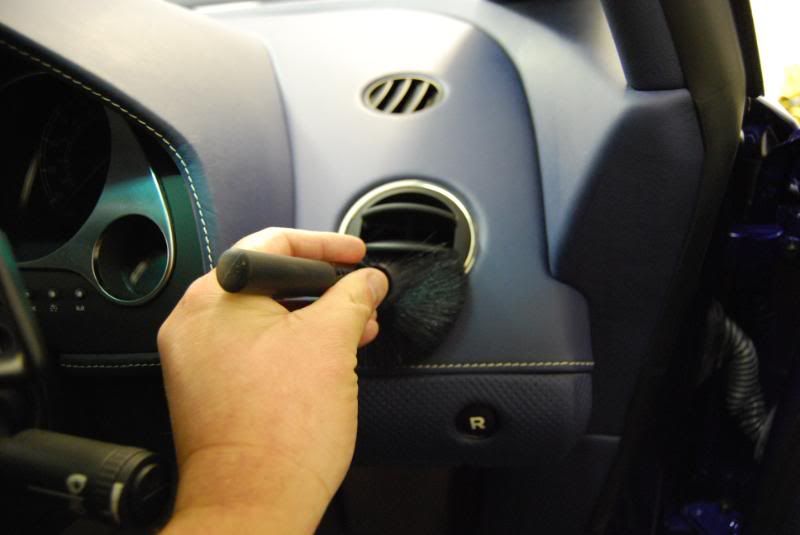
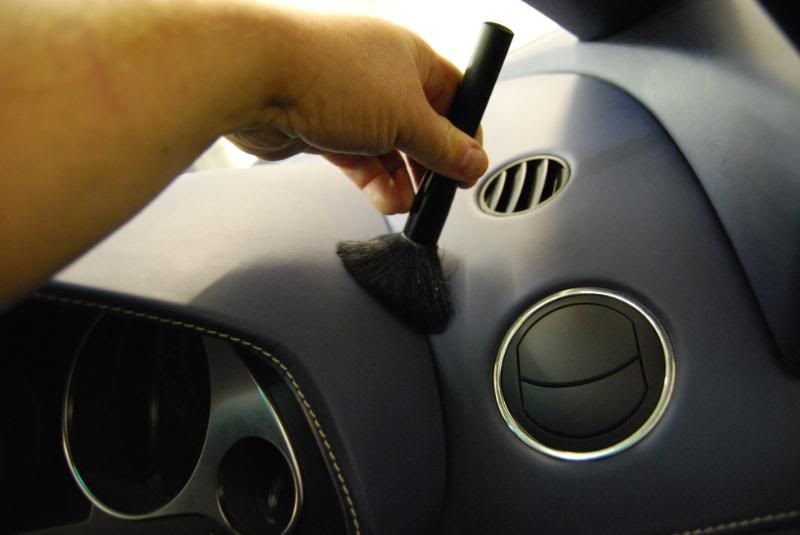
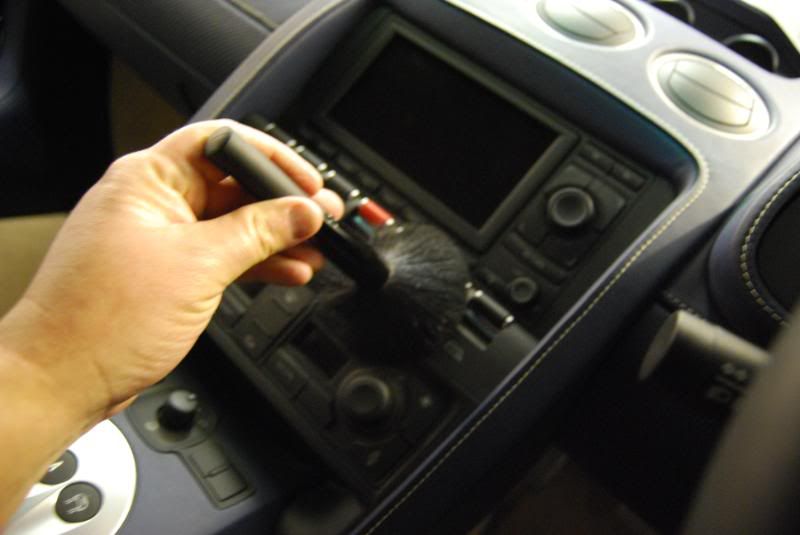
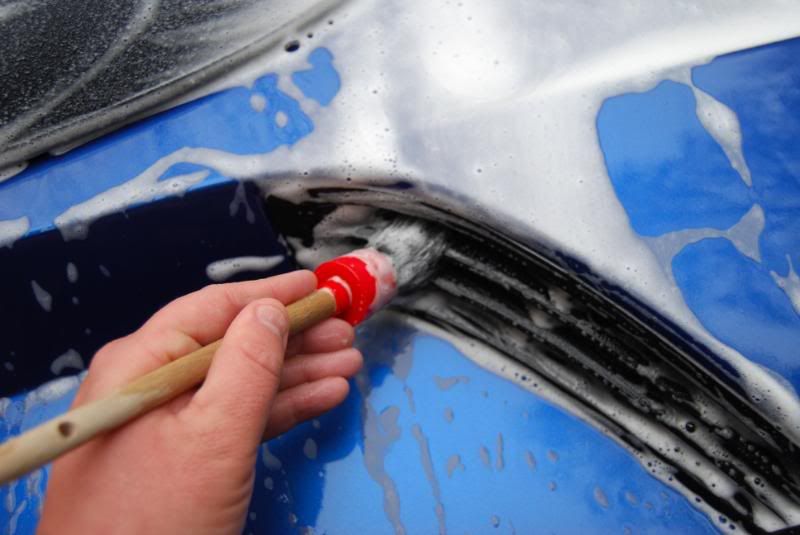
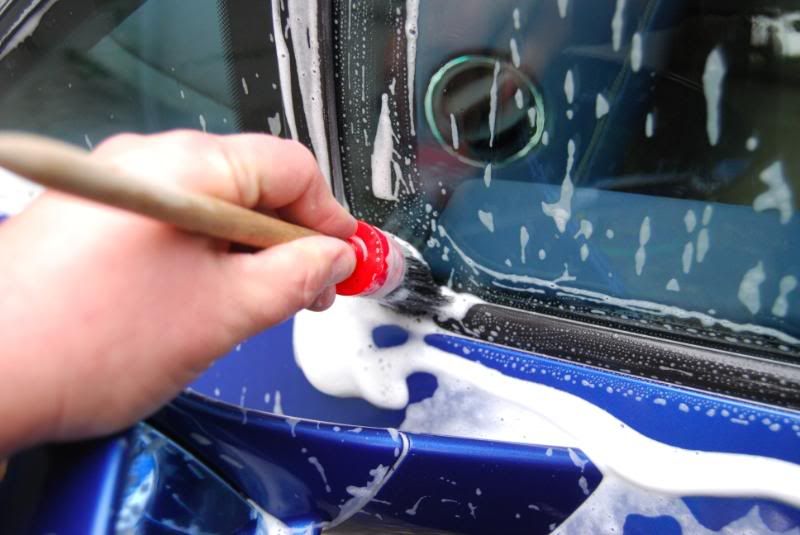
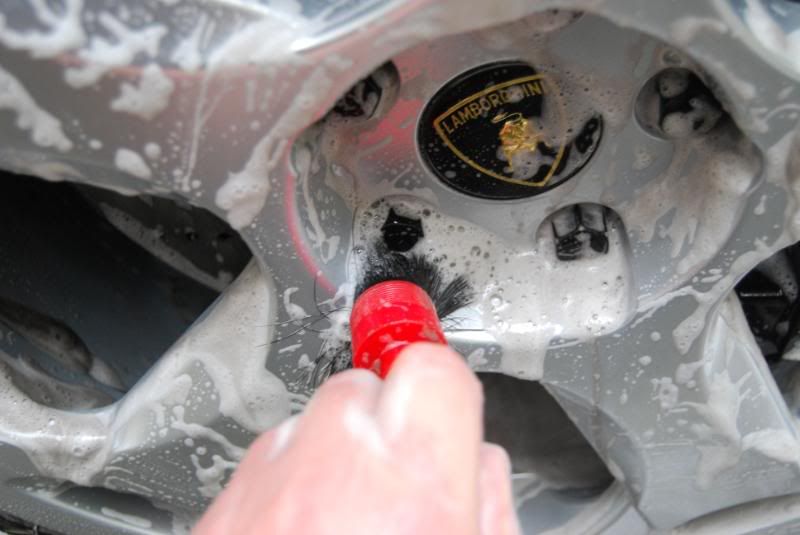
next was to clean the door checks
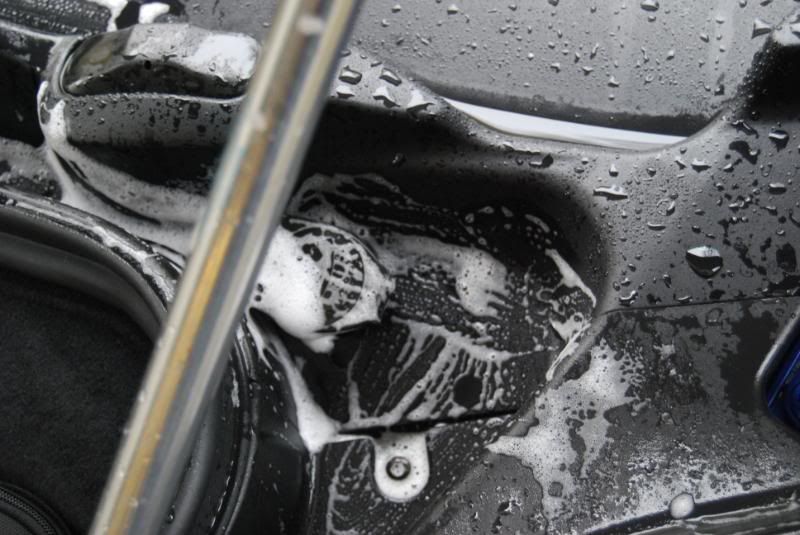
this was done using megs apc and a swissvax brush
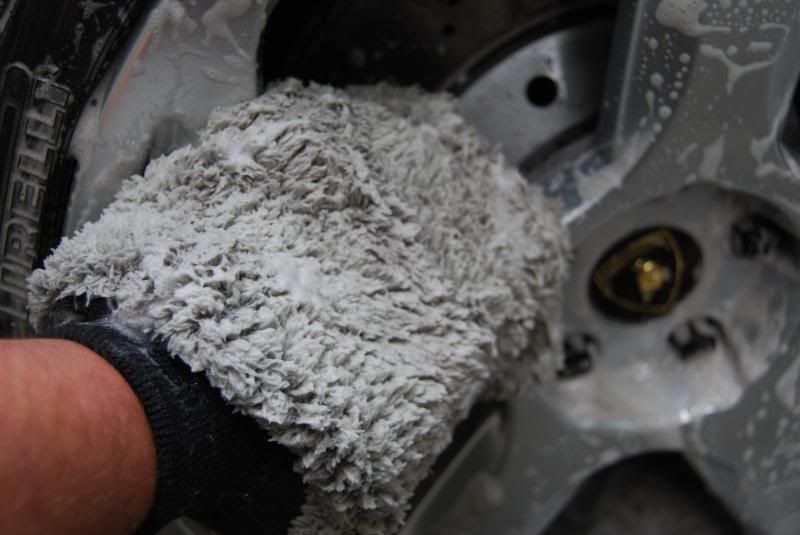
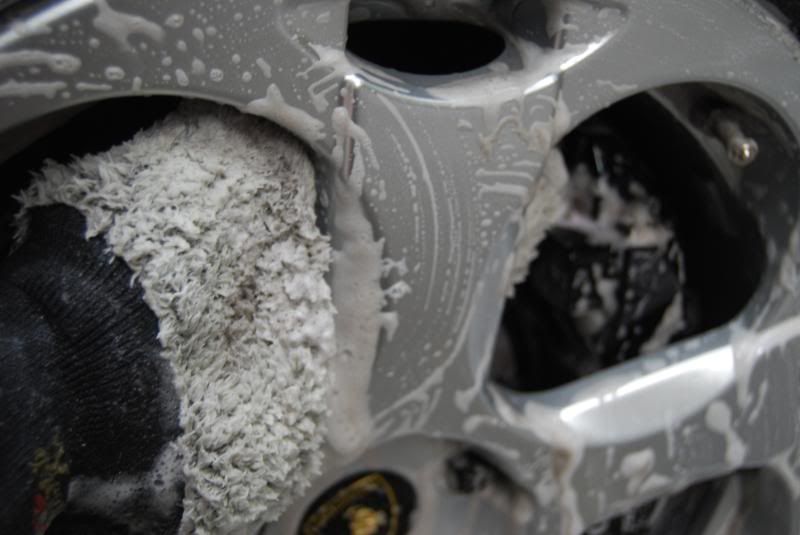
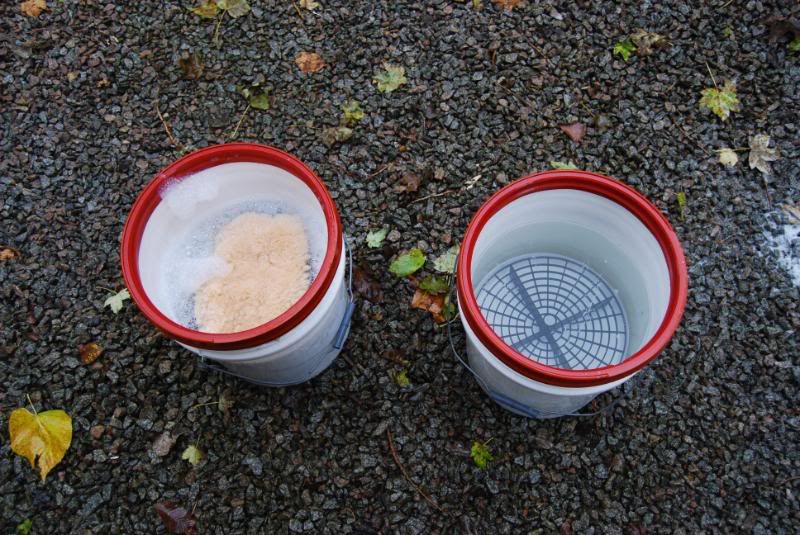
the car was then washed with the 2 buckets and as always a brand new wool mitt
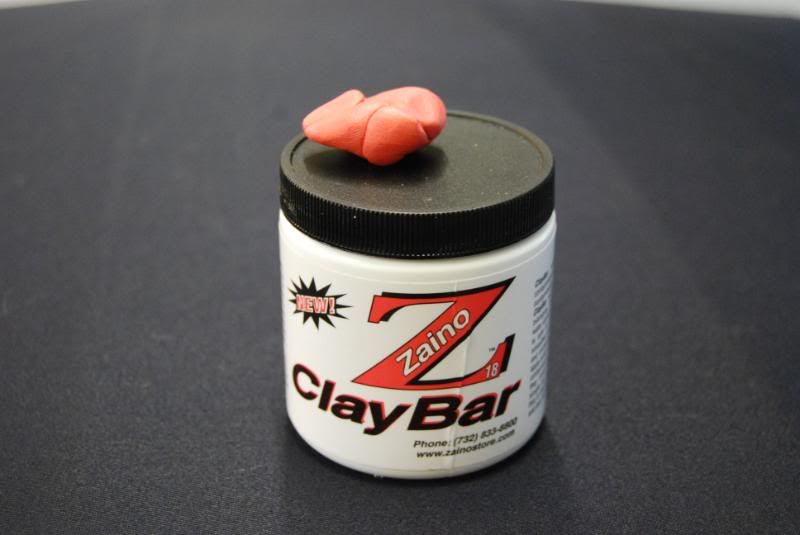
the car was rinsed again the clayed with a zaino bar
after the clay it got washed agin
the car was then dryed off with a blower for the vents, wing mirrors and such like. the paint work was dryed off using meg`s last touch and a towel from carwashnwax
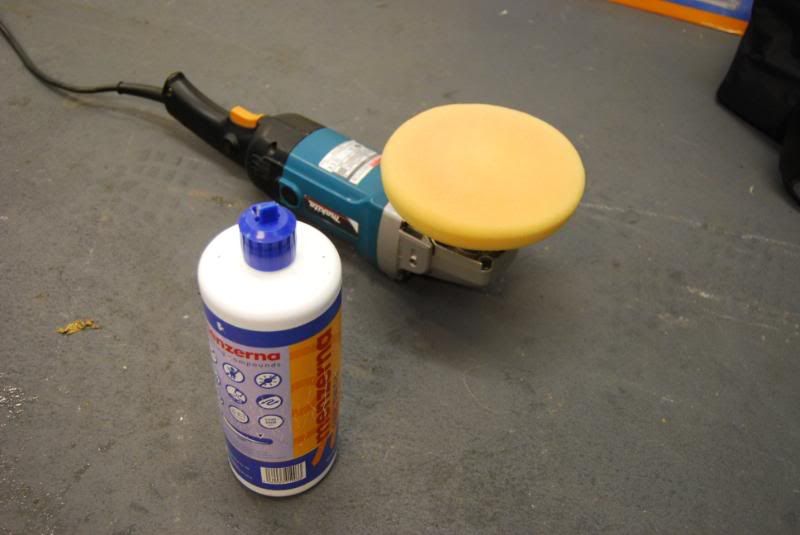
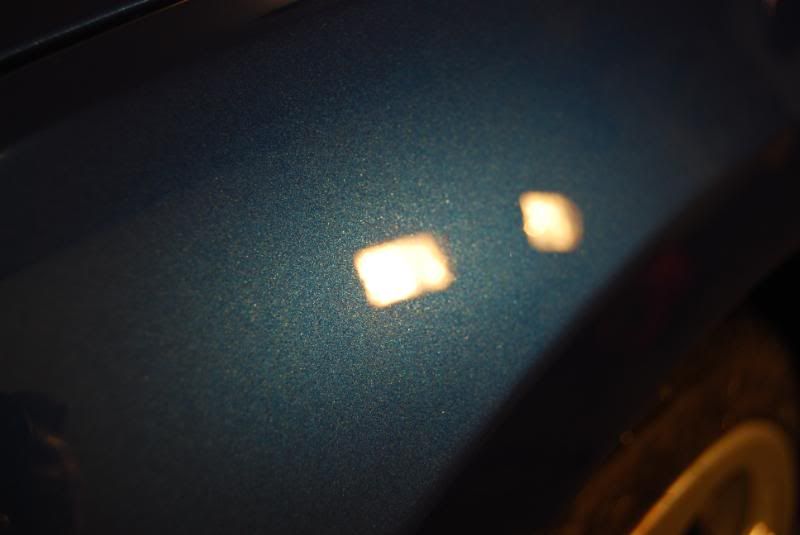
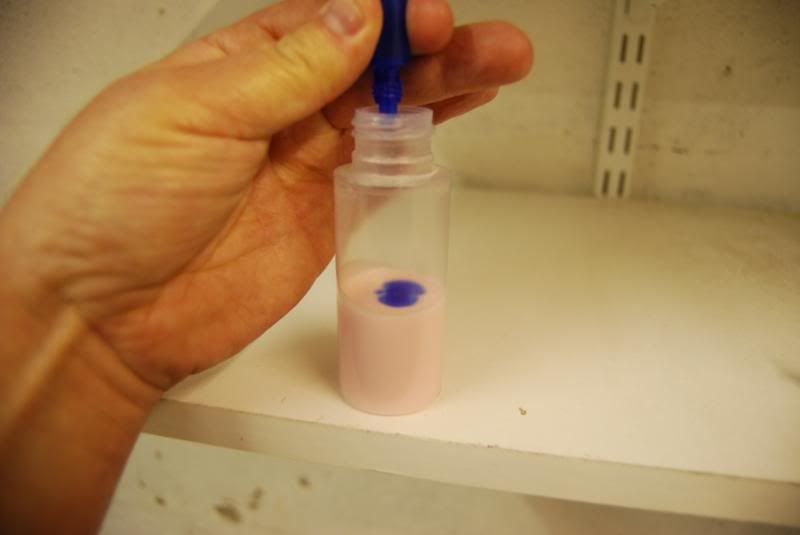
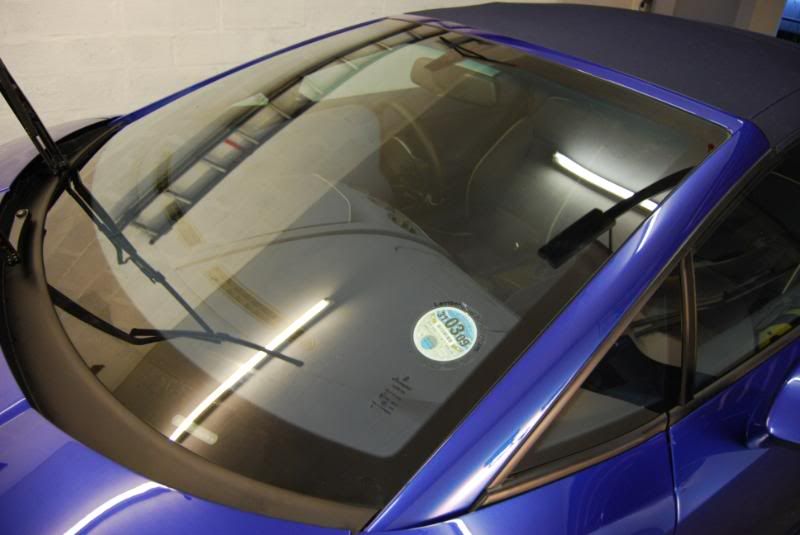
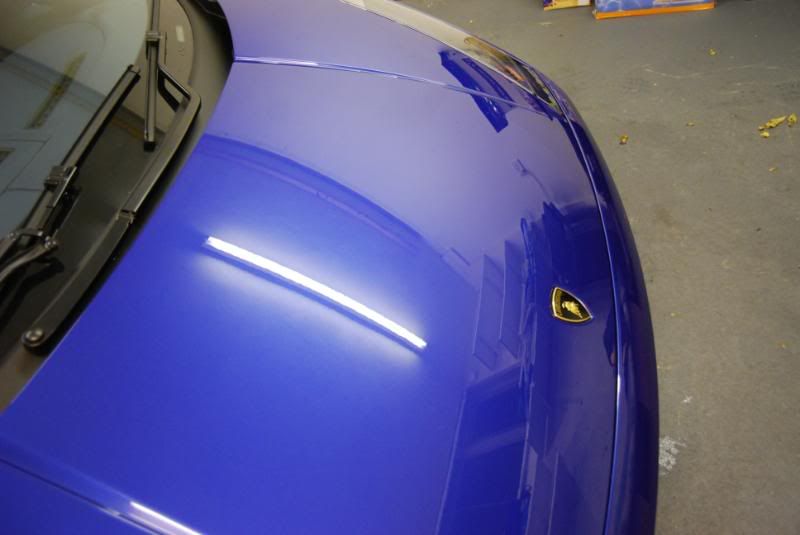
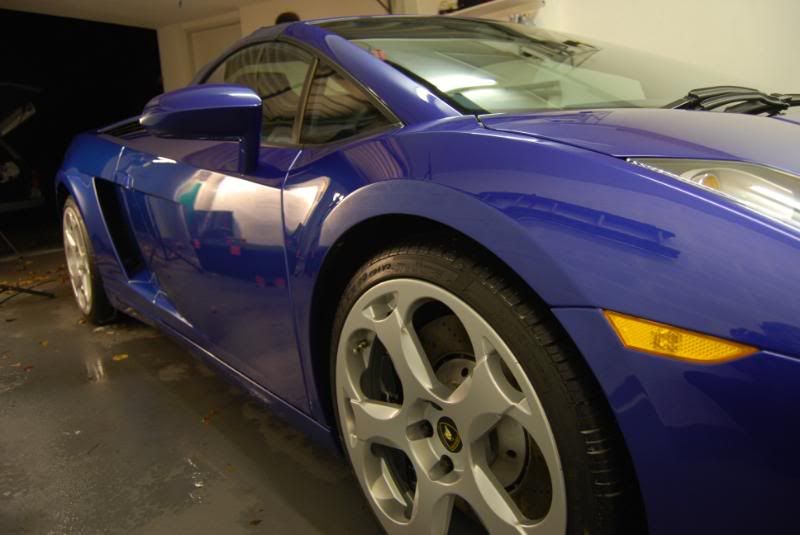
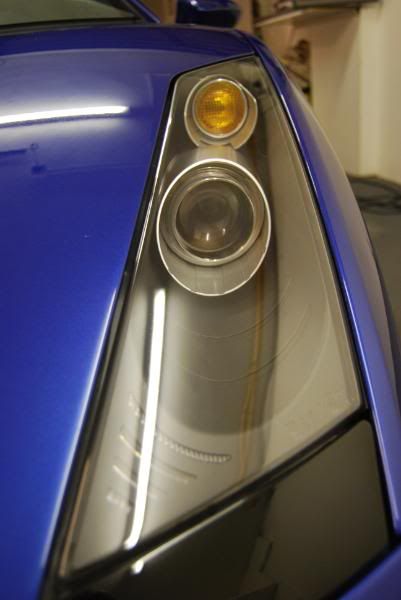
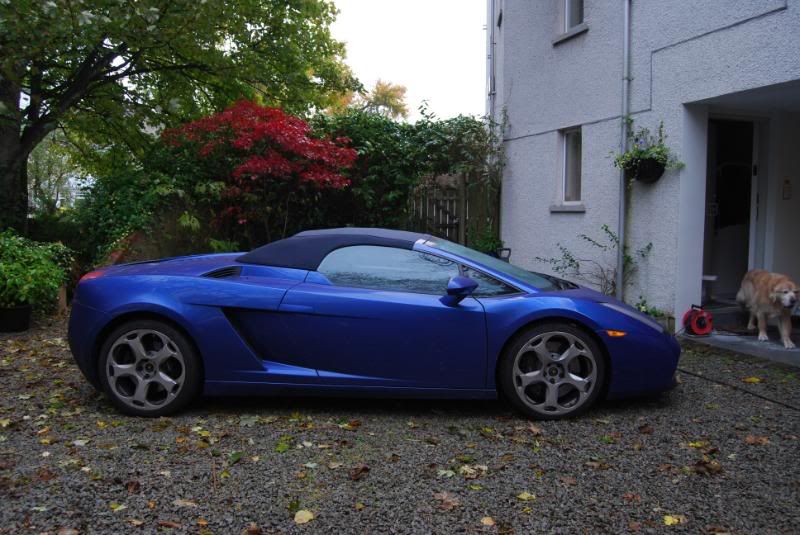
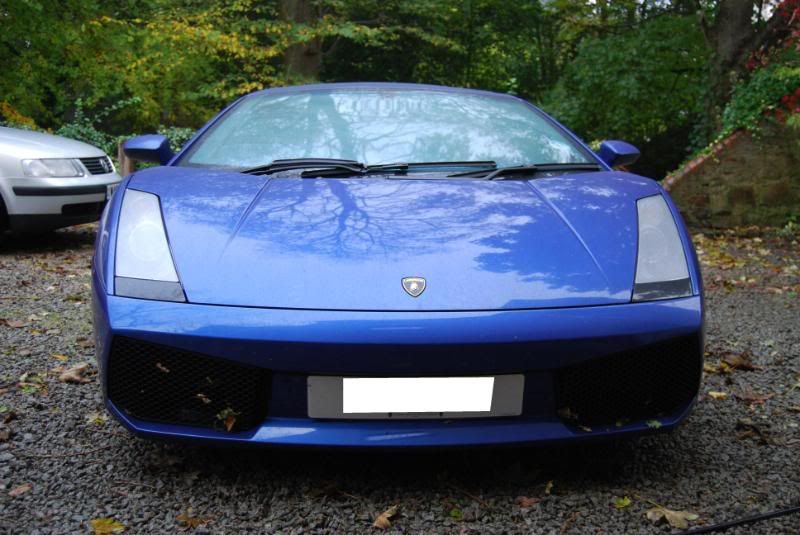
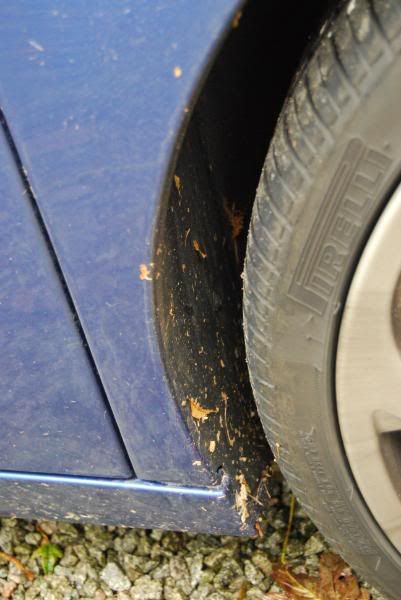
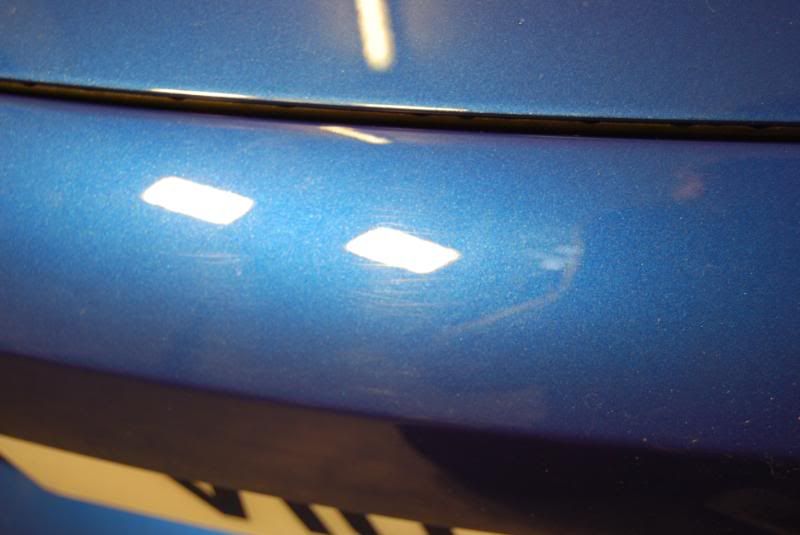
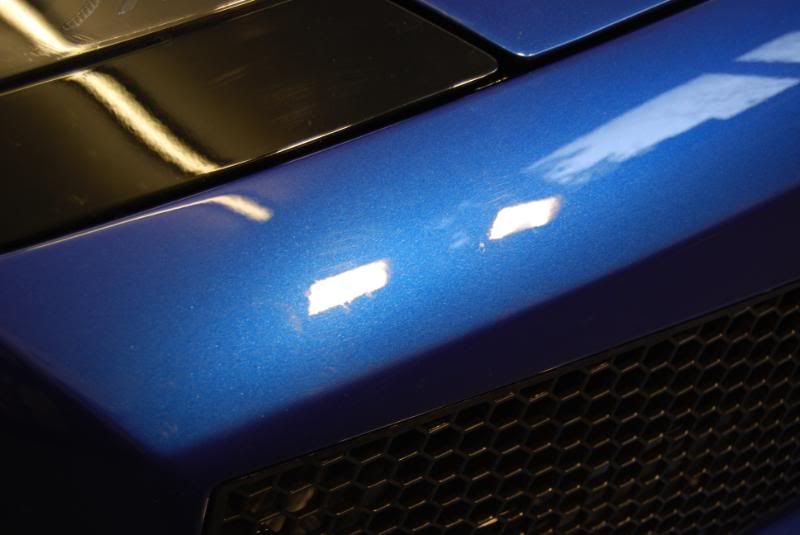
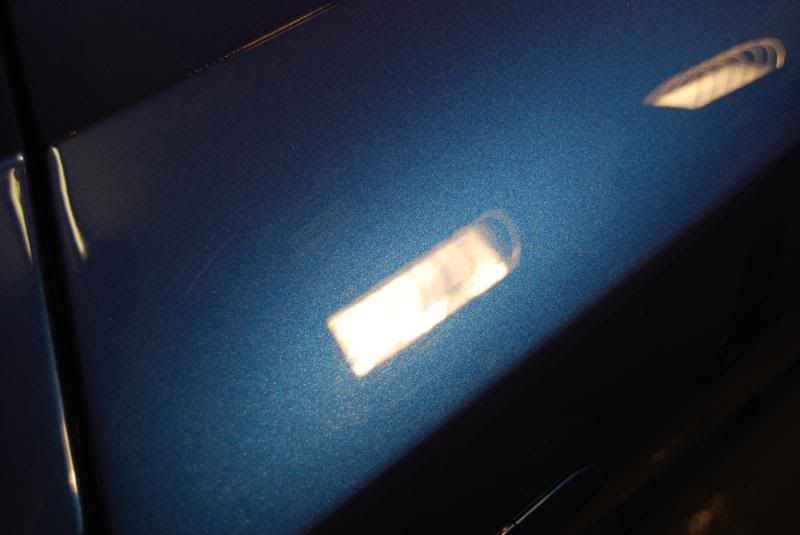
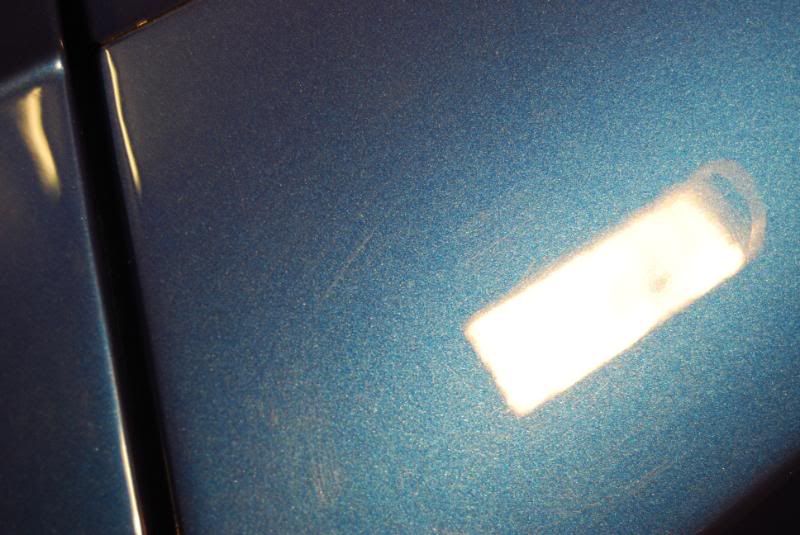
now the car was clean i could see the paint defects and they were not to bad


would like to say as extreme detail i offer the very best in detailing and i dont put any fancy name to it to hype it up. its simply EXTREME.
now then this lambo some of you might notice it from another detail i did some time ago, as it belongs to the owner of the dino i did. as the owner was so happy with te detail i did on the dino he wanted the gallardo done to.
so the other day i went back through to Aberdeen but this time i went to the owners town house, the last time to do the dino it was at the country house with that massive garage :doublesho. the owner said to me before and that he could take it to the country house so that i would have more space, i asked how big is the garage at the town house. he replyed that you can open the doors and still have space to walk round. so i said to the client i offer a service that suits his needs as people have busy life`s these days and that i would have ample work space at the town house so no need for him to take time out of his busy life just to give me even more space.
so i turned up at 8am at the town house :doublesho very nice indeed. so there was the car sitting in the garage and the owner took the car out.
so this is how i found the car
so first off was to pre soak the car with the citrus
then foamed the car
the car was rinsed down after 5 mins then foamed again so i could clean all the grills
the wheels were then cleaned using a EZ brush, wash mitt and a swissvax brush
the car was rinsed again
next was to clean the door checks
this was done using megs apc and a swissvax brush
the car was then washed with the 2 buckets and as always a brand new wool mitt
the car was rinsed again the clayed with a zaino bar
after the clay it got washed agin
the car was then dryed off with a blower for the vents, wing mirrors and such like. the paint work was dryed off using meg`s last touch and a towel from carwashnwax
now the car was clean i could see the paint defects and they were not to bad