This Infiniti G37X –S was brought in for a complete detail and needed quite a bit of work done to get the exterior looking like new again. The owner had recently purchased the car and was trying his best to maintain the finish properly, but had a mishap at the local self-serve car wash. With roughly 2,000 miles on the odometer, the owner had washed it using the wash brush at the car wash, which scratched the paint pretty badly. After the car was completely washed, the owner stepped back and realized what he had done and was a little upset to say the least.
Winter in New England is pretty nasty and can really trash a vehicles paint due to all of the sand & salt that accumulates on the finish. My guess is that the brush used at the car wash was so filled with sand and salt that it was the cause of the damage. After the owner realized what had happened, he went straight to the owner of the car wash to see what could be done to repair the damage caused. The owner of the car wash offered to have their in-house detailer buff the car, but the owner was a little skeptical because of Infiniti’s infamous “Scratch Shield Paint”.
Supposedly, this “Scratch Shield Paint” contains a self-healing, heat-activated, resin-compound that expands to “fill” fine scratches, making them disappear. Some people actually say that it works, while others say it is a marketing gimmick from Infiniti. I personally think it’s B.S, but the paint was definitely different than any other paint I have worked on, so who knows? Infiniti recommends to “Use Only Approved Refinish Materials”, yet they don’t tell you what these “approved materials” are…
After doing some research for a quality detailer in the area, the owner came across some of my work online and gave me a call to set up an appointment. We scheduled a time and discussed pricing, etc.. In addition to the detail, the owner requested to have a clear-bra installed to the front end, which I told him would be a smart move, seeing how prone this particular paint is to stone chips, etc...
Here is what the car looked like upon arrival…
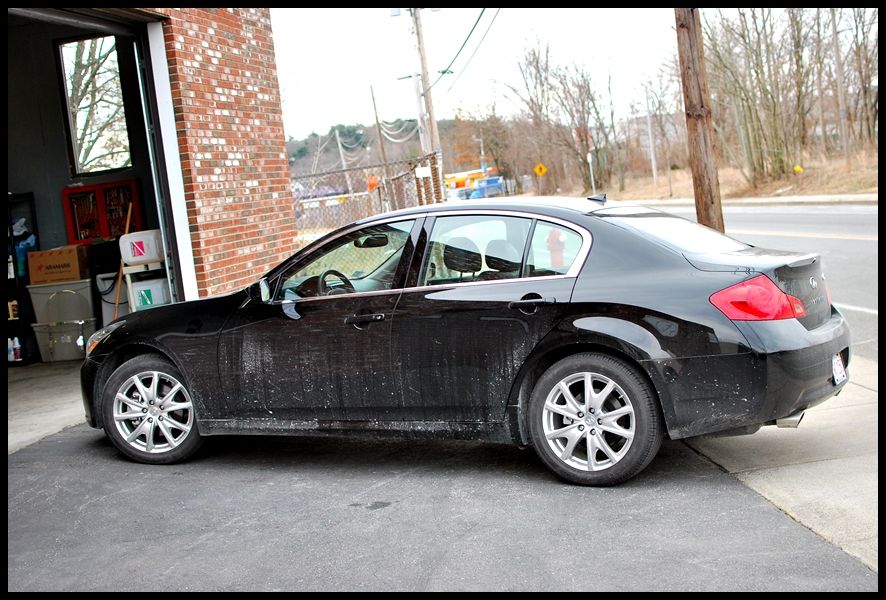
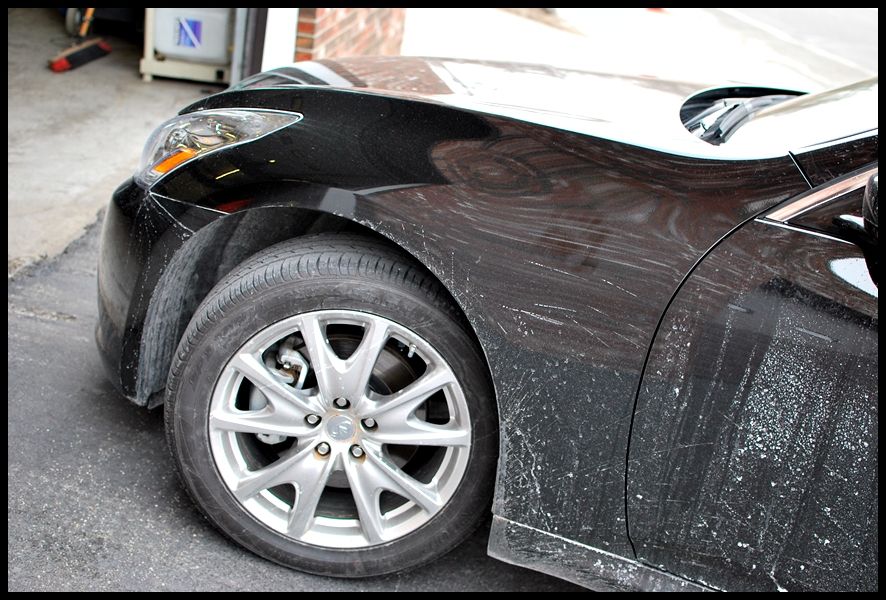
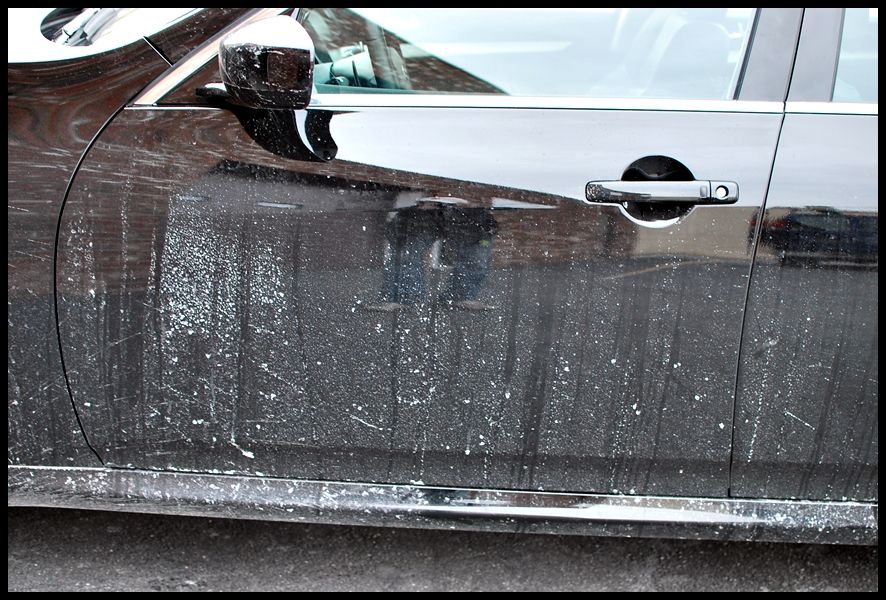
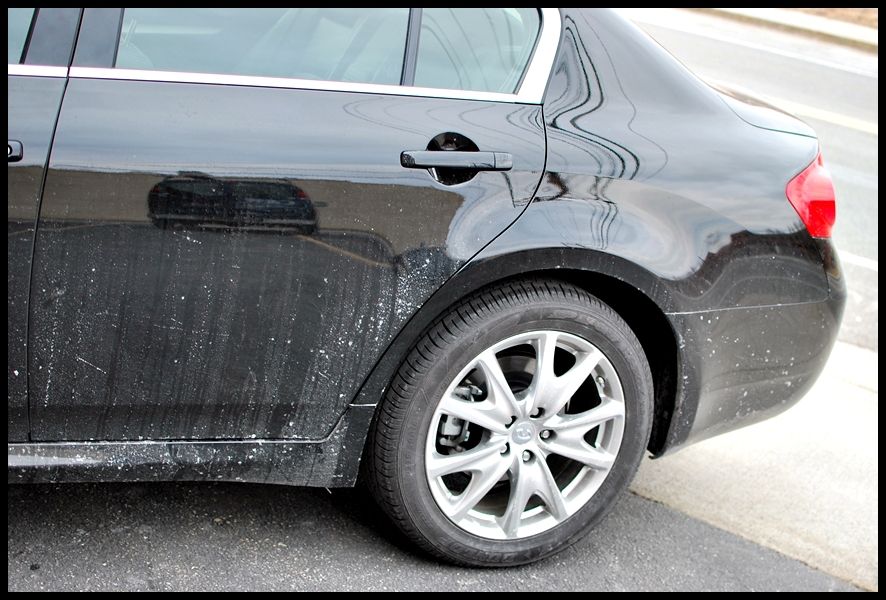
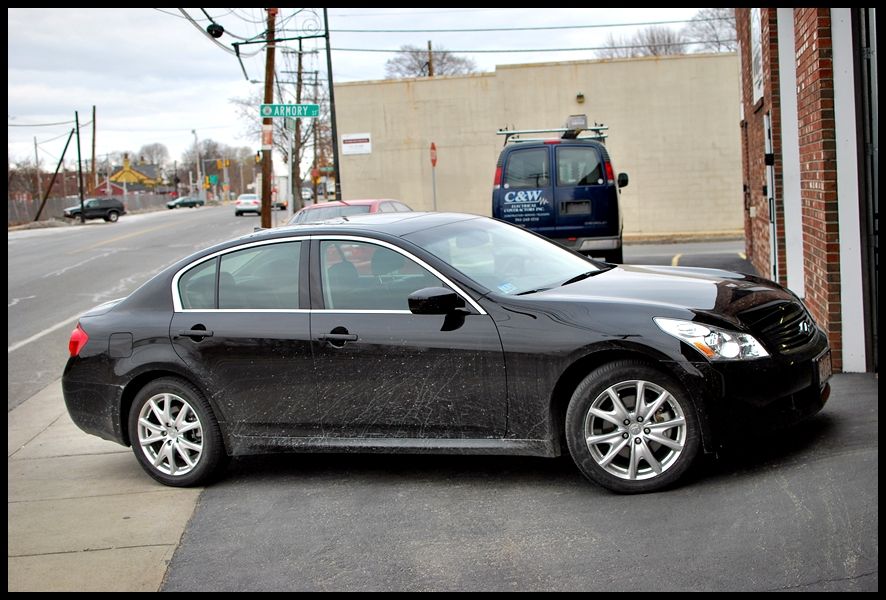
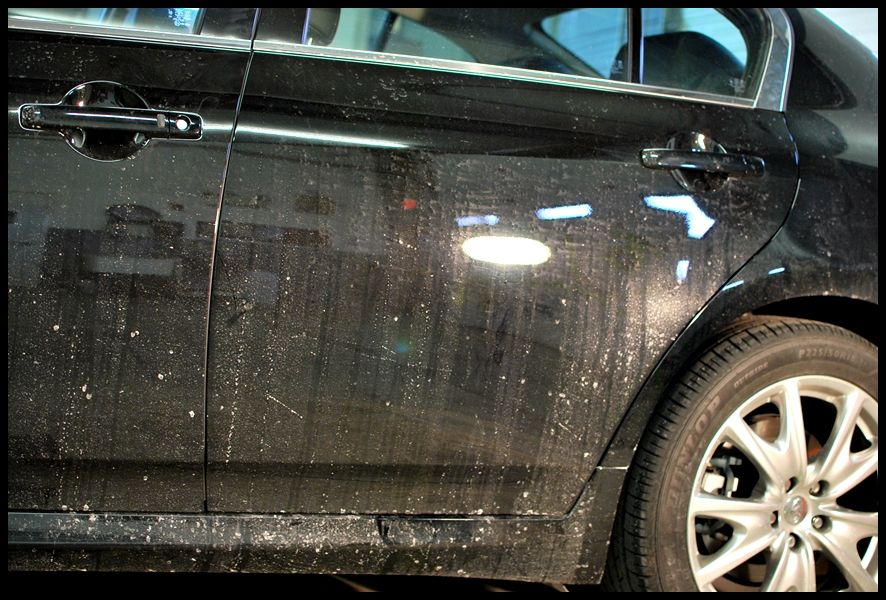
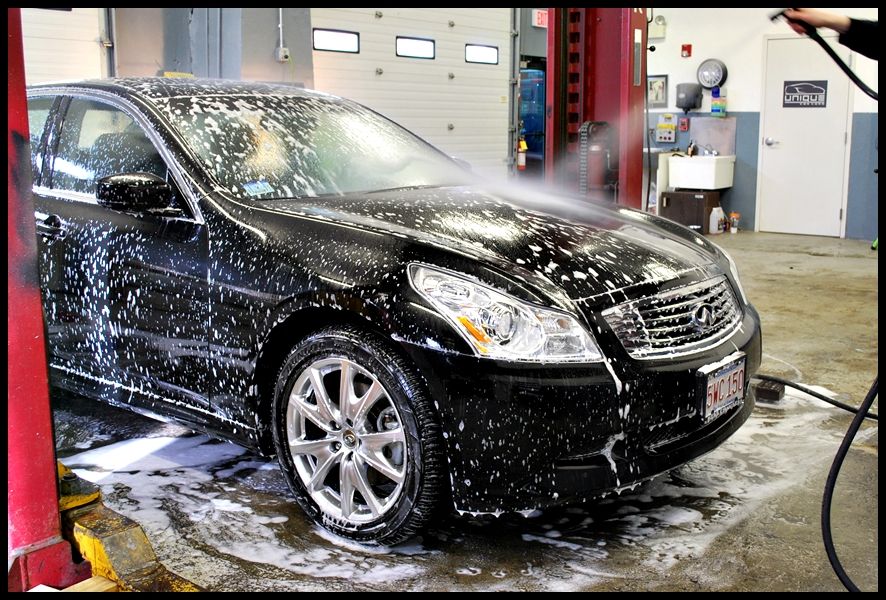
As you can see, the paint was covered in sand & salt due to the lovely weather and needed a thorough prep before performing any paint correction. I pulled it in the shop and got right to work.
To remove as much salt & sand as possible, I gave the car a thorough rinse using hot water.
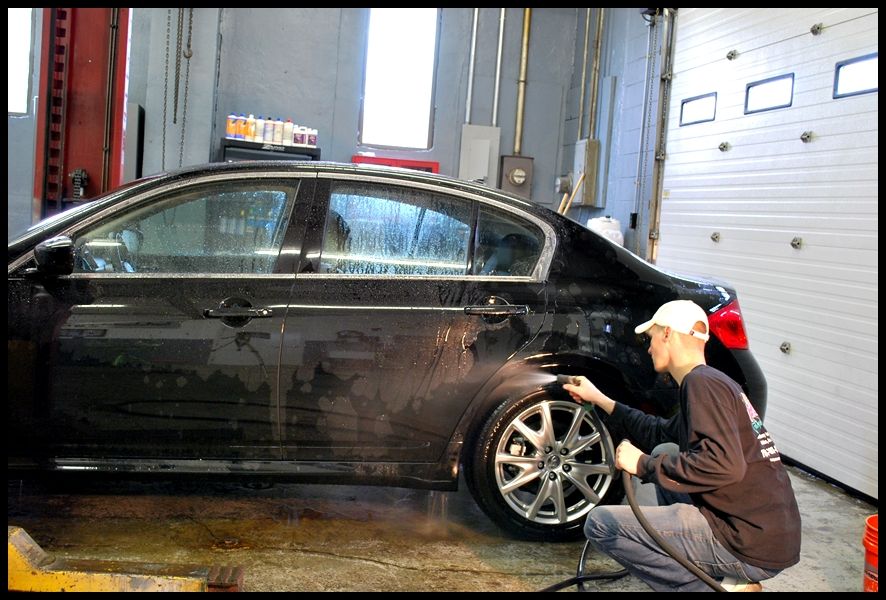
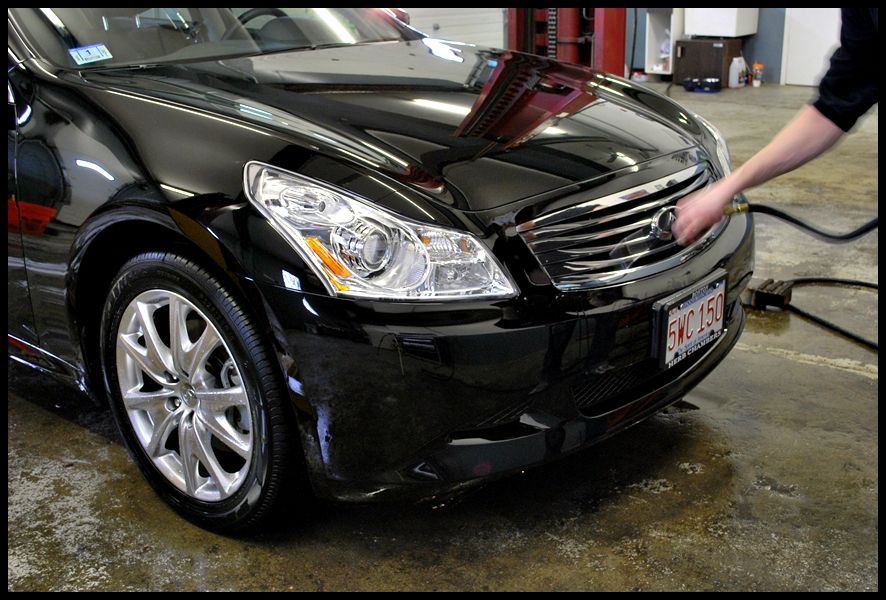
All tires, wheels and wheel wells were cleaned with Optimum Power Clean using a variety of brushes.


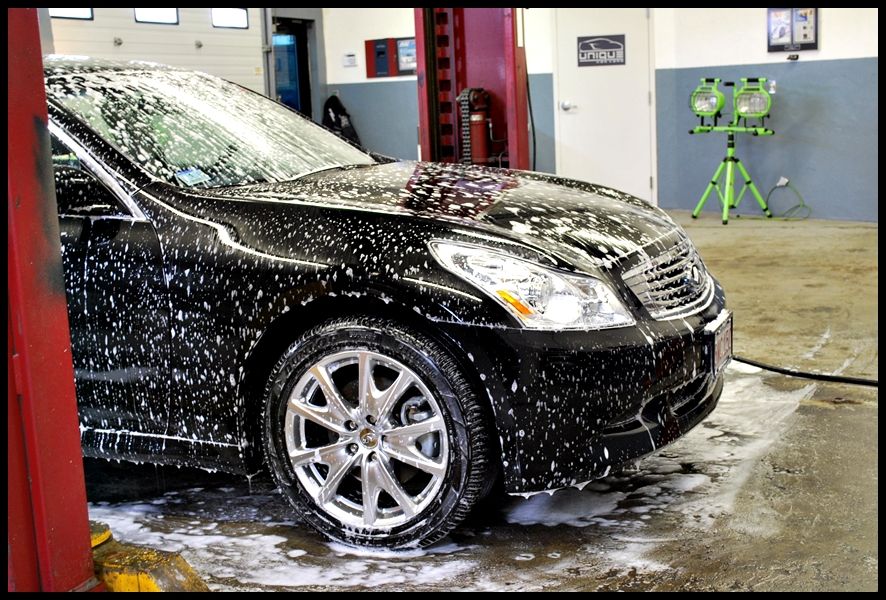
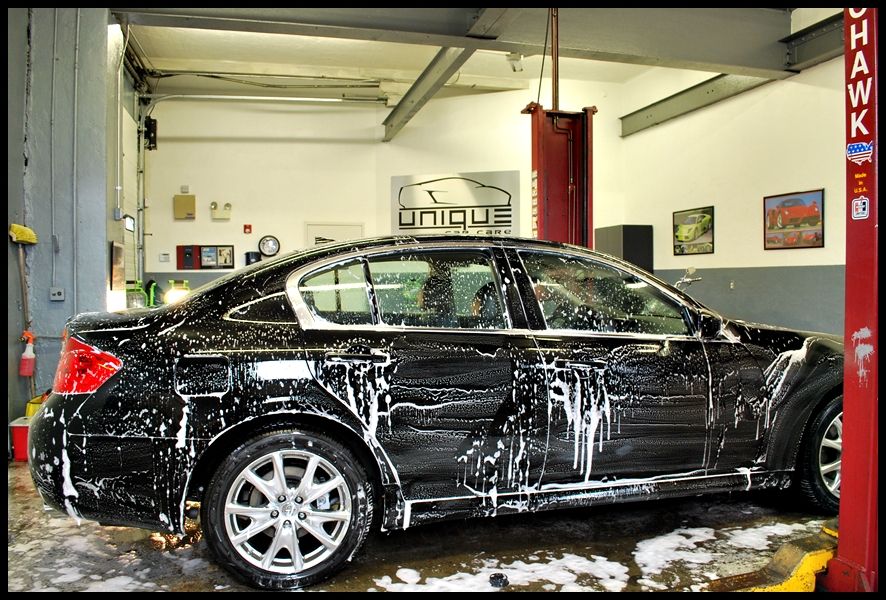
I soaked the car in foam using a foam gun to loosen as much contamination as possible to make sure no additional wash-induced marring took place.
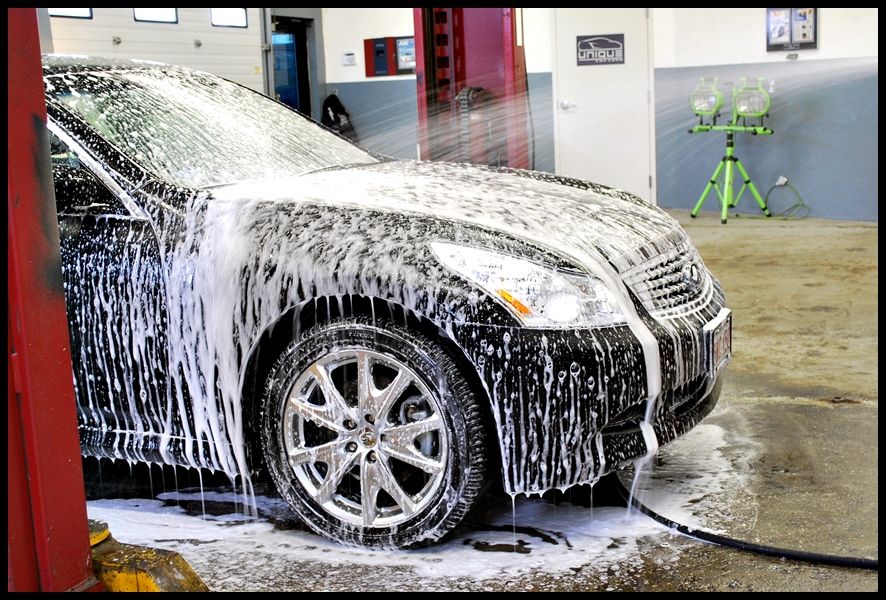
I let the foam dwell on the finish for several minutes to break down the contaminants.
The car was given another thorough rinse using hot water.
I washed the exterior and degreased the paint to remove any prior wax or sealants that may have been present.
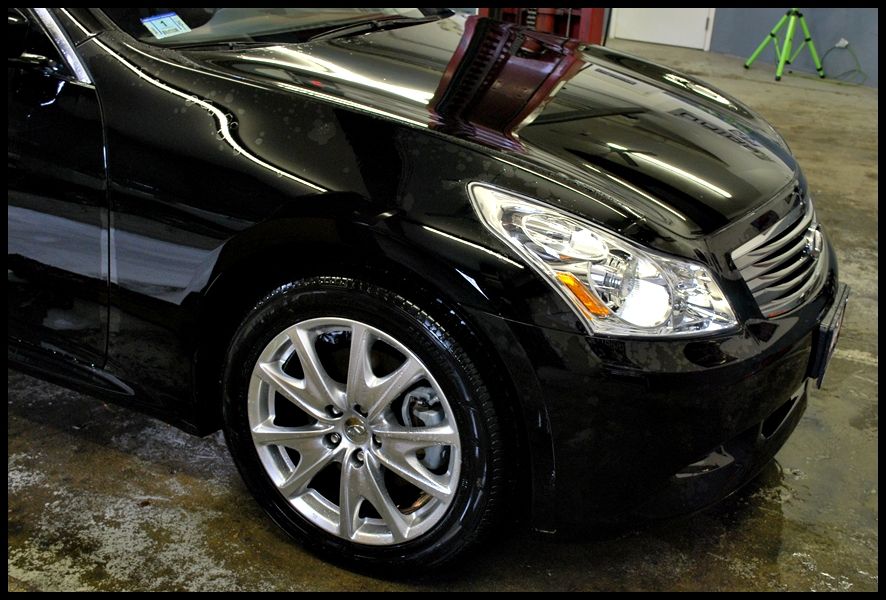
After the paint was washed, clayed and degreased (no more beading)
The exterior was dried and all cracks were purged with compressed air to remove all traces of water and make sure no sand particles were hiding.
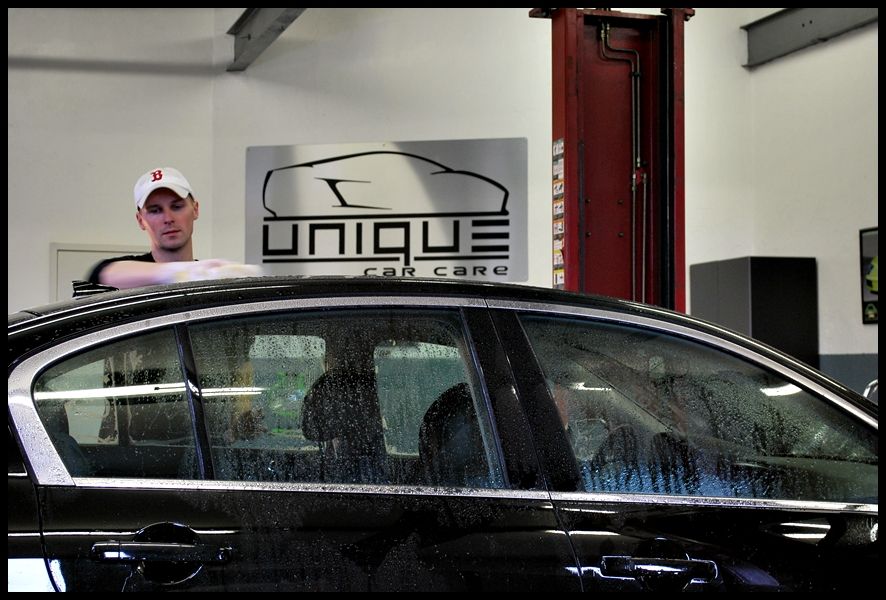
All door, hood and trunk jambs were wiped clean with a microfiber towel.

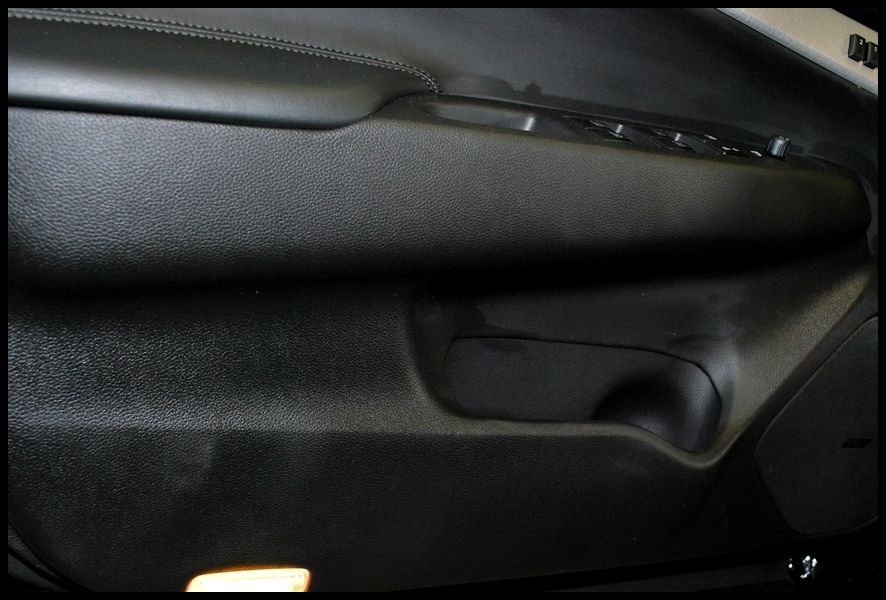
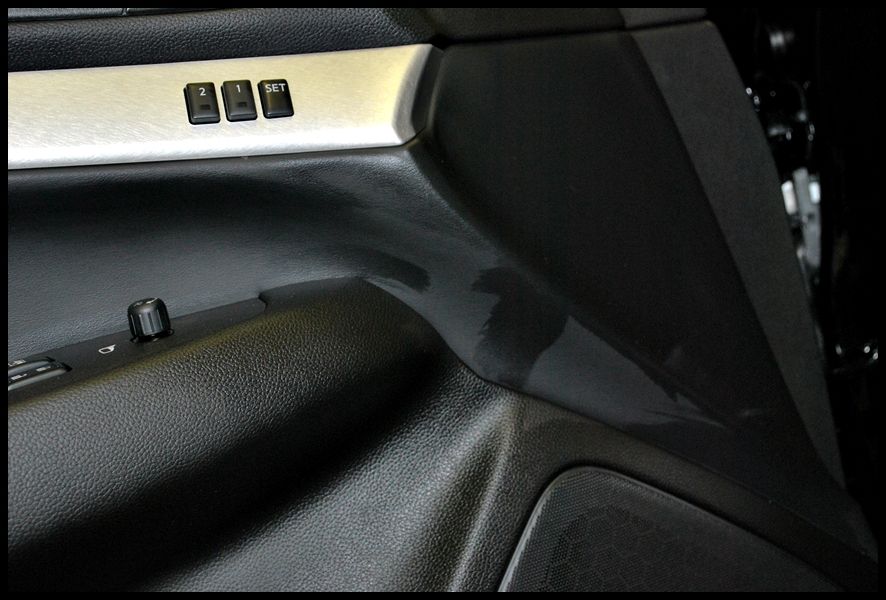
Once I was done prepping the car for polishing, I decided to get the interior out of the way so I could concentrate on the exterior. Here is what it looked like before.