ShaneB
New member
Havent had the time to post this one from a couple months ago, finally broke down and am losing some sleep to get this out there. I got a 4 week old at home and sleep is at a premium these days!
Anyway, this customer originally called me about polishing some chrome on her Hummer. It got driven in the winter then stored until spring/summer and unfortunately wasn`t cleaned before storing, and the chrome showed everything the worst. She wanted it looking respectable again so I came out and spent 4 hours just cleaning/polishing the wheels and the chrome trim all over the vehicle. 4 hours, a wash, HD Metal, #0000 steel wool and lots of microfibers and the chrome was looking good again. After this we discussed what else the car needed and I was told to "do whatever you think it needs." After talking we settled on a single step correction with some focus on a few areas where I would also compound to take out some of the really bad areas. As badly as the paint needed a 2 step at a minimum, with its age and history I don`t think it was worth pursuing that much work for what is a daily driver when they are in Michigan for the summer months.
Fast forward a week or two and I showed up to do the work. I`ll let the pictures do the talking for the most part. As for my products/process, im trying my best to remember what all was done, its been awhile since I did this one. Total time spent was about 25+ hours inside and out. Unfortunately for this rare circumstance, the bulk of the roof was unable to be done as I would of needed probably 6 guys to get the rack off the roof safely, assuming they were all 6ft 6in tall at a minimum! It was a honeycomb pattern with no way to even touch the paint.
Wash/Decon
Wheels - Griots HD cleaner and Megs Wheel Brightener (barrels)
Wheel sealant - Hydro2
Tires - Tuff Shine tire cleaner w/ low profile tire brush
Wells - OPC 3:1
Presoak - 3oz CG Citrus wash red w/ about 2oz of PB Bug squash in foam lance followed by pressure rinse
Wash - Megs Hyper wash
Decon - Nanoskin fine grade mitt using wash soap as lube
Correction
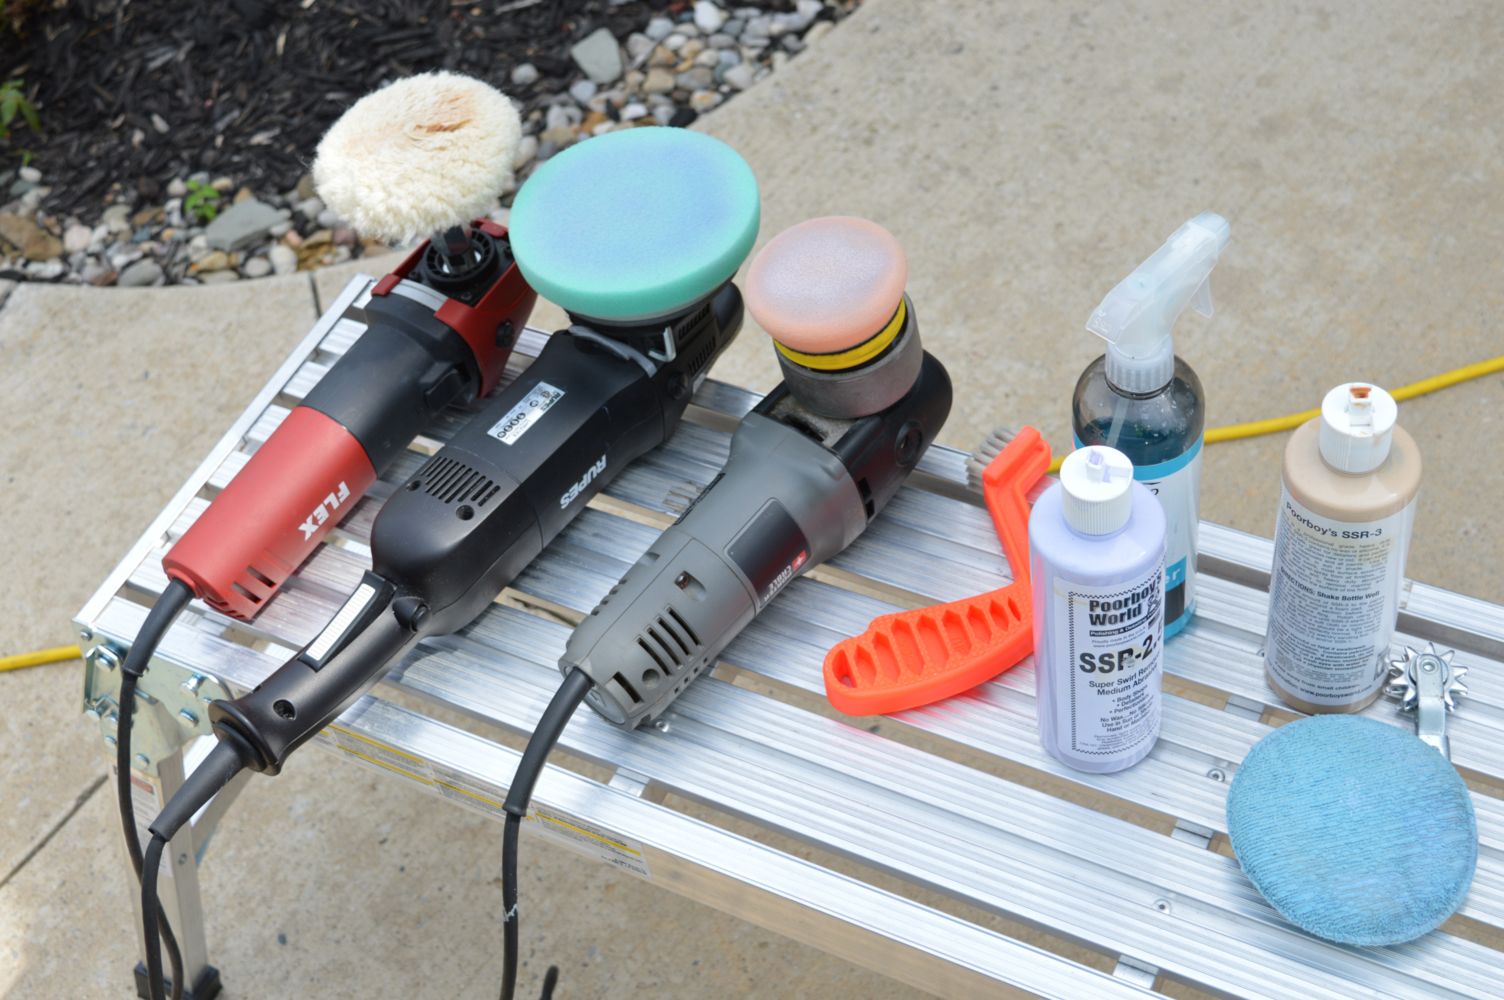
Most work done with PB SSR2.5 on Buff n Shine green polishing pads on a Rupes 21
Bad areas got SSR3 with 3" LC wool polishing pad on the Flex PE-8 followed up with SSR2.5 with 3" flex orange cutting pad via PC w/ 3" BP
Tighter areas done with same combo on the PC above.
Rinseless washed using megs RFEW after correction
Finishing steps
Sealed with PB EX-P Sealant
Tires - PERL @ 1:1
Trim - PERL @ 3:1
Chrome sealed with Hydro2
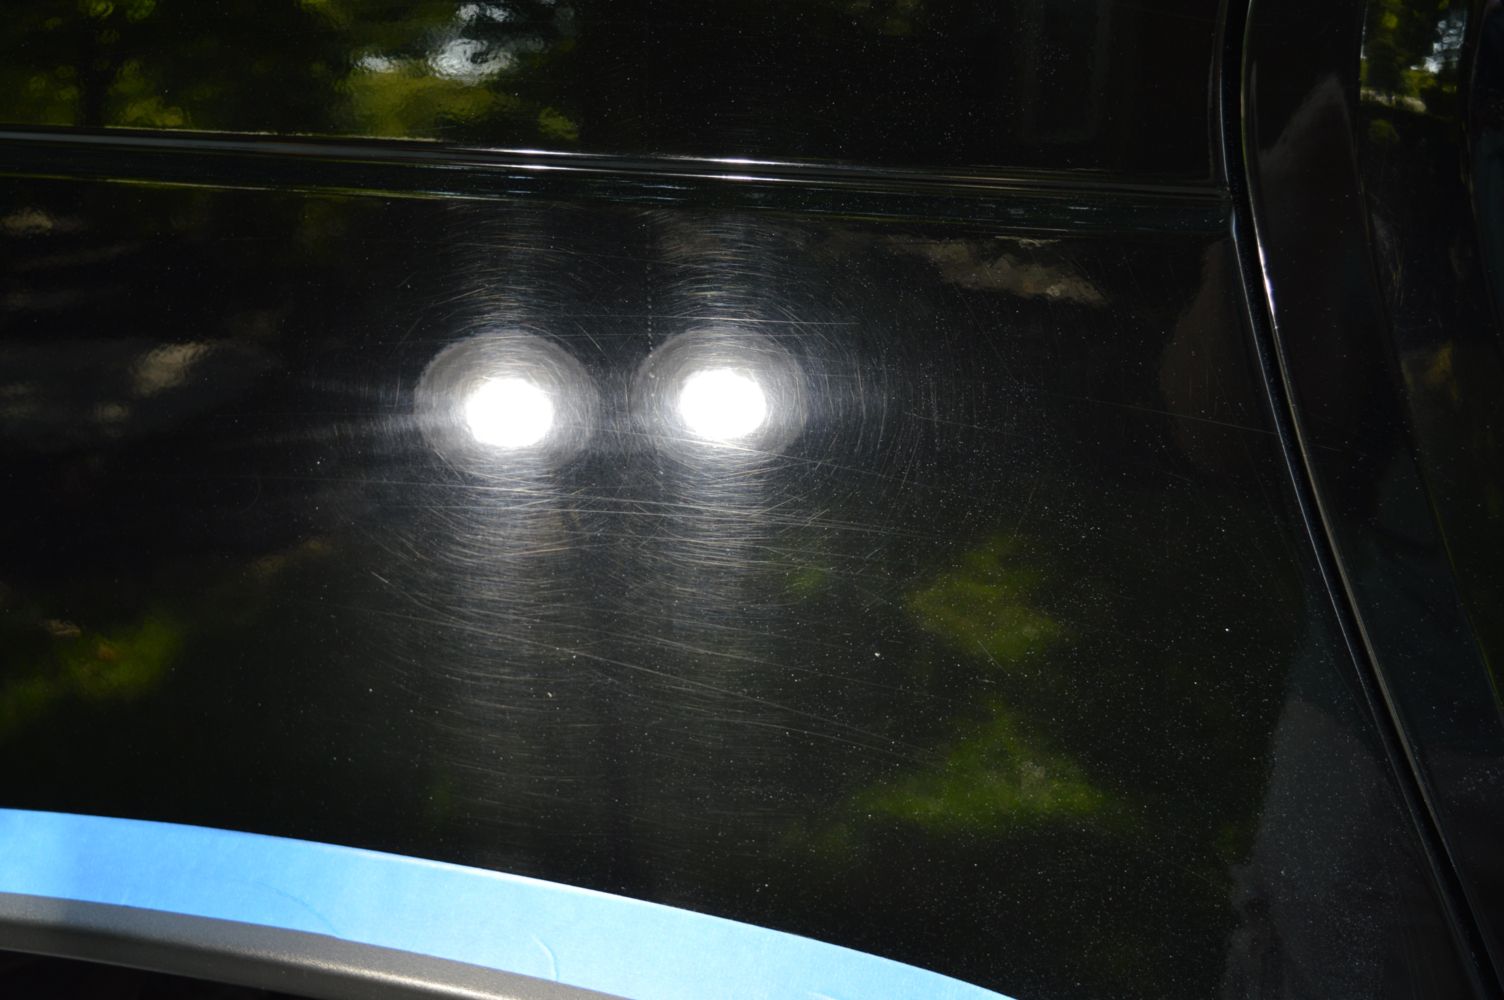
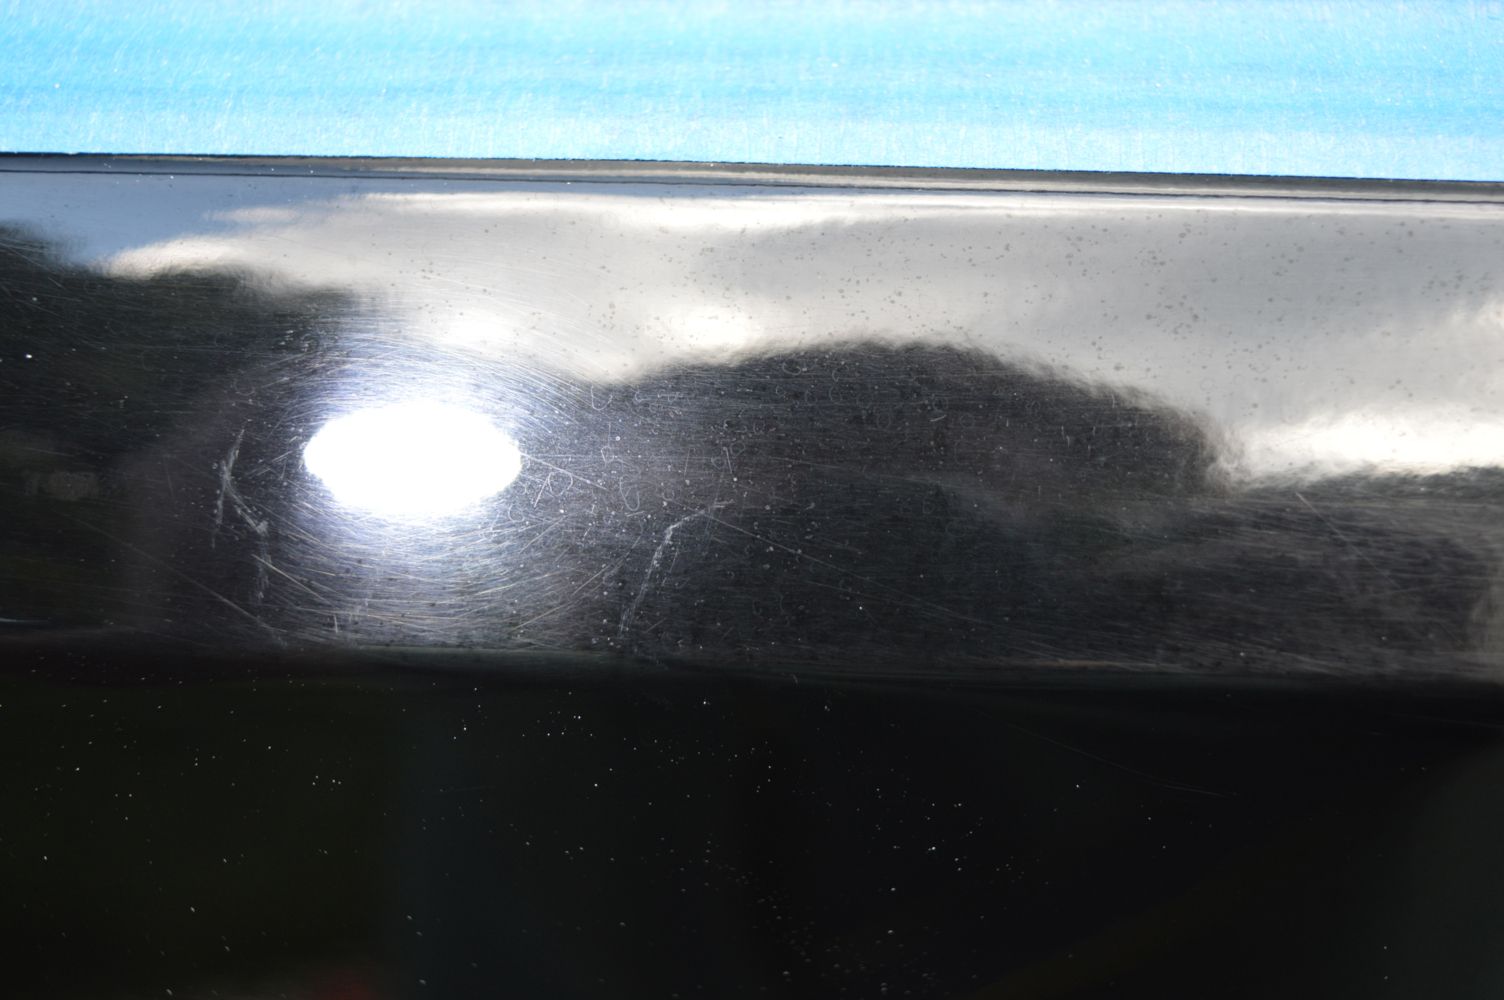
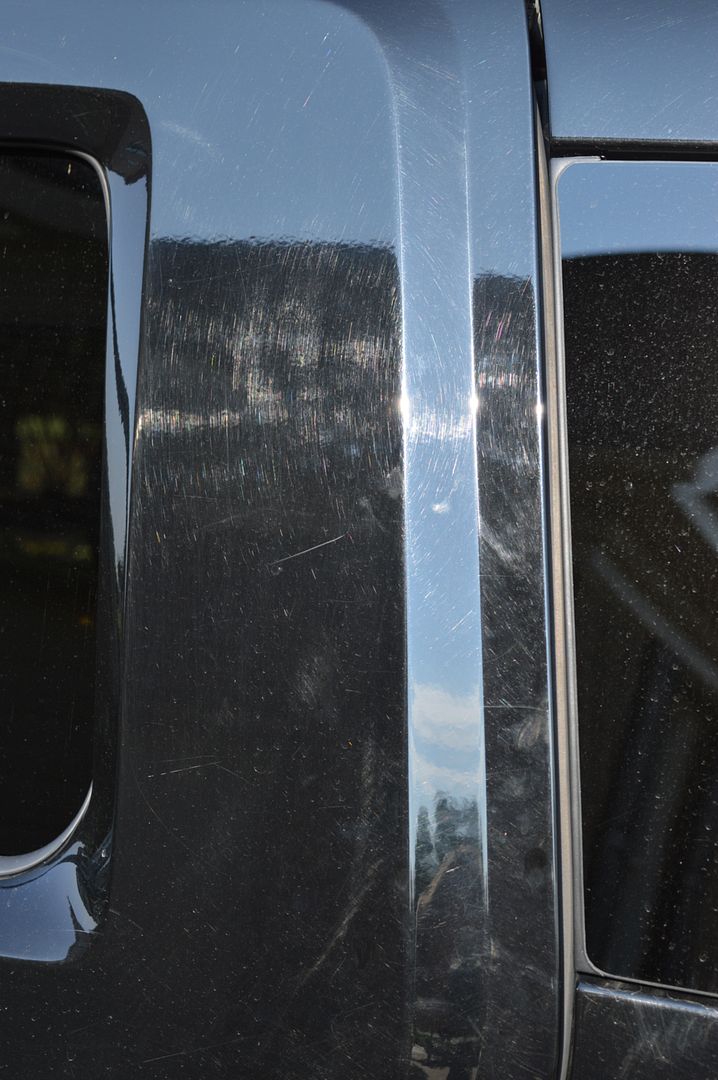
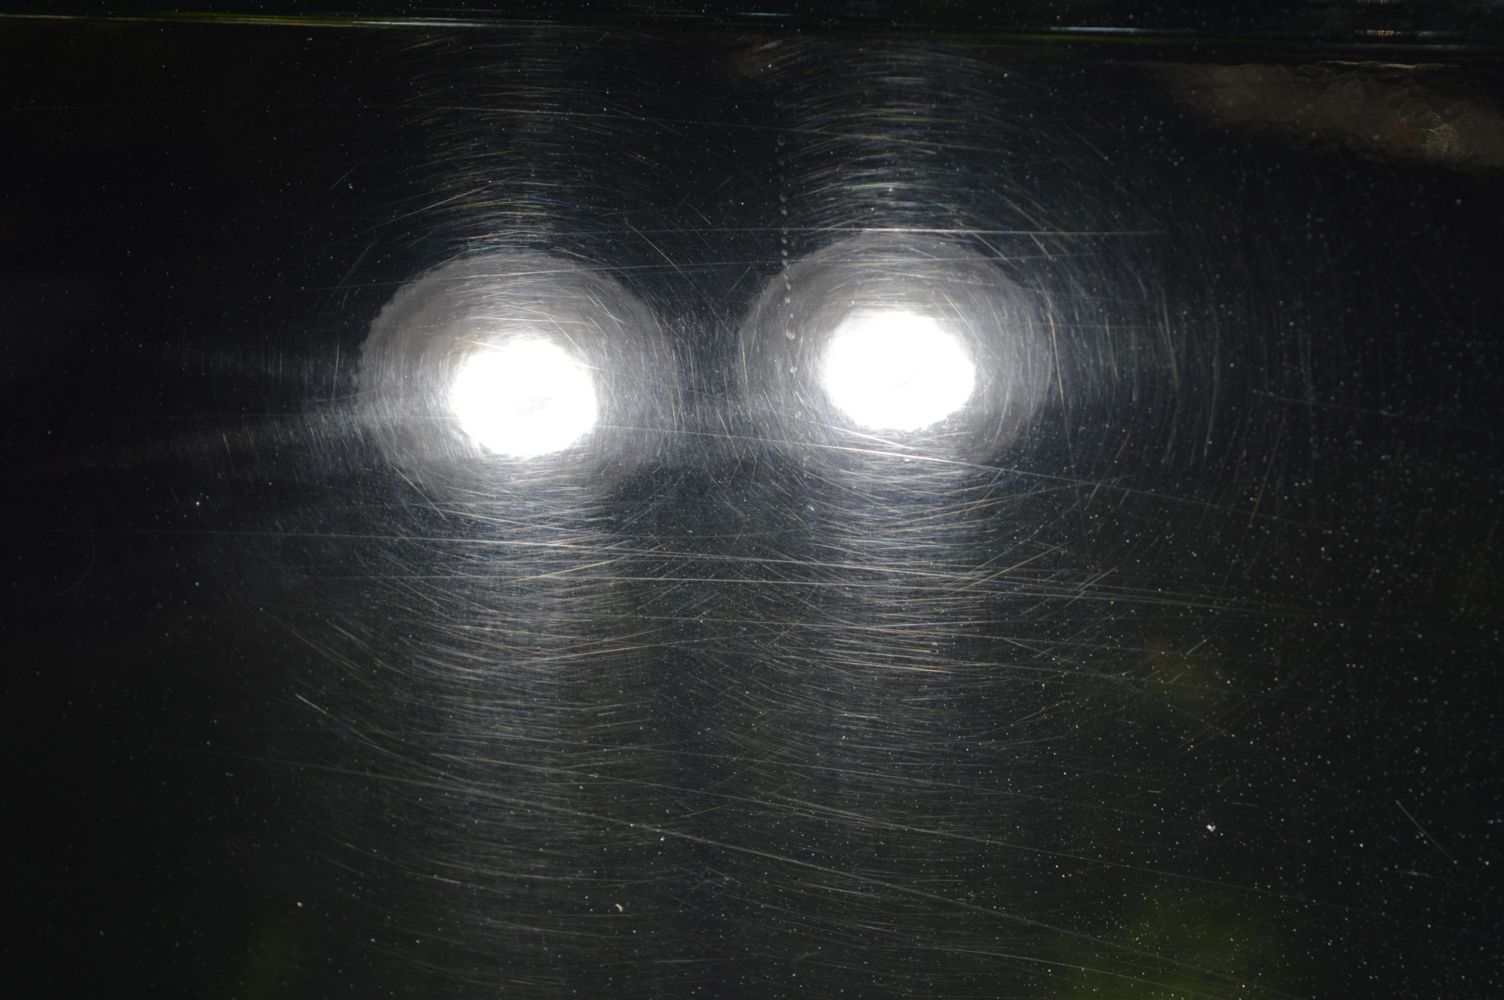
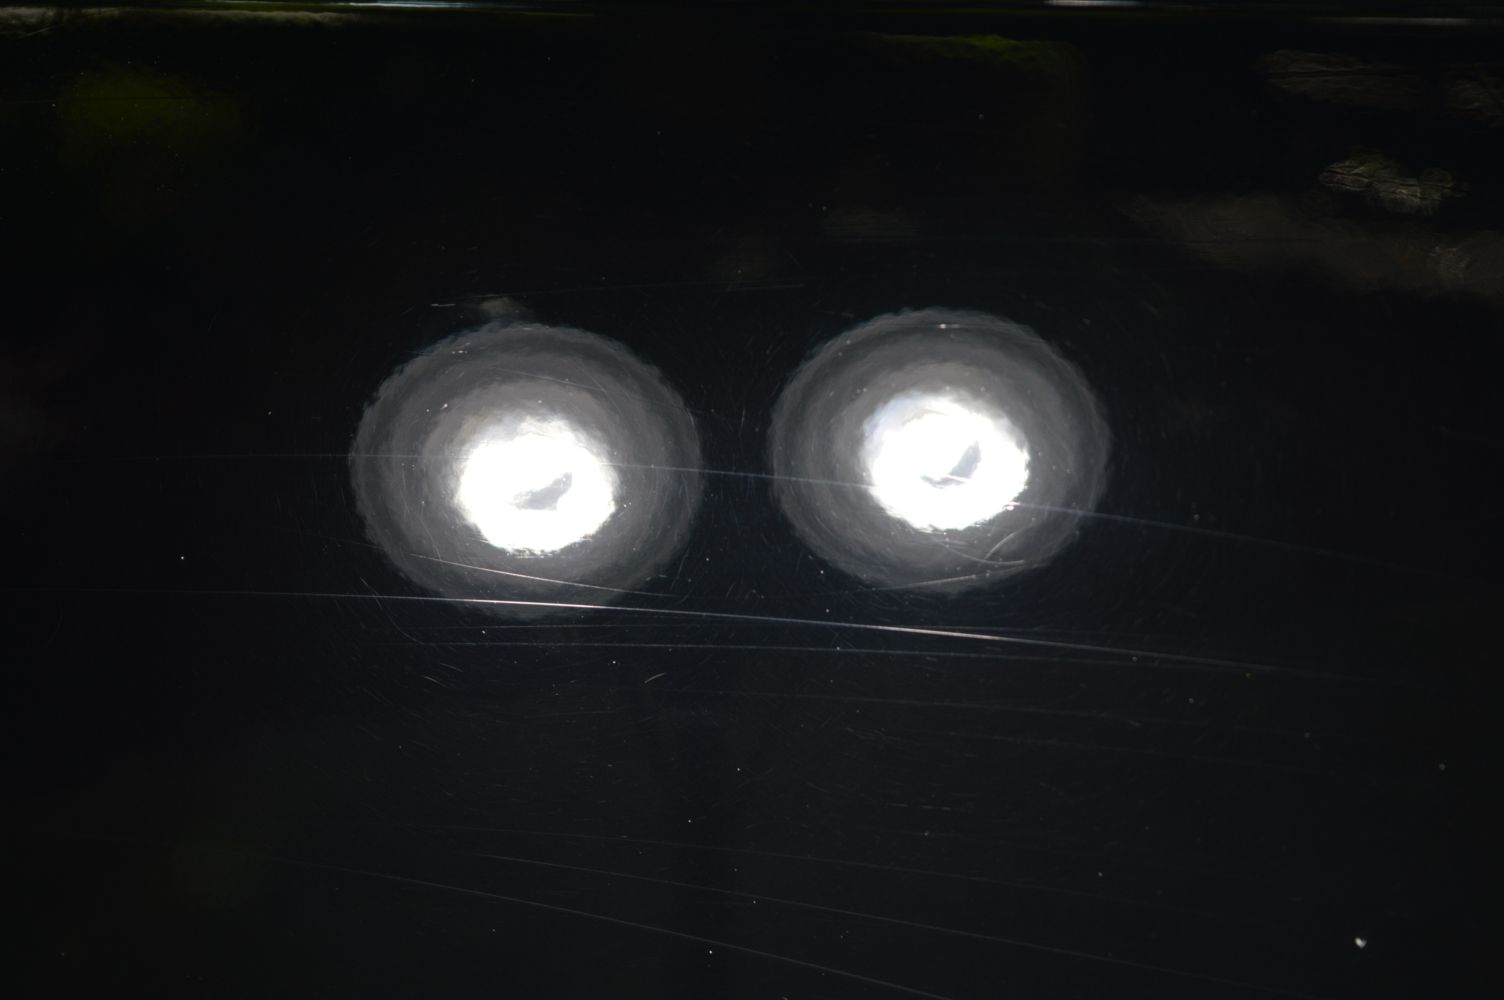
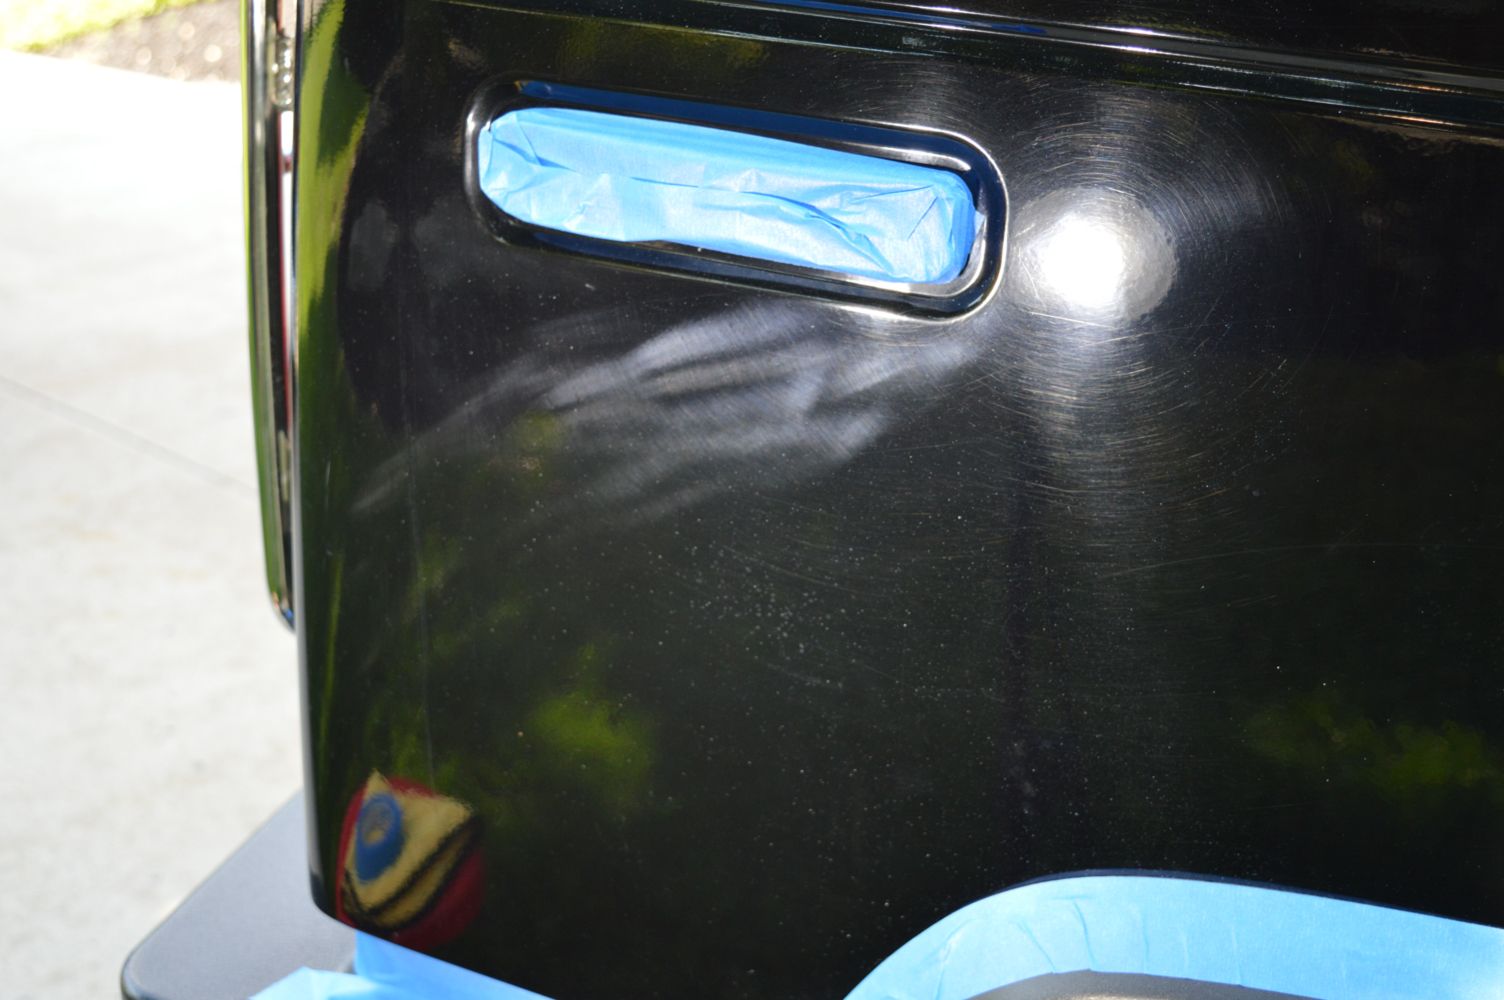
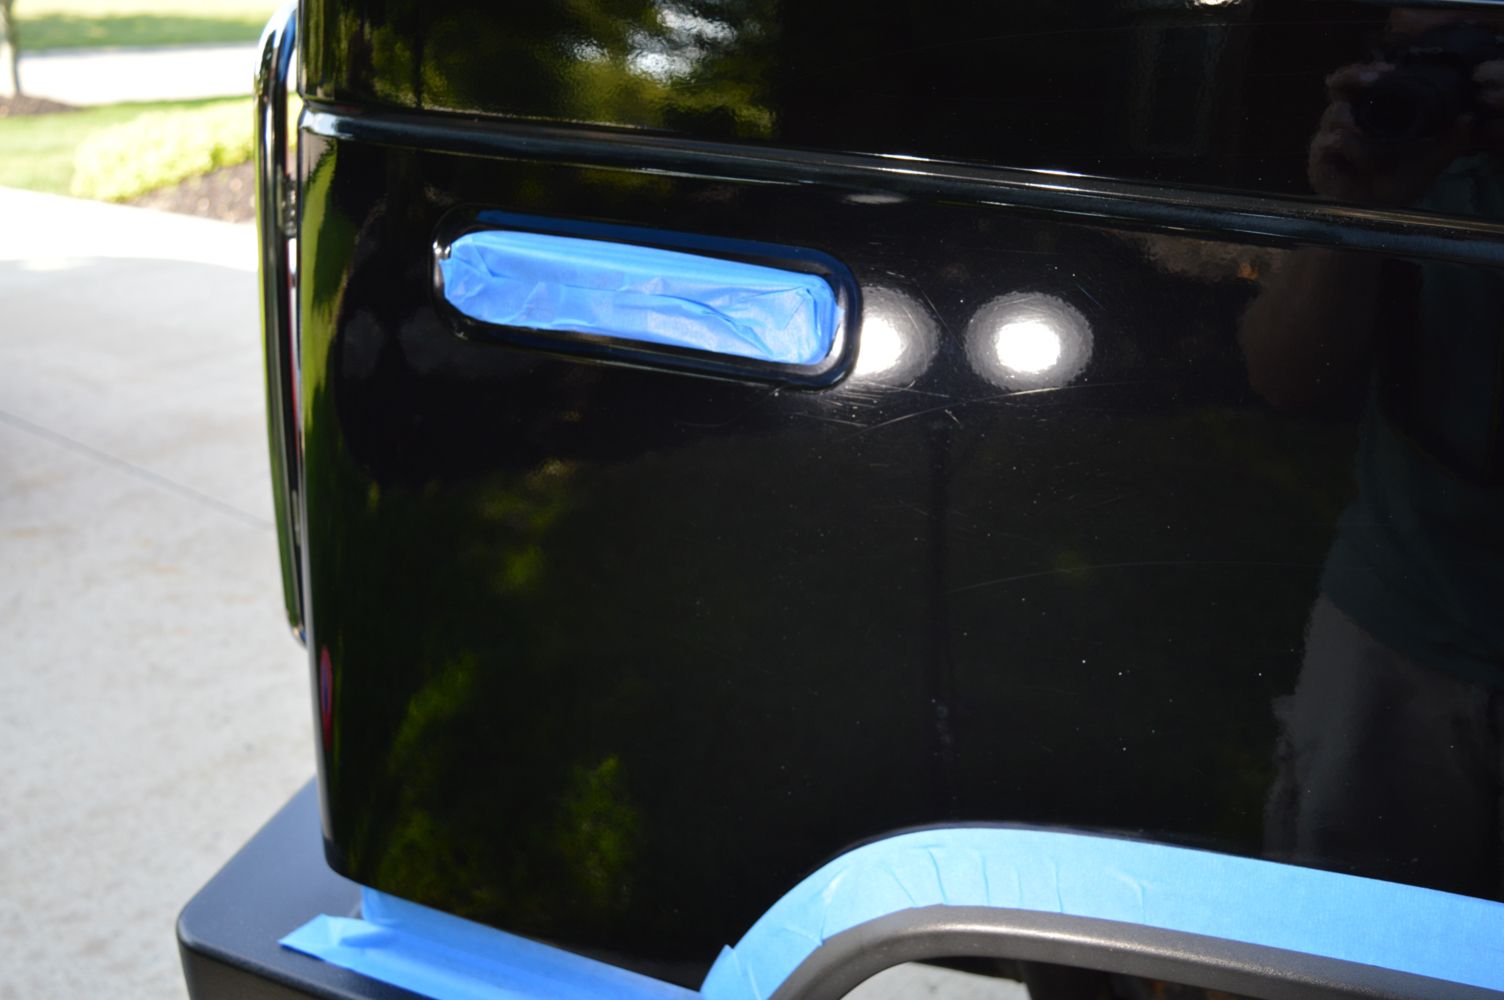
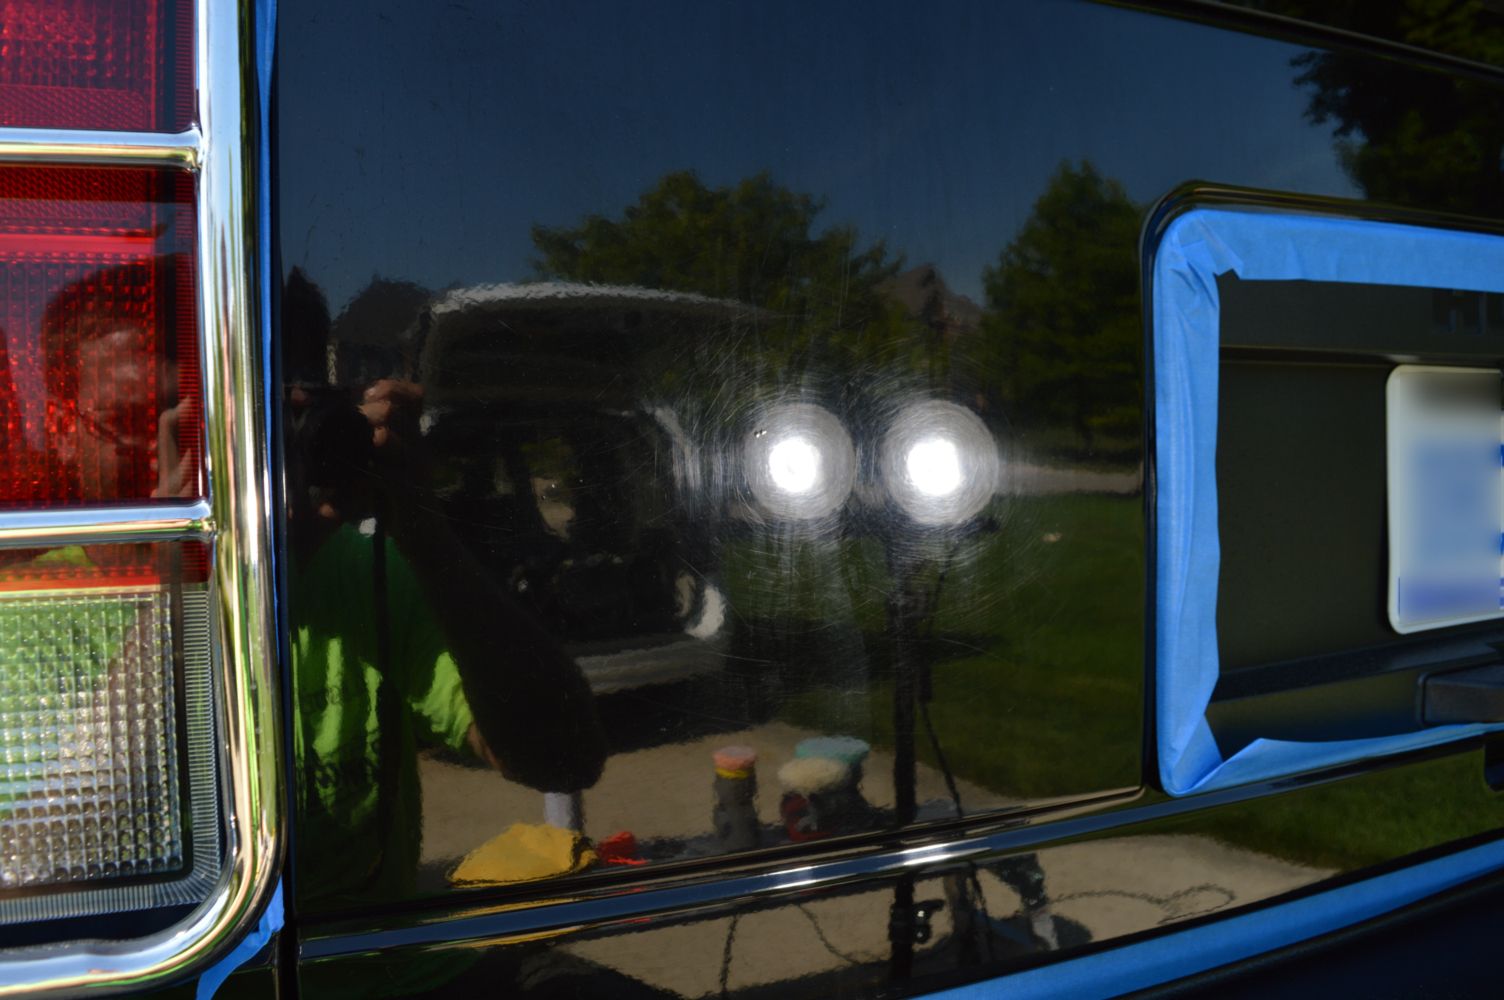
As youll see, the paint was trashed. Apparently it was originally owned by the Canadian mounties from what Im told and who knows what it got put through. It eventually made its way to the US and was sold at auction before ending up in my customers driveway. The paint had MANY RIDS and deep scratches that were not coming out safely. Lots of long deep scratches all felt with a fingernail easily. The paint was still very dull and had its fair share of swirls that could be worked with. My guess is that it had its fair share of run ins with trees and bushes in its time up in Canada. But who knows? It also had some signs of some poor detailing done at some point of its life as there were numerous buffer trails and holograms all over the paint.
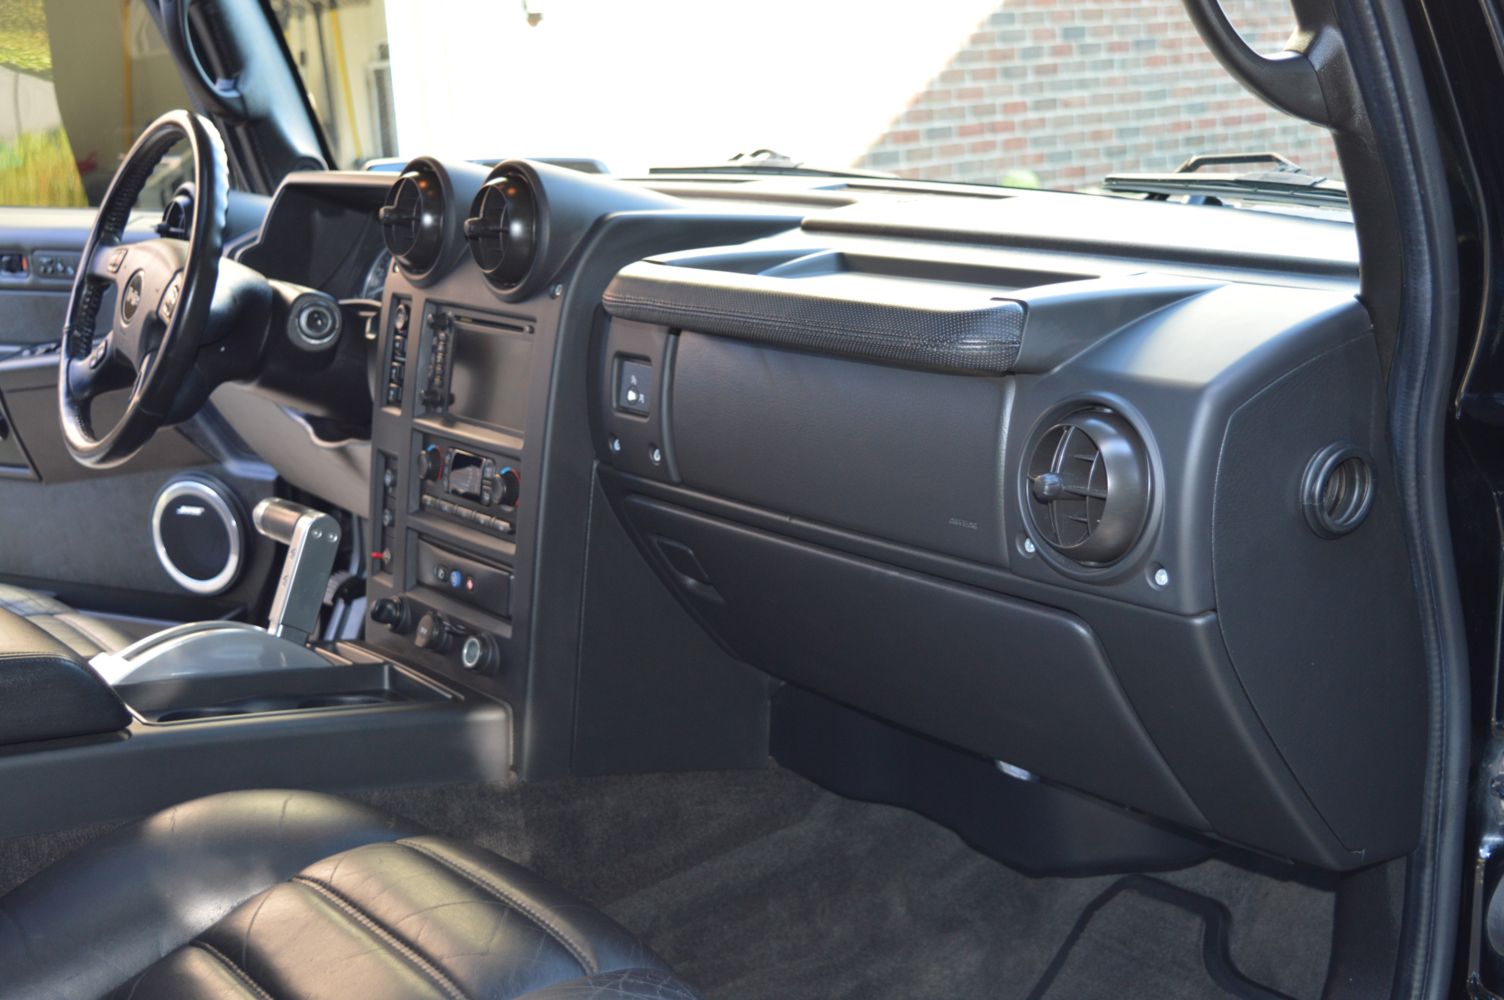
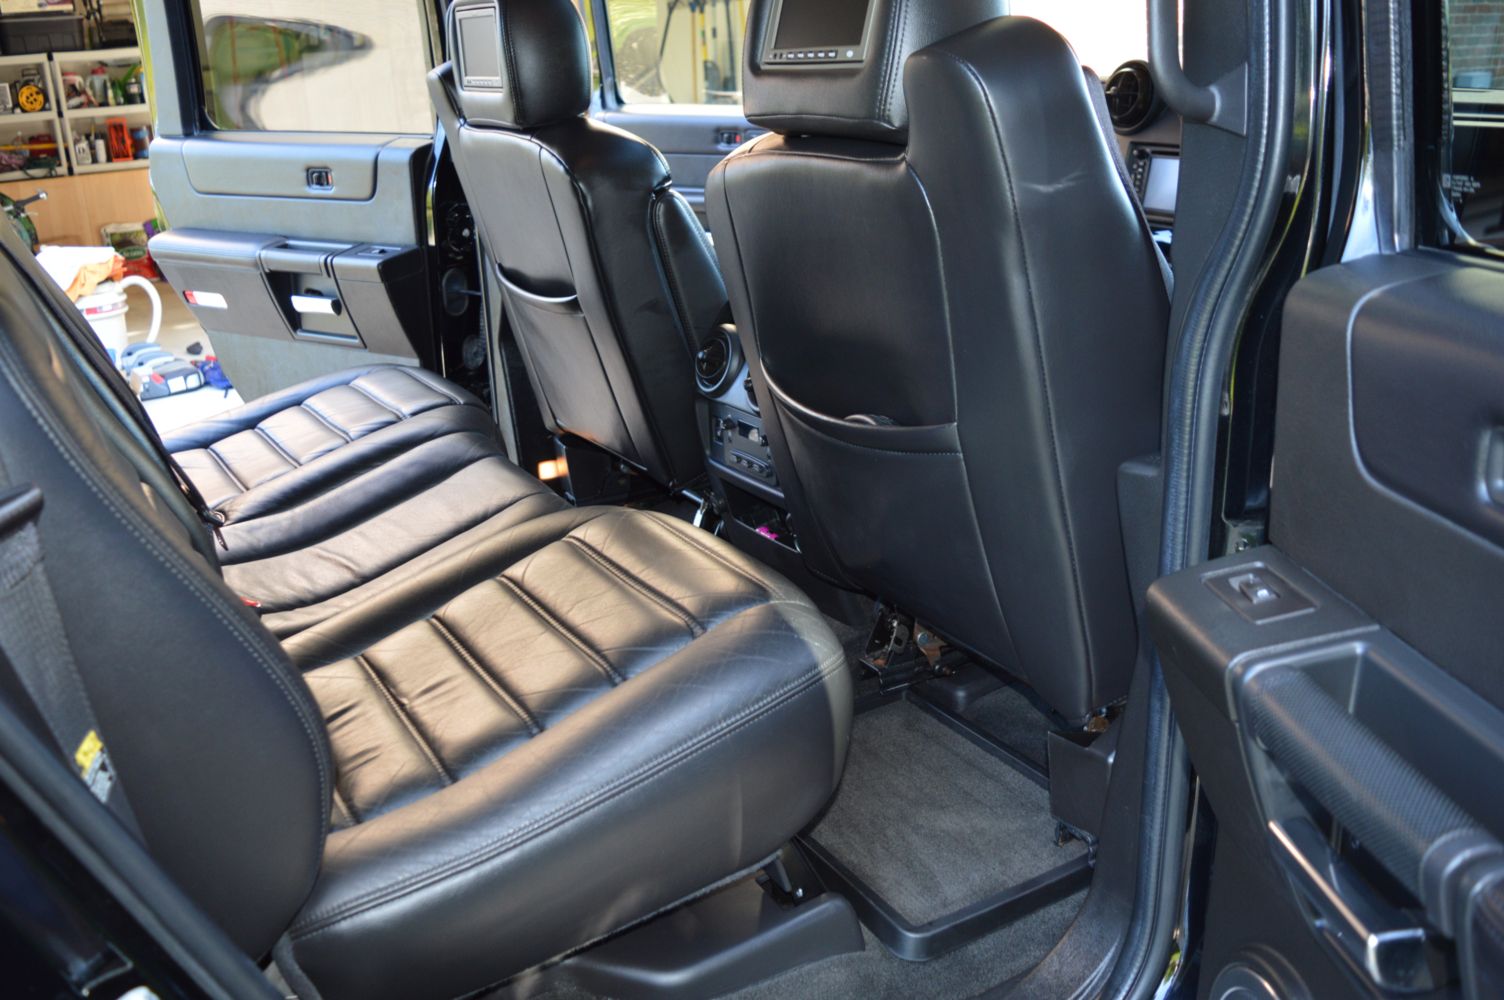
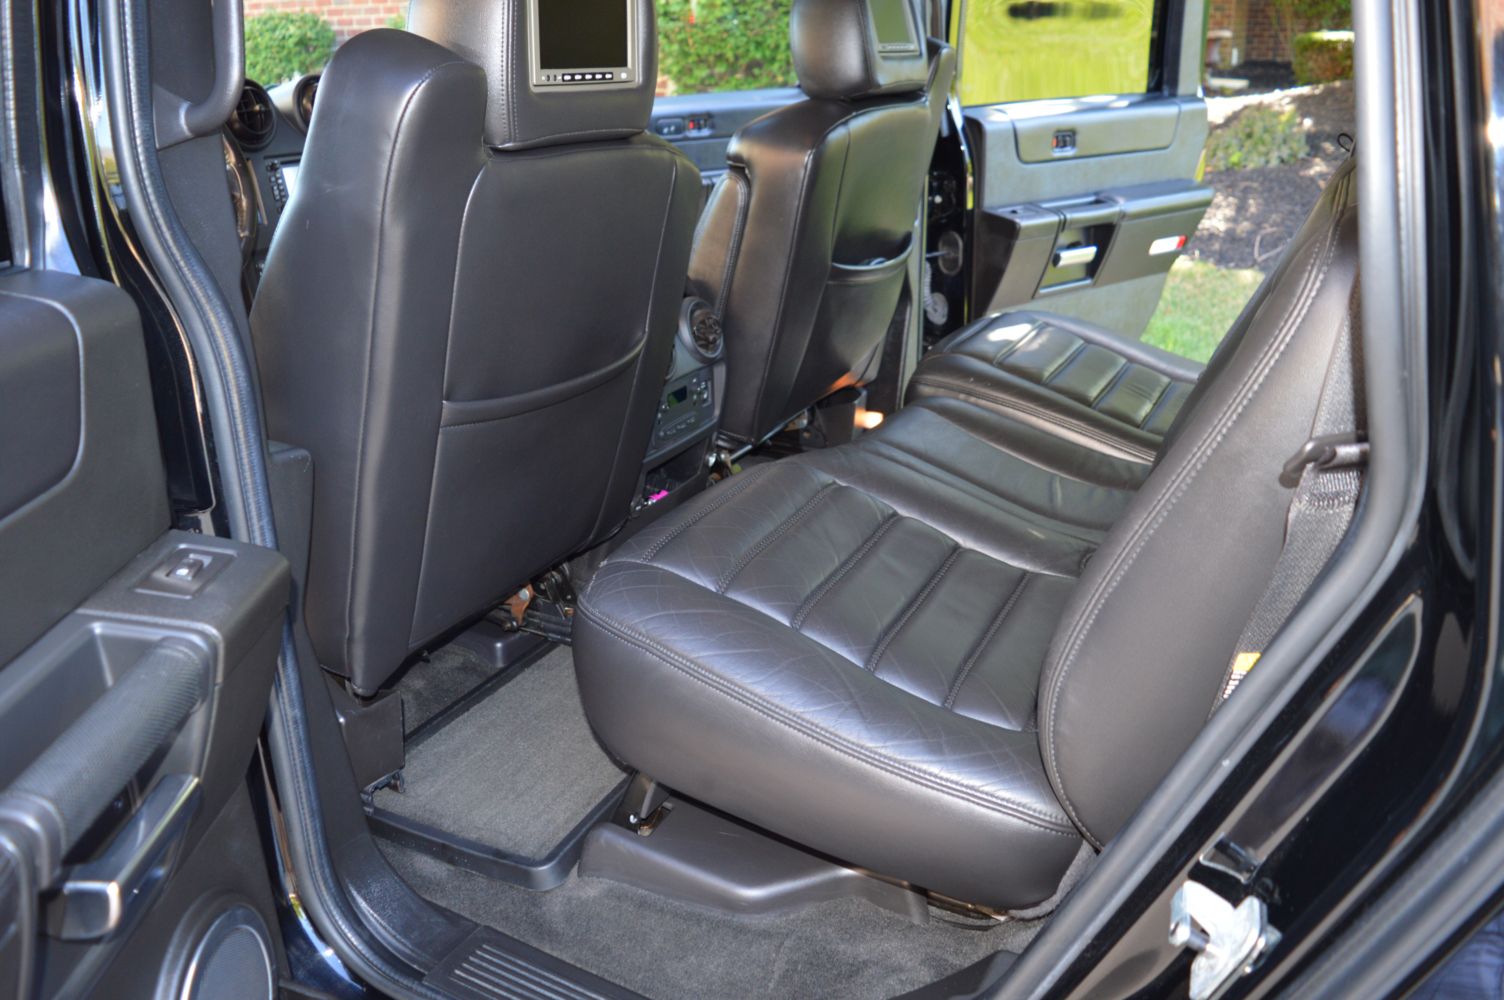
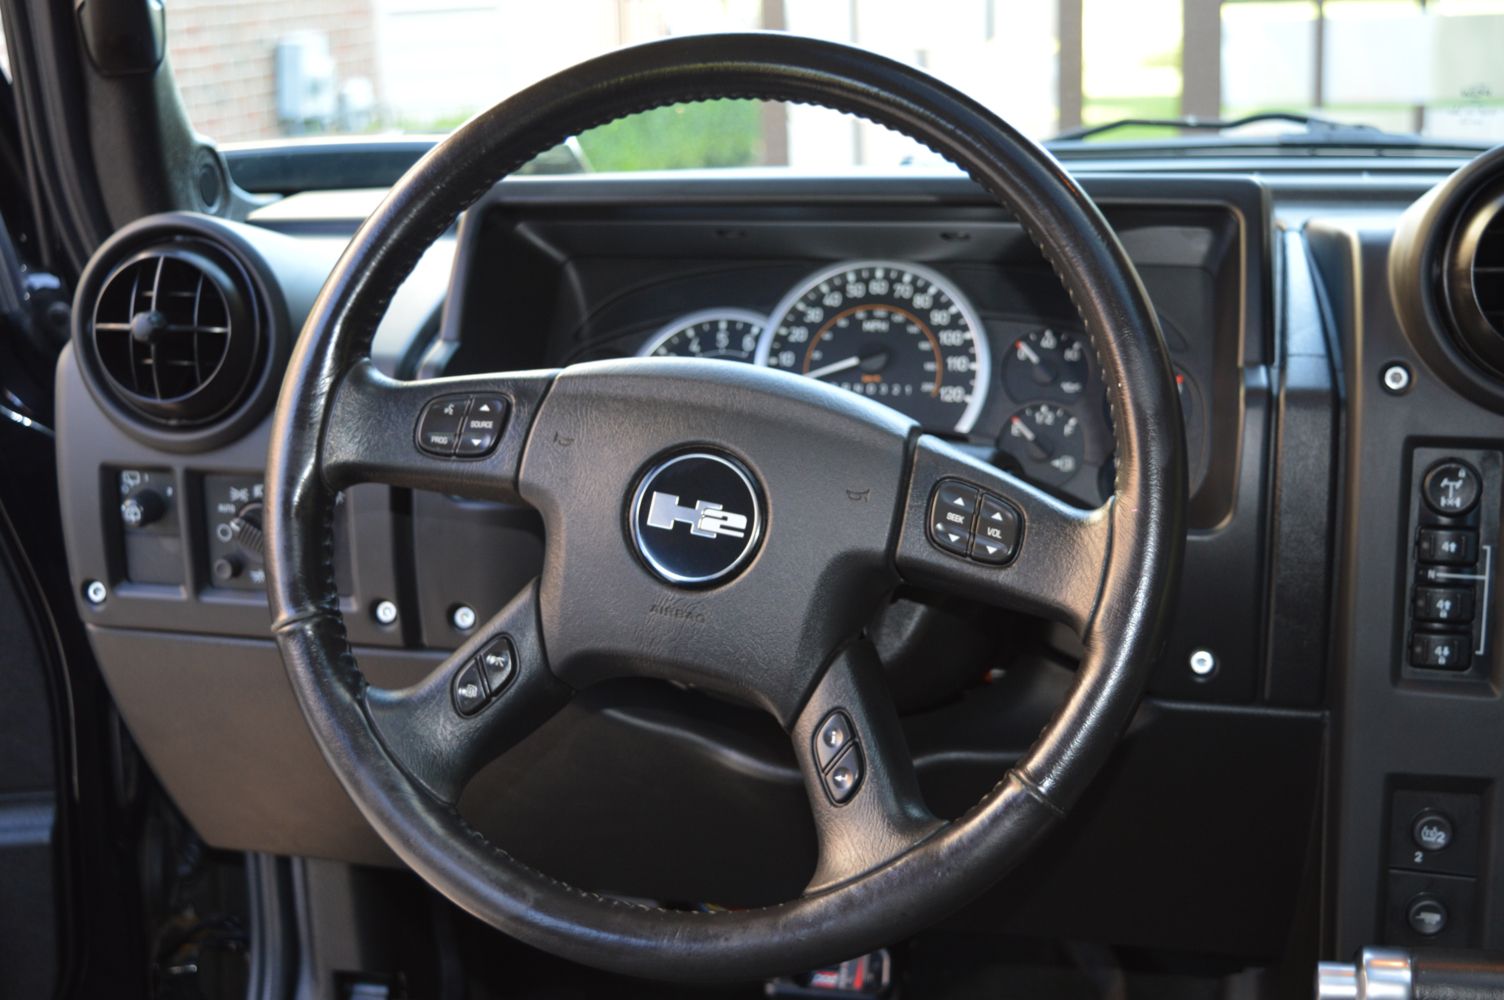
I was also asked to do the interior as well at a later date, those "after" pictures are included as well. Wont get into much detail with those as it was a pretty straightforward interior clean up.
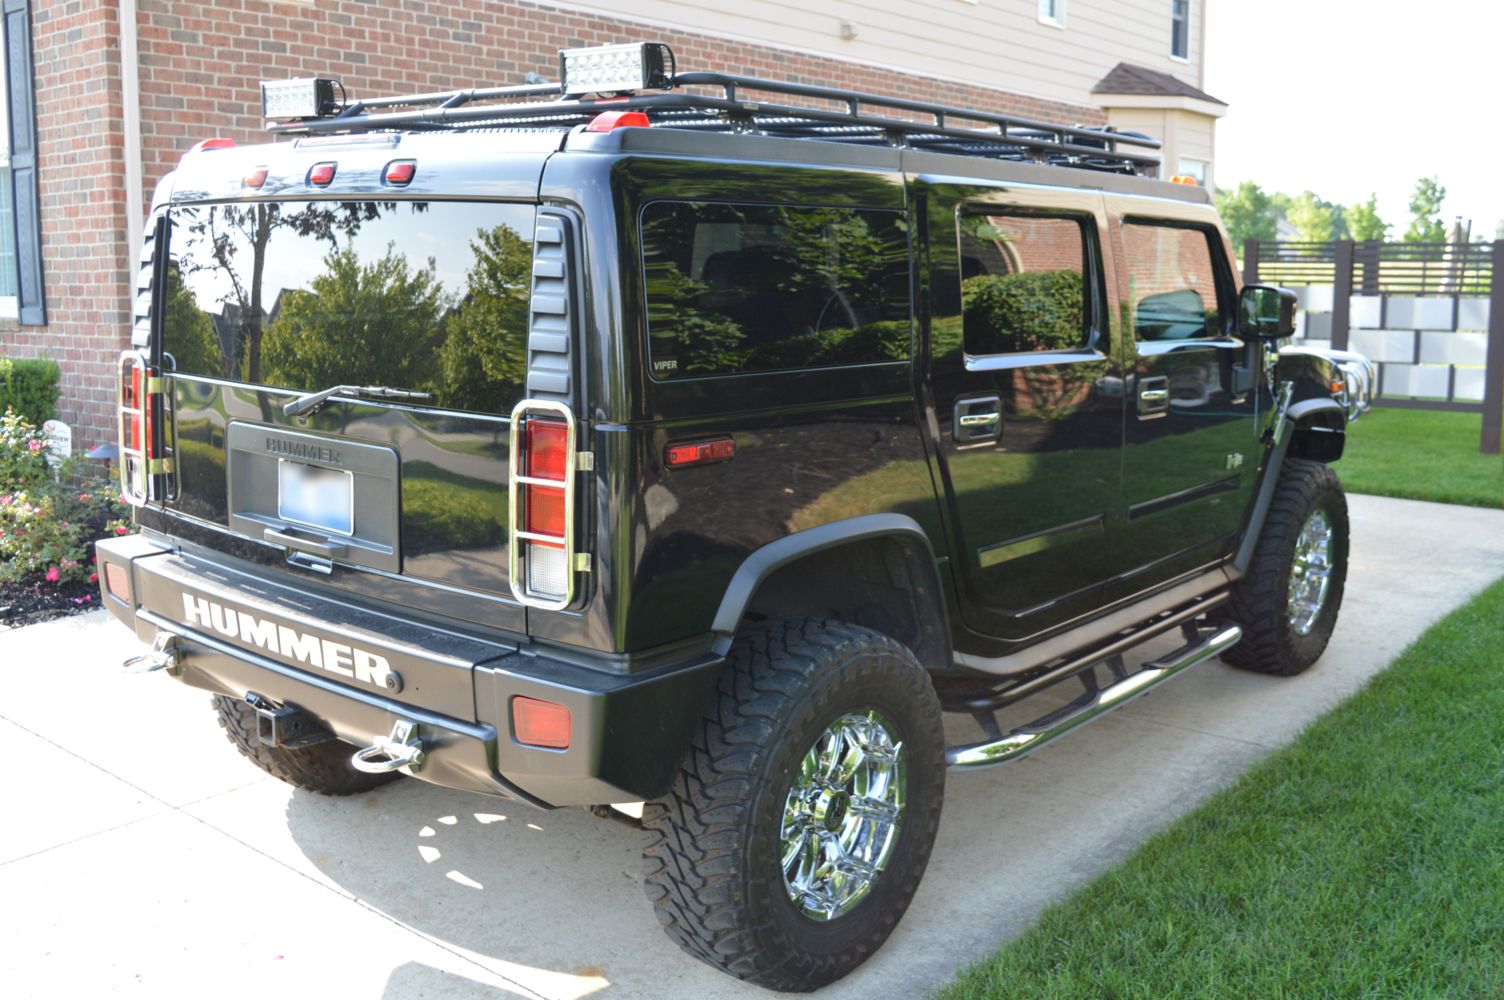
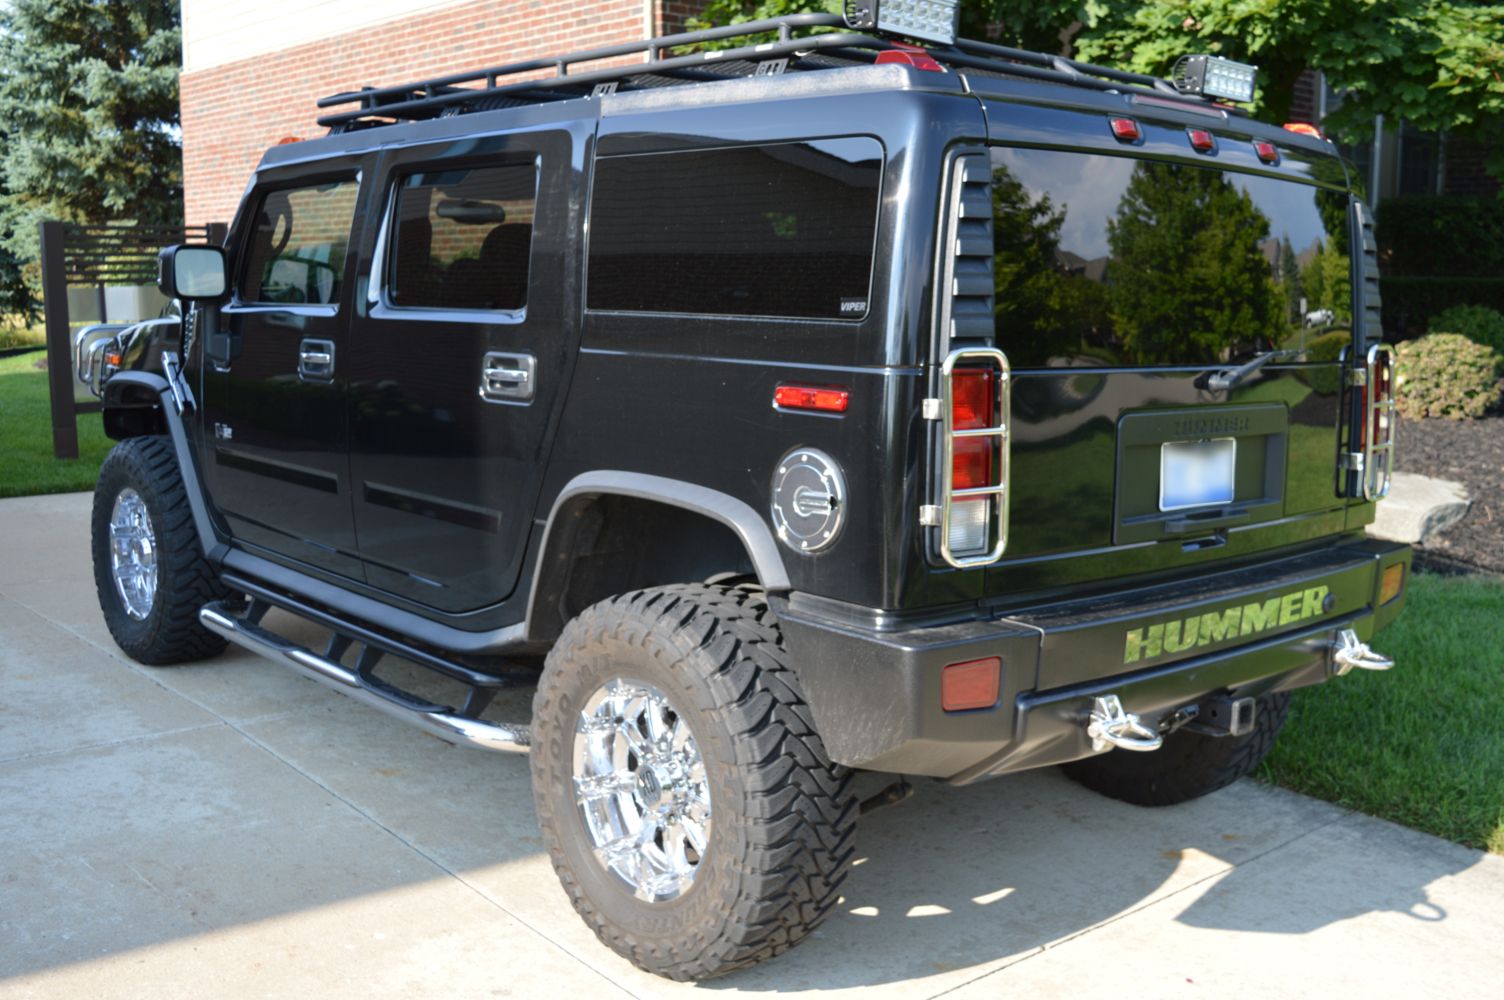
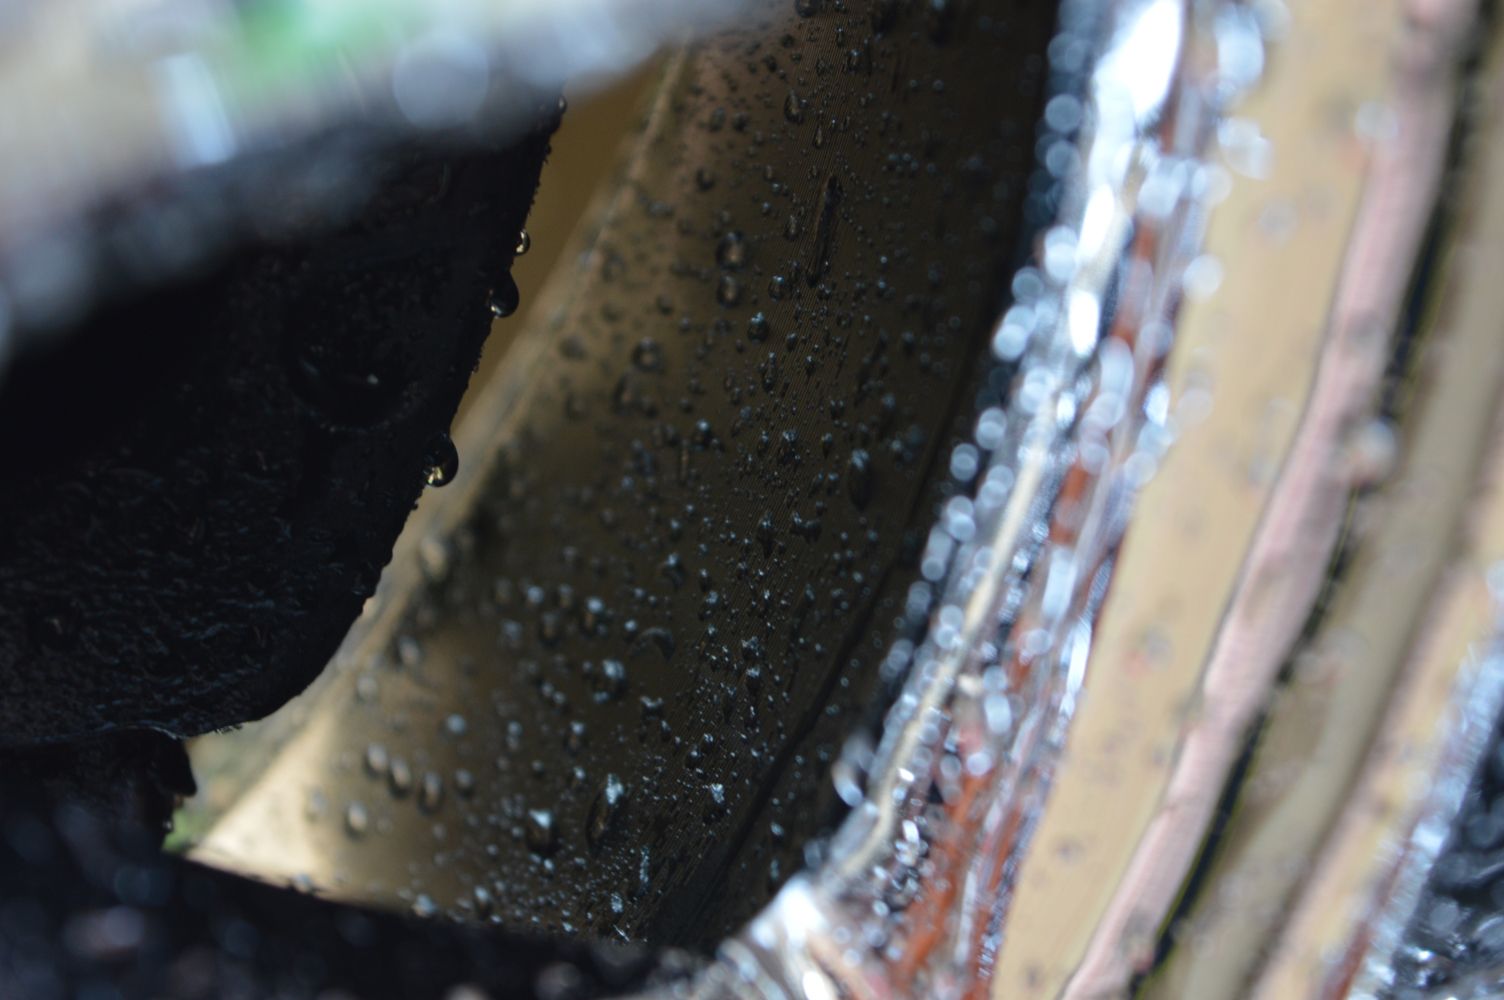
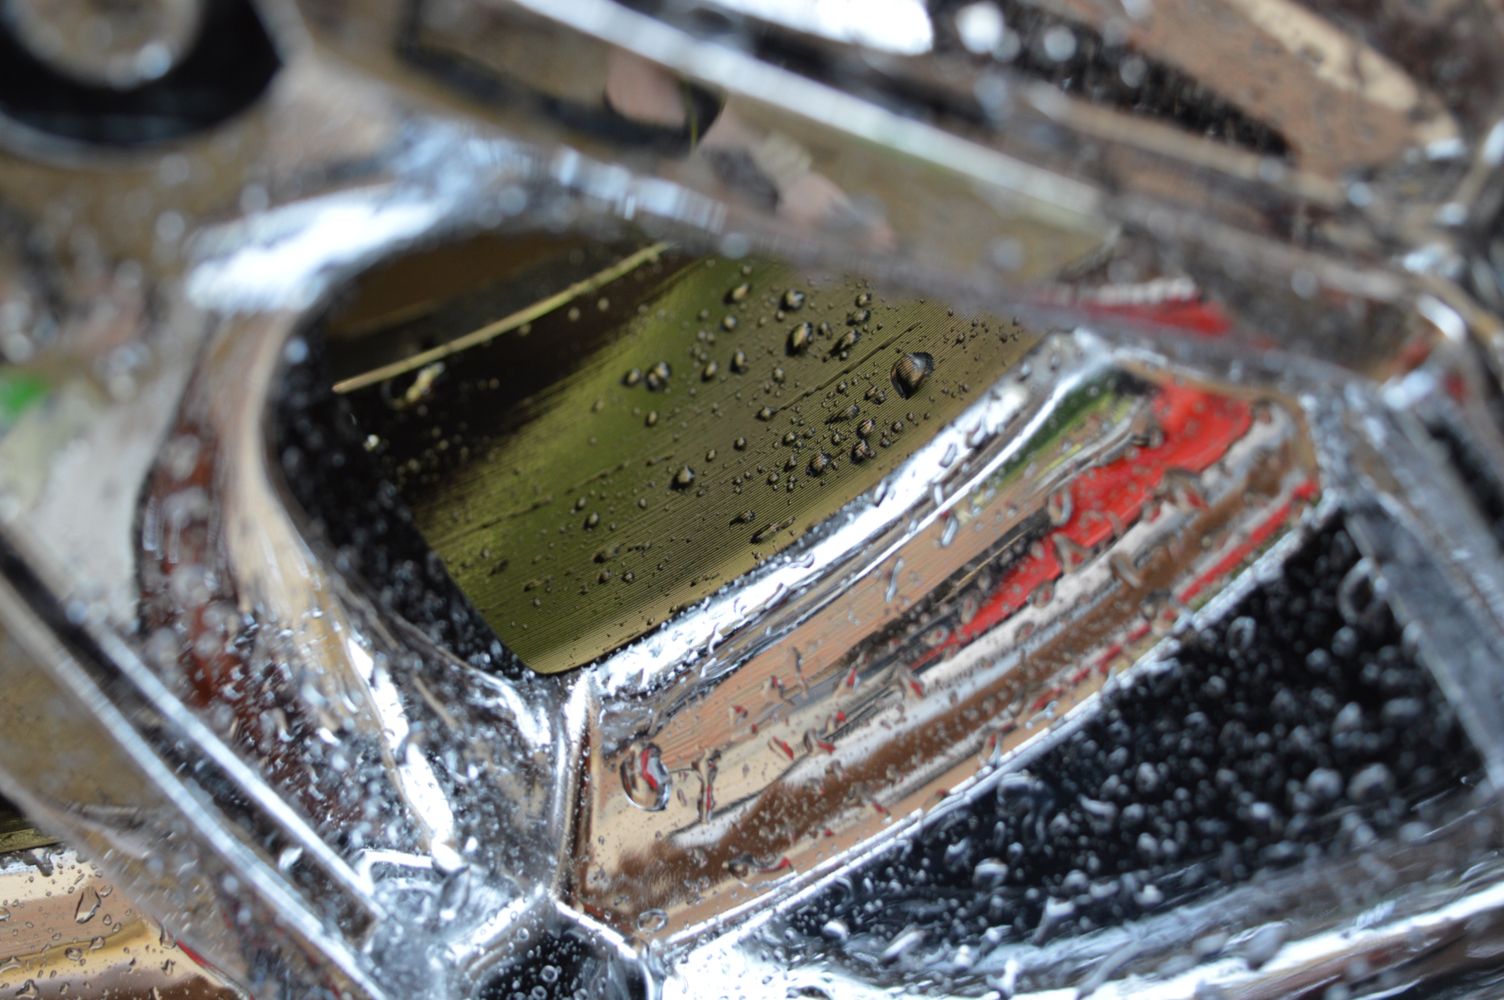
Vehicle when I showed up
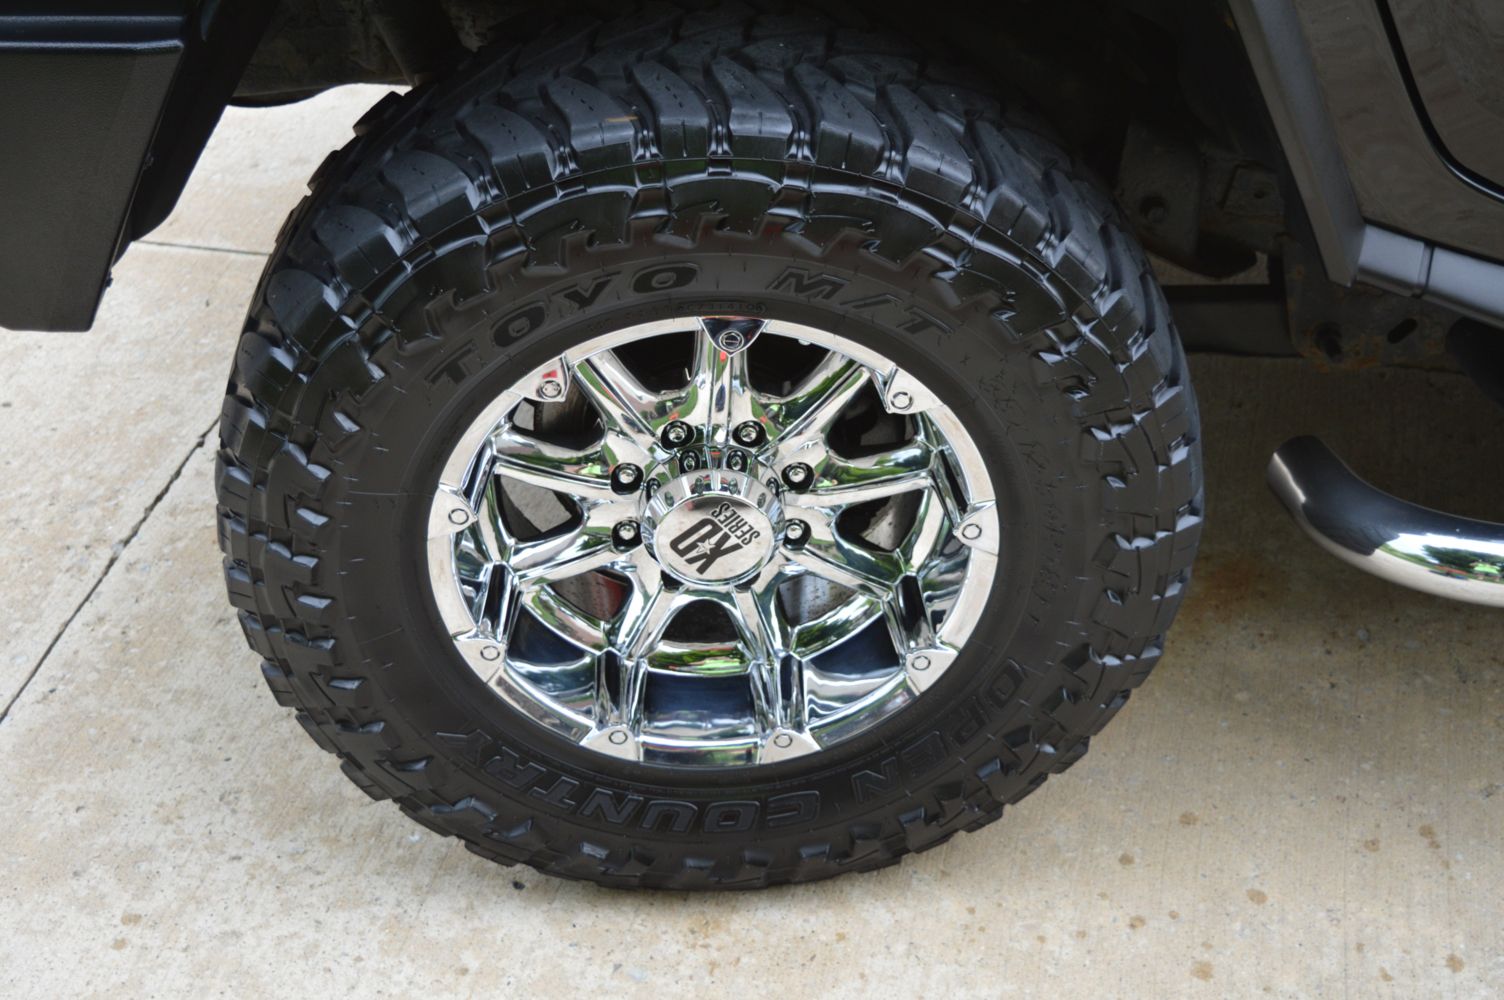
Wheels and Tires
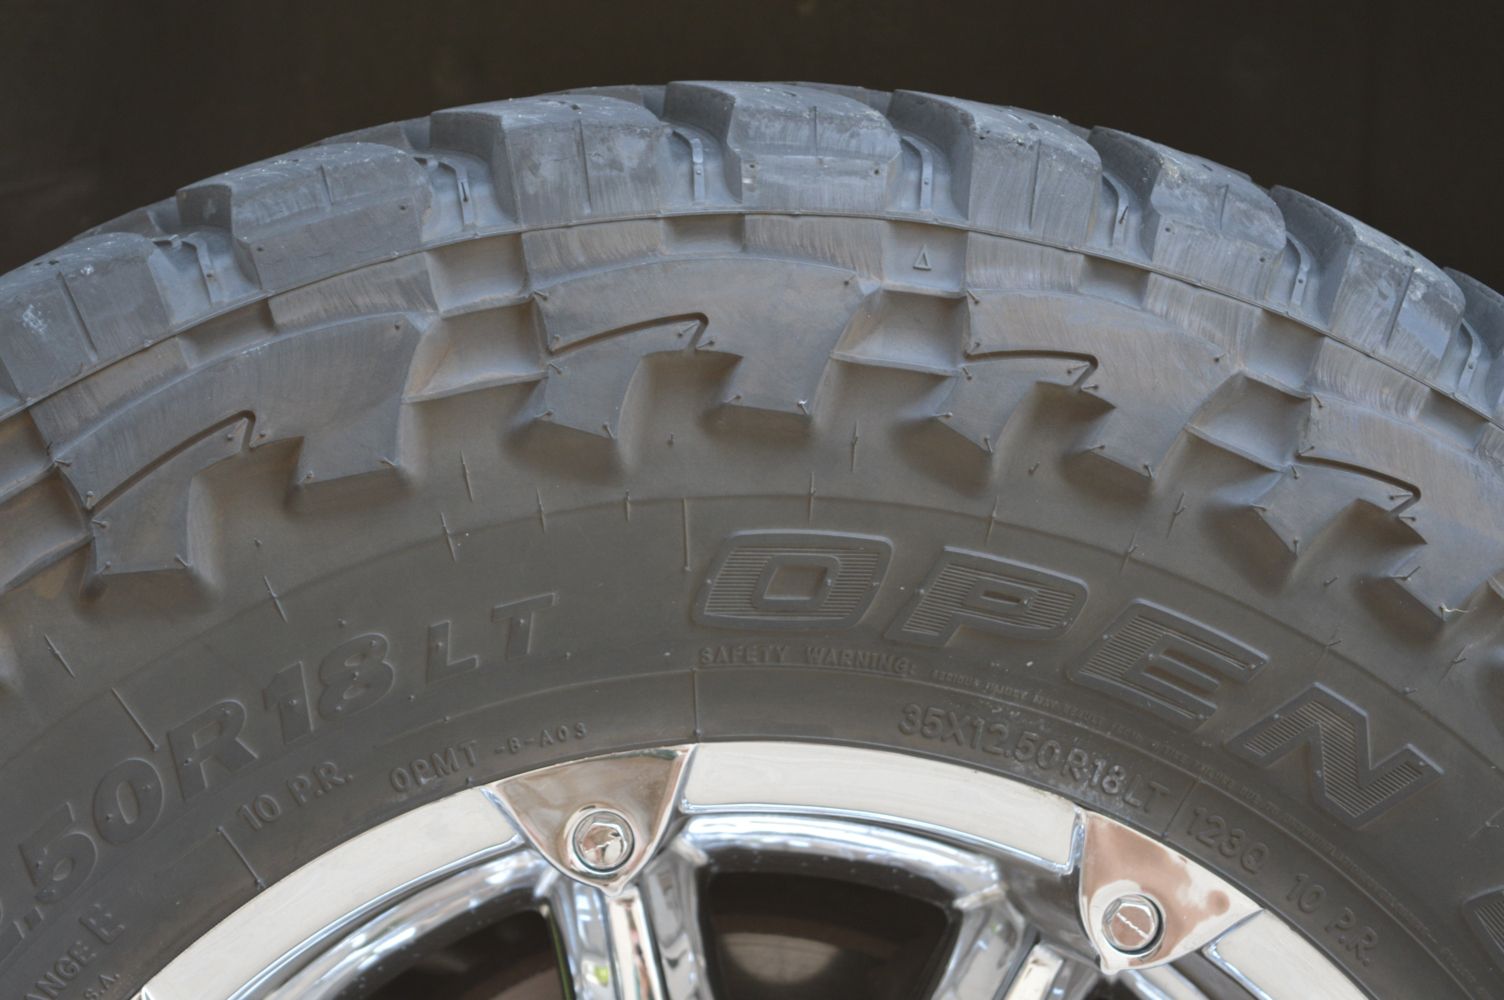
Tires are filthy
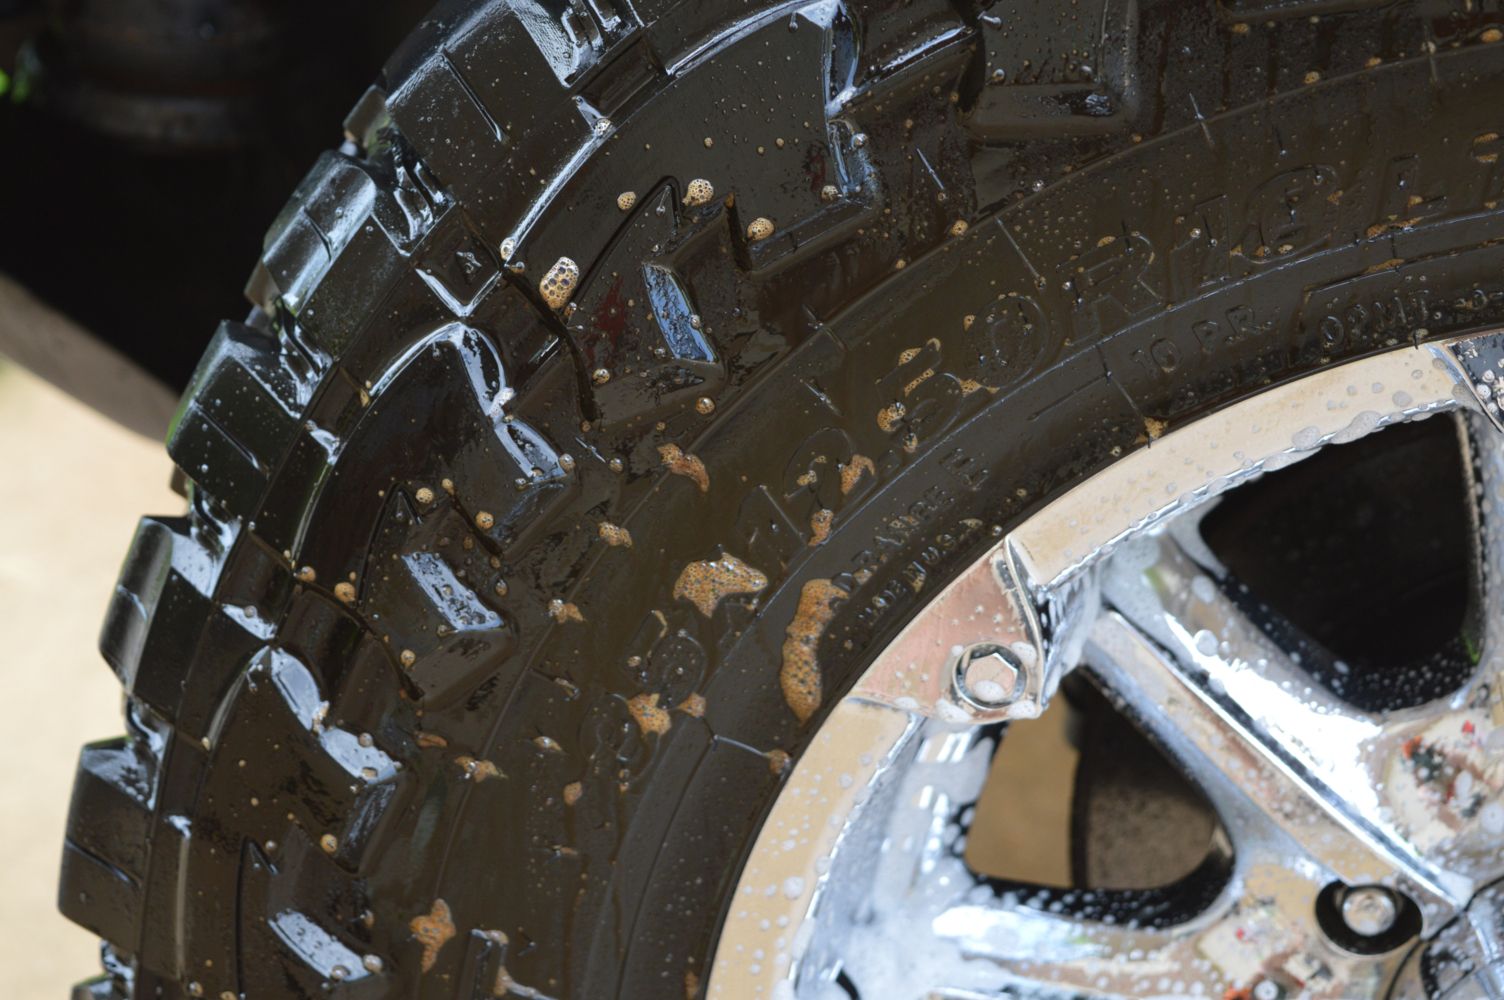
Tuff Shine working its magic
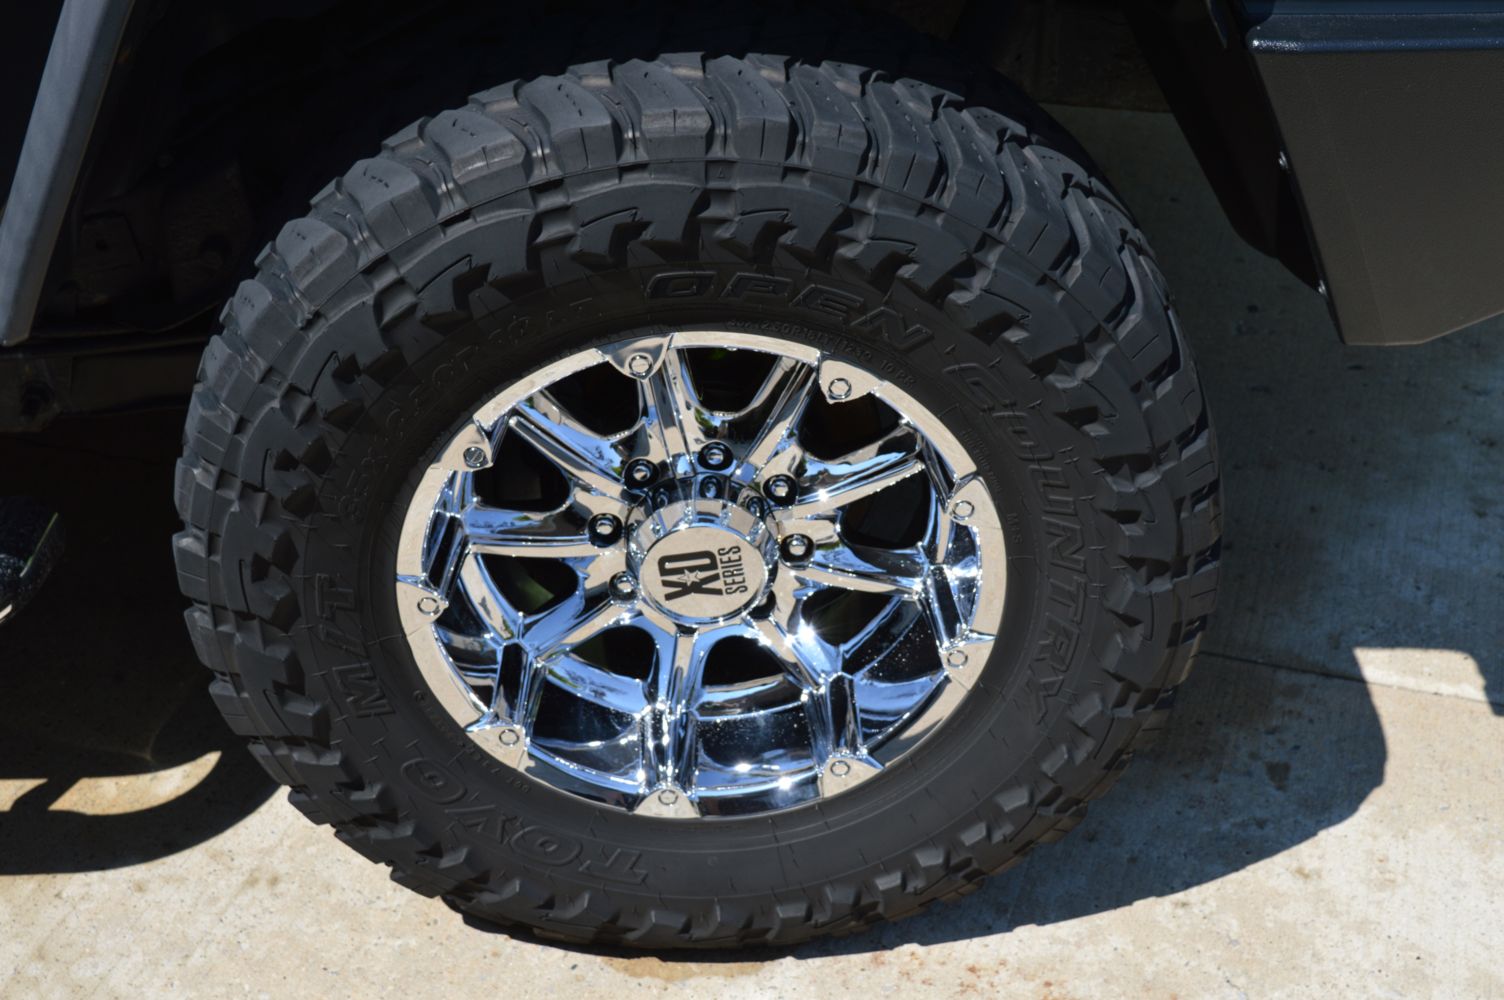
Filthy barrels, often neglected part of wheel detailing
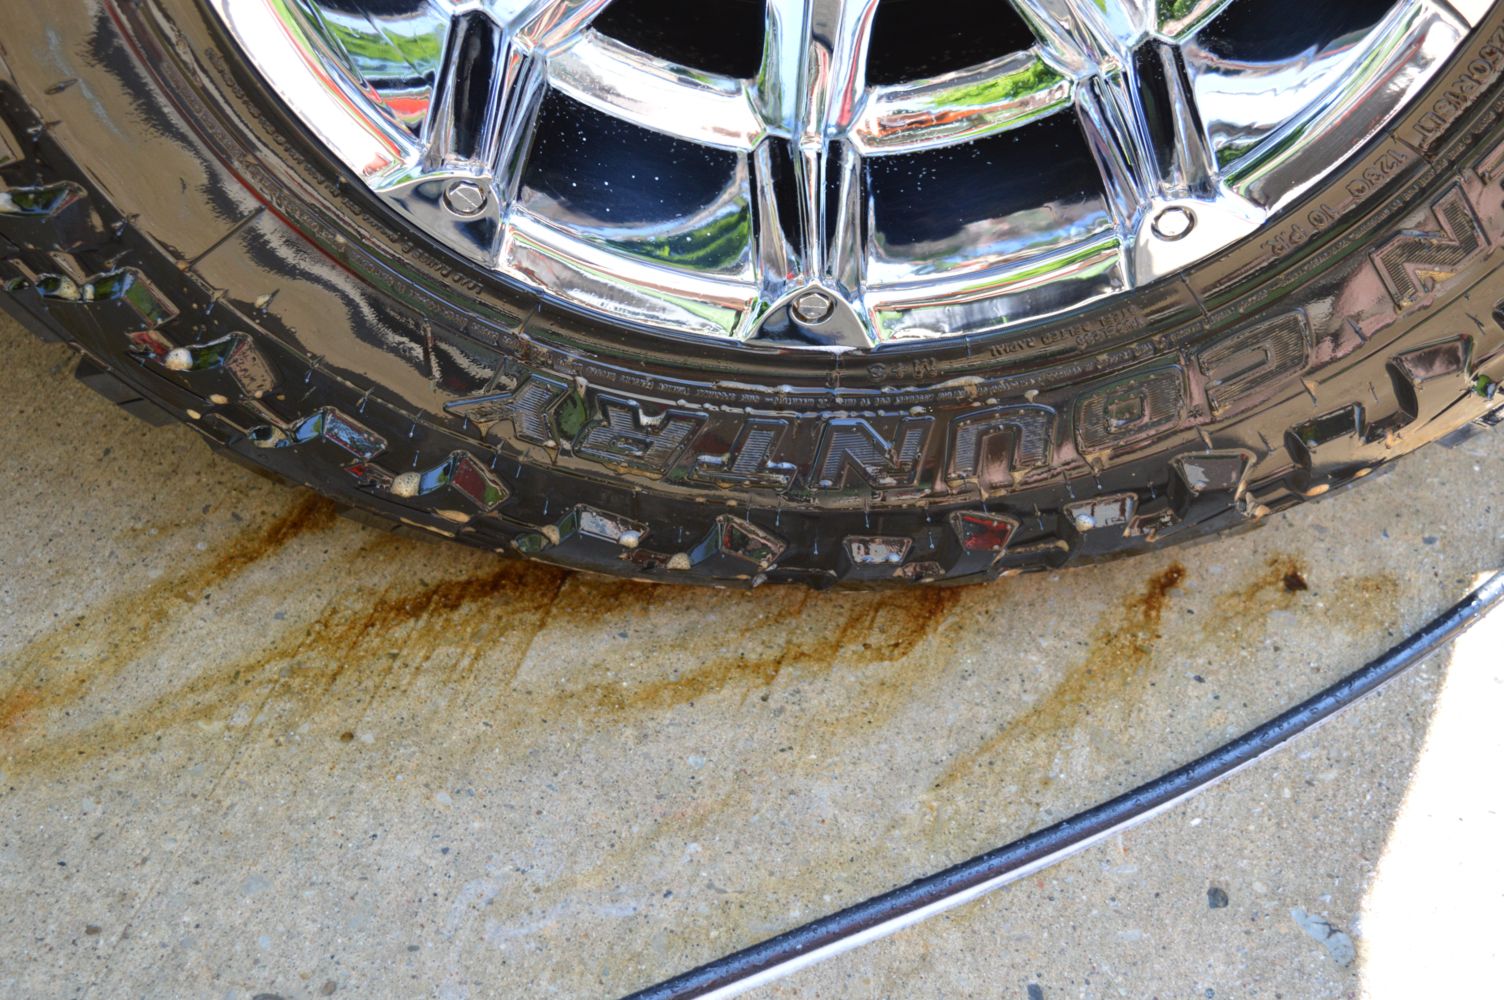
All cleaned up
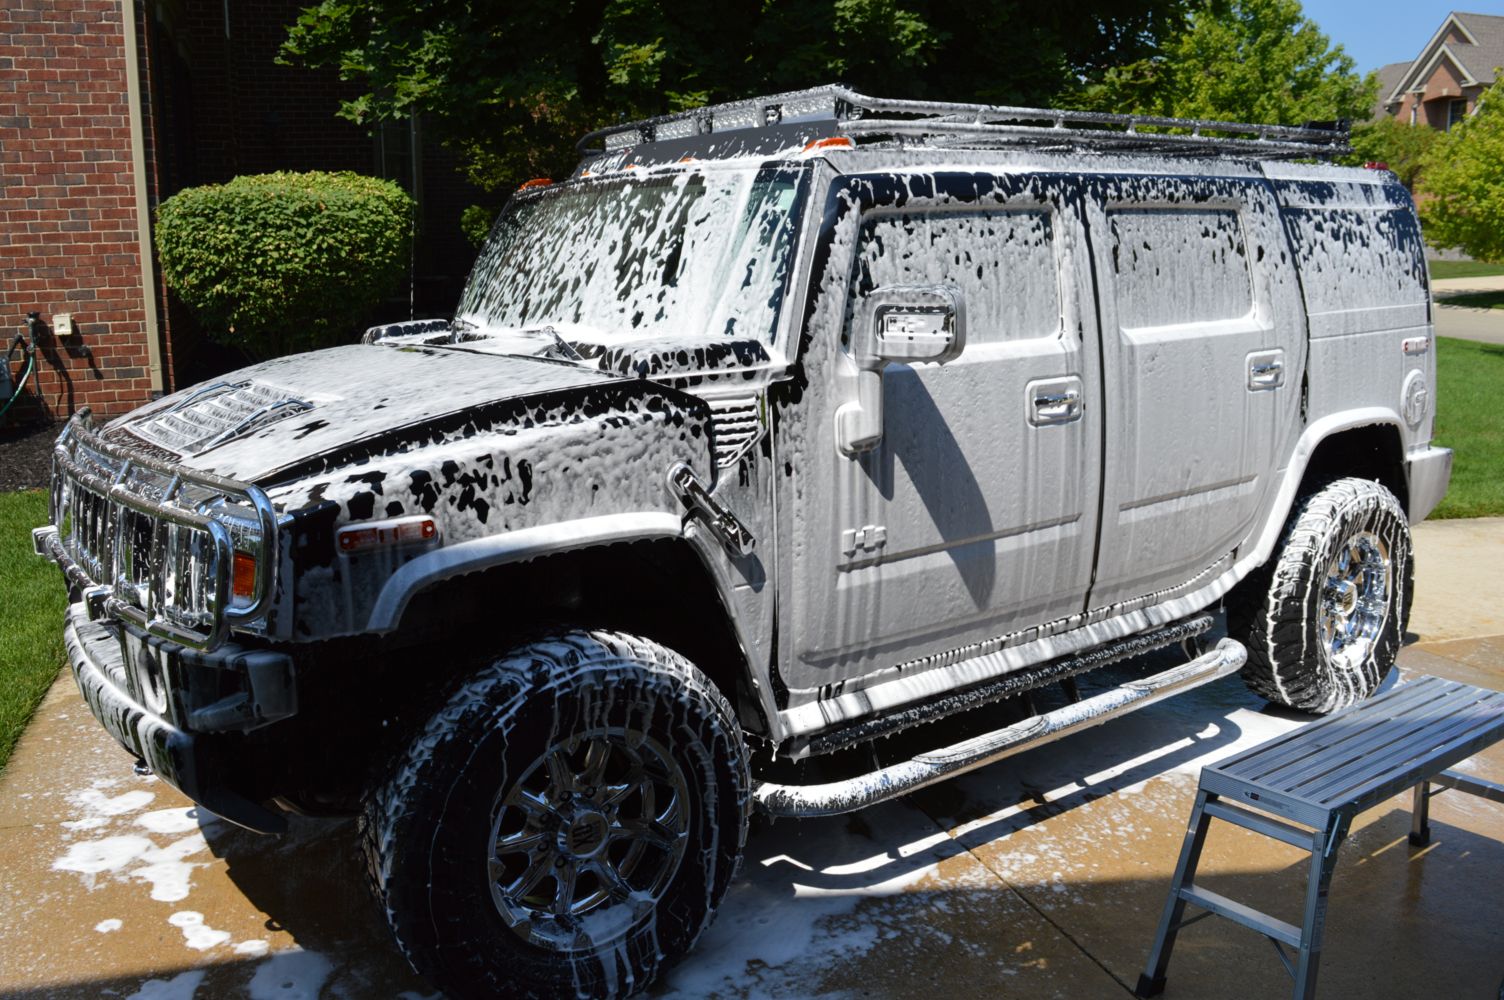
Foam time!
Condition of the paint around various areas

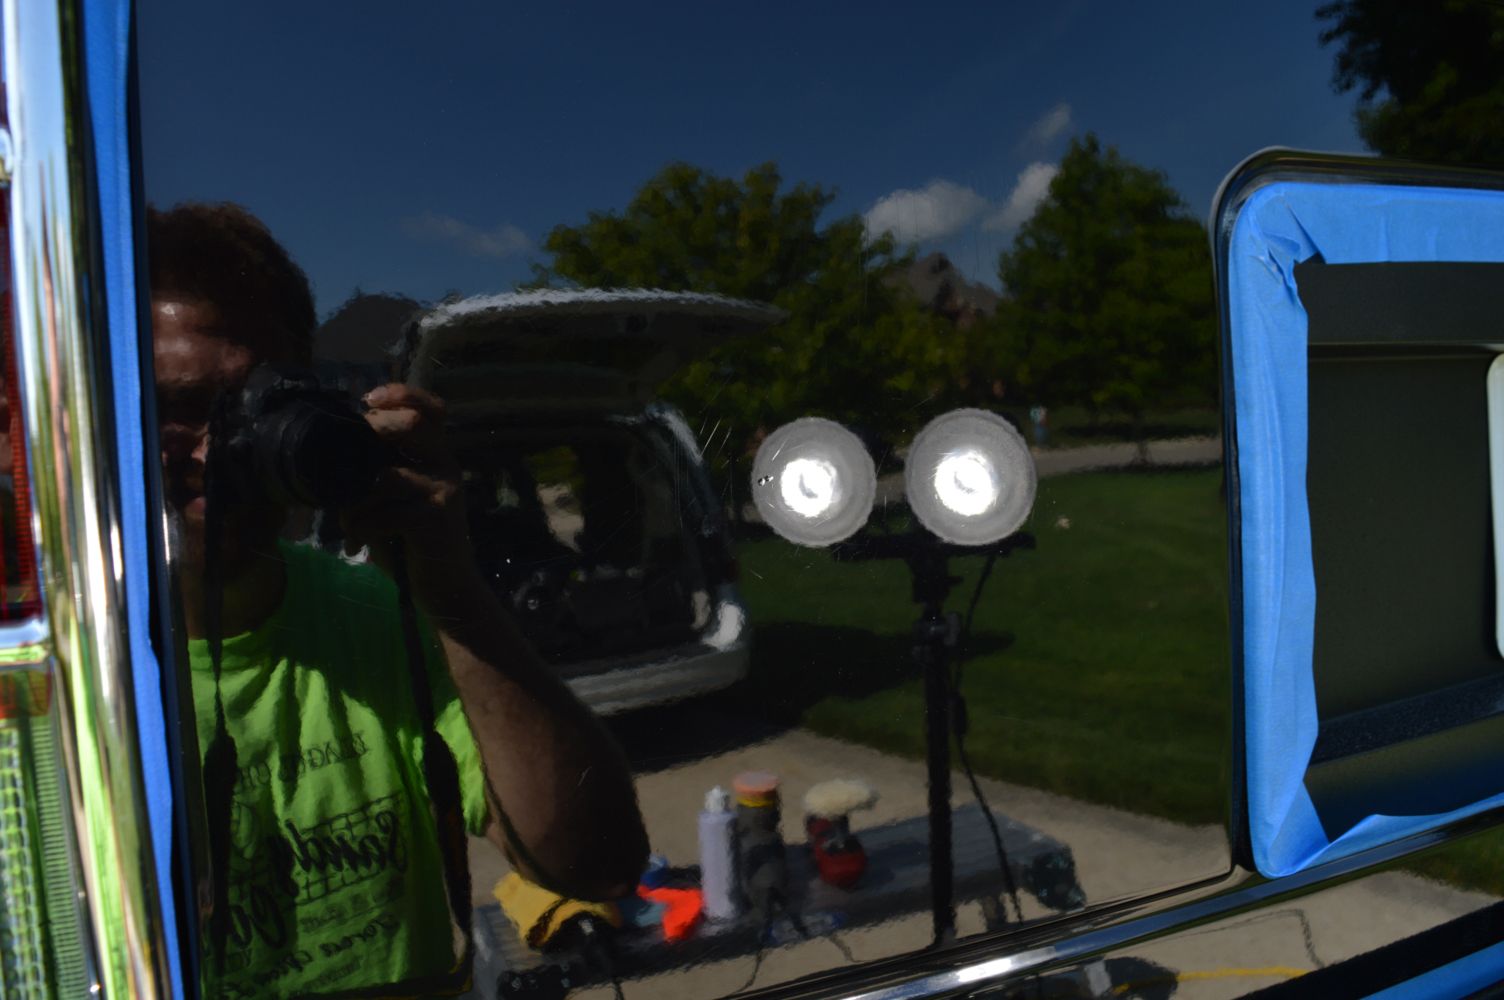
Couple before/afters during the process

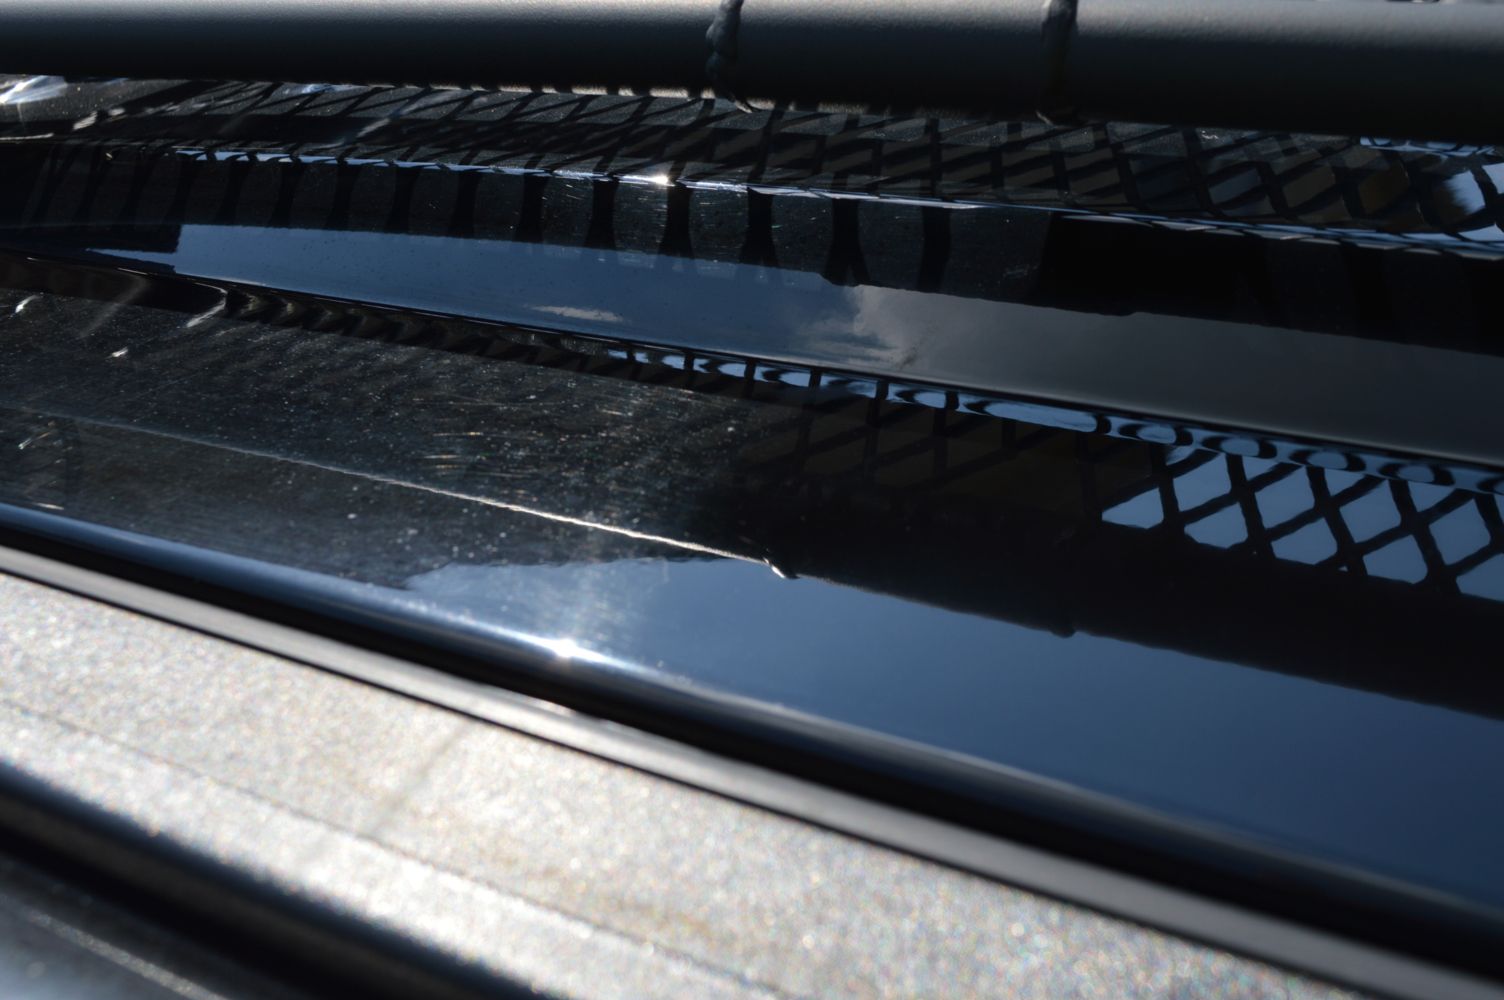
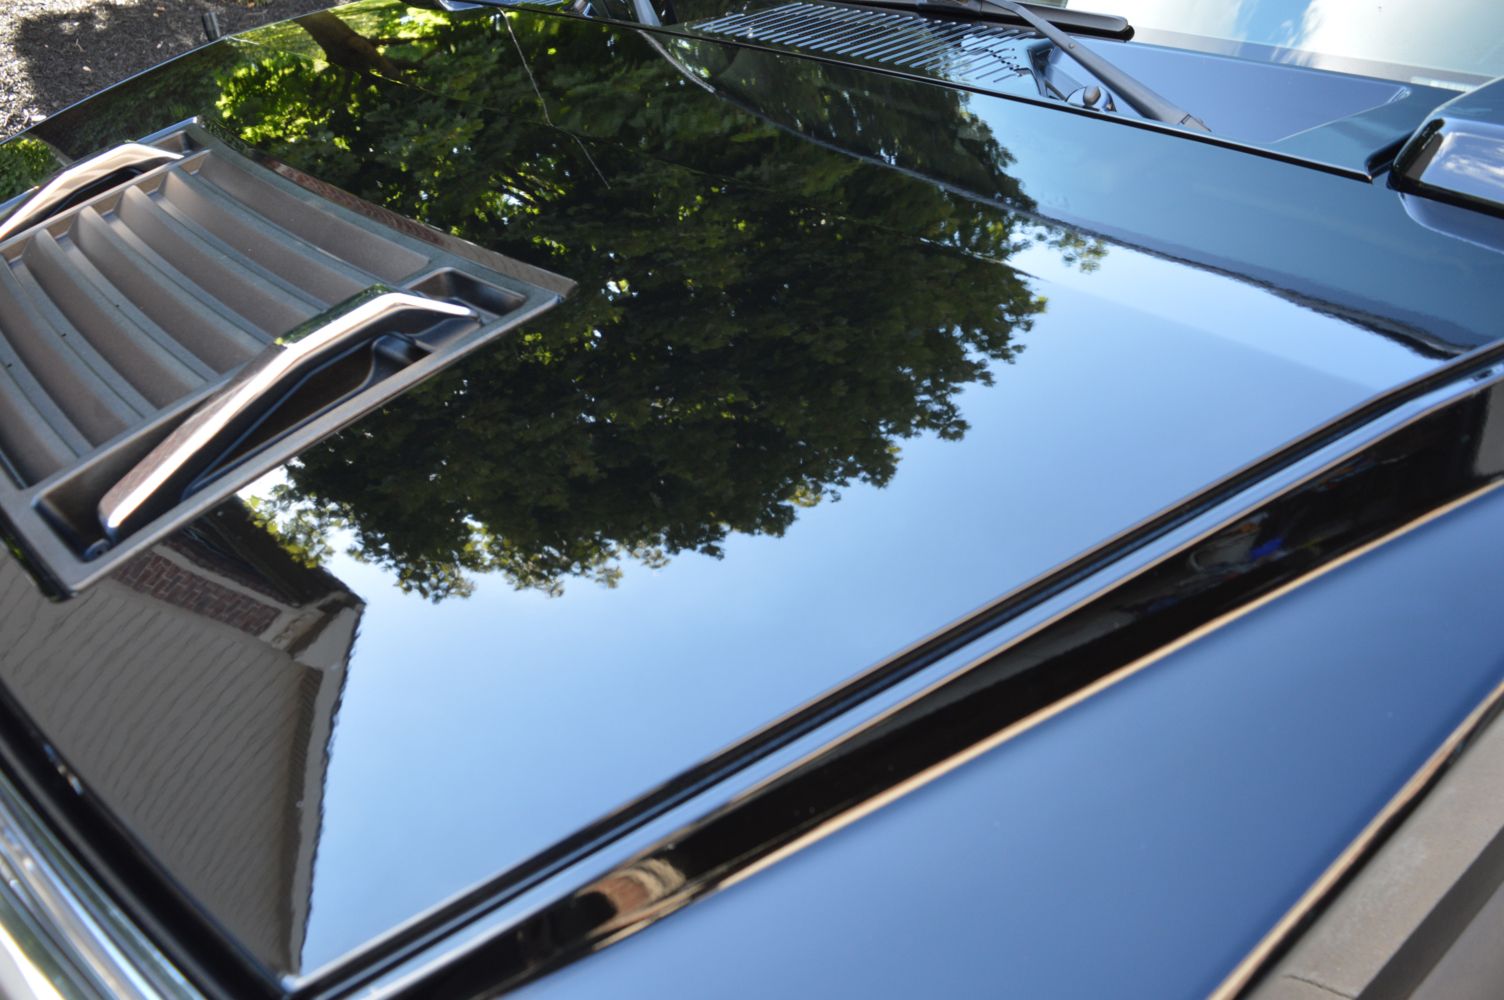
50/50 shot as I worked across part of the roof
Gotta add a picture of the tools!
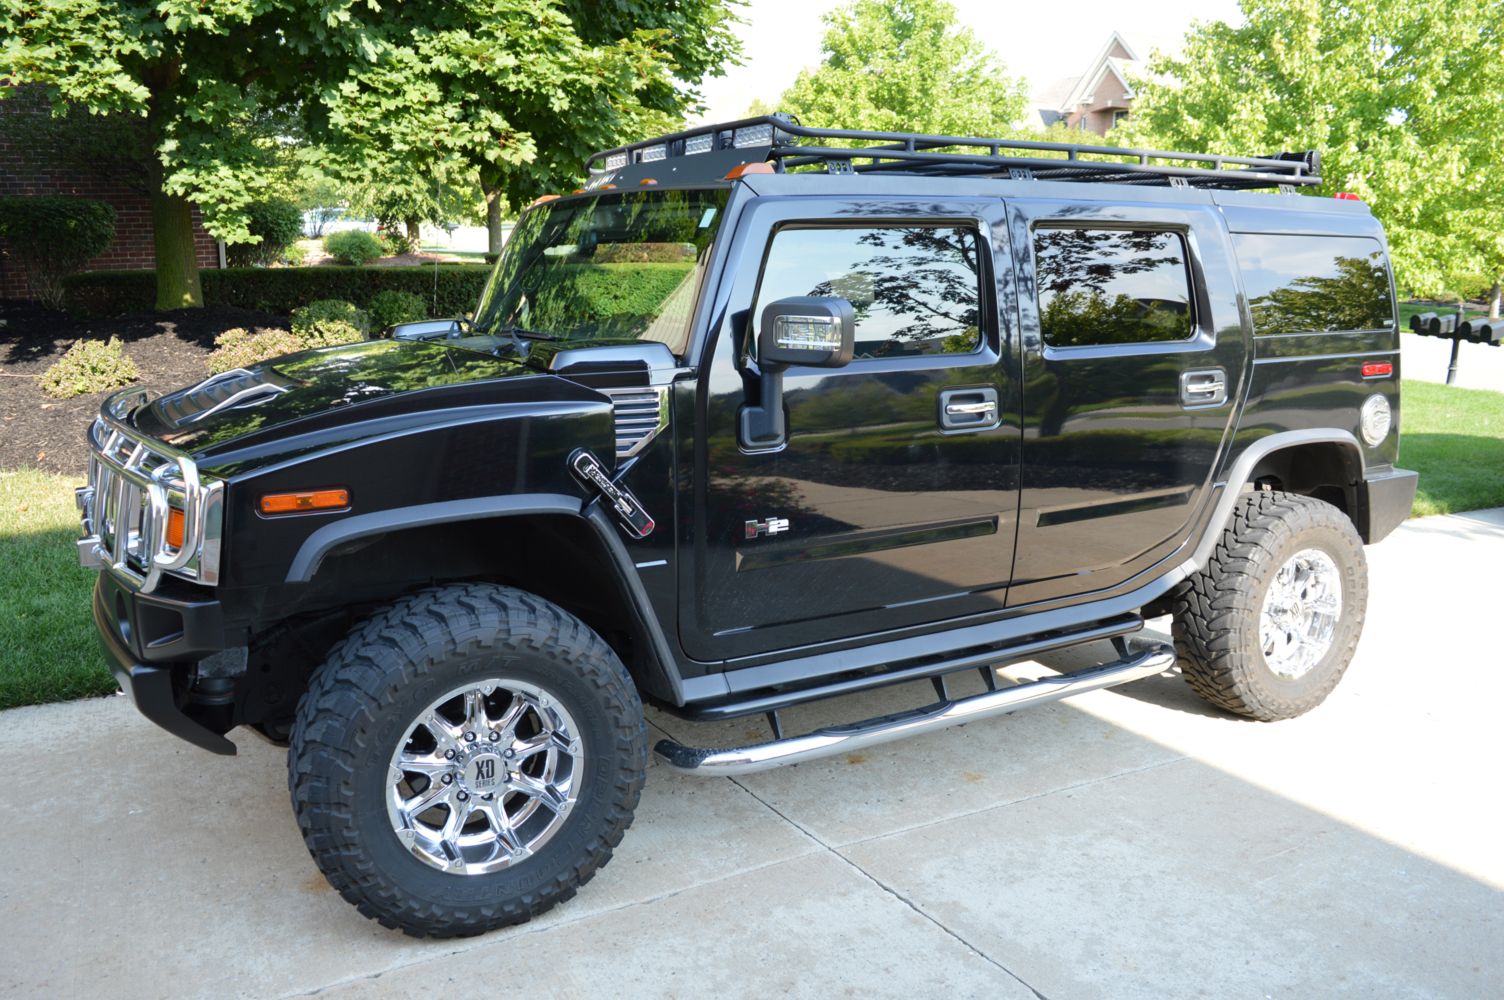
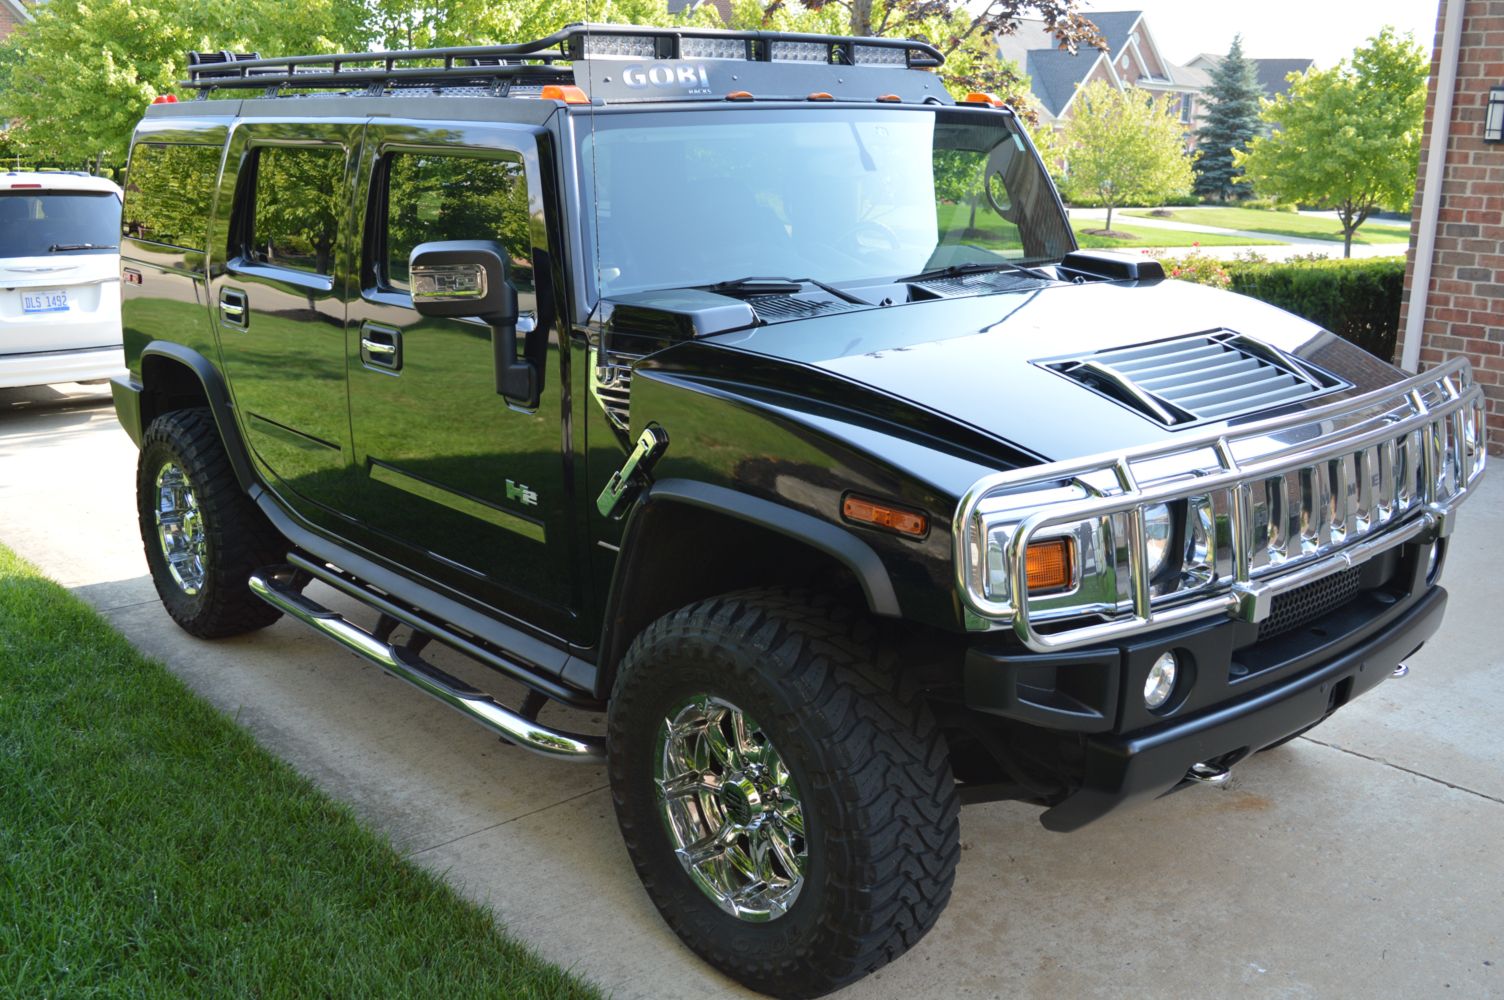
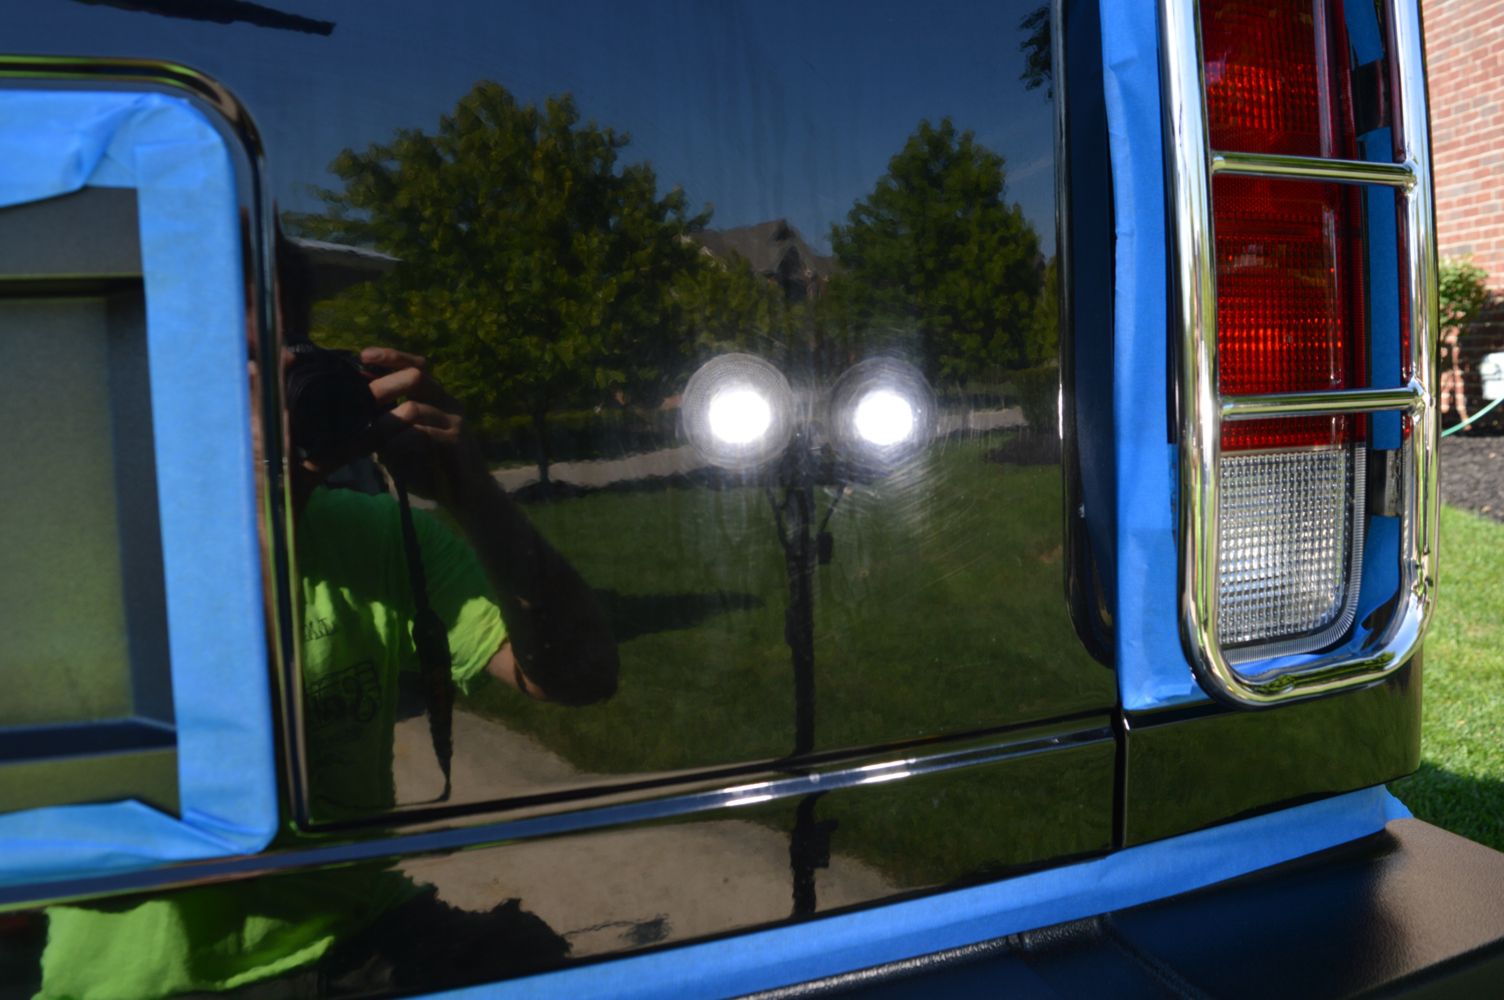
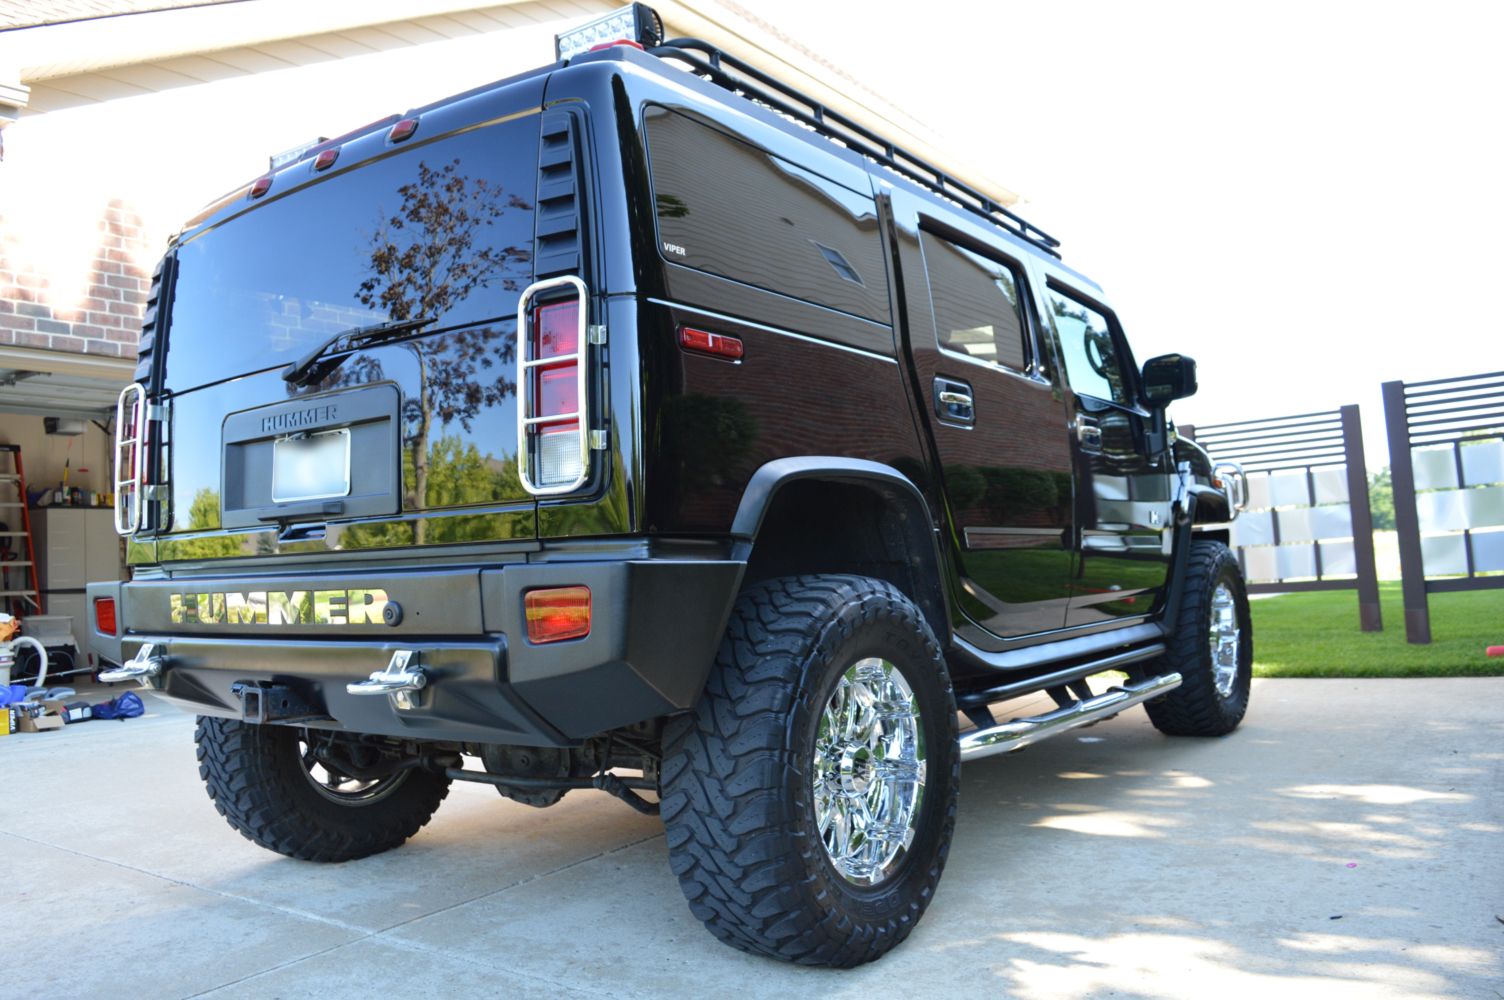
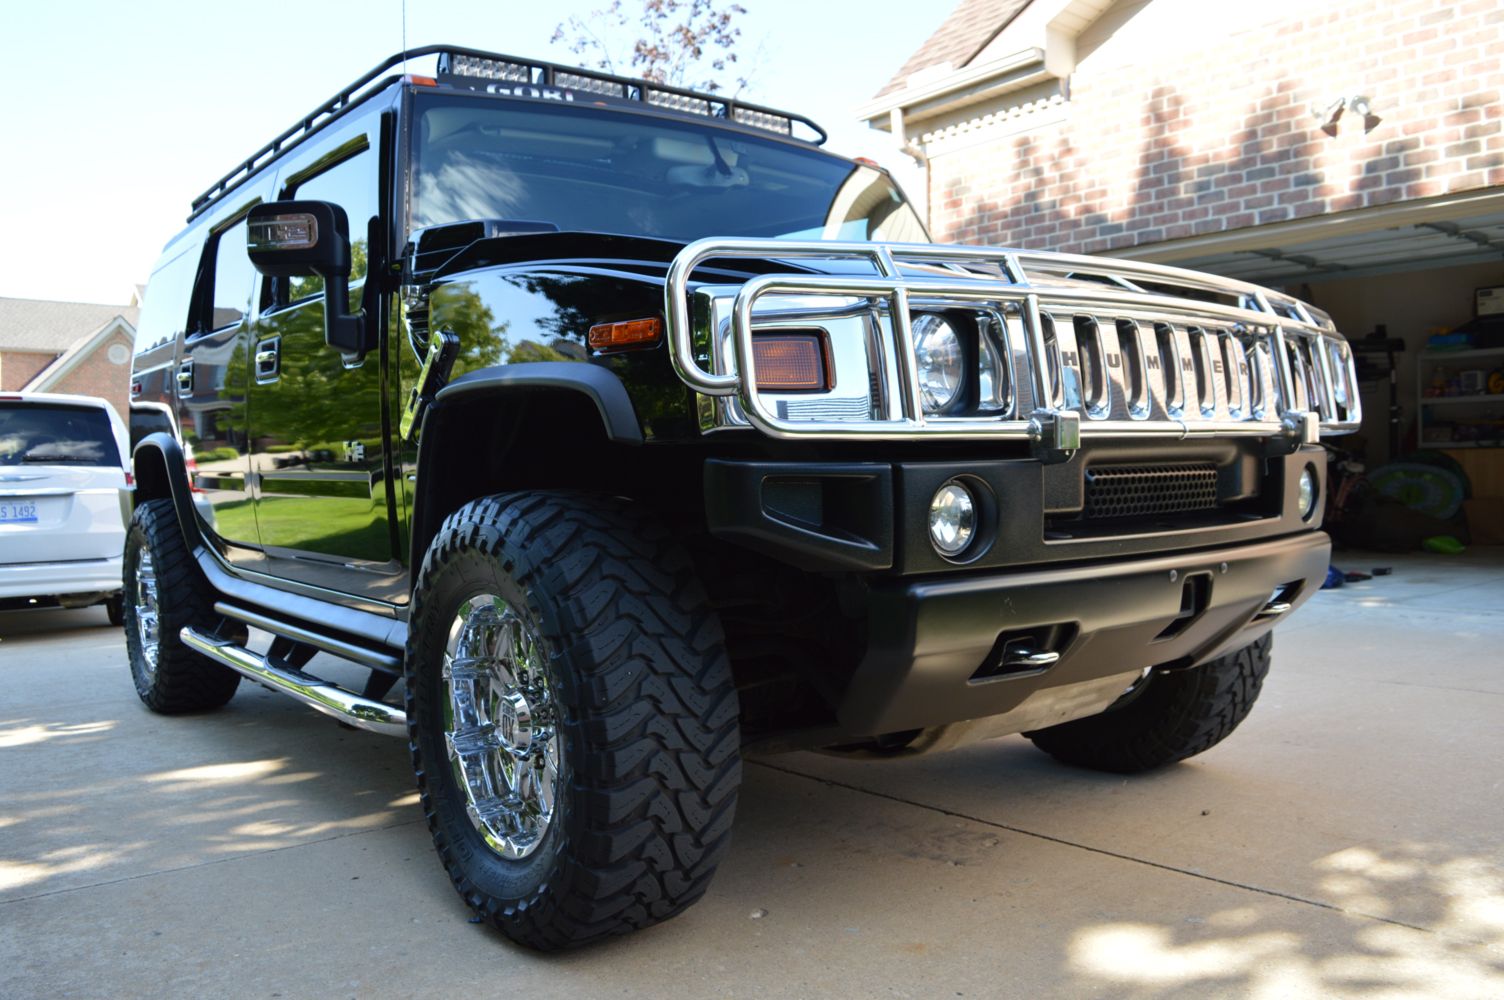
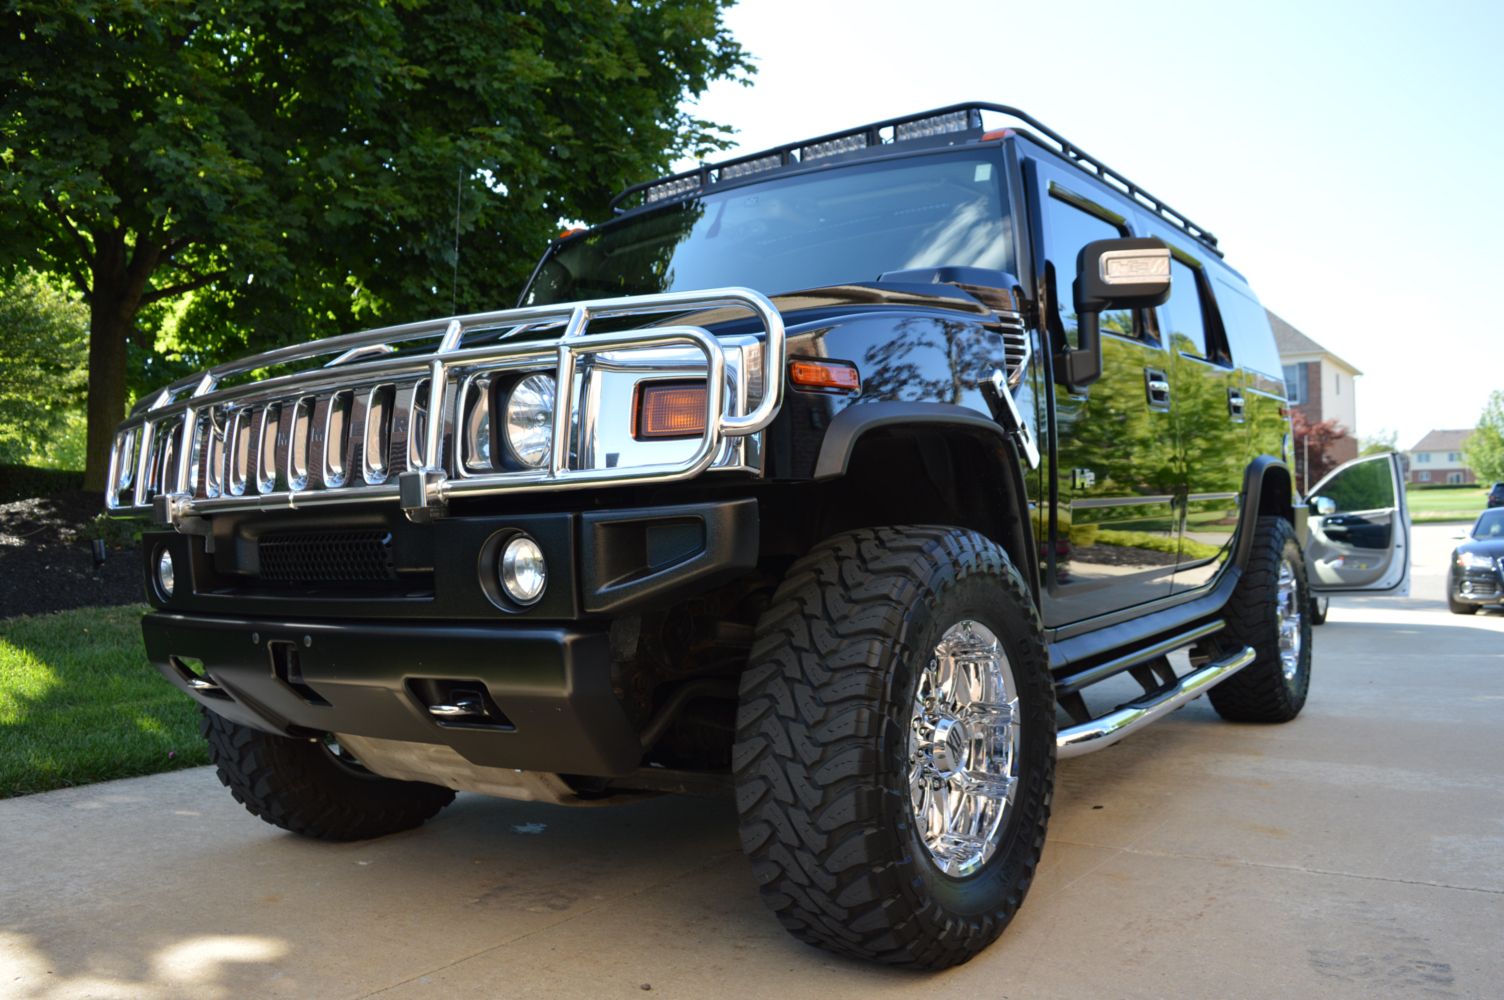
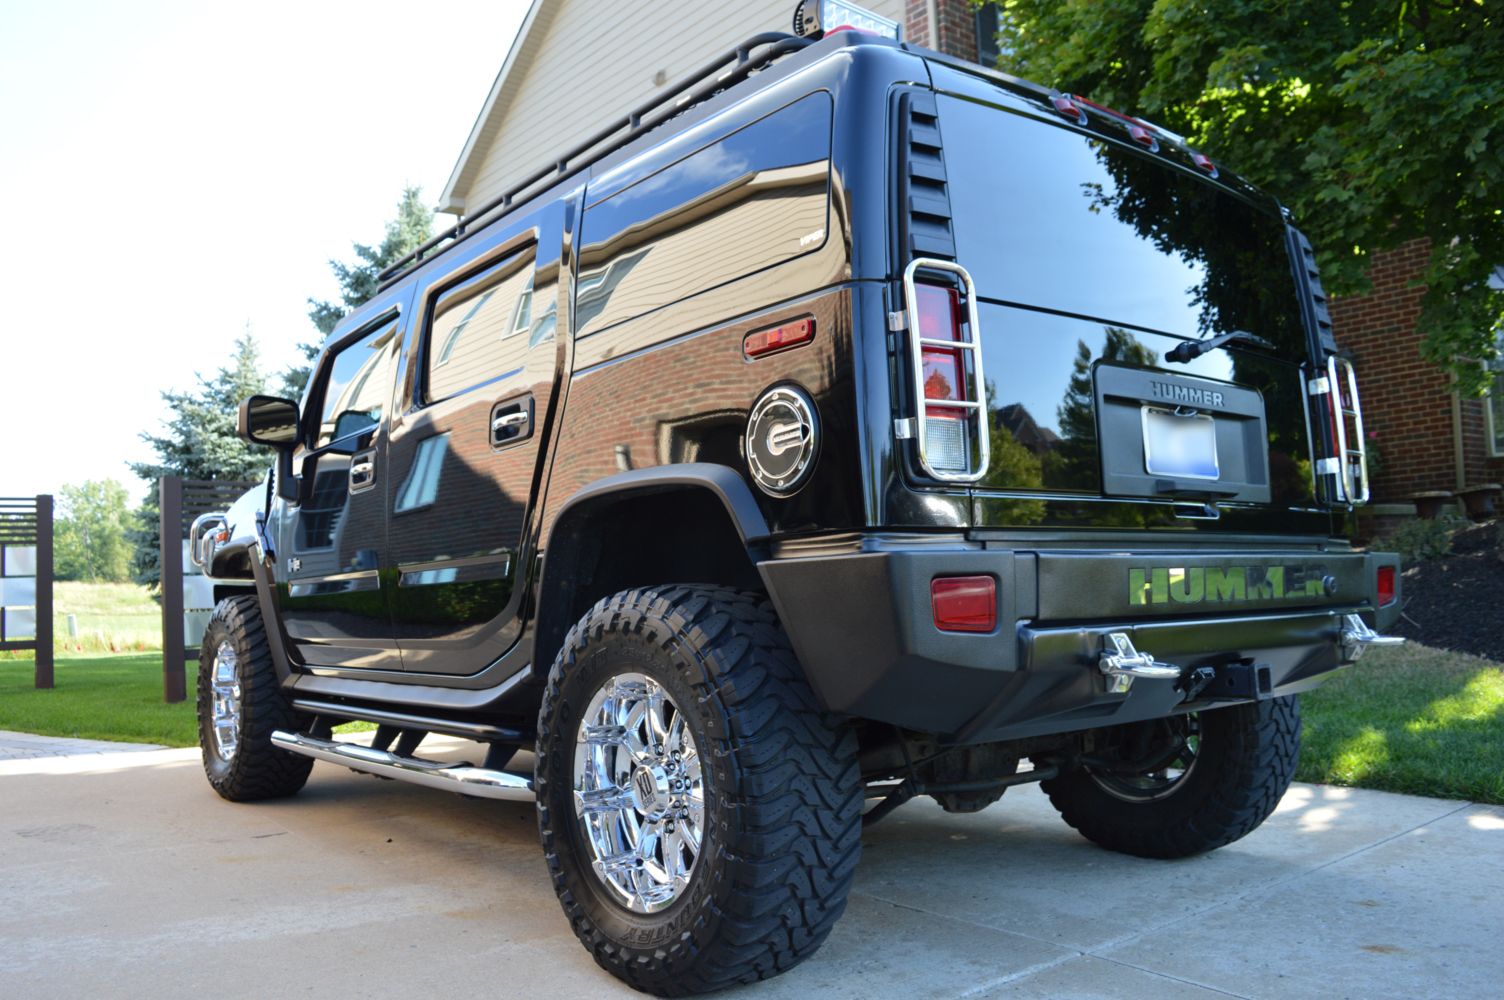
All done! Sorry for the lack of sun shots, sadly a storm was coming in and the car got rained on literally 30 minutes after I left
Interior pics to follow...
Anyway, this customer originally called me about polishing some chrome on her Hummer. It got driven in the winter then stored until spring/summer and unfortunately wasn`t cleaned before storing, and the chrome showed everything the worst. She wanted it looking respectable again so I came out and spent 4 hours just cleaning/polishing the wheels and the chrome trim all over the vehicle. 4 hours, a wash, HD Metal, #0000 steel wool and lots of microfibers and the chrome was looking good again. After this we discussed what else the car needed and I was told to "do whatever you think it needs." After talking we settled on a single step correction with some focus on a few areas where I would also compound to take out some of the really bad areas. As badly as the paint needed a 2 step at a minimum, with its age and history I don`t think it was worth pursuing that much work for what is a daily driver when they are in Michigan for the summer months.
Fast forward a week or two and I showed up to do the work. I`ll let the pictures do the talking for the most part. As for my products/process, im trying my best to remember what all was done, its been awhile since I did this one. Total time spent was about 25+ hours inside and out. Unfortunately for this rare circumstance, the bulk of the roof was unable to be done as I would of needed probably 6 guys to get the rack off the roof safely, assuming they were all 6ft 6in tall at a minimum! It was a honeycomb pattern with no way to even touch the paint.
Wash/Decon
Wheels - Griots HD cleaner and Megs Wheel Brightener (barrels)
Wheel sealant - Hydro2
Tires - Tuff Shine tire cleaner w/ low profile tire brush
Wells - OPC 3:1
Presoak - 3oz CG Citrus wash red w/ about 2oz of PB Bug squash in foam lance followed by pressure rinse
Wash - Megs Hyper wash
Decon - Nanoskin fine grade mitt using wash soap as lube
Correction
Most work done with PB SSR2.5 on Buff n Shine green polishing pads on a Rupes 21
Bad areas got SSR3 with 3" LC wool polishing pad on the Flex PE-8 followed up with SSR2.5 with 3" flex orange cutting pad via PC w/ 3" BP
Tighter areas done with same combo on the PC above.
Rinseless washed using megs RFEW after correction
Finishing steps
Sealed with PB EX-P Sealant
Tires - PERL @ 1:1
Trim - PERL @ 3:1
Chrome sealed with Hydro2
As youll see, the paint was trashed. Apparently it was originally owned by the Canadian mounties from what Im told and who knows what it got put through. It eventually made its way to the US and was sold at auction before ending up in my customers driveway. The paint had MANY RIDS and deep scratches that were not coming out safely. Lots of long deep scratches all felt with a fingernail easily. The paint was still very dull and had its fair share of swirls that could be worked with. My guess is that it had its fair share of run ins with trees and bushes in its time up in Canada. But who knows? It also had some signs of some poor detailing done at some point of its life as there were numerous buffer trails and holograms all over the paint.
I was also asked to do the interior as well at a later date, those "after" pictures are included as well. Wont get into much detail with those as it was a pretty straightforward interior clean up.
Vehicle when I showed up
Wheels and Tires
Tires are filthy
Tuff Shine working its magic
Filthy barrels, often neglected part of wheel detailing
All cleaned up
Foam time!
Condition of the paint around various areas
Couple before/afters during the process
50/50 shot as I worked across part of the roof
Gotta add a picture of the tools!
All done! Sorry for the lack of sun shots, sadly a storm was coming in and the car got rained on literally 30 minutes after I left
Interior pics to follow...