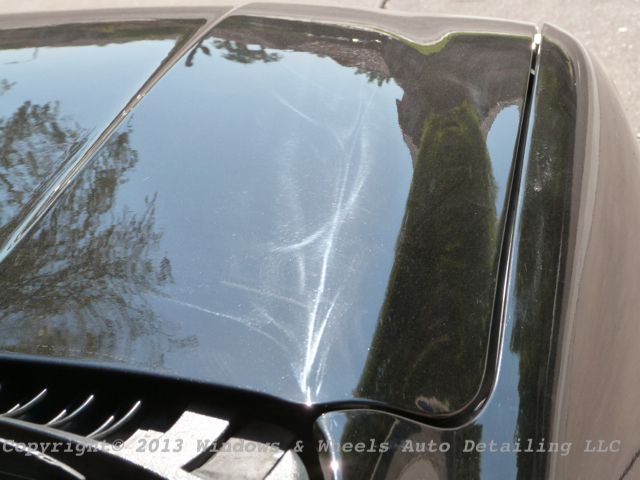
See, told ya so.
This was actually a cold call from a guy who owns a small used car dealership a couple miles from where we live. He LOVES his truck...loves it. And I will say it was very very clean. He is one of those, wipe it down every day before and after work kind of people. He wanted an interior clean up (again it was quite clean already but he wanted it more detailed hehe) and of course...the paint corrected.
He told us up front it wasn't the best paint job in the world...he didn't lie. Fish eyes were abundant and of course the rotary buffer trails were all over too. Then add to it that this paint was DIFFICULT to cut and even MORE difficult to finish down...well, you have an interesting combo for sure.
After we got it home we washed it up and then documented the condition of the paint...
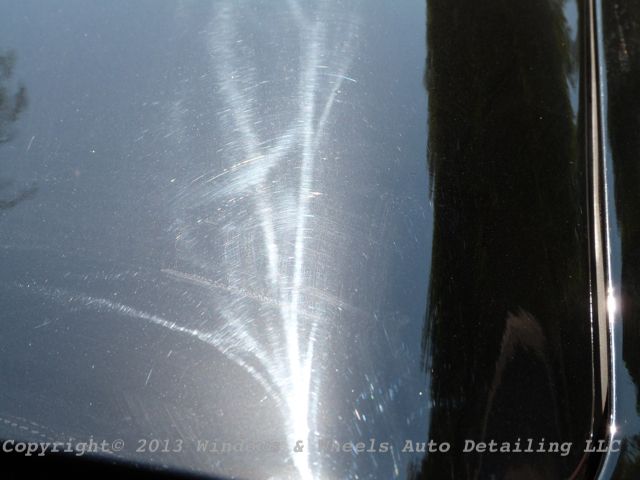
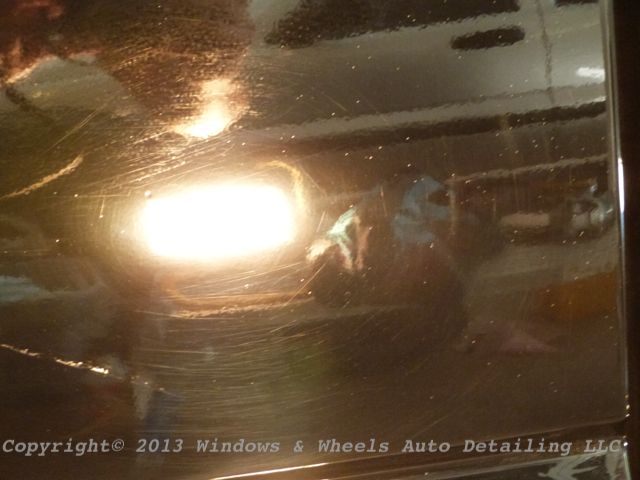
Swirls to go with those holograms?

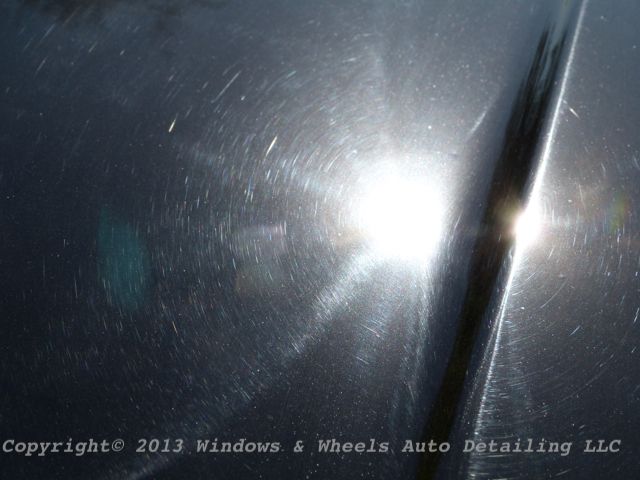
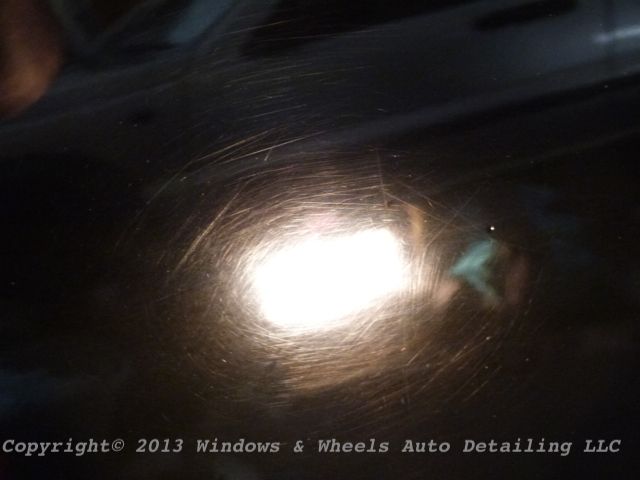
This is what we call the "Rotary Ghost Flame"....check out that artwork!
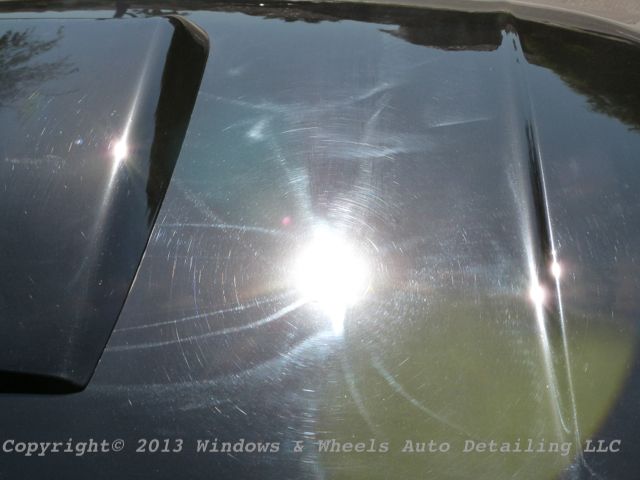
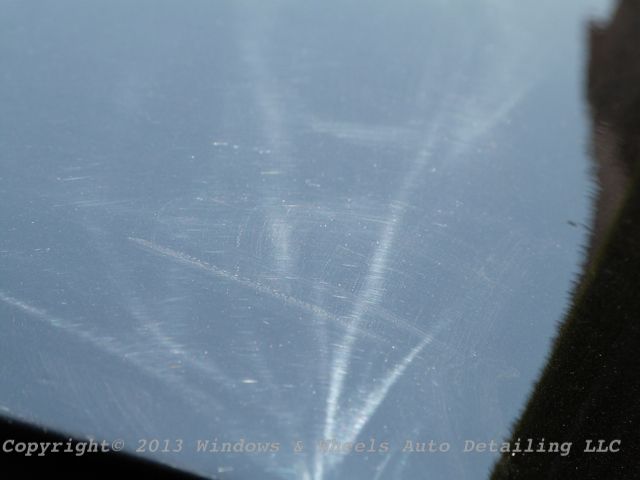
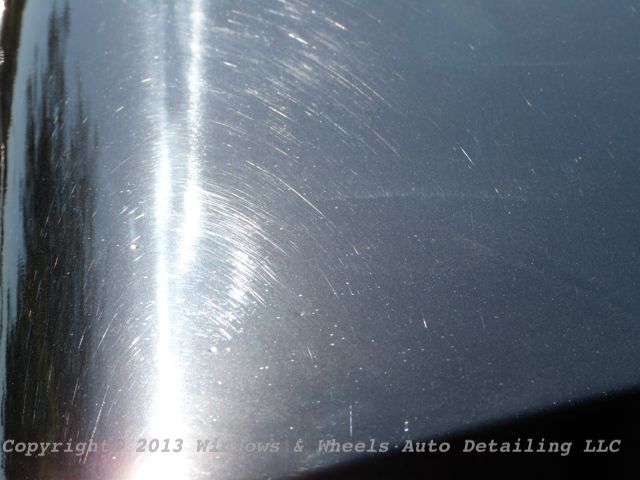
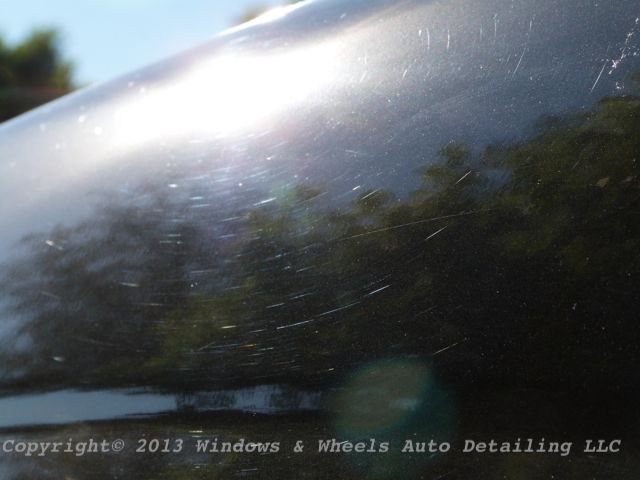
No surface was exempt, thats for sure.
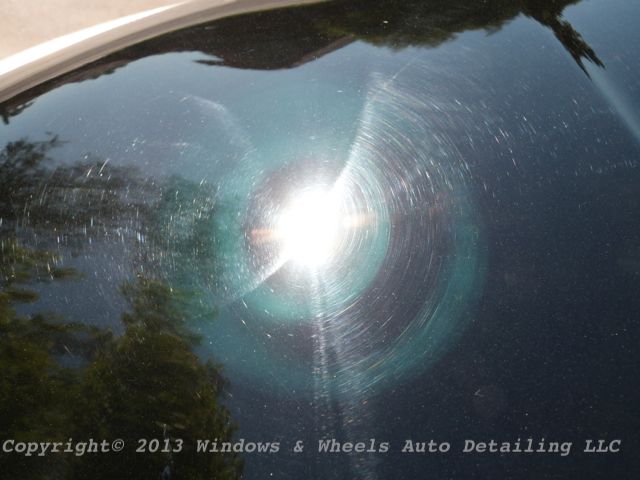
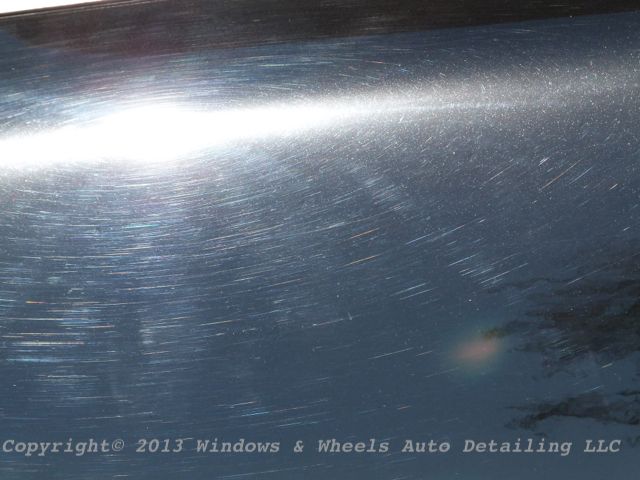
^^ Just wowwww on that last one....
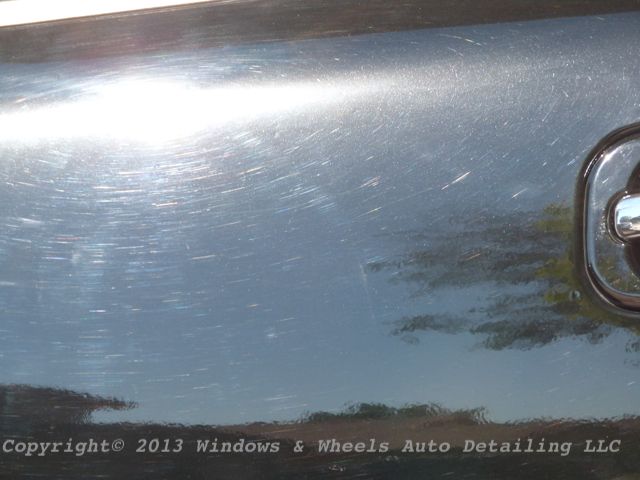
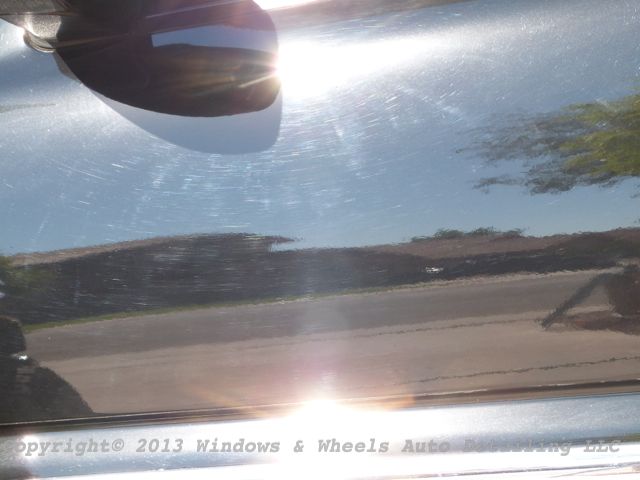
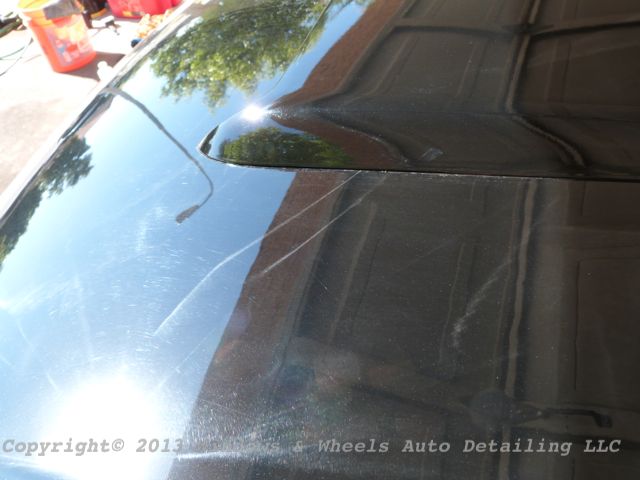
The classic straight line scratches...typical of dry wipe downs :-\
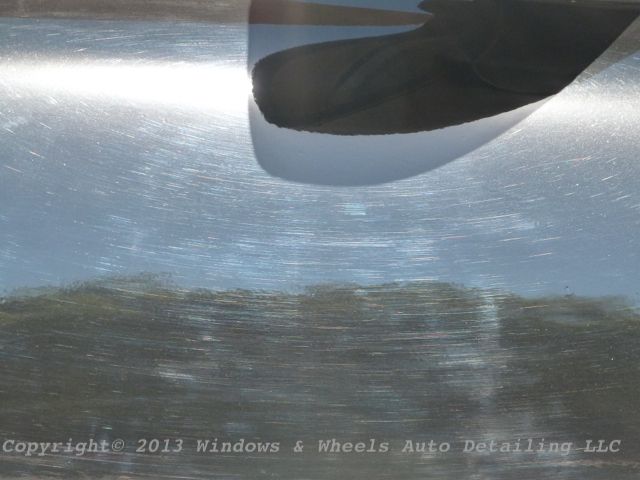
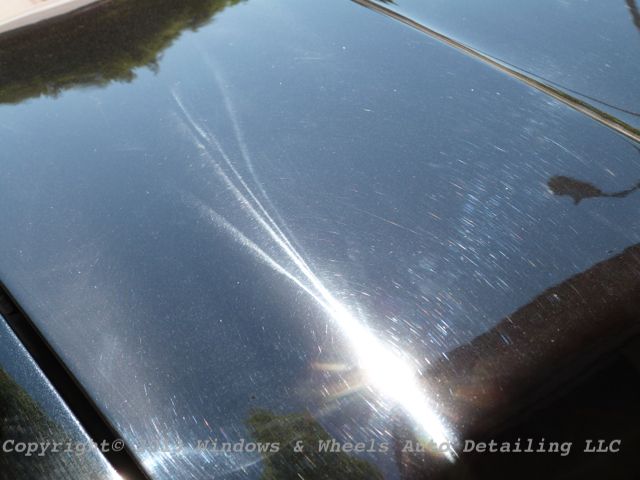
Holograms!!!!
Dani started out working her magic on the cab...using the dirt sniffer lol...
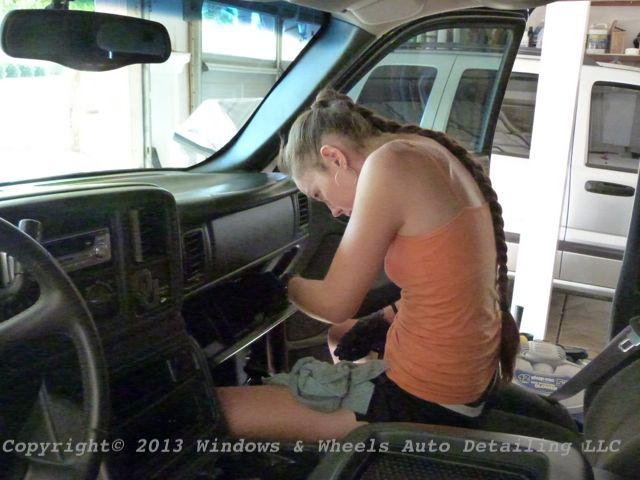
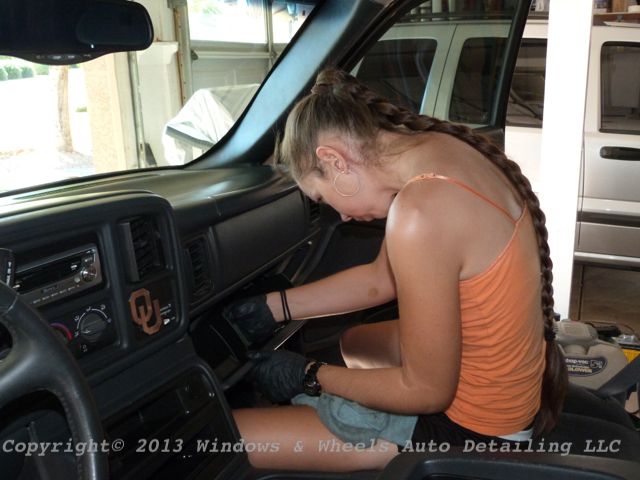
About the dirtiest part of the cab:
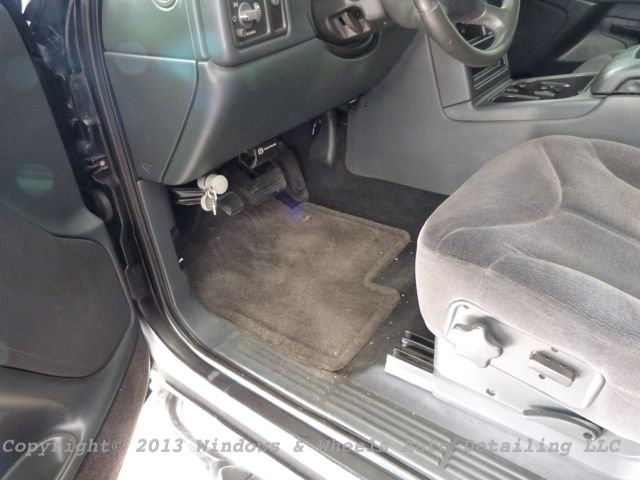
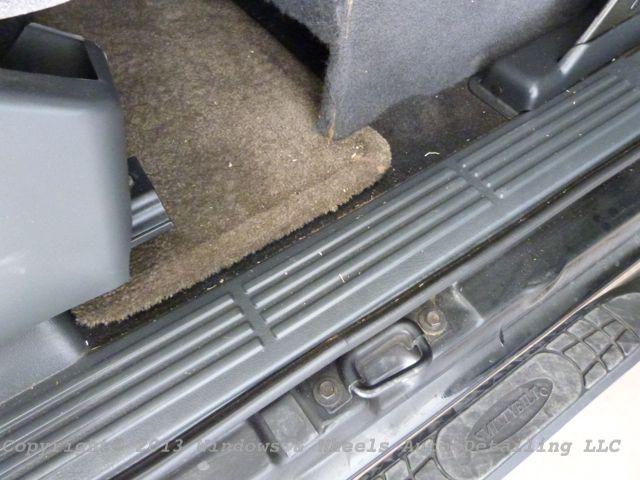
Meguiars #40 = Vinyls best friend
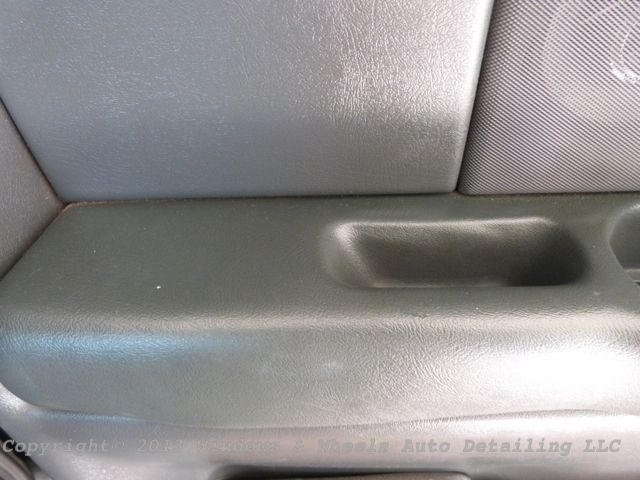
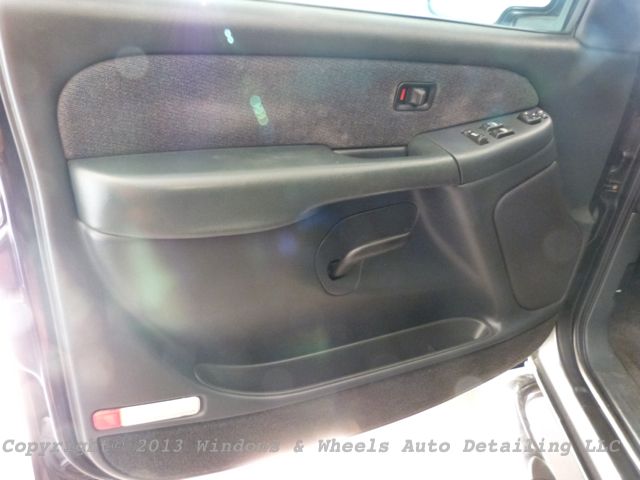
Not a huge turn around but a nice spruce up
Ok back to the fun:
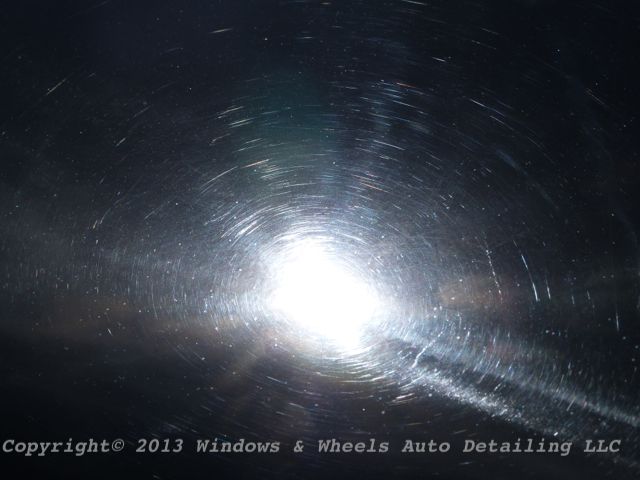
Orange peel ? lol
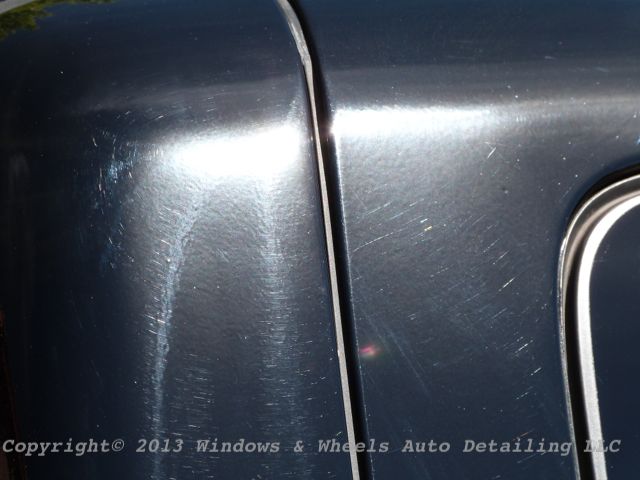
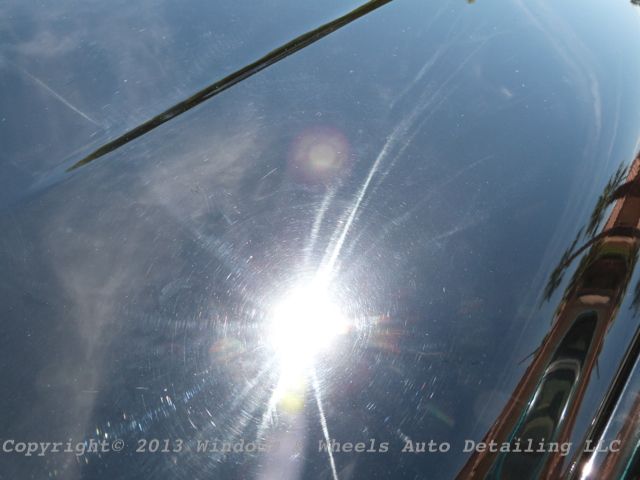
Ok i have about 30 more pics show just how BAD this paint was but, i think at this point it would be overkill
This i will share though....left over sanding marks..yay!
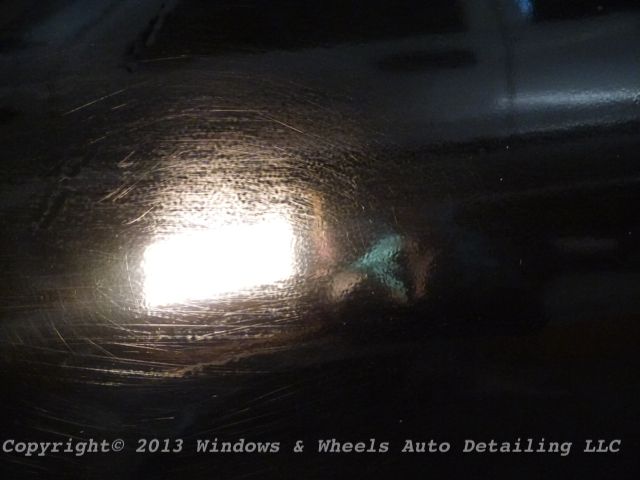
Good lord.... sorry i just dont know what else to say that would be 'politically correct' lol
After working out a test section...we recognized this:
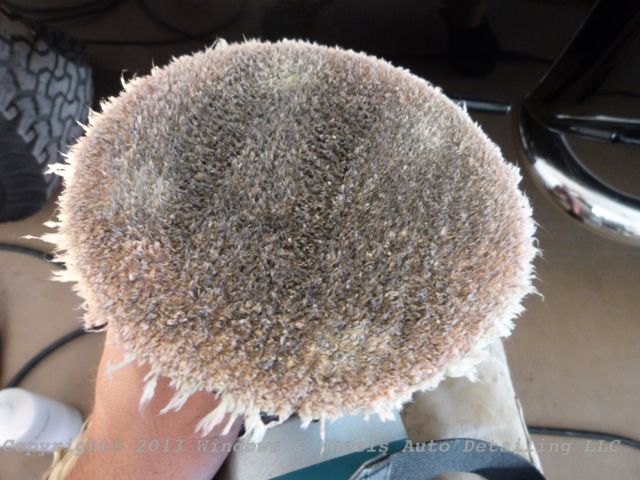
Tinted clear! We had come across this once before on a 460 LS Lexus, but it was only slight black transfer, this truck had SERIOUS transfer going on!
So i started attacking these:

It took a couple of cuts with 105 and the LC MF pad i was testing out, but they came out. A little tinkering was needed when it came to the pressure we had to use when finishing it down. Slower speed was a big help and reduced scouring left from the polishing step. Turned out pretty good :
Not a perfect line but, 50/50ish shot lol
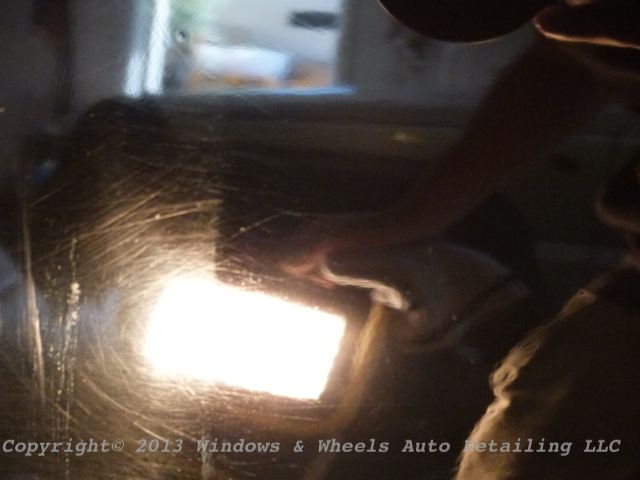
Annnnd then there were more:
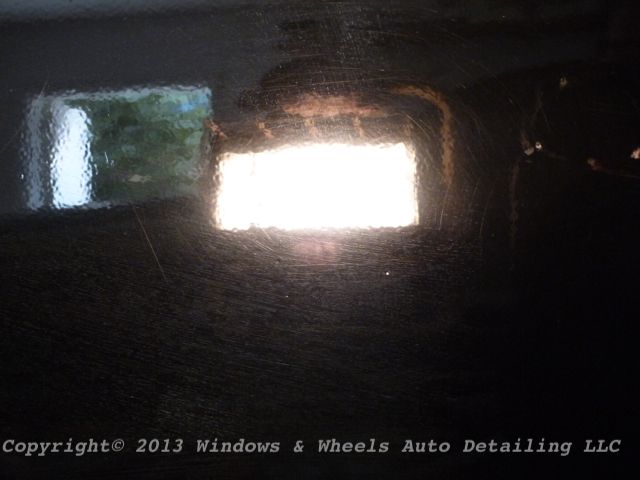
After compounding marring was seriously visible but, its what we were looking for.
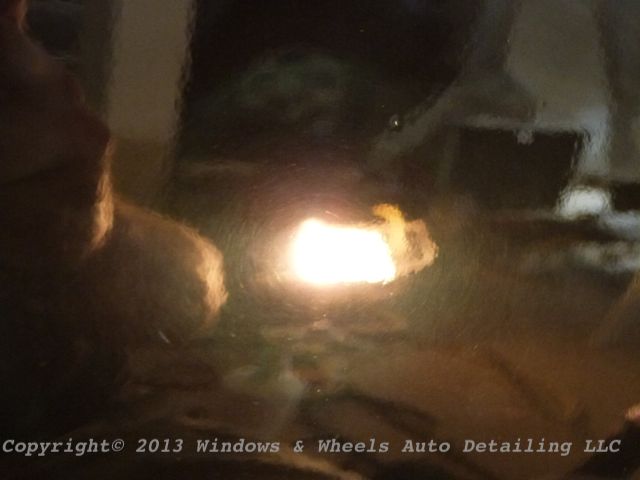
Every panel looked the same...tons and tons of deep scratches and swirls:
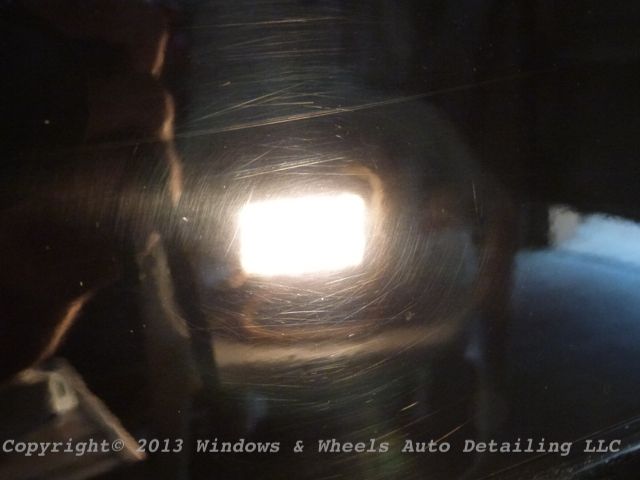
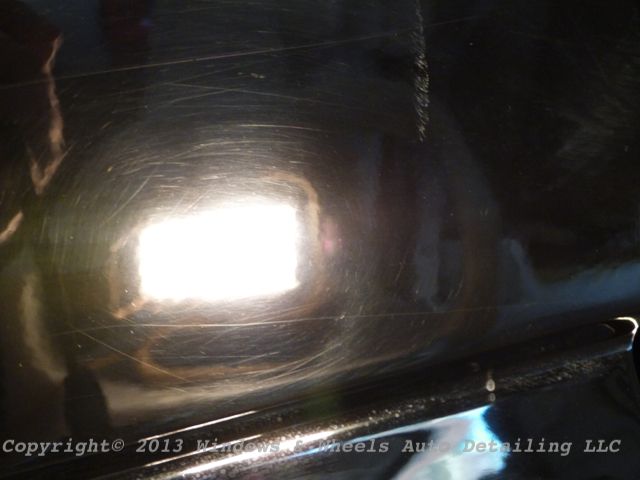
Oh and drips (as seen above) there were those too lol. And fish eyes...
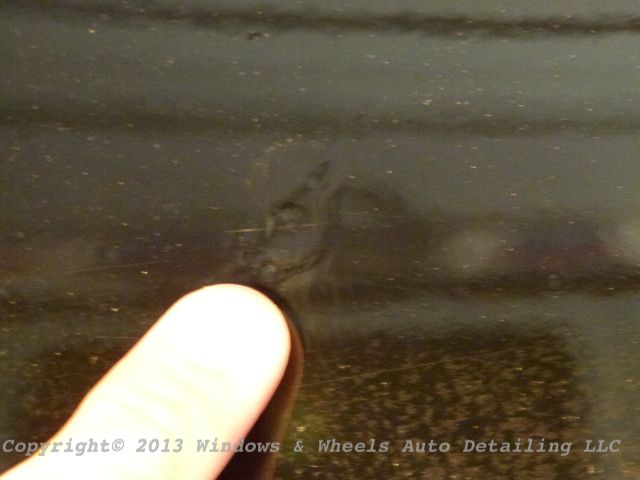
This paint was not going to be PERFECT but, what we could do for it (polishing it and knocking all these holograms and swirls out) would definitely make a huge improvement. This was a seriously long detail that lasted well into the night but...towards late afternoon we had some panels looking sharp:
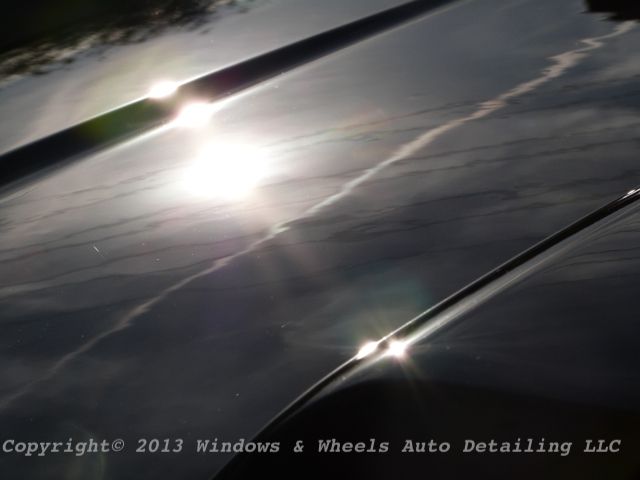
Othersssss, NOT so good:
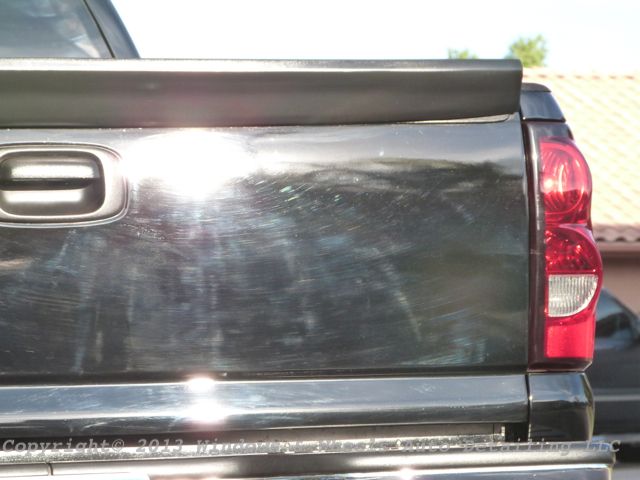
Yeah the tail gate was just trashed. I think whoever buffed it just slapped a whole sheep's *** on the backing plate and went at it.
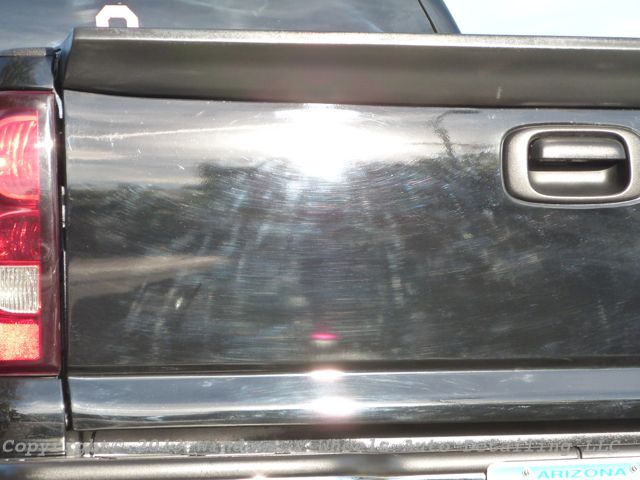
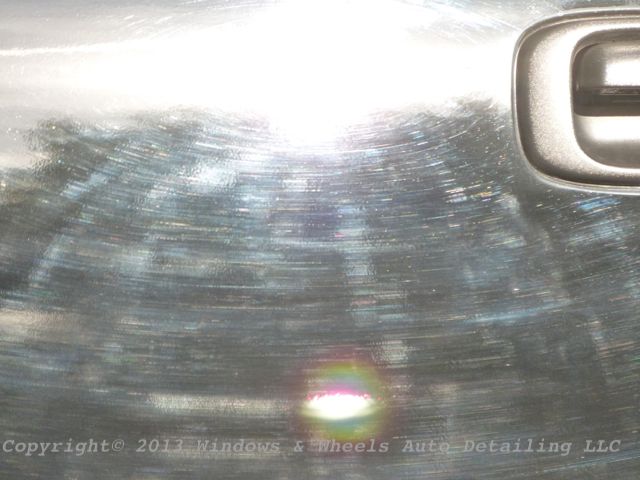
F*** me!
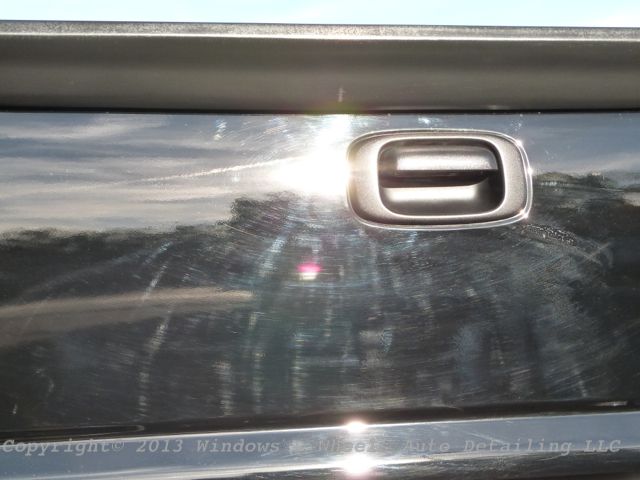
We managed to get 1/2 of the tailgate done in time to be able to capture a pretty nice 50/50 shot:
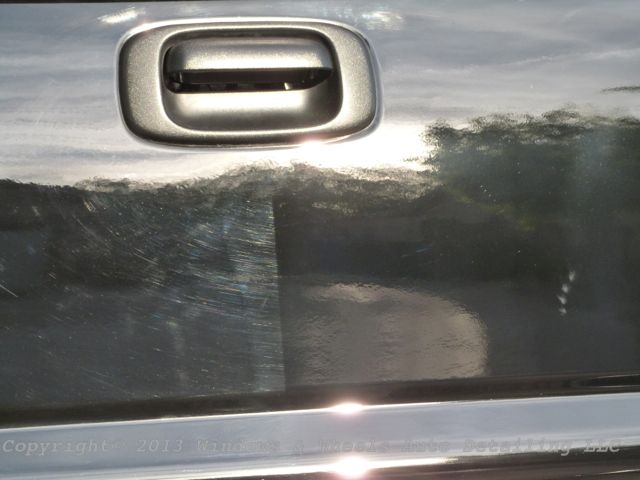
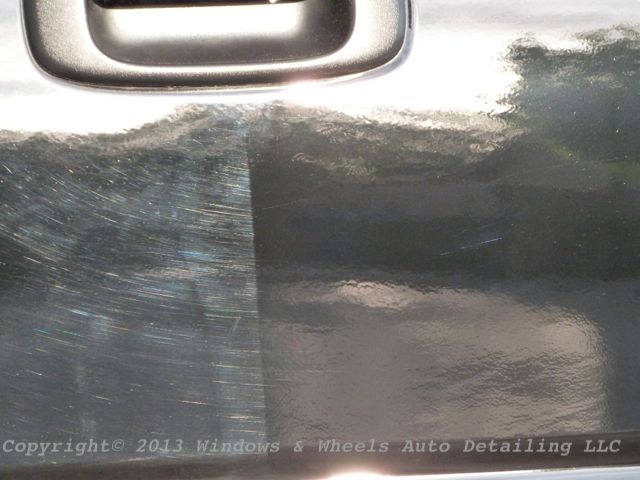
Pretty big difference huh?
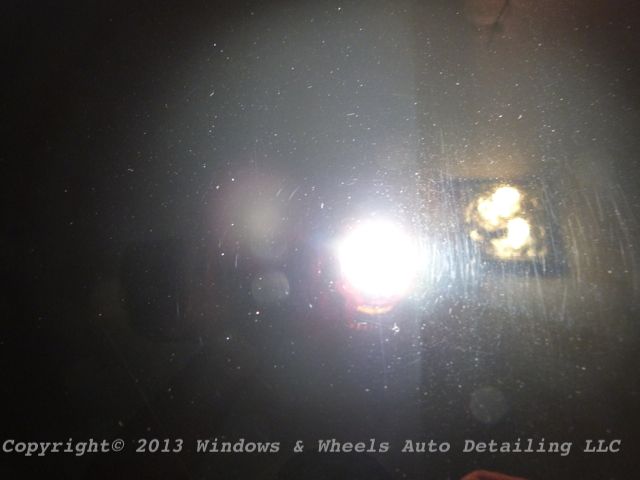
So like i said....well into the night the detail went. Me cutting like a mad man...Dani fighting to get this finicky paint to finish down well. You can see here it was ALMOST good, but a little bit of marring still remained on the left side (finished side...or ALMOST finished side lol)
This baby was pretty tall so...i had to take care of the final polishing on the hood. Dani could have done it for sure but, was just easier for me to reach:
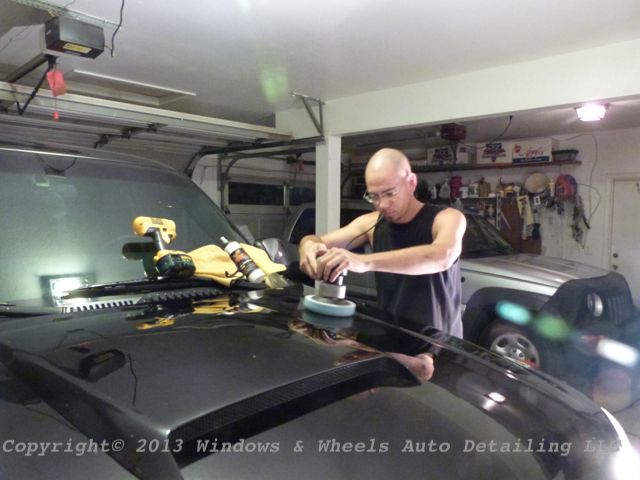
As you can see, its dark outside lol...concentrating, trying to get it to finish up right...
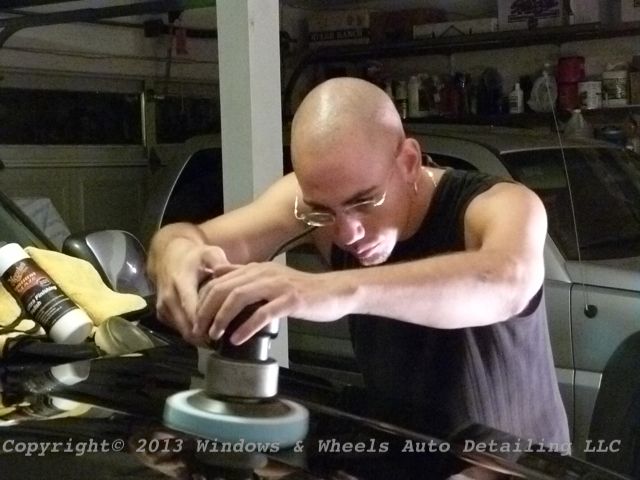
Time to remove:
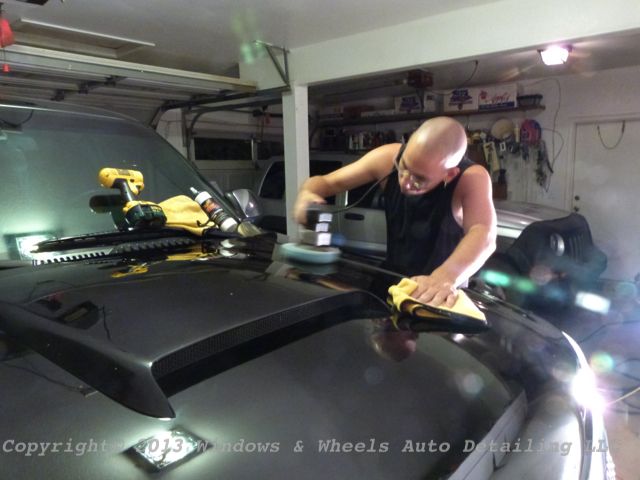
Eh, still a little haze left :-\...do it some more:
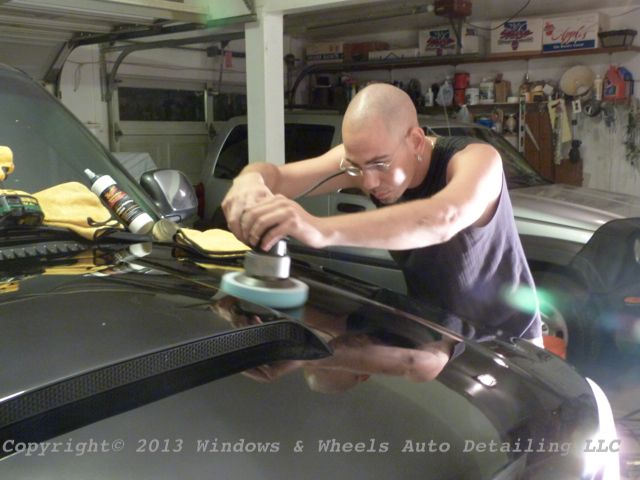
Morning came....we had to park the baby outside for the night because it was too long to keep it in the garage! So, we draped it with sheets to cover it and keep it from turning into a dust magnet. The morning was nice and hot but, not perfectly clear...clear enough for some decent finished shots though :
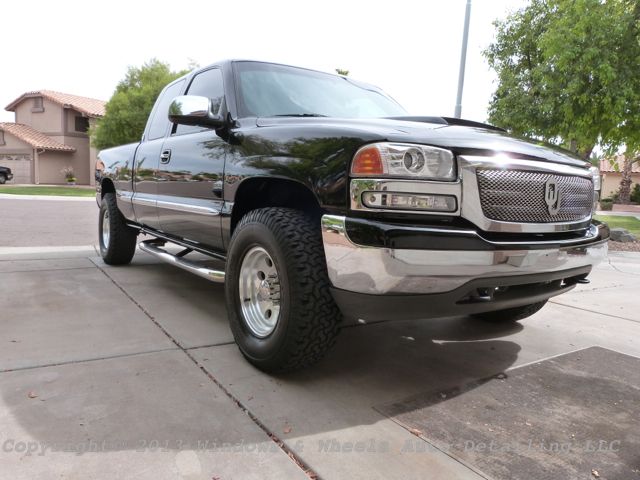
Oh yeah, he liked the Sooners...a lot lol
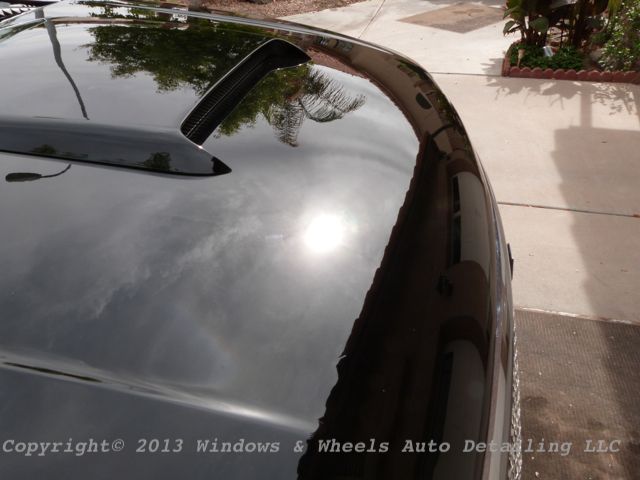
Not bad huh?
Really nice reflection:
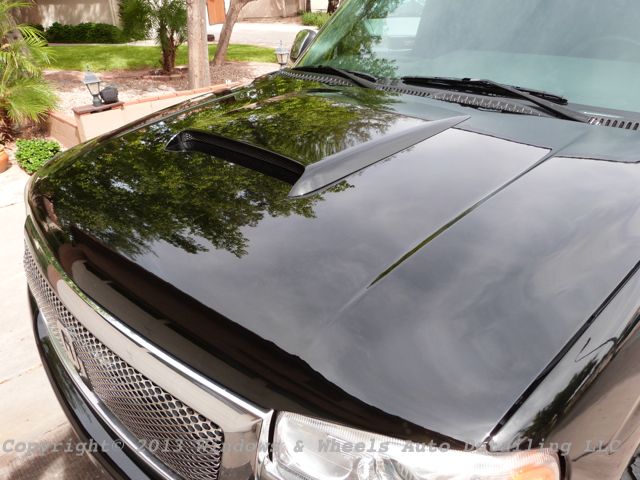
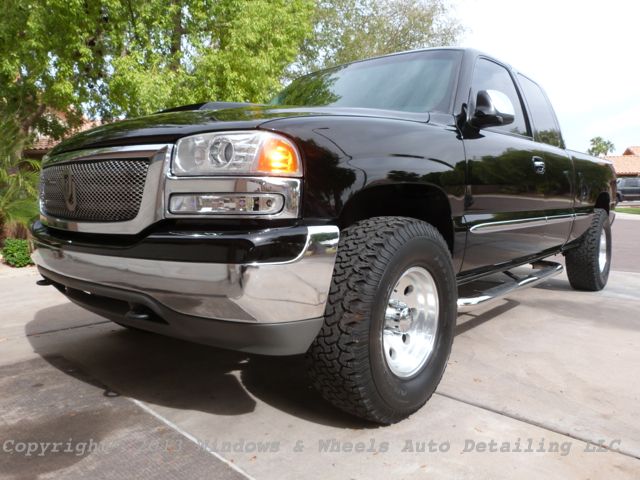
Looking nice from a distance as well:
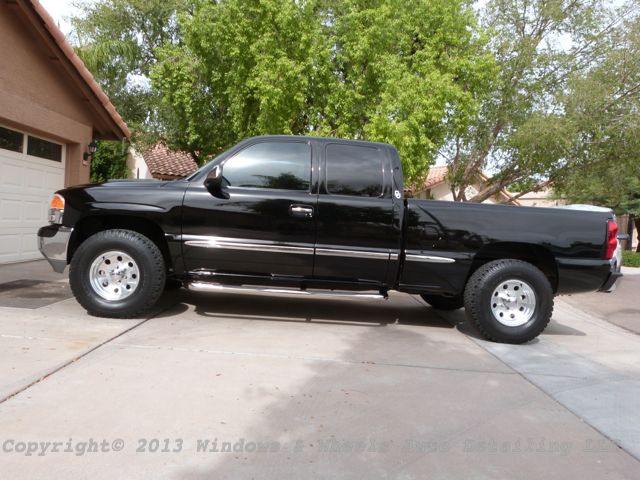
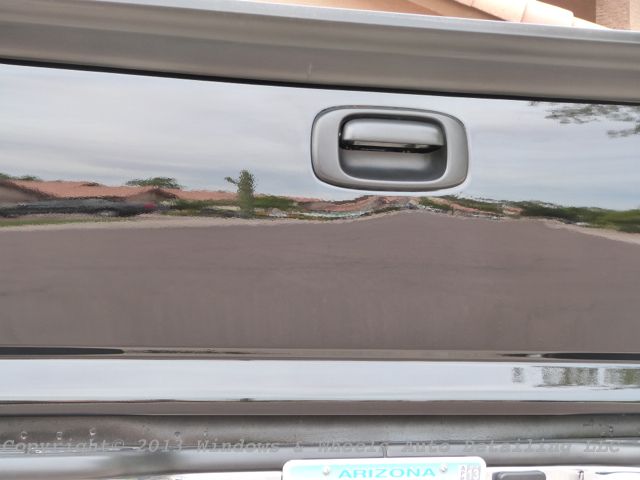
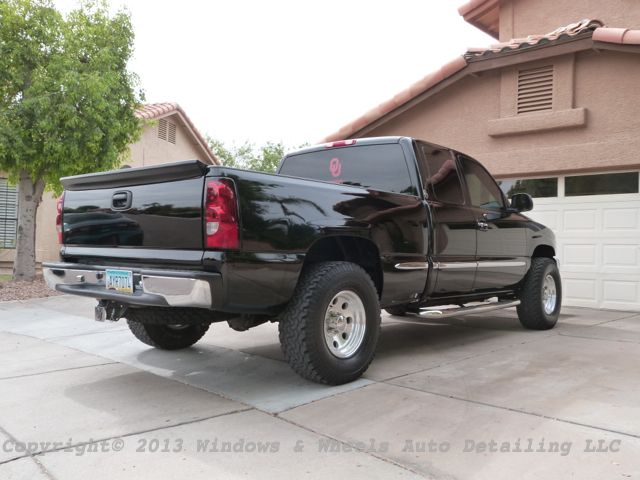

Hey, its me!
This shot was pretty nice. Megs #20 Polymer Sealant has been a stable in our arsenal since the beginning...and thats what we used on this baby. Looks nice, easy to work with in ANY weather (hot, humid...whatever) and gives some long durable protection.
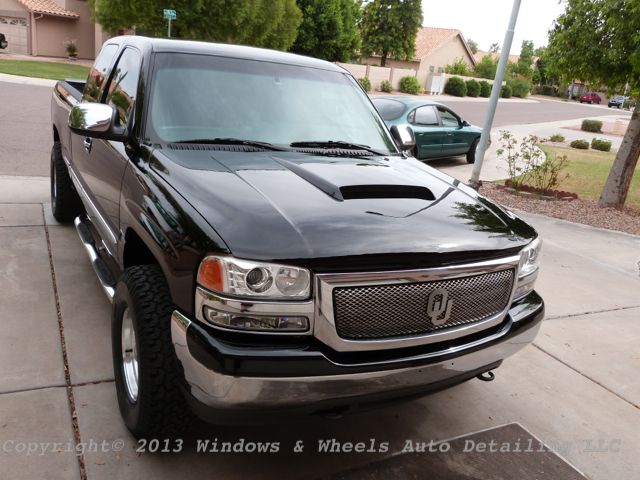
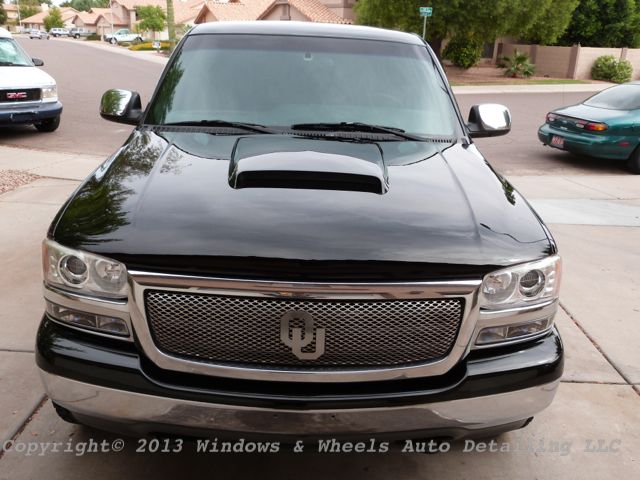
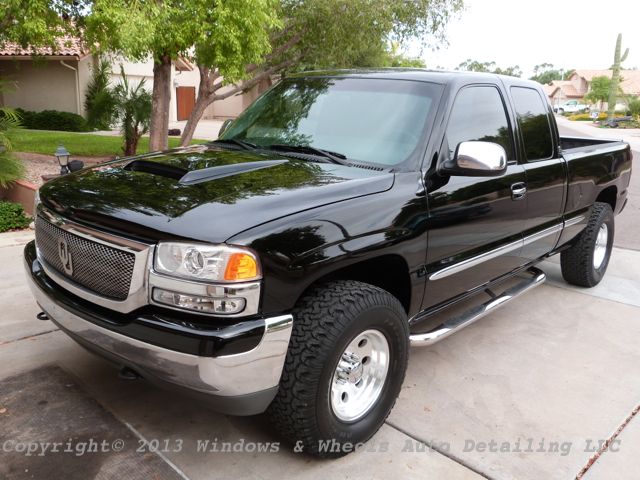
We delivered it to the owner and he was more than pleased. This was back last summer when we did this detail...and while it turned out very nice...this story has sort of a sad ending. All though it looked great upon delivery...it didn't last. The owner called us back up about 2 months ago to ask for a re-seal on it...we went to go pick it up and it was just...damn :-\. While there were no holograms or sanding marks...it was covered with straight line scratches from wipe downs...i guess its inevitable on paint like this.
The paint was actually SO soft that, just applying a fresh coat of sealant actually cause my pad to turn back. #20 has a light cleaner in it...and it was enough to make my red finishing pad turn black after just sealing the hood. *sigh*...well..guess you can't win em all huh?
Maybe next time we can see if he'll go for Opti-Coat and maybe the harder coating will help to keep it in shape, we'll see.
In the end, it was still a very nice out come (for a while) and a very challenging detail due to the HORRIBLE initial condition, the fact that it was black, how UNcooperative the paint was and of course the sheer mass of the beast! On repaints like this, test spots are a must and paying constant attention to how each section turns out is extremely important too. God only knows if certain areas were sprayed more than others...and obviously some areas were in WORSE shape (sanding marks left) than others. And of course..finishing the paint down correctly took a lot of extra attention to technique but, once we got it figured, it helped speed things up a BIT.
I'll say this...on paints that are hard to finish, definitely keep a CLEAN pad...as in...wipe the face after each section. Also, do manageable sections, not HUGE areas at once. Also, via Kevin Brown's advice (and our own tinkering)...rather firm pressure and slower speed helped reduce scouring significantly.
Hope you enjoyed the pics and the read...take care!
