Barry Theal
New member
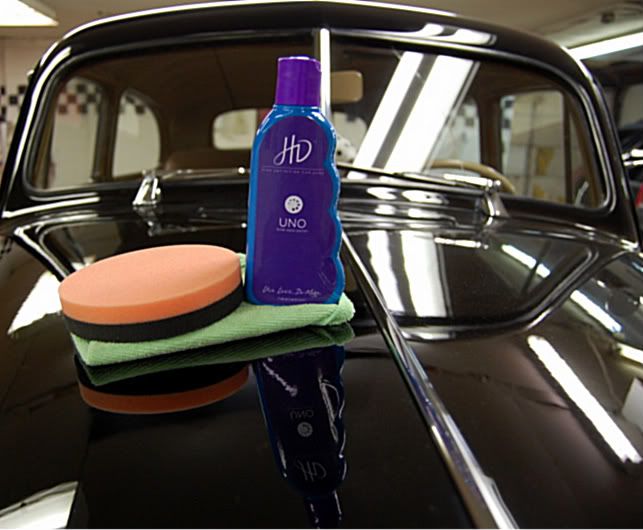
OK guys tonight I was sitting at my table and a knock on the door came. It was a package filled with HD UNO and a Orange foam pad. Here is what the products look like.
Now I'm gonna be extreamly honest here, If you know me you know I'm very cutthroat and to the point. No BS here. Truthfully, I'm a detailer who is stuck in his ways. although I do enjoy trying new products. I very rarly switch because of what I do works for me. Now when I first seen this stuff introduced. I'll admit I was a little biasee. I mean come on One polish to replace my whole arsenal. Lets get real. So I was eager to put this stuff to the challenge. There is only one way with me! As most of you know I love to sand. Now onto some pictures.
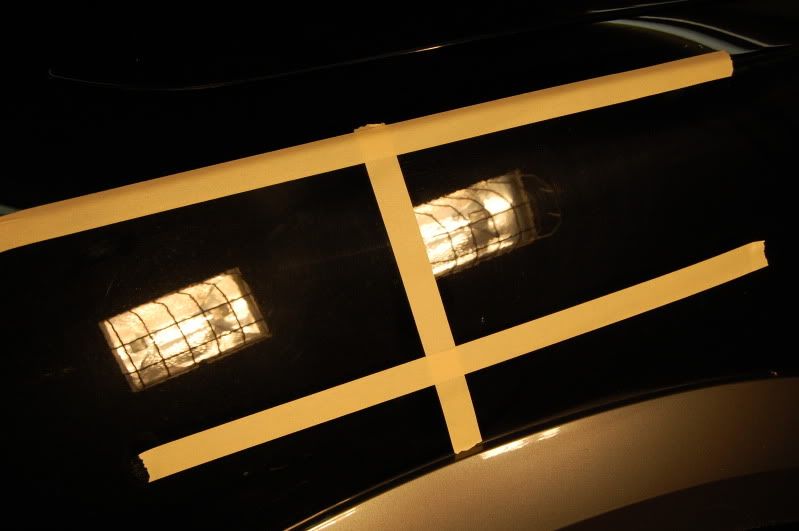
I laided a small section out on this vehicle and masked up!
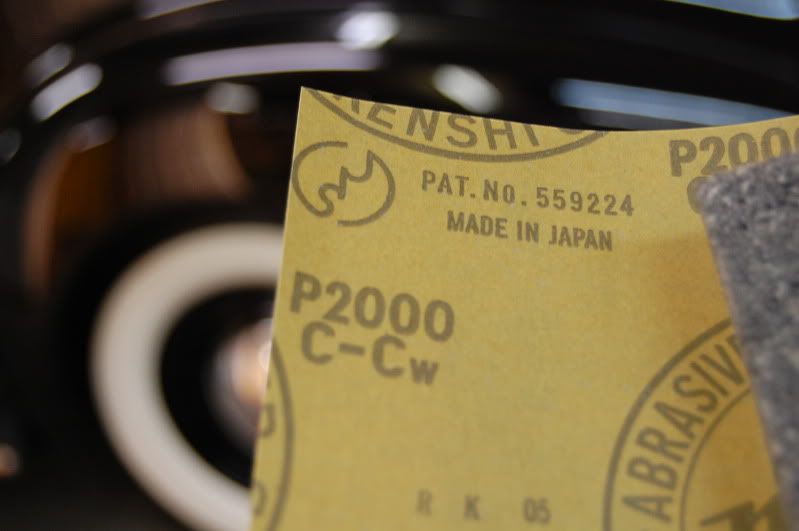
Next I grabbed a sheet of Mequiars unigrit 2000 grit and a sanding block.
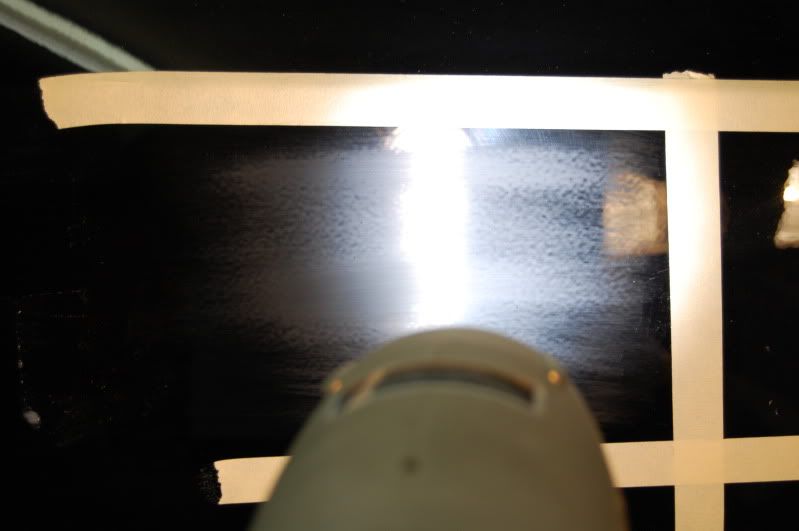
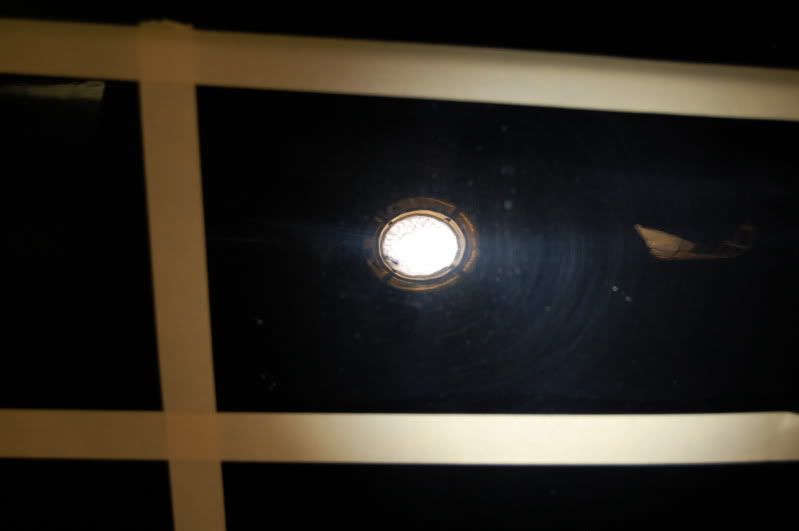
I scuffed up the left side fast and aggressive. I was trying to produce some tracers. ( NOT RECOMMENDED) Take notice you will see some heavier sanded spots where the low points are in the sanding. For those of unsure about sanding the higher points are the shiny dots not fully sanded in the orange peel. Here are two pictures the first shot shows both sides,The second shot shows the sanded side under the sun gun.

Here is a shot of the write side under sun gun. Gotta love swirls.
One thing I really thought was nice was that they sent you a phamplet with al there products and instructions in the handbook.
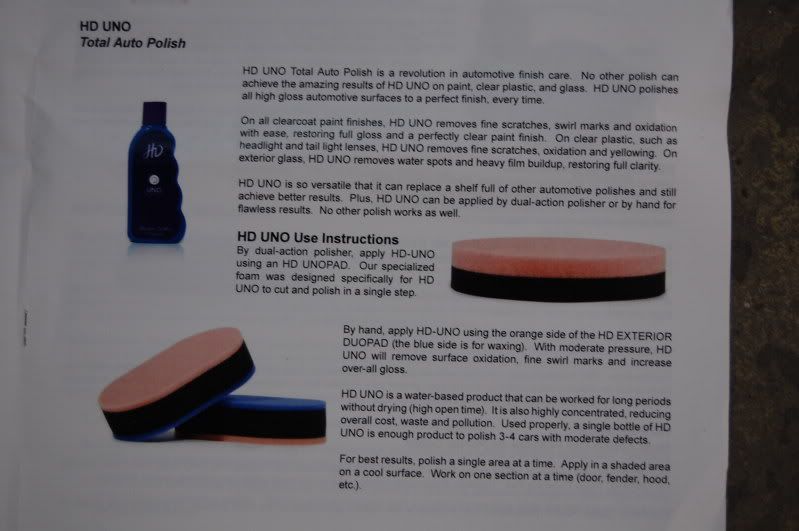
Inside close up page.
I Prime the orange pad with a mist of water then I place 4 small pea size dots on the pad at clock positions 12,3,6,9. I spread the product at speed 2 and cranked it up to speed 6 on the pc and applied pressure and after 2 passes I was able to completly remove a sanding scratches and finish down LSP ready.
I was simply blown away. Here is a camera flash of the left side and then one taken on the right side. Now notice the perfect flash. there is no way of hiding anything under the flash.
See the difference as compared to the untouched side.
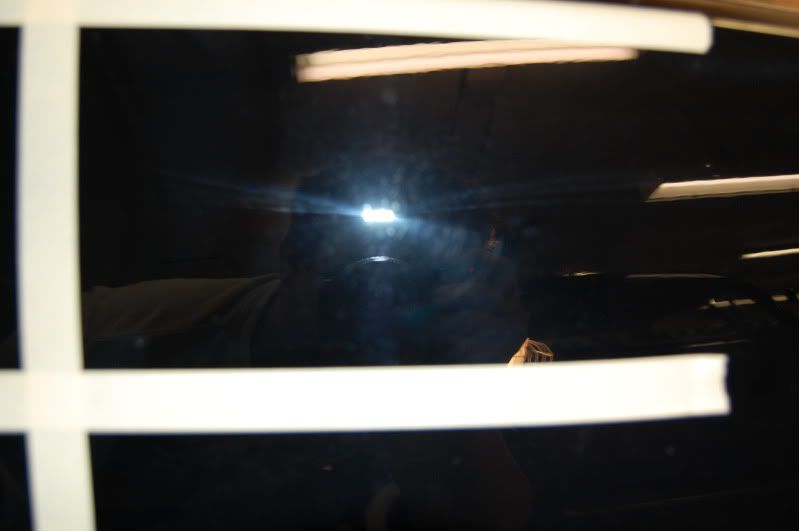
Take notice of the swirls and holograms. Nw you can see for yourself what HD Uno can do with one step.
I removed the tape and here you can see the difference.

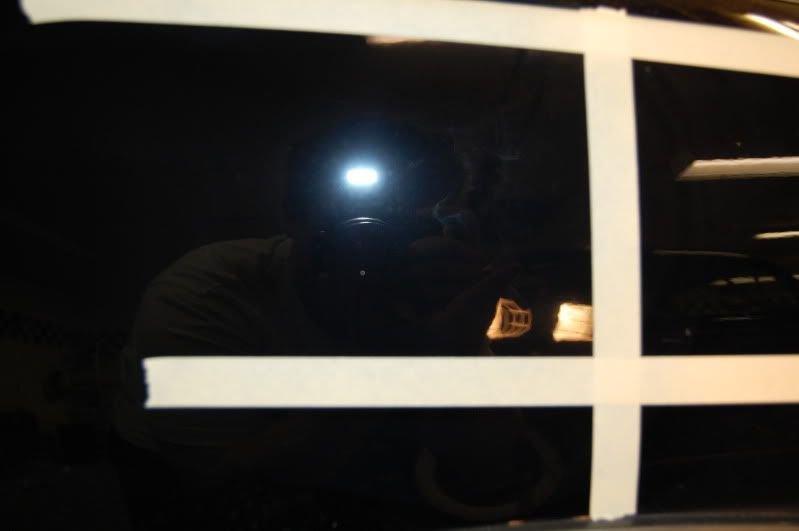
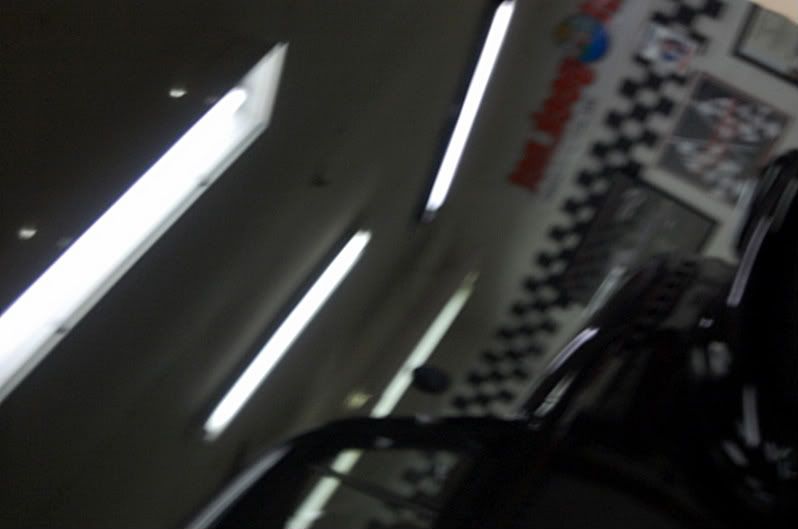
Here is a reflection shot of just HD UNO on the panel. Keep in mind this is two passes with a orange foam pad and HD UNO. I did a IPA wipe down then sprayed with water and dried. There was no polishing or waxing.
My final thoughts are this stuff will be pushing the limits on some serious detail products out there. Myself I use a lot of ardex products. Although I have tried many over the years. Some impressed me and some haven't . I can see this stuff making an impact on the market. It was really easy to clean up. No mess. It comes in a great container and Overall this is a very nice product with a lot of versatility. The orange pad is gonna be a must. Never seen anything like it. I wanna try it on rotory. From a bull headed cut throat detailer who dosen't change my ways, I will be adding this to my arsenal. This a a very highly recommended product from me for the weekend detailer to the professional.
David thank you for the chance to try it. My wife also thanks you for burning more of a hole in my business bank account. I will defintly adding this stuff real soon to my shelf of goodies. Hope you enjoyed the reveiw. :dance
Barry
Now I'm gonna be extreamly honest here, If you know me you know I'm very cutthroat and to the point. No BS here. Truthfully, I'm a detailer who is stuck in his ways. although I do enjoy trying new products. I very rarly switch because of what I do works for me. Now when I first seen this stuff introduced. I'll admit I was a little biasee. I mean come on One polish to replace my whole arsenal. Lets get real. So I was eager to put this stuff to the challenge. There is only one way with me! As most of you know I love to sand. Now onto some pictures.
I laided a small section out on this vehicle and masked up!
Next I grabbed a sheet of Mequiars unigrit 2000 grit and a sanding block.
I scuffed up the left side fast and aggressive. I was trying to produce some tracers. ( NOT RECOMMENDED) Take notice you will see some heavier sanded spots where the low points are in the sanding. For those of unsure about sanding the higher points are the shiny dots not fully sanded in the orange peel. Here are two pictures the first shot shows both sides,The second shot shows the sanded side under the sun gun.
Here is a shot of the write side under sun gun. Gotta love swirls.
One thing I really thought was nice was that they sent you a phamplet with al there products and instructions in the handbook.
Inside close up page.
I Prime the orange pad with a mist of water then I place 4 small pea size dots on the pad at clock positions 12,3,6,9. I spread the product at speed 2 and cranked it up to speed 6 on the pc and applied pressure and after 2 passes I was able to completly remove a sanding scratches and finish down LSP ready.
I was simply blown away. Here is a camera flash of the left side and then one taken on the right side. Now notice the perfect flash. there is no way of hiding anything under the flash.
See the difference as compared to the untouched side.
Take notice of the swirls and holograms. Nw you can see for yourself what HD Uno can do with one step.
I removed the tape and here you can see the difference.
Here is a reflection shot of just HD UNO on the panel. Keep in mind this is two passes with a orange foam pad and HD UNO. I did a IPA wipe down then sprayed with water and dried. There was no polishing or waxing.
My final thoughts are this stuff will be pushing the limits on some serious detail products out there. Myself I use a lot of ardex products. Although I have tried many over the years. Some impressed me and some haven't . I can see this stuff making an impact on the market. It was really easy to clean up. No mess. It comes in a great container and Overall this is a very nice product with a lot of versatility. The orange pad is gonna be a must. Never seen anything like it. I wanna try it on rotory. From a bull headed cut throat detailer who dosen't change my ways, I will be adding this to my arsenal. This a a very highly recommended product from me for the weekend detailer to the professional.
David thank you for the chance to try it. My wife also thanks you for burning more of a hole in my business bank account. I will defintly adding this stuff real soon to my shelf of goodies. Hope you enjoyed the reveiw. :dance
Barry
")