radarryan
New member
FLEX Swirl Finder Light Review
Disclosure: I received this FLEX Swirl Finder Light for free from Autogeek in conjunction with this giveaway. The only condition was that I produce a review, and it will have no bearing on my opinions given.
I was very excited to receive this light, especially since I have never owned a flashlight that most used for swirl finding, such as the standard-bearer Brinkman Swirl Finder. Rather, I have used a variety of LED flashlights, halogen work lights, and overhead incandescent/fluorescent garage lighting to assess and polish out defects.
This is the flashlight that I used most of the time to find defects:

This rechargeable flashlight has 80 LEDs that you can adjust to have the light hit the paint at the perfect angle. You can focus the light into one powerful spot, or have two spots at differing angles to help highlight the paint. Most of my opinions on how the FLEX worked is based off of this light, however more traditional flashlights, penlights, and work lights have all been used and were used in the past in conjunction with the other lights.
Before I get started I also wanted to say that I want to make this review as interactive as possible. I want people to be able to give certain tasks that they think would be beneficial and have me do it with the light and post it here – sort of a vicarious testing for you. But more on this later…
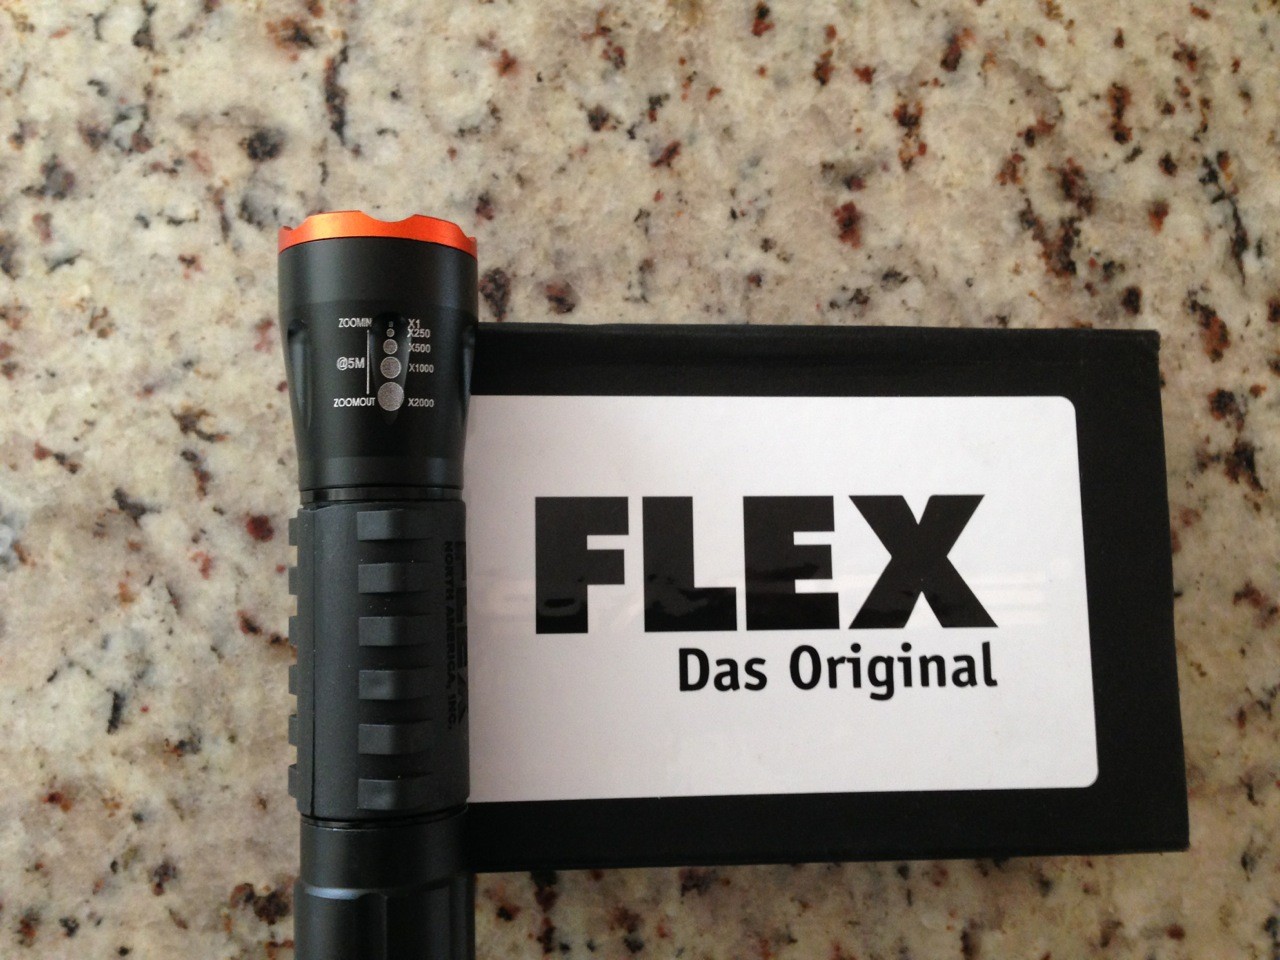
I first received the box of the FLEX Swirl Finder light and opened it up.


As you can see, it is a basic box with the flashlight and refill of batteries, as there are already batteries inside the flashlight, so it’s ready to go. The one thing I did notice is the box is ripped. I’m not sure if this is due to others using it before the giveaway or if it happened during boxing, but I wanted to note this in case people wanted a storage box that would last for a long period of time.

So, what is this flashlight, anyways?
“The FLEX Swirl Finder Light utilizes a 3-watt LED bulb that is able to illuminate swirl marks, spider web scratches, water spots, and other gloss-hindering paint imperfections. The focus of the beam can be adjusted depending on your distance from the surface. A three-stage tail switch toggles the beam between hi-power, low-power, and strobe settings.” Any other information on the FLEX Swirl Finder Light can be found here.
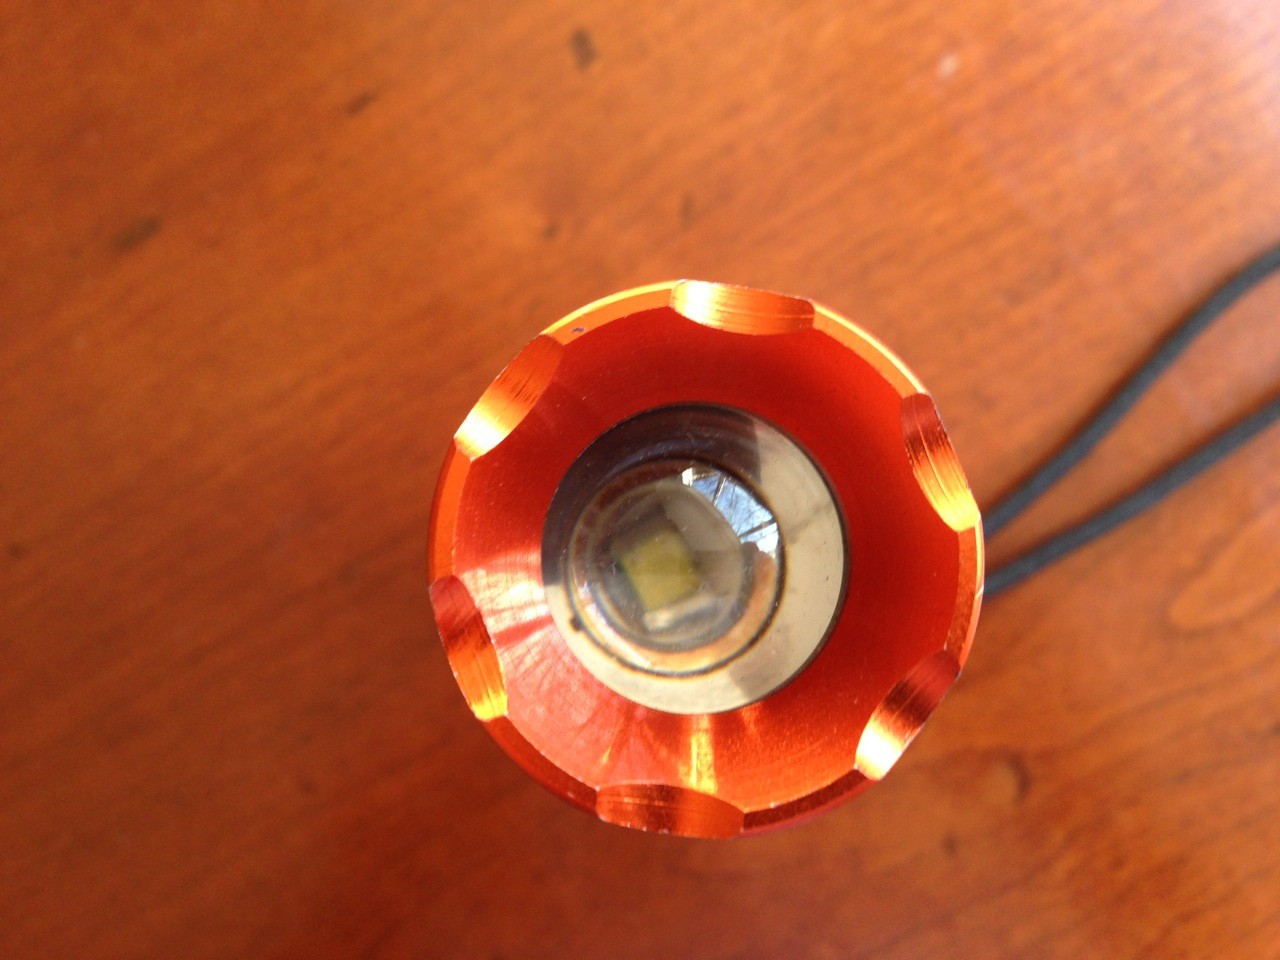
Here you can see the part of the light that can be adjusted, which changes the focus of the beam:
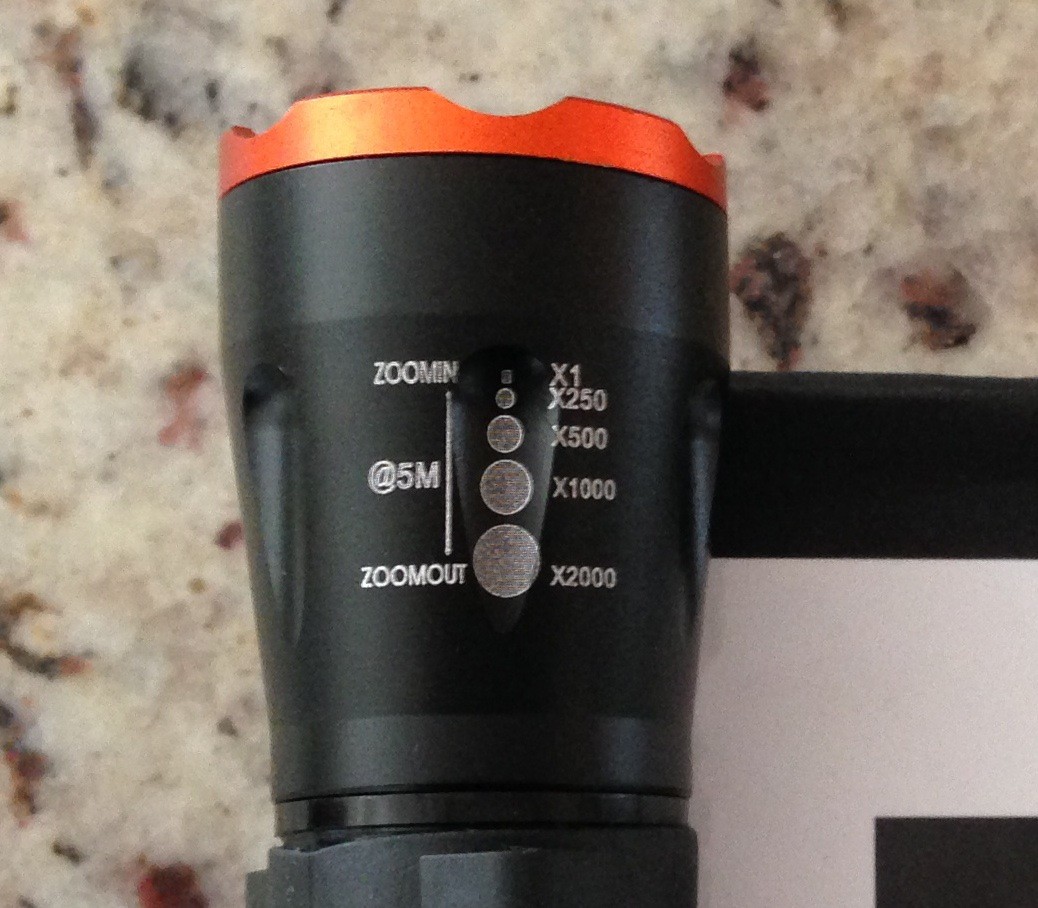
To turn on the high power, click once. For low power, turn the high power on, turn it off, and turn it on again. For the strobe light, turn it on, then off, on again, off again, and then finally on a third time for the strobe setting. It sounds difficult but it really isn’t that bad when you’re actually using it. Plus, I would imagine you would want to use the high power most of the time, so the fact that high power is first is probably no surprise.
I Found the Light… Swirl Finding Light, That Is
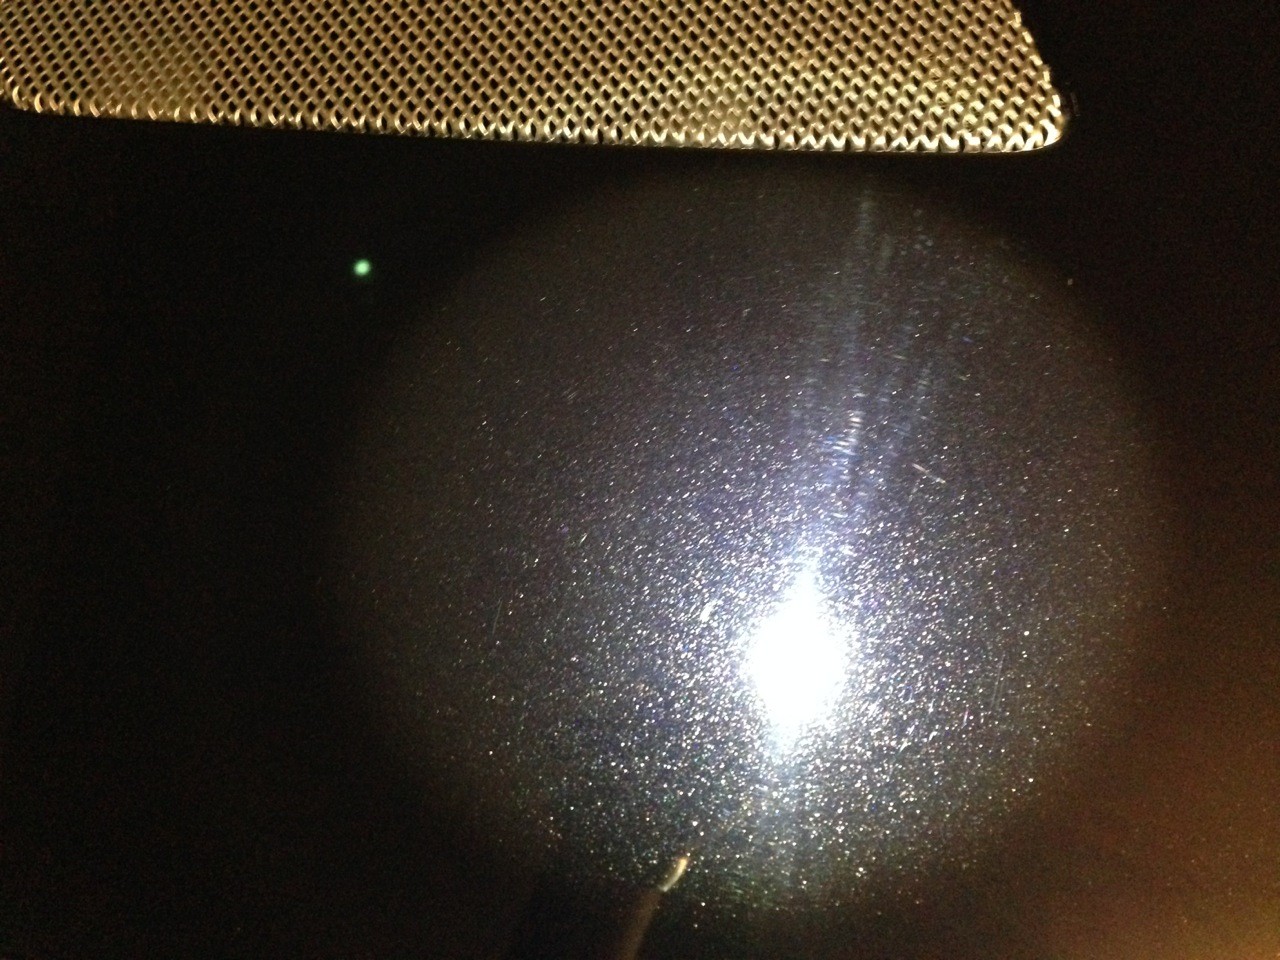
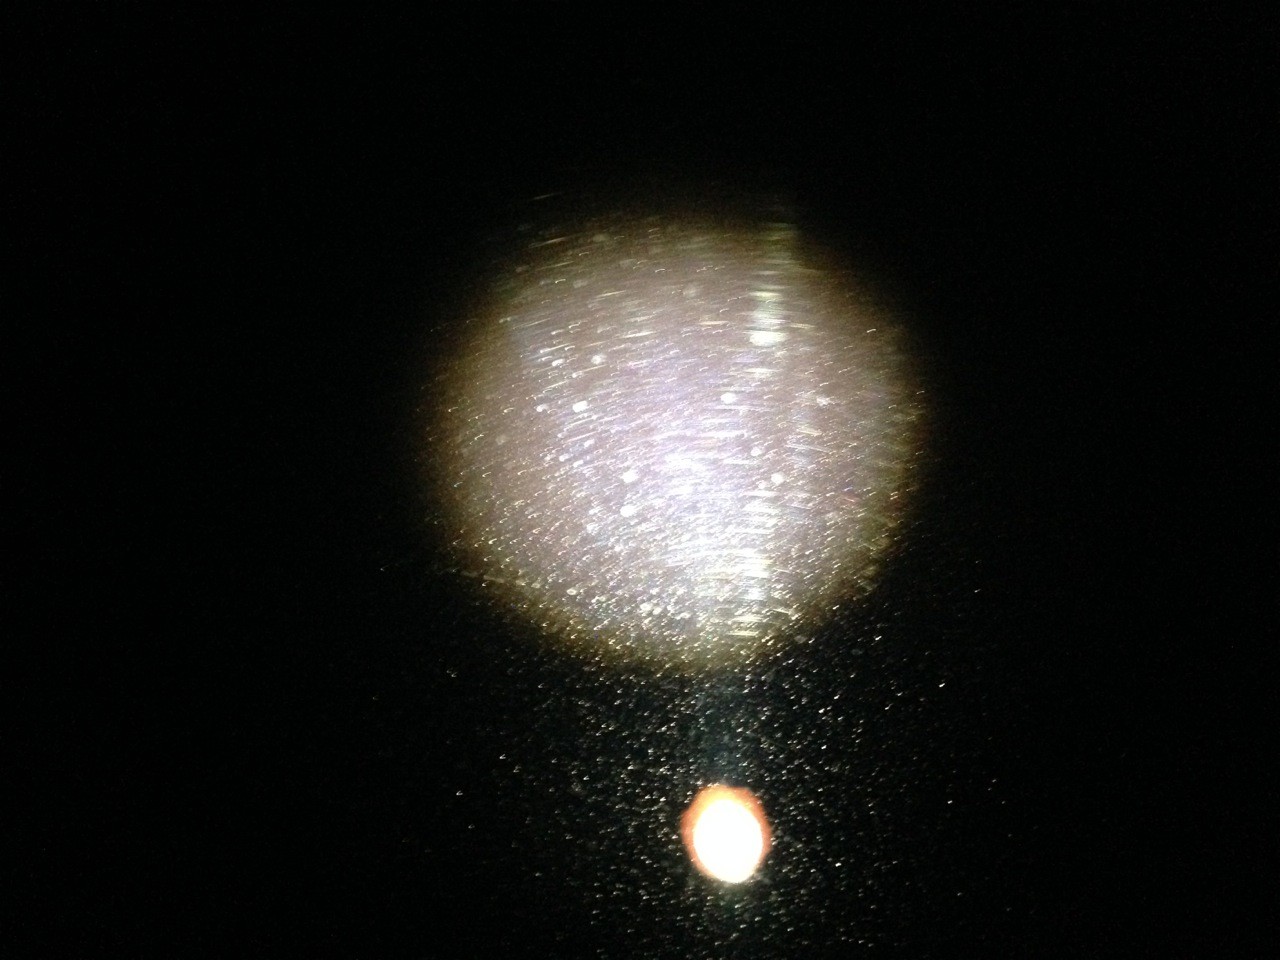
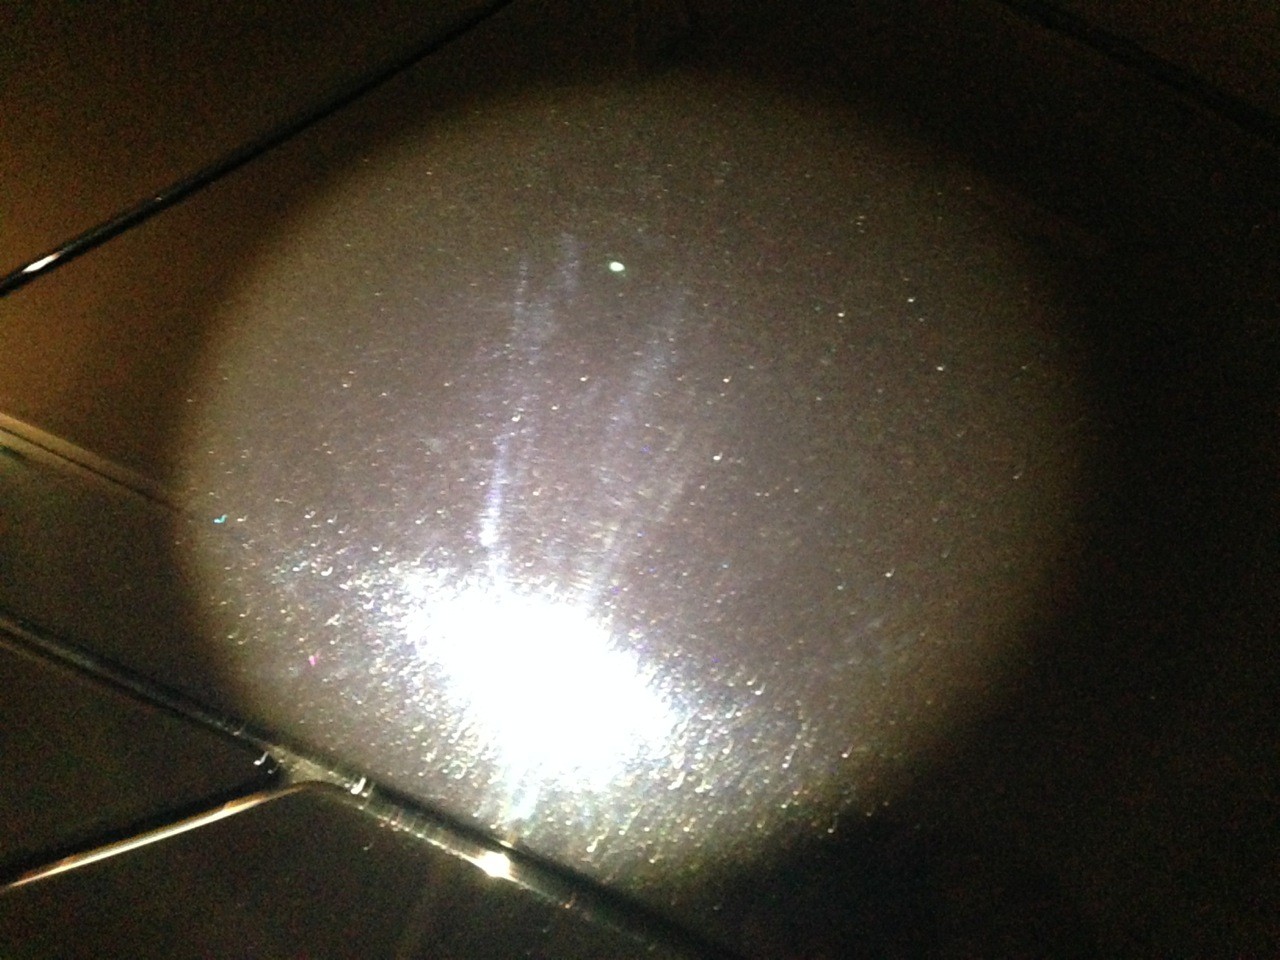
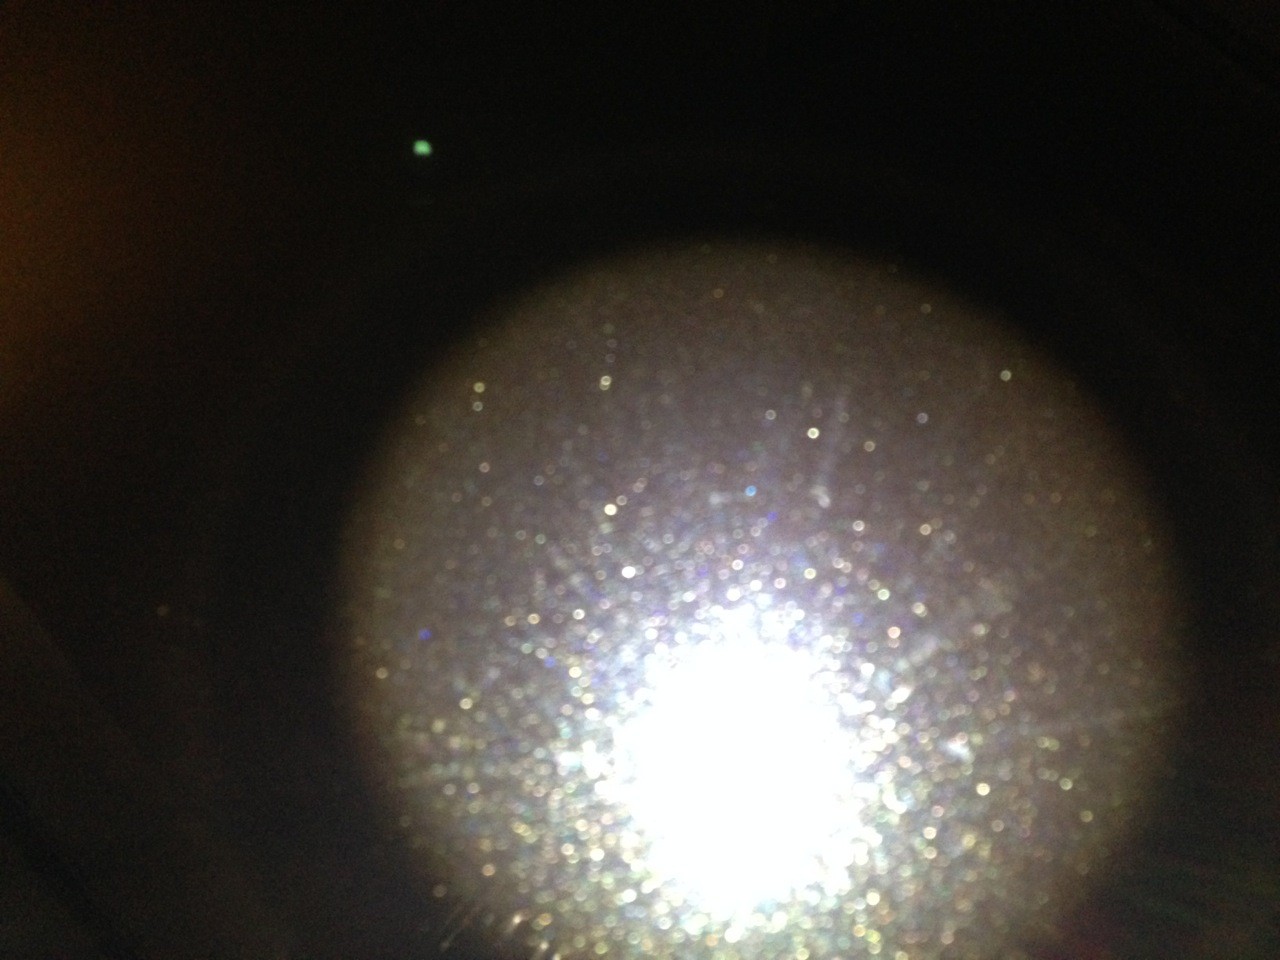
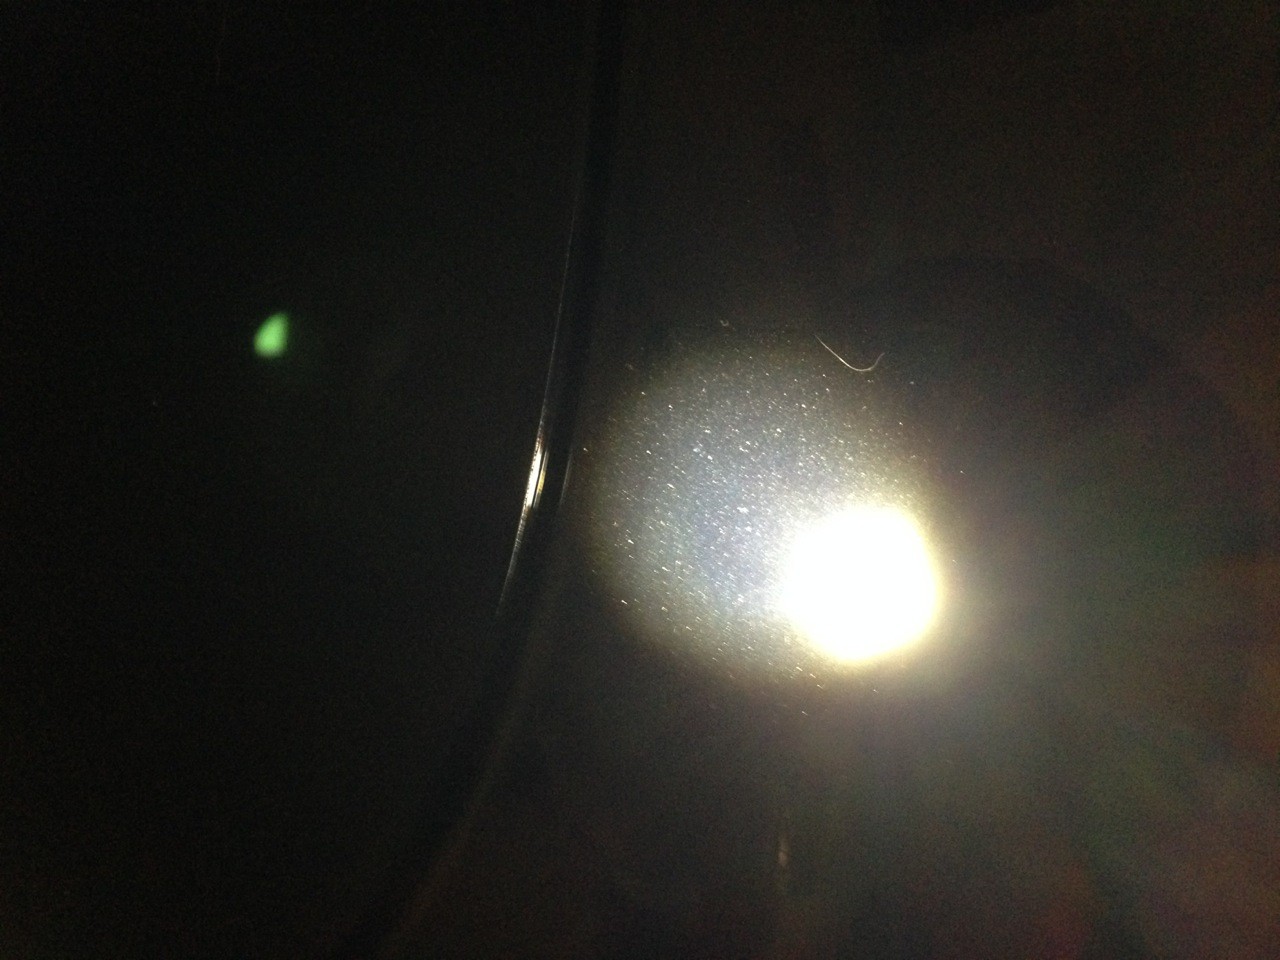
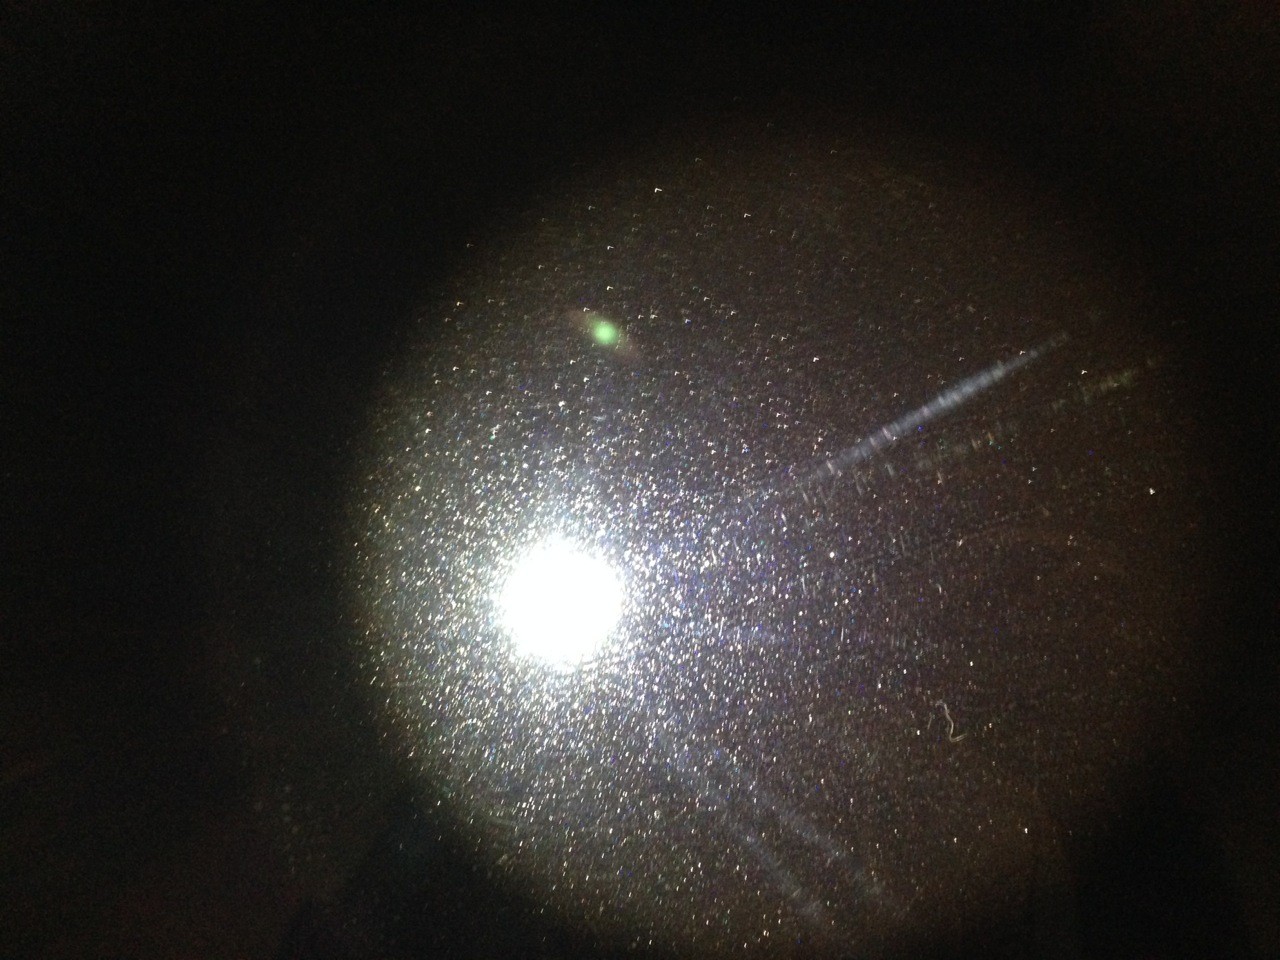
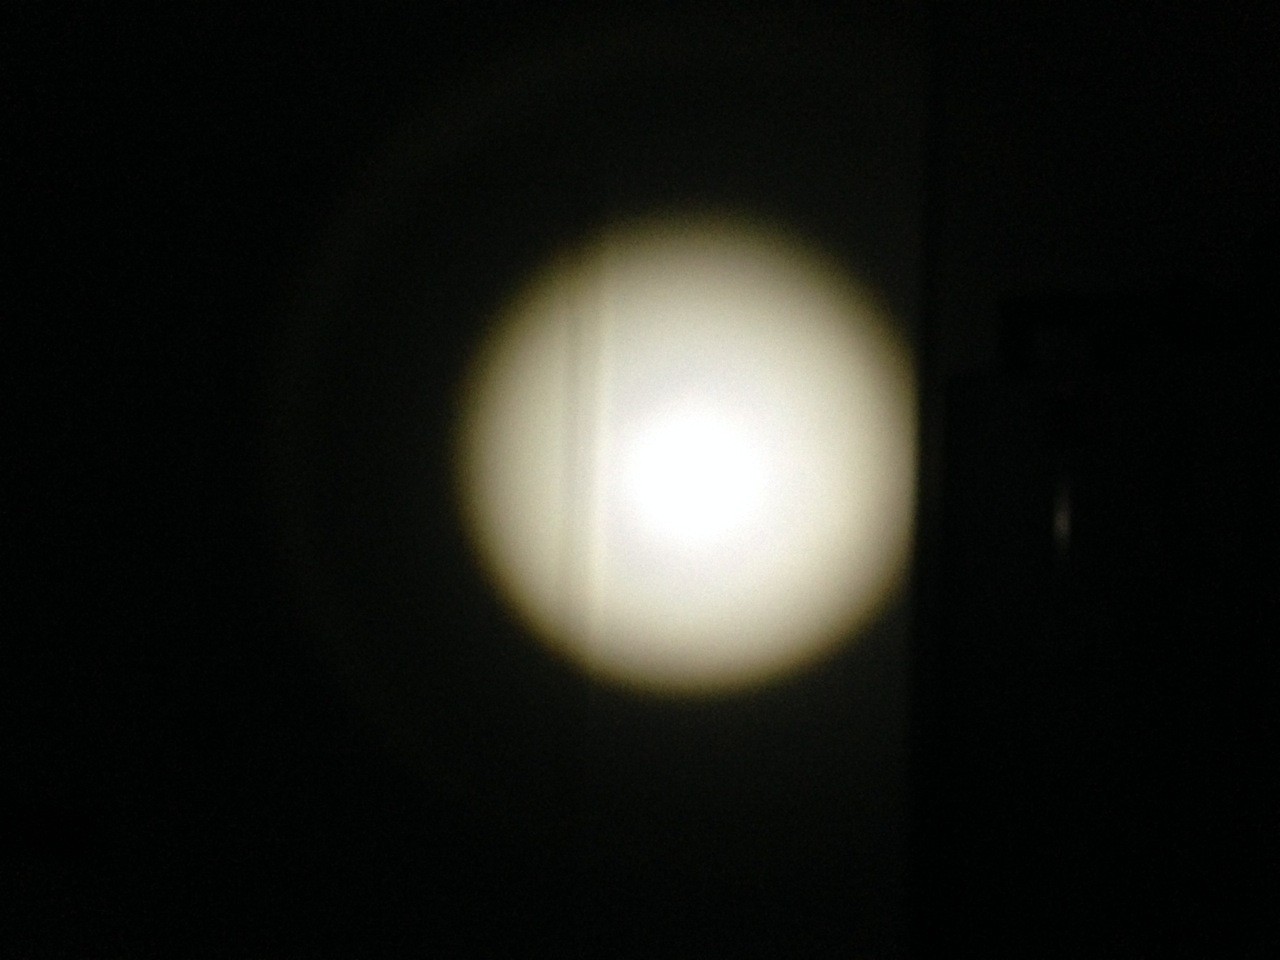
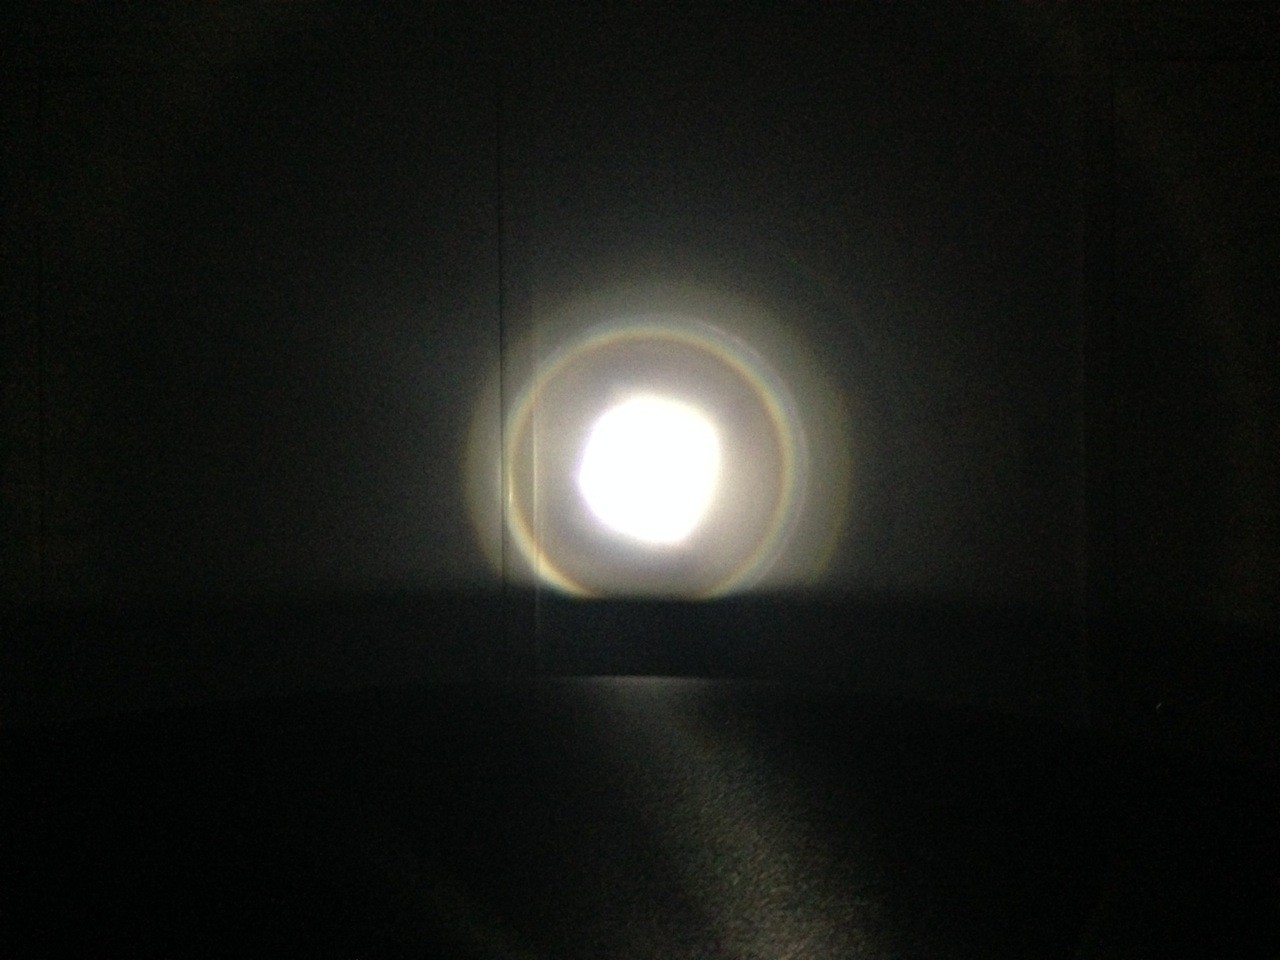
I wanted to be able to show you all the beam of light that the swirl finder produces. Because it is adjustable, you’ll see the differing shape of light in the pictures. I tired to be as consistent as possible throughout the testing, with 4 differing beams, a sort of 4/4, 3/4, 2/4, and 1/4 of full. I also took pictures with no flash or lighting and also with ambient lighting and a flash. All the pictures were taken in the garage.
4/4


3/4

2/4


1/4


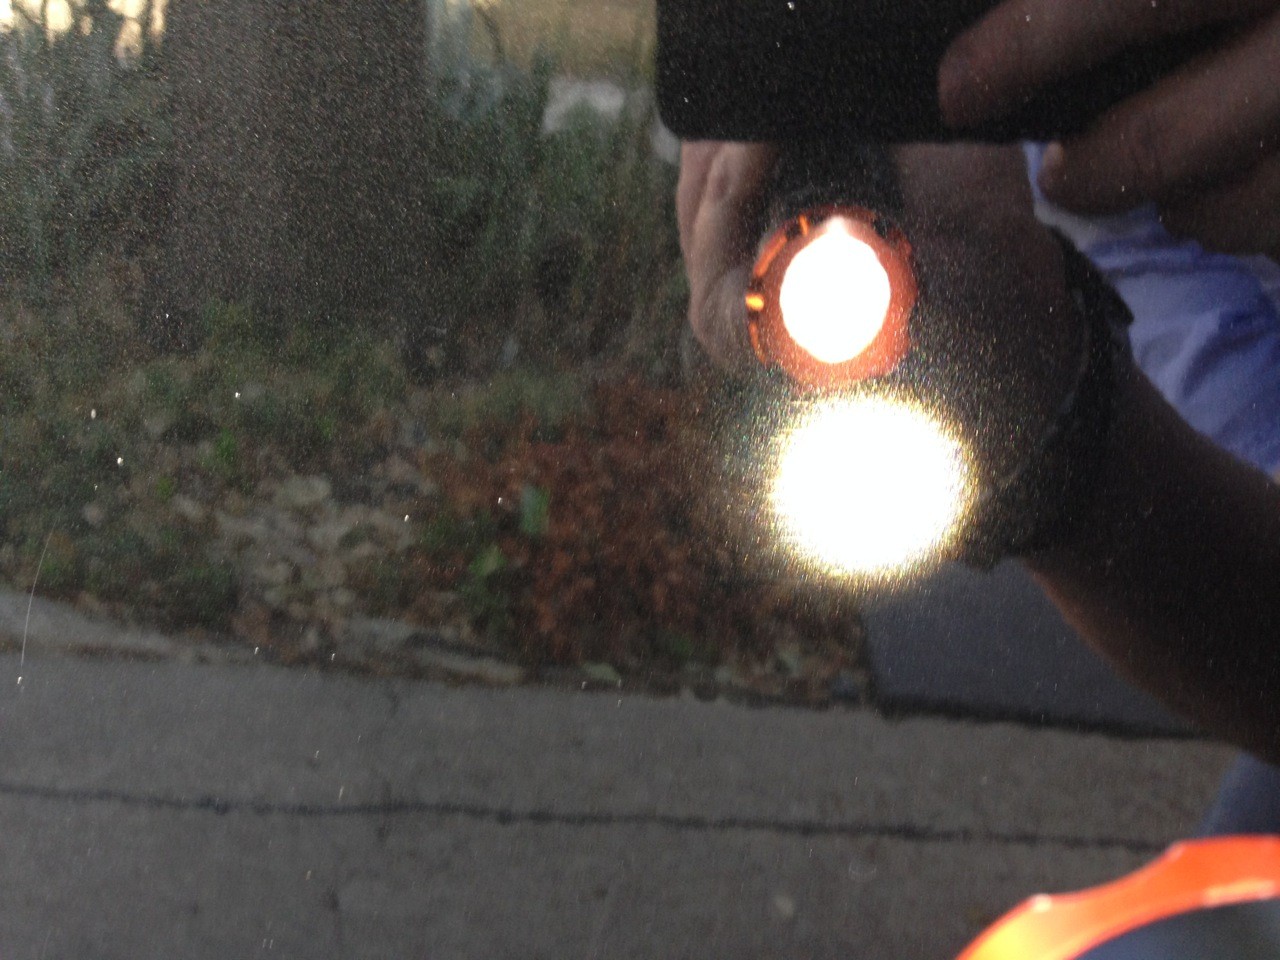
For the next light test, I put the light on the roof of my car, pointed toward the wall. From there, I took pictures from two angles: head on and back to the right at a 45-degree. I will group these two pictures by angles.
At an Angle:
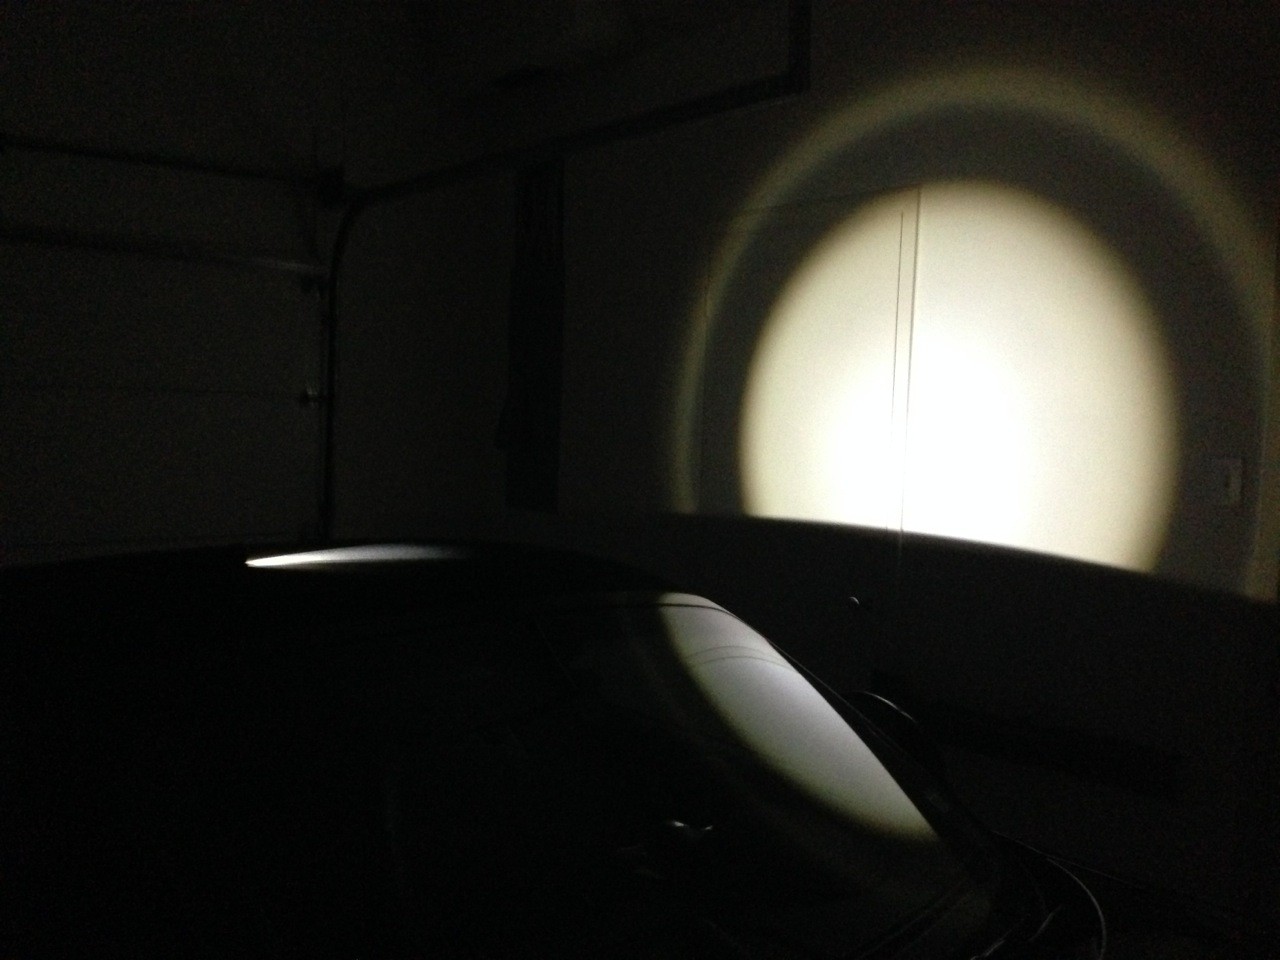


Head on:


Continued on the next page…
Disclosure: I received this FLEX Swirl Finder Light for free from Autogeek in conjunction with this giveaway. The only condition was that I produce a review, and it will have no bearing on my opinions given.
I was very excited to receive this light, especially since I have never owned a flashlight that most used for swirl finding, such as the standard-bearer Brinkman Swirl Finder. Rather, I have used a variety of LED flashlights, halogen work lights, and overhead incandescent/fluorescent garage lighting to assess and polish out defects.
This is the flashlight that I used most of the time to find defects:
This rechargeable flashlight has 80 LEDs that you can adjust to have the light hit the paint at the perfect angle. You can focus the light into one powerful spot, or have two spots at differing angles to help highlight the paint. Most of my opinions on how the FLEX worked is based off of this light, however more traditional flashlights, penlights, and work lights have all been used and were used in the past in conjunction with the other lights.
Before I get started I also wanted to say that I want to make this review as interactive as possible. I want people to be able to give certain tasks that they think would be beneficial and have me do it with the light and post it here – sort of a vicarious testing for you. But more on this later…
I first received the box of the FLEX Swirl Finder light and opened it up.
As you can see, it is a basic box with the flashlight and refill of batteries, as there are already batteries inside the flashlight, so it’s ready to go. The one thing I did notice is the box is ripped. I’m not sure if this is due to others using it before the giveaway or if it happened during boxing, but I wanted to note this in case people wanted a storage box that would last for a long period of time.
So, what is this flashlight, anyways?
“The FLEX Swirl Finder Light utilizes a 3-watt LED bulb that is able to illuminate swirl marks, spider web scratches, water spots, and other gloss-hindering paint imperfections. The focus of the beam can be adjusted depending on your distance from the surface. A three-stage tail switch toggles the beam between hi-power, low-power, and strobe settings.” Any other information on the FLEX Swirl Finder Light can be found here.
Here you can see the part of the light that can be adjusted, which changes the focus of the beam:
To turn on the high power, click once. For low power, turn the high power on, turn it off, and turn it on again. For the strobe light, turn it on, then off, on again, off again, and then finally on a third time for the strobe setting. It sounds difficult but it really isn’t that bad when you’re actually using it. Plus, I would imagine you would want to use the high power most of the time, so the fact that high power is first is probably no surprise.
I Found the Light… Swirl Finding Light, That Is
I wanted to be able to show you all the beam of light that the swirl finder produces. Because it is adjustable, you’ll see the differing shape of light in the pictures. I tired to be as consistent as possible throughout the testing, with 4 differing beams, a sort of 4/4, 3/4, 2/4, and 1/4 of full. I also took pictures with no flash or lighting and also with ambient lighting and a flash. All the pictures were taken in the garage.
4/4
3/4
2/4
1/4
For the next light test, I put the light on the roof of my car, pointed toward the wall. From there, I took pictures from two angles: head on and back to the right at a 45-degree. I will group these two pictures by angles.
At an Angle:
Head on:
Continued on the next page…