Navigation
Install the app
How to install the app on iOS
Follow along with the video below to see how to install our site as a web app on your home screen.
Note: This feature may not be available in some browsers.
More options
Style variation
You are using an out of date browser. It may not display this or other websites correctly.
You should upgrade or use an alternative browser.
You should upgrade or use an alternative browser.
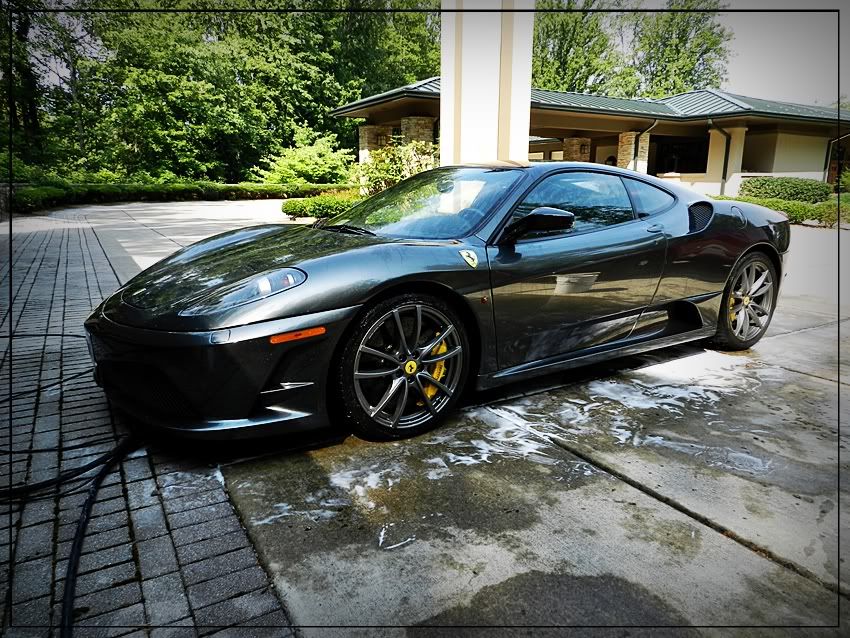
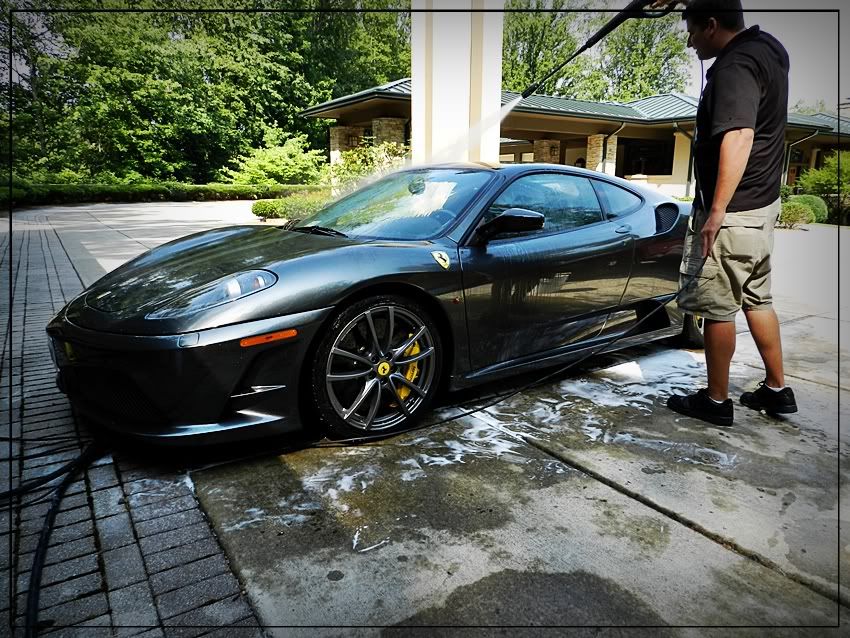
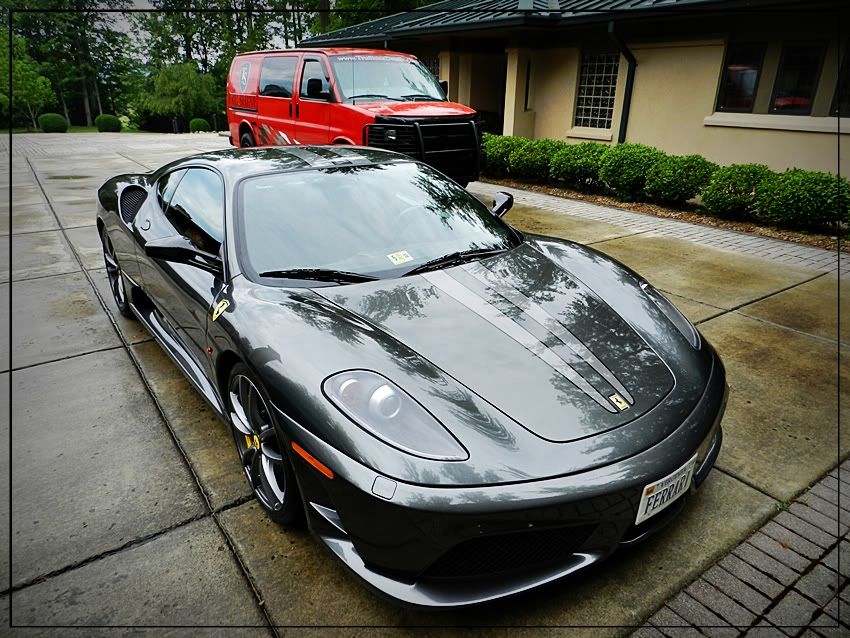
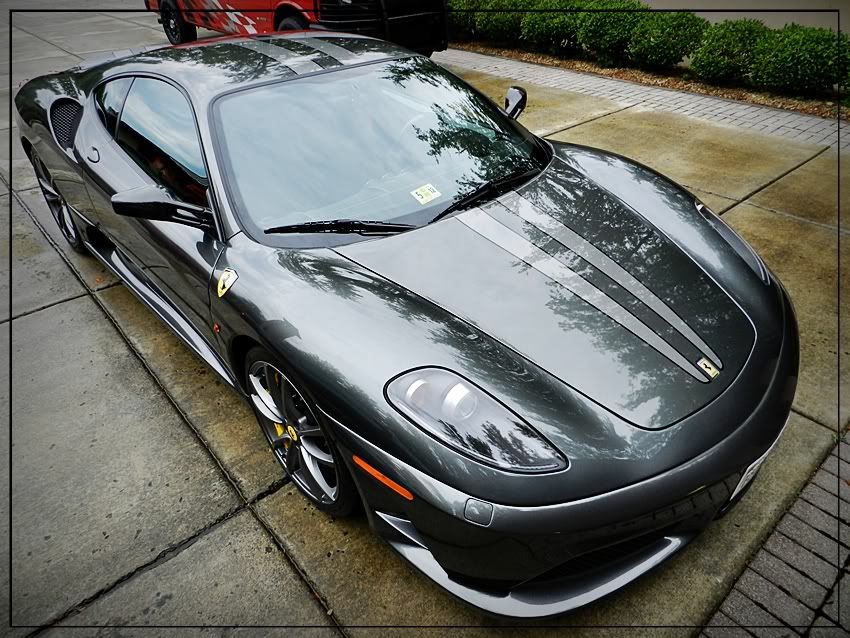
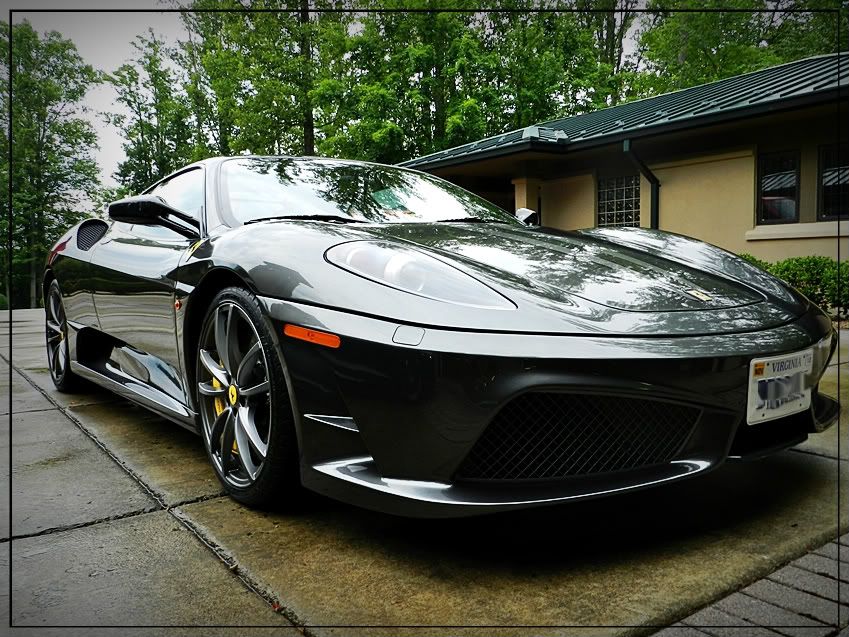
Ferrari F430 Scuderia By Tru Shine and Unique Mobile Detailing
- Thread starter 31st330i
- Start date
imported_Wes
New member
Resist the temptation to put on more even if you don't see it on the surface. And for a white car you likely will not see it. You will do more than one coat so if you do missed a spot you will have it covered next time.
Extremely thin and even coat is the key. Anything more is just a waste of polish. Keep the applicator wet is also the key. I spray it with Z6/H20 solution.
I have not tried a foam app. but people seems to think it is easier to get thin coats with foam.
Extremely thin and even coat is the key. Anything more is just a waste of polish. Keep the applicator wet is also the key. I spray it with Z6/H20 solution.
I have not tried a foam app. but people seems to think it is easier to get thin coats with foam.
imported_Wes
New member
Other people could pitch in on the foam applicator I am sure.
Why not do one coat with the Zaino app. and the other coat with foam to see which one works better:xyxthumbs
Why not do one coat with the Zaino app. and the other coat with foam to see which one works better:xyxthumbs
the instructions at Sal's site a very good and are exactly what he recommends for best results. Some do deviate and find their own ways of doing certain things, but Sal's tips are very good for those just beginning his system until you learn the ropes. I've used his terry apps for years, and I prefer foam Vikings for thinner more even coats.

Since 3 coats is the max for 24 you might as well do 3 coats, If you have any left over give your wheels a few quick coats.
Here are the steps I follow, very similar to Sals.
1.Wash with dawn (blue)
2.Clay Yes even if new car. use capful of Z7 with 12 oz of water as lube for clay
2.Wash w/ Z7, dry car.
3.Mix 1 oz (Half of the mixing bottle) of Z2 or Z5 with ZFX.
4.Spray cotton applicator with a little Z6. Put small amount of Z2 on CA (cotton applicator) size of a dime and rub it into the CA.
5.Start applying it to surface. Put it on very thin! by the time you get done putting it on the entire car, the starting point will be dry.
6.Remove with 100% cotton (made in USA) towels. It comes off easy doesn't it.
7.Apply Z6 to car one section at a time and remove with another 100% cotton towel. Use very little of the Z6, it goes a long way.
Do steps 4,5,6 and 7 two more times.
3 coats of Z2 and or Z5 is the max per 24 hour period.
so why can't three consecutive coats be applied without using Z6 after each coat (just after the final coat)? it seams like a lot of extra (unnecesary?) work.
<blockquote class='ipsBlockquote' >
<em class='bbc'>Originally posted by gmblack3 [/i]
<strong class='bbc'>
4.Spray cotton applicator with a little Z6. Put small amount of Z2 on CA (cotton applicator) size of a dime and rub it into the CA.
5.Start applying it to surface. Put it on very thin! by the time you get done putting it on the entire car, the starting point will be dry.
6.Remove with 100% cotton (made in USA) towels. It comes off easy doesn't it.
7.Apply Z6 to car one section at a time and remove with another 100% cotton towel. Use very little of the Z6, it goes a long way.
Do steps 4,5,6 and 7 two more times.
[/b]</blockquote>
[email protected]
New member
I have found Sal's directions to be very informative and to the point. It took several uses for me to get the entire message, you learn by doing. With Zaino less is more, I was use to using products that advertise the bigger the glob the better the job. After I got the hang of a dime size squirt will do a large area, especially if you wet the applicator with Z6. I have found the secret to good application and the elimination of swirls is new, clean applicators and I love Zaino's, I buy the 12 packs.
Good luck with Z!
Bill")
Good luck with Z!
Bill
imported_killerjg
New member
Applying Z6 after each coat will make the next coat go on and off easier. Sal says more shine as well. You will be 
<blockquote class='ipsBlockquote' >
<em class='bbc'>Originally posted by 31st330i [/i]
<strong class='bbc'>so why can't three consecutive coats be applied without using Z6 after each coat (just after the final coat)? it seams like a lot of extra (unnecesary?) work.
[/b]</blockquote>
<blockquote class='ipsBlockquote' >
<em class='bbc'>Originally posted by 31st330i [/i]
<strong class='bbc'>so why can't three consecutive coats be applied without using Z6 after each coat (just after the final coat)? it seams like a lot of extra (unnecesary?) work.
[/b]</blockquote>
Tru_Shine
New member
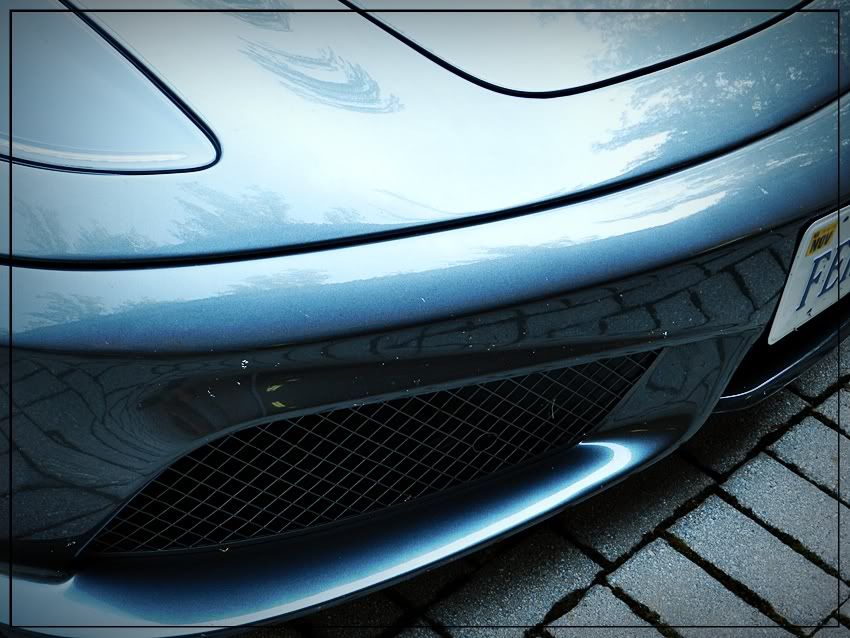
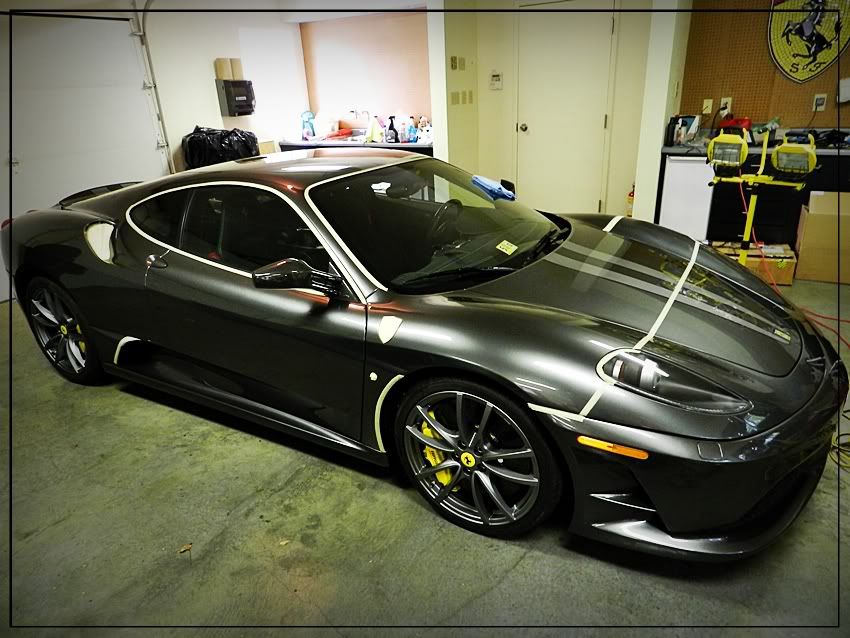
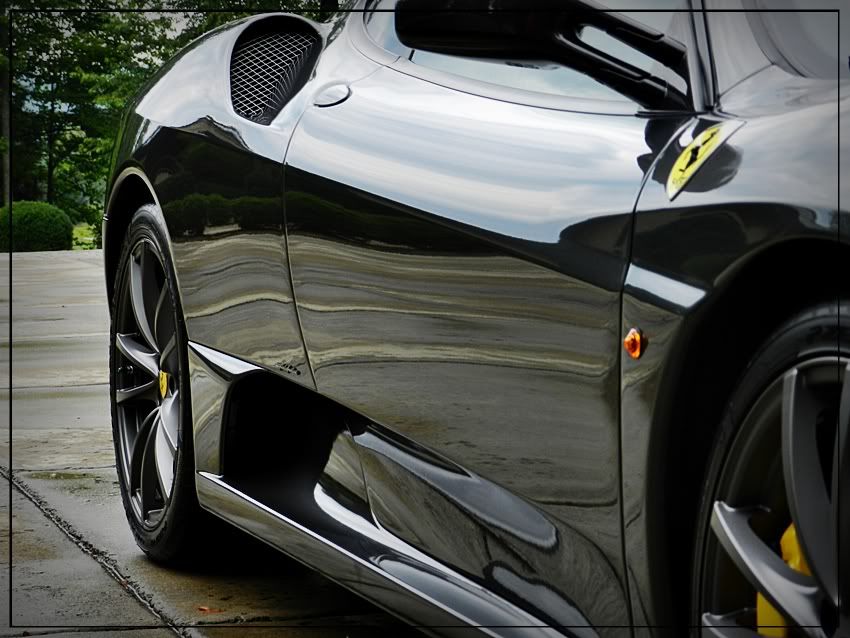
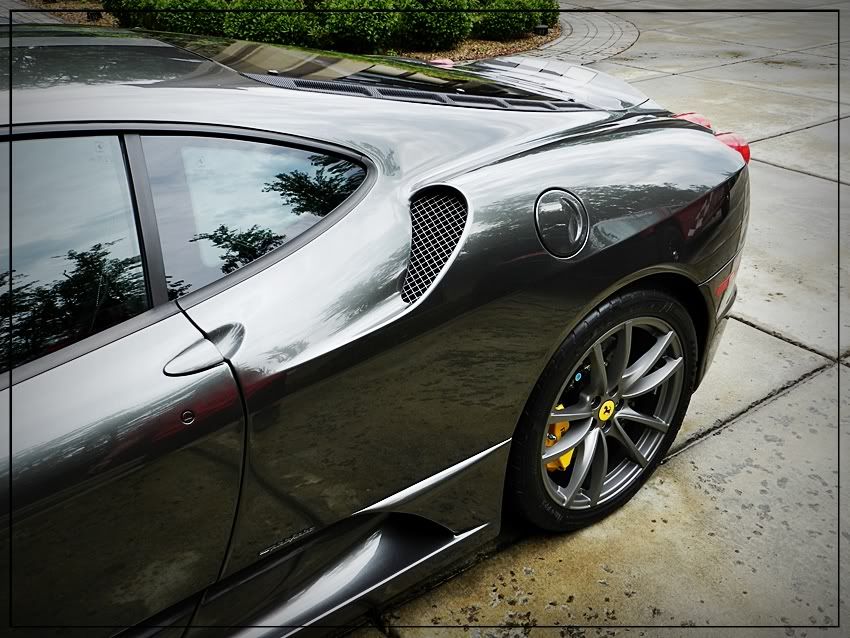
While I was up in Bristol, David of Unique Detailing and I had a chance to work on this beautiful Ferrari F430 Scuderia giving it a nice refinement detail. This Customer was referred to us from one of our other Ferrari clients. This car wasn't extremely scratched up, but it did have a lot of marring on the surface and needed a good polishing. Lets get this going and see how it turned out.
here is the state of the vehicle when we arrived
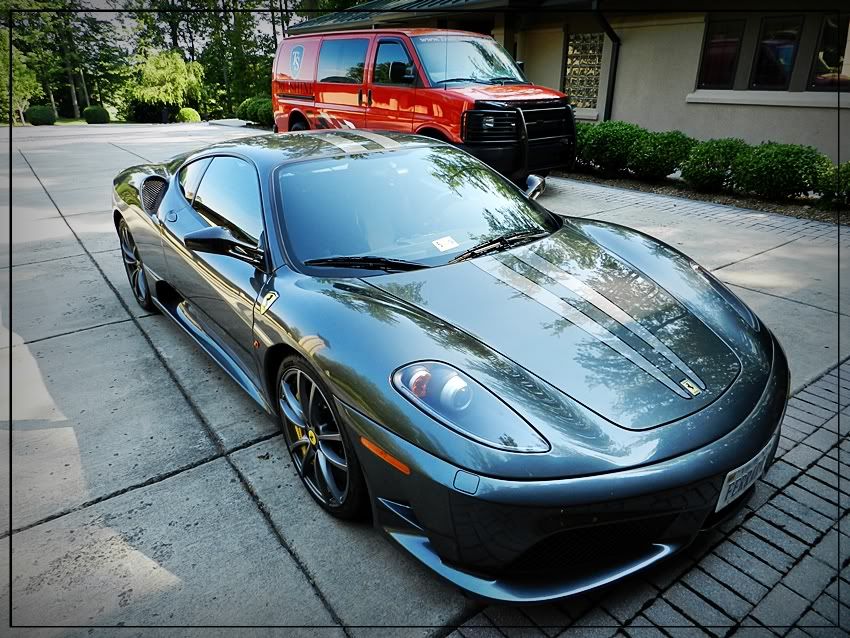
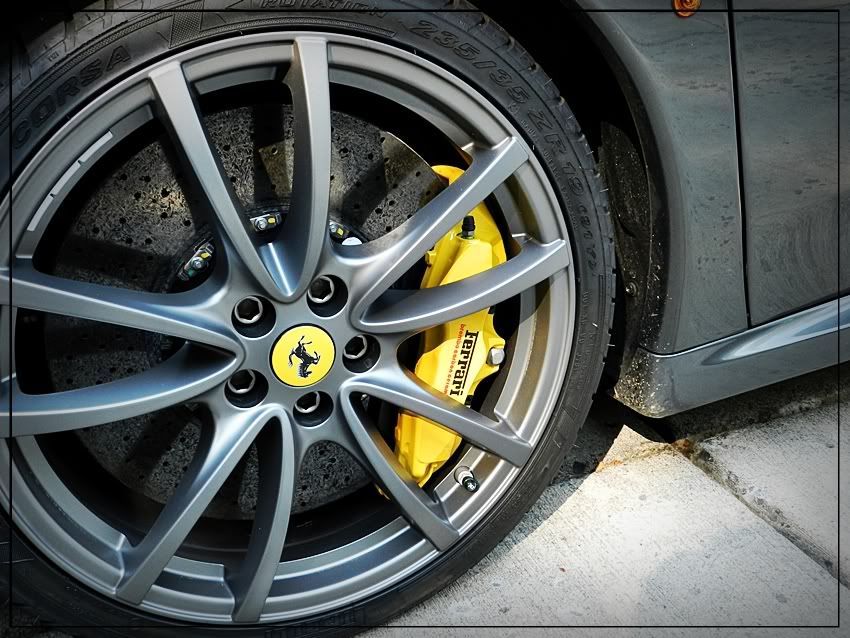
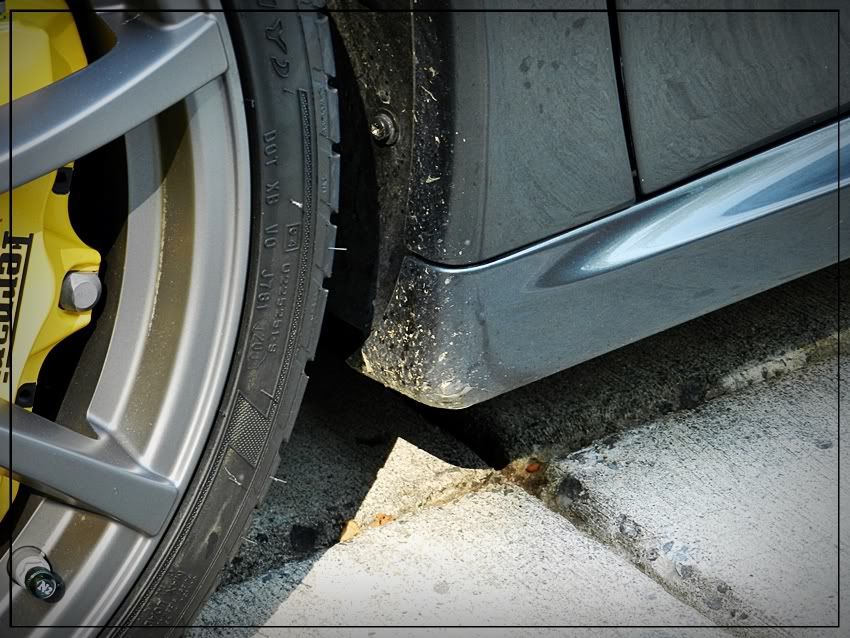
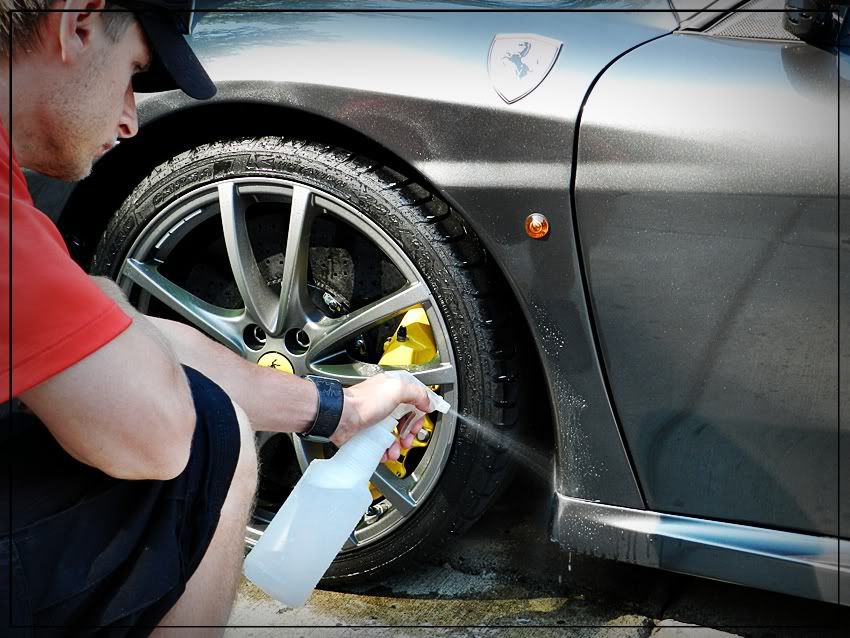
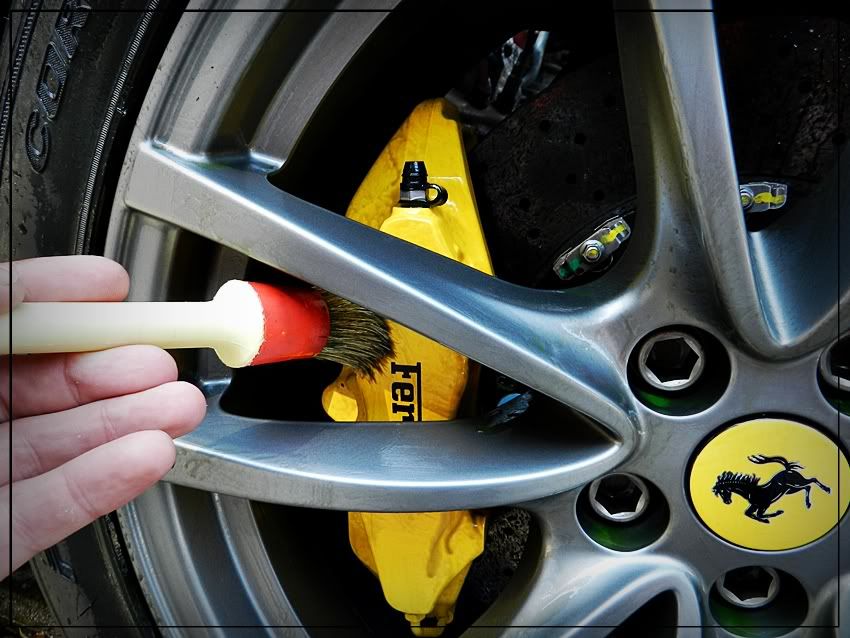
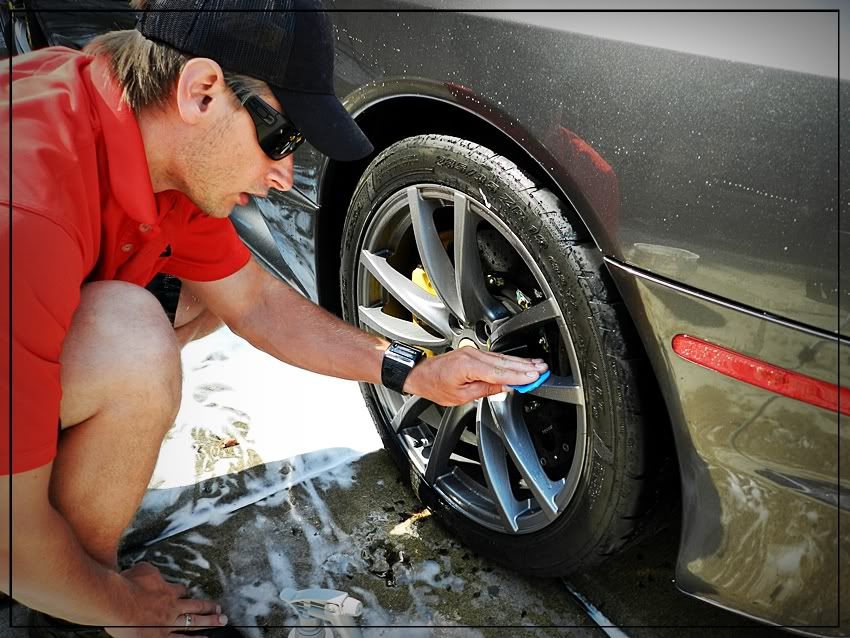
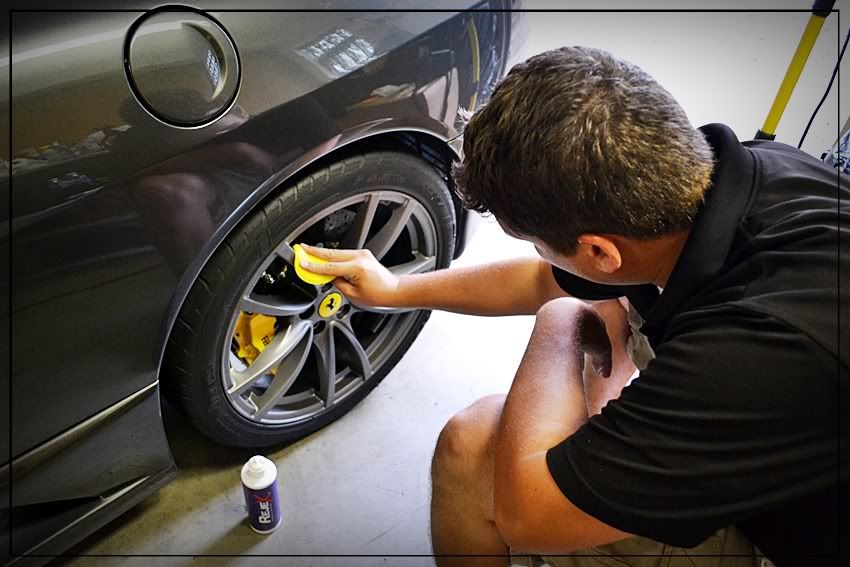
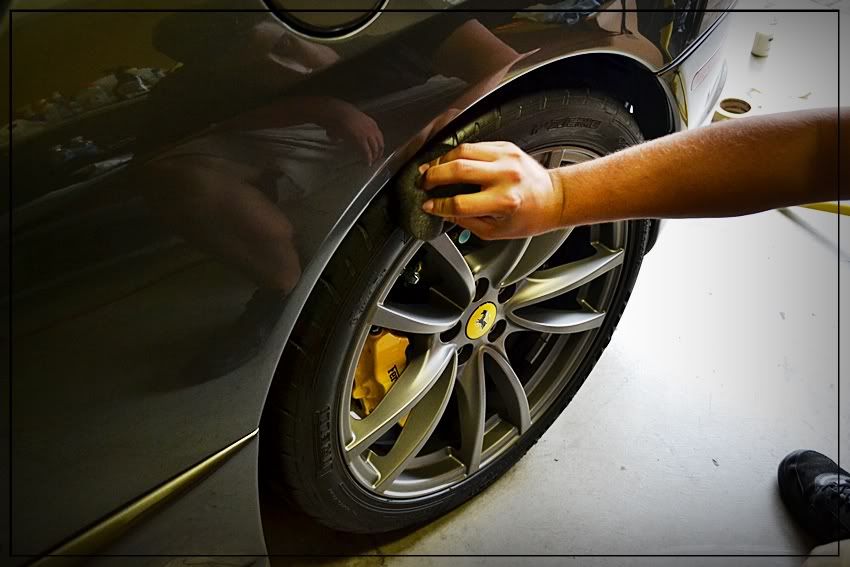
Starting with the wheels first
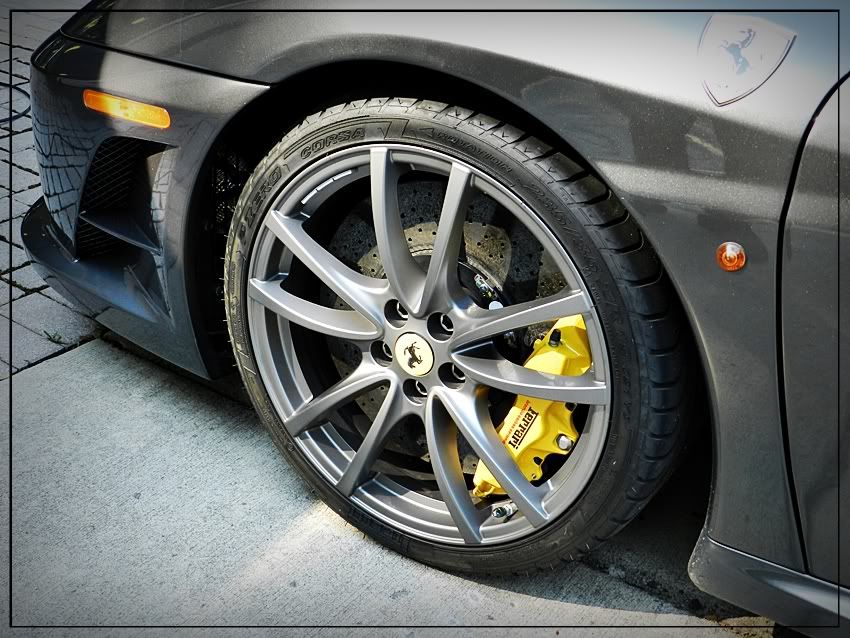
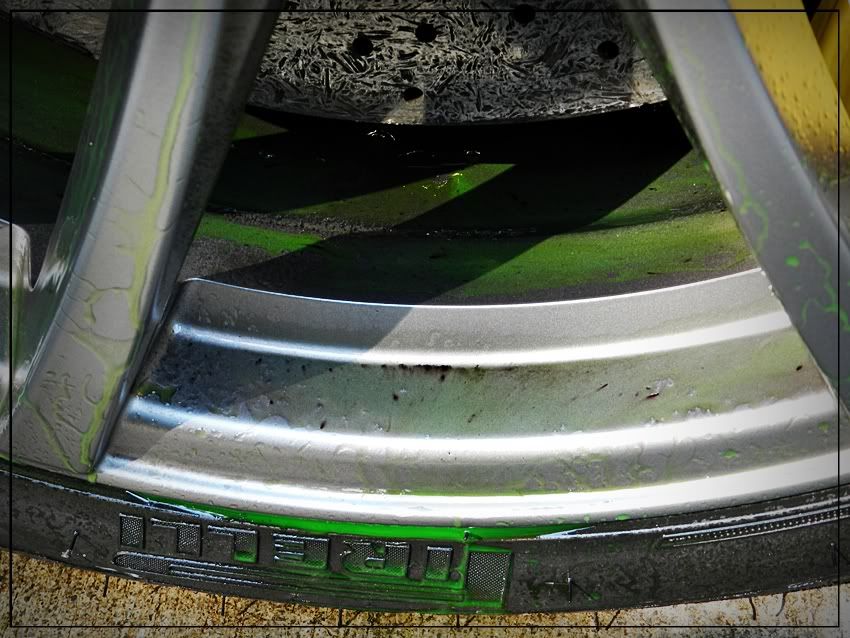
We used Sonax Full Effect wheel cleaner which is a pH balanced wheel cleaner safe for all types of wheels and brakes, and will turn a redish color to let you know when it is reacting with the iron particals.

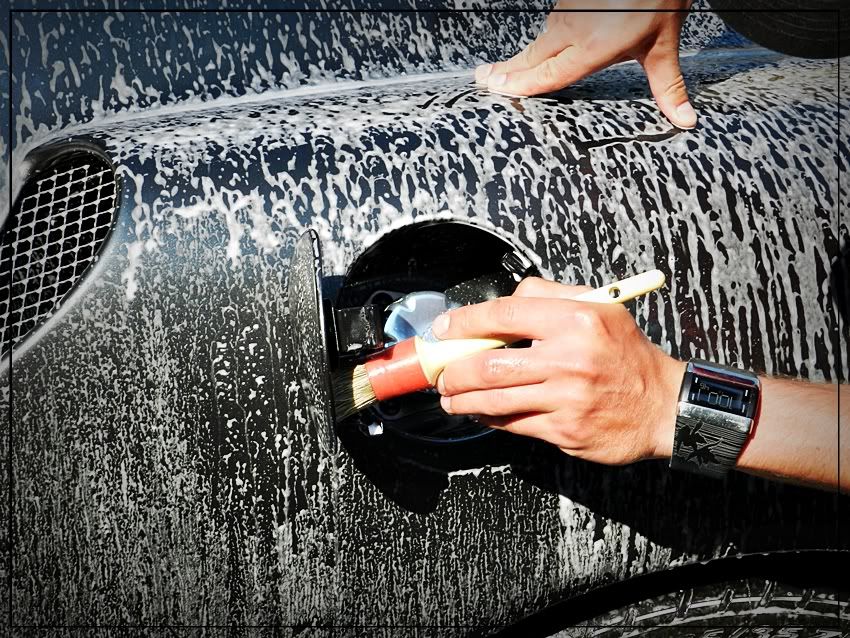
Then we used degreaser for the fender wells
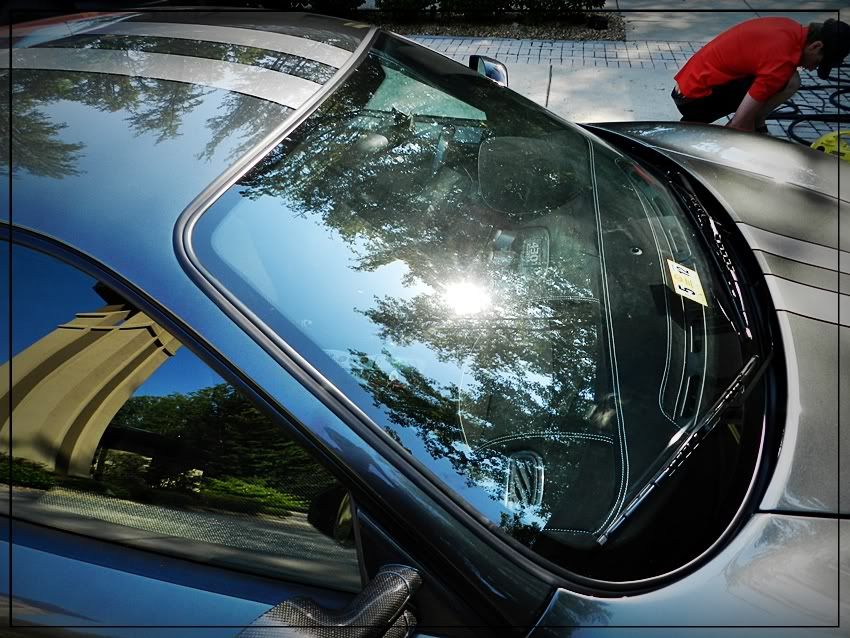
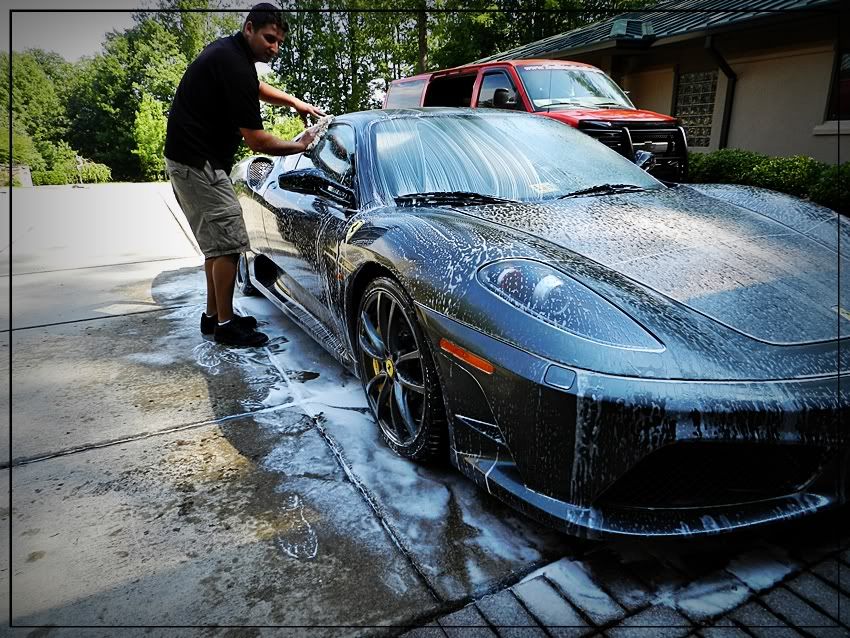
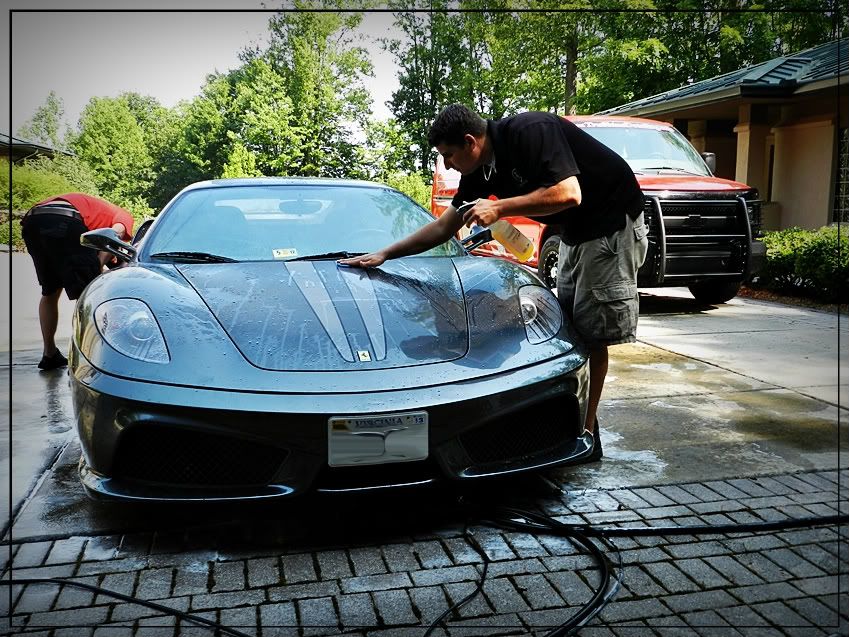
After cleaning the wheels, we moved on to the paint giving it a pre-rinse and a foam bath
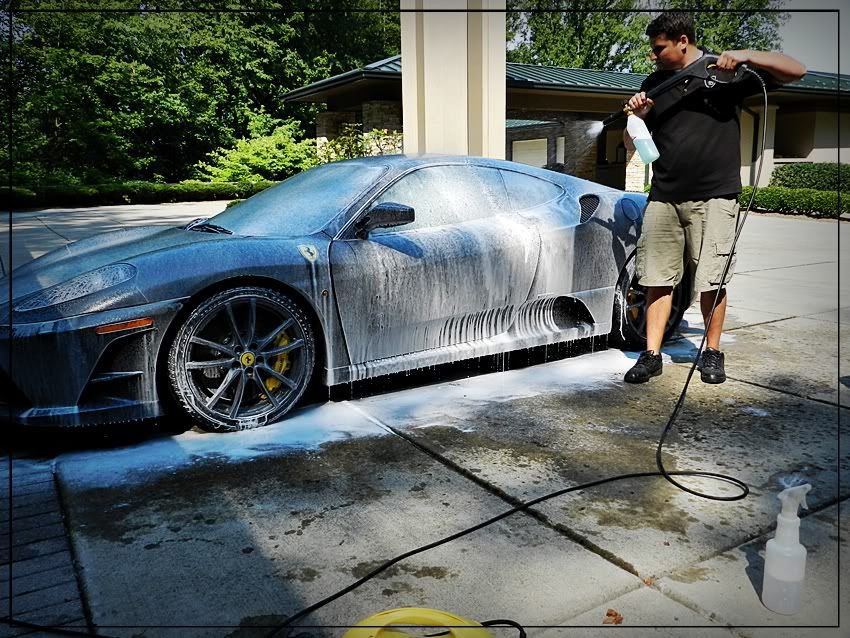
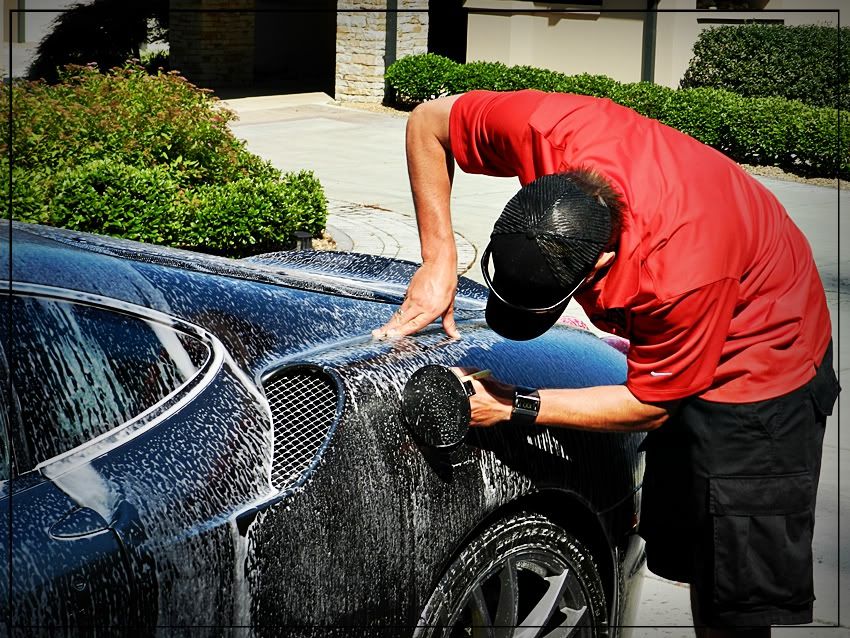
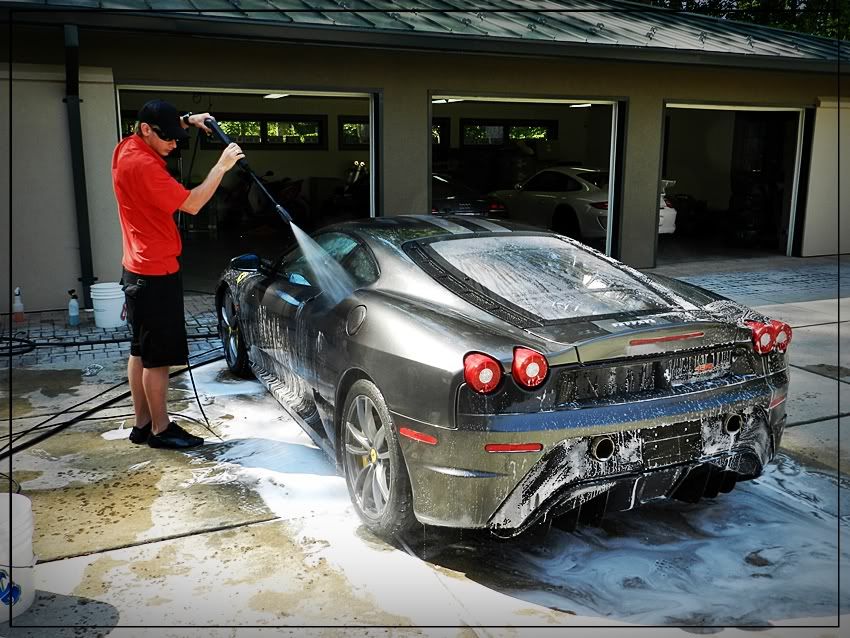
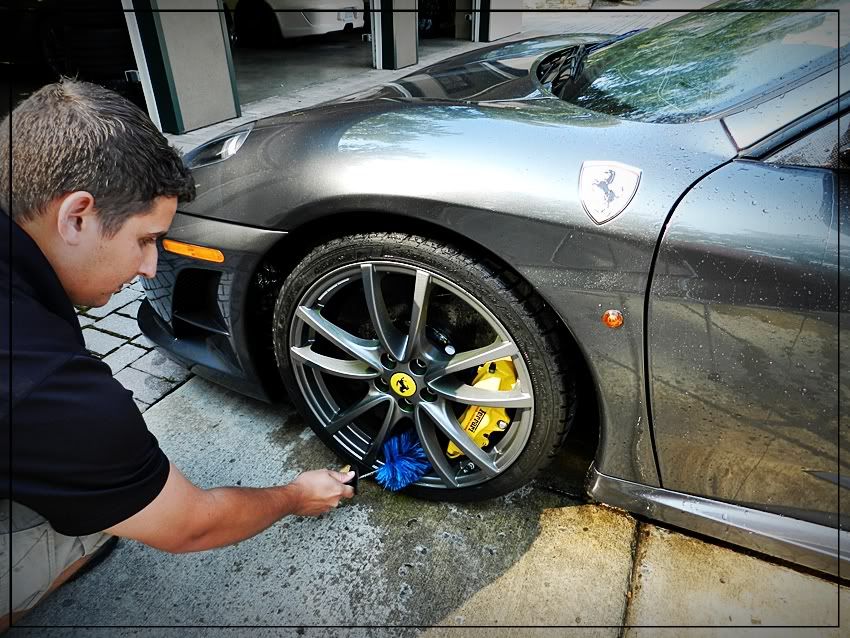
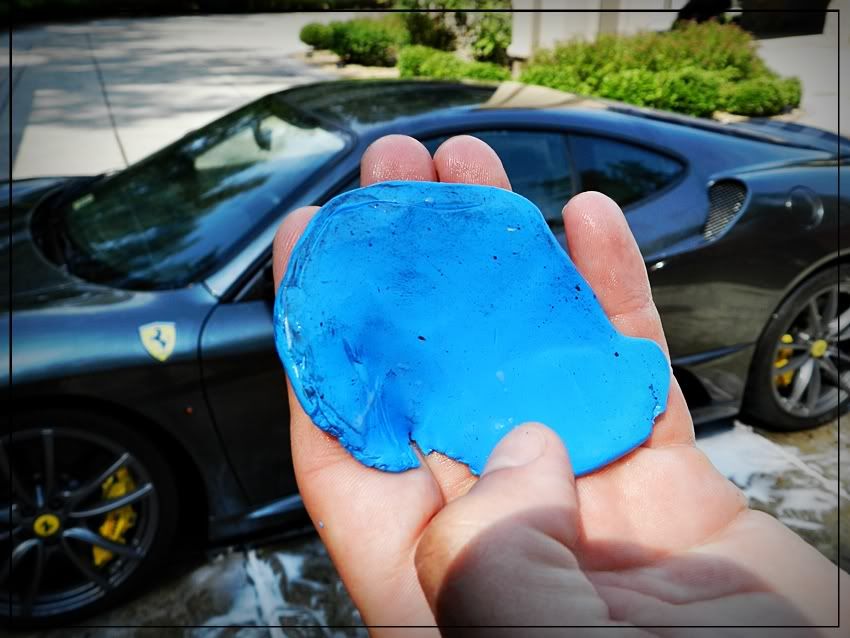
After washing the car, clayed the car using DodoJuice Born Slippery lube(Which I love!) and clay magic blue fine clay.
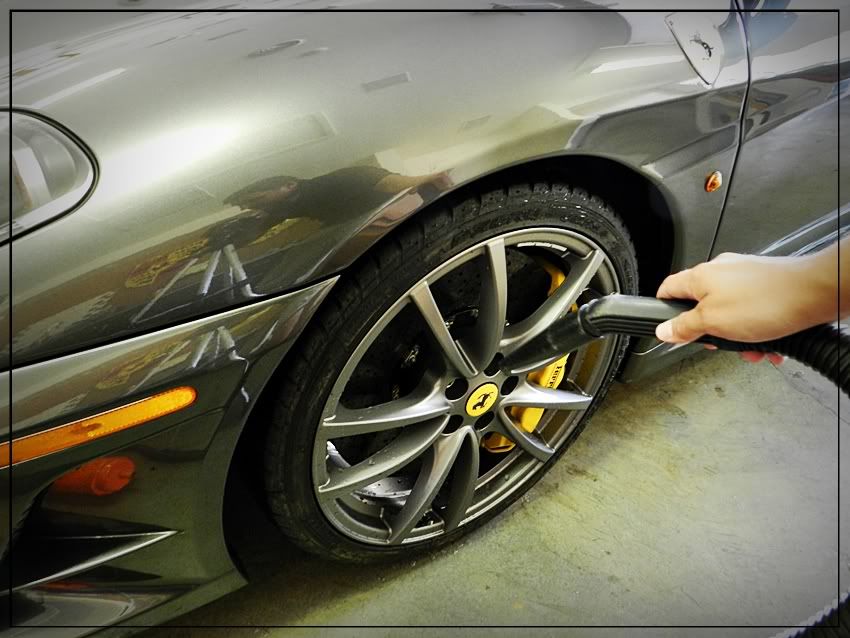
With a separate piece of clay, David clayed the wheels to remove some stuck on grime.
We then brought the car back inside to dry it, for this we used a Metro air blaster and Microfiber towels.
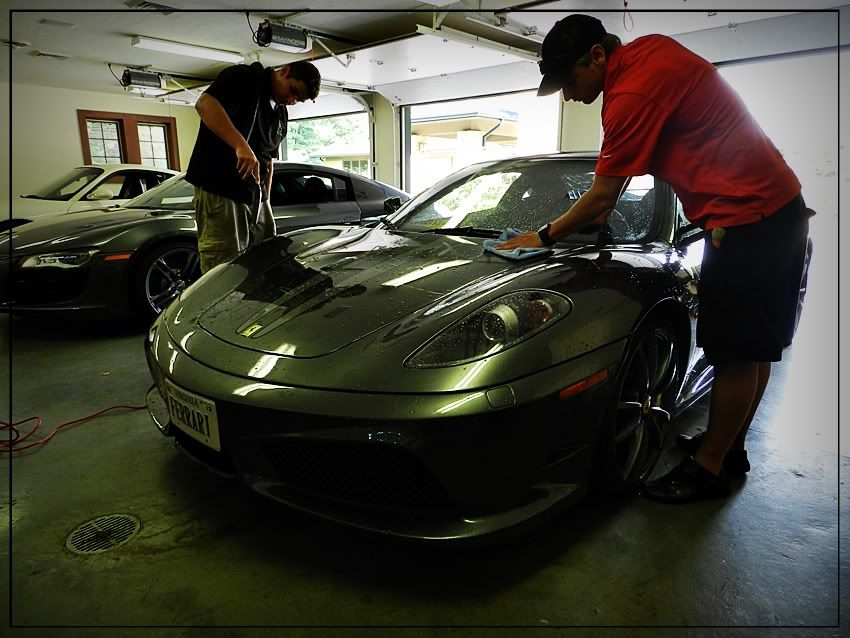
this really help get all of the water out of the tight areas
we had noticed a few areas with compound build up, so we decided to remove it with a cuetip.

That's better!
and some around the rear break light

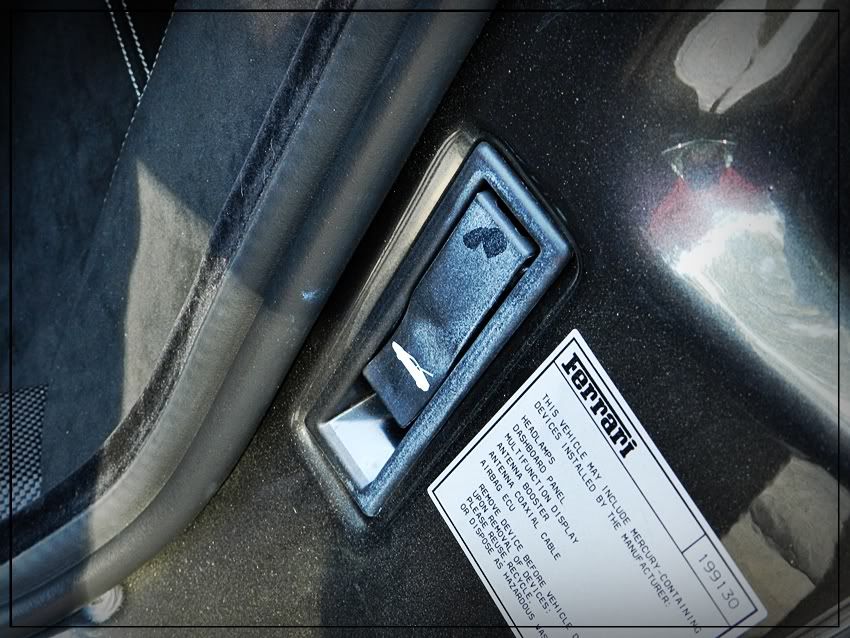
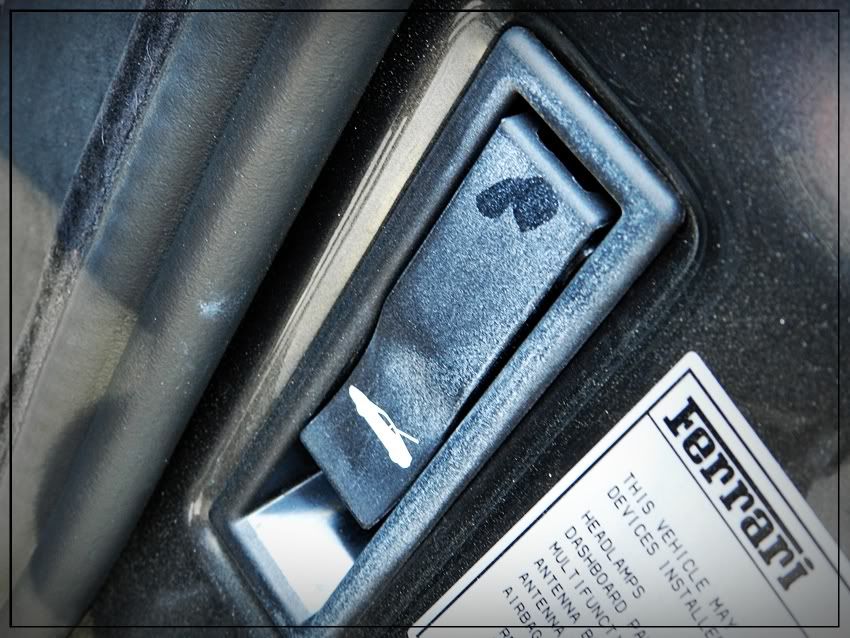
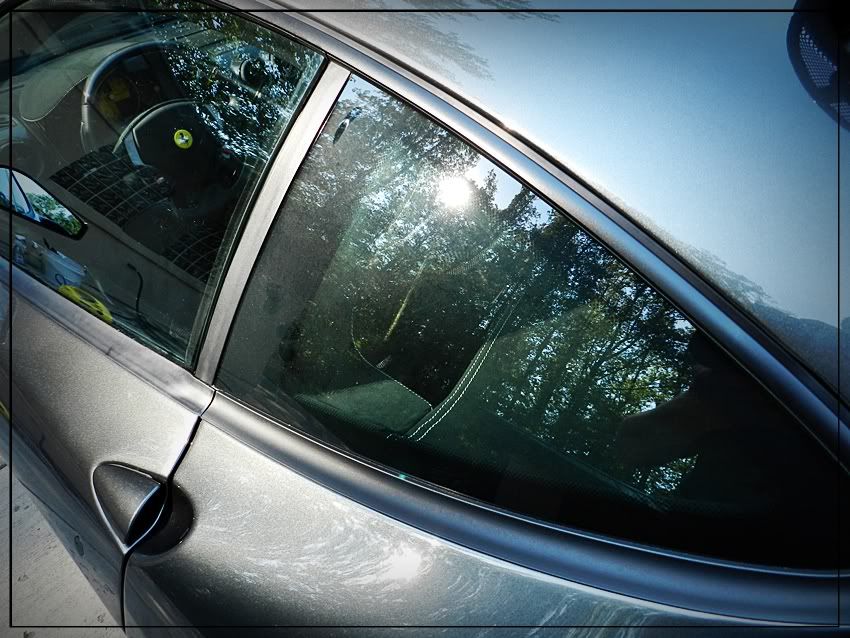
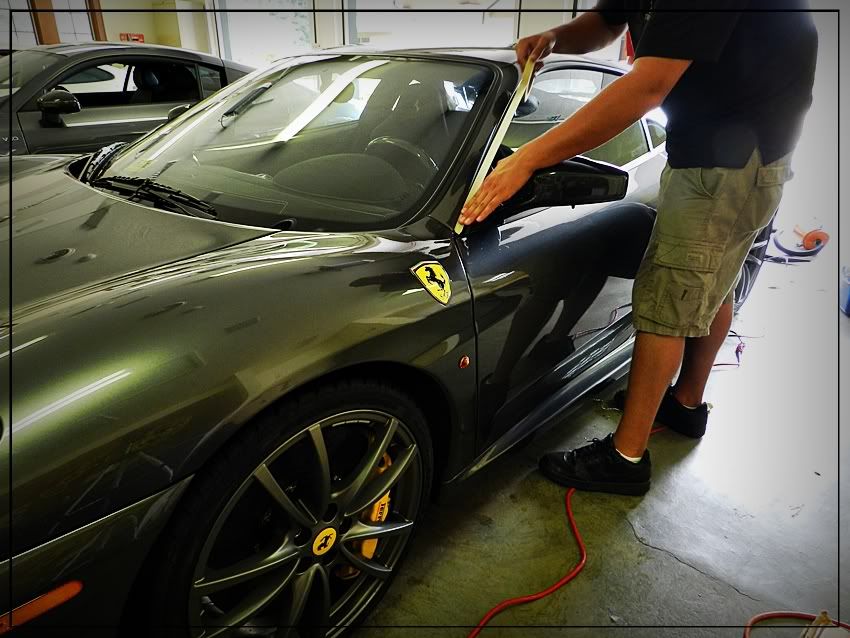
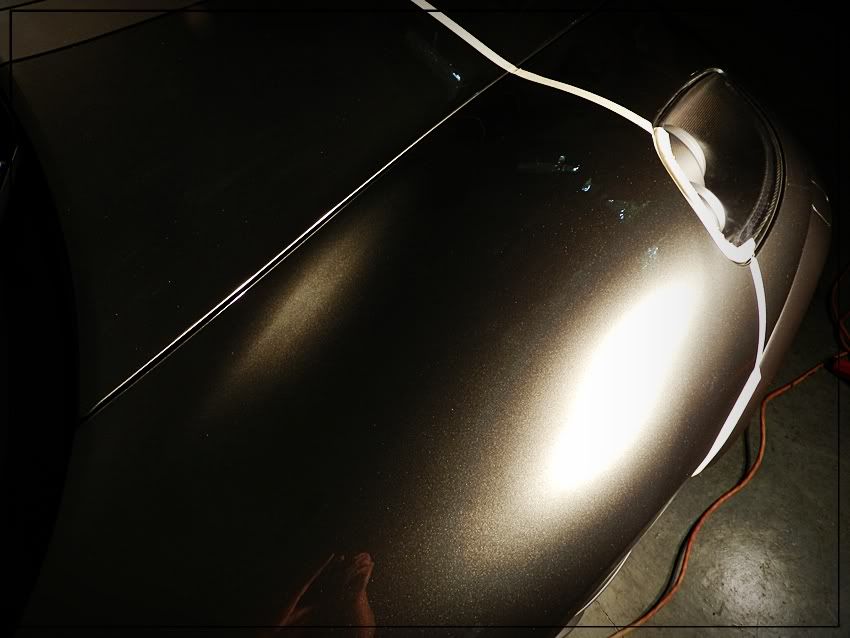
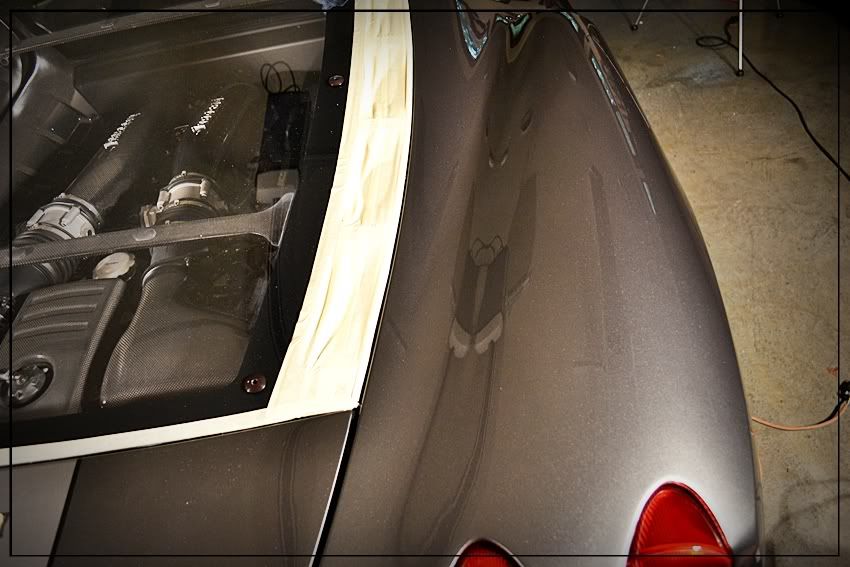
Next we taped up all plastic trim and coverd the edge of the clear bra using Meguiars masking tape
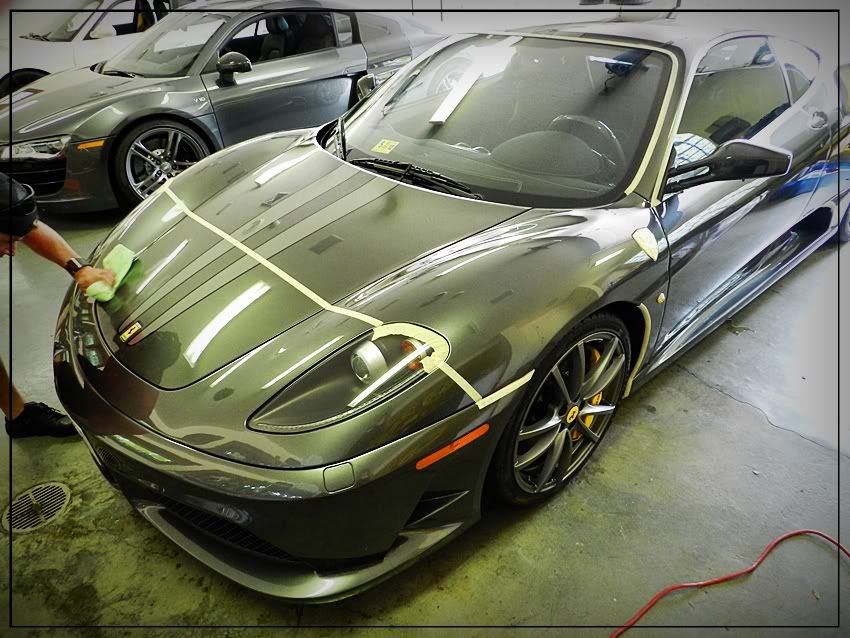
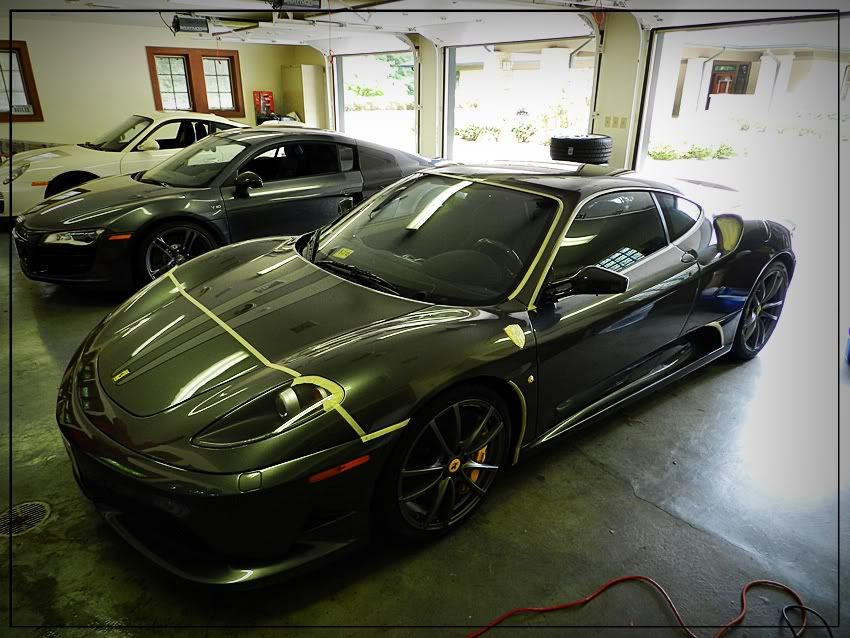
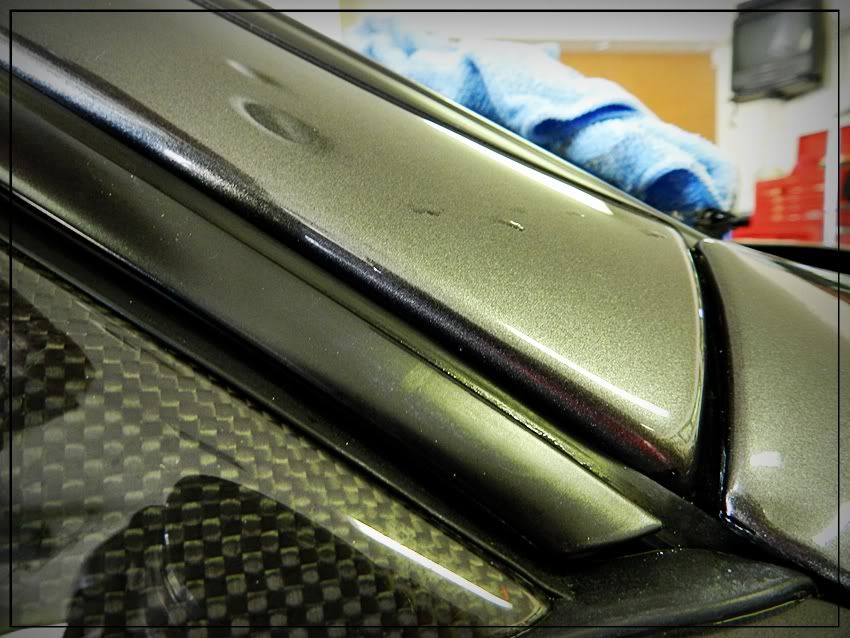
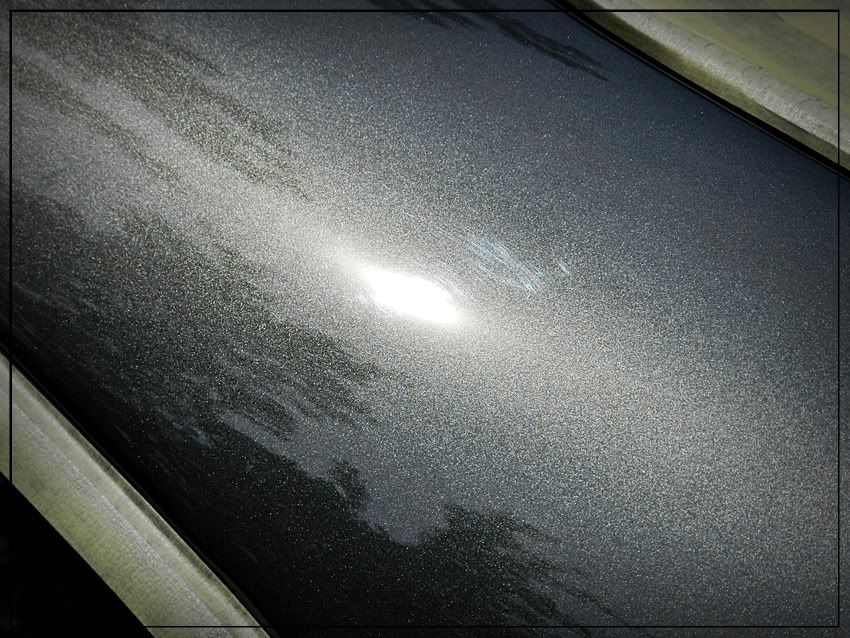
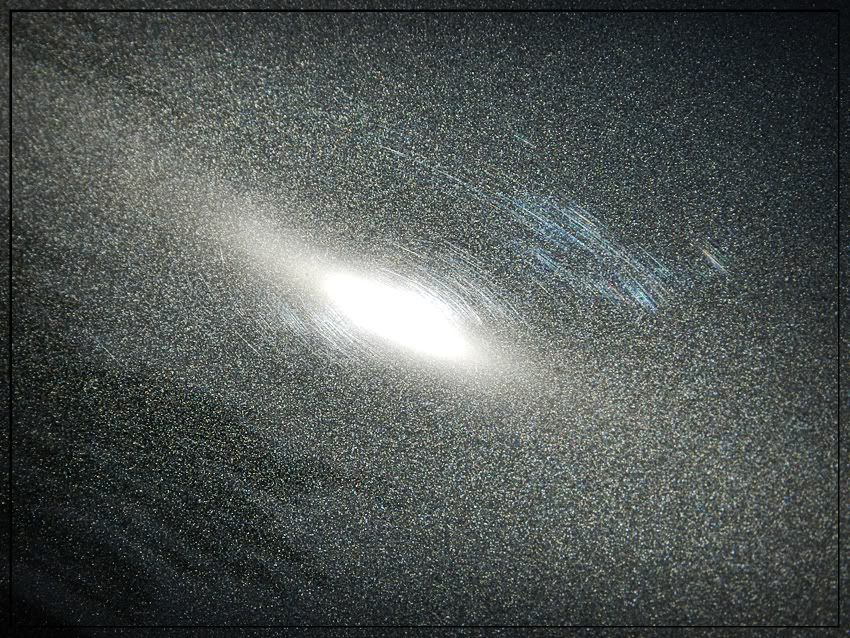
We briefly pulled it outside to see some of the surface defects and most of the car was good except for the surface marring
Tru_Shine
New member
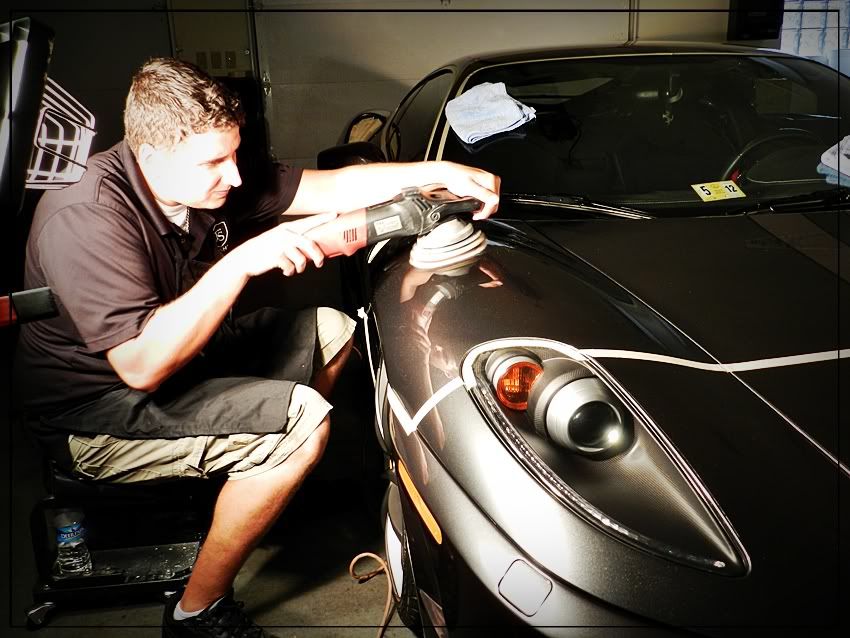
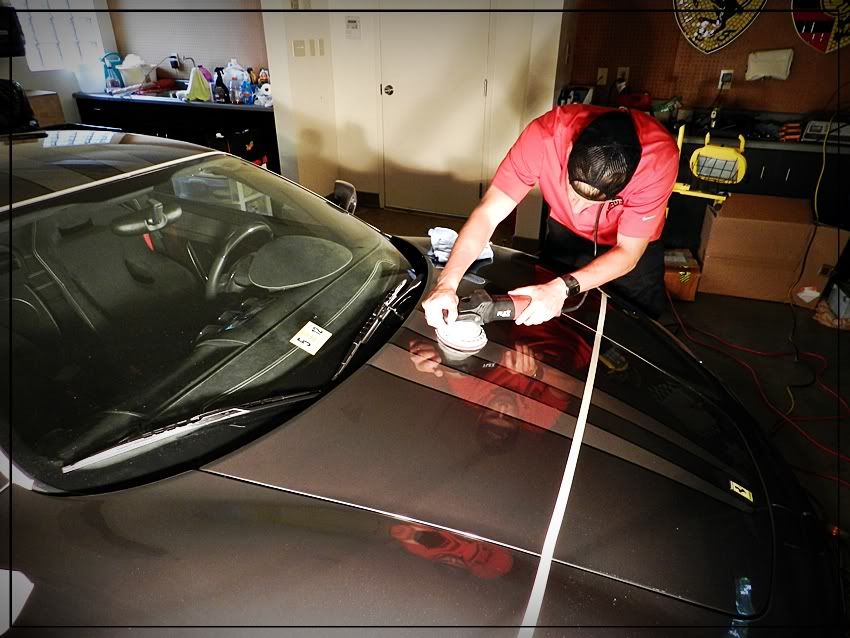
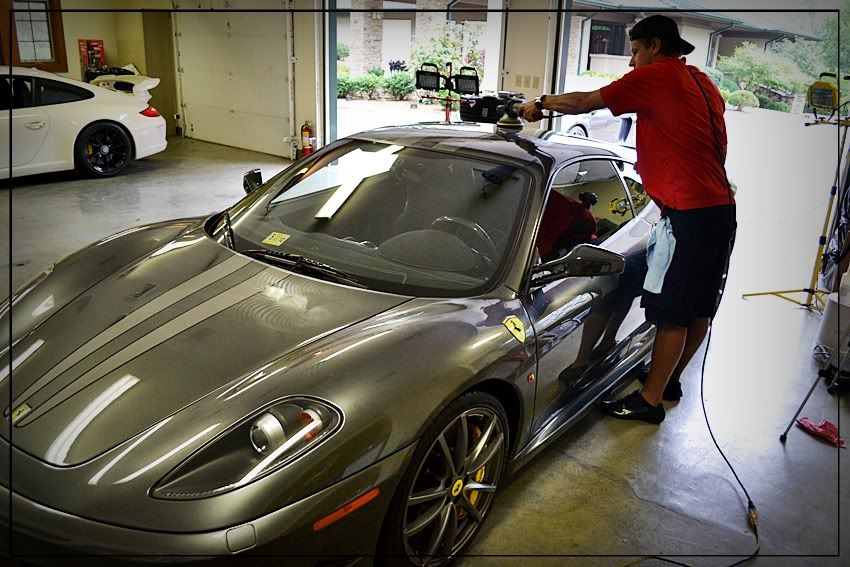
then we pulled it in and began the correction.
Our weapon of choice was the Meguiars Microfiber DA system with the D300 compound
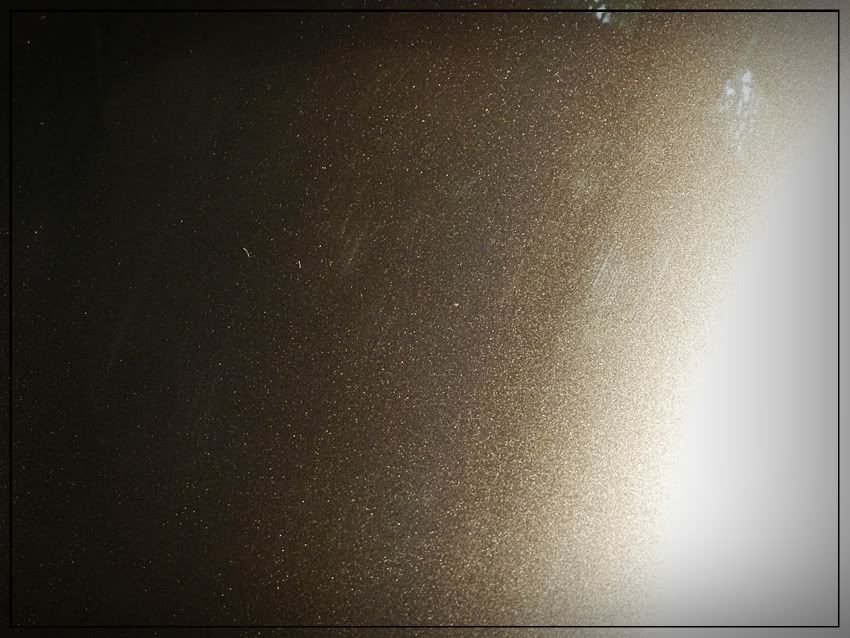
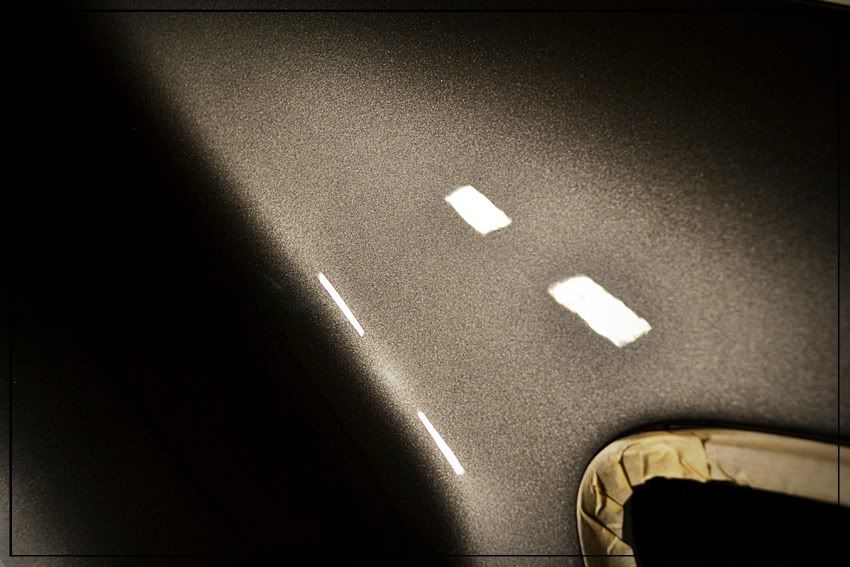
with the halogen lights behind me, you can see the marring glaring back to the camera

The machine that we both chose for this method was the Flex 3401 the the Microfiber DA cutting disc
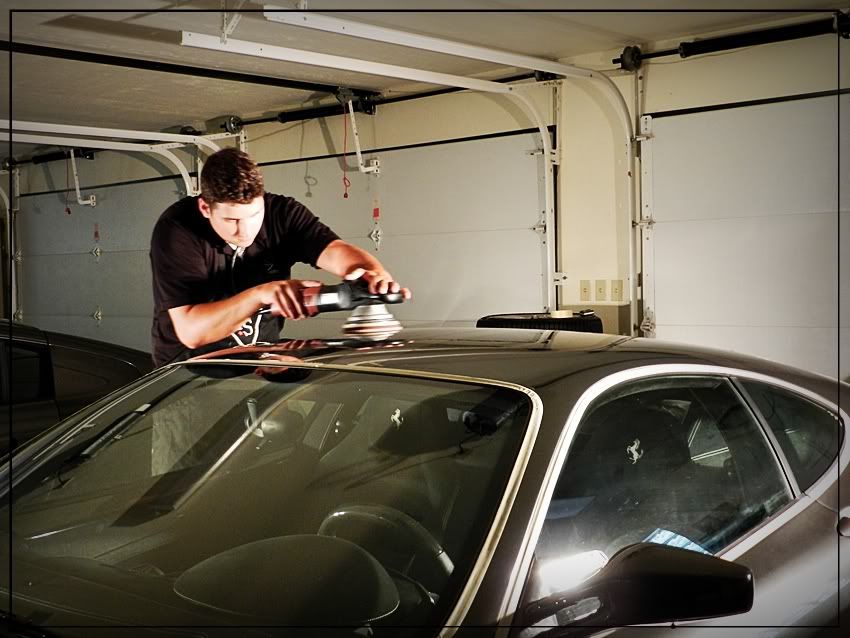
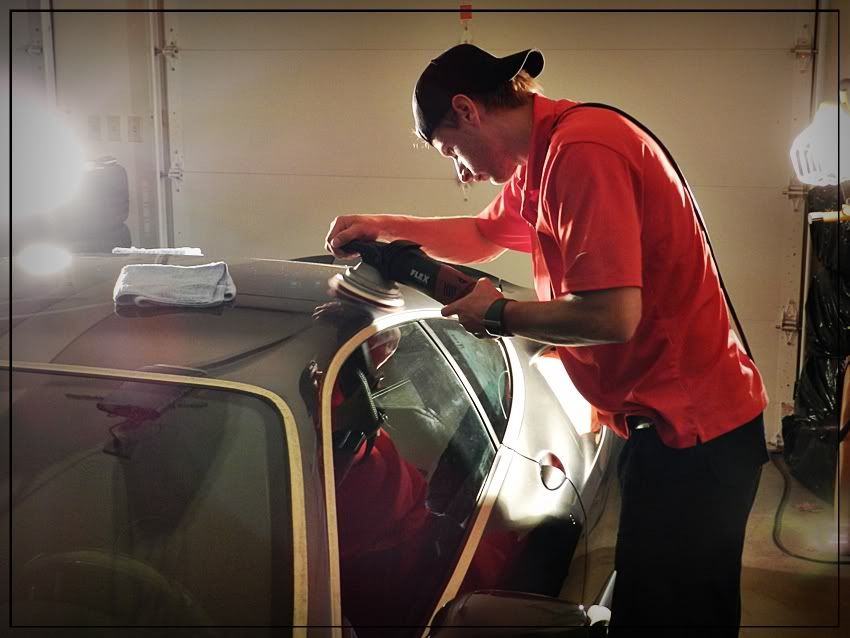
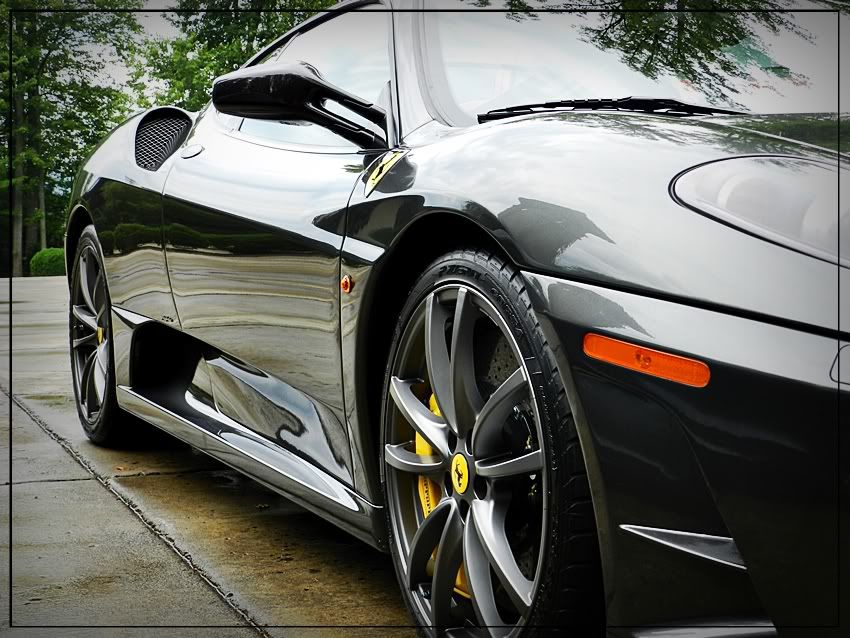
all polished out

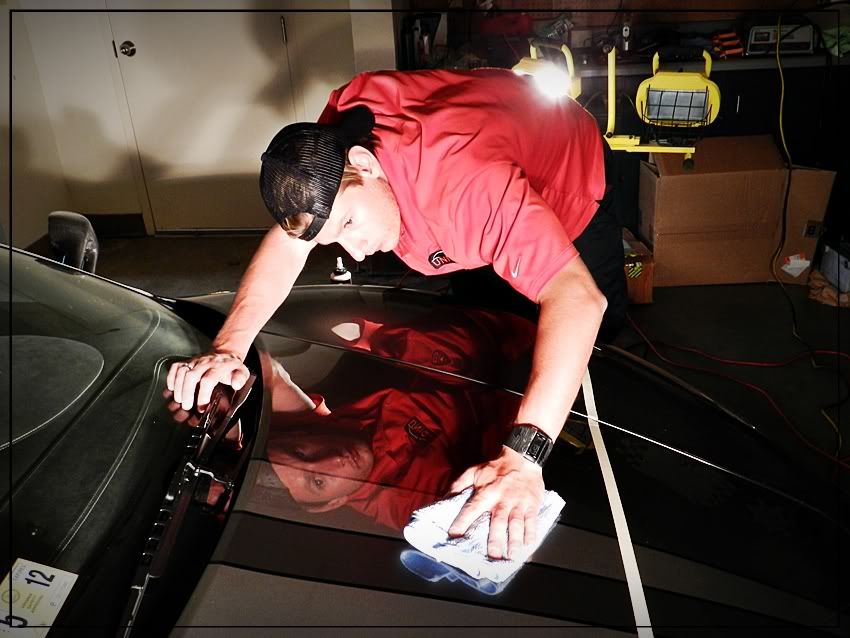
Making our way around the car each tackling one side of the car
look at that flake!
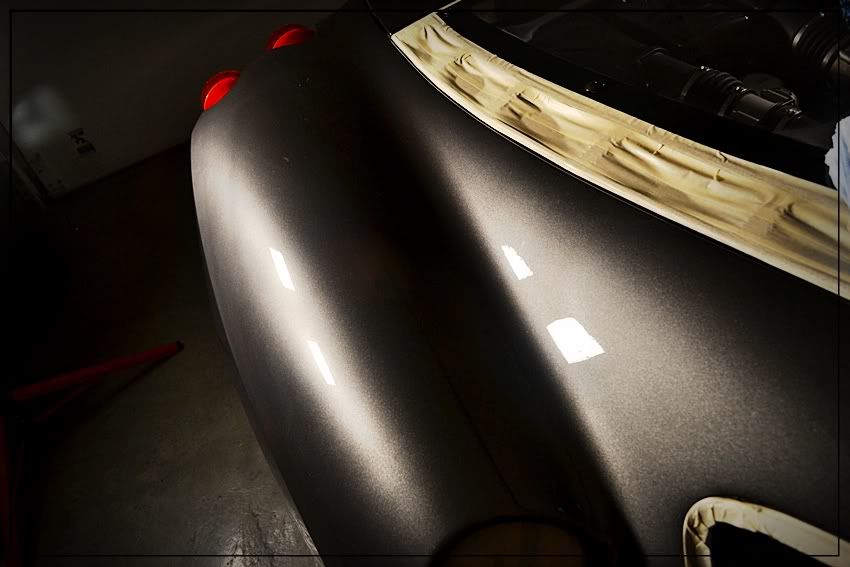
here is a before picture of the passenger side rear quarter panel which is hazy from all of the marring
nice the light scratches
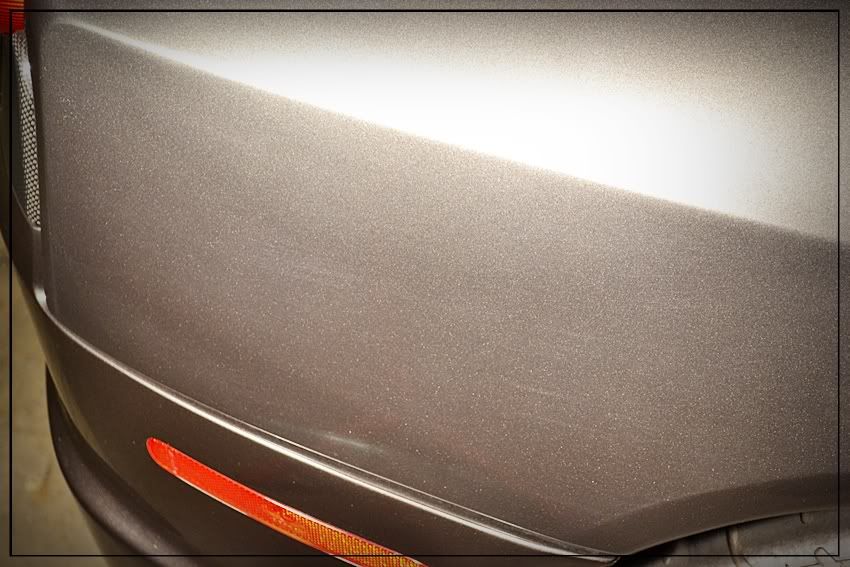

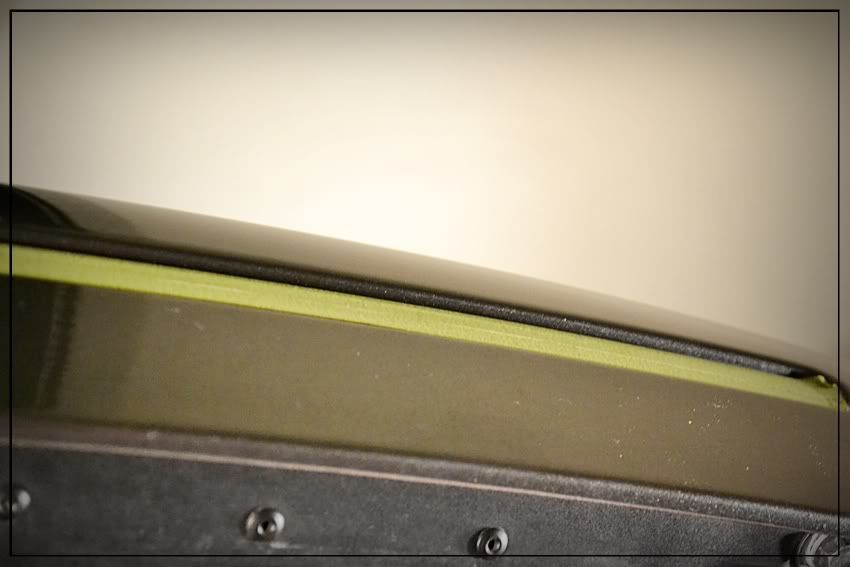
After buffing and polishing
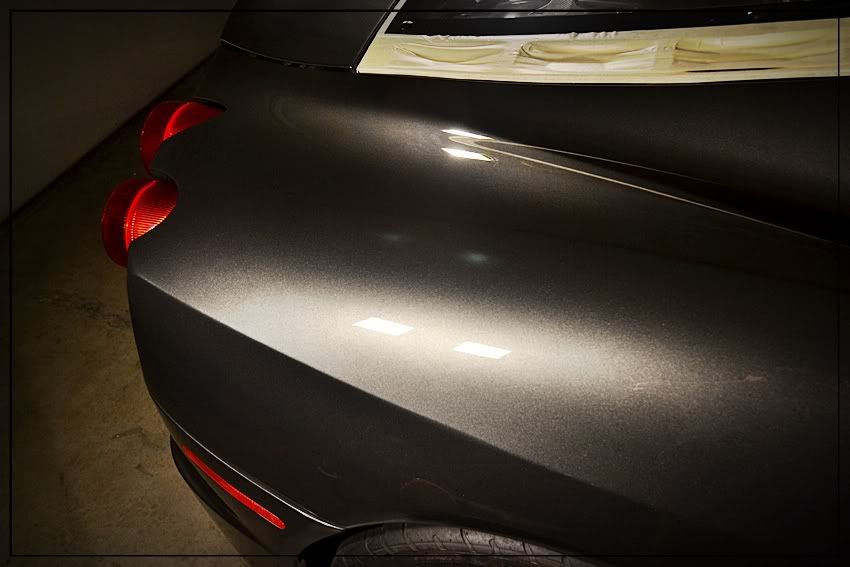
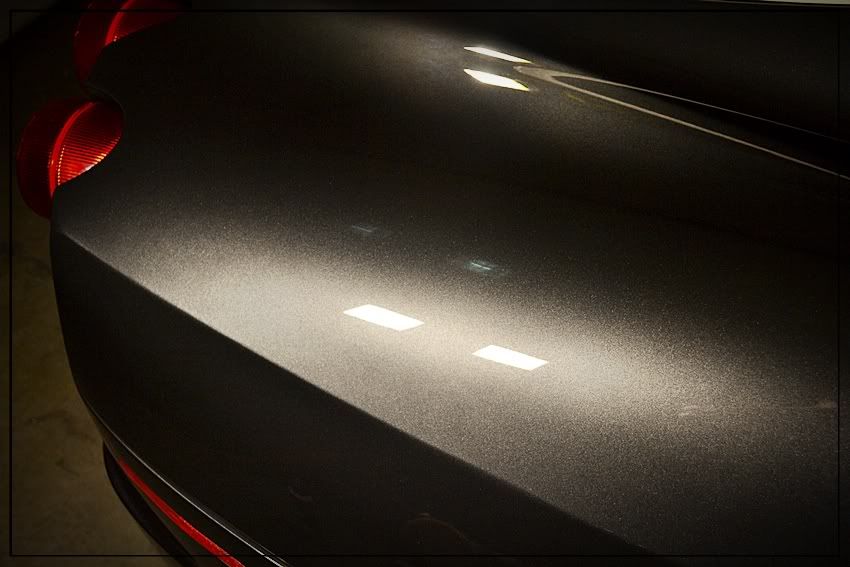
no marring.... just crisp reflection
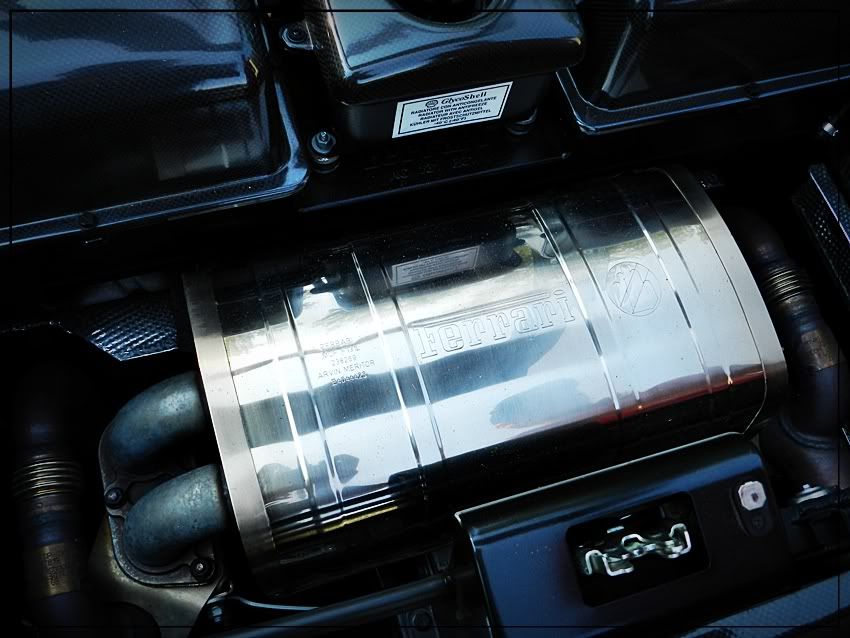
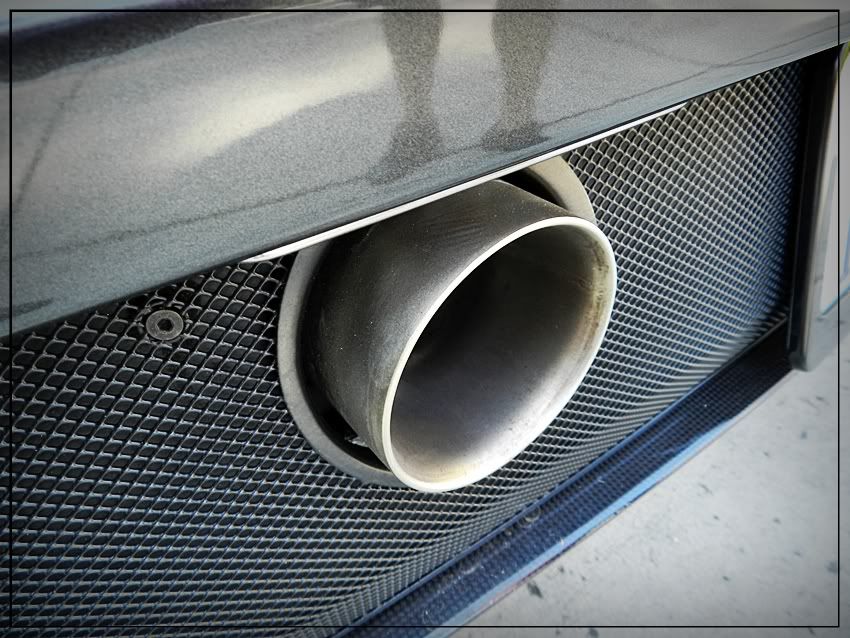
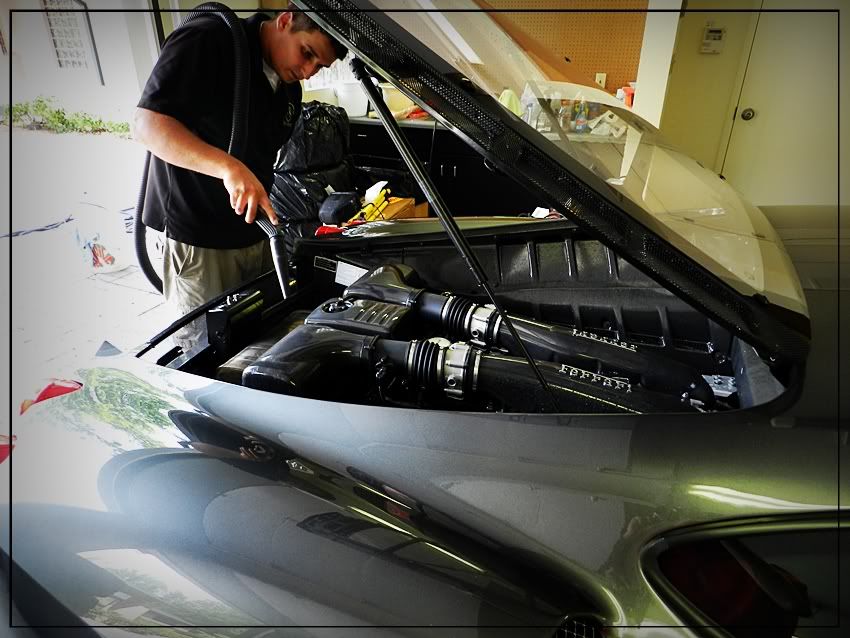
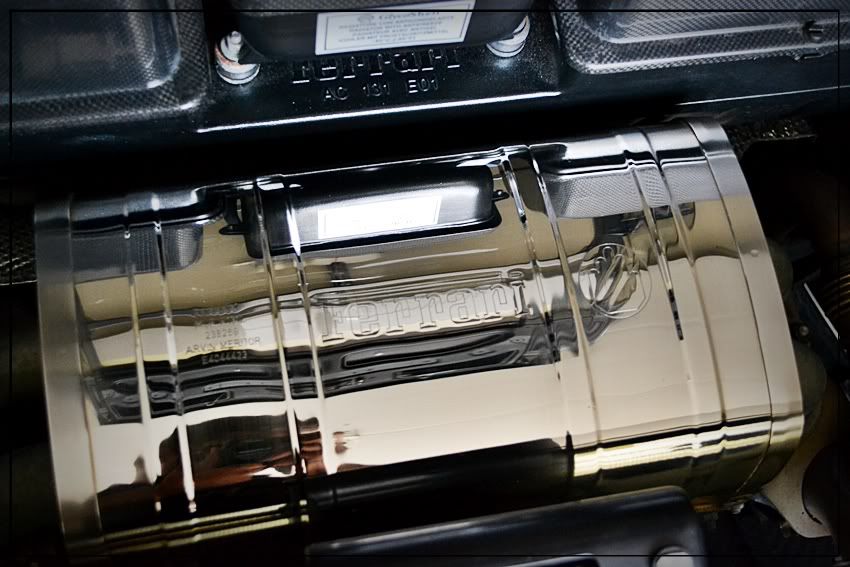
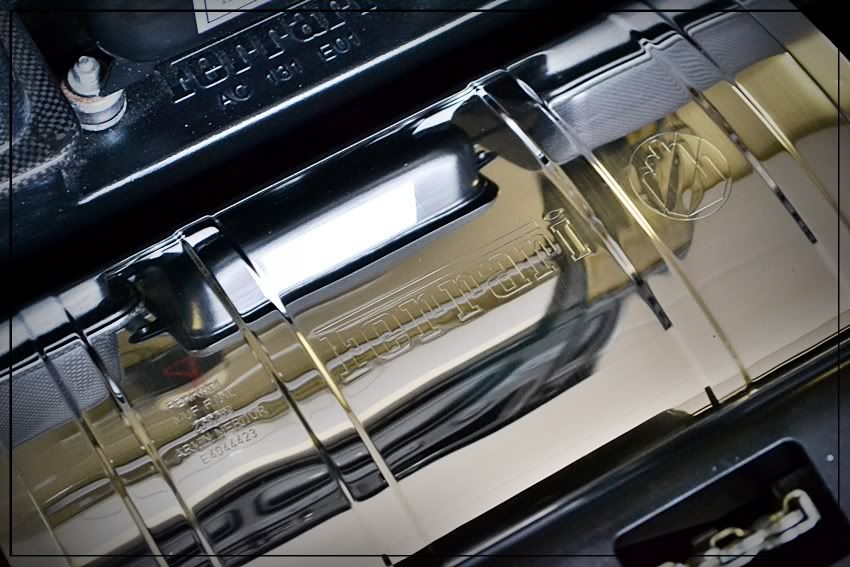
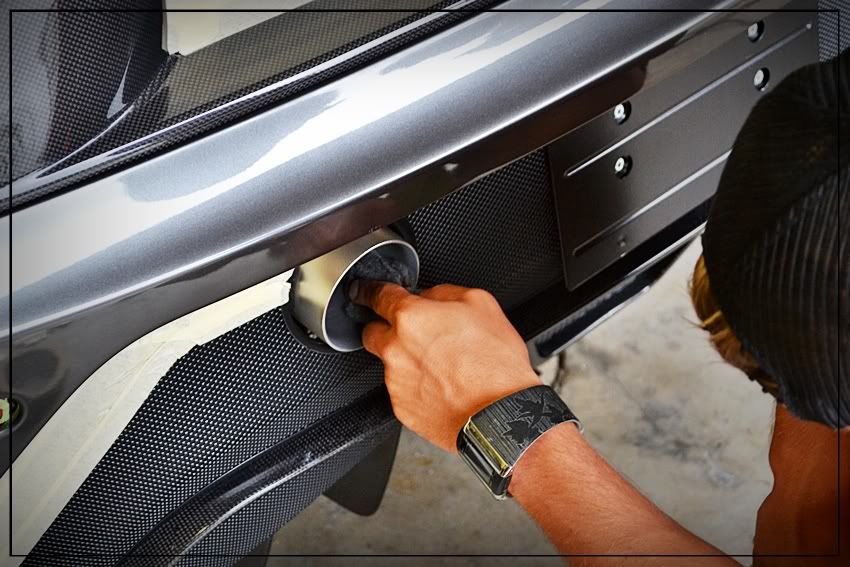
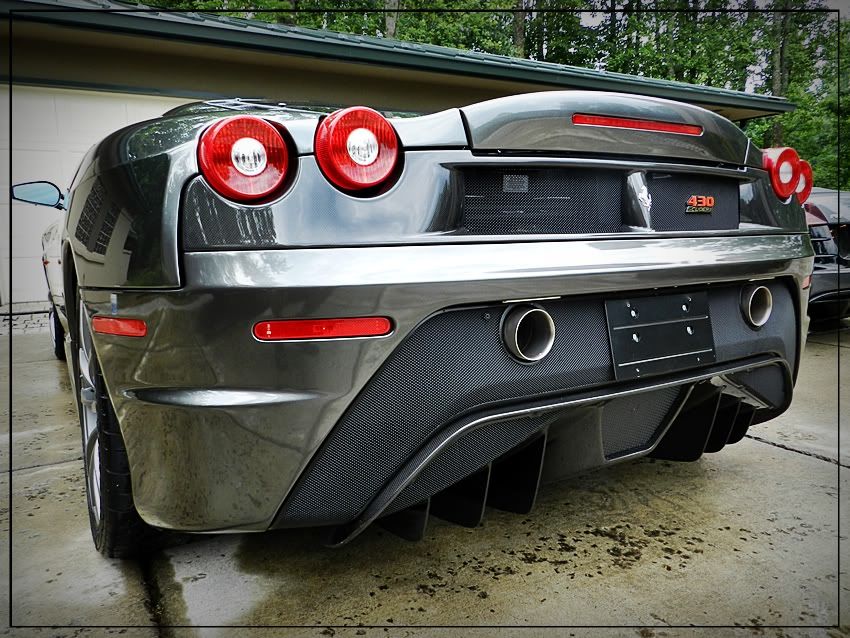
Next was the Ferrari Muffler, I noticed that the muffler was a yellowish dull color, and I knew the potential that it had.
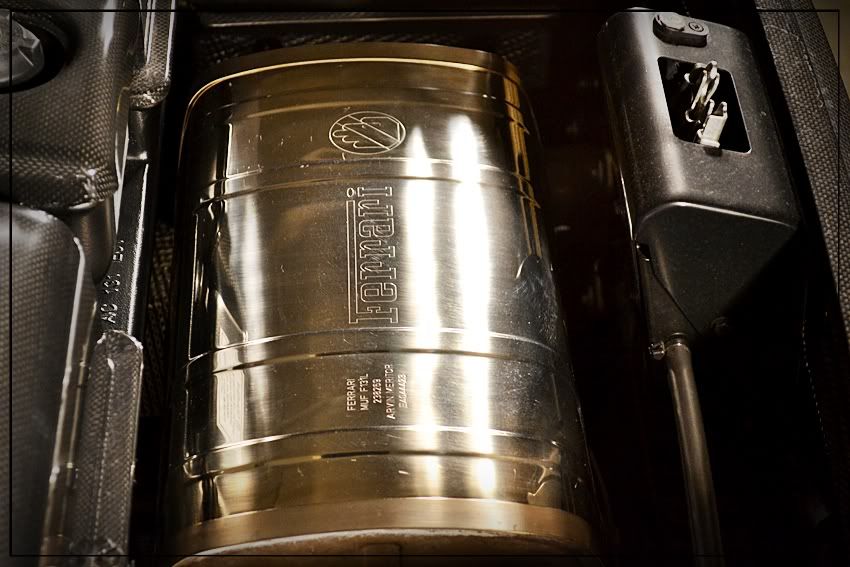

I taped off half of it and began to polish it out.
here are a couple of 50/50 shots of the rear muffler showing how much Bling was brought out
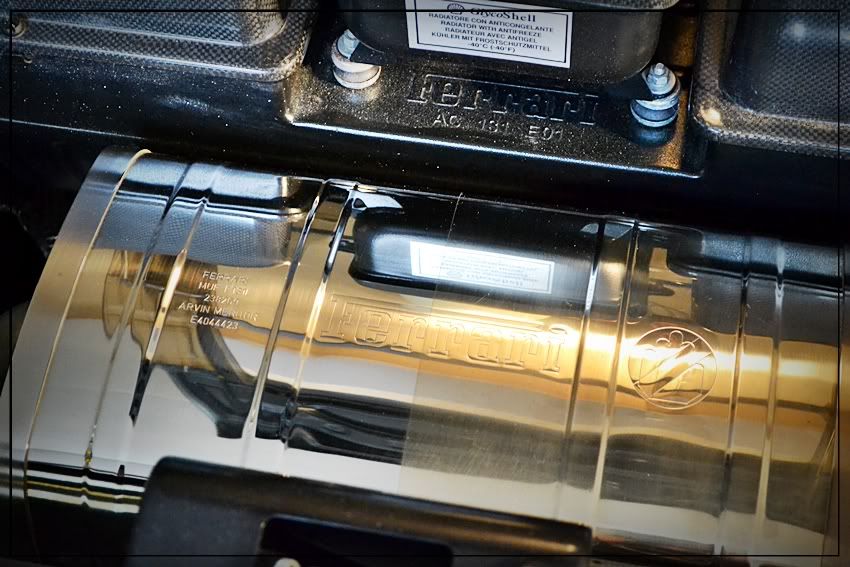
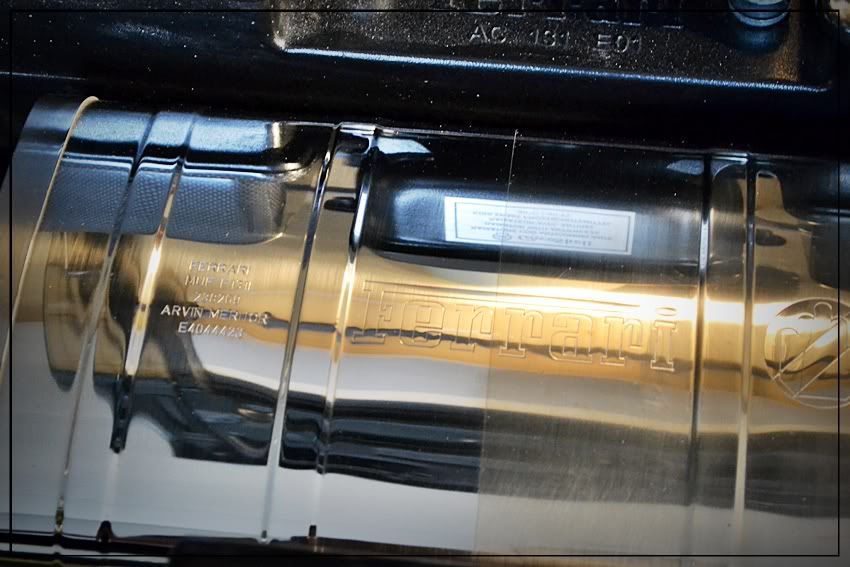
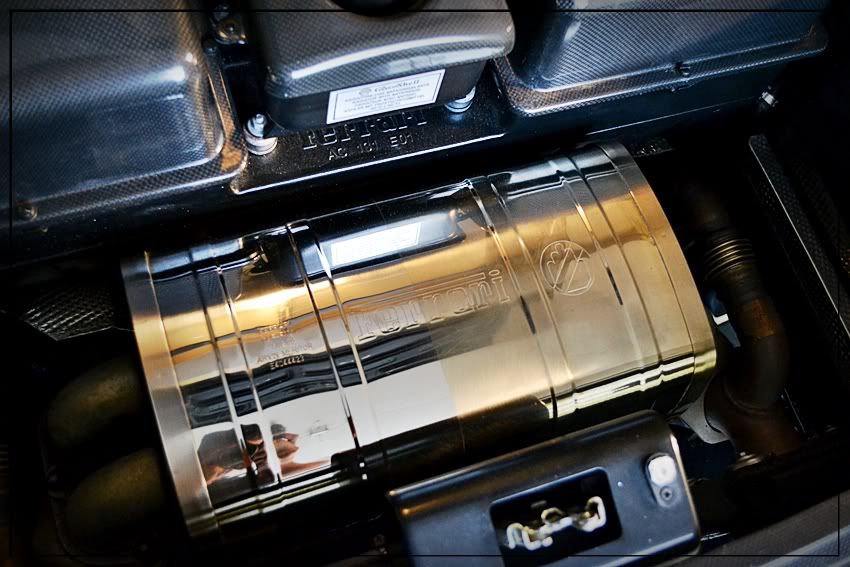
I used the Griot's 3in orbital and a small wool pad w/ bushes aluminum polish
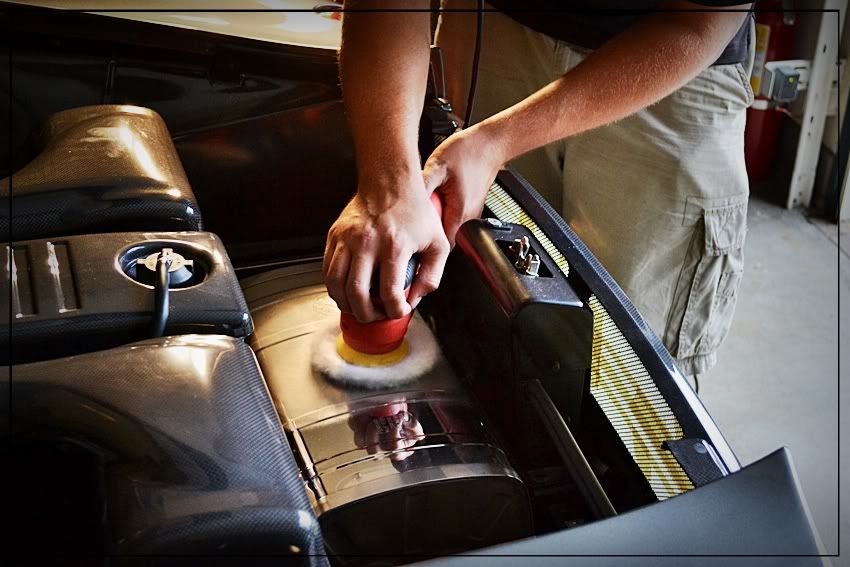
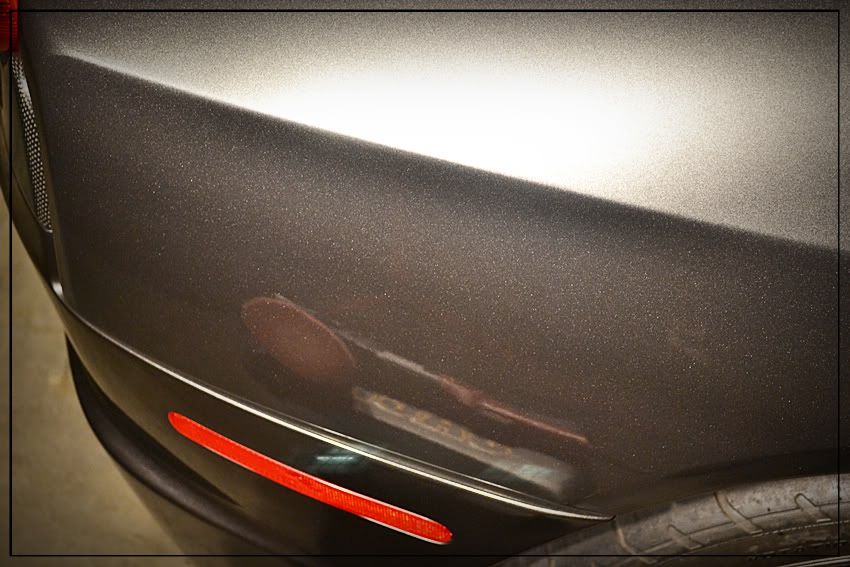
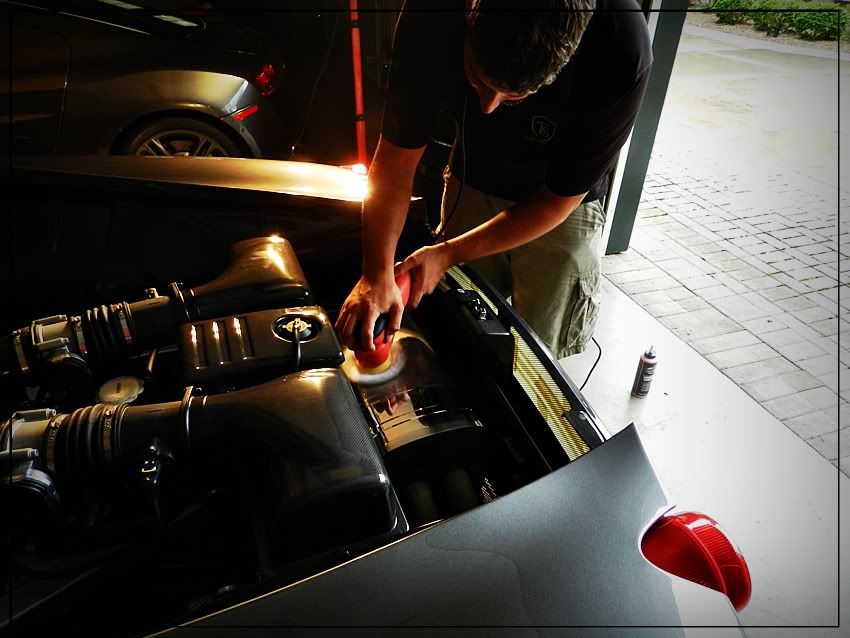
While I was working on the engine compartment, David was polishing out the paint with Black LC and 205

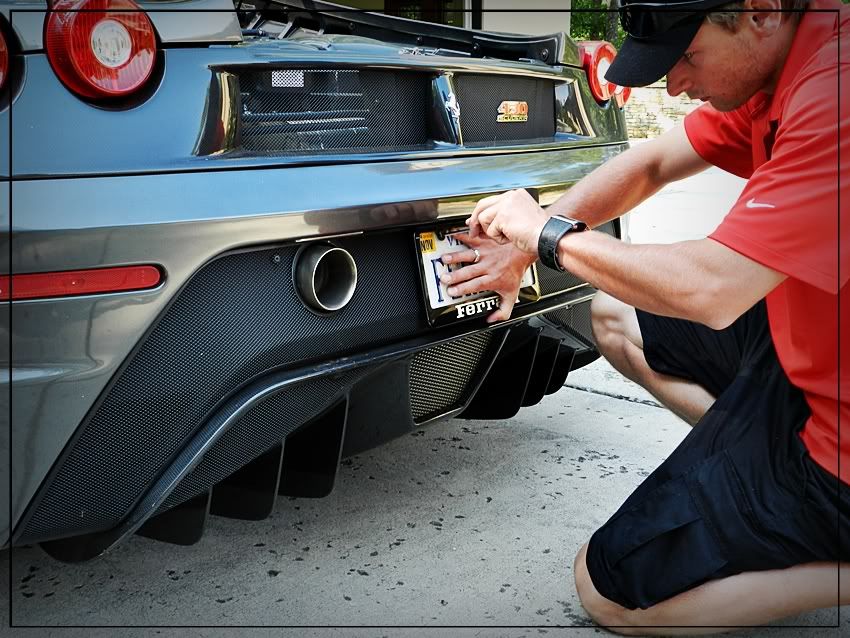
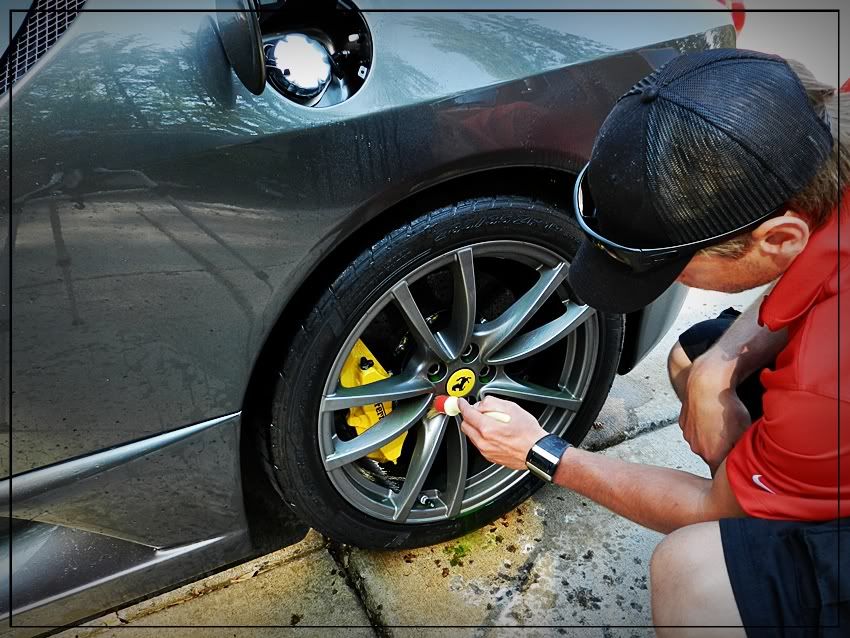
While I sealed the wheels with Rejex and Shined the tires with OPT opti-bond, David polished up the exhaust tips
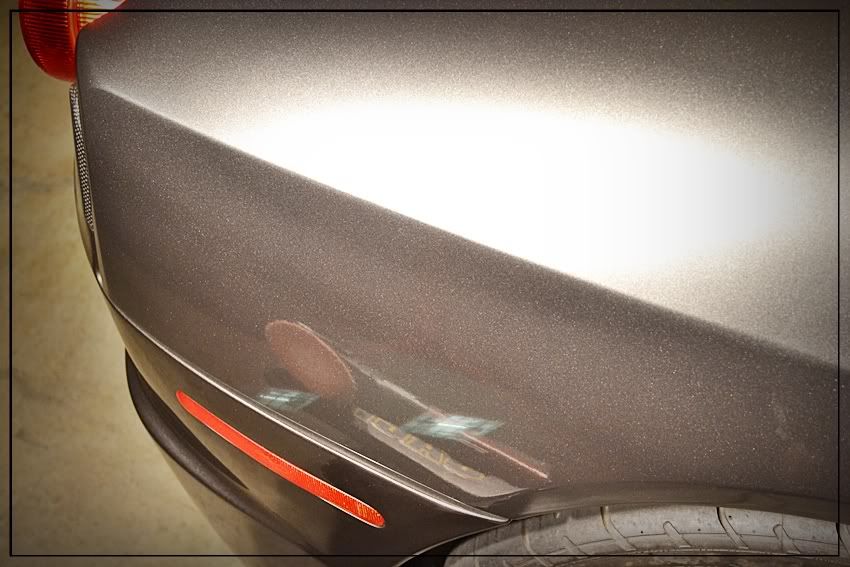
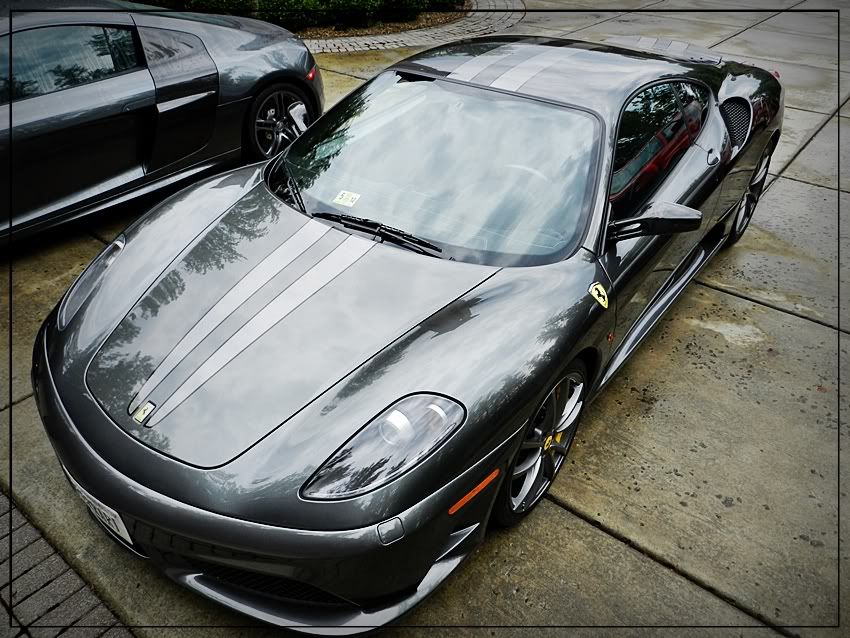
Now it was time to seal the paint, For this we used Chemical Guys new Blacklight Radiant Finish Sealant.
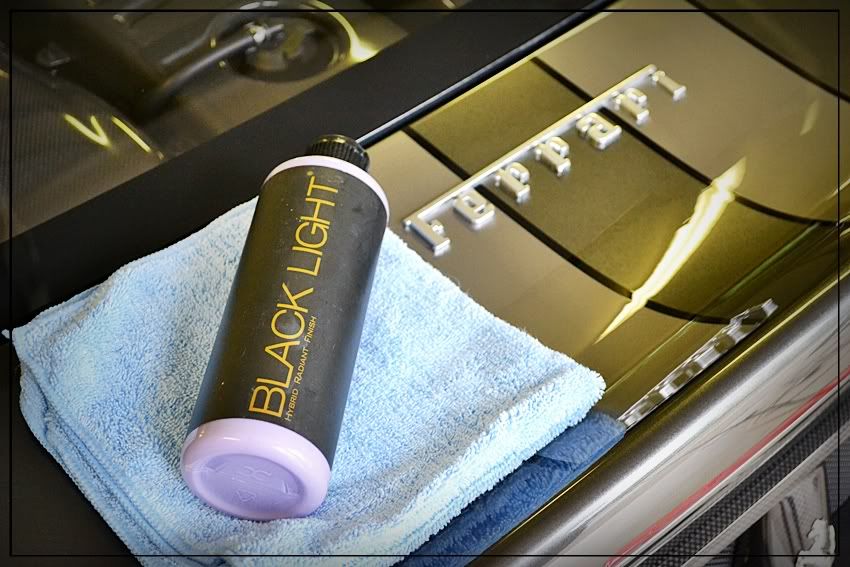
we applied the Black Light using a black LC pad on the Flex 3401
After letting it cure it was them wipped off and this is what we were left with.
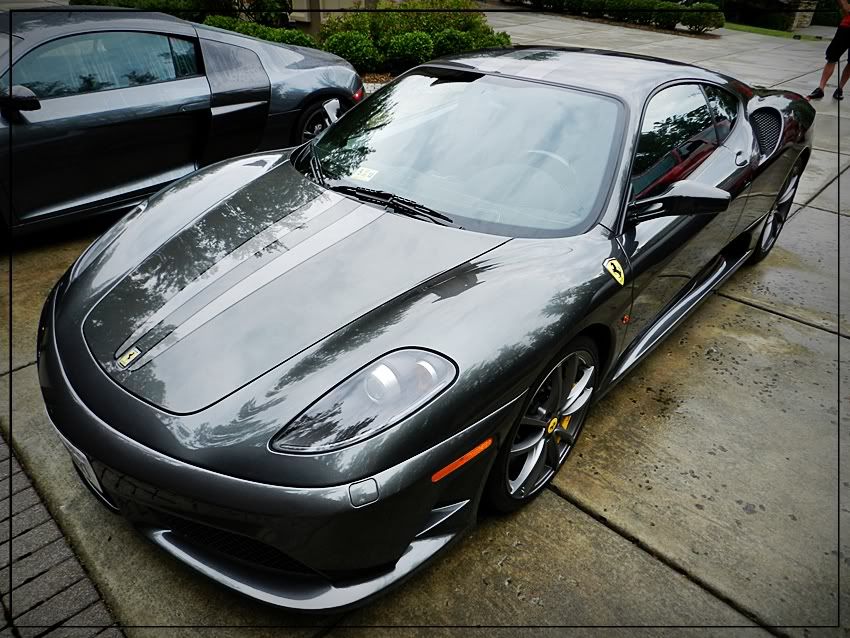

Thanks for viewing and stay tuned for more!
-Eric Witt and David Purser
imported_JSFM35X
New member
great work on a super sick car. I love that color.
michakaveli
New member
Great job Eric!!!! :rockon:
imported_juliom2
New member
What a Tag Team...........
Awesome work!!!!!!!!!!!!!!!!!!!!
:wizard:
Awesome work!!!!!!!!!!!!!!!!!!!!
:wizard:
MrGolfRider
New member
That looks great! Good work you two!
I have a couple questions.
1. What is the finish like after only using the MF system and D300?? Is it no where close to LSP ready?
2. I know Meguiars recommends the G110 for the MF system. The Flex is forced rotation. Have you tried the system with a regular DA?
3. What type of longevity are you getting out of Blacklight?
Thanks,
Matt
imported_Auto Concierge
New member
Really nice work guys!!, I like the "Black light" as well. Sonax is great especially for delicate wheel and caliper/rotor combos like this car, but you would be waiting a LOOONNNGGG time for the color to change on those ceramic rotors lol.