Ferrari F355 112 hour Detail Part II...

Robert Soska

New member
Hi,


Can someone tell me a bit more about this product? I recieved it as the wrong Mirror Glaze item.. I can't quite figure out if its totally safe or not? Have you used it, and why? Thanks much!


~pete
 
I think it is #00 in Meguiars pro line of products.

From www.carcareonline.com
"A quality car wash blended with conditioners and gloss enhancers to maintain optimal shine on all painted surfaces. Foams away dirt and grime without excessive wax loss. Safe for all paints."

Meguiars has so many car washes, like 5 off the top of my head. They have the Gold Class shampoo (my favorite), Rich suds wash, soft gel wash,the #00 Hi tech wash, and #62 wash.

I don't get the theory for all these washes. Oh well, itys MEguiar's they have to satisfy almost everyone, pro and consumer.

Hope this helps,
Jason
 
My guess is that it is OK for the car. Reading it on Meguiars.com give me the impression that it works like Dawn would...Then again...


anyone??
 
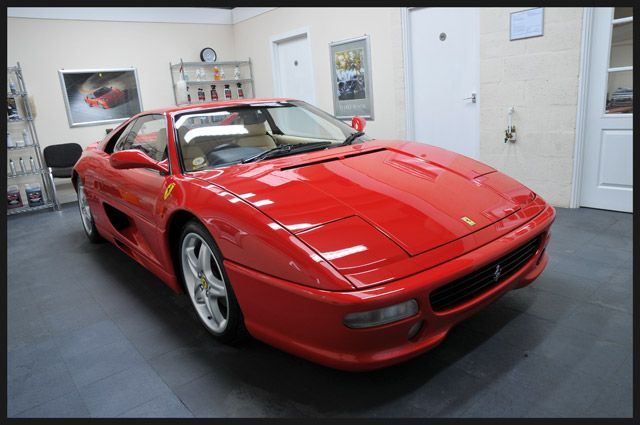
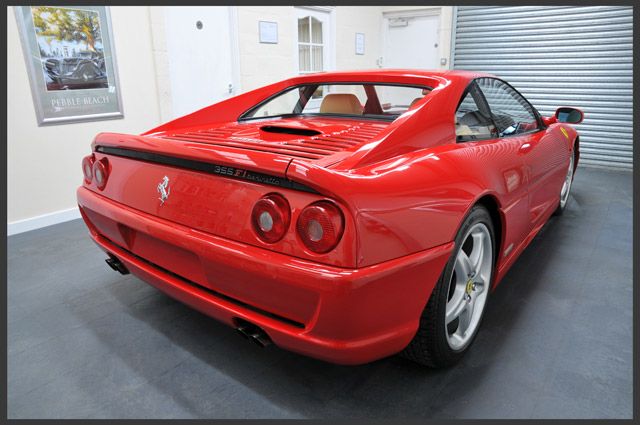
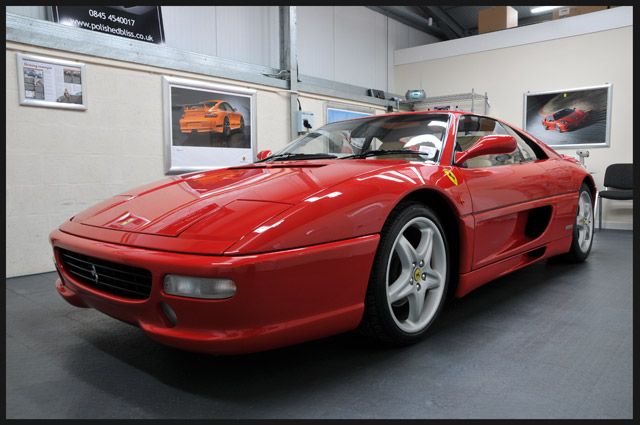
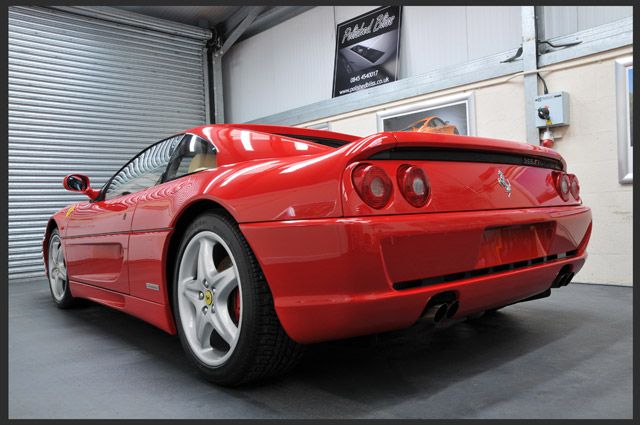
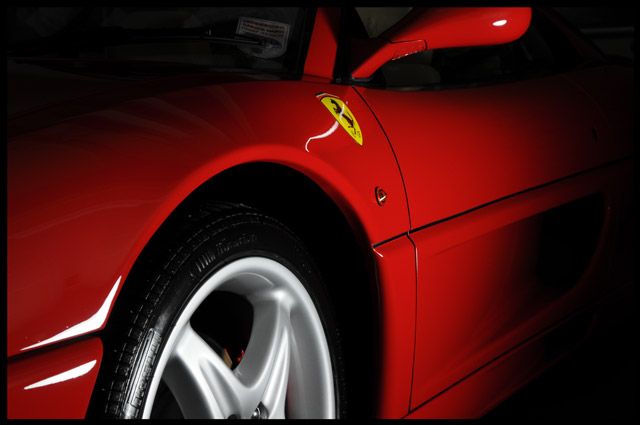
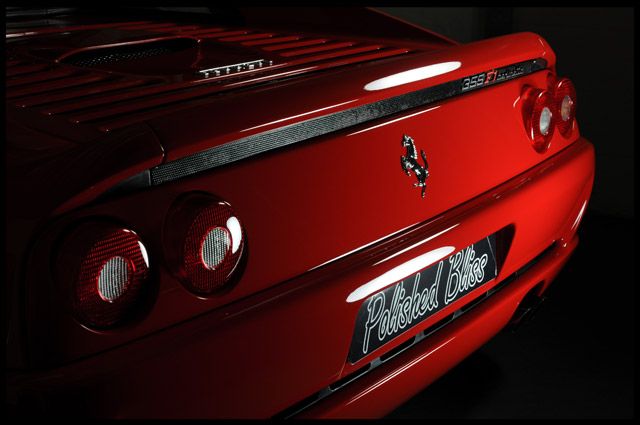
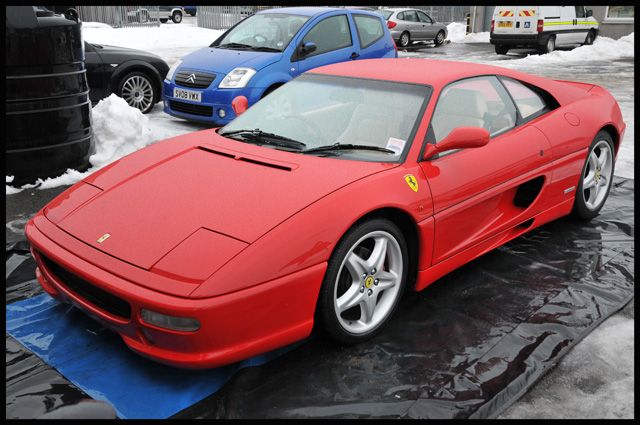
It's been a good start to 2010 for us so far with 2 Ne Plus Ultra Details already complete and this is the first one - A Beautiful example of one of the all time great Ferrari's with only 22k on the clock (and an aftermarket exhaust that would make any petrol head grin like a child! :D)


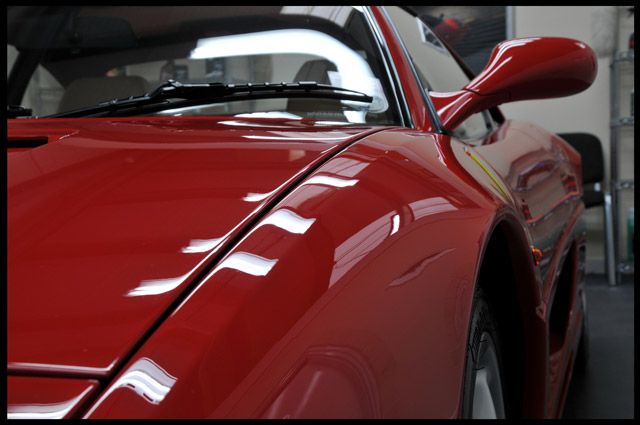
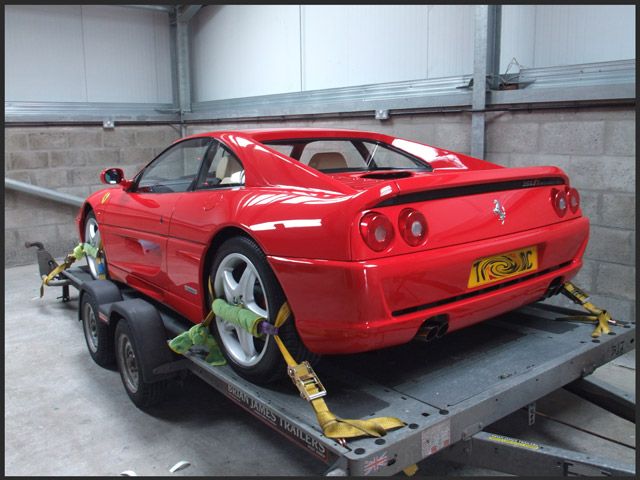
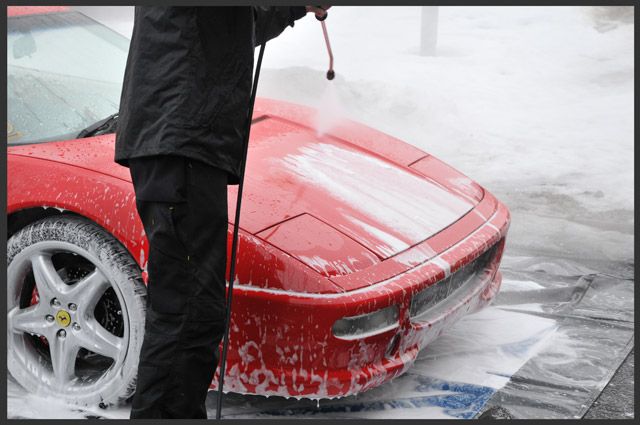
Here's the car upon arrival, in for the best part of 10 days - considering it had just been driven 20 odd miles on salt/snow covered roads it had stayed amazingly clean:

355001.jpg


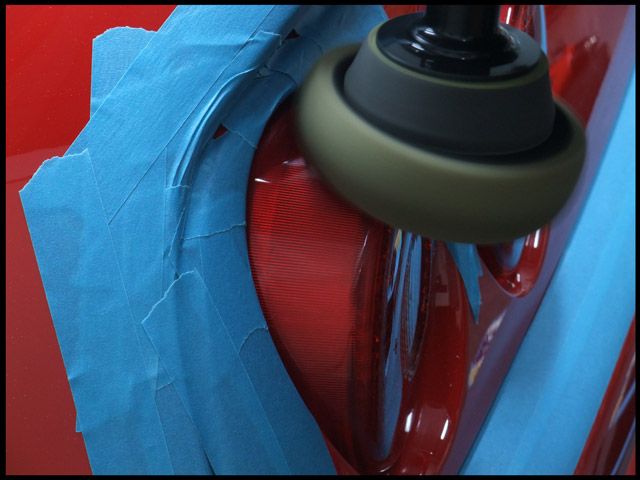
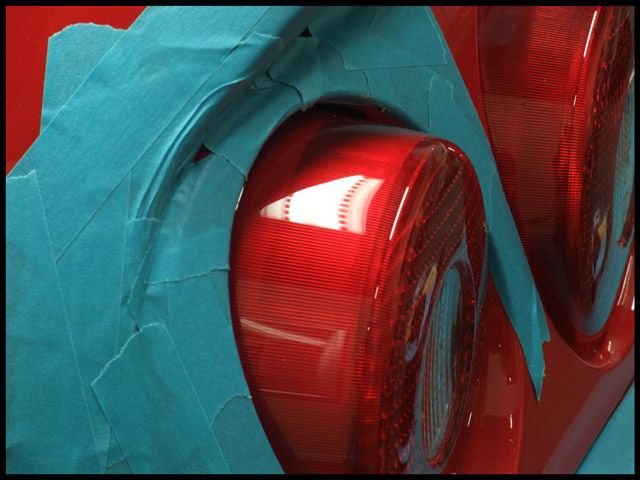
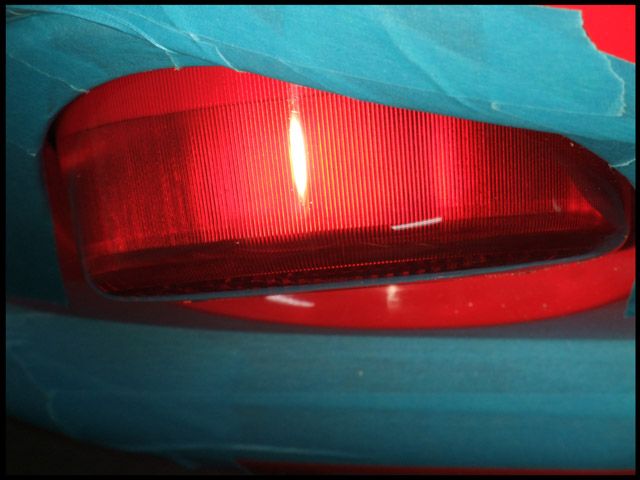
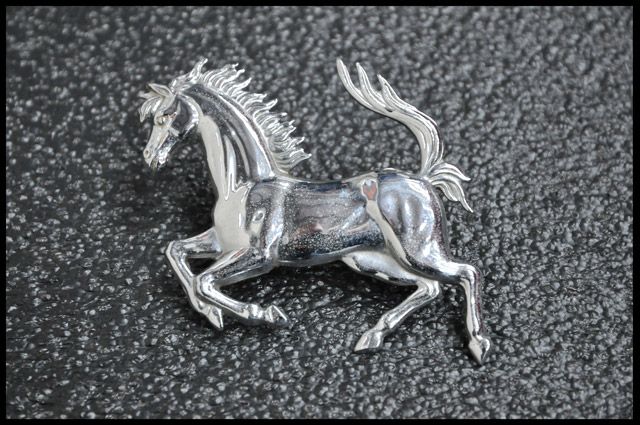
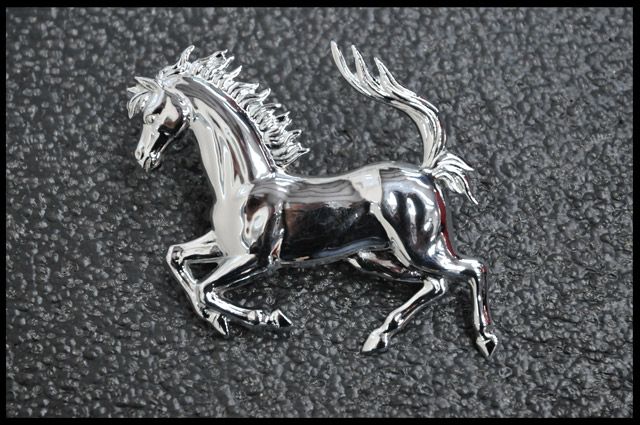
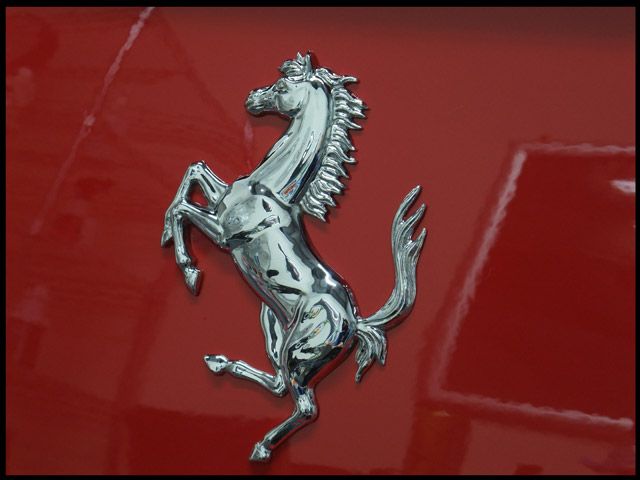
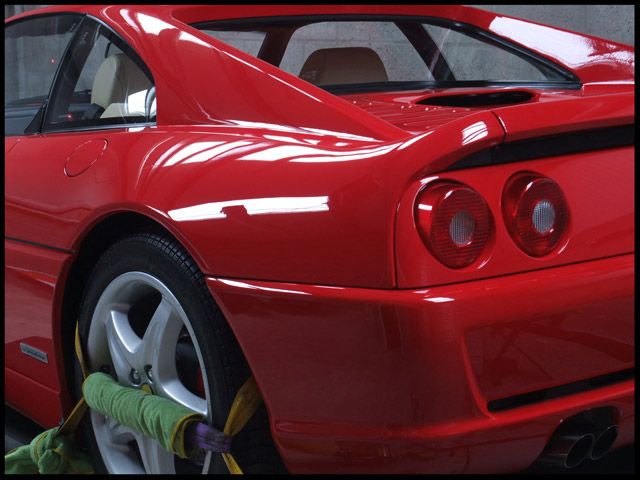
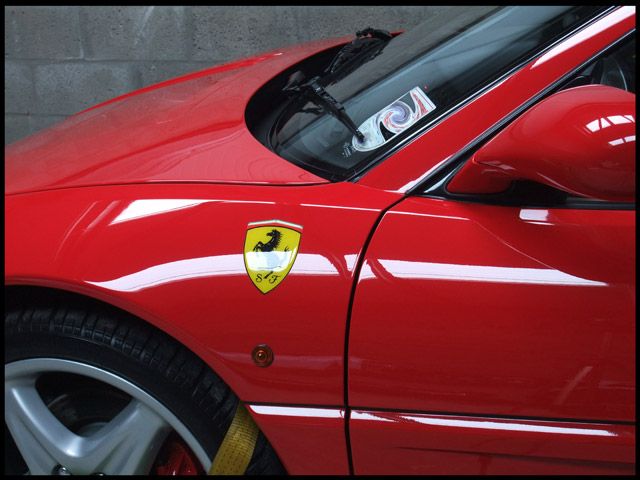
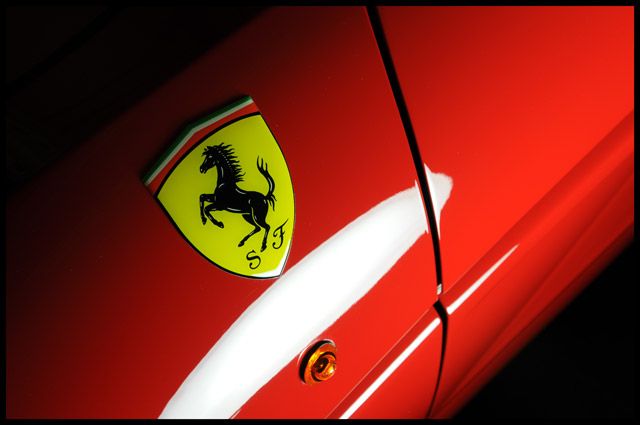
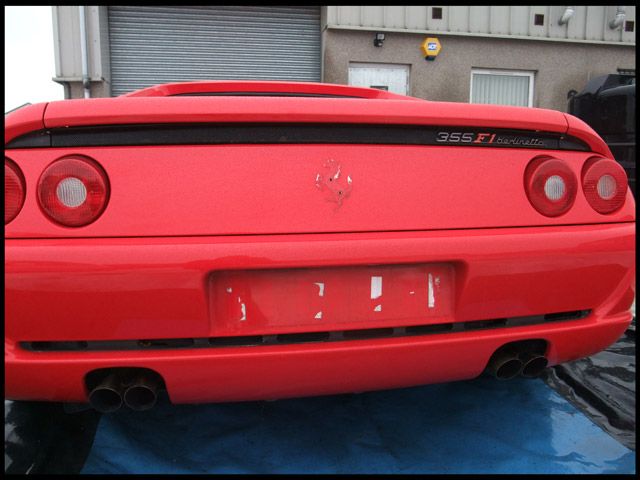
To help with the washing and polishing, I removed a few bits and pieces including the number plates and rear prancing horse badge:

355002.jpg


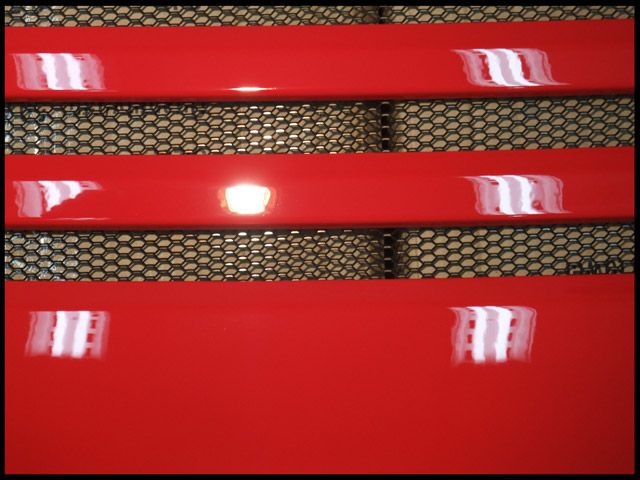
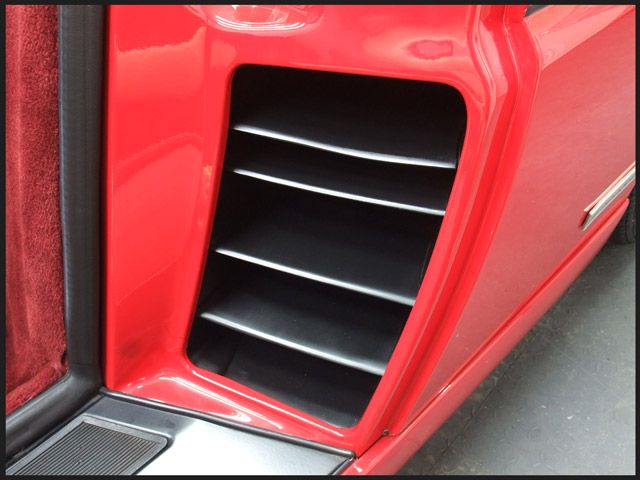
Front grill also removed...

355003.jpg


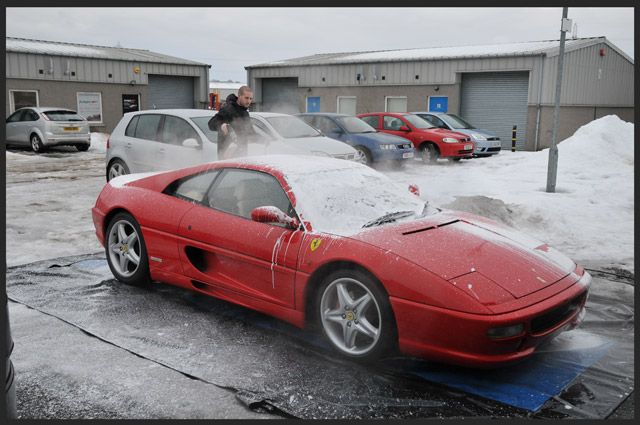
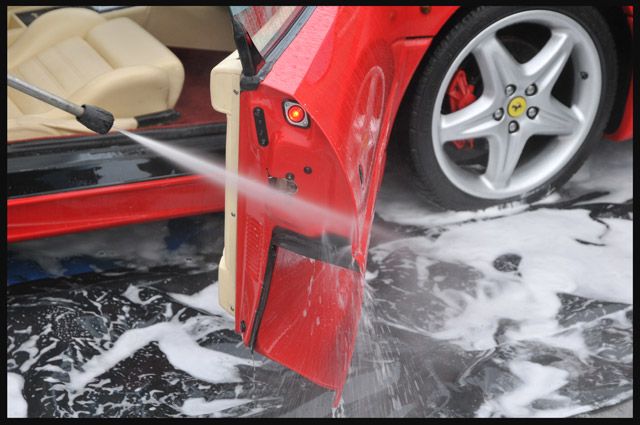
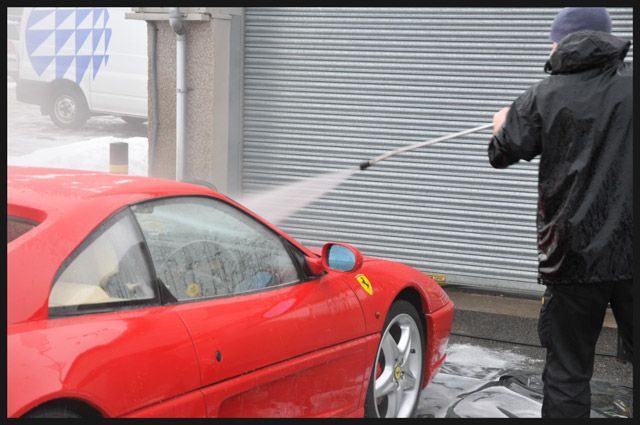
So, onto the wash process. Up first was R222 through the lance at 60 degrees:

355005.jpg


This was left for a couple of minutes and then rinsed off thoroughly at high pressure:

355006.jpg


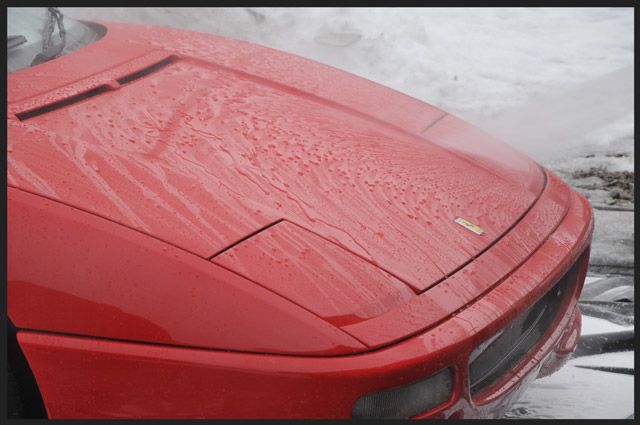
A good level of protection was still evident from the owners previous wax applications:

355007.jpg


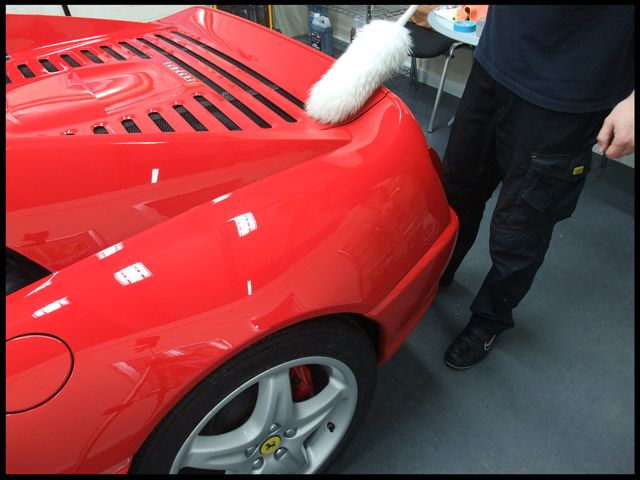
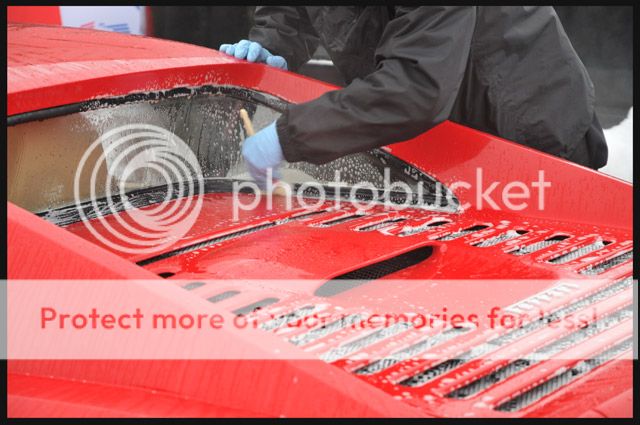
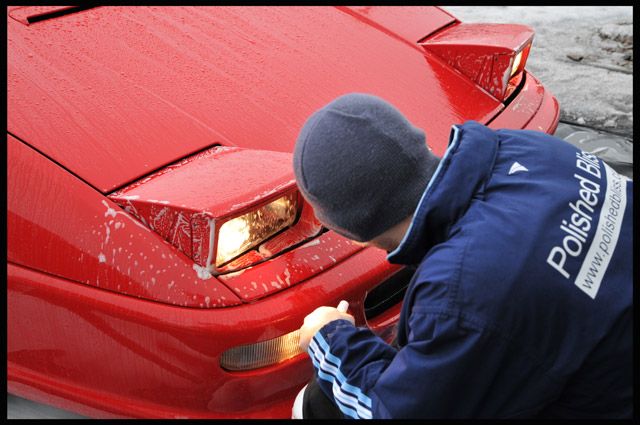
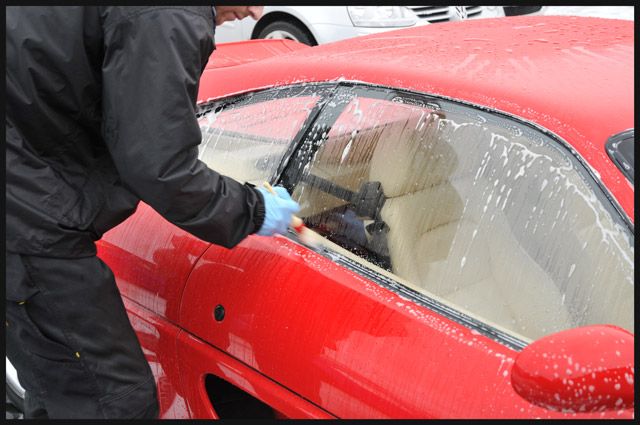
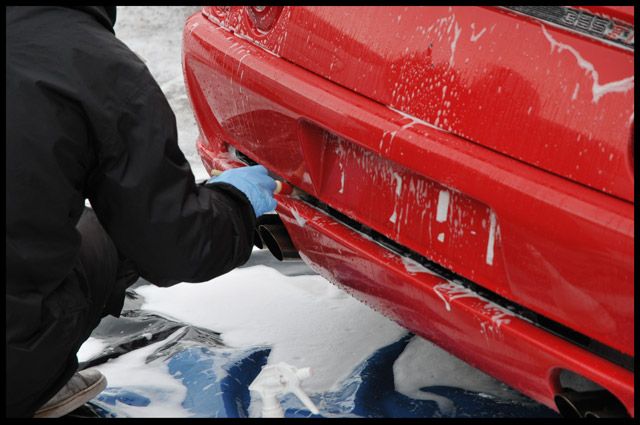
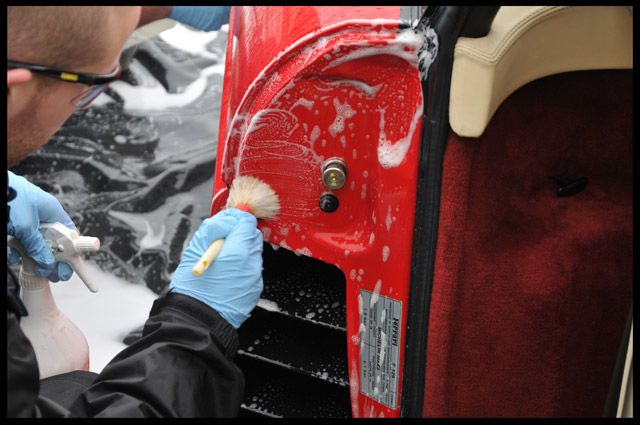
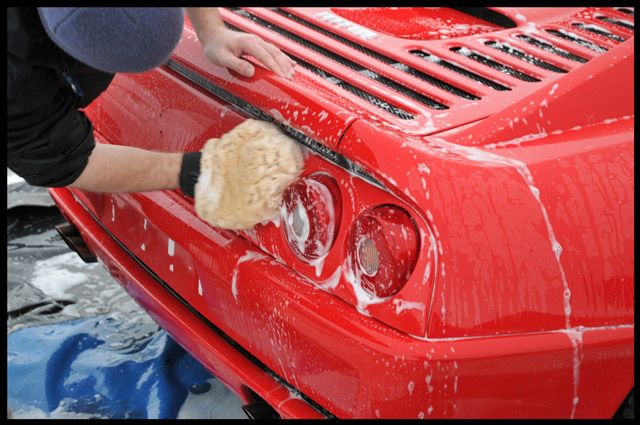
I then worked round the car with R222 and a Raceglaze detailing brush to clean all the exterior trim etc:

355008.jpg


355009.jpg


355010.jpg


355011.jpg


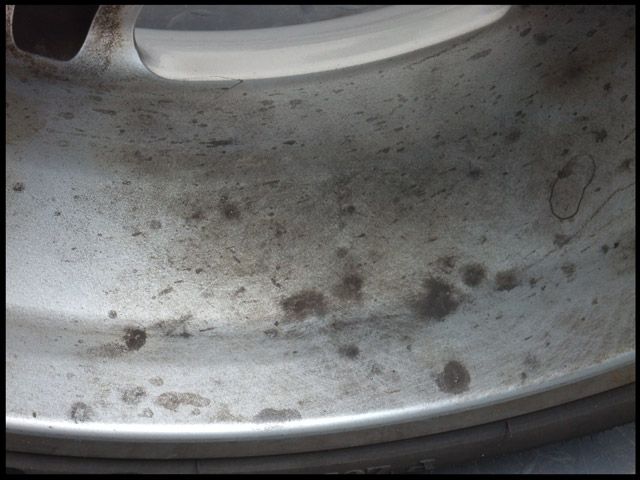
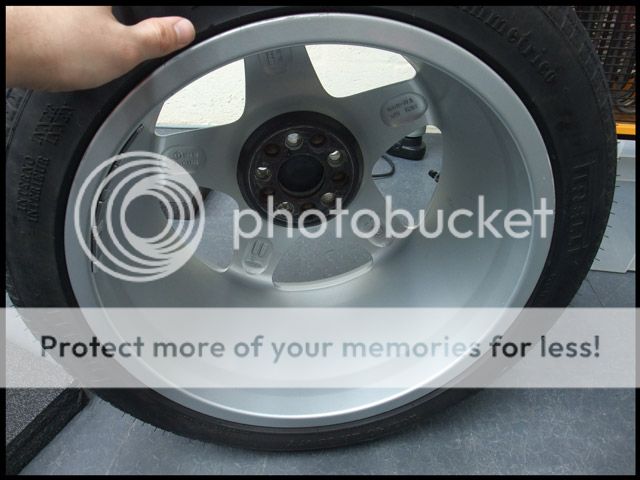
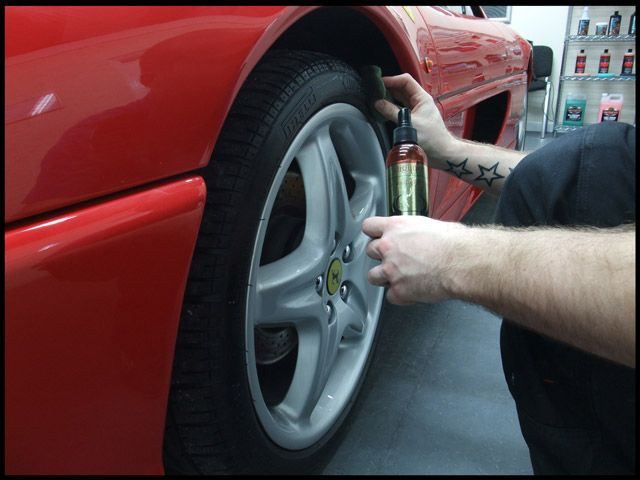
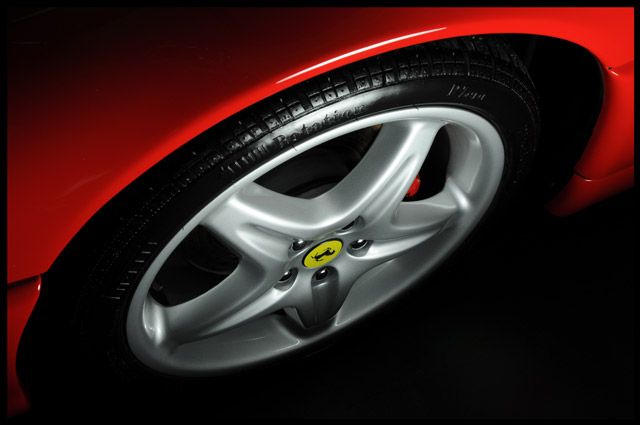
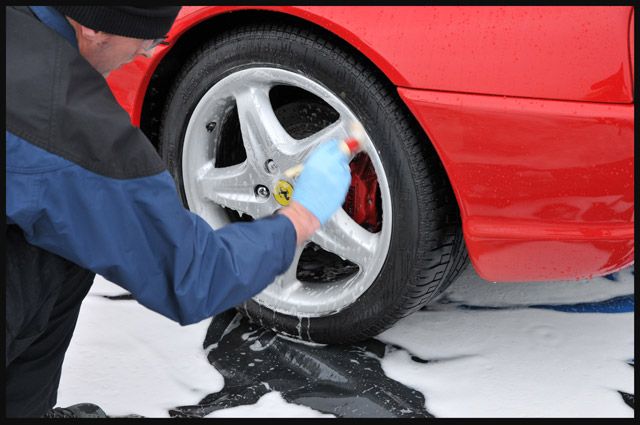
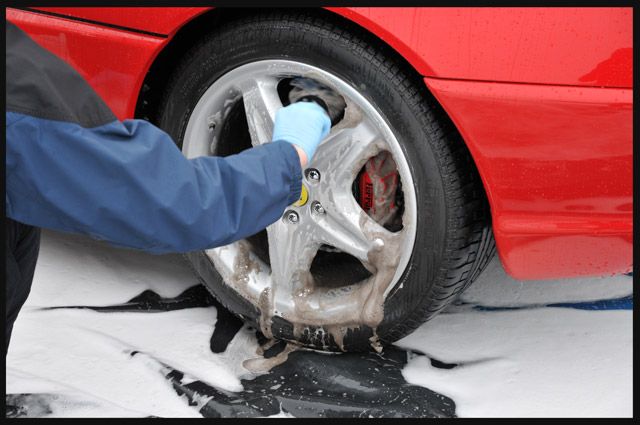
Meanwhile, Colin was working on the wheels with Gloss-It wheel gel (4:1) and tyres/arches with Meguiars Super Degreaser (4:1):

355012.jpg


355013.jpg


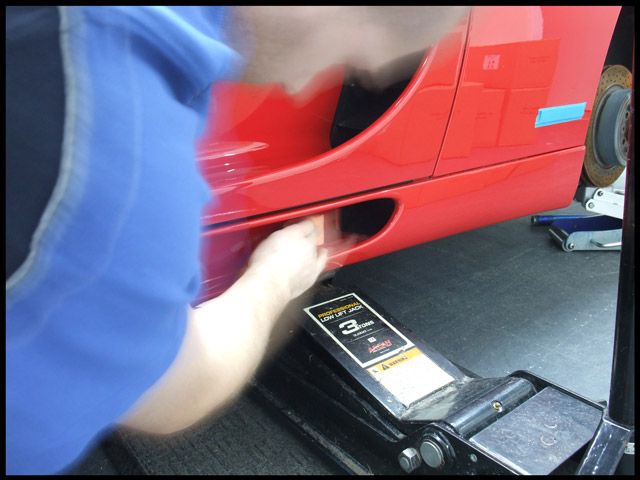
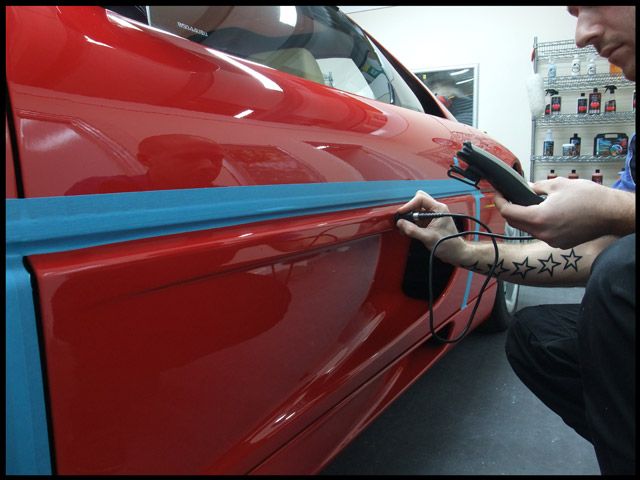
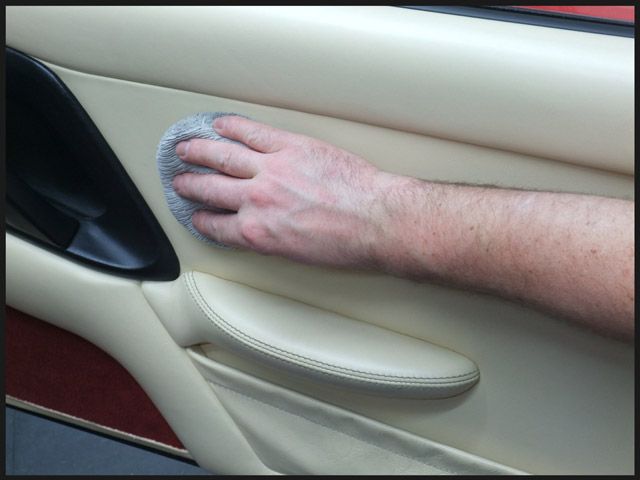
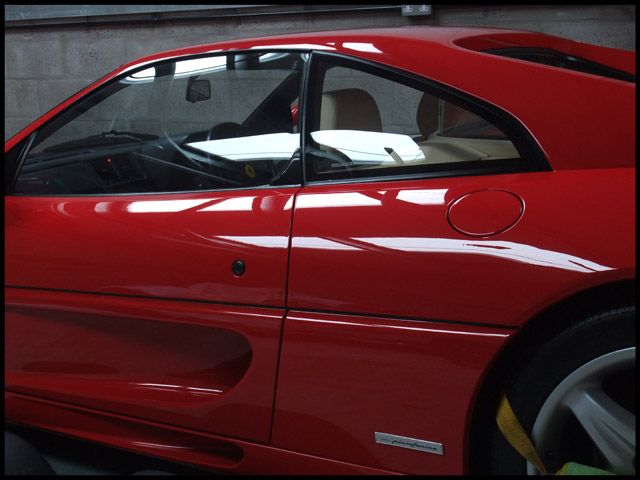
Once all the exterior trim had been cleaned I turned my attention to the door shuts...

355014.jpg


355015.jpg


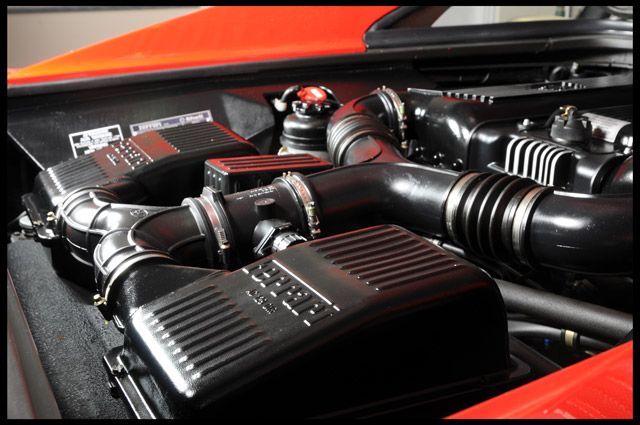
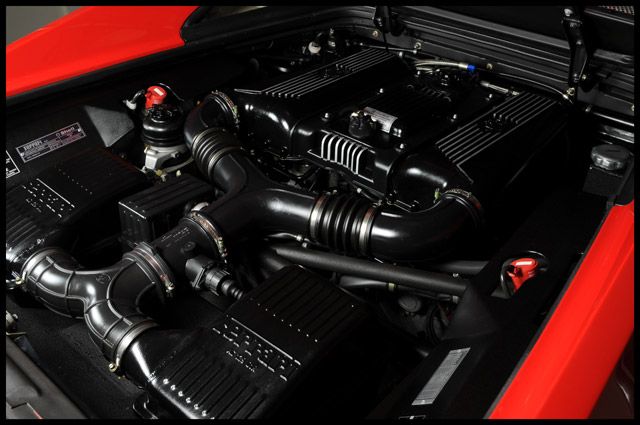
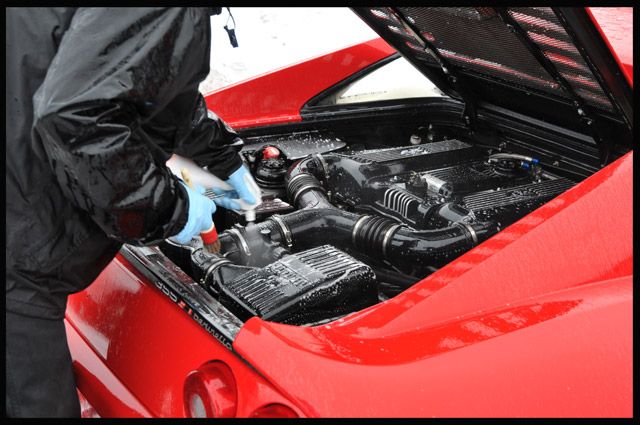
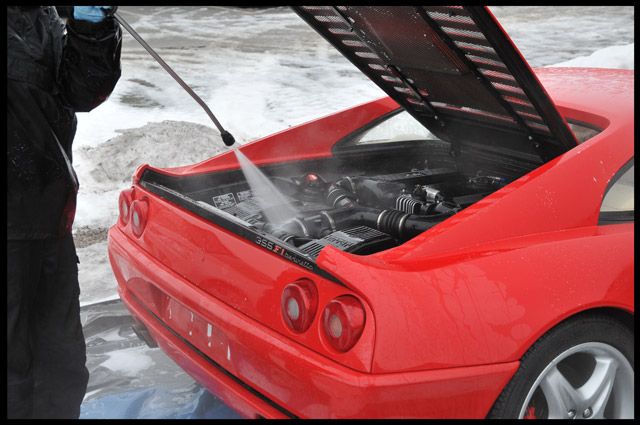
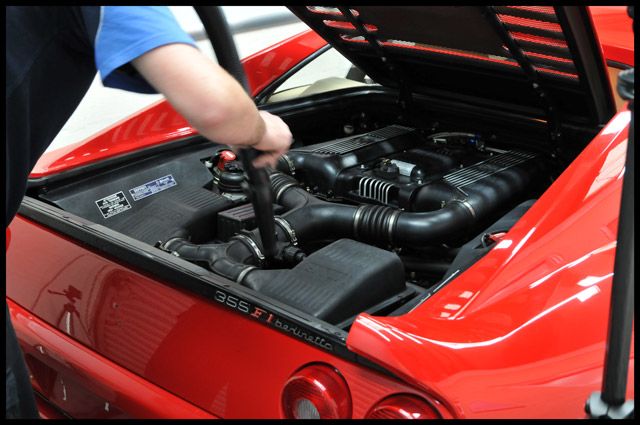
Then the engine bay was treated in the same way - R222 applied, agitated and then rinsed at 60 degrees:

355016.jpg


355017.jpg


With all the various details now attended to all that remained was to wash the paintwork with Meguiars Shampoo Plus and the 2BM:

355018.jpg


Then rinsed:

355019.jpg


A quick once round the car with Autosmart Tardis showed next to no signs of tar spots so after a final rinse off the car was put inside for claying.

Meguiars Mild Clay (mild was used as there was very little contamination present on the paint) and water for lube was used:

355020.jpg


The car was then dried off using PB Luxury Drying Towels and the Black Baron Drier:

355021.jpg


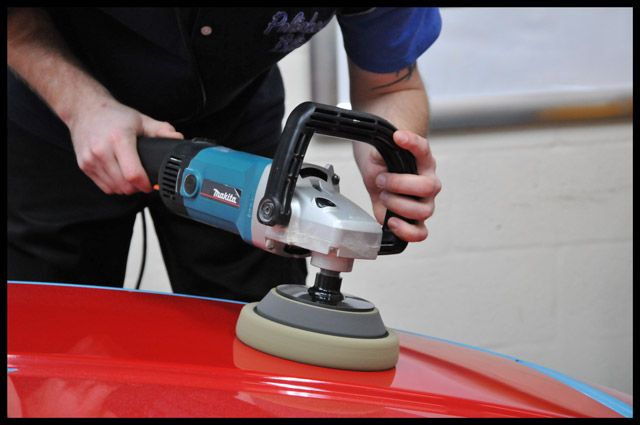
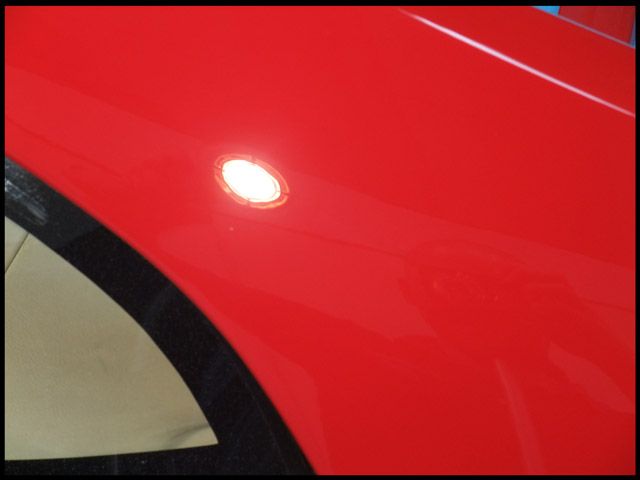
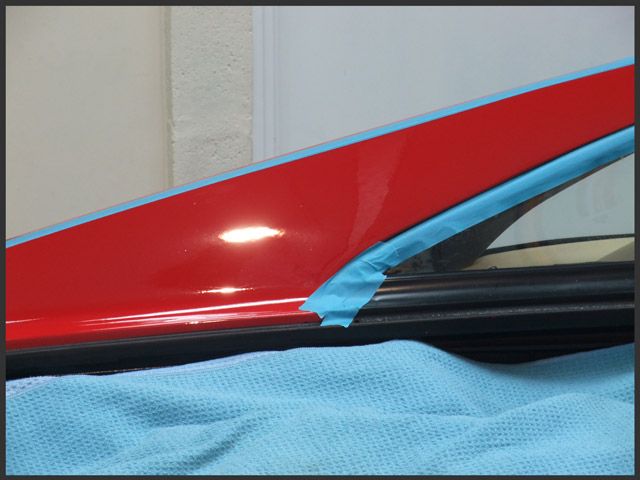
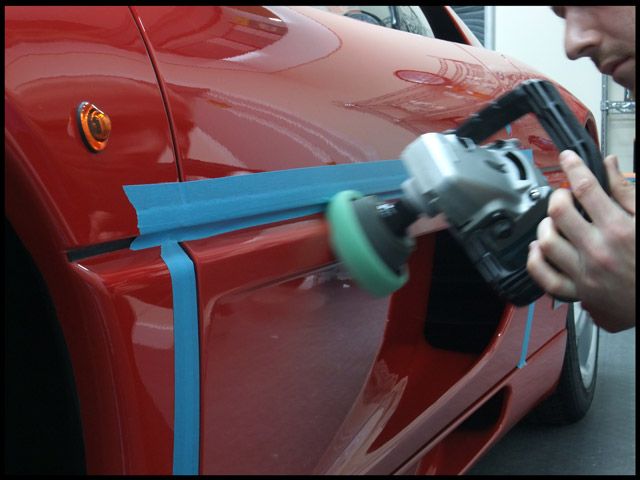
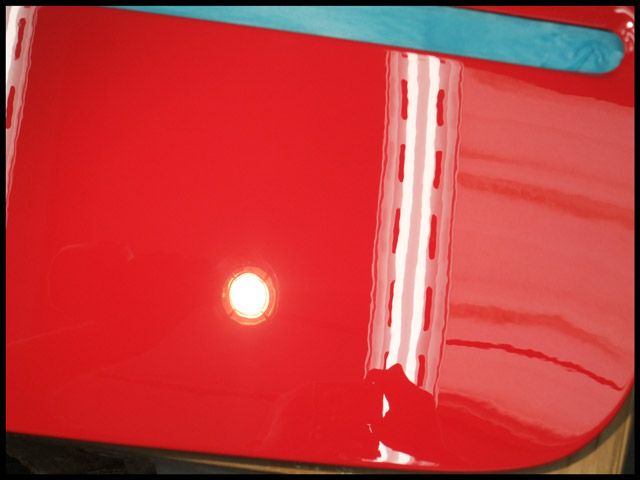
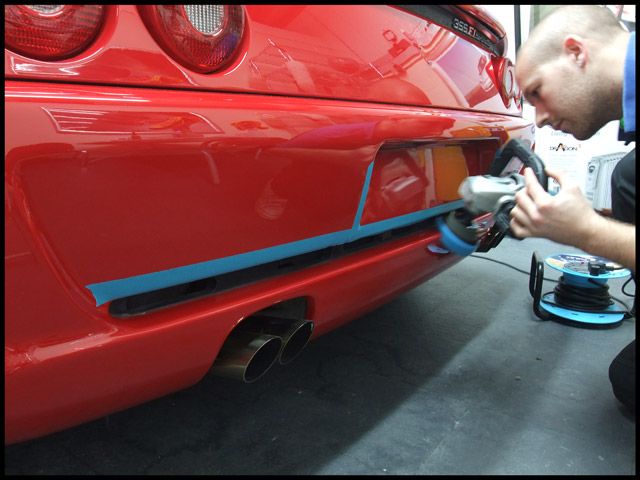
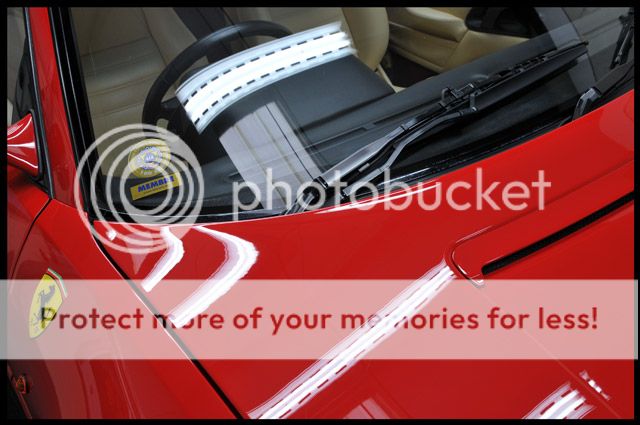
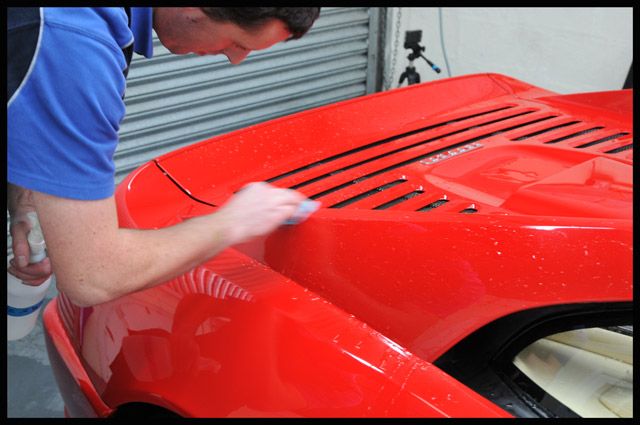
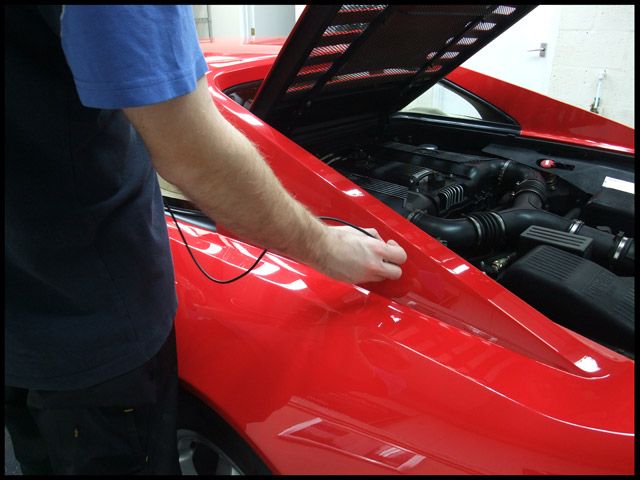
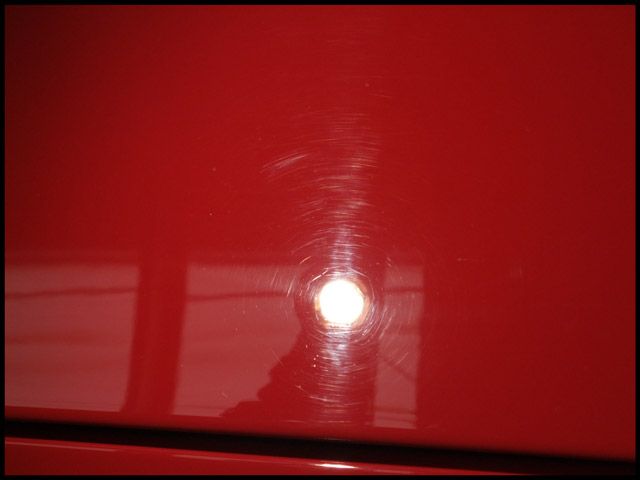
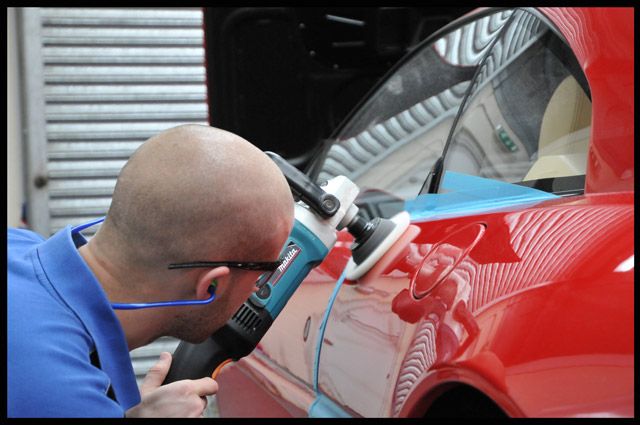
Now the car was ready for polishing so I began to take detailed paint readings:

355022.jpg


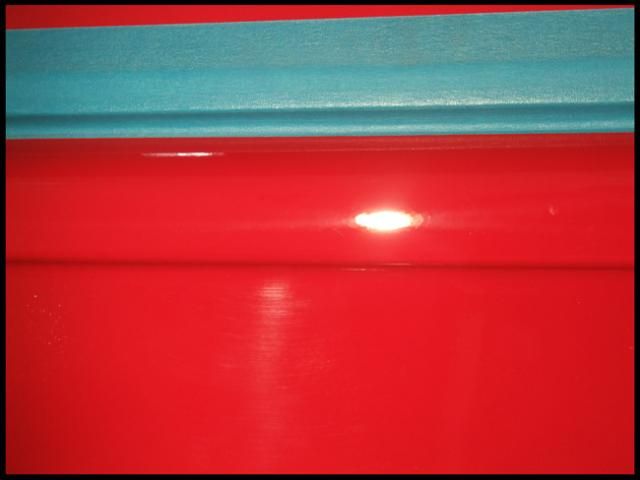
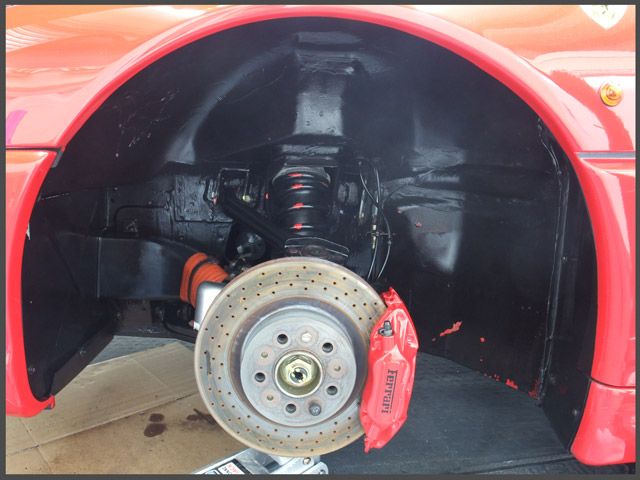
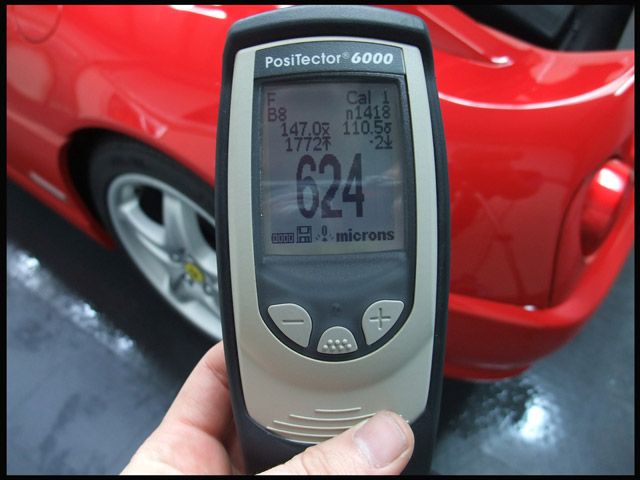
The 355's are prone to galvanic corrosion where the rear pillar meets the back quarter so it's quite common for them to have seen some paintwork done on these areas and as the owner had suspected, this was confirmed with the paint gauge:

355023.jpg


Paint readings were as follows:

Roof: 150-200 microns
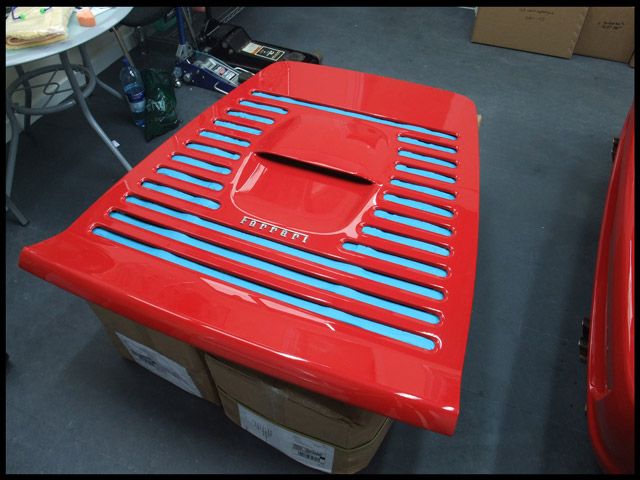
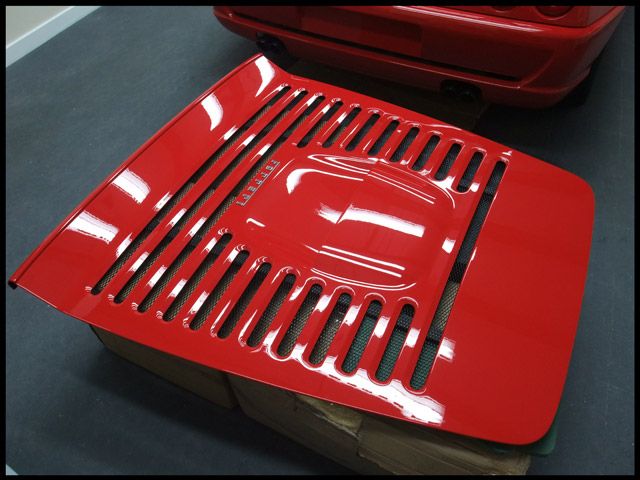
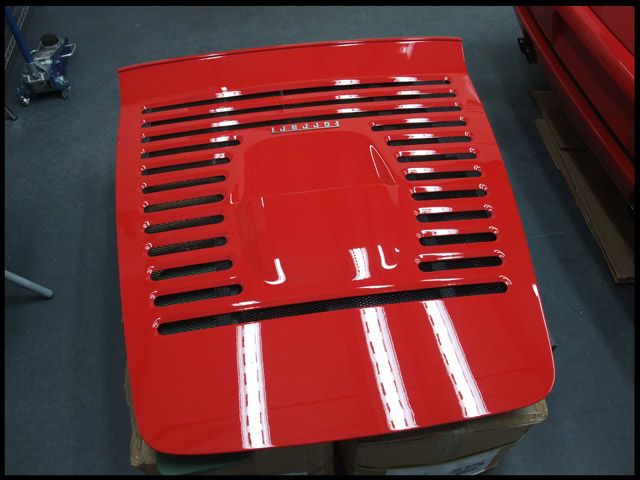
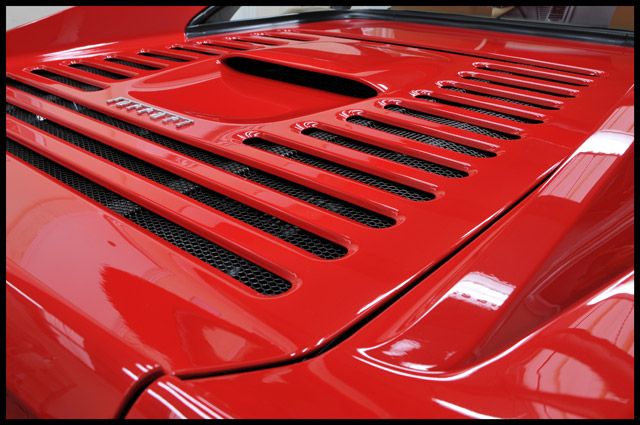
Engine Cover: 180-200 microns
Bonnet/wings/bumper: 200-400+ microns
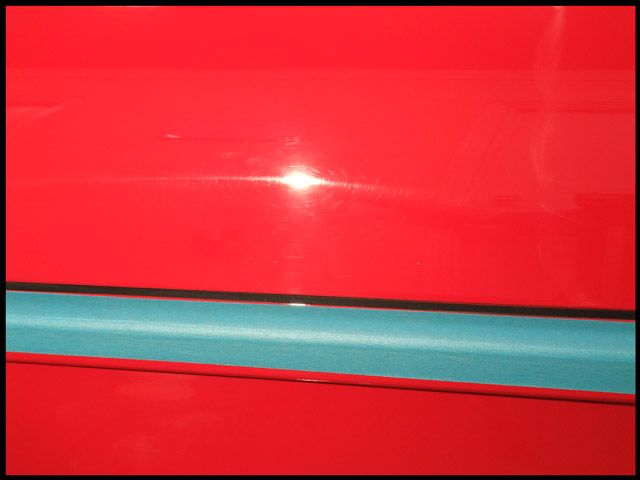
Rear Quarters: 200-400 microns (with the odd high spot as the gauge pic shows above)
Rear bumper: 200-220 microns
Doors: 150-200 microns


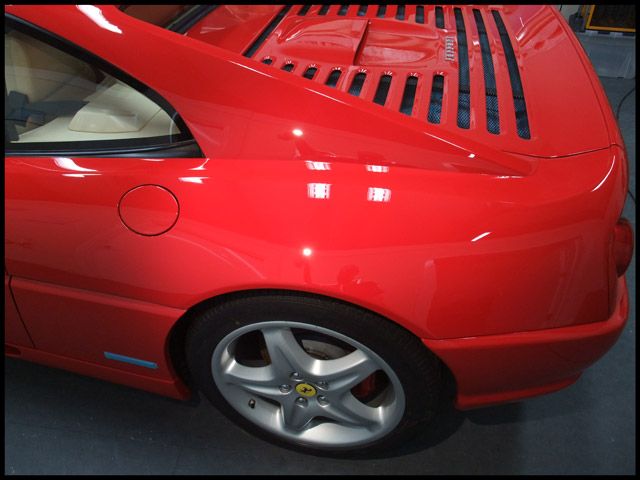
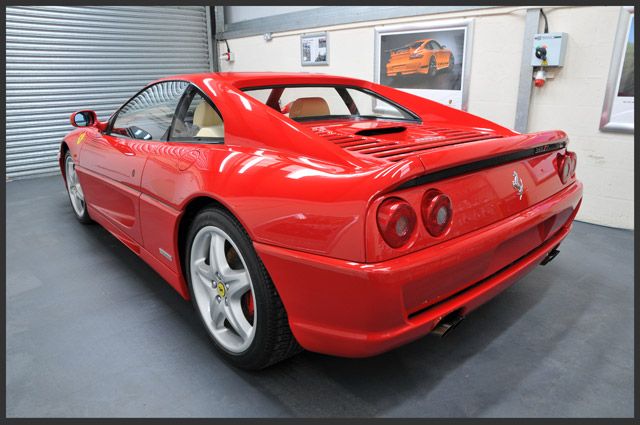
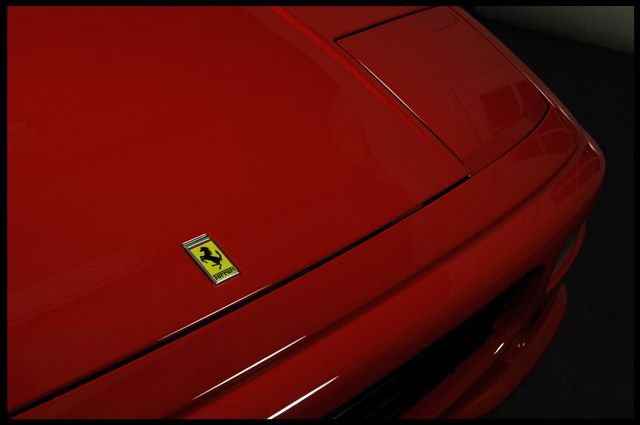
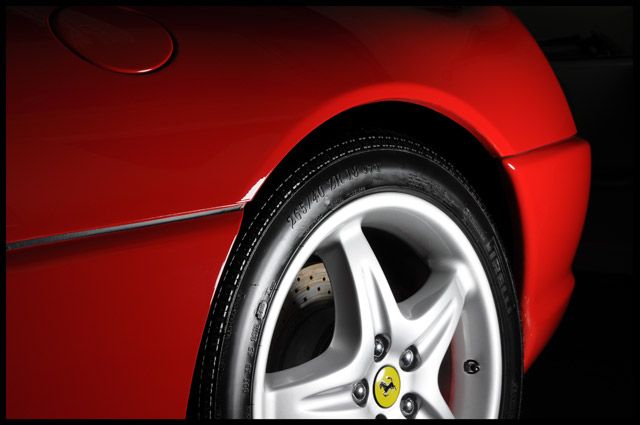
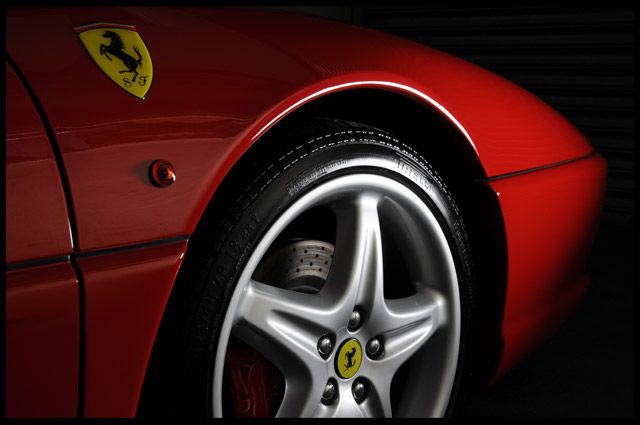
So as the readings will show, the car had seen a respray to the front end (to remove a few stone chips) as well as the rear to fix the corrosion on the quarters with the doors,roof,engine cover and rear bumper being original. It has to be said at this stage that the quality of the paintwork was extremely good which was very pleasing on such a stunning example - quite often we see poor paintjobs letting down so many supercars etc but fortunately this was definitely not one of them :thumb:


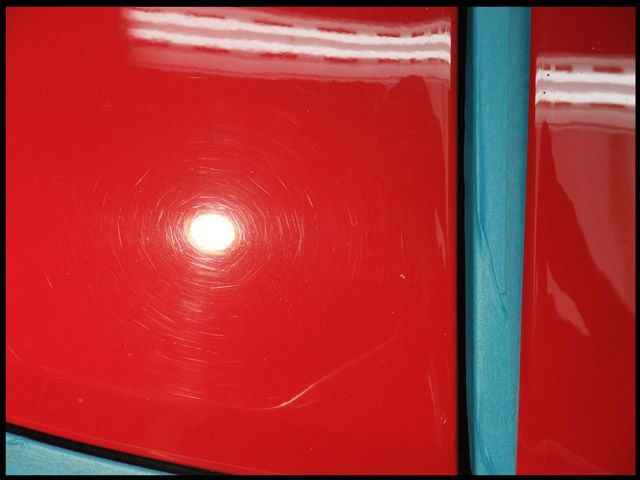
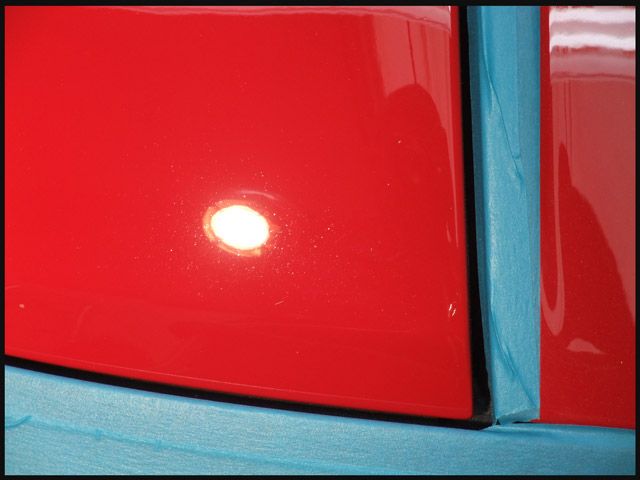
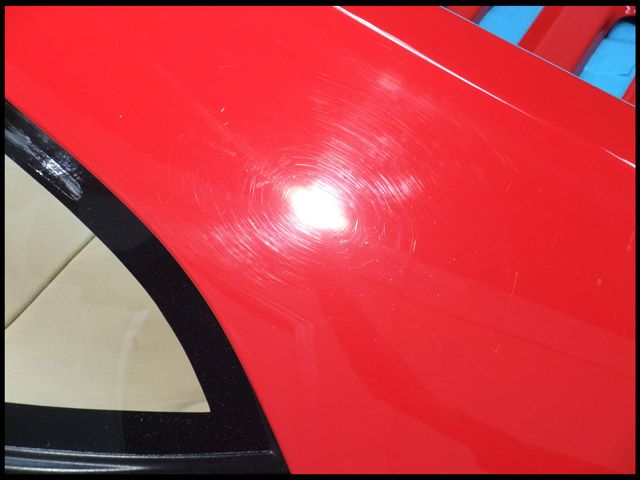
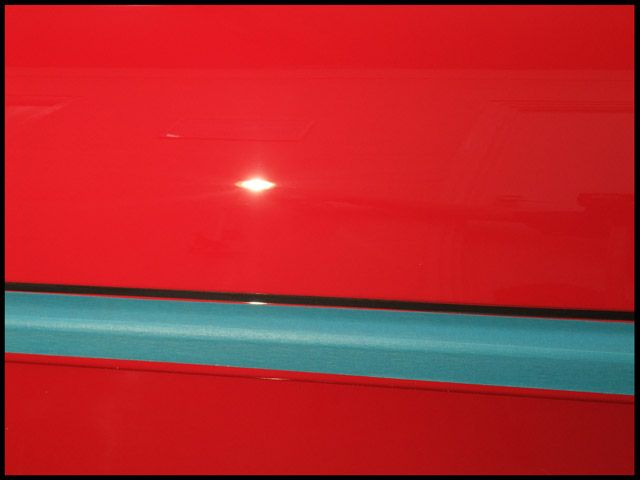
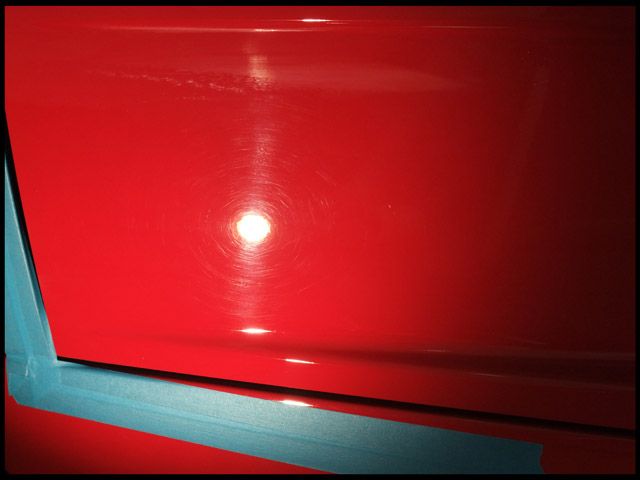
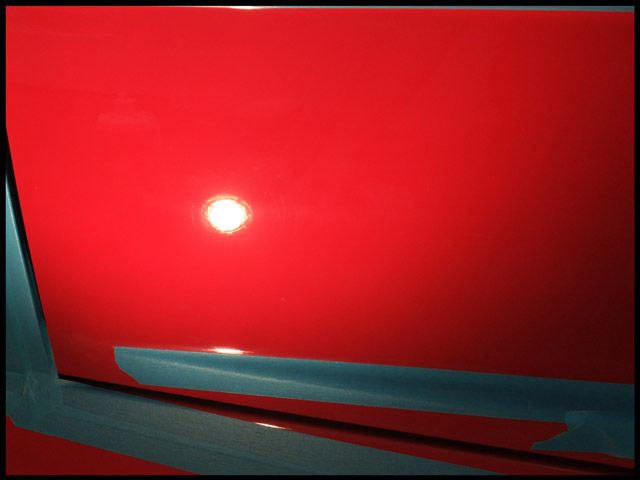
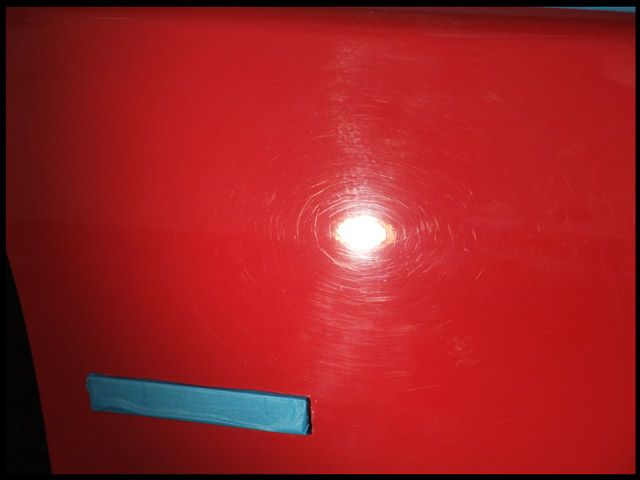
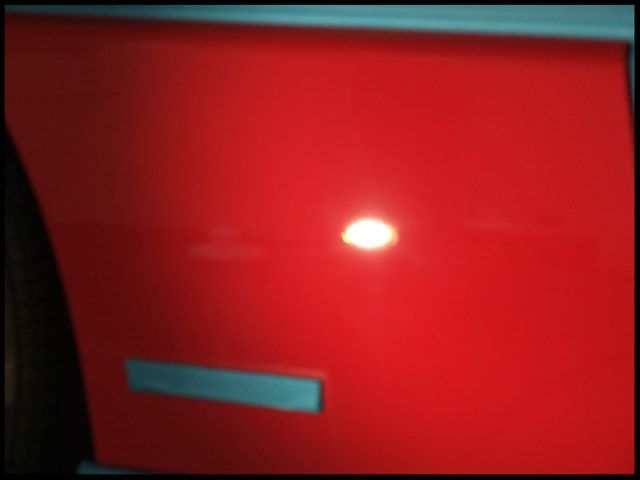
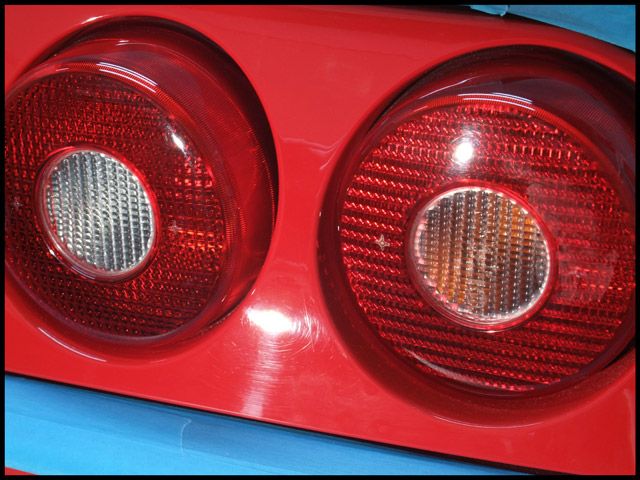
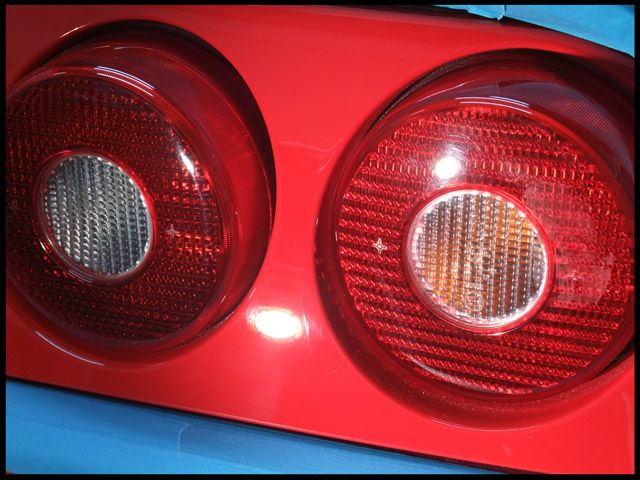
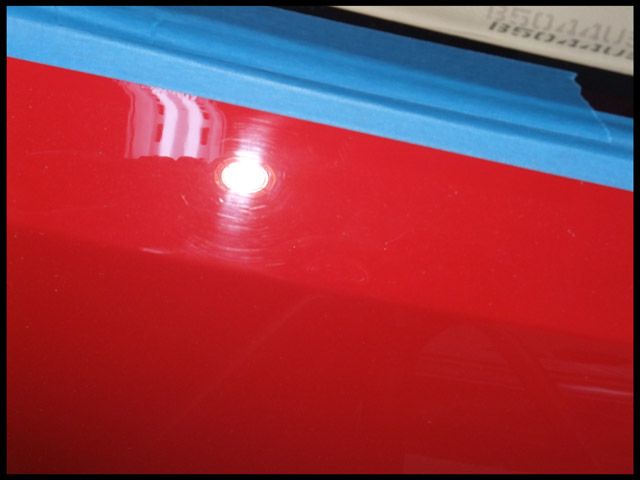
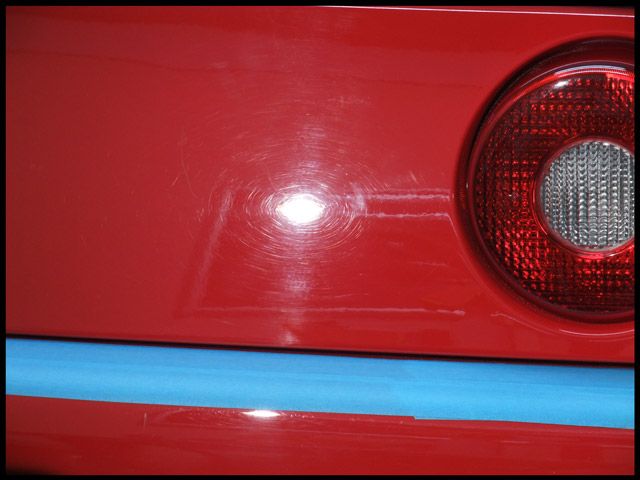
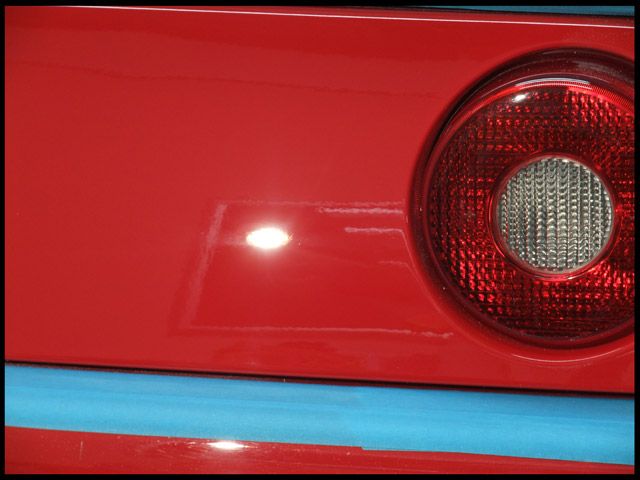
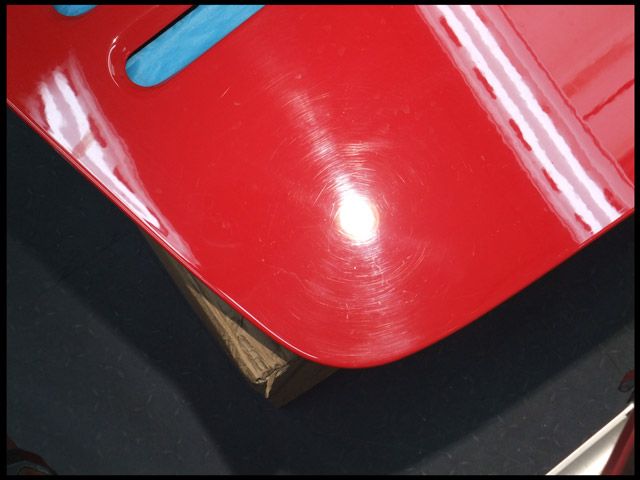
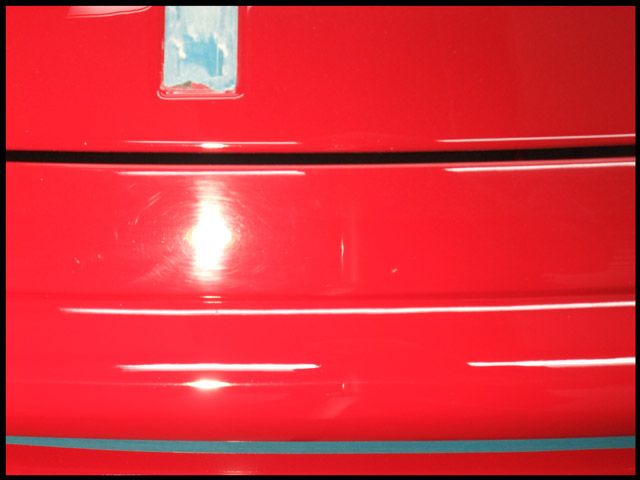
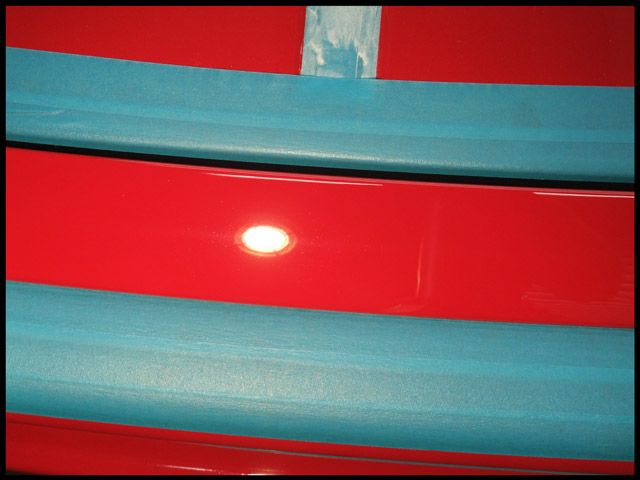
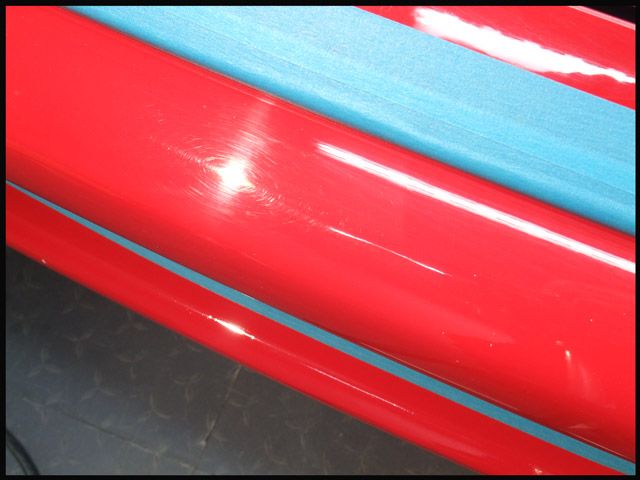
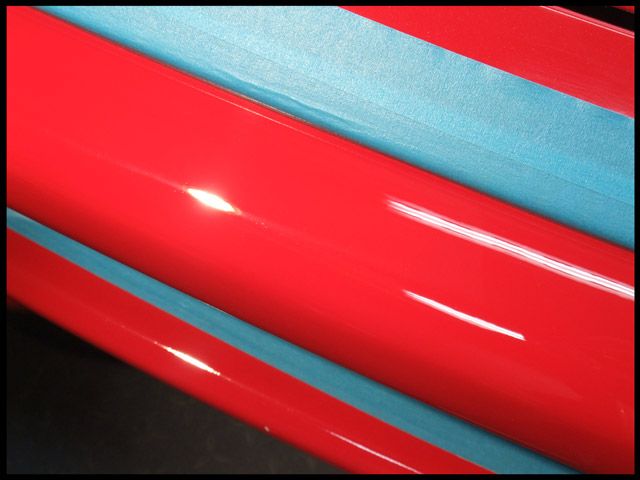
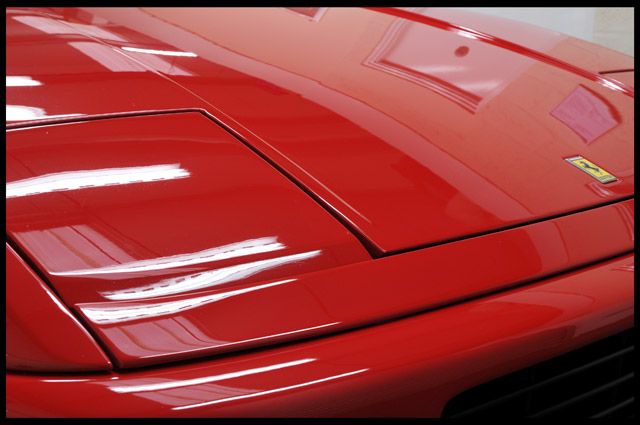
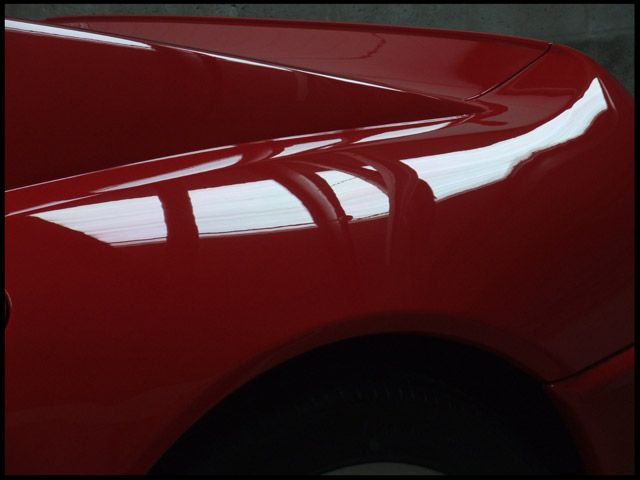
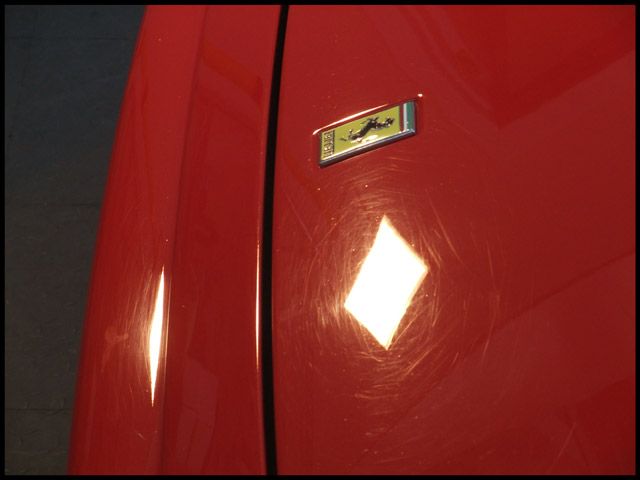
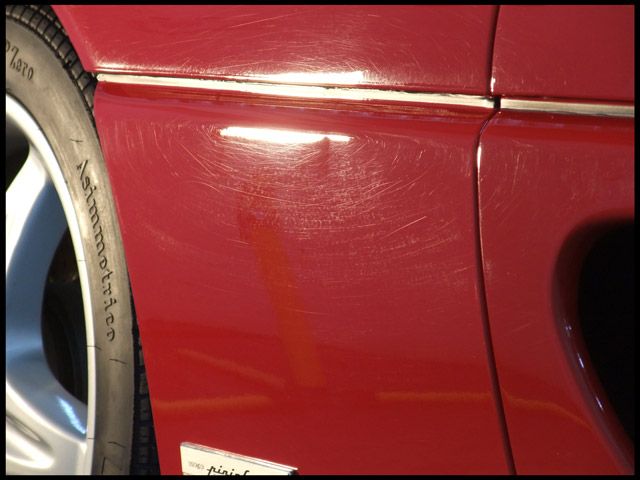
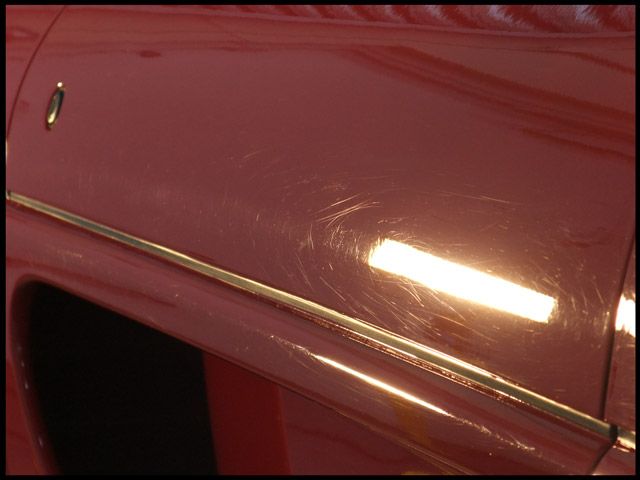
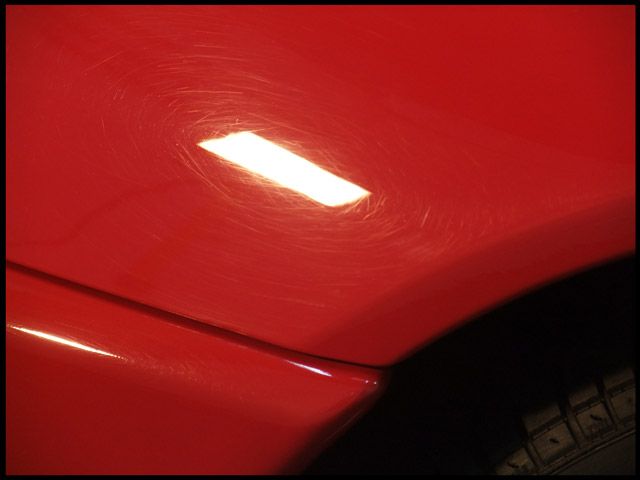
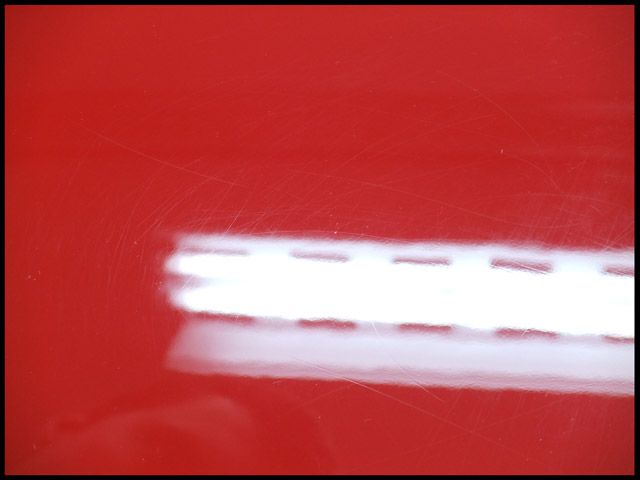
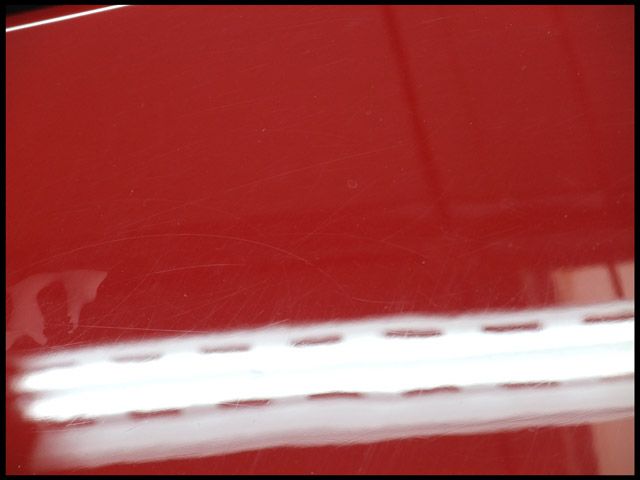
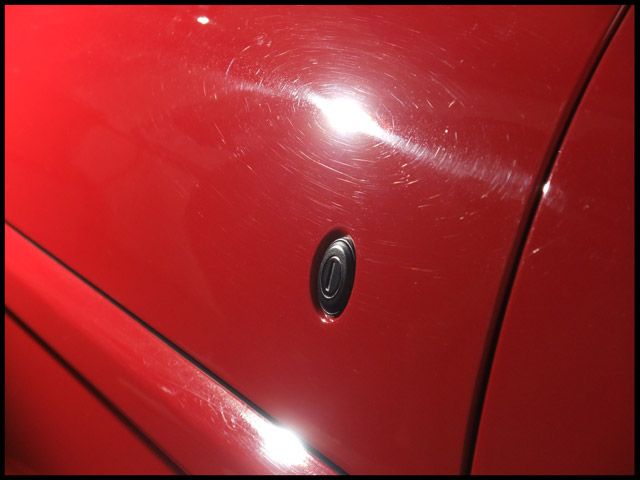
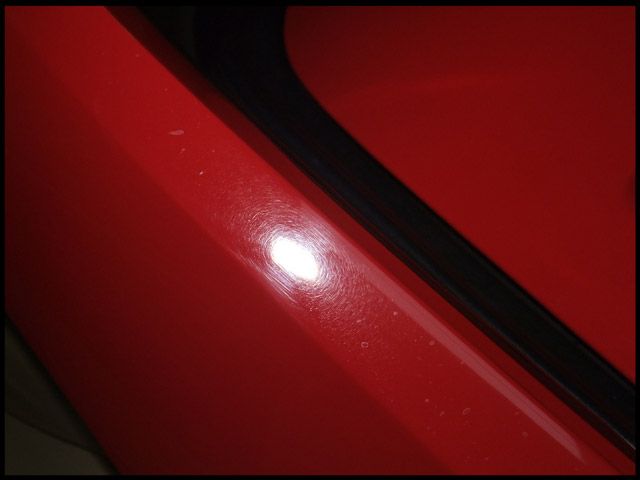
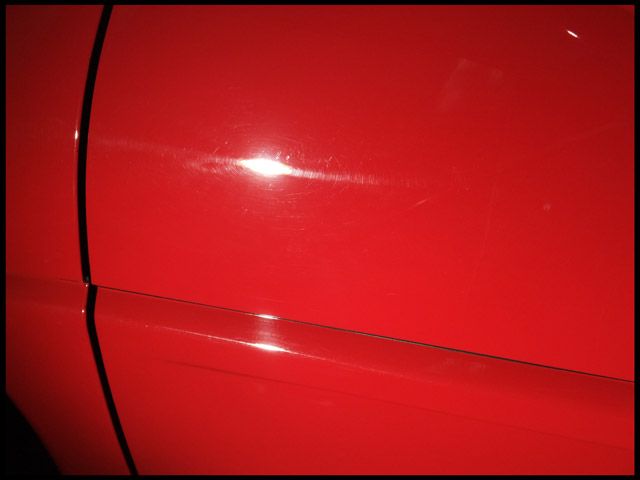
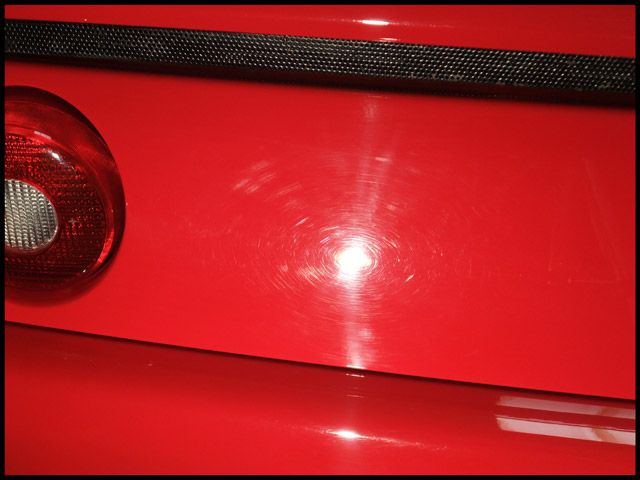
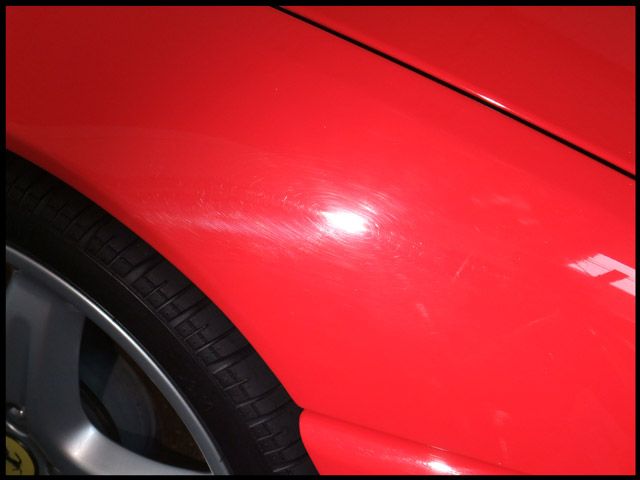
Now it was time for a few defect shots:


355024.jpg


355025.jpg


355026.jpg


355027.jpg


355028.jpg


355029.jpg


355030.jpg


355031.jpg


355032.jpg


355033.jpg


355034.jpg


355035.jpg


355036.jpg


355037.jpg


As you can see, the defects were pretty deep in places with large random scratches being the biggest problem.
 
When it came to settling on a pad/polish combination I started with Meguiars 205 and a Gloss-It Polishing Pad as a starting point but this barely even took out the marring - the resprayed areas were rock hard!

I eventually had to settle for a Lake Country Wool Pad and Meguiars 105:

355038.jpg


355039.jpg


This was worked @2500/2800 rpm's from the start with moderate pressure untill the defects were removed, due to the hardness of the paint I needed a minimum of 3 hits per section to gain the desired correction.

Using the laser pen method I found that the average paint removal after 2 or 3 attempts was around the 4-5 micron level going up to around 6-8 if paint thickness allowed me to really lean on the machine head (using the advantage of the new Megs abrasives) to get extra cut.

After each hit I made sure I gave the panel a thorough IPA wipe down in order to remove any oils. The Meguiars 105 & 205 polishes are very impressive but I've found they can fill any light remaining defects slightly unless wiped down. It's also good practice as the polishing dust doesn?t stick so much to the corrected panels afterwards :)

After each panel had been corrected with wool and then IPA'd I refined this with Menz 3.02 to remove the odd pig tail that you can often get with wool pads that wouldn?t be fully removed with just a dedicated finishing polish:

355040.jpg


Here's a few before and afters, these are all after wool and then 3.02 - no refining with a finishing polish yet:

Before:

355041.jpg


After:

355042.jpg


Before:

355024.jpg


After:

355043.jpg


Before:

355044.jpg


After:

355045.jpg


Before:

355046.jpg


After:

355047.jpg


Before:

355048.jpg


After:

355049.jpg


Before:

355050.jpg


After:

355051.jpg


Before:

355052.jpg


After:

355053.jpg


The section between the rear lights was too small to get the machine into so this was done by hand with a Light Cut CCS hand pad and Meguiars 105:

Before:

355054.jpg


After (still to be refined by hand again using Menzerna FPII):

355055.jpg


One last Before:

355056.jpg


After:

355057.jpg


There was one other area that could be accessed by machine so again this was done by hand but this time with Menzerna 203S:

355060.jpg


Correction wasn?t great in there if I'm honest but it brought the gloss level up a wee bit :)


Onto the lower half of the doors, these are plastic so the Posi 200 gauge is needed for this:

355061.jpg


During the refining with 3.02 and the Gloss-It Polishing Pad:

355063.jpg


After (feint trail left to be removed later with the finishing polish):

355062.jpg


Another Before:

355064.jpg


After:

355065.jpg


Rear lights were soft-ish (most light casings etc are on the softer side) so Meguiars 205 was all I needed to correct these:

355066.jpg


355067.jpg


355068.jpg


Onto the engine cover now, this was removed to A) avoid leaning over the rear quarters and B) to save my back :D

355071.jpg


This was original paint and pretty soft so correction was alot easier, using Meguiars 205 and Menzerna 203S where there were a few deeper marks:

Before:

355069.jpg


After:

355070.jpg


355072.jpg


All wiped down with IPA and ready for waxing:

355073.jpg


355074.jpg


Front bumper now;

The top strip between the bonnet and bumper was really bad for deep scratches and sanding marks:

355075.jpg


After 4 hits with the wool:

355076.jpg


Before:

355077.jpg


After:

355078.jpg
 
Once all the correction work and IPA wipe down had been done I refined the finish with a Gloss-It finishing Pad and Menzerna 85RE:

355091.jpg


Crystal Clear now :)

355092.jpg


While I?d been busy doing the paintwork I'd found plenty for Colin to do, amongst these were fully detailing the interior plus a full feed of every single piece of leather in site with Raceglaze Leather Balm:

355079.jpg


The tool kit was also done:

355080.jpg


Brilliant Metal Polishes were used on the tools:

355081.jpg


Migliore Trim Dressing was used for the black plastics:

Before:

355099.jpg


After:

355100.jpg


Werkstat Prime Strong was used to brighten up the prancing horse:

Before:

355082.jpg


After:

355083.jpg


Prime Strong again for the front grill:

Before:

355084.jpg


After:

355085.jpg


The wheels were also removed as the inner rims were covered in stubborn staining that wouldn?t shift:

355086.jpg


The combination of Tardis, neat Gloss-It Wheel Gel, Menzerna FPII (the latter was applied to the face too to remove some light scratches) Werkstat Prime Acrylic and 2 coats of Blackfire Metal Sealant left the following:

355087.jpg


Rear arch before APC,Tardis and Meguiars All Season Dressing (callipers polished and protected with Prime Strong):

355088.jpg


After:

355089.jpg


Front arch done in the same way too:

355090.jpg


The wheel bolts were all polished with Brilliant Metal Polish before being torqued up to the correct setting but I forgot to take a pic!

A big thanks must go to Chris_VRS at this point, after a quick phone call he was able to confirm the jacking/axle stand points for the car before we took the wheels off, always good to double check so thanks mate :thumb:


Before I applied the protection to the paint I dusted it down with a lambswool duster and used the Black Baron to clear the panel gaps:

355094.jpg


355093.jpg


LSP of choice for this one was Zymol Vintage (re-fill time soon again!):

355095.jpg


Badges and grill etc all re-fitted after the wax was buffed off:

355097.jpg


355098.jpg


I applied a couple of coats of Migliore Tyre Dressing to the tyres:

355096.jpg


I'm really impressed with this product, it gives a slightly duller finish than the Gloss-It or Blackfire which I think suited the 355 more than a high gloss :)


A thorough wipe down with Migliore Quick Detailer followed and all that remained was to take some finished pics.

This is the result of just over 80 hours machine polishing and 112 man hours in total - enjoy :thumb:


355103.jpg


355104.jpg


355105.jpg


355107.jpg


355101.jpg


355108.jpg


355109.jpg


355102.jpg


355110.jpg


355111.jpg


355112.jpg


355106.jpg


355121.jpg


355122.jpg


355123.jpg
 
Whilst the car was sat on the trailer waiting to be taken back to the owner I took a few more pics as the natural light coming through the roof really highlighted that "glassy" look the paint now had:

355125.jpg


355126.jpg


355128.jpg


355127.jpg


355129.jpg


And finally just for fun, here are some arty pics that Rich captured late at night:

355113.jpg


355114.jpg


355120.jpg


355116.jpg


355117.jpg


355119.jpg


355118.jpg


355115.jpg


Thanks for taking the time to have a look - 155 hour Bentley Arnage Detail will be next :)

Clark
 
WOW Clark. Absolutely brilliant work:clap:
Your attention to detail is second to none.:thumbup::thumbup:
 
Great work Clark!:clap: Excellent write up too...

I did a 355 a couple of months ago and they're a joy to work on, paintwise. The one I did had only the lower rocker panels resprayed. The engine cover was a good challenge though. I should have removed it like you guys did, makes a lot more sense for those cars... my back was screaming at me a few times while polishing it.

Thanks again!:thumbup:
 
I'll echo with the gang; absolutely stunning work there Clark. Ne Plus Ultra - :notworthy::notworthy::notworthy:
 
Great work Clark!:clap: Excellent write up too...

I did a 355 a couple of months ago and they're a joy to work on, paintwise. The one I did had only the lower rocker panels resprayed. The engine cover was a good challenge though. I should have removed it like you guys did, makes a lot more sense for those cars... my back was screaming at me a few times while polishing it.

Thanks again!:thumbup:

Agreed on the paint on the F355 and 360's. I think Ferrari put that paint on the car's just to make our lives easier. :D

Great work and documentation Clark, and thank you for sharing with our forum!!! :thumbup::thumbup::thumbup::thumbup:
 
Back
Top