David Fermani said:
Don't forget, you can use a DA polisher (aka Porter Cable) to not only correct paint, but wet sand with.
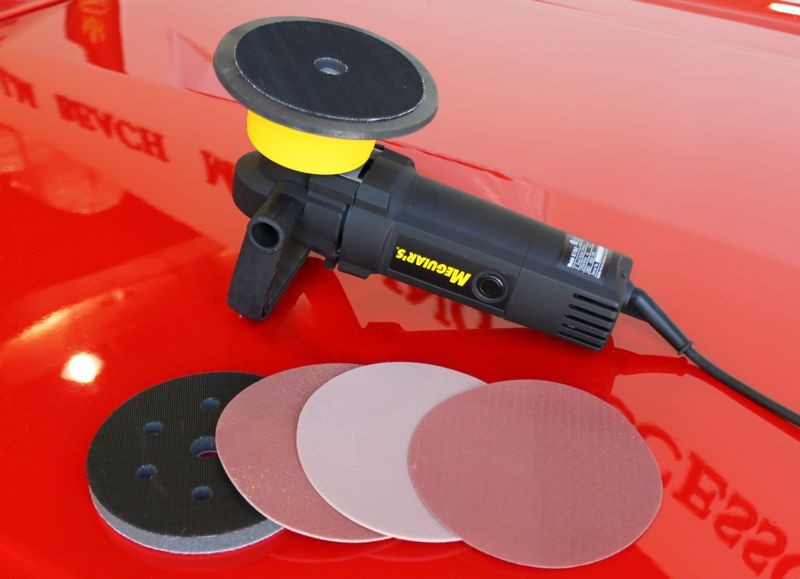
David's right, if you have the passion and drive to sand down your car's factory finish you can machine Damp-Sand using Trizact or Abralon and in a few week Meguiar's new Unigrit Finishing System will be shipping.
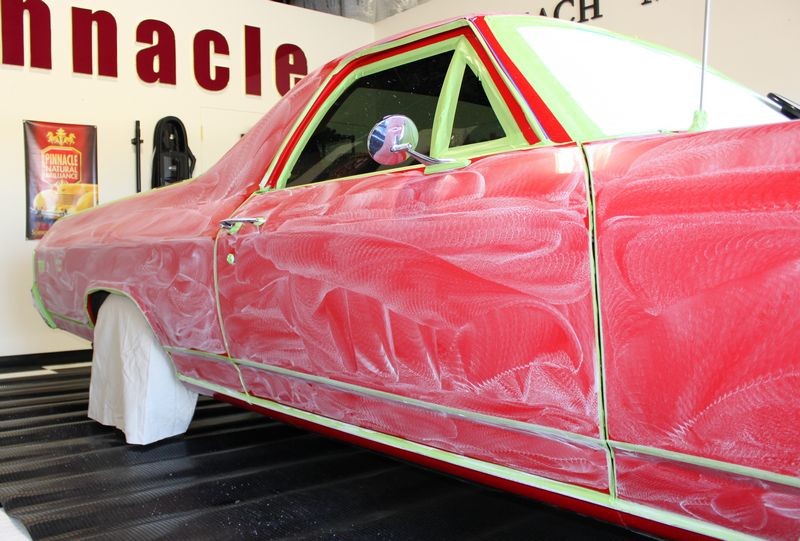
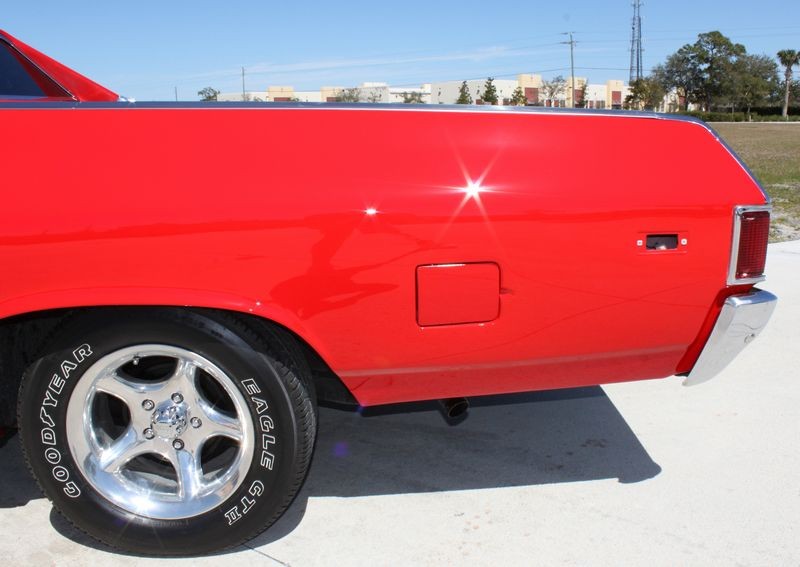
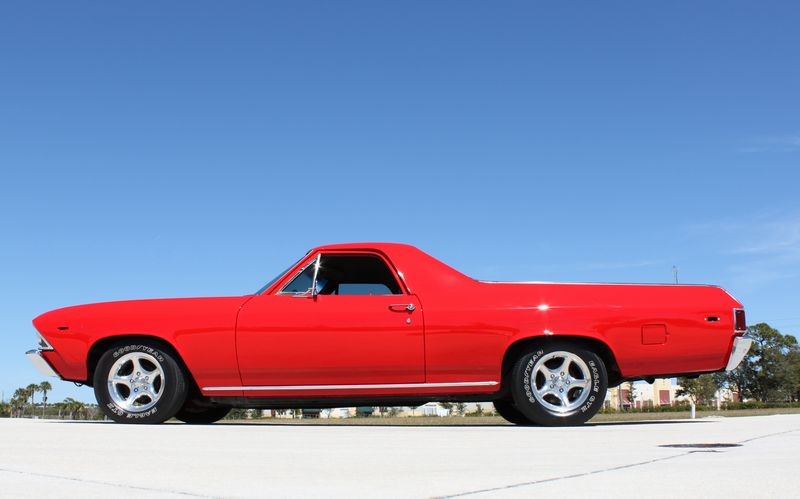
Here's a car with a custom paint job, (thicker layer of clear), completely machine sanded using the Damp Sanding technique. In fact I only used 16 ounces of water to sand the entire El Camino down...
If it has paint... it gets polished...
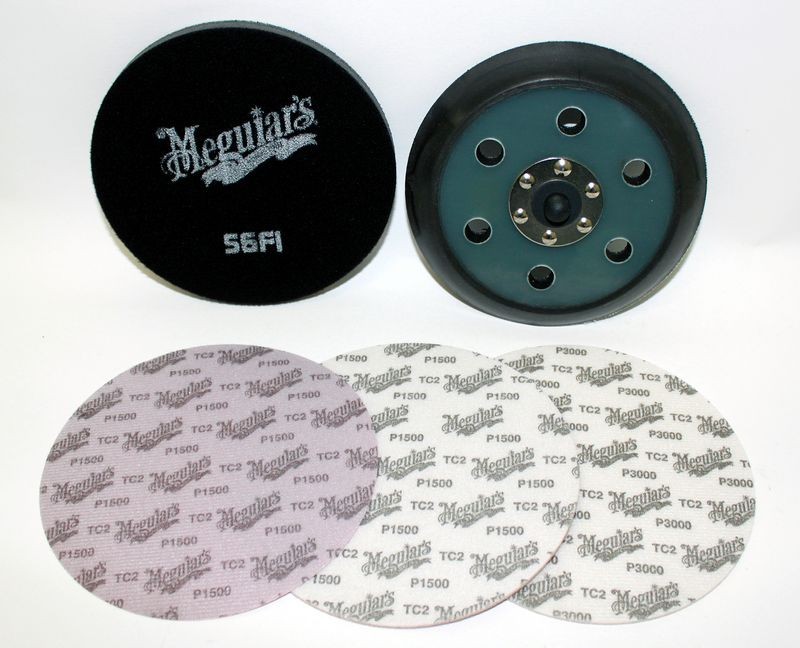
Meguiar's Unigrit Finishing System
Using the new Meguiar's Unigrit Finishing System by
Damp-Sanding the paint and not only was it easy it was fast. I probably sanded the entire car down in around 3 hours and only used 16 ounces of water and 4 discs. After sanding, I removed all the sanding marks using Meguiar's W5000 Wool Pad with M105 on a rotary buffer, followed by machine polishing with M205 on a W8207 foam polishing pad with a rotary buffer followed by W9207 on the G110v2 for a swirl-free finish, then sealed the paint using M21 Synthetic Paint Sealant.
Remember...
Whatever you decide to do, just keep in mind to do a
Test Spot first to make sure you can remove your sanding marks with the pads, chemicals and tools you're thinking of using for the entire project.
Be mindful of all
manufactures recommendations and if you're working outside their official recommendations understand the risks you're taking on.
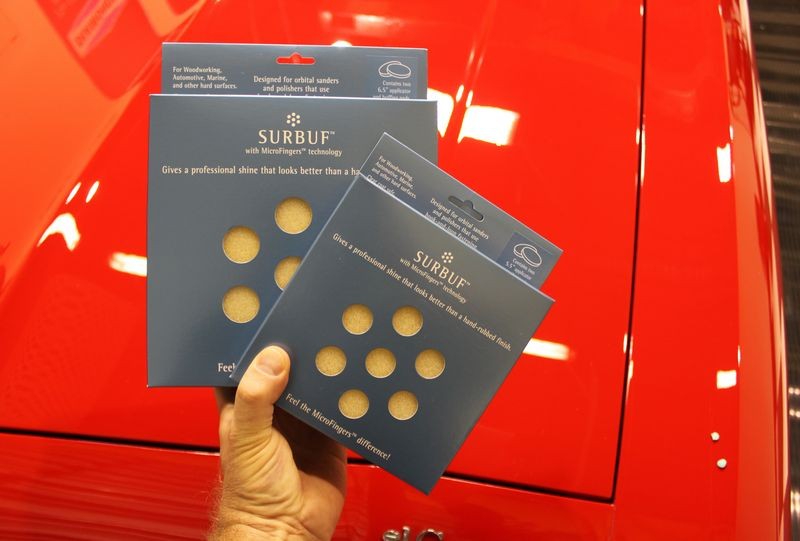
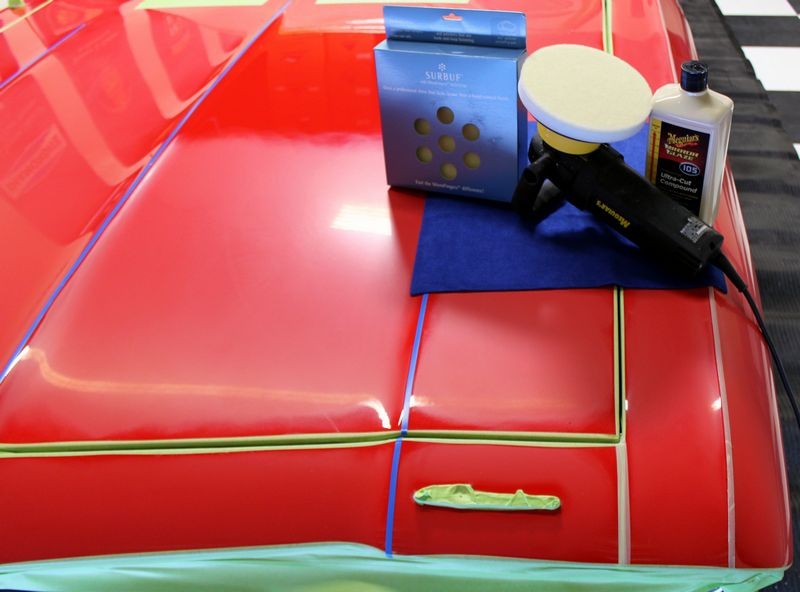
I did a section using Surbuf Microfiber pad on a DA Polisher with M105 and M105 and it easily removed the #3000 Unigrit Sanding Marks.
Surbuf MicroFinger Buffing Pads
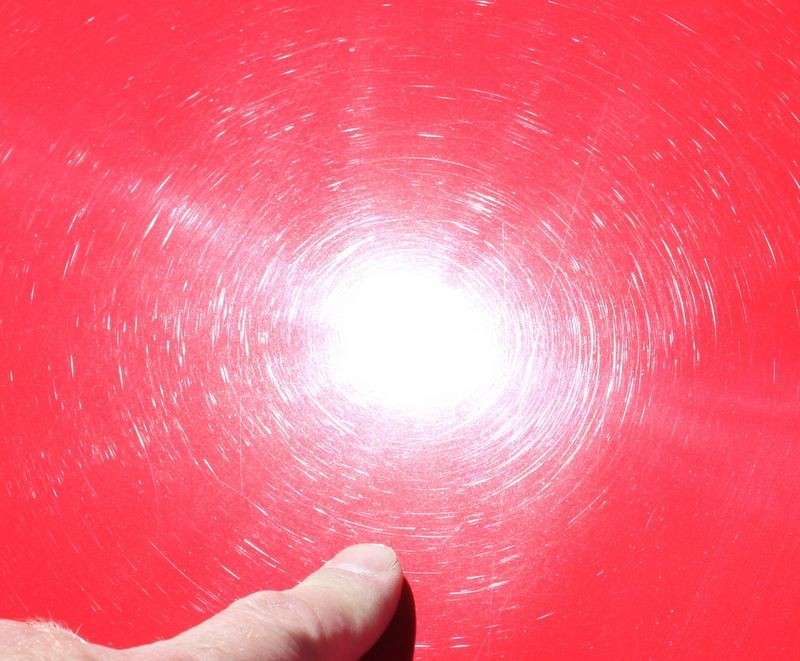
This is our project car. This is a restored and mild hotrod 1969 El Camino with a custom basecoat/clearcoat finish. The fit and finish of the panels is excellent and the paint application came out very nice, there are a few leftover sanding marks in the paint and rotary buffer swirls including
arc scratches probably from an abrasive particle being trapped between the pad and the paint. Our goal is to remove all the below surface defects and restore a true show car shine.
We moved the car out into the sun where the bright overhead sunlight can reveal the true condition of the paint.
Next we'll Machine Damp Sand the deep swirls and scratches until the surface is flat using the new Meguiar's Unigrit Professional Finishing System.
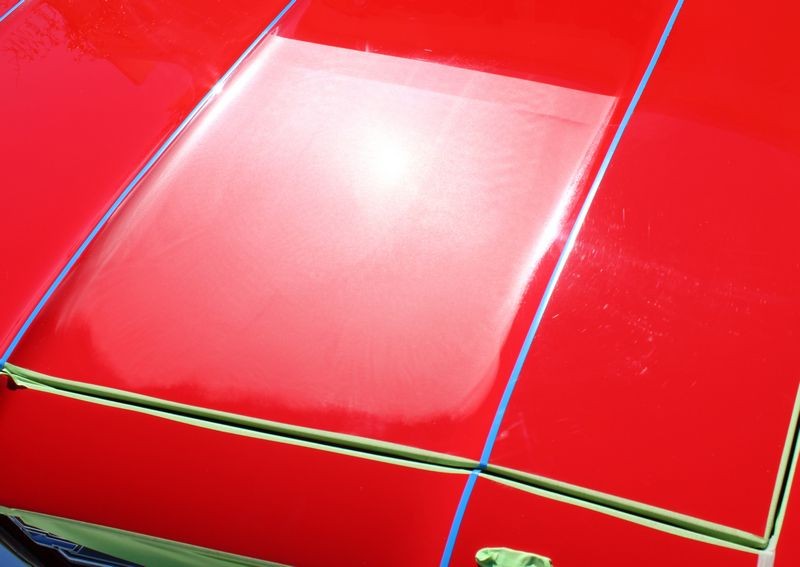
The section below was sanded using the #3000 Unigrit Foam Finishing Disc on the Meguiar's G110v2 on the 5.0 Speed Setting for about 5-6 Section Passes.
We moved the car back out into the sun to show just how
flat of a sanding mark pattern the Unigrit Foam Finishing Papers leave behind and this is because of the Unigrit
particle size and
distribution of these particles over the face of each disc; two very important factors that make removing sanding marks quick and easy.
A very flat or matte appearance
In person, the paint actually has a
sheen to it as it's just a quick step away from a polished look because the sanding marks are so shallow and flat...
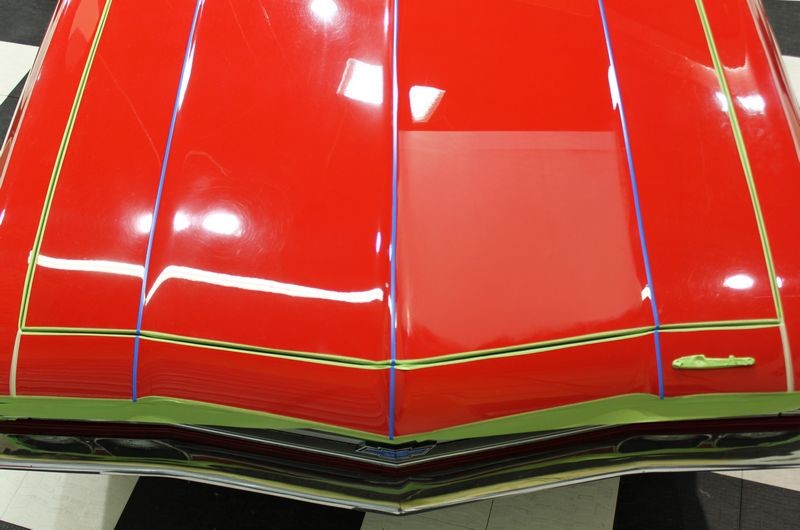
Back in the garage under the lights, you can see the Damp-Sanded area and the swirls and scratches in the rest of the paint.
Here are the results after Machine Compounding using the Surbuf MicroFinger Buffing Pads on the Meguiar's G110v2 on the 6.0 Speed Setting with M105 Ultra Compound and the KBM for about 5-6 Section passes and the
We followed this with M205 Ultra Finishing Polish on a W9207 Foam Finishing pad on the 5.0 Speed Setting using the G110v2 for about 4 passes with medium pressure and then two more section passes with just a little more than the weight of the machine to keep the pad flat to the surface. The results you see here are only after polishing with M205, there is no wax or paint sealant applied at this point.
The test section was also wiped clean using straight
Mineral Spirits to remove any residual polishing oils.
Note the Dime in this picture carefully placed onto the paint
Close-up to show there are no sanding marks left on the surface, no tick marks or haze. There is a spec of dust just to the lower left hand corner off to the side of the dime that we left there to show just how close we are to the paint when taking this picture.
This paint is LSP ready.
After shots...
Again, you can sand down your Subaru's paint to remove orange peel but you might want to weigh risk versus the benefit versus how long you plan on owning the car.


