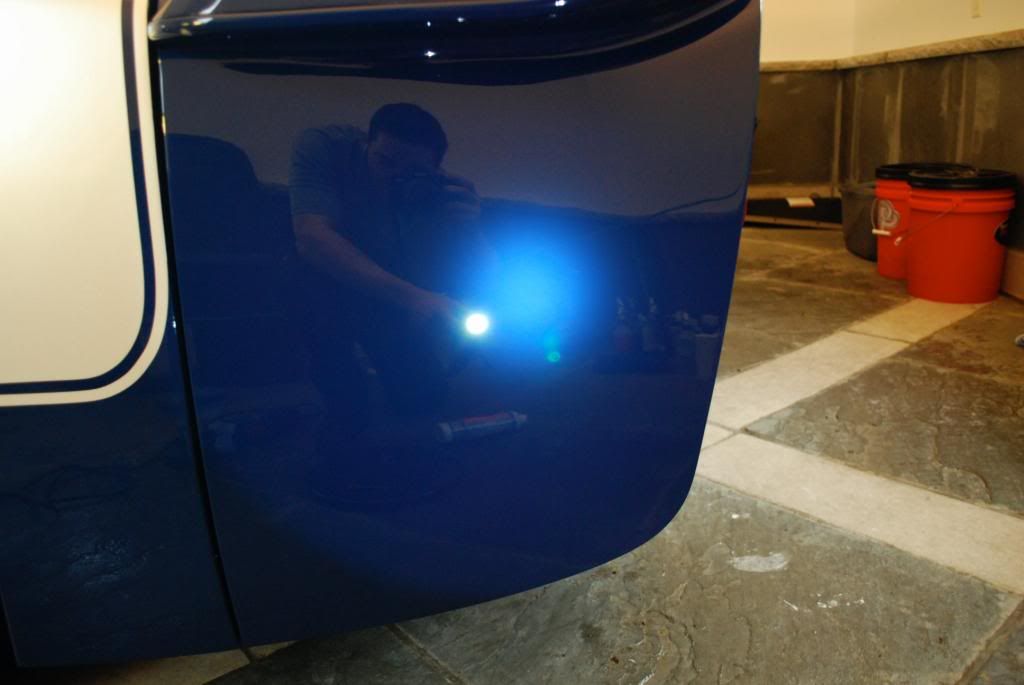
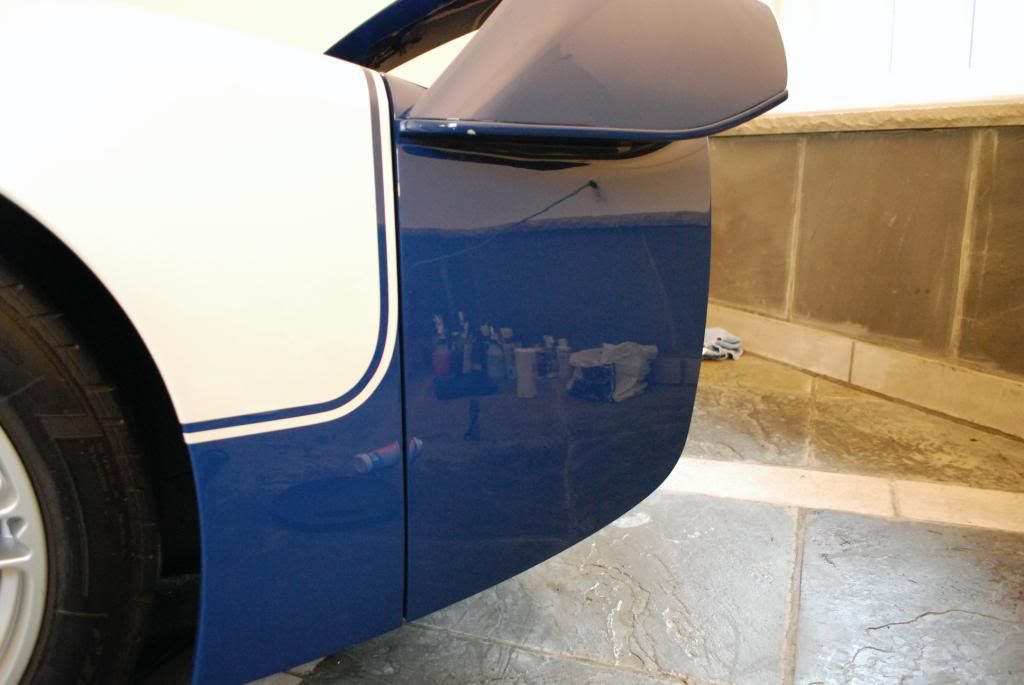
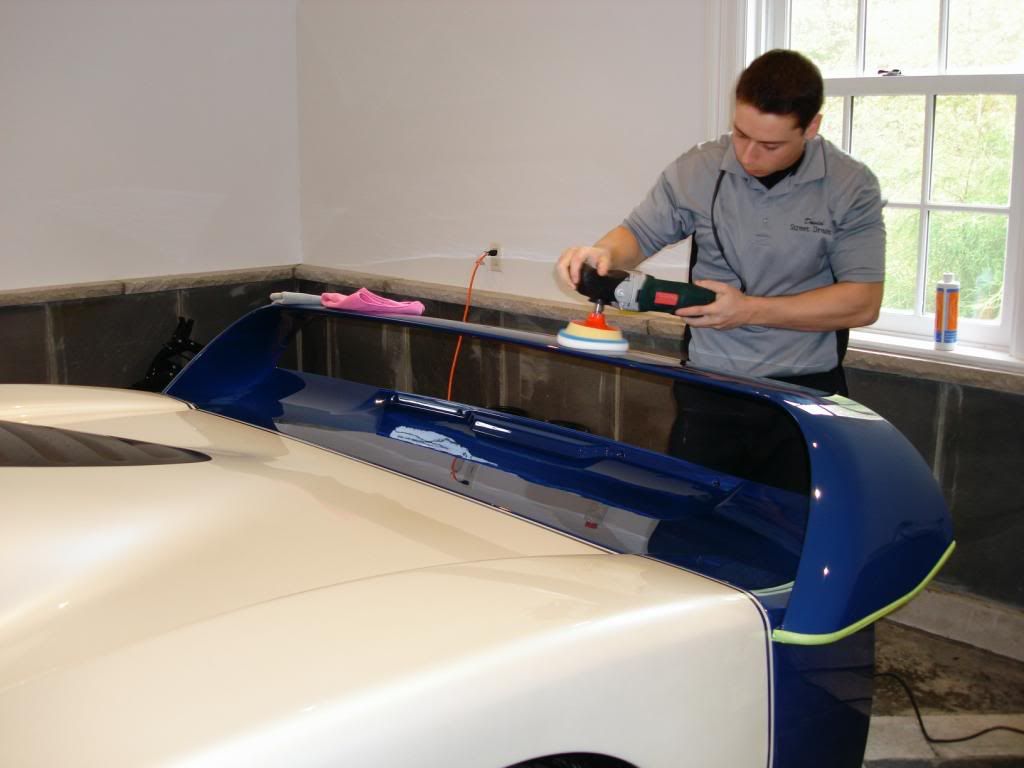
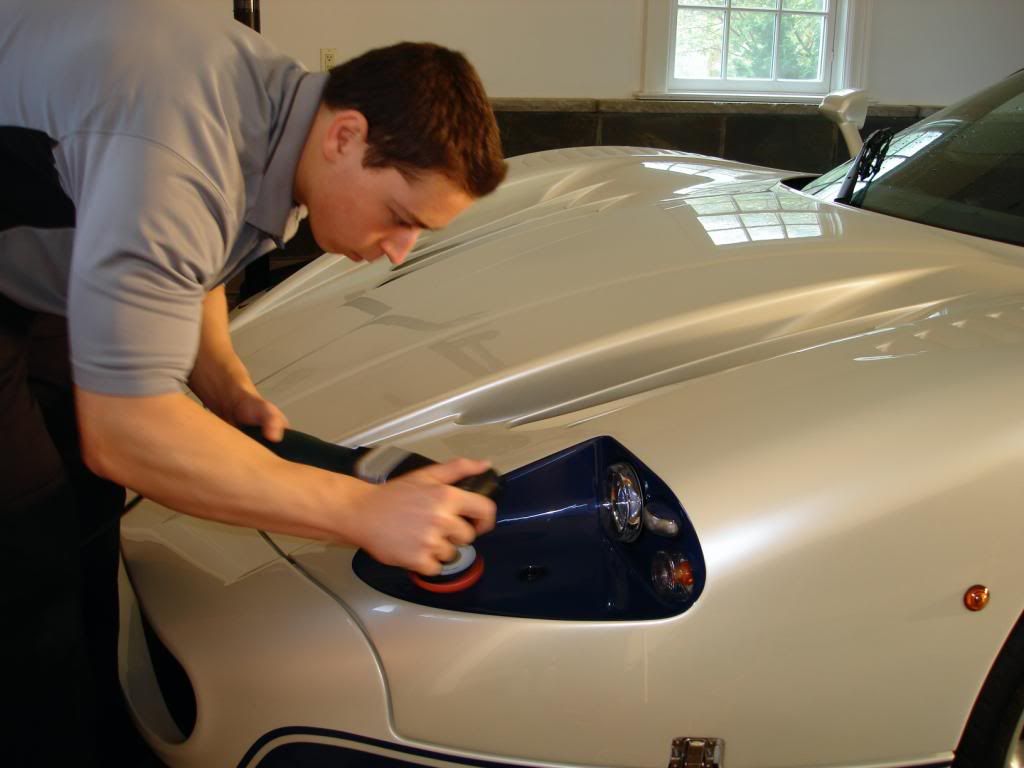
A little while back I had the opportunity to work on this very rare and beautiful car. Over several days a full paint correction, engine and interior detail were carried out.
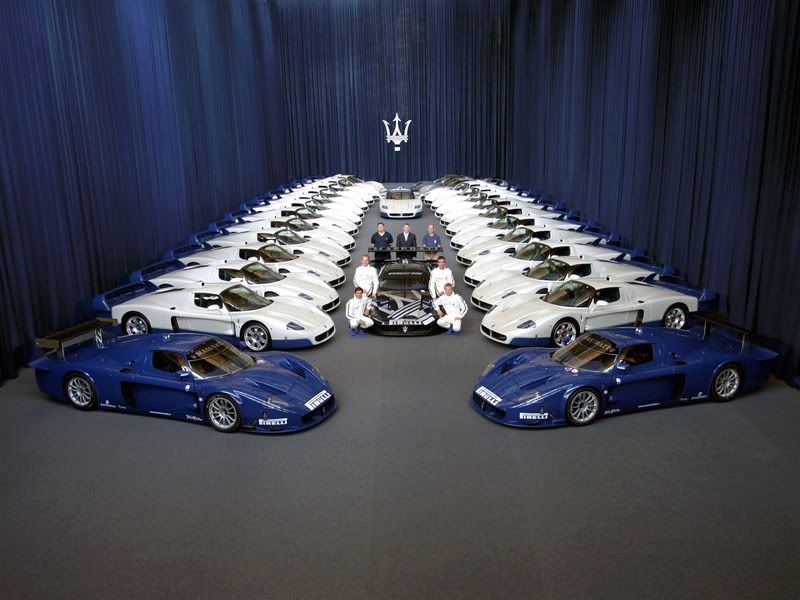
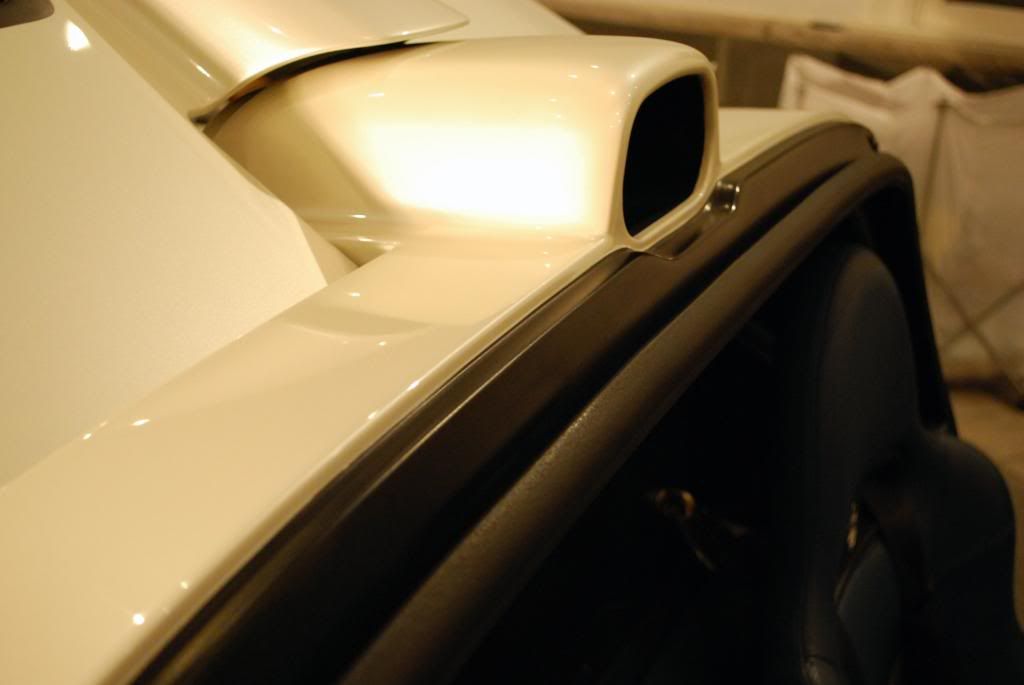
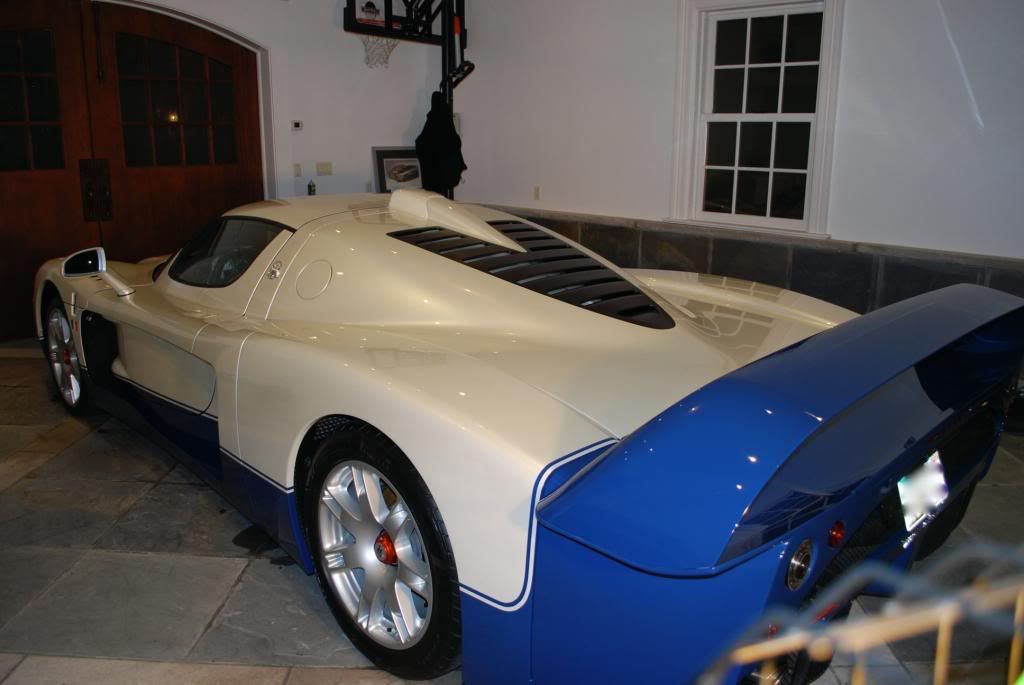
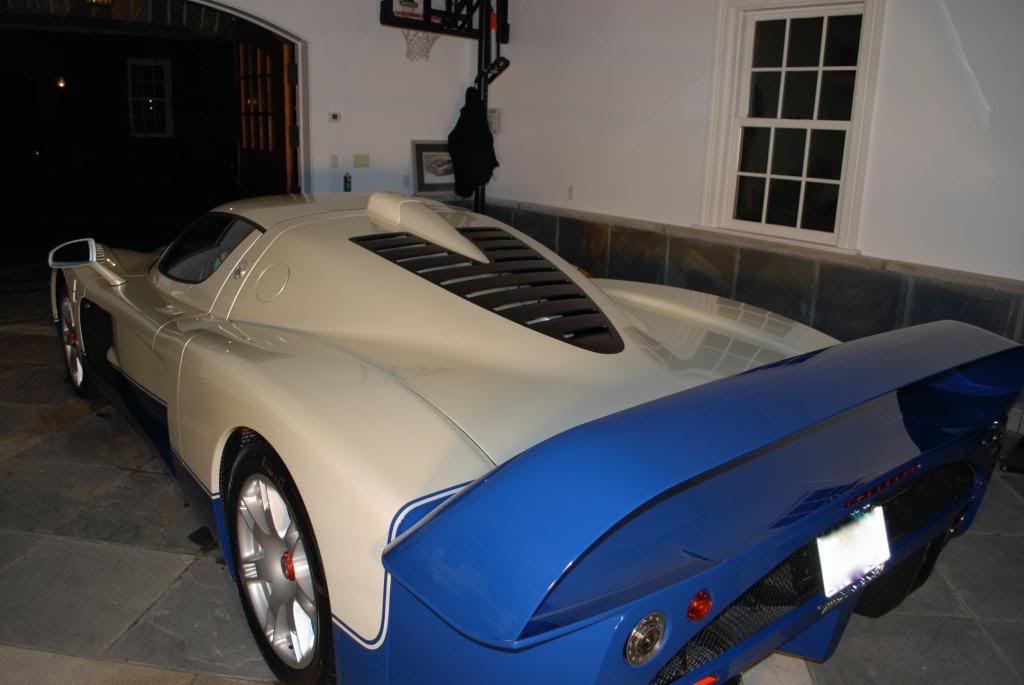
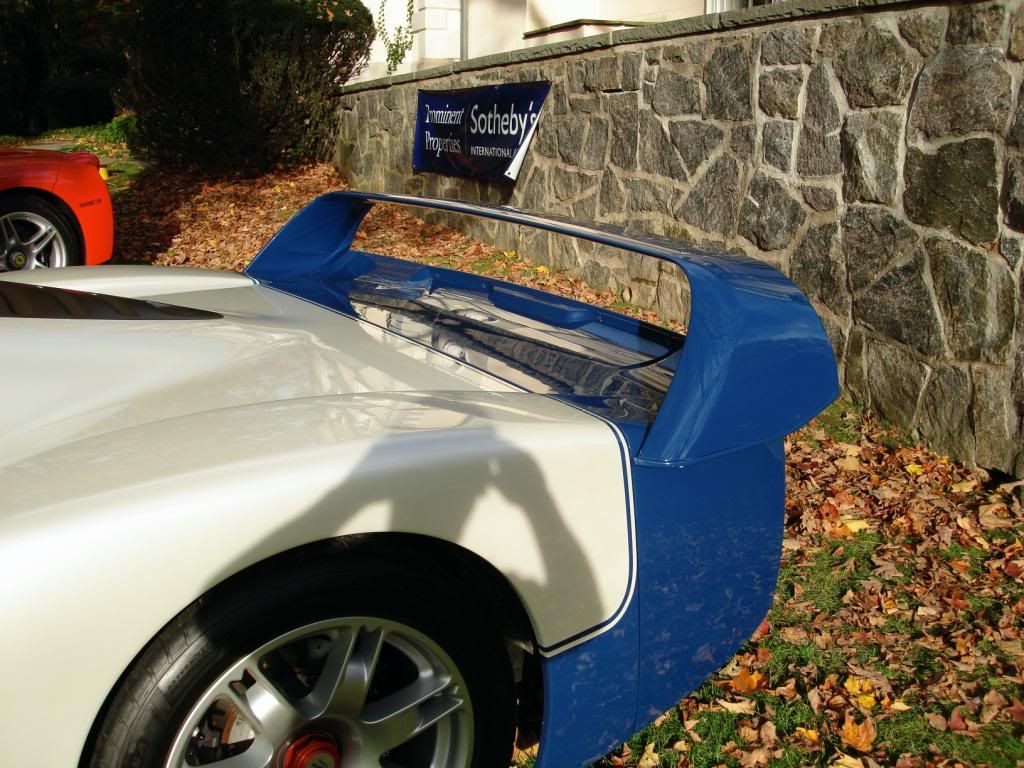
No need to post every performance figure of the MC12, we all know what it can do. This car is 7 feet wide and nearly 17 feet long, in person the its massive! Its built on the Ferarri Enzo chassis... the Enzo accelerates quicker, stops shorter and has a higher top speed BUT the MC12 is still faster around the Nurburgring because its body creates so much downforce and far less drag... thanks in part to the not so polisher friendly tail section :lol
The car was produced only between 2004 and 2005, a total of 50 road going MC12s were made and only 45 were allowed to be sold, 5 were kept by Maserati.
(This one is in there somewhere)
Onto the writeup...
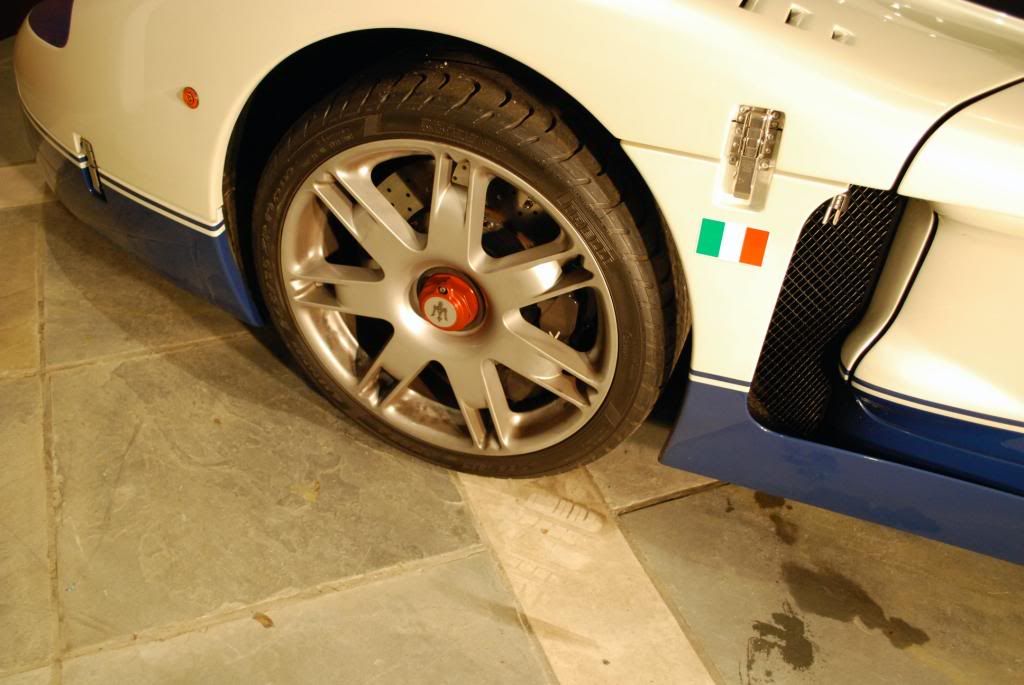
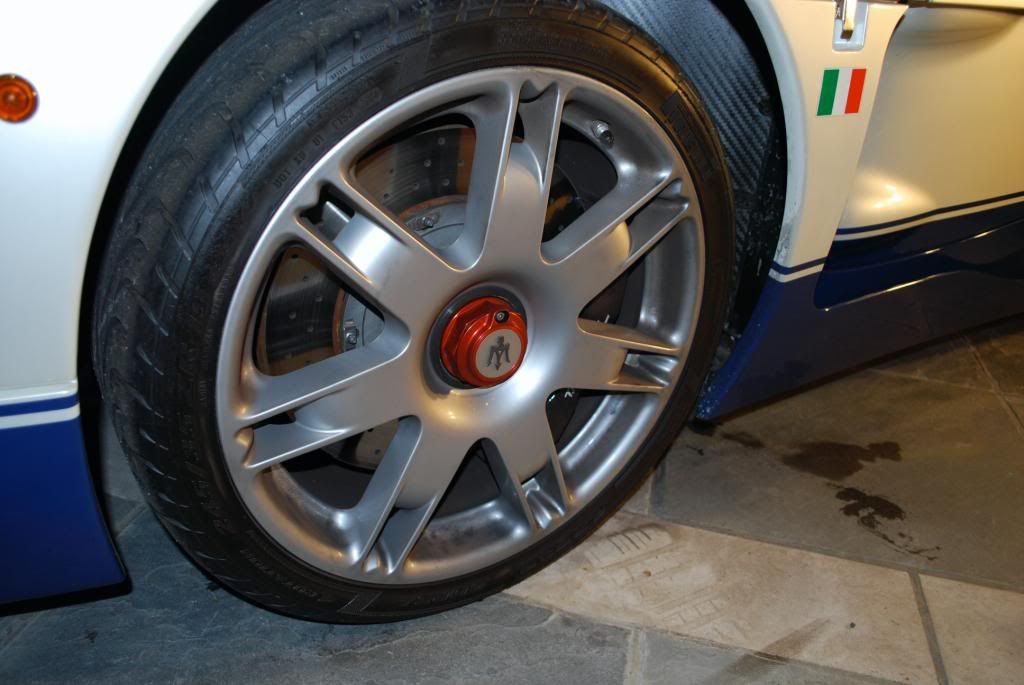
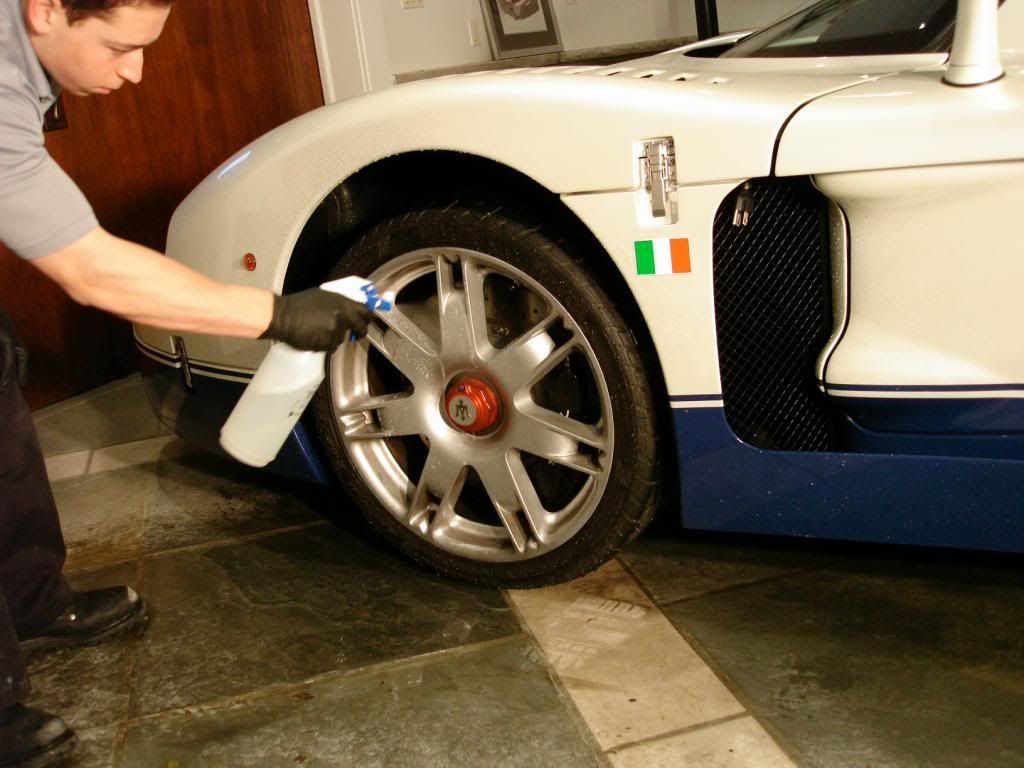
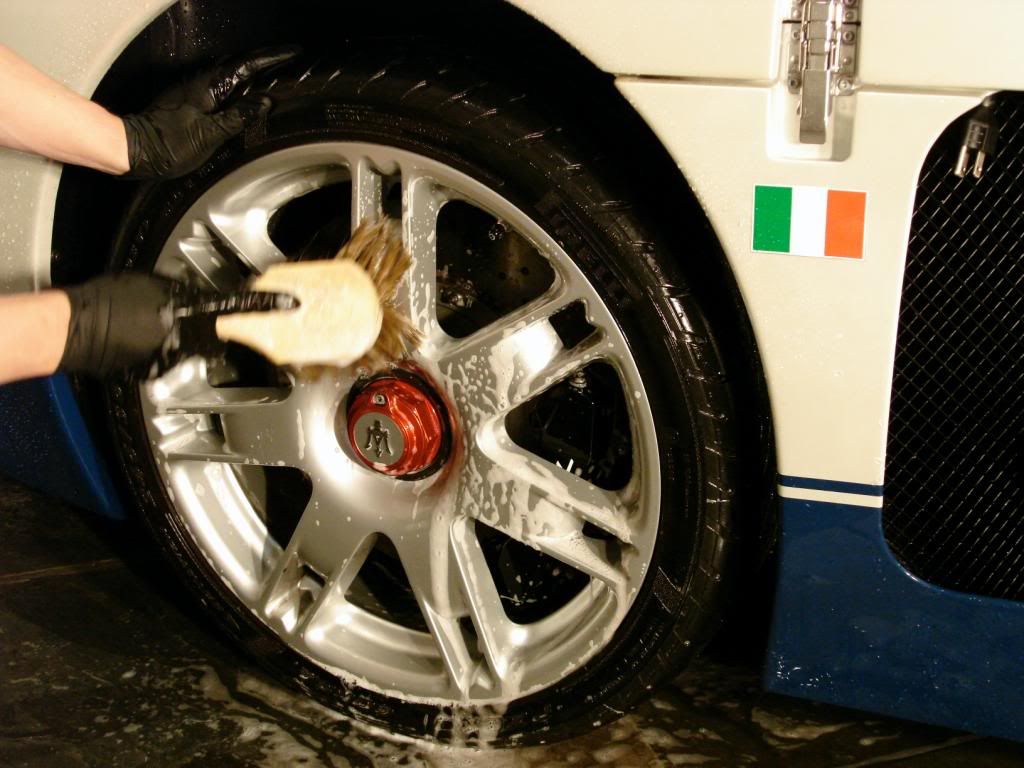
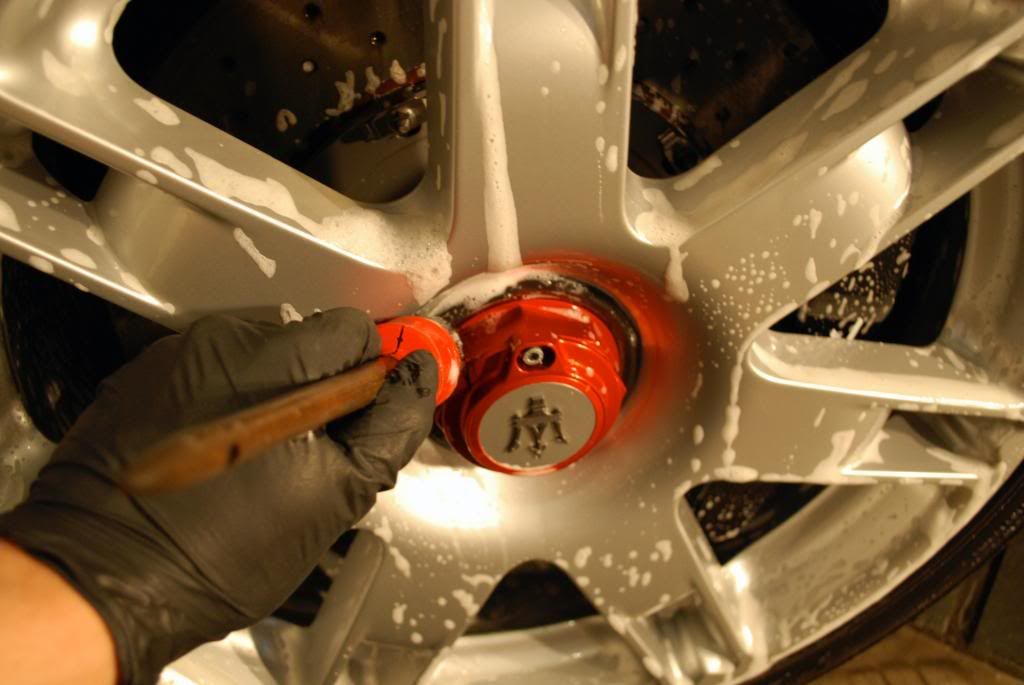
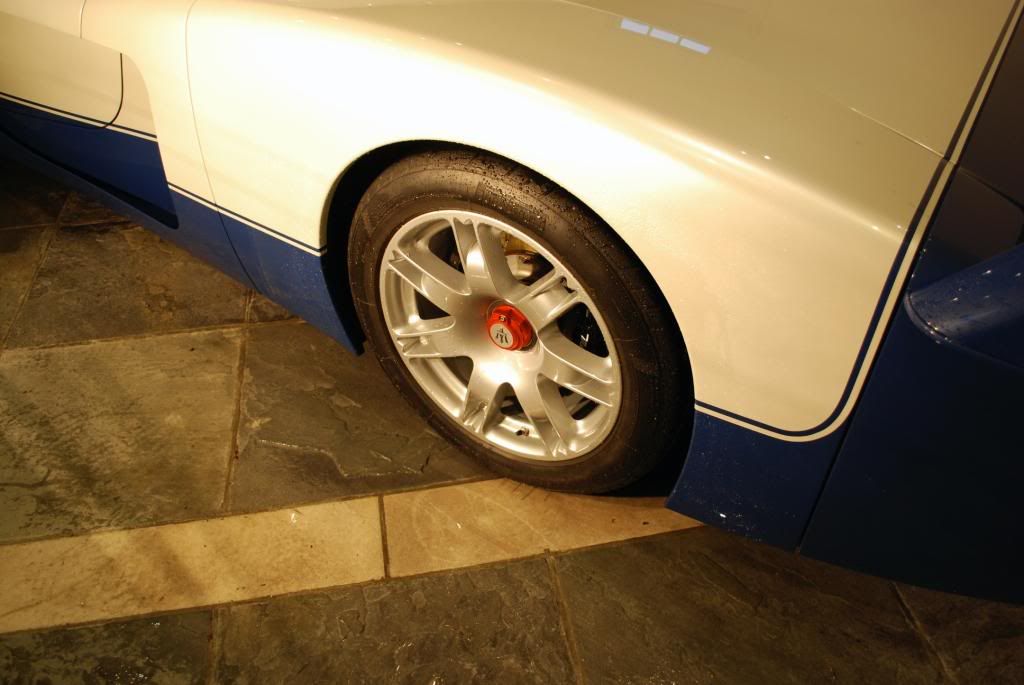
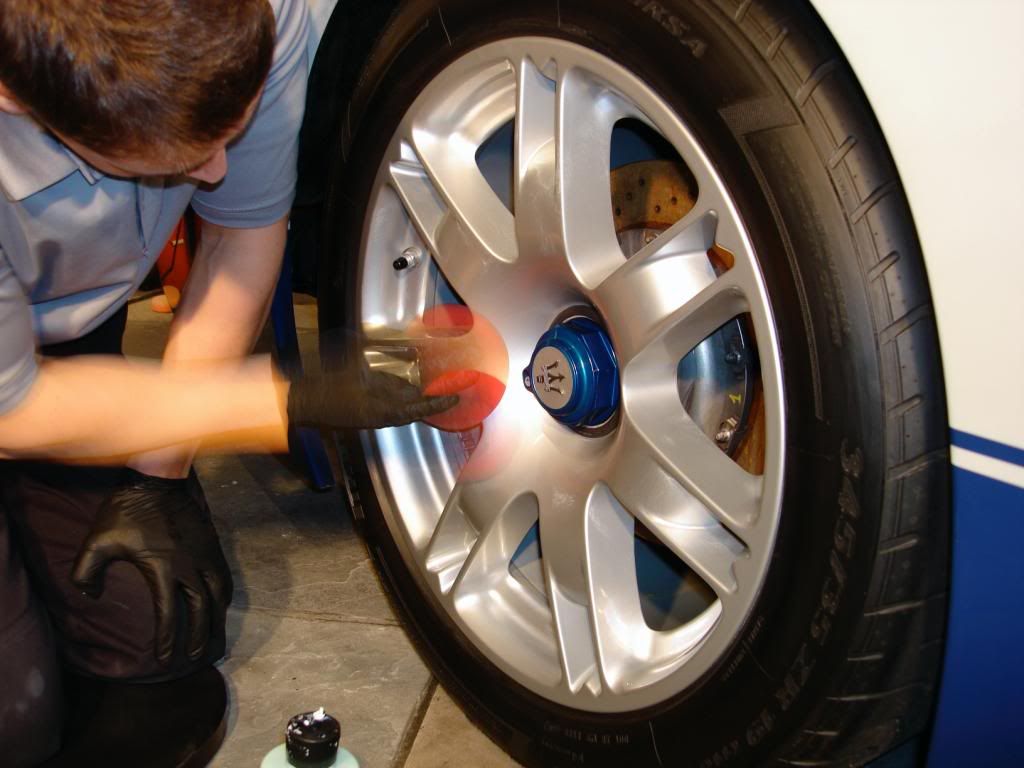
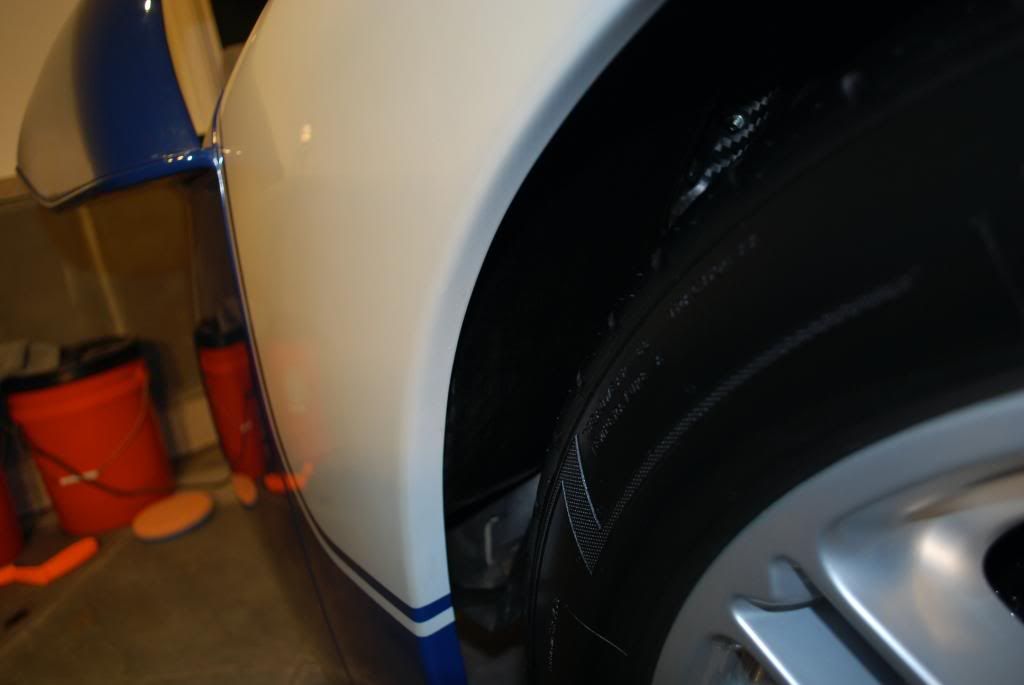
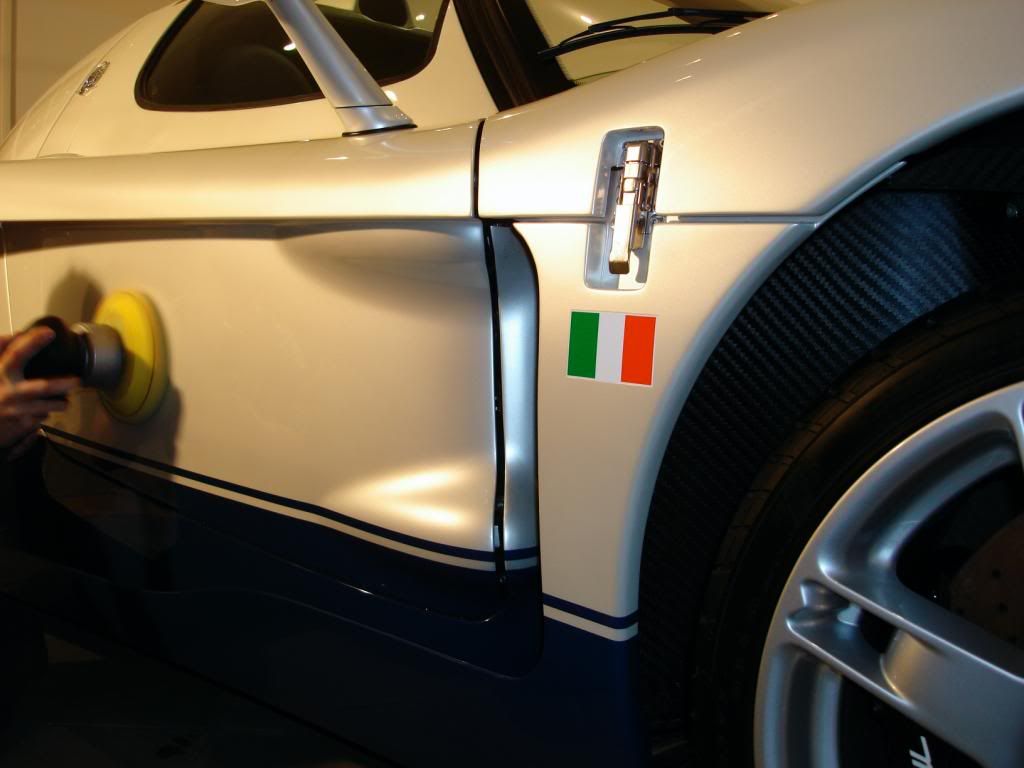
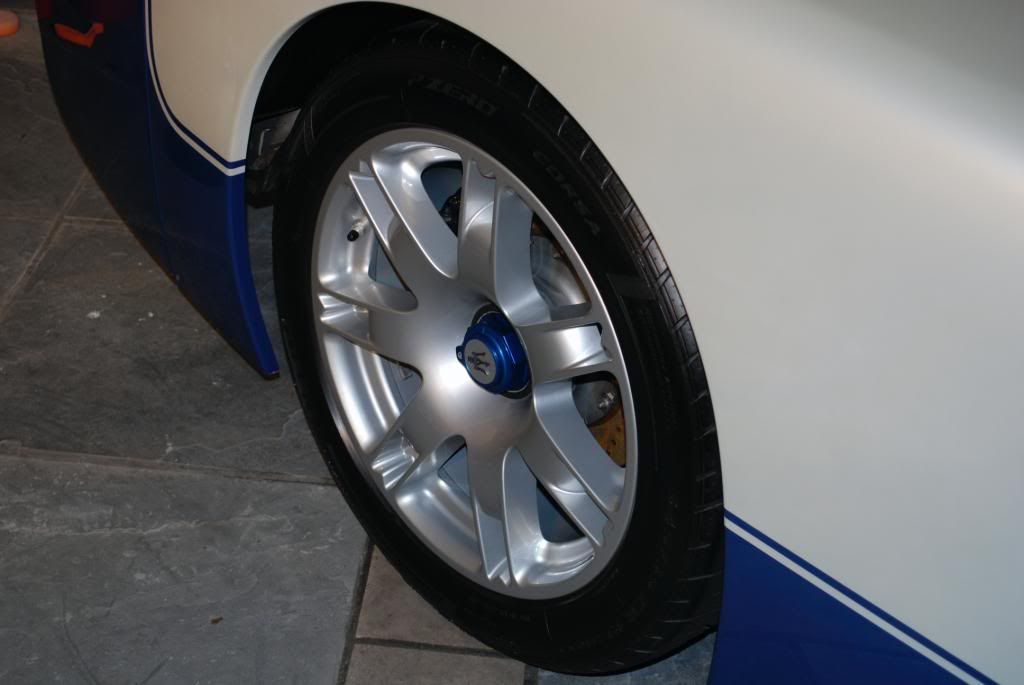
Began with the wheels as usual, this car spent some time at the track so the wheels were dirtier than expected, P21s wheel gel was left to sit for a few minutes before agitating with various brushes.
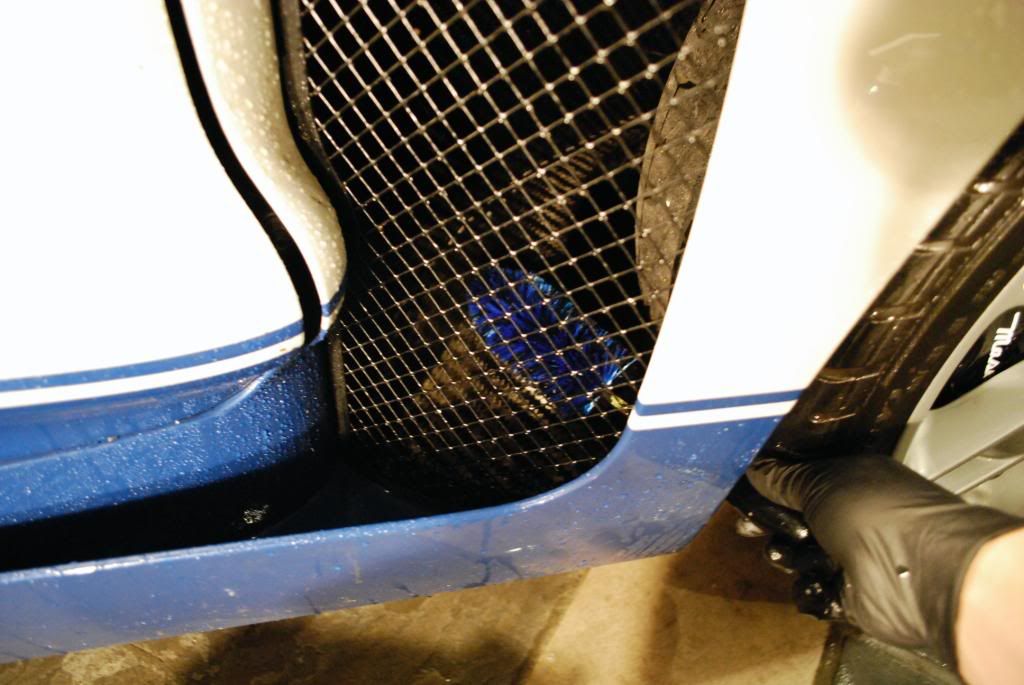
The wheel wells were degreased and the tires were cleaned twice, old silicone based tire dressing needed to be removed completely.
The smaller EZ brush was a big help on the wheel wells and air inlets by the front wheels
Rear before...
And after...
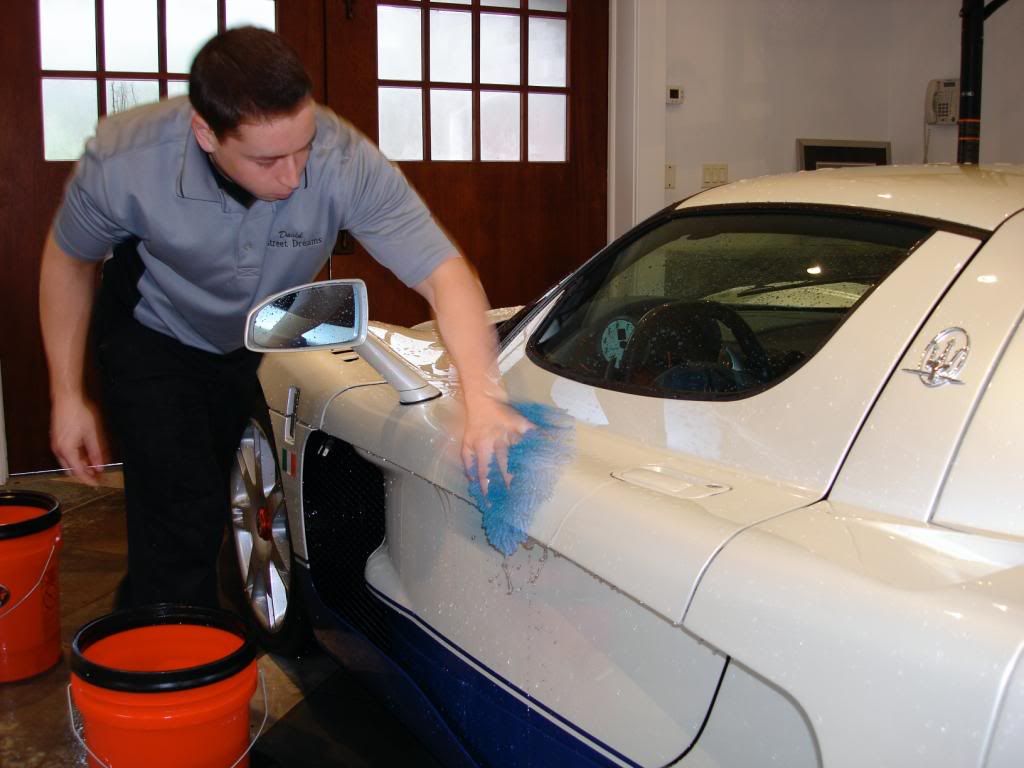
Onto washing the car with the 2 bucket method and microfiber mitts
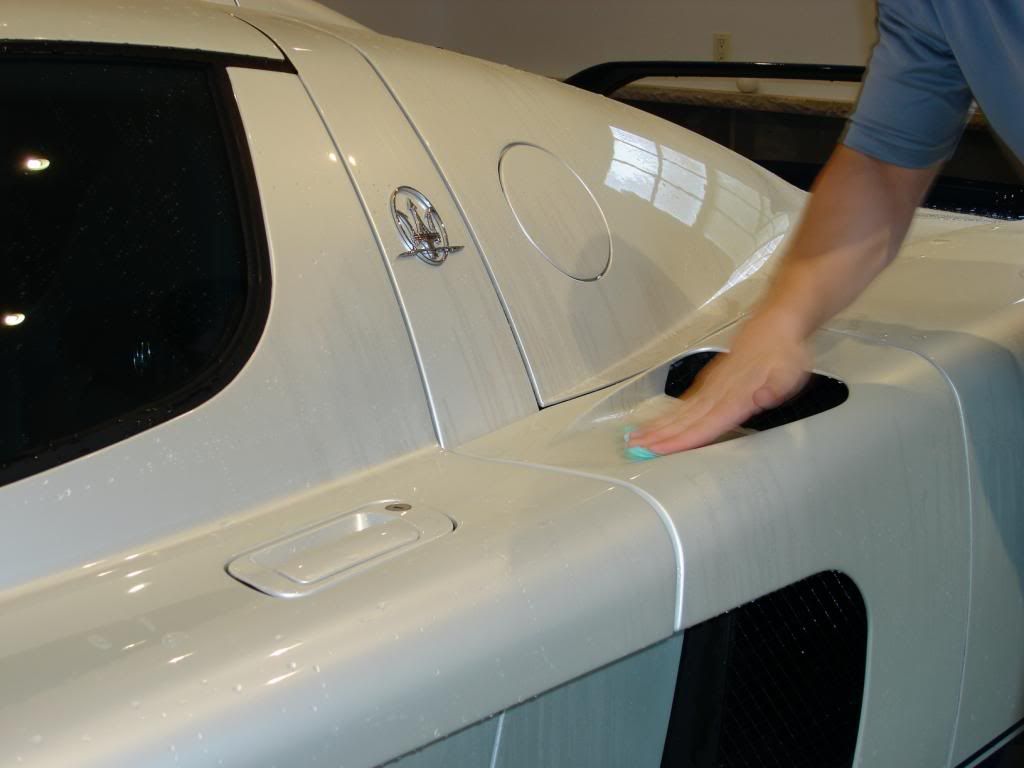
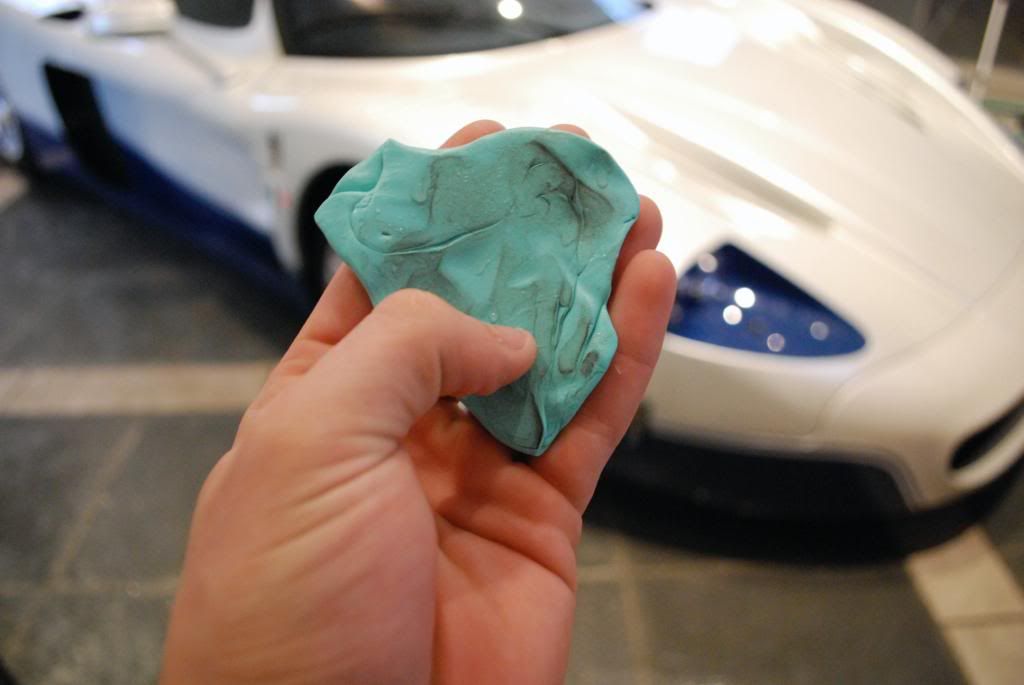
Next the entire car including glass and wheels were clayed with a fine grade bar using ONR as lube. After the car was dried with some DD waffle weave towels and the wheels and crevices were blown out with the electric blower.
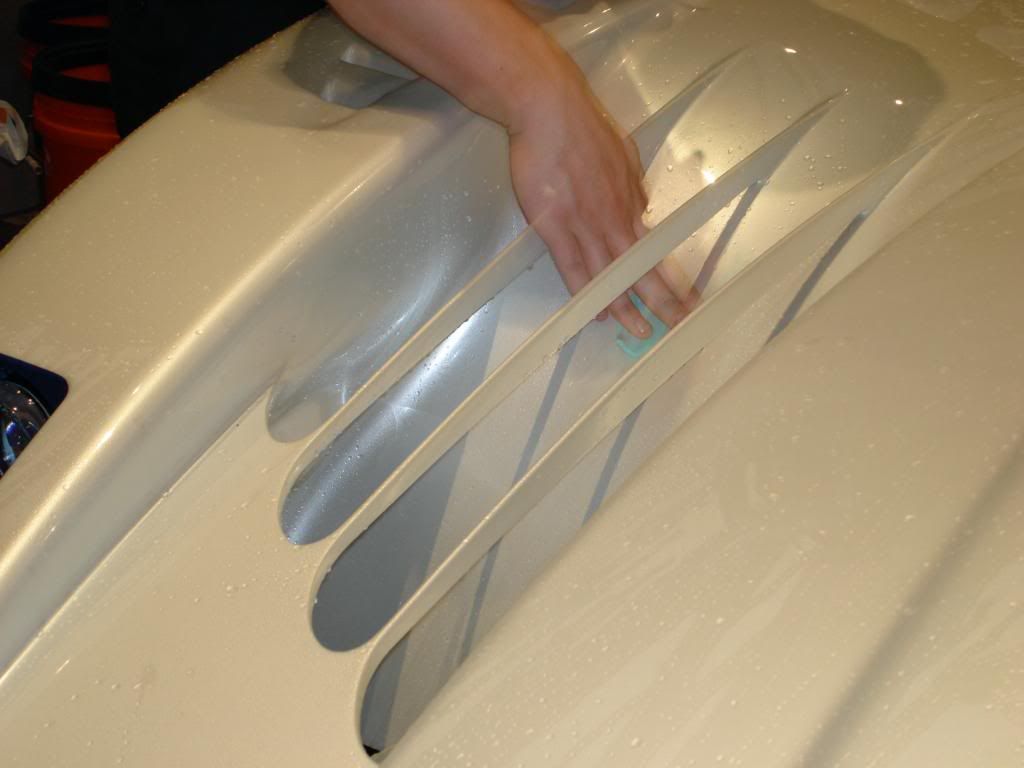
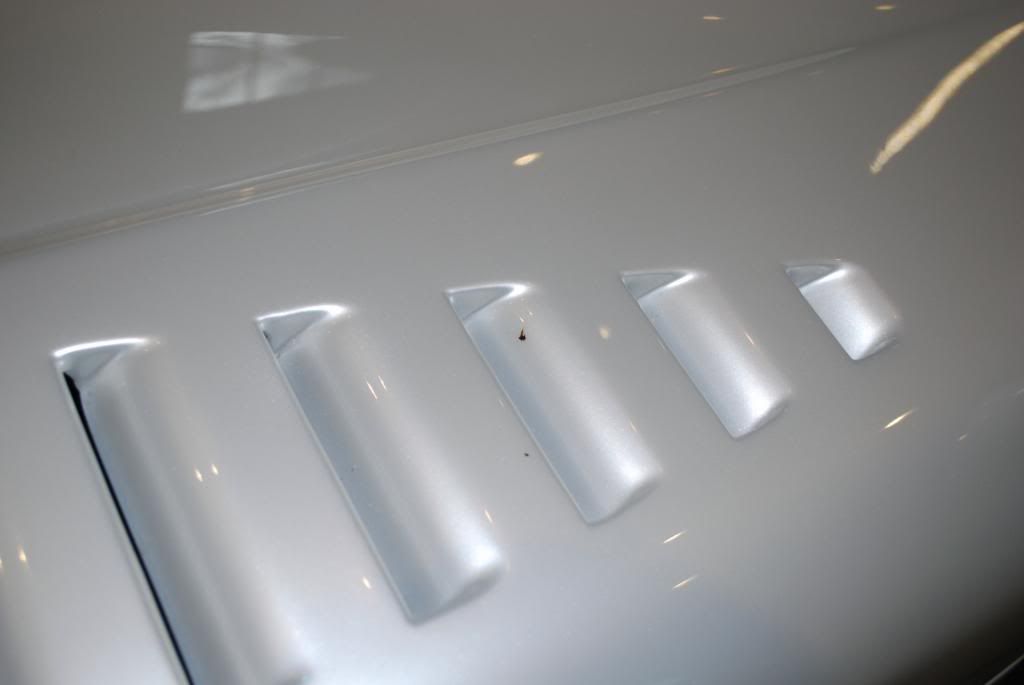
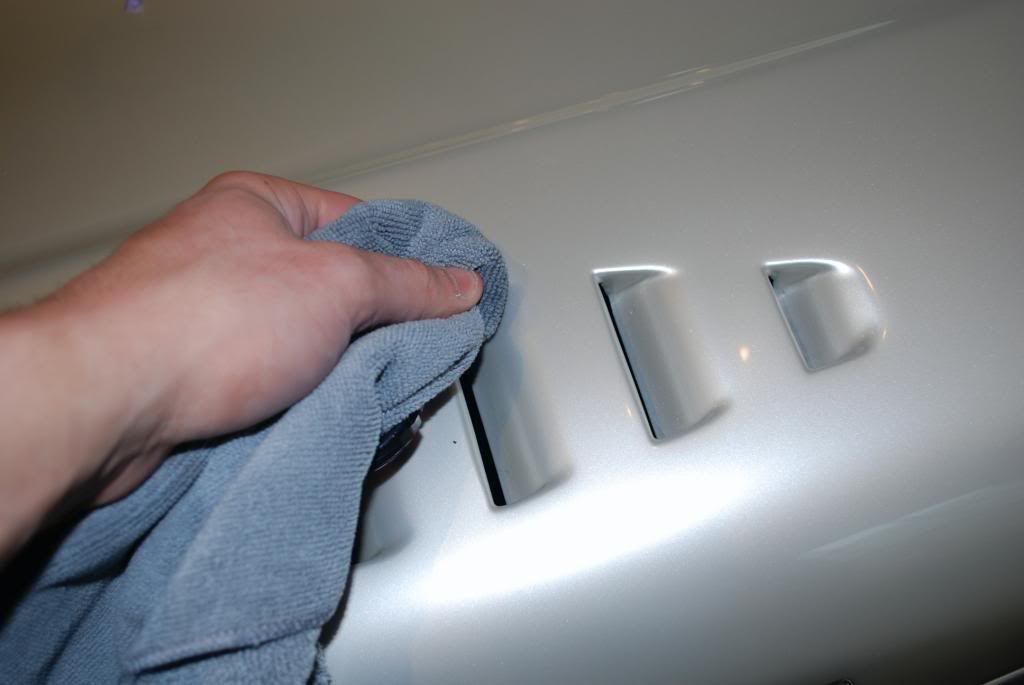
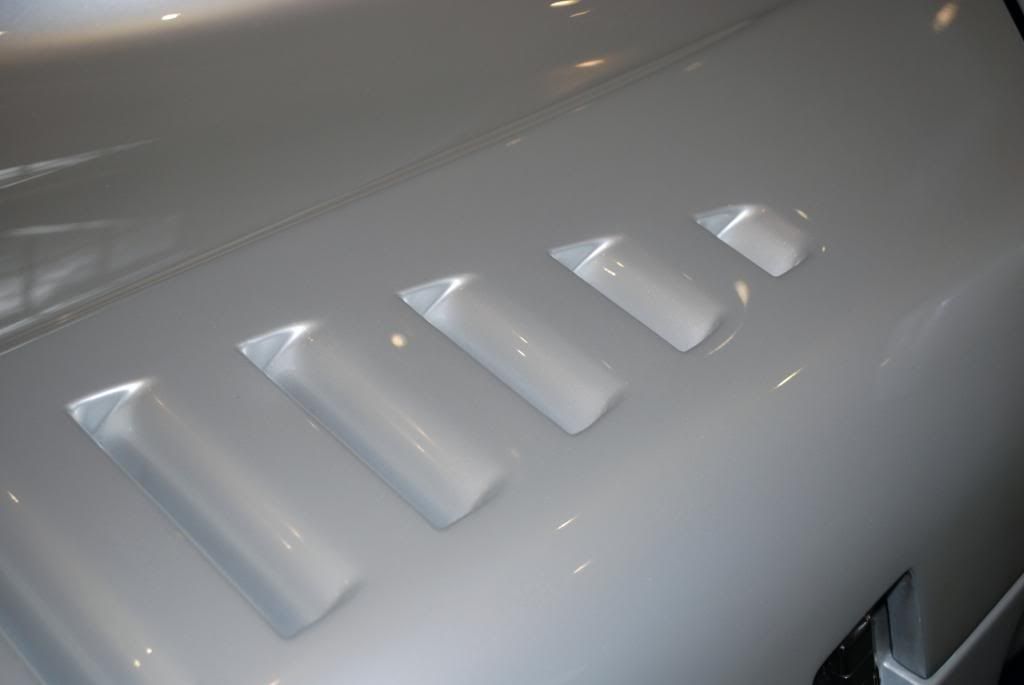
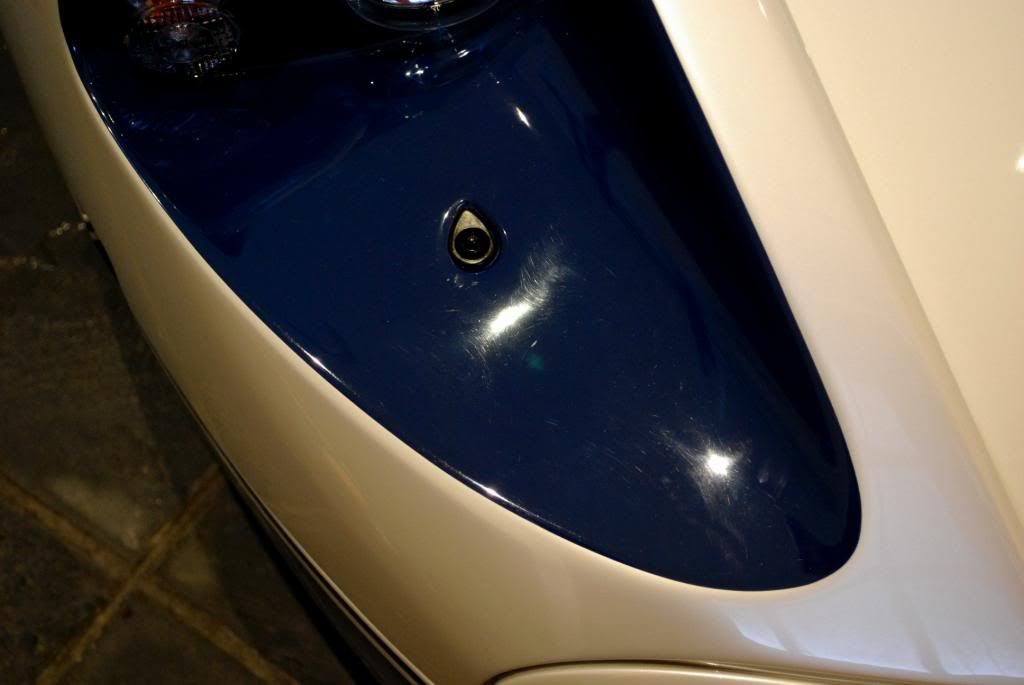
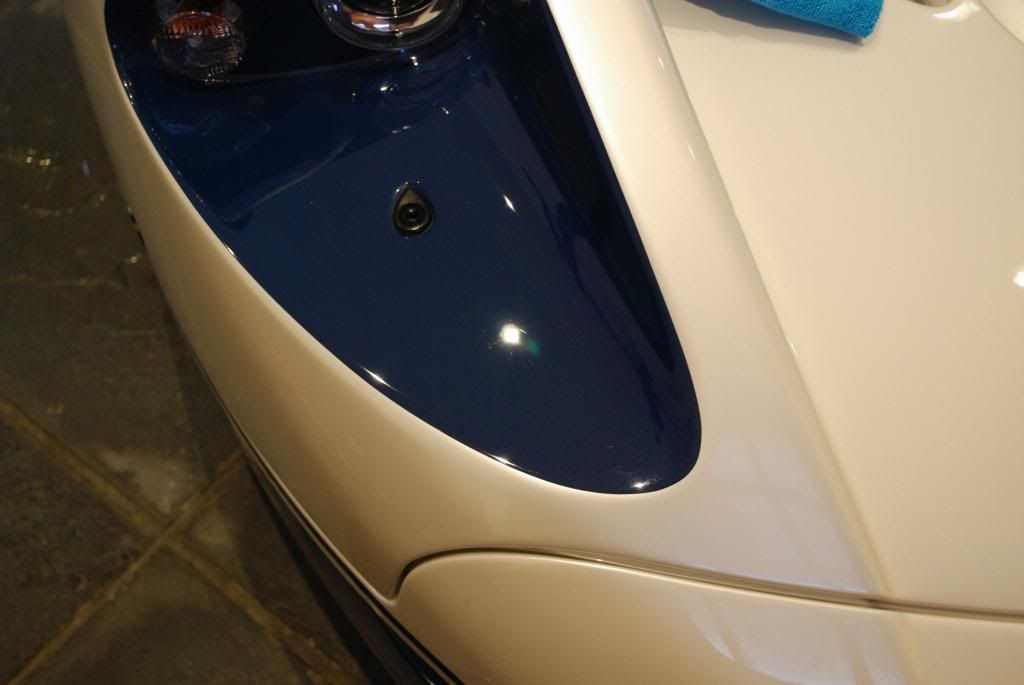
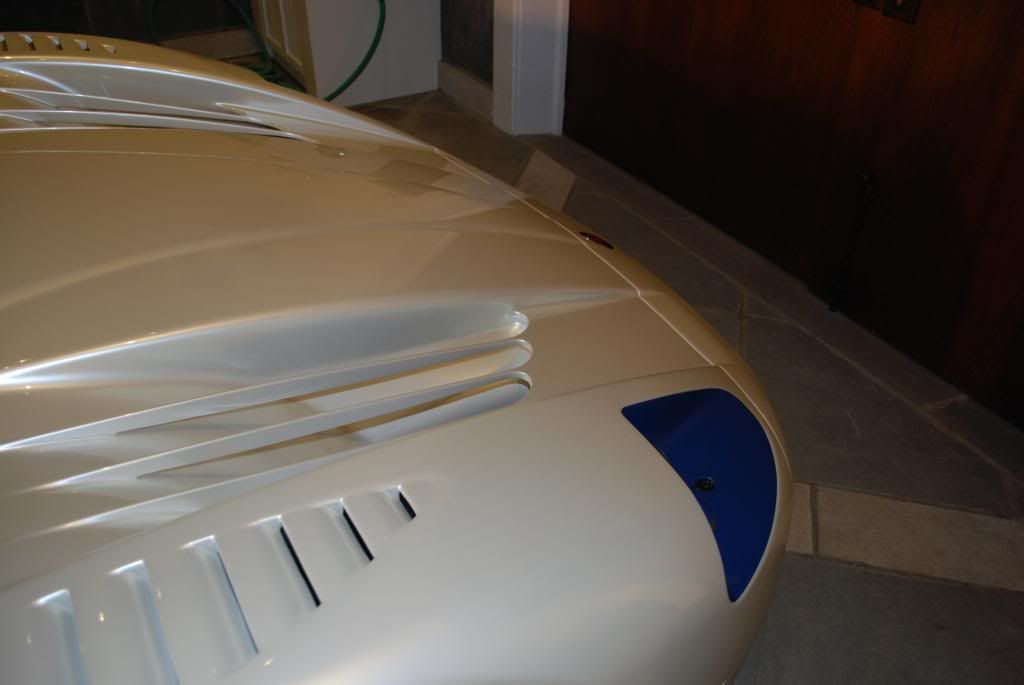
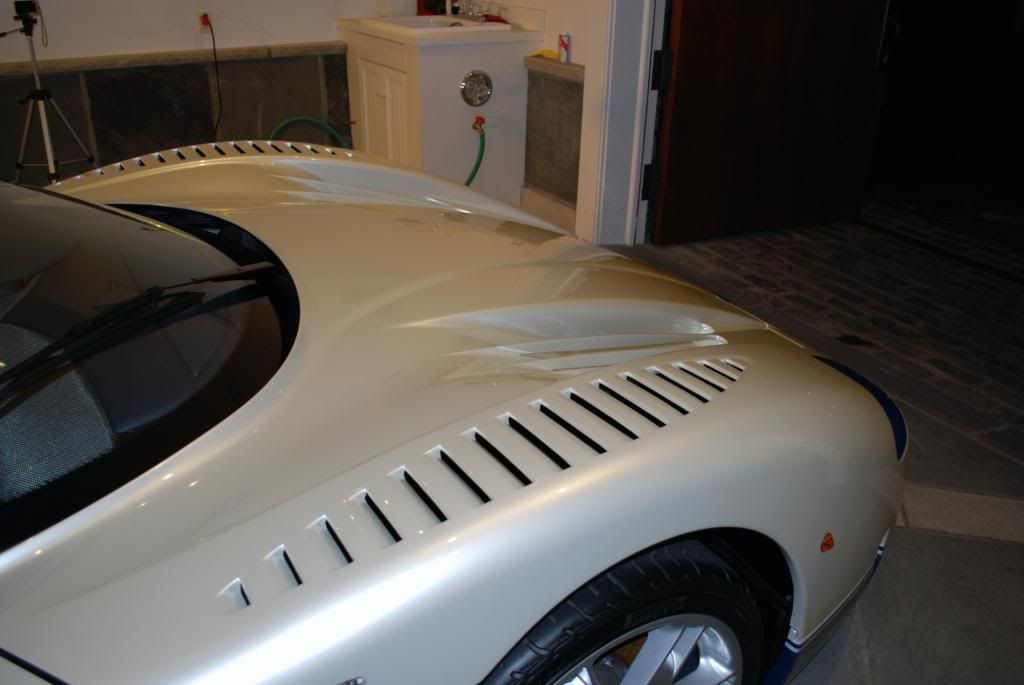
The between areas of the slits on the front nose had a lot of contamination, most likely from track driving.
Small tar spots were found on the front nose and lower panels, some Tardis on a MF towel cleaned them up without issue.
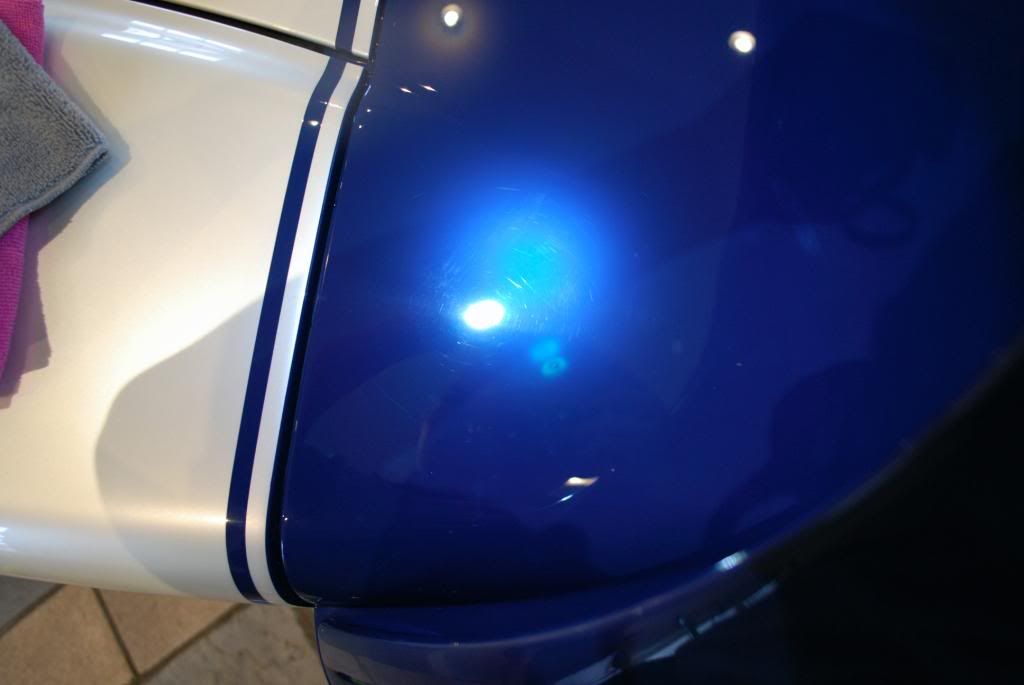
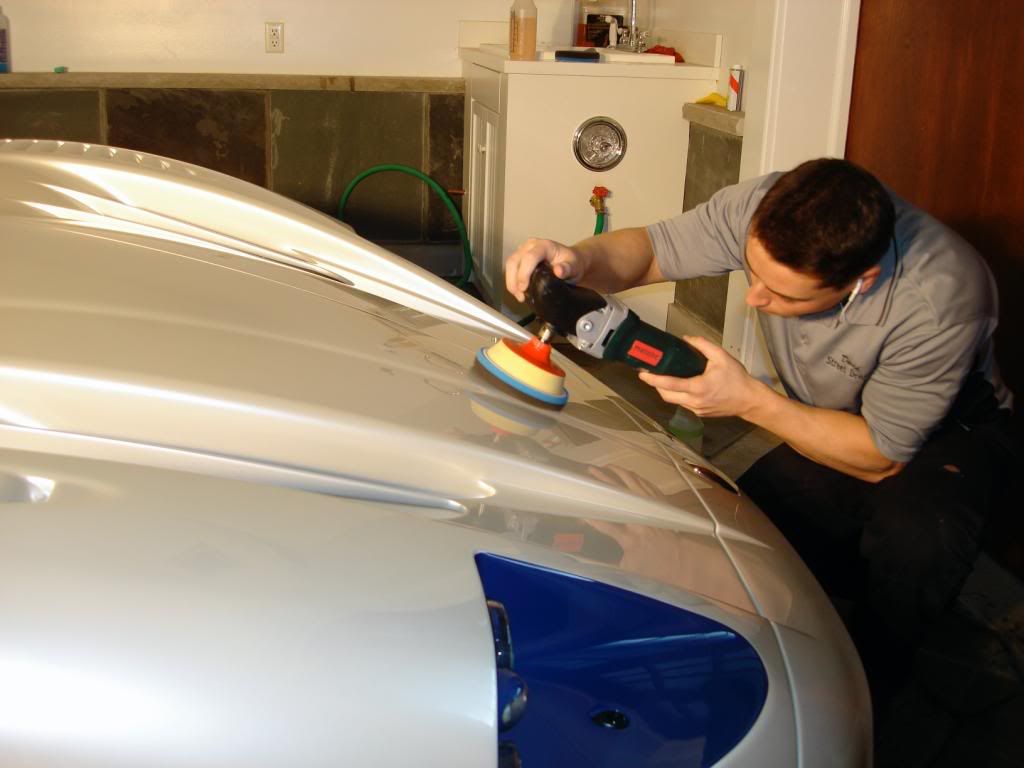
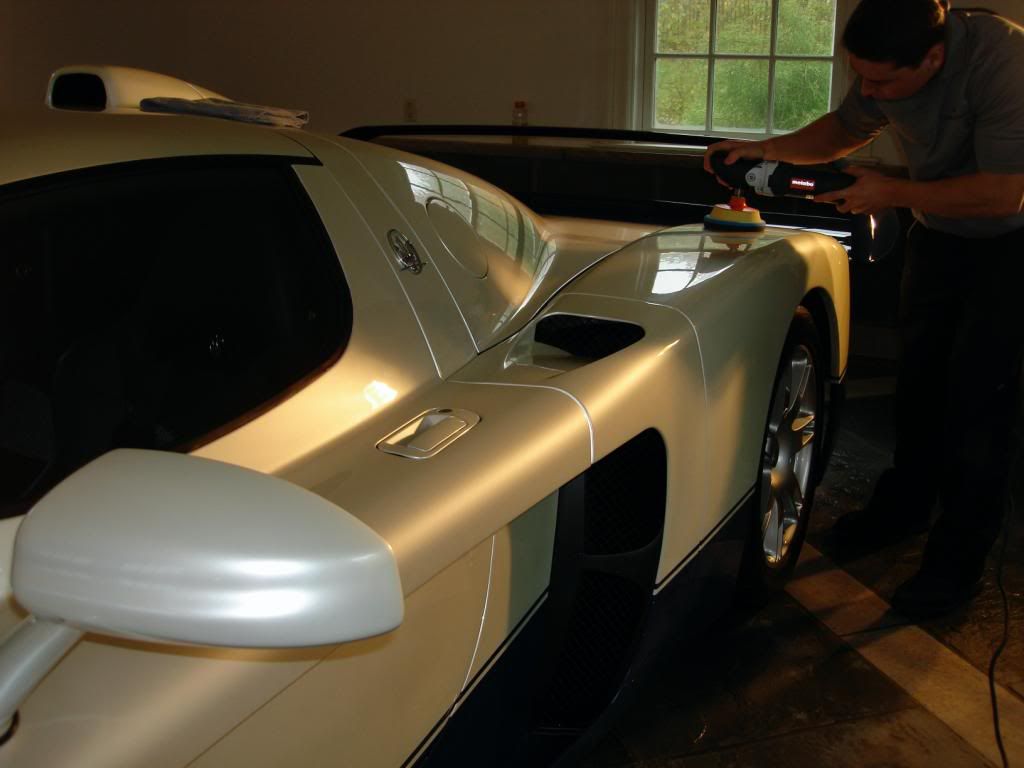
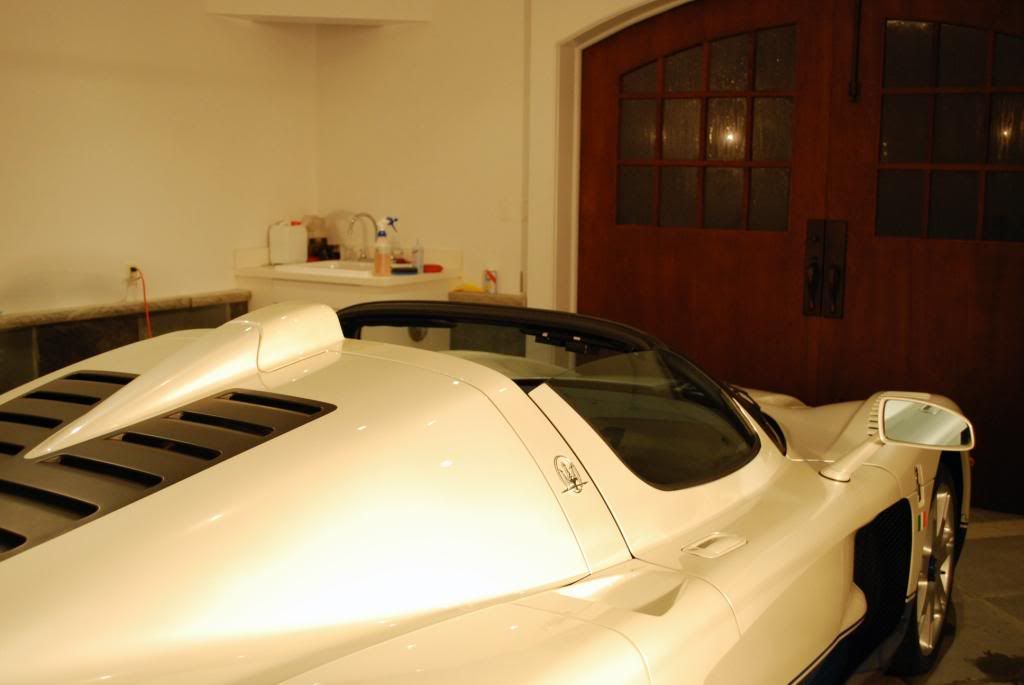
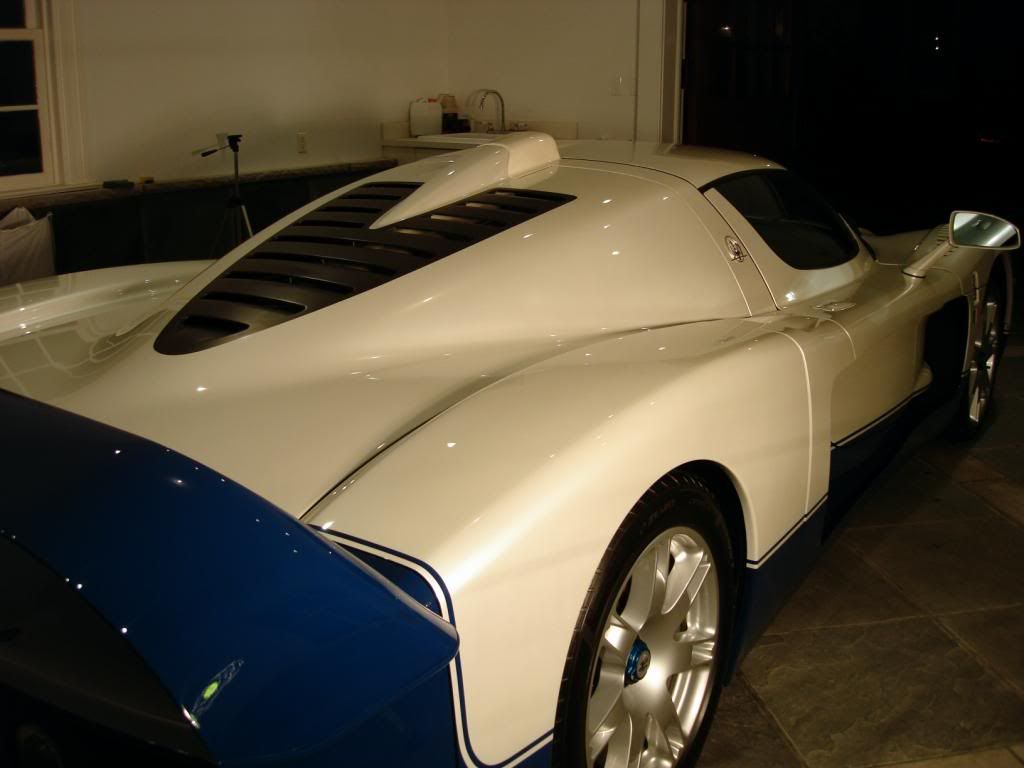
Onto the paint correction work. Cant ever say this car would look better in red because the roadcars only came in 1 color scheme, the white is called Bianco Fuji.
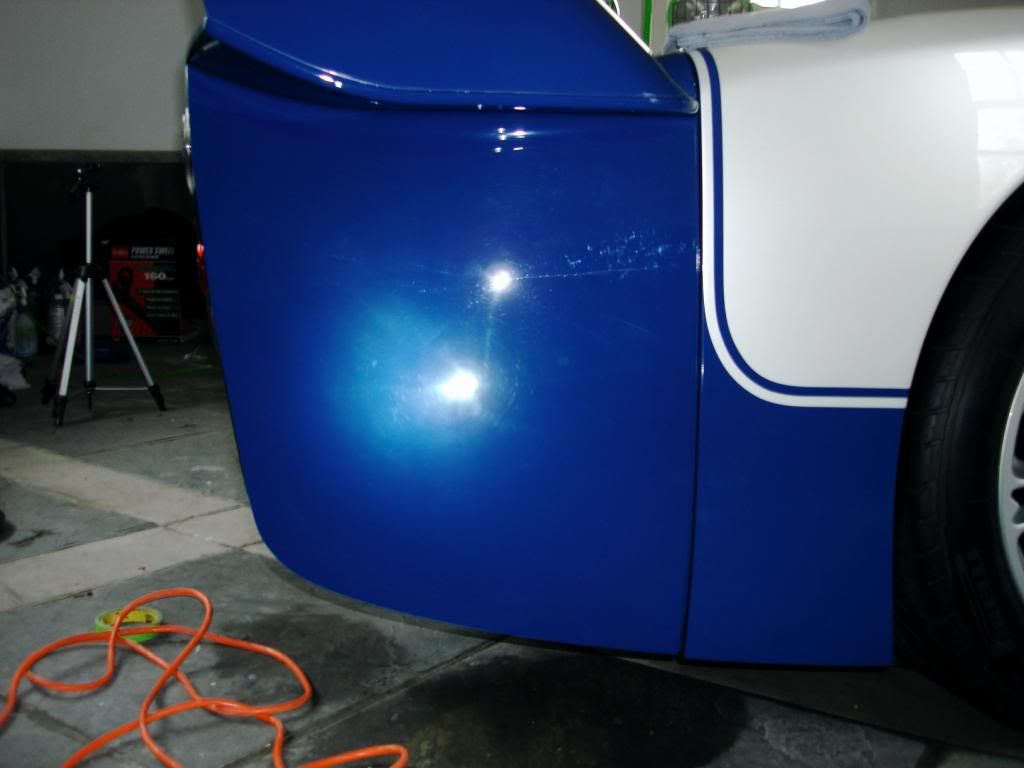
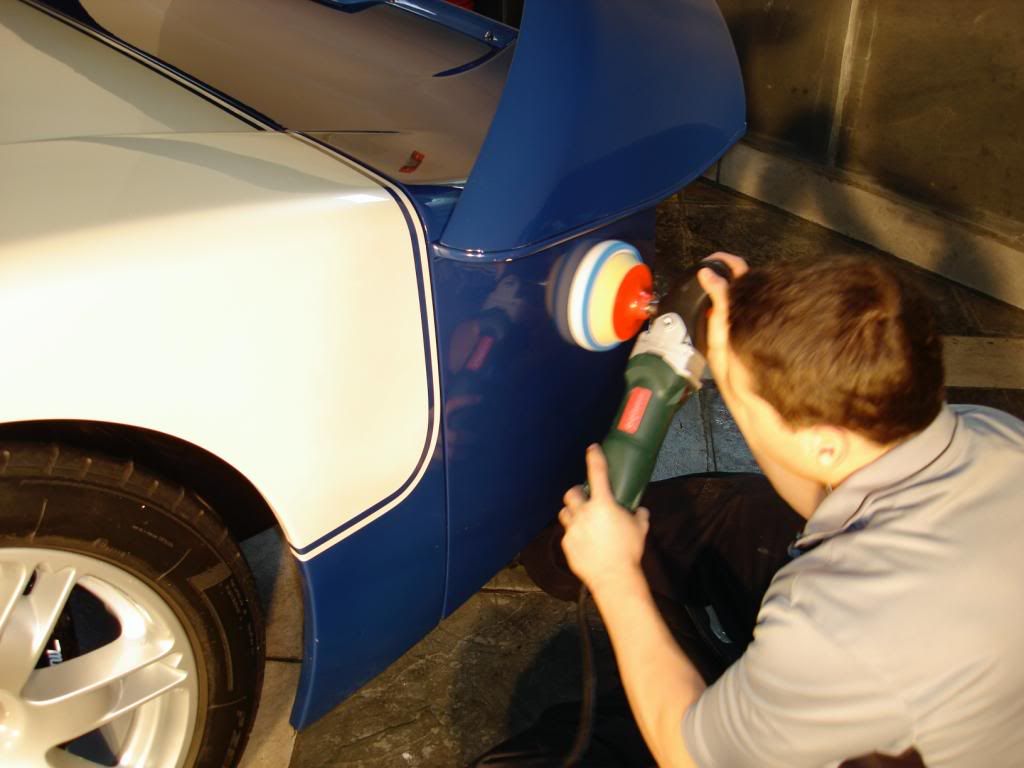
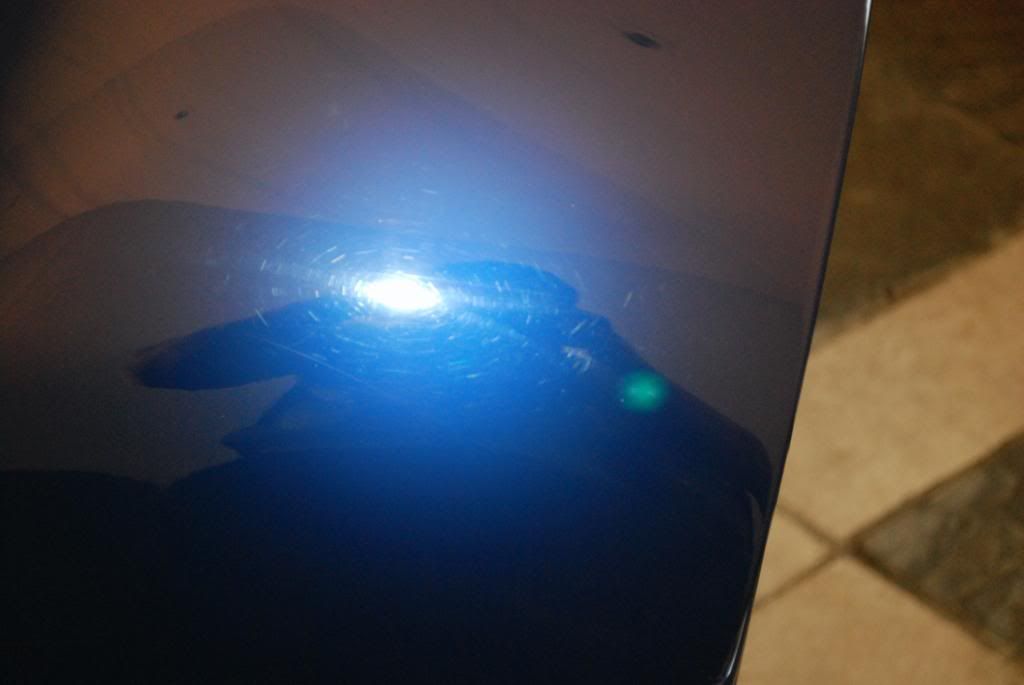
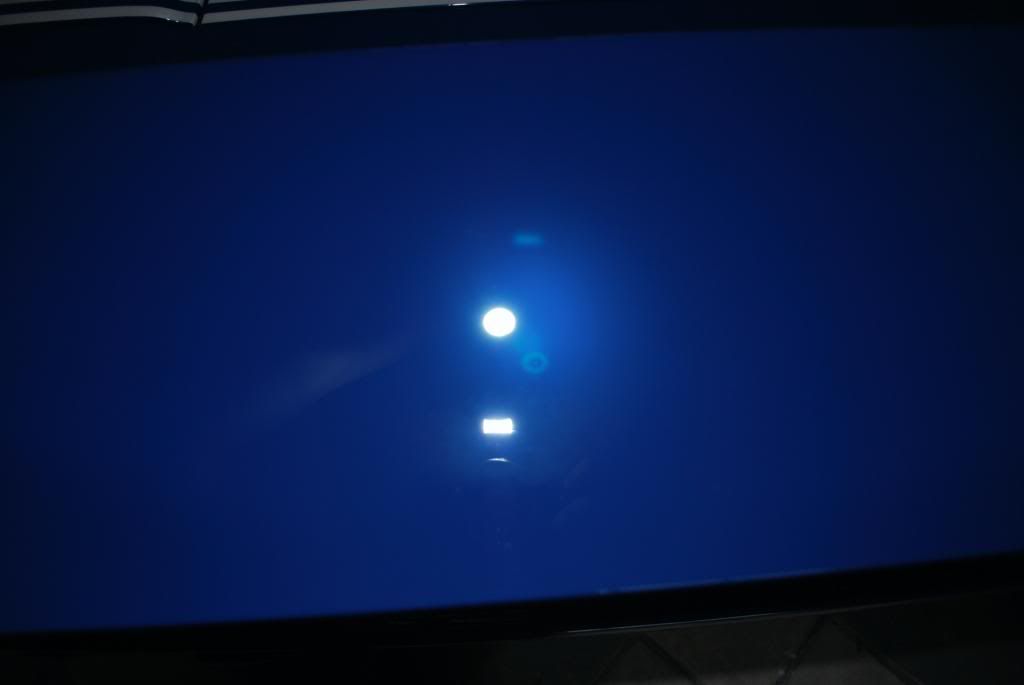
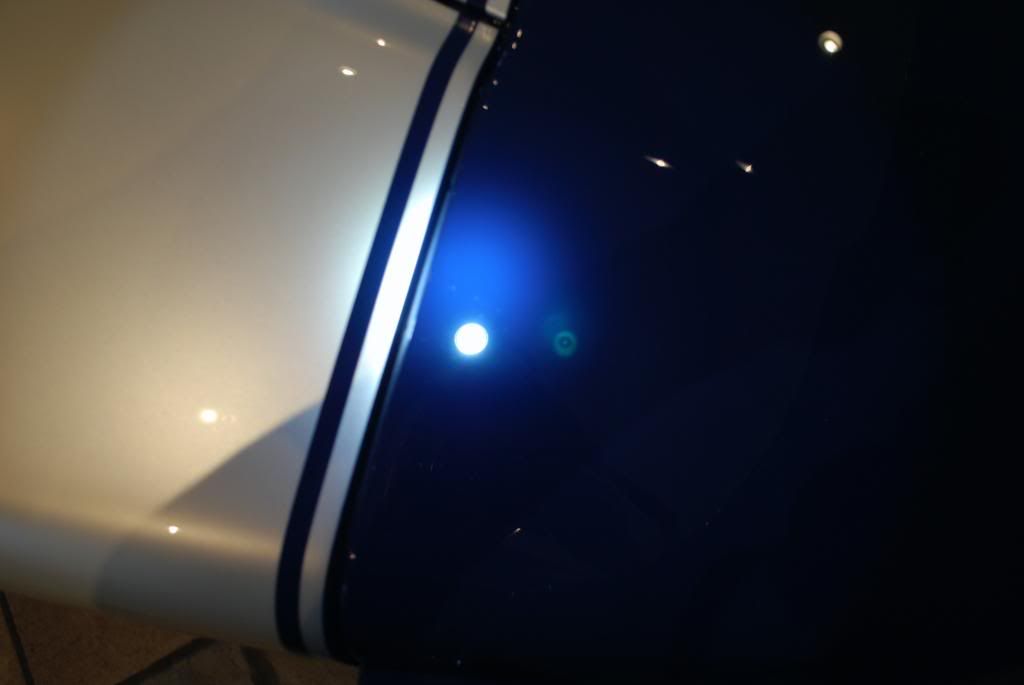
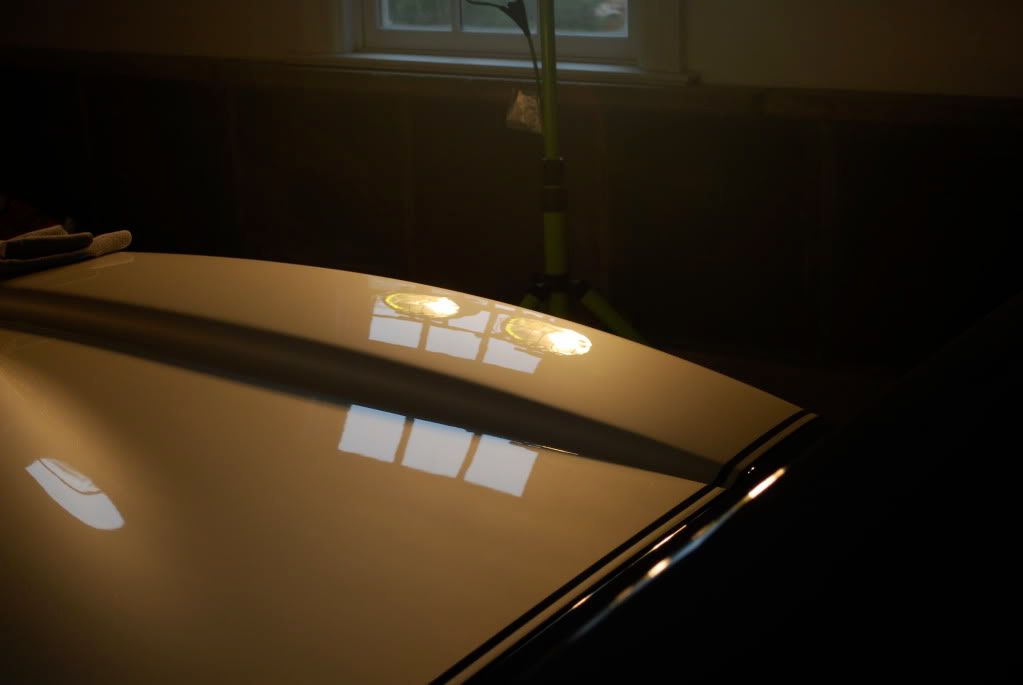
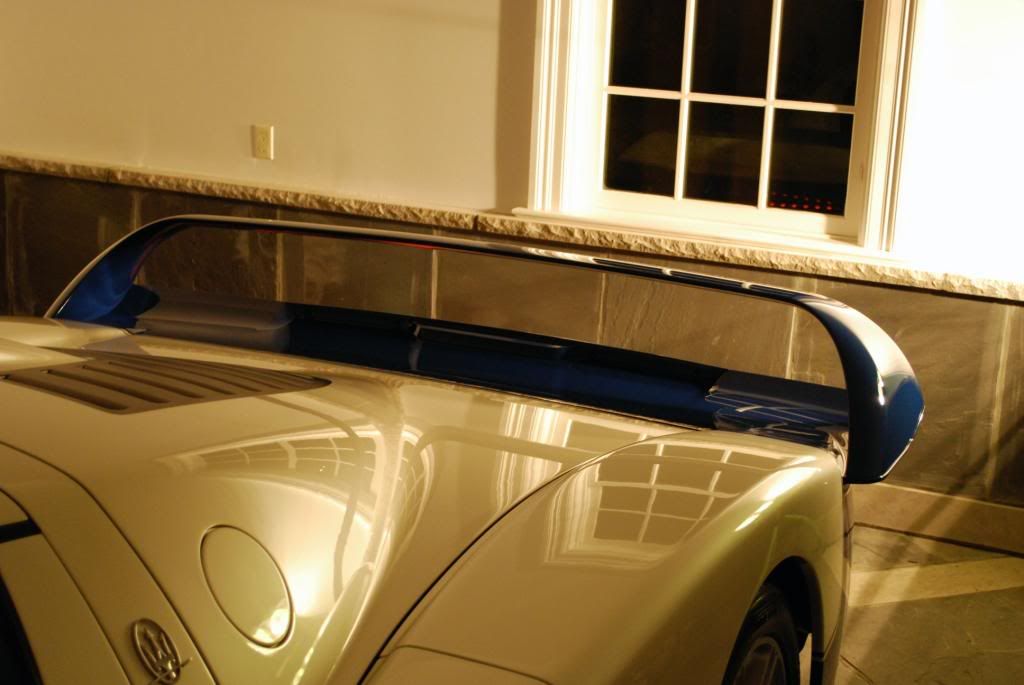
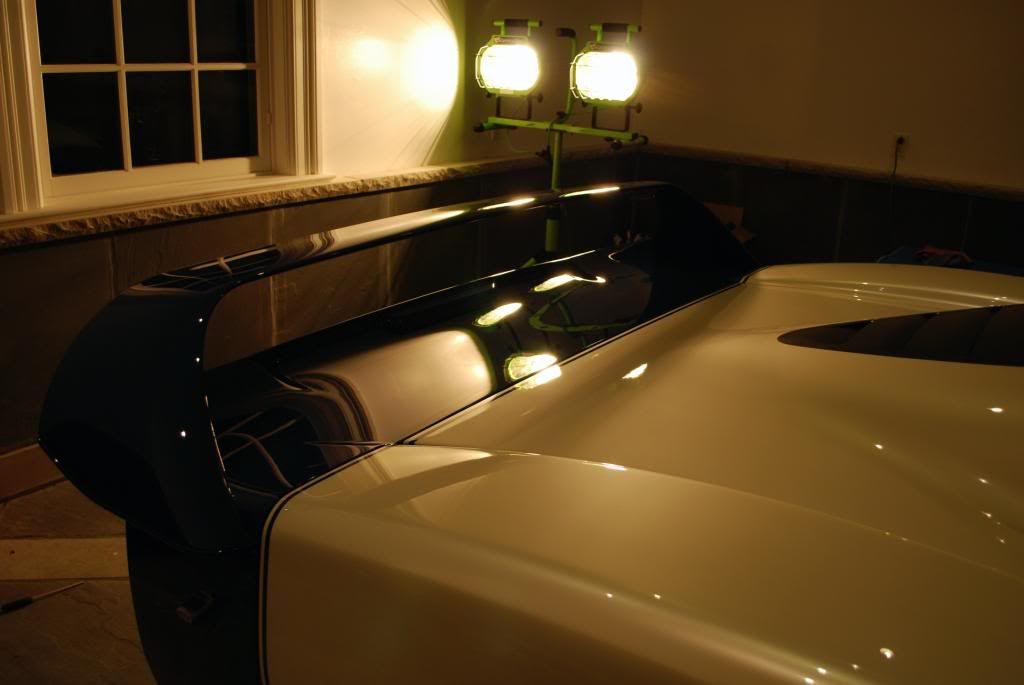
The finish was very hard ceramic paint. After inspection under the Halogen and LED lights and a few test spots I landed on a process that would yield as close to 100% correction as possible, the biggest problem areas was the massive wing section which had lots of RIDS, buffer trails and hazing.
A total of 4 correction steps were needed to finish down the entire wing section
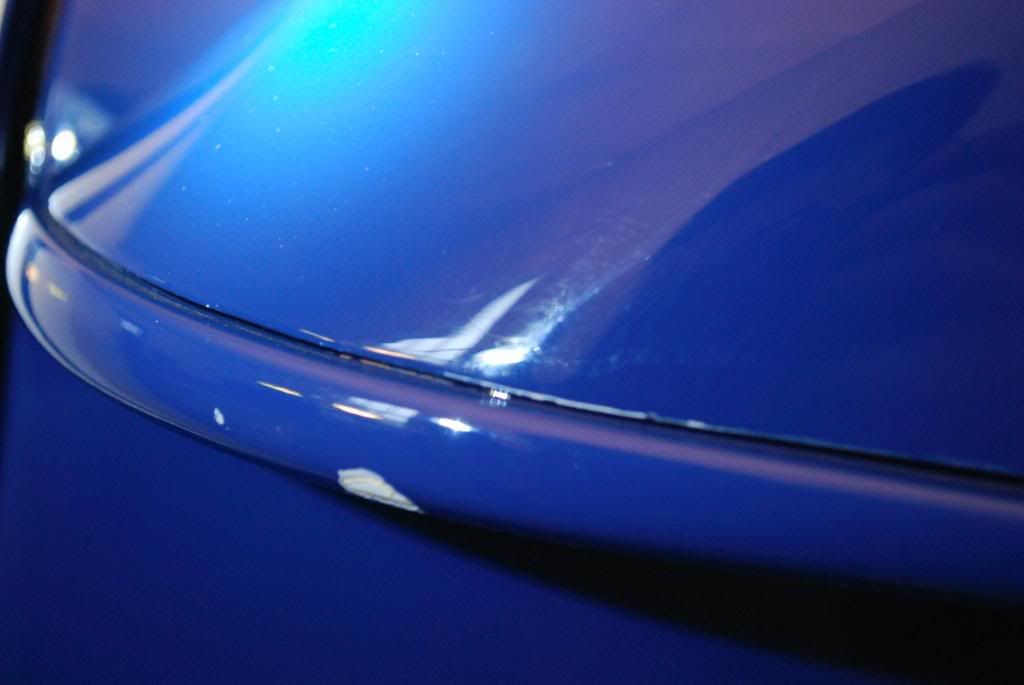
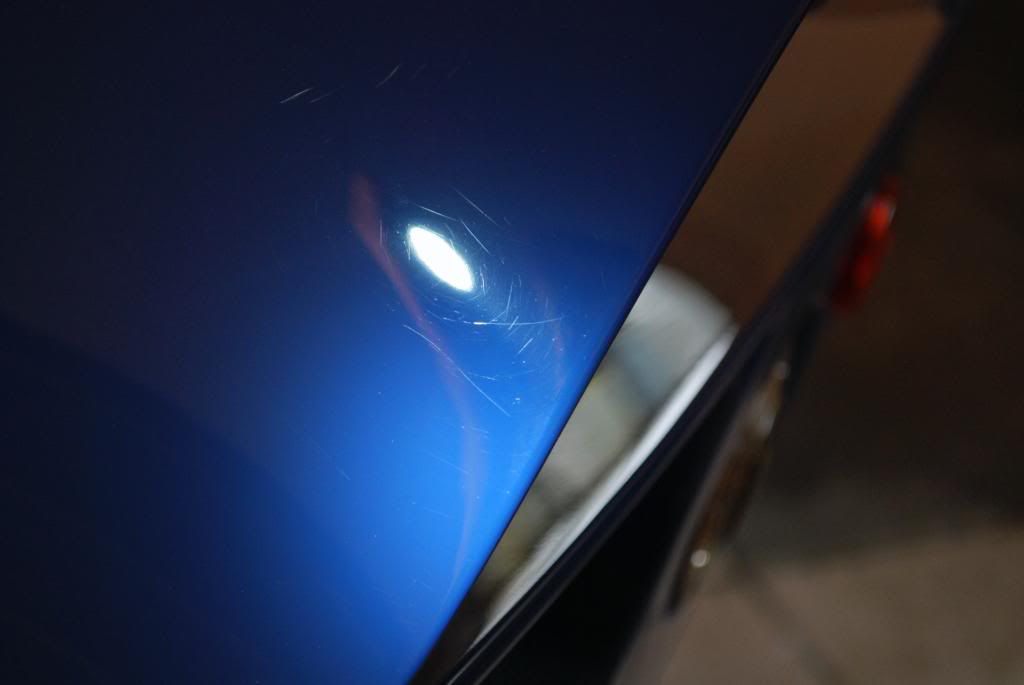
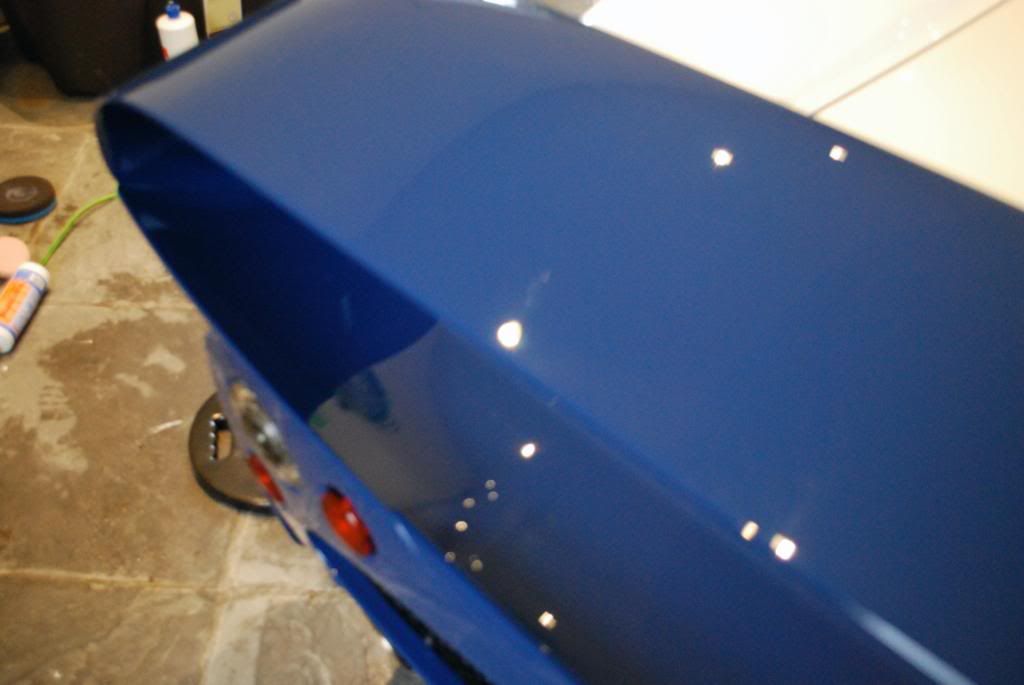
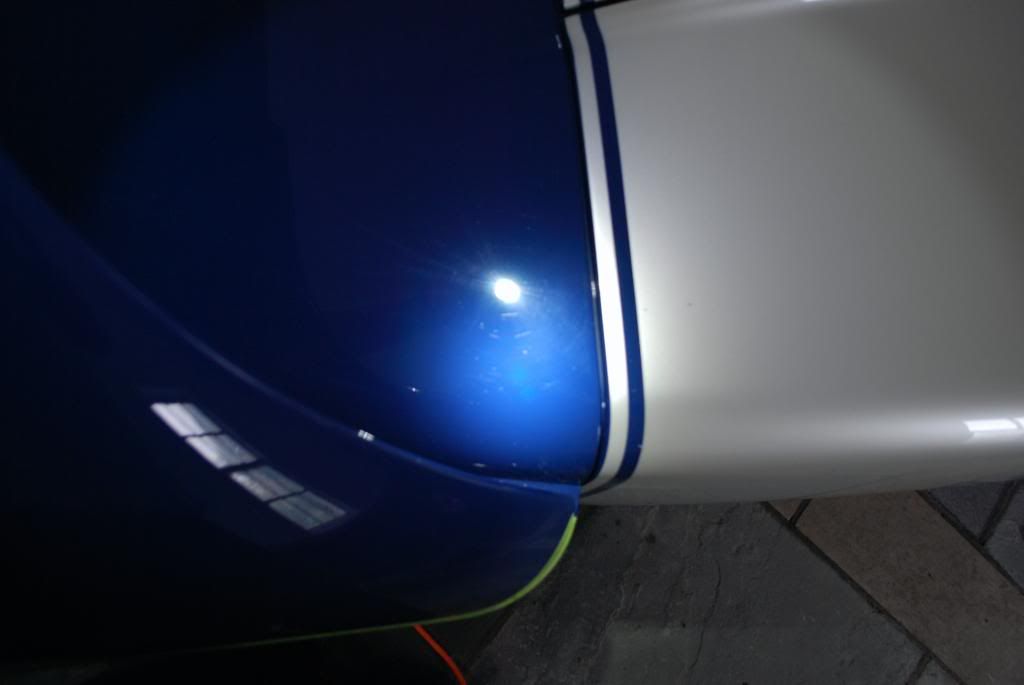
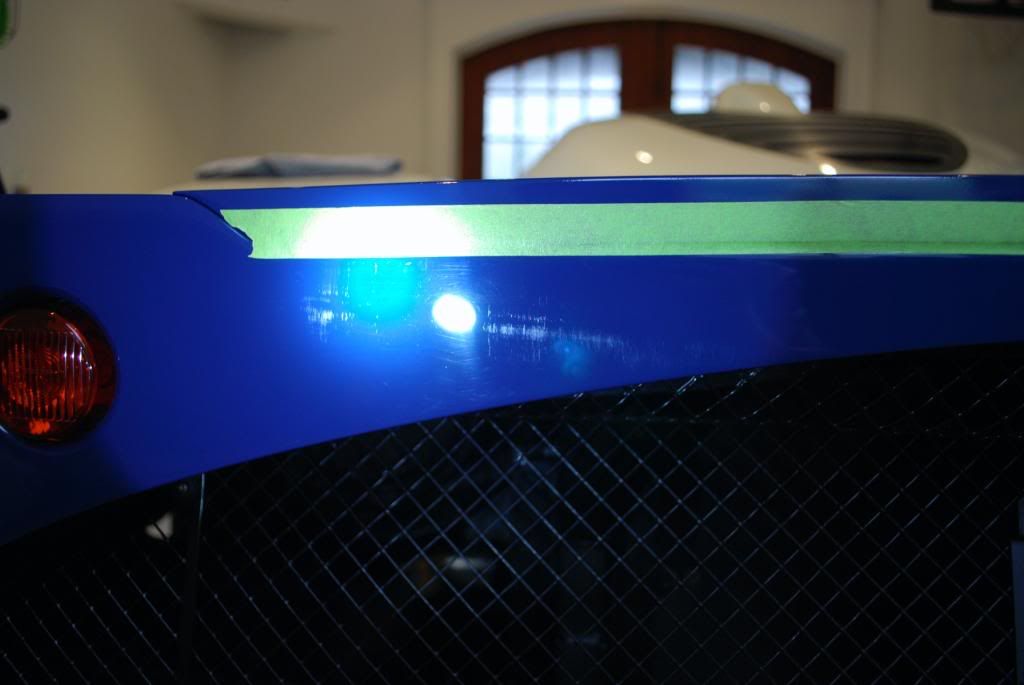
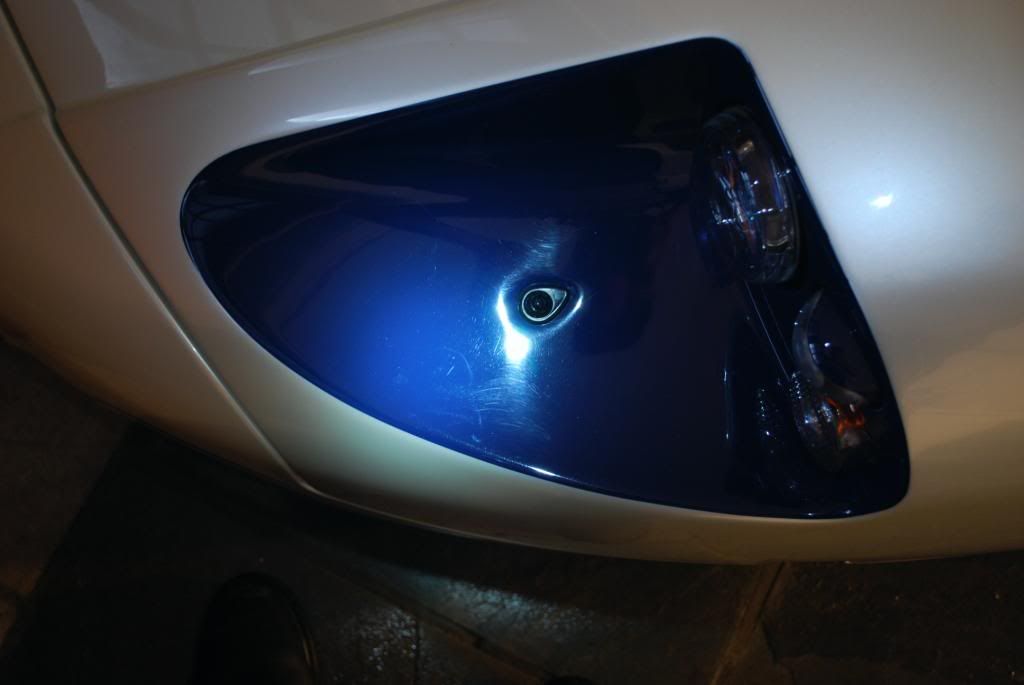
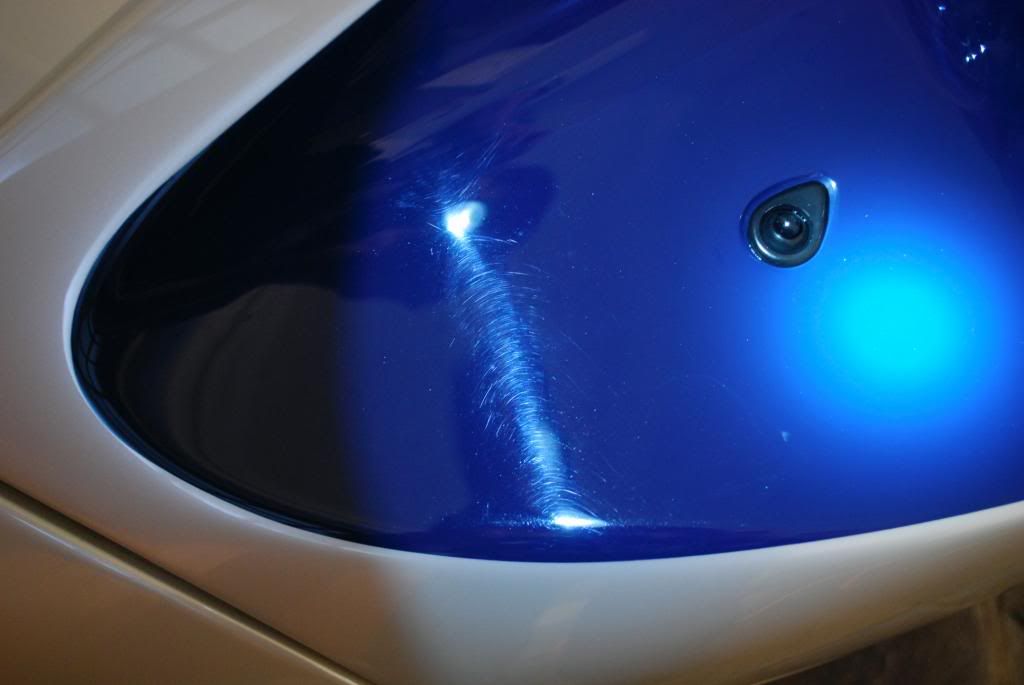
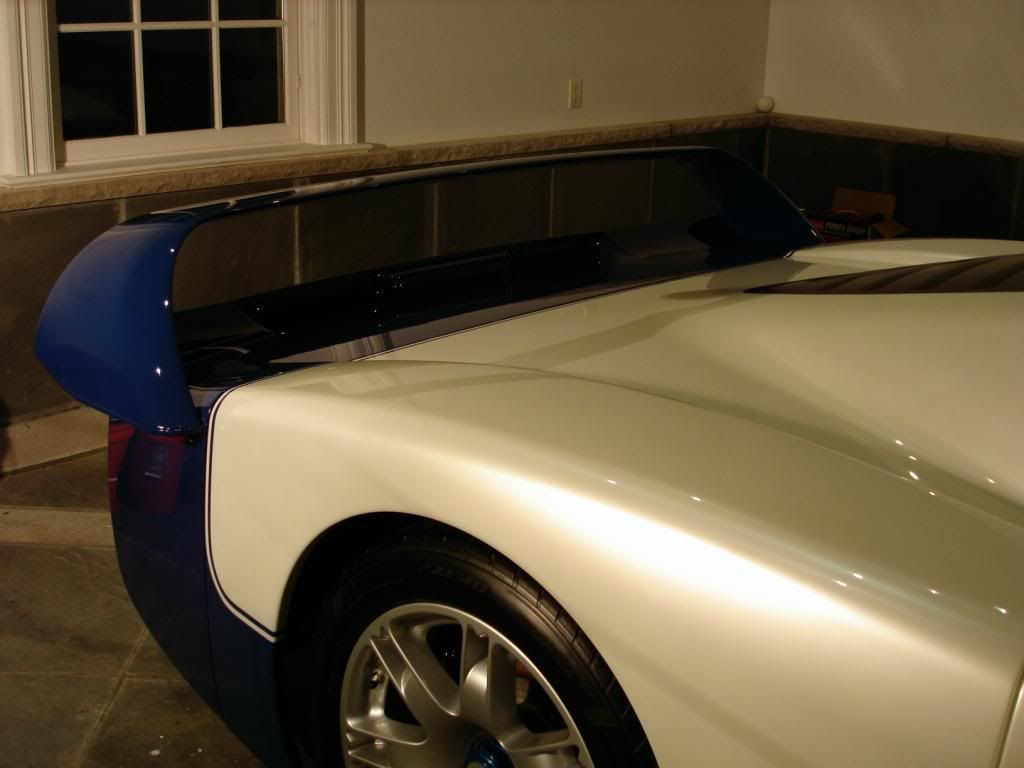
Moved onto the top part of the tail, saw some pigtail sand scratches here and just beneath them was a rather large rock chip.. again the byproduct of track driving
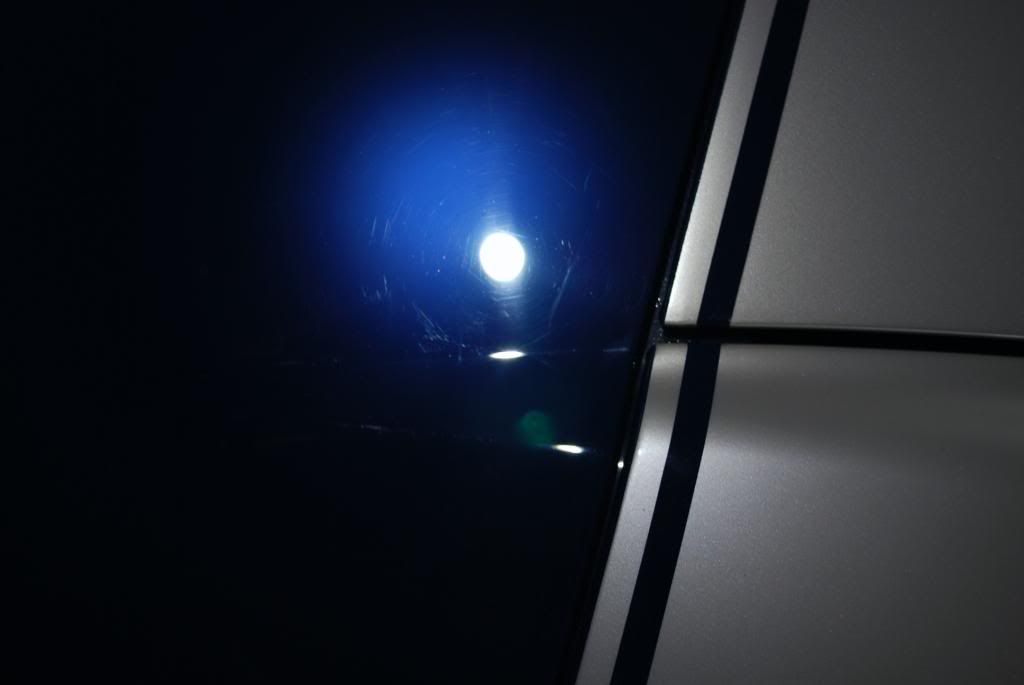
Some LED shots of the clusters on the side curve of the tail
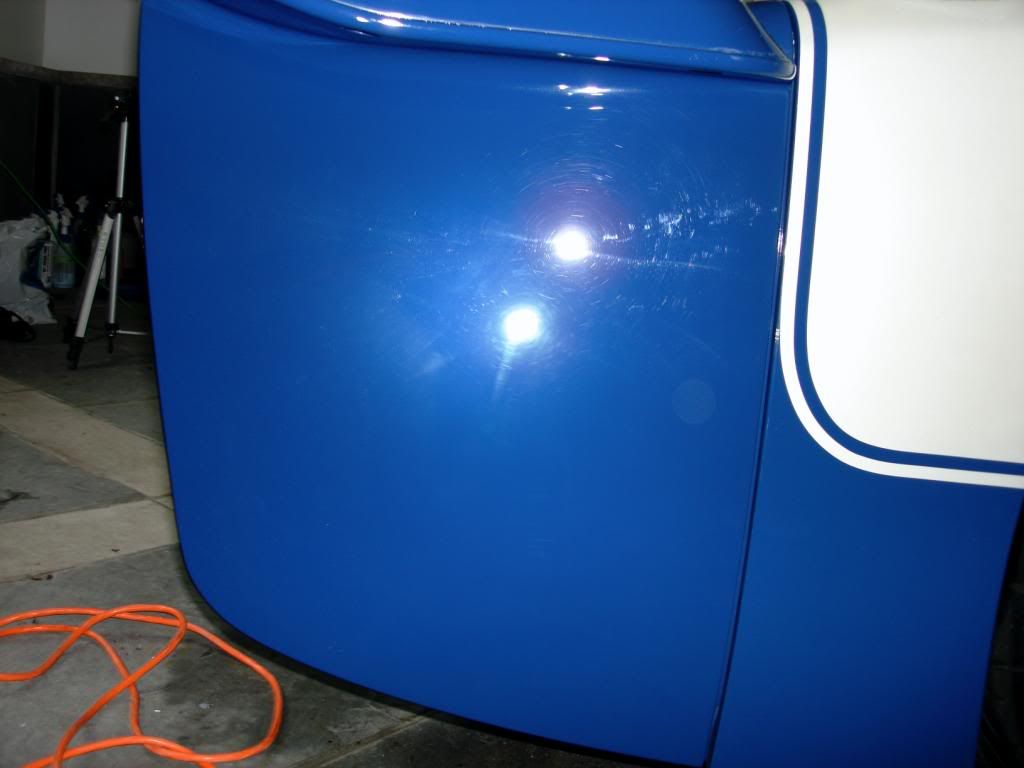
Correcting pigtailing took a some higher RPM and several passes with a cutting pad
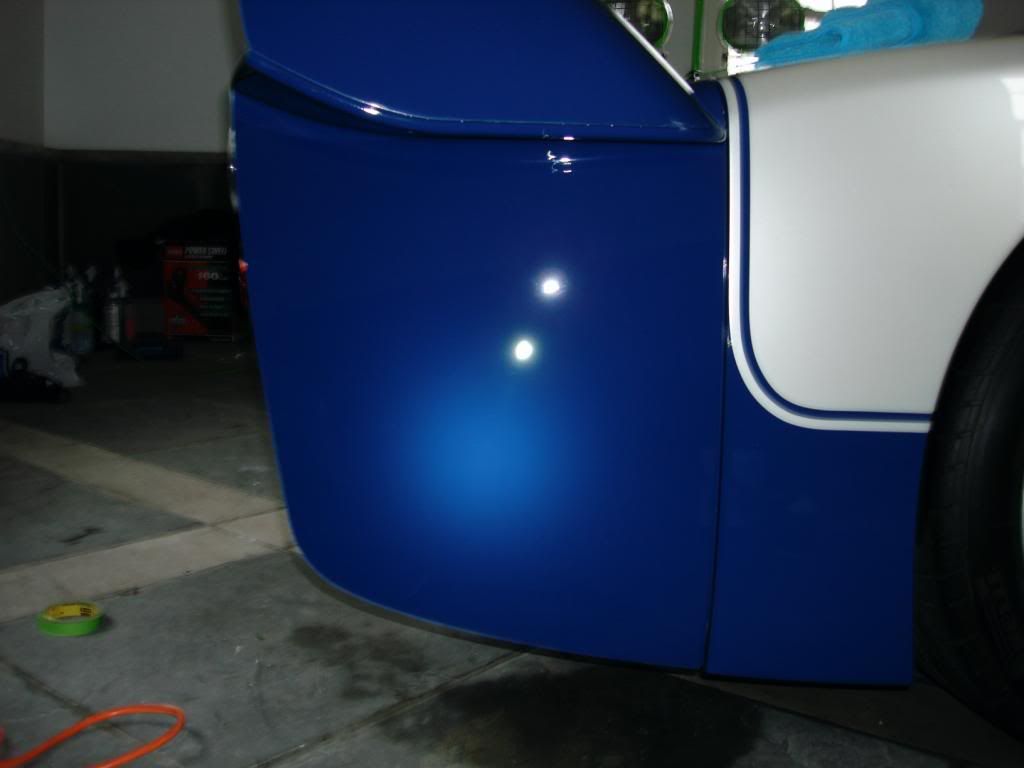
Finished shots
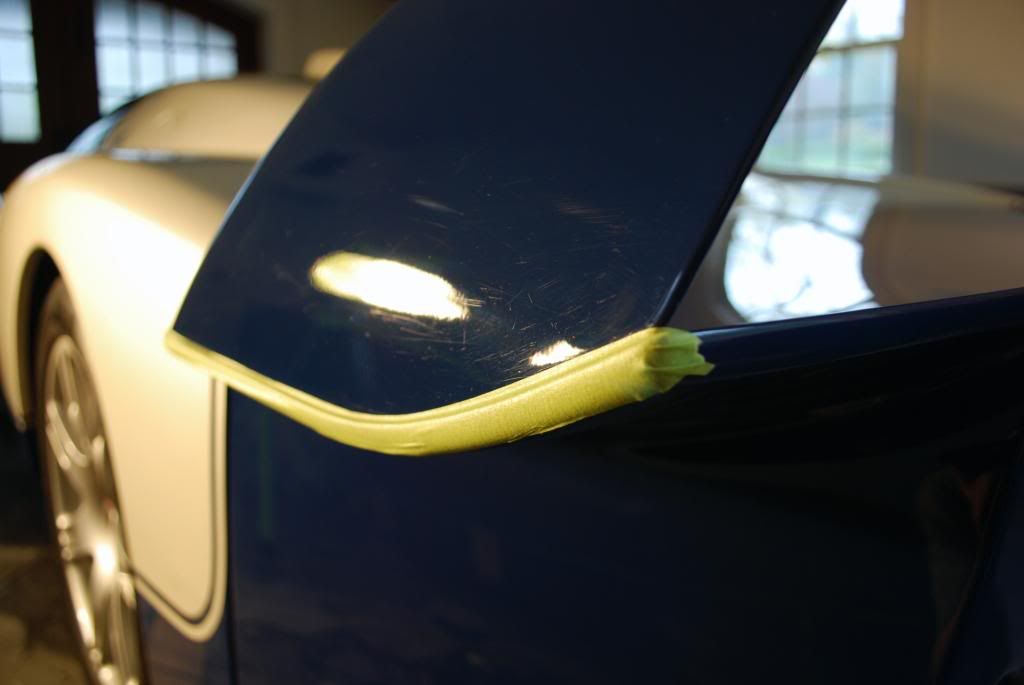
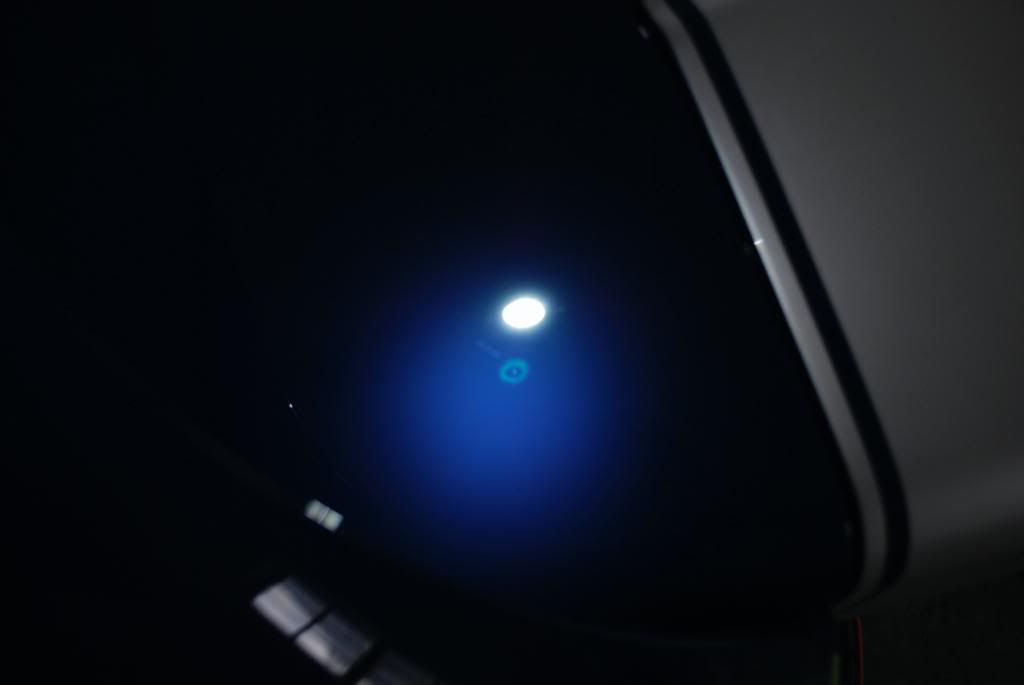
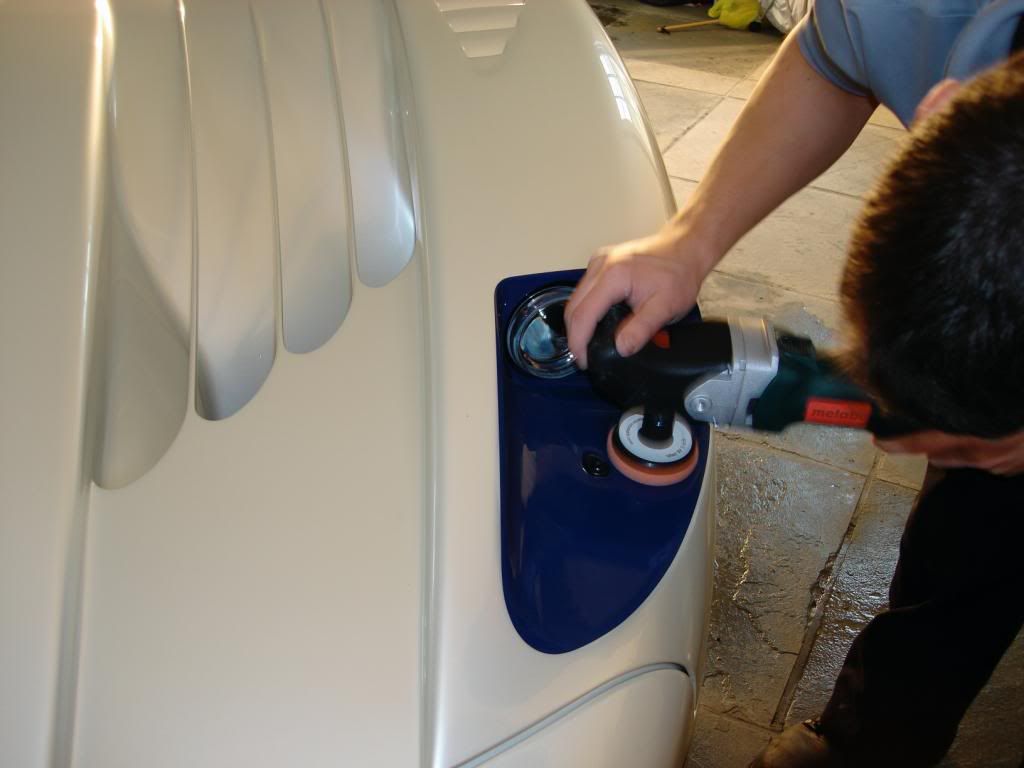
The bridge of the tail needed a bit more finesse in the correction process, because of its carbon fiber construction the top part of the tail will bend under heavier pressure, so I opted to take a few more passes with reduced pressure and slower passes to achieve the same level of correction, this took quite a while but had to be handled.
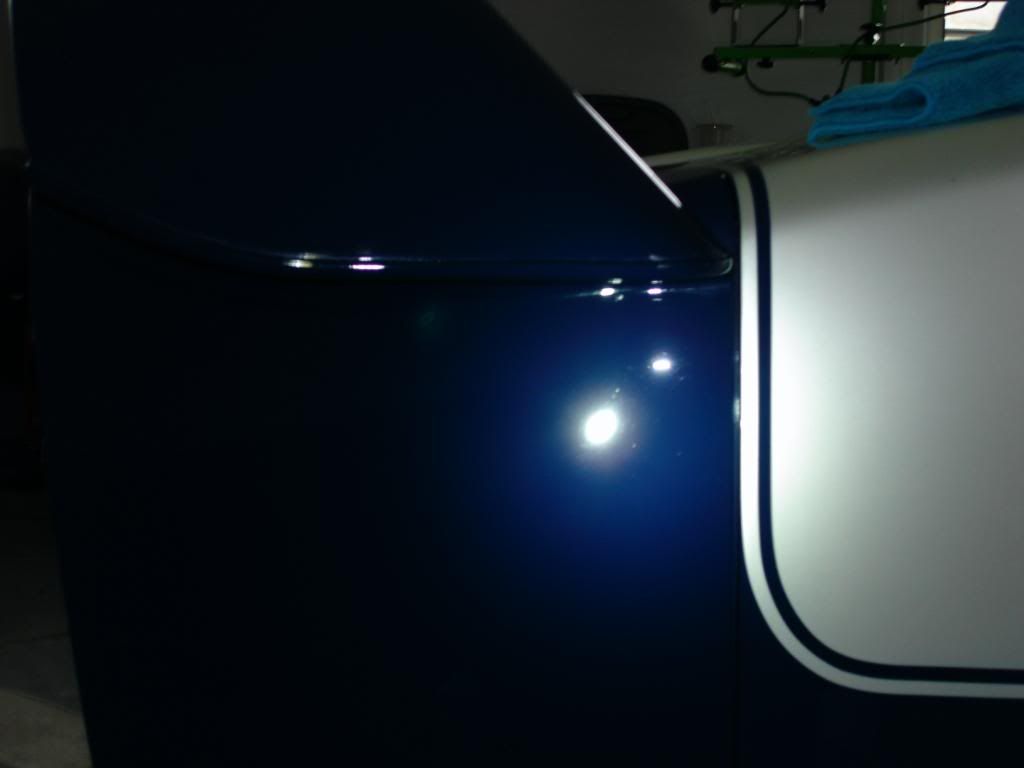
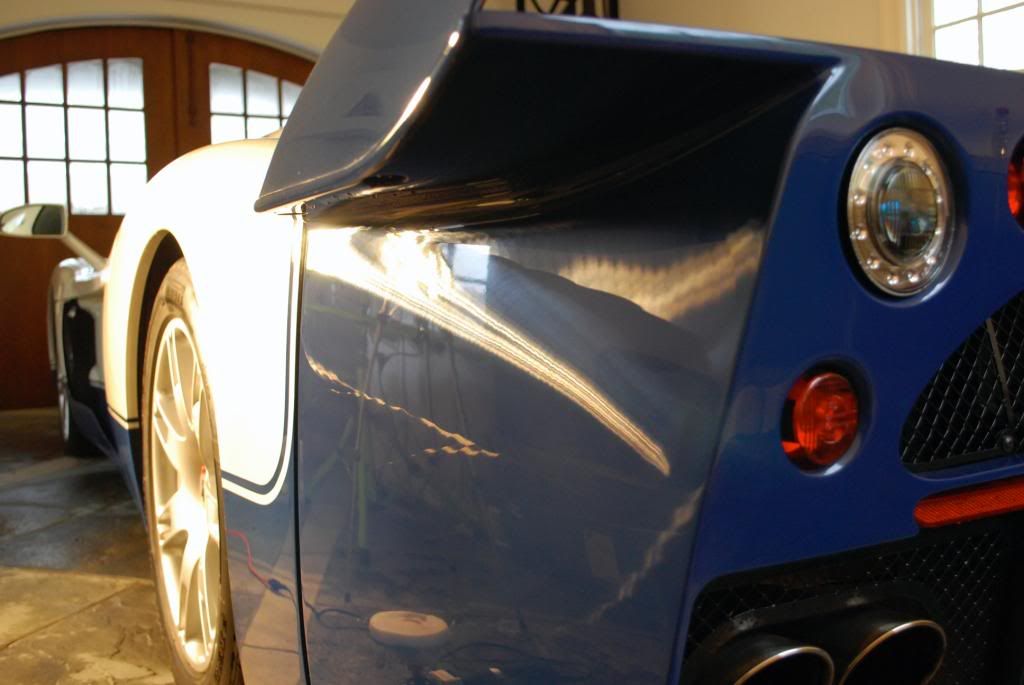
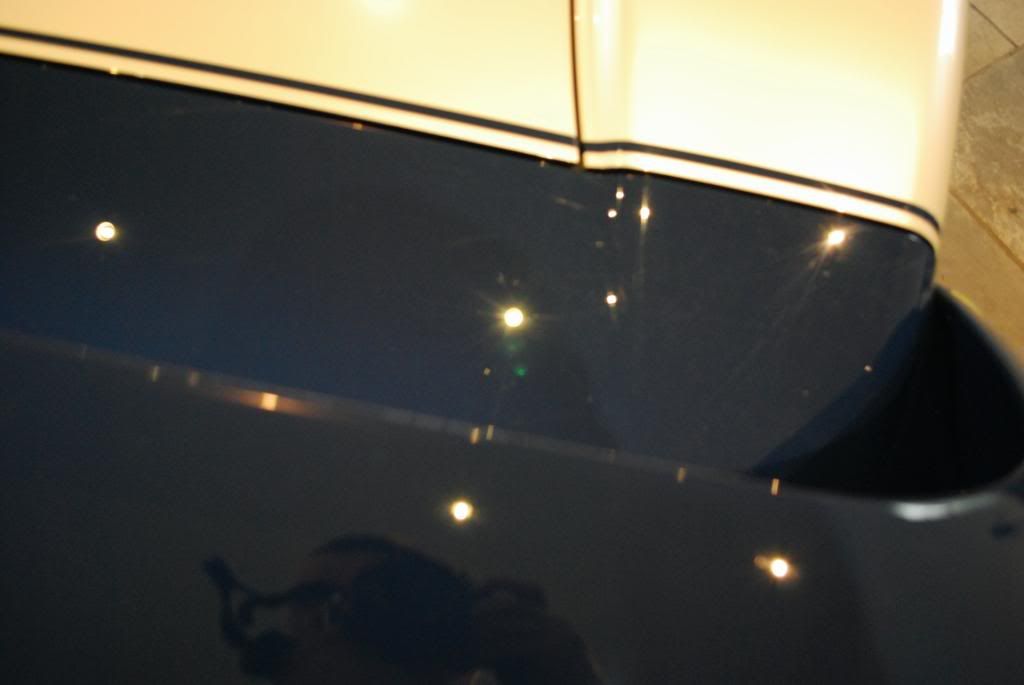
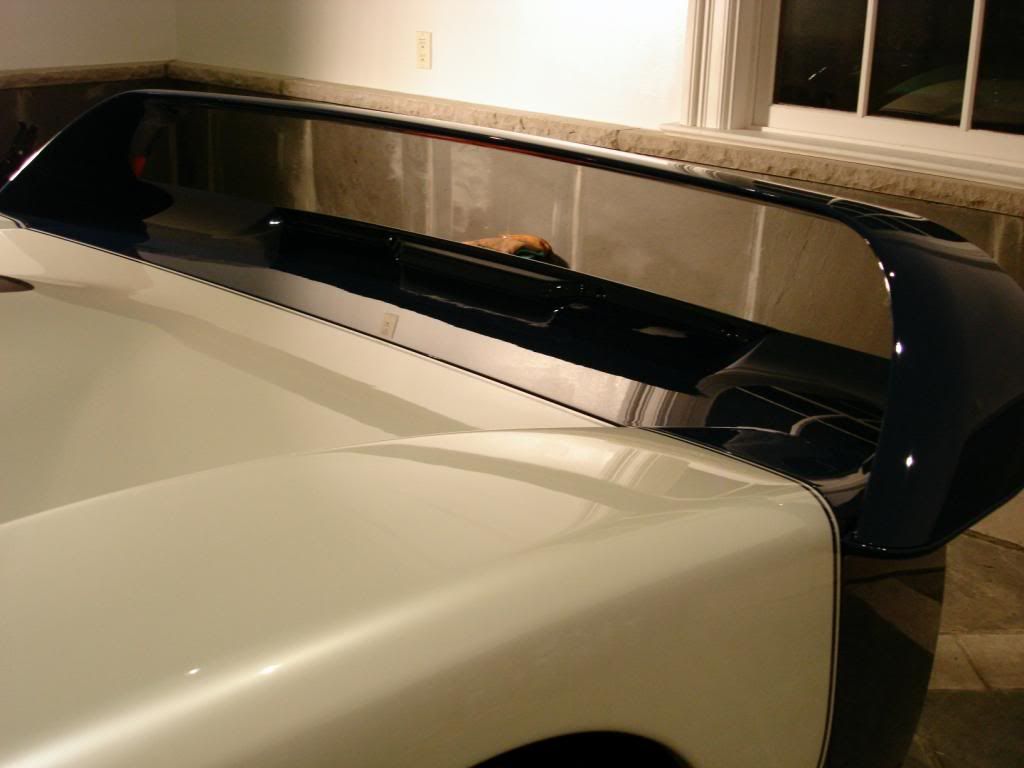
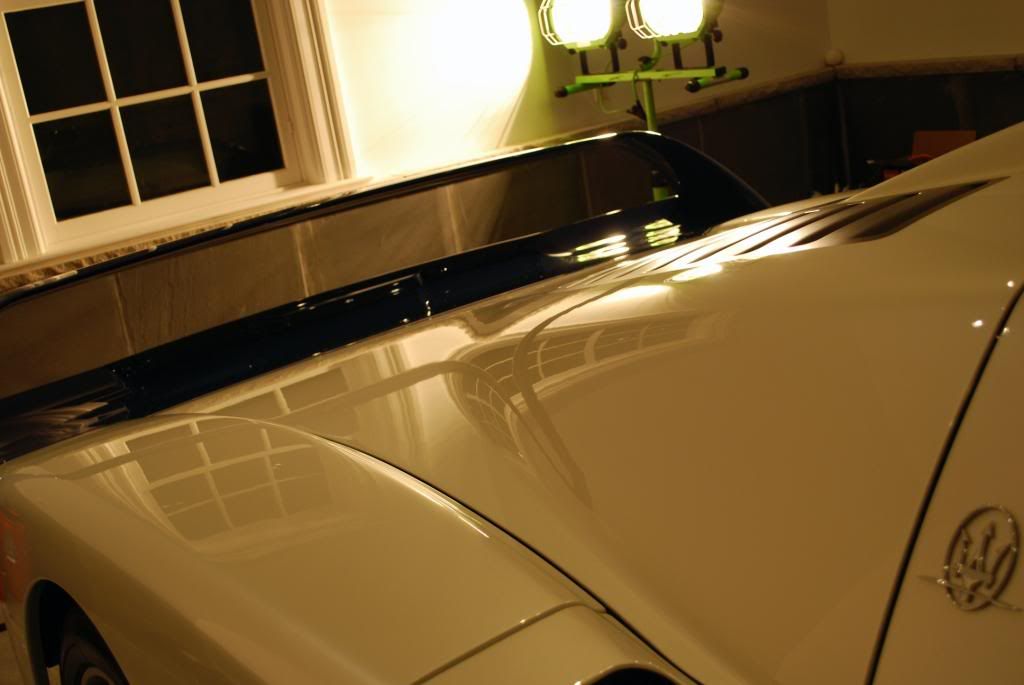
Ceiling halide lights showed the difference in clarity between the corrected top tail and uncorrected lower portion, light refraction everywhere on the lower part untouched by the polisher and the top part with zero light refraction after polishing
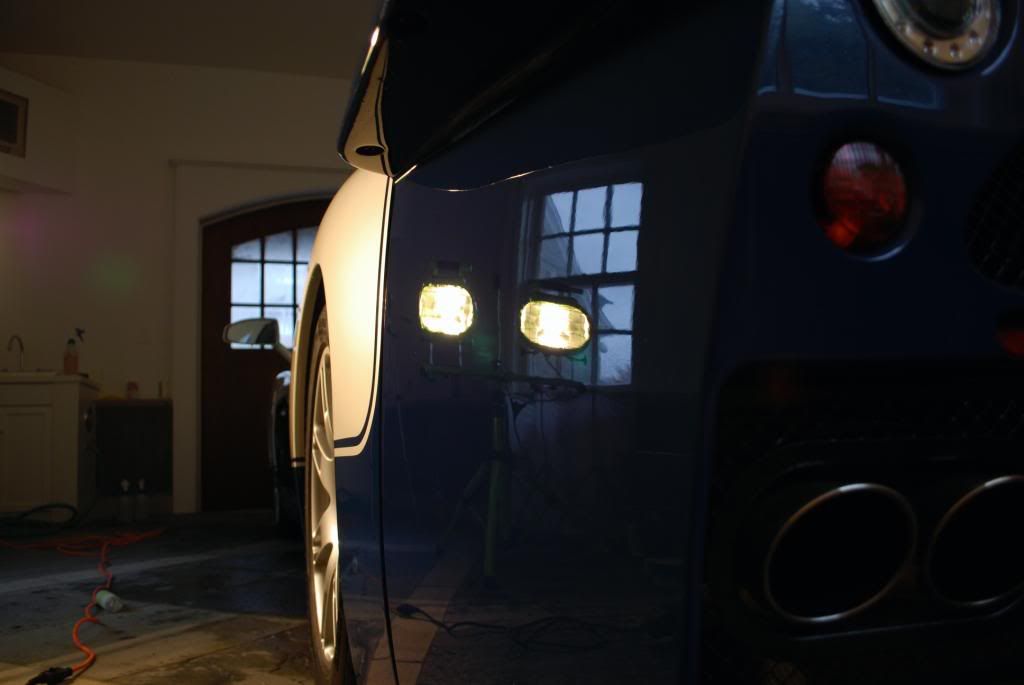
Once everything was finished down the finish on the tail shown under camera flash and fenix LED light
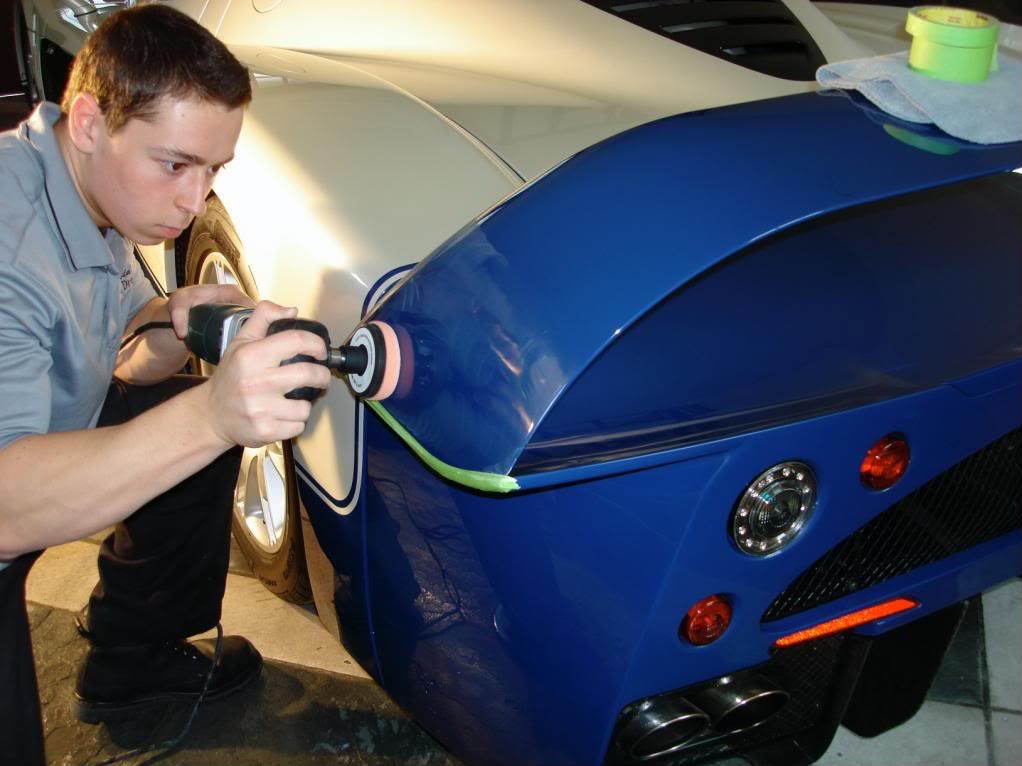
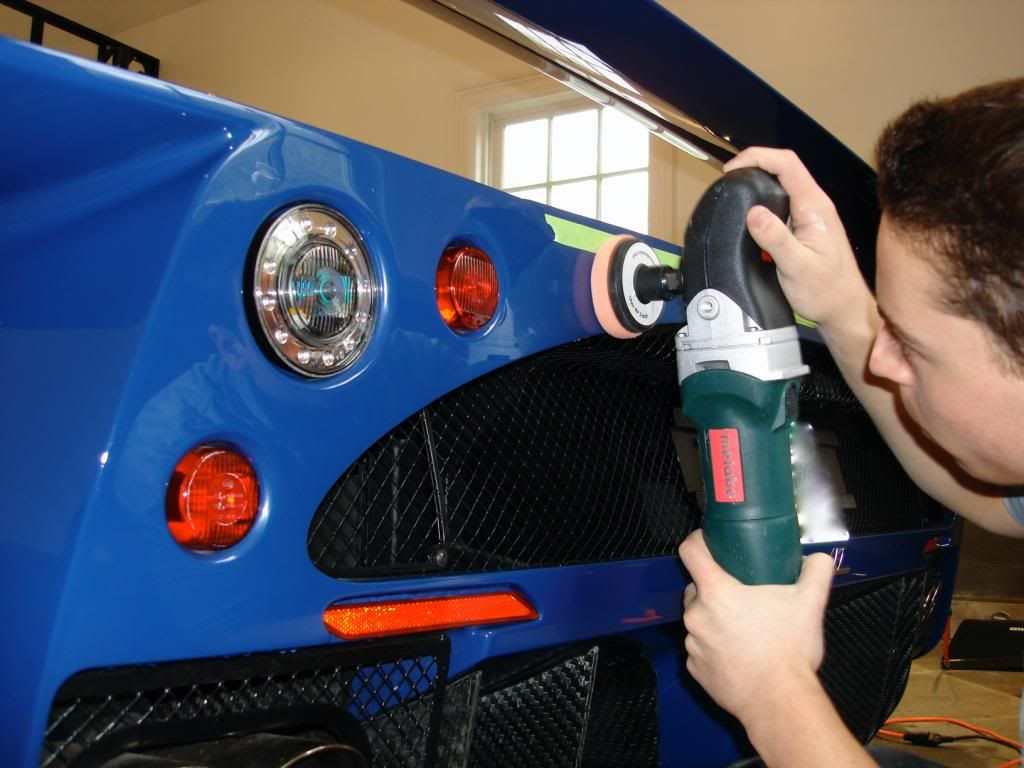
Getting underneath the top ection of the tail was a paint. I switched from the metabo to the flex 3403 rotary without the bale handle using a 3" pad
Before
After
Opposite side under tail
before
after
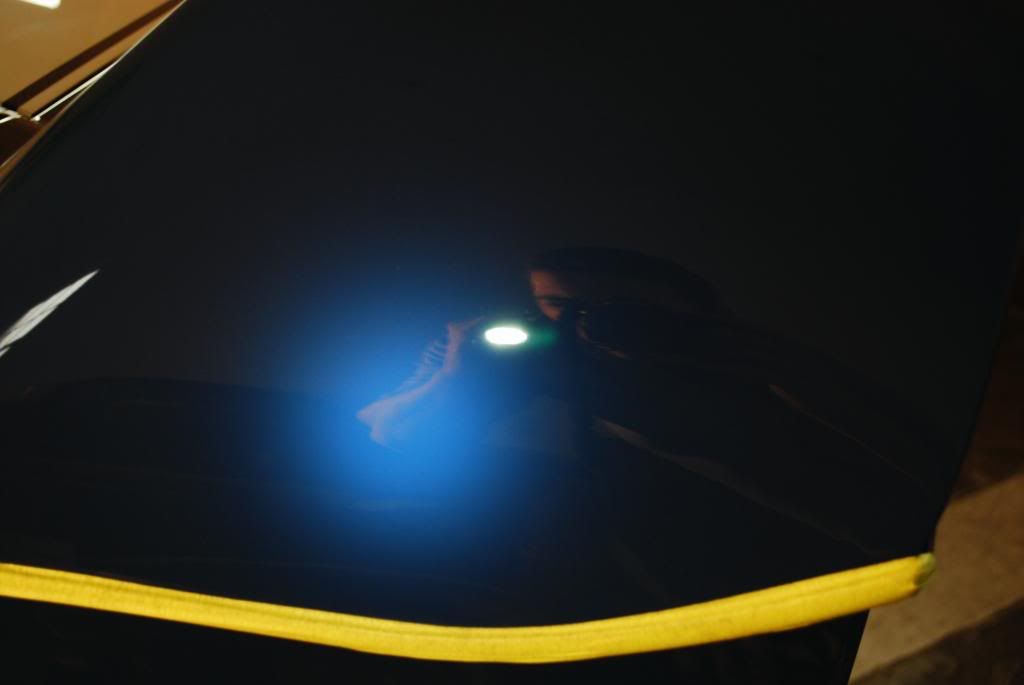
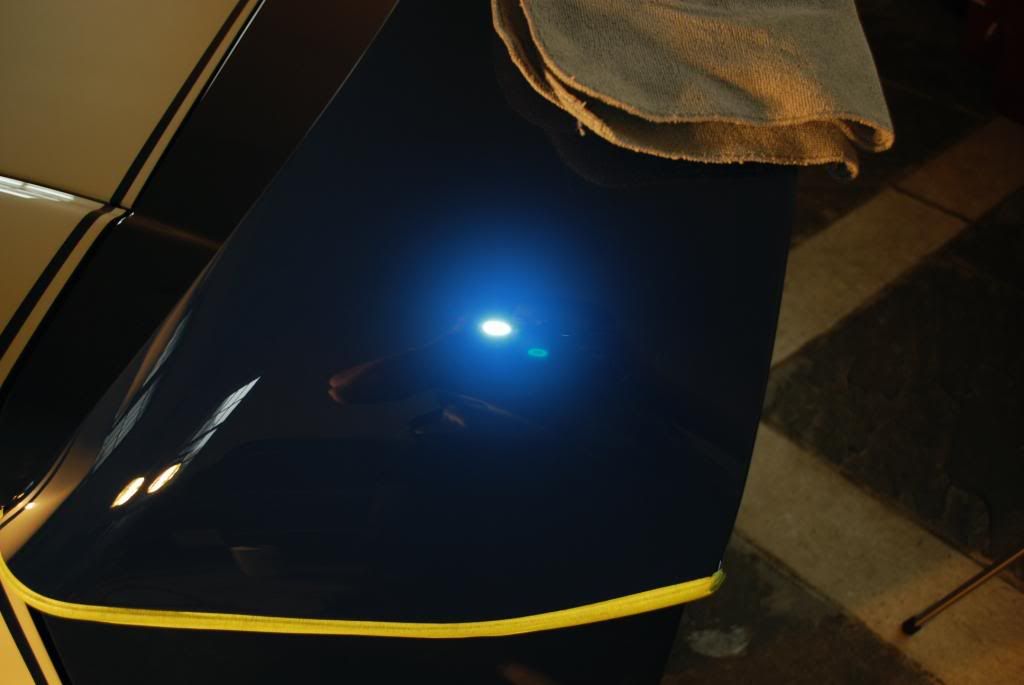
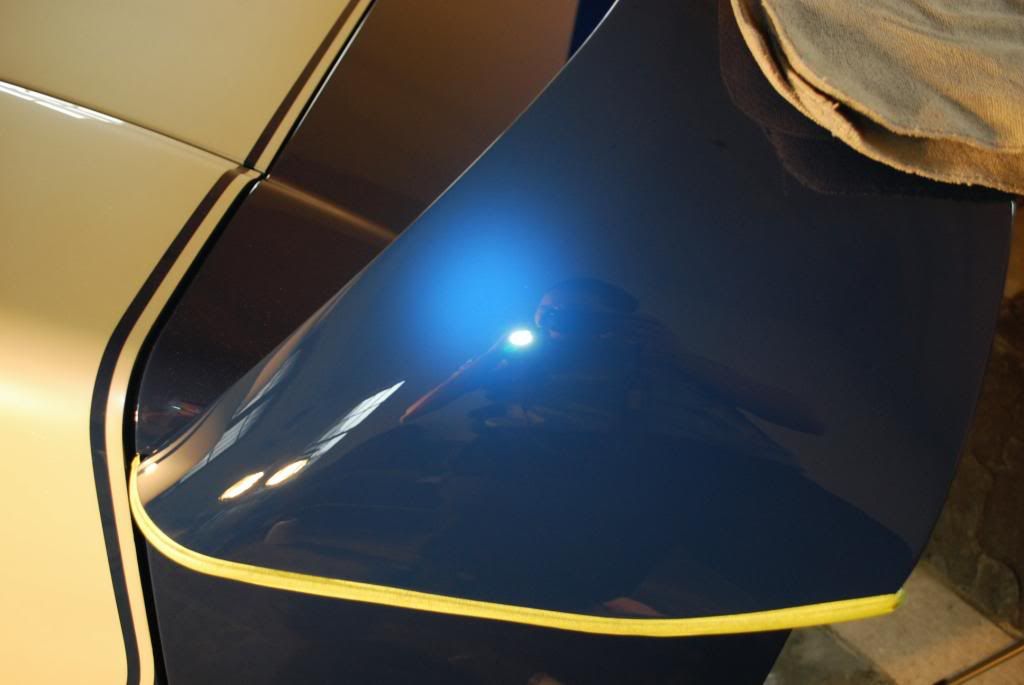
Some various correction shots and jeweling
//Video #2: Jeweling video using rotary
Demonstrates part of the jeweling process
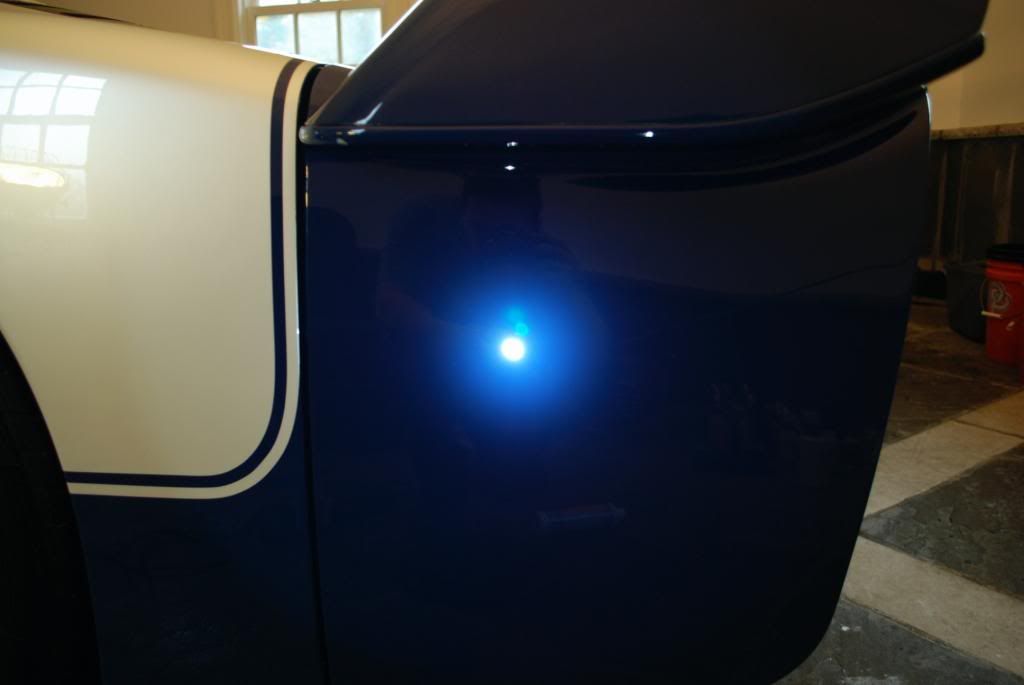
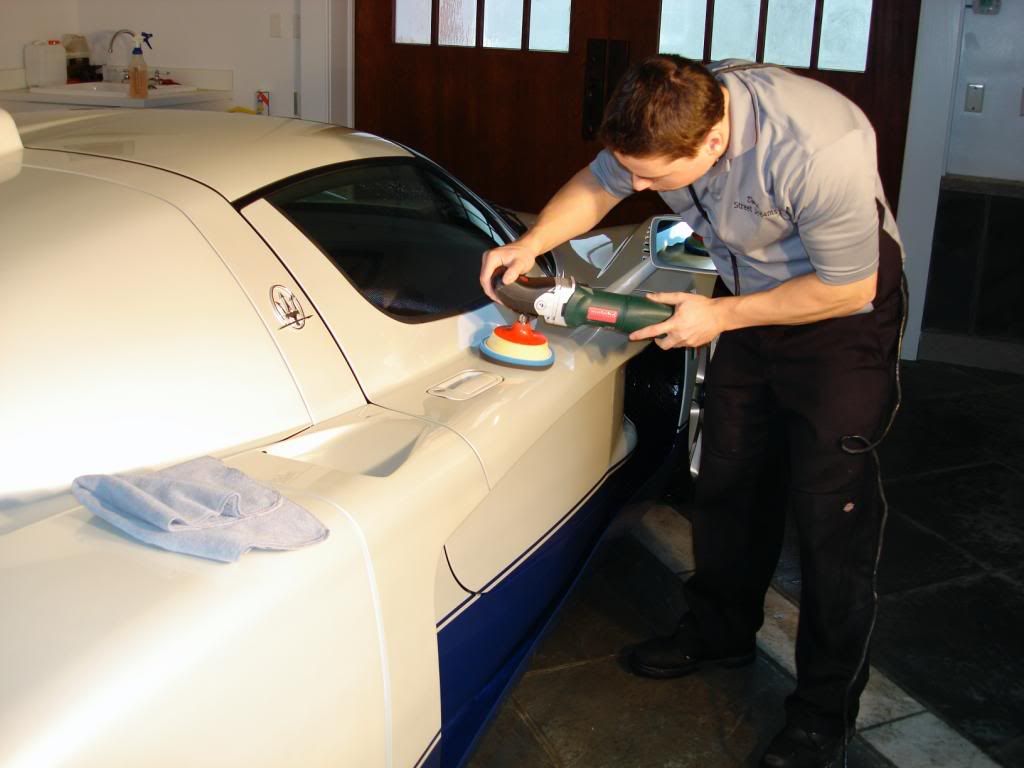
Clarity after jeweling... picking up defects with the camera on the metallic white wasnt happening, the difference in gloss after correction however was very noticeable. The white portions of the car were corrected using a 3 step process, the finish was near perfect after the second step but further leveling and refining it amped up the clairty and was well worth the extra hours in my opinion.
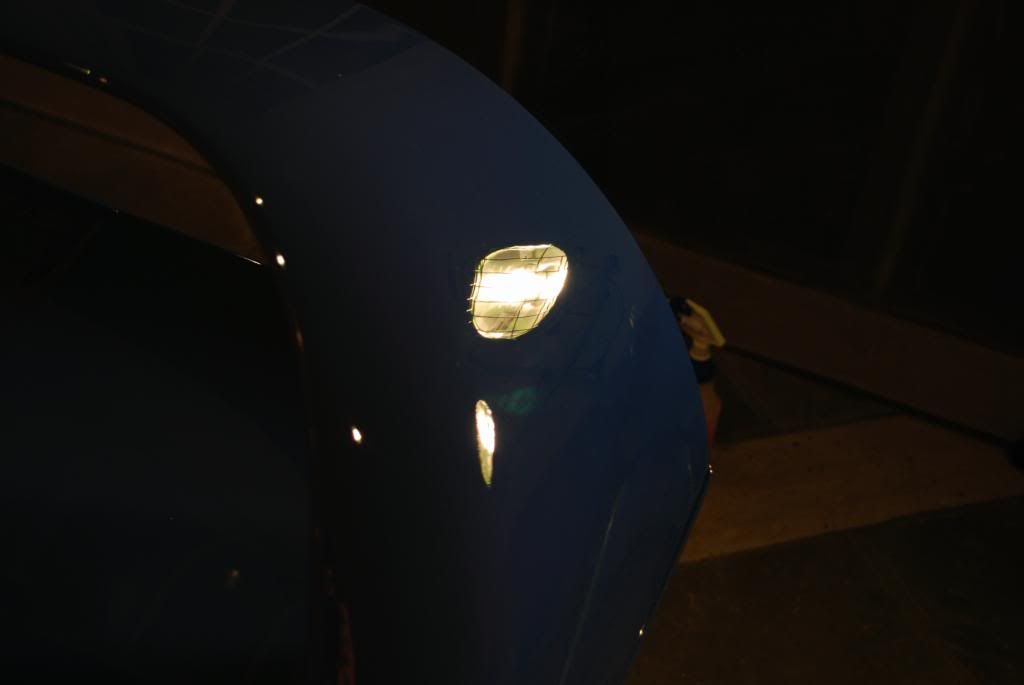
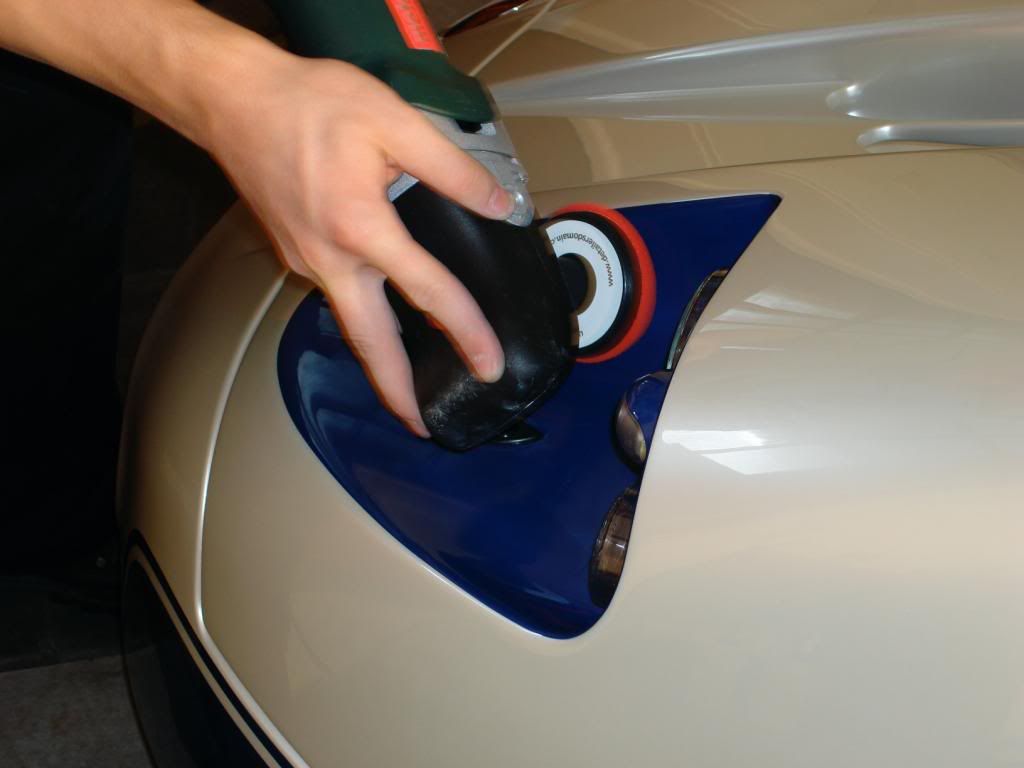
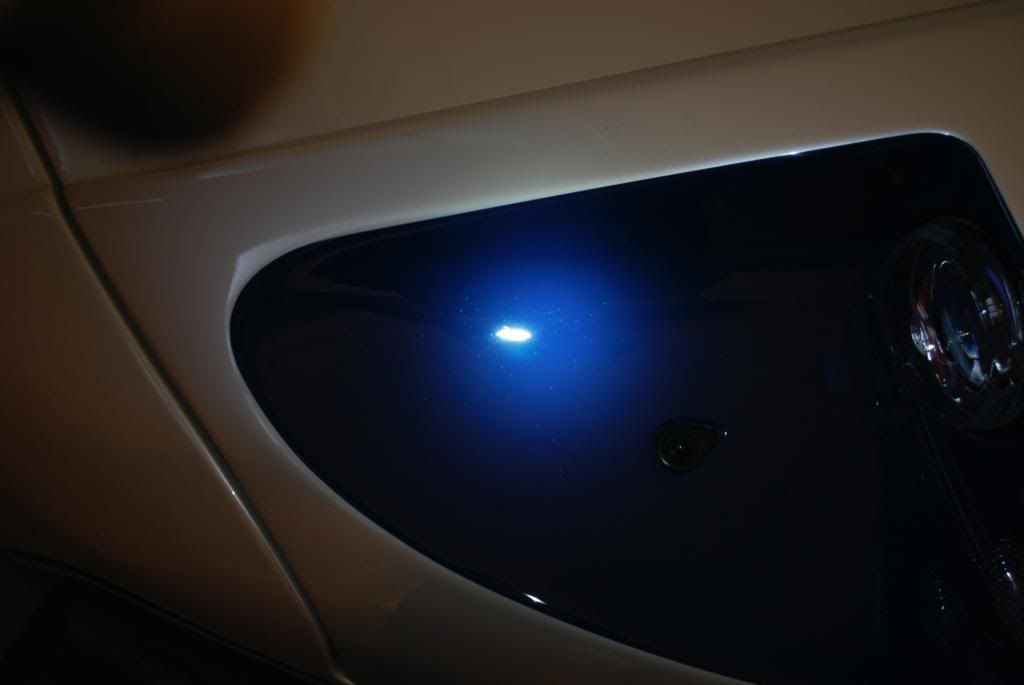
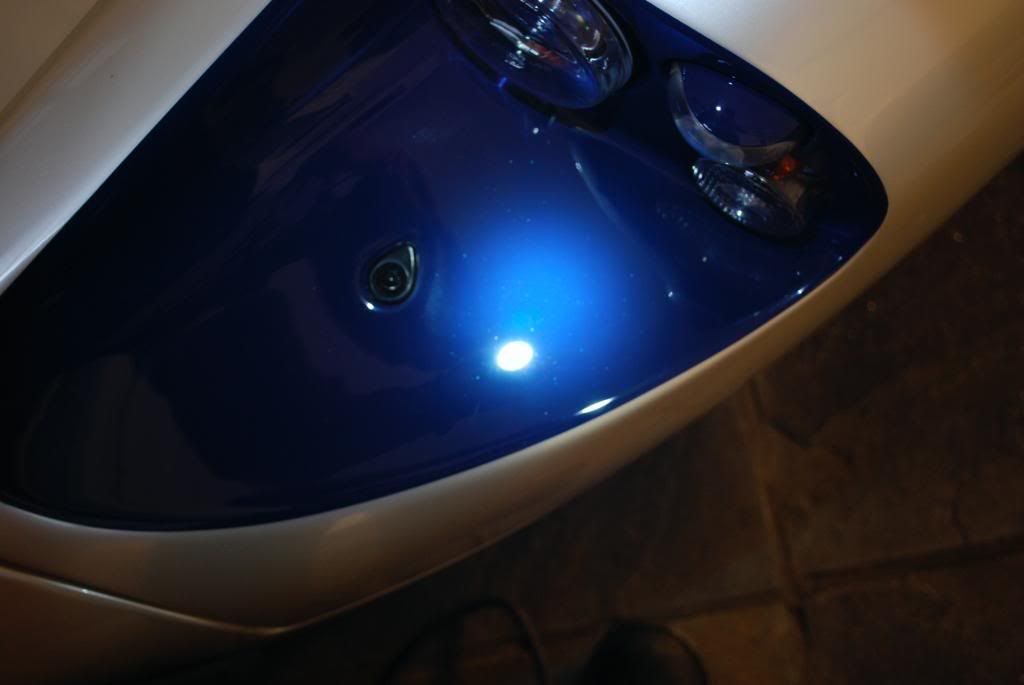
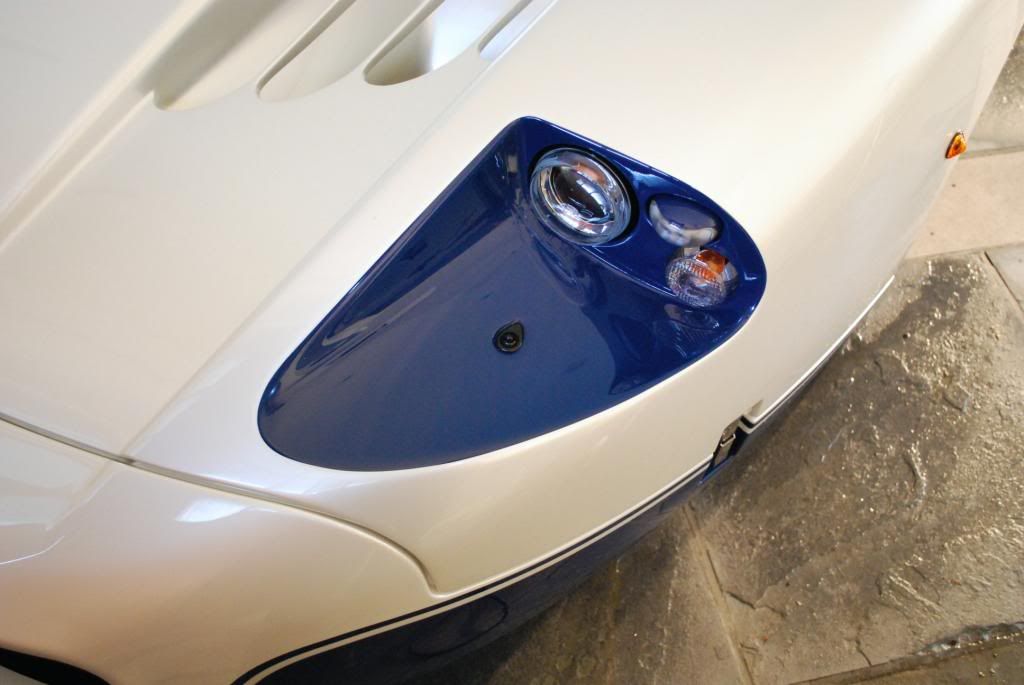
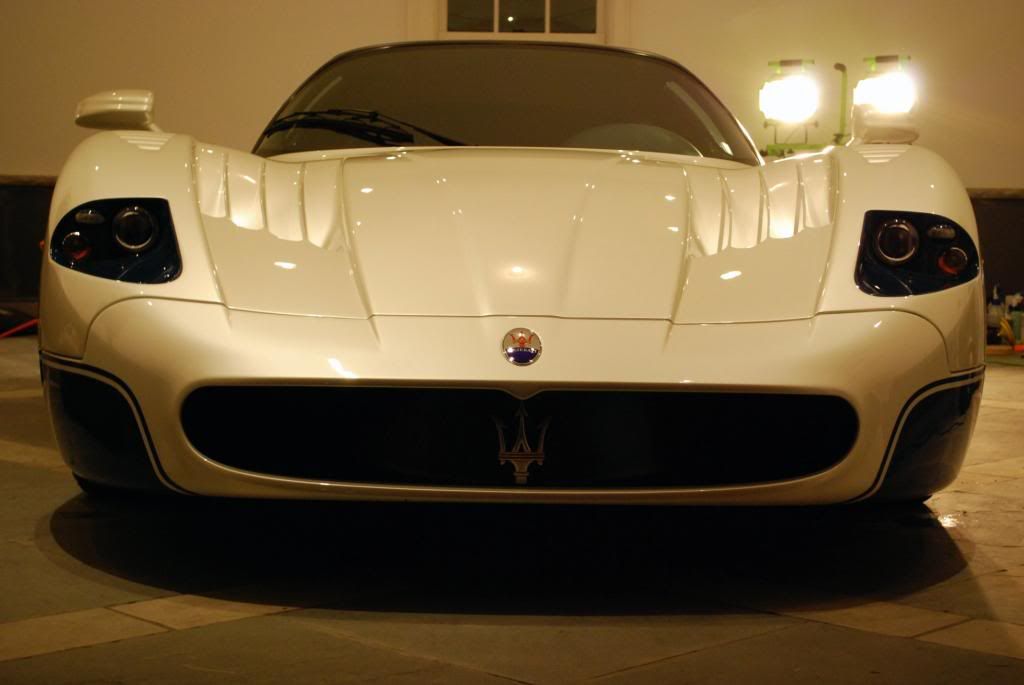
Then came the correction of the front headlights, no covers on them, just exposed paint
Before shots
Slight pig-tailing here as well
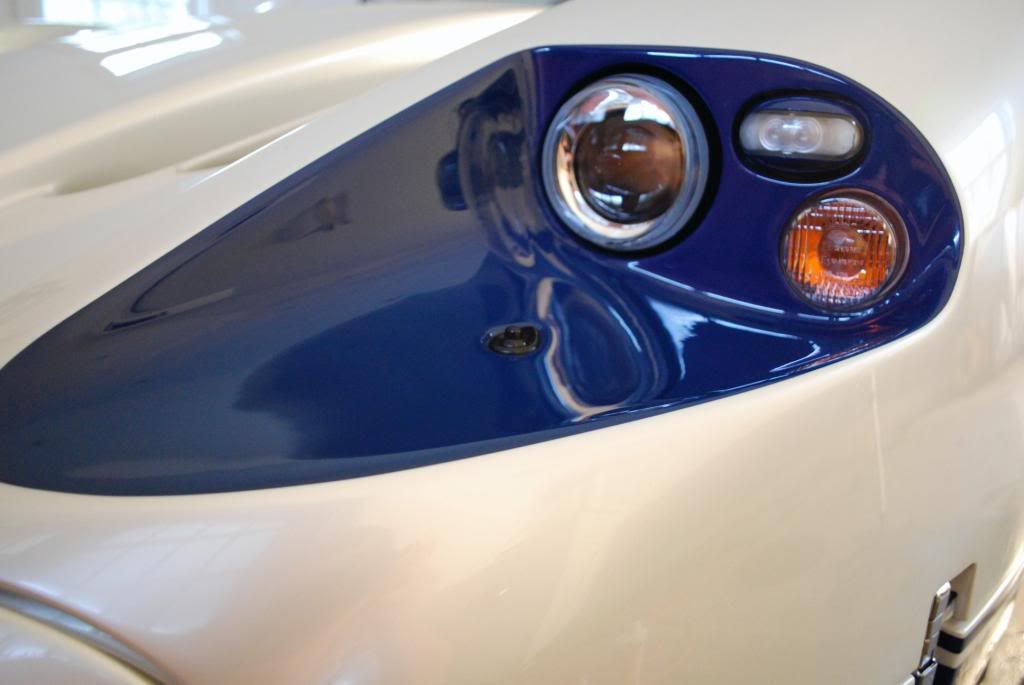
After
Passenger side had it slightly worse
The headlights recived similar process as seen on the tail, after jeweling and an IPA heres what they looked like the next morning when I finished
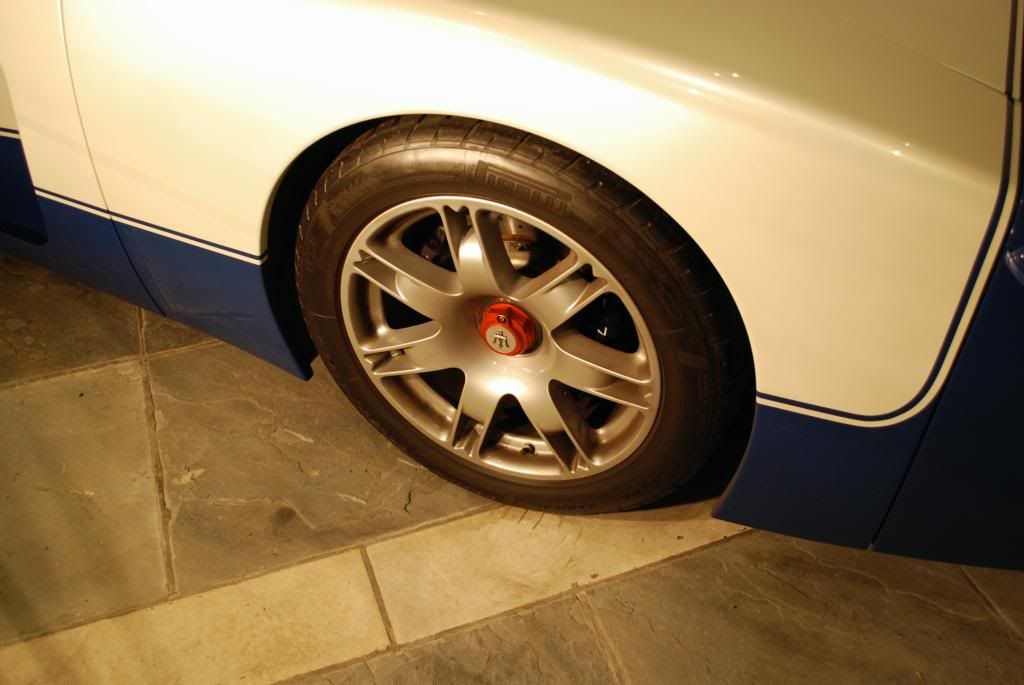
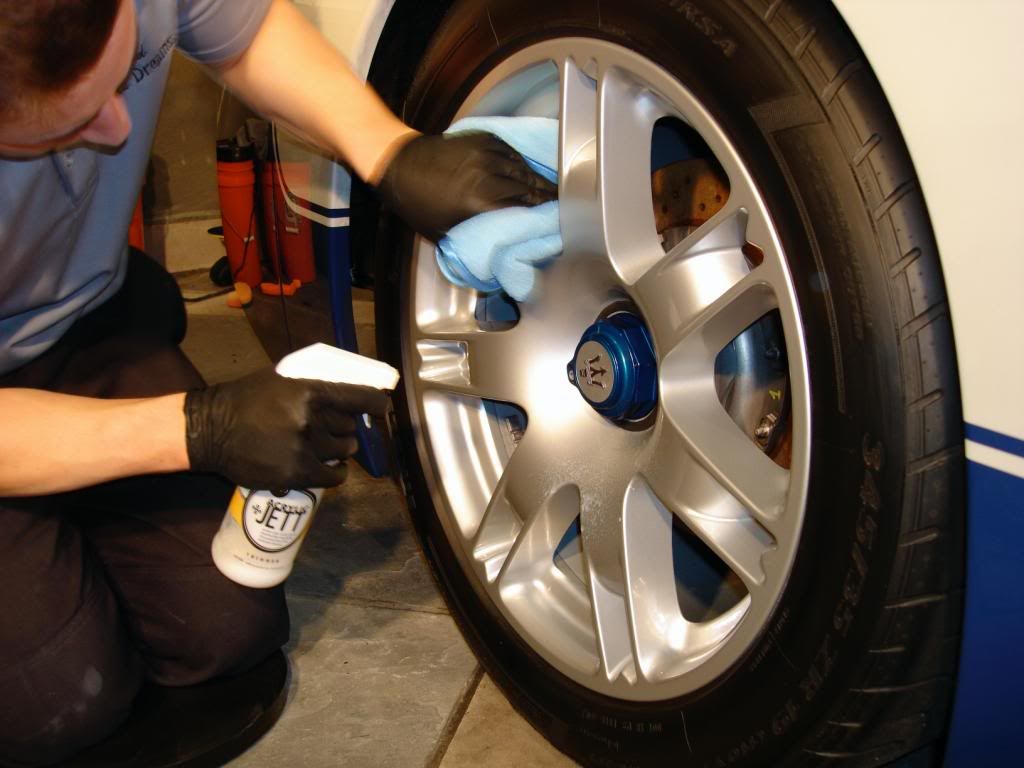
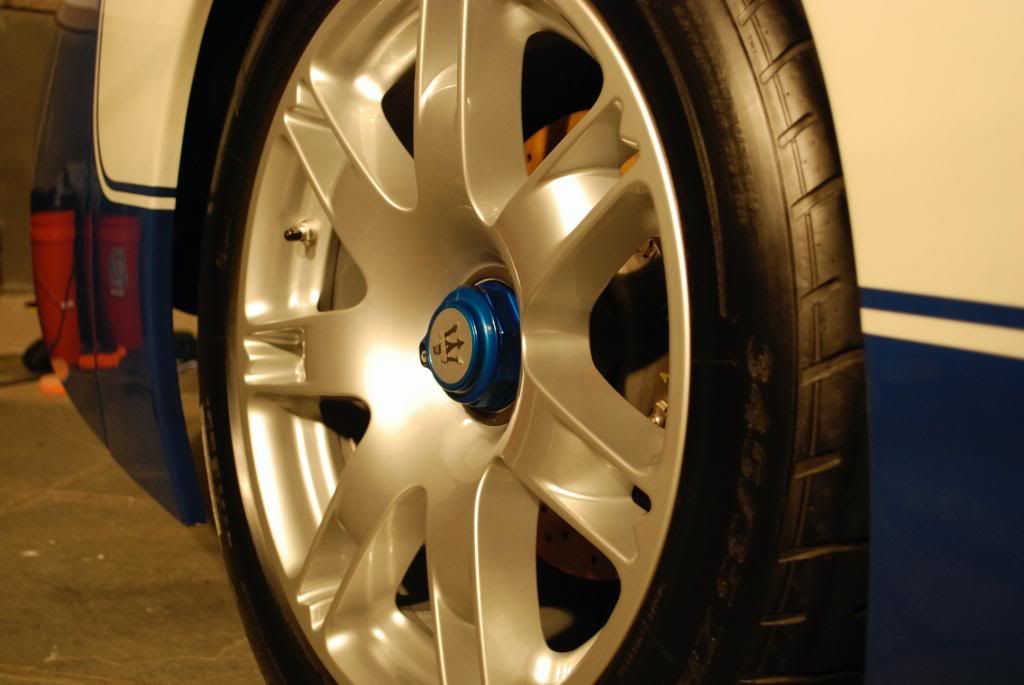
That concluded the paint correction part of the detail. Moving on it was time to polish the wheels.
Started with mild cleaner polish on a soft pad, than applied an acrylic glaze and finished up with 1 coat of Rejex for durability which was later topped with Werkstat acrylic which just looks awesome on silver
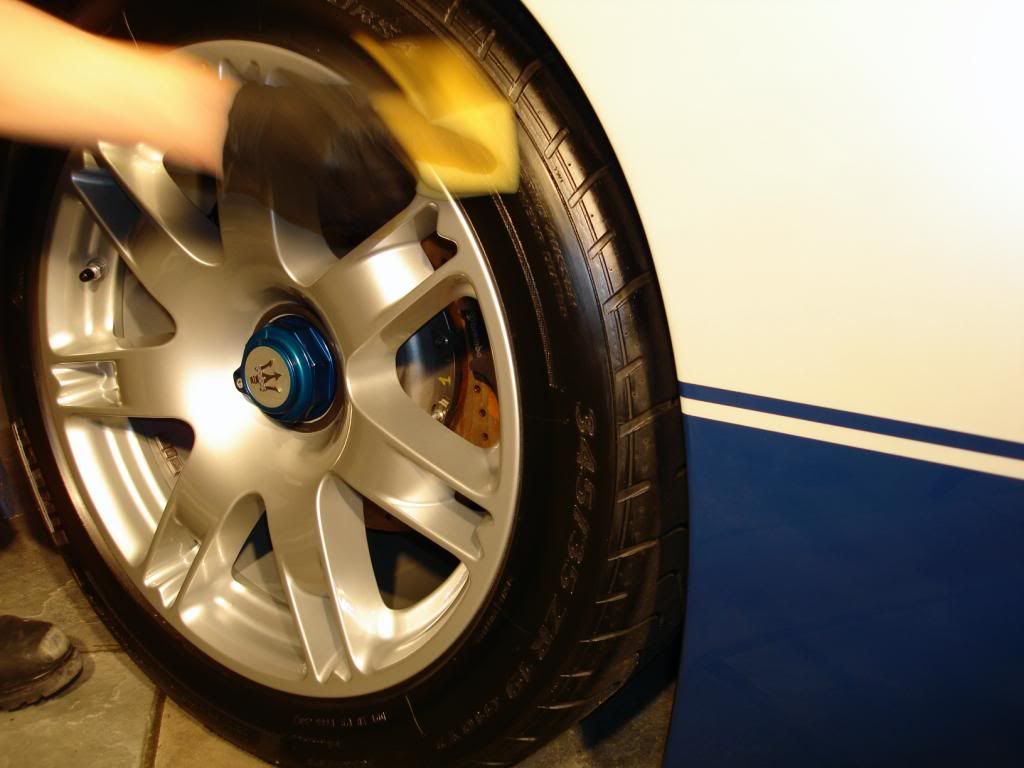
Tires were dressed for a deep matte finish, no high shine because quite frankly it makes me cringe when I see it on luxury autos
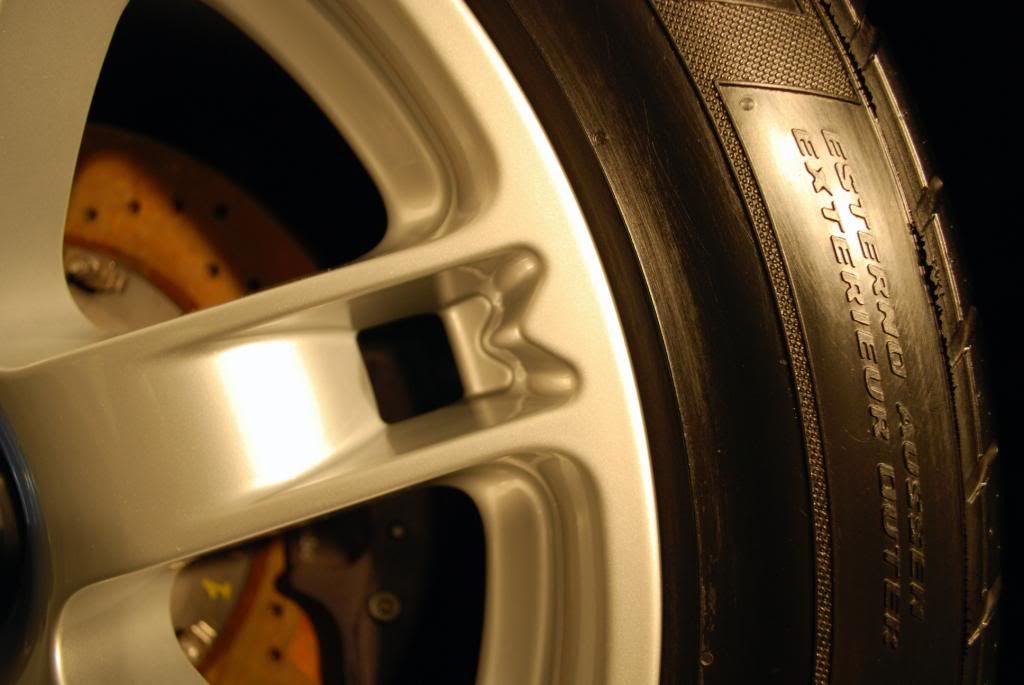
Some tar spots on the wheel well inlay were cleaned with with a few hits of Tardis
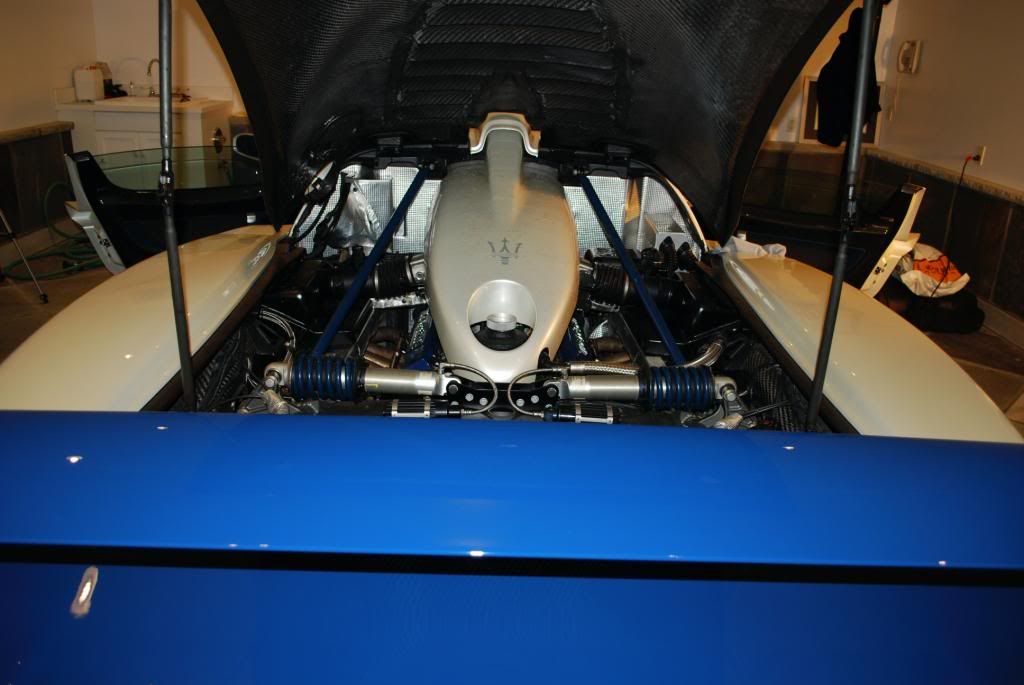
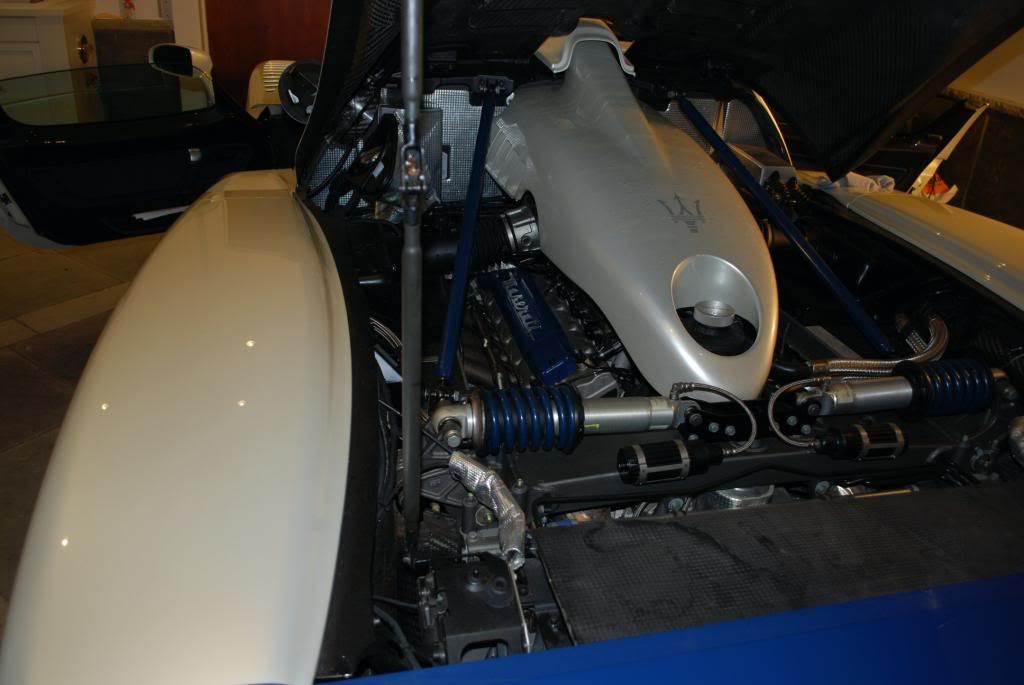
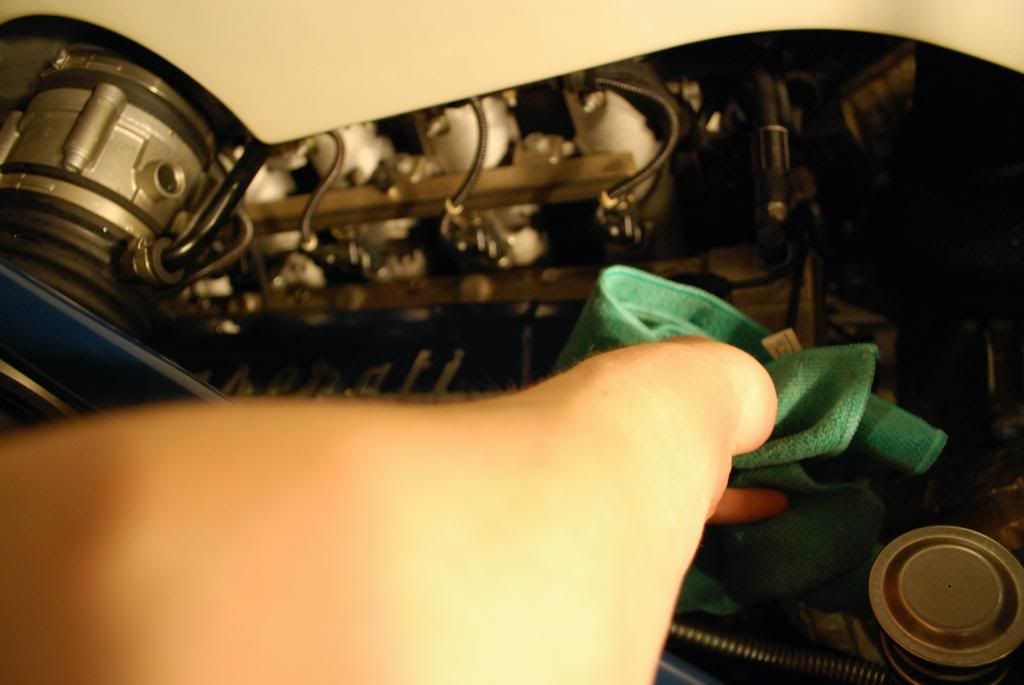
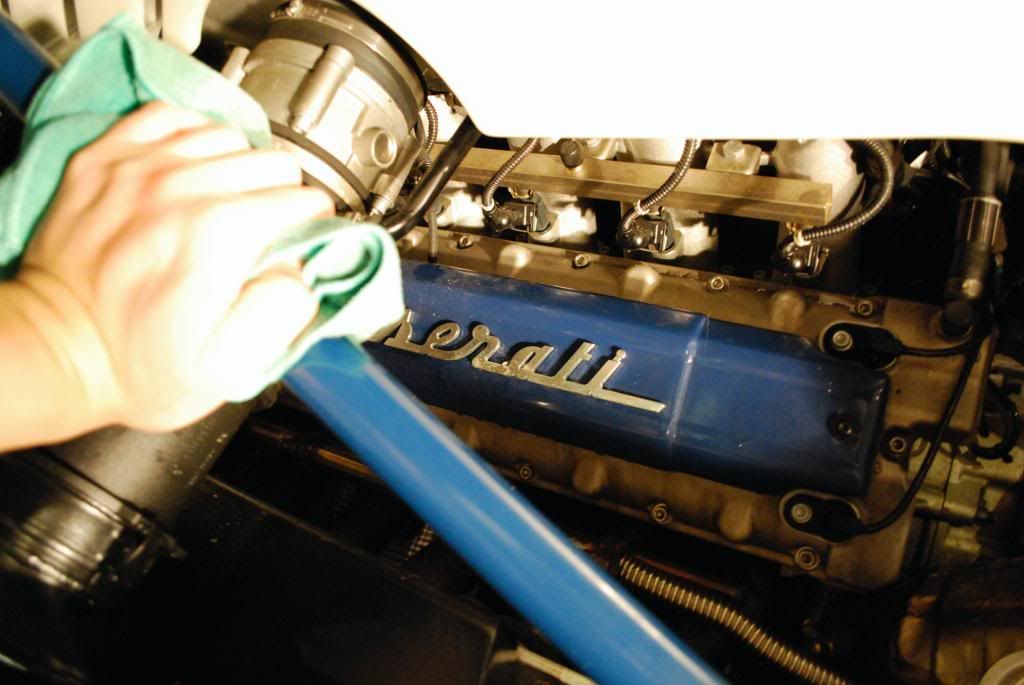
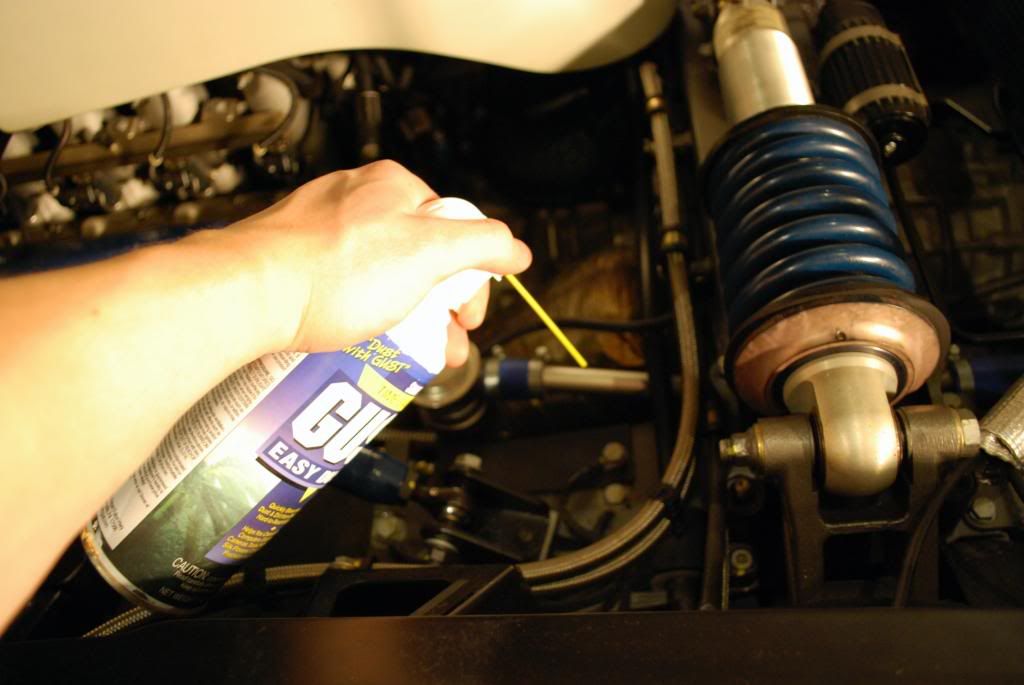
Now onto the heart surgery... this was not an easy engine to work on. With the help of the owner together we unlatched and lifted the engine cover and locked it in place so I could begin cleaning
Theres no simple way to get in there so I simply laid down a MF towel and went to work carefully
A biodegradable apc cut with water was used to wipe down all engine and suspension components, all that could be physically reached was cleaned.
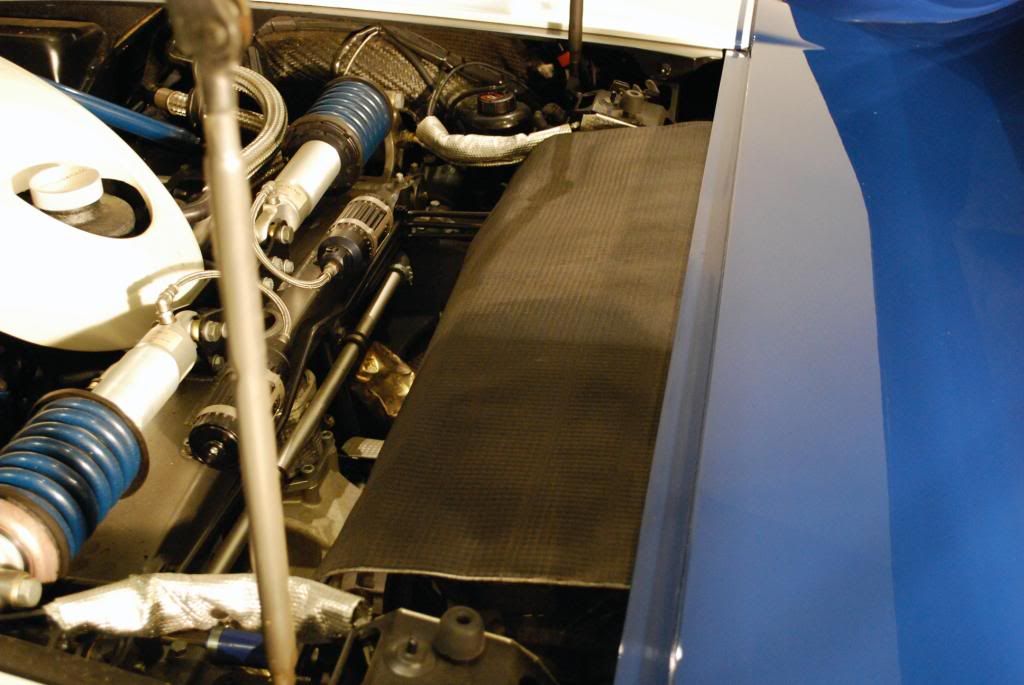
Just a fantastic site to see the block buried beneath the rear wishbone suspension... The MC12 has independent wishbone suspension front and rear with anti-dive and anti-squat geometries... and push-rod suspension.
620hp worth
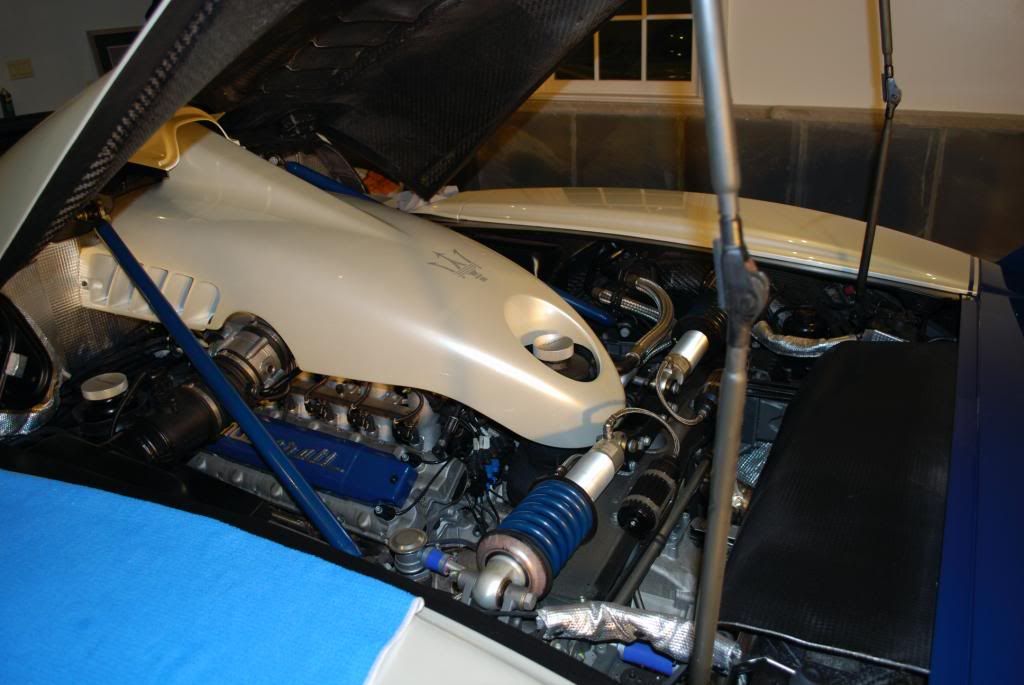
With the help of some compressed can air I dried up any left over water and wiped down all the painted components with JW acrylic jett.
Dressed 50/50
Finished
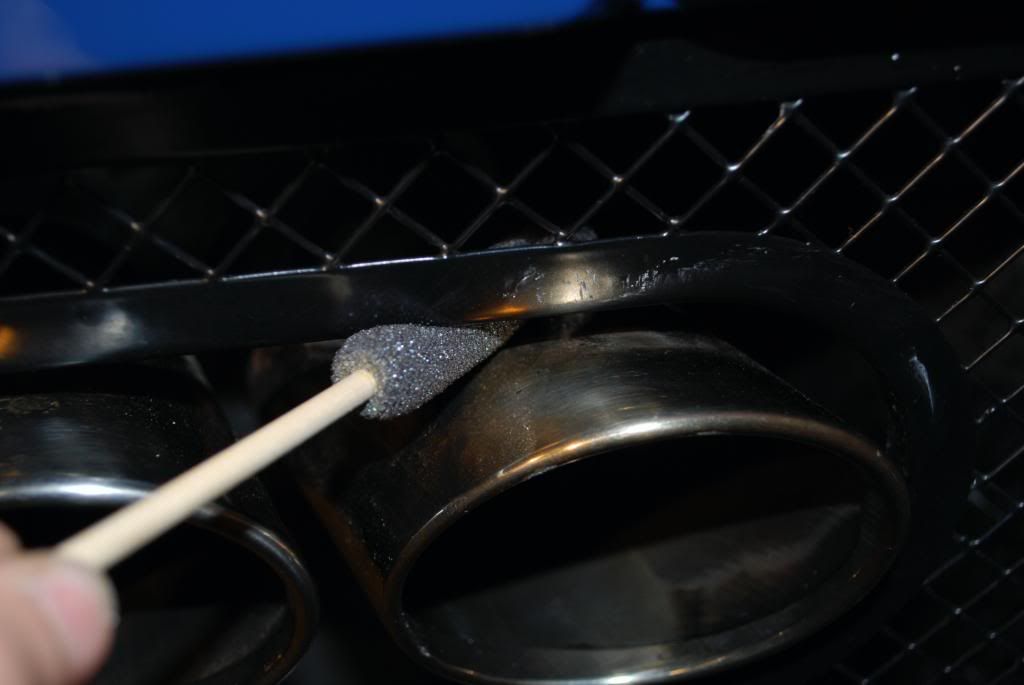
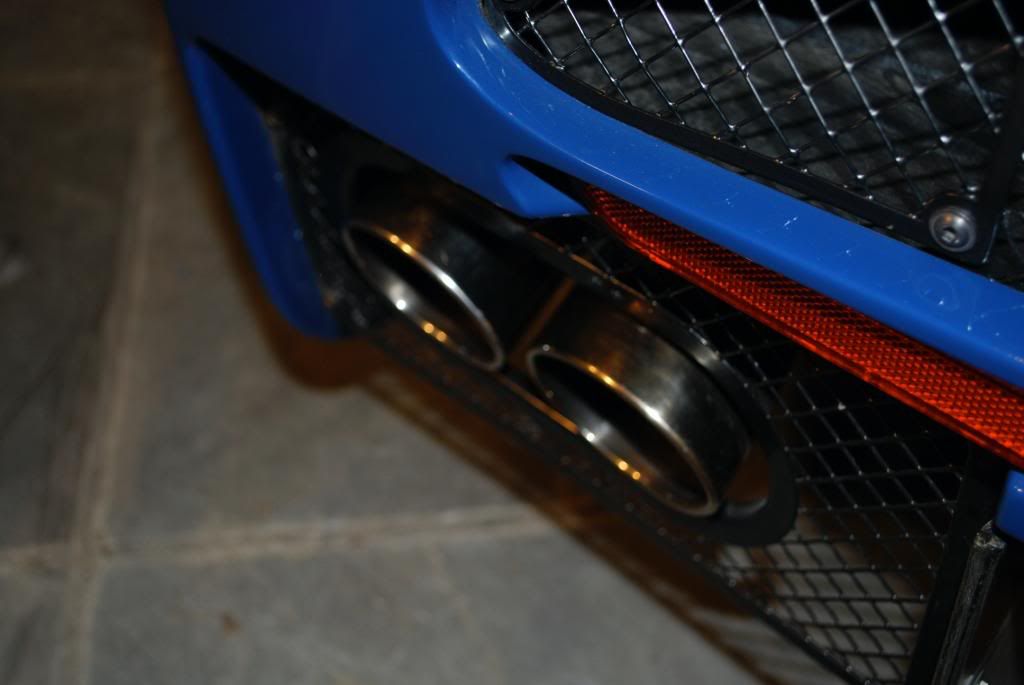
Exhaust tips were partly caged by mesh so a little improvisation was needed
After polishing I put a quick coat of jetseal on them for protection
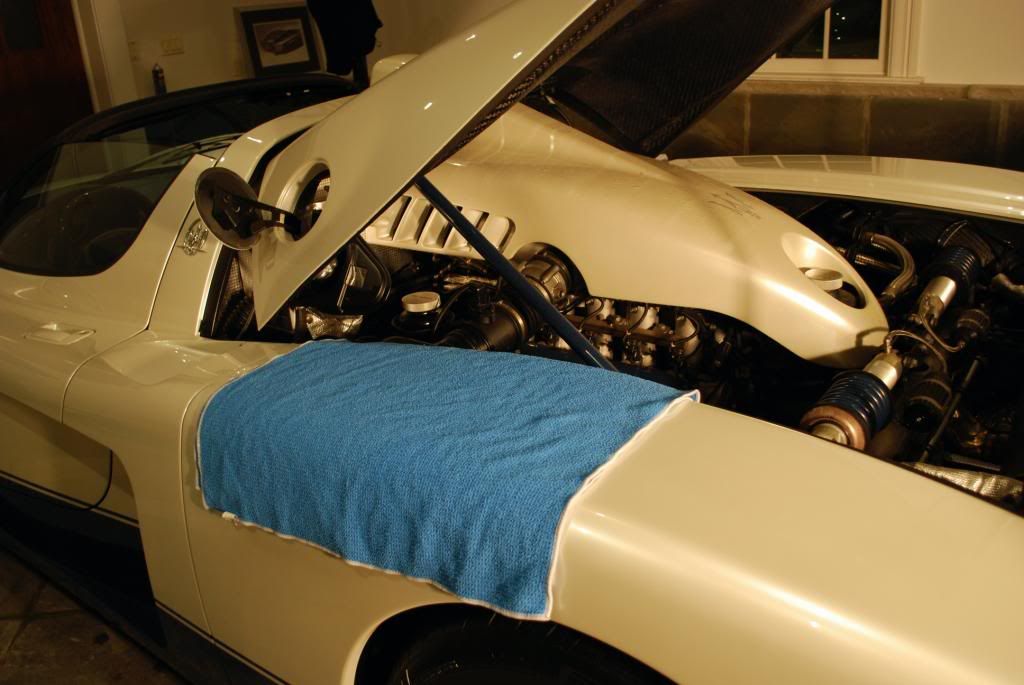
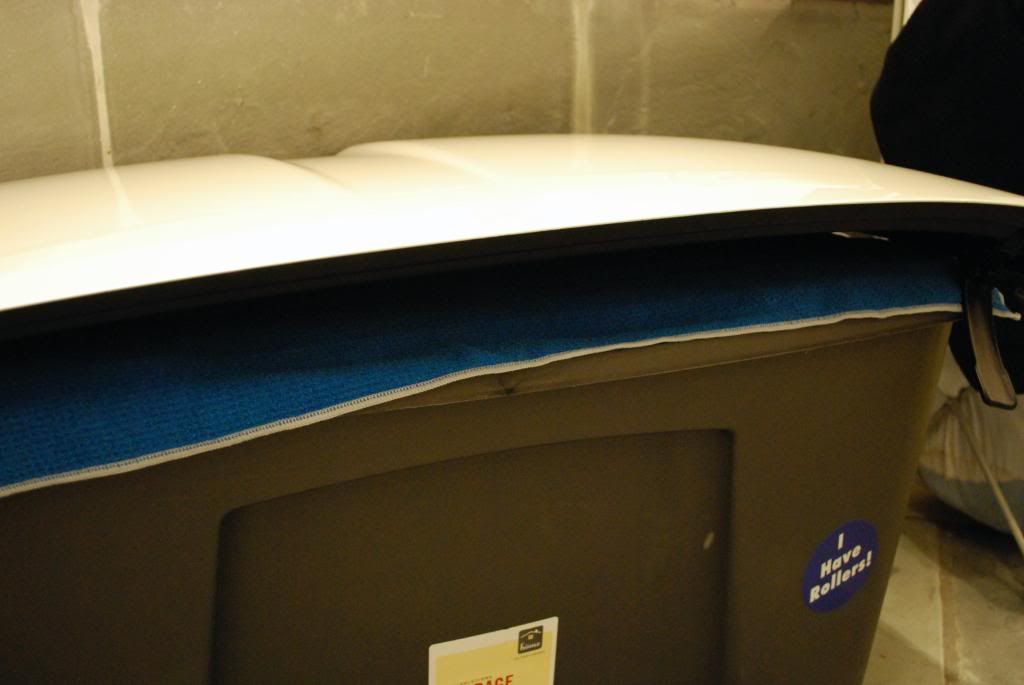
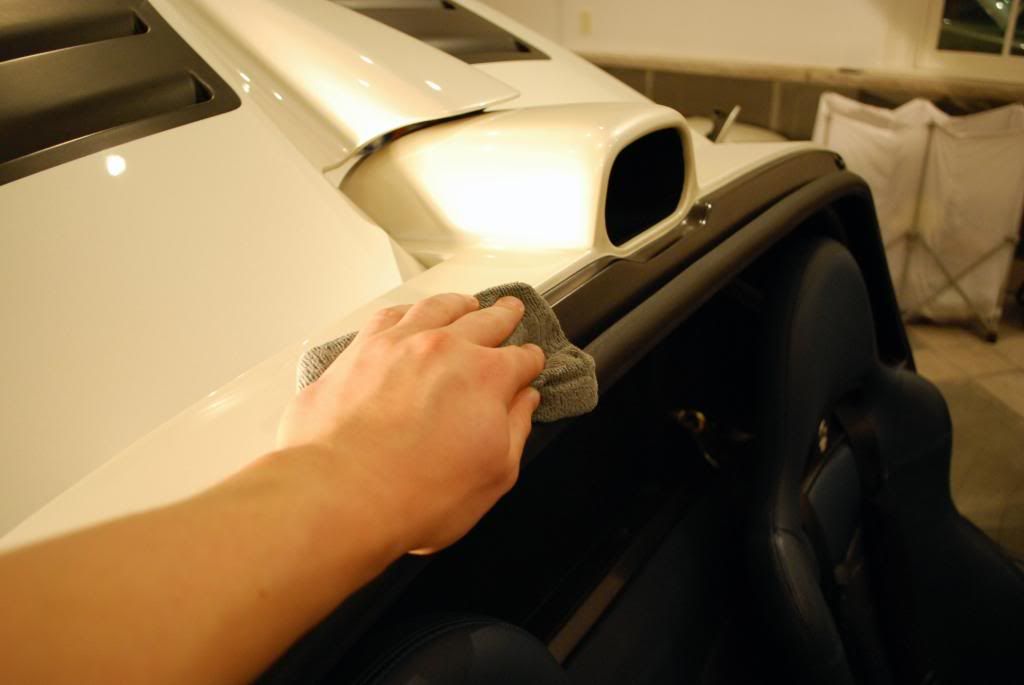
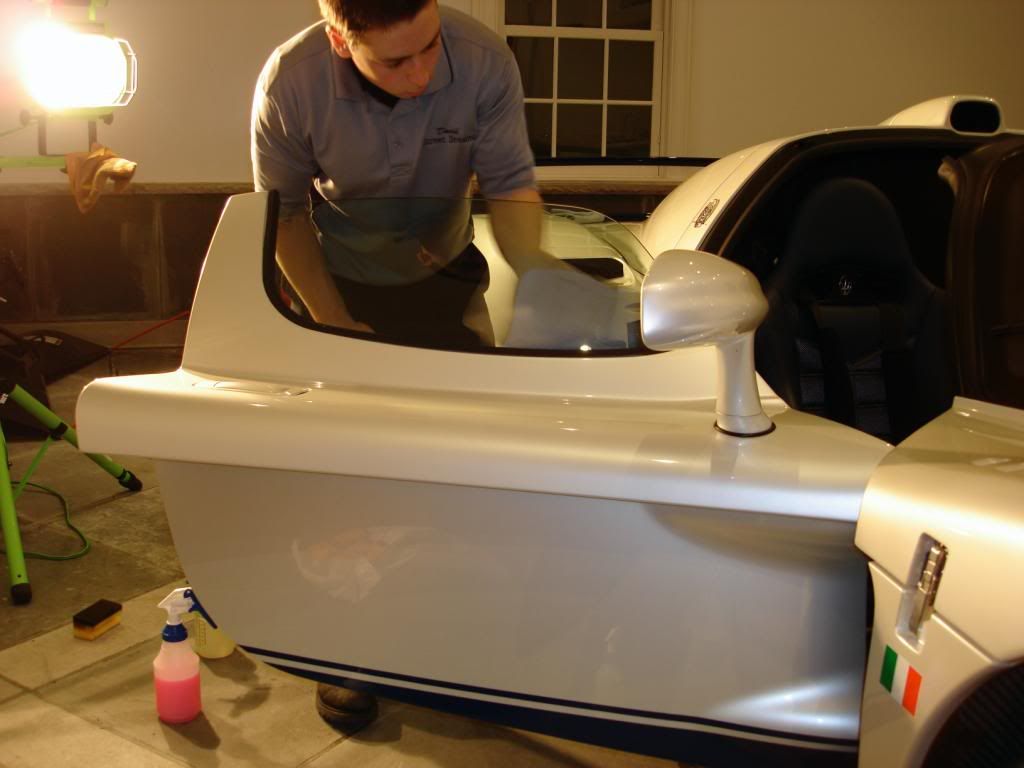
To get better lighting in the interior I removed the roof, carbon fiber makes everybody feel strong :thumb:
Roof carefully placed aside... never on the ground
Black wow on the roof seals
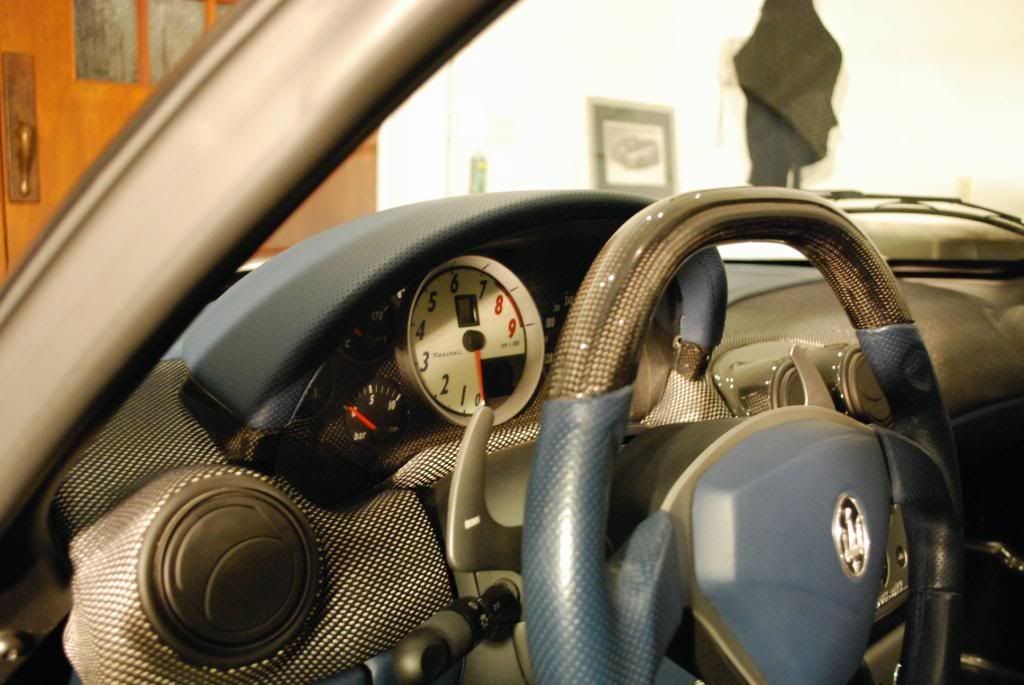
All interior carbon was treated with jetseal for some added gloss, seats cleaned and conditioned etc. No fast food coke cups and loose jellybeans in this one, didnt take very long to sort out the interior.
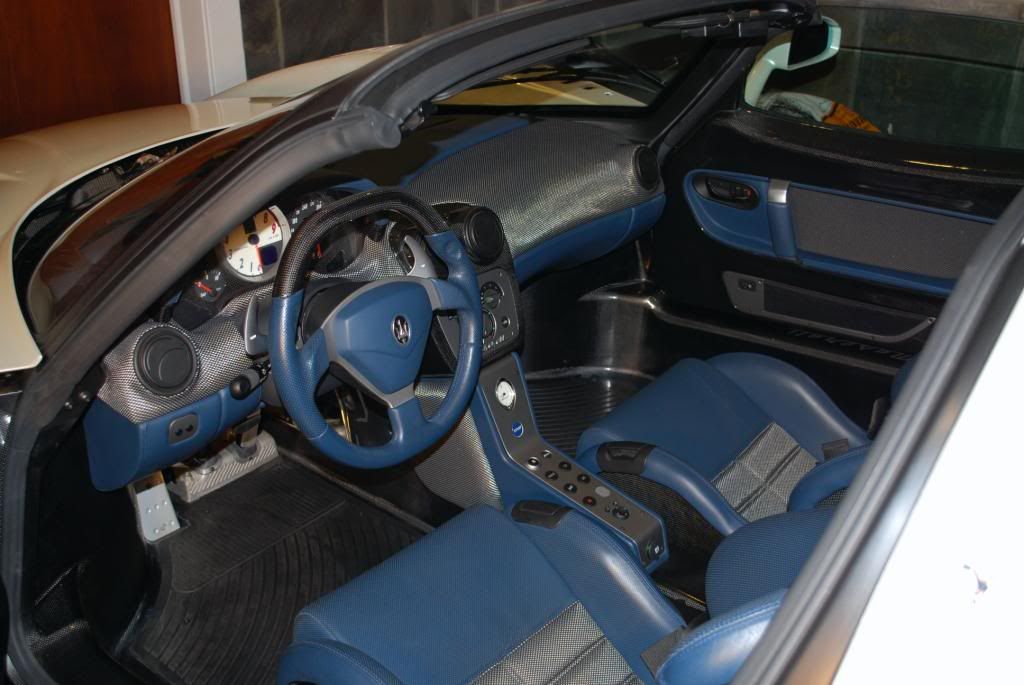
The interior is almost identical to the Enzo, just with blue leather instead of red... the owner however said the driving posistion of the MC12 is much more relaxed than the enzo and easier to drive at the limit because the steering wheel sits lower. I'd say that is pretty unbiased opinion as he owns both cars
The inside glass was treated normally. The exterior glass was treated with my Japanese window polymer, I only use this on select cars as the application takes a long time but once its on the beading doesnt stop, im going on 7 months with 1 application for my car. Im working on getting about 20 bottles here to sell but it may not happen as they come in small quantities and I never know when.
After each correction stage the finish was given an IPA wipedown, and then just before applying the protection once more to ensure a clean finish.
Over the course of 2 days a total over 4 coats of sealant were applied. Applying 4 coats in 1 day isnt ideal, I like to let each coat cure for as long as possible so the first two sat overnight (1 applied and buffed off the second applied and left to cure) and the last two were applied the following day in a similar fashion.
All done by DA machine with a gold lc pad speeds 4-5
Finished product after several days of odd hour working.. I had other cars to handle at times.
The final day I worked from 8am-midnight
The owner calls it the Giant Penis.... not hard to see why
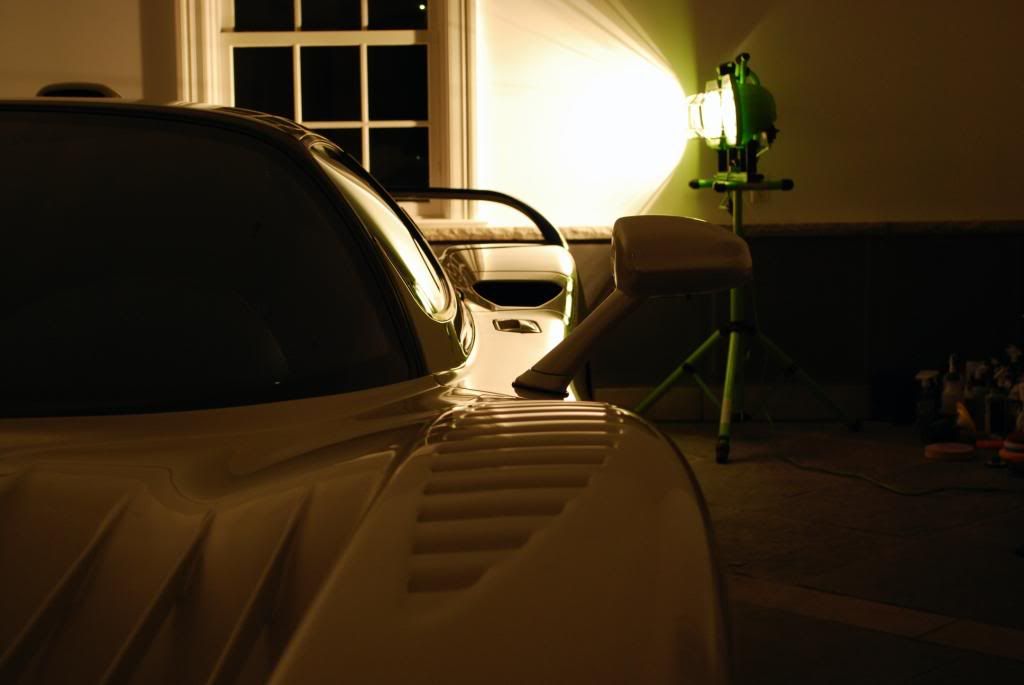
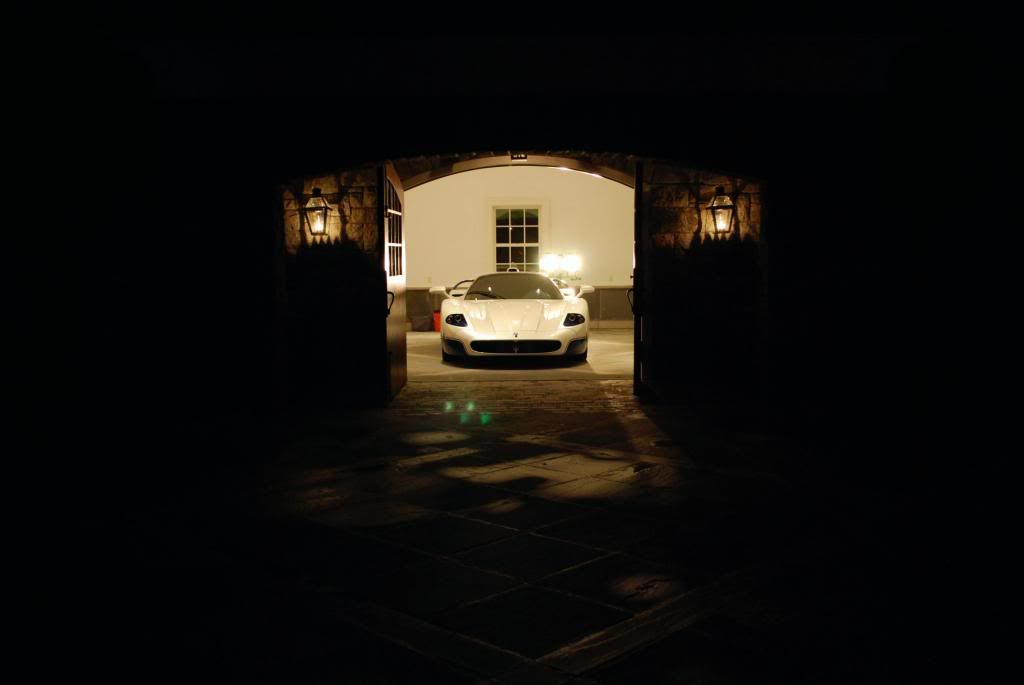
This is one of the natural lighting pictures, simply left the garage door open and turned my halogens off.
Some of my favorite shots....
Video #3: Walkaround in the garage
I was walking back to my car loading up my gear when I looked back and saw this shot... almost out of a movie I thought
As for the detailing portion that was it. The MC12 went on display at a charity car event about 1 week later which I got to be apart of. The owner took the MC12 and a few other cars to the show, many of which I had the pleasure of driving as well as detailing.
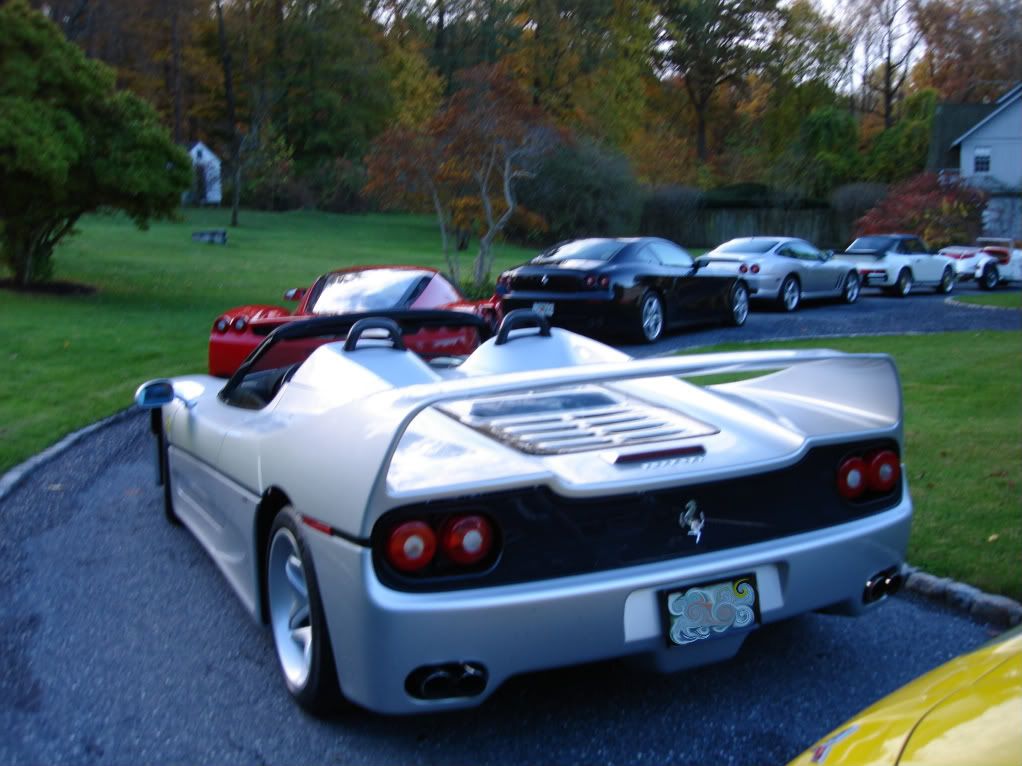
Lining up around 6am....
The bloodline conga train, :applause2:
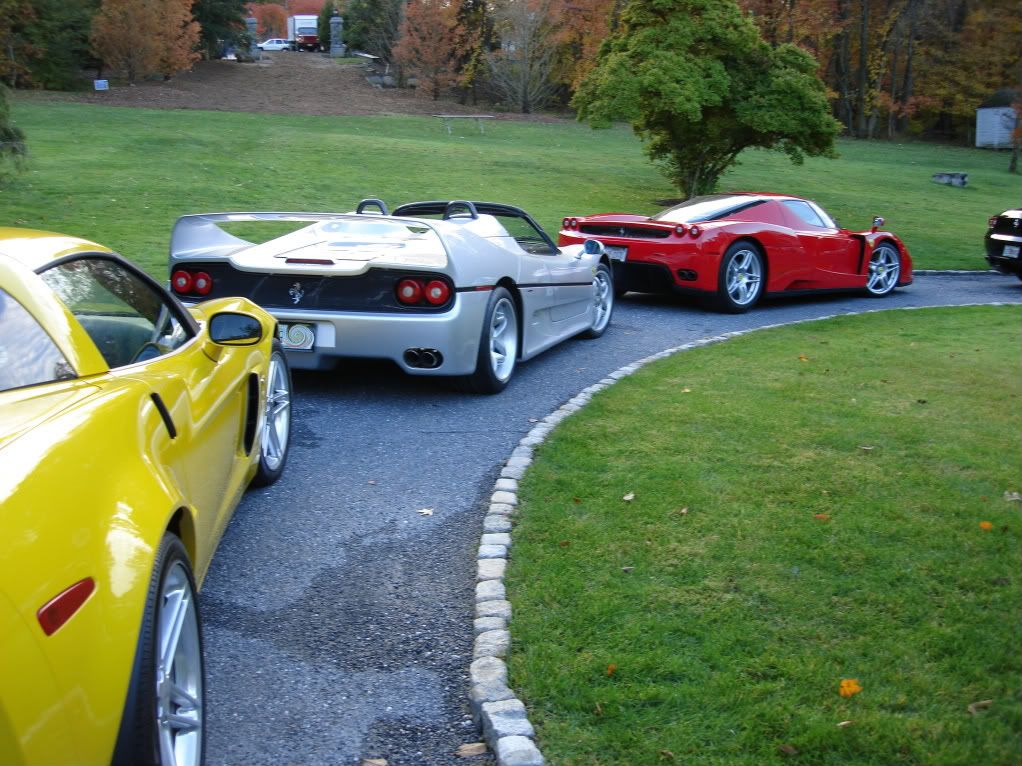
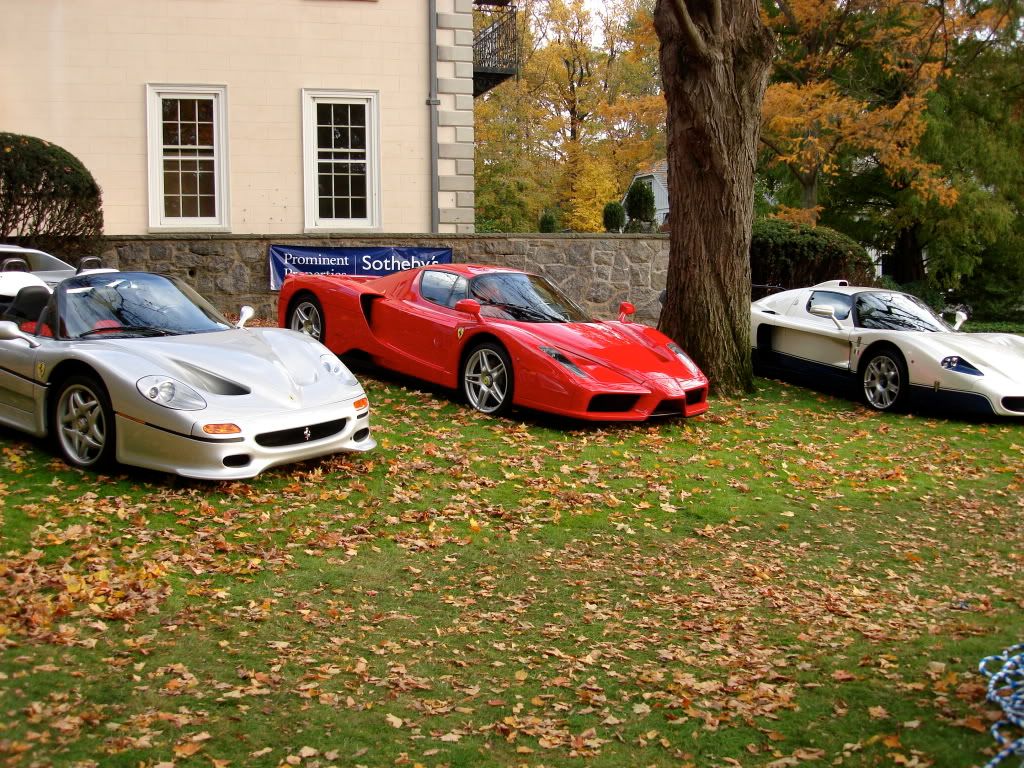
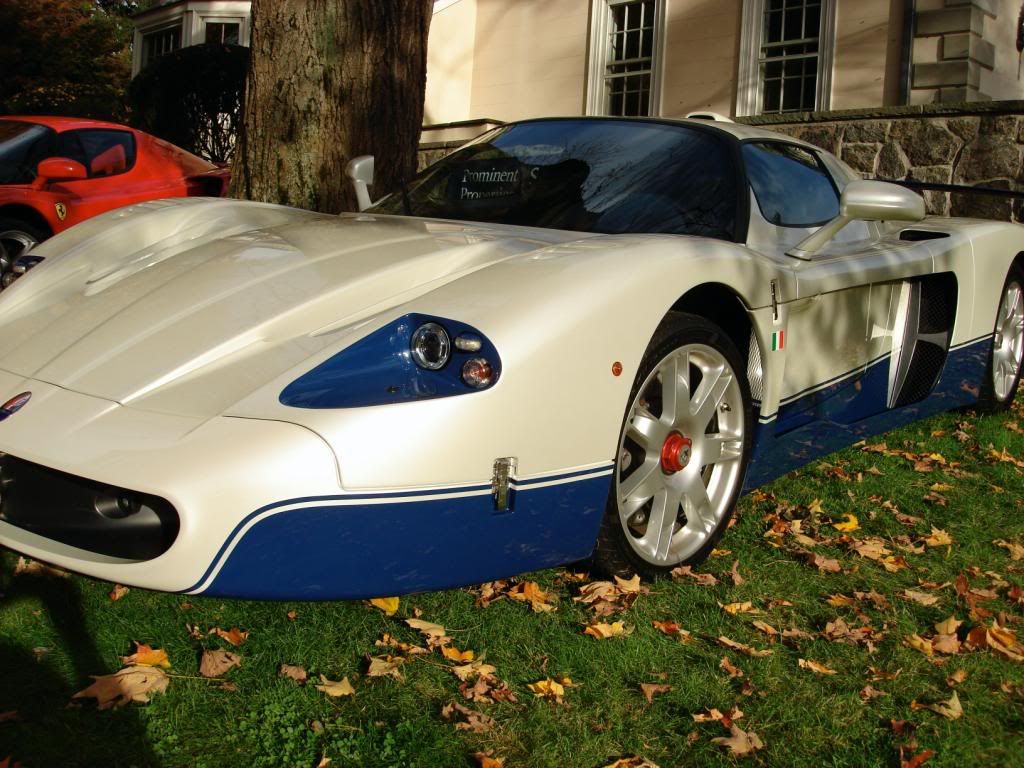
MC12 and friends
I was happy to snap some shots of the car outside at the show .... I really wanted to see how the finish looked outside of a dark garage
#4 A final walkaround video
Thank you for taking the time to read the process and view the pictures, I have been a little lazy recently with writeups so I tried to make this one as full as possible.
There is no dening anything here man! That was simply an awesome correction. Don't get me wrong the car is outstanding. If I wanted to see what an MC12 looks like I got google images. If I want to show someone what true correction is. Ill show them this thread. David just simply stunning. I was waiting for this write up I knew it was coming I seen a few sneak peaks a long the way. Great job man!


")