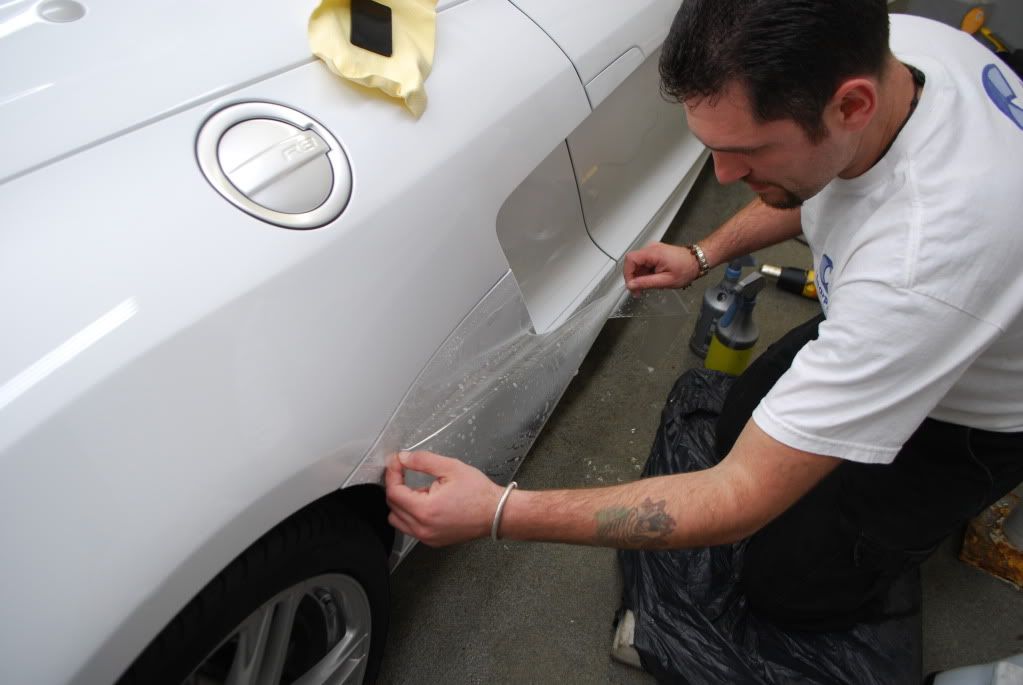
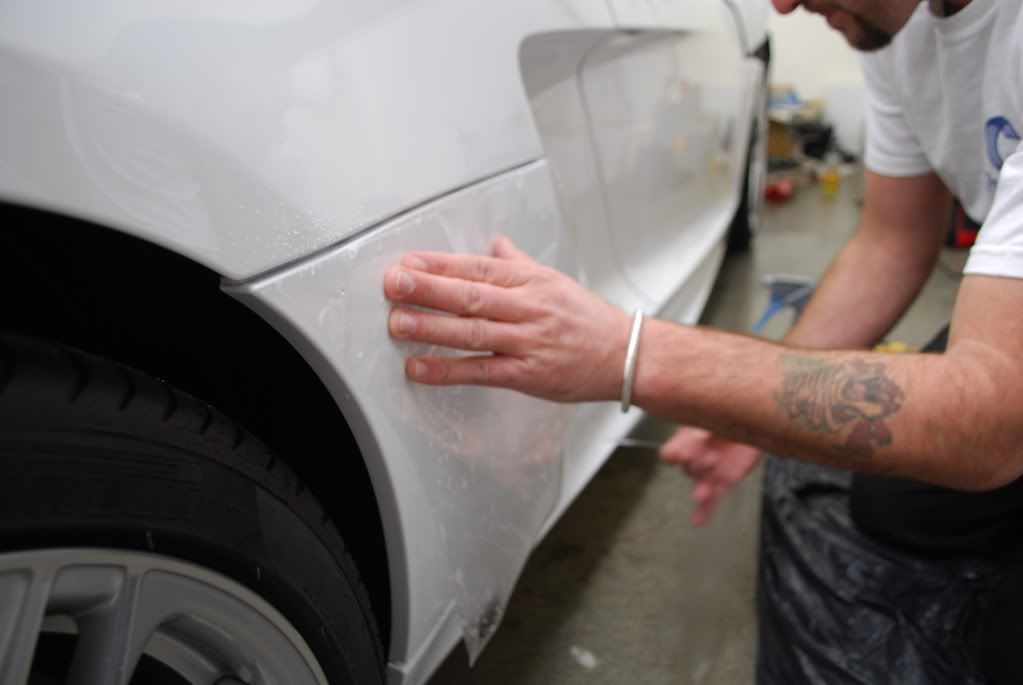
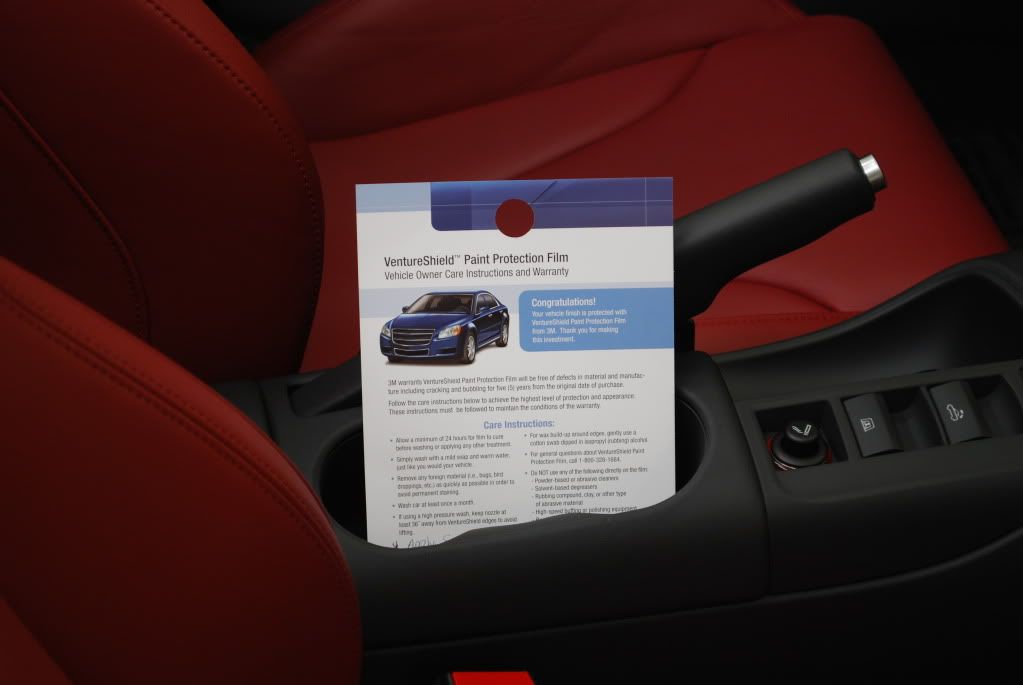
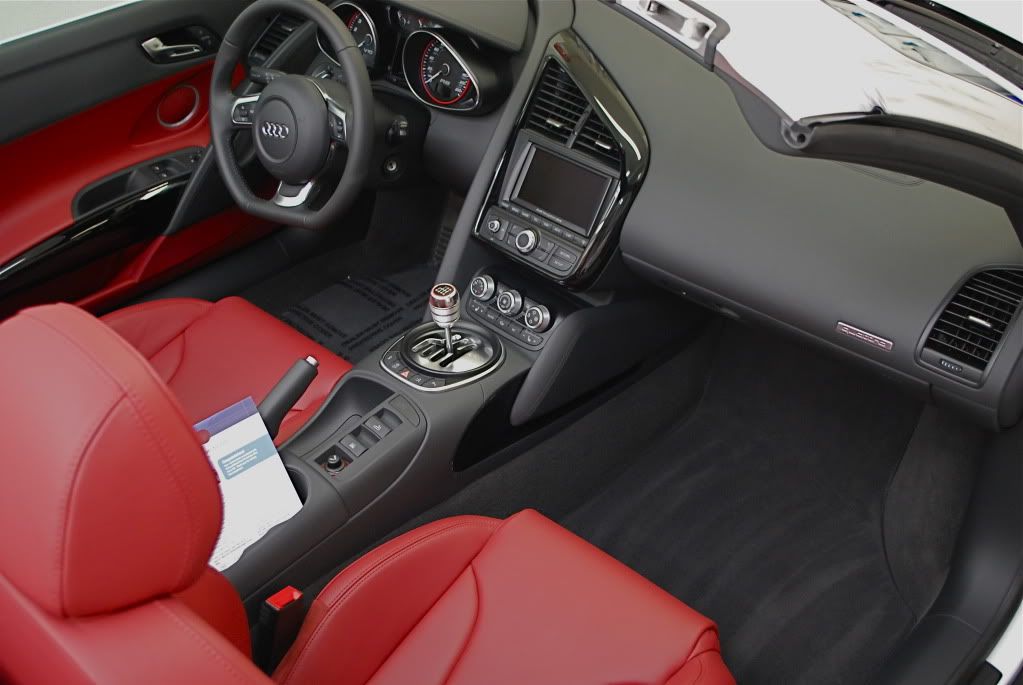
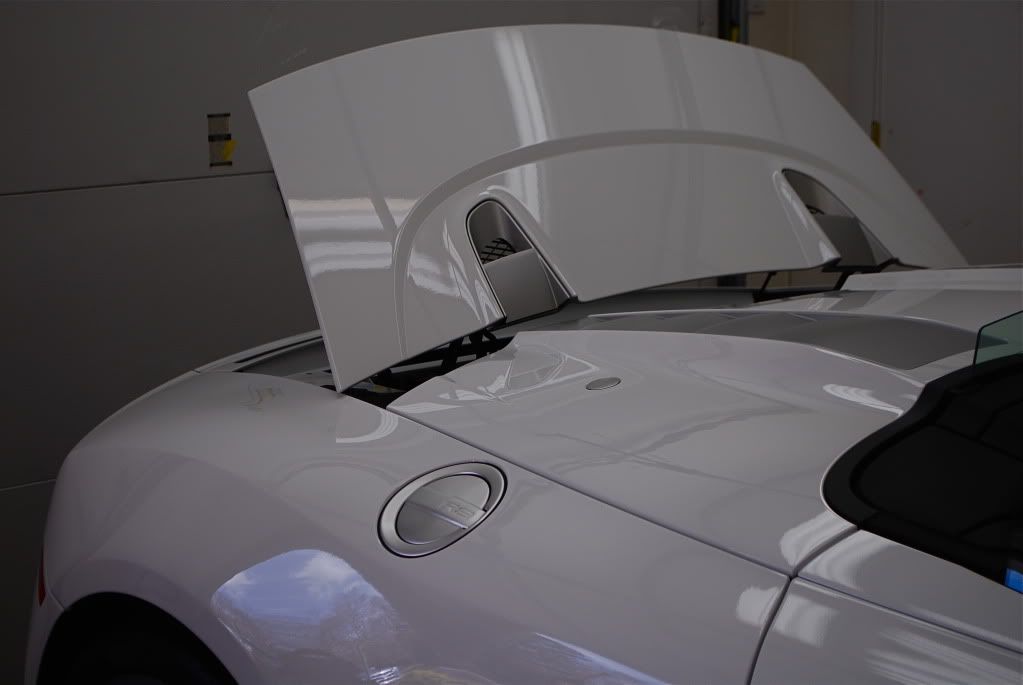
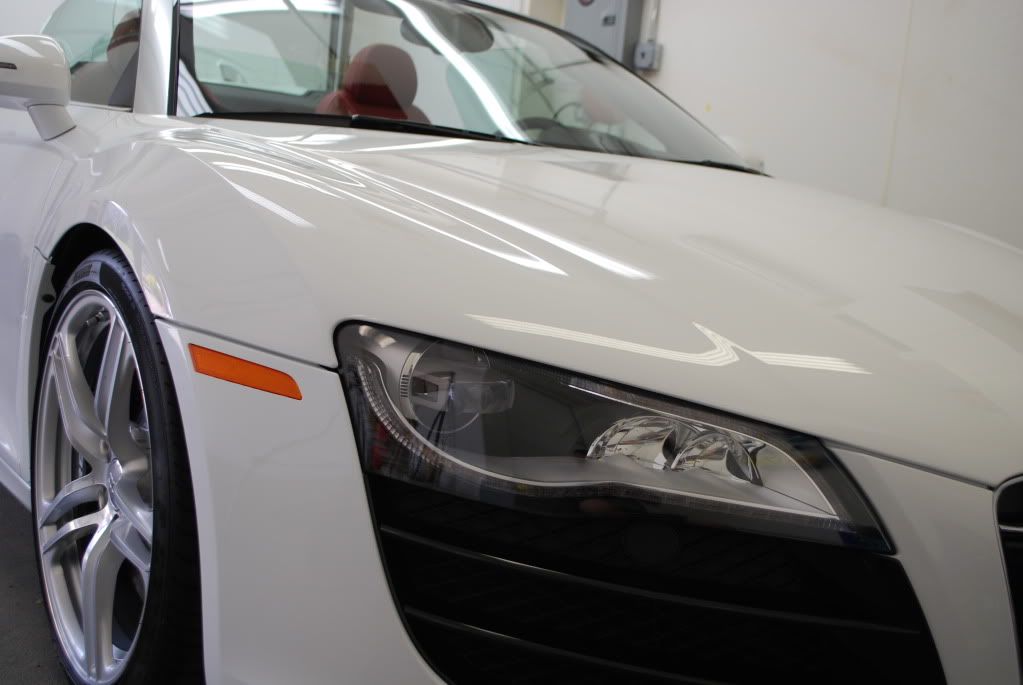
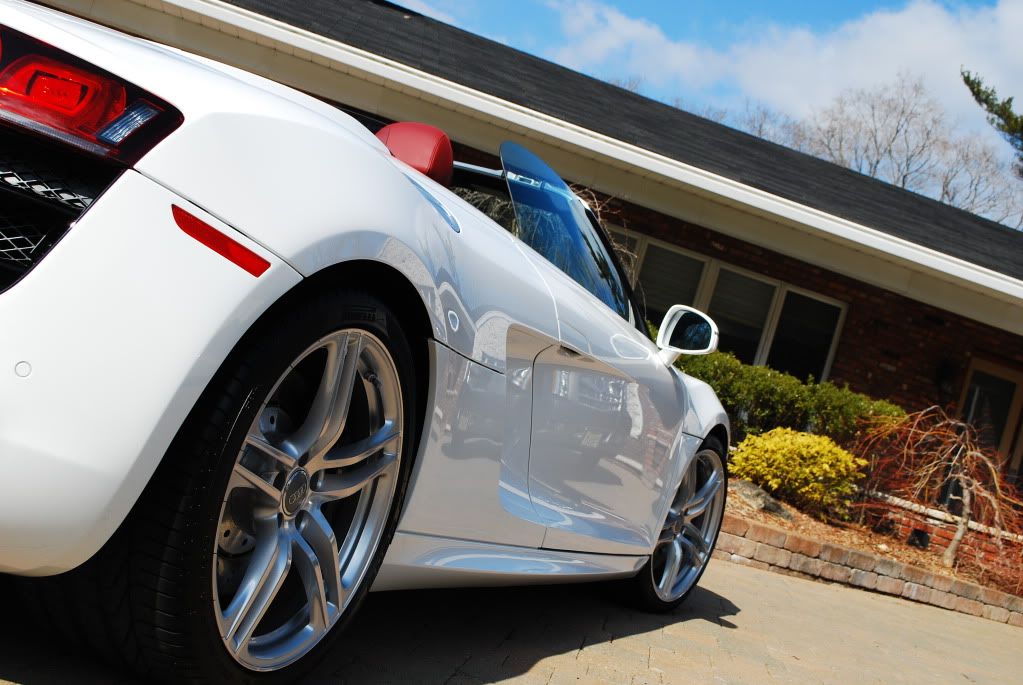
2 day old R8 V10 Spyder in for full paint correction followed by clear film installation.
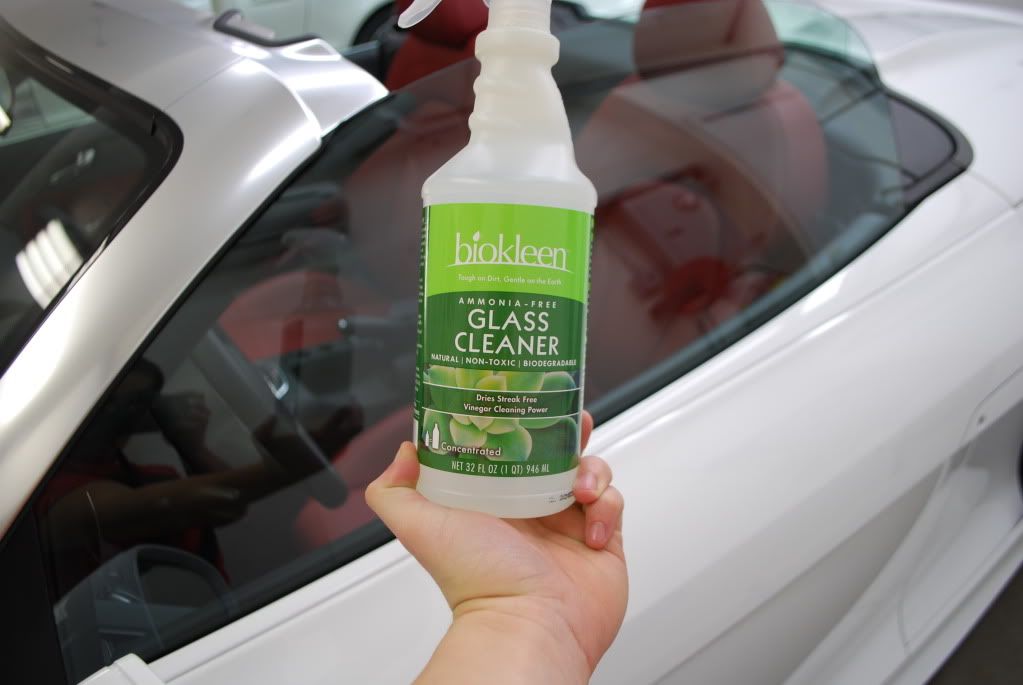
Finish was beading nicely from a dealer prep. Pressure washed the body and pre soaked it using Optimum Powerclean 5:1
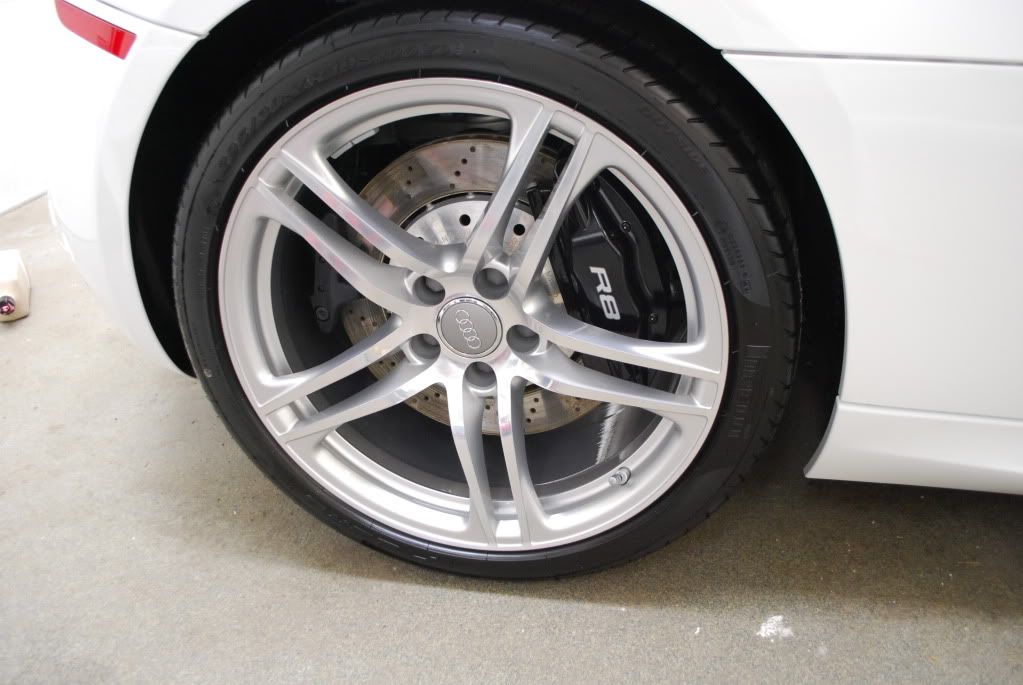
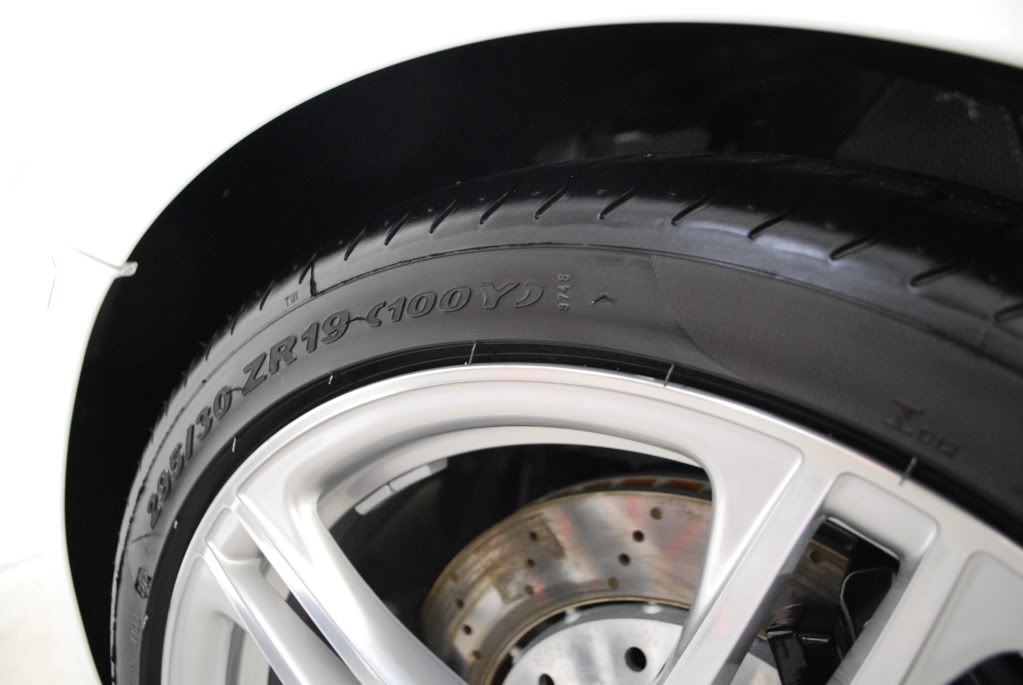
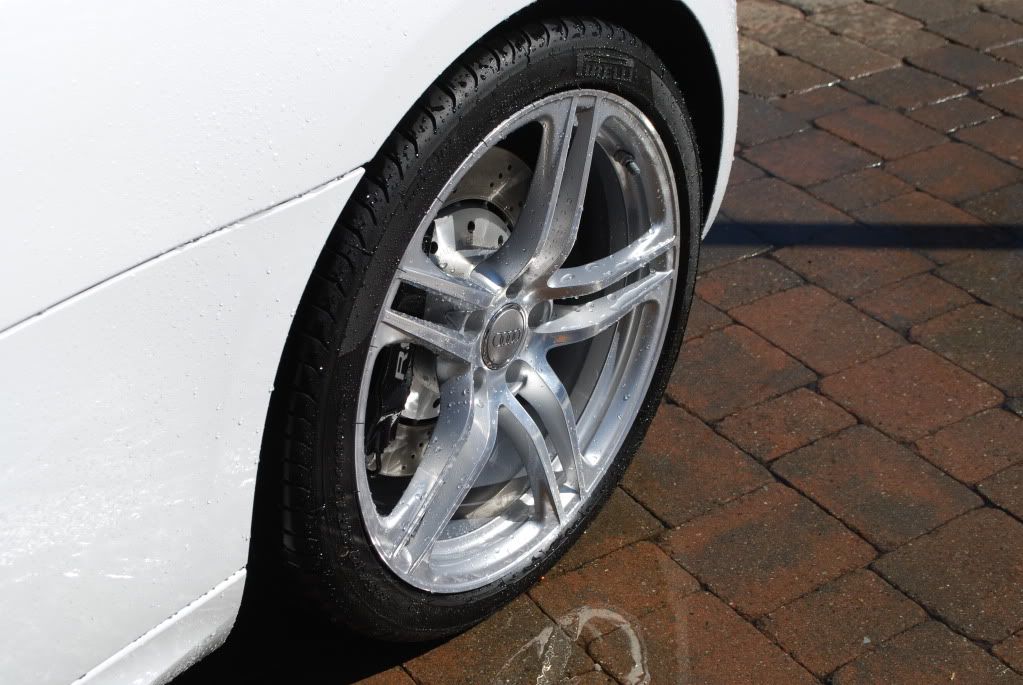
Wheels cleaned with Autoglym CWC, tires cleaned and degreased of old dressing using the same product, yes it works great on tires too.

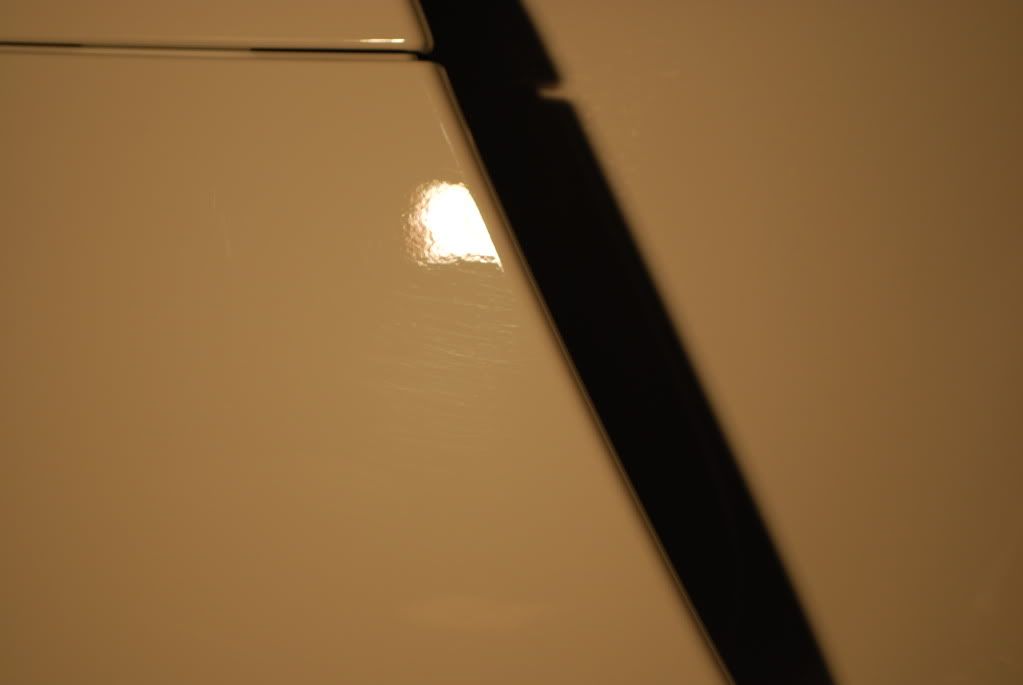
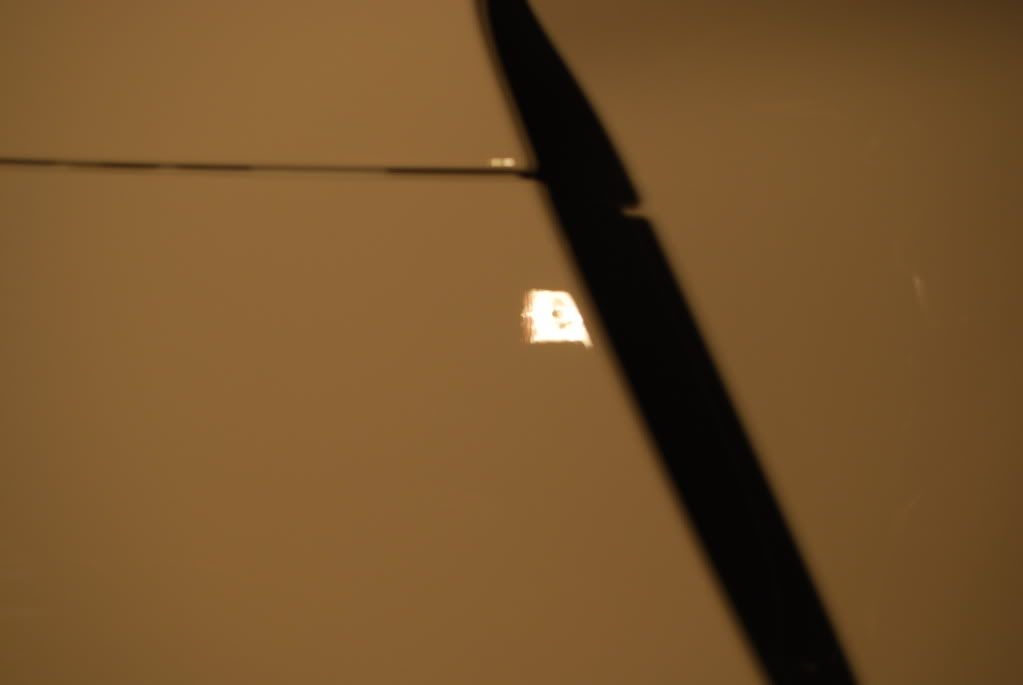
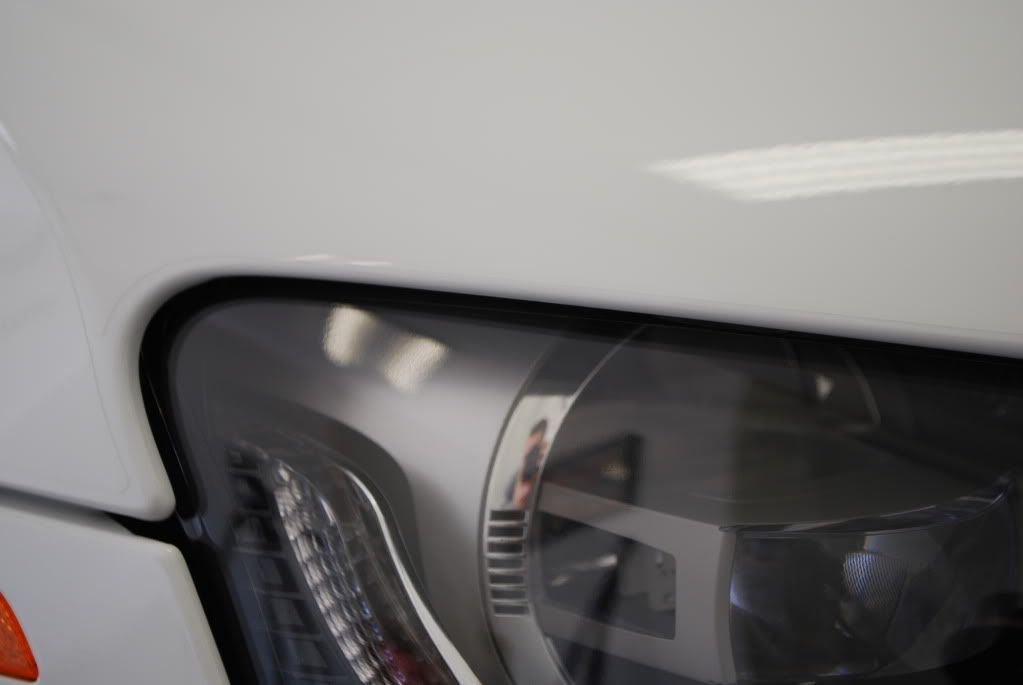
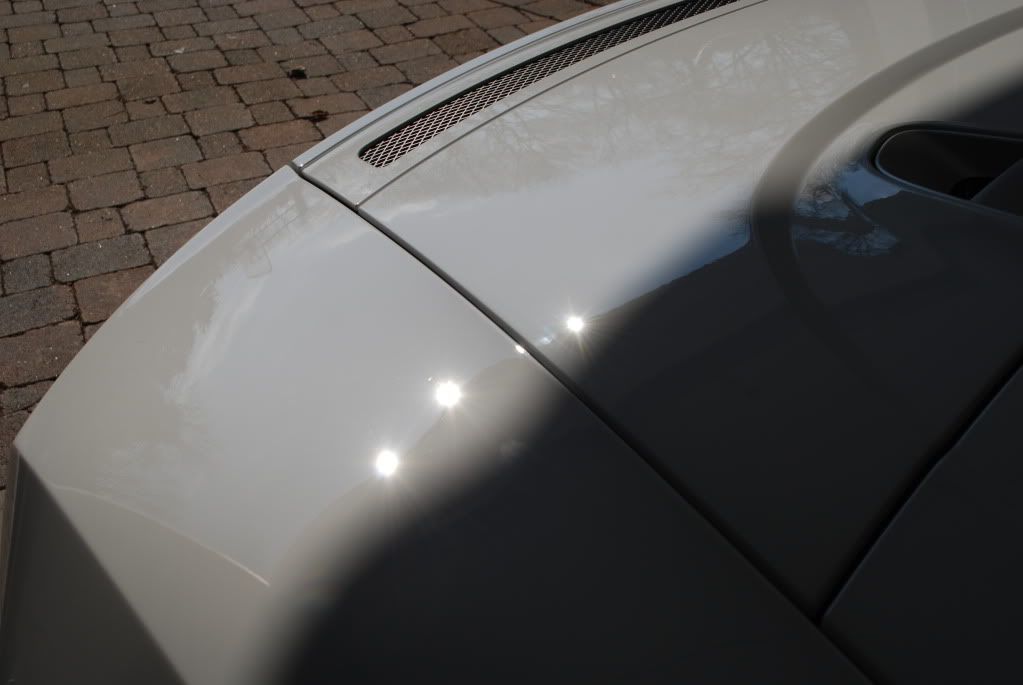
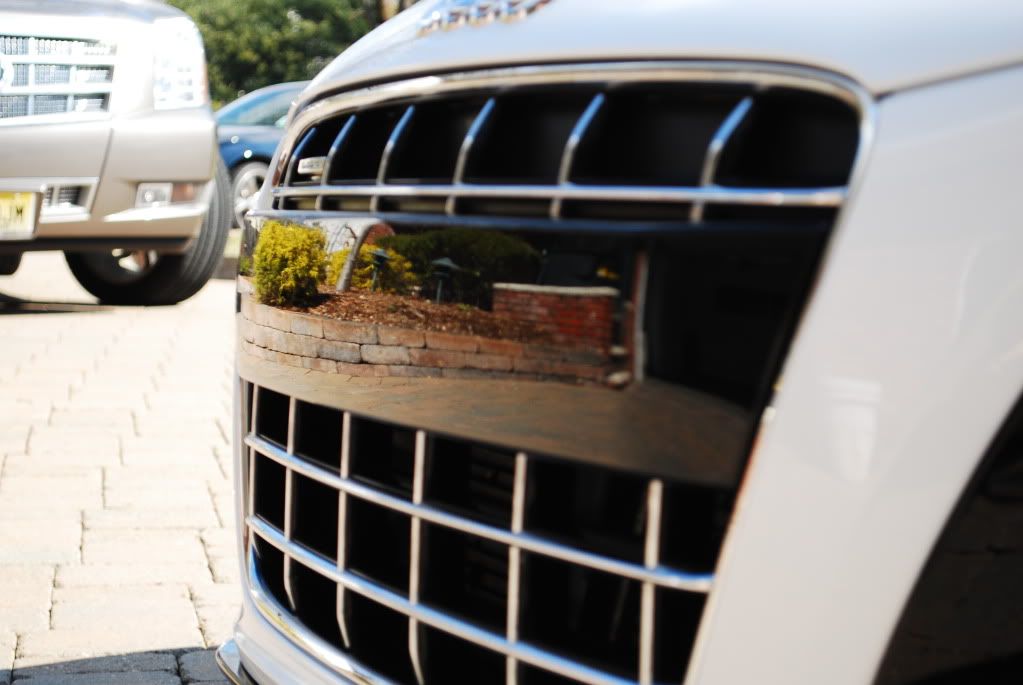
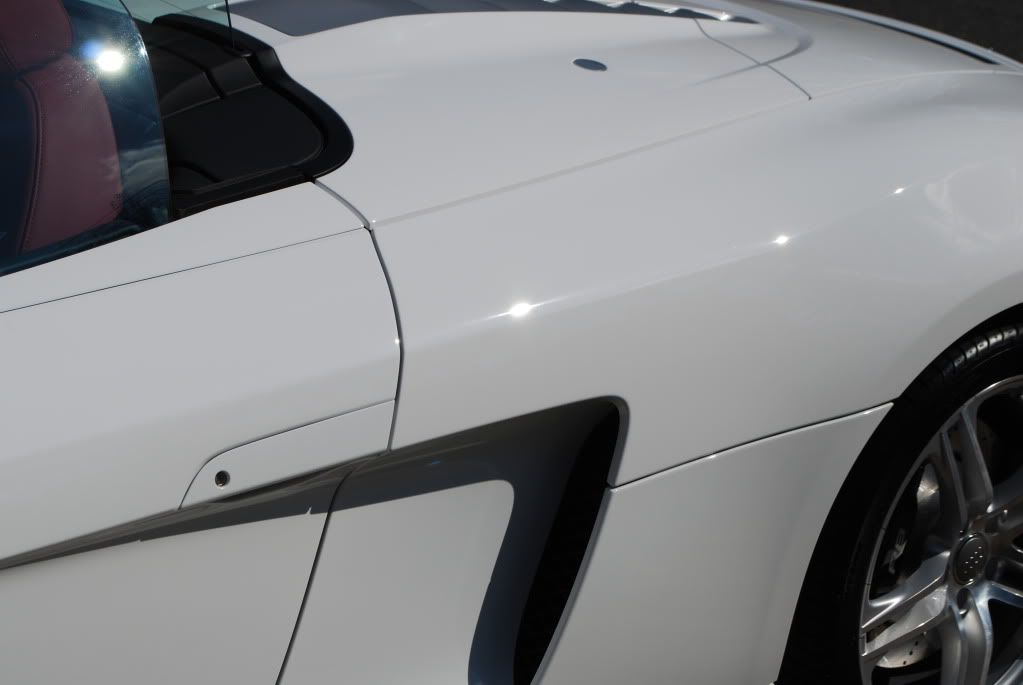
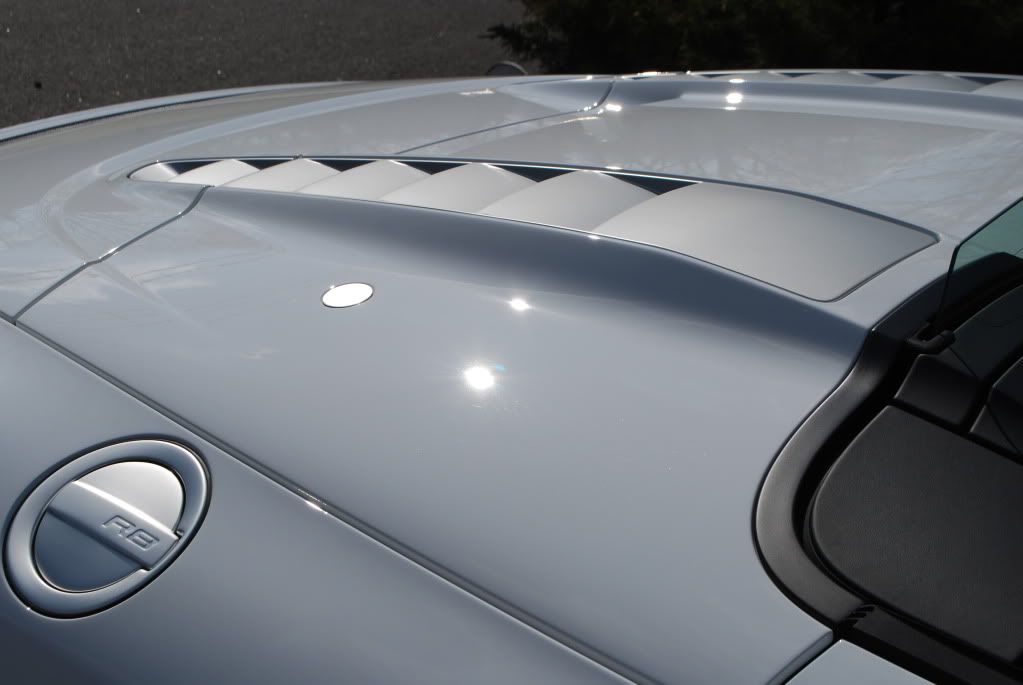
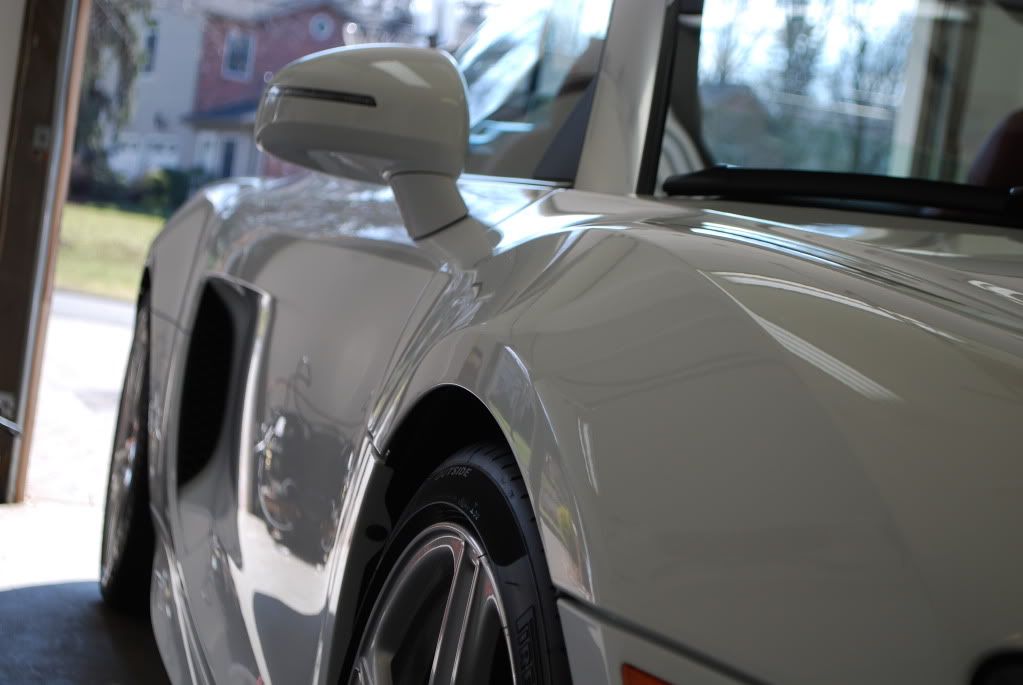
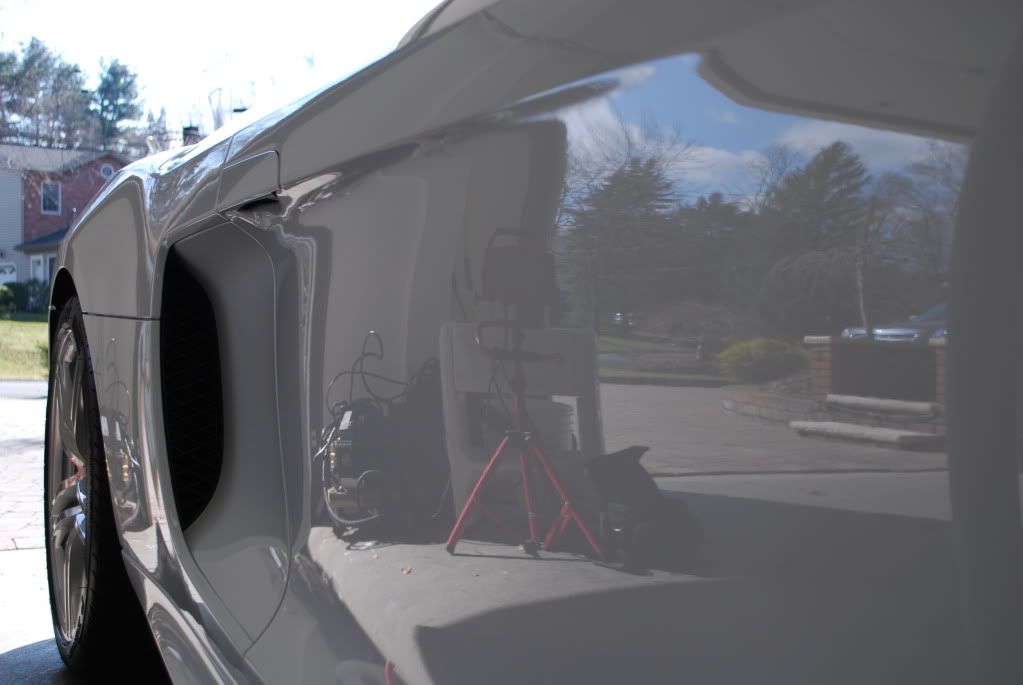
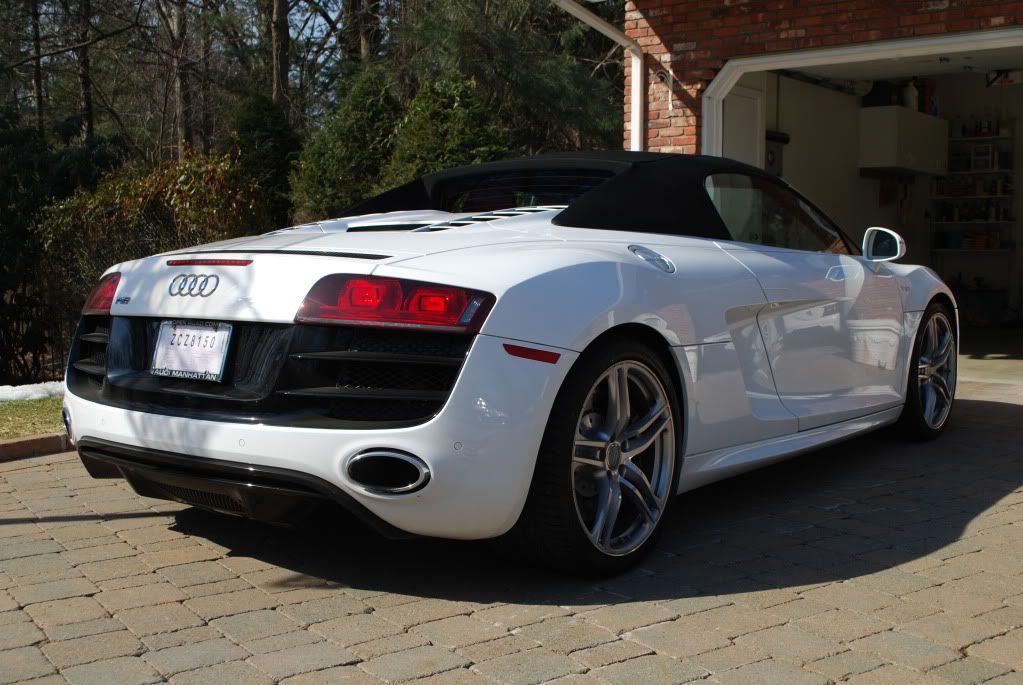
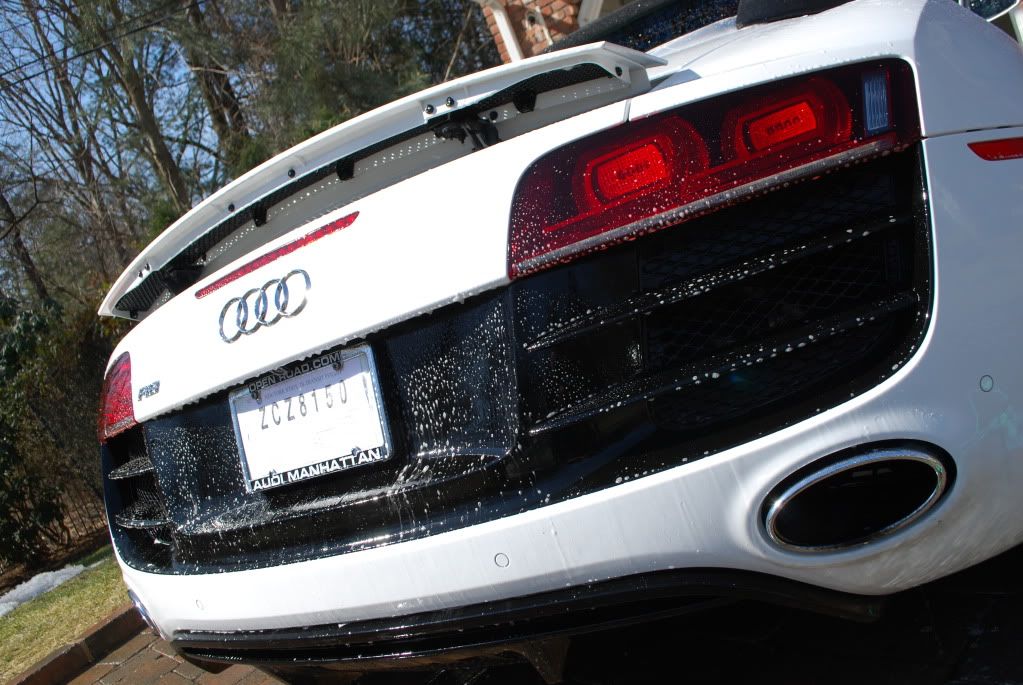
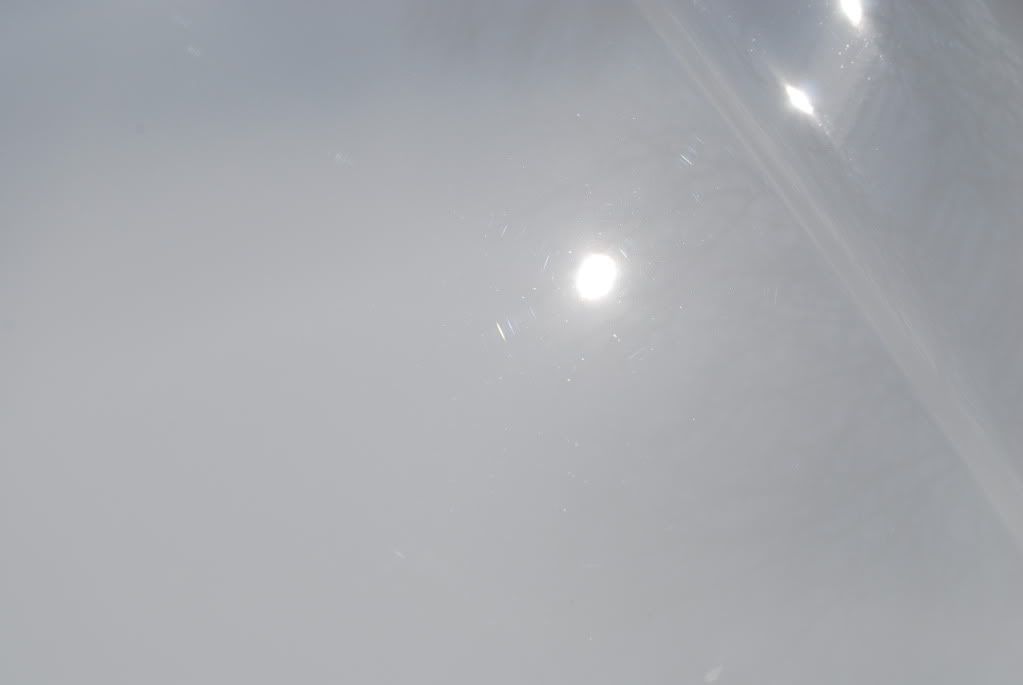
Few shots of the finish in sunlight after a 2 bucket wash
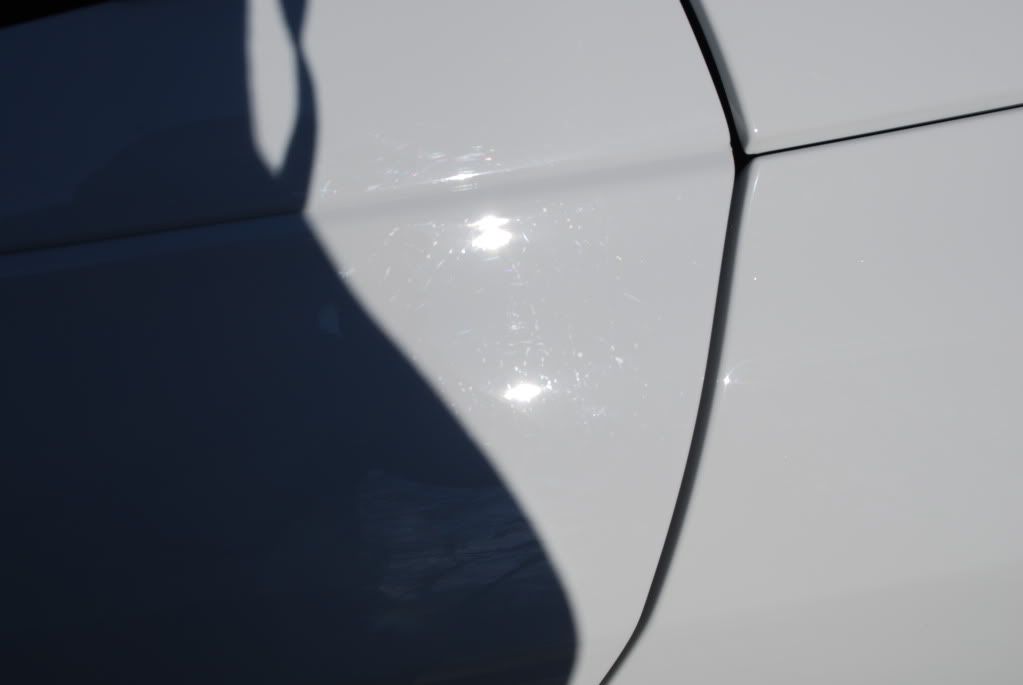
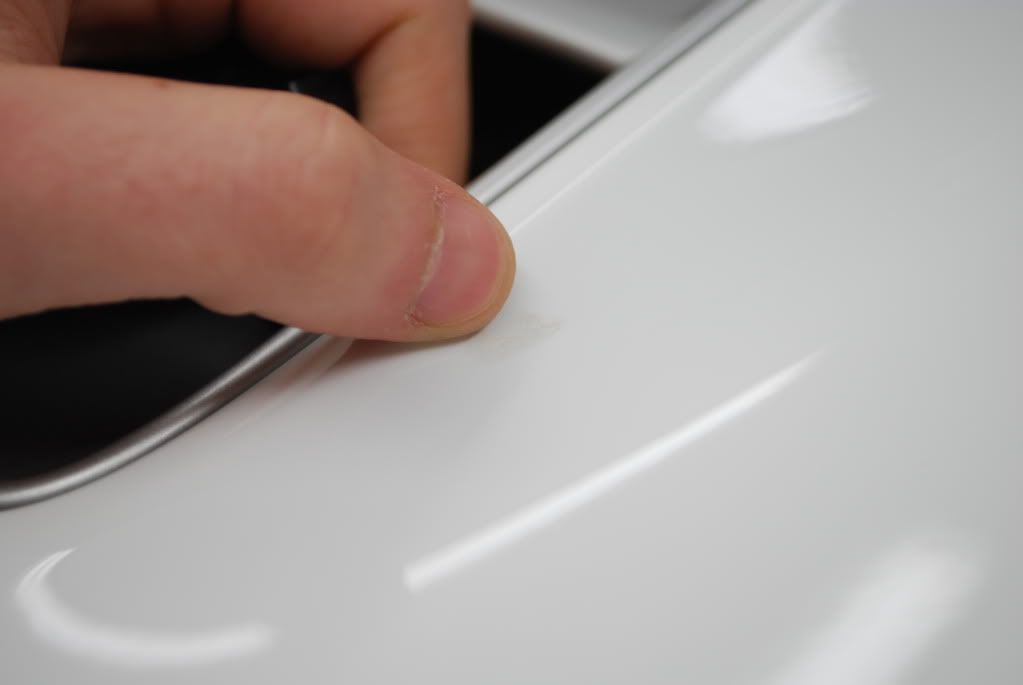
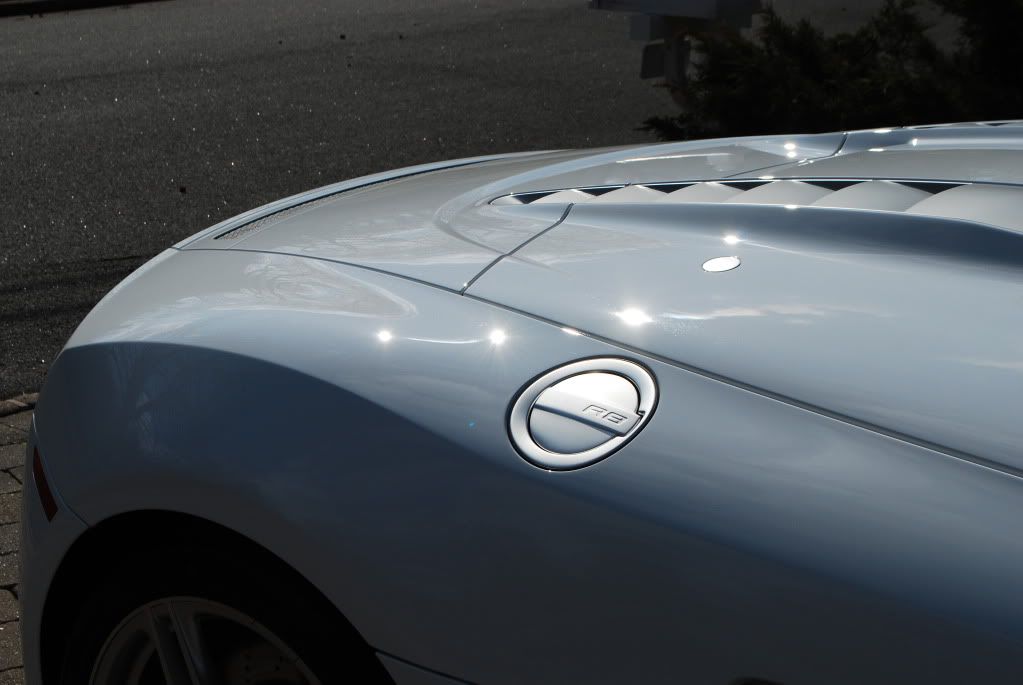
Few RIDS on the hood
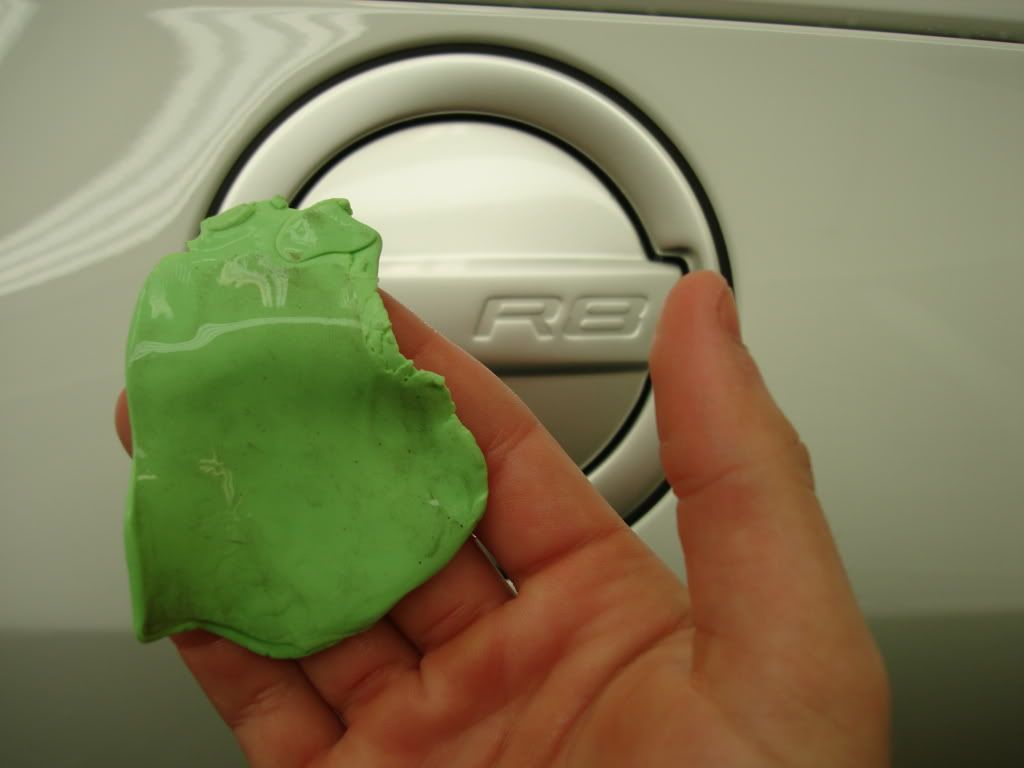
Onto claying
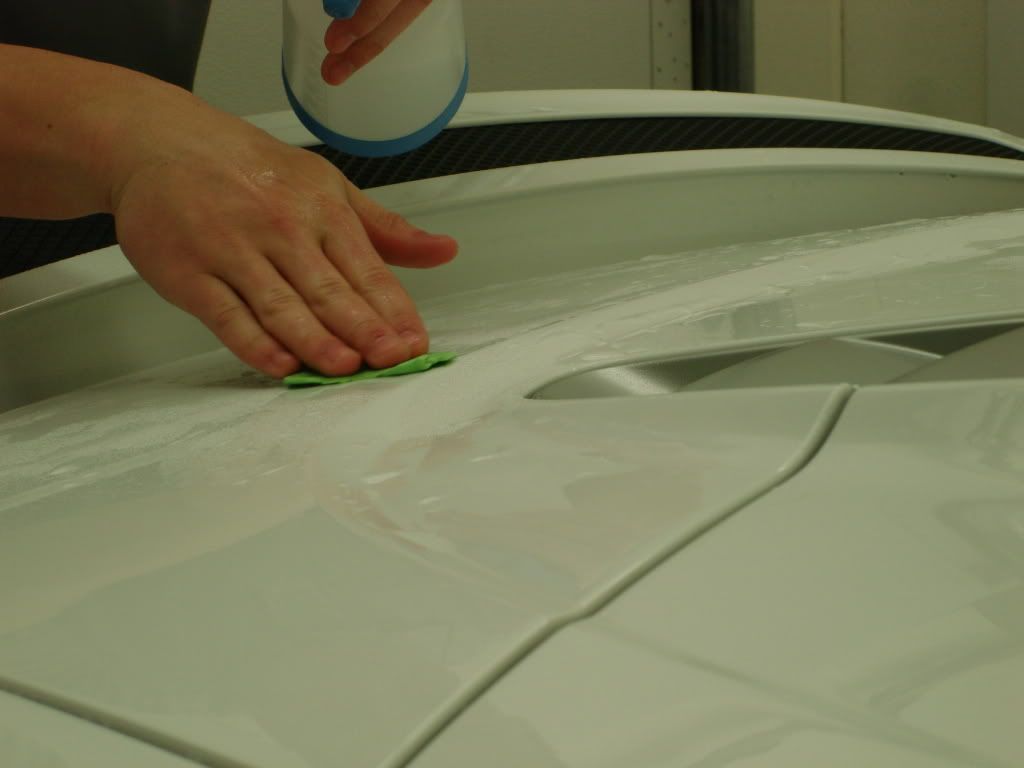
Mild contaminants, nothing serious
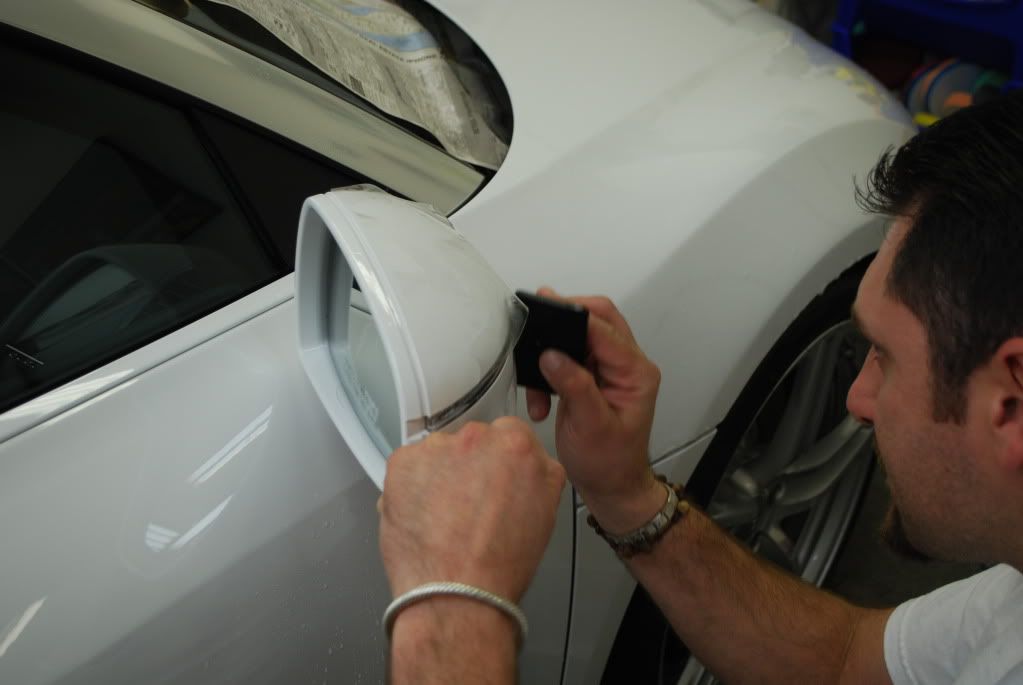
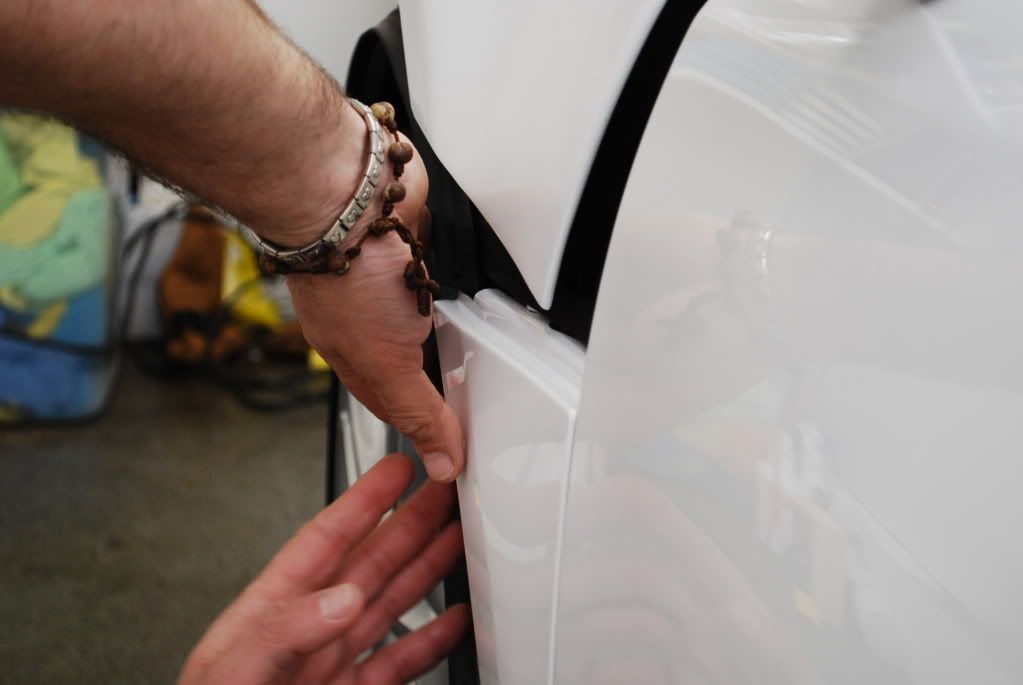
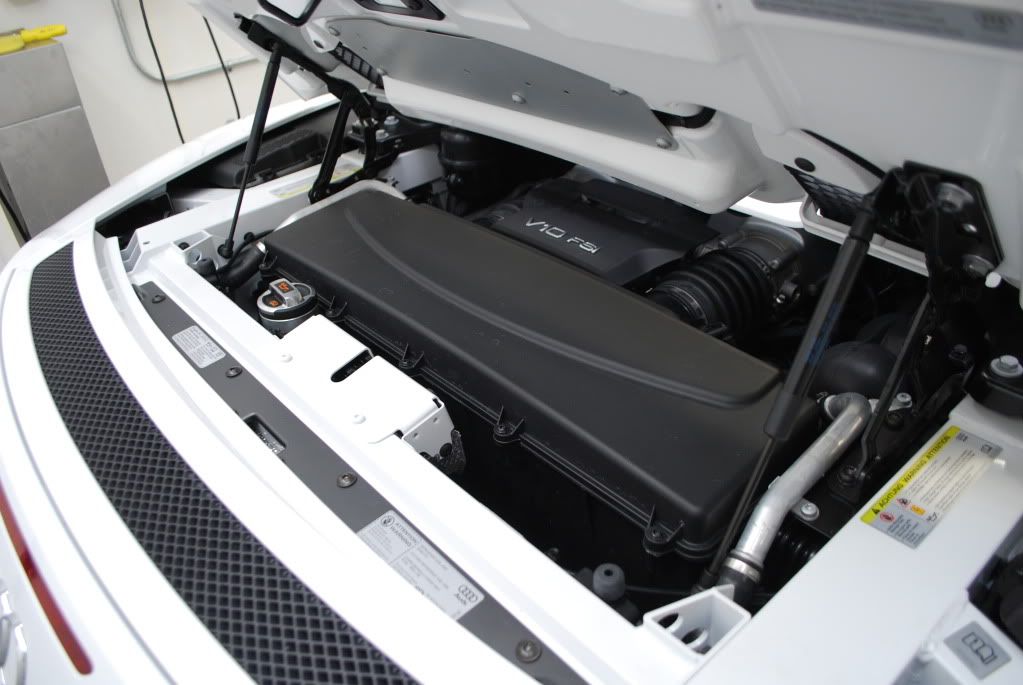
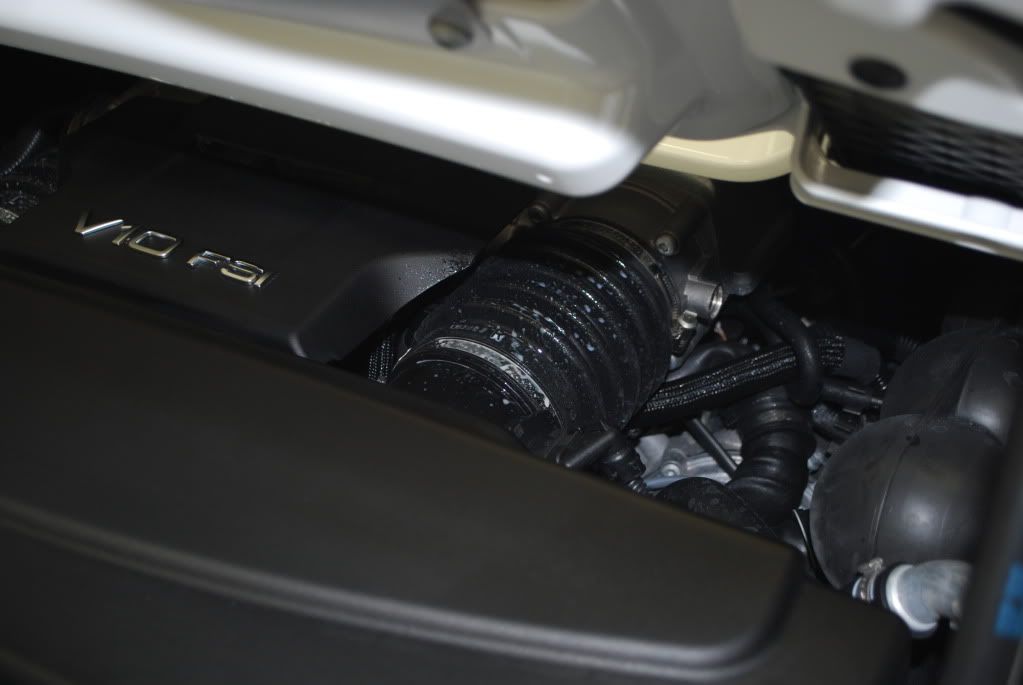
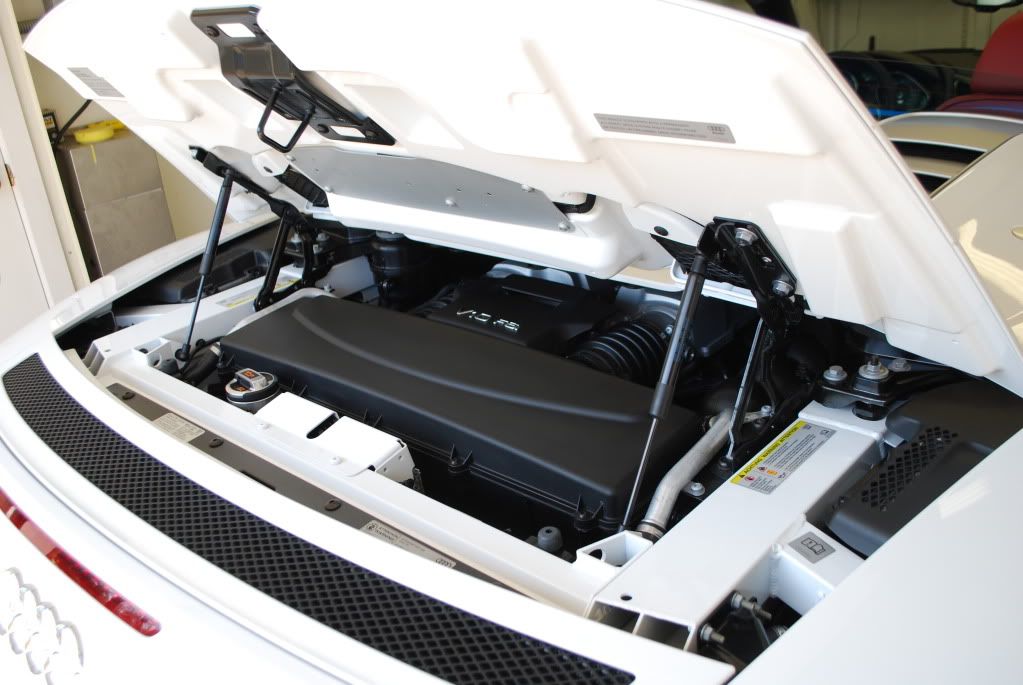
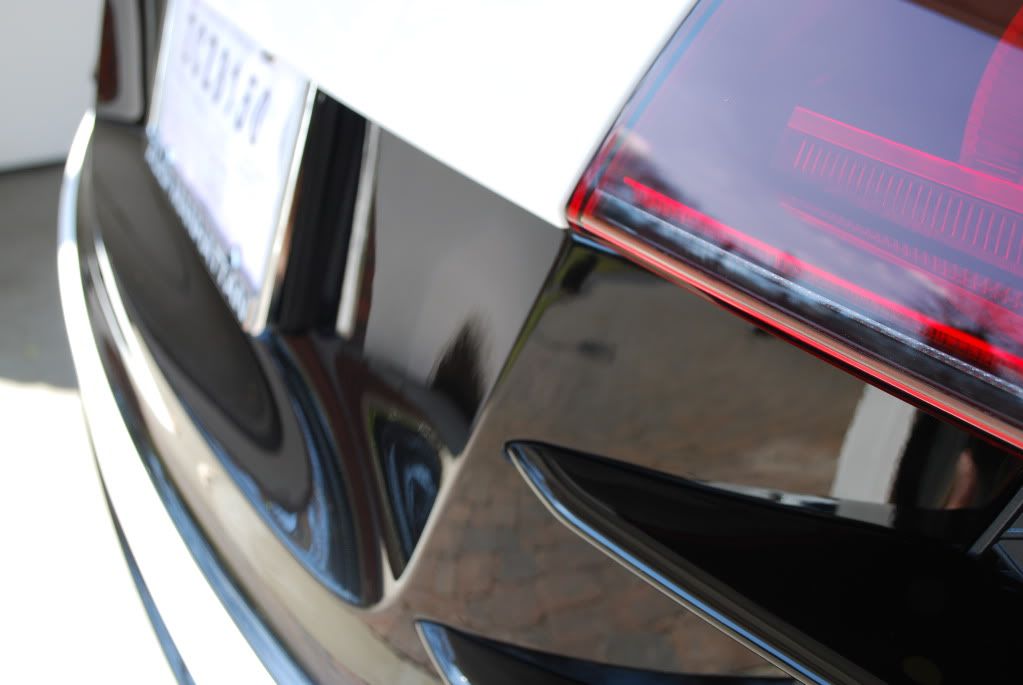
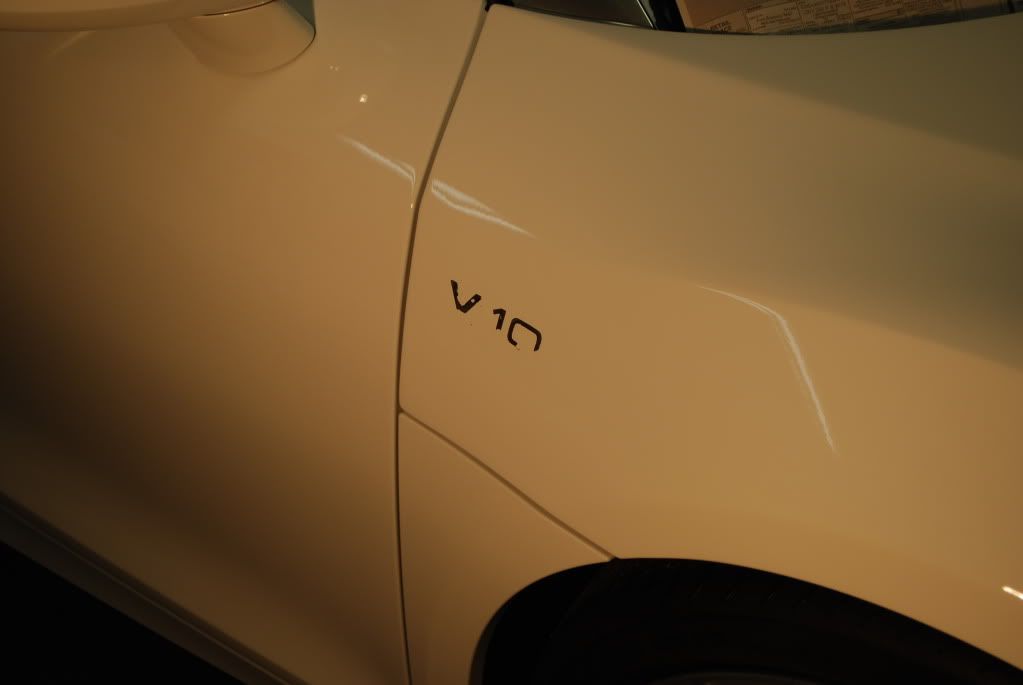
Owner asked for the V10 badges to be removed for a cleaner look plus for the later film installation no hole would need to be cut here.
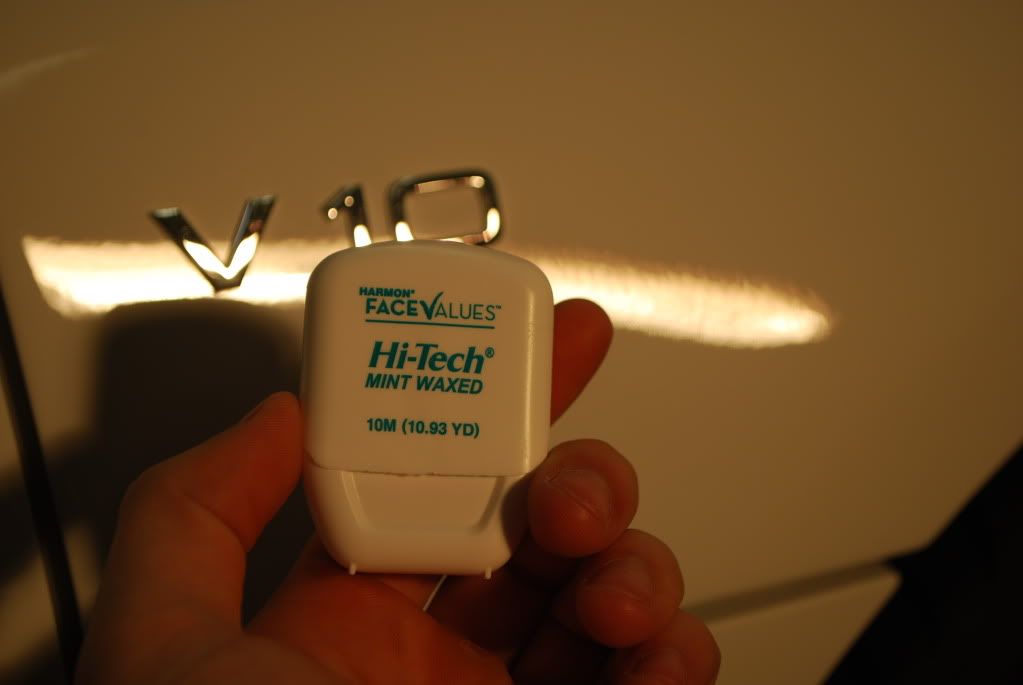
Out with some very special top secret detailing thread commonly known as dental floss..
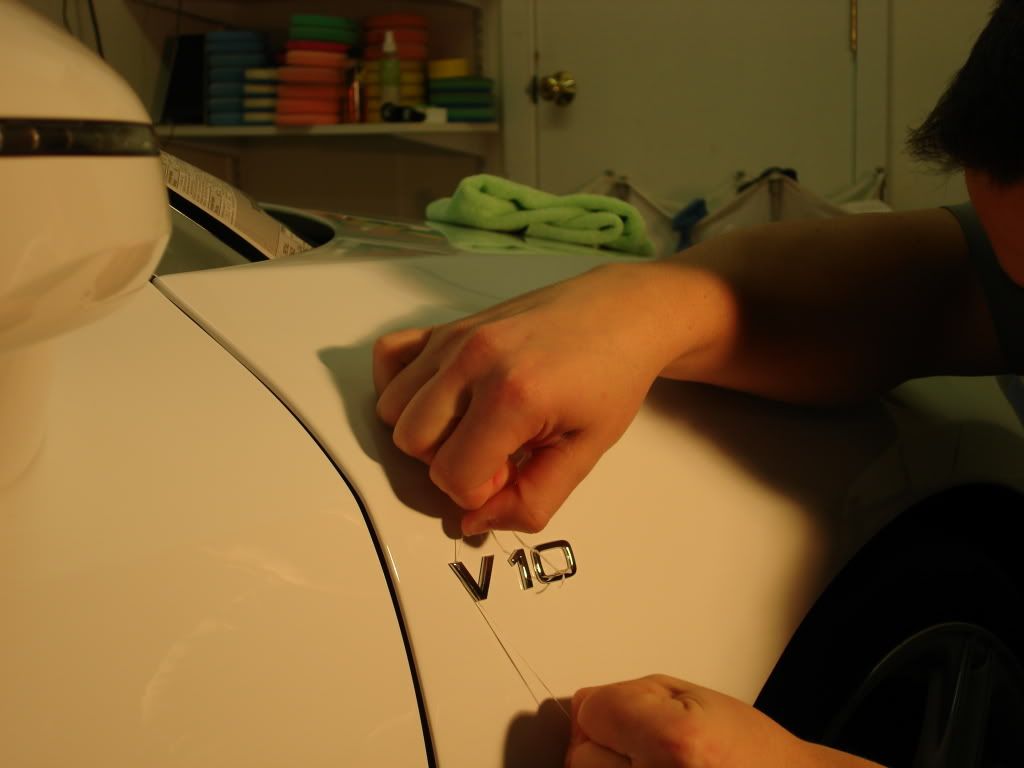
Gently slicing through the adhesive behind each letter
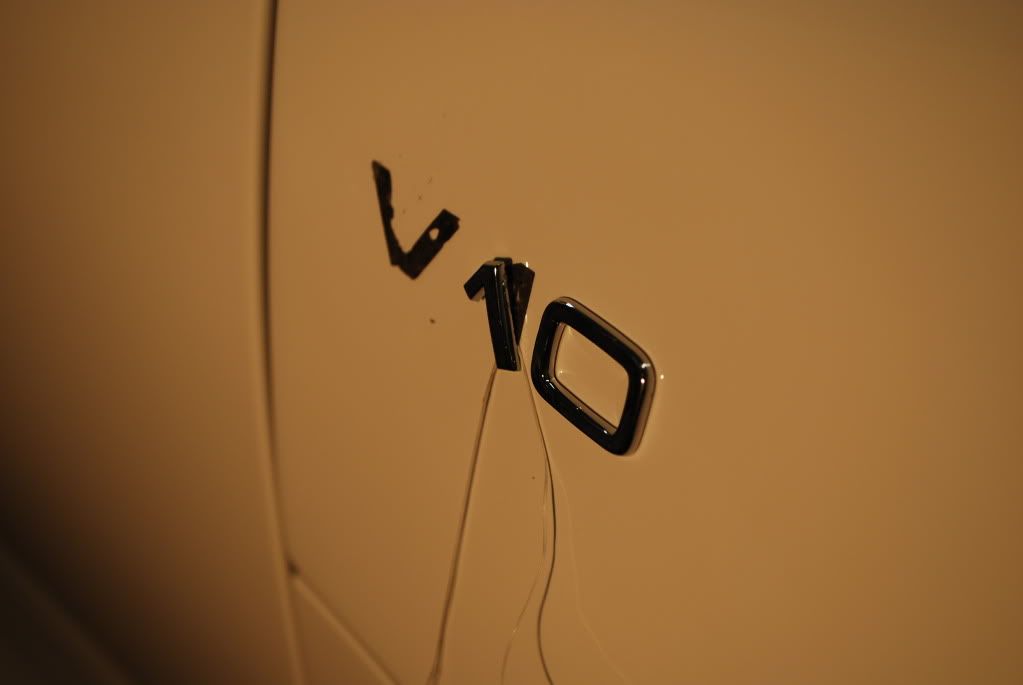
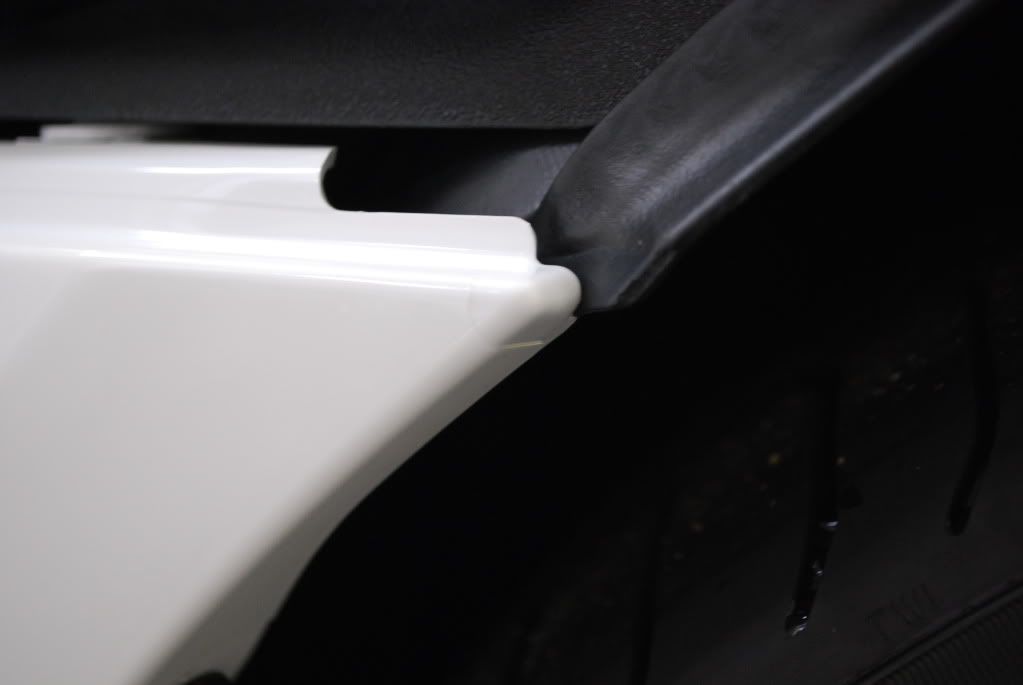
Whats left over
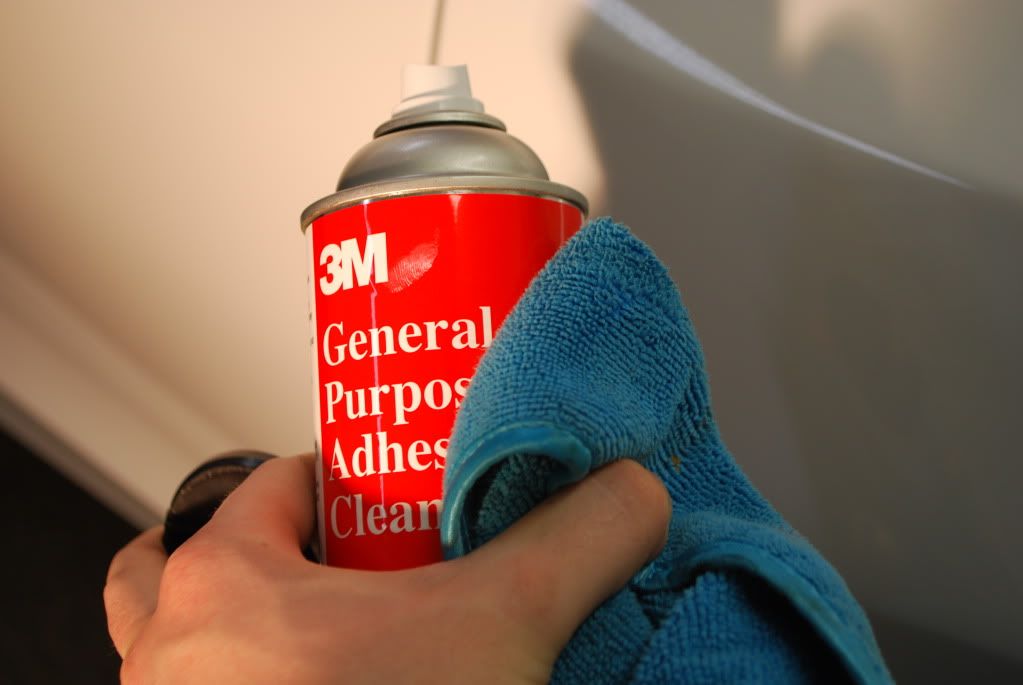
Used a heat gun to help loosen up and gently peel off what I could and the followed up with 3M adhesive remover for the rest.
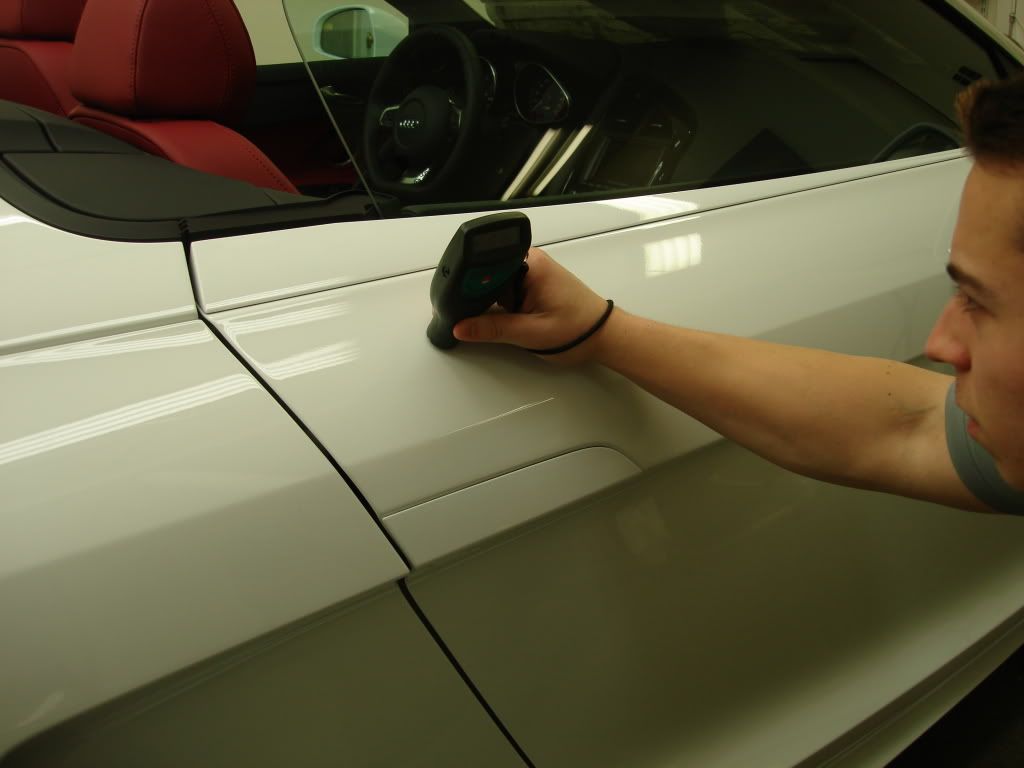
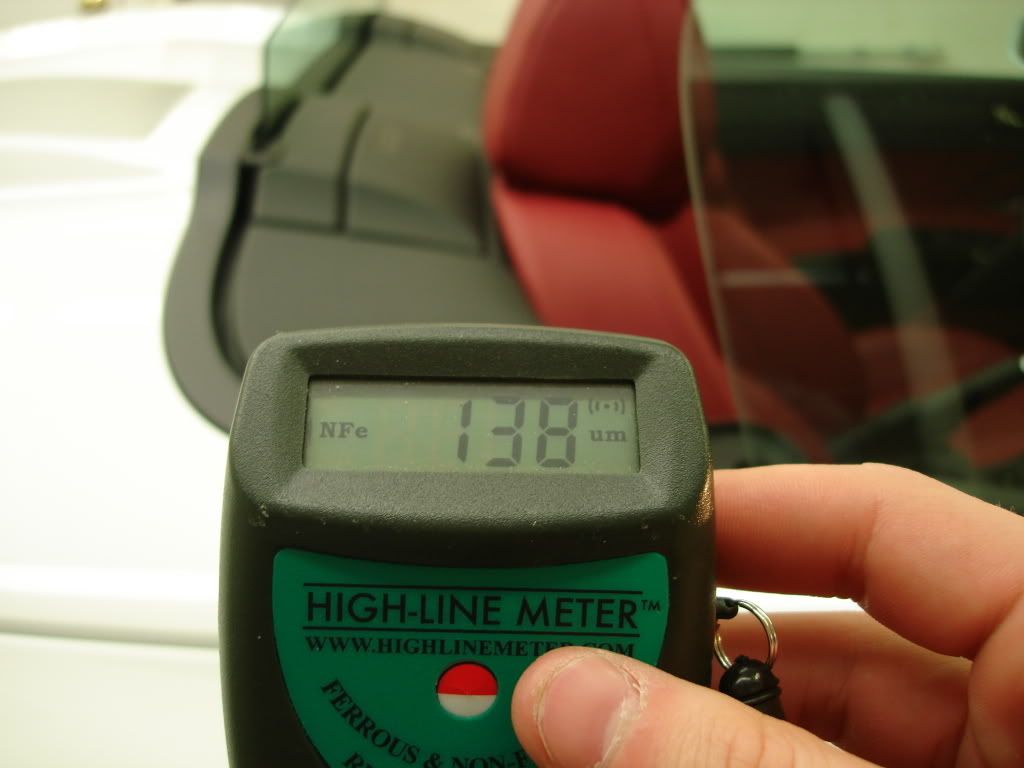
Onto paint correction, started off with some PTG readings.
Cleared for takeoff...
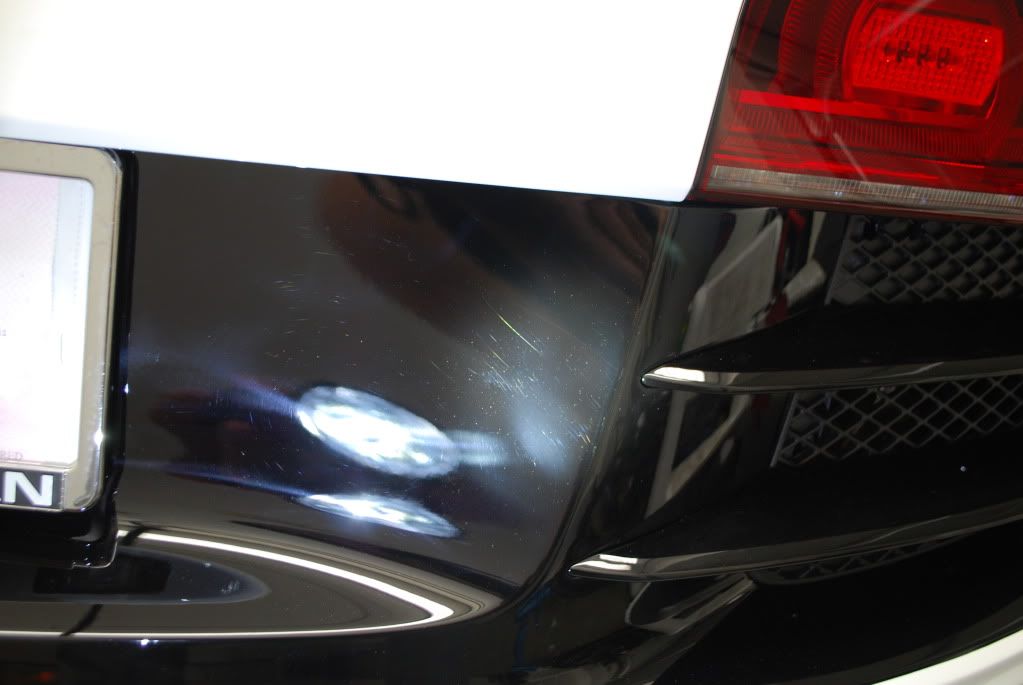
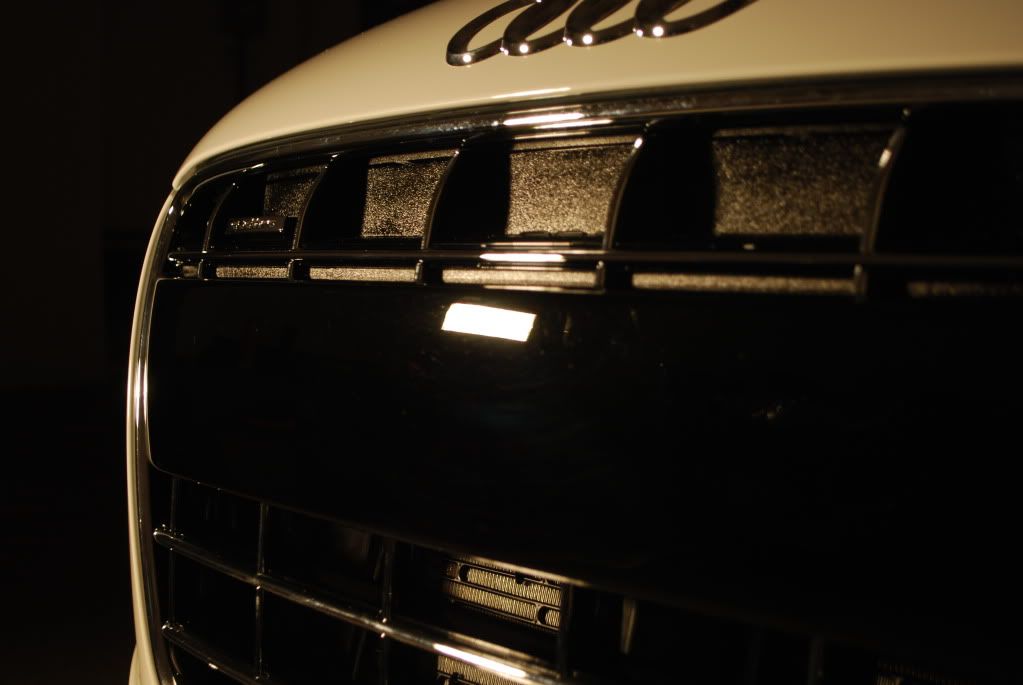
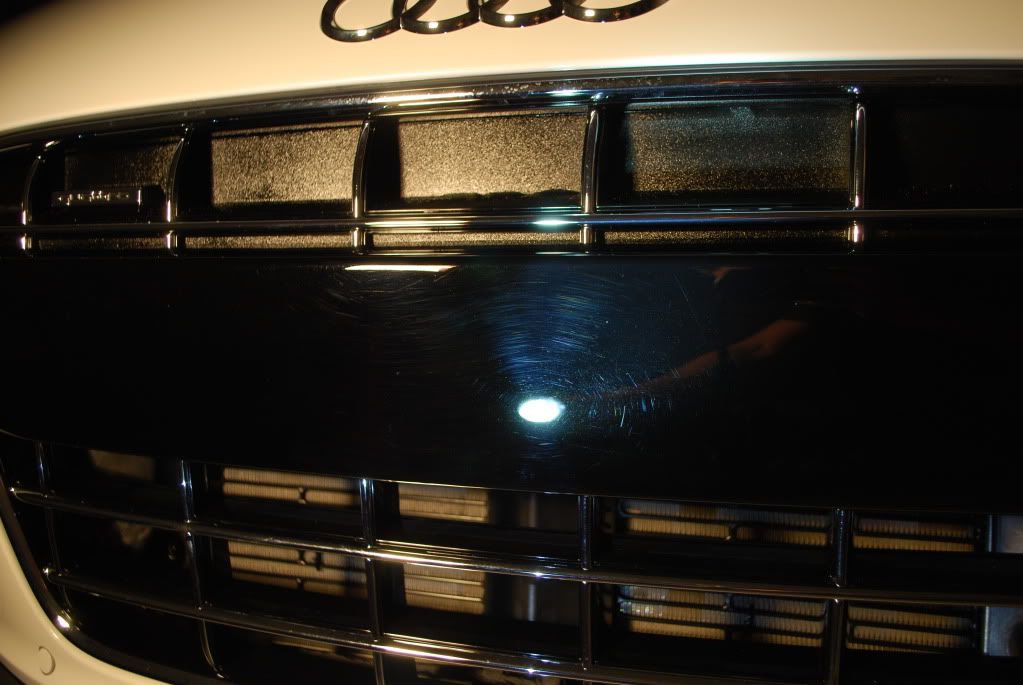
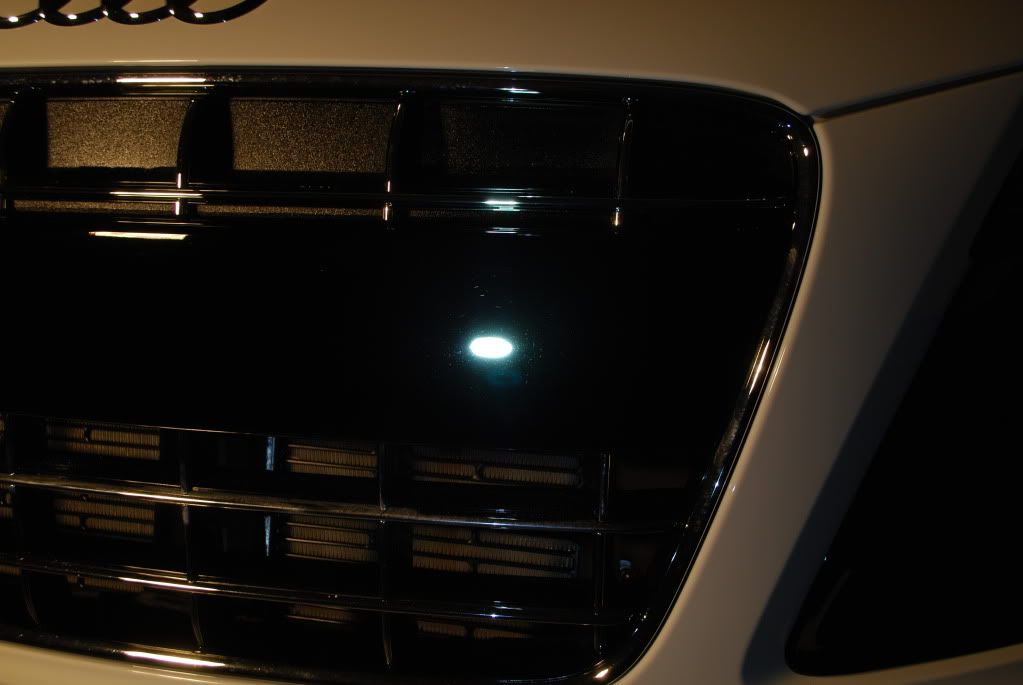
Started with the front plate holder or as it should be called, "the front black piece" because lets face it, nobody is putting a license plater here, ever :dupe:
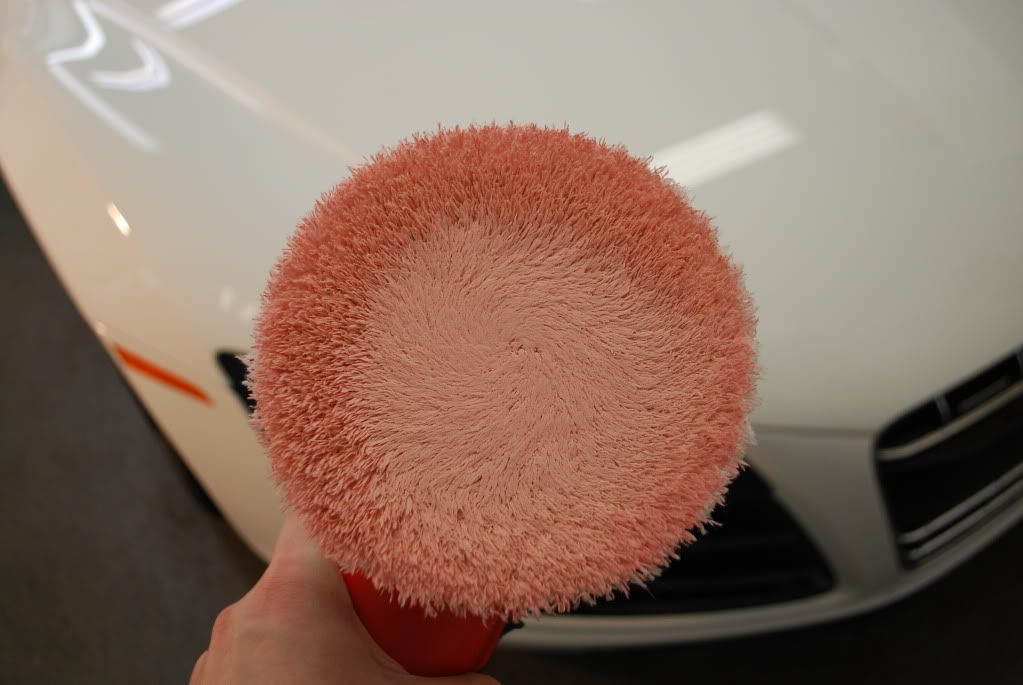
Correction carried out with the new Meguiars microfiber discs (4") and compound. This is a very nice system I have been playing with for the past 3 months. The system comes with a finishing micrfiber disc and finishing polish/wax as a follow up step and while it does work great, on this very soft finish plate holder I opted to use a polishing pad and Menzerna 106fa for clean up the marring and the hit it once again with a black pad and 85rd for ensure zero marring/holograms and on down the list of remaining defects.
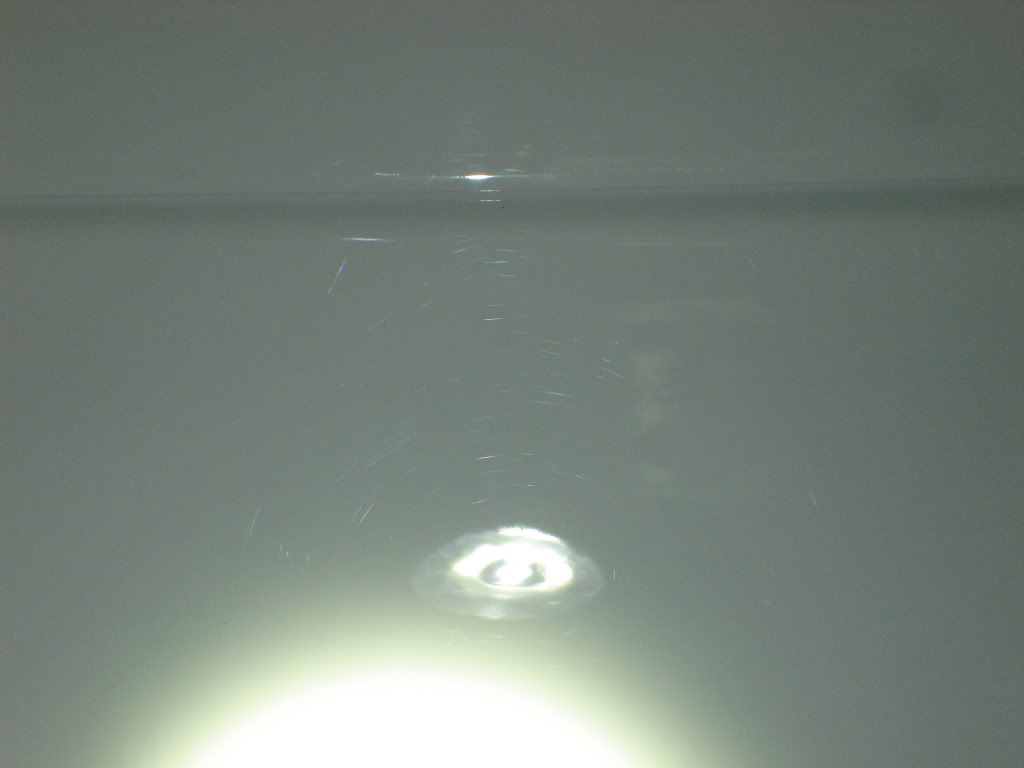
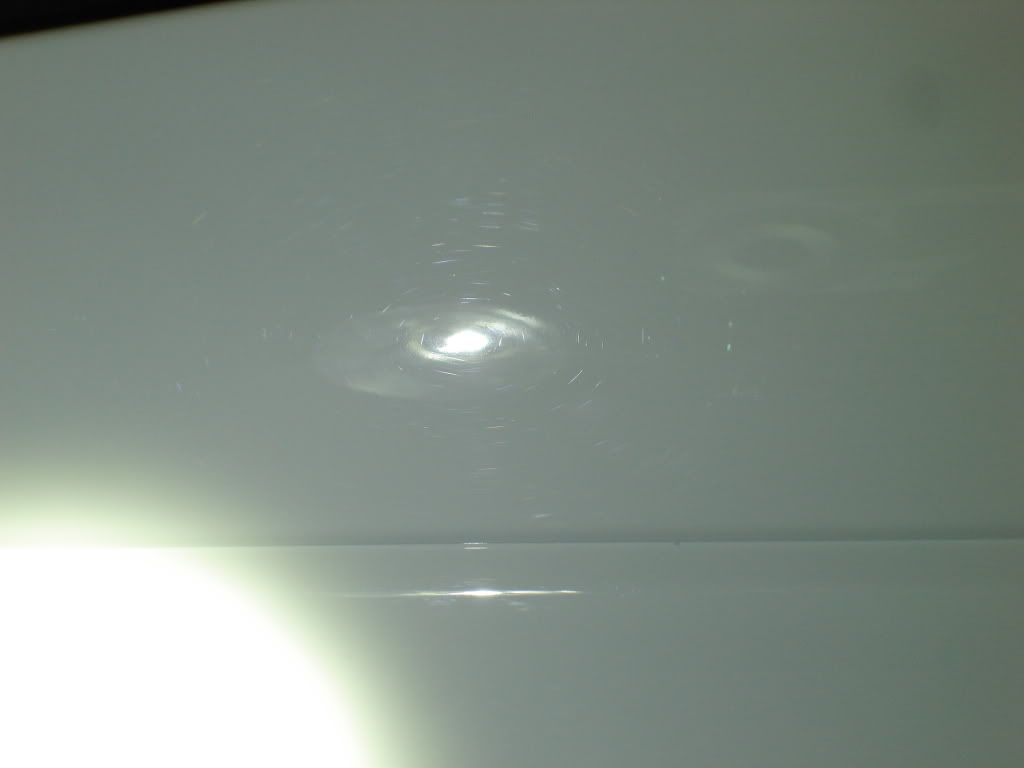
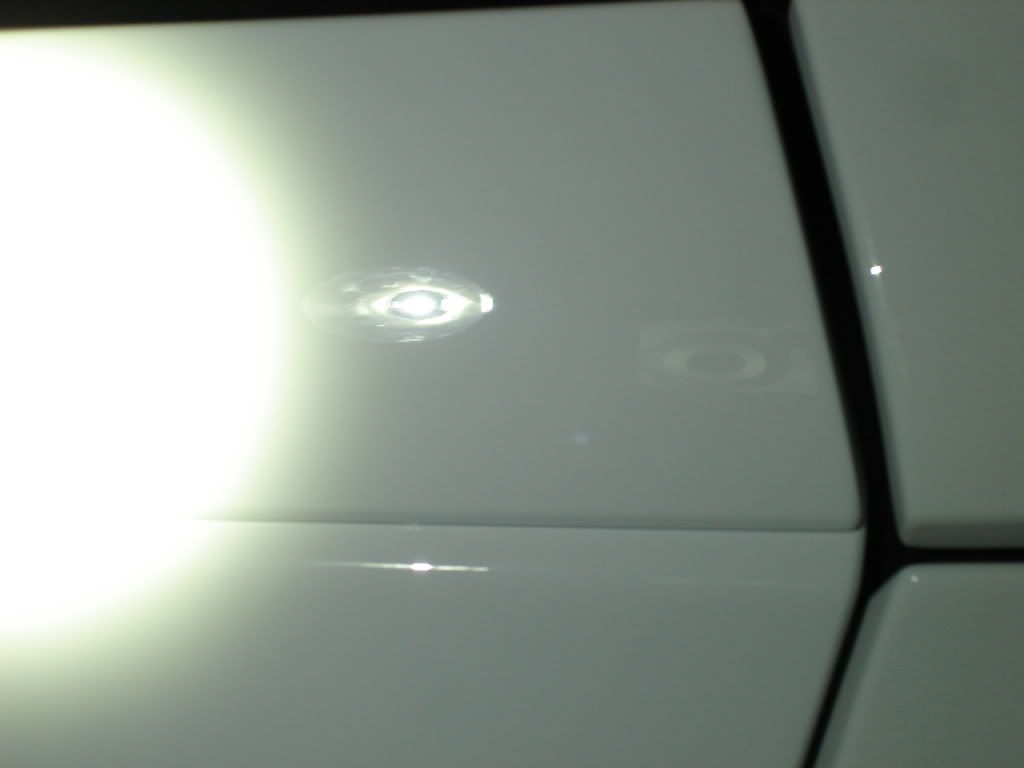
Before defects

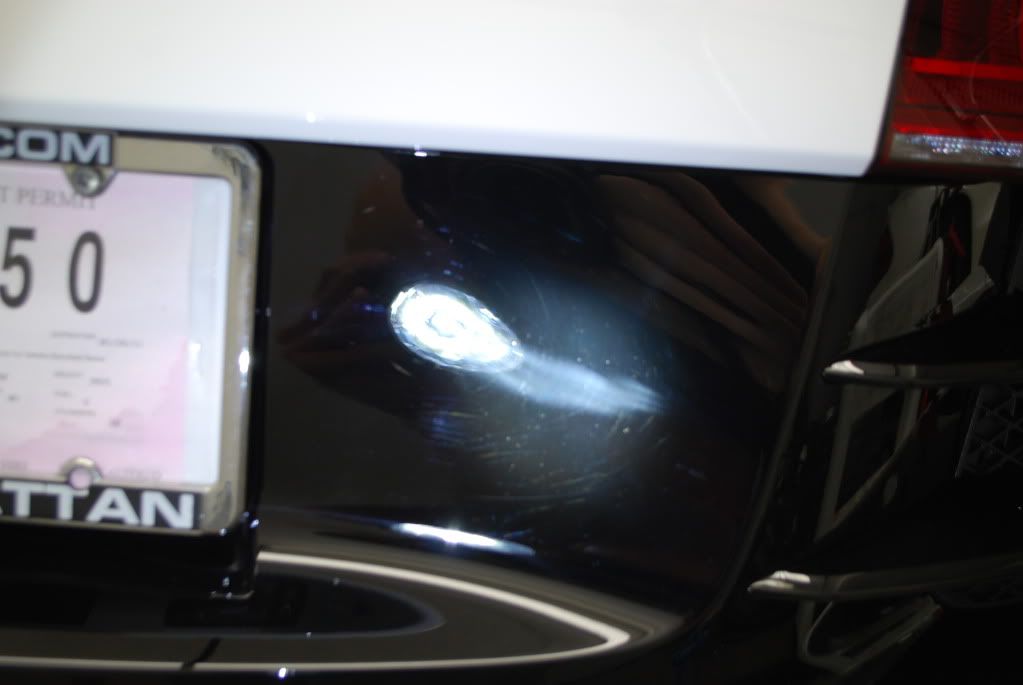
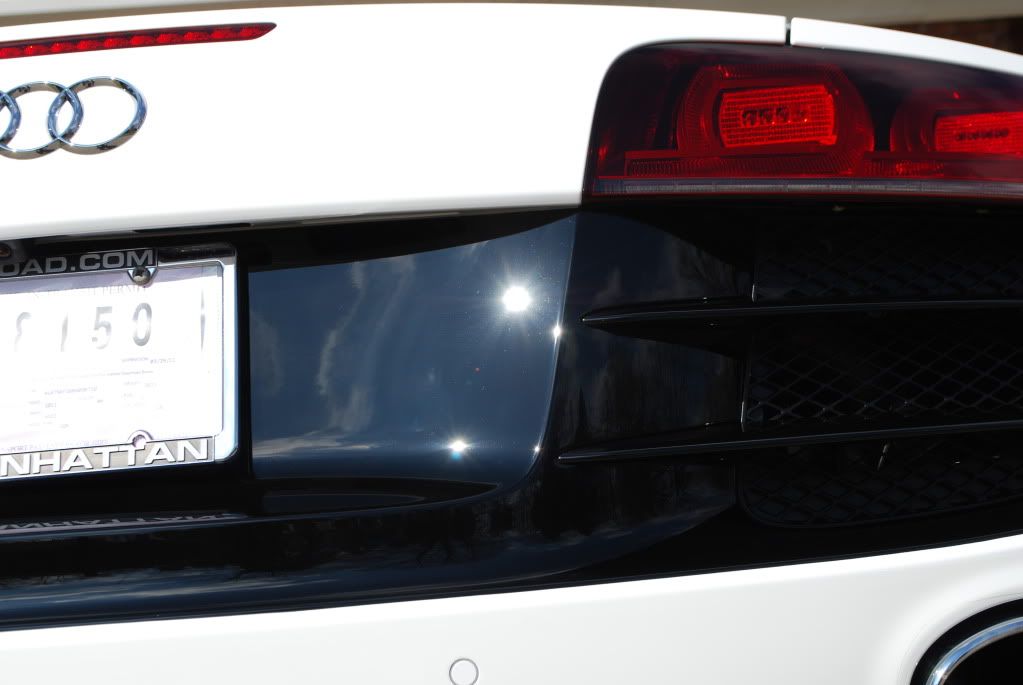
After
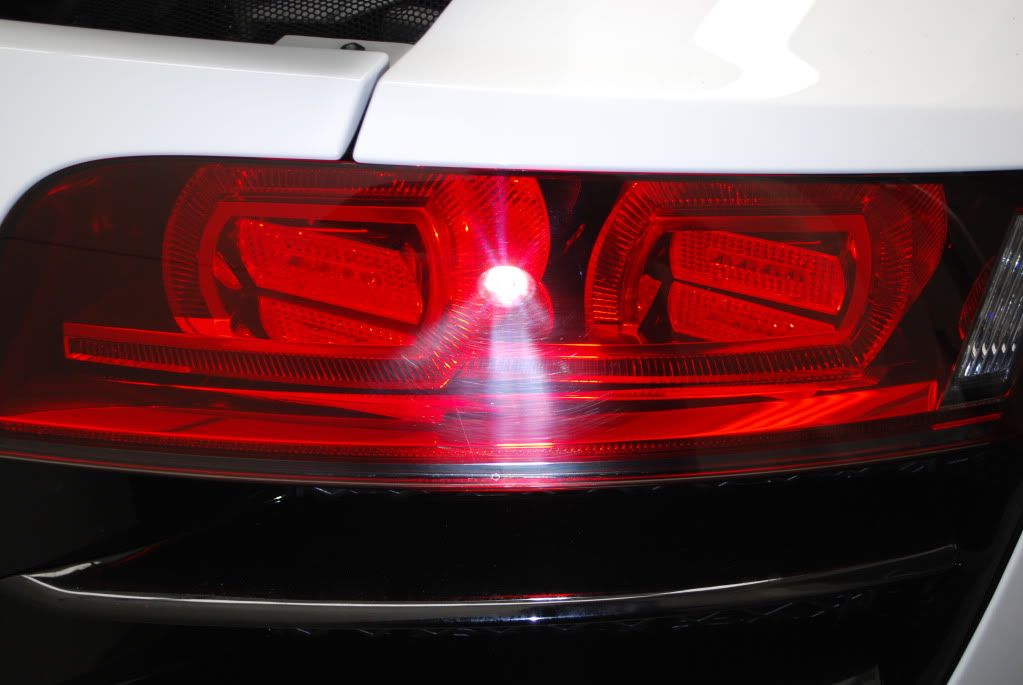
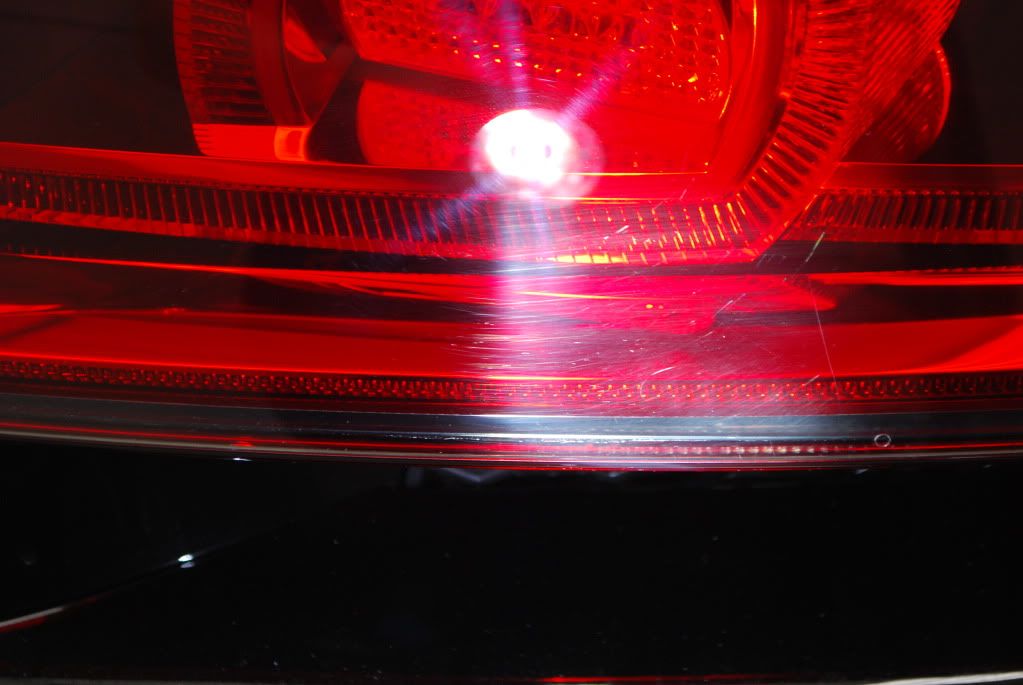
Under Fenix TK40
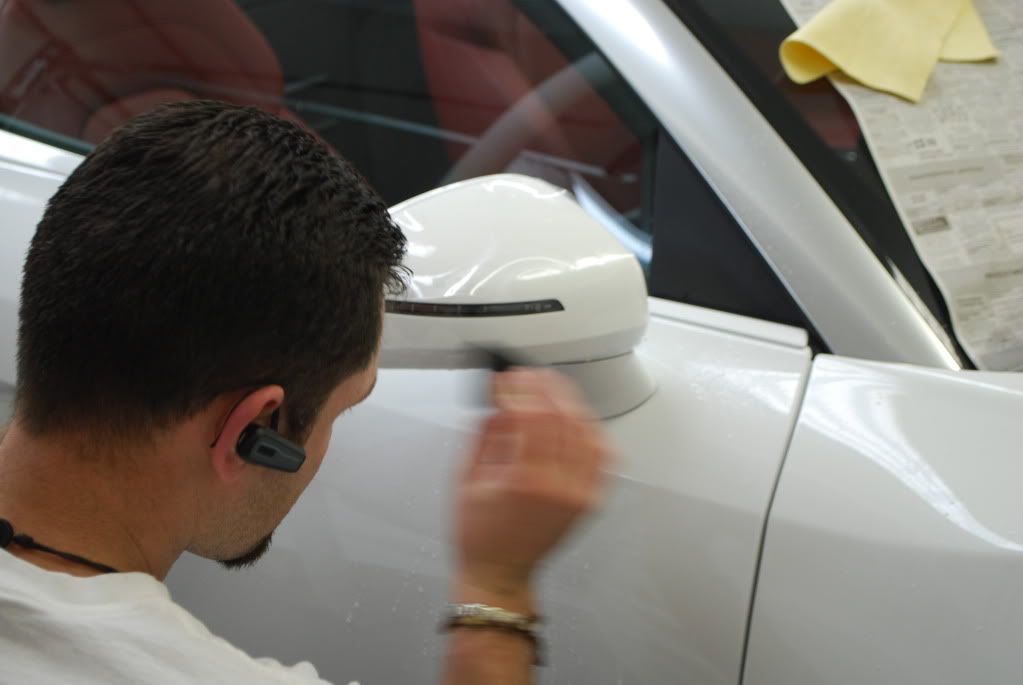
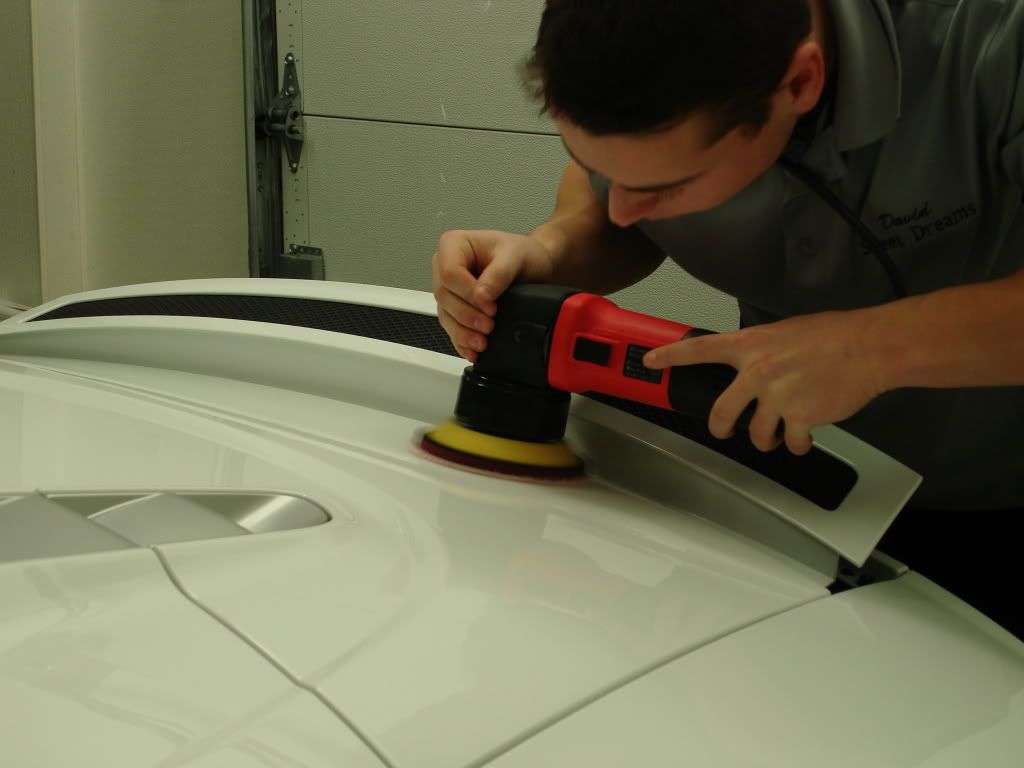
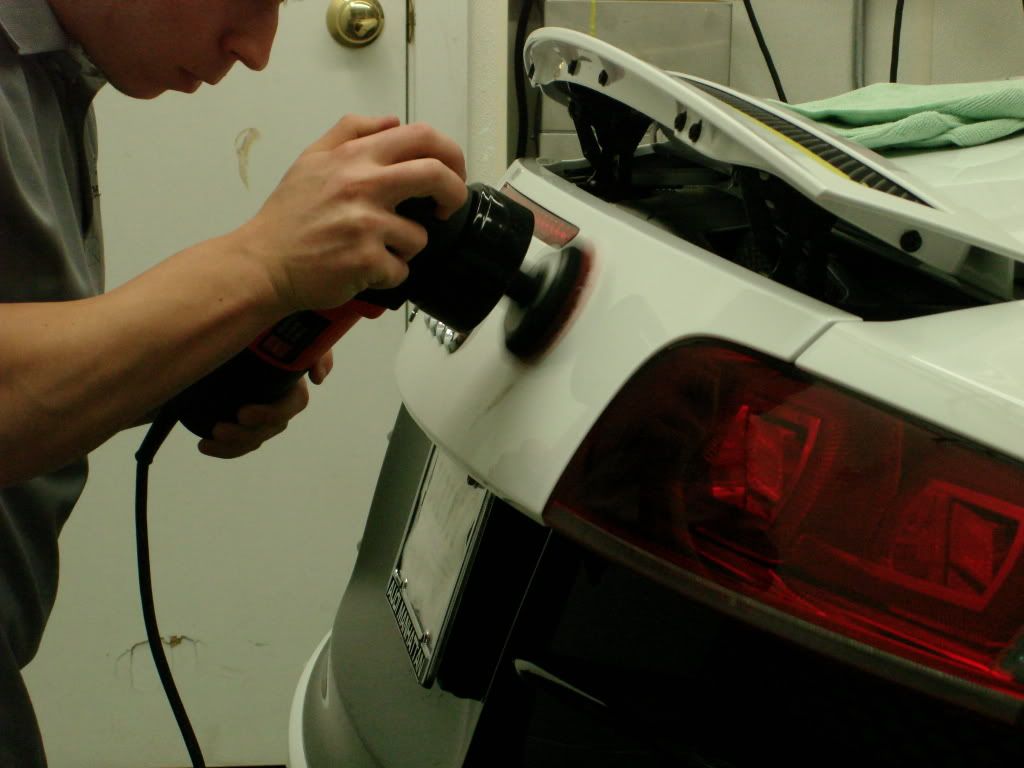
I moved onto the rest of the car which was compounding using the Micrfofiber disc and compound.
Pics have been posted before about the pads before and after use, while they do gum up and the fibers flatten out they clean out equally as good and can be used again and again.
After compounding a section...
After cleaning pad with a pad brush, no compressed air (yet, compressor on the way)

Couple action shots with the compound and compounding discs. I followed up this step with Menzerna 106FA using a green detailersdomain polishing pad.

Finish was beading nicely from a dealer prep. Pressure washed the body and pre soaked it using Optimum Powerclean 5:1
Wheels cleaned with Autoglym CWC, tires cleaned and degreased of old dressing using the same product, yes it works great on tires too.
Few shots of the finish in sunlight after a 2 bucket wash
Few RIDS on the hood
Onto claying
Mild contaminants, nothing serious
Owner asked for the V10 badges to be removed for a cleaner look plus for the later film installation no hole would need to be cut here.
Out with some very special top secret detailing thread commonly known as dental floss..
Gently slicing through the adhesive behind each letter
Whats left over
Used a heat gun to help loosen up and gently peel off what I could and the followed up with 3M adhesive remover for the rest.
Onto paint correction, started off with some PTG readings.
Cleared for takeoff...
Started with the front plate holder or as it should be called, "the front black piece" because lets face it, nobody is putting a license plater here, ever :dupe:
Correction carried out with the new Meguiars microfiber discs (4") and compound. This is a very nice system I have been playing with for the past 3 months. The system comes with a finishing micrfiber disc and finishing polish/wax as a follow up step and while it does work great, on this very soft finish plate holder I opted to use a polishing pad and Menzerna 106fa for clean up the marring and the hit it once again with a black pad and 85rd for ensure zero marring/holograms and on down the list of remaining defects.
Before defects
After
Under Fenix TK40
I moved onto the rest of the car which was compounding using the Micrfofiber disc and compound.
Pics have been posted before about the pads before and after use, while they do gum up and the fibers flatten out they clean out equally as good and can be used again and again.
After compounding a section...
After cleaning pad with a pad brush, no compressed air (yet, compressor on the way)
Couple action shots with the compound and compounding discs. I followed up this step with Menzerna 106FA using a green detailersdomain polishing pad.