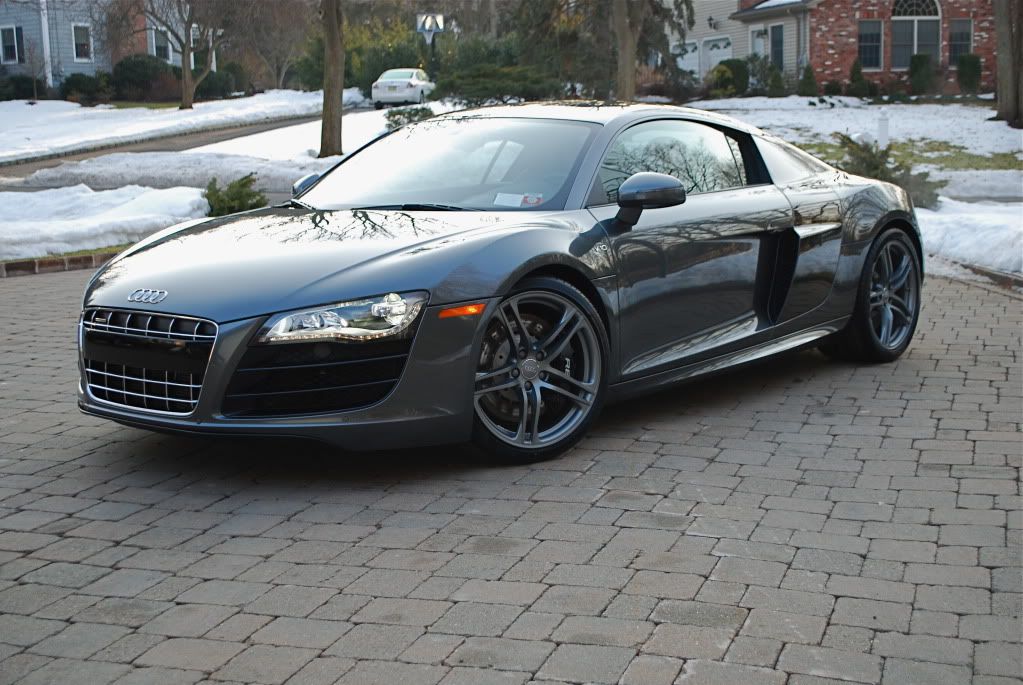
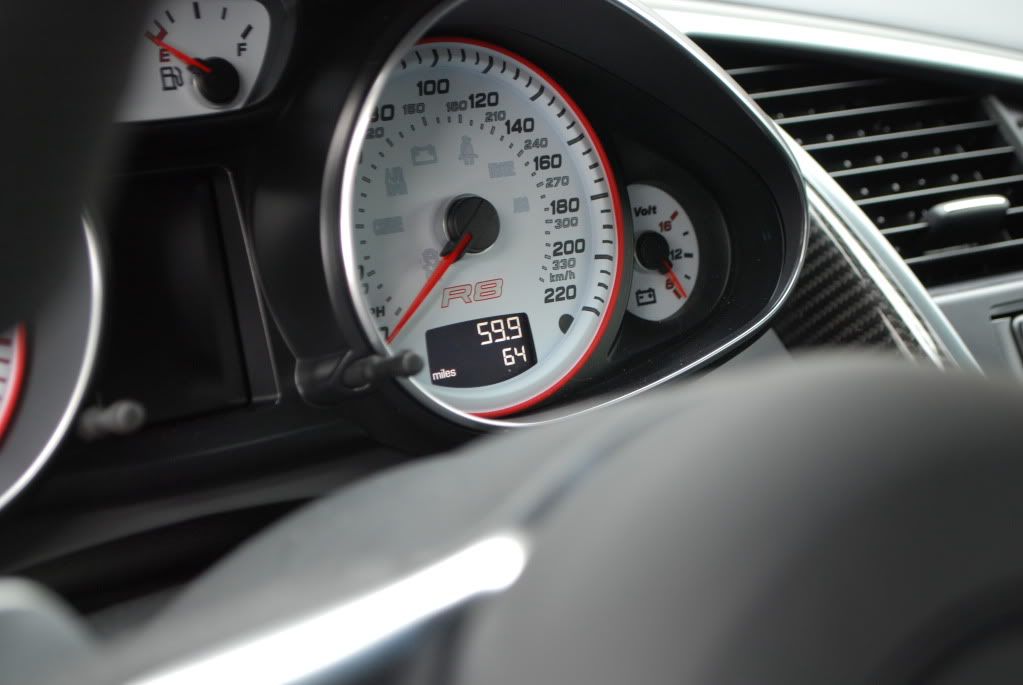
Brand new R8 V10 in for a New Car Preparation and Clear Film install.
This car is about as new as you can get, it was brought to me the day after delivery, some plastic wrapping still on. If only all owners had the restraint to let their new sports coupe get a proper detail and clear film install done before really taking it out for a spin!
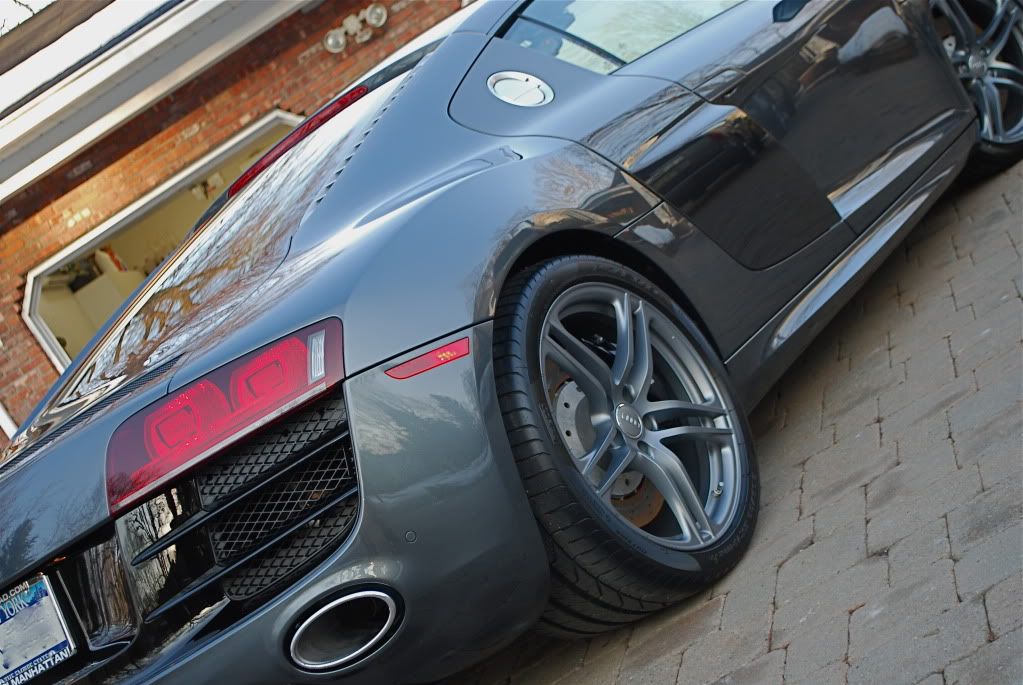
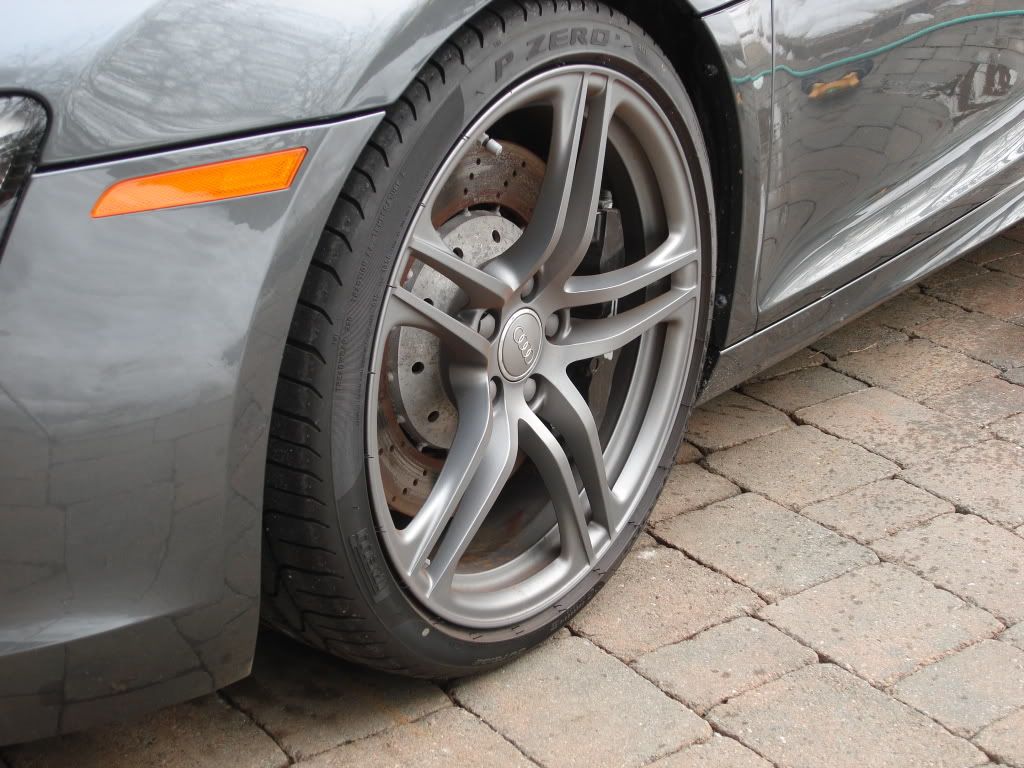
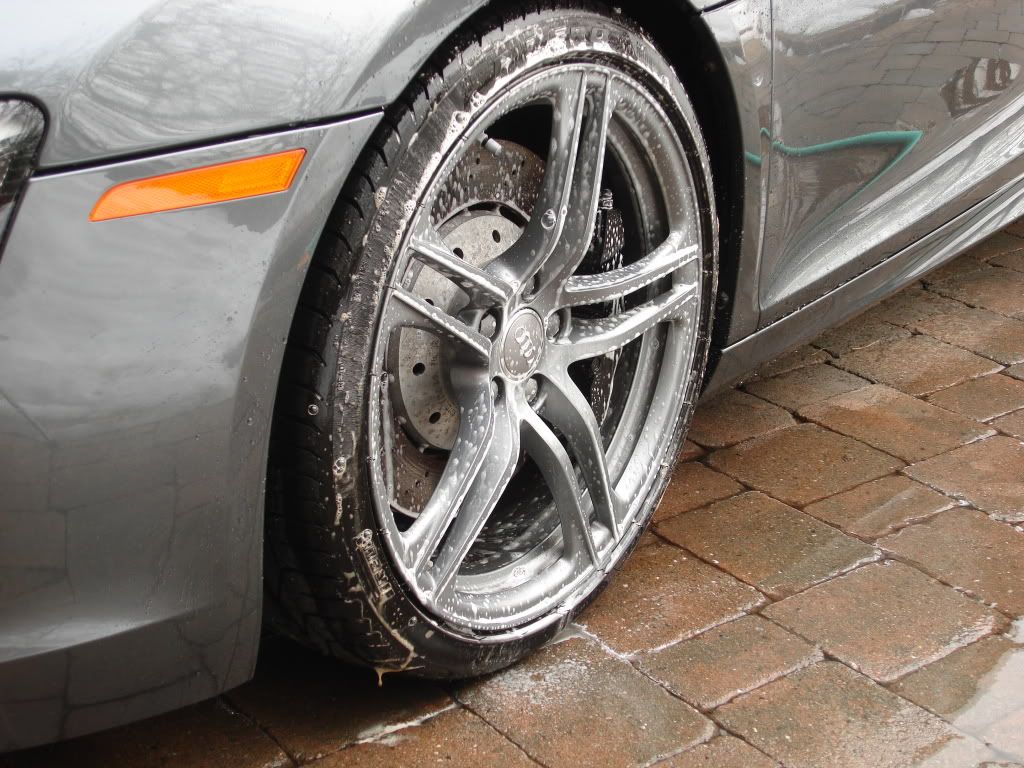
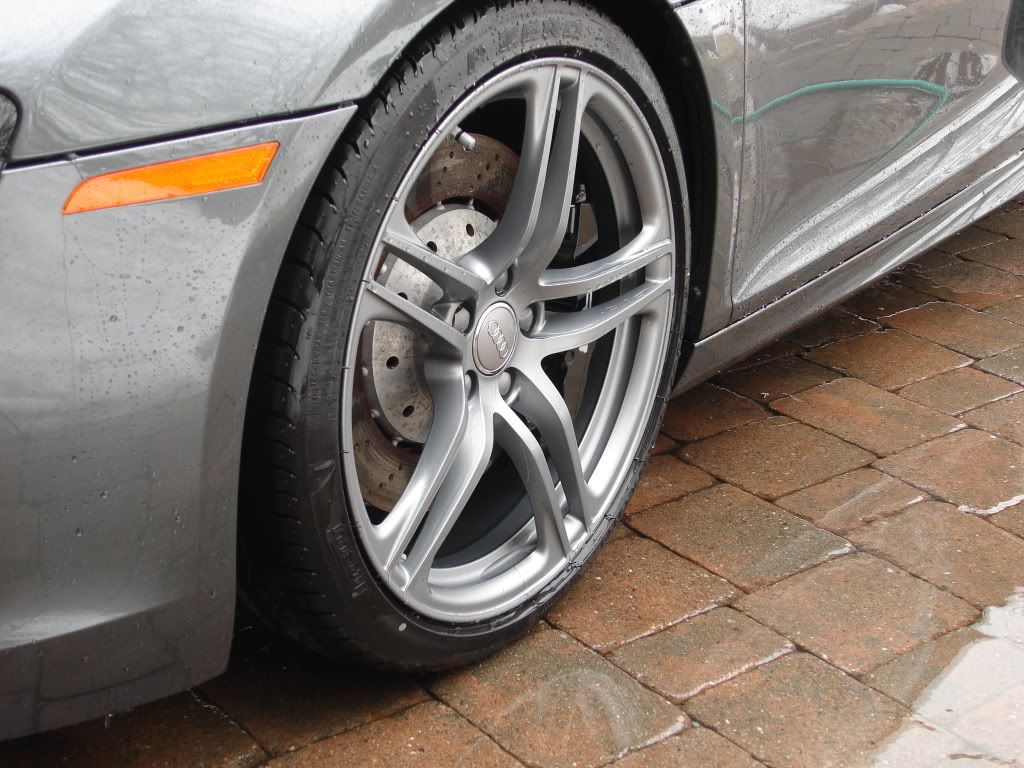
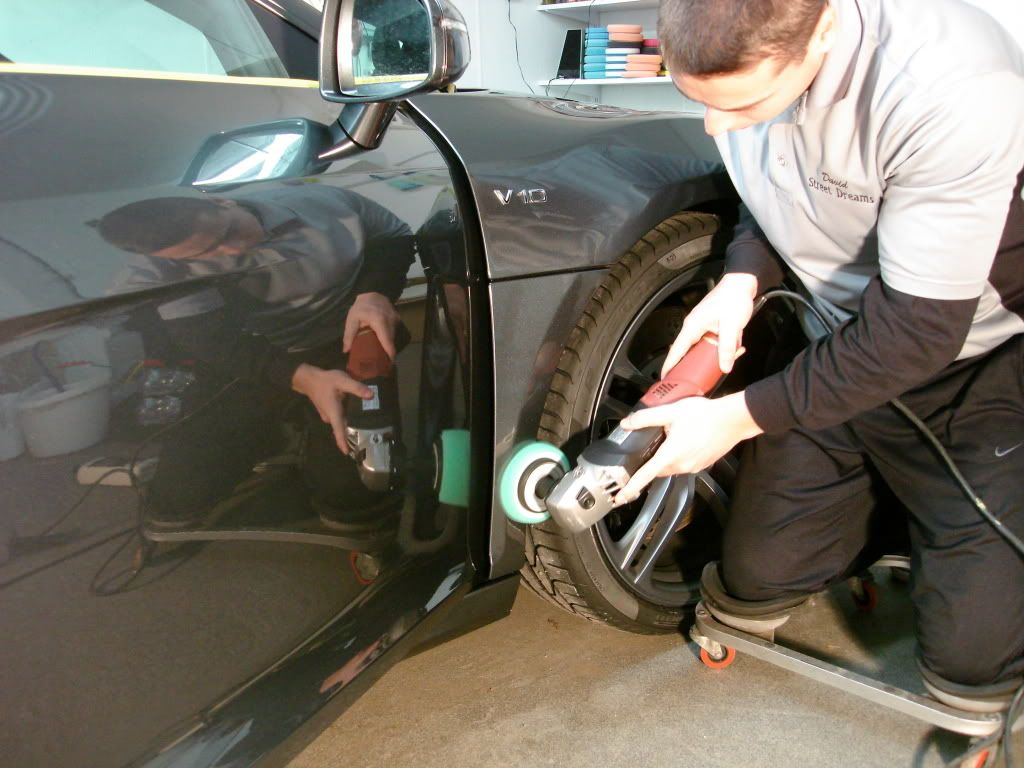
Started with the wheels and tires. AutoGlym CWC was used on the wheels, Optimum powerclean 3:1 on the tires and wheel wells. Wheel scrubbed using various brushes.
Before
During
After
Although brand new the car was fairly dirty from the ride to my place in New Jersey from New York.
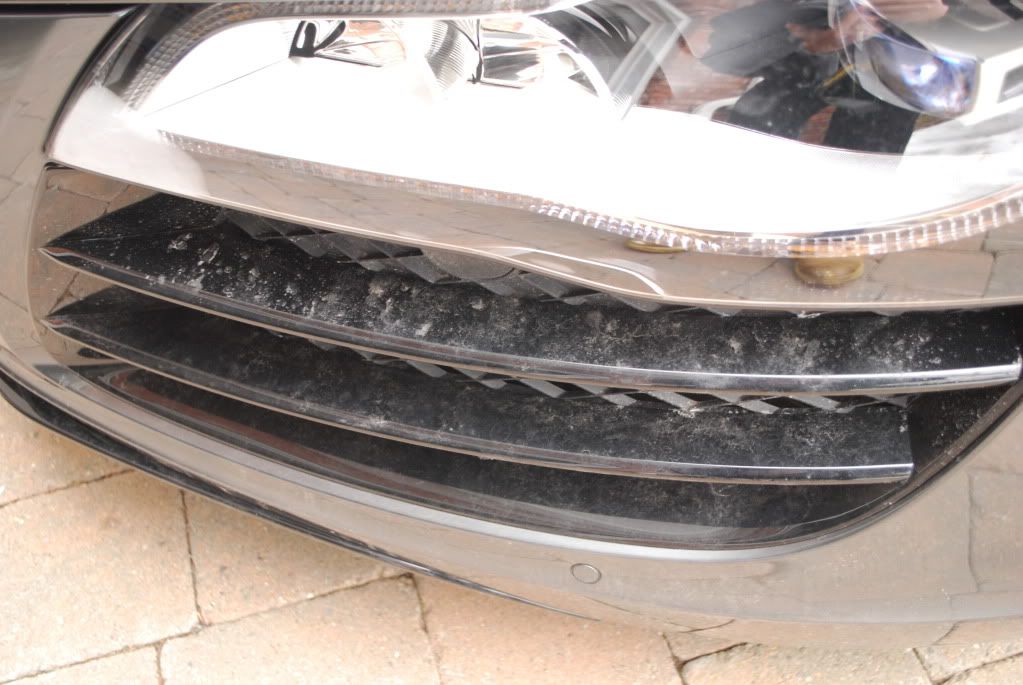
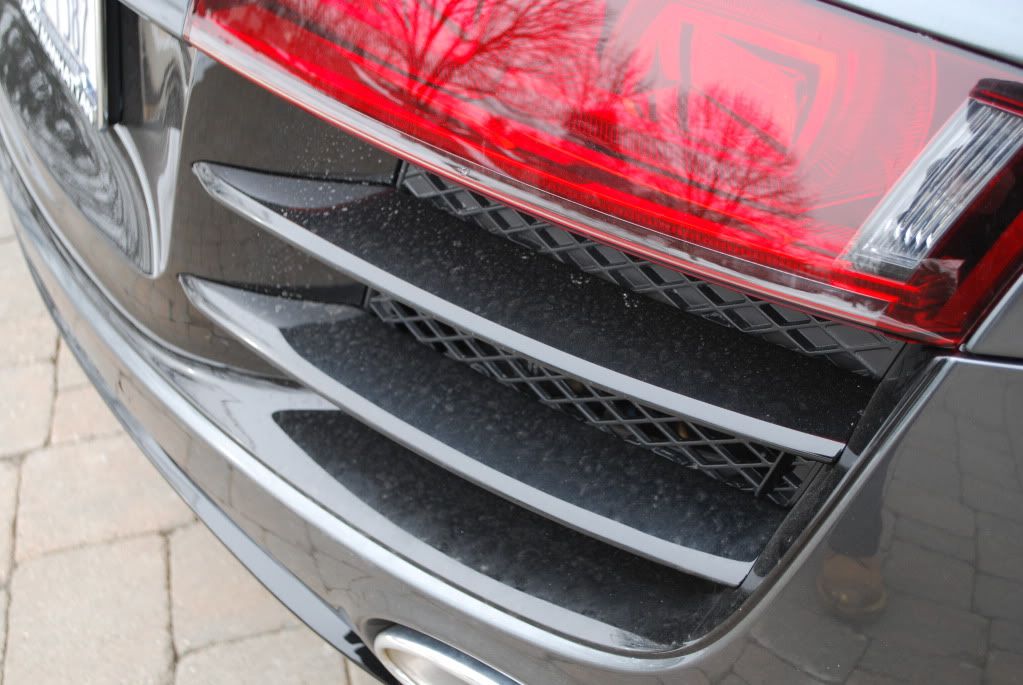
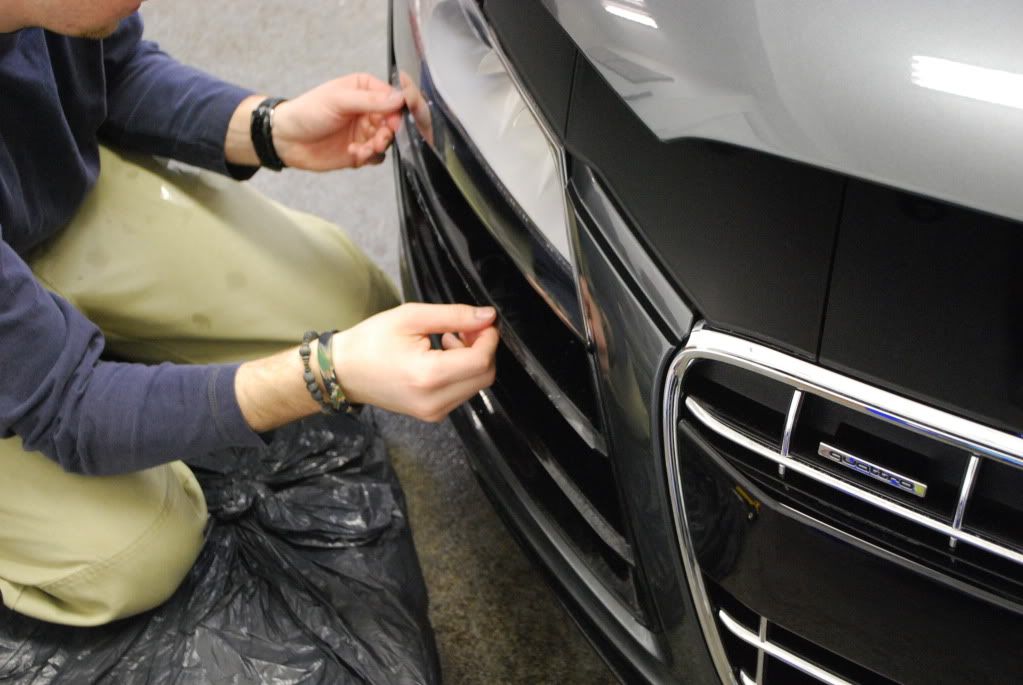
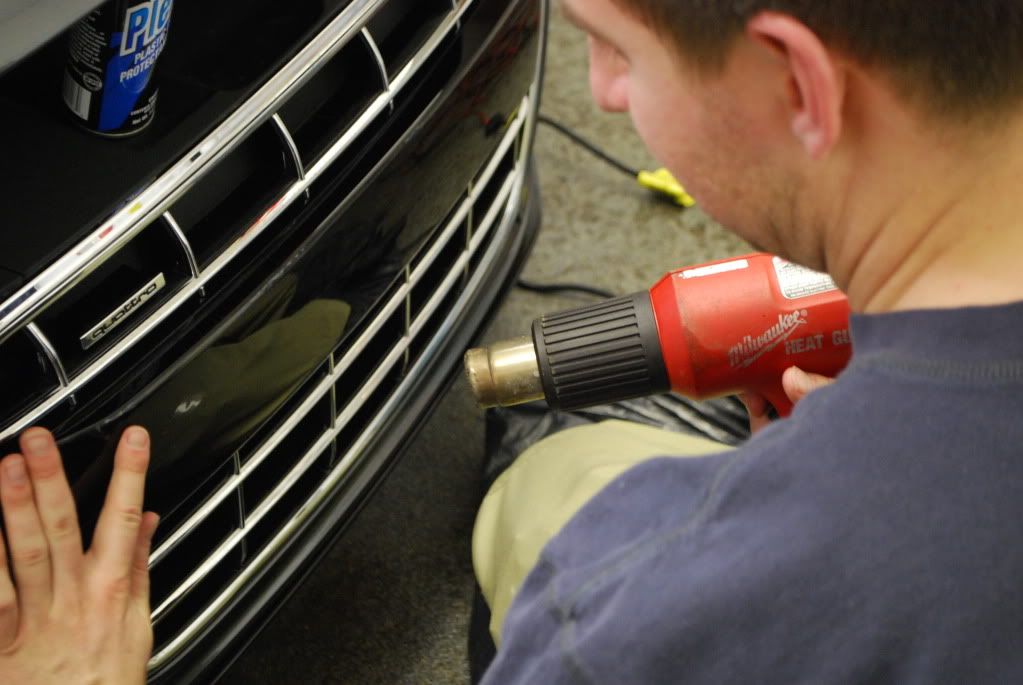
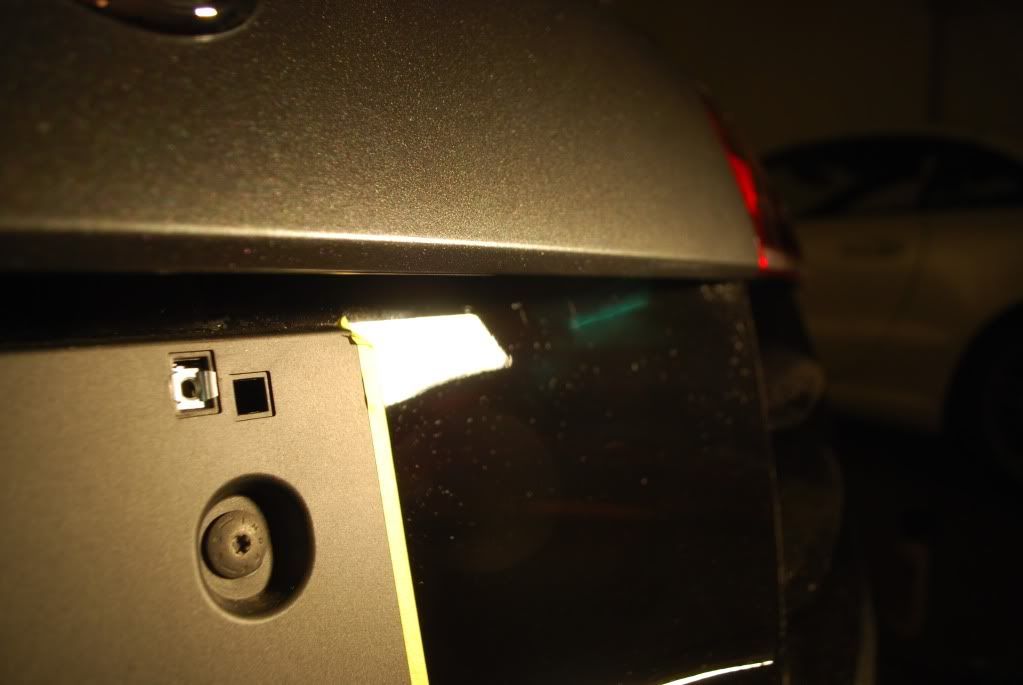
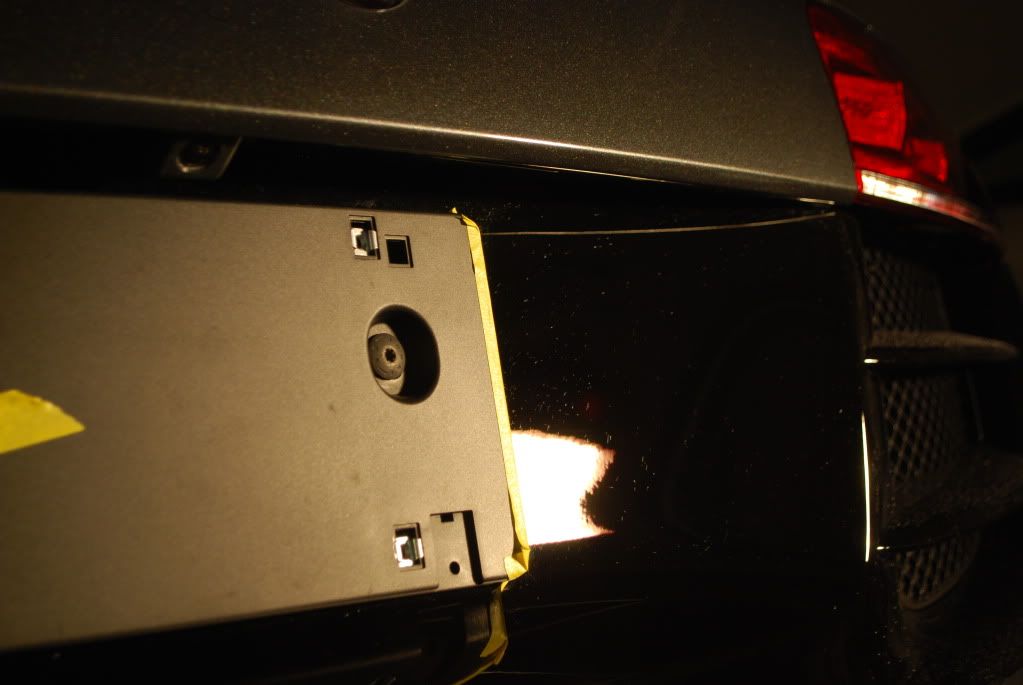
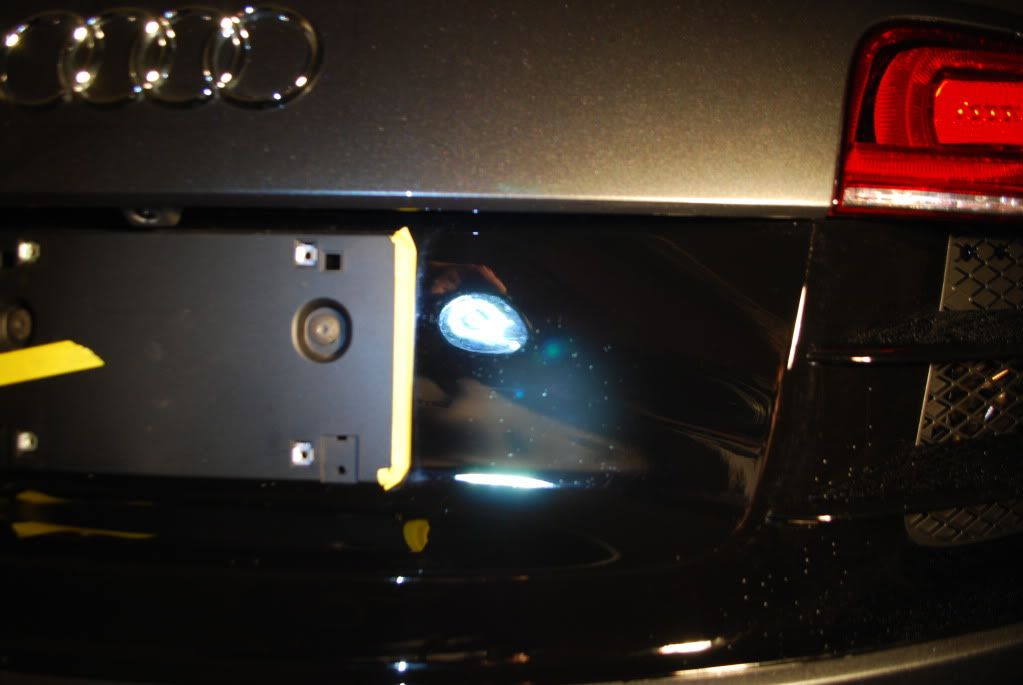
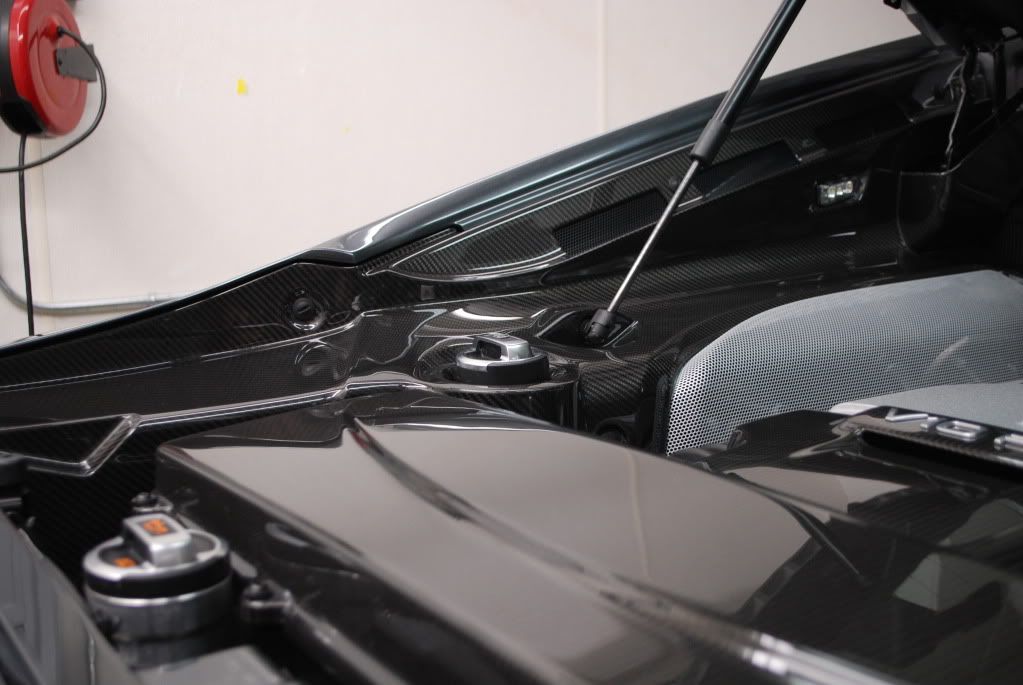
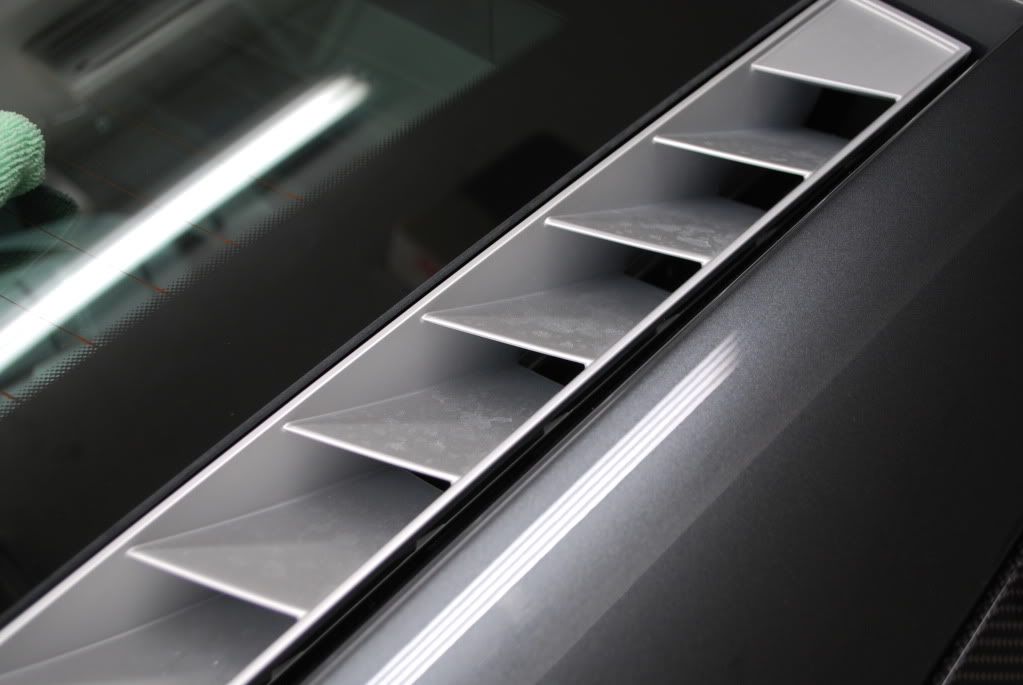
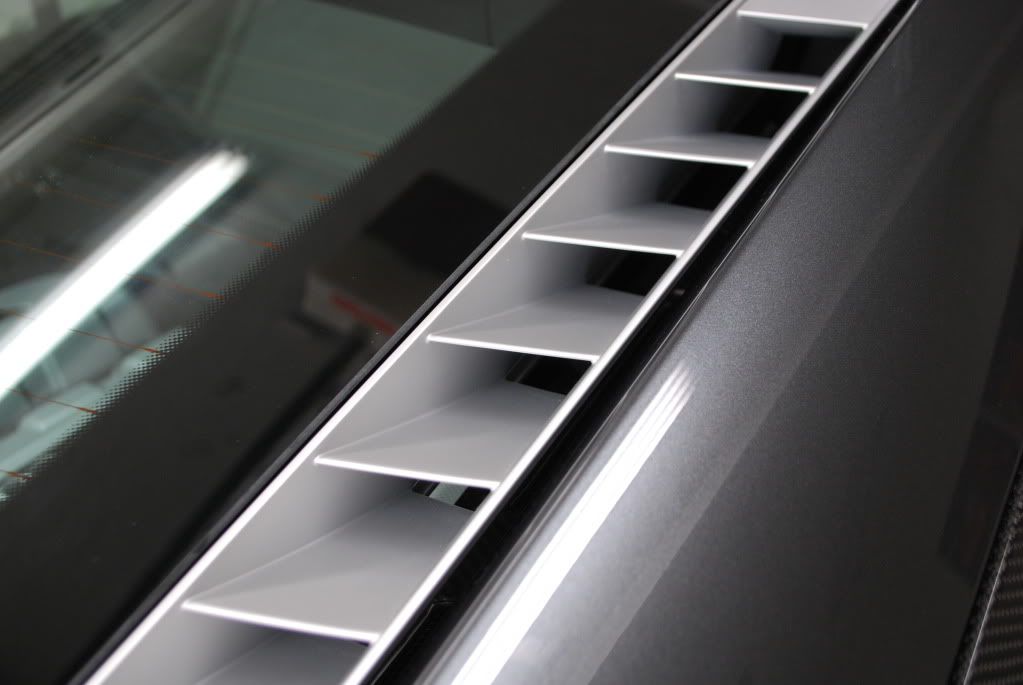
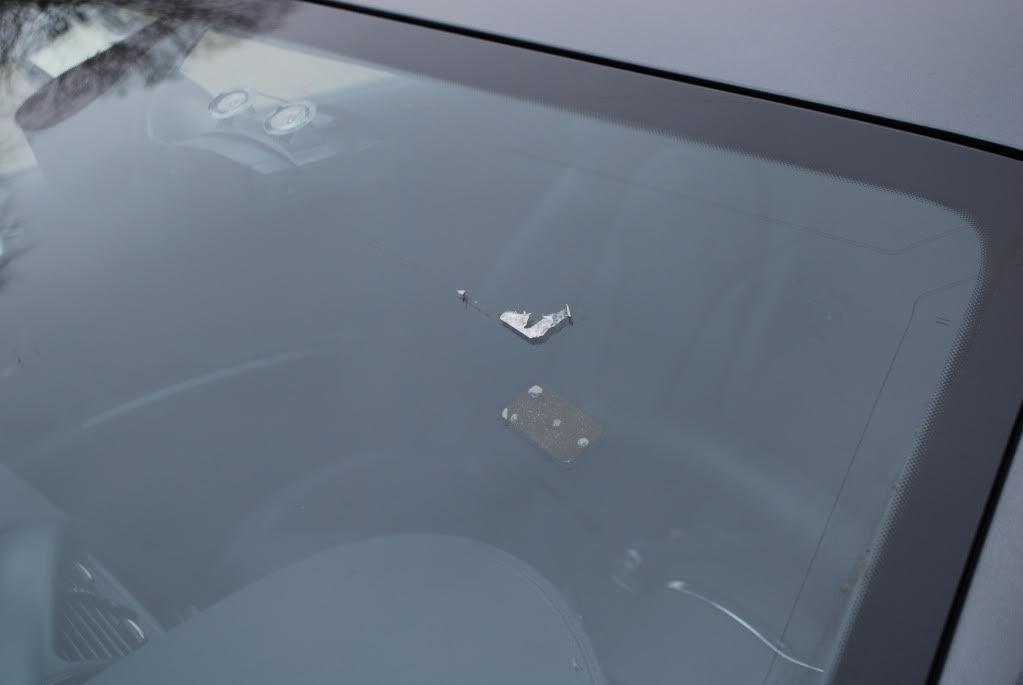
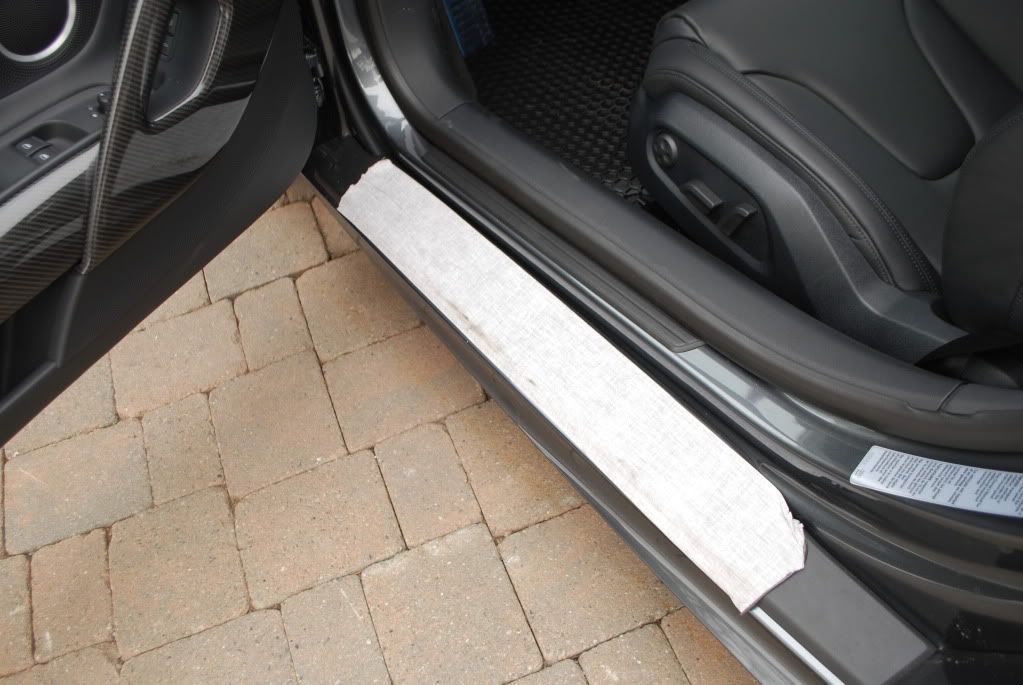
Some goodies left on the car from delivery, the owner left explicit instructions to NOT have the dealer remove any more than the necessary plastic protection from transport...
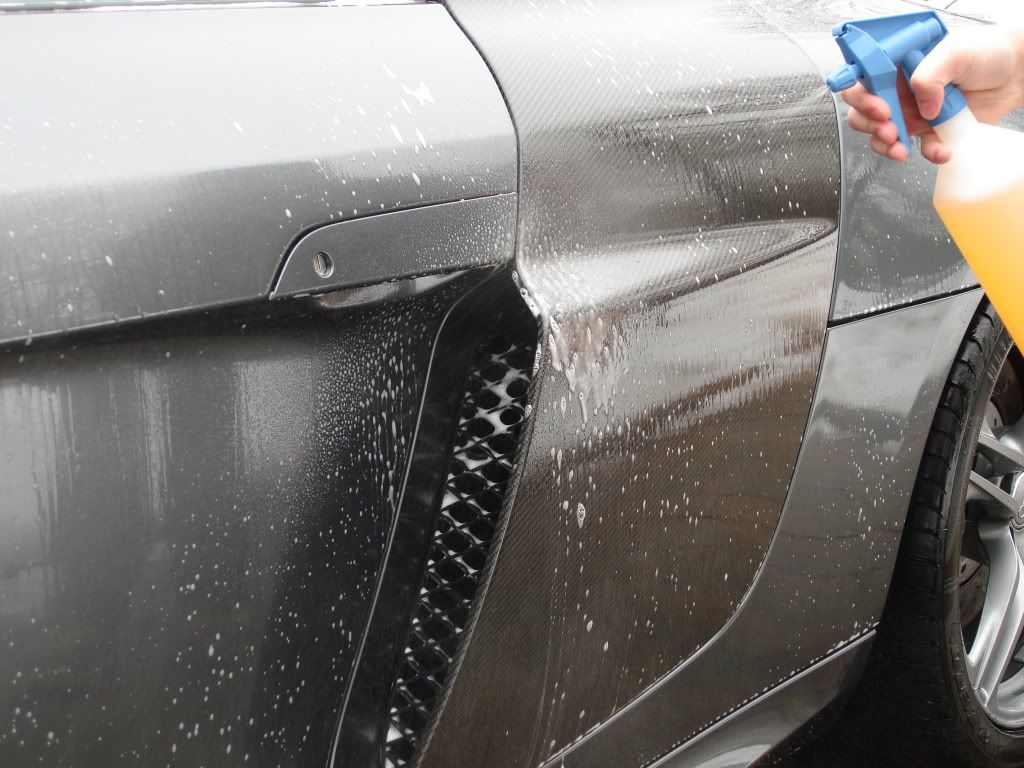
After the wheels I pressure washed the body and then sprayed the car down using Optimum Powerclean at 6:1 (more gentle ratio) to help loosen up some grime before foaming and washing.
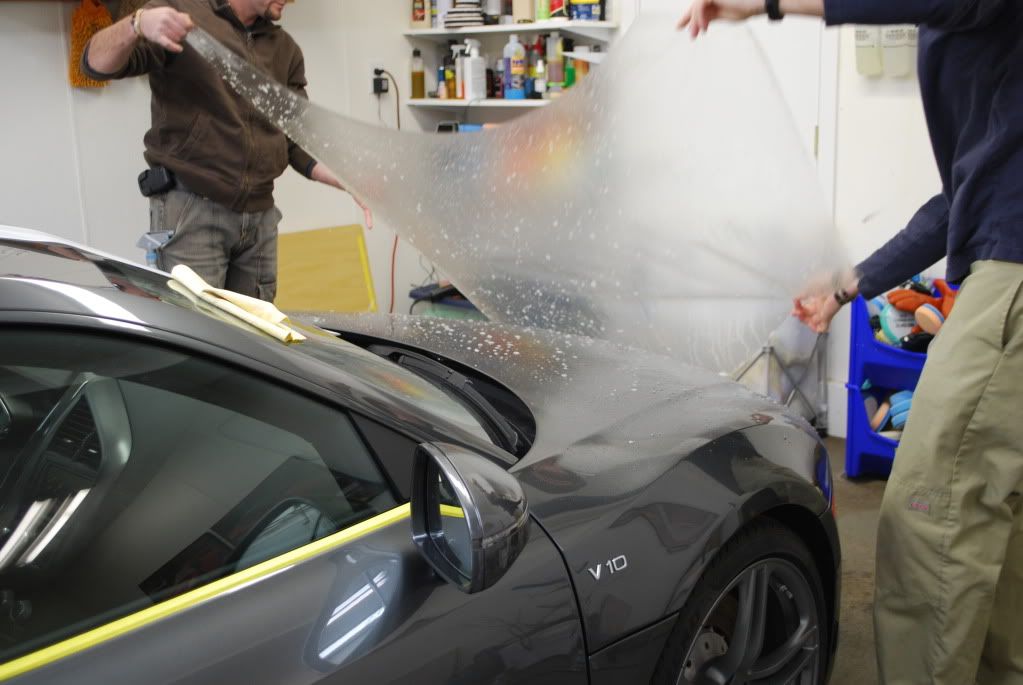
Sometimes foaming dirty car doesn't loosen up grime as well as a pre-soak which IMO can cling to the body better and emulsify dirt really well... follow up with foam for good measure.
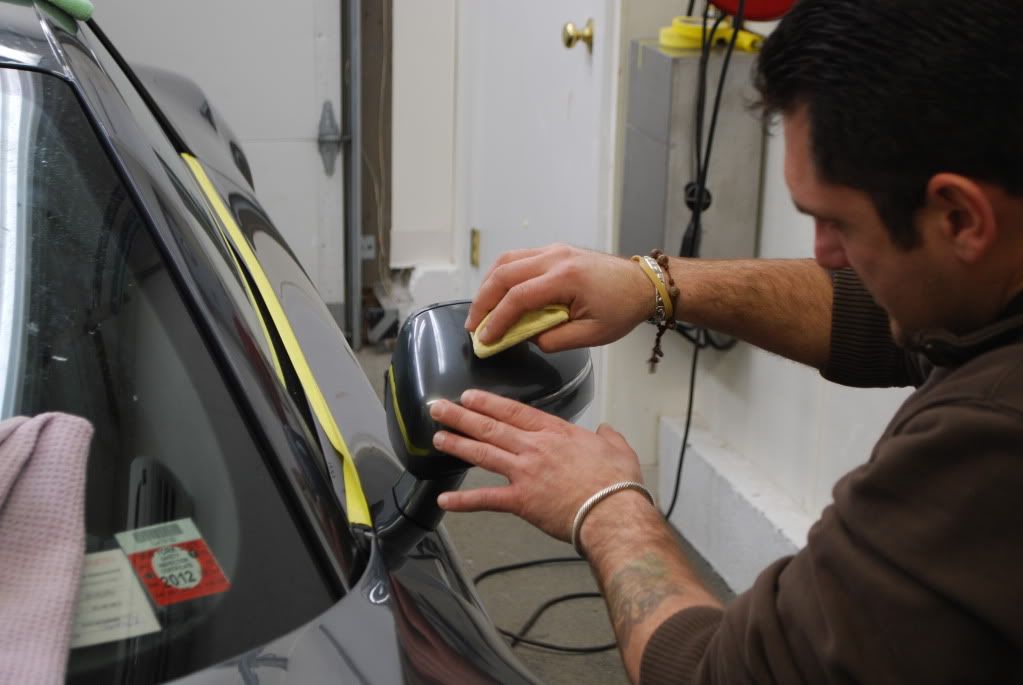
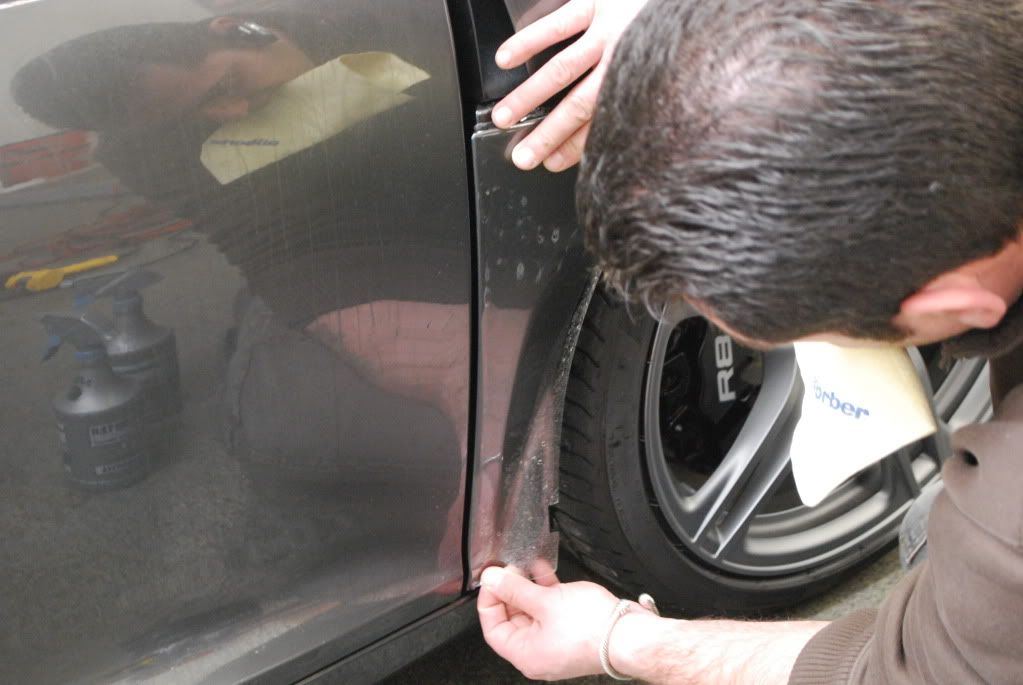
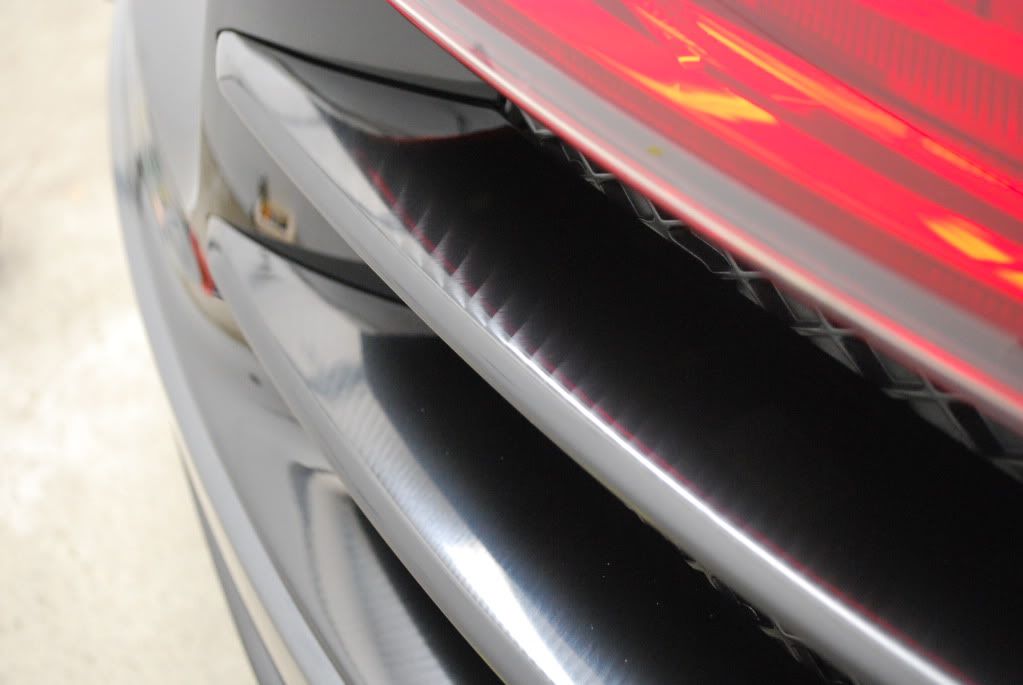
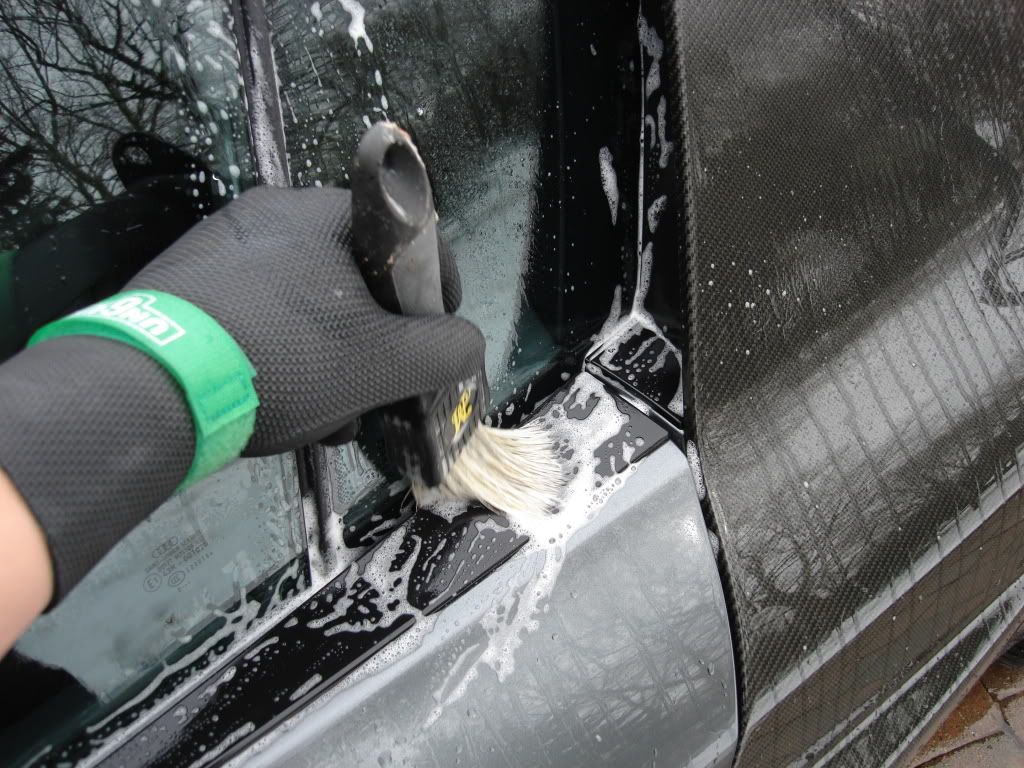
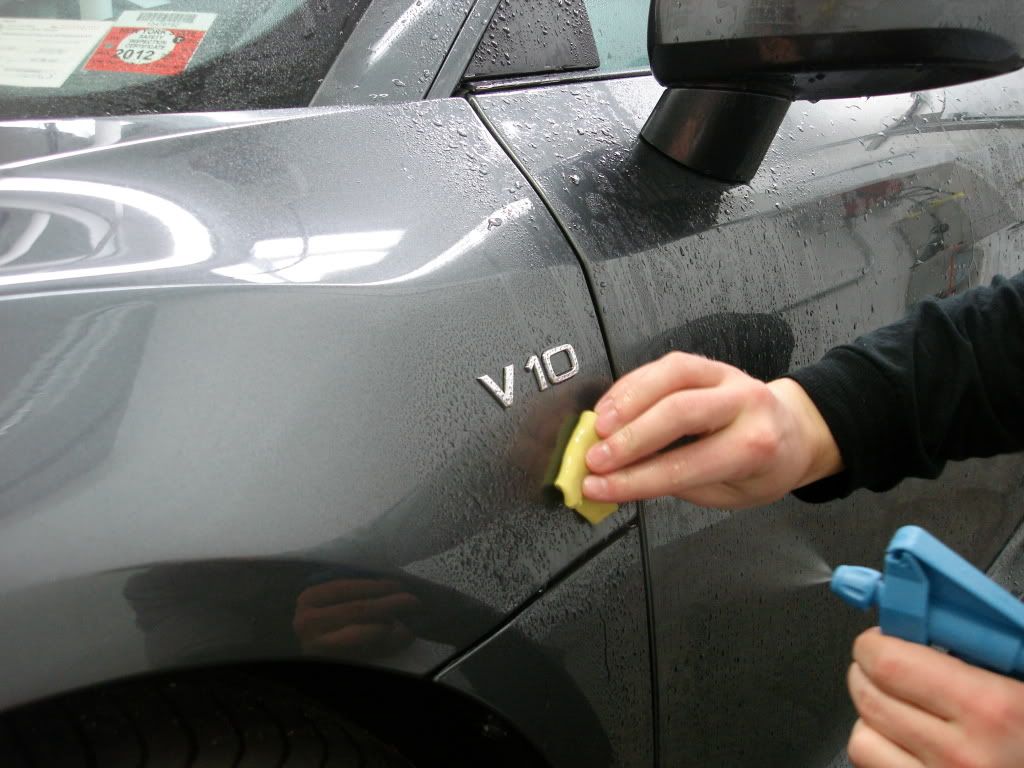
Pre-cleaned all badges, cracks and crevices
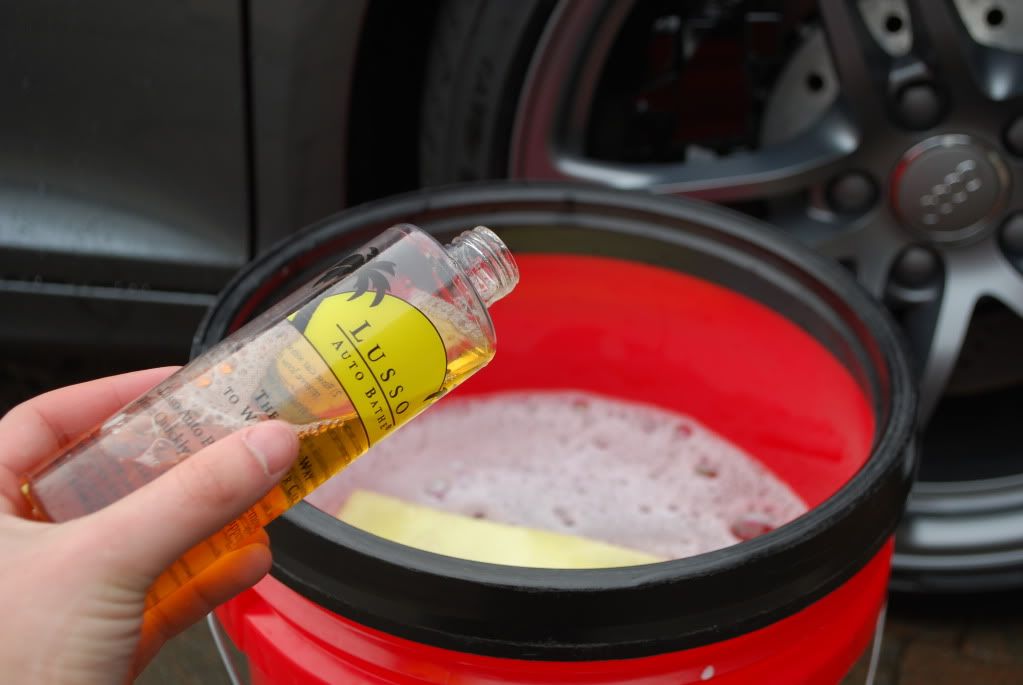
After rinsing and a quick 5 minute pre-foam I washed the R8 using my favorite shampoo... normally I would go with a Chemical Guys Citrus wash to remove old wax or sealant but the car came to me pretty much bare, nothing old to strip of so Lusso was the obvious choice, plus it smells incredible!
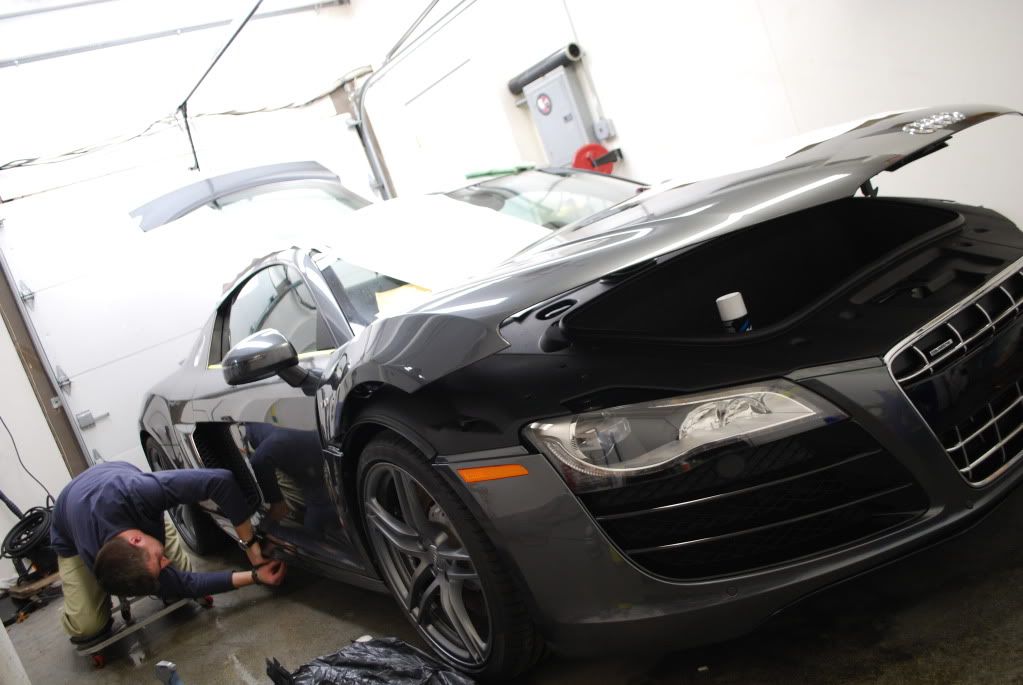
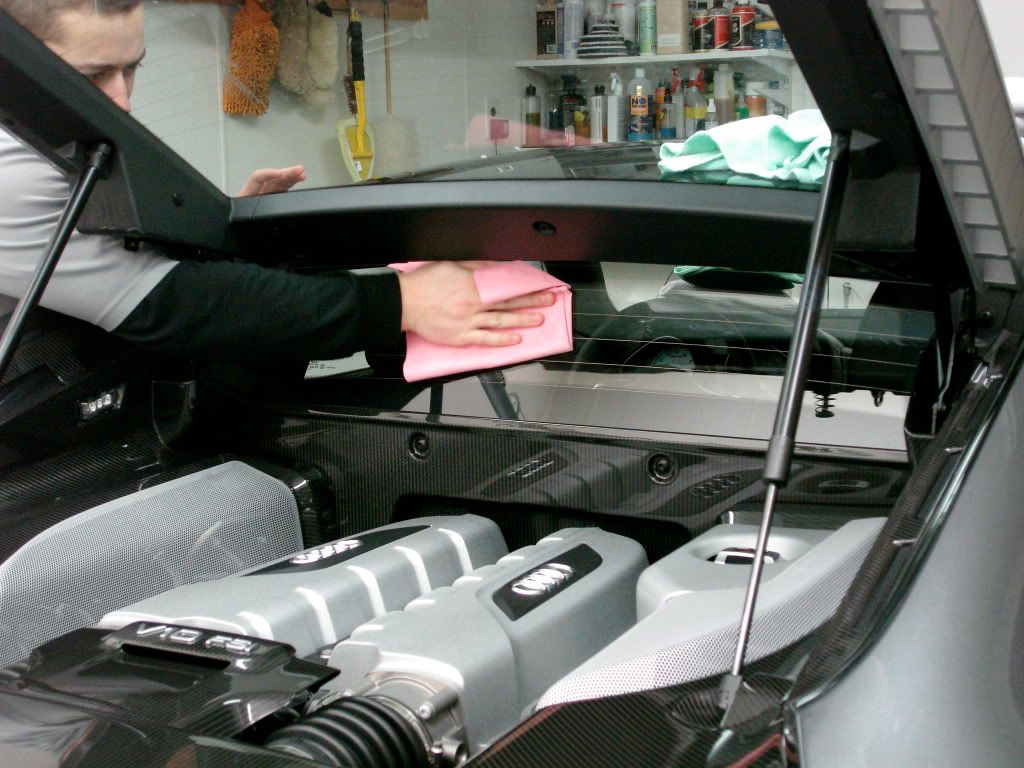
After the wash I pulled the car inside with the heat on and begun the rest of the prep process.
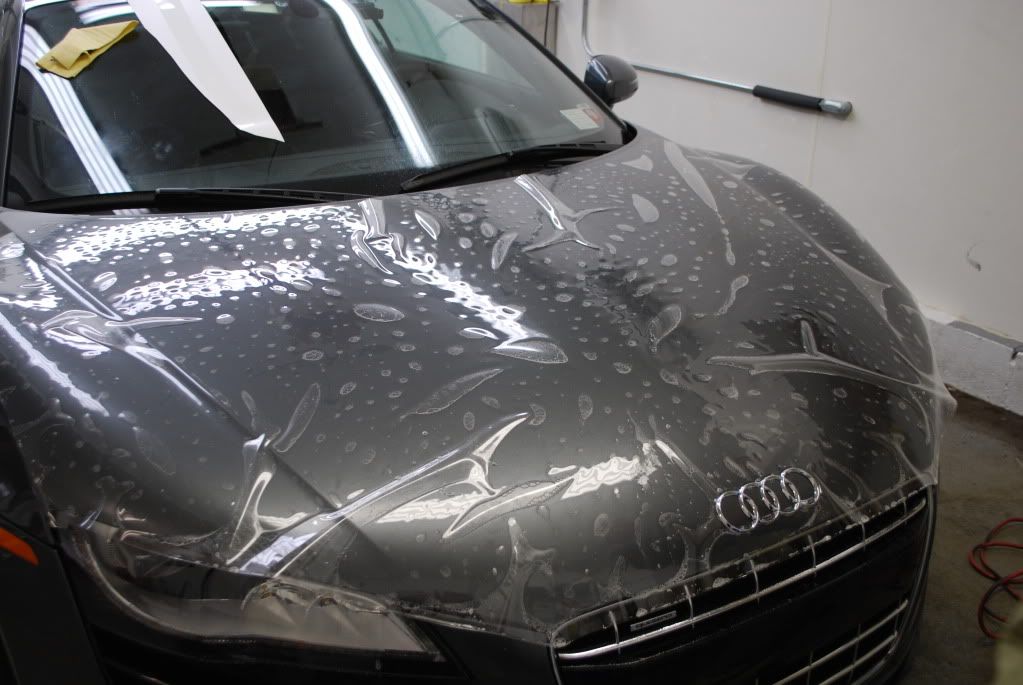
First I clayed, very few contaminants if any were removed, car was generally clean.
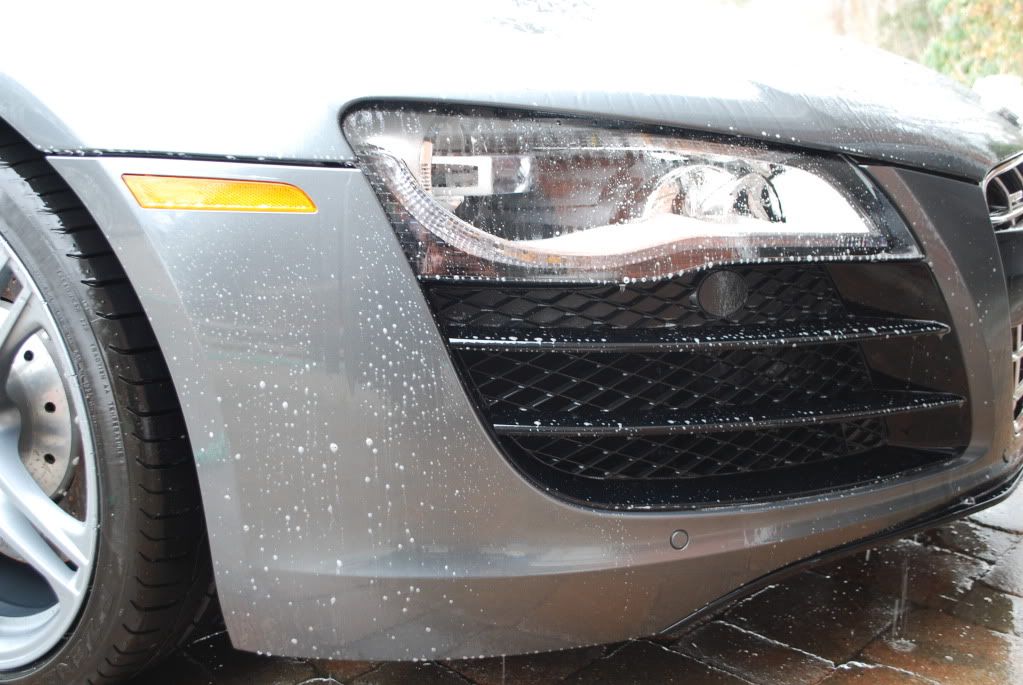
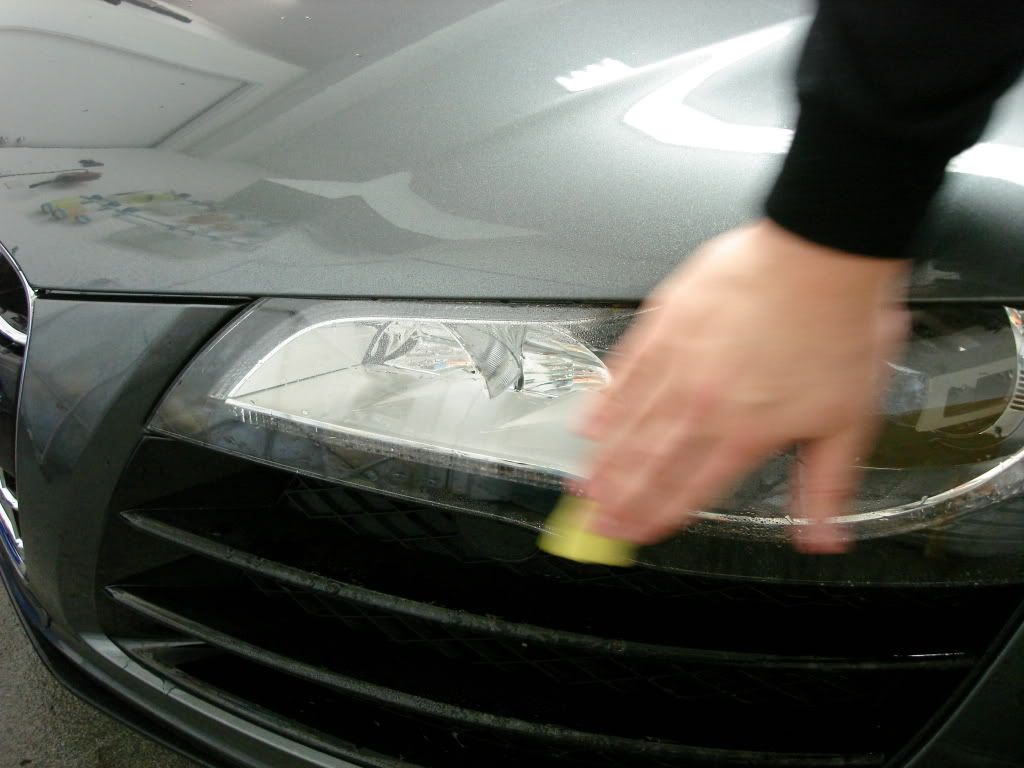
Headlights clayed also, clear film is going to be applied here so it needed to be prepped accordingly.
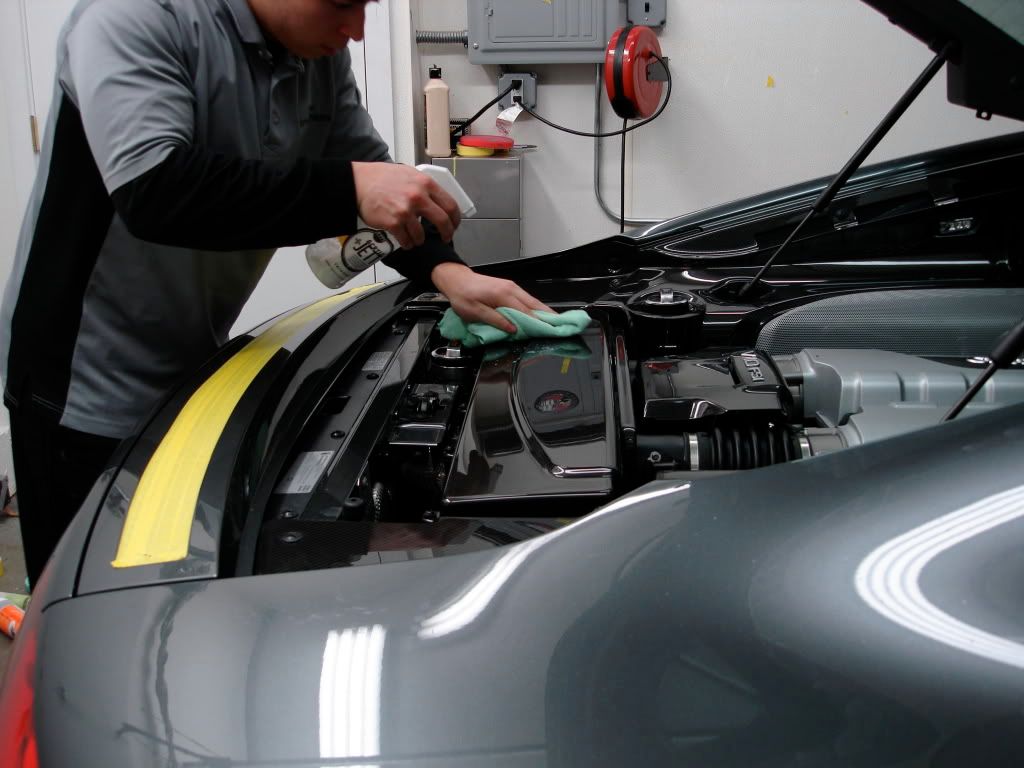
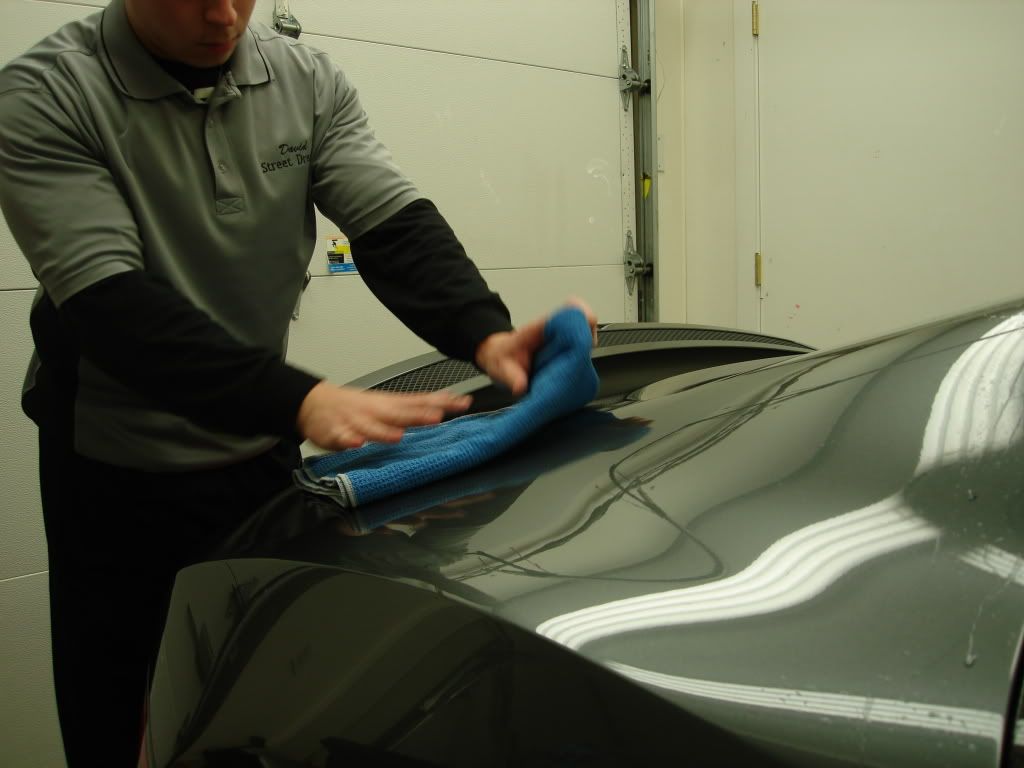
After claying I patted the car dry with a waffle weave drying towel and then gave it a few IPA wipedowns to remove any streaking and prep for polishing.
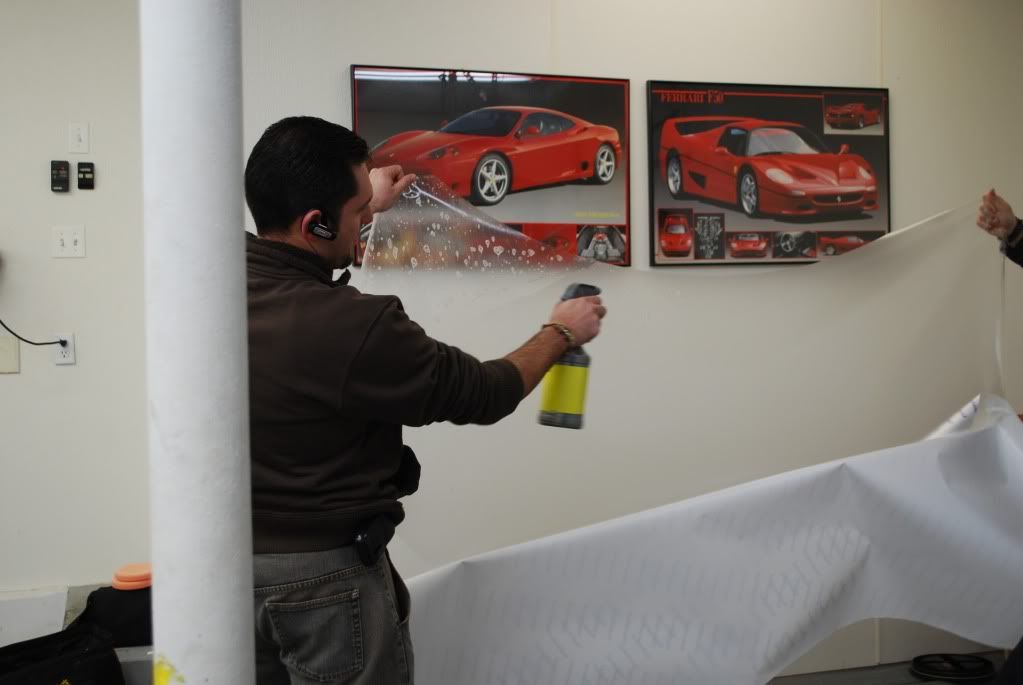
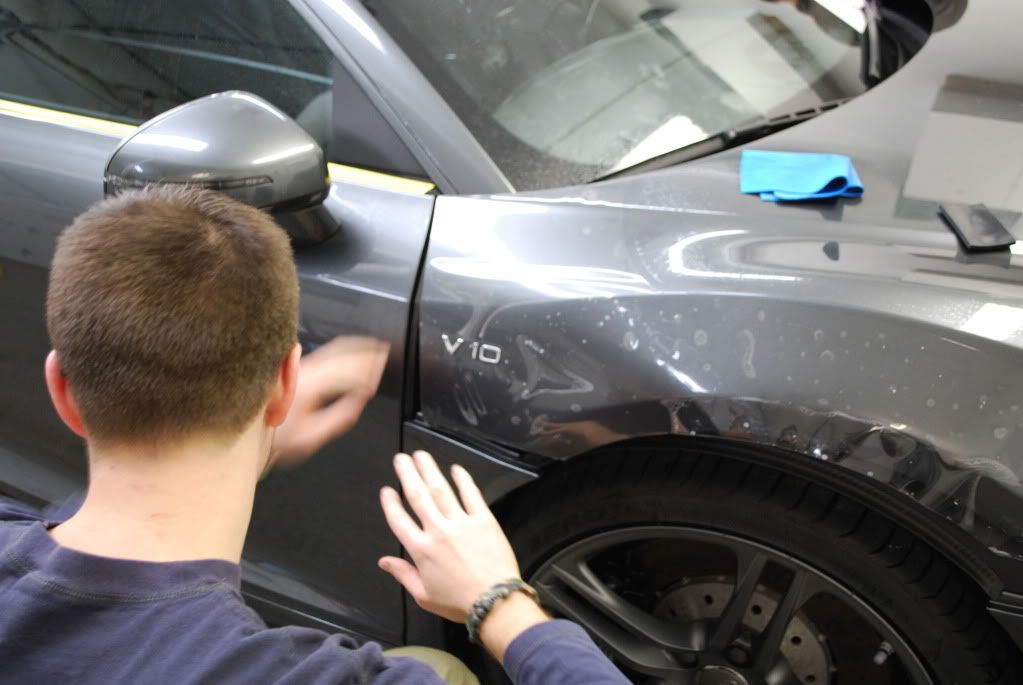
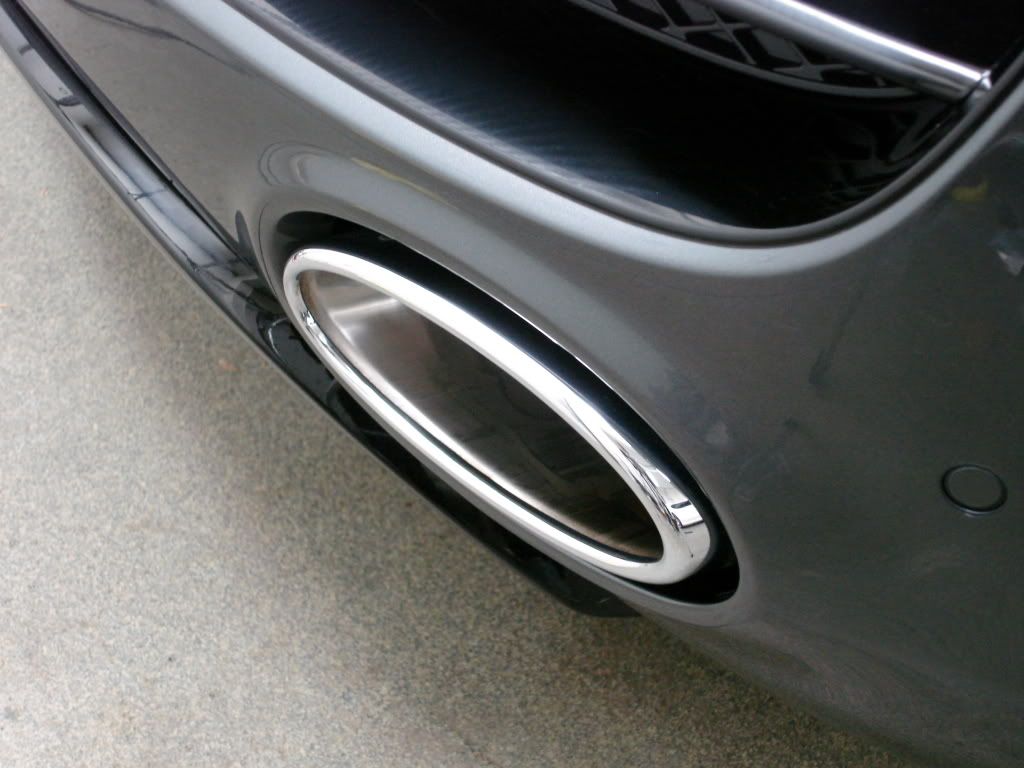
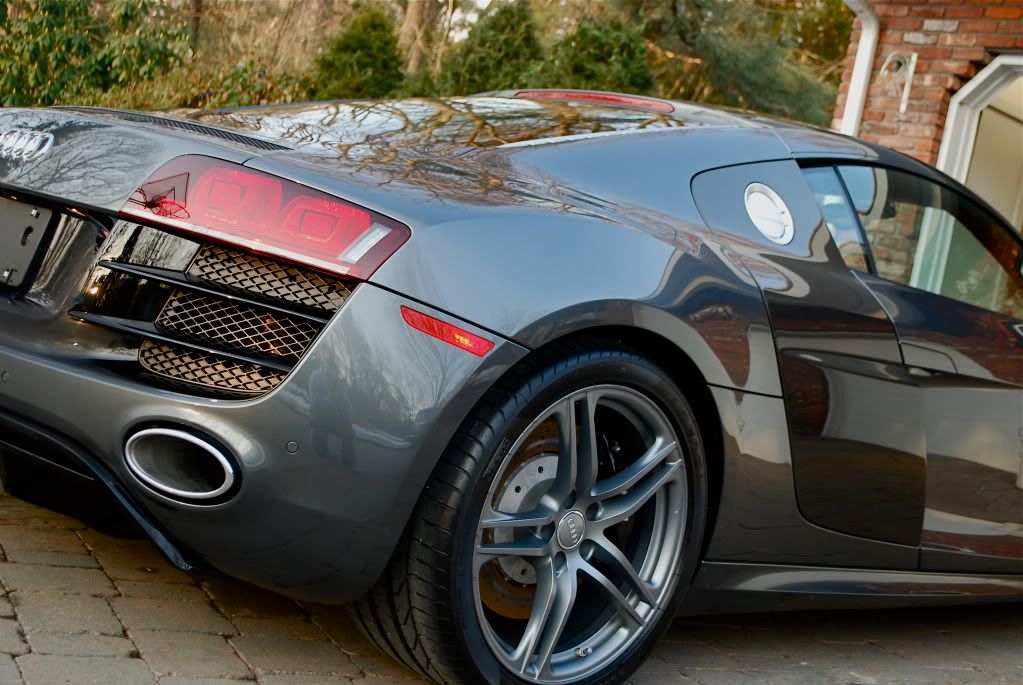
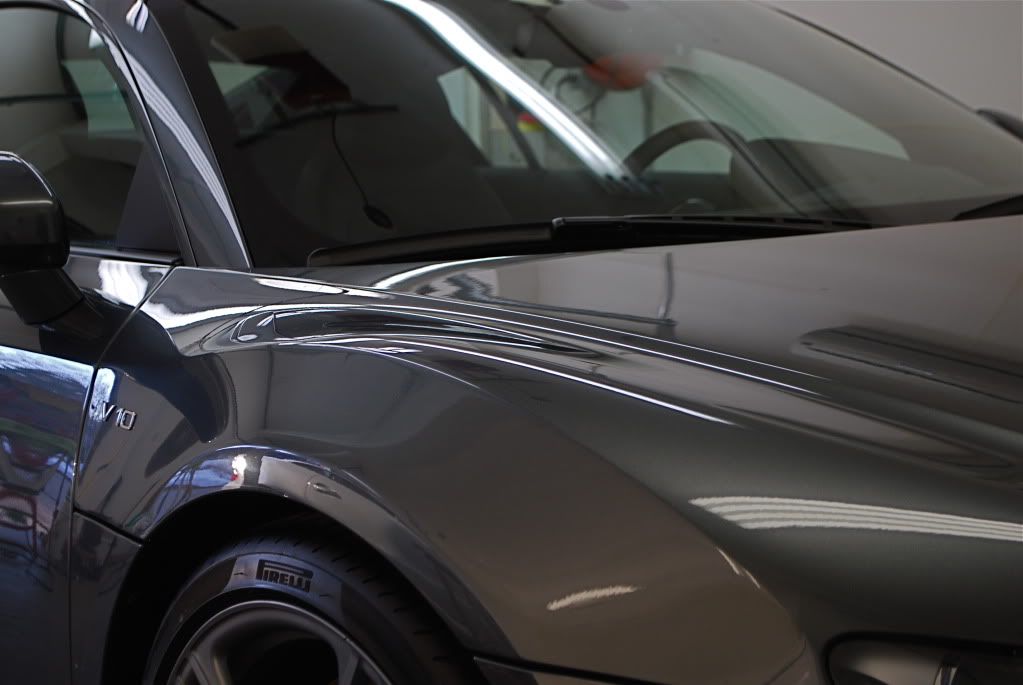
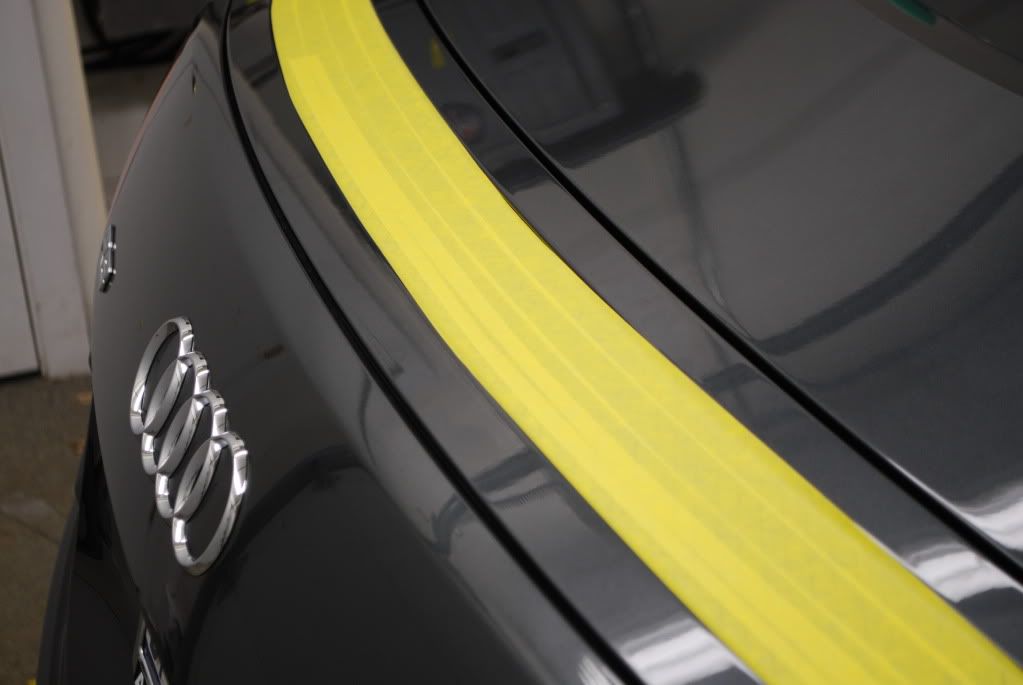
Next was taping, your pretty much looking at it :doh: Not much to tape on an R8. Paint readings were taken on every measurable panel, nothing abnormal, healthy levels of paint front to back.
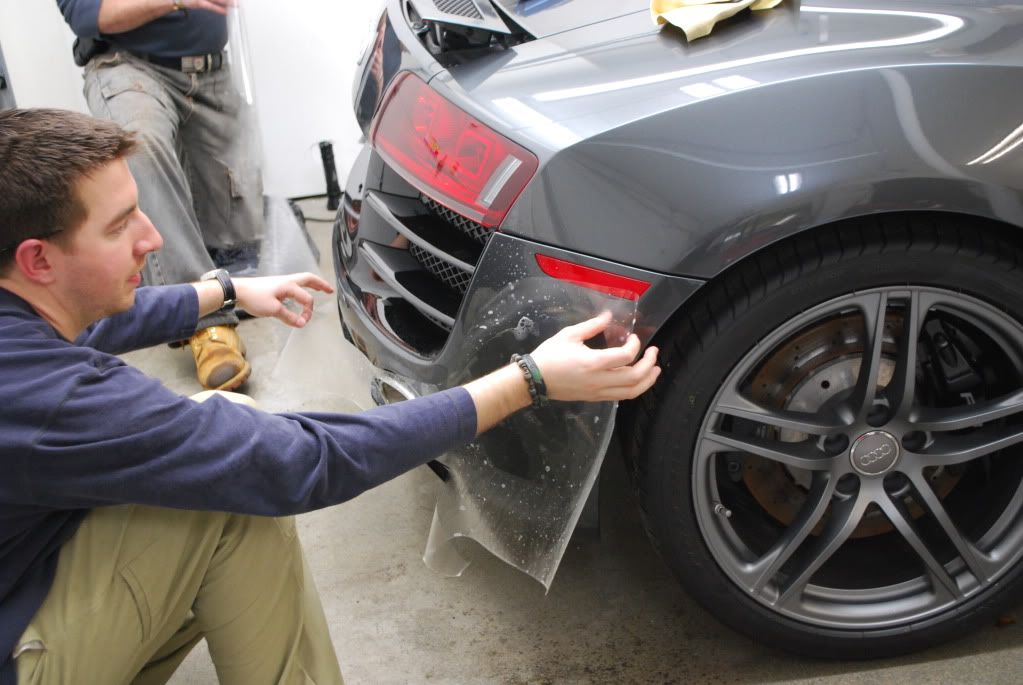
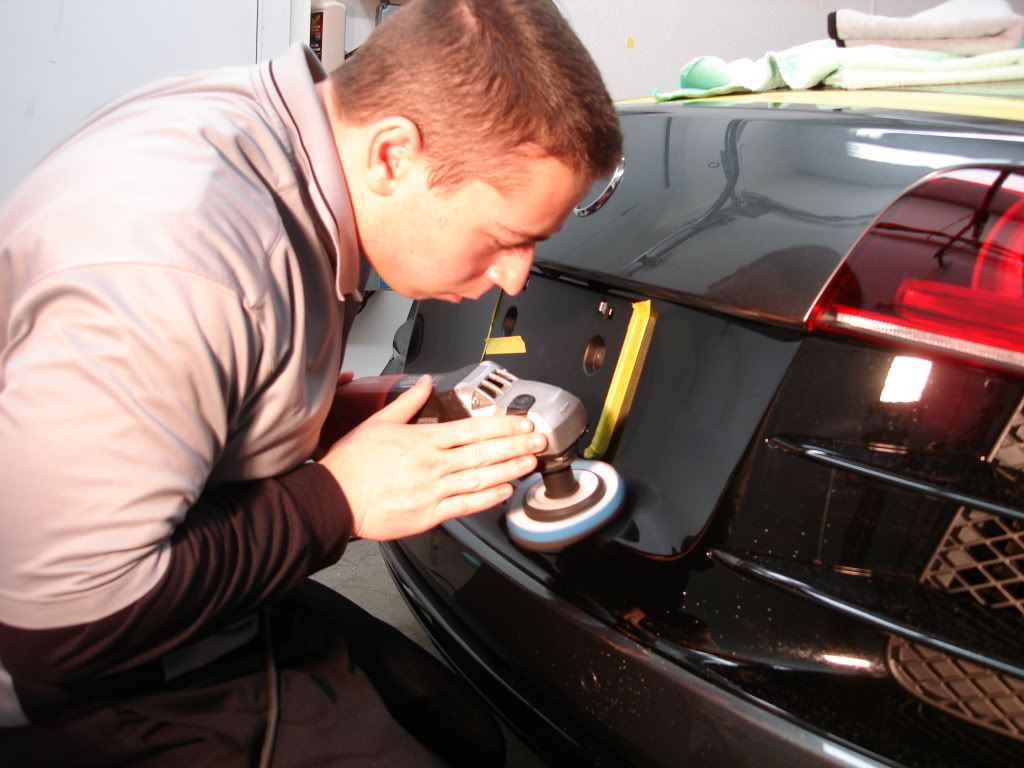
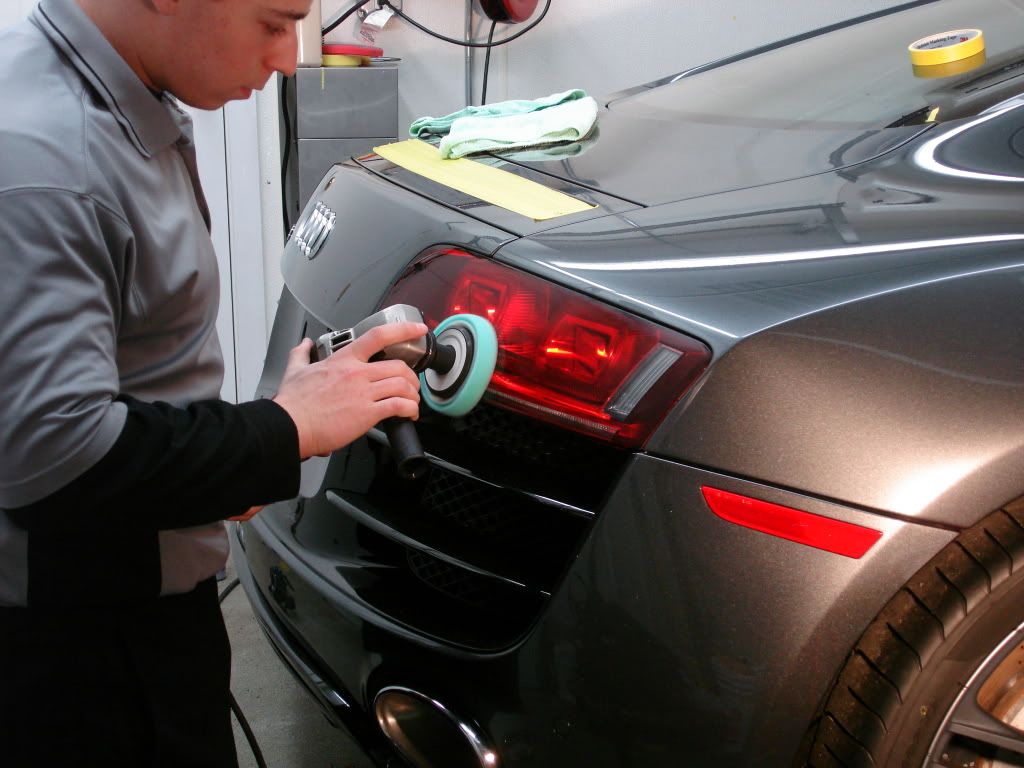
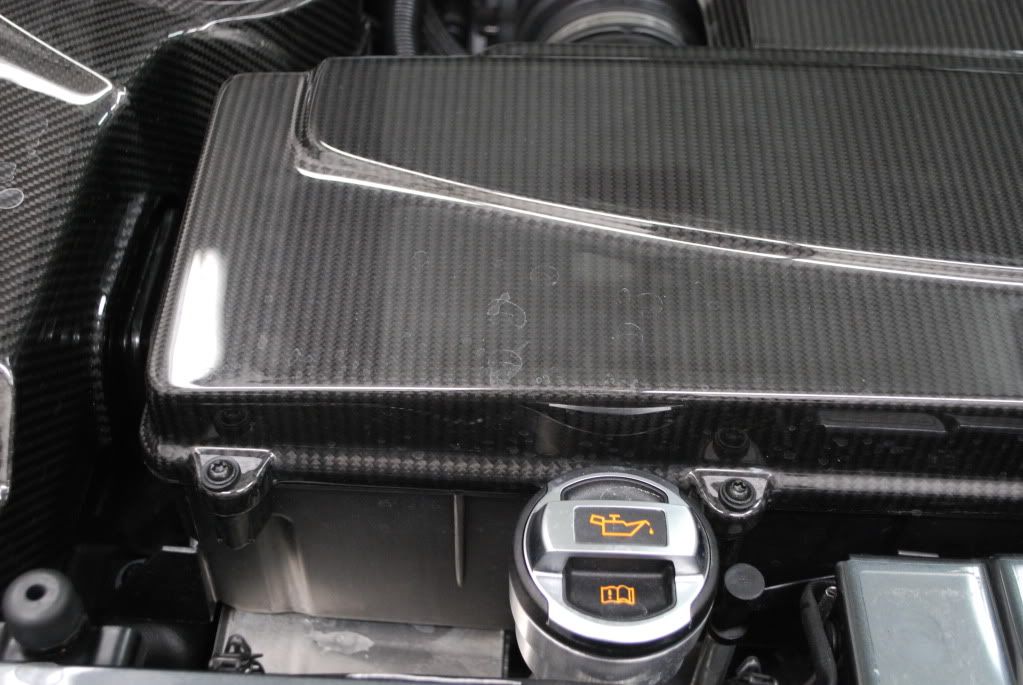
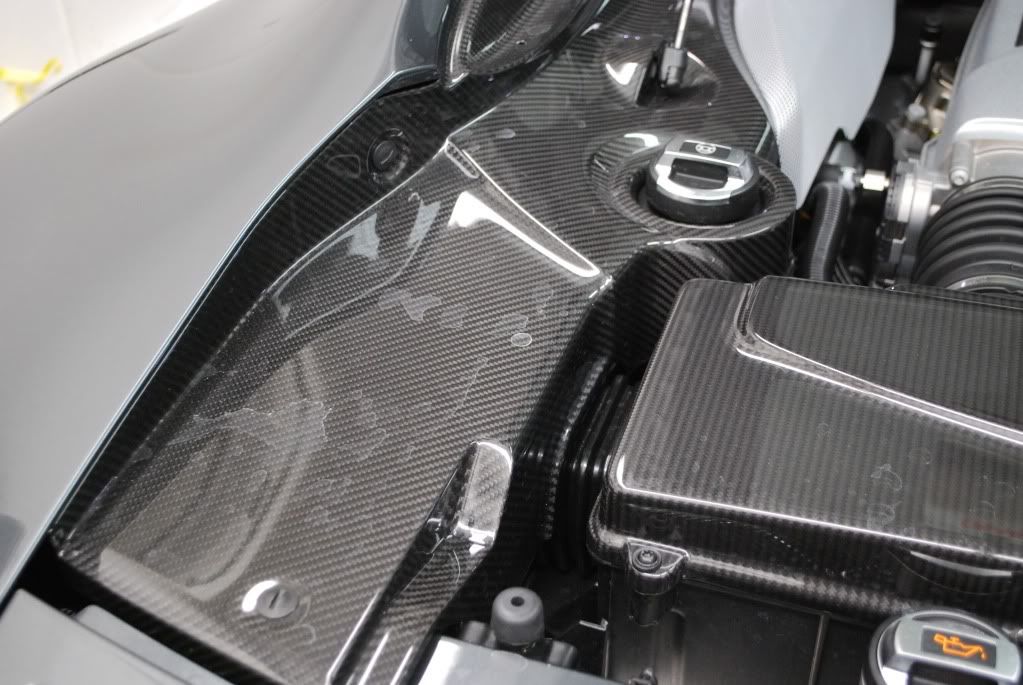
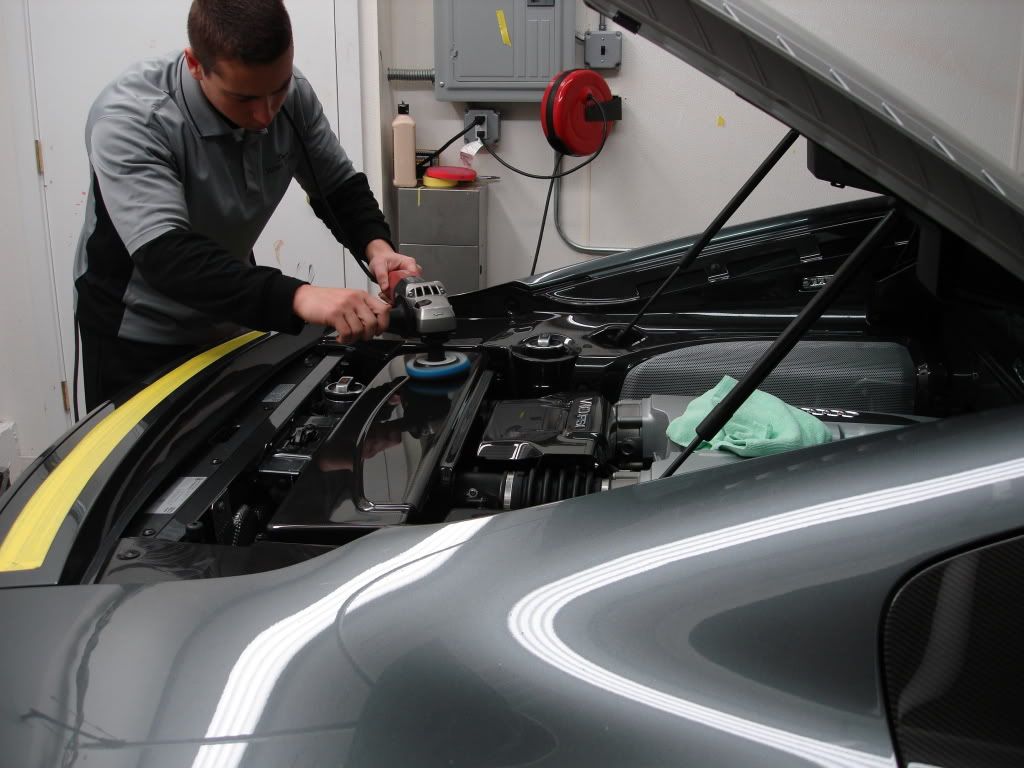
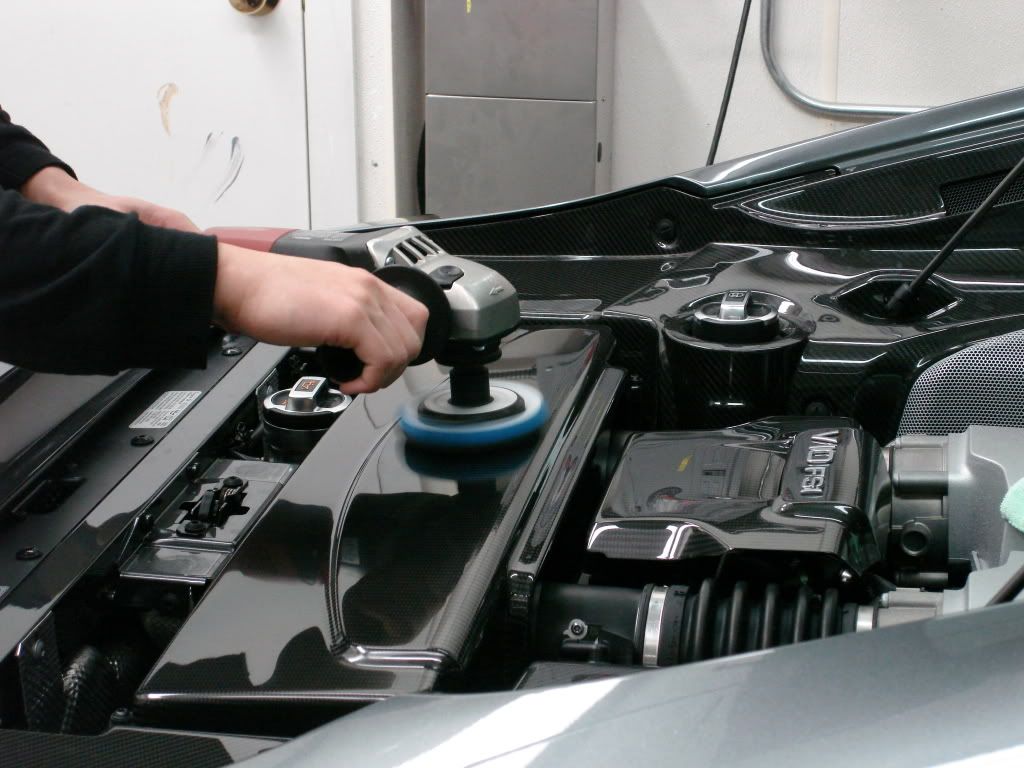
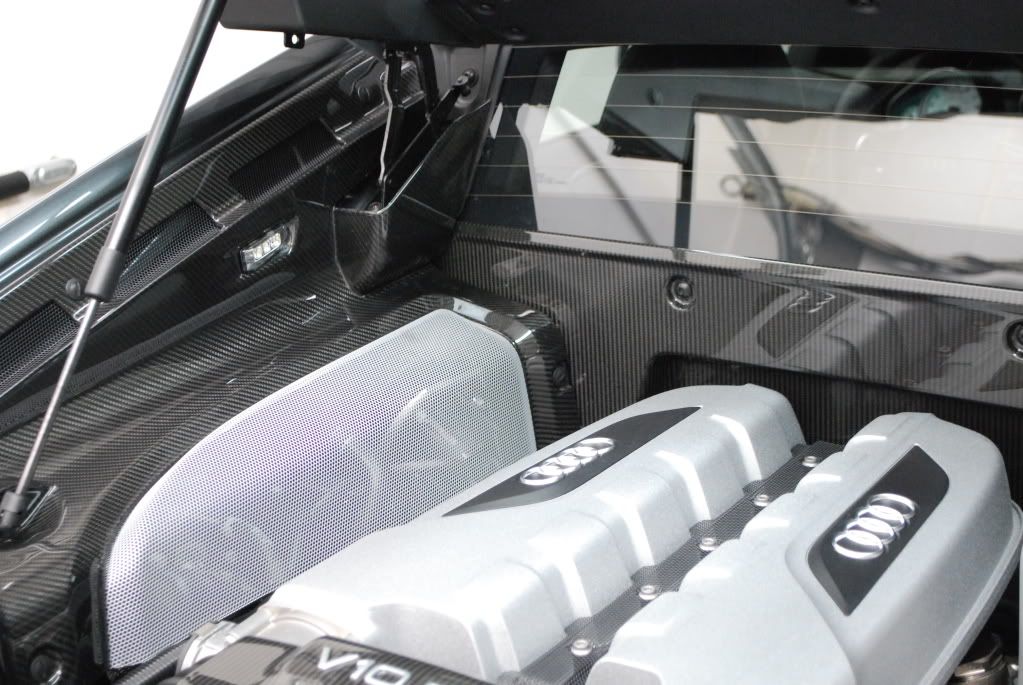
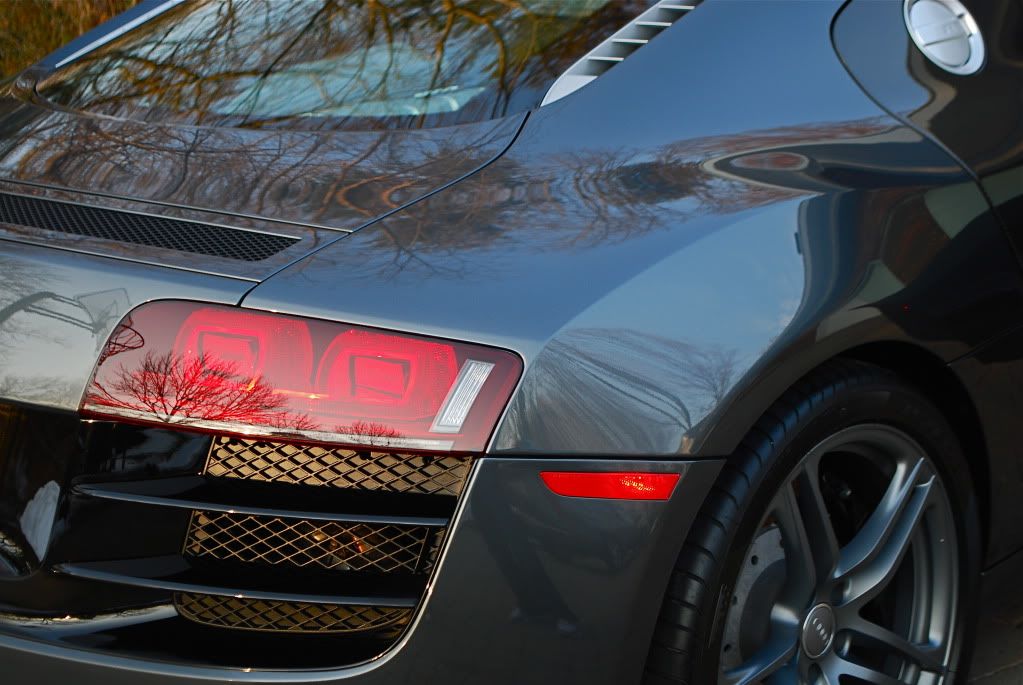
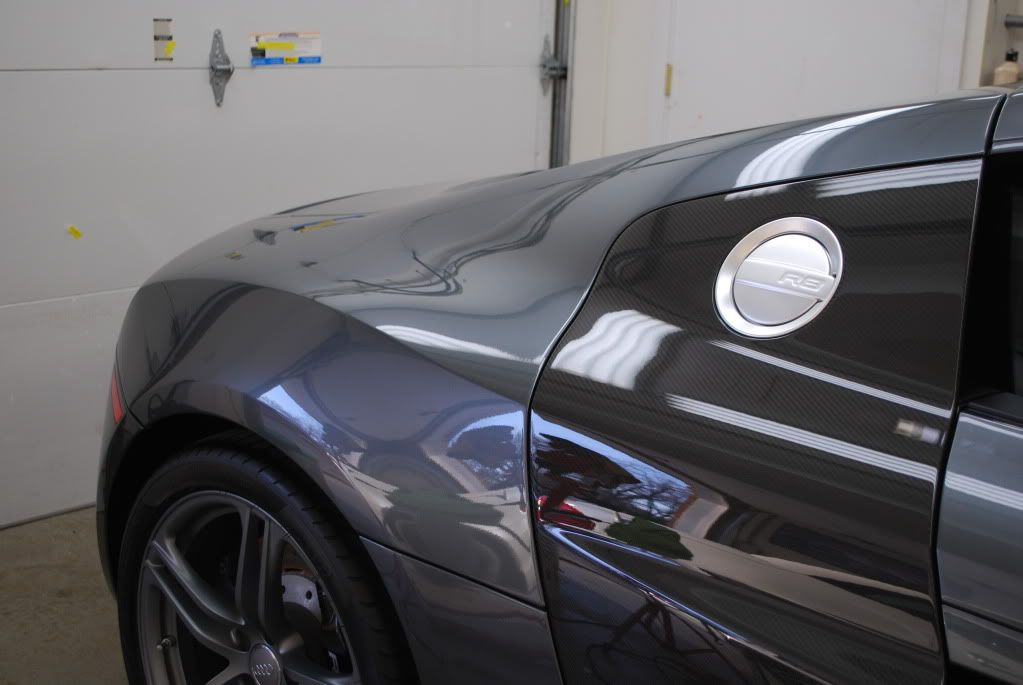
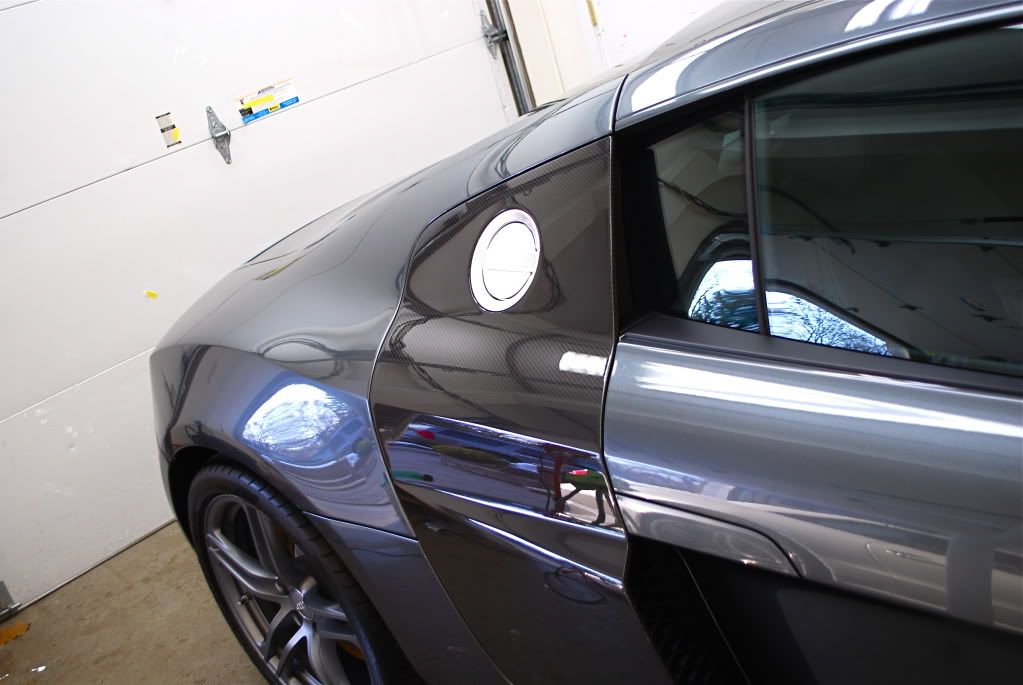
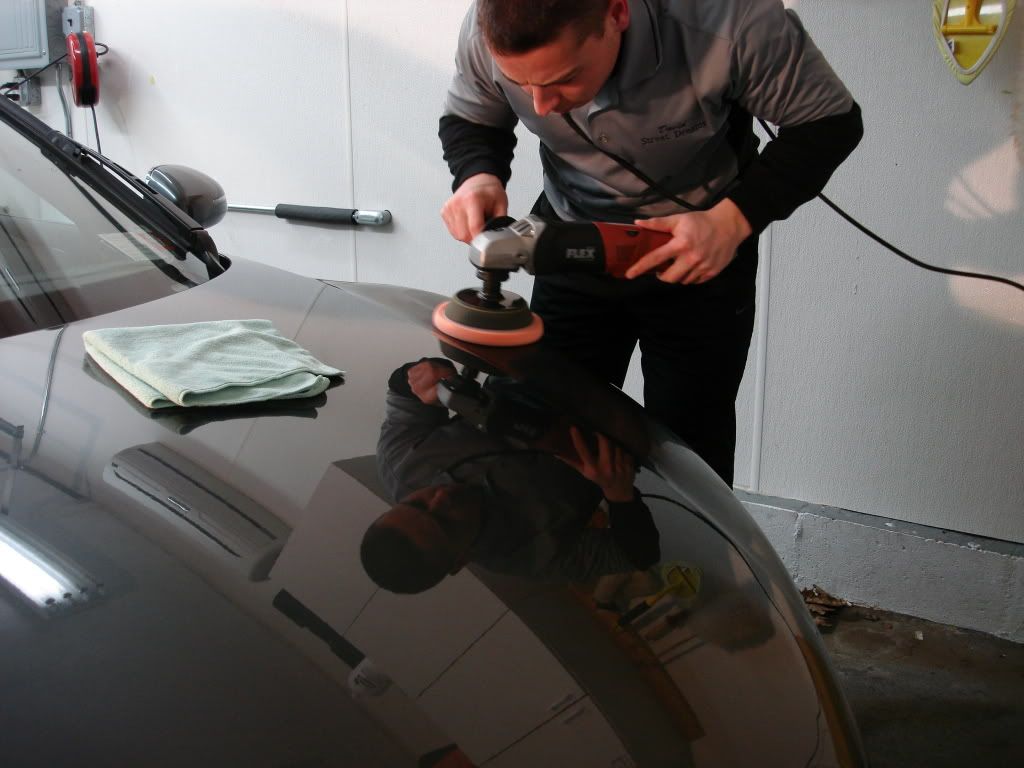
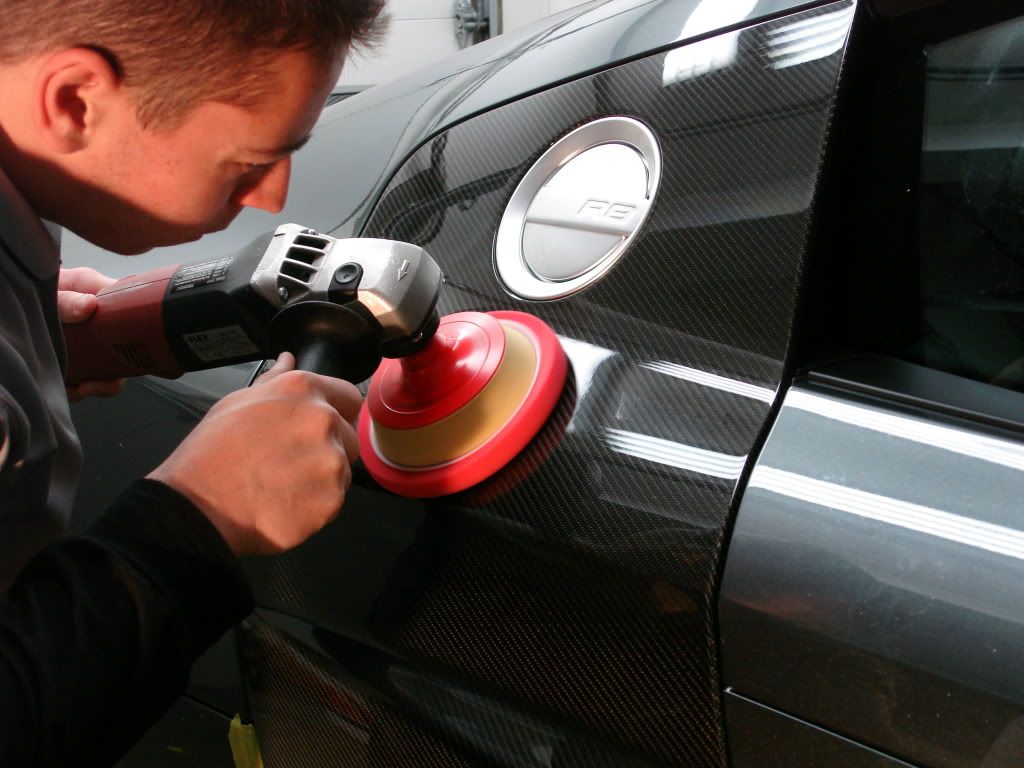
Onto machine polishing, despite being brand new the R8 did need a bit of polishing work, some areas had light defects, others (like the carbon fiber) had more serious defects and most importantly I needed to ensure all the areas that were to be clear filmed were in perfect shape.
Using the LC tangerine hydro pad at about 1900rpm to remove light defects from the finish, this pad works great on harder finishes with the rotary.
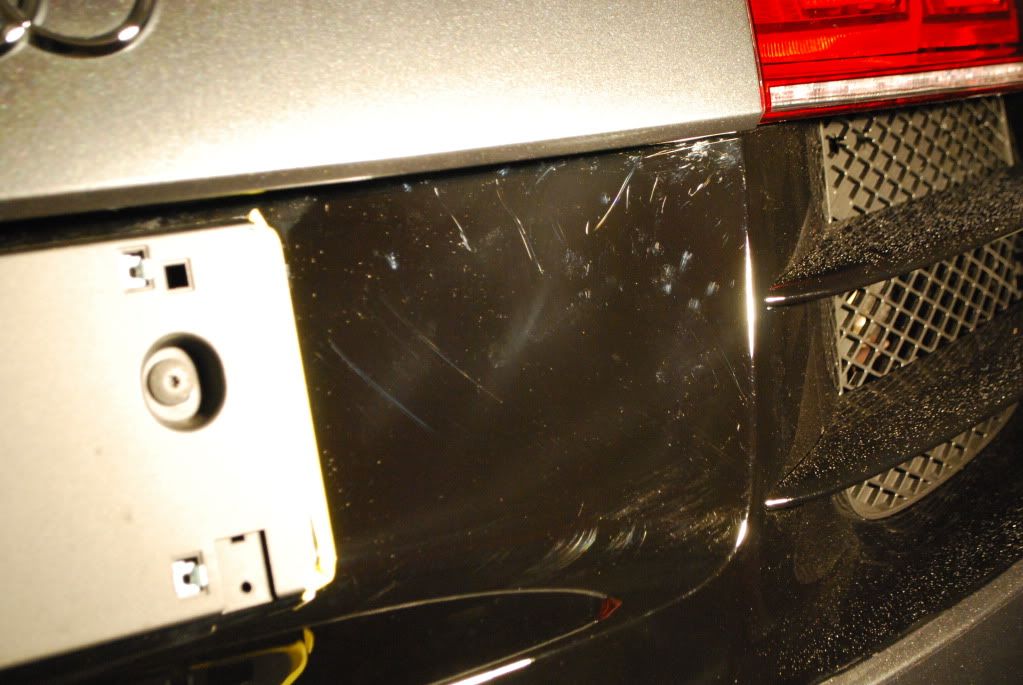
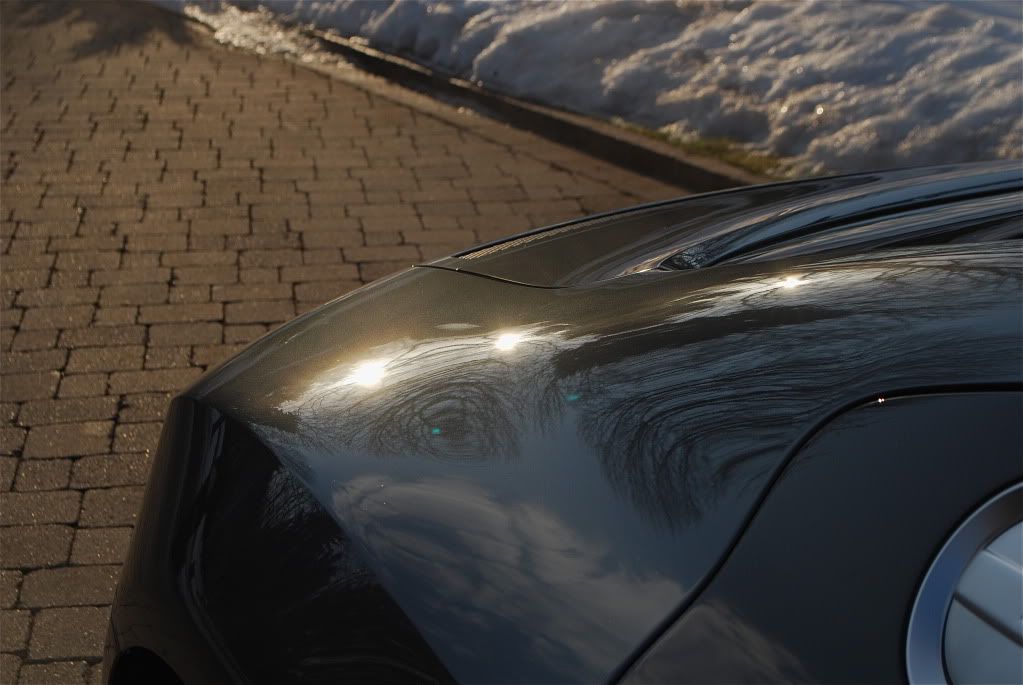
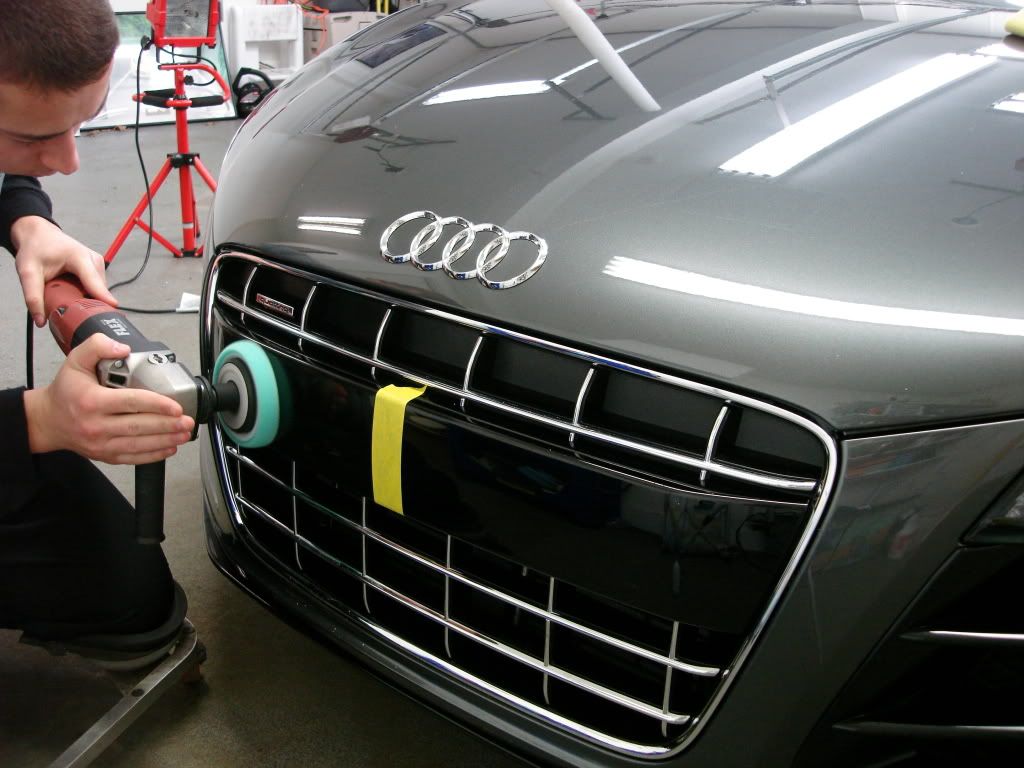
Front clip was somewhat trashed, these areas marr up very easily.
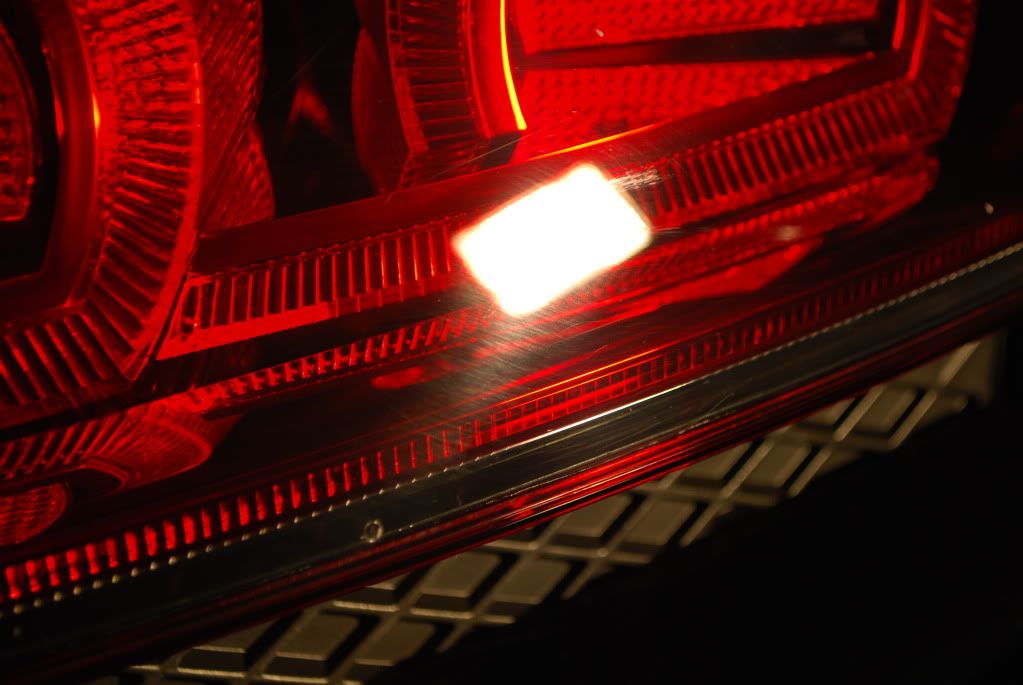
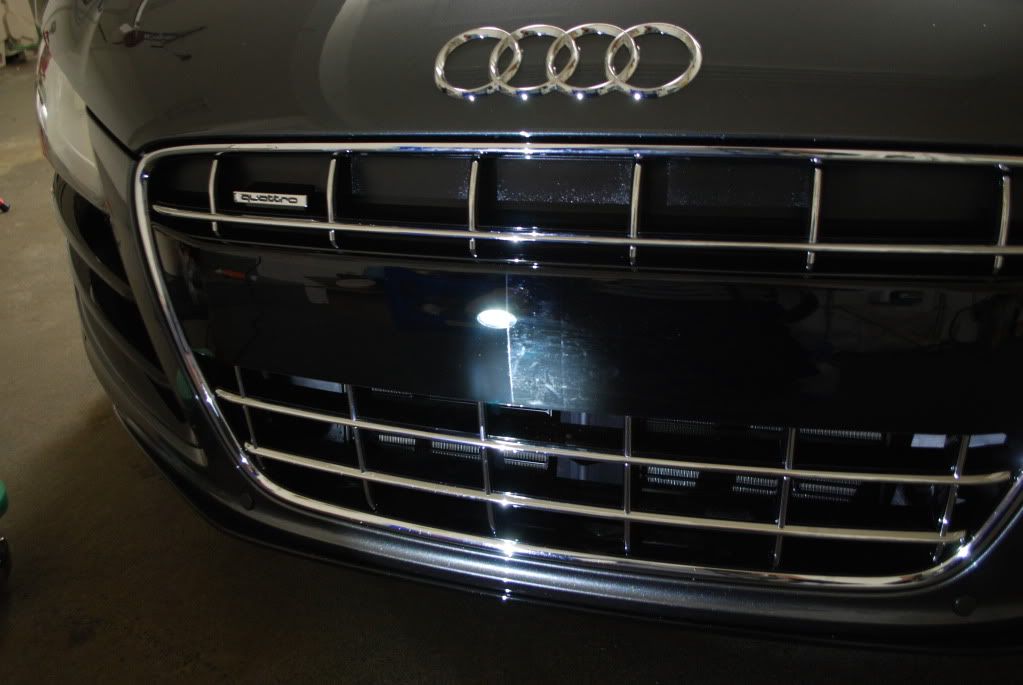
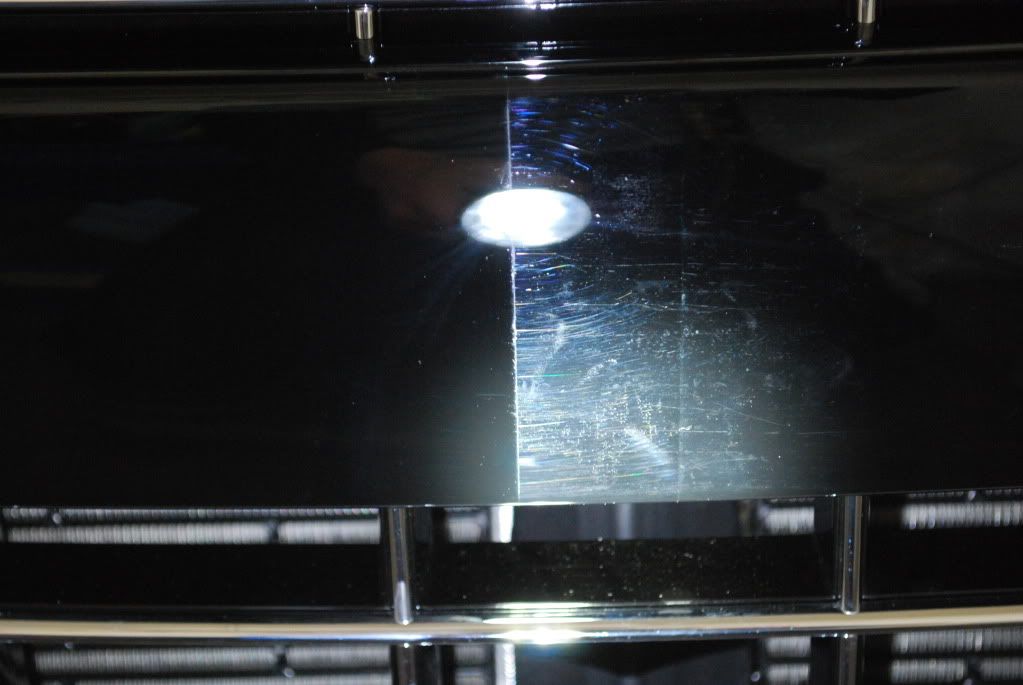
50/50
Closeup after compounding
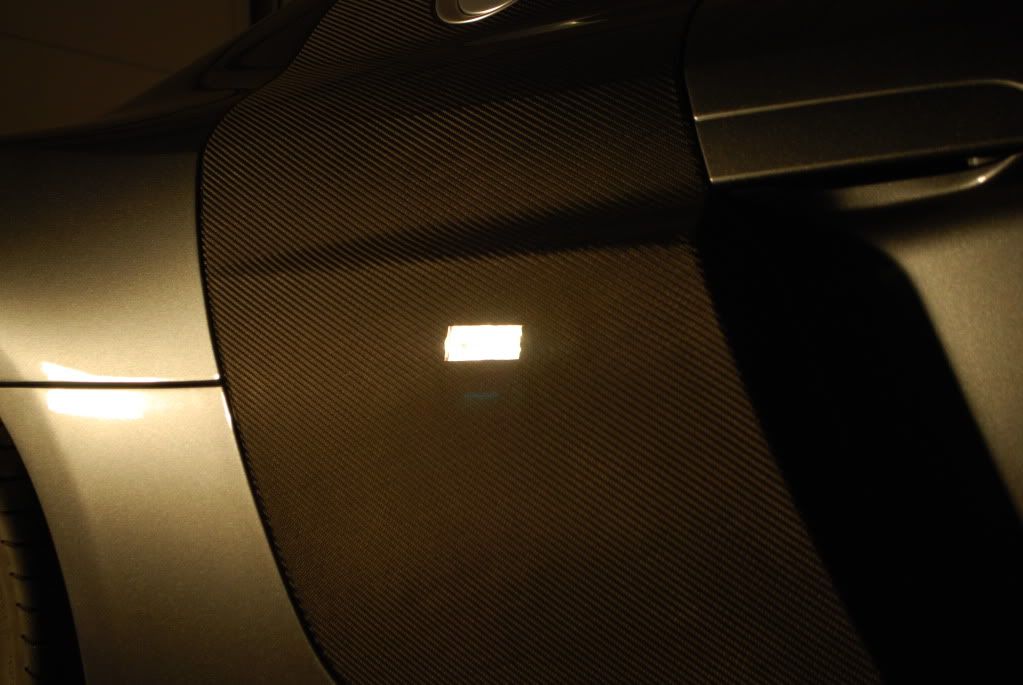
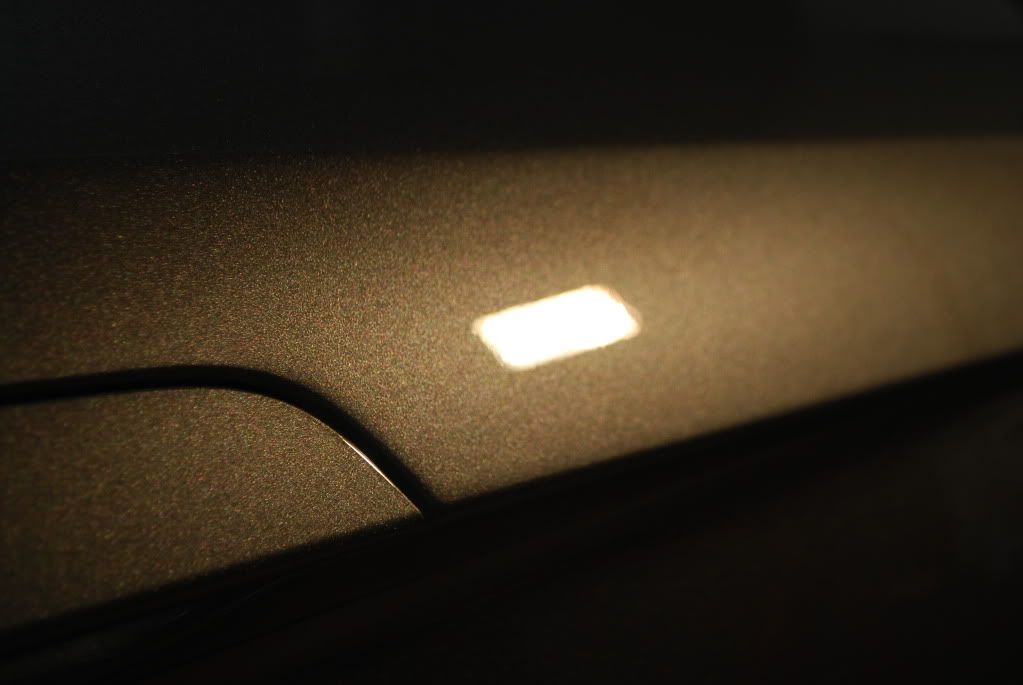
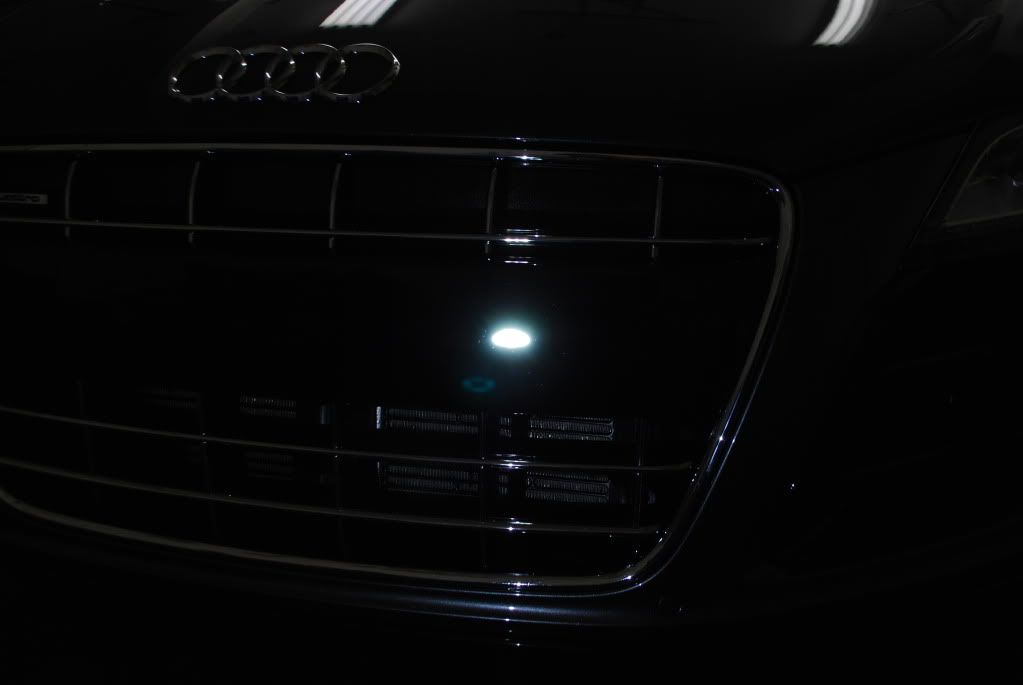
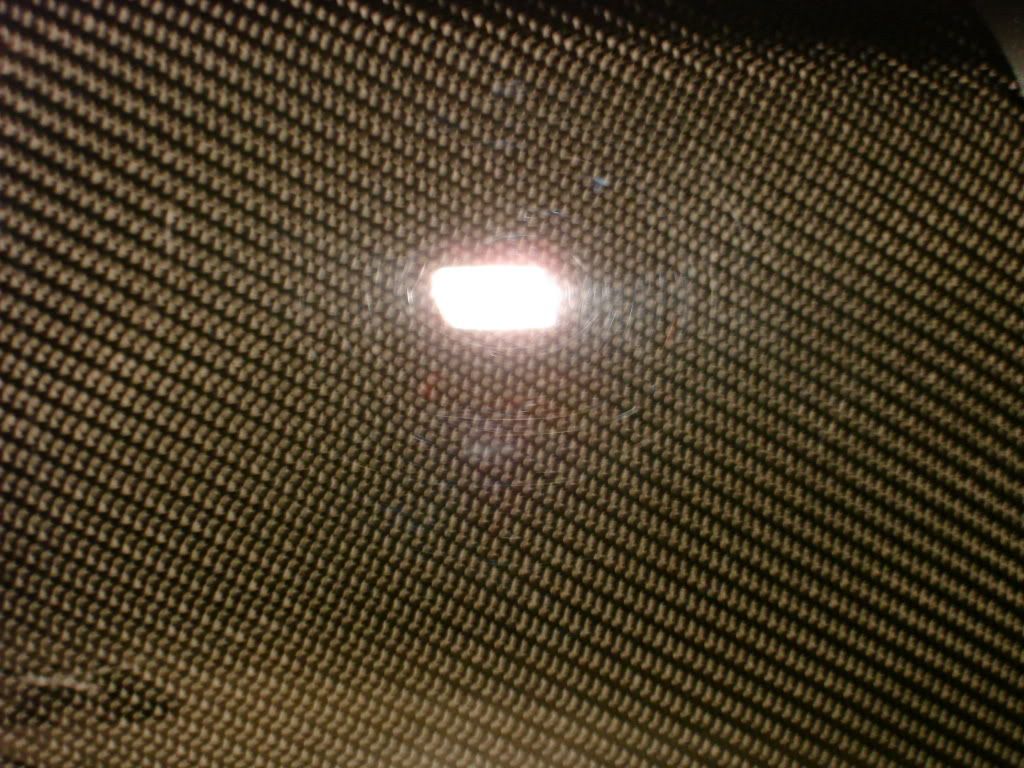
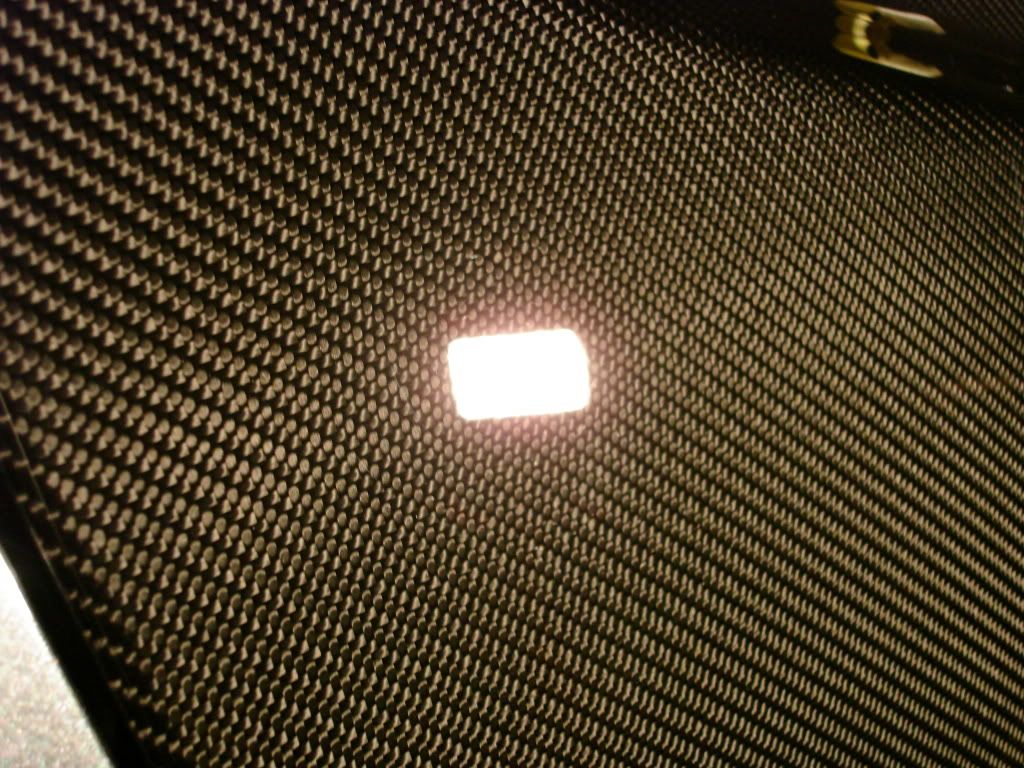
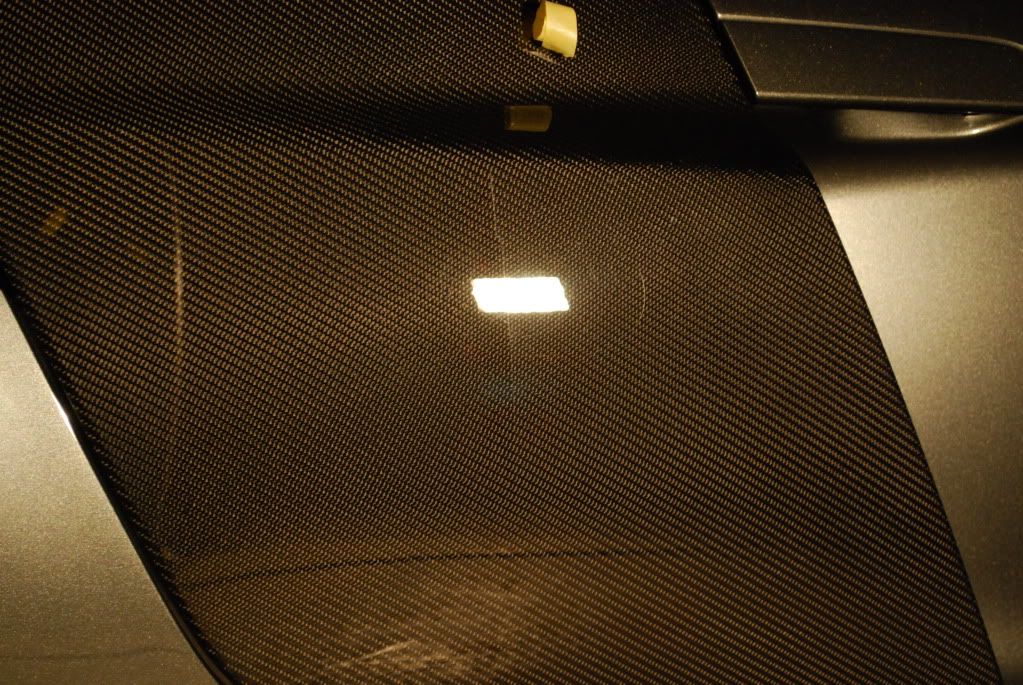
After finishing, LED light only no other light sources.
Carbon blade needed some extra work to remove the deeper defects. Whoever said brand new cars are unscathed is mistaken... factory defects still happen!
Before
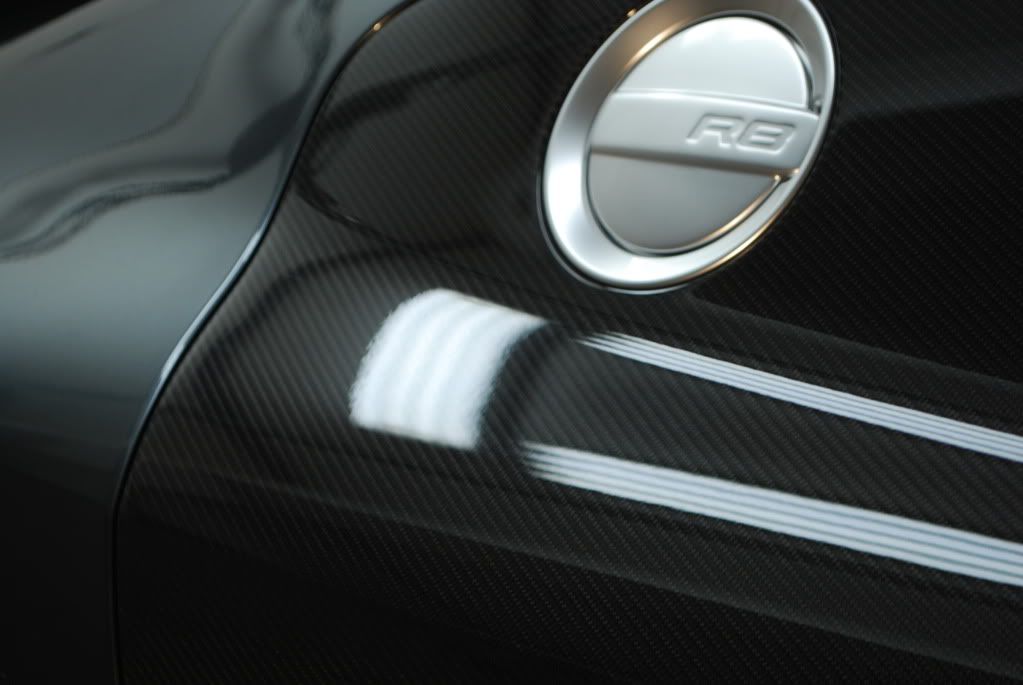
Difference in jetness after polishing 1 side...
Some Menzerna 85rd used for refining, 1200rpm and below to amp up "zeee gloss" ... thats German by the way in case you were curious.
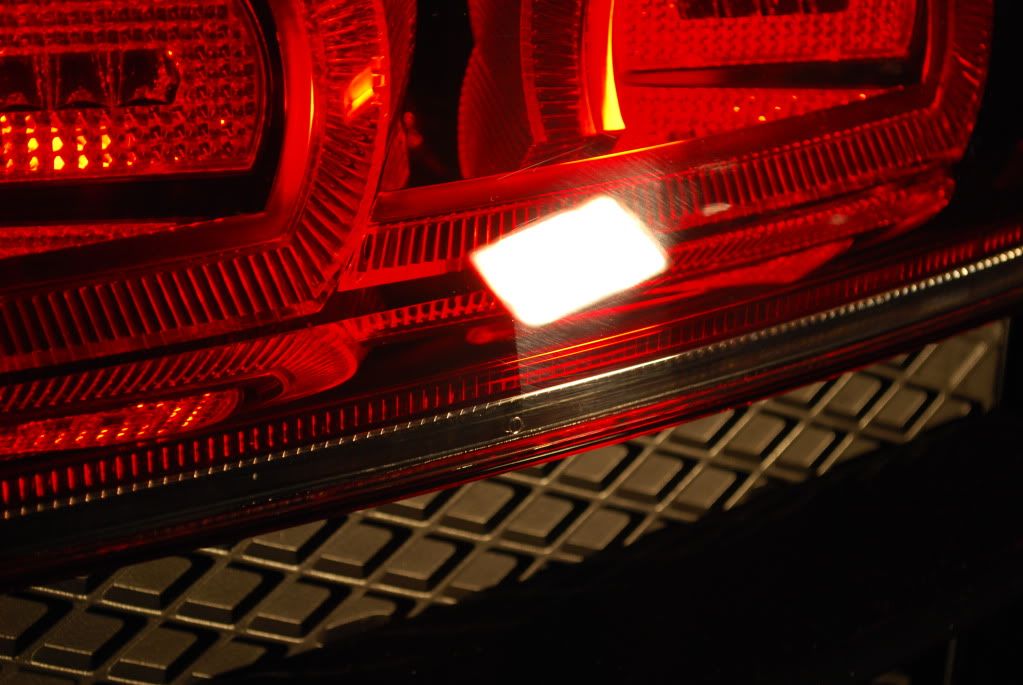
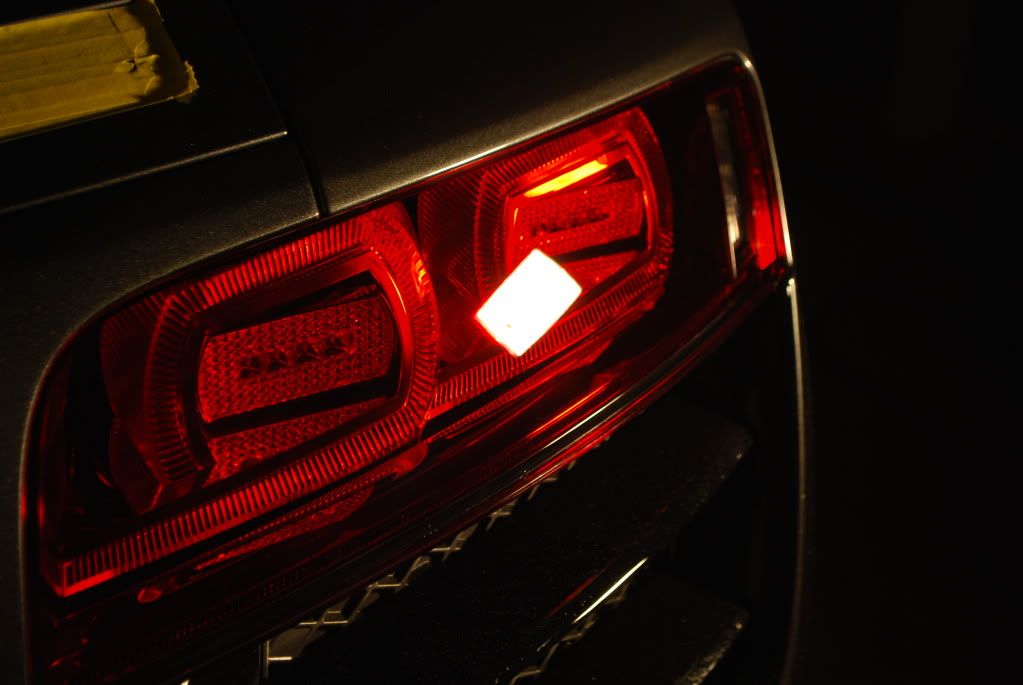
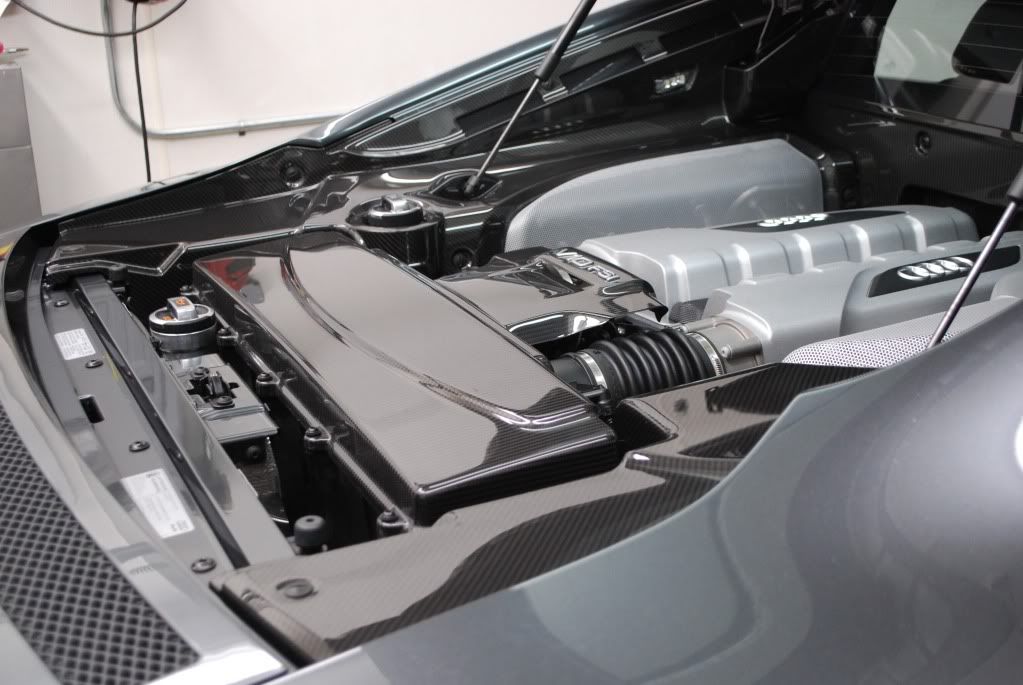
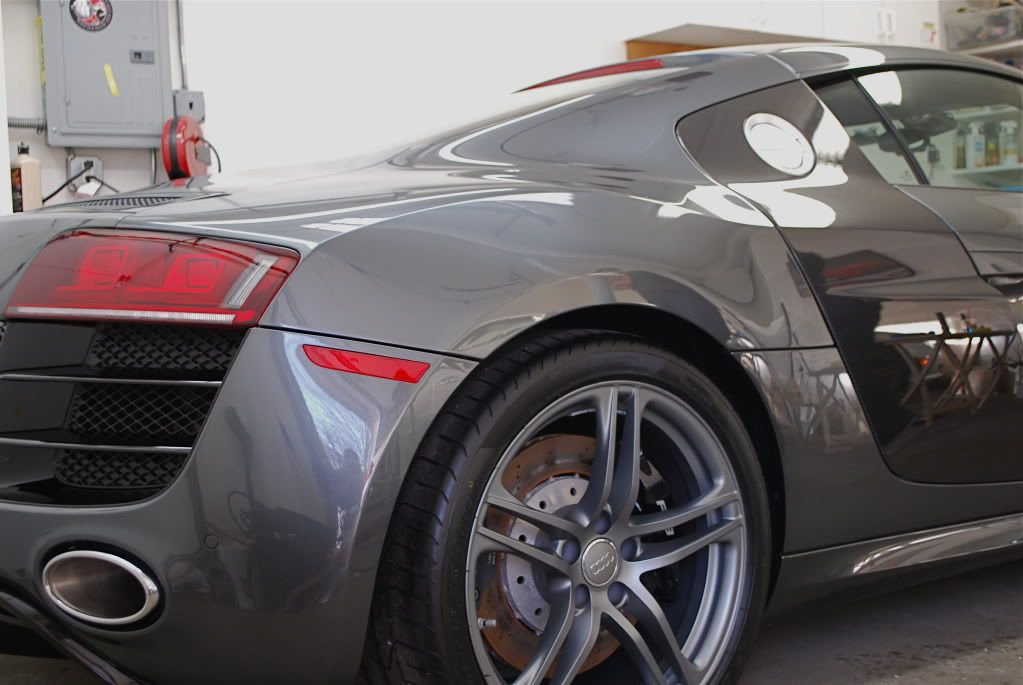
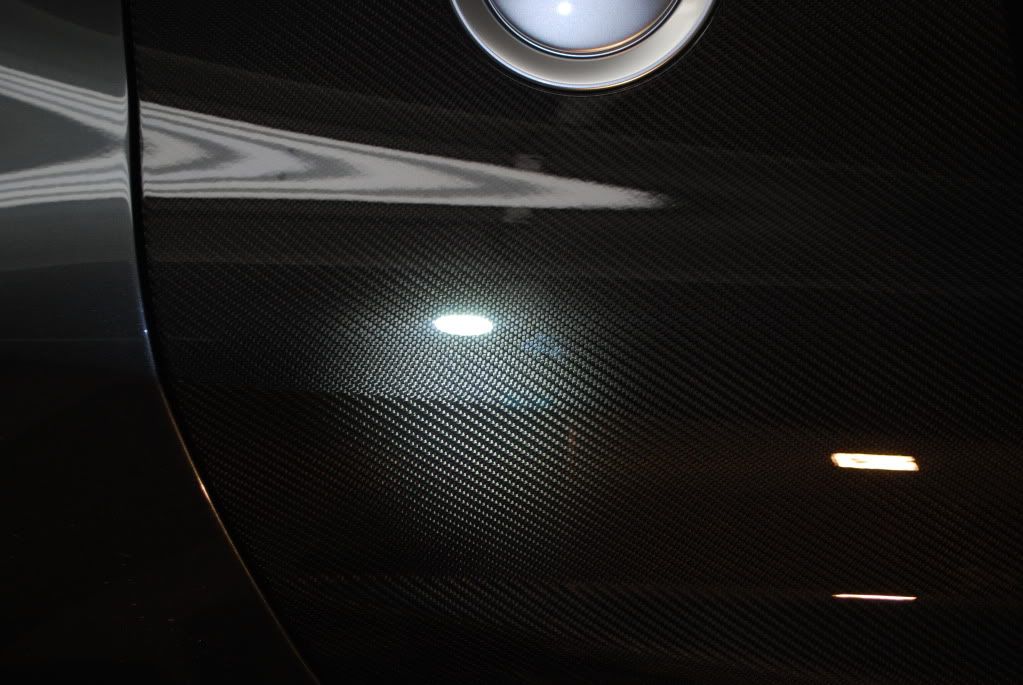
Finished result after IPA wipedowns, No LSP.
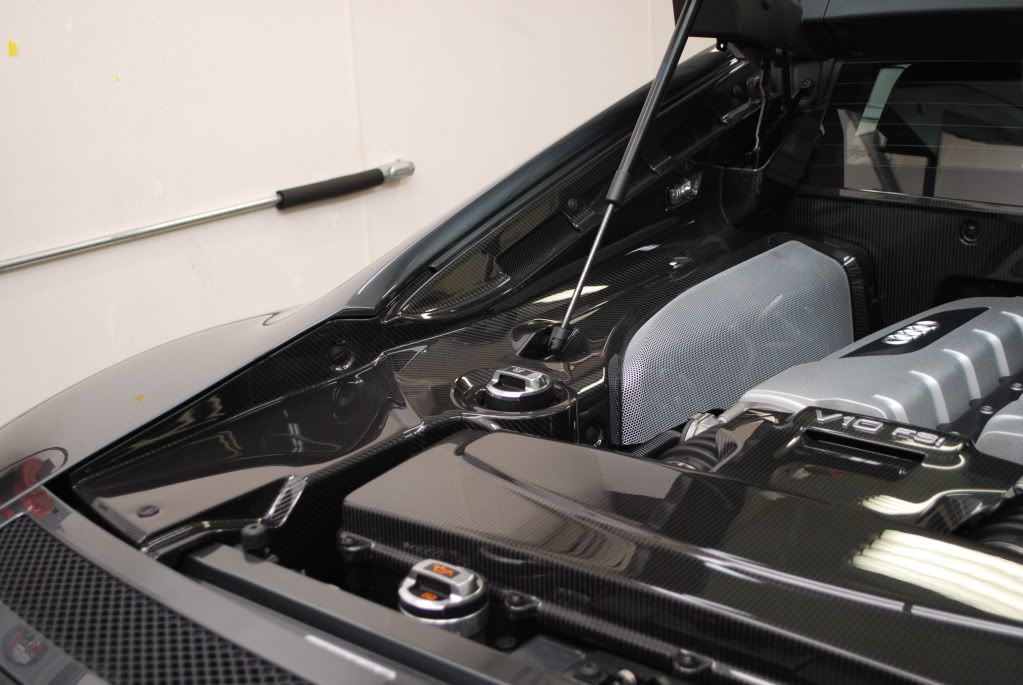
And the LED shot
This car is about as new as you can get, it was brought to me the day after delivery, some plastic wrapping still on. If only all owners had the restraint to let their new sports coupe get a proper detail and clear film install done before really taking it out for a spin!
Started with the wheels and tires. AutoGlym CWC was used on the wheels, Optimum powerclean 3:1 on the tires and wheel wells. Wheel scrubbed using various brushes.
Before
During
After
Although brand new the car was fairly dirty from the ride to my place in New Jersey from New York.
Some goodies left on the car from delivery, the owner left explicit instructions to NOT have the dealer remove any more than the necessary plastic protection from transport...
After the wheels I pressure washed the body and then sprayed the car down using Optimum Powerclean at 6:1 (more gentle ratio) to help loosen up some grime before foaming and washing.
Sometimes foaming dirty car doesn't loosen up grime as well as a pre-soak which IMO can cling to the body better and emulsify dirt really well... follow up with foam for good measure.
Pre-cleaned all badges, cracks and crevices
After rinsing and a quick 5 minute pre-foam I washed the R8 using my favorite shampoo... normally I would go with a Chemical Guys Citrus wash to remove old wax or sealant but the car came to me pretty much bare, nothing old to strip of so Lusso was the obvious choice, plus it smells incredible!
After the wash I pulled the car inside with the heat on and begun the rest of the prep process.
First I clayed, very few contaminants if any were removed, car was generally clean.
Headlights clayed also, clear film is going to be applied here so it needed to be prepped accordingly.
After claying I patted the car dry with a waffle weave drying towel and then gave it a few IPA wipedowns to remove any streaking and prep for polishing.
Next was taping, your pretty much looking at it :doh: Not much to tape on an R8. Paint readings were taken on every measurable panel, nothing abnormal, healthy levels of paint front to back.
Onto machine polishing, despite being brand new the R8 did need a bit of polishing work, some areas had light defects, others (like the carbon fiber) had more serious defects and most importantly I needed to ensure all the areas that were to be clear filmed were in perfect shape.
Using the LC tangerine hydro pad at about 1900rpm to remove light defects from the finish, this pad works great on harder finishes with the rotary.
Front clip was somewhat trashed, these areas marr up very easily.
50/50
Closeup after compounding
After finishing, LED light only no other light sources.
Carbon blade needed some extra work to remove the deeper defects. Whoever said brand new cars are unscathed is mistaken... factory defects still happen!
Before
Difference in jetness after polishing 1 side...
Some Menzerna 85rd used for refining, 1200rpm and below to amp up "zeee gloss" ... thats German by the way in case you were curious.
Finished result after IPA wipedowns, No LSP.
And the LED shot