imported_Luster
New member
This is the 2003 Spiral Gray Corvette that I bought earlier this week.
It was raining all day, so no outdoor shots!
I've taken some before and after pictures.
I can't believe I bought a car that was this dirty!!!! Completely UN-detailed!
But there is one very curious thing about the car... With 20,000 miles on it, there were NO swirl marks! How can that be!
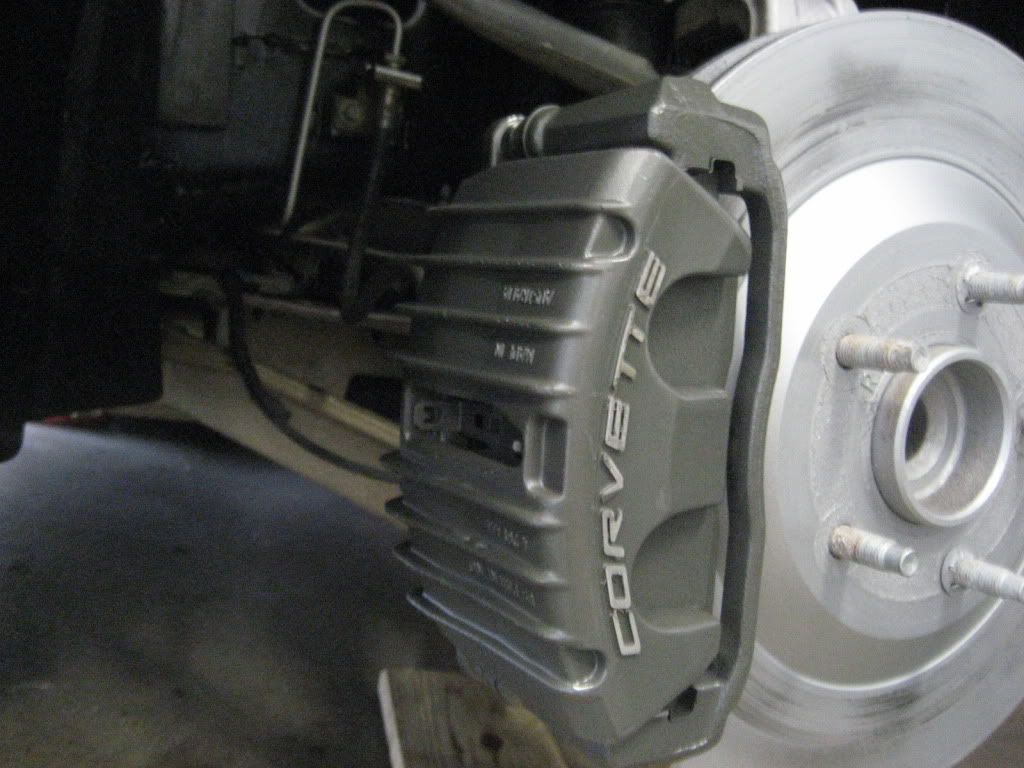
Anyway, I loved detailing it. I also did my "trademark" brake caliper and rotor painting, which I do to every car I buy... gave me a chance to clean up the wheel wells with the wheels off too!")
PROCESS:
Exterior:
Washed with Meg's Gold Class
Clay with Meg's Quick Clay
Polished with M205/White pad/PC 7424XP (didn't really need much!)
Blackfire Wet Diamond x2
Z8
Wheels/Tires/Wheelwells/Brakes:
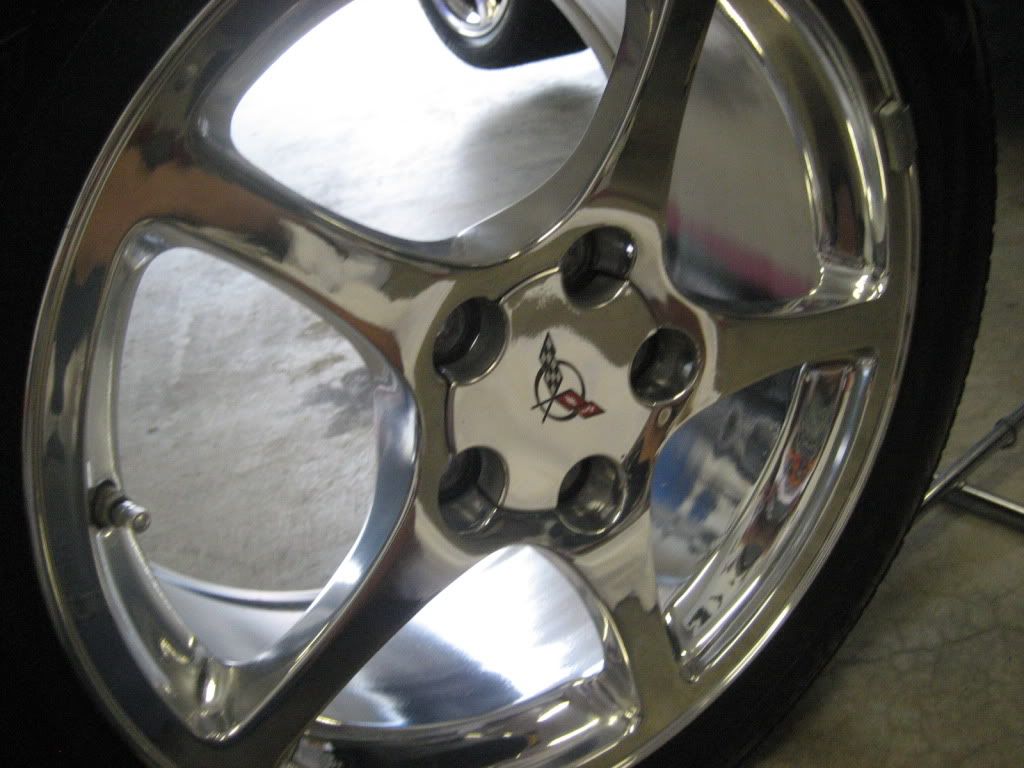
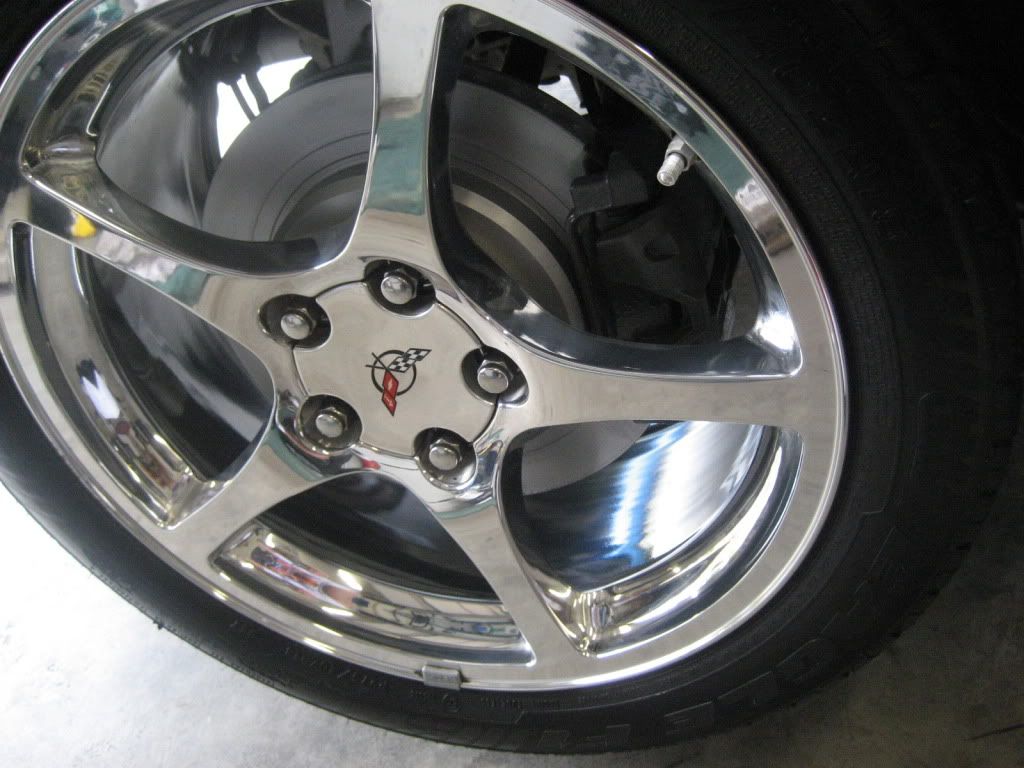
Pulled off wheels/ cleaned wheelwells/ painted rotors and calipers/ cleaned, polished wheels
Polished exhaust tips with Simichrome polish
Polished wheels by hand with M205 and a microfiber towel (they are high polished/clearcoated)
Dressed tires with PBB&B
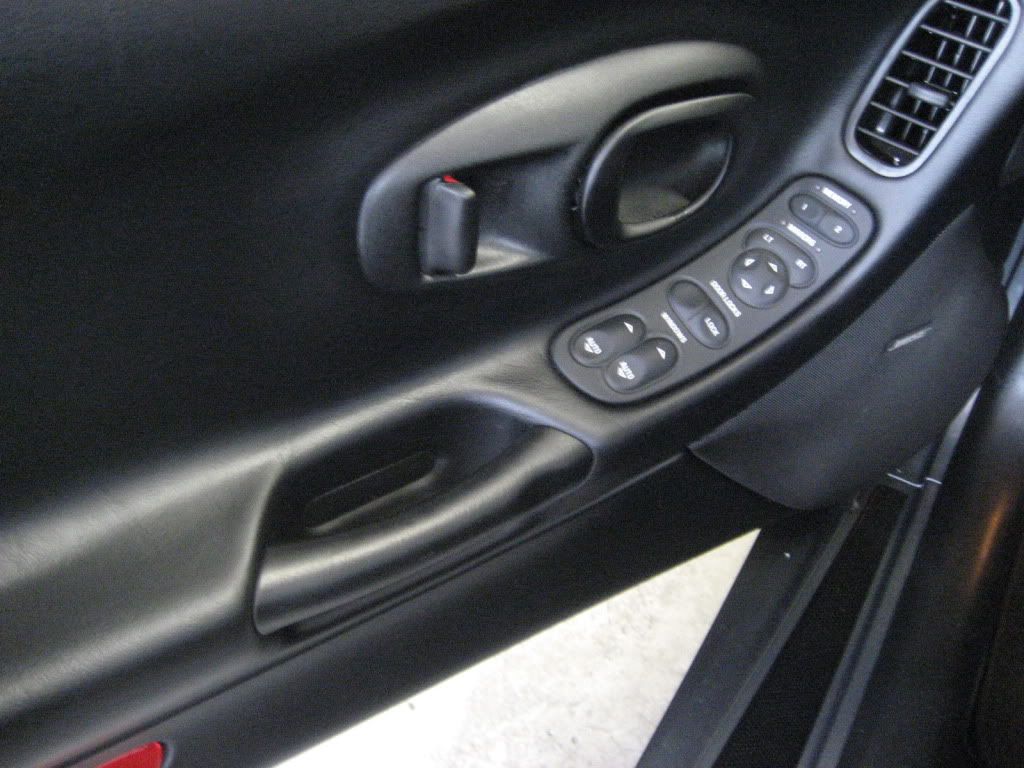
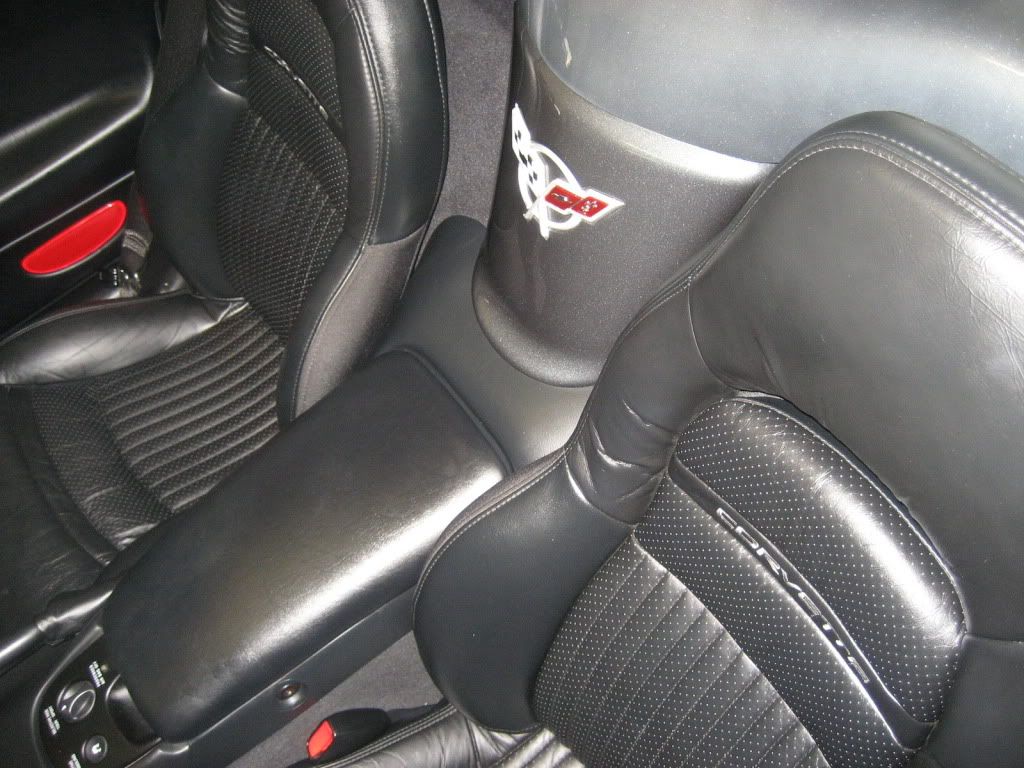
Interior:
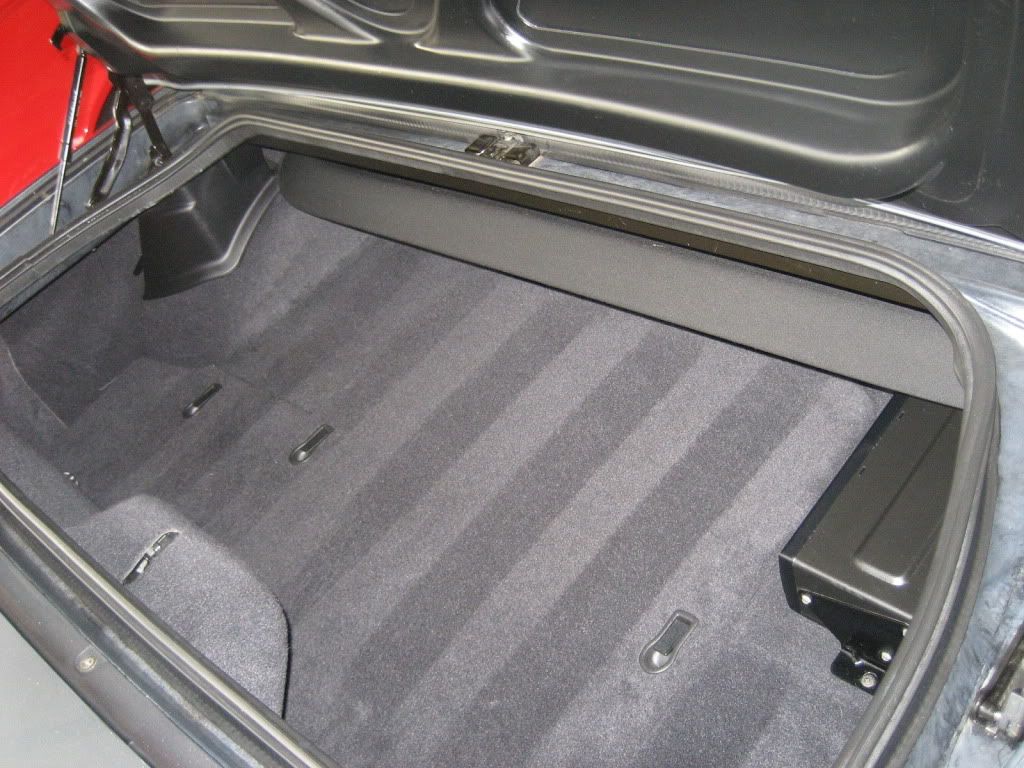
Vacuumed interior/trunk
Cleaned/treated rubber and vinyl with PBB&B
Cleaned/treated leather with Z9/Z10
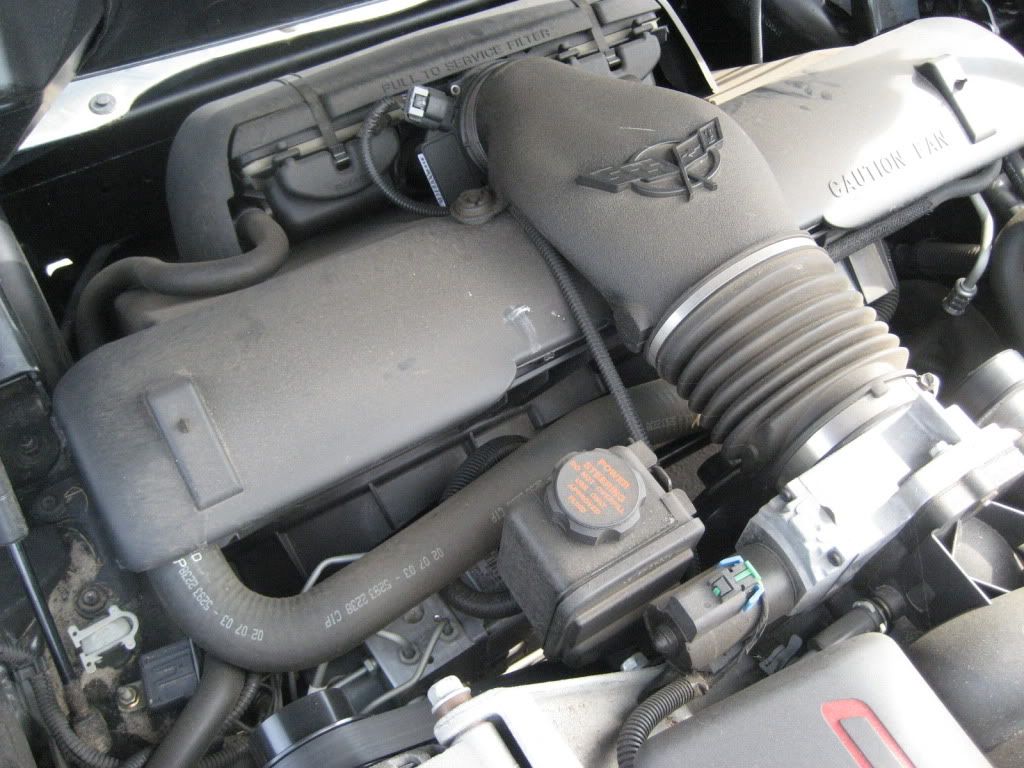
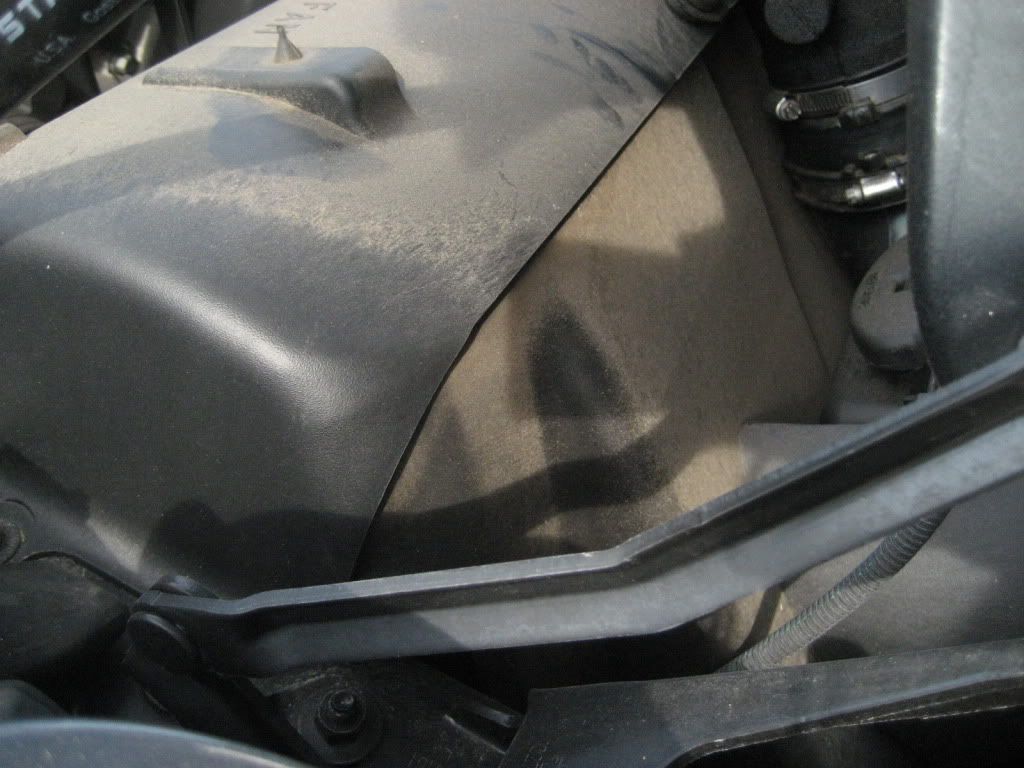
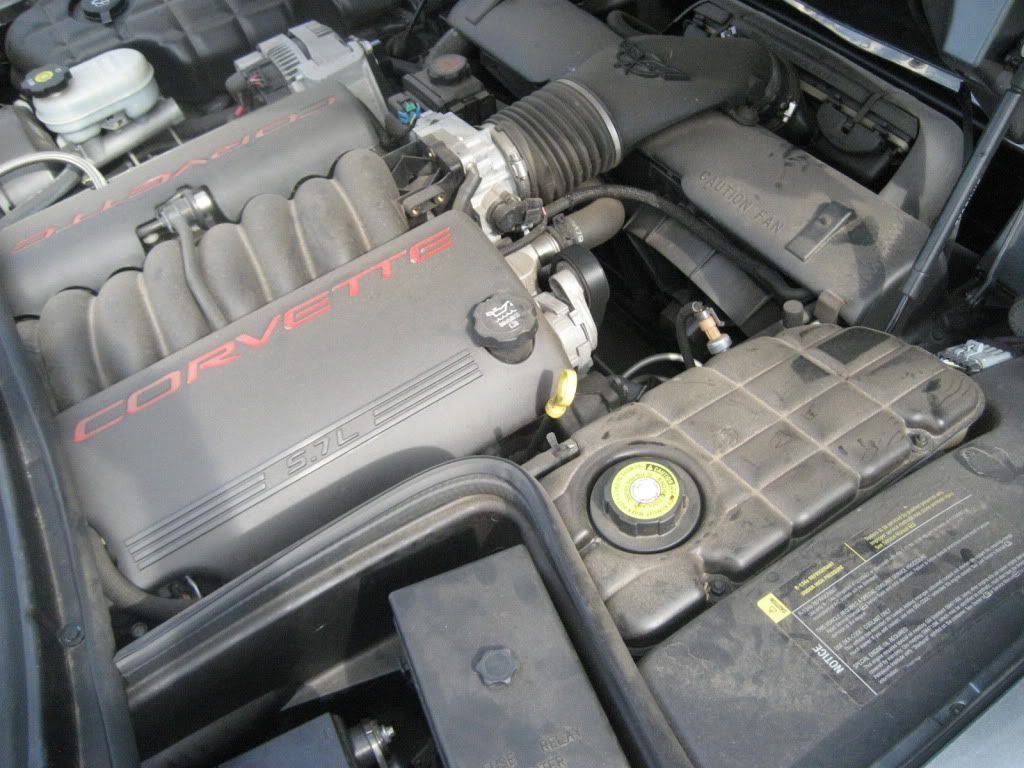
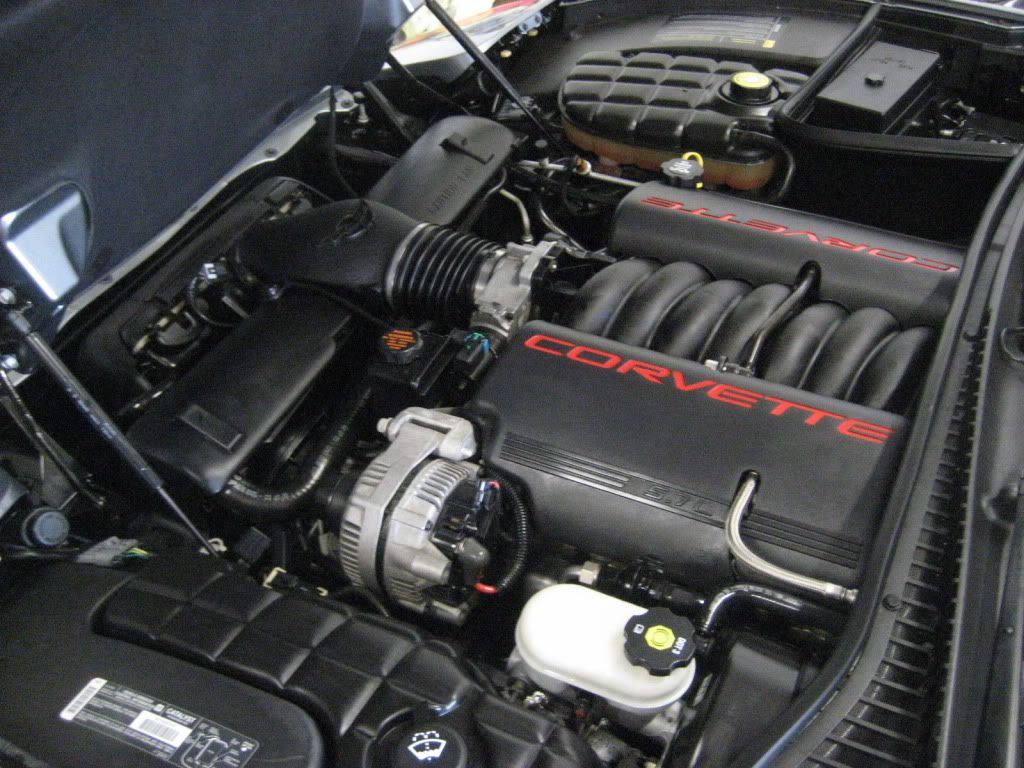
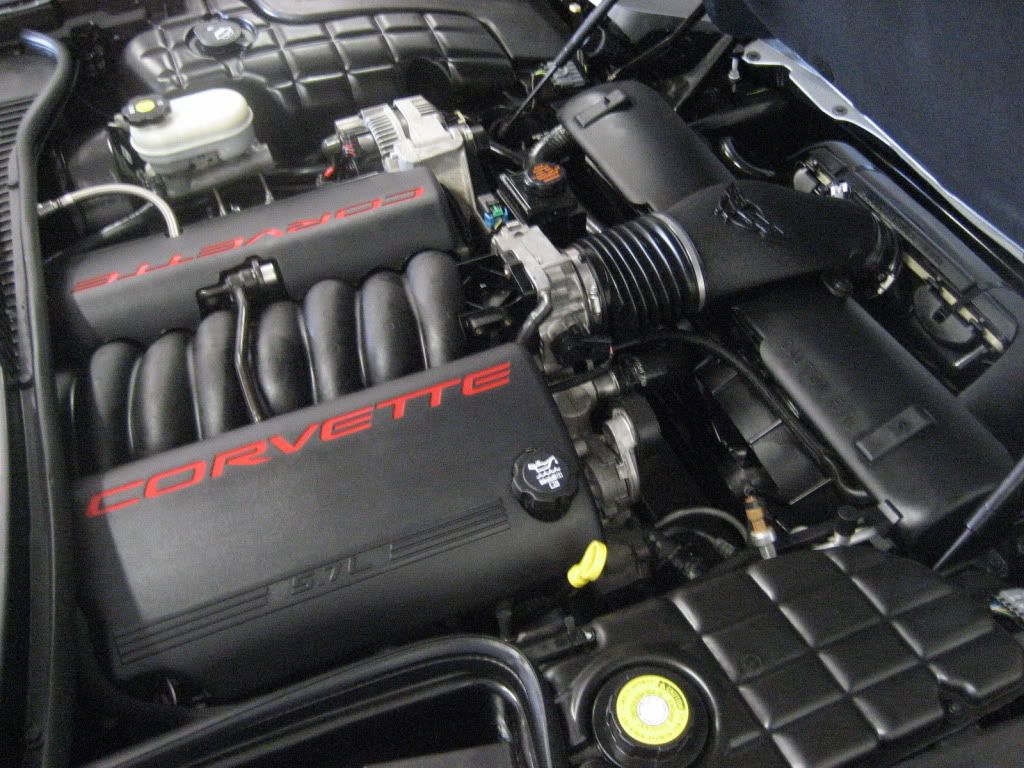
Engine bay:
I saturated everything with APC diluted with water. The scrubbed with a long handle tire brush, rinsed with a gentle stream of water. Then I dried with an old towel, and sprayed everything with Stoner Trim Shine. Wiped off excess.
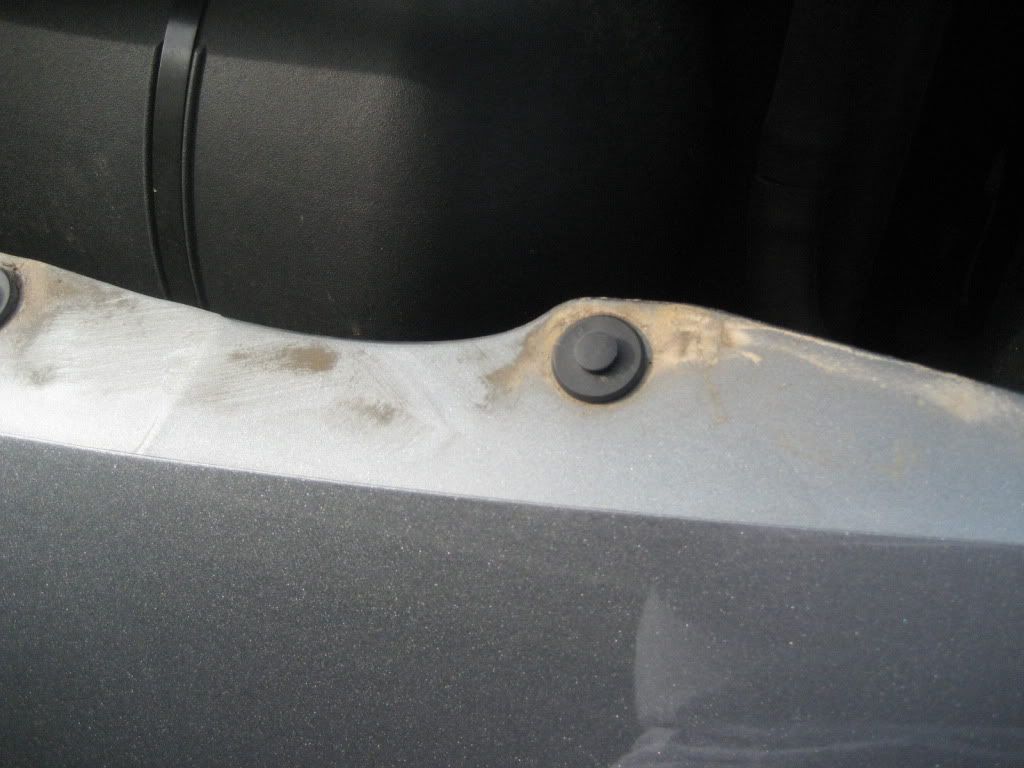
Did some touch up painting with Medium Spiral Gray Metallic from the Chevy dealer. Then lightly wetsanded with 1500, followed by M205/white pad.
So far I've got about 16 hours in the detail... not finished yet!
I'll get you some nice outdoor shots when it stops raining!!!
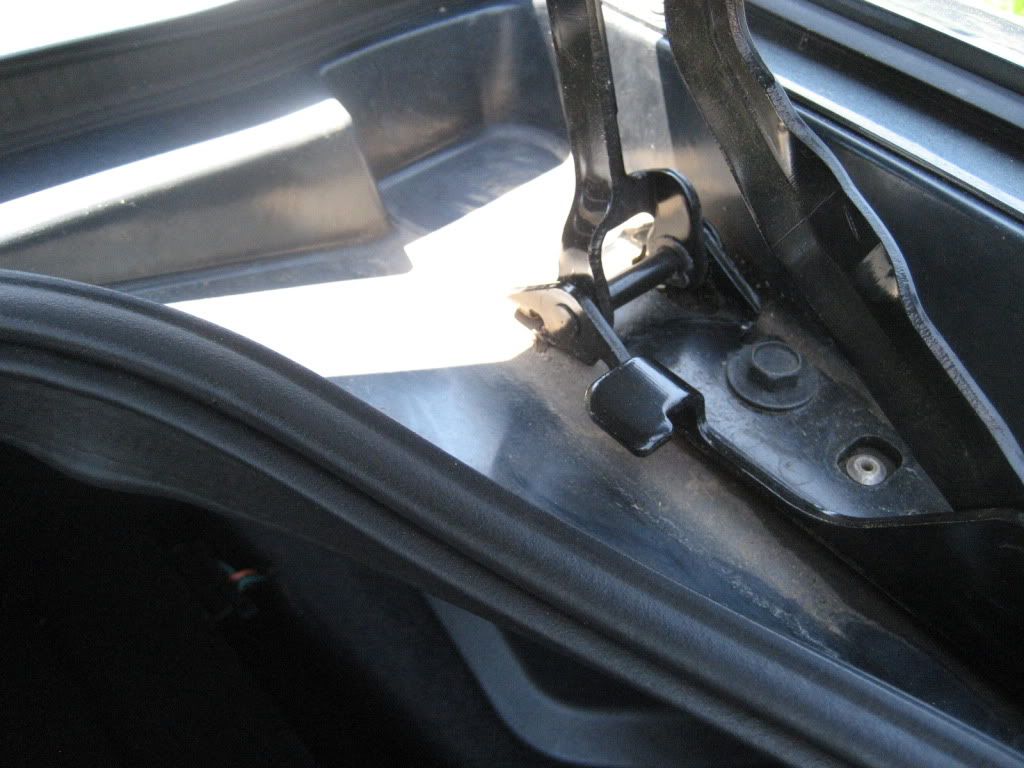
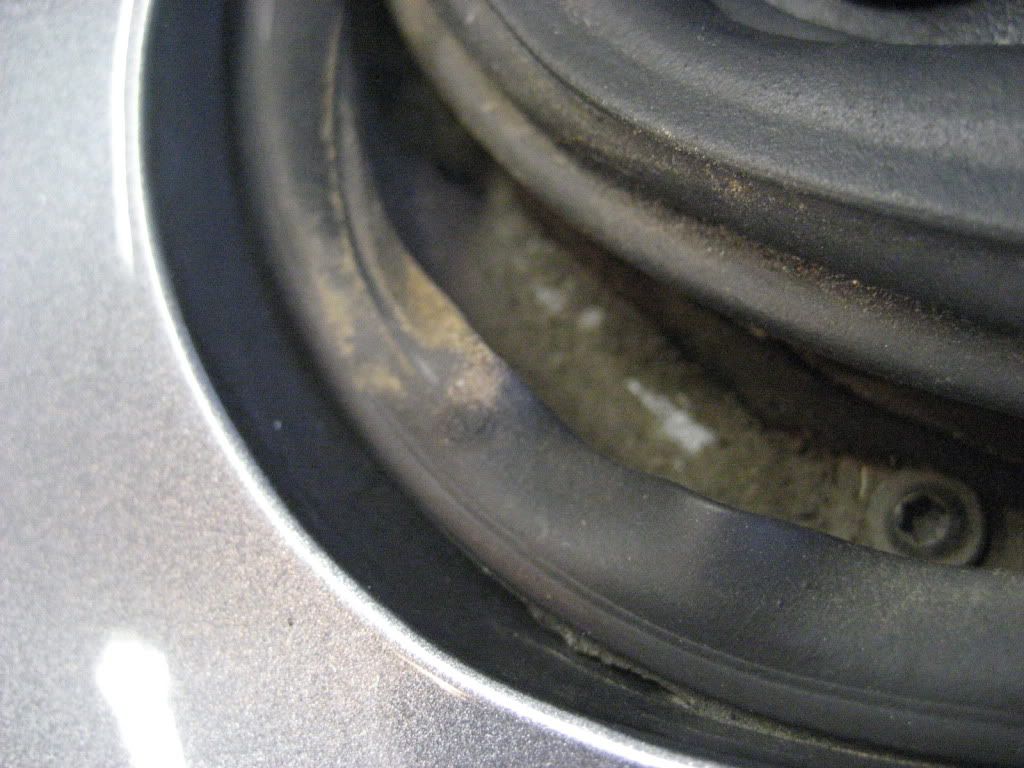
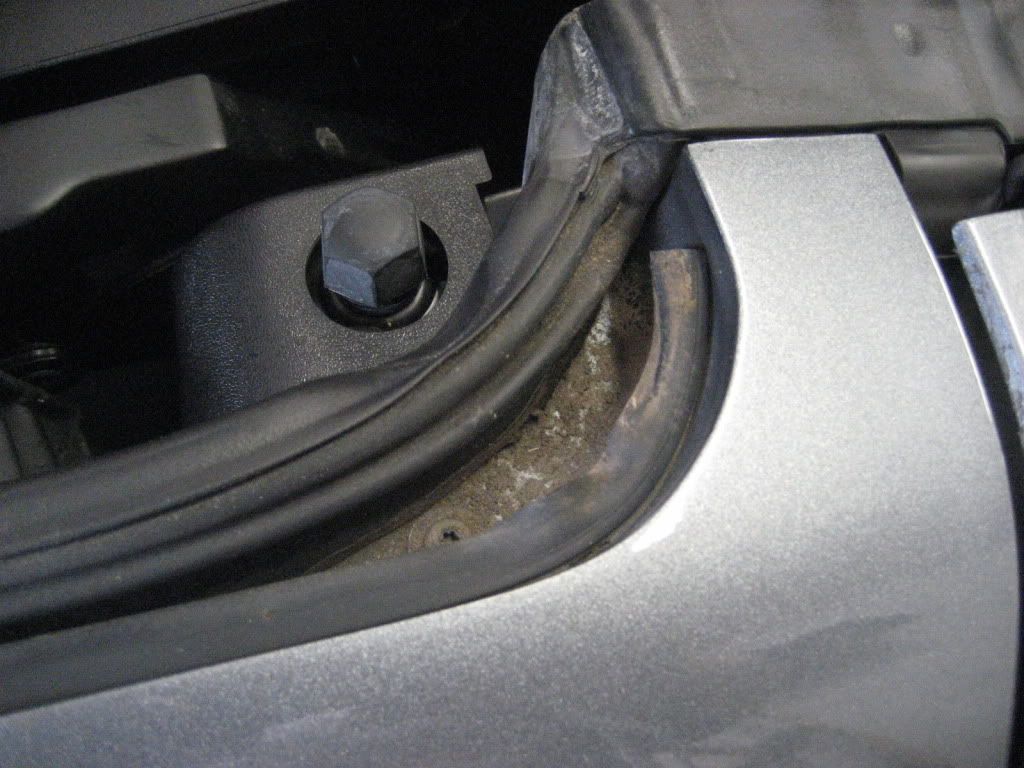
BEFORE: (Pretty nasty for a "Luster" car!!!)
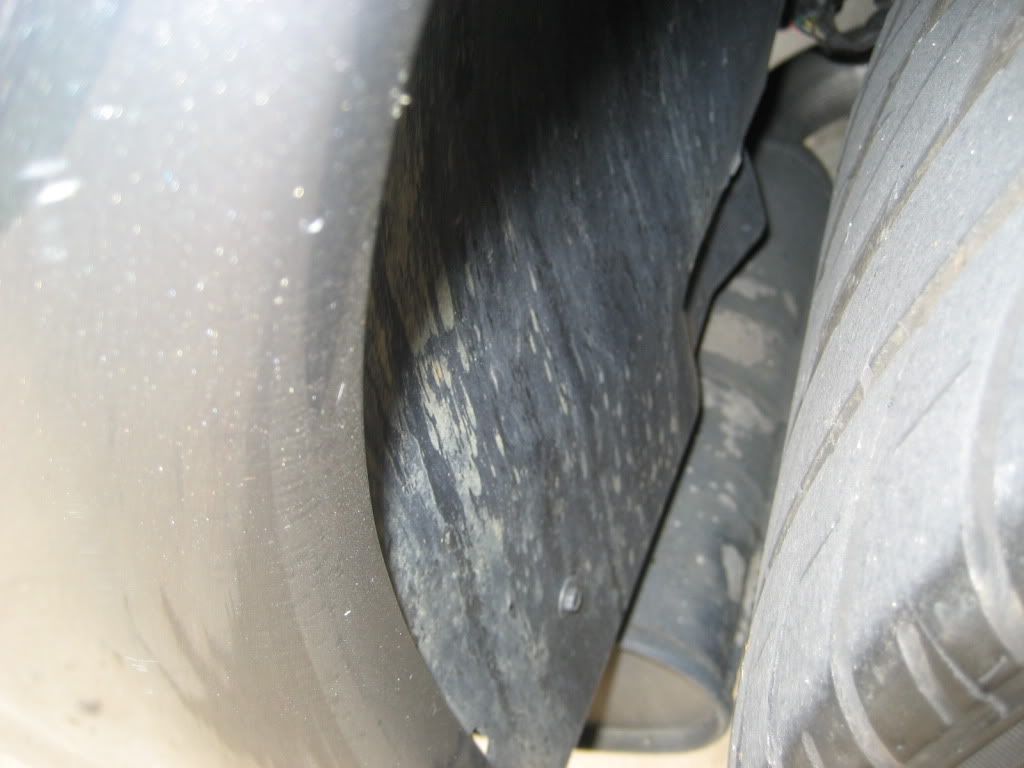
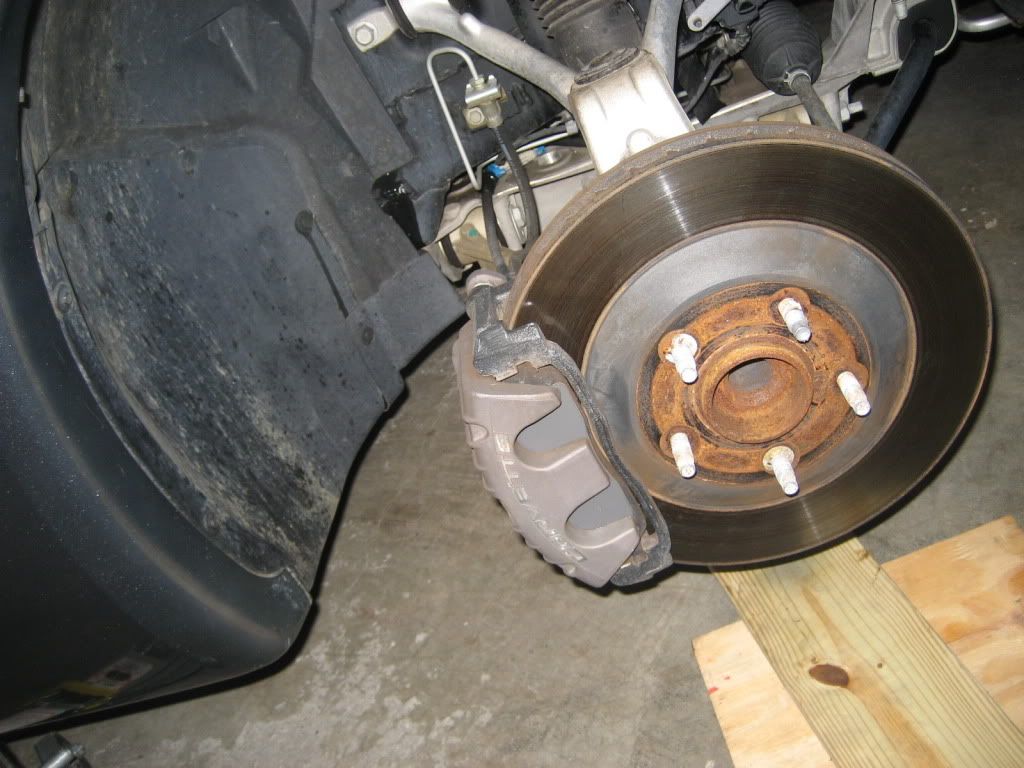
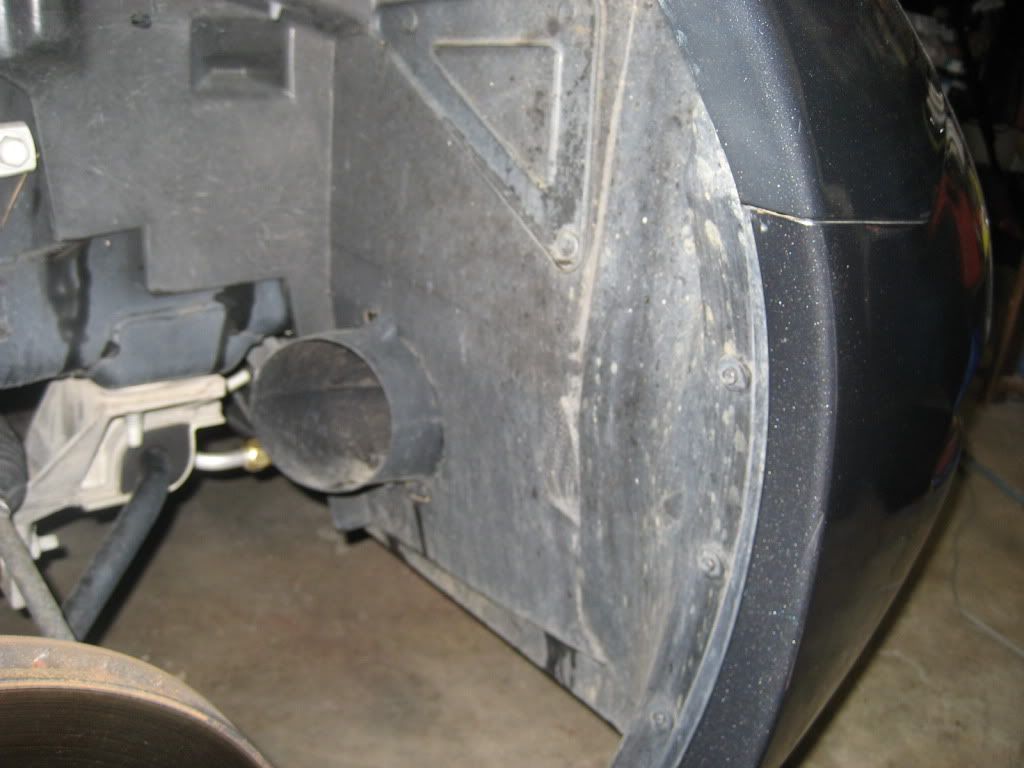
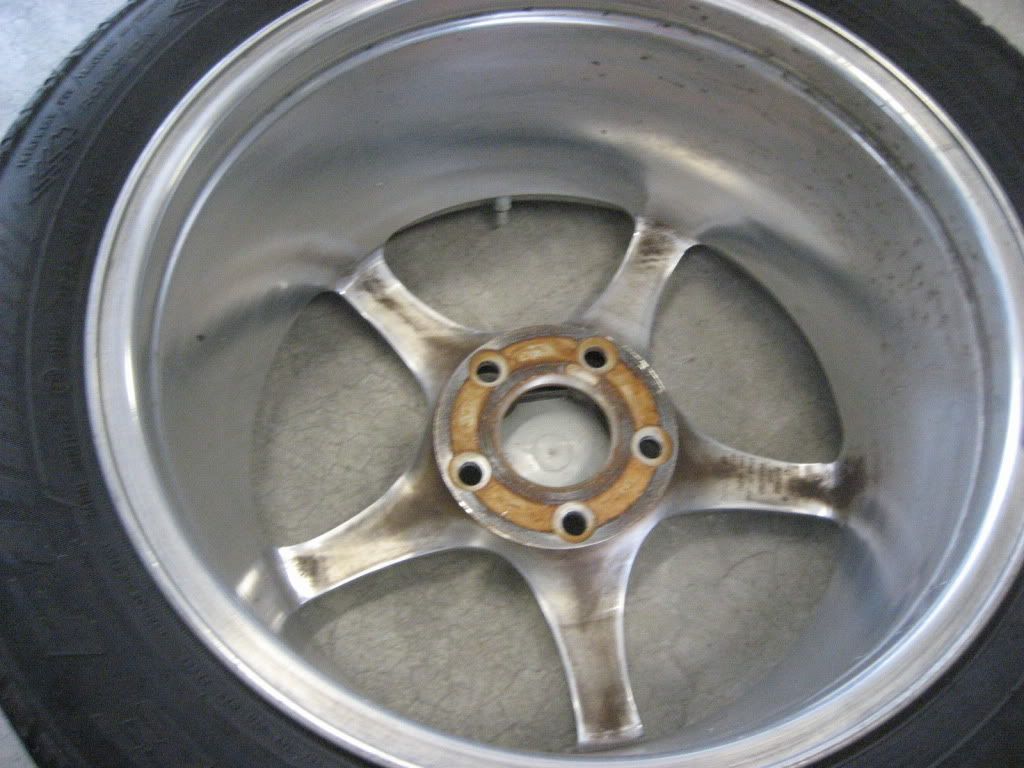
WHEELS/BRAKES BEFORE CLEANUP/PAINTING:
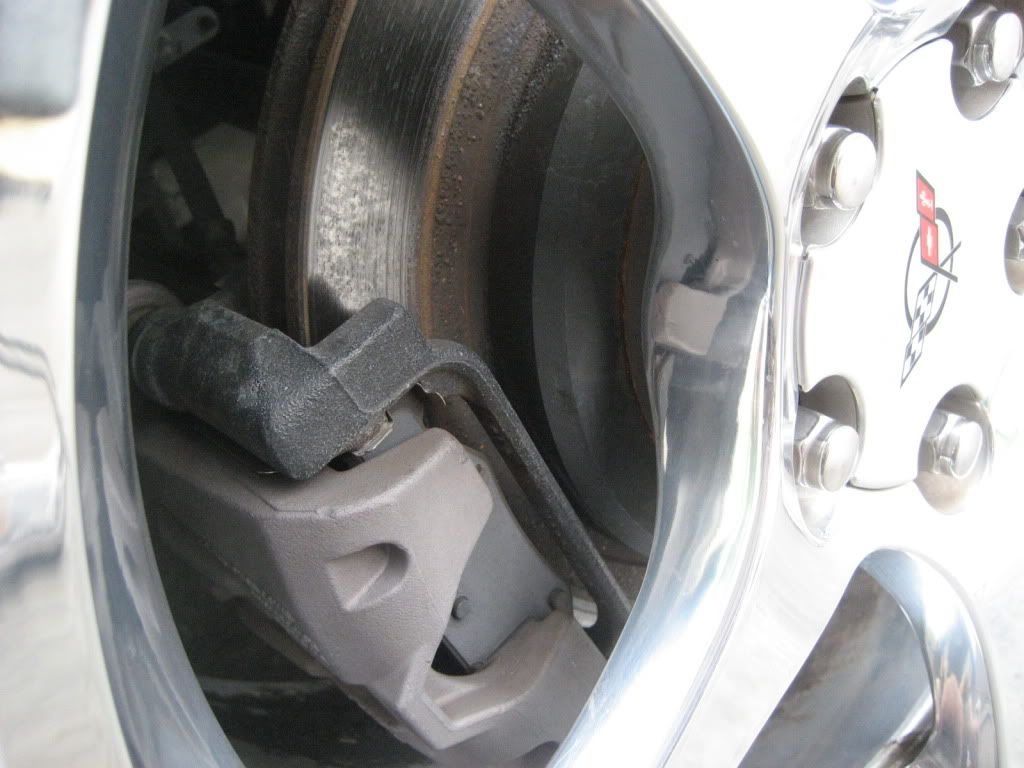
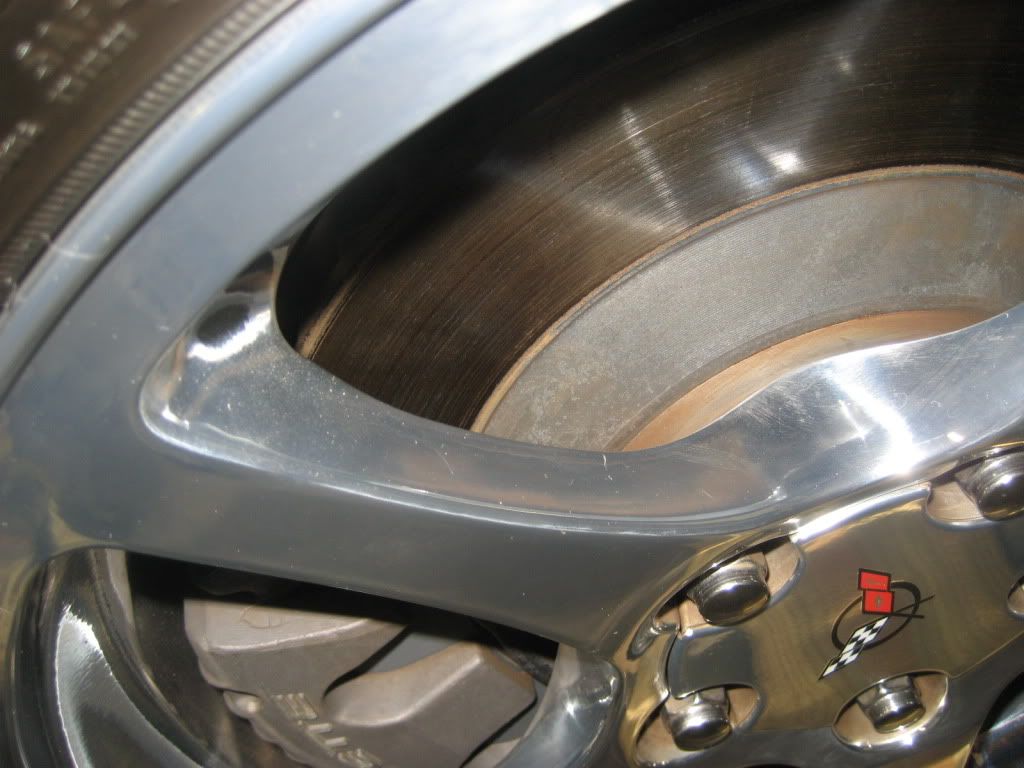
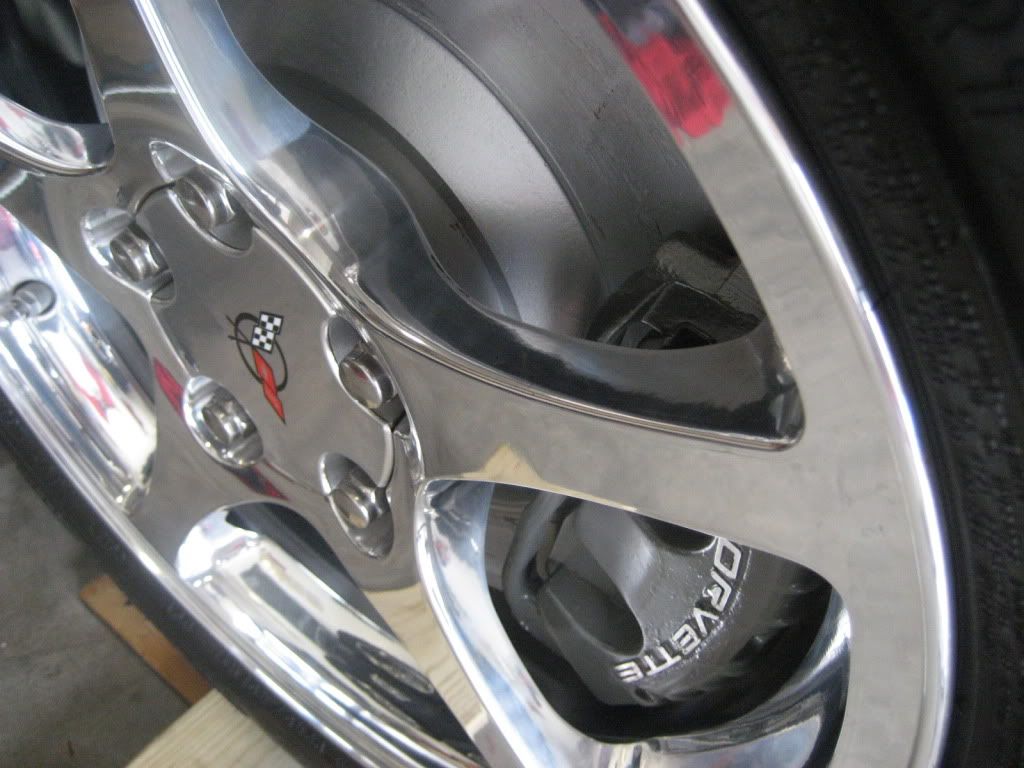
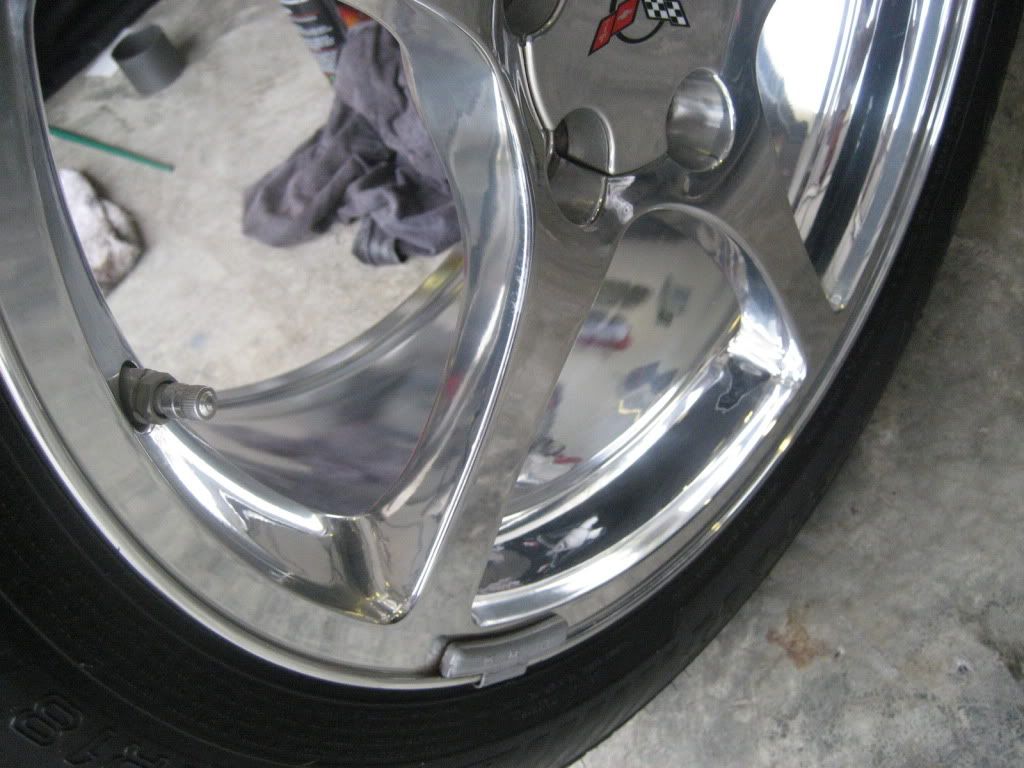
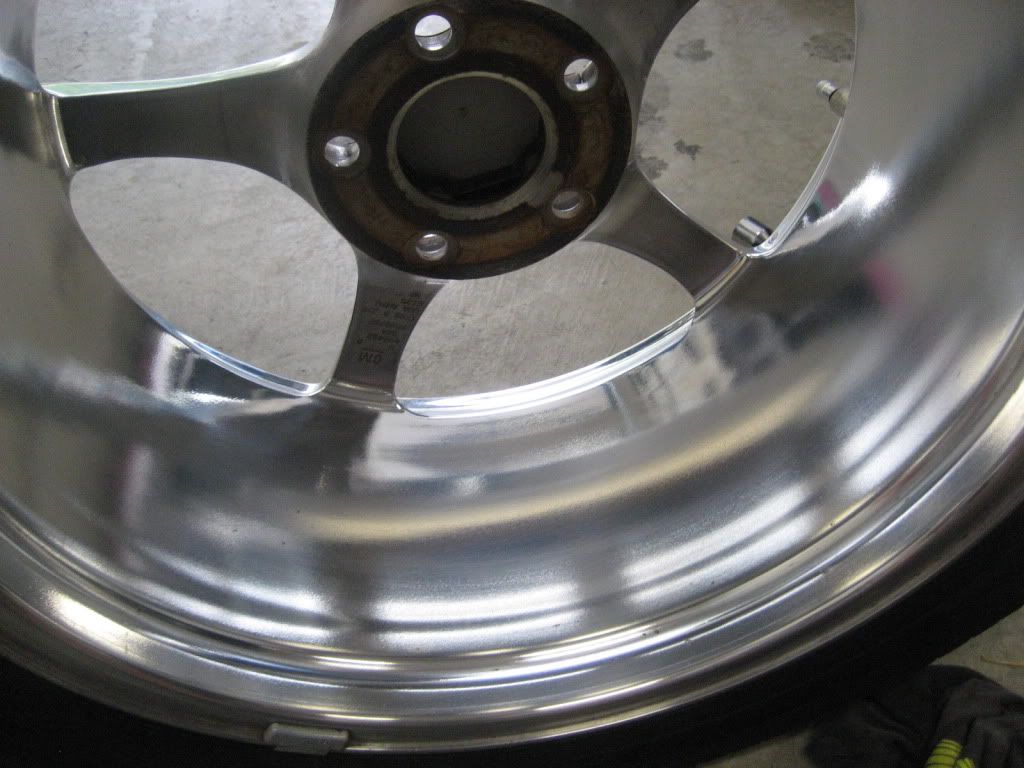
WHEELS/BRAKES AFTER PAINTING/CLEANUP:
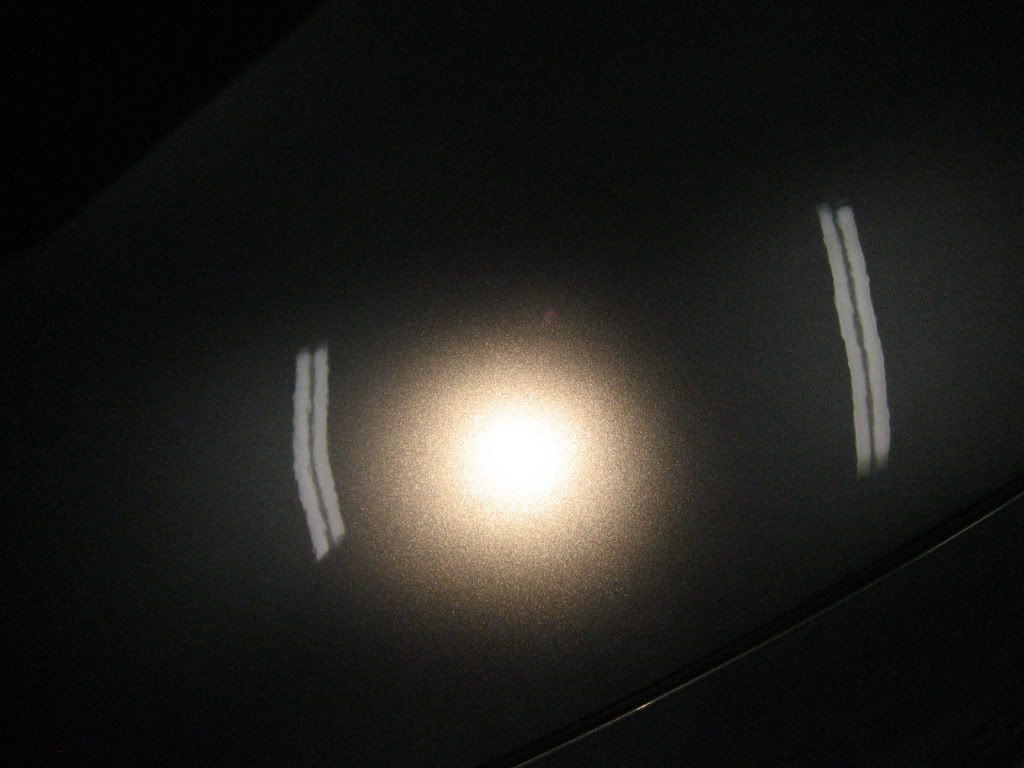
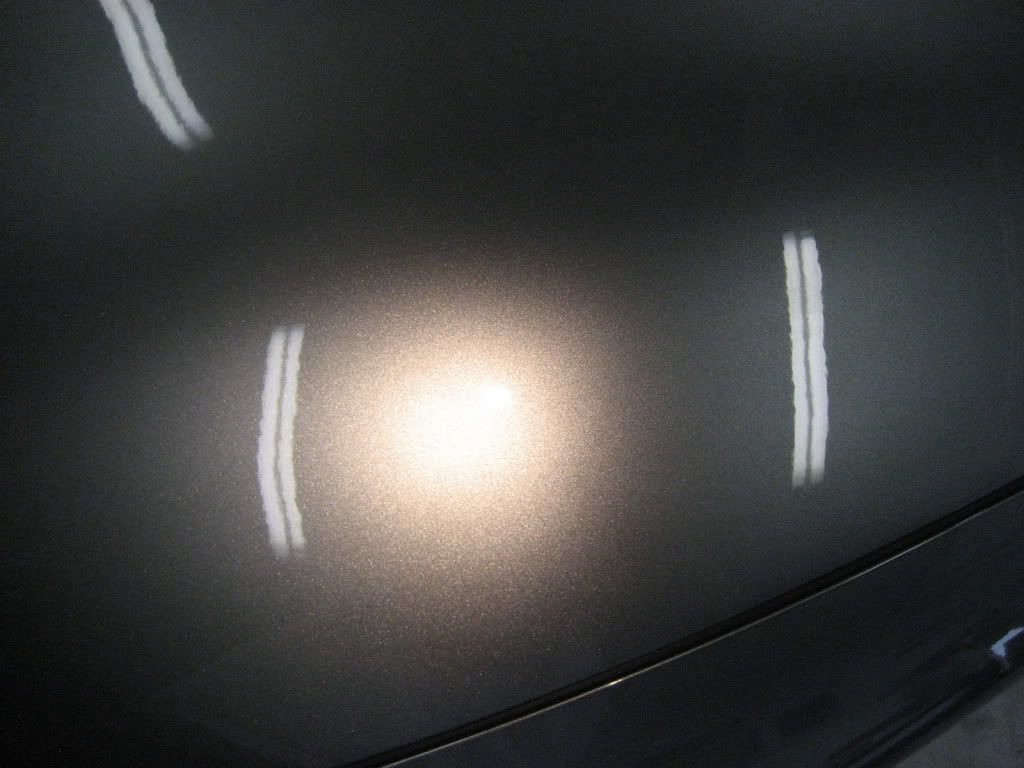
AFTER SHOTS:
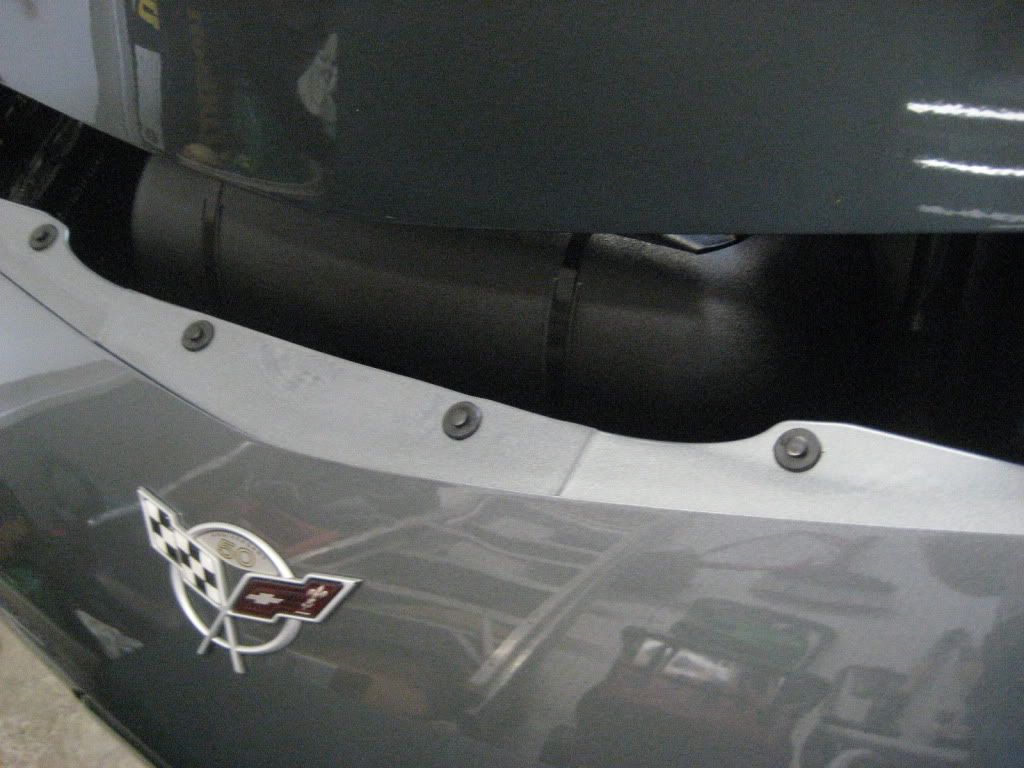

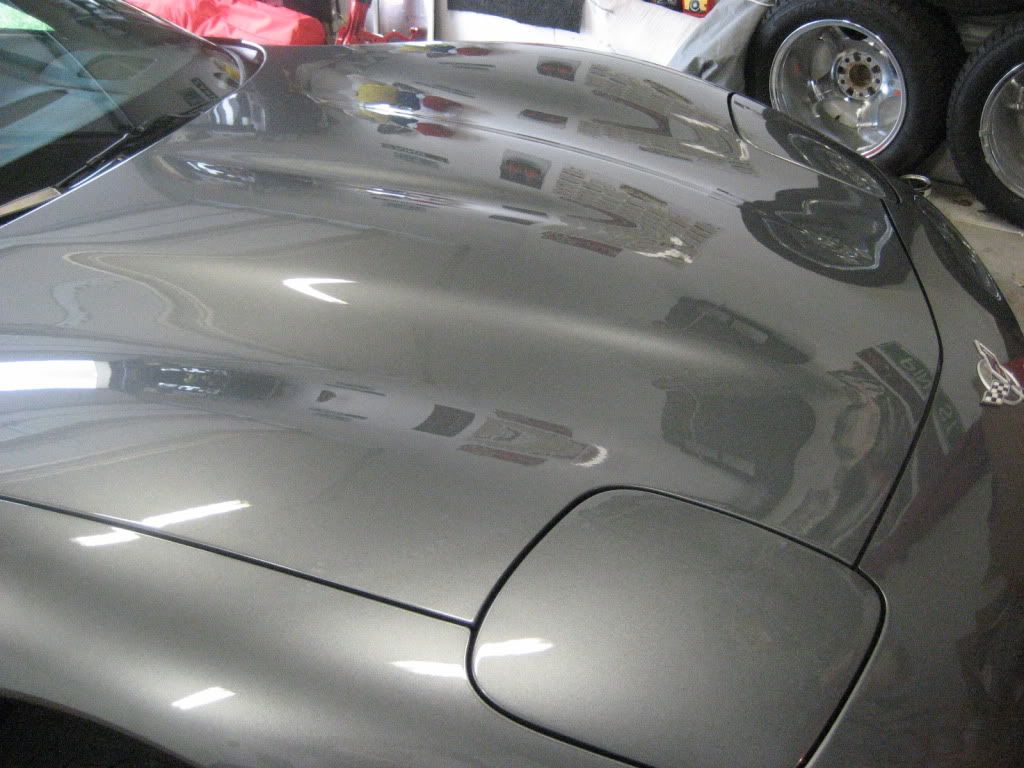
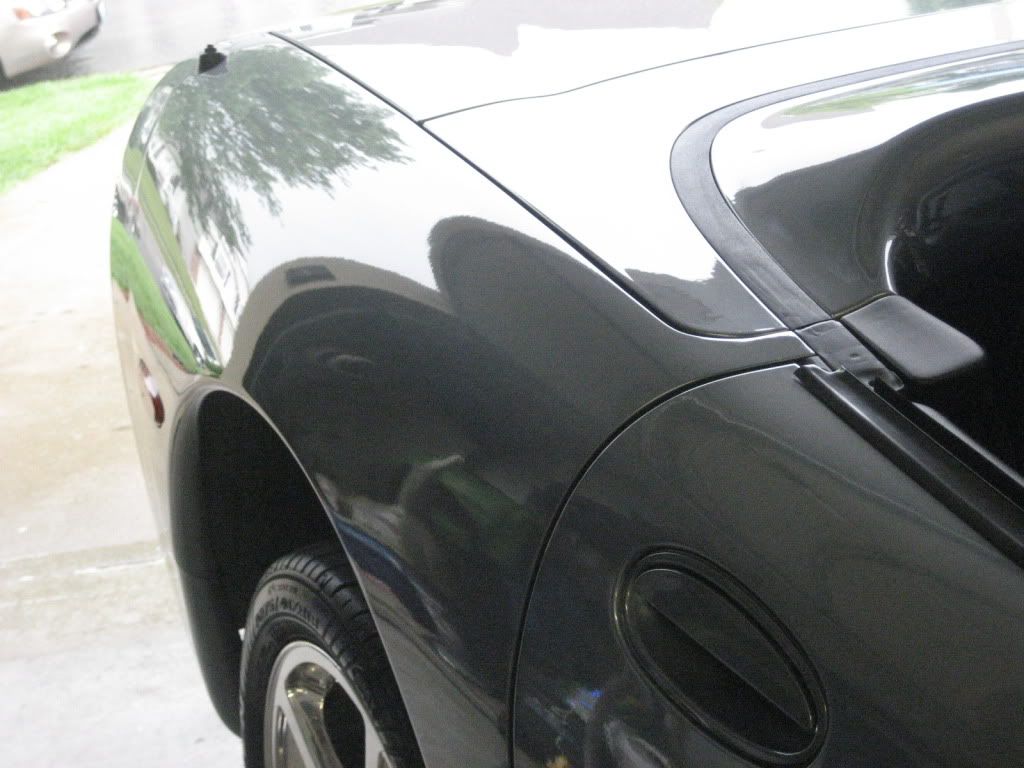
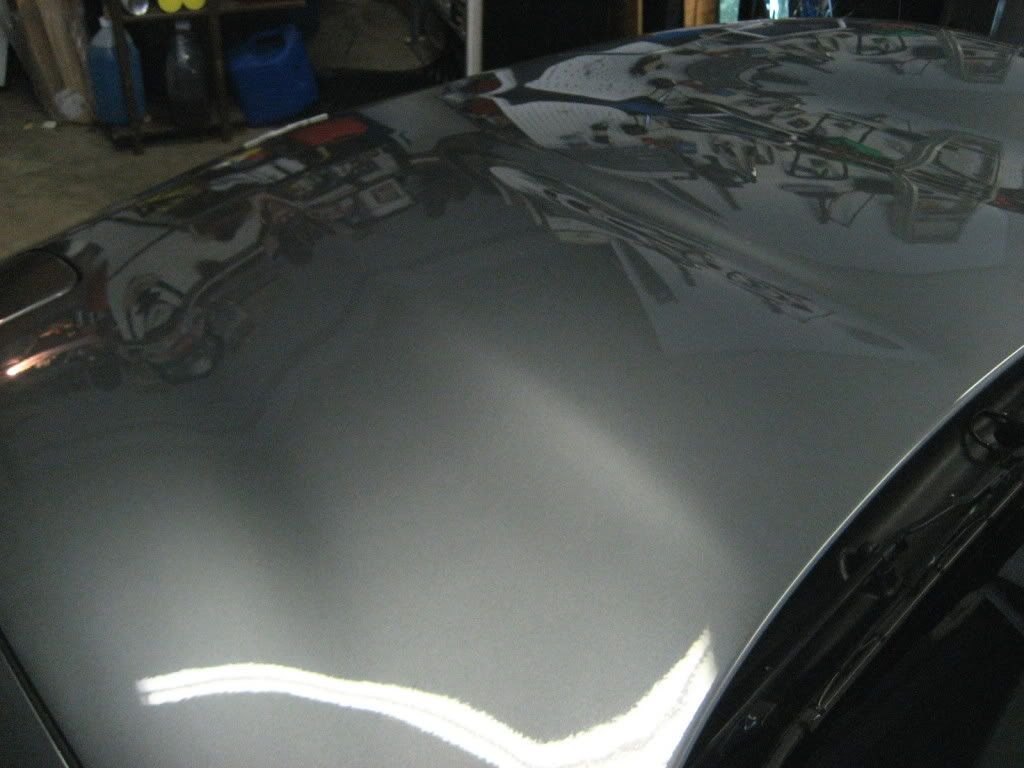
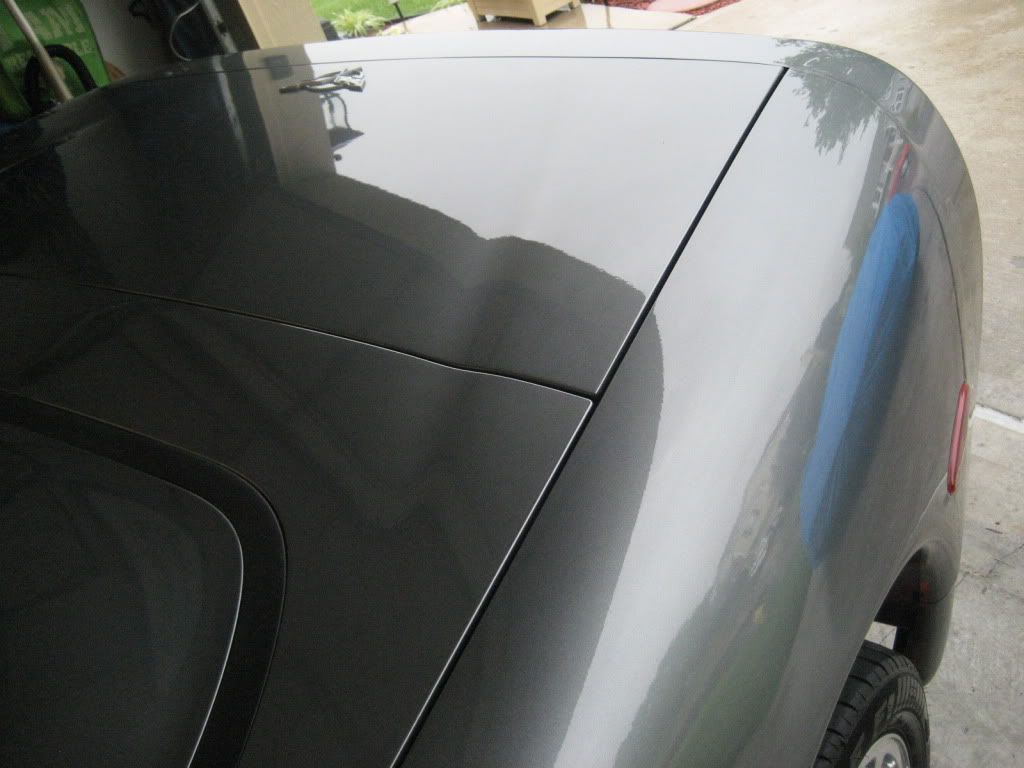
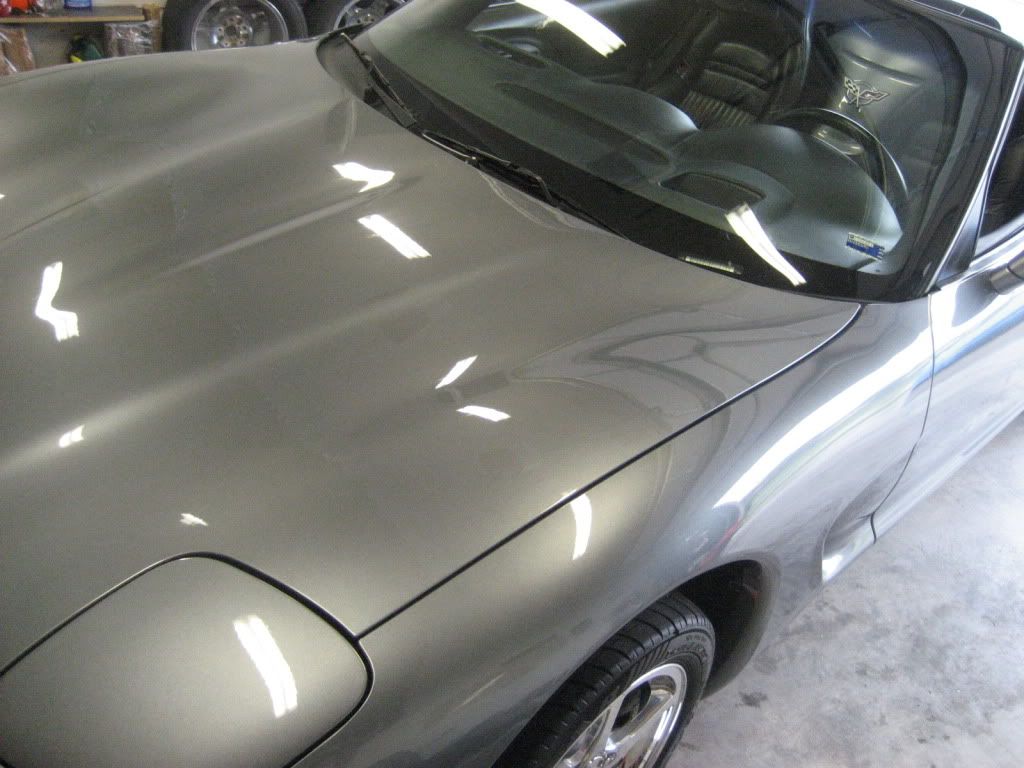
These shots are with the Brinkman... trying to show the lack of swirls; like I said there weren't any!
It was raining all day, so no outdoor shots!
I've taken some before and after pictures.
I can't believe I bought a car that was this dirty!!!! Completely UN-detailed!
But there is one very curious thing about the car... With 20,000 miles on it, there were NO swirl marks! How can that be!
Anyway, I loved detailing it. I also did my "trademark" brake caliper and rotor painting, which I do to every car I buy... gave me a chance to clean up the wheel wells with the wheels off too!
PROCESS:
Exterior:
Washed with Meg's Gold Class
Clay with Meg's Quick Clay
Polished with M205/White pad/PC 7424XP (didn't really need much!)
Blackfire Wet Diamond x2
Z8
Wheels/Tires/Wheelwells/Brakes:
Pulled off wheels/ cleaned wheelwells/ painted rotors and calipers/ cleaned, polished wheels
Polished exhaust tips with Simichrome polish
Polished wheels by hand with M205 and a microfiber towel (they are high polished/clearcoated)
Dressed tires with PBB&B
Interior:
Vacuumed interior/trunk
Cleaned/treated rubber and vinyl with PBB&B
Cleaned/treated leather with Z9/Z10
Engine bay:
I saturated everything with APC diluted with water. The scrubbed with a long handle tire brush, rinsed with a gentle stream of water. Then I dried with an old towel, and sprayed everything with Stoner Trim Shine. Wiped off excess.
Did some touch up painting with Medium Spiral Gray Metallic from the Chevy dealer. Then lightly wetsanded with 1500, followed by M205/white pad.
So far I've got about 16 hours in the detail... not finished yet!
I'll get you some nice outdoor shots when it stops raining!!!
BEFORE: (Pretty nasty for a "Luster" car!!!)
WHEELS/BRAKES BEFORE CLEANUP/PAINTING:
WHEELS/BRAKES AFTER PAINTING/CLEANUP:
AFTER SHOTS:
These shots are with the Brinkman... trying to show the lack of swirls; like I said there weren't any!

")