Todd@RUPES
Just a regular guy
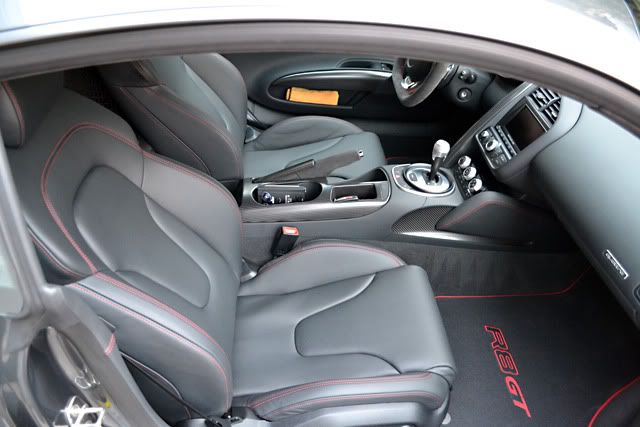
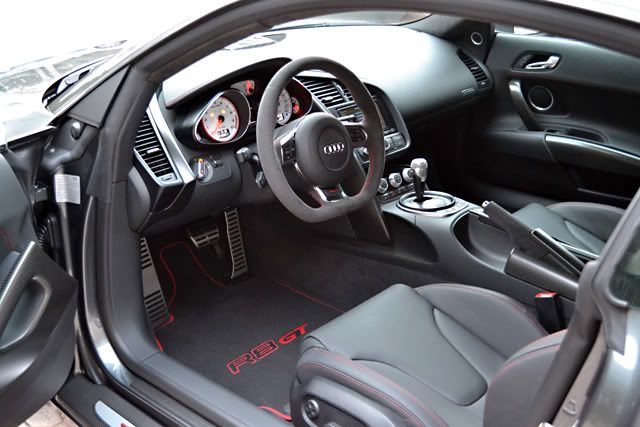
The Audi R8 GT is Germany's full out blitzkrieg on Italian exotic car dominance. Featuring a tweaked, 570 HP V10, flat (light weight) carbon trim, and race inspired suspension tweaking, this Audi promises to deliver at the track. And in true, German engineering, promises to do all of this while maintaining reliability and driver comfort.
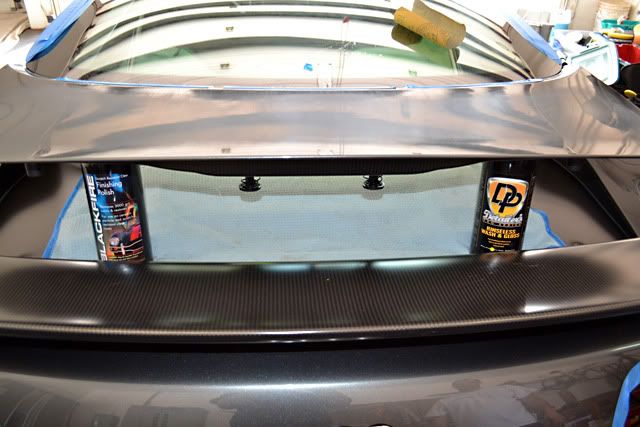
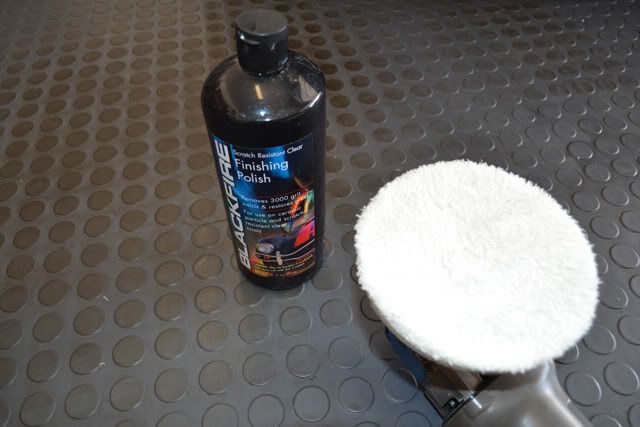
That's fine and dandy, but my job was to make it shine as well as it performs. With my good friend David F set to move back to Michigan, I loaded up some new BLACKFIRE in inconspicuous bottles, and got to work. This R8 belongs to a client of ours, so we where happy to do this final detail on his Audi together.
The first step we did was to rinse the Audi of any loose dirt and mix up two buckets to thoroughly wash the exterior.
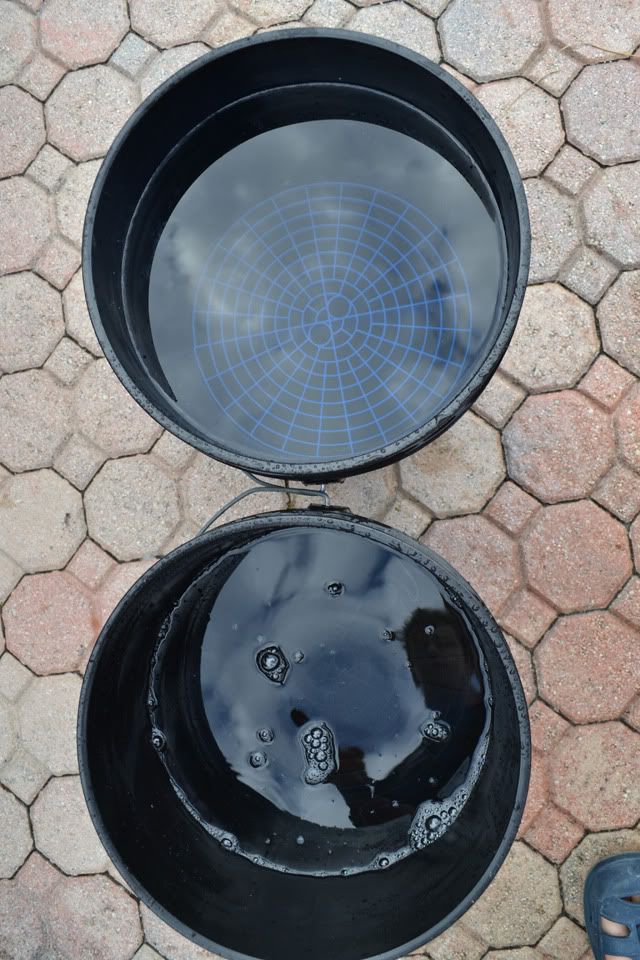
I started by mixing Ultima Paint Guard Wash into the BLACKFIRE wash bucket. We used two buckets, using a method popularly referred to as the "two bucket method" to ensure we didn't scratch or mark the paint while removing dirt. To further protect the paint each bucket was loaded with a Grit-Guard trap.
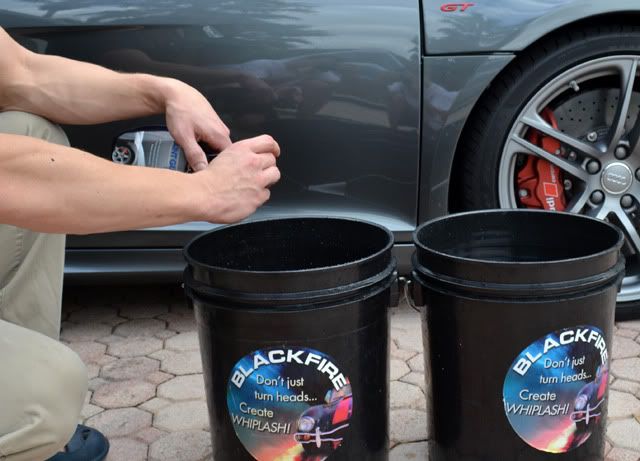
Quick Tip: It is best to fill the bucket mostly full of water first before adding the soap. If you add the soap too early you are left with a bucket of suds, and while they are pretty (and serve some purpose) it is the soap slick soap solution that is most valuable.
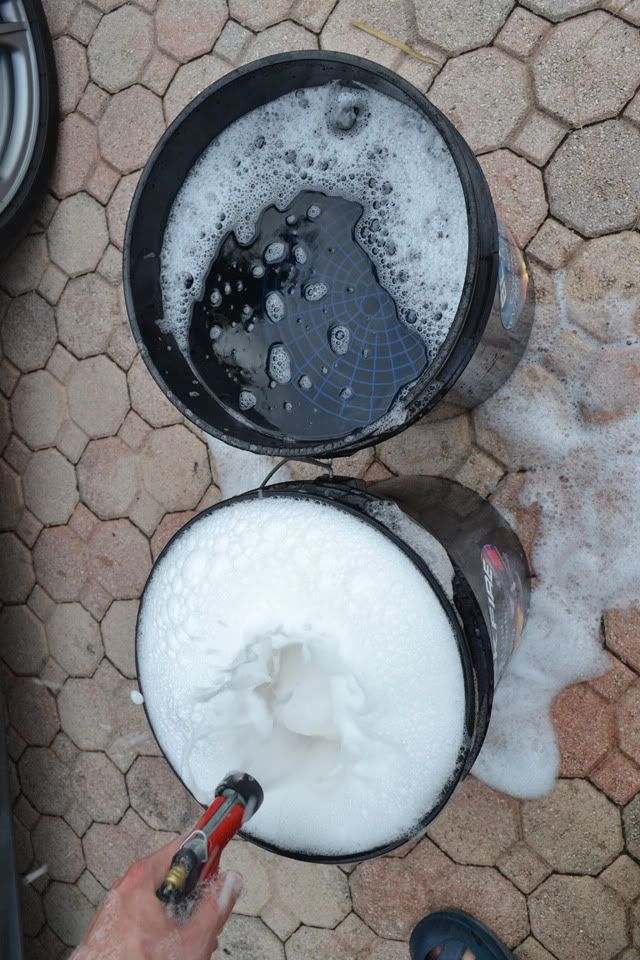
Soap added....
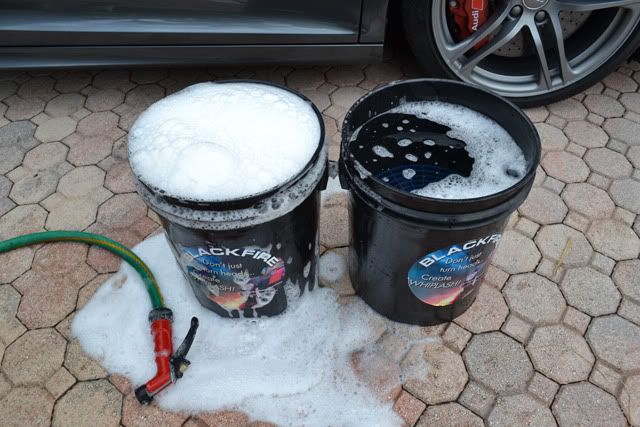
A short blast of water is all that is needed to mix the Ultima Paint Guard Wash and activate a mountain of suds.
We all have a favorite method of doing things. In general I will start washing a car with the wheels first, then move onto the smaller detail items (such and body seams, door jambs, etc) then finally the body, using a separate soap solution for each. Given that it was heavily overcast this particular morning and David and I have done so many automobiles together we have a great work flow we decided to change it up slightly.
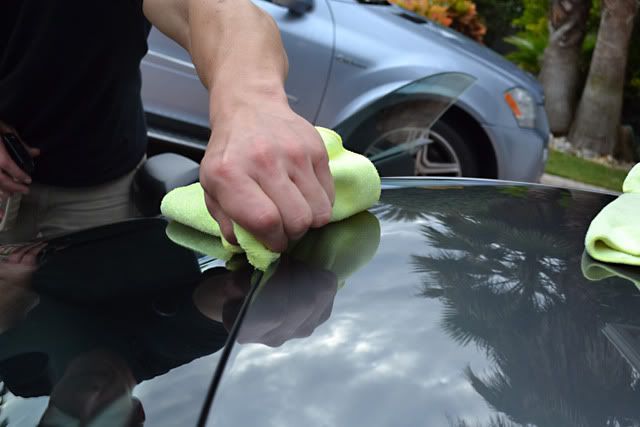
We started with the body, focusing first on the detail areas, such as the door shuts. Here David washes the shuts using Cobra Microfiber Chenille Wash Mitt.
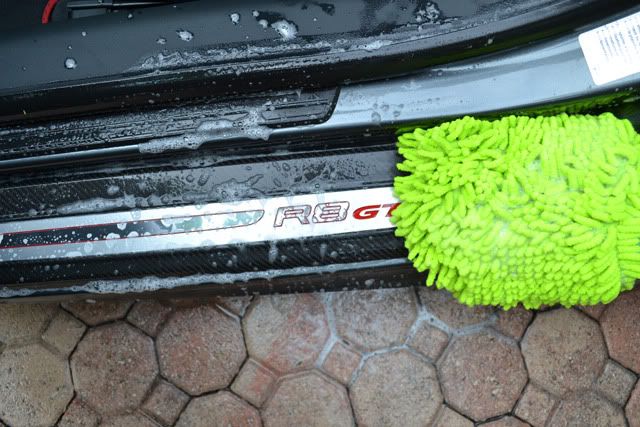
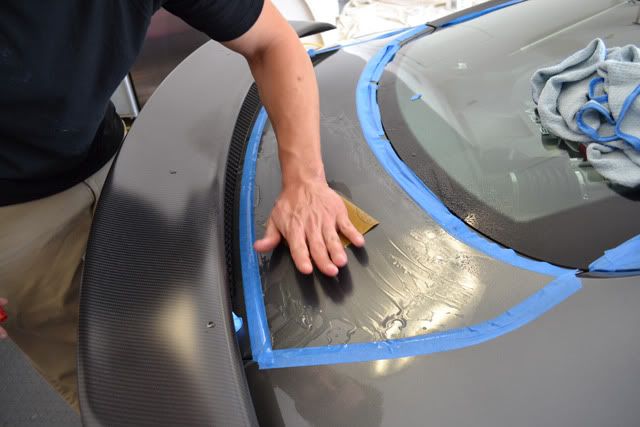
I prefer to wash and rinse door shuts just like the exterior, although if the door shut is heavily soiled (sharp particulate like sand and heavy grime) or the automobile is older I will use other methods. Use a controlled mist to rinse away the soap solution with out getting spray into the interior.
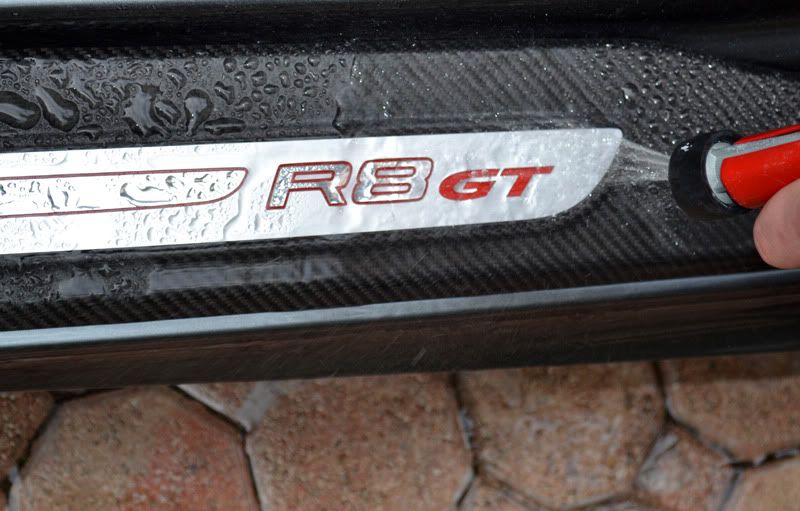
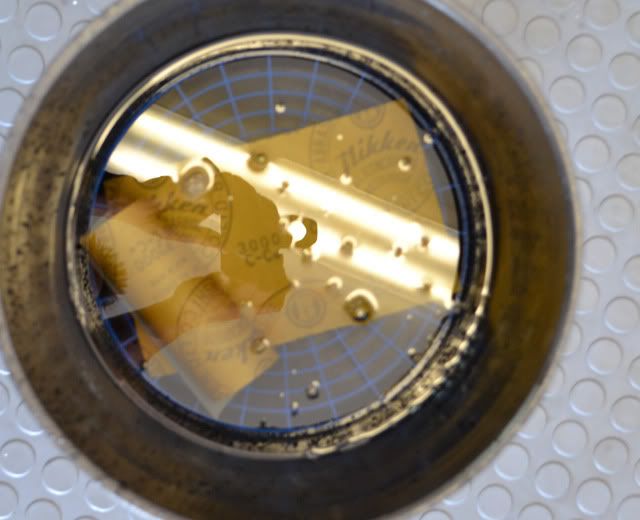
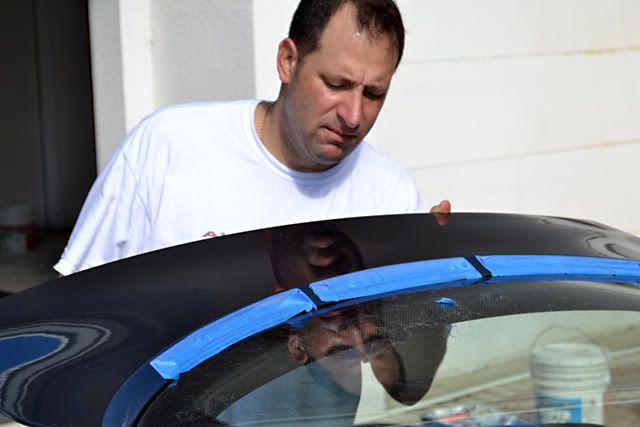
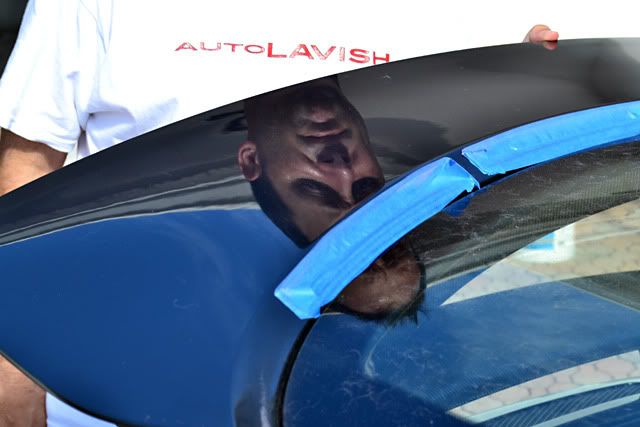
With the door shuts and front trunk bonnet clean, we turned our attention to the beautiful V10 engine compartment. It was lightly soiled with just a touch of engine grime.
I used a new, gentle-yet-powerful, prototype cleaner to release and stubborn grime or grease.
The engine compartment on the Audi R8 GT V10 is really a thing of beauty. To avoid marking the surfaces of the aluminum, flat carbon, or anodized trim I used a Montana Original Boar's Hair Wheel Brush to lightly agitate the cleaning solution. The more mature boar's hair fibers offer improved cleaning power, but this thing is soft. (I washed my car with it on a bet and it didn't inflict one swirl mark!).
David and I washed the engine carefully, including under the engine lid. Leave it to me to take a blurry photograph to ruin our hard work. We seriously deserved this picture.
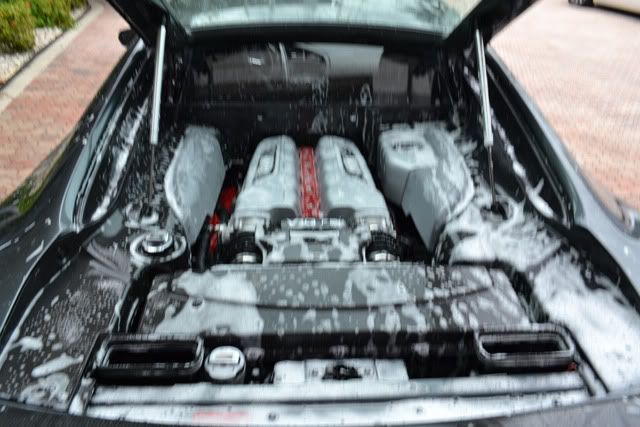
The engine was then rinsed thoroughly and blown dry.
Quick Note: Detailing an engine and using running water to rinse it presents some "enter at your own" risk. Car should be taken to avoid direct spray onto electrical components, ignition and computer systems, and engine air intakes. If you are unfamiliar with what these parts are then you are better off misting and wiping the engine with cleaners until you achieve the desired result. This will take longer, but it is always better to be safe-than-sorry. If you rinse our engine be sure to blow as much standing water out of every possible crevice then run the motor and allow to warm up to operating temperature to burn off any additional moisture.
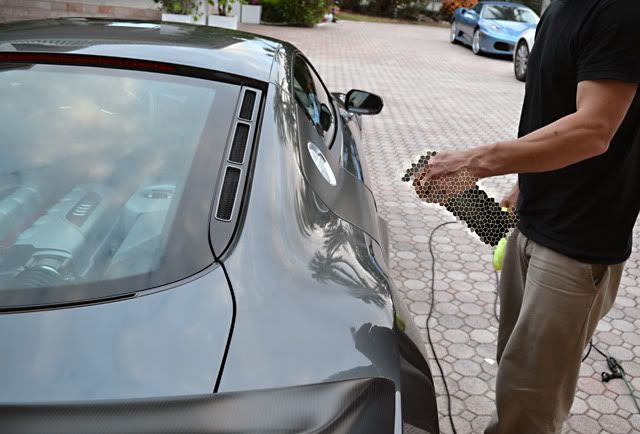
With engine looking good it was time to wash the exterior of the R8. David used a Lake Country Foam Wash Sponge while I followed behind rinsing. Rinsing is the far easier job, and if you have the opportunity to choose, I would recommend this. David was also in desperate need of a shower so I frequently (accidentally") ) hit him with a stream of water.
) hit him with a stream of water.
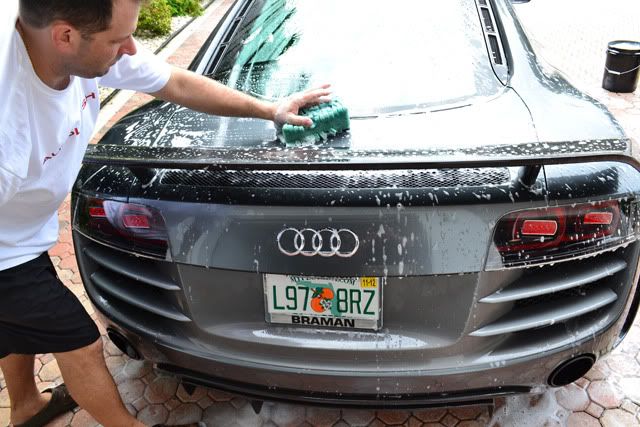
Then again with the rich lather of suds provided by Ultima Paint Guard Wash perhaps David was the one having more fun.

With the paint completely (and thoroughly) washed off any grime we turned our attention to the wheels.
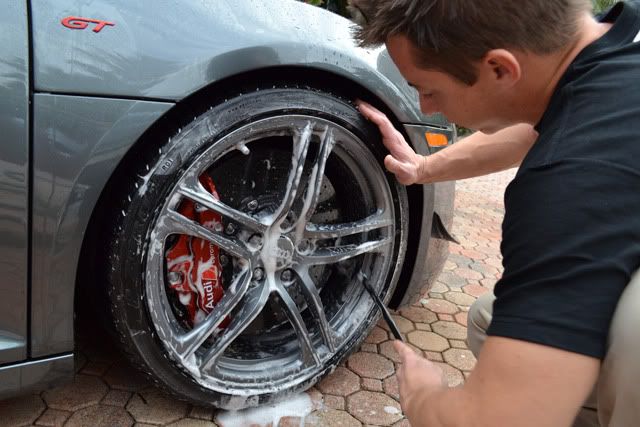
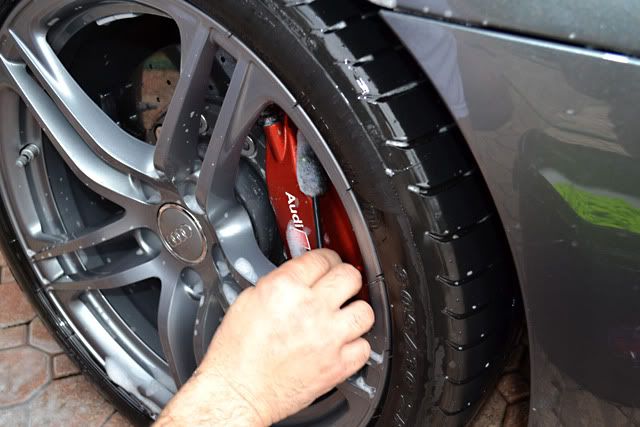
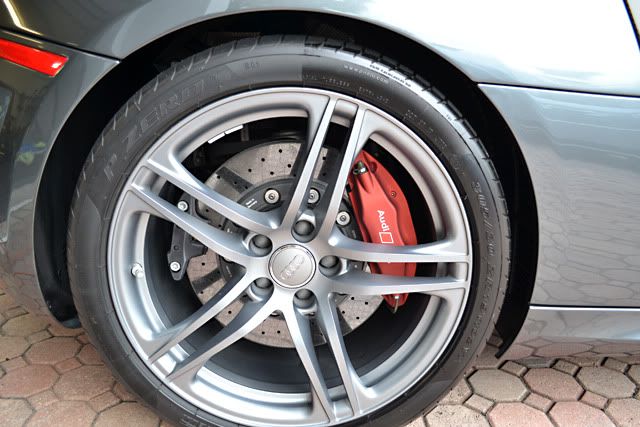
Again I started with the new prototype cleaner, lightly misting it over the wheels, wheel barrels, anodized brake calipers, and wheel wells.
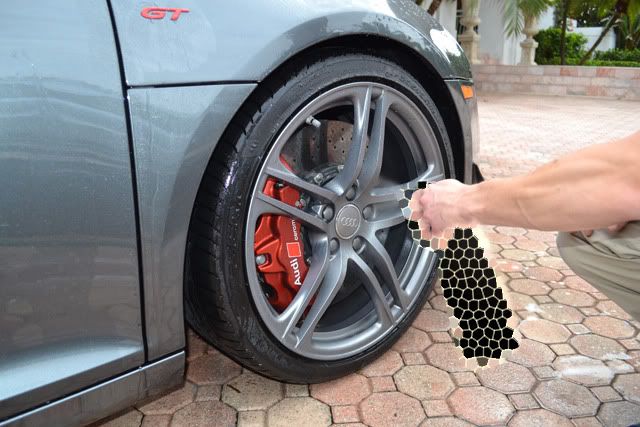
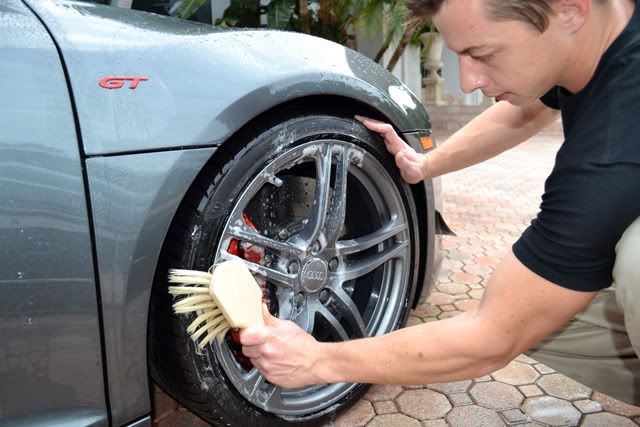
The Montana Boar's Hair Original Wheel Brush and a little soap did a great job of removing any grime from the GT "flat" wheels.
Wheel Woolies, to me, are an invaluable auto detailing tool. They come in three sizes, and the thick handle allows to you to really apply pressure to clean any surface.
The larger (19 inch long) 3 inch thick Wheel Woolie is perfect for cleaning deep into the barrels of the wheel, while the lamb's wool mop head holds a huge amount of soap solution and doesn't not scratch.
It is also a perfect tool for cleaning wheel arches if their is enough clearance to fit.
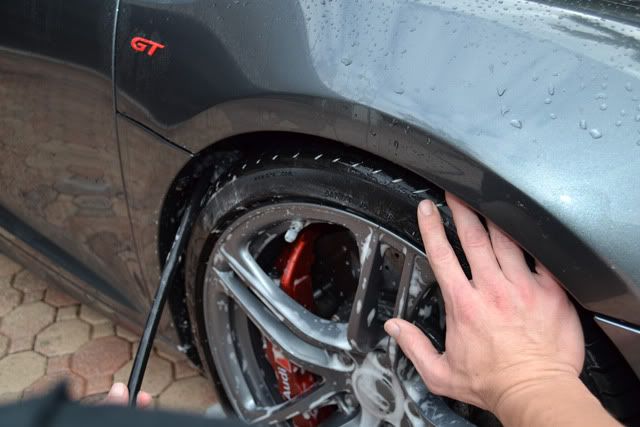
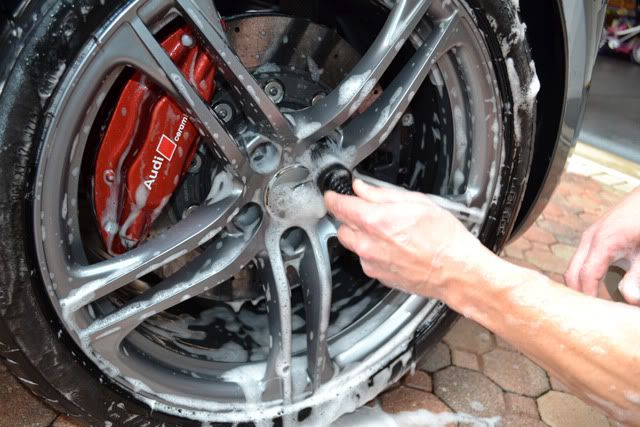
The medium sided Wheel Woolie (12 inch long, 2 inch wide) was perfect for cleaning the barrel between the larger rotor and wheel.
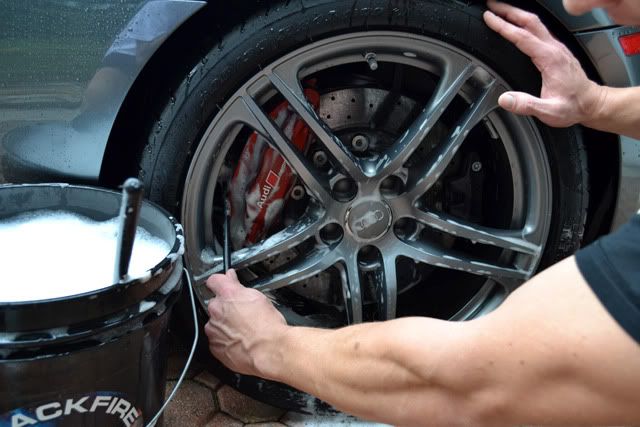
And the small Wheel Woolie (8 inch long, 1 inch wide) made easy work of the detail areas behind the spokes and the caliper.
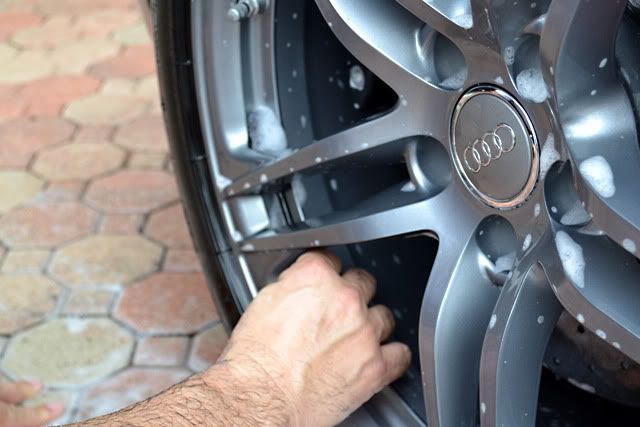
Lastly a lug brush was used to clean the lug recesses.
That's fine and dandy, but my job was to make it shine as well as it performs. With my good friend David F set to move back to Michigan, I loaded up some new BLACKFIRE in inconspicuous bottles, and got to work. This R8 belongs to a client of ours, so we where happy to do this final detail on his Audi together.
The first step we did was to rinse the Audi of any loose dirt and mix up two buckets to thoroughly wash the exterior.
I started by mixing Ultima Paint Guard Wash into the BLACKFIRE wash bucket. We used two buckets, using a method popularly referred to as the "two bucket method" to ensure we didn't scratch or mark the paint while removing dirt. To further protect the paint each bucket was loaded with a Grit-Guard trap.
Quick Tip: It is best to fill the bucket mostly full of water first before adding the soap. If you add the soap too early you are left with a bucket of suds, and while they are pretty (and serve some purpose) it is the soap slick soap solution that is most valuable.
Soap added....
A short blast of water is all that is needed to mix the Ultima Paint Guard Wash and activate a mountain of suds.
We all have a favorite method of doing things. In general I will start washing a car with the wheels first, then move onto the smaller detail items (such and body seams, door jambs, etc) then finally the body, using a separate soap solution for each. Given that it was heavily overcast this particular morning and David and I have done so many automobiles together we have a great work flow we decided to change it up slightly.
We started with the body, focusing first on the detail areas, such as the door shuts. Here David washes the shuts using Cobra Microfiber Chenille Wash Mitt.
I prefer to wash and rinse door shuts just like the exterior, although if the door shut is heavily soiled (sharp particulate like sand and heavy grime) or the automobile is older I will use other methods. Use a controlled mist to rinse away the soap solution with out getting spray into the interior.
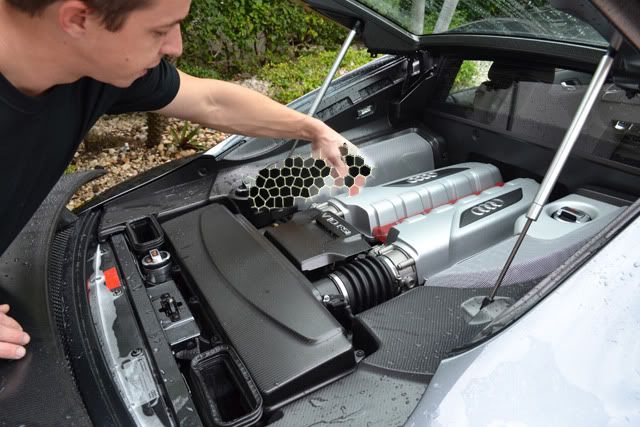
With the door shuts and front trunk bonnet clean, we turned our attention to the beautiful V10 engine compartment. It was lightly soiled with just a touch of engine grime.
I used a new, gentle-yet-powerful, prototype cleaner to release and stubborn grime or grease.
The engine compartment on the Audi R8 GT V10 is really a thing of beauty. To avoid marking the surfaces of the aluminum, flat carbon, or anodized trim I used a Montana Original Boar's Hair Wheel Brush to lightly agitate the cleaning solution. The more mature boar's hair fibers offer improved cleaning power, but this thing is soft. (I washed my car with it on a bet and it didn't inflict one swirl mark!).
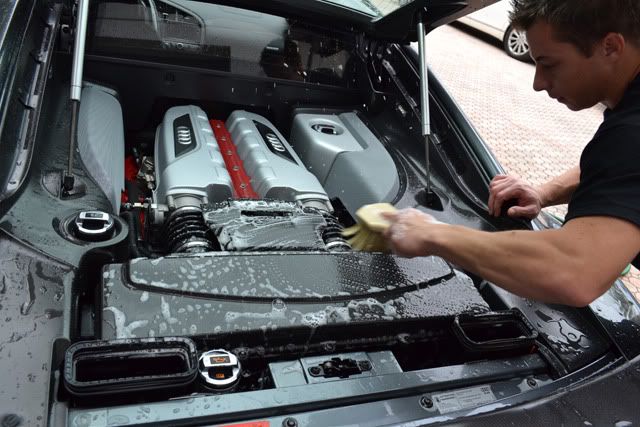
David and I washed the engine carefully, including under the engine lid. Leave it to me to take a blurry photograph to ruin our hard work. We seriously deserved this picture.
The engine was then rinsed thoroughly and blown dry.
Quick Note: Detailing an engine and using running water to rinse it presents some "enter at your own" risk. Car should be taken to avoid direct spray onto electrical components, ignition and computer systems, and engine air intakes. If you are unfamiliar with what these parts are then you are better off misting and wiping the engine with cleaners until you achieve the desired result. This will take longer, but it is always better to be safe-than-sorry. If you rinse our engine be sure to blow as much standing water out of every possible crevice then run the motor and allow to warm up to operating temperature to burn off any additional moisture.
With engine looking good it was time to wash the exterior of the R8. David used a Lake Country Foam Wash Sponge while I followed behind rinsing. Rinsing is the far easier job, and if you have the opportunity to choose, I would recommend this. David was also in desperate need of a shower so I frequently (accidentally
) hit him with a stream of water.
Then again with the rich lather of suds provided by Ultima Paint Guard Wash perhaps David was the one having more fun.
With the paint completely (and thoroughly) washed off any grime we turned our attention to the wheels.
Again I started with the new prototype cleaner, lightly misting it over the wheels, wheel barrels, anodized brake calipers, and wheel wells.
The Montana Boar's Hair Original Wheel Brush and a little soap did a great job of removing any grime from the GT "flat" wheels.
Wheel Woolies, to me, are an invaluable auto detailing tool. They come in three sizes, and the thick handle allows to you to really apply pressure to clean any surface.
The larger (19 inch long) 3 inch thick Wheel Woolie is perfect for cleaning deep into the barrels of the wheel, while the lamb's wool mop head holds a huge amount of soap solution and doesn't not scratch.
It is also a perfect tool for cleaning wheel arches if their is enough clearance to fit.
The medium sided Wheel Woolie (12 inch long, 2 inch wide) was perfect for cleaning the barrel between the larger rotor and wheel.
And the small Wheel Woolie (8 inch long, 1 inch wide) made easy work of the detail areas behind the spokes and the caliper.
Lastly a lug brush was used to clean the lug recesses.


")
