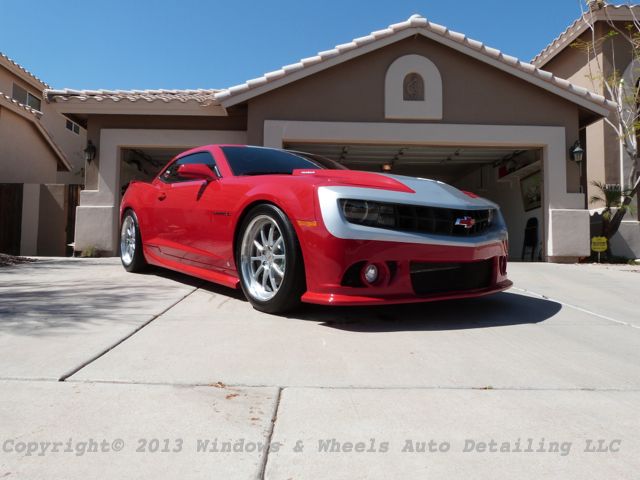
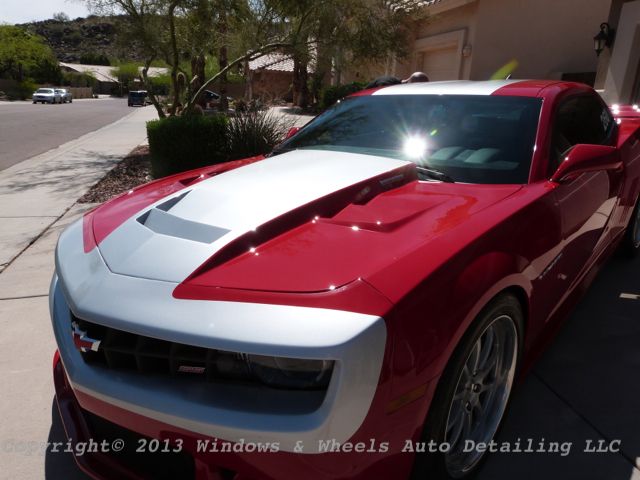
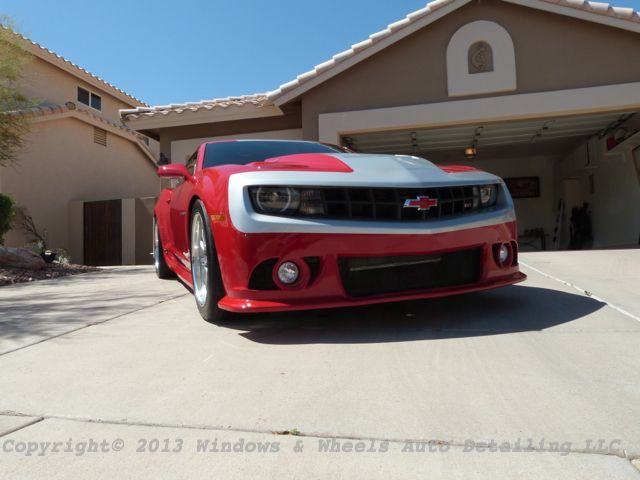
Hammered...thats what popped into mind when we first saw this car. That, and Hammerhead...because the paint job kinda made it look like a hammer head shark...all in though, this baby needed LOTS of love.
I'm going to apologize ahead of time because this post has over 100 photos, but we really wanted to document exactly what we started with....and what we ended up with...and help show how we got there.
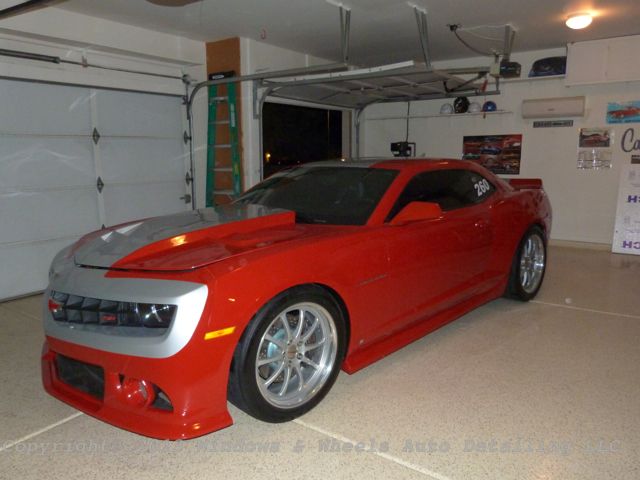
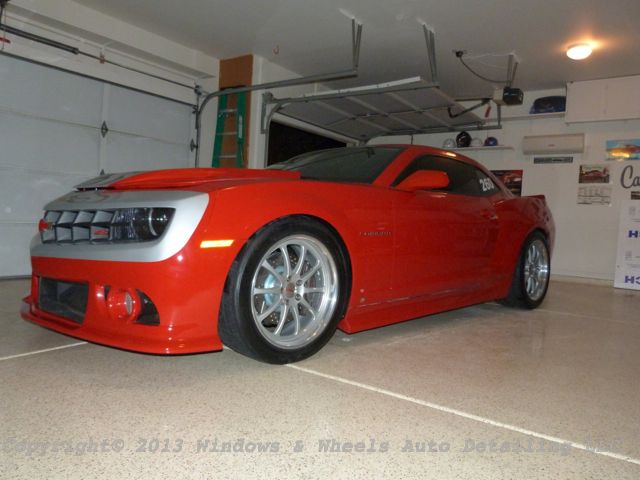
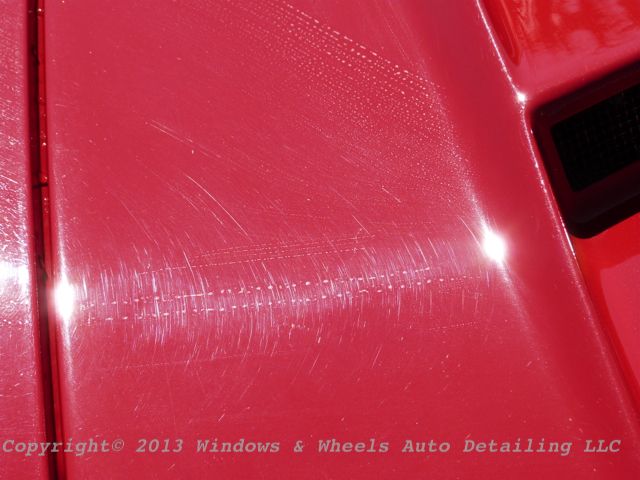
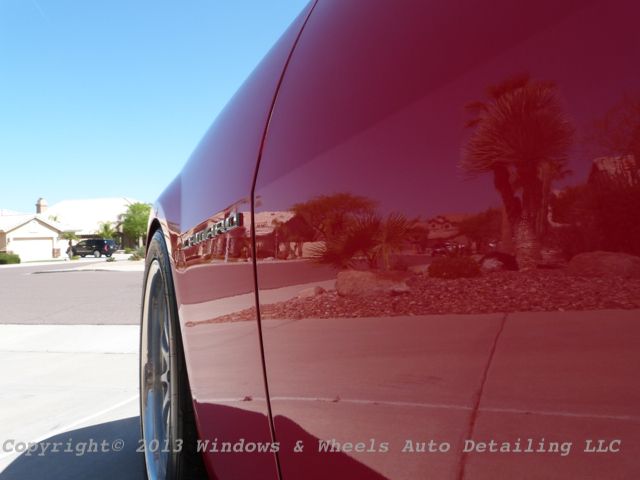
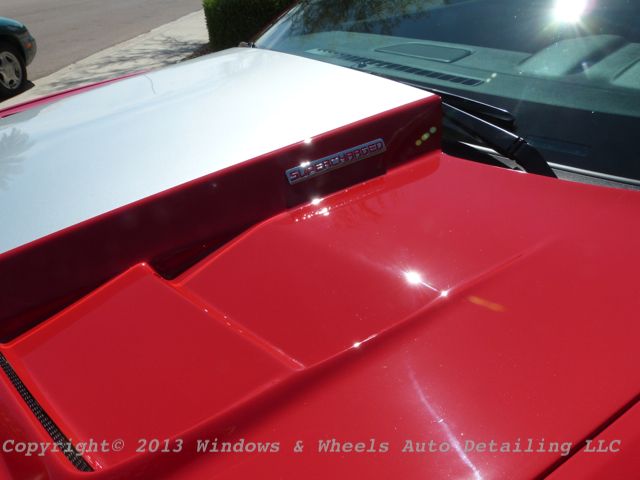
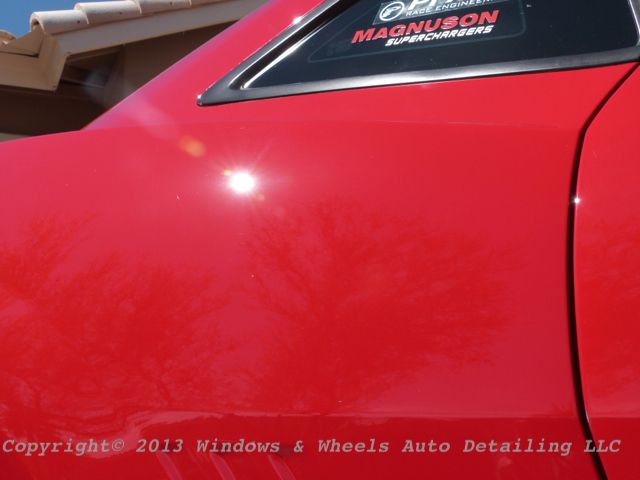
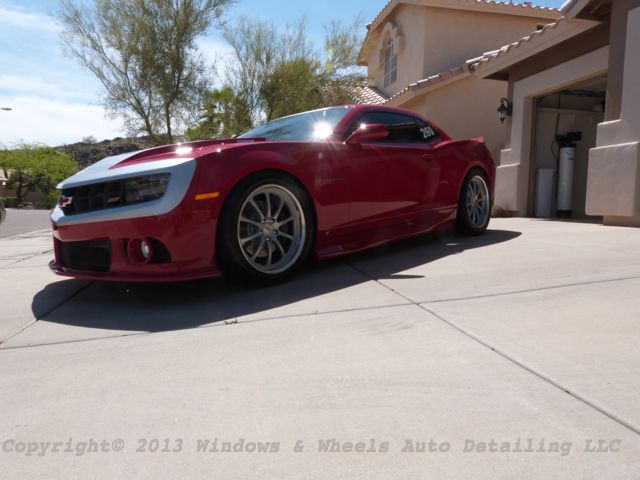
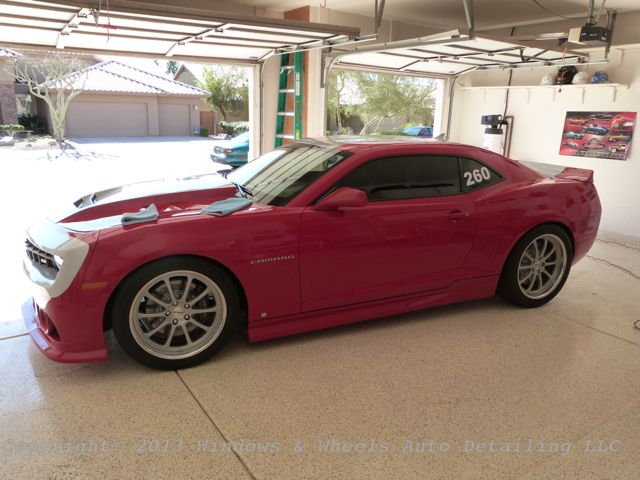
Yup, there she is....lookin pretty damn nice from certain angles. We went out to give the owner a quote....we took one look at a panel in the sun and knew we had some work ahead of us. We explained it needed a multiple step polish-out...serious compounding would be needed to cut the swirls and then final polishing to remove the haze from compounding and brighten the paint up to top notch quality. I told the owner I would send him a link to a write-up I had done so he could put a visualization to what i was describing to him.
After seeing the write up, he said he wanted us to take photos like that of his car and document the work like we had in the write up I sent...my response...of course! A car like this deserves to be documented...and a turn around like this surely does as well! He also opted for the Opti-Coat upgrade to help keep her in good shape.
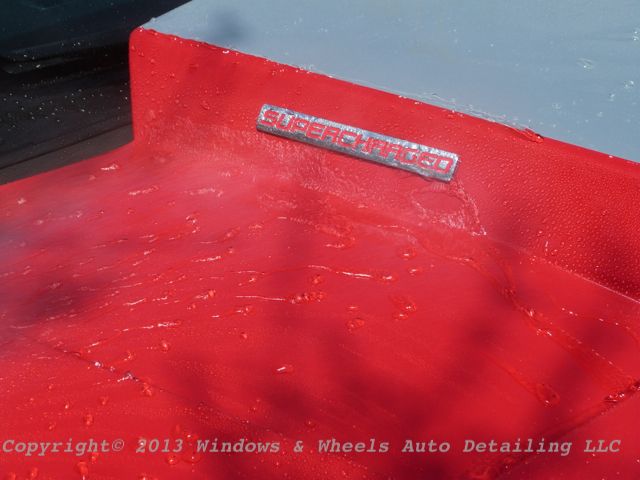
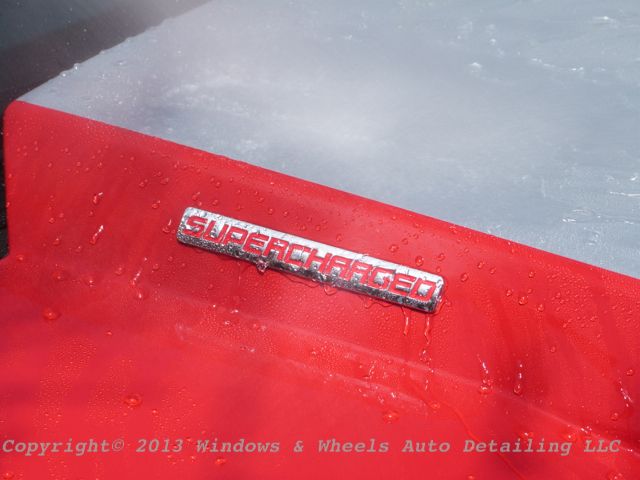
He was going to have us detail it and then have a SuperCharger installed along with a few other upgrades....but Rick, the man who'd be doing the install...and also a customer of ours, suggested that he have the SuperCharger installed FIRST...and have the detail done second...that way there would be no chance of and swirls etc being put back into the paint AFTER we had polished it....that was fine by us")
Now, back to the swirls I was talking about....
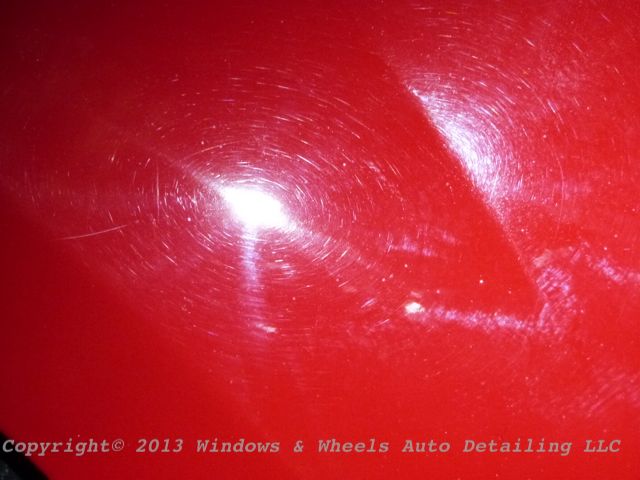
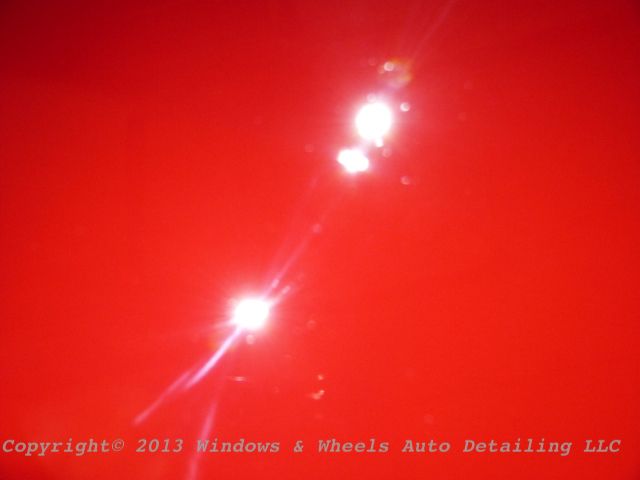
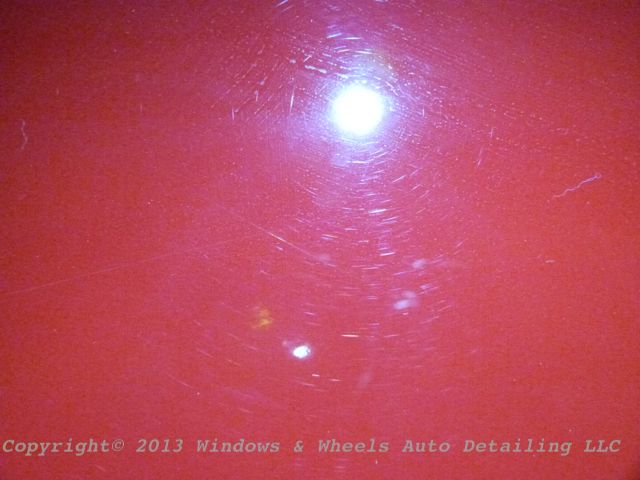
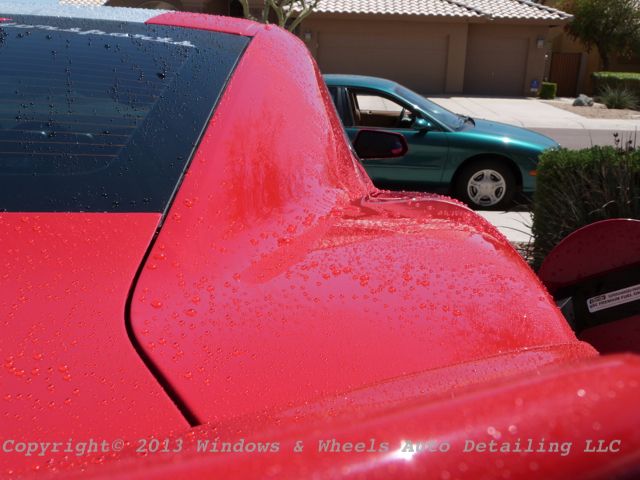
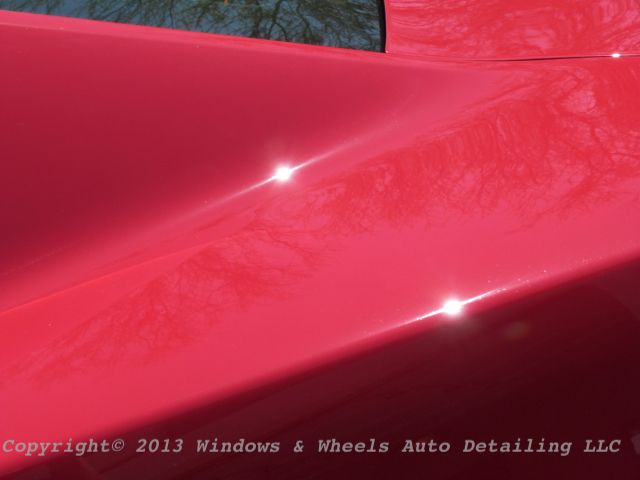
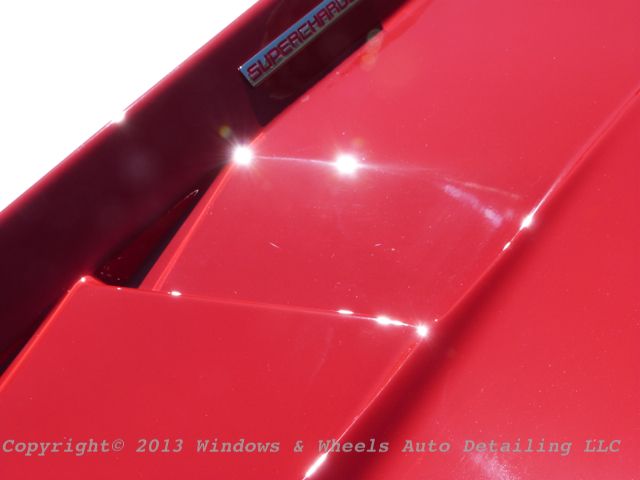
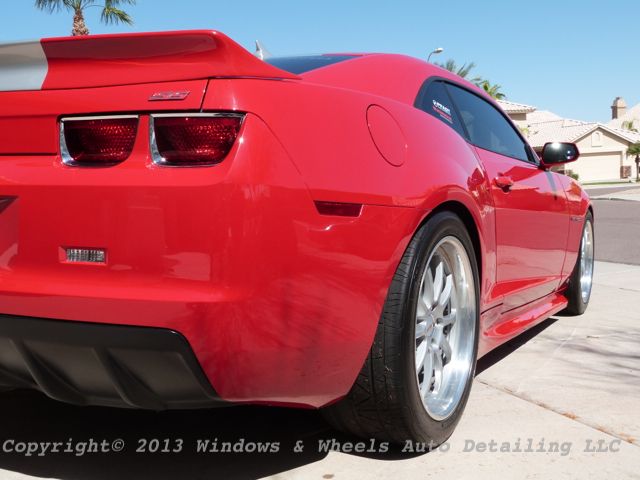
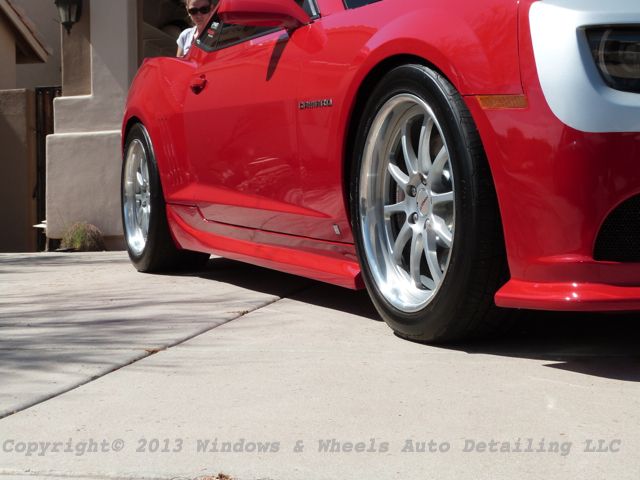
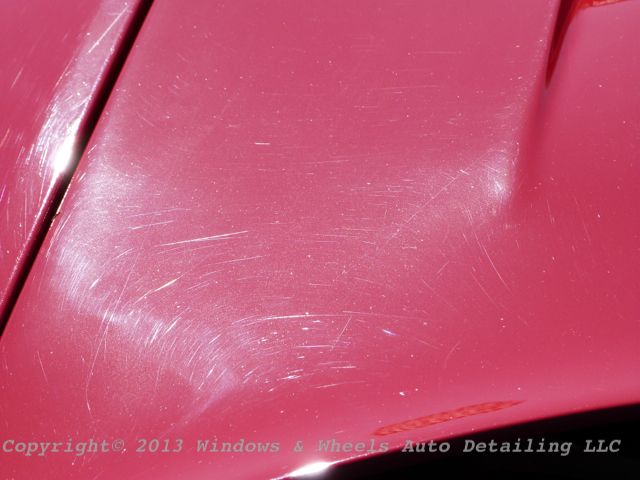
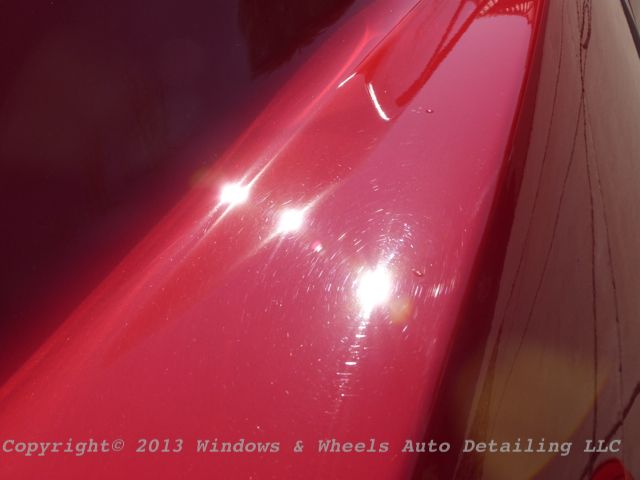
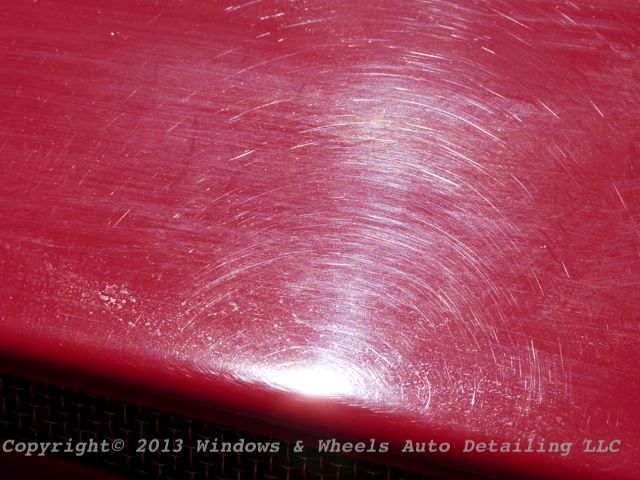
She's got hips and she's got swirls on her hips!
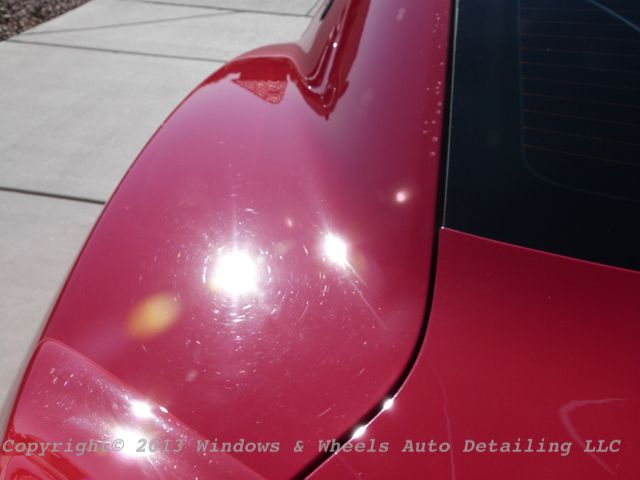
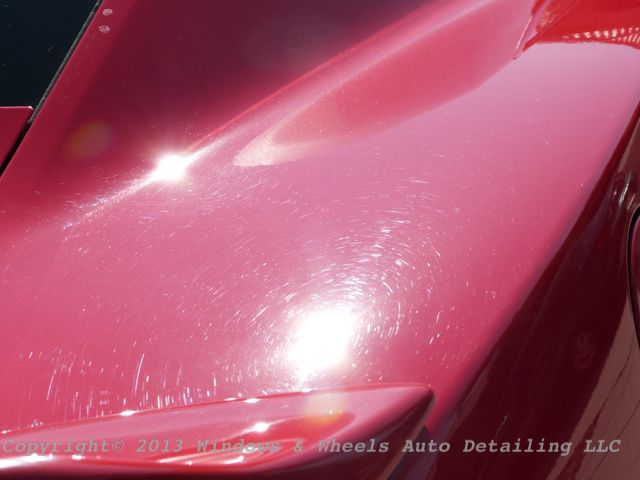
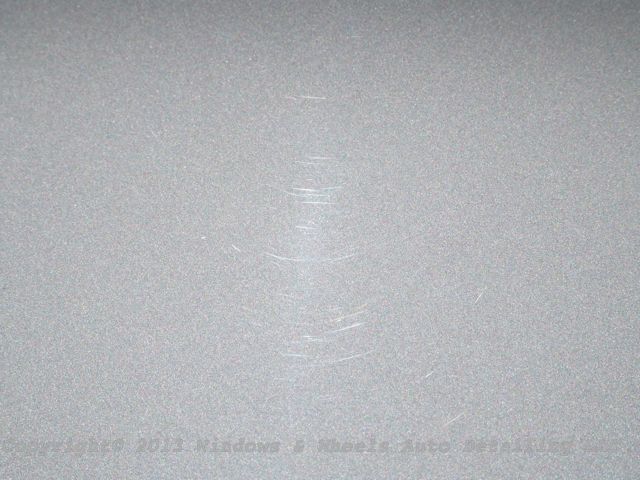
There is a quick taste of what we'd be working with, don't worry though, more is to come
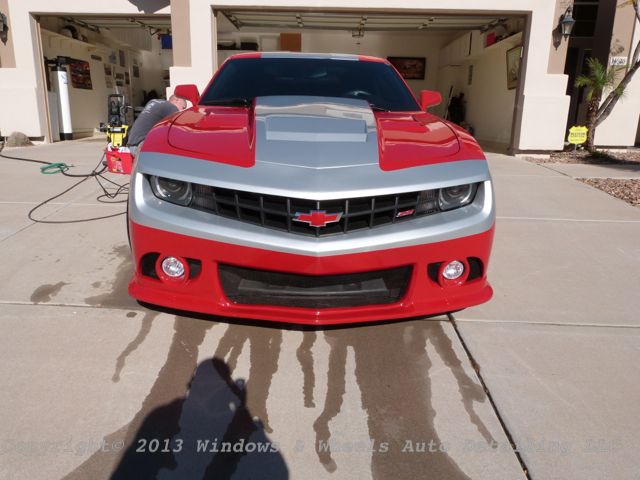
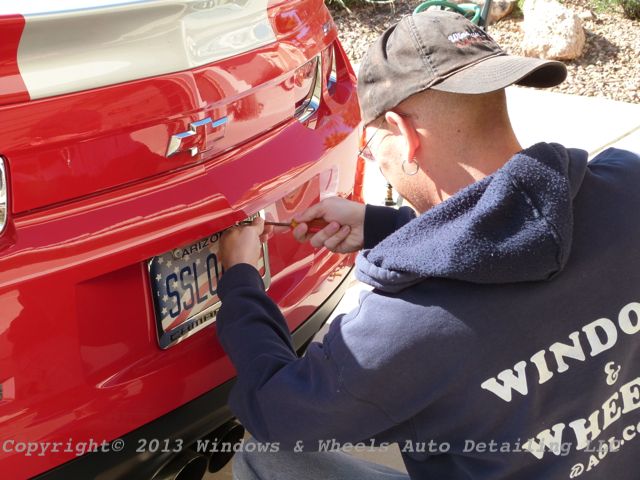
First though, we had to wash this baby...so...off with the license plate:
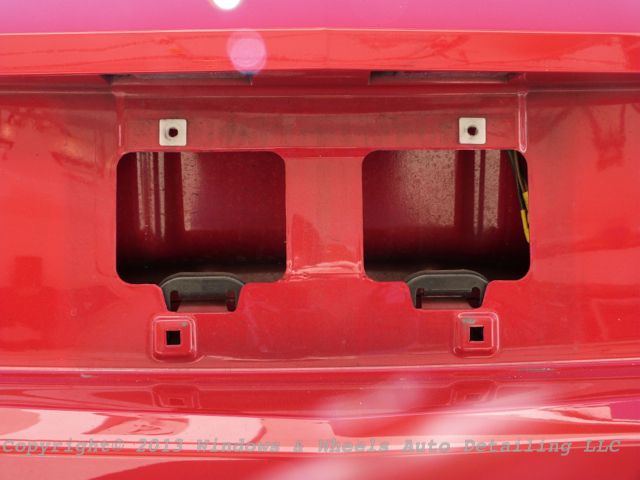
Always some good grime hiding behind there:
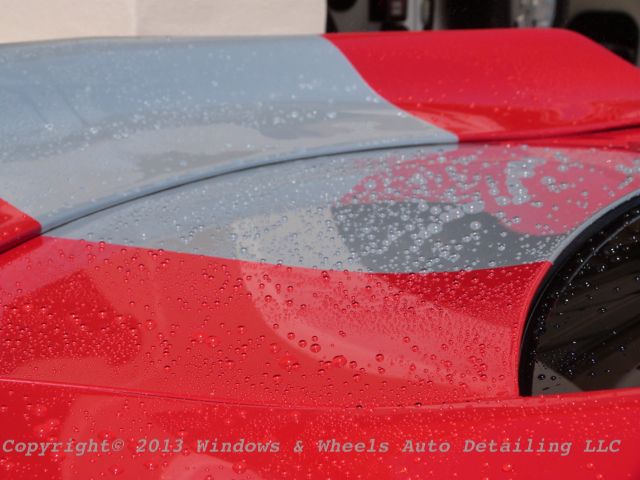
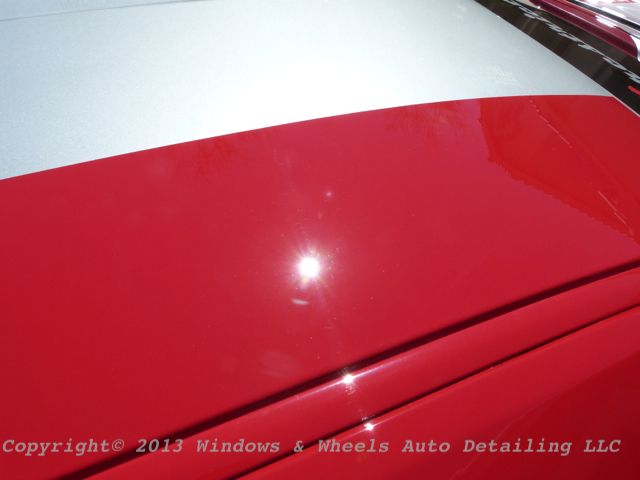
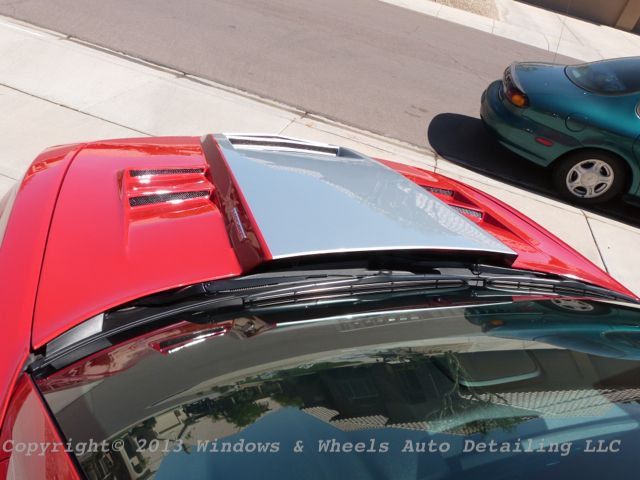
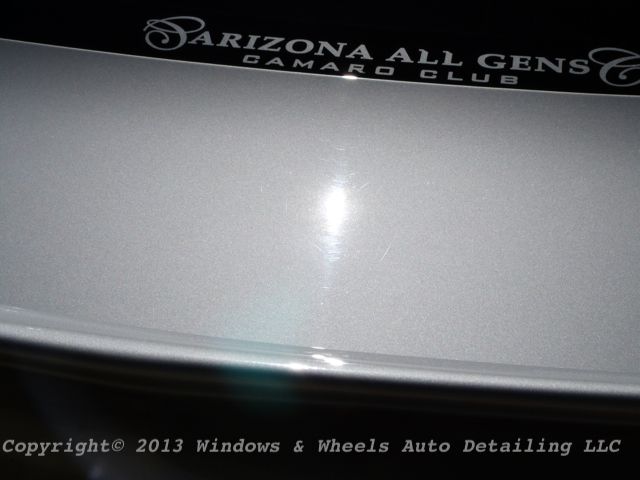
The swirls were also in the silver but, were much more difficult to see (as usual, damn light colors hide everything so well!)
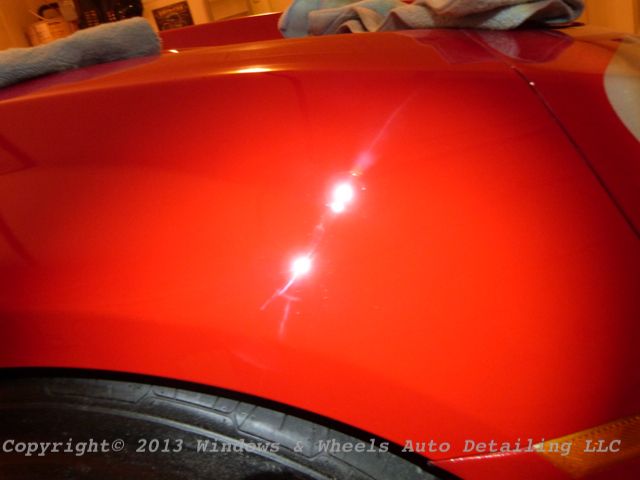
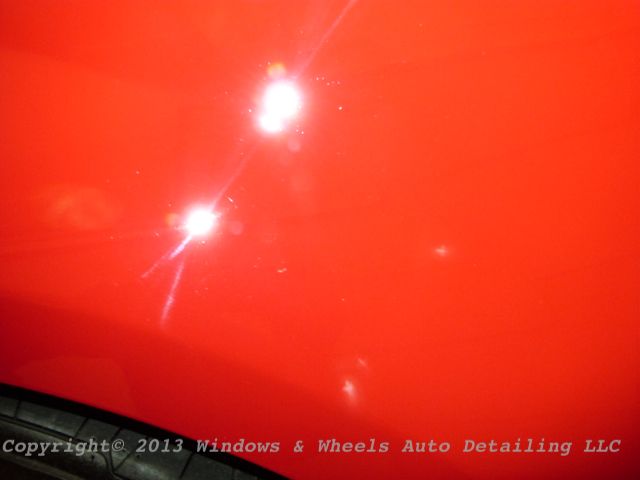
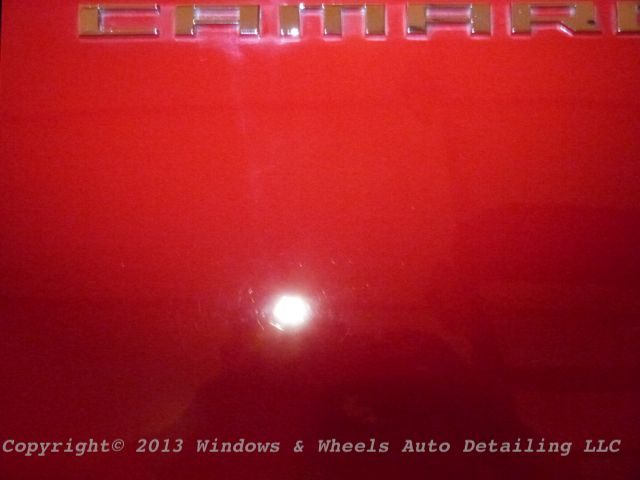
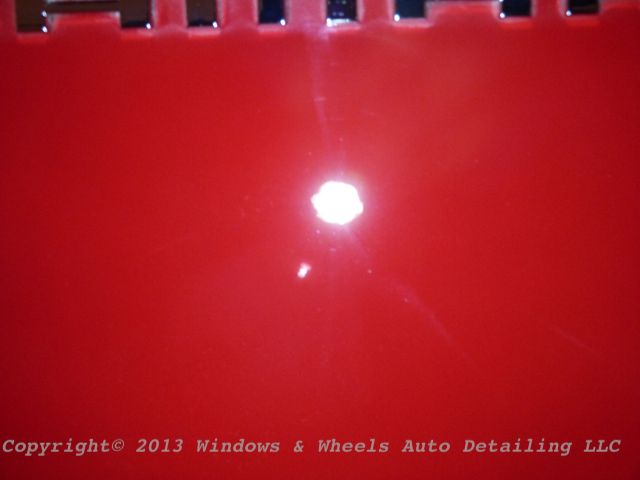
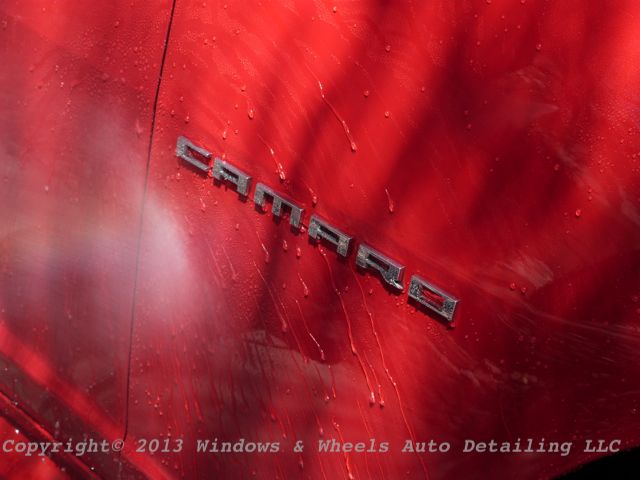
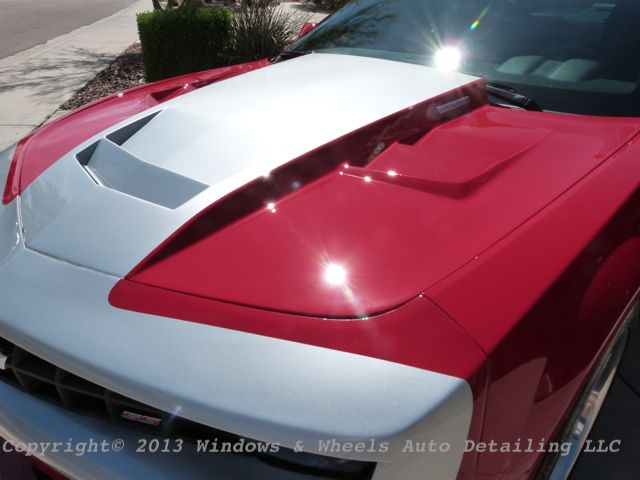
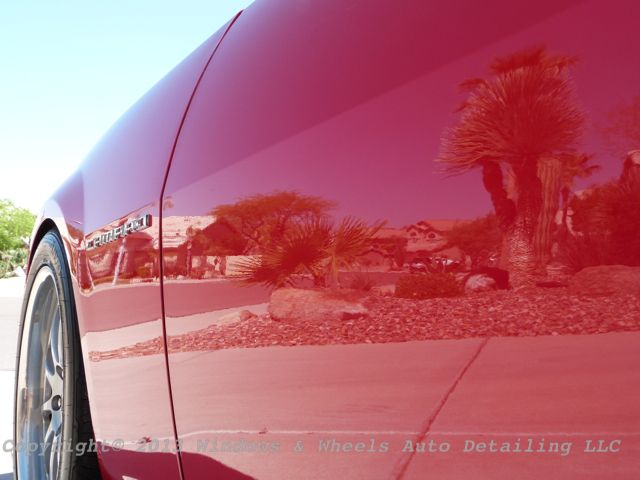
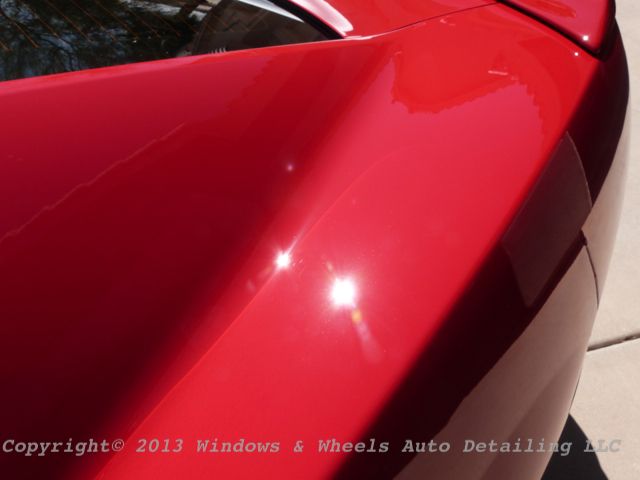
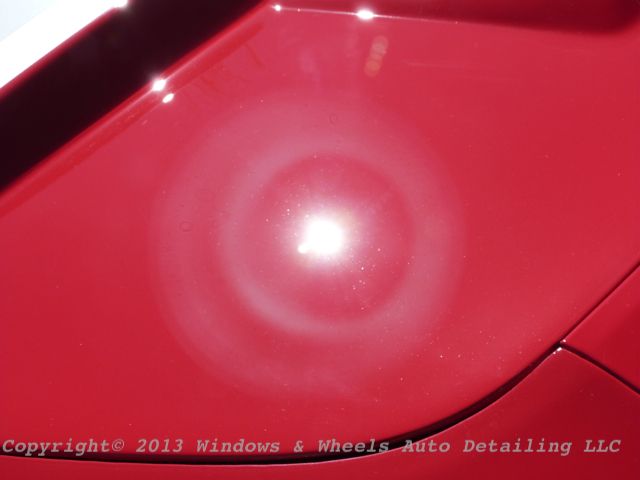
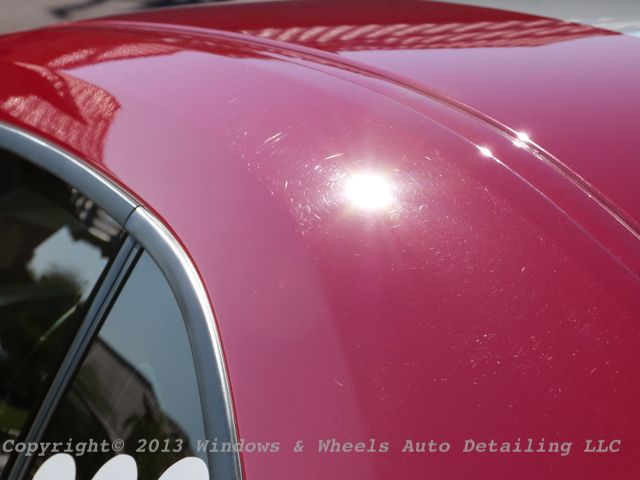
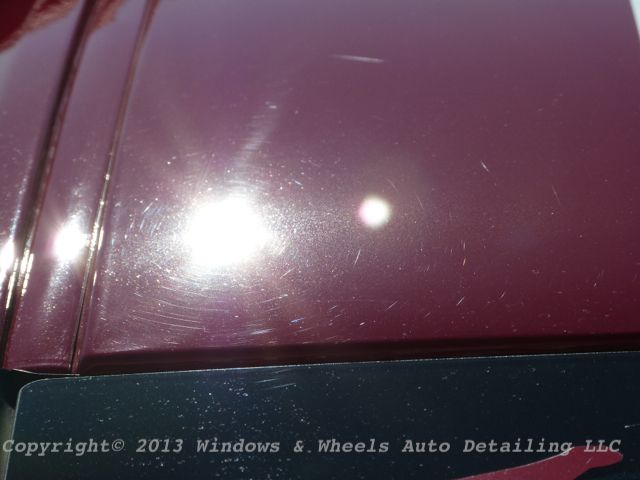
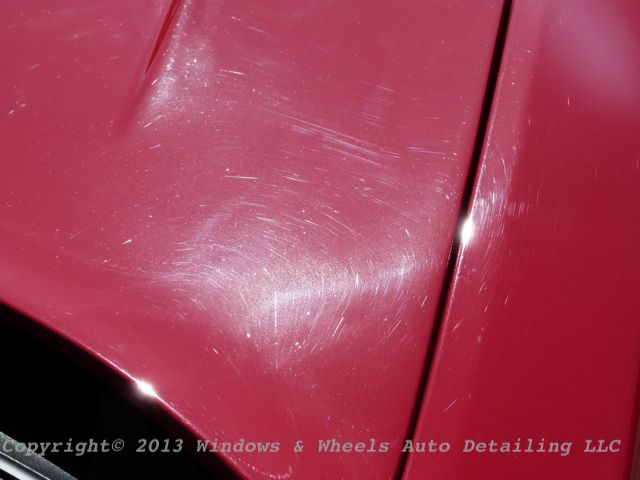
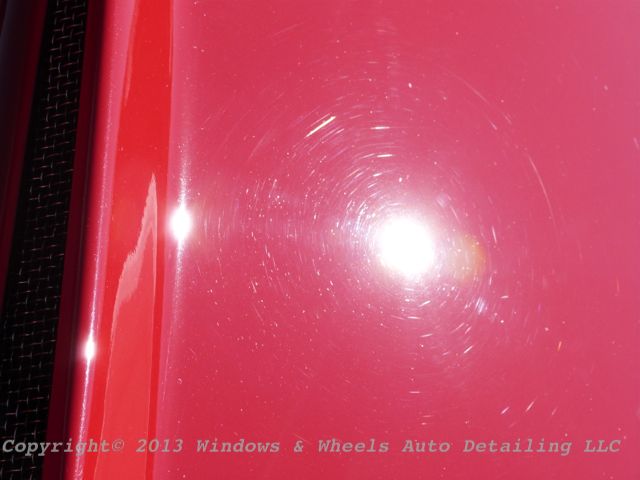
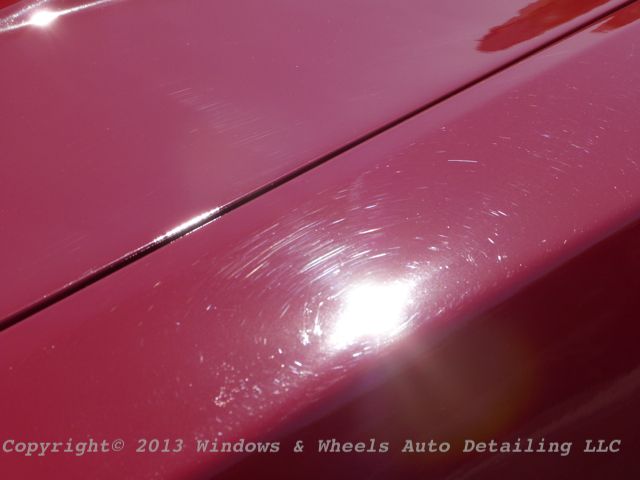
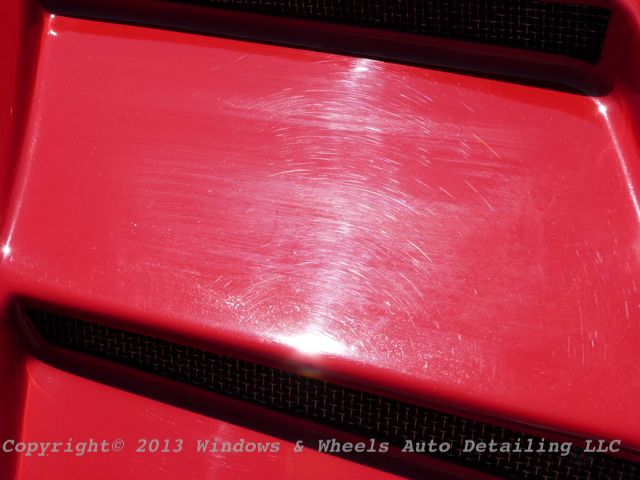
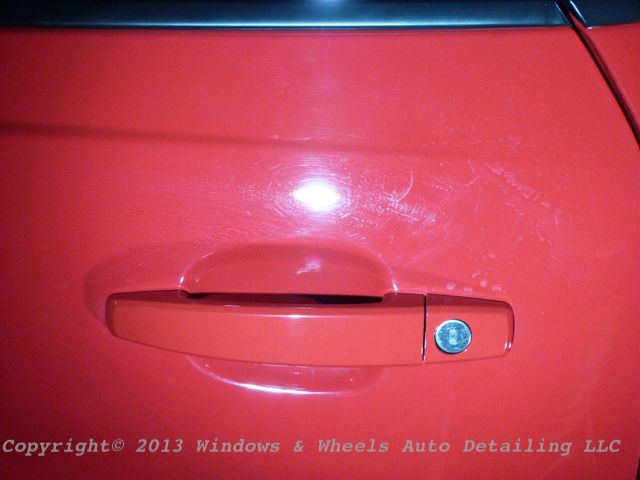
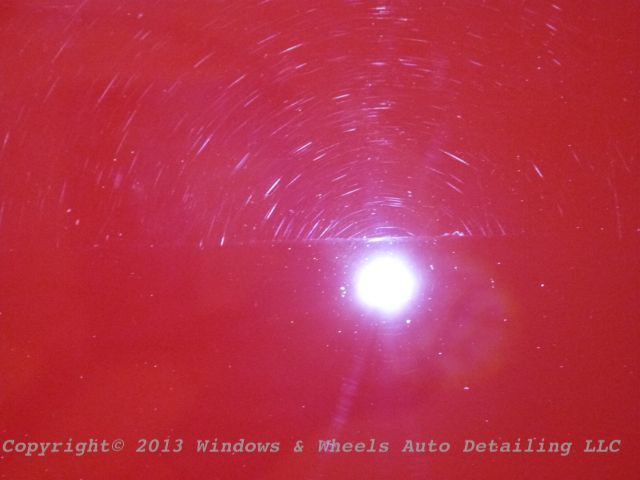
The red however...showed every little flaw:
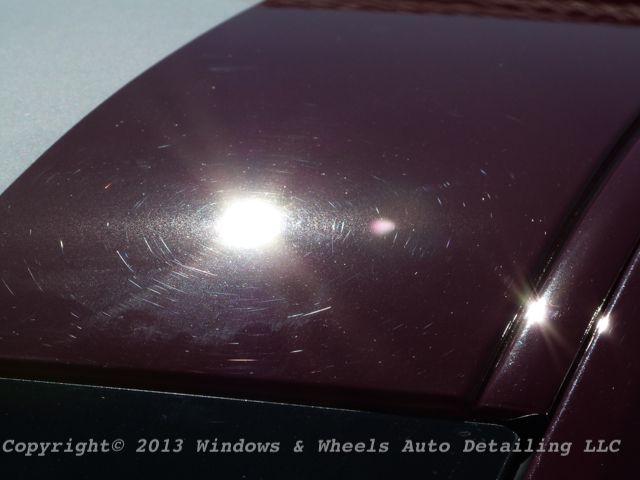
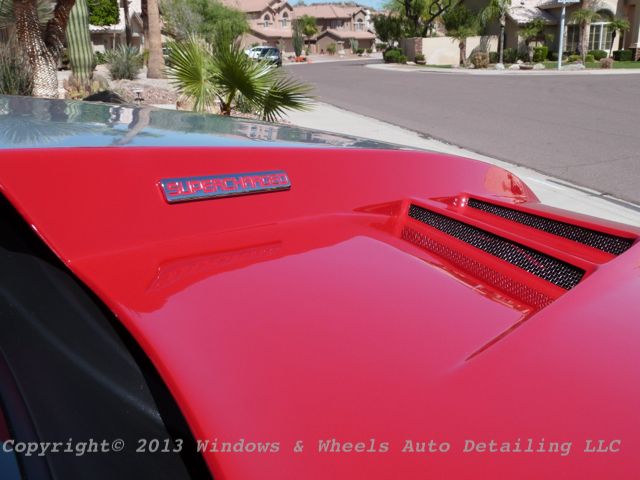
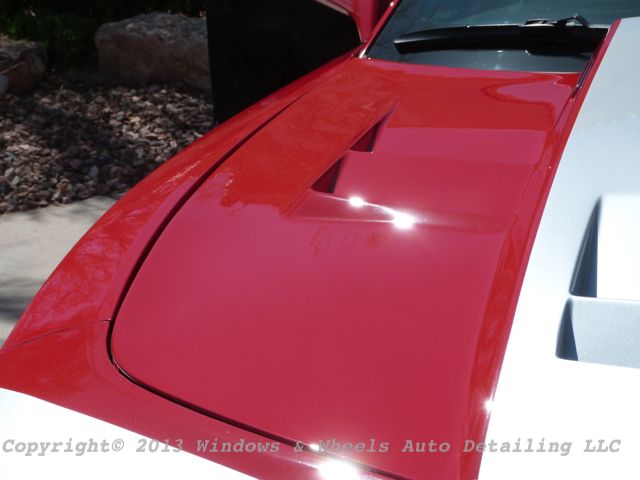
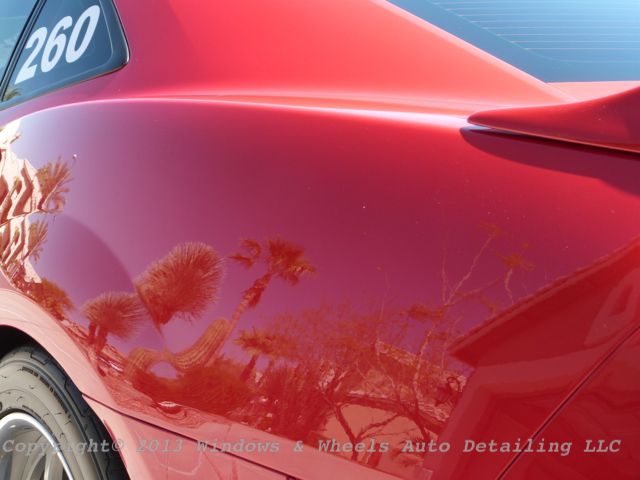
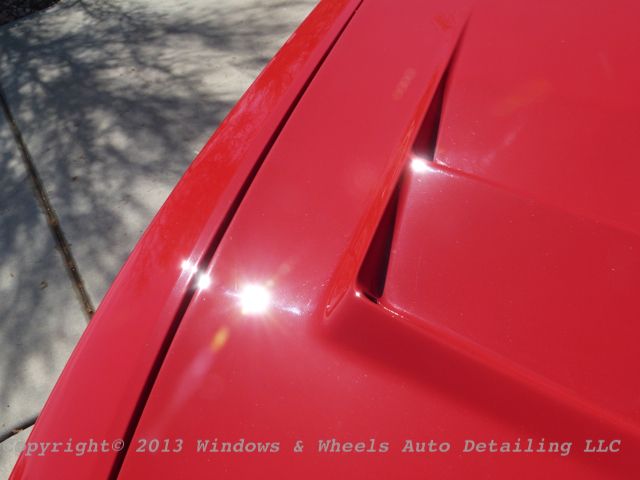
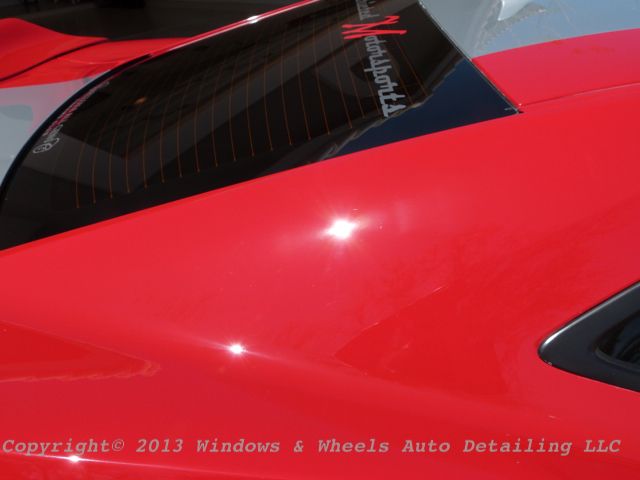
Some nice ones were on the hood:
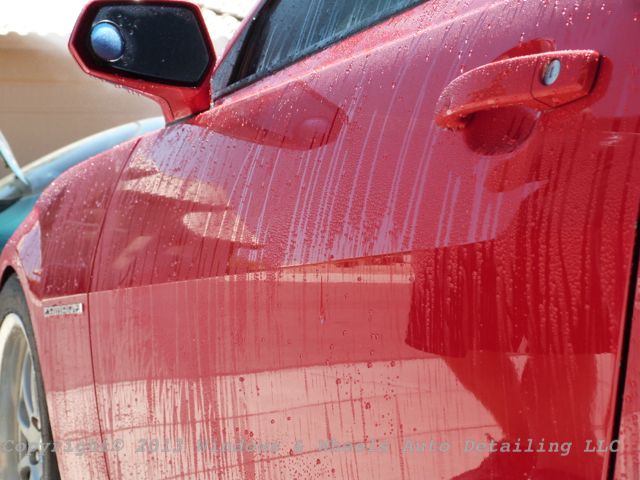
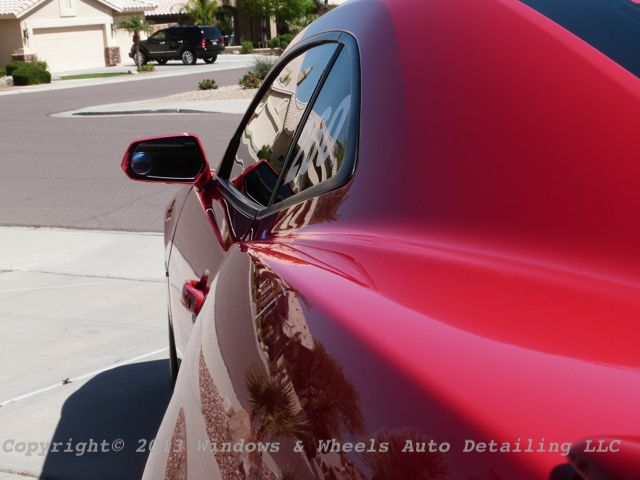
Even the side mirrors got in on the swirled action:

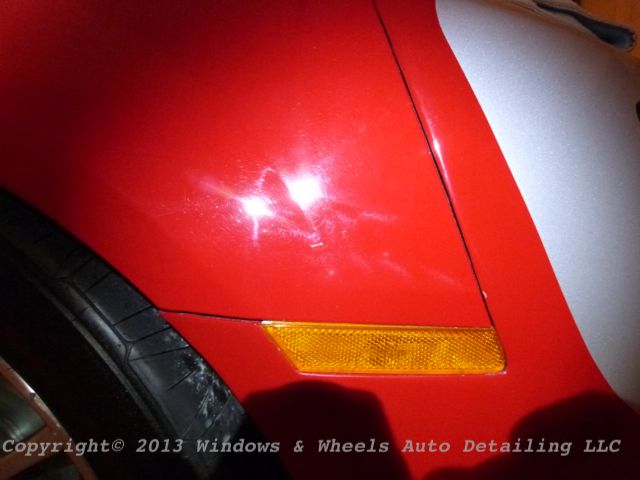
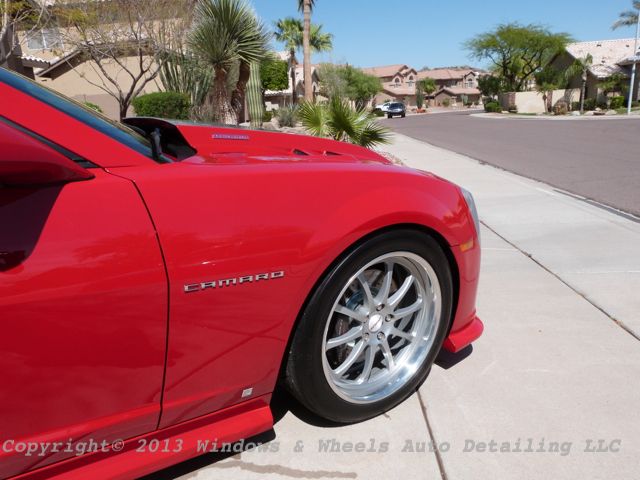
Front quarter panels told the same story:
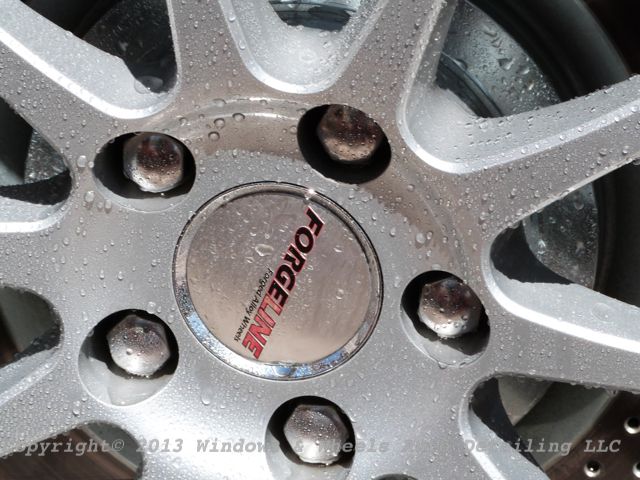
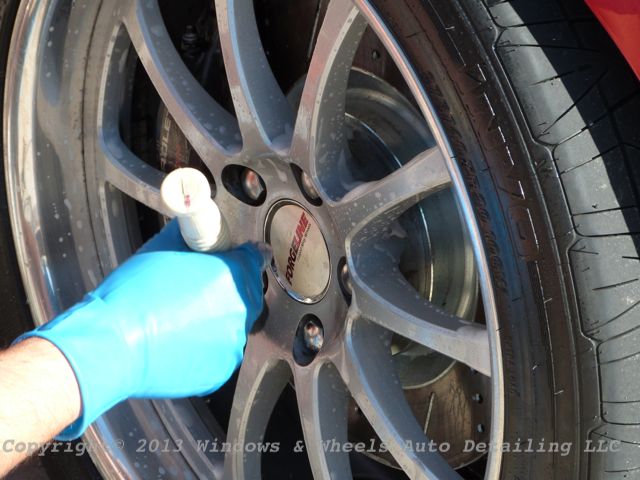
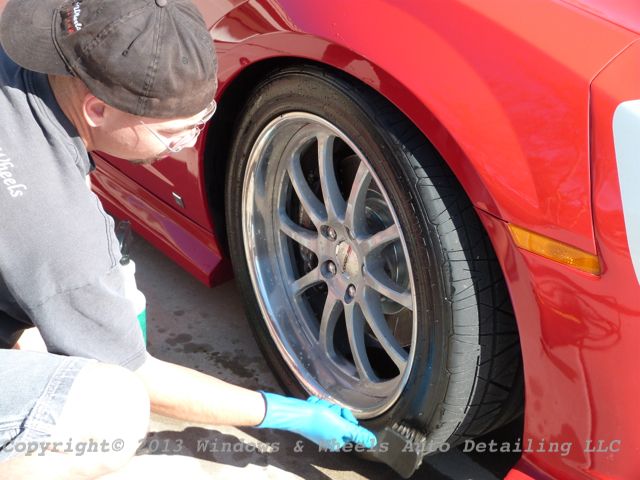
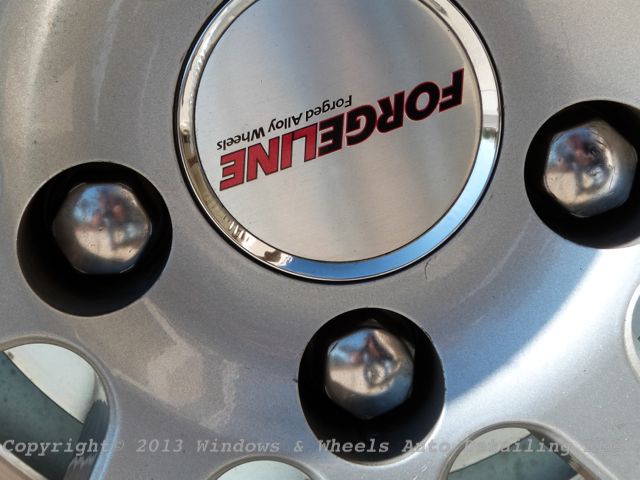
Onto the cleaning! The wheels had a nice amount of grime on them:
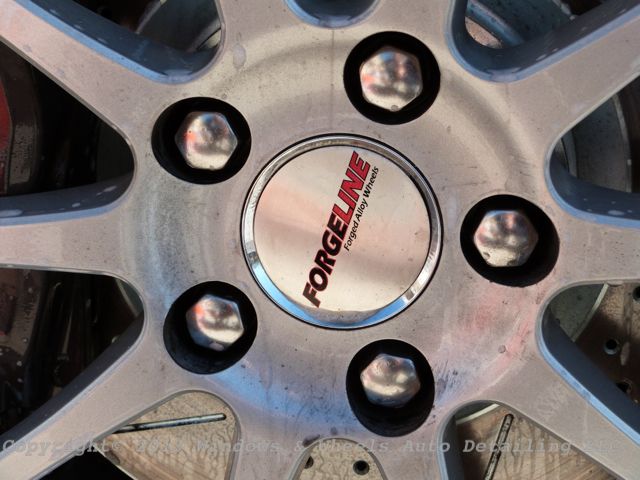
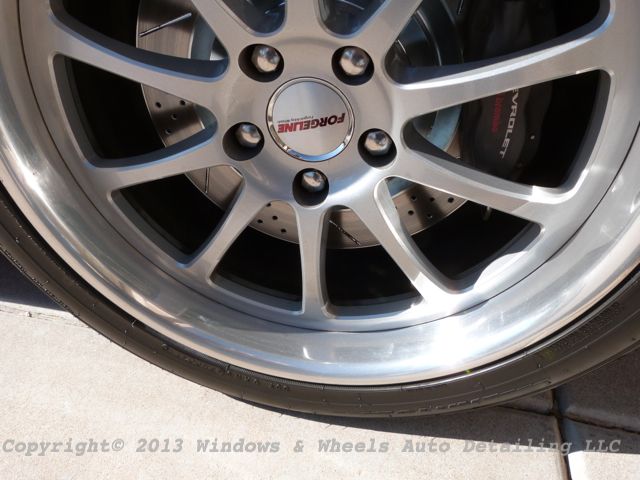
Nothing we weren't use to though...some cleaners...wheel woolies and a few brushes and we were ready to get to work:
Not bad huh?
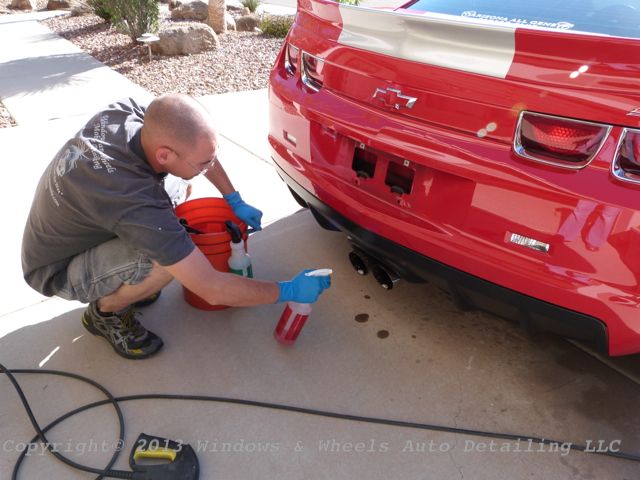
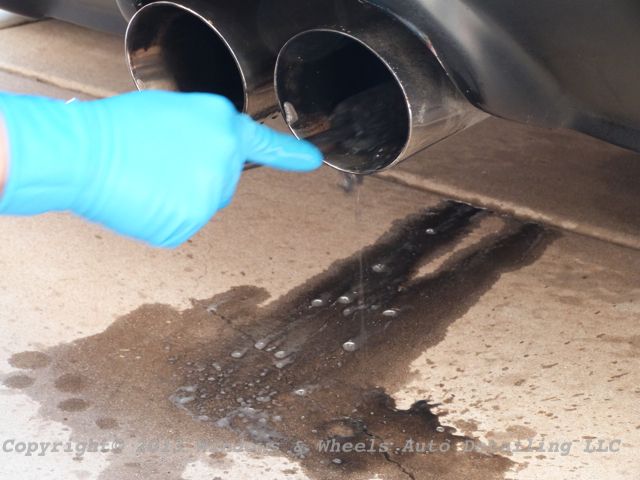
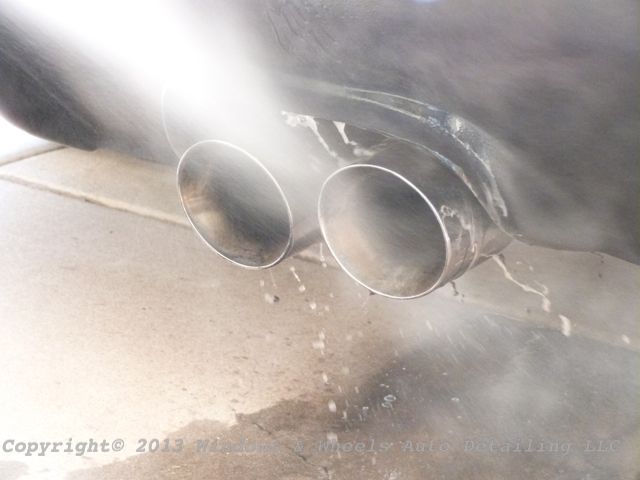
Exhaust tips needed some love too:
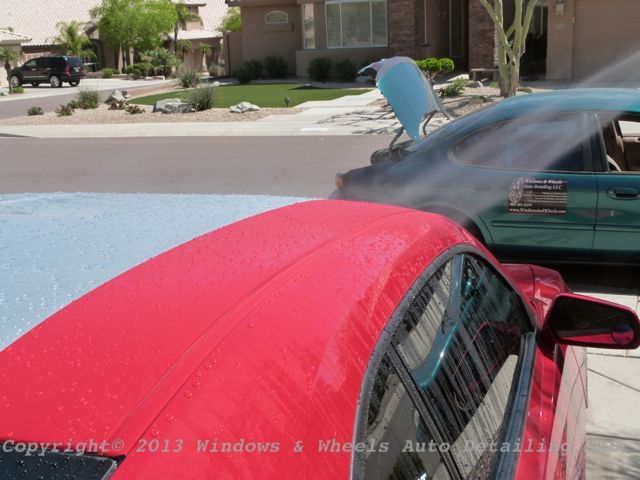
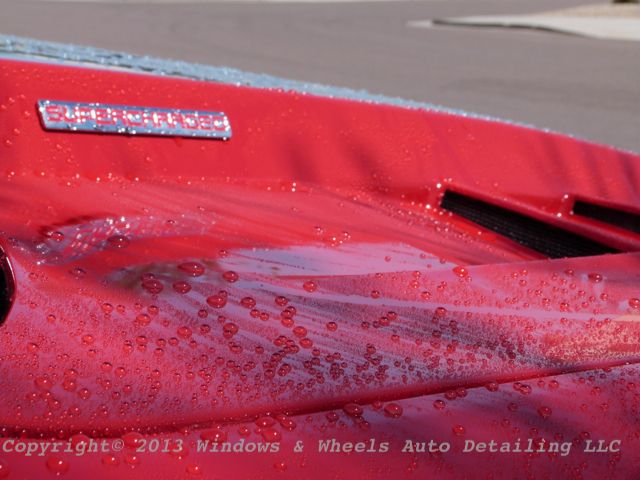
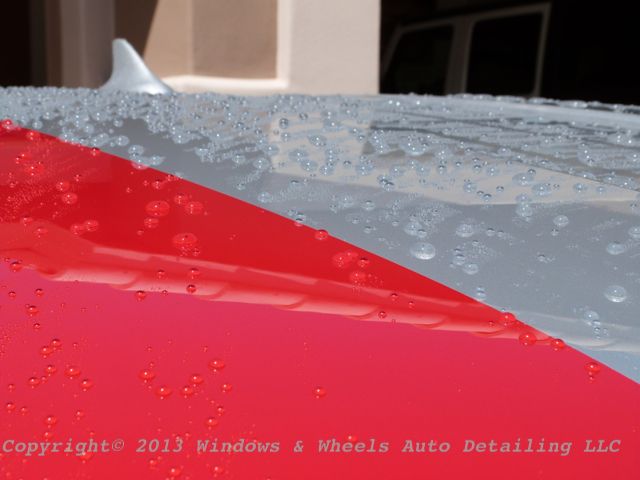
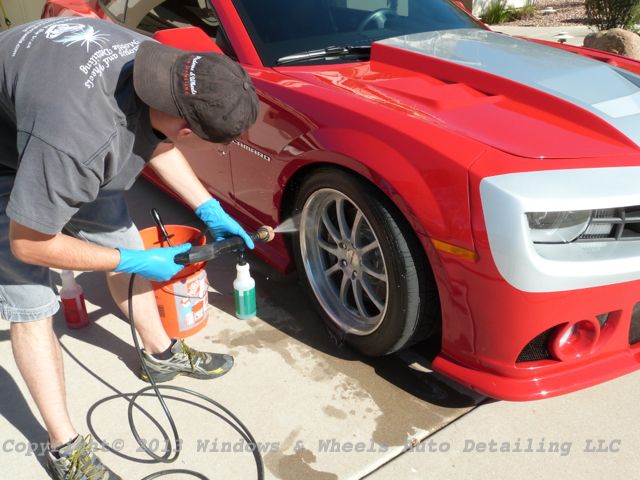
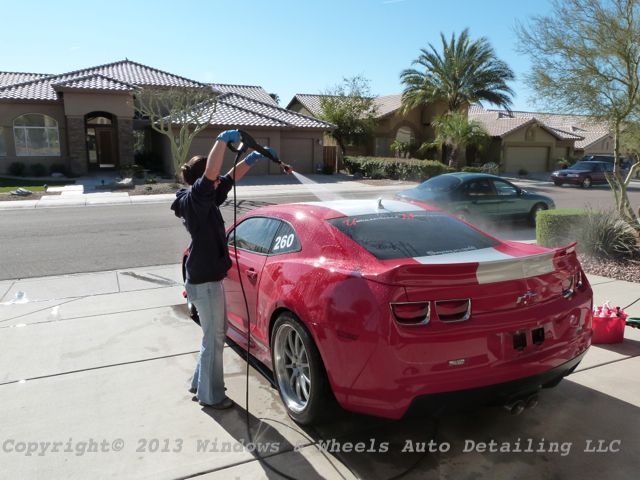
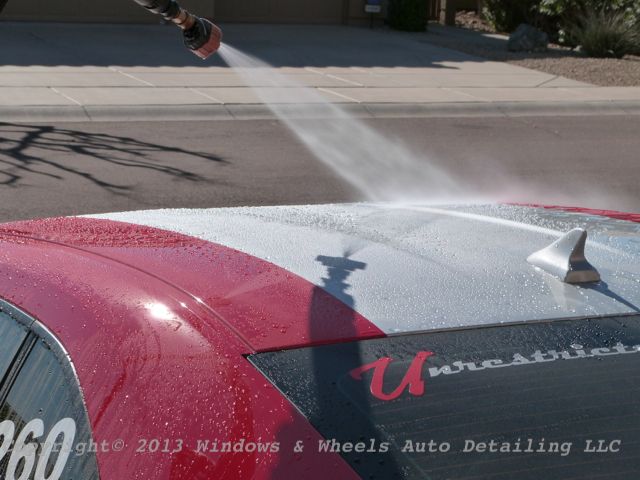
Then it was time to rinse off the dirt, there wasn't a ton...but there was definitely some wax or sealant on the paint..water beaded up quite well...but this also meant there was a possibility of even MORE swirls that we just could't see because the sealant or wax was filling it. We'd find out either way...it was time to strip it down to bare paint:
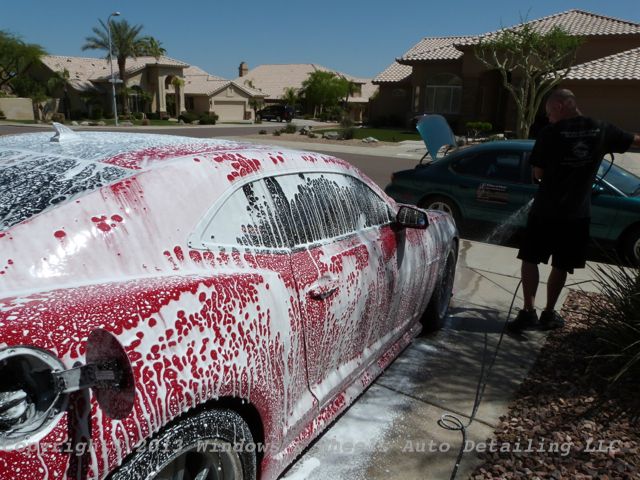
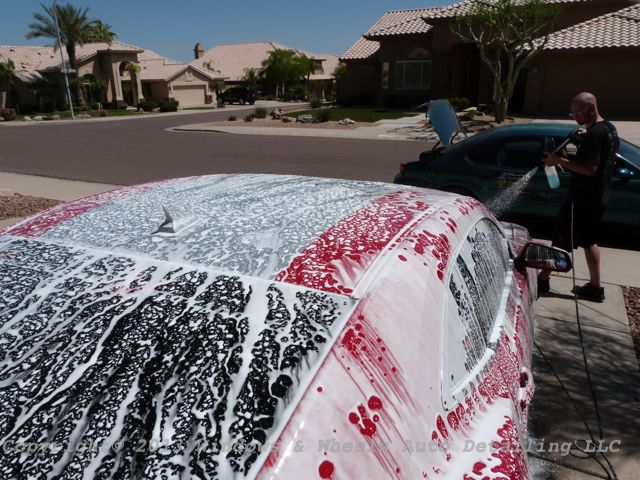
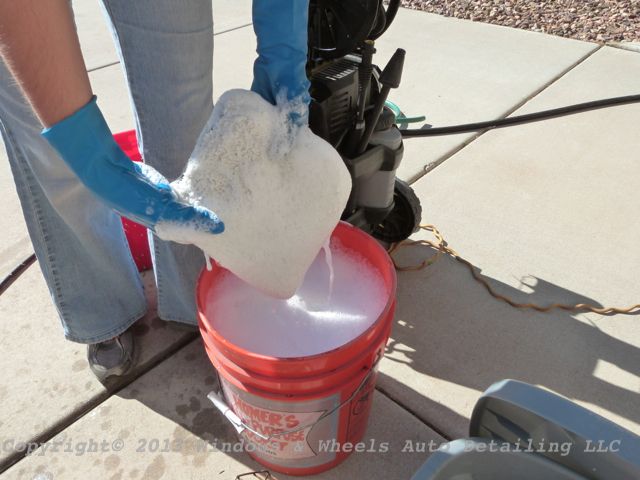
Time to foam her up:
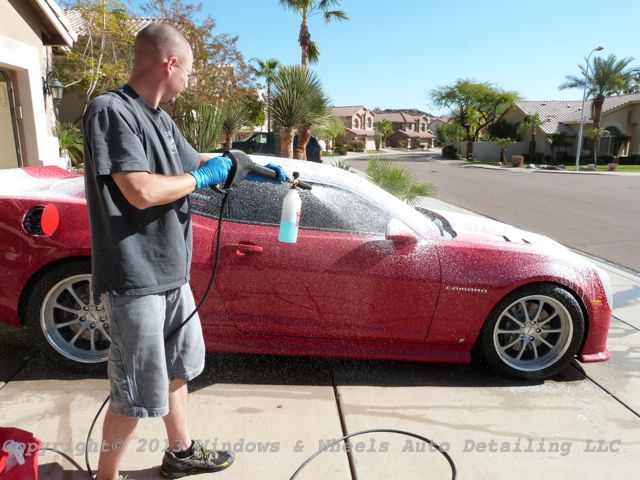
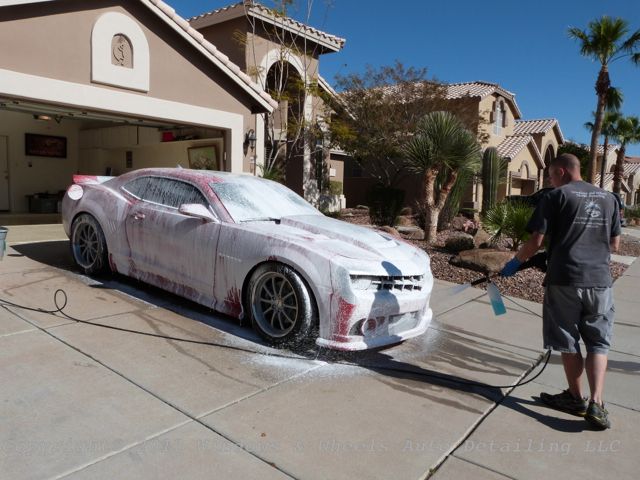
Now shes a great white instead of a hammerhead hehe
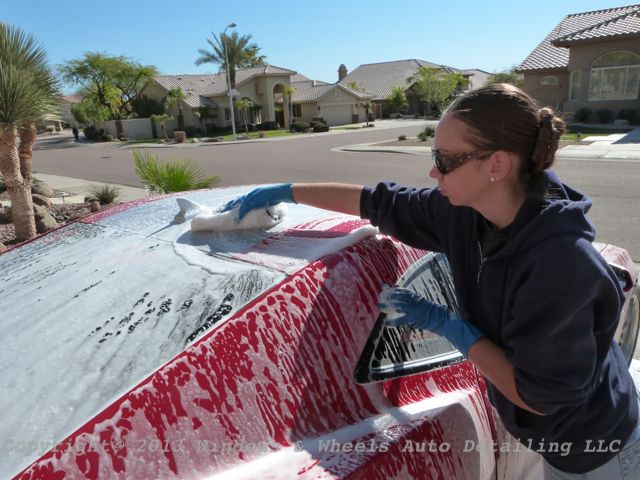
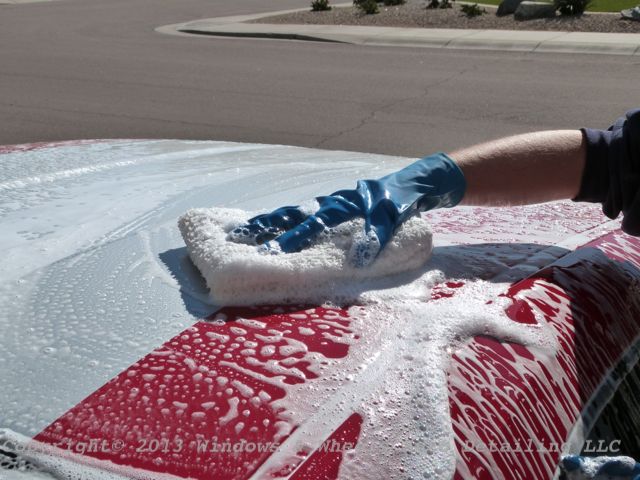
Then we got to washing ...nice and gentle...but thorough:
Got sudds?
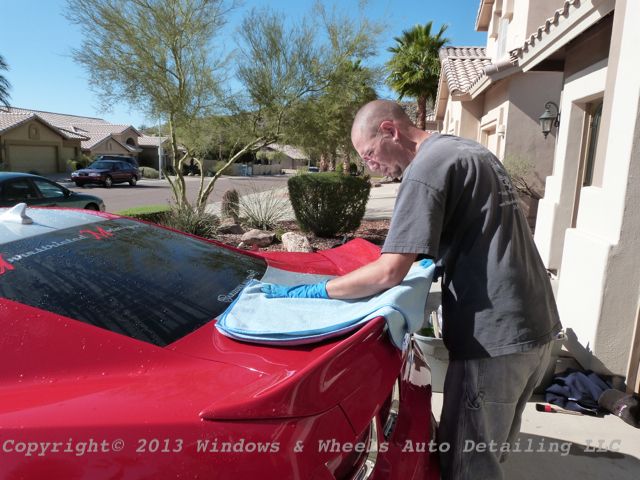
A quick dry to get the bulk of the water off and then we were heading into the garage:
Before we pulled in...we took note of how the paint looked after the prep wash:
Not so nice still! Some areas maybe just seemed worse but, it was hard to tell:
The owner pulled it in the garage for us and was kind enough to allow us all 3 garage bays to work in...check this out !
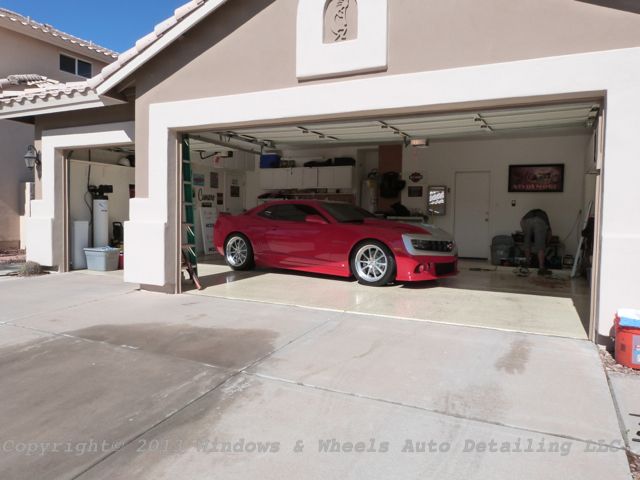
Awesome...lots of space and very clean.
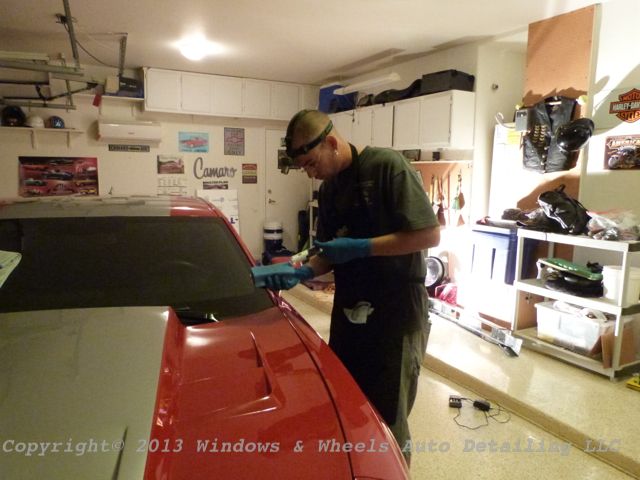
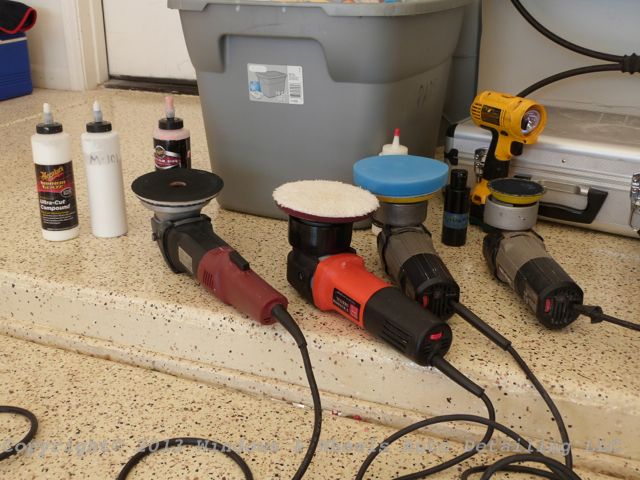
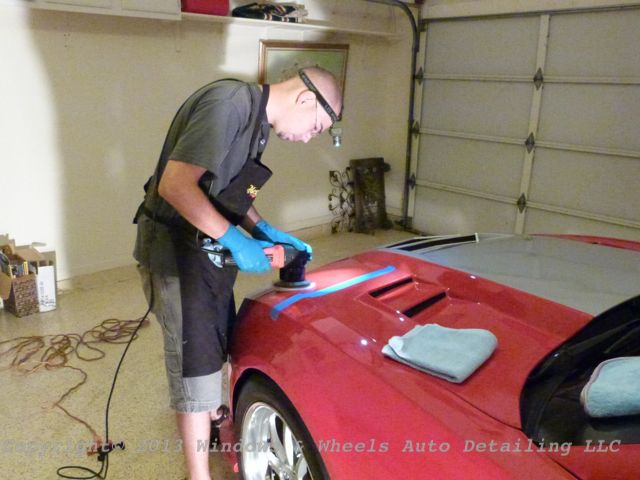
Next we set up our equipment to get ready to go to battle:
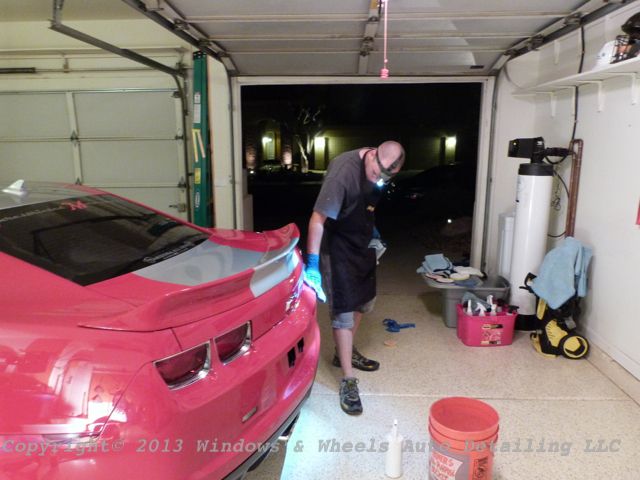
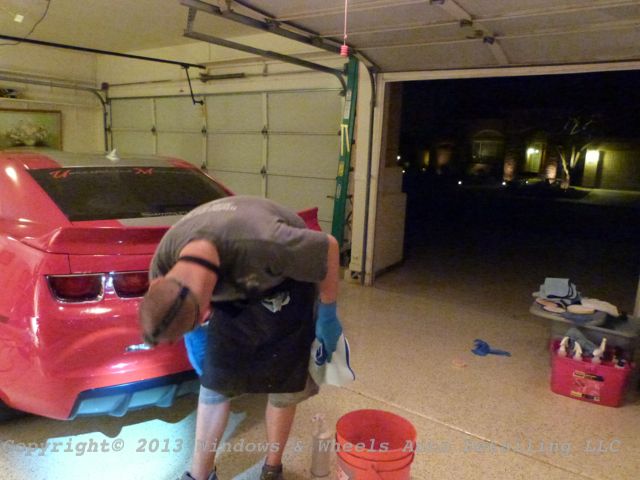
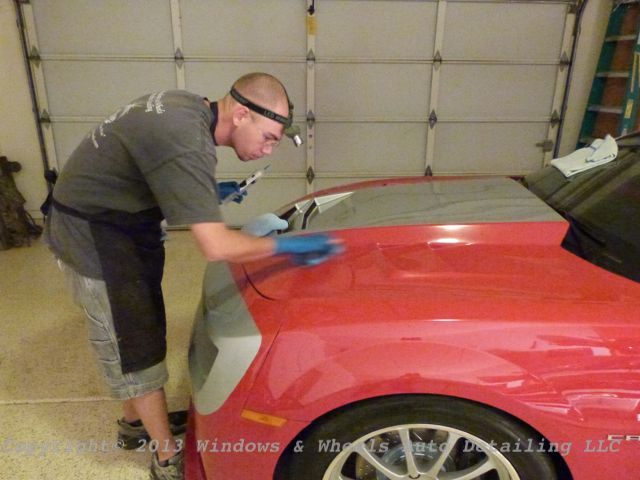
Light em up....we closed down the doors...had a nice dark garage to work in and had our lights to be able to see what we were working with in a controlled environment:
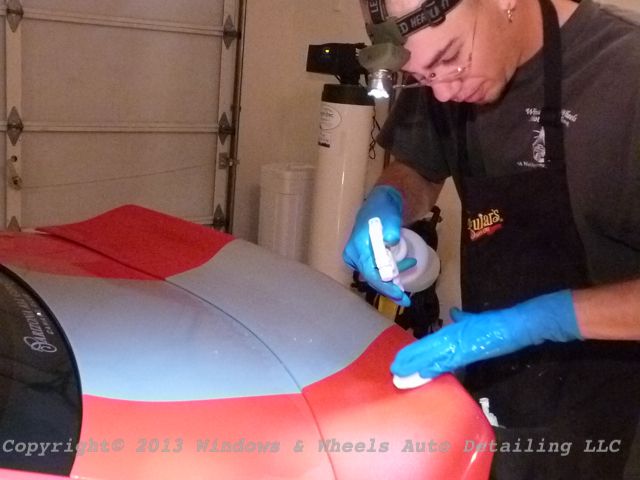
The paint was pretty smooth feeling...but we did clay it anyway just to be safe:
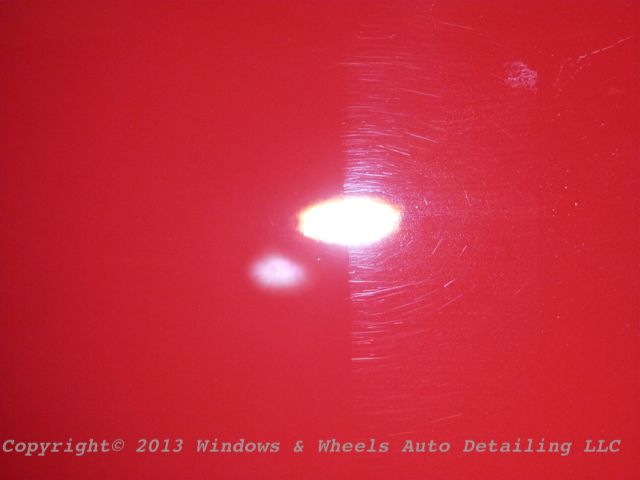
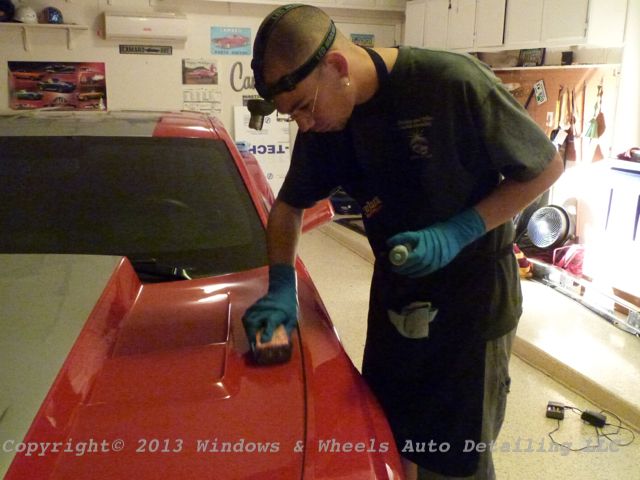
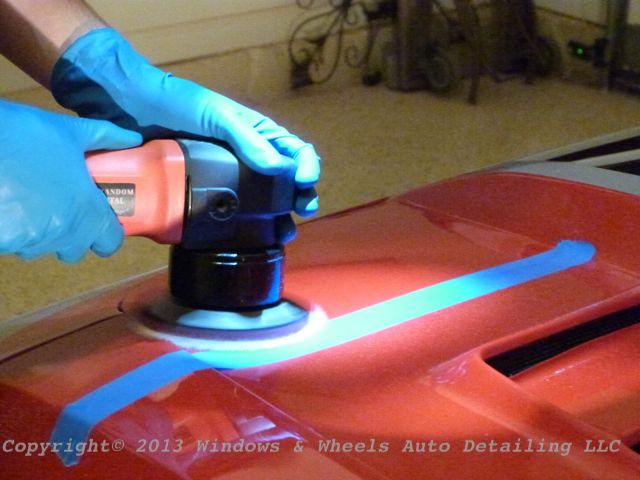
Then it was time to do a test spot and figure out what combo we'd be using...put a tape line down...compound and polish one side and compare it to the other:
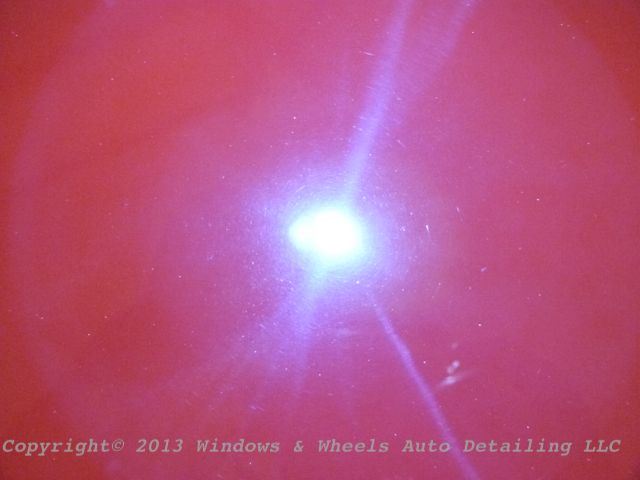
This is what we started with :

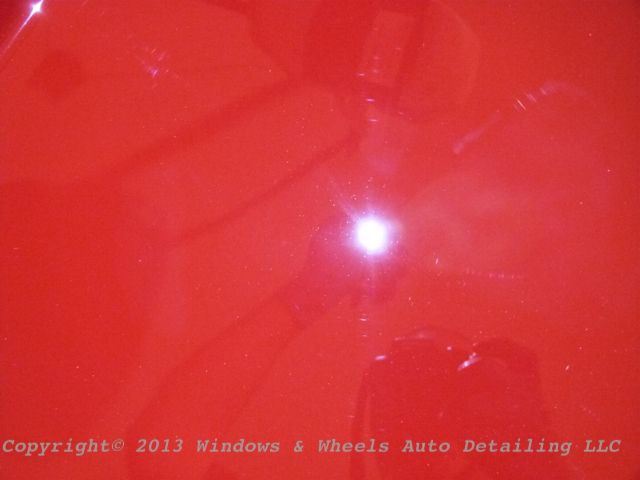
Then, after compounding with a microfiber cutting disc, Meguiars 105 with a little D300 mixed in to help extend working time...we ended up with this:
Swirls were gone, but micro marring was left....which was expected. These types of marks easily polished out with some 205 Finishing Polish and a polishing pad.
After the 205 polish, we were looking pretty sharp:
A nice close up of the tape line showed us exactly how much improvement we had made...not too shabby:
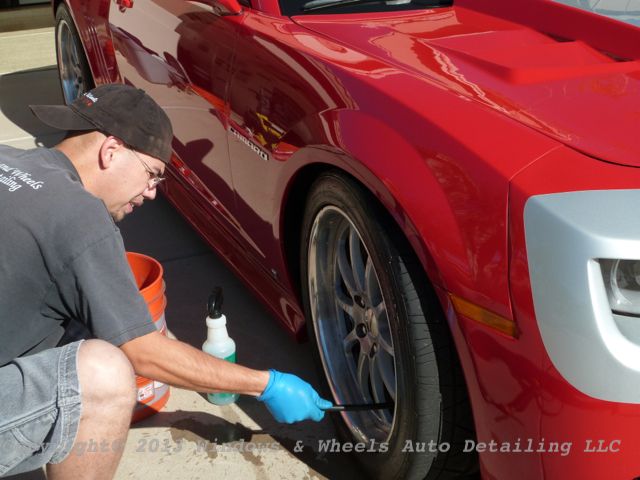
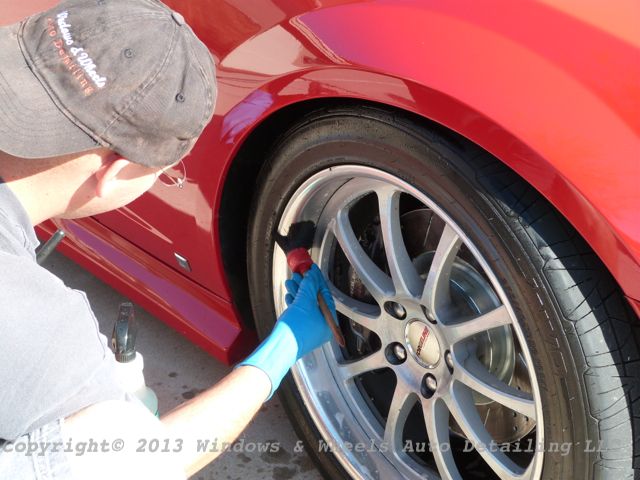
While it looked quite good and was a huge improvement, there were still some deeper ones i was able to see and wasn't happy with...so i re-compounded the area to see if i could get some improvement. Dani in the mean time was working on the rimes...getting them cleaned and doing an IPA wipe down on them...as well as dressing the tires and wheel wells:
We've found that where usually we'd do tires, wheels and wheel wells last...it really wasn't something we'd look forward to after HOURS of polishing! So, recently Dani has been knocking that out first while i dial in the polishing combo that we need. Most times I can get about a whole panel or so done (usually the hood) by the time she's finished cleaning the wheels, dressing the tires and wheel wells and then coating the wheels with Opti-Coat.
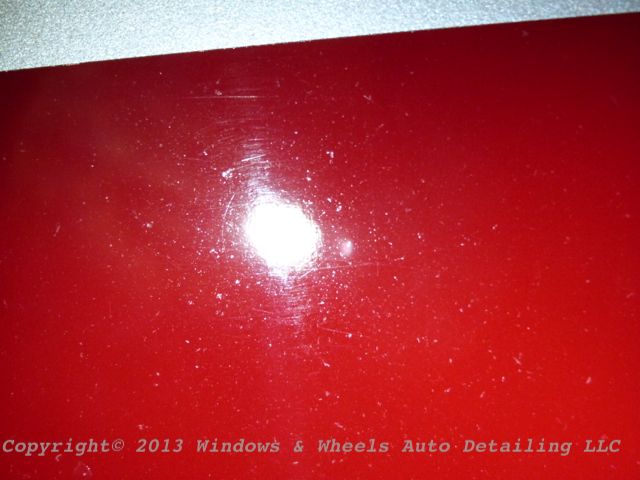
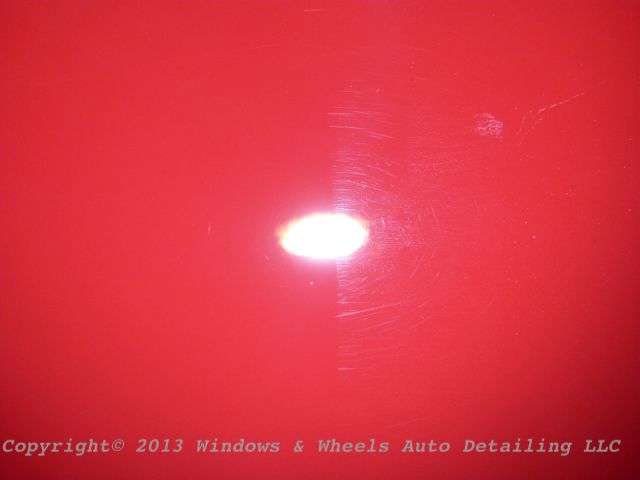
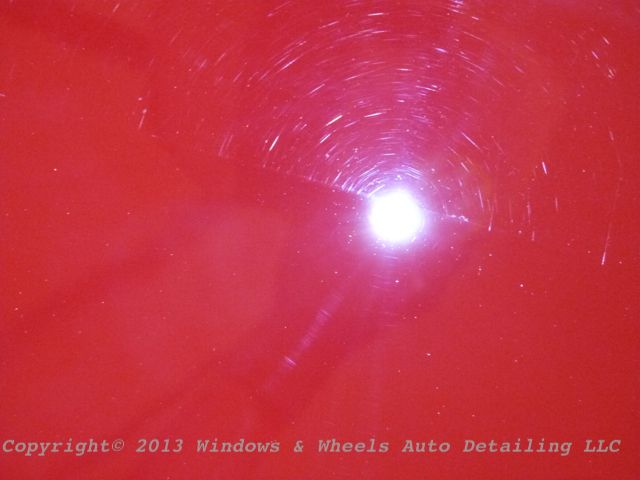
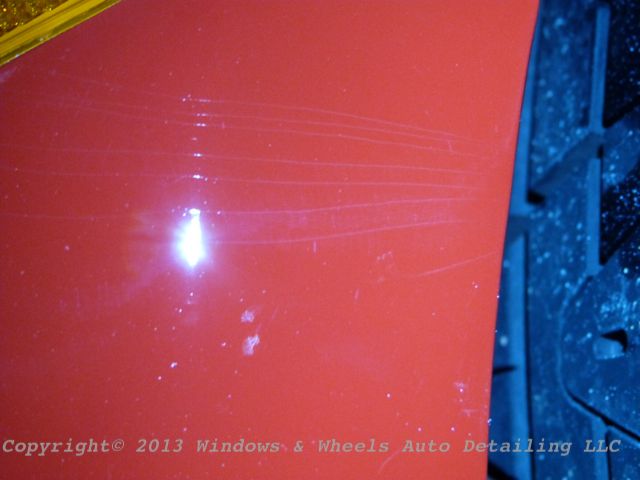
In this case, we weren't so lucky...i was done with only about 1/2 of the hood when she finished...why? Because every section looked like this:
We were just seriously surrounded by LOTS of DEEP swirls...and to top it off...this paint wasn't exactly buffer friendly, it was definitely on the hard side...so the cutting/compounding process was very slow and made you work for ever defect removal. I upped to Meguiars 101 to help with the cut....it did make things work better but man, it was still a SLOW process.
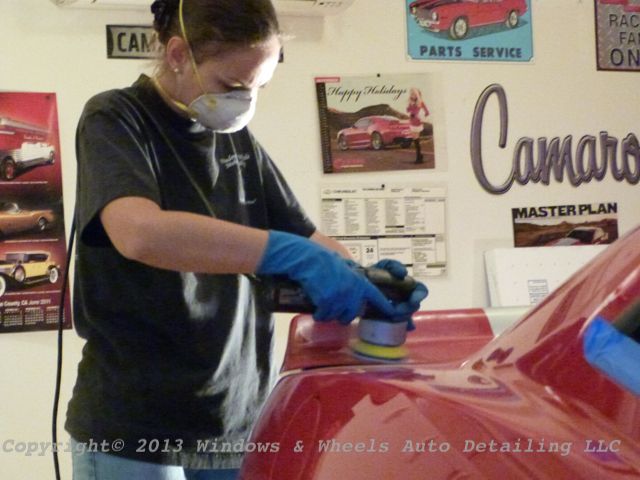
After Dani finished the wheels, she snagged the PC and a 3" cutting pad and started doing the trimming and edging for me. Rockers, mirrors, pillars etc...all the tight areas that required a small pad and concentrated cut, she attacked:
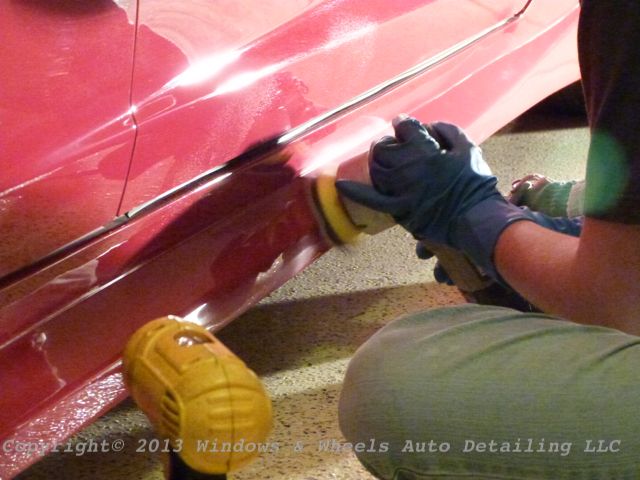
Again, a lot of people don't realize just HOW MUCH time this kinda work takes...doing a very small section like with a small pad can often times take up as much time as a larger panel with a larger pad. It ALL takes time to do right...and trust me time and patience was exactly what was needed for this car.
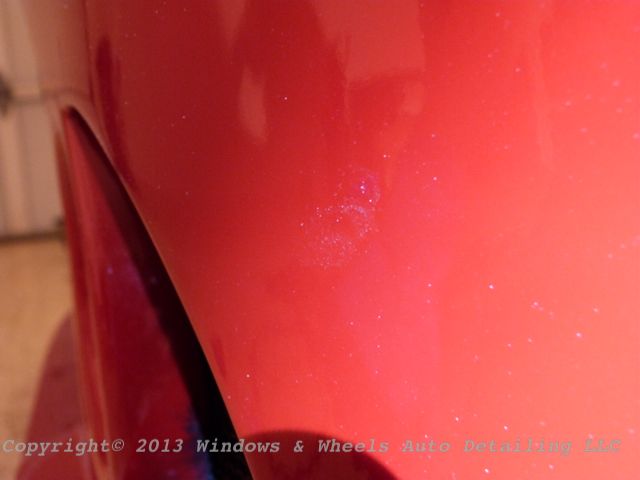
We found some areas we beyond or repair...specifically, the front bumper. The owner had a SS...and now a SuperCharger....and he USED them. Tracking a car surely shows...one thing we saw was some paint crinkling on the from driver side:
I'm going to apologize ahead of time because this post has over 100 photos, but we really wanted to document exactly what we started with....and what we ended up with...and help show how we got there.
Yup, there she is....lookin pretty damn nice from certain angles. We went out to give the owner a quote....we took one look at a panel in the sun and knew we had some work ahead of us. We explained it needed a multiple step polish-out...serious compounding would be needed to cut the swirls and then final polishing to remove the haze from compounding and brighten the paint up to top notch quality. I told the owner I would send him a link to a write-up I had done so he could put a visualization to what i was describing to him.
After seeing the write up, he said he wanted us to take photos like that of his car and document the work like we had in the write up I sent...my response...of course! A car like this deserves to be documented...and a turn around like this surely does as well! He also opted for the Opti-Coat upgrade to help keep her in good shape.
He was going to have us detail it and then have a SuperCharger installed along with a few other upgrades....but Rick, the man who'd be doing the install...and also a customer of ours, suggested that he have the SuperCharger installed FIRST...and have the detail done second...that way there would be no chance of and swirls etc being put back into the paint AFTER we had polished it....that was fine by us
Now, back to the swirls I was talking about....
She's got hips and she's got swirls on her hips!
There is a quick taste of what we'd be working with, don't worry though, more is to come
First though, we had to wash this baby...so...off with the license plate:
Always some good grime hiding behind there:
The swirls were also in the silver but, were much more difficult to see (as usual, damn light colors hide everything so well!)
The red however...showed every little flaw:
Some nice ones were on the hood:
Even the side mirrors got in on the swirled action:
Front quarter panels told the same story:
Onto the cleaning! The wheels had a nice amount of grime on them:
Nothing we weren't use to though...some cleaners...wheel woolies and a few brushes and we were ready to get to work:
Not bad huh?
Exhaust tips needed some love too:
Then it was time to rinse off the dirt, there wasn't a ton...but there was definitely some wax or sealant on the paint..water beaded up quite well...but this also meant there was a possibility of even MORE swirls that we just could't see because the sealant or wax was filling it. We'd find out either way...it was time to strip it down to bare paint:
Time to foam her up:
Now shes a great white instead of a hammerhead hehe
Then we got to washing ...nice and gentle...but thorough:
Got sudds?
A quick dry to get the bulk of the water off and then we were heading into the garage:
Before we pulled in...we took note of how the paint looked after the prep wash:
Not so nice still! Some areas maybe just seemed worse but, it was hard to tell:
The owner pulled it in the garage for us and was kind enough to allow us all 3 garage bays to work in...check this out !
Awesome...lots of space and very clean.
Next we set up our equipment to get ready to go to battle:
Light em up....we closed down the doors...had a nice dark garage to work in and had our lights to be able to see what we were working with in a controlled environment:
The paint was pretty smooth feeling...but we did clay it anyway just to be safe:
Then it was time to do a test spot and figure out what combo we'd be using...put a tape line down...compound and polish one side and compare it to the other:
This is what we started with :
Then, after compounding with a microfiber cutting disc, Meguiars 105 with a little D300 mixed in to help extend working time...we ended up with this:
Swirls were gone, but micro marring was left....which was expected. These types of marks easily polished out with some 205 Finishing Polish and a polishing pad.
After the 205 polish, we were looking pretty sharp:
A nice close up of the tape line showed us exactly how much improvement we had made...not too shabby:
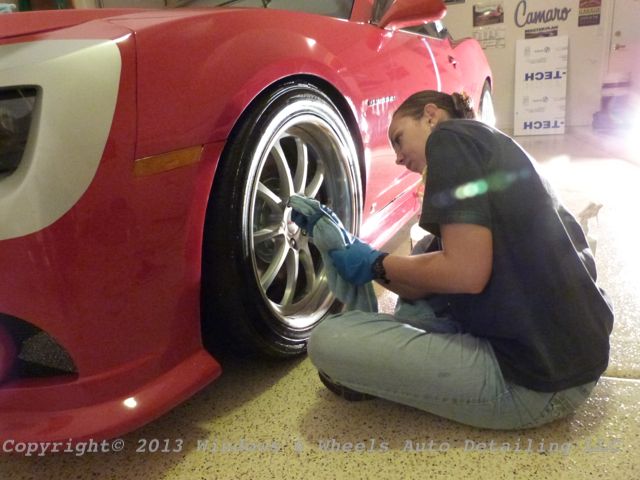
While it looked quite good and was a huge improvement, there were still some deeper ones i was able to see and wasn't happy with...so i re-compounded the area to see if i could get some improvement. Dani in the mean time was working on the rimes...getting them cleaned and doing an IPA wipe down on them...as well as dressing the tires and wheel wells:
We've found that where usually we'd do tires, wheels and wheel wells last...it really wasn't something we'd look forward to after HOURS of polishing! So, recently Dani has been knocking that out first while i dial in the polishing combo that we need. Most times I can get about a whole panel or so done (usually the hood) by the time she's finished cleaning the wheels, dressing the tires and wheel wells and then coating the wheels with Opti-Coat.
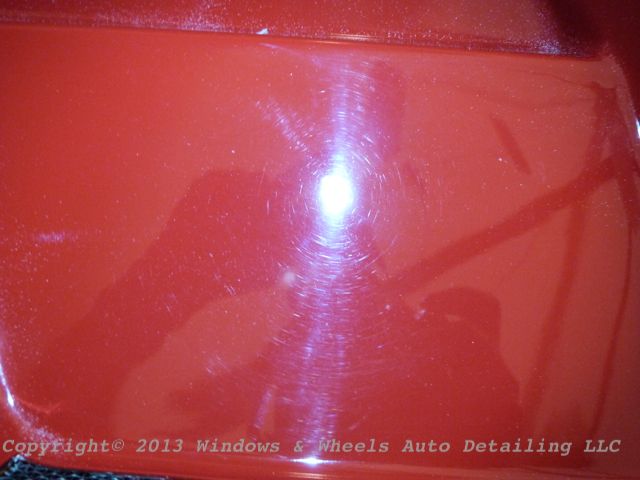
In this case, we weren't so lucky...i was done with only about 1/2 of the hood when she finished...why? Because every section looked like this:
We were just seriously surrounded by LOTS of DEEP swirls...and to top it off...this paint wasn't exactly buffer friendly, it was definitely on the hard side...so the cutting/compounding process was very slow and made you work for ever defect removal. I upped to Meguiars 101 to help with the cut....it did make things work better but man, it was still a SLOW process.
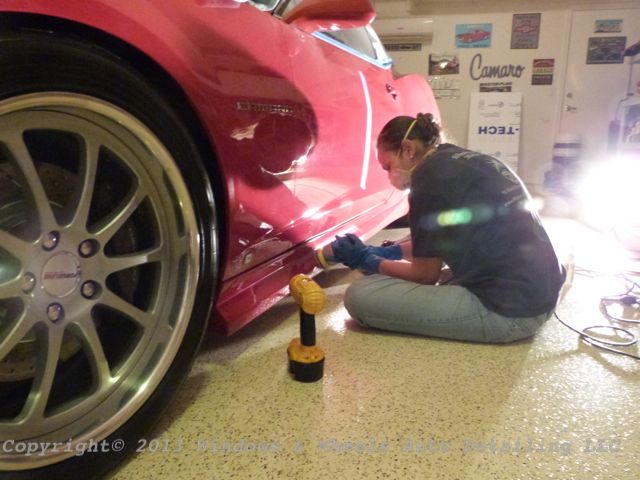
After Dani finished the wheels, she snagged the PC and a 3" cutting pad and started doing the trimming and edging for me. Rockers, mirrors, pillars etc...all the tight areas that required a small pad and concentrated cut, she attacked:
Again, a lot of people don't realize just HOW MUCH time this kinda work takes...doing a very small section like with a small pad can often times take up as much time as a larger panel with a larger pad. It ALL takes time to do right...and trust me time and patience was exactly what was needed for this car.
We found some areas we beyond or repair...specifically, the front bumper. The owner had a SS...and now a SuperCharger....and he USED them. Tracking a car surely shows...one thing we saw was some paint crinkling on the from driver side: