mikenap
New member
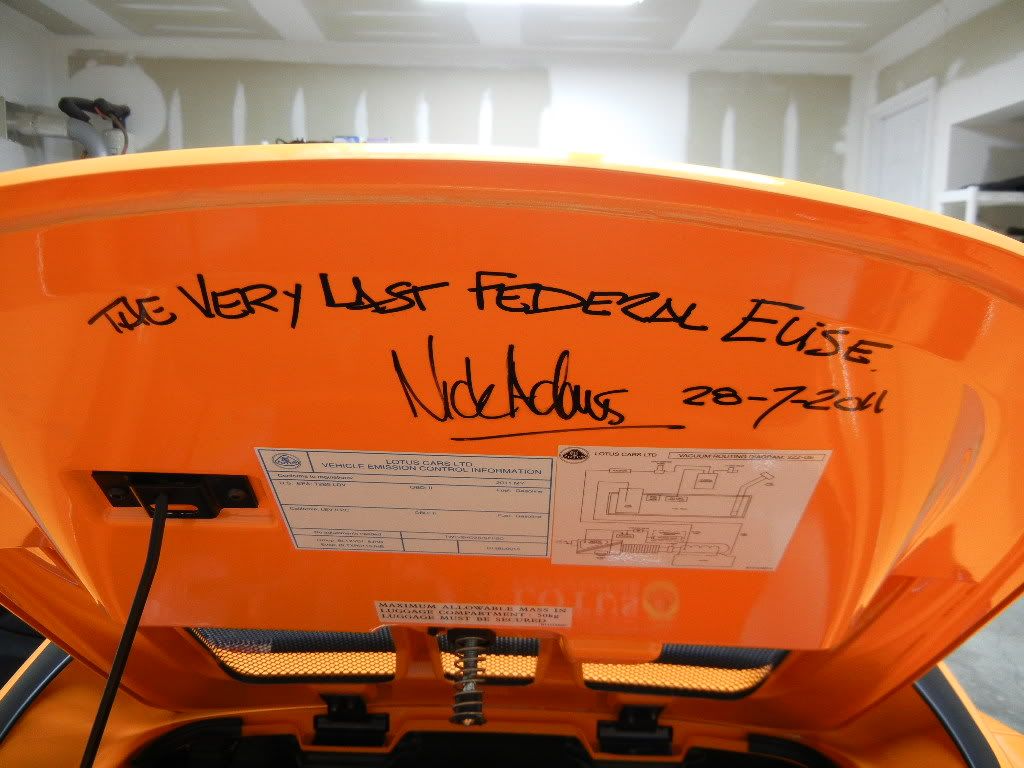
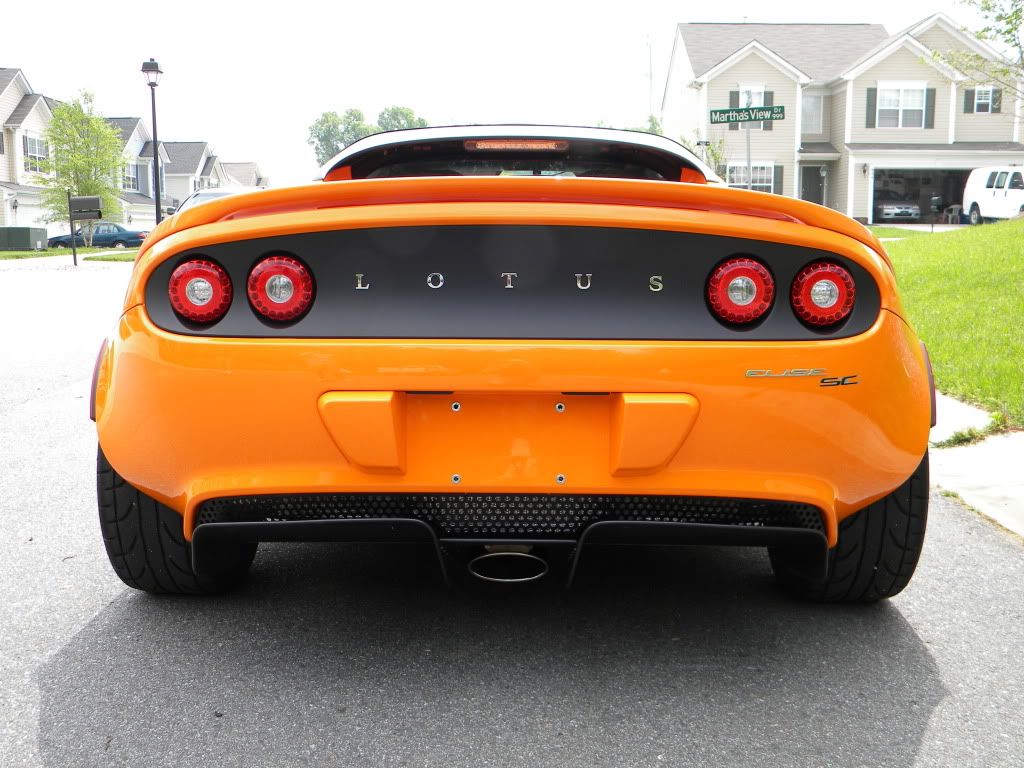
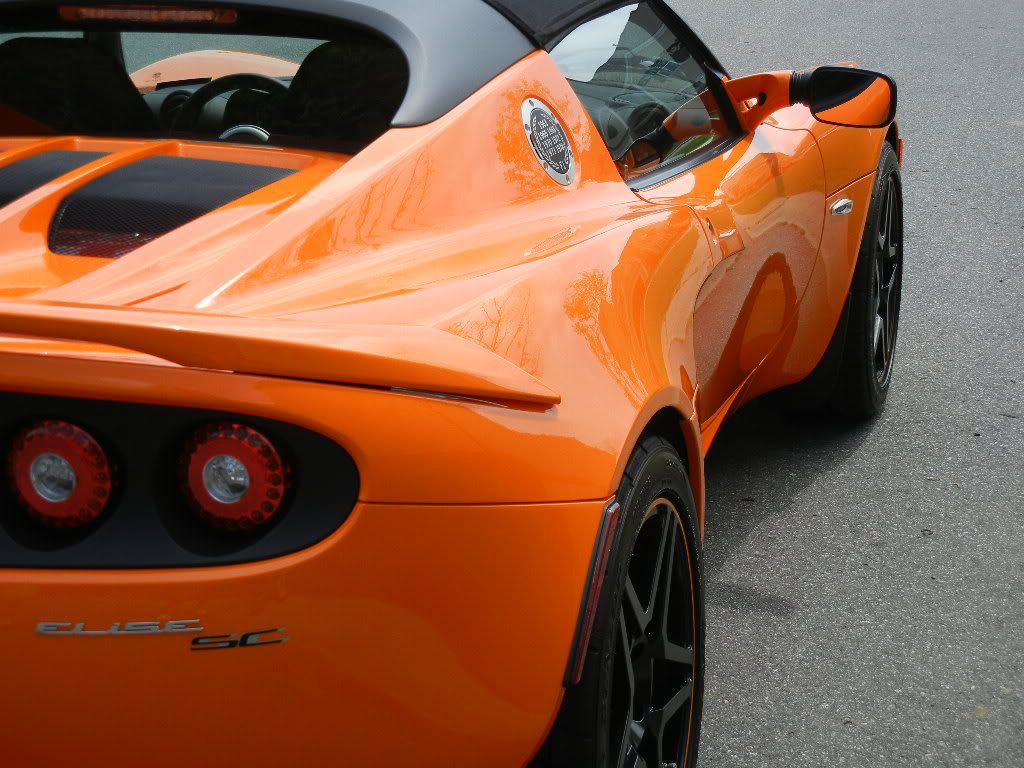
Ever since I was a kid, I've been in love with Lotus cars. At one point I had several Esprit Turbo posters in my room....I seem to remember a 959 in there somewhere, but prancing horses and raging bulls were noticeable by their absence. When the Esprit finally went out of production, I was a little shocked. What would take the place of that iconic car? When the first gen, bug-eyed Elise was introduced, it didn't do much for me. But when the Series 2 update came around, I finally had another British go-kart to lust after. So imagine my excitement when I was contacted to detail one of the last Elises to be sold in the states, the Elise SC Final Edition, and one of only 15 made. Chrome Orange, Alcantara interior, and autographed by Nick Adams, the man responsible for "federalizing" the Elise for US sale, this car had it all. I was ready!
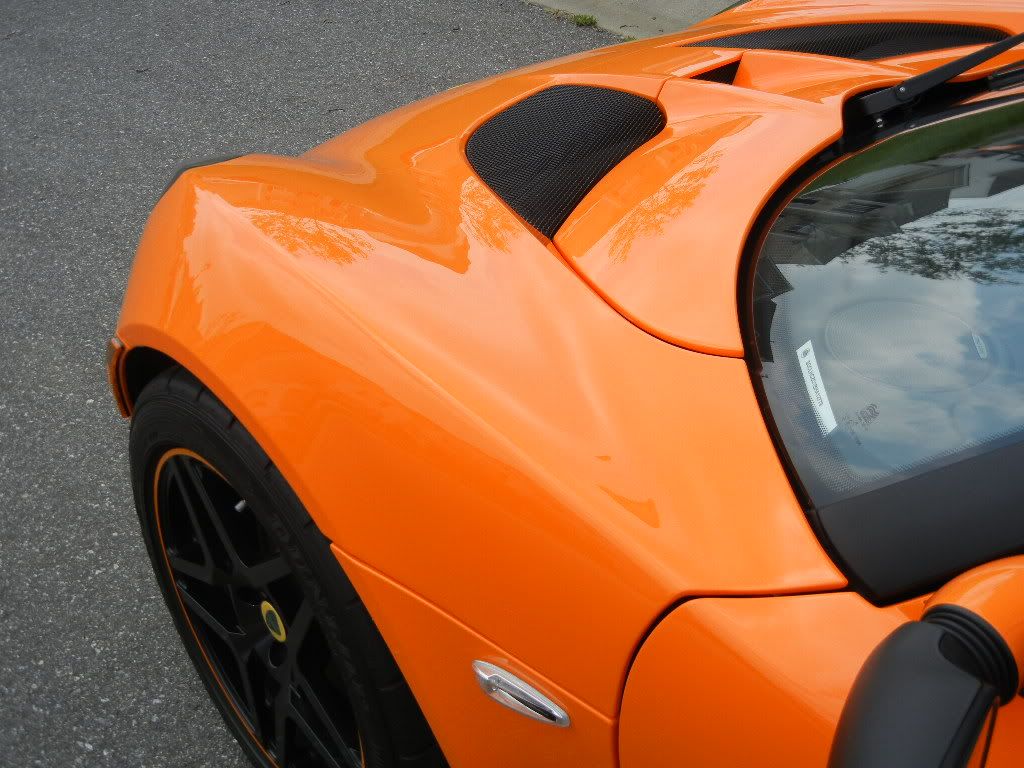
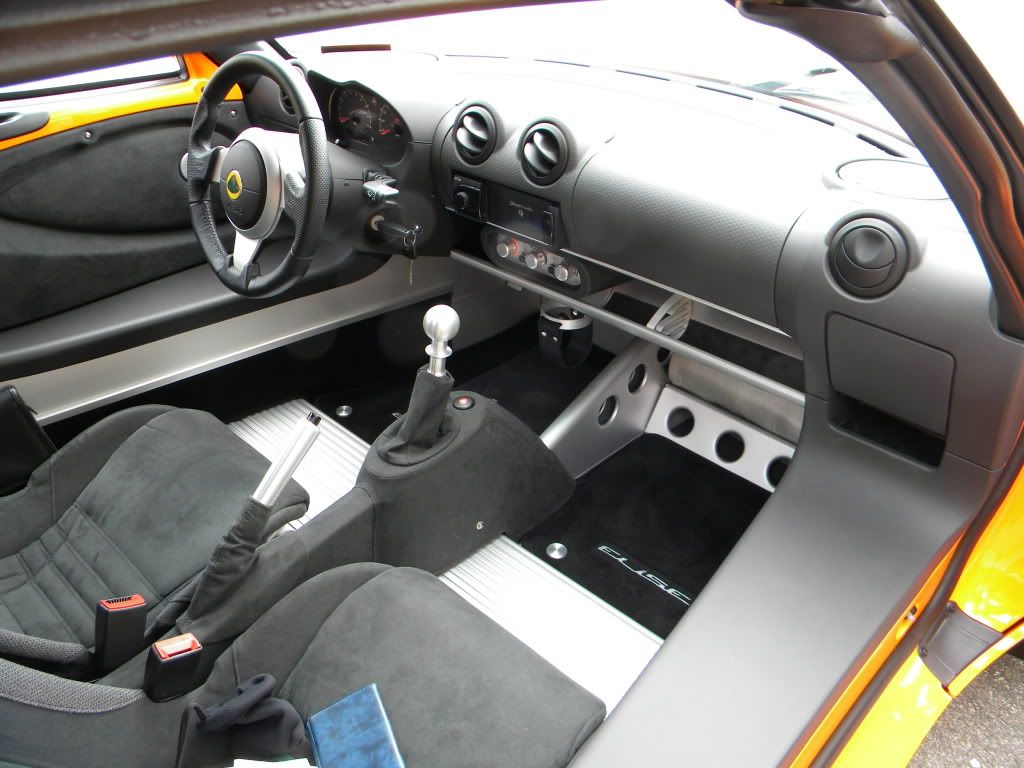
The Elise is definitely a unique car. Tiny doesn't even begin to describe it. Getting in and out was a challenge that I wasn't able to master in the short time I had it. Even at my towering 5'8" height, it must have been entertaining for anyone watching me twist myself in and out of this car. Just to give an idea of size, it makes my Mazda3 look like an SUV by comparison.

The car was in great shape when I received it. Roughly 9k miles, and 2/3 of that was from one cross-country trip to Vegas.
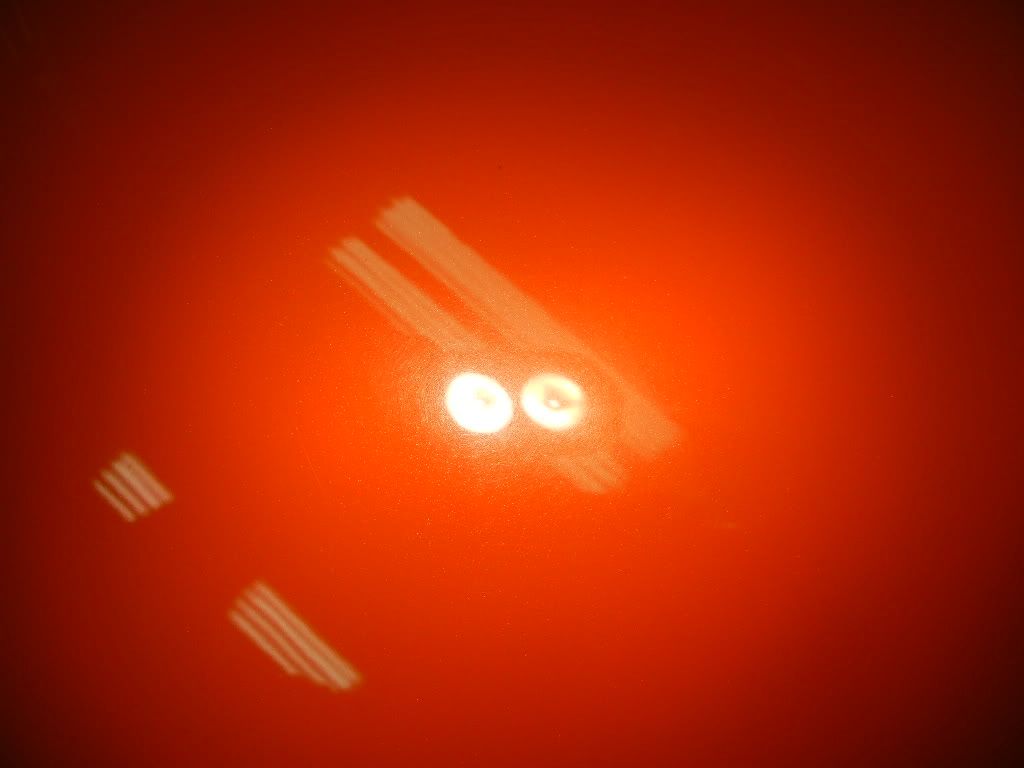
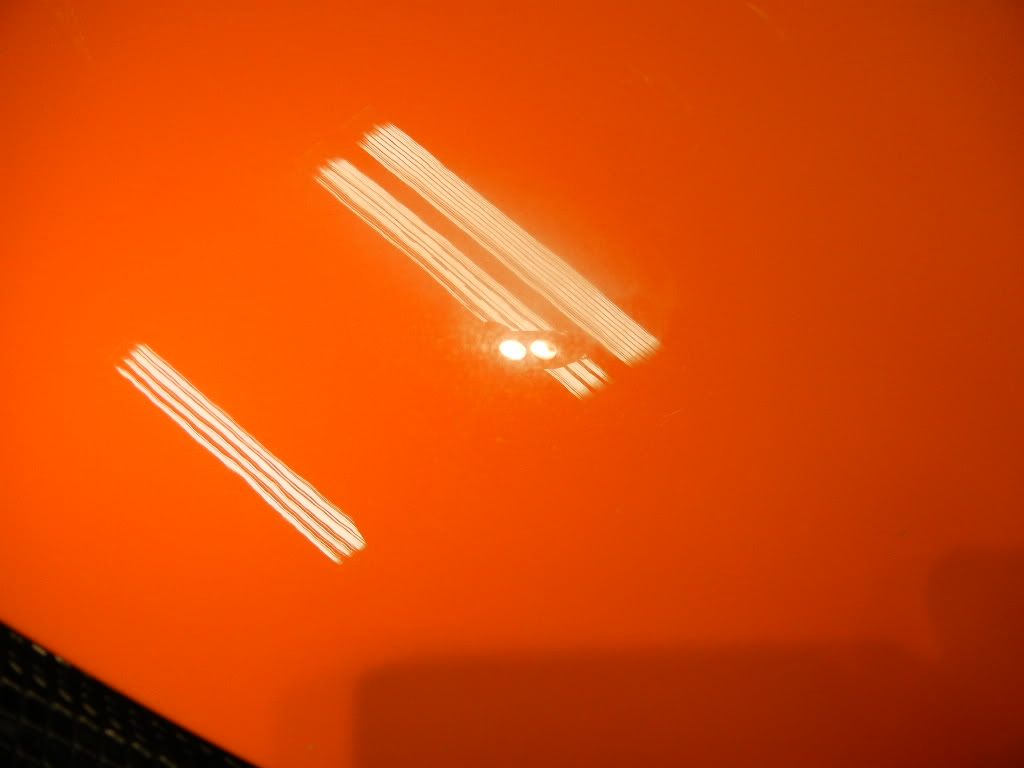
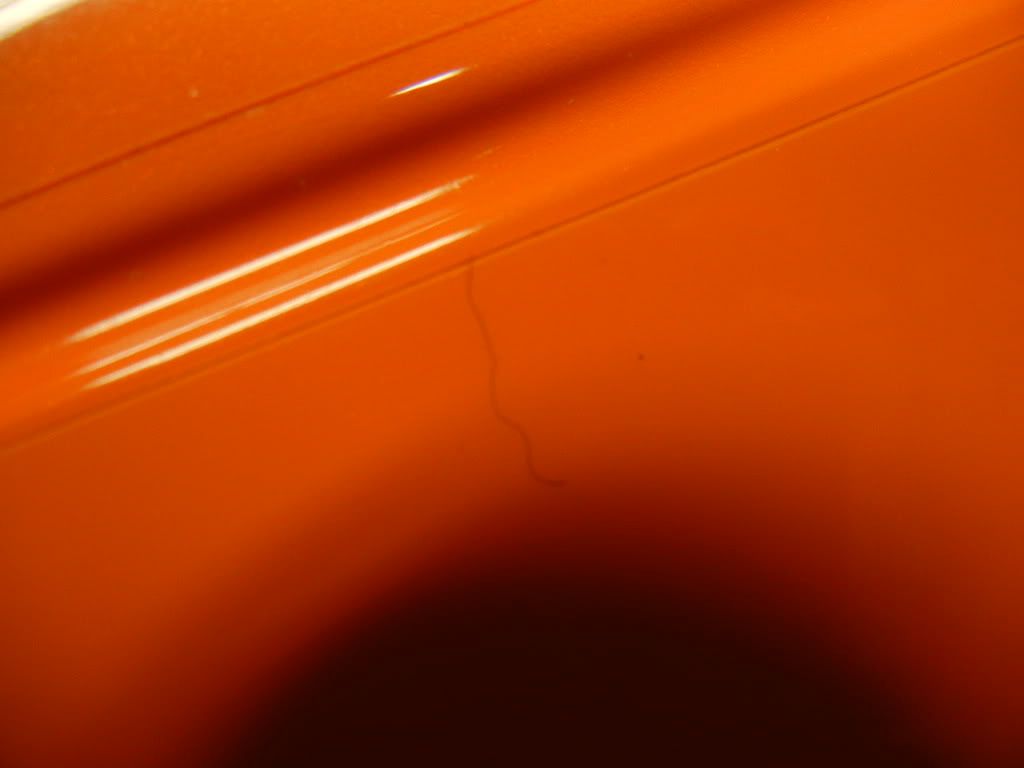
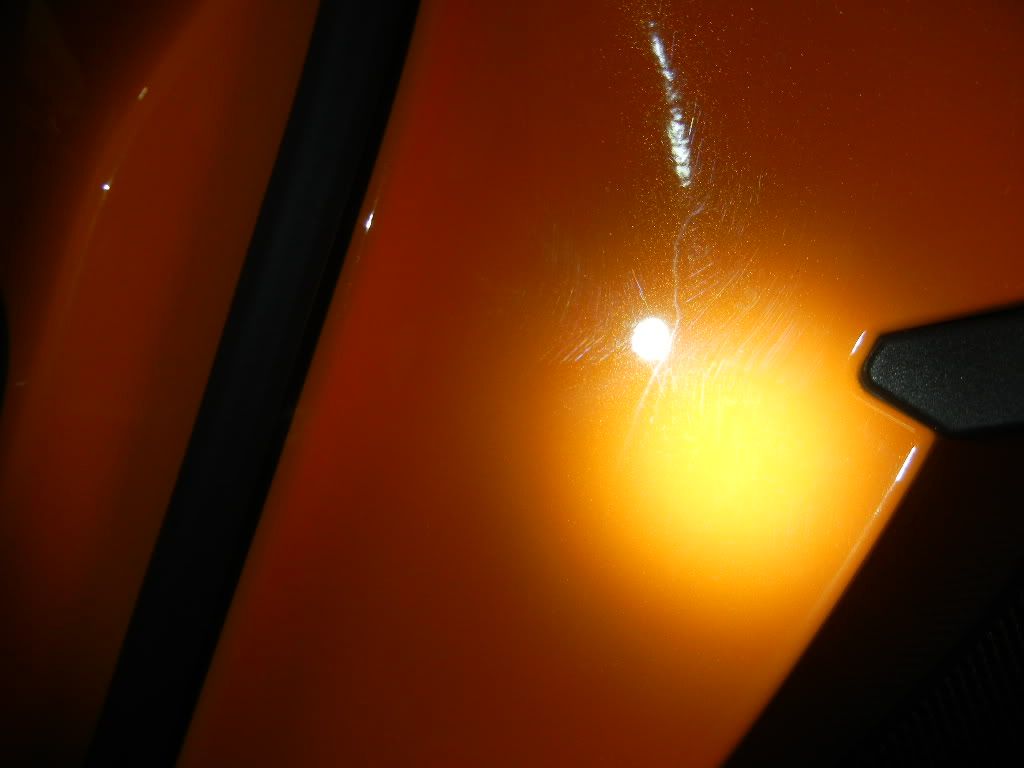
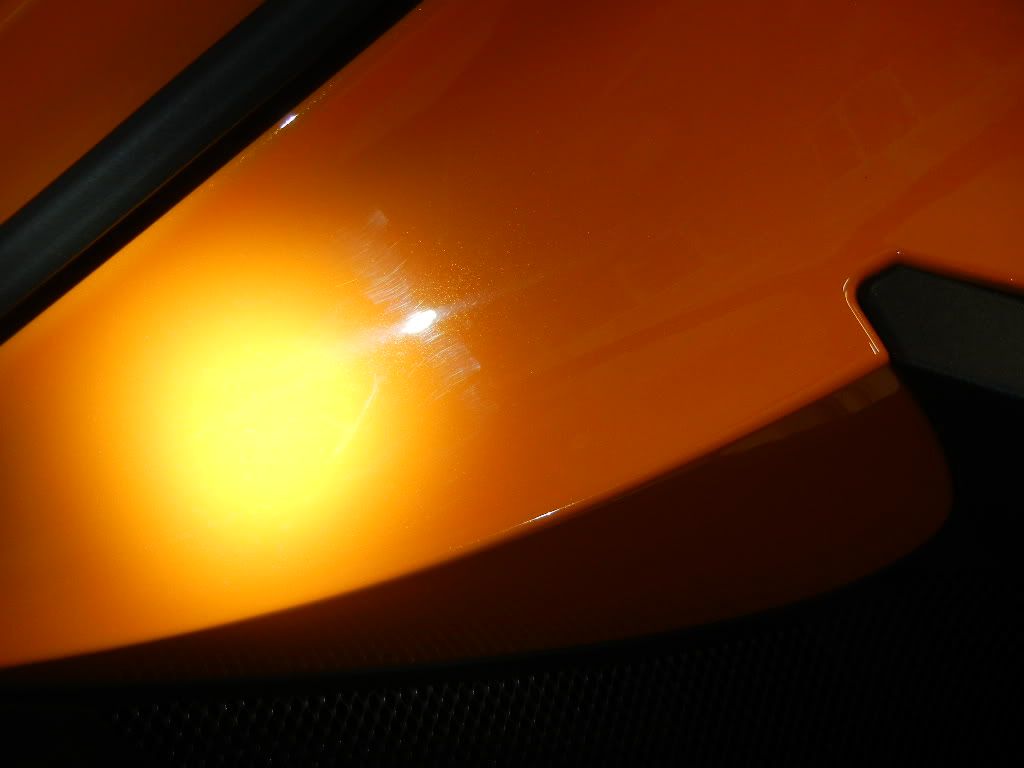
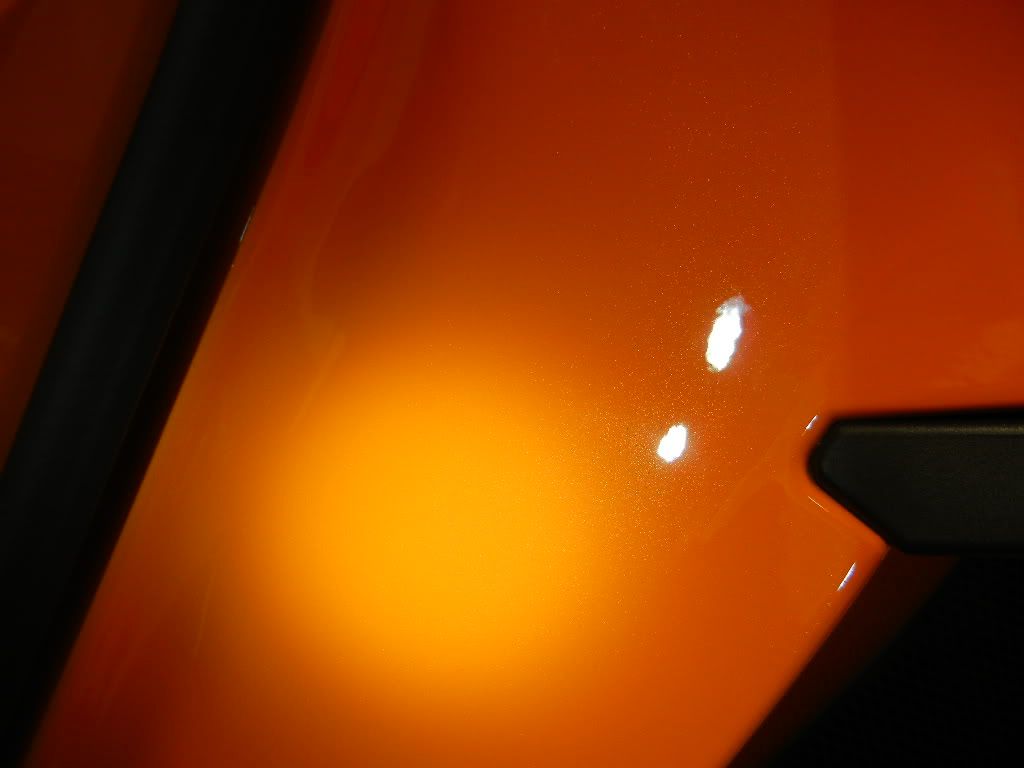
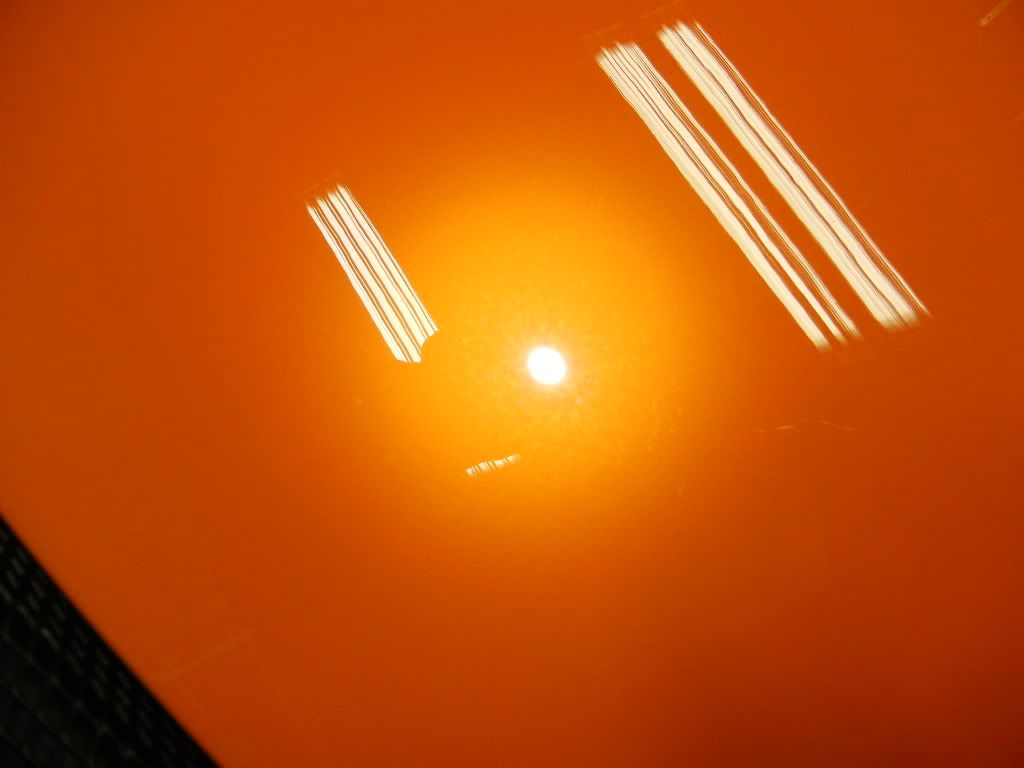
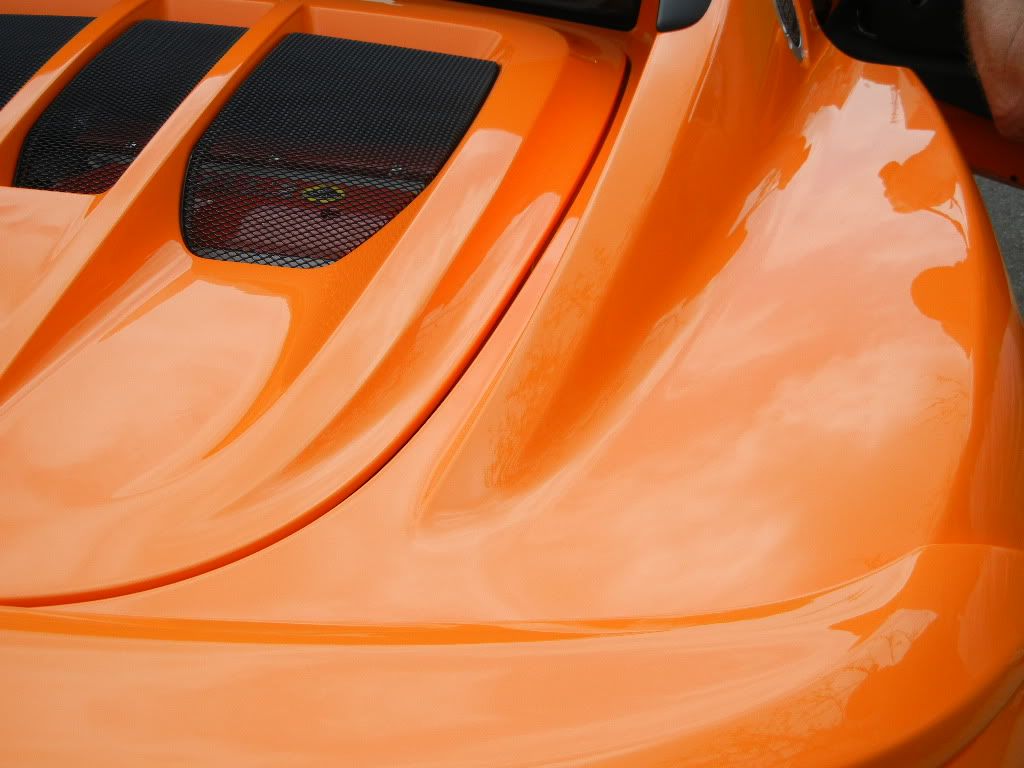
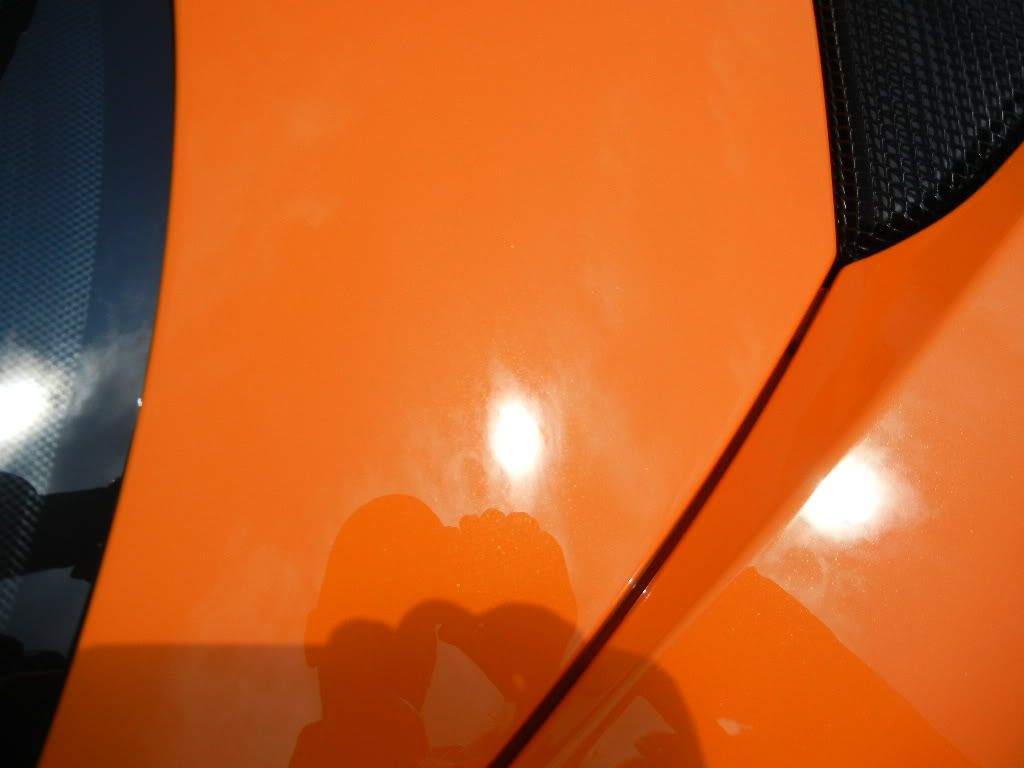
There was some light swirling, which was to be expected. But these cars are hand painted and hand finished, and we all know what that means...unfinished sanding scratches and light holograms straight from the factory.
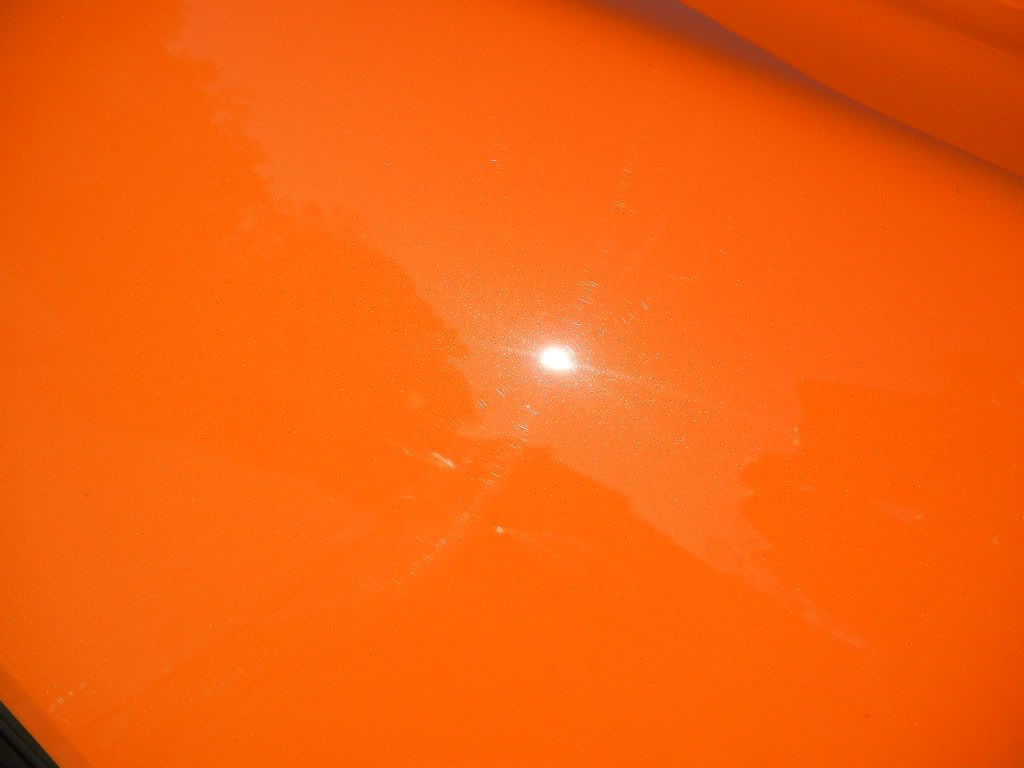
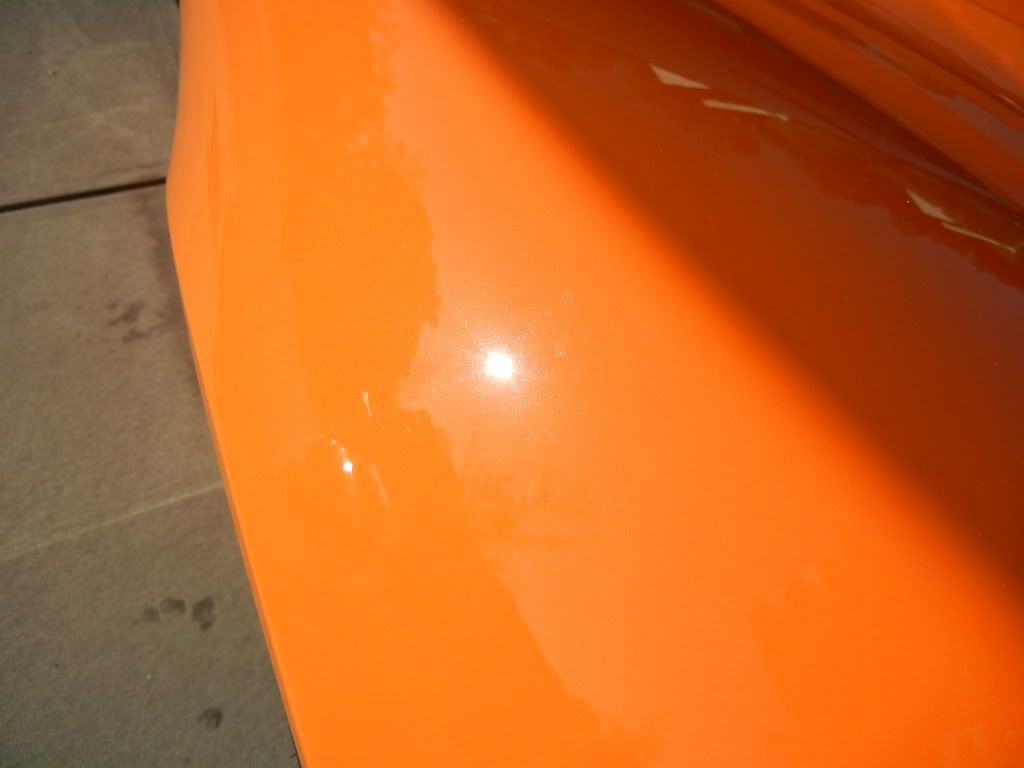
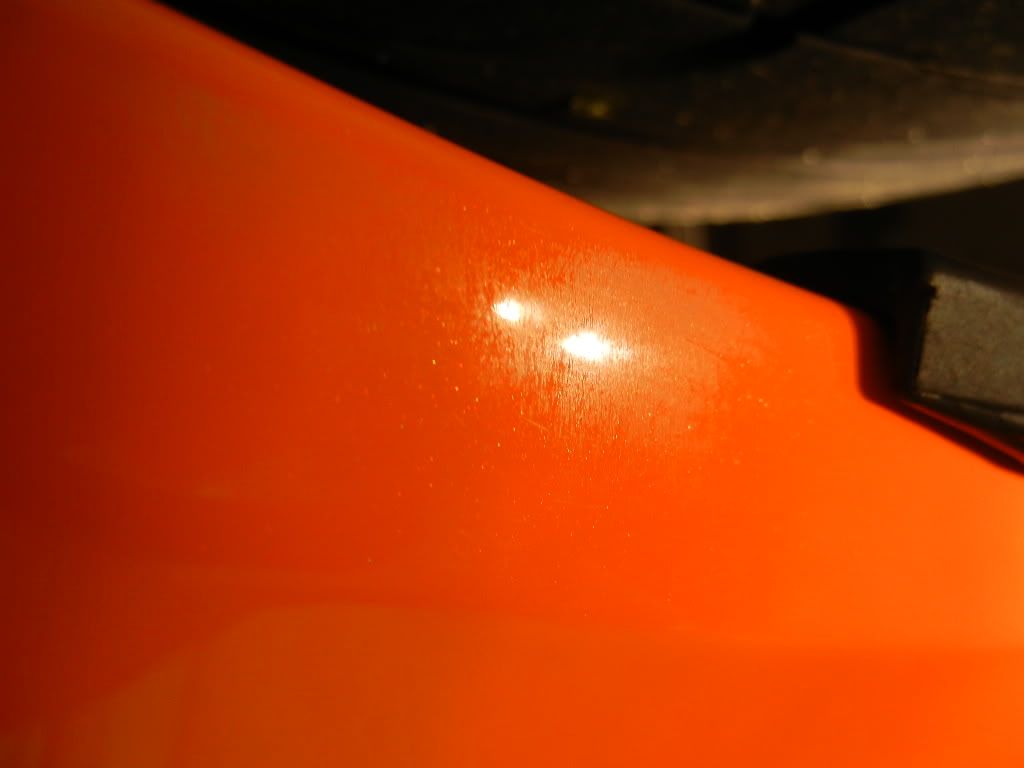
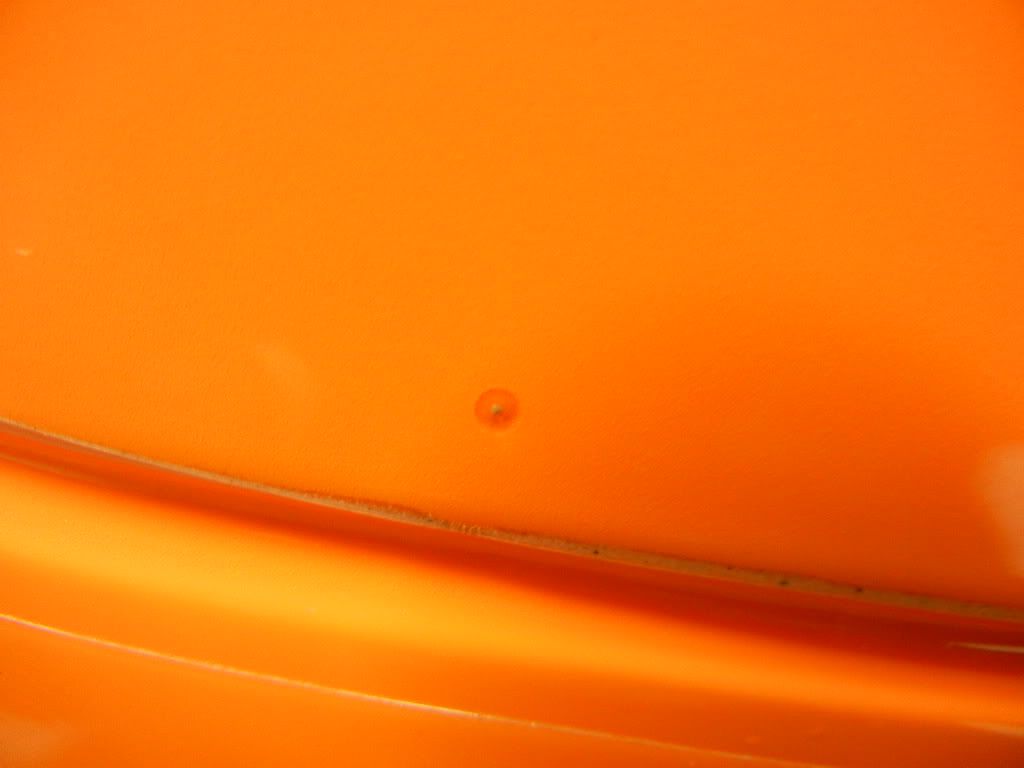
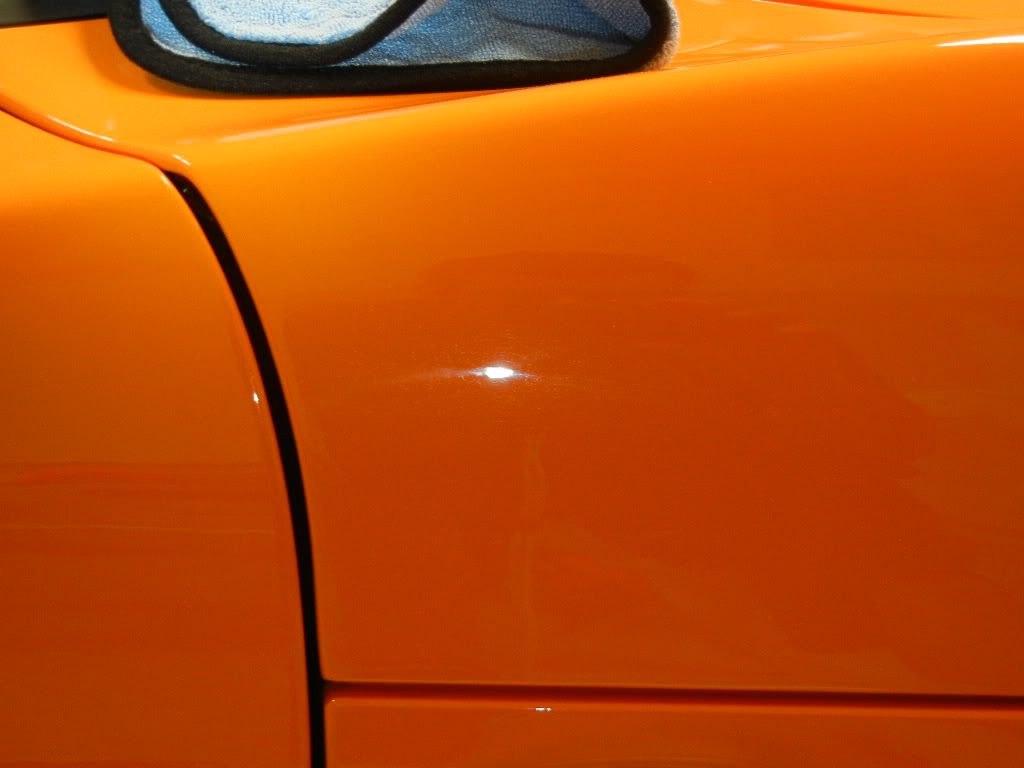
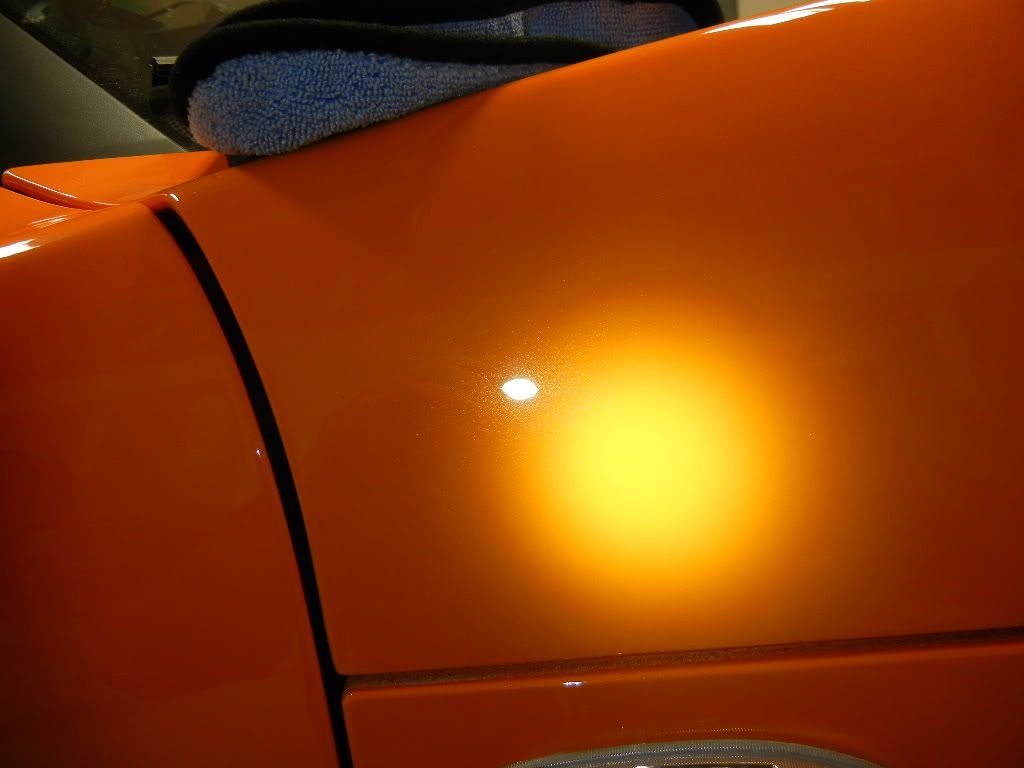
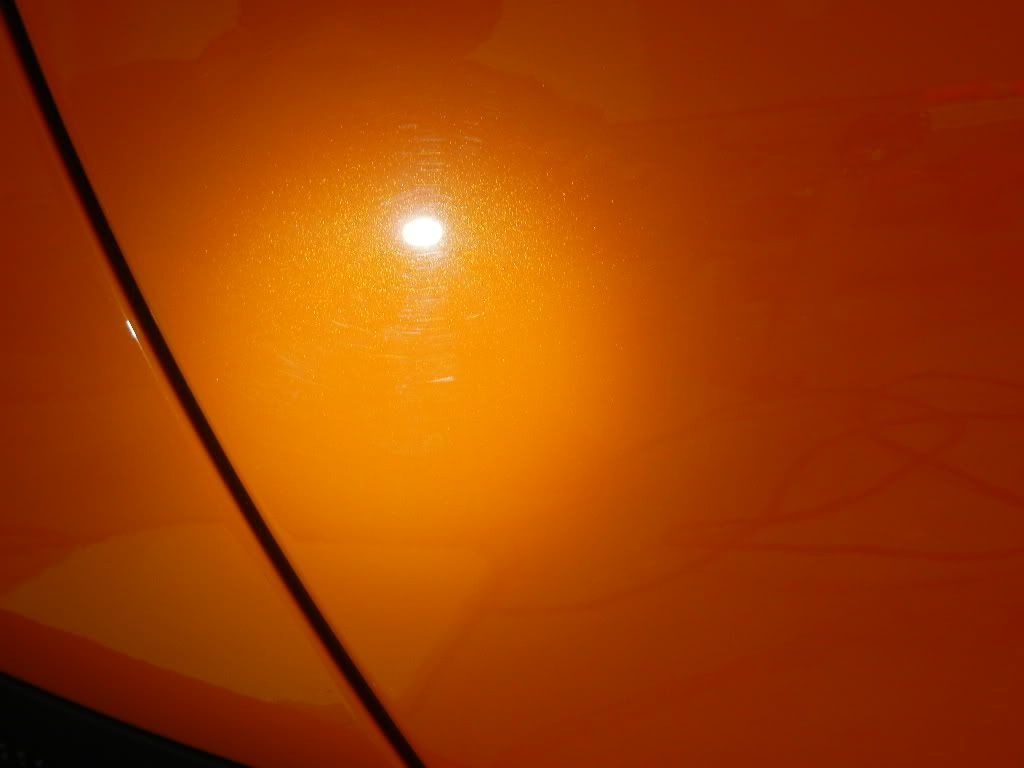
There was a rather large dull spot right below the windshield which turned out to be a half-polished sanding mark.
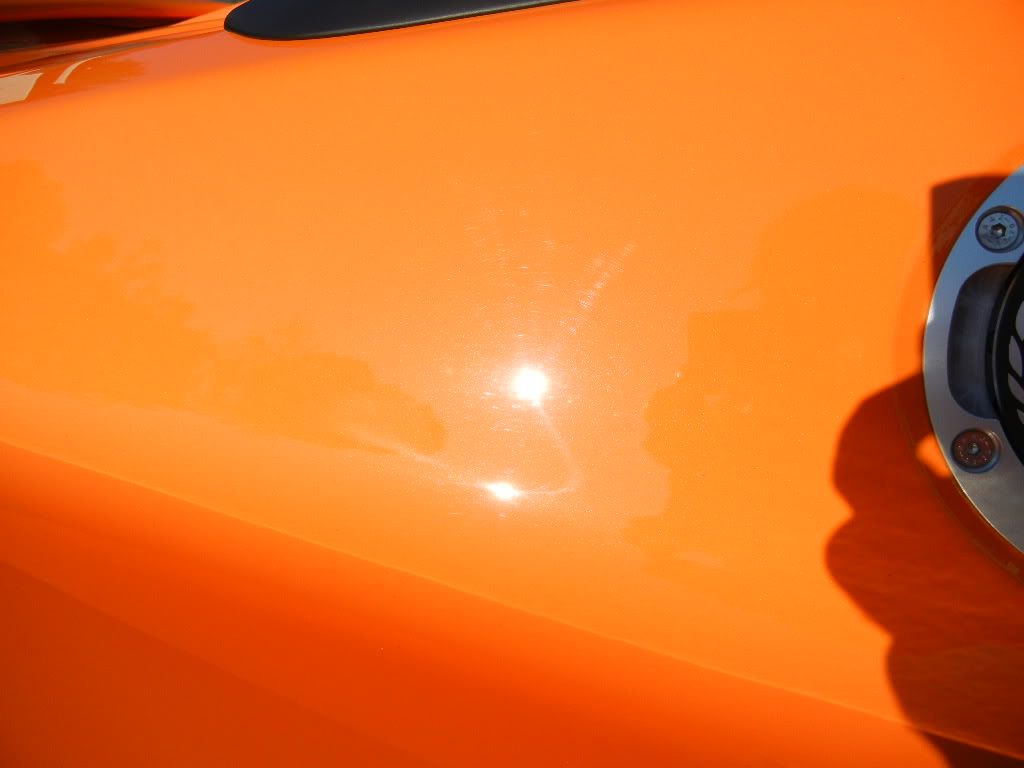
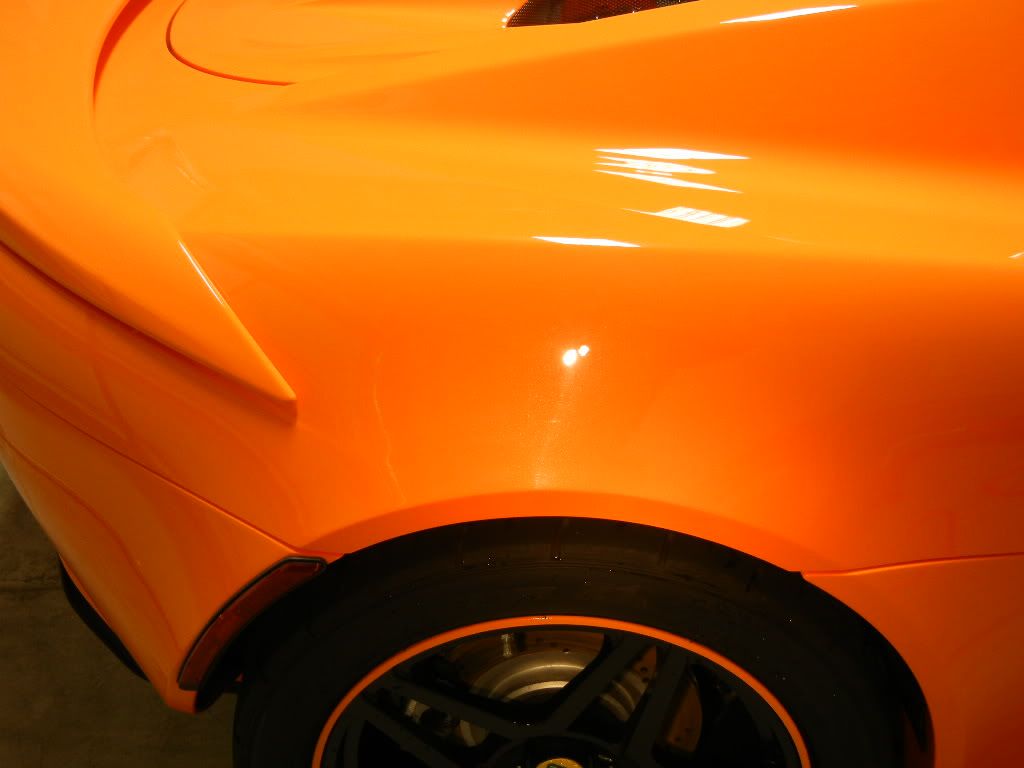
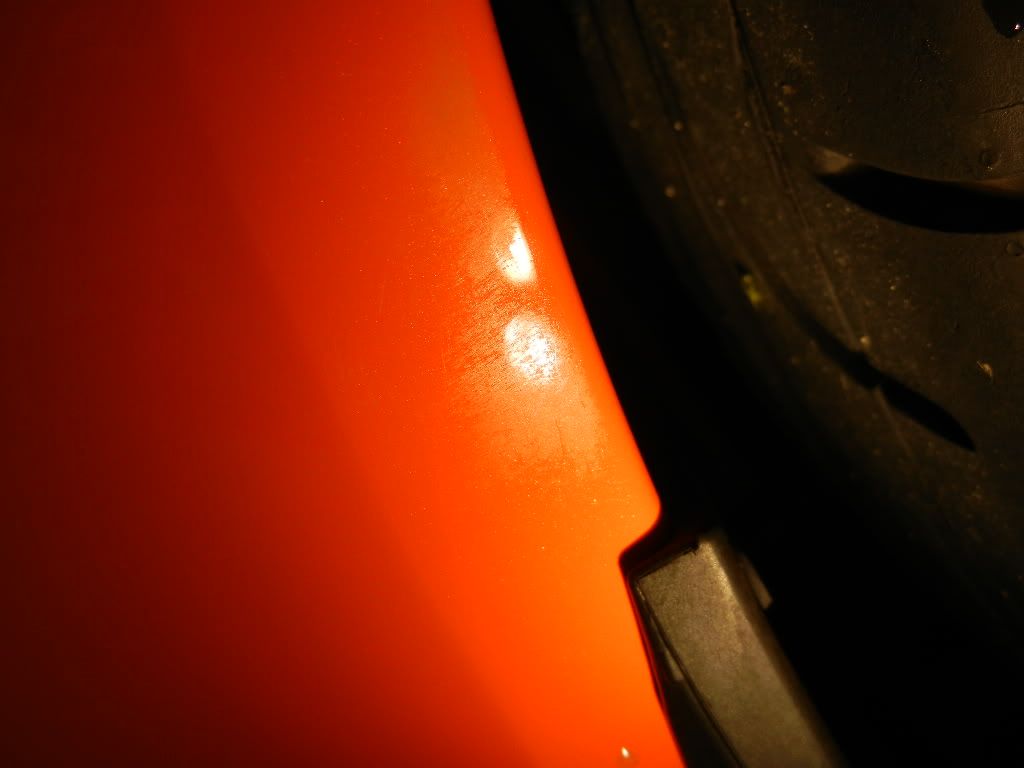
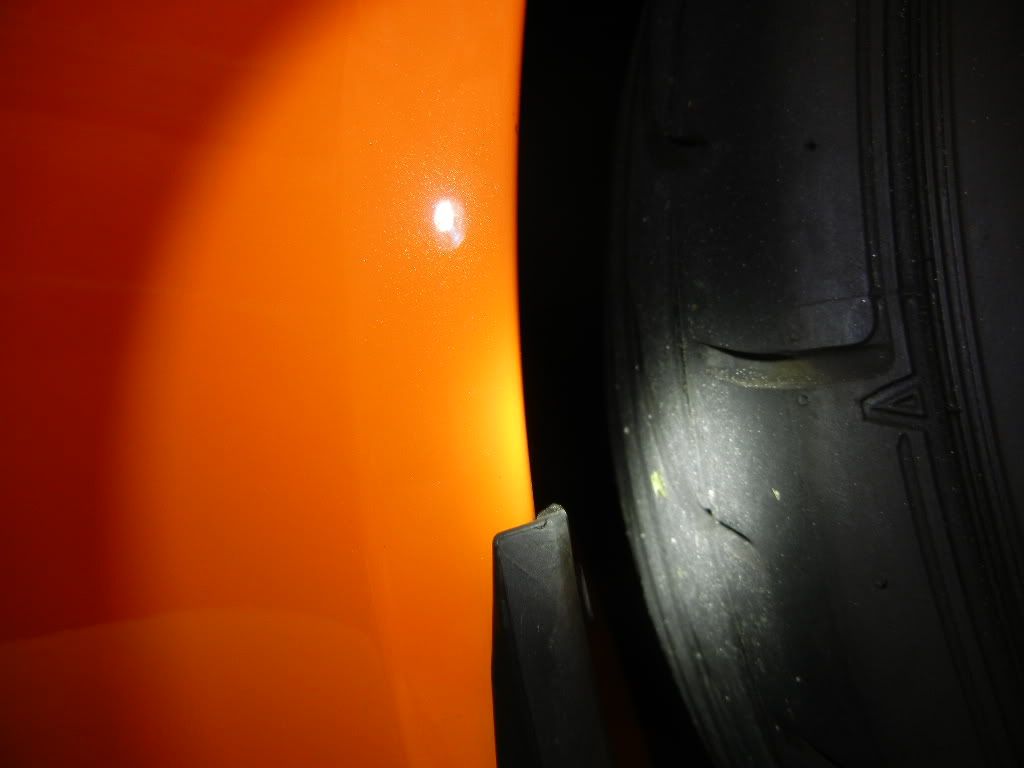
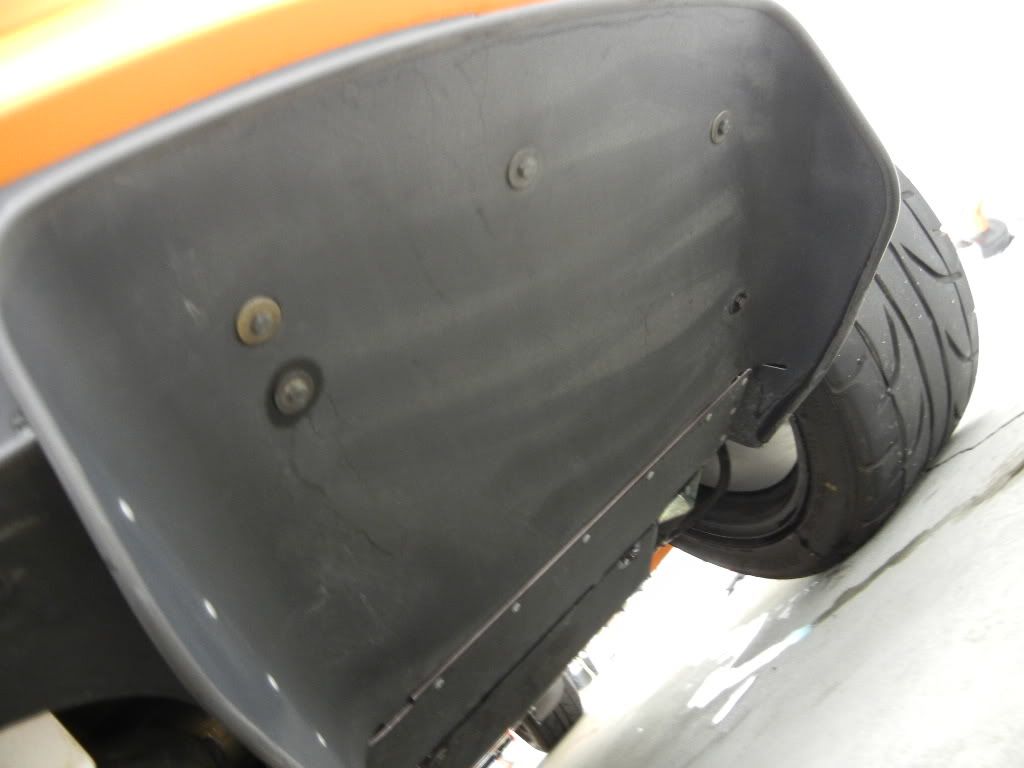
There were two spots on the passenger front wheel fender that were completely missed...:frown1:
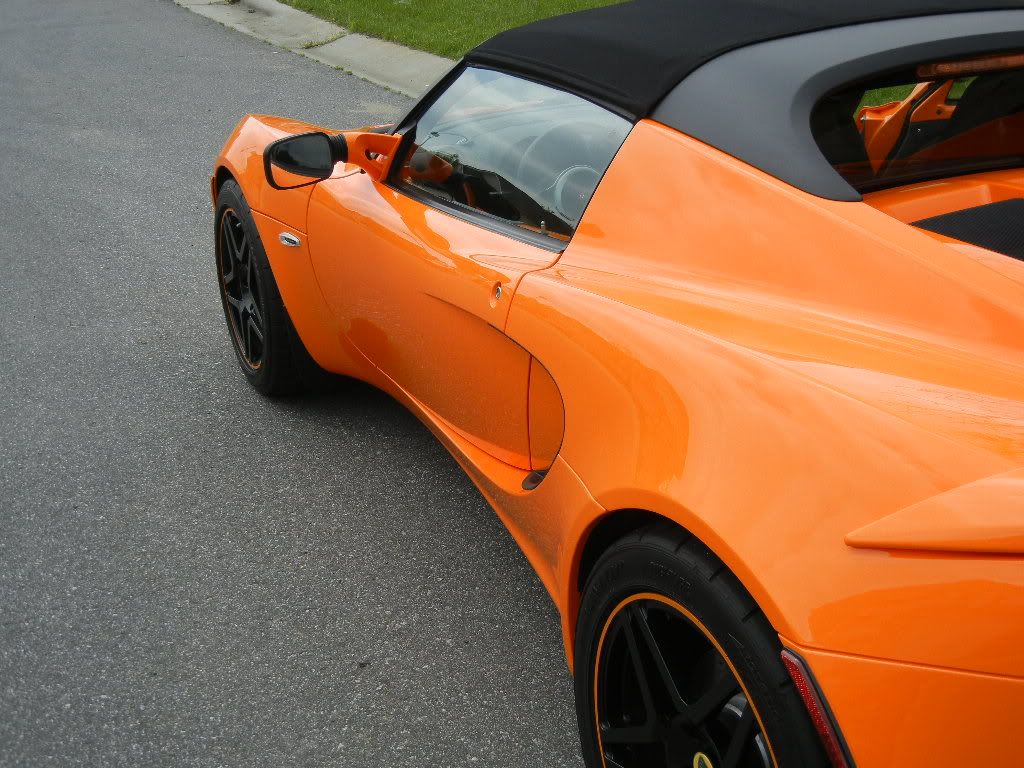
The Starshield PPF also had some issues. The portion immediately in front of the passenger rear quarter was starting to come off and there was a lot of dirt stuck to the adhesive. The owner plans on getting that piece replaced but to keep from making it worse, I didn't try cleaning anything from the adhesive for fear it would come off faster. You can see the dark line in some of the later pictures. There were also many contaminants stuck underneath the film.
The compounding was carried out with several different combos...The Griots and Meguiar's DAs were used with 5.5" and 4" pads respectively. Meguiar's MF cutting pads were used with a combo of M101 and D300, and the burgundy pads were used with M105. The paint on this car was definitely on the harder side, so the compounding was finishing out very well. The finishing step will be described later.
Driver door before/after
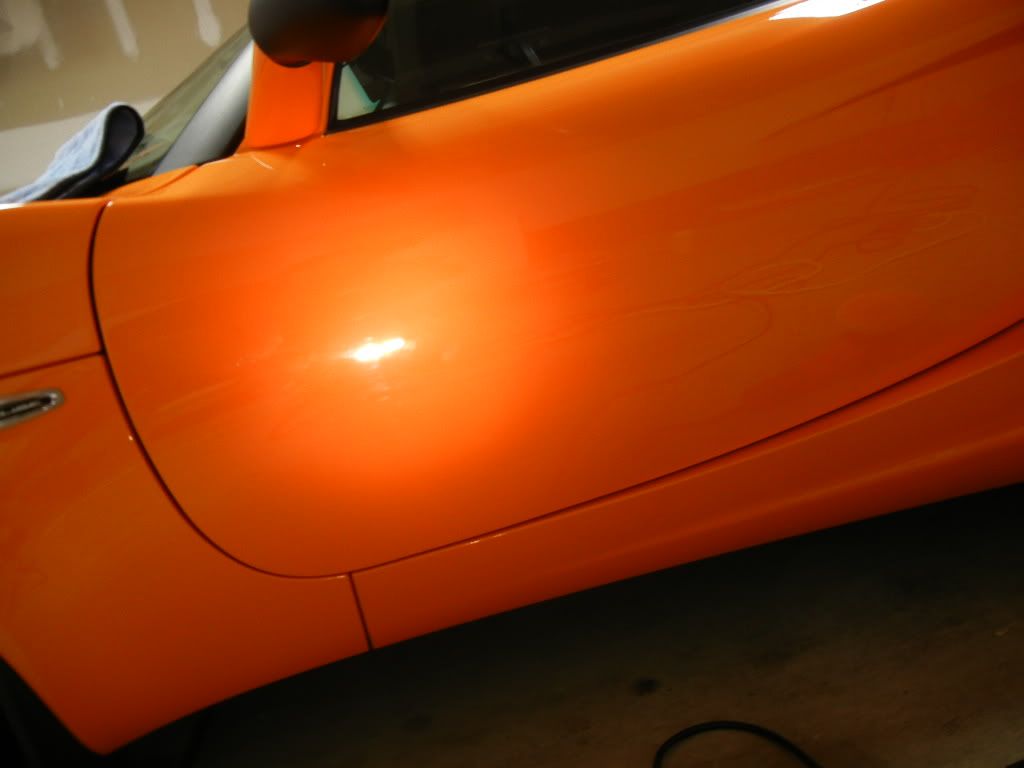
Passenger fender before/after
Passenger door before/after

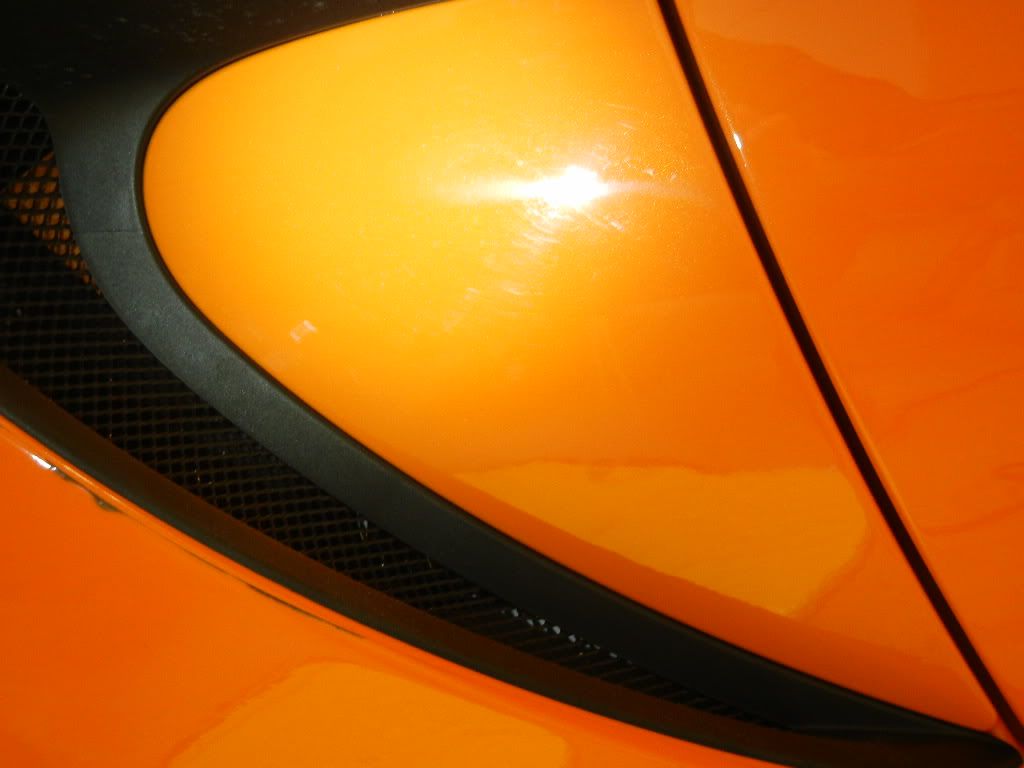
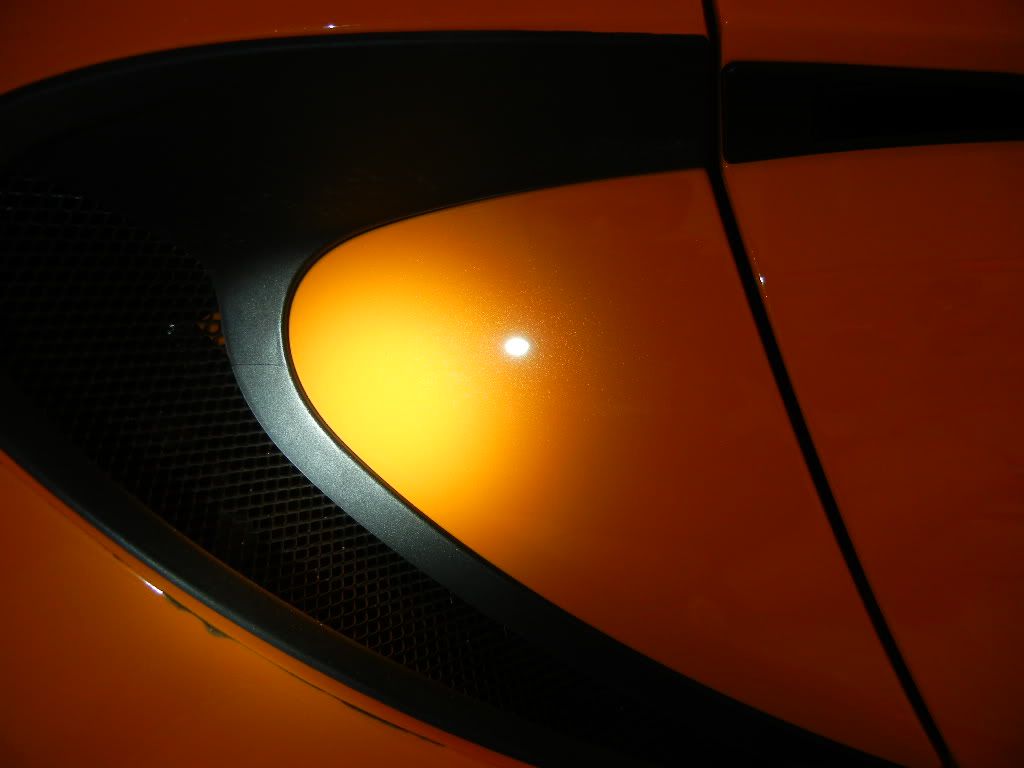
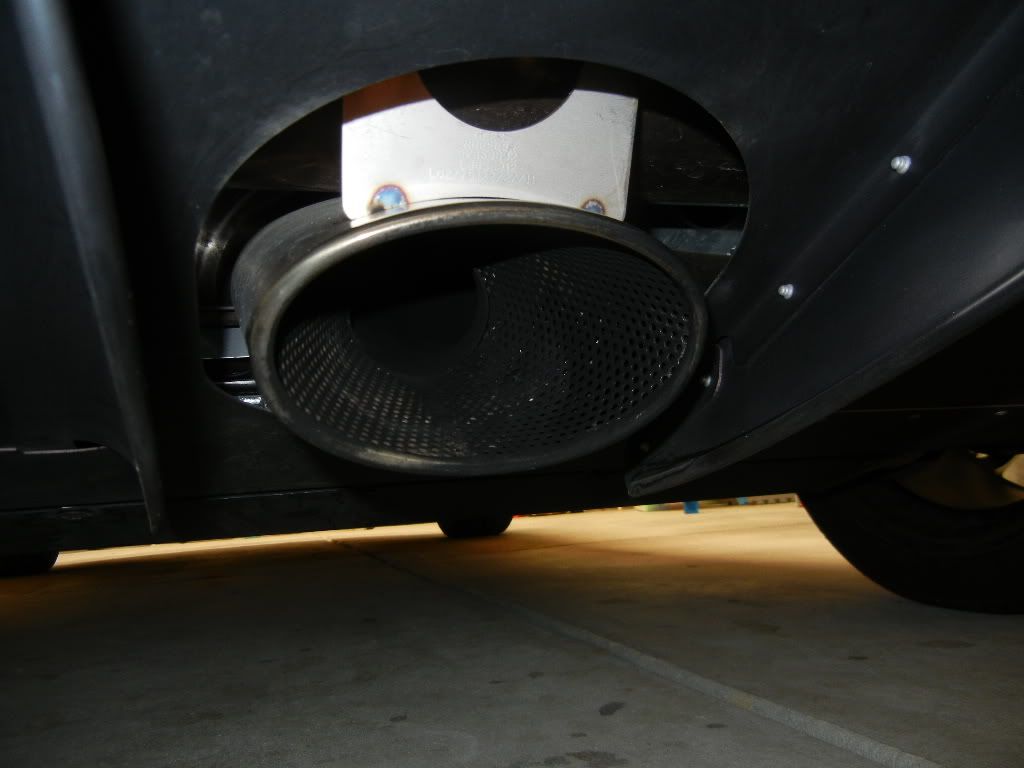
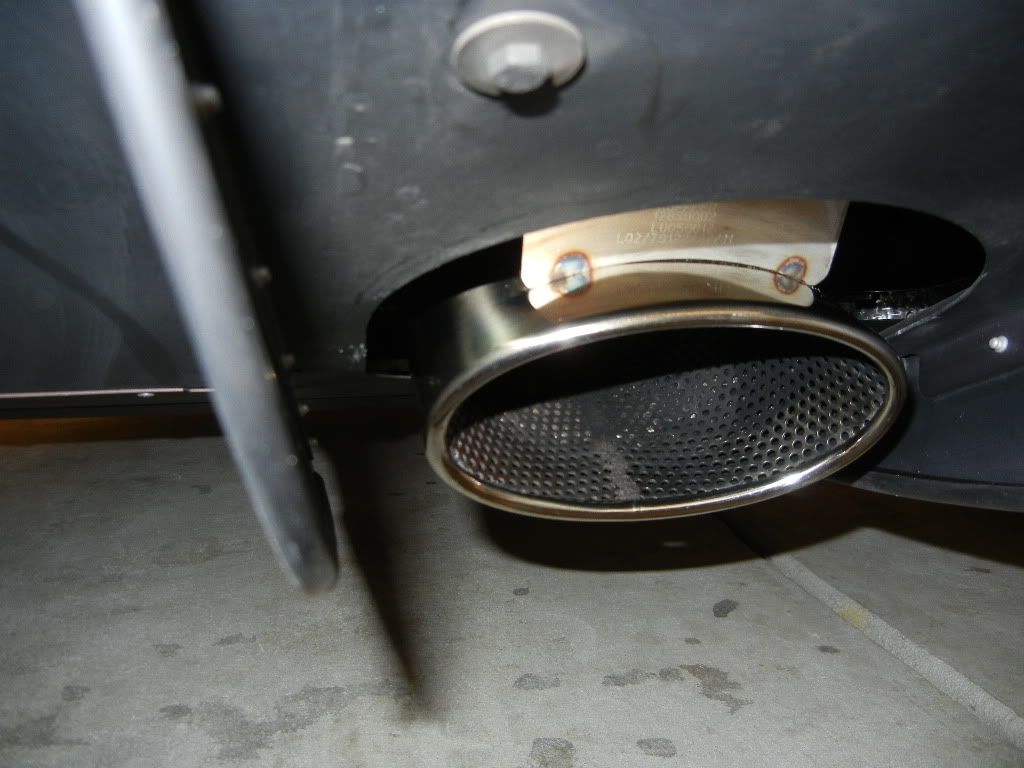
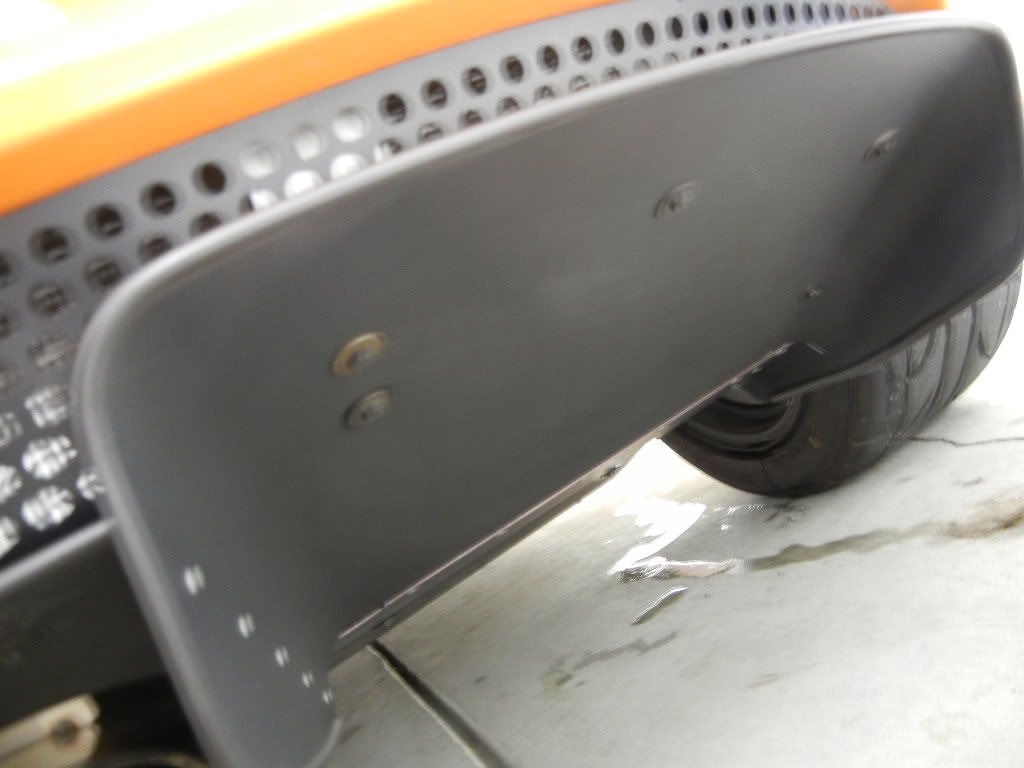
Rear duct before/after
The door jambs were badly swirled
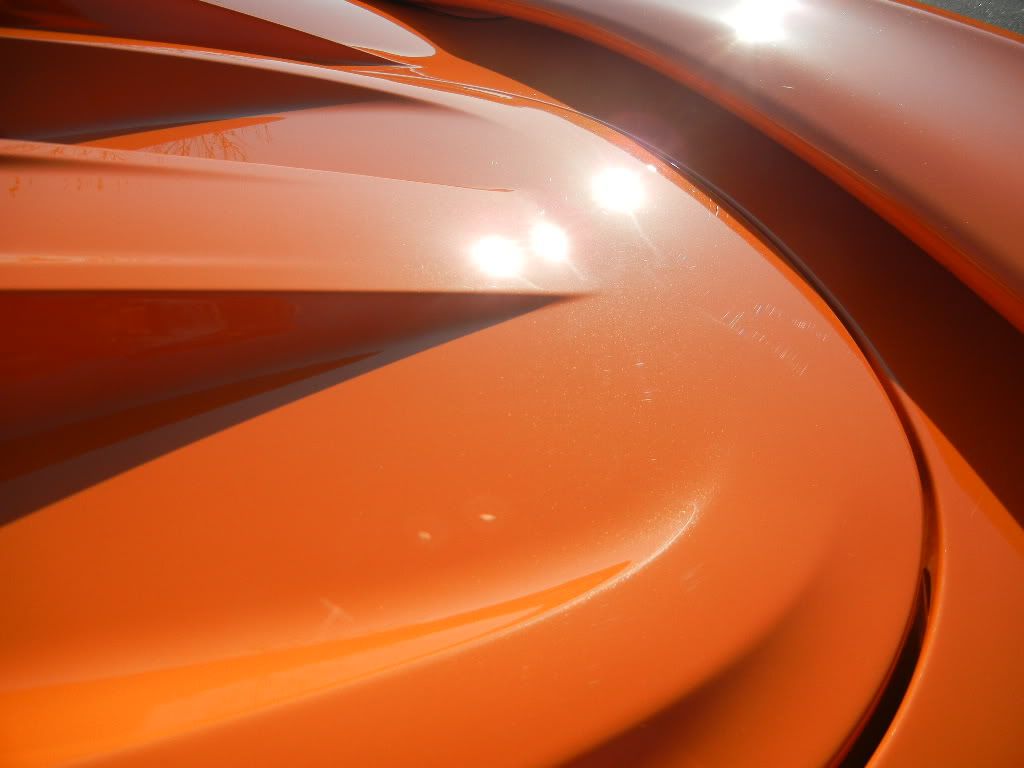
These were the worst of the sanding mark offenders afterwards...Remember the passenger front fender and right below the windshield?
After the paintwork was corrected, it was time for some finishing touches.
For this Lotus, I thought it would be fitting to try some new products from a UK-based maker of car care products...Auto Finesse. Having recently been brought into the US, AF products are picking up steam and luckily for me, the US importer is based only a couple of hours north of me in Raleigh. Martin Dettelbach of Auto Finesse US was good enough to take some time out of his day to answer some questions and recommend products as well as tips for their usage. I can't thank him enough for his candor and willingness to point me in the right direction without the hard sell.
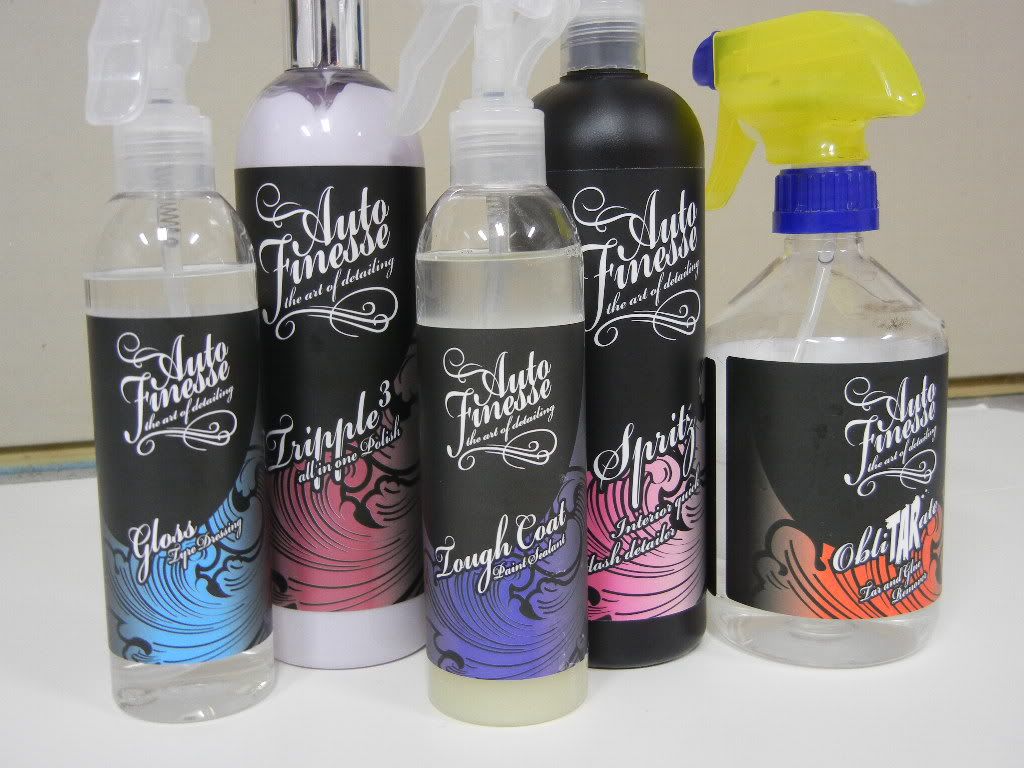
Auto Finesse Oblitarate-This tar and adhesive remover is amazing. My go-to has always been Stoner's Tarminator, but I'm not a big fan of aerosol products. I hate the overspray and feeling like I'm wasting product, but Tarminator's performance has made it the one aerosol detailing product I always keep on hand. Oblitarate actually seems to work faster than Tarminator, in a convenient spray. I definitely like this product.
AF Gloss tire dressing- I love the look of this stuff. I only used a couple of sprays per tire, which left a very nice natural black look. This has moved up with OptiBond as my favorite tire dressing.
AF Spritz- This is a very light duty interior cleaner and detailer. Think of 1Z Cockpit Premium, but with a better smell. The scent isn't overpowering, however it did last a couple of days in my own car whereas CP dissipates quickly.
AF Tripple- This is what I used for a finishing polish. According to Martin, it is in the same arena as Wolf's Shine and Seal, a good cleaner with mild abrasives that also acts as a base for the AF sealant. This was used on the paint with an Uber green pad to finish with, and also to lightly polish the Starshield. I also applied it to the paint inside the doors for a little protection.
AF Tough Coat- Here is where I ran into a little trouble. Martin advised me to apply Tough Coat in the same manner as Opti-Seal or Opti-Coat...wipe on, walk away and lightly wipe if needed. The problem was the sprayer on my bottle of Tough Coat wasn't working. I contemplated using a different sealant but I wanted to keep with the Auto Finesse theme. So I unscrewed the sprayer, put the applicator over the top and tipped it out. When I went to apply it, it was obvious that WAY more was being applied than you would want from a WOWA product. I knew I was overapplying but there wasn't much I could do about it. I went over several panels until the foam applicator ran out of product, and when I went back to where I started I saw that it had hazed already, and heavily at that. Afraid that if it sat too long, it would be near impossible to remove, I started wiping it off....and was amazed that the sealant came off easier than anything I've ever used and without a trace of dust. Hopefully the longevity won't be affected, but that remains to be seen. If it doesn't affect durability, this sealant will forever stay in my collection.
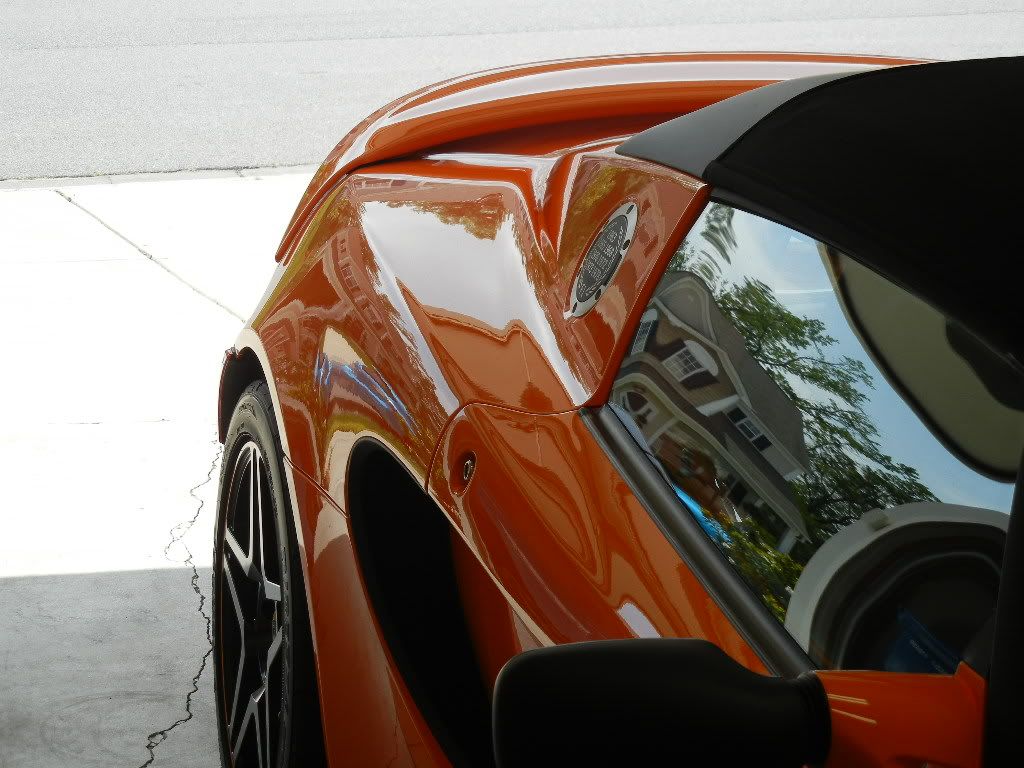
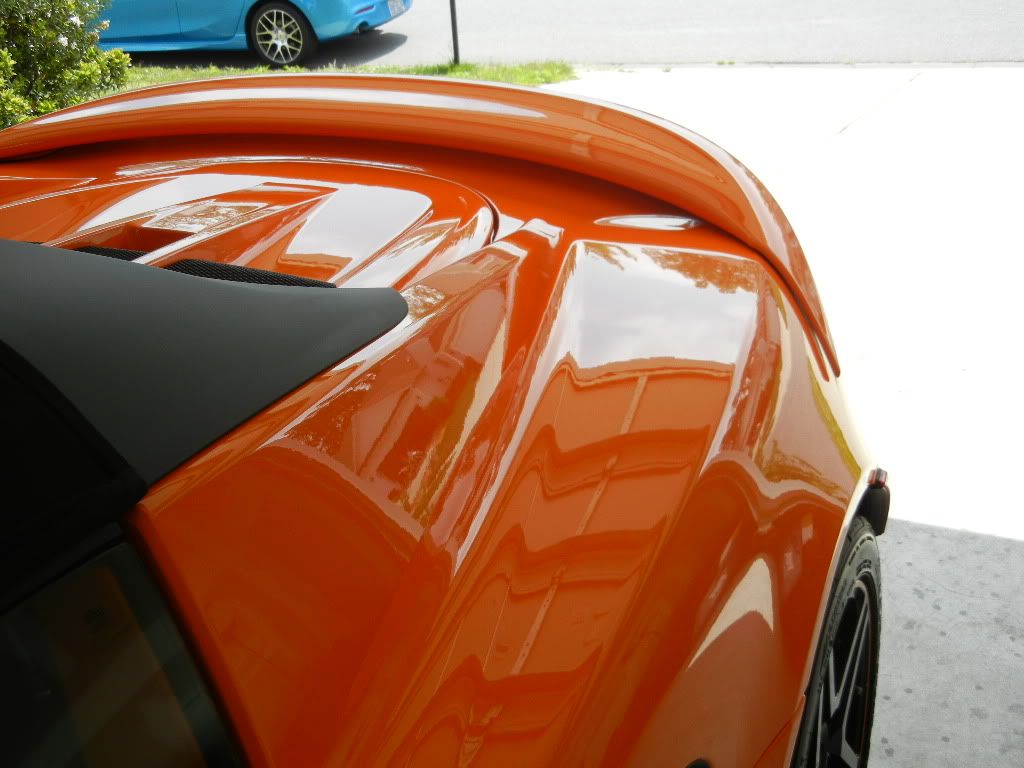
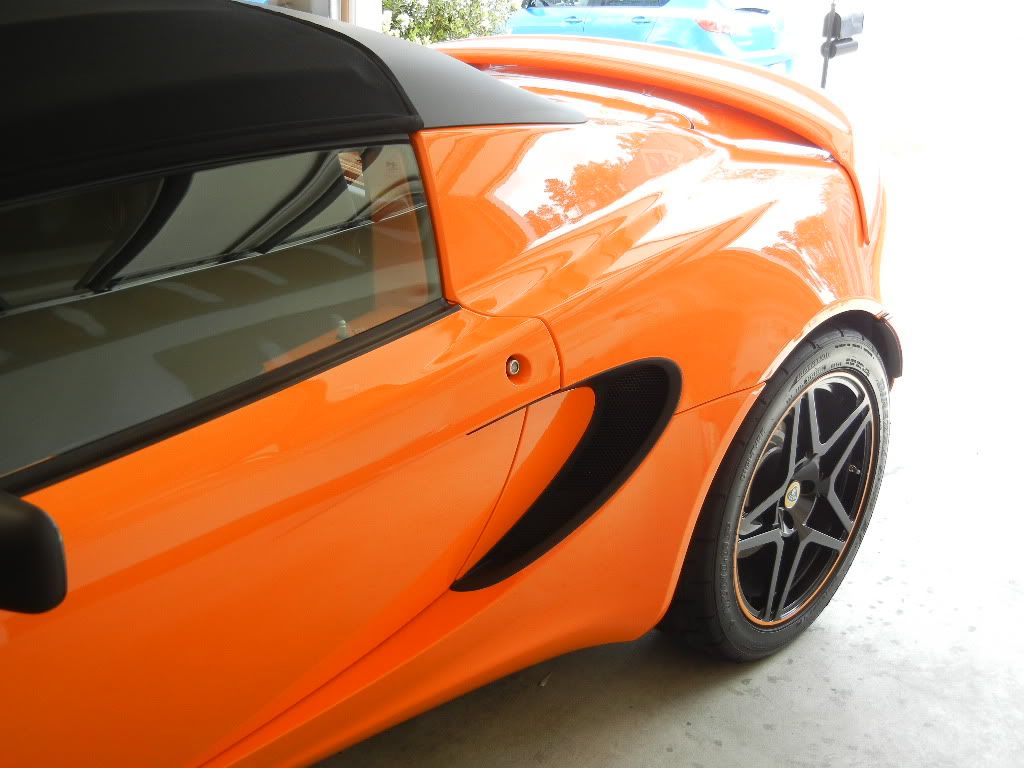
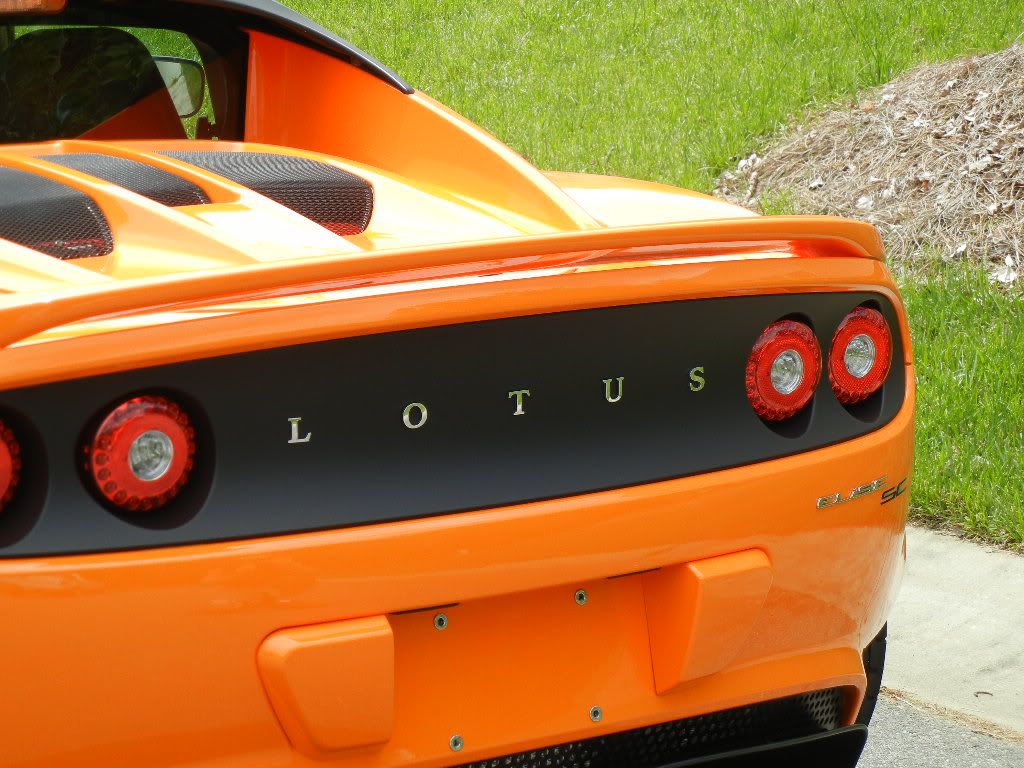
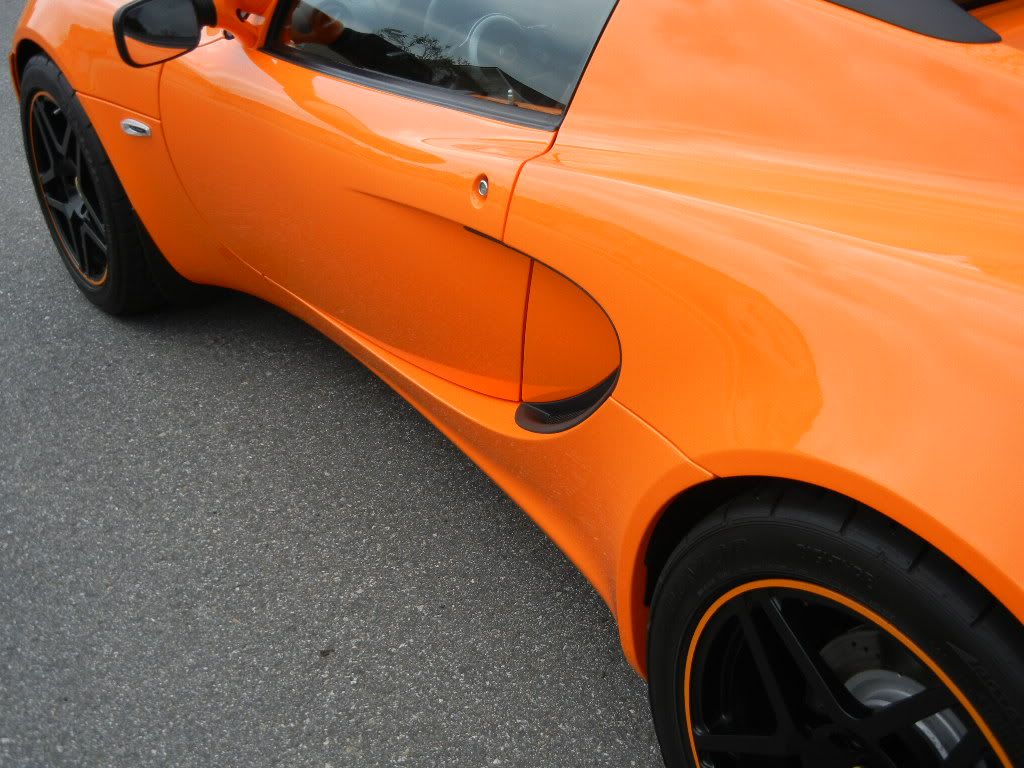
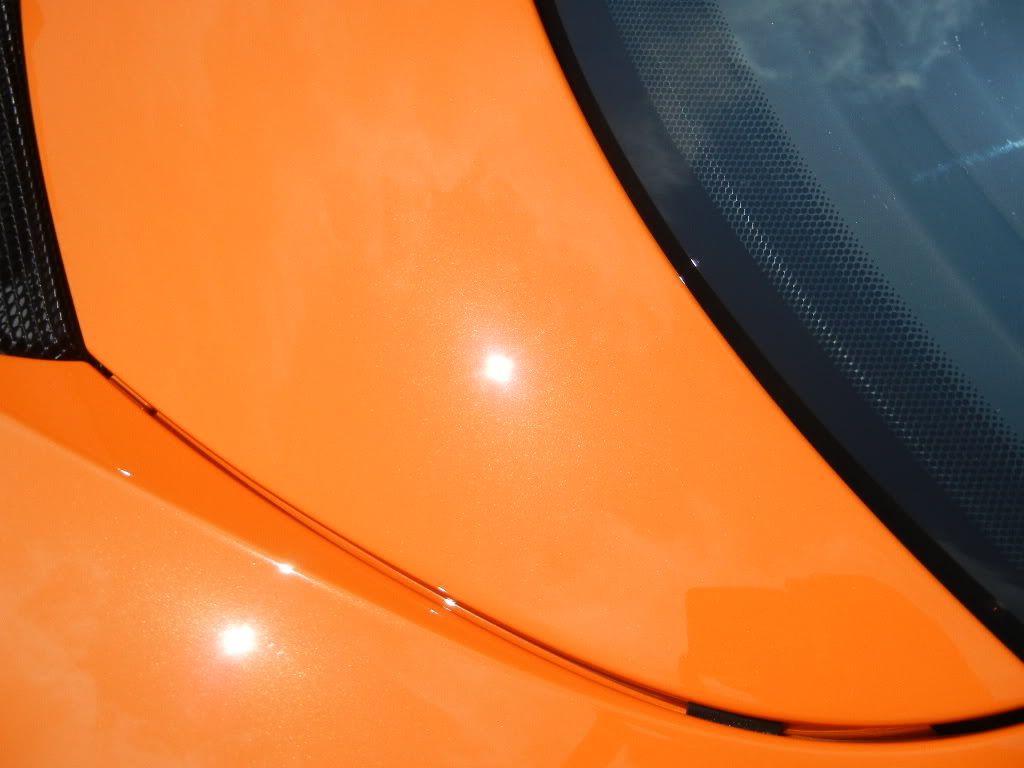
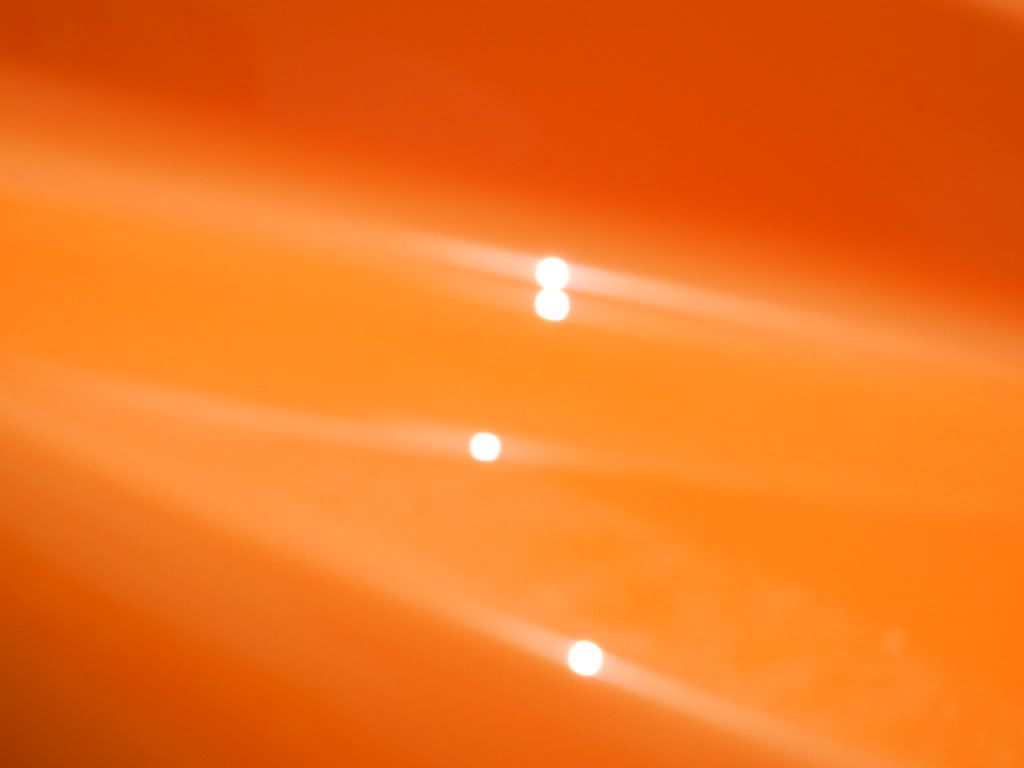
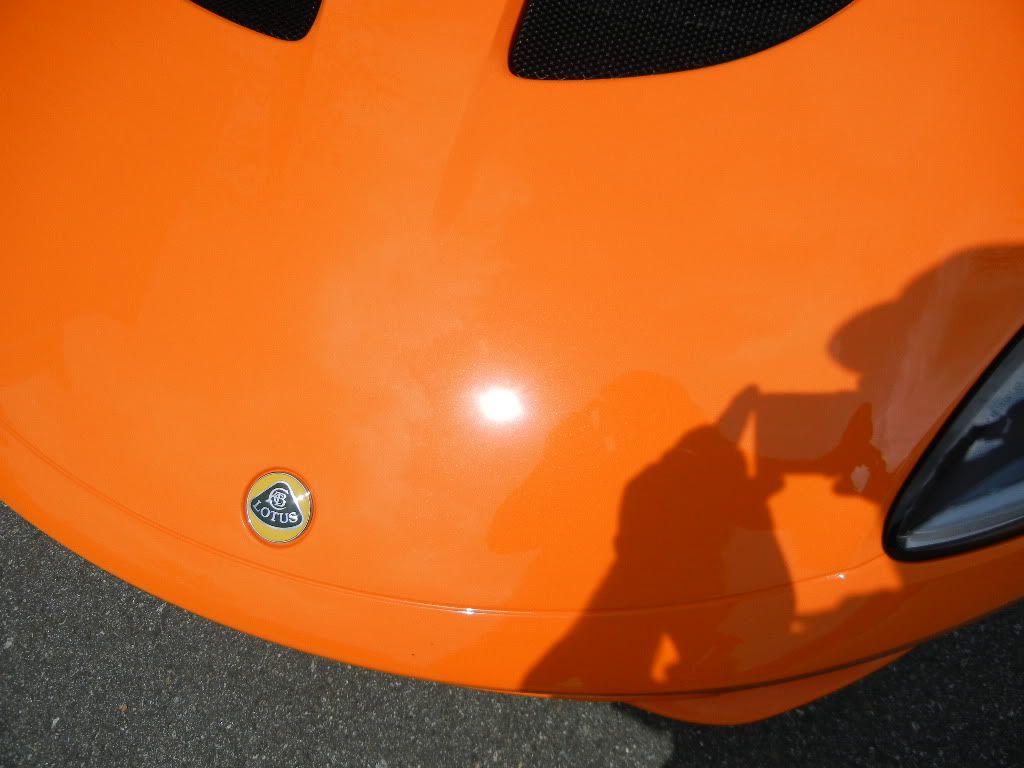
Enough talk, here are the after pics!

Thanks for looking, and as always comments and criticisms are welcomed!
The Elise is definitely a unique car. Tiny doesn't even begin to describe it. Getting in and out was a challenge that I wasn't able to master in the short time I had it. Even at my towering 5'8" height, it must have been entertaining for anyone watching me twist myself in and out of this car. Just to give an idea of size, it makes my Mazda3 look like an SUV by comparison.
The car was in great shape when I received it. Roughly 9k miles, and 2/3 of that was from one cross-country trip to Vegas.
There was some light swirling, which was to be expected. But these cars are hand painted and hand finished, and we all know what that means...unfinished sanding scratches and light holograms straight from the factory.
There was a rather large dull spot right below the windshield which turned out to be a half-polished sanding mark.
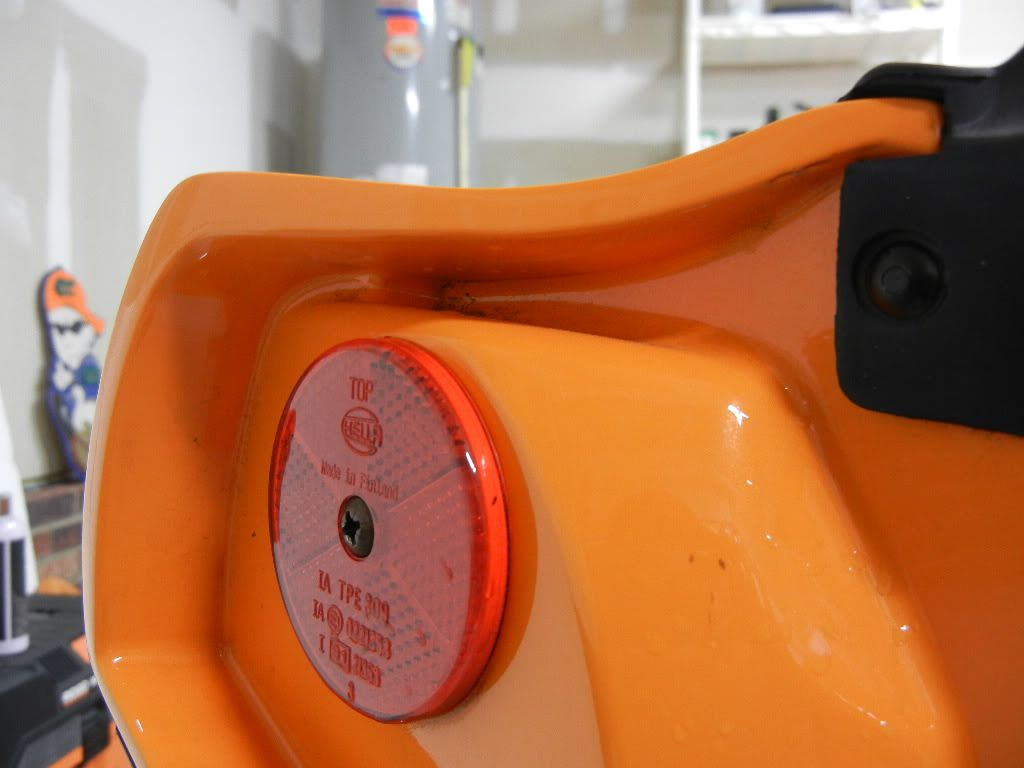
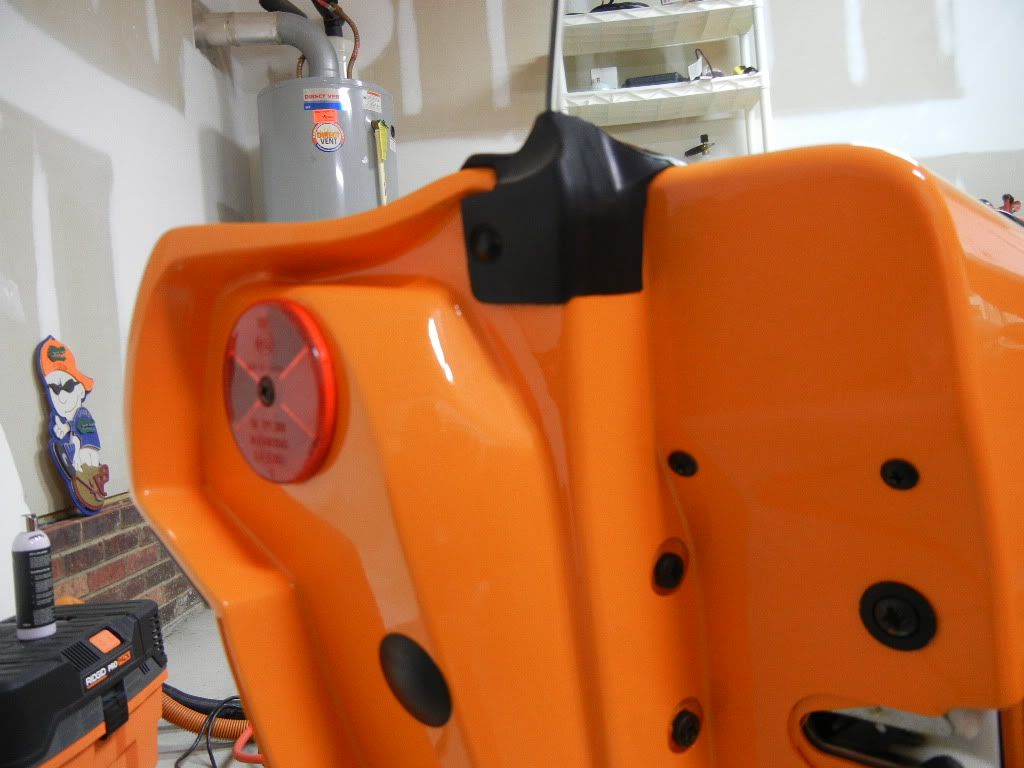
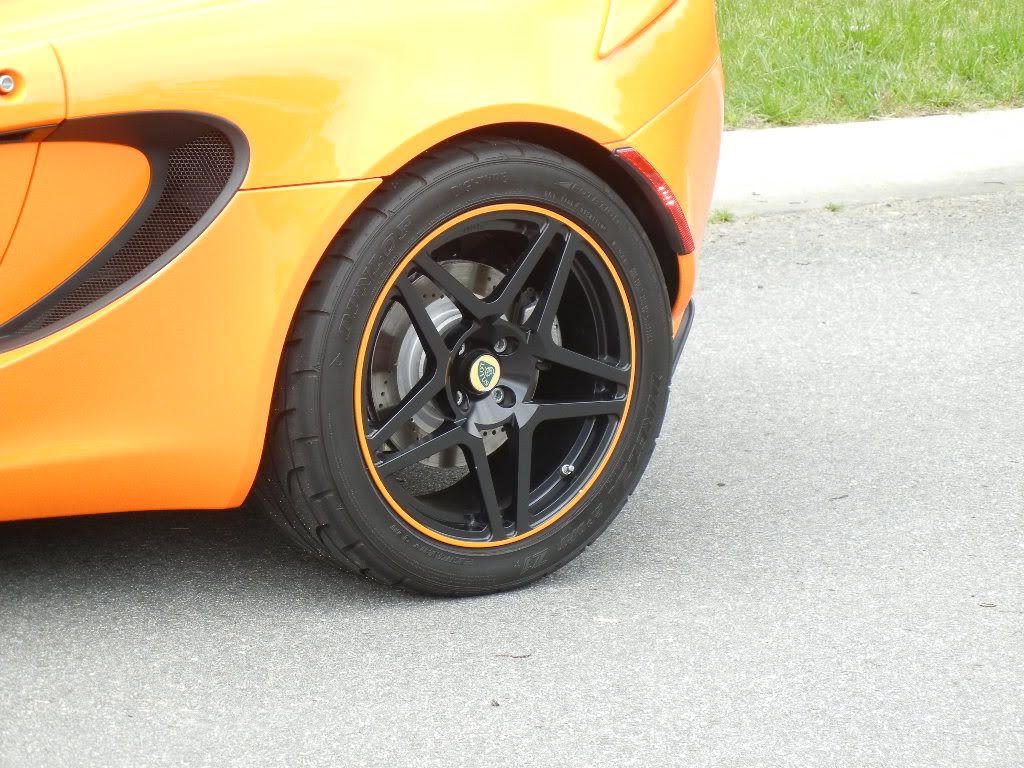
There were two spots on the passenger front wheel fender that were completely missed...:frown1:
The Starshield PPF also had some issues. The portion immediately in front of the passenger rear quarter was starting to come off and there was a lot of dirt stuck to the adhesive. The owner plans on getting that piece replaced but to keep from making it worse, I didn't try cleaning anything from the adhesive for fear it would come off faster. You can see the dark line in some of the later pictures. There were also many contaminants stuck underneath the film.
The compounding was carried out with several different combos...The Griots and Meguiar's DAs were used with 5.5" and 4" pads respectively. Meguiar's MF cutting pads were used with a combo of M101 and D300, and the burgundy pads were used with M105. The paint on this car was definitely on the harder side, so the compounding was finishing out very well. The finishing step will be described later.
Driver door before/after
Passenger fender before/after
Passenger door before/after
Rear duct before/after
The door jambs were badly swirled
These were the worst of the sanding mark offenders afterwards...Remember the passenger front fender and right below the windshield?
After the paintwork was corrected, it was time for some finishing touches.
For this Lotus, I thought it would be fitting to try some new products from a UK-based maker of car care products...Auto Finesse. Having recently been brought into the US, AF products are picking up steam and luckily for me, the US importer is based only a couple of hours north of me in Raleigh. Martin Dettelbach of Auto Finesse US was good enough to take some time out of his day to answer some questions and recommend products as well as tips for their usage. I can't thank him enough for his candor and willingness to point me in the right direction without the hard sell.
Auto Finesse Oblitarate-This tar and adhesive remover is amazing. My go-to has always been Stoner's Tarminator, but I'm not a big fan of aerosol products. I hate the overspray and feeling like I'm wasting product, but Tarminator's performance has made it the one aerosol detailing product I always keep on hand. Oblitarate actually seems to work faster than Tarminator, in a convenient spray. I definitely like this product.
AF Gloss tire dressing- I love the look of this stuff. I only used a couple of sprays per tire, which left a very nice natural black look. This has moved up with OptiBond as my favorite tire dressing.
AF Spritz- This is a very light duty interior cleaner and detailer. Think of 1Z Cockpit Premium, but with a better smell. The scent isn't overpowering, however it did last a couple of days in my own car whereas CP dissipates quickly.
AF Tripple- This is what I used for a finishing polish. According to Martin, it is in the same arena as Wolf's Shine and Seal, a good cleaner with mild abrasives that also acts as a base for the AF sealant. This was used on the paint with an Uber green pad to finish with, and also to lightly polish the Starshield. I also applied it to the paint inside the doors for a little protection.
AF Tough Coat- Here is where I ran into a little trouble. Martin advised me to apply Tough Coat in the same manner as Opti-Seal or Opti-Coat...wipe on, walk away and lightly wipe if needed. The problem was the sprayer on my bottle of Tough Coat wasn't working. I contemplated using a different sealant but I wanted to keep with the Auto Finesse theme. So I unscrewed the sprayer, put the applicator over the top and tipped it out. When I went to apply it, it was obvious that WAY more was being applied than you would want from a WOWA product. I knew I was overapplying but there wasn't much I could do about it. I went over several panels until the foam applicator ran out of product, and when I went back to where I started I saw that it had hazed already, and heavily at that. Afraid that if it sat too long, it would be near impossible to remove, I started wiping it off....and was amazed that the sealant came off easier than anything I've ever used and without a trace of dust. Hopefully the longevity won't be affected, but that remains to be seen. If it doesn't affect durability, this sealant will forever stay in my collection.
Enough talk, here are the after pics!
Thanks for looking, and as always comments and criticisms are welcomed!

")