Bill D
Hooked For Life
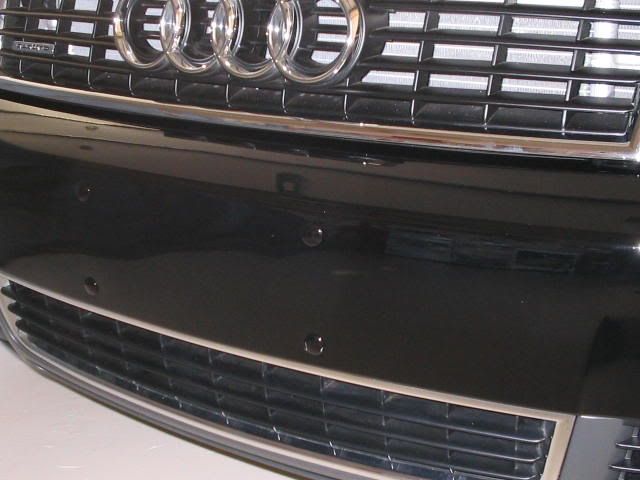
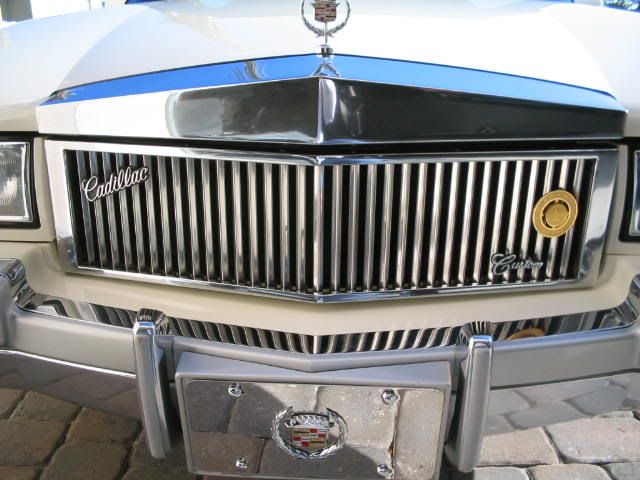
I no longer need a front license plate here in Florida so I after taking a while deciding whether to install an Audi logo plate or trying to get the cleanest front bumper look possible, I decided to opt for the clean look. ( I do have a nice 3D emblem plate on the Caddy) I needed two pairs of custom painted Bumper Plugs to get this look. I had to wait for a while for all of the plugs I ordered to complete production before they could be shipped to me but it was exciting when they finally came.
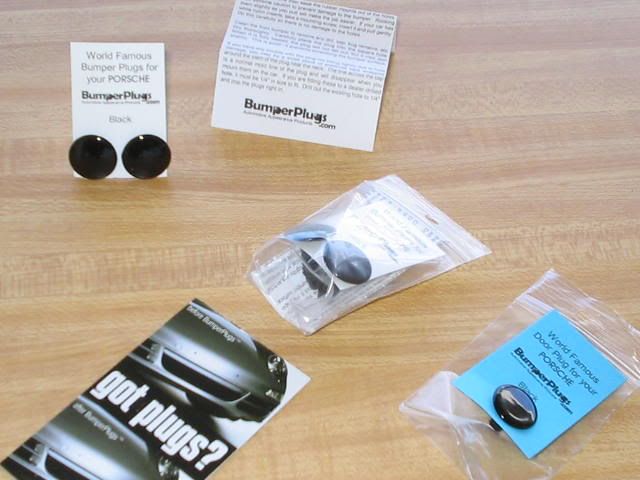
I uninstalled the front license plate holder and polished spots of the area now exposed. When they finally arrived, I installed the four Bumper Plugs, which are made for a perfect fit for the ¼â€Â� holes in the bumper. As stated by the Bumper Plug instructions, dealer drilled holes on non Porsche vehicles need to be made drilled larger to fit the ¼â€Â� diameter. Thanks to my friend Ken, having the courage, which I did not for doing this for me .
As you can see from the red markers I drew on the photos, there was a slight outline in the paint where the plate holder was and some spots near the exposed holes that were in need of polishing.
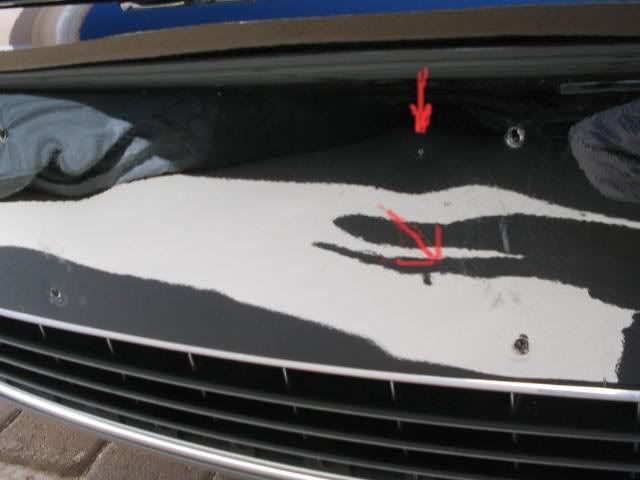
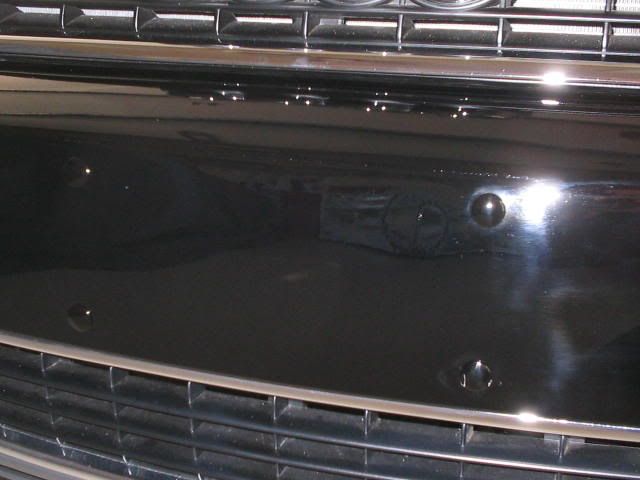
Unfortunately, the screws that had held the top of the license plate that was once there had made small, shallow pin holes in the bumper and half circle shaped indentations around themL
I hoped once the Bumper Plugs were installed they would detract from those two spots. I tried a very close work touch up job on the pin holes. I broke out my old bottle of Langka following painting and for these tiny spots, the results are half decent, about the best I couldâ€â„¢ve hoped for. The half circle indentations are discouraging. Other than those, the rest of the exposed area inside the perimeter of where the plate holder sat seemed defect free.
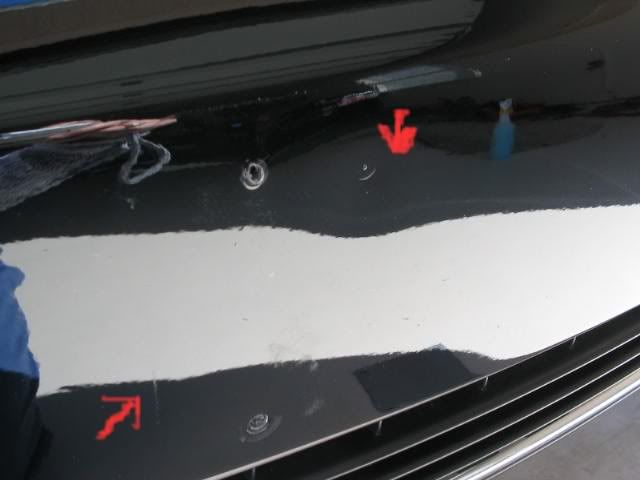
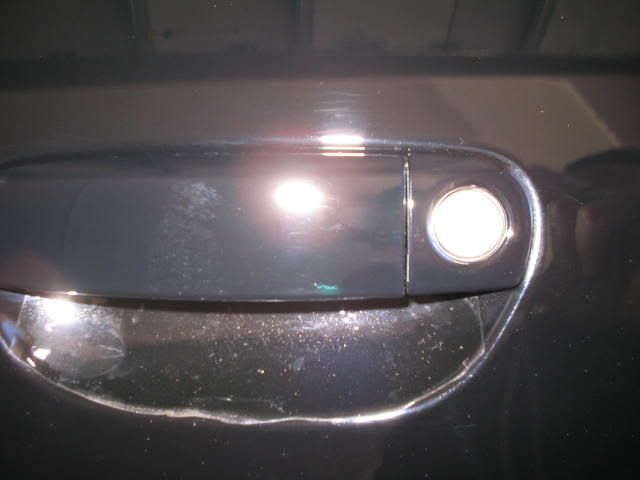
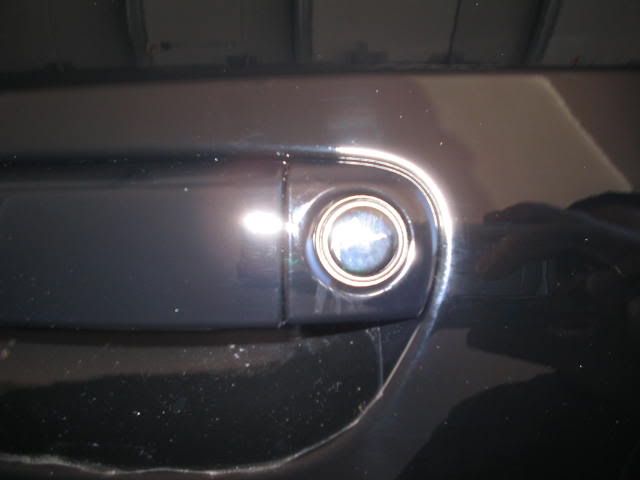
The portion of this area where the bumper curves downward into its vertical side also needed some attention, by an Autopian's standards") . Even I have to admit it is extremely minute. It sorta resembles a very tiny version of road rash one would see in the clear on a wheel. I was thinking perhaps of getting a hold of some 10,000 or 12,000 grit sand paper and see if I can improve that as well as those half circle shaped indentations because trying to polish by hand in this tight and awkward area probably wouldnâ€â„¢t yield the kind of results I expect but otherwise, that too is relatively minor. Filling with clear might be option also :nixweiss No rush to try fix it, if I do (donâ€â„¢t want to dig myself a hole ) and these things may truly be a case of âہ“to leave well enough aloneâ€Â�. However,I do welcome feedback about addressing them.
. Even I have to admit it is extremely minute. It sorta resembles a very tiny version of road rash one would see in the clear on a wheel. I was thinking perhaps of getting a hold of some 10,000 or 12,000 grit sand paper and see if I can improve that as well as those half circle shaped indentations because trying to polish by hand in this tight and awkward area probably wouldnâ€â„¢t yield the kind of results I expect but otherwise, that too is relatively minor. Filling with clear might be option also :nixweiss No rush to try fix it, if I do (donâ€â„¢t want to dig myself a hole ) and these things may truly be a case of âہ“to leave well enough aloneâ€Â�. However,I do welcome feedback about addressing them.
I uninstalled the front license plate holder and polished spots of the area now exposed. When they finally arrived, I installed the four Bumper Plugs, which are made for a perfect fit for the ¼â€Â� holes in the bumper. As stated by the Bumper Plug instructions, dealer drilled holes on non Porsche vehicles need to be made drilled larger to fit the ¼â€Â� diameter. Thanks to my friend Ken, having the courage, which I did not
for doing this for me .As you can see from the red markers I drew on the photos, there was a slight outline in the paint where the plate holder was and some spots near the exposed holes that were in need of polishing.
Unfortunately, the screws that had held the top of the license plate that was once there had made small, shallow pin holes in the bumper and half circle shaped indentations around themL
I hoped once the Bumper Plugs were installed they would detract from those two spots. I tried a very close work touch up job on the pin holes. I broke out my old bottle of Langka following painting and for these tiny spots, the results are half decent, about the best I couldâ€â„¢ve hoped for. The half circle indentations are discouraging. Other than those, the rest of the exposed area inside the perimeter of where the plate holder sat seemed defect free.
The portion of this area where the bumper curves downward into its vertical side also needed some attention, by an Autopian's standards
. Even I have to admit it is extremely minute. It sorta resembles a very tiny version of road rash one would see in the clear on a wheel. I was thinking perhaps of getting a hold of some 10,000 or 12,000 grit sand paper and see if I can improve that as well as those half circle shaped indentations because trying to polish by hand in this tight and awkward area probably wouldnâ€â„¢t yield the kind of results I expect but otherwise, that too is relatively minor. Filling with clear might be option also :nixweiss No rush to try fix it, if I do (donâ€â„¢t want to dig myself a hole ) and these things may truly be a case of âہ“to leave well enough aloneâ€Â�. However,I do welcome feedback about addressing them.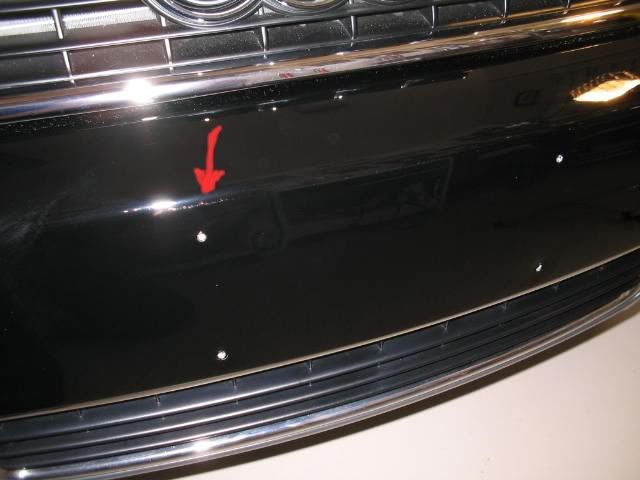


 .
.")