speedfreak81
New member
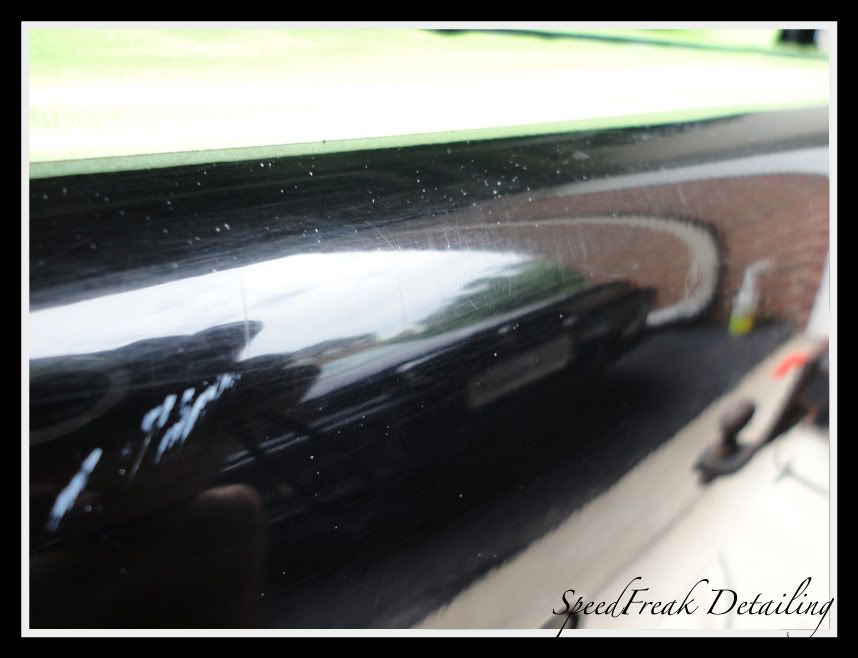
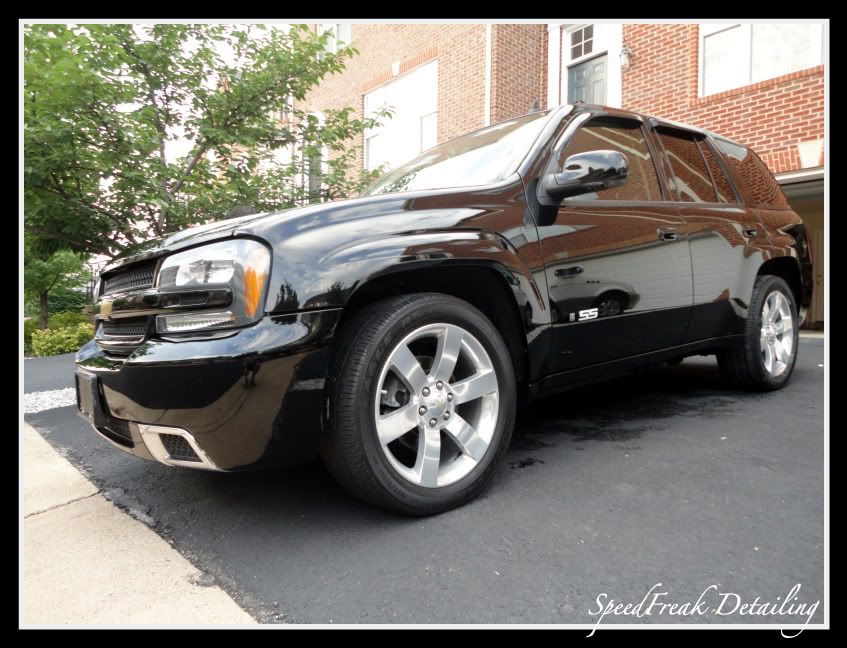
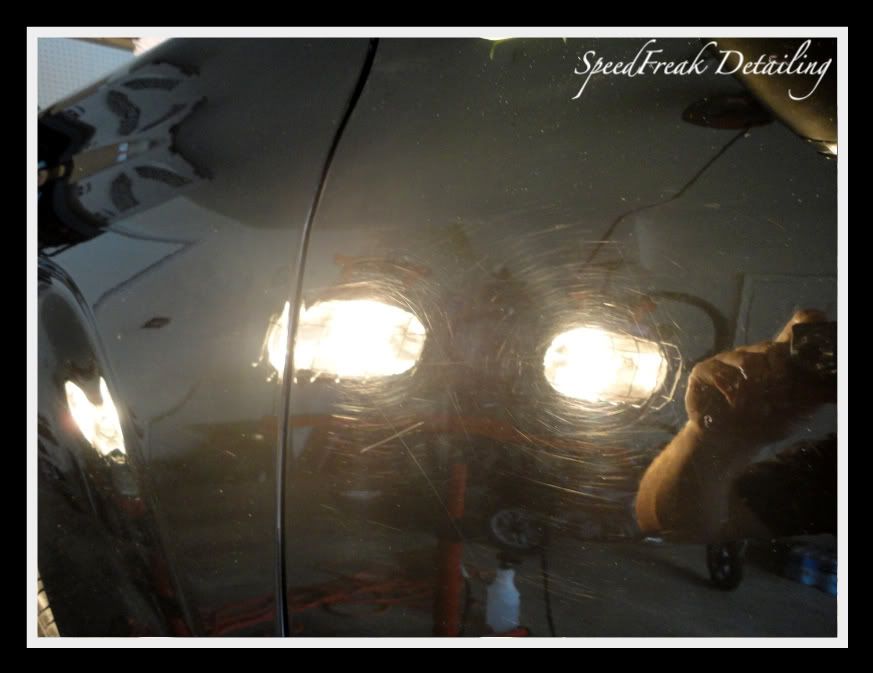
Hey guys, figured you would enjoy this, one of my most involved works to date. I was contacted by the owner of this vehicle on the GTO forum. He explained to me that he had gotten a good deal on the truck for his wife, because of the condition of the paint. He was entertaining the idea of having it resprayed, but wanted to see if there was anything I could do with it first. We exchanged a few emails back and forth and set up a time for me to inspect the truck. Upon seeing it, I could tell it was pretty bad. Massive swirling, RIDS, acid rain/bird crap etching so bad on the hood it had completely penetrated the clear.:eyecrazy Was this really a 3 year old truck?? Good thing he got a deal! There were also areas around the car that had been touched up too. In addition to having the paint corrected he was also wanting the pinstriping removed, as it didn't flow with the rest of the vehicle. Also, there were rubber door sill protectors that were applied with an adhesive. After a few years in the hot Texas sun the adhesive had started to bubble out the sides, and generally just looked gross. These would be removed, and the paint underneath cleaned up as well.
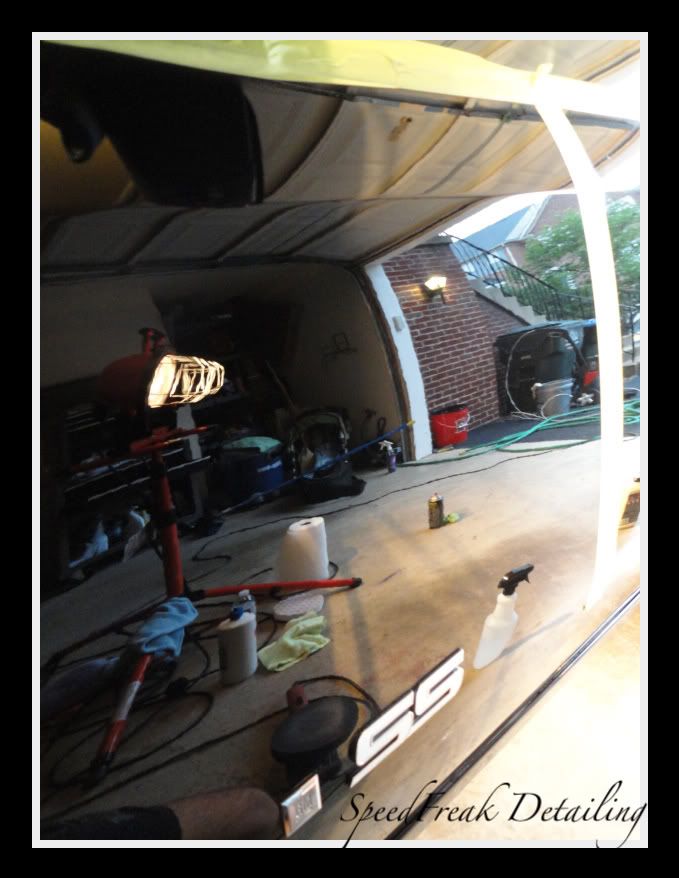
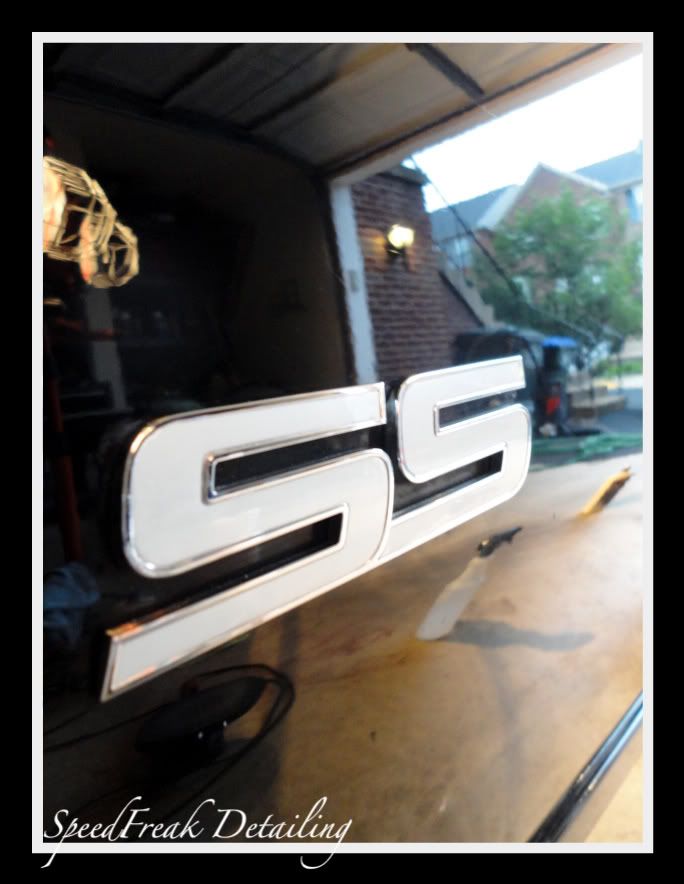
I told him I would need a minumum of 3 days with the truck, to which he agreed. We arranged to have him drop it off with me on Thursday afternoon, to be picked up Sunday at 7pm sharp as he was driving it back to Texas that evening. At this point the paint is 95% perfect. I say only 95%, because the areas on the hood which had eaten through the clear could not be saved, though all the other defects were removed.
Products used:
Going to work on the pinstriping, with the 3M pinstripe eraser
Driver's side fully removed
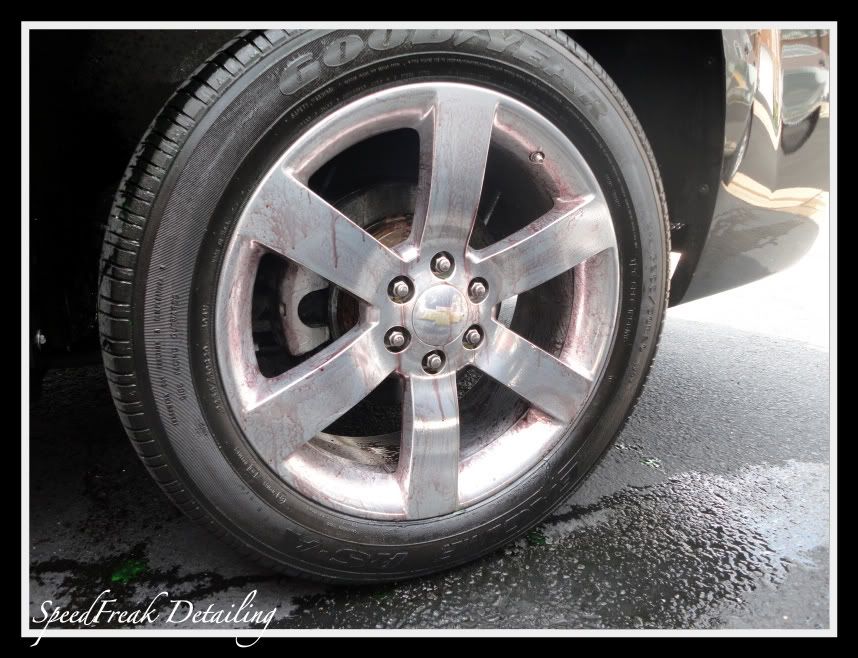
Moving onto the wheels, Sonax Full Effect going to work
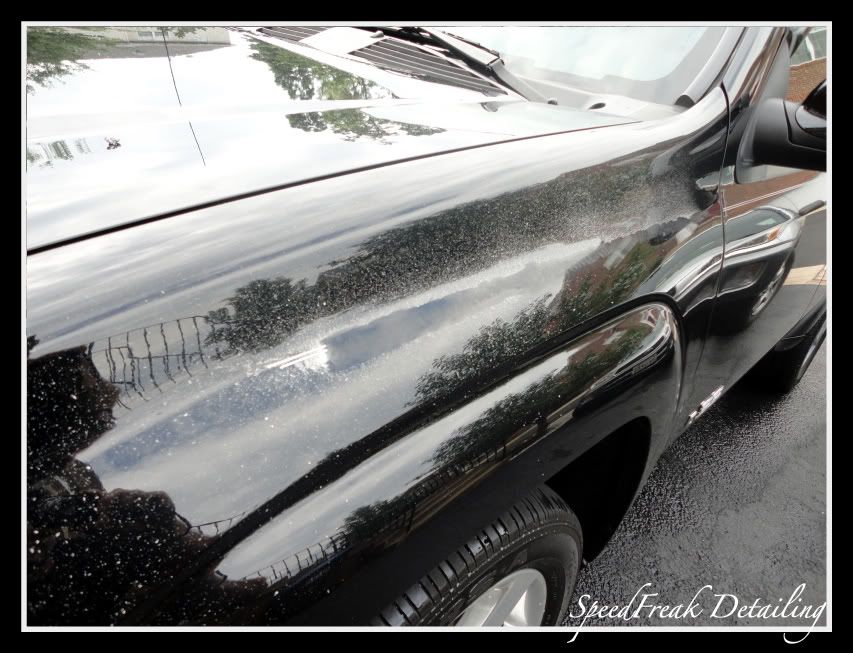
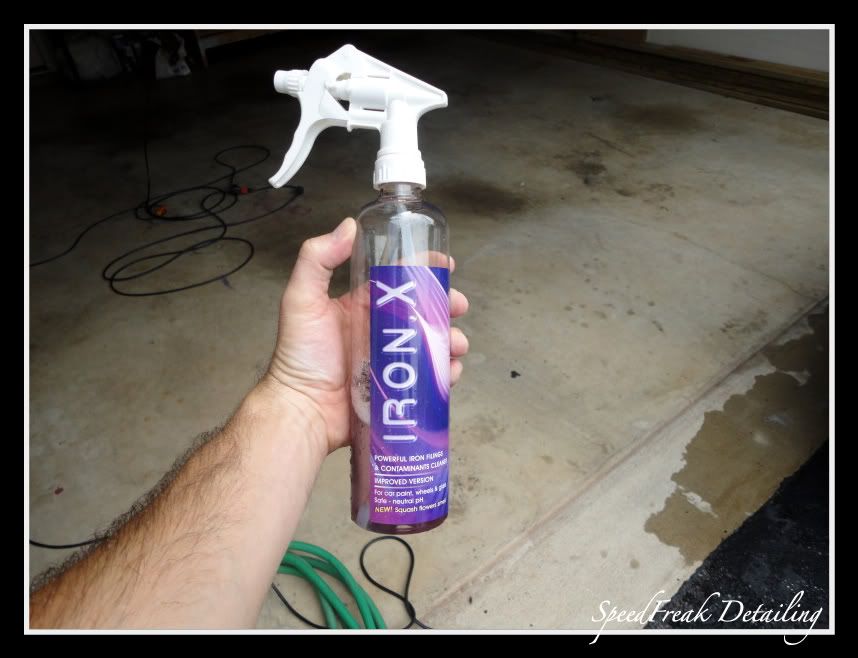
After the initial wash, it was time to apply the Iron X decontaminate to the body and glass

After a few minutes soaking into the paint surface

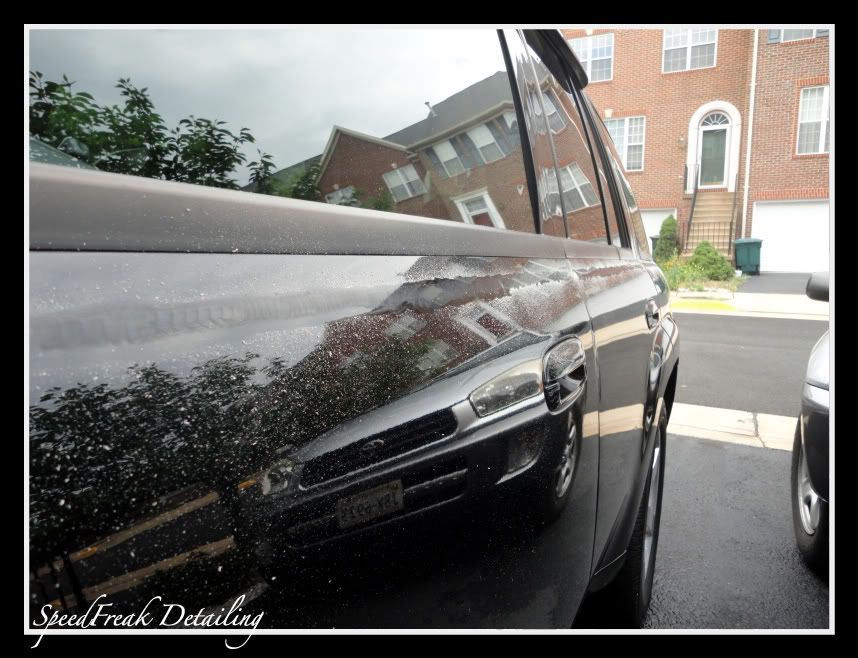
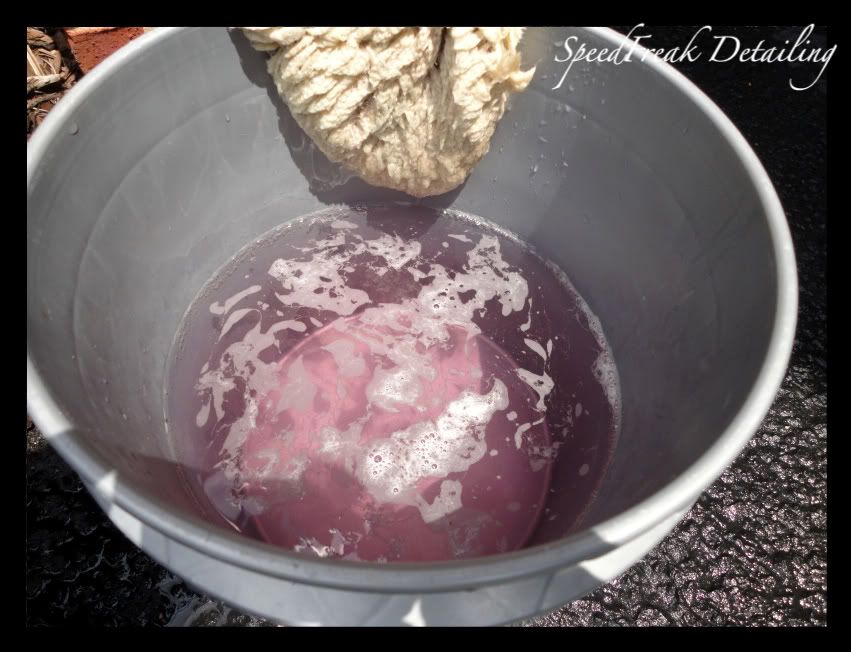
When the Iron X comes into contact with iron contamination it turns color from clear to a purple/red hue. Good shot of the clean water bucket I rinsed the mitt in.
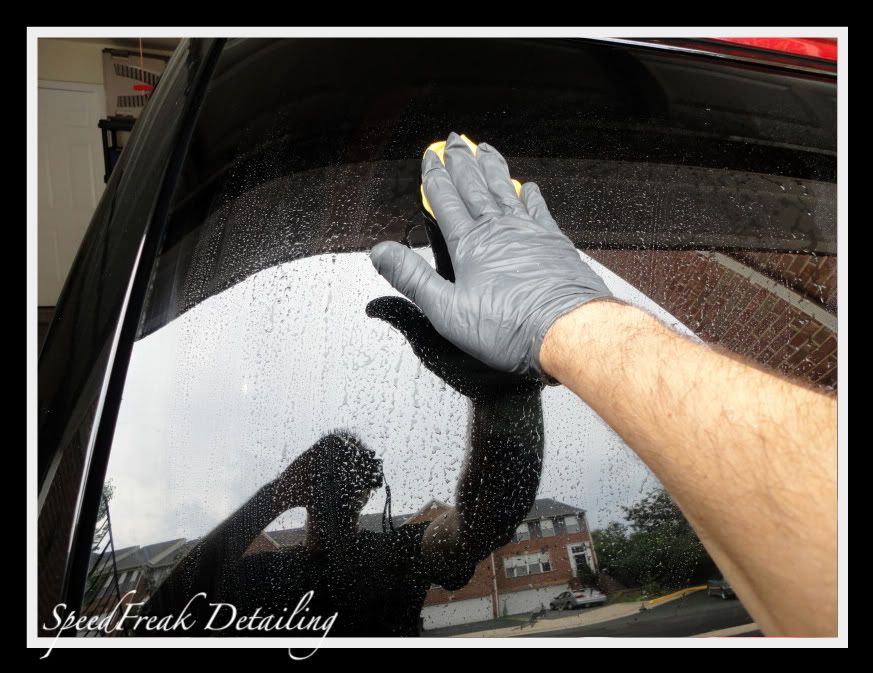
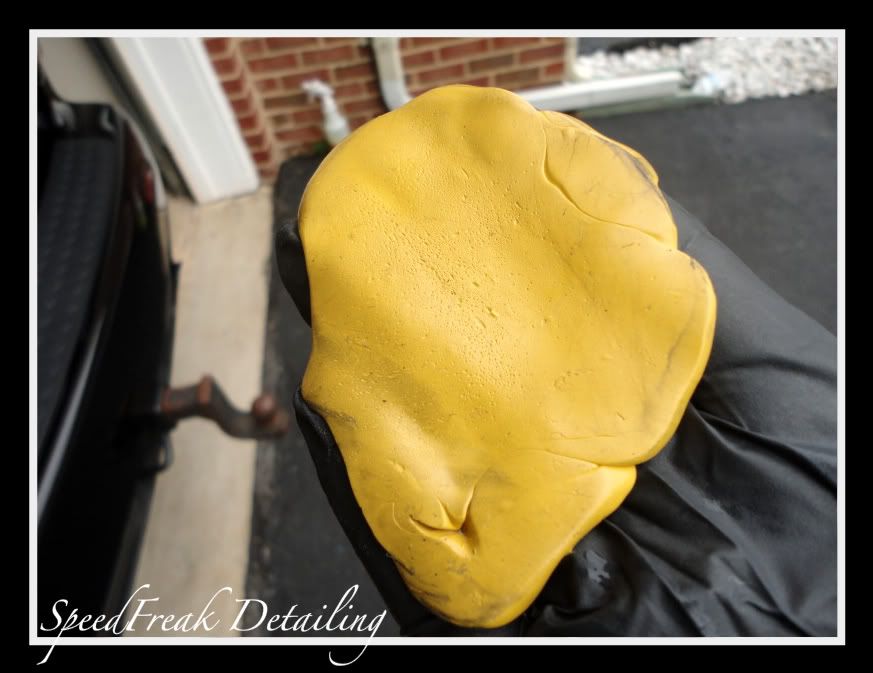
Now that the body was free of iron contaminates, it was time to clay the surface
As usual, all glass is clayed as well as the paint
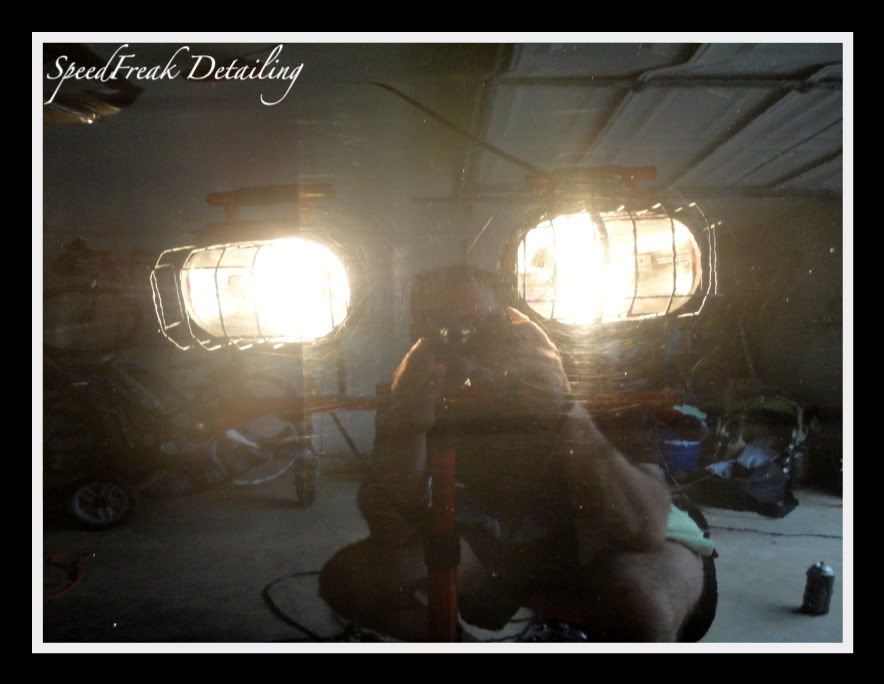
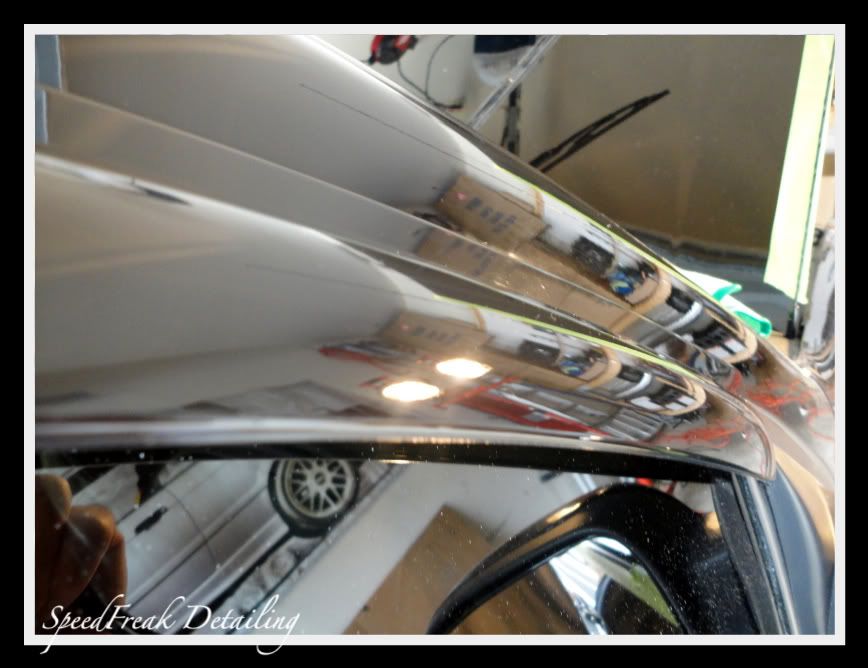
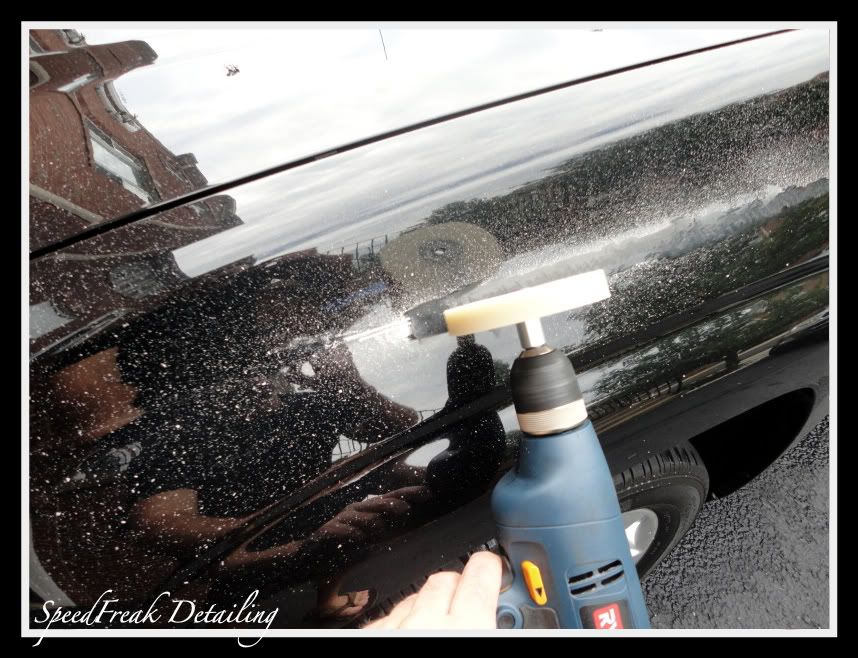
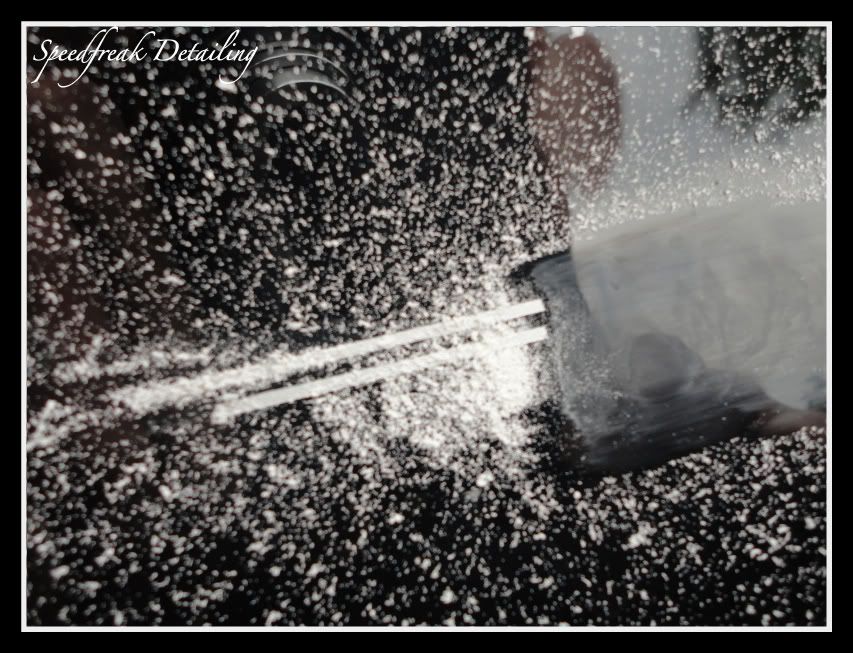
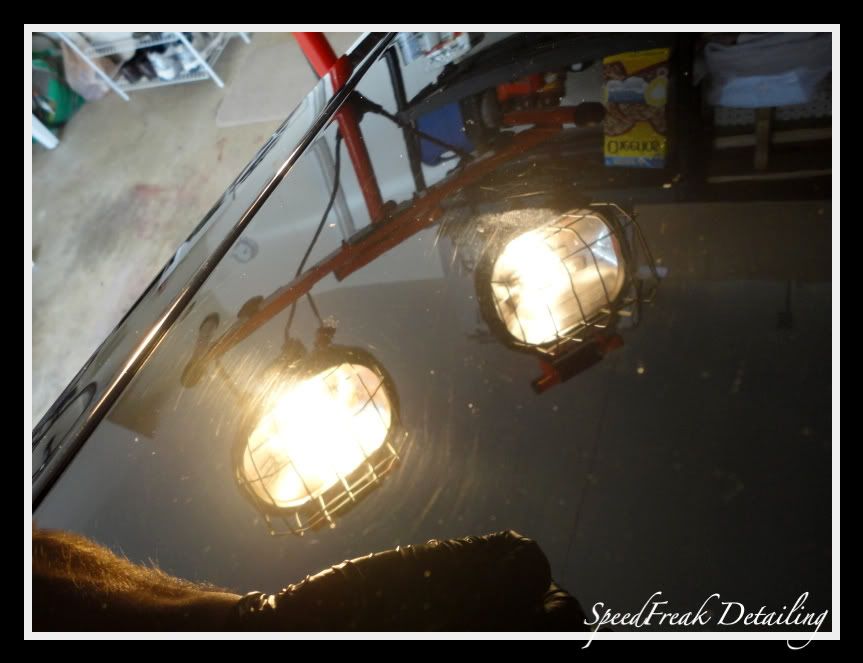
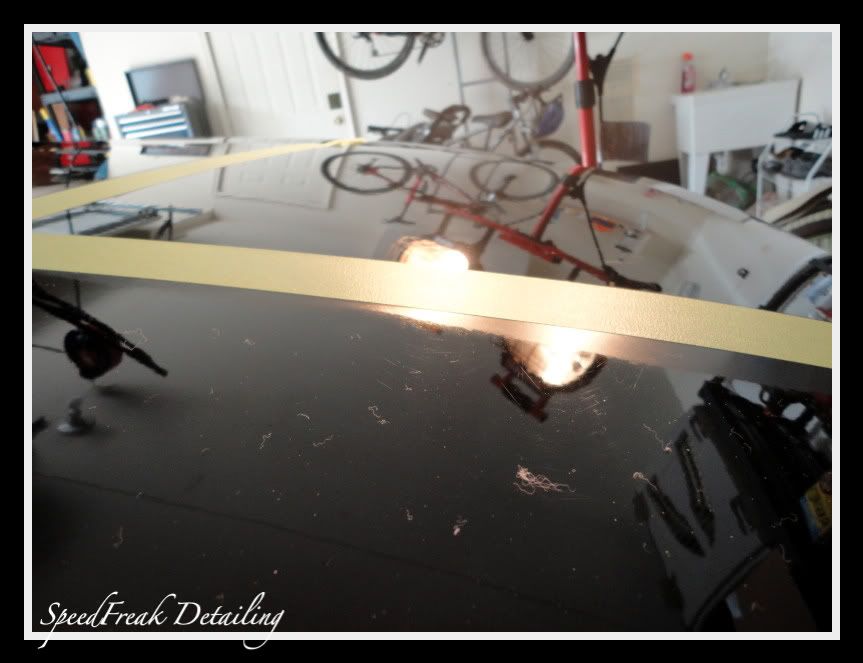
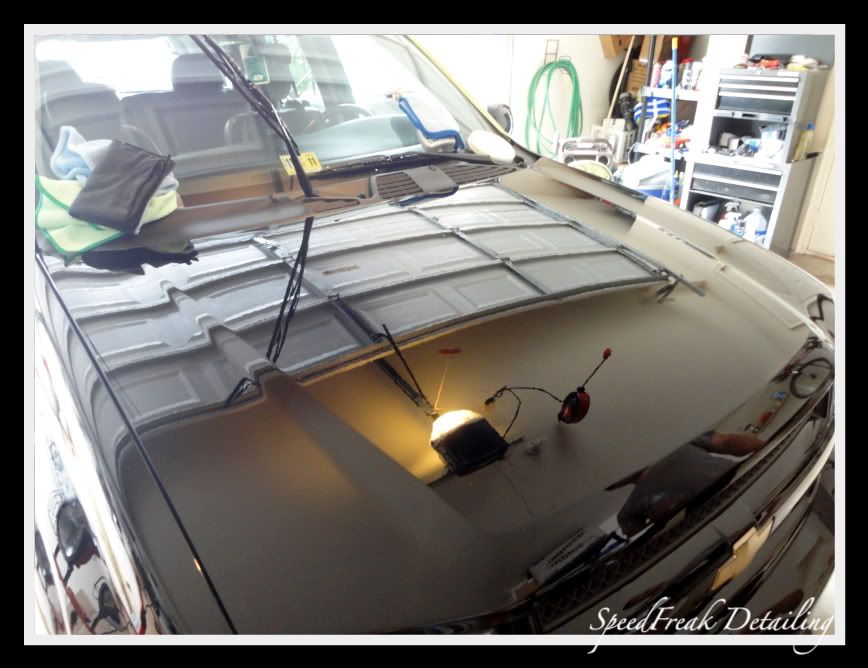
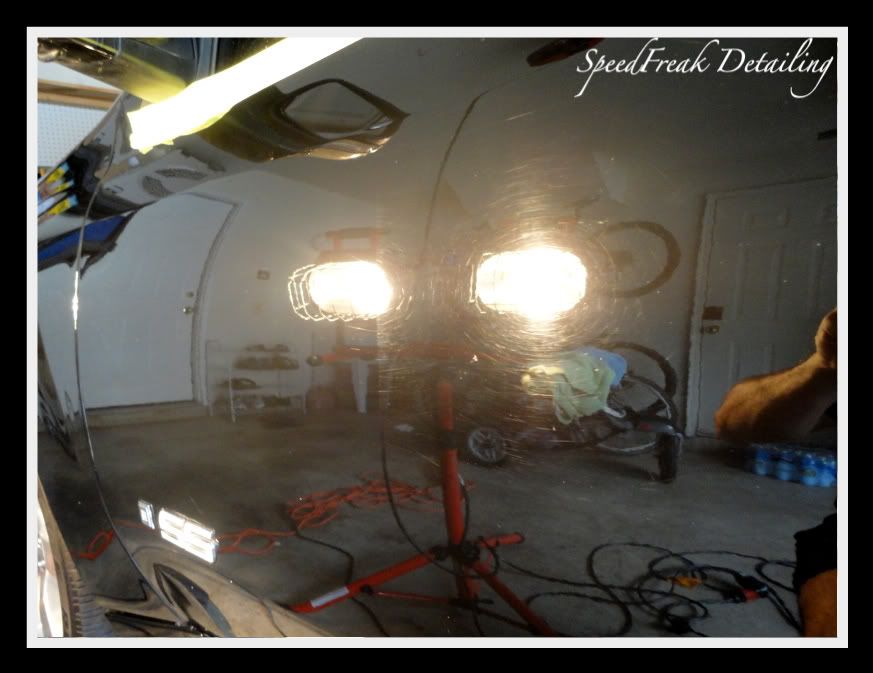
Now that the paint surface was free of contaminants, it was time to move on to the correction. I started with the hood since that was the worst. Spent almost 4 hours on this panel alone. Didn't get many shots because I was trying to concentrate, but you get the idea.
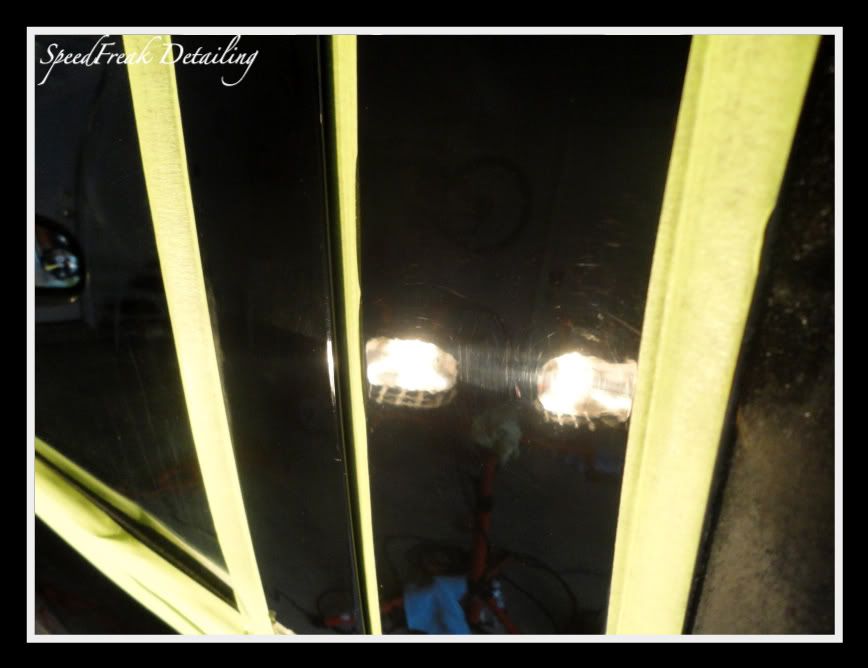
Working on test panel with M105 and PFW
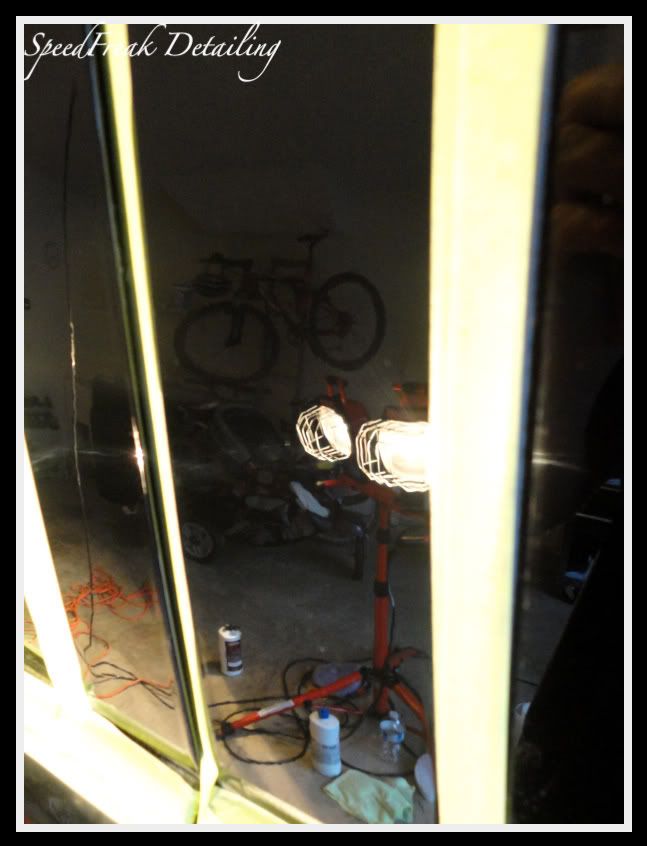
Getting there....
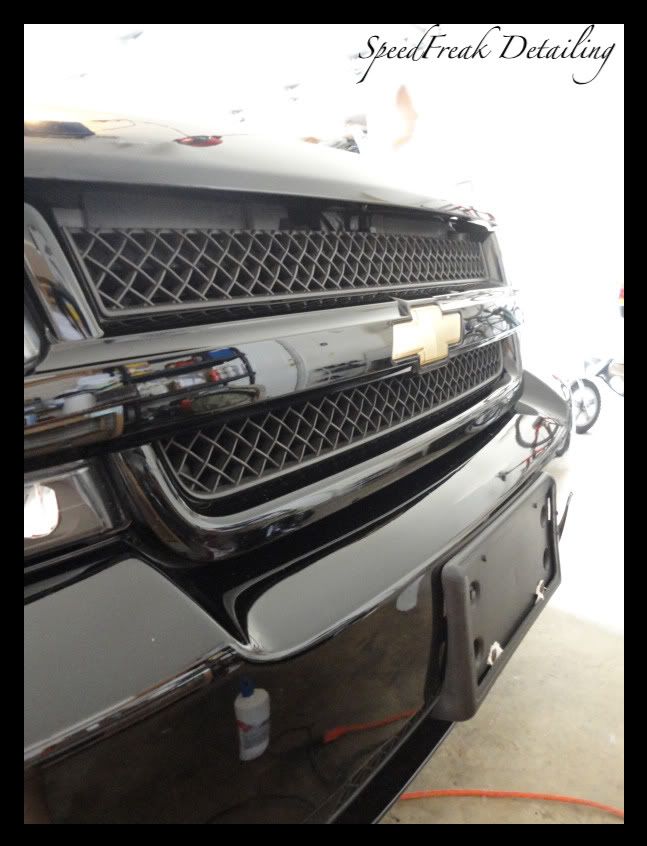
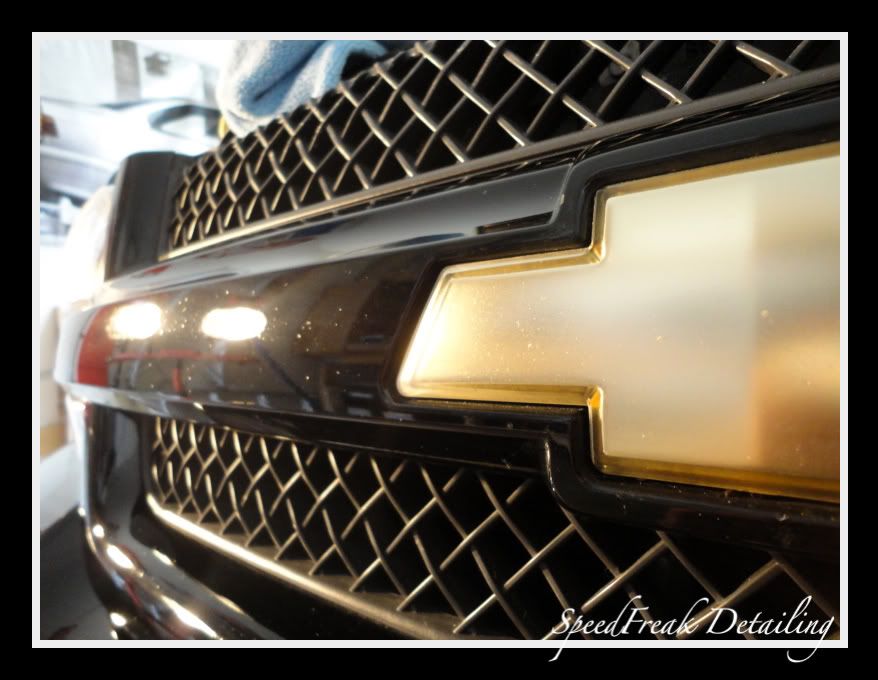
Working on the painted portions of the grill
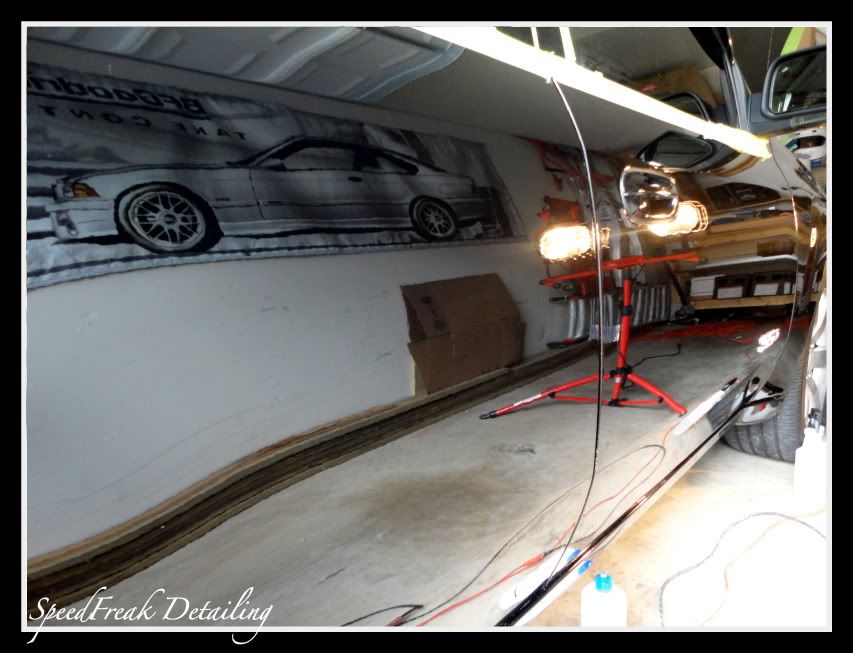
Driver's side fender before
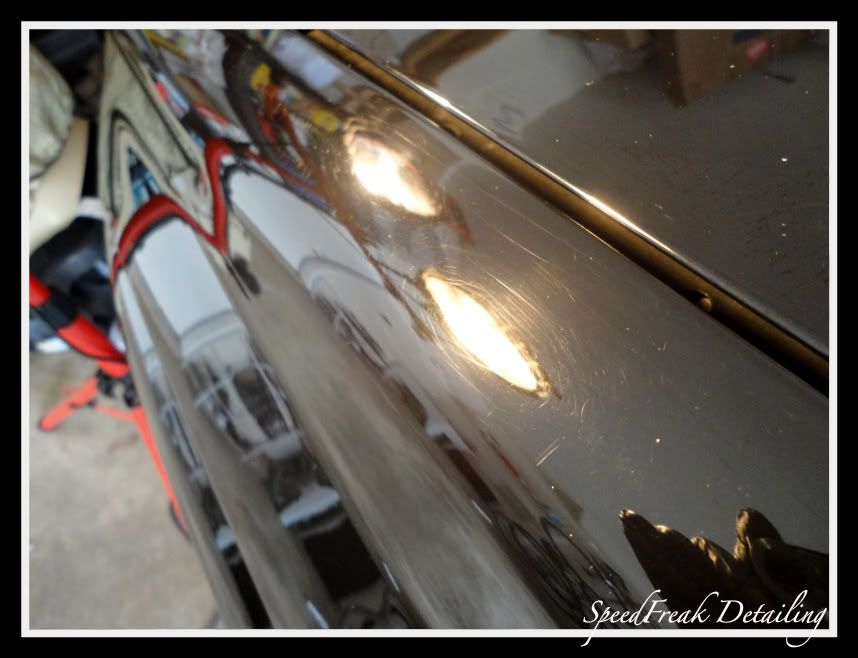
Driver's side fender corrected, front door still to come
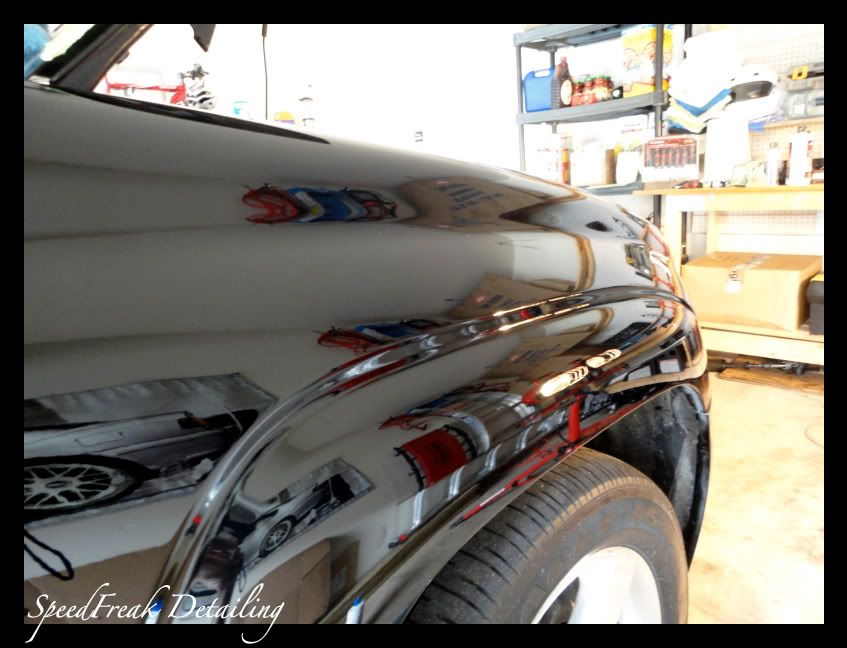
50/50 driver's side front door
Door fully corrected
50/50 driver's side B-pillar
Fully corrected

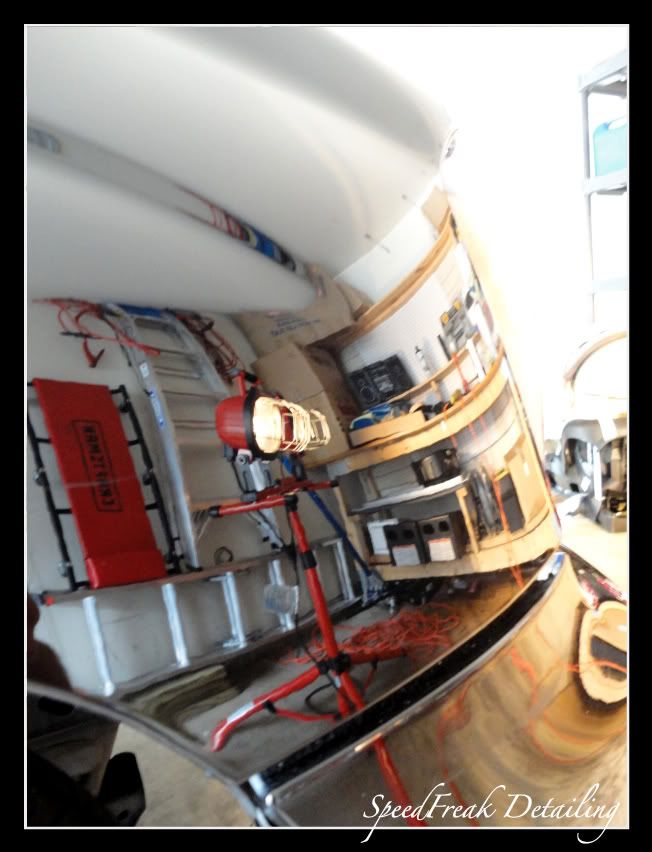
Jeweled out with PO85RD
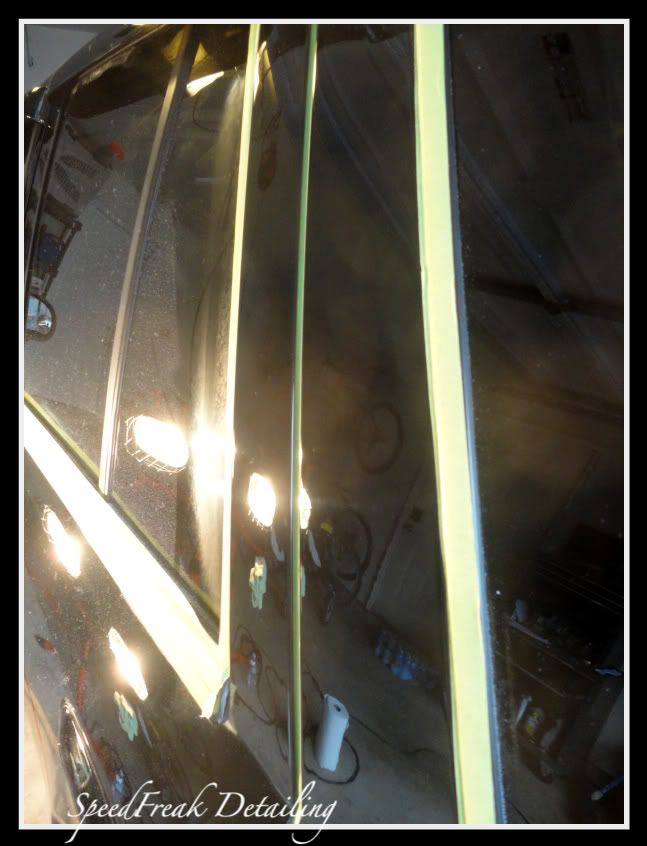
The plastic wind deflectors were full of swirls, so they got corrected too
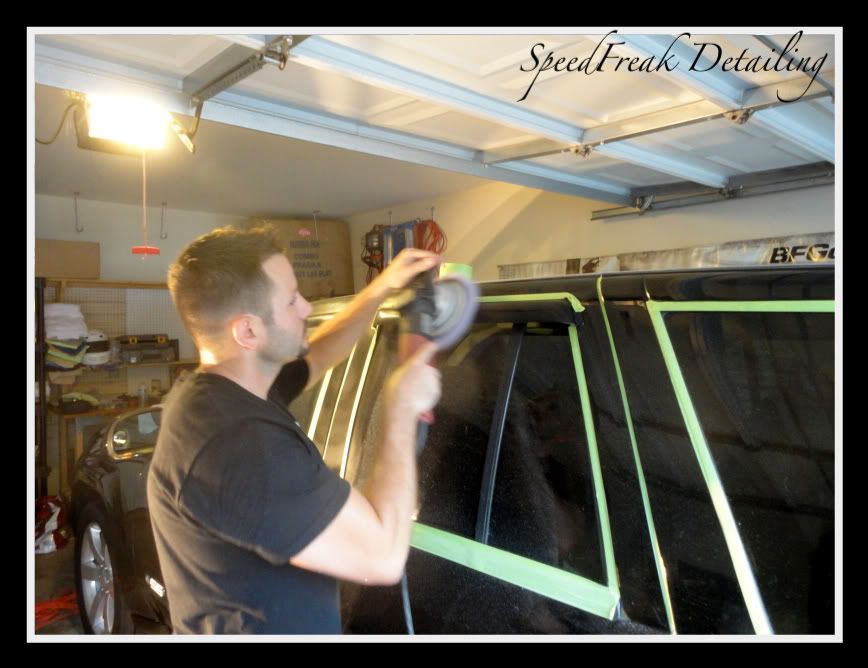
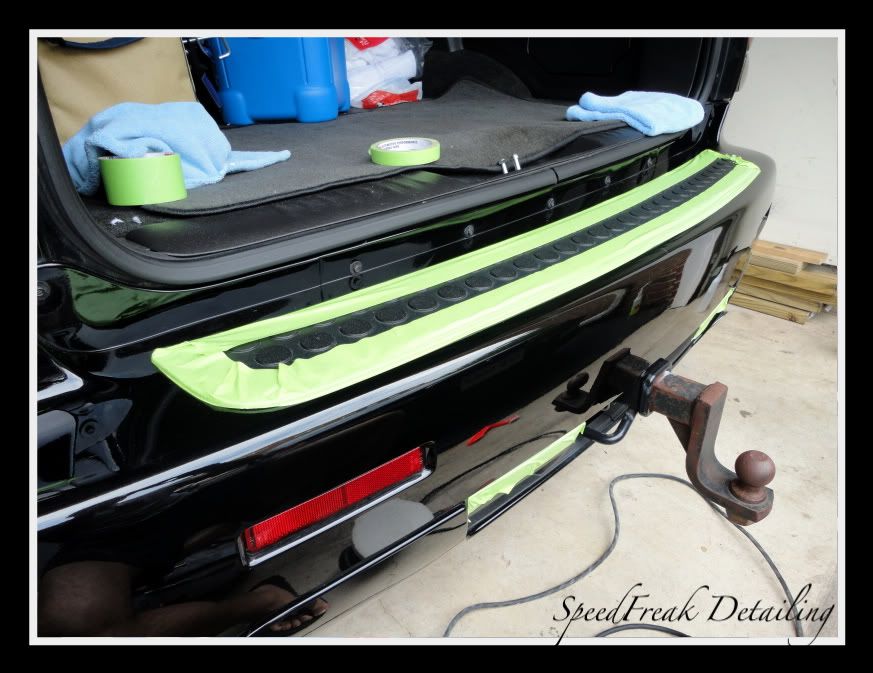
All inner seals taped off as well to prevent polish transfer
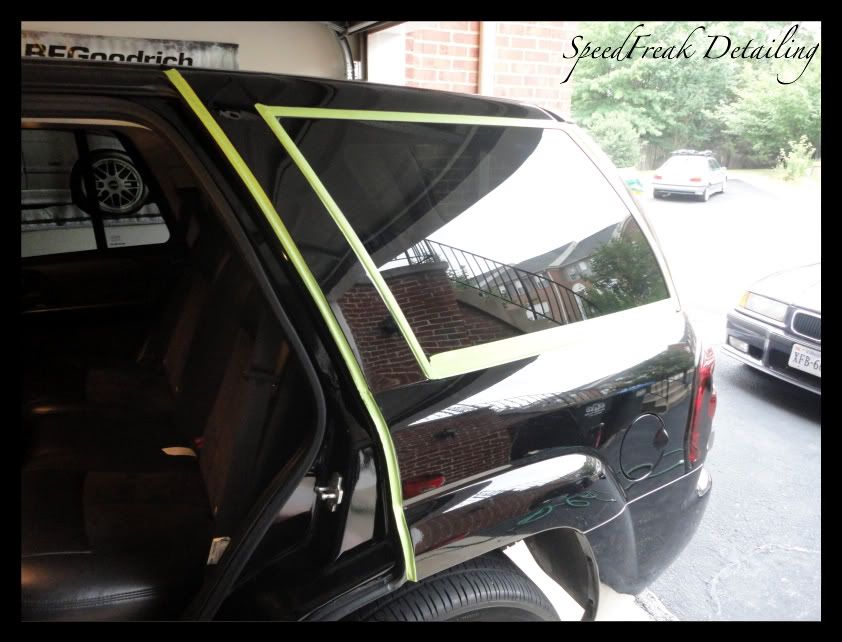
Driver's side C pillar fully corrected
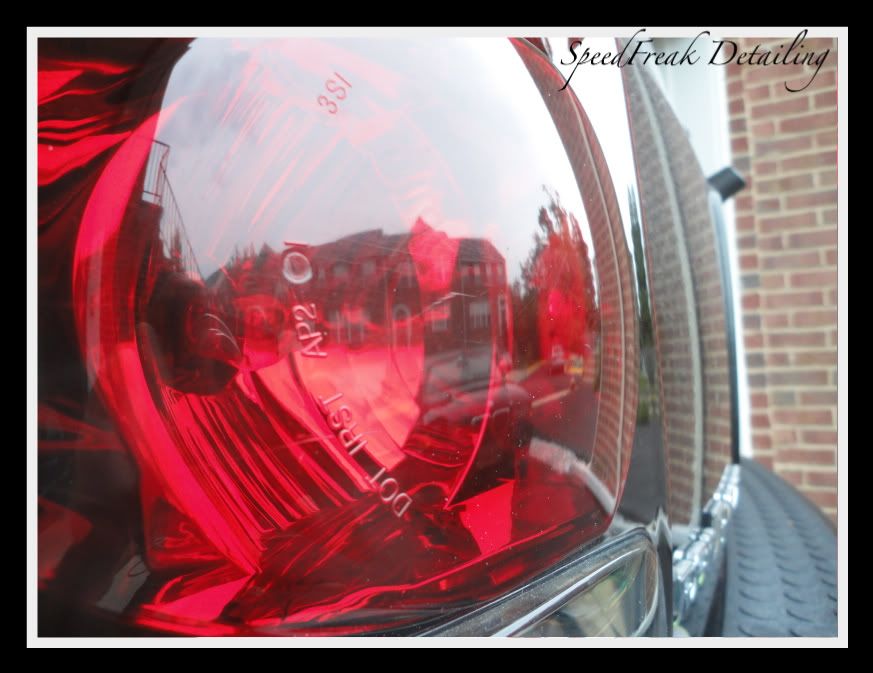
Pretty hard to see, but the tail lights were faded and swirled so they got corrected too
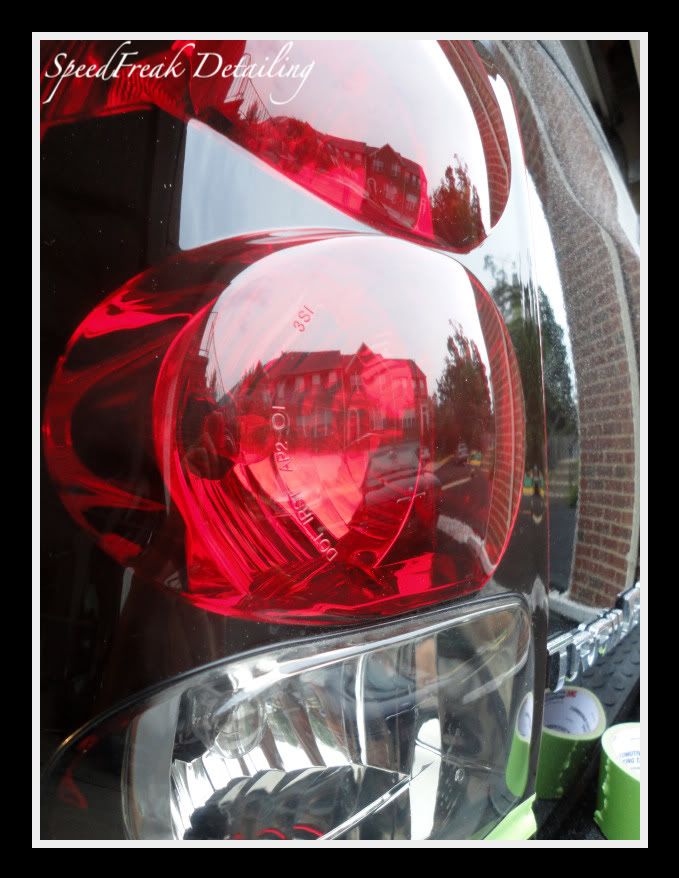
Corrected
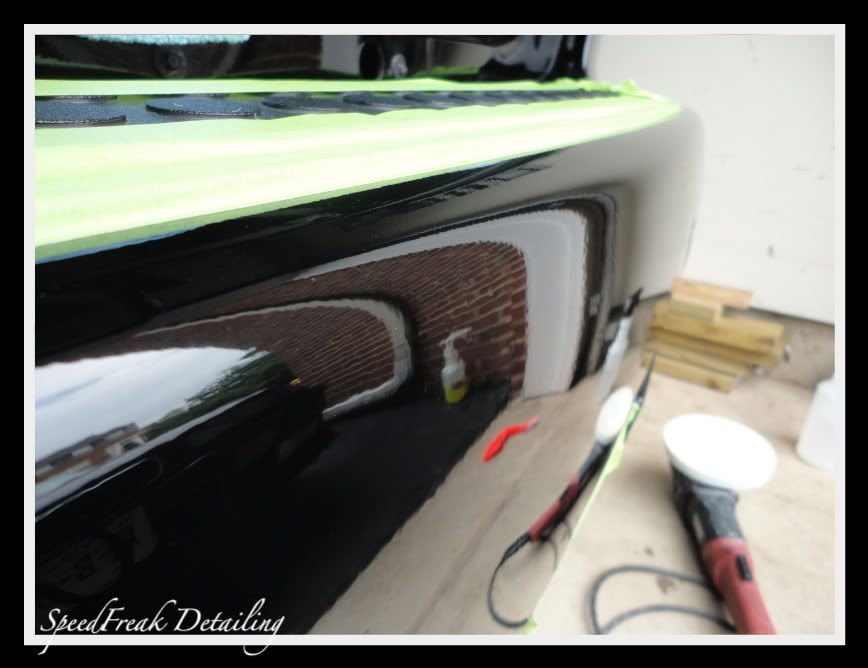
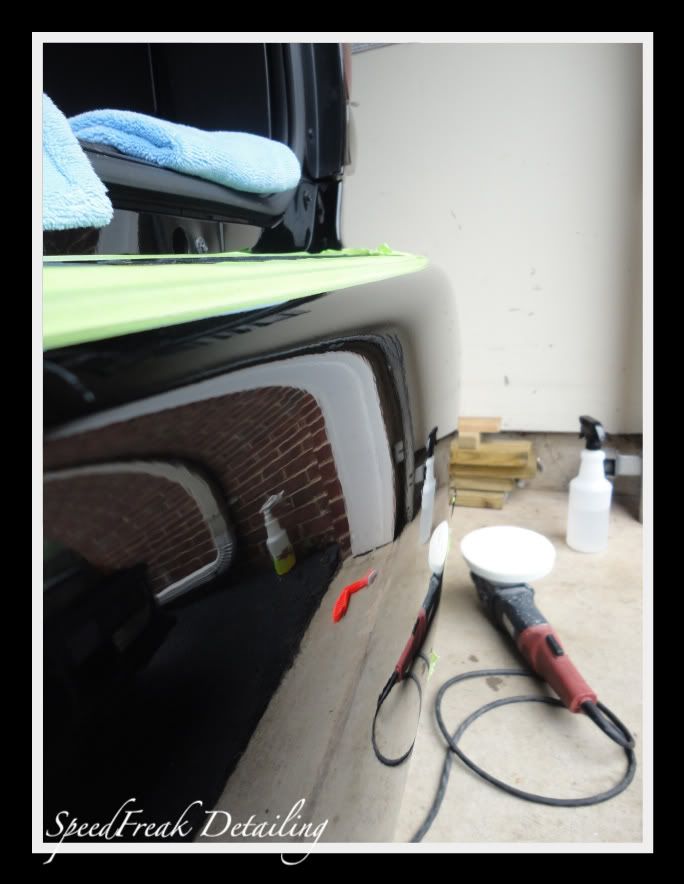
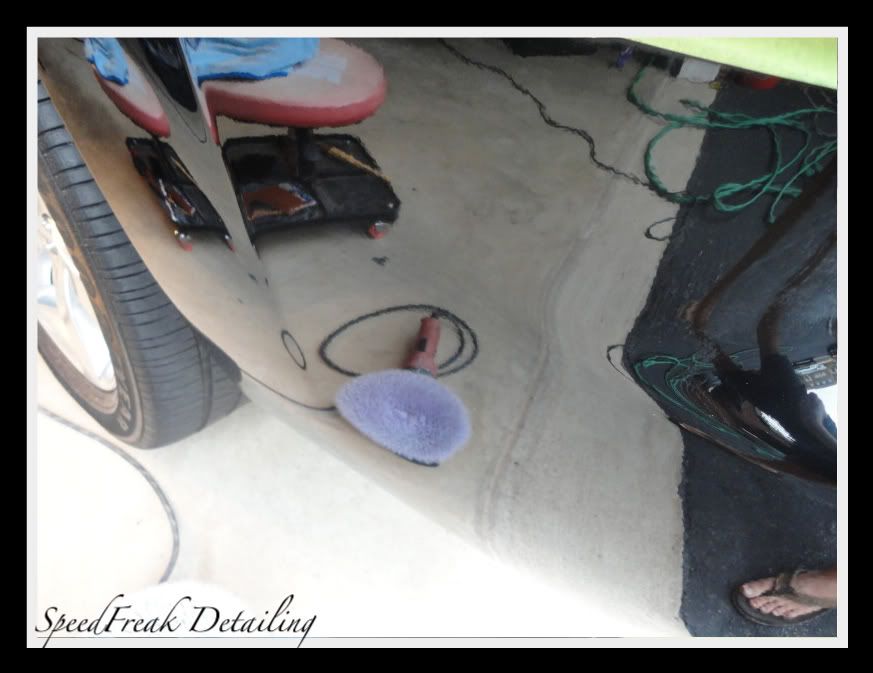
Driver's side of rear bumper cover corrected
I told him I would need a minumum of 3 days with the truck, to which he agreed. We arranged to have him drop it off with me on Thursday afternoon, to be picked up Sunday at 7pm sharp as he was driving it back to Texas that evening. At this point the paint is 95% perfect. I say only 95%, because the areas on the hood which had eaten through the clear could not be saved, though all the other defects were removed.
Products used:
- Sonax Full Effect wheel cleaner
- Iron X on wheels
- 3M pinstripe removal tool
- Dawn wash
- Iron X on body and glass
- Pinnacle Speed Clay
- Poorboy's World QD as clay lube
- M105 on Lake Country PFW pads via FLEX 3401
- M105 on Surbuf pad via FLEX 301
- Pinnacle Advanced Finishing polish on Lake Country CCS White pad-FLEX3401
- Menzerna PO85RD on Lake Country CCS grey pad via FLEX 3401
- Poorboy's World Super Slick & Suds rewash post correction
- HD Poxy on Lake Country CCS grey pad applied via FLEX 3401
- Stoner's Invisible Glass
- Poorboy's World wheel sealant
- Armor All tire shine
- Mother's Back to Black on trim
- Optimum metal polish
Going to work on the pinstriping, with the 3M pinstripe eraser
Driver's side fully removed
Moving onto the wheels, Sonax Full Effect going to work
After the initial wash, it was time to apply the Iron X decontaminate to the body and glass
After a few minutes soaking into the paint surface
When the Iron X comes into contact with iron contamination it turns color from clear to a purple/red hue. Good shot of the clean water bucket I rinsed the mitt in.
Now that the body was free of iron contaminates, it was time to clay the surface
As usual, all glass is clayed as well as the paint
Now that the paint surface was free of contaminants, it was time to move on to the correction. I started with the hood since that was the worst. Spent almost 4 hours on this panel alone. Didn't get many shots because I was trying to concentrate, but you get the idea.
Working on test panel with M105 and PFW
Getting there....
Working on the painted portions of the grill
Driver's side fender before
Driver's side fender corrected, front door still to come
50/50 driver's side front door
Door fully corrected
50/50 driver's side B-pillar
Fully corrected
Jeweled out with PO85RD
The plastic wind deflectors were full of swirls, so they got corrected too
All inner seals taped off as well to prevent polish transfer
Driver's side C pillar fully corrected
Pretty hard to see, but the tail lights were faded and swirled so they got corrected too
Corrected
Driver's side of rear bumper cover corrected