I've been meaning to post this one for a while now, however the camera wasn't mine and I had to track the pics down. I also wasn't the photographer for most of the pics so sorry for the quality. Some people just don't know how to take pictures of cars. 
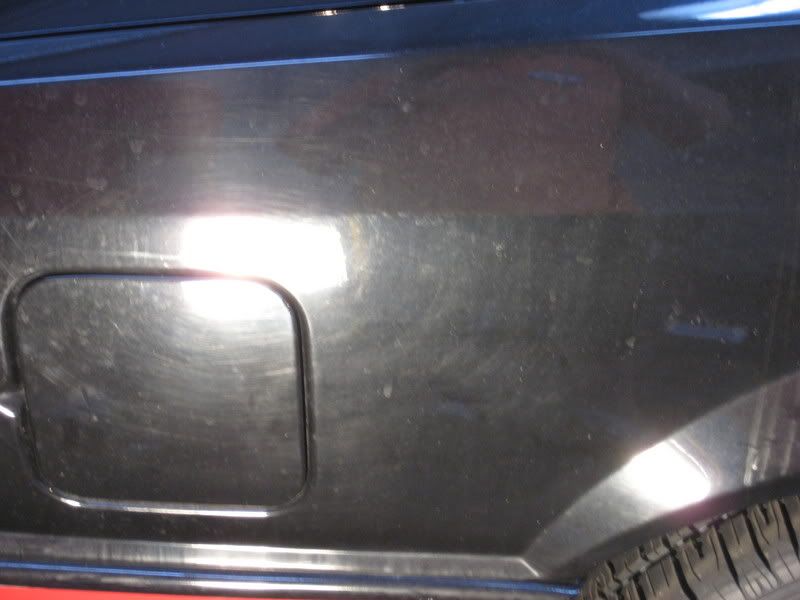
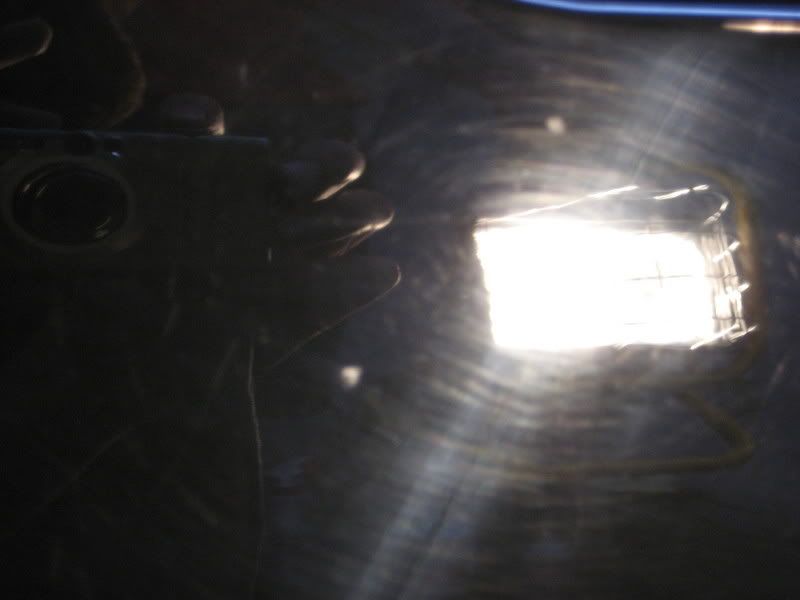
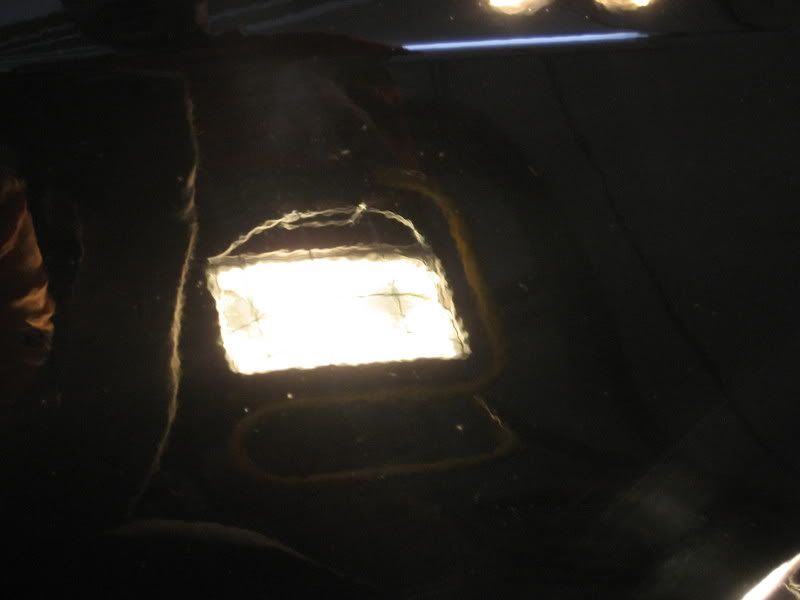
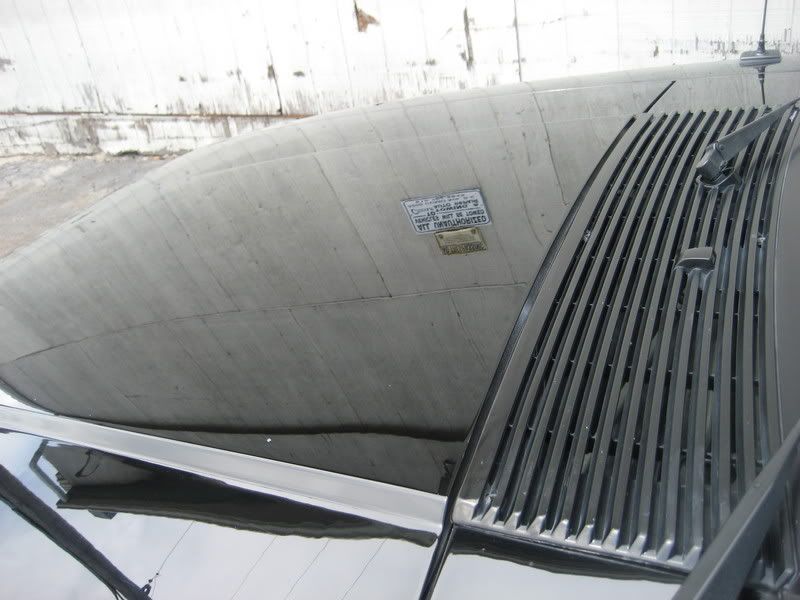
One of my co-workers had bought this car for his now wife and it was my job to make it "look like it just came off the lot in 1988" so it could be presented to her at the reception. The detail was completed over 3 days between other jobs. The car had been sitting outside in a field for years and the paint condition was horrible! Single stage paint with heavy oxidation and swirls. Here's a few befores:
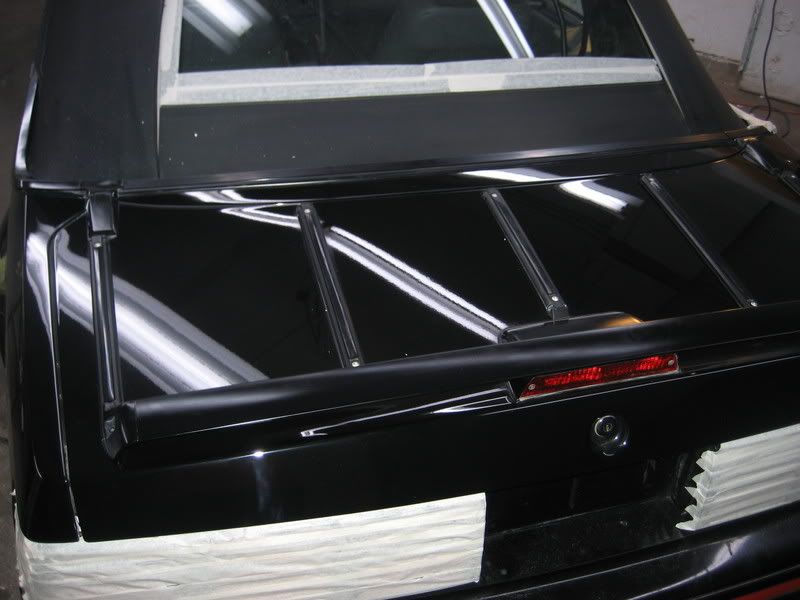
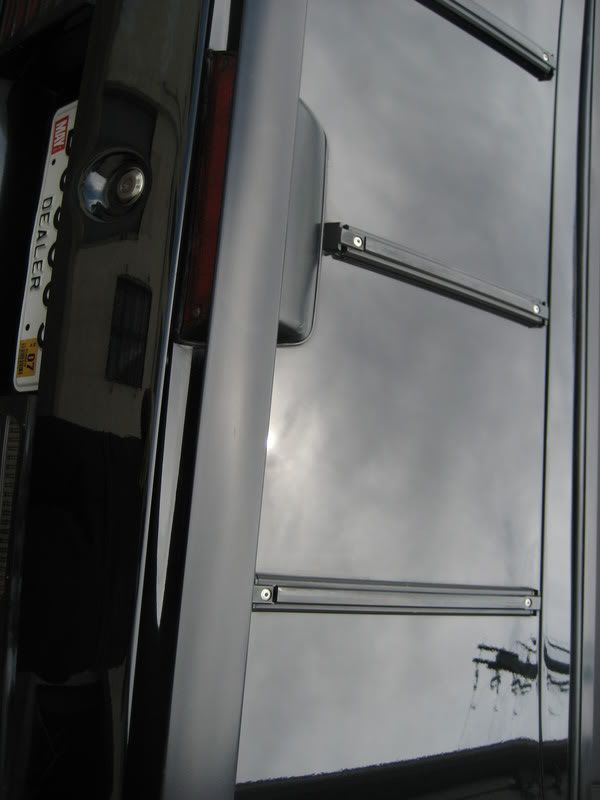
The trunk had a luggage rack that was a pain to work around. I was hoping I could remove it but they were riveted.
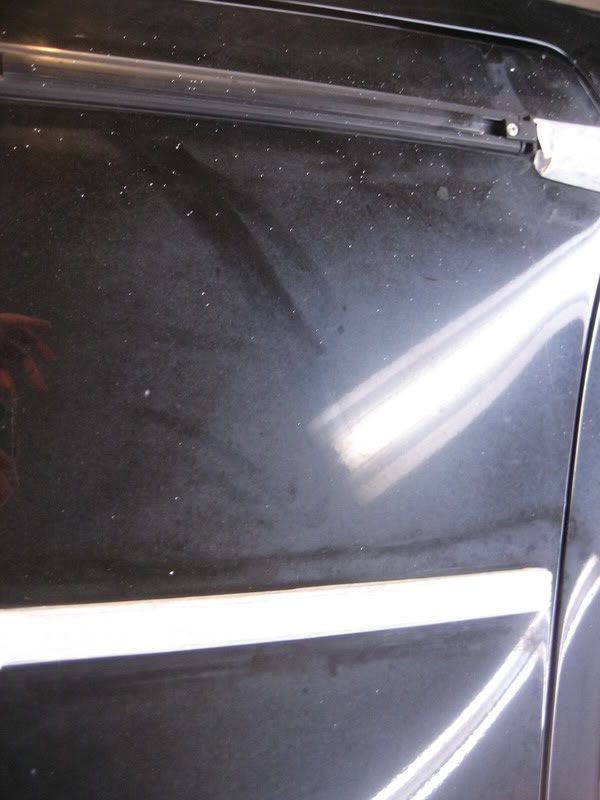
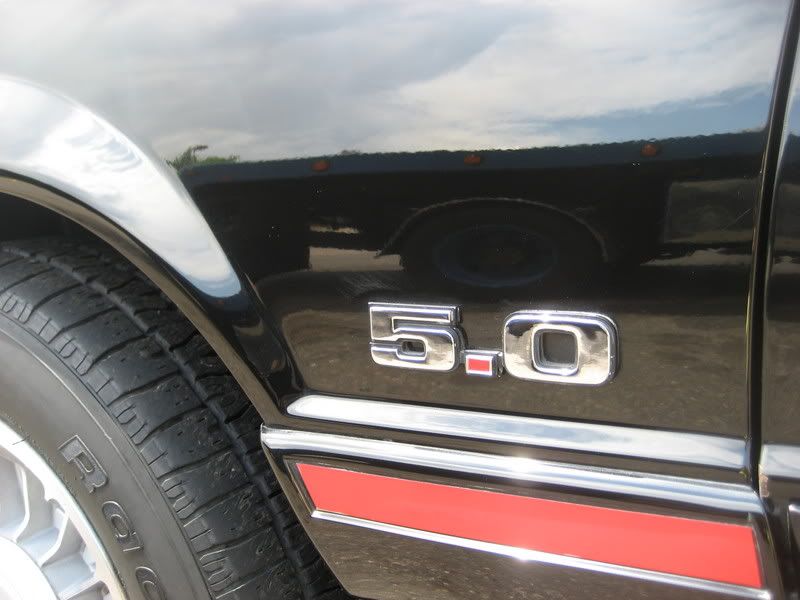
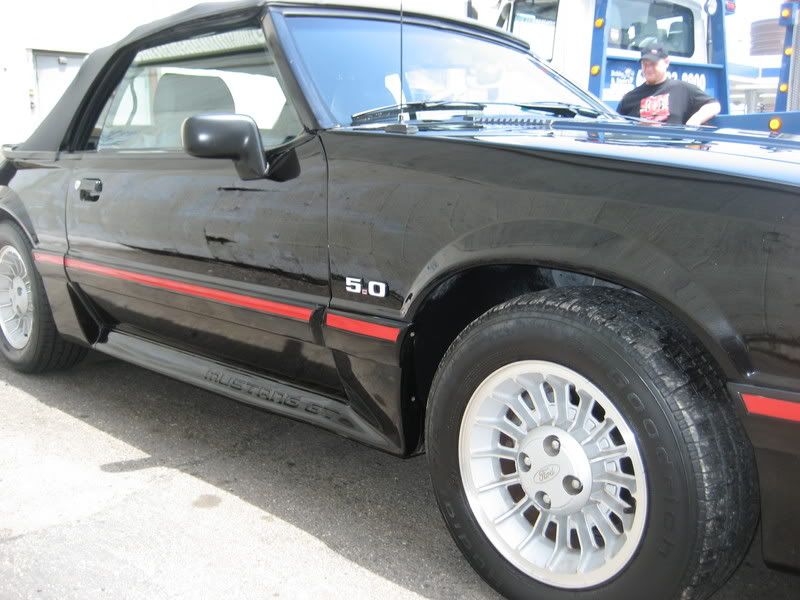
Passenger side rear quarter
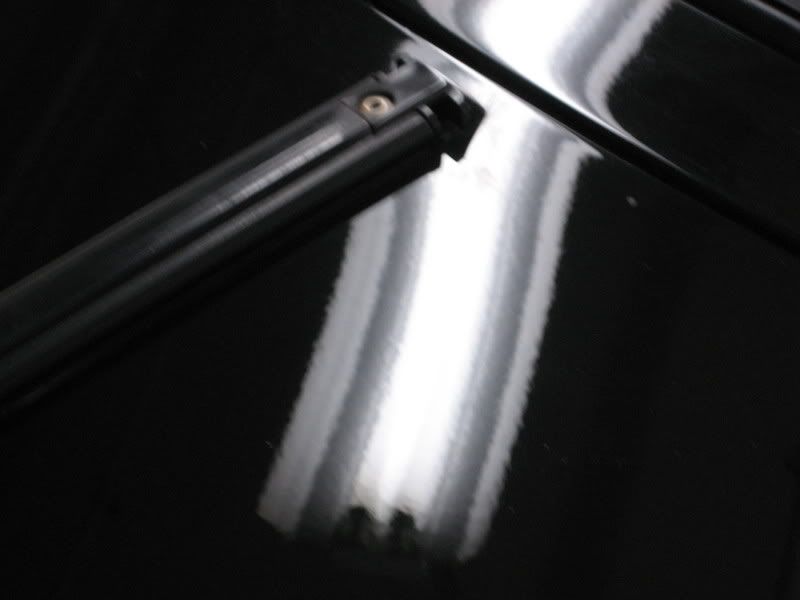
This was the extent of the damage on the entire car
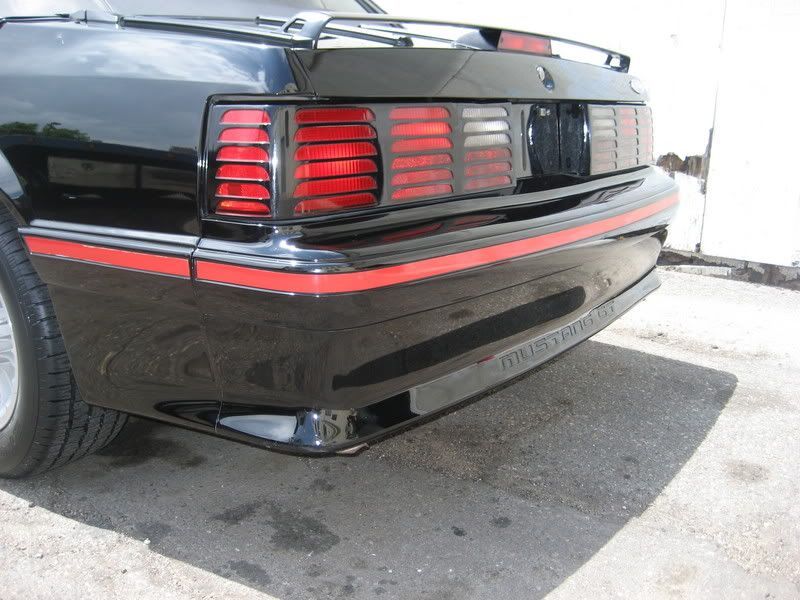
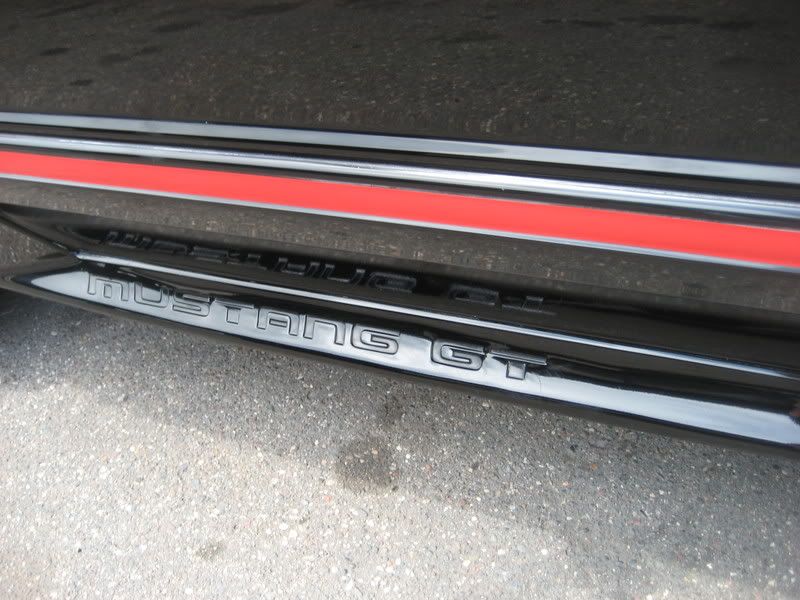
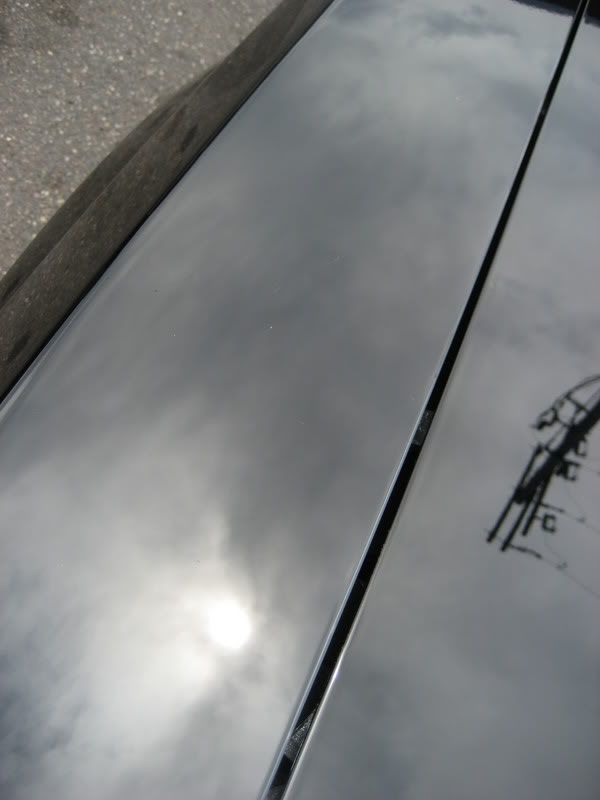
Not exactly sure where this picture is, but it is after paint correction
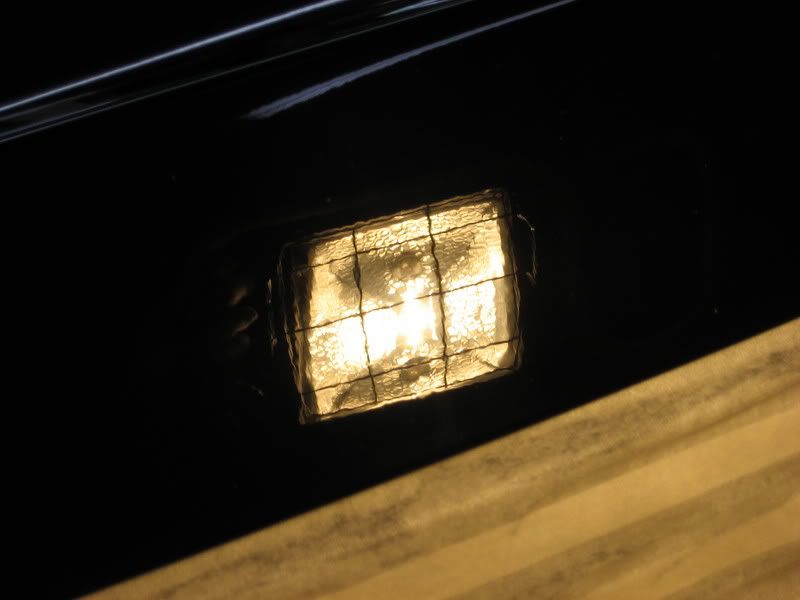
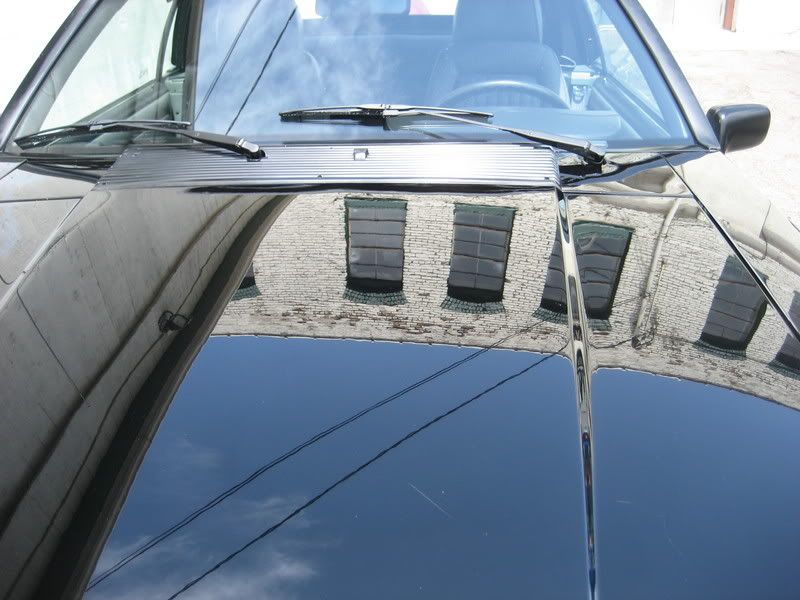
After paint correction on the trunk
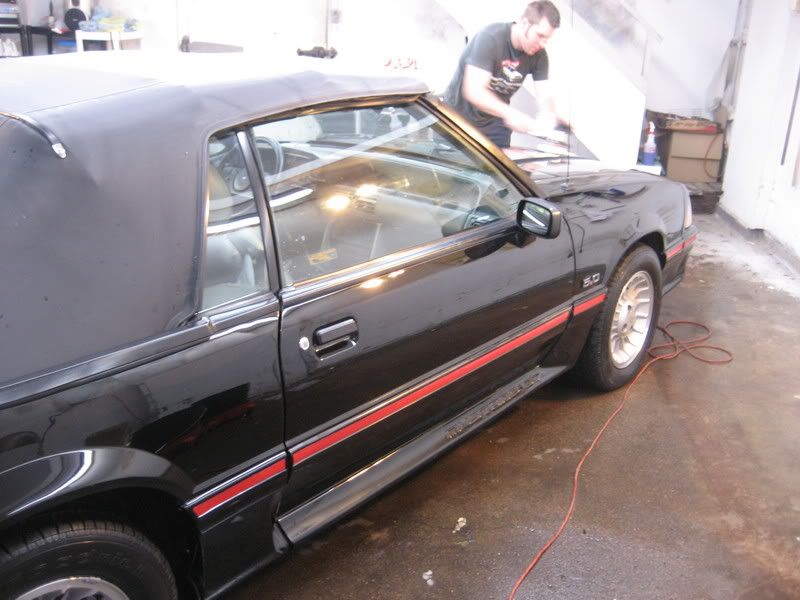
Yay! Some action shots! Yeah, that's me working. :nervous2:
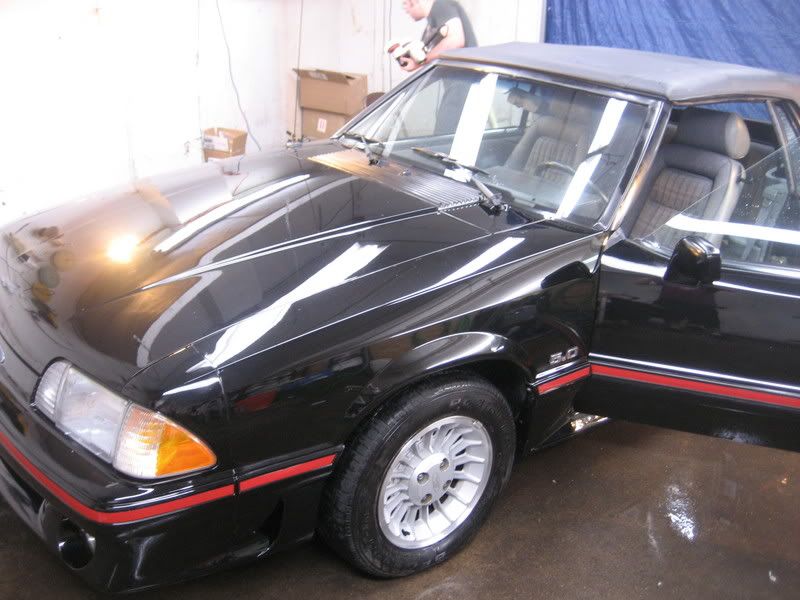
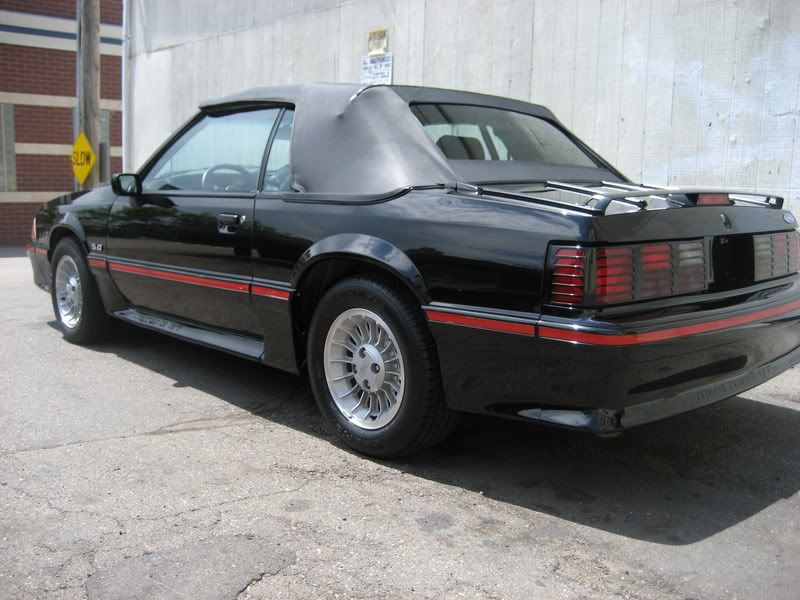
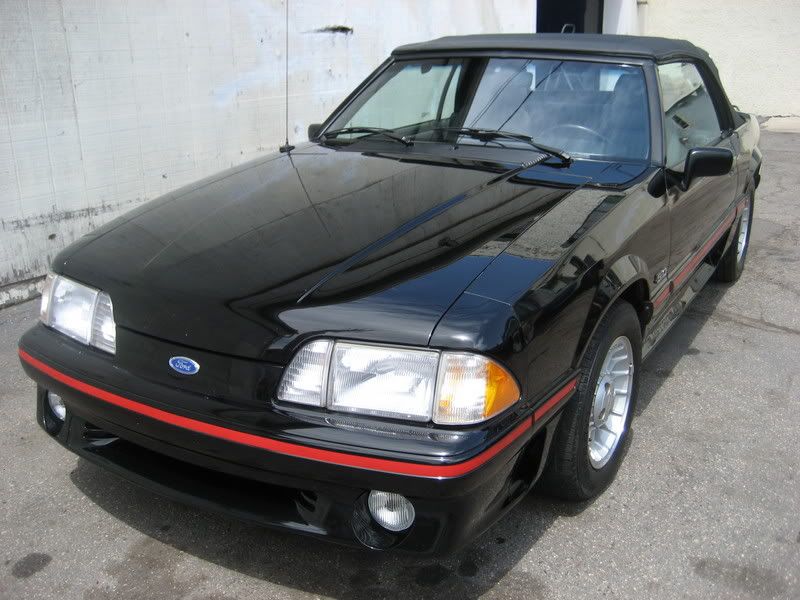
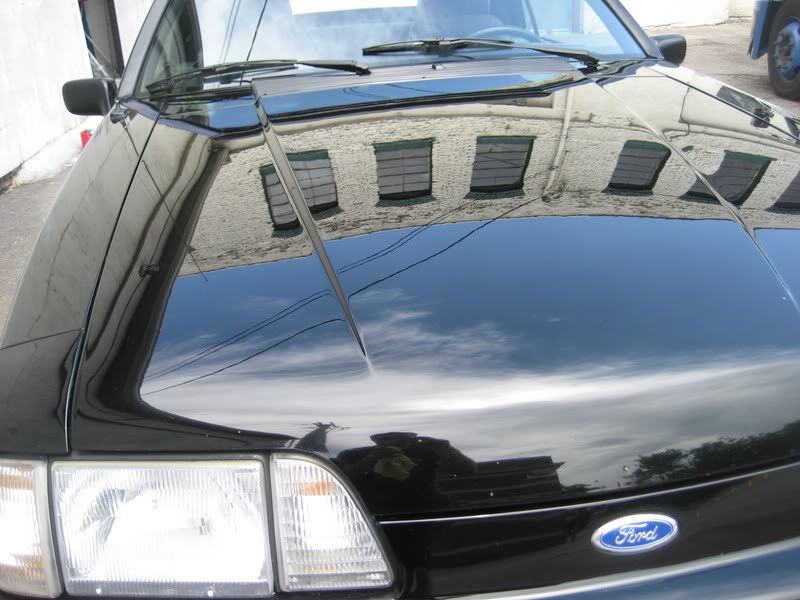
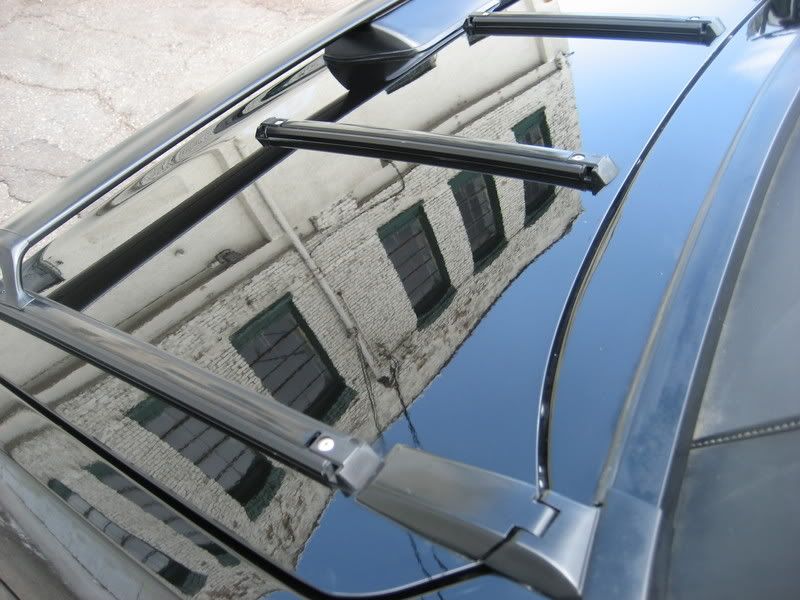
And finally the final result outside in the sun
As for the process, I notice I'm one of the few on this site that used Rightlook products.
- Compound with a 6" heavy cutting foam pad (double sided) with my dewalt rotary
- Compound with a 6" medium cutting foam pad with the rotary
- Polish with a 6" light finesse foam pad with the rotary
- Polish with a light finishing pad with the Cyclo
- Applied Rightlook Paint Sealant w/ cyclo, then CG 5050
Also, we cleaned and conditioned the 'vert top with 303 (usually use Raggtopp but I was out). The interior was also cleaned and conditioned/protected.
This project was a lot of fun. I love doing restoration work. :heelclick
He told me his wife cried when she saw it.:clap:
One of my co-workers had bought this car for his now wife and it was my job to make it "look like it just came off the lot in 1988" so it could be presented to her at the reception. The detail was completed over 3 days between other jobs. The car had been sitting outside in a field for years and the paint condition was horrible! Single stage paint with heavy oxidation and swirls. Here's a few befores:
The trunk had a luggage rack that was a pain to work around. I was hoping I could remove it but they were riveted.
Passenger side rear quarter
This was the extent of the damage on the entire car
Not exactly sure where this picture is, but it is after paint correction
After paint correction on the trunk
Yay! Some action shots! Yeah, that's me working. :nervous2:
And finally the final result outside in the sun
As for the process, I notice I'm one of the few on this site that used Rightlook products.
- Compound with a 6" heavy cutting foam pad (double sided) with my dewalt rotary
- Compound with a 6" medium cutting foam pad with the rotary
- Polish with a 6" light finesse foam pad with the rotary
- Polish with a light finishing pad with the Cyclo
- Applied Rightlook Paint Sealant w/ cyclo, then CG 5050
Also, we cleaned and conditioned the 'vert top with 303 (usually use Raggtopp but I was out). The interior was also cleaned and conditioned/protected.
This project was a lot of fun. I love doing restoration work. :heelclick
He told me his wife cried when she saw it.:clap: